Sponsored

OP
OP
Flyin6
Well-Known Member
- Thread starter
- #605
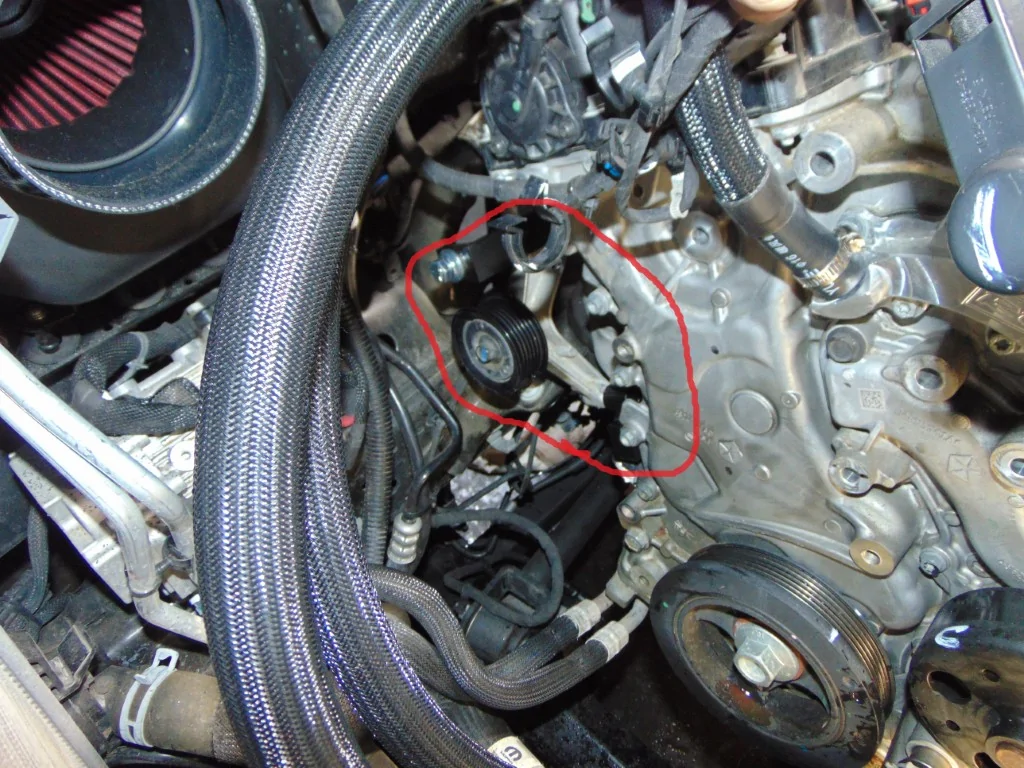
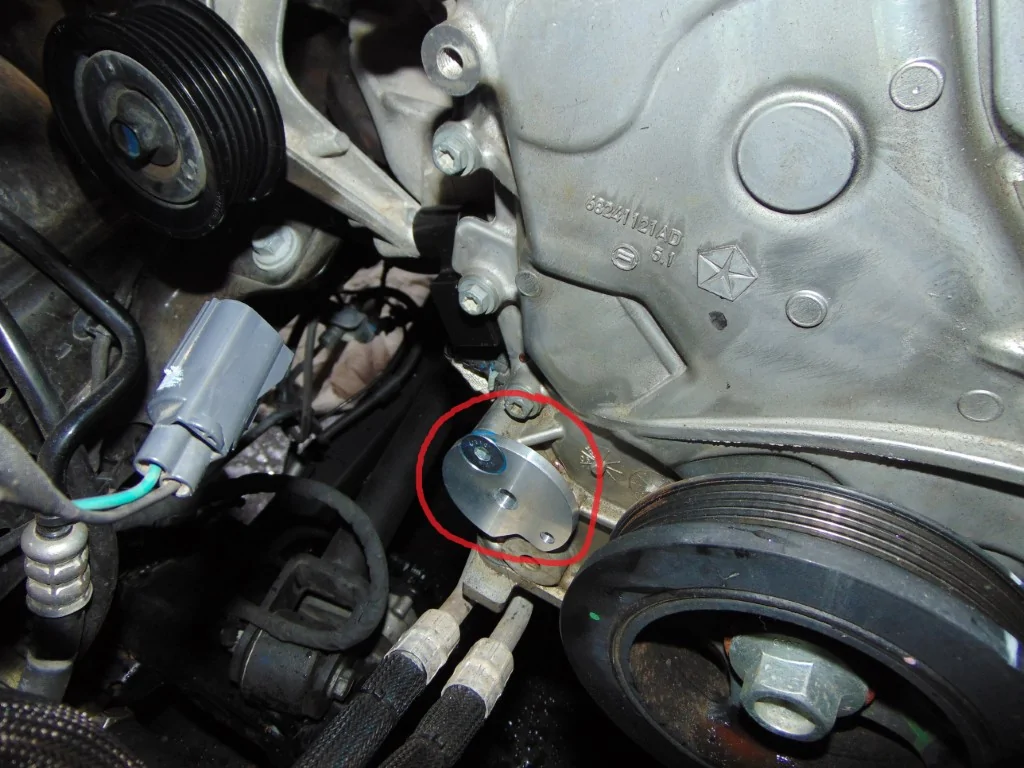
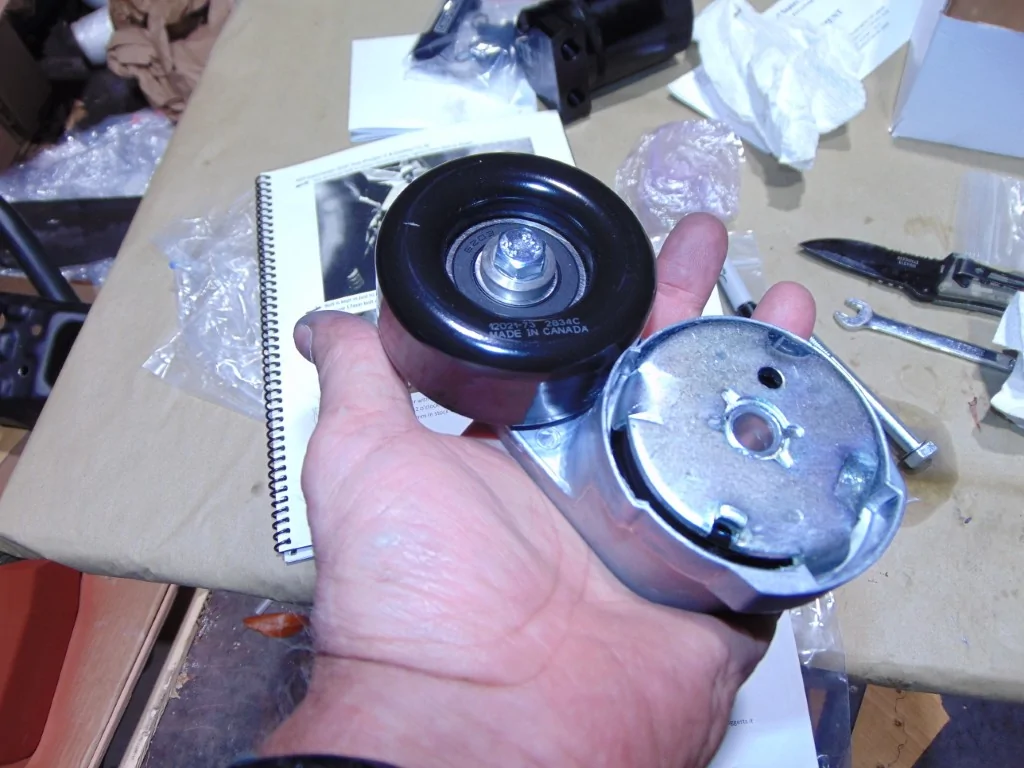
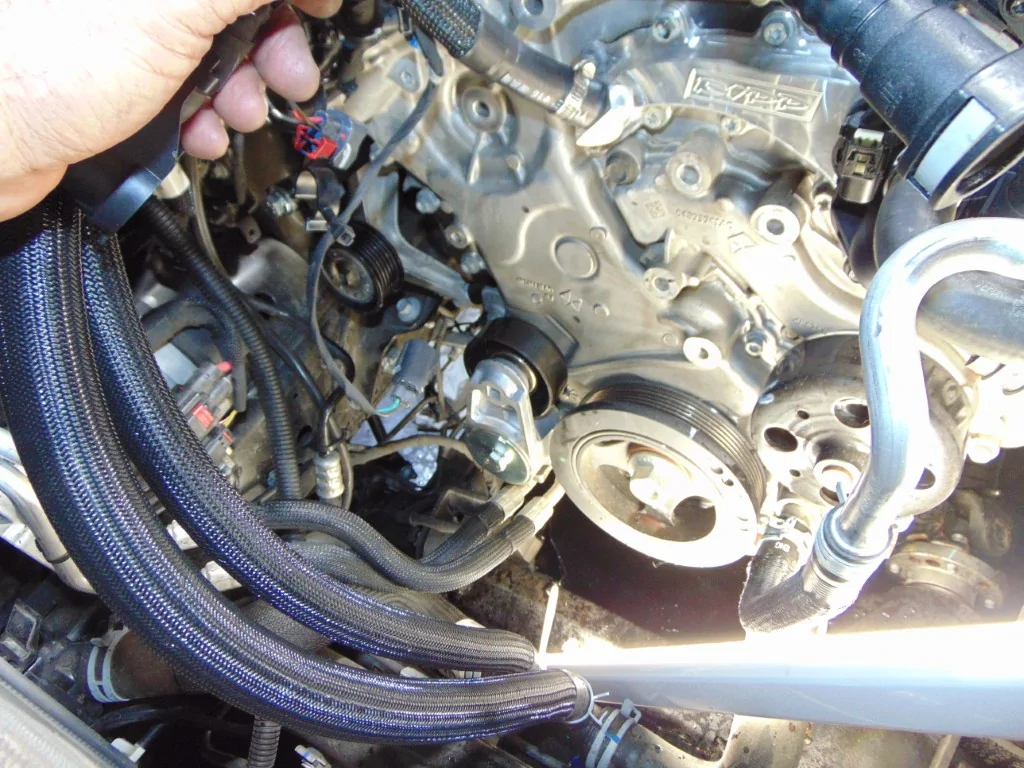
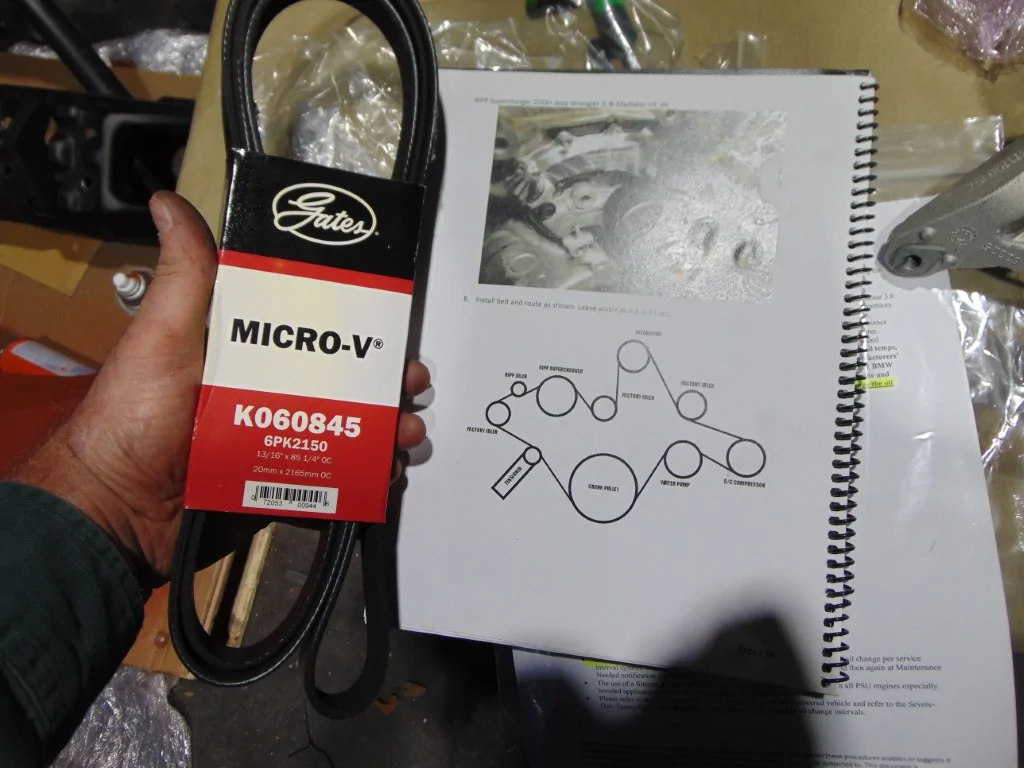
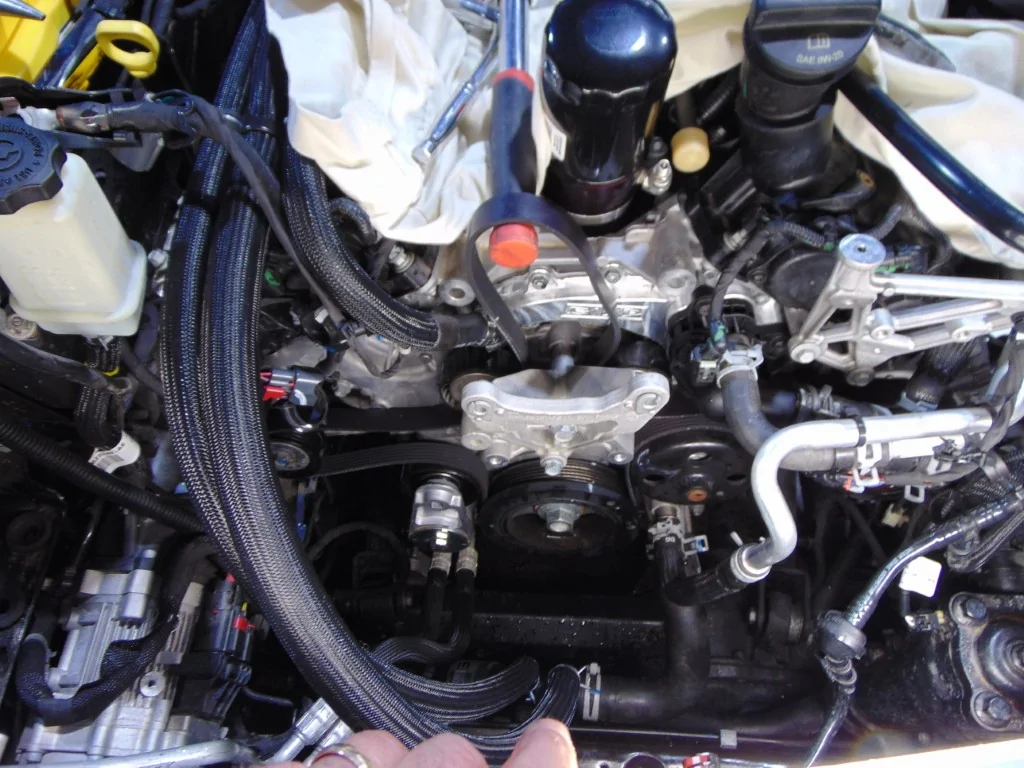
This is the point where I was called to hang the drive belt. Before doing so, I allow the belt to hang for a while to straighten out and clean all the pulley surfaces of spilled coolant. Want a nice squeak? Just skip cleaning the pulleys, and you'll get one!
I felt this may be the best time to install the new radiator, so I stopped for the evening. Hopefully, I'm back after it in the morrow.

I felt this may be the best time to install the new radiator, so I stopped for the evening. Hopefully, I'm back after it in the morrow.
Sponsored
OP
OP
Flyin6
Well-Known Member
- Thread starter
- #606
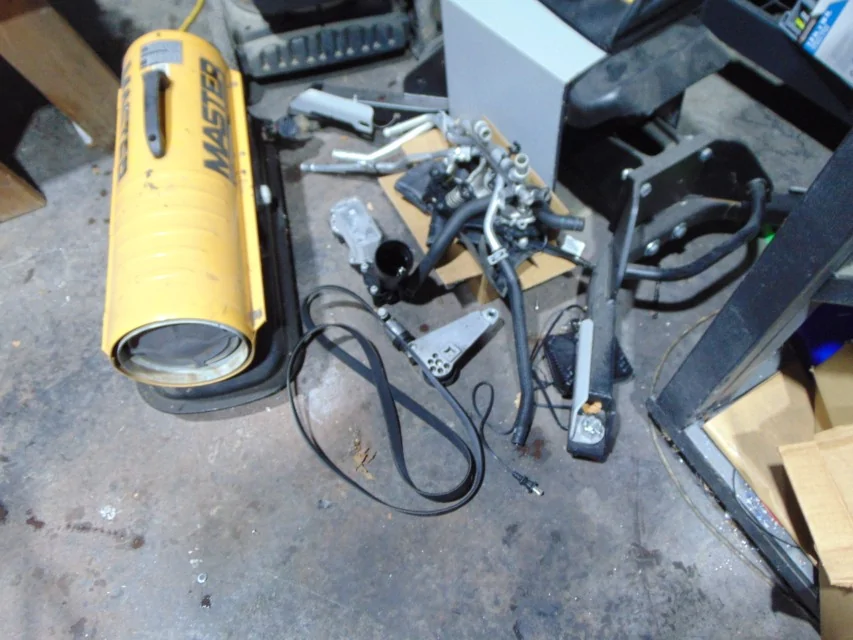
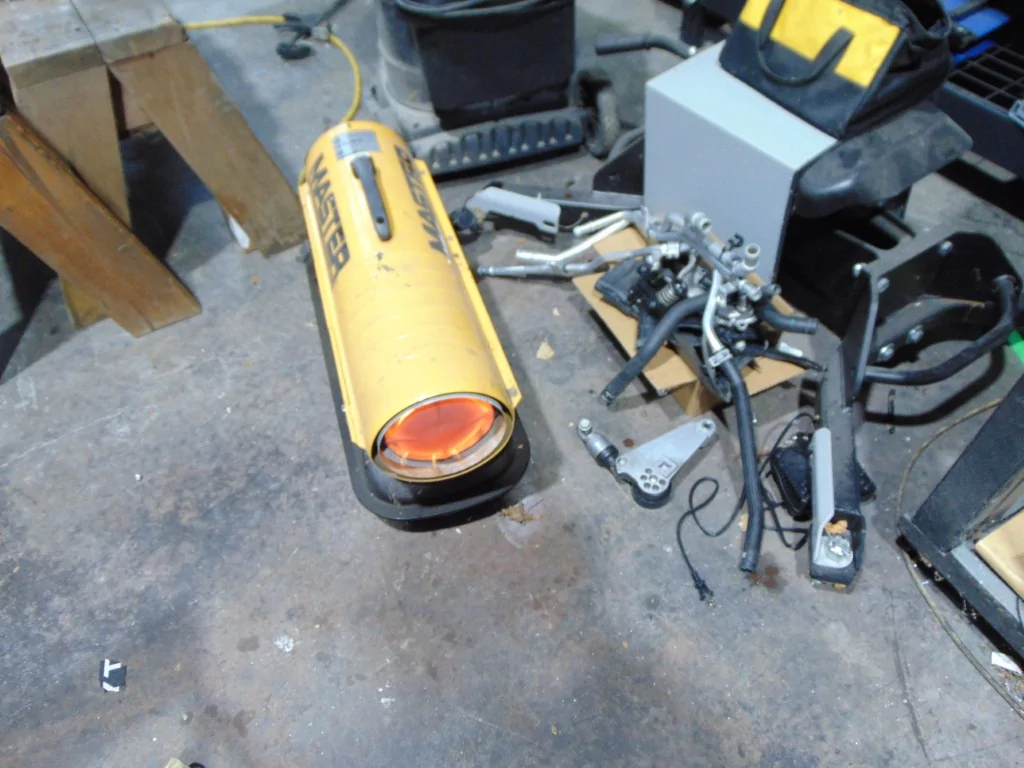
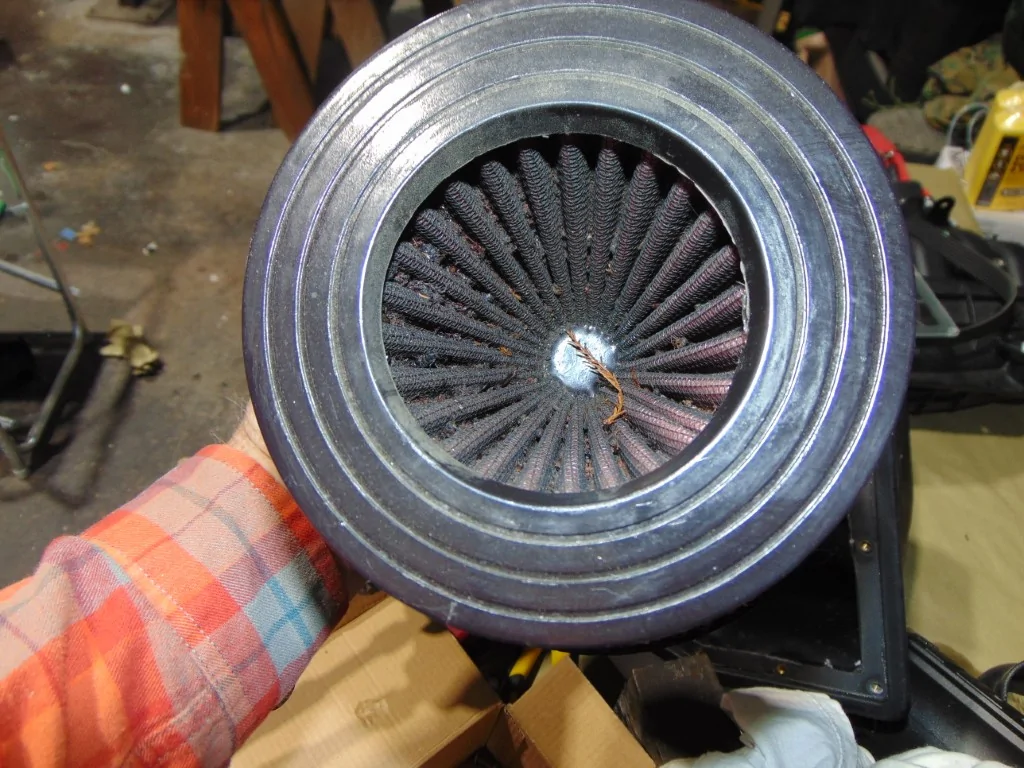
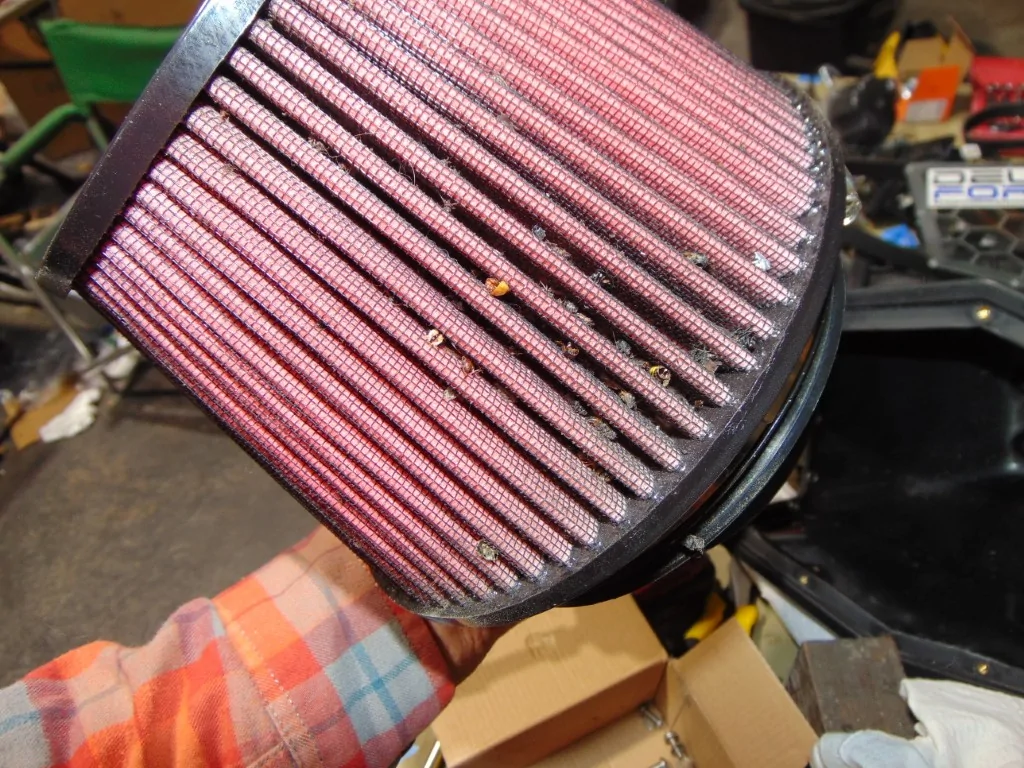
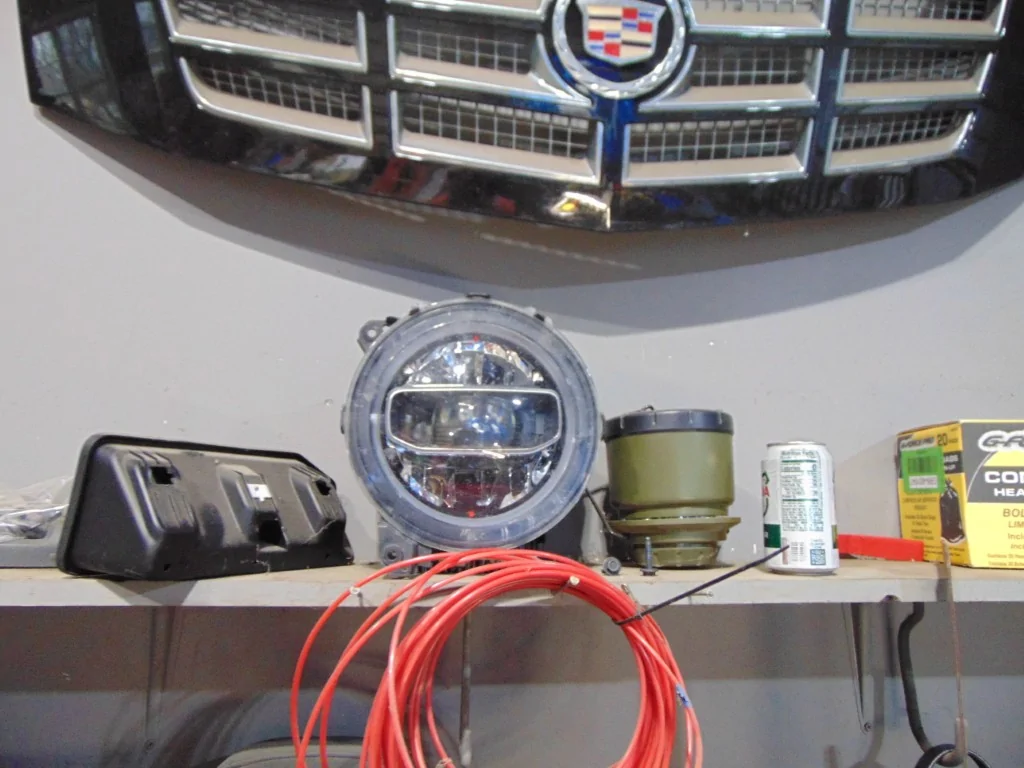
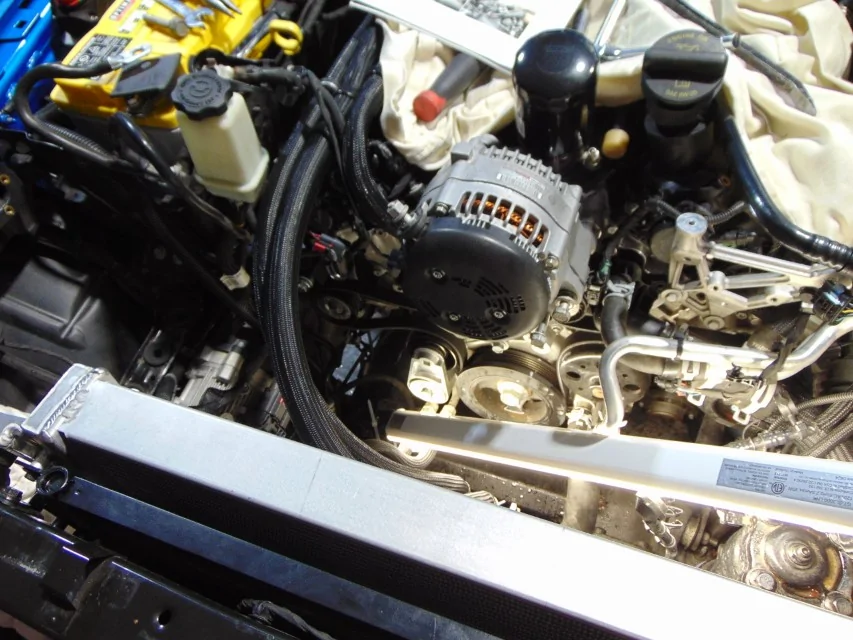
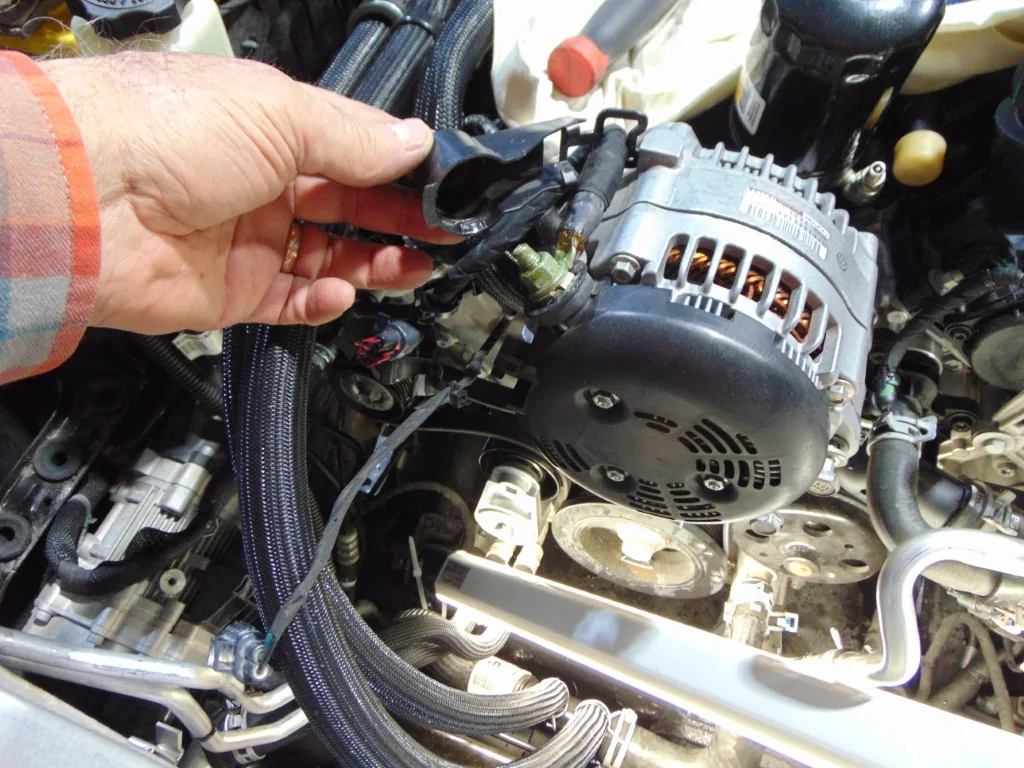
We start off today's build installment with a picture of 1- The heater, which at 20F and 30mph wind is literally a lifesaver, and the ever-growing pile of parts that will no longer be needed.
BTW, anyone see something in that pile they absolutely need, PM me.
BTW, anyone see something in that pile they absolutely need, PM me.
OP
OP
Flyin6
Well-Known Member
- Thread starter
- #608
Remember the phrase, "the ankle bone is connected to the leg bone?"
Well, apparently, the radiator bone is connected to the headlight bone!
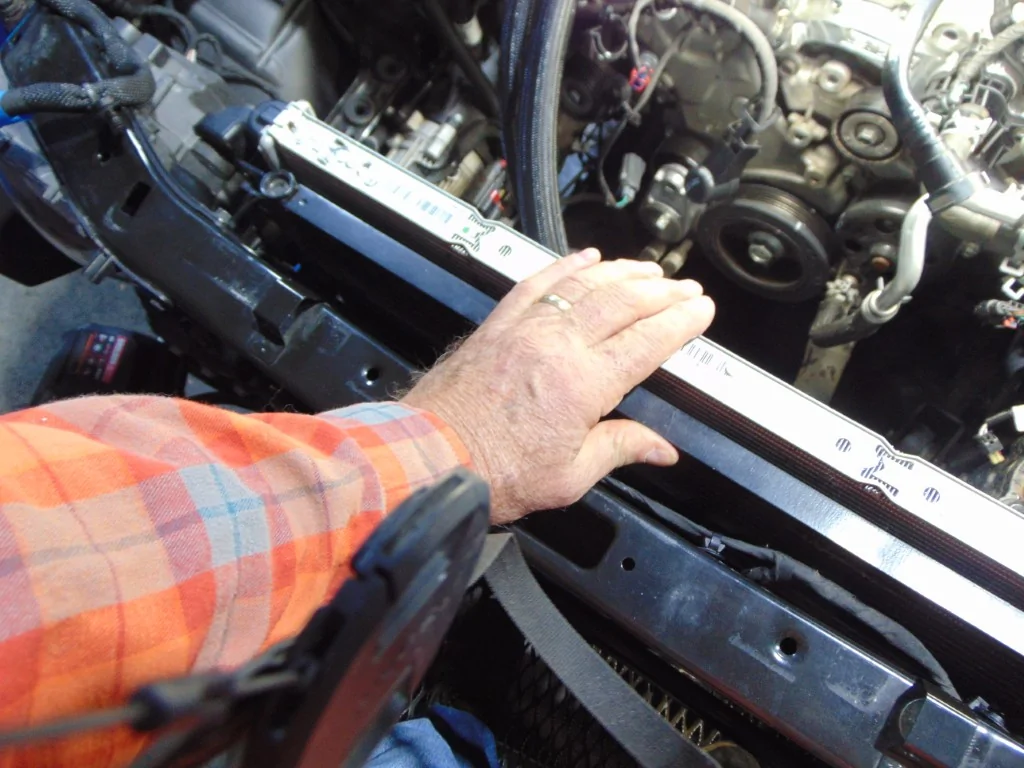
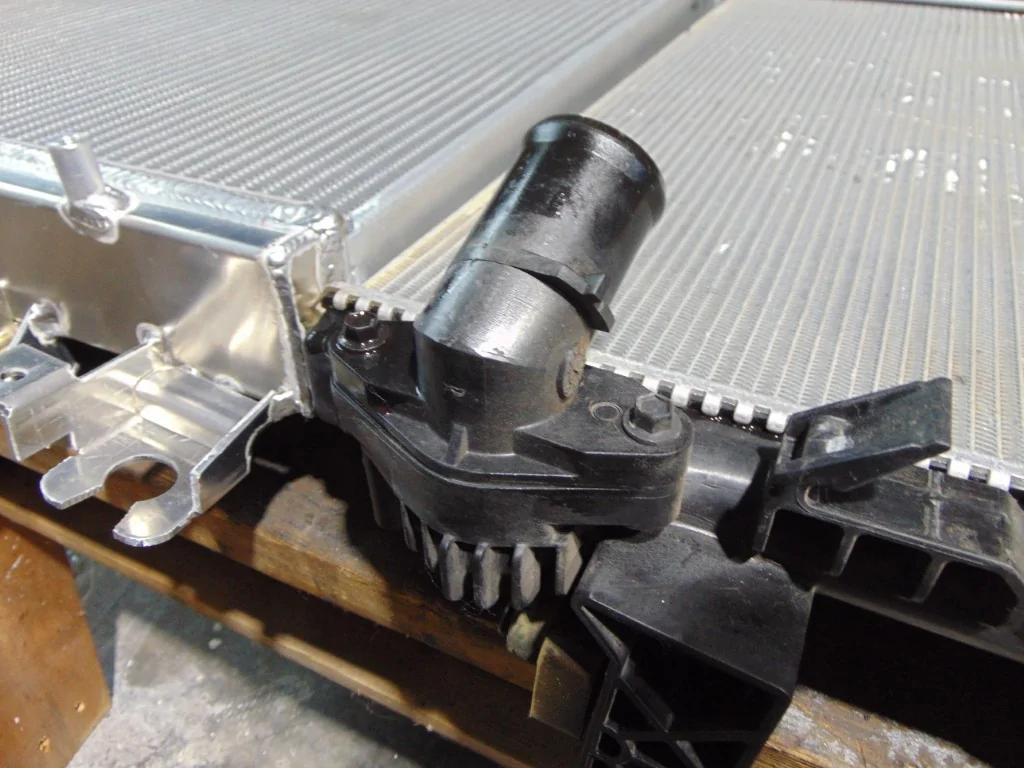
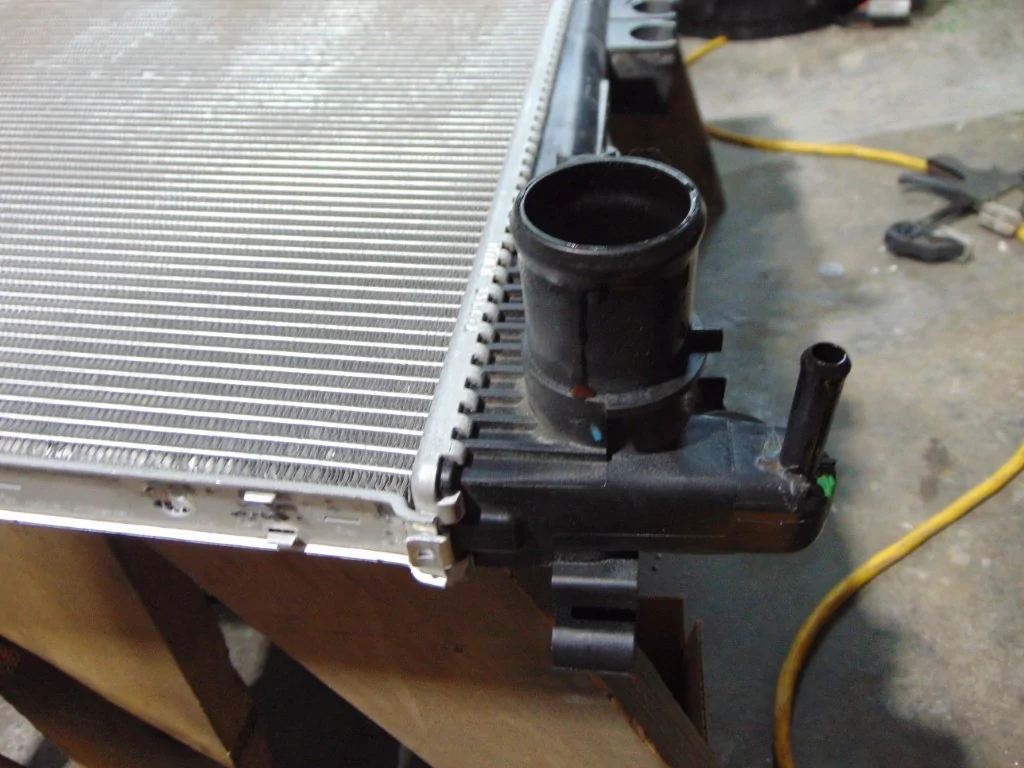
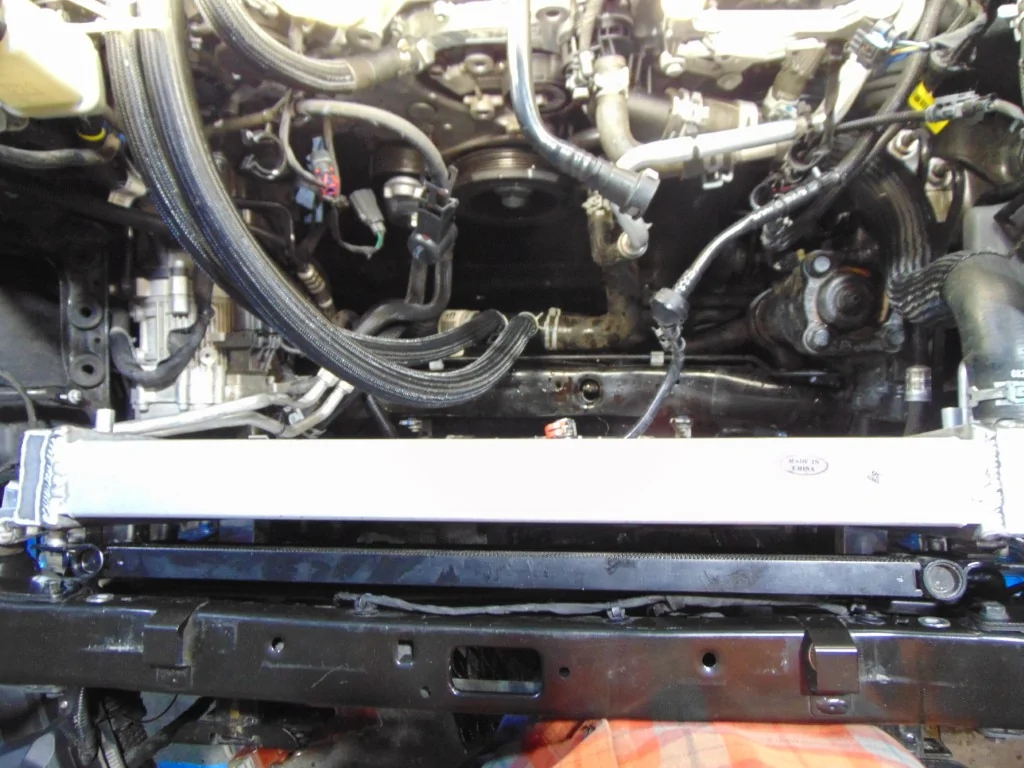
Yep, finally getting to the radiator. The stocker has those hard lines on either side screwed to the radiator, and the only easy way to gain access is through the headlight opening. So, yeah, the disassembly continues...
Well, apparently, the radiator bone is connected to the headlight bone!
Yep, finally getting to the radiator. The stocker has those hard lines on either side screwed to the radiator, and the only easy way to gain access is through the headlight opening. So, yeah, the disassembly continues...

OP
OP
Flyin6
Well-Known Member
- Thread starter
- #610
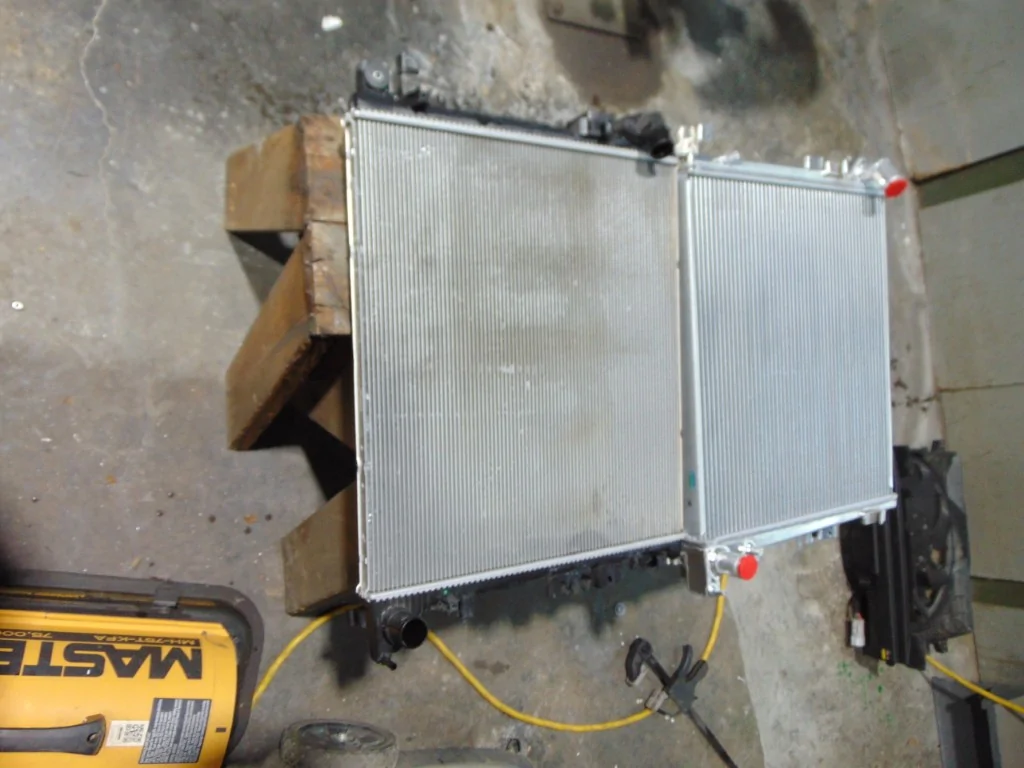
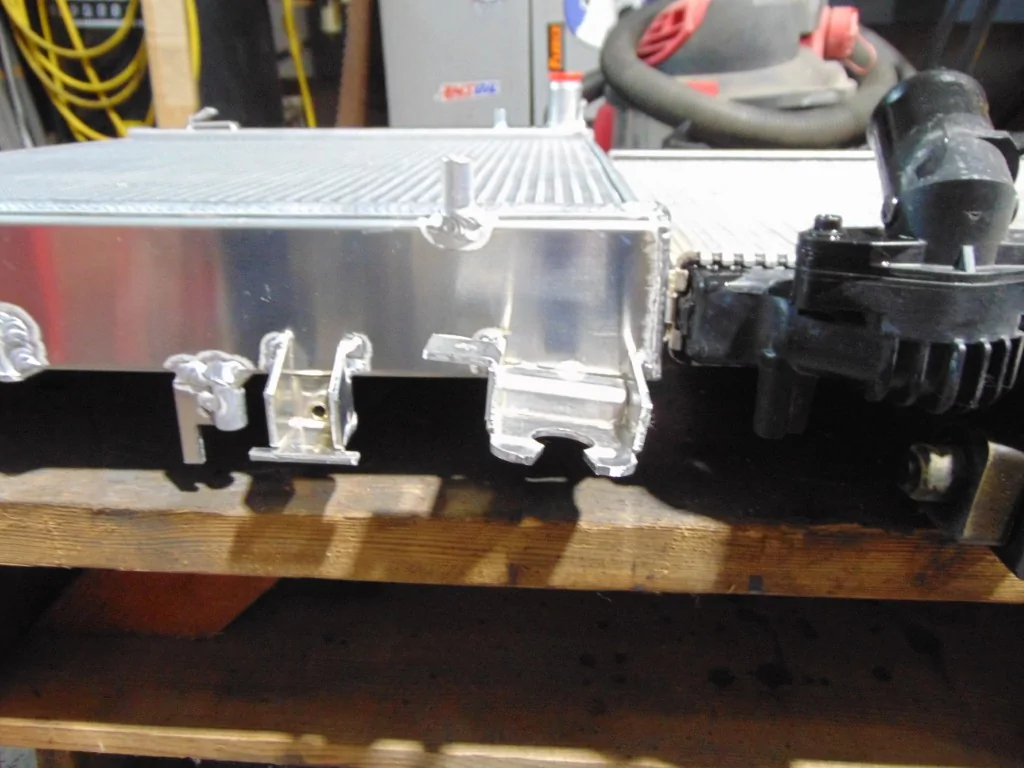
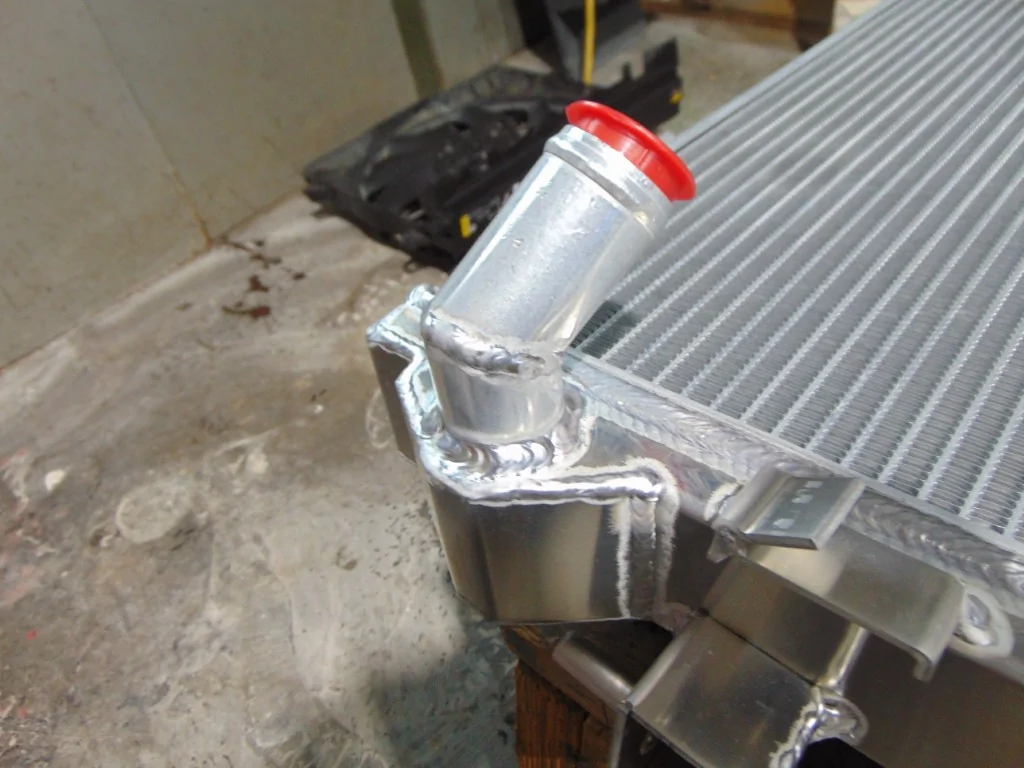
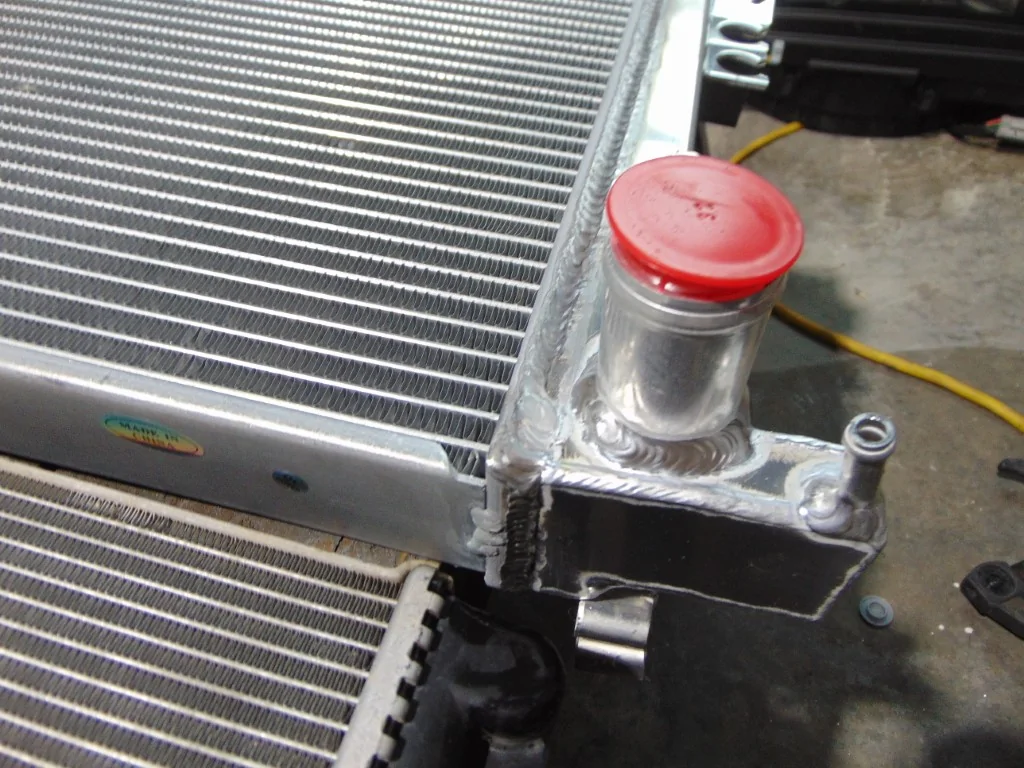
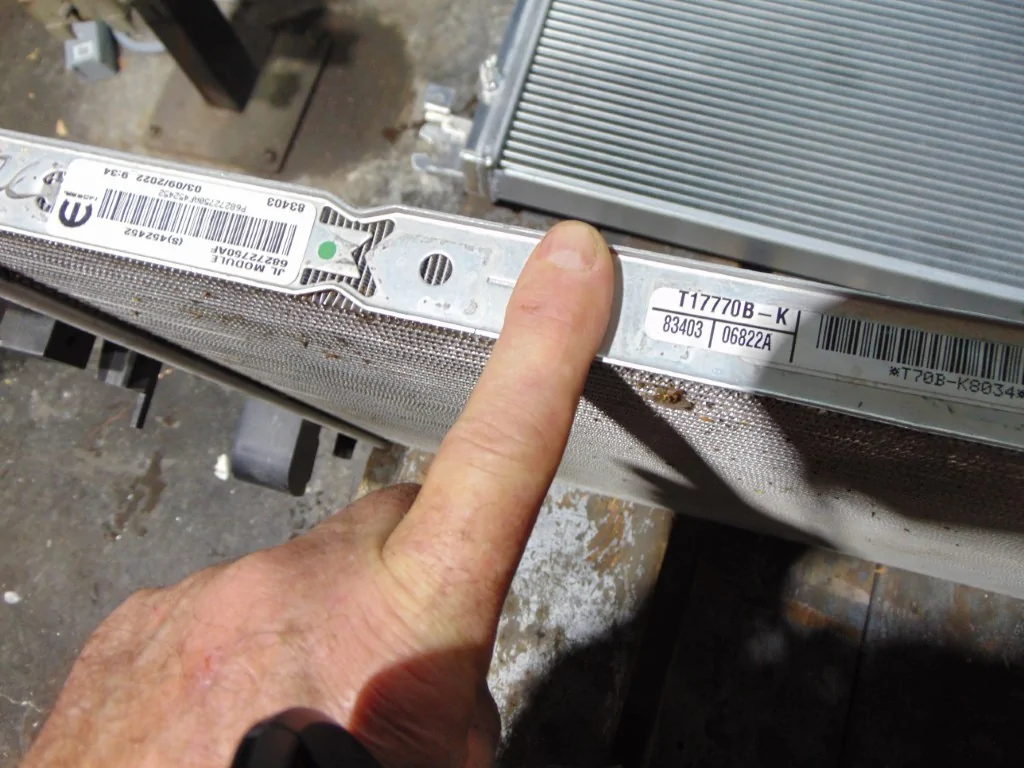
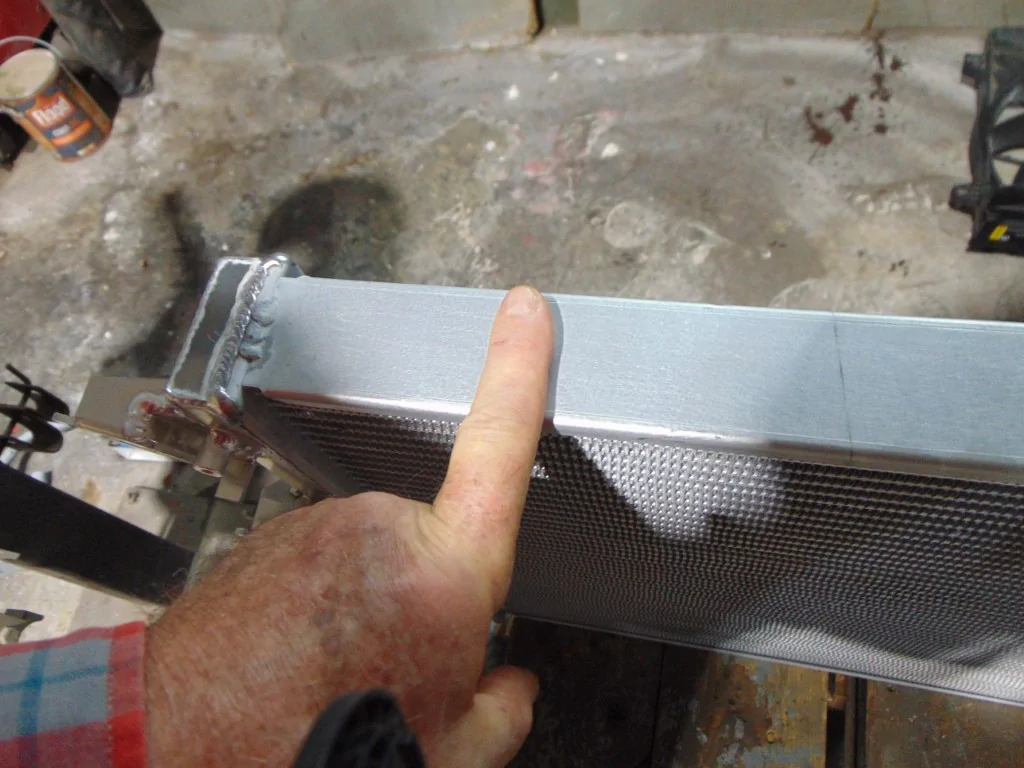
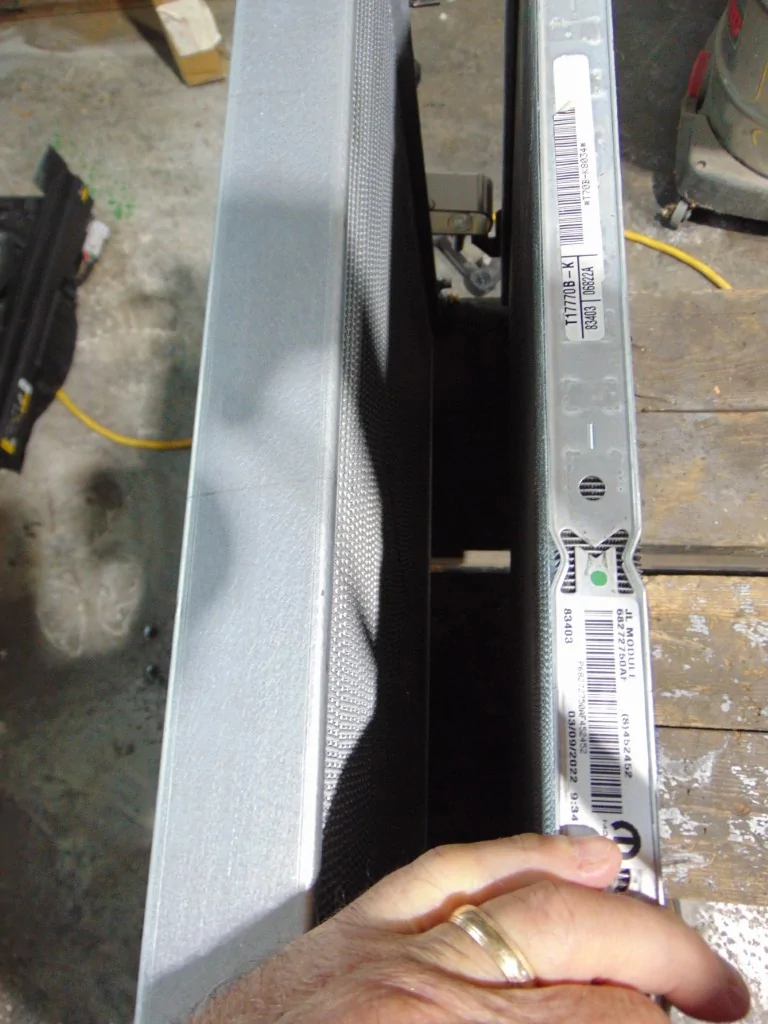
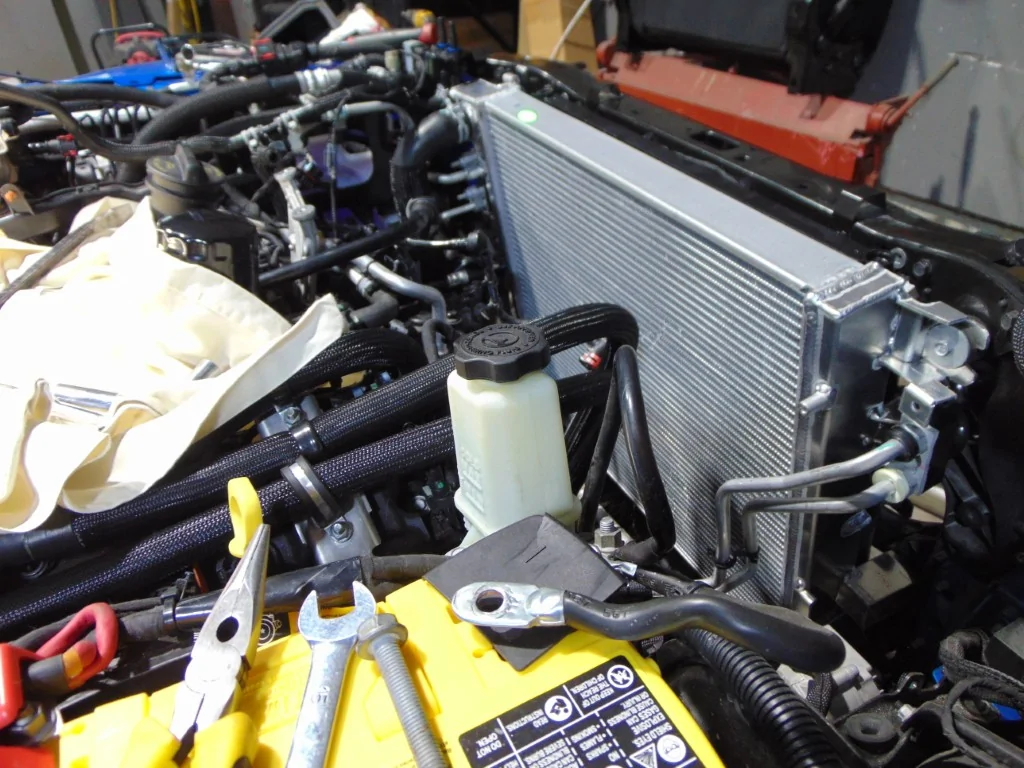
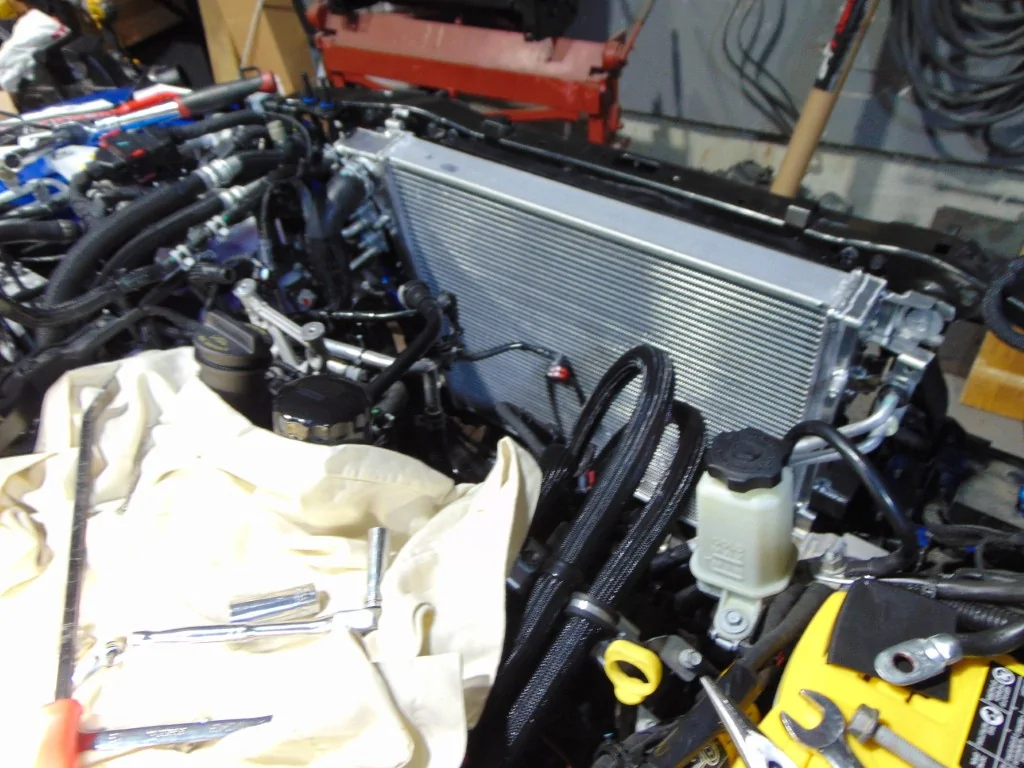
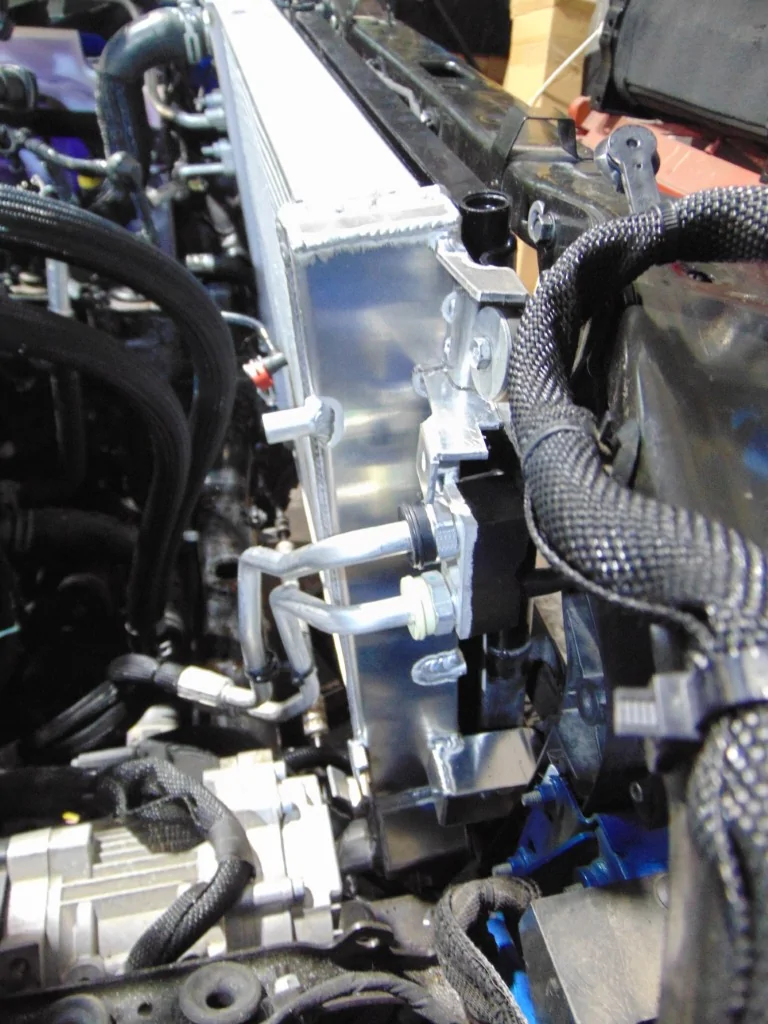
Let's compare the stock radiator with the 3-row aluminum radiators; there are a bunch of differences.
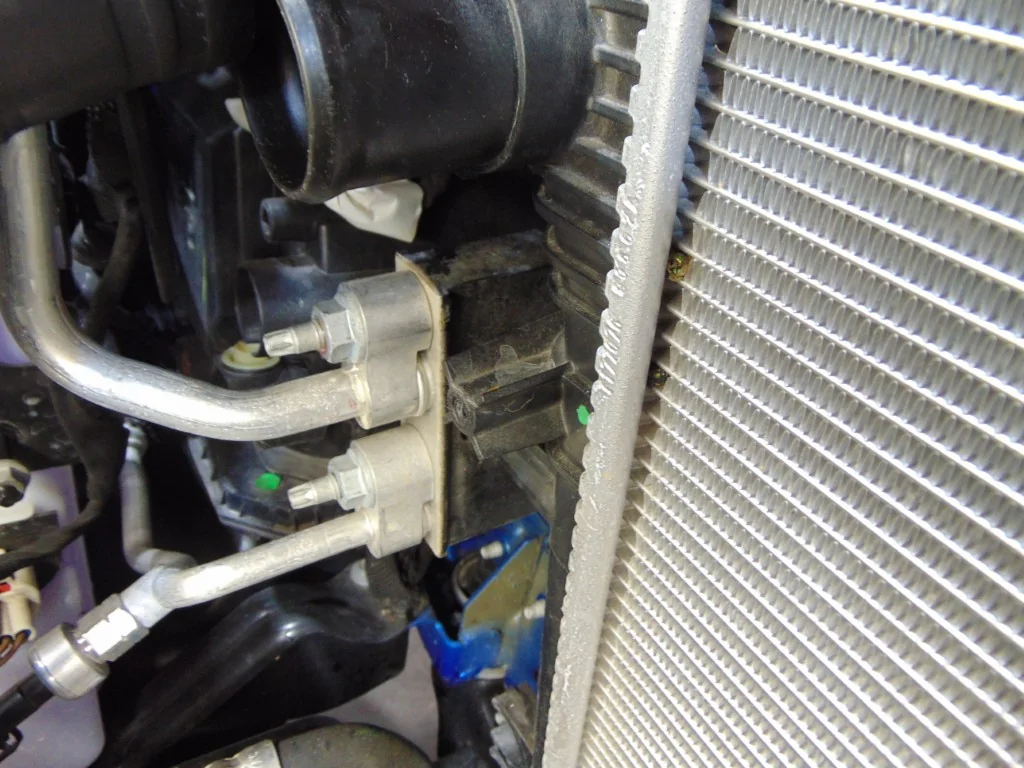
The Aluminum radiator is about twice the thickness. It has welded-on inlet and outlet pipes, and a brass vs. plastic drain petcock. The aluminum feels solid and robust, whereas the stocker feels a bit "wimpy.
The Aluminum radiator is about twice the thickness. It has welded-on inlet and outlet pipes, and a brass vs. plastic drain petcock. The aluminum feels solid and robust, whereas the stocker feels a bit "wimpy.
Sponsored
OP
OP
Flyin6
Well-Known Member
- Thread starter
- #614
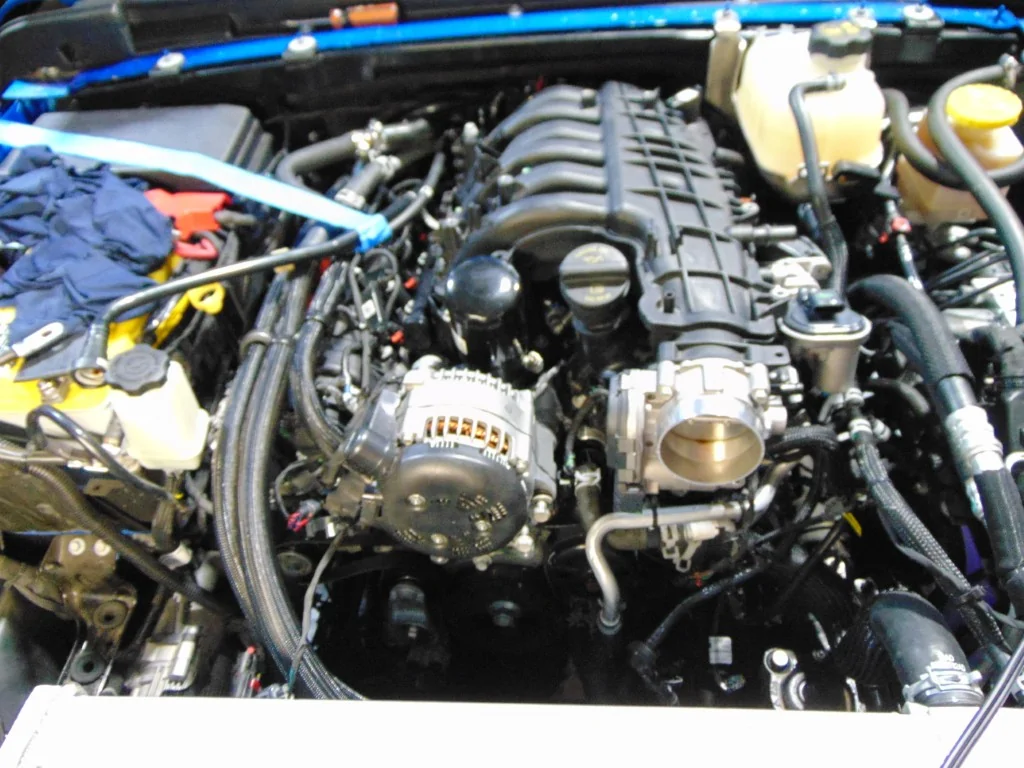
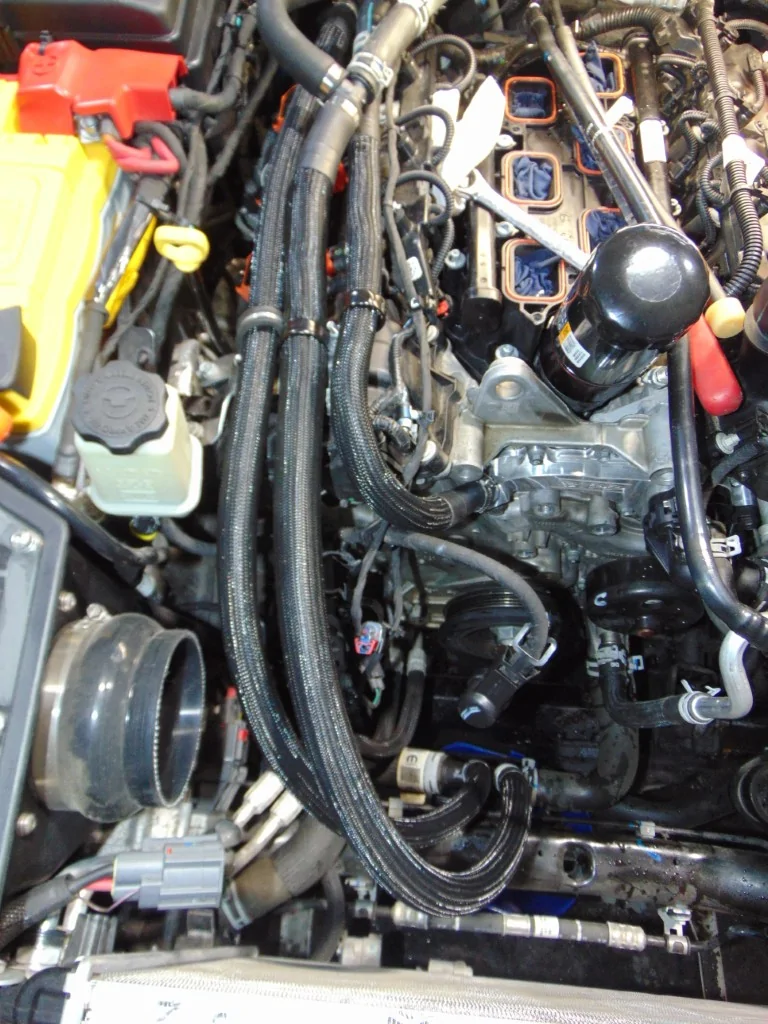
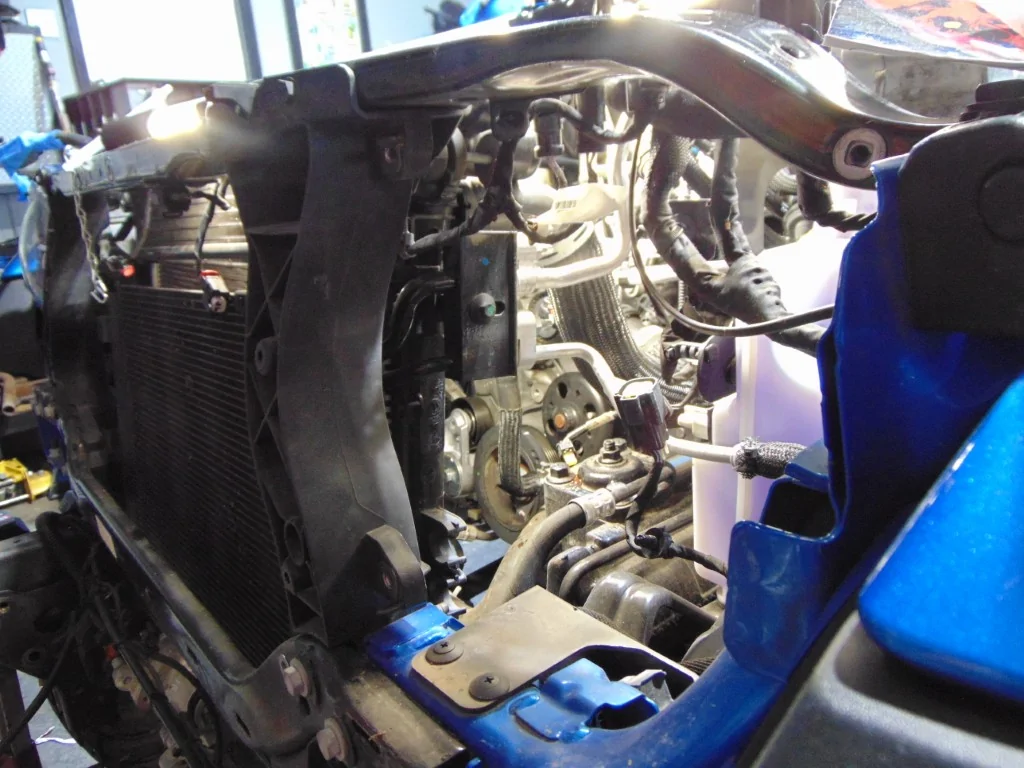
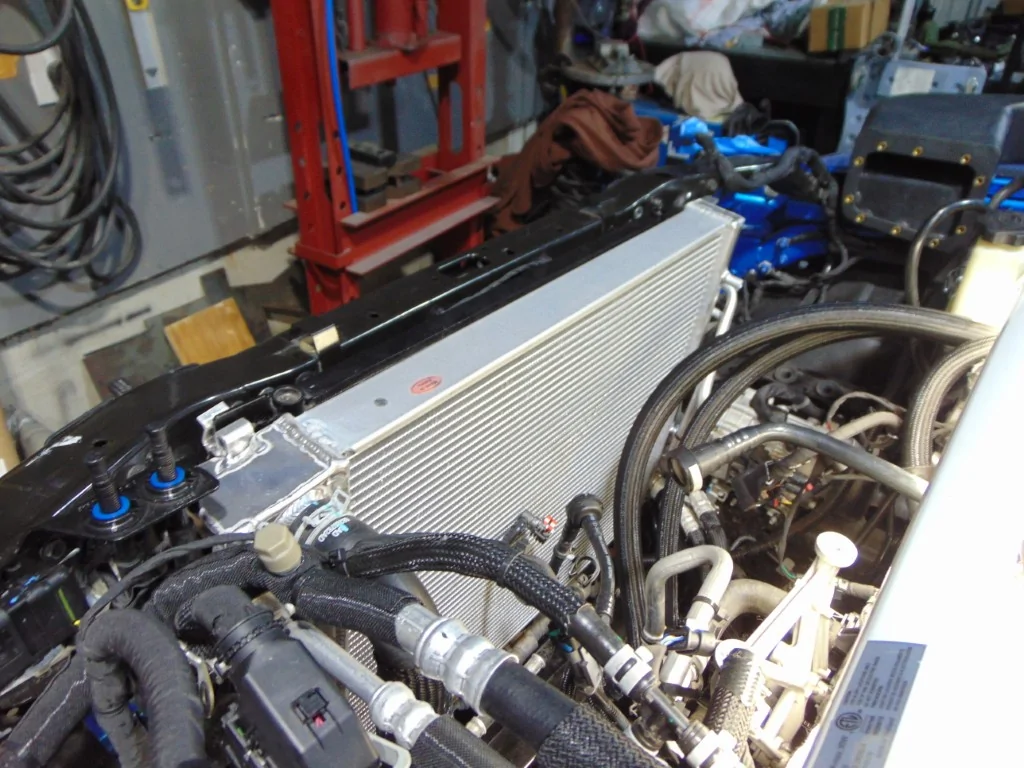
Intake is back on, and this thing is starting to look like a motor again!
Before reinstalling, I cleaned the intake and especially the throttle body with brake cleaner.
Following that, I cleaned the engine bay between the radiator and the engine. I wanted to splash some fresh paint on the steering box. I have the iron unit, which is prone to rust, and it has been submerged now, in several states!