EWP
Well-Known Member
- Thread starter
- #1
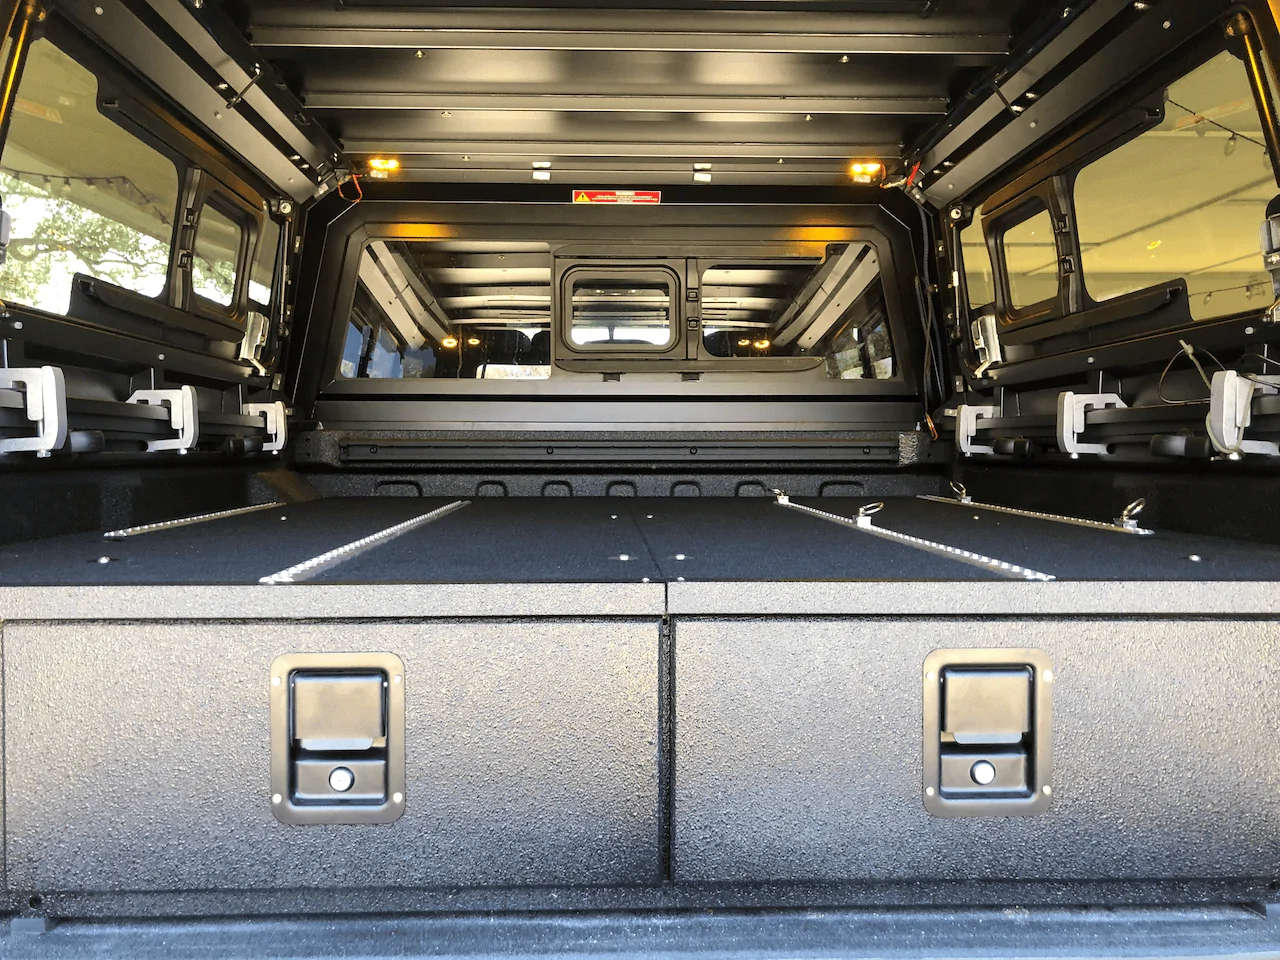
After getting my RSI Smartcap installed I decided to go the route of building some drawers for the bed. There were several factors driving the decision to build my own versus purchasing something off the shelf. One, I like to do stuff myself
 . Two, I wanted to be able to easily remove the drawers if necessary. Three, I like to do stuff myself
 .
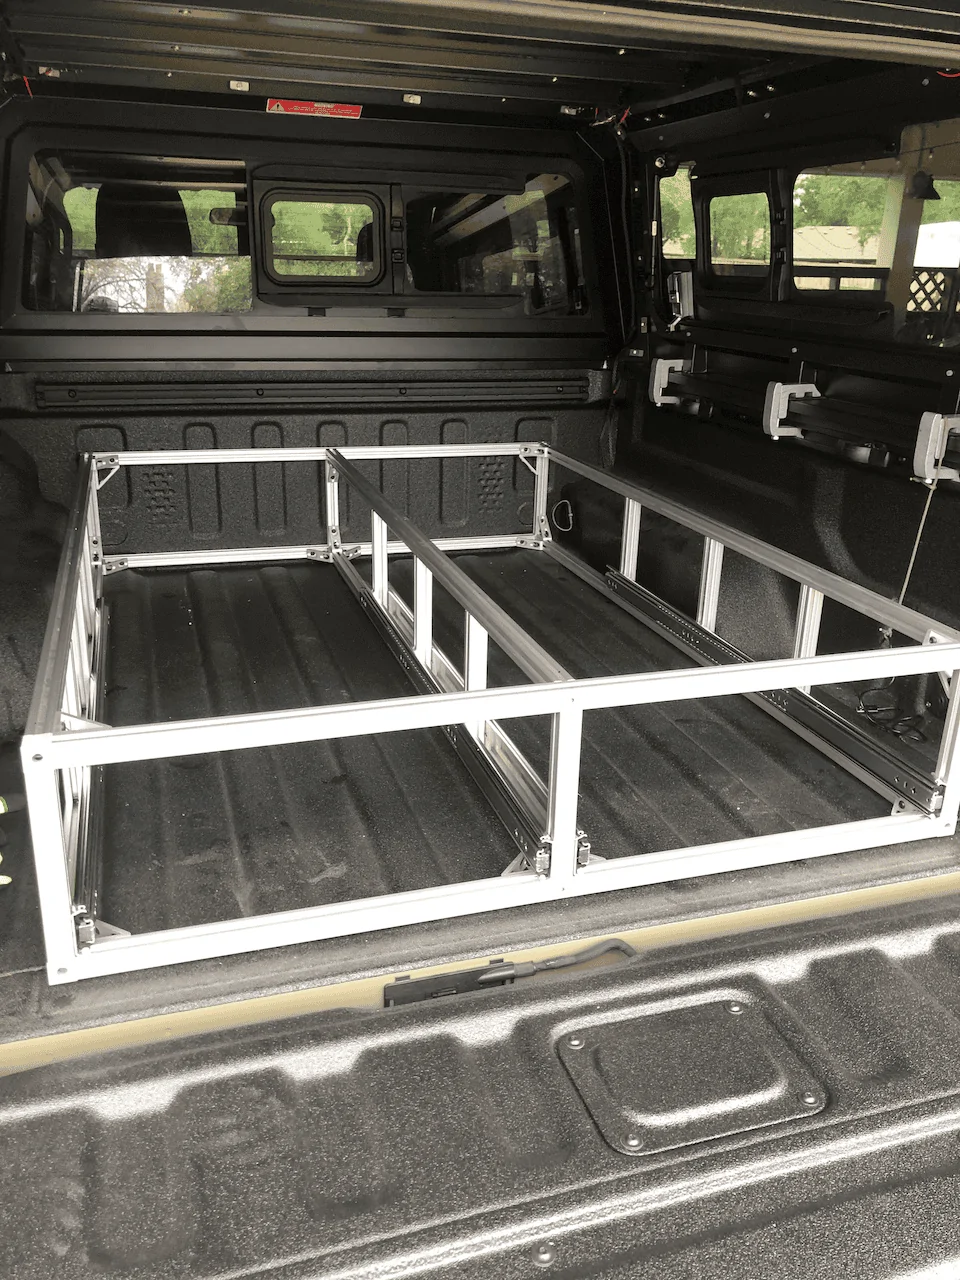
.So I hit the net and started searching. Fortunately there are tons of examples on other boards where folks detailed a drawer build of one kind or another. Examples run the gamut from a few sheets of plywood and 2x4s to fully welded frames and the like. I chose to build a space frame from extruded aluminum bits readily available online and use plywood for the top and drawers.
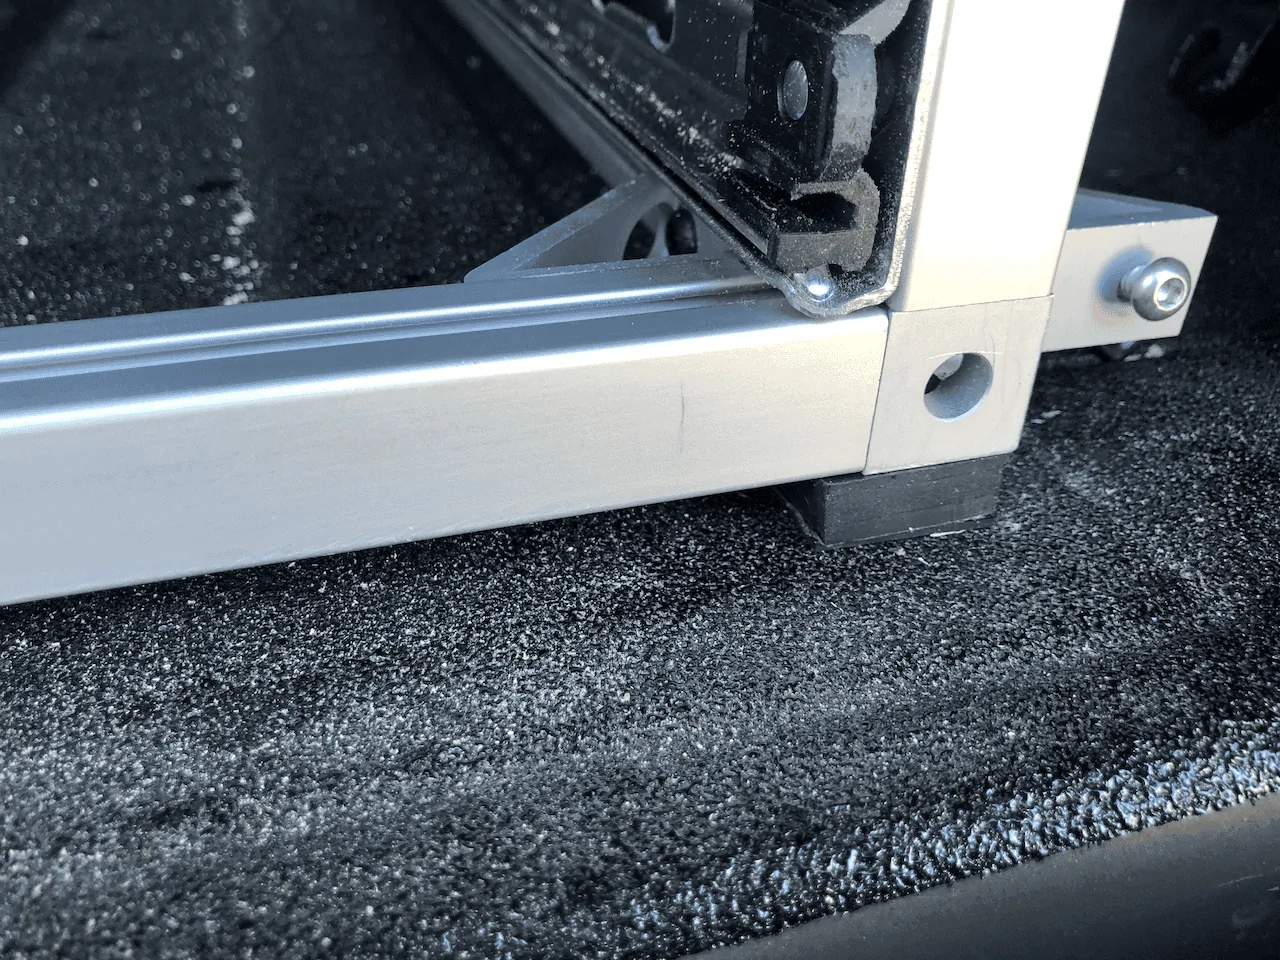
The space frame was built from bits purchased from Tnutz.com. I drew up my design and had them cut all the extrusions to the proper lengths. I have an old chop saw but it was a much better decision to let them do the cutting. I saved a few bucks by tapping all the ends to 1/4-20 threads myself. In hindsight I probably didn't need as many corner gussets as I used but what do I know; I'm not an engineer.
The drawer slides were purchased off Amazon and I made a design compromise on these. I could have used full 56" 500lb locking drawer slides so I would be able to stand in the extended drawers. There are YouTube videos of others doing the like. Those slides would have been about $400+ for two pair. At about half the cost were 40" 200lb slides. This meant that 1) I can't stand in my drawers and 2) The drawers only extend out 40" with the depth of my design being 56". Considering cost and weight savings, these were acceptable compromises. The last 16" of drawer space is where I plan to stuff things I don't use often.
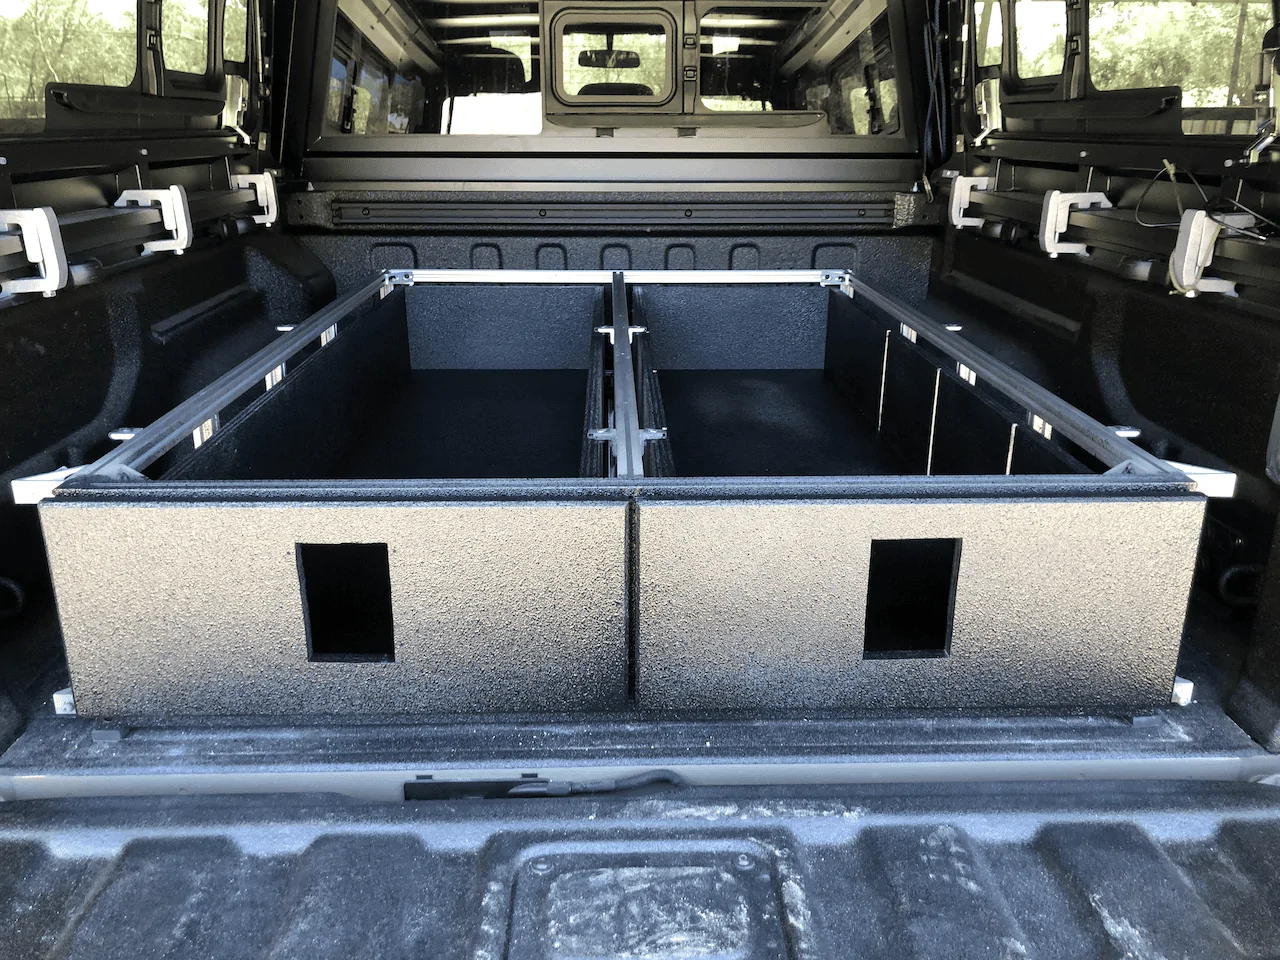
Here's the completed space frame with drawer slides installed.
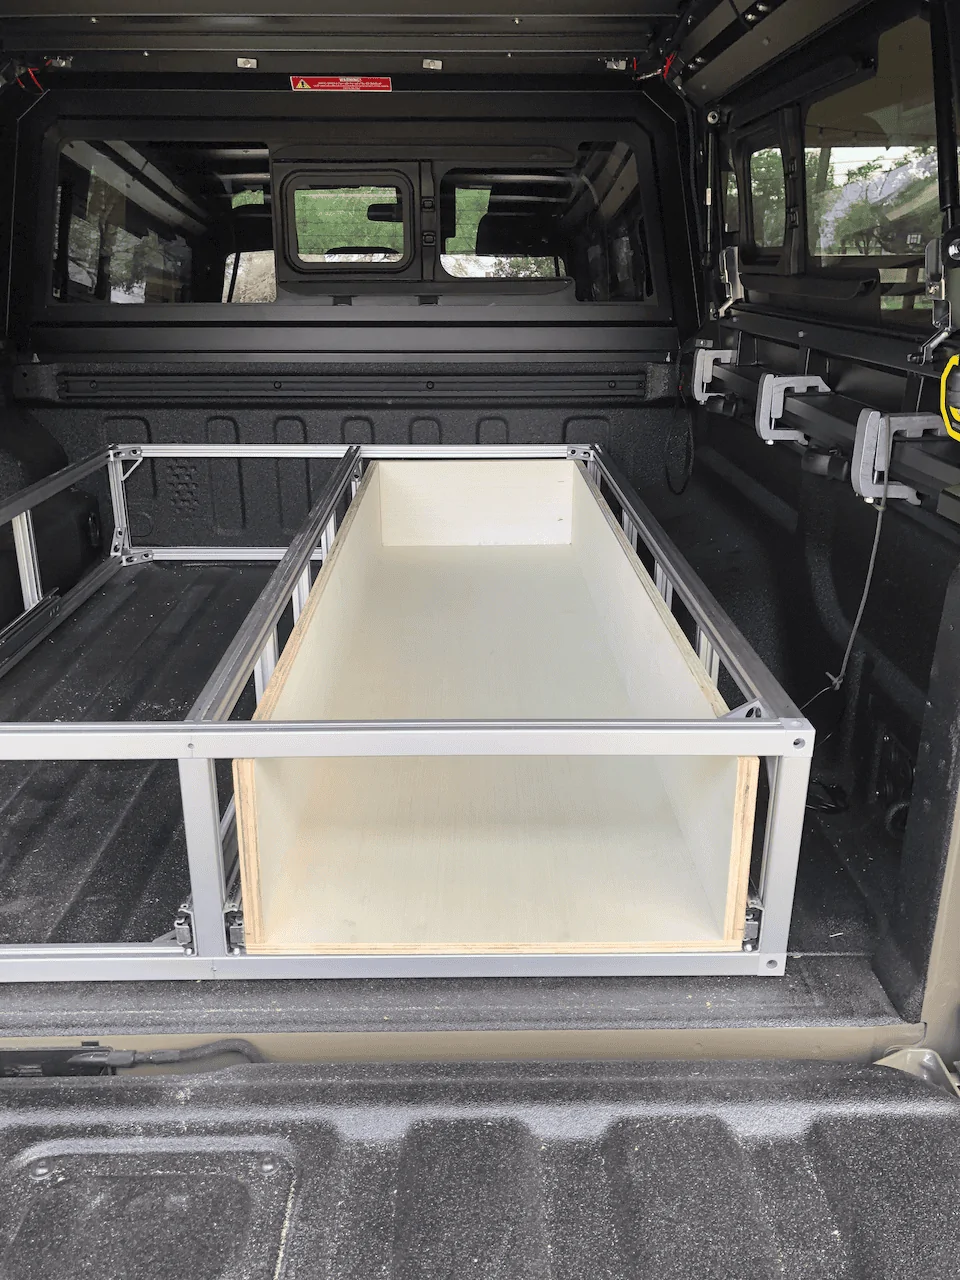
With the frame complete, I built basic drawers from 3/4 plywood. The image is of my first try using some garbage plywood from Lowes. I ended up rebuilding them with some oak plywood using the same design. If there were a nearby option to get some Baltic Birch I would have used that instead.
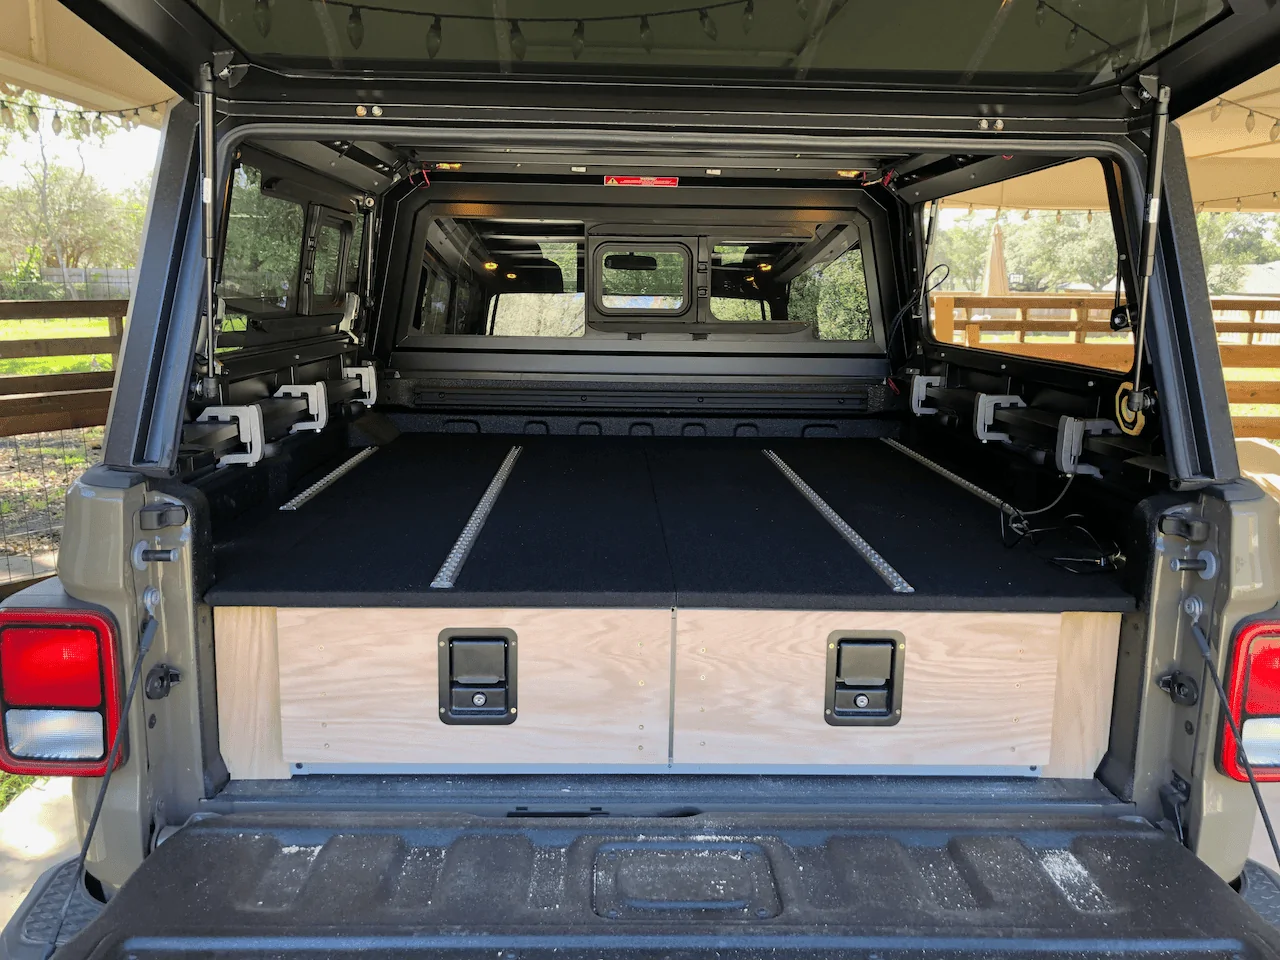
Next I used the same oak plywood to cut two sections for the tops. I used a cardboard template and jigsaw to match the bed contours reasonably closely. I also added a few cutouts to access the space on the sides of the drawers. Many examples I saw used hinged wings to access all the space on the sides. I decided to forgo this option since I wanted to run tie down tracks on top for a fridge etc. In retrospect, I should have made the cutouts a little larger so that I could drop my Jackery battery down the hole if desired. The space on top of the wheel wells is essentially unreachable though it is minimal. If I find later that I want access to that space I'll add a few more cutouts. Here's the basic look with the tops in place and a preliminary location for the cargo tracks. I later recessed these into the plywood using a router.
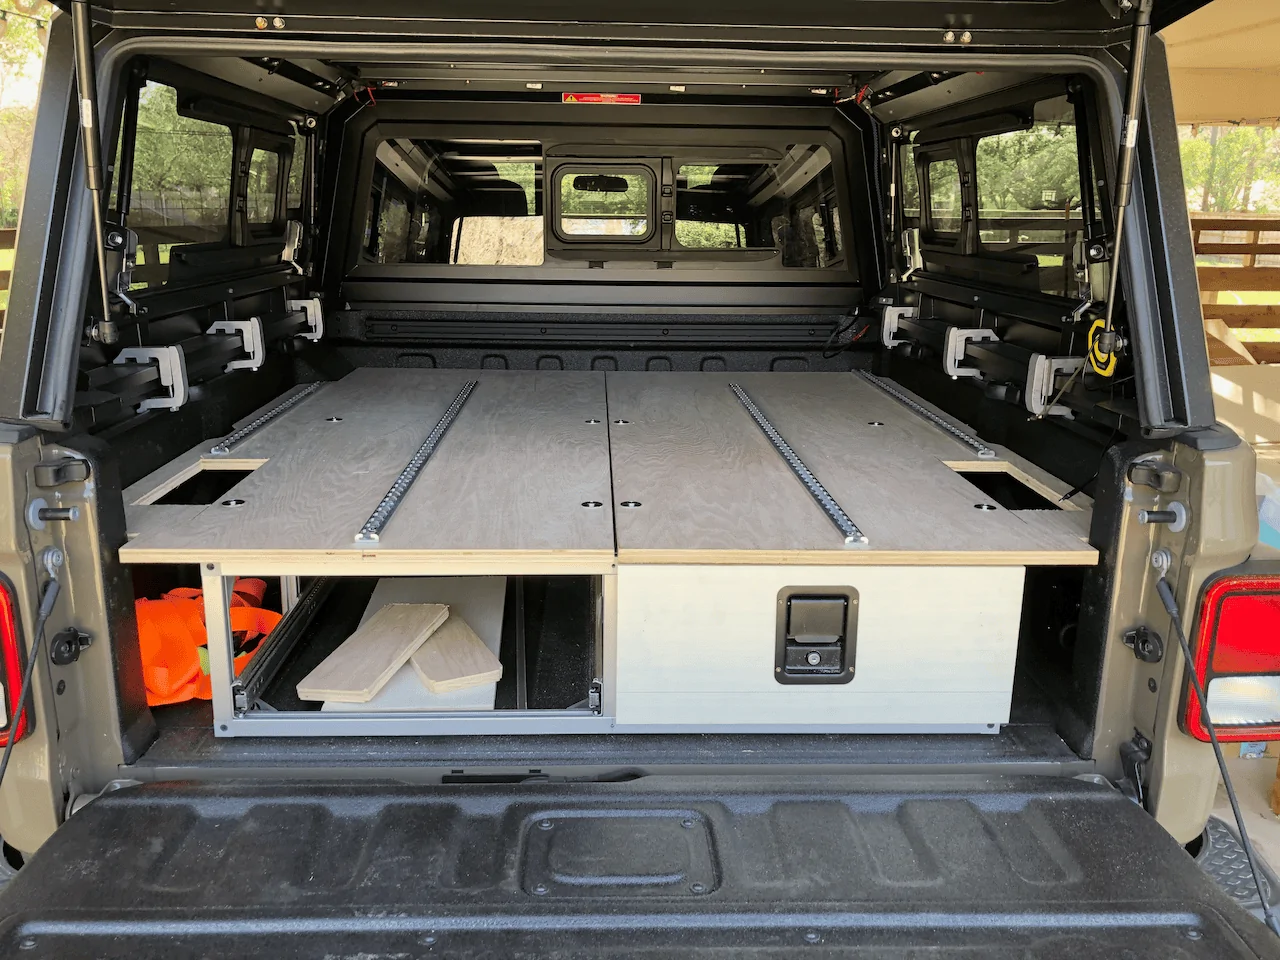
I used some 3M adhesive to attach speaker enclosure material to the top. I chose this instead of carpet since it will not fray or unravel. Time will tell how durable it is.
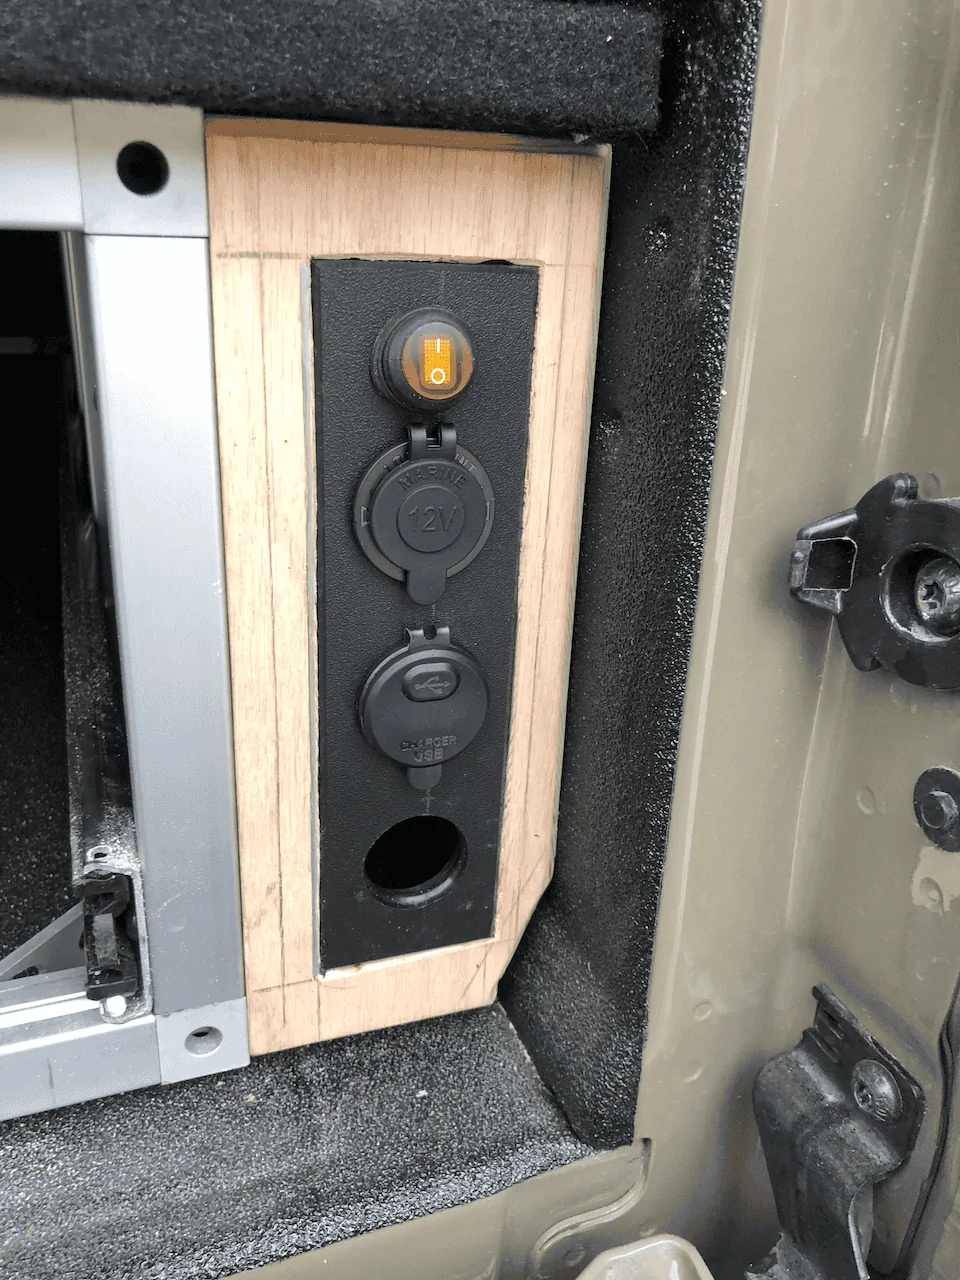
I used the right wing panel to provide auxiliary DC access. The panel is connected to a cigarette lighter plug that goes into my DIY electric panel in the bed.
Lastly I decided to cover the drawer fronts and drawer interiors in Raptor bedliner. One bottle of the two part Raptor was not quite enough to cover the drawers completely. It's a bit thin on the interiors and I didn't quite get complete coverage inside. It was relatively easy to spray at 50 psi. In hindsight I would have done it in better light so the thin coverage would have been easier to see.
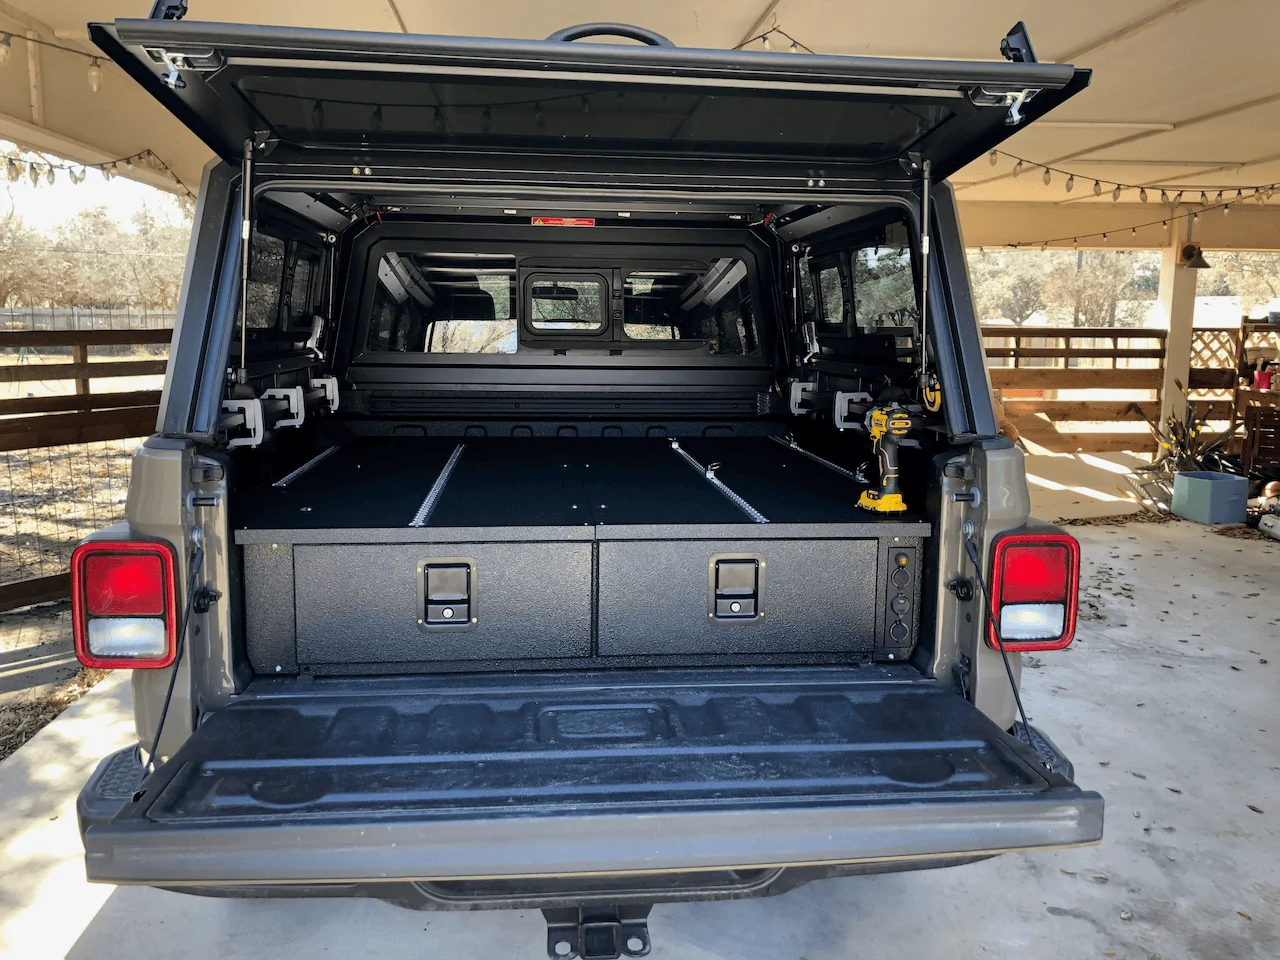
I used locking paddle handles for the drawers and cut a small notch in the extrusions above the drawer centers for them to catch on. The tops are held in place with 4 bolts that are lined up with captive nuts attached to the space frame. This makes installing/removal a snap. Lastly, I glued various thickness pieces of rubber at the lower six contact points with the bed. There are three up front and three in the rear as well as a few on the front of the space frame.
Lastly I added some turnbuckles to the four corners to secure the drawers to the bed as well as some lightweight panels along the sides to prevent anything from sliding into the drawer space from the side pockets.

All done! Installation and removal is just a few minutes should the need arise.
Time lapse of the final install. Time for a cold one!
Sponsored
Last edited:
