Otter155
Active Member
- Joined
- Aug 14, 2019
- Threads
- 1
- Messages
- 40
- Reaction score
- 37
- Location
- Seat of my JT
- Vehicle(s)
- 2020 Punk'n JT, 2007 JKU, 2001 TJ
- Build Thread
- Link
- Thread starter
- #1
Finally using the parts on my build so I figured I would post.
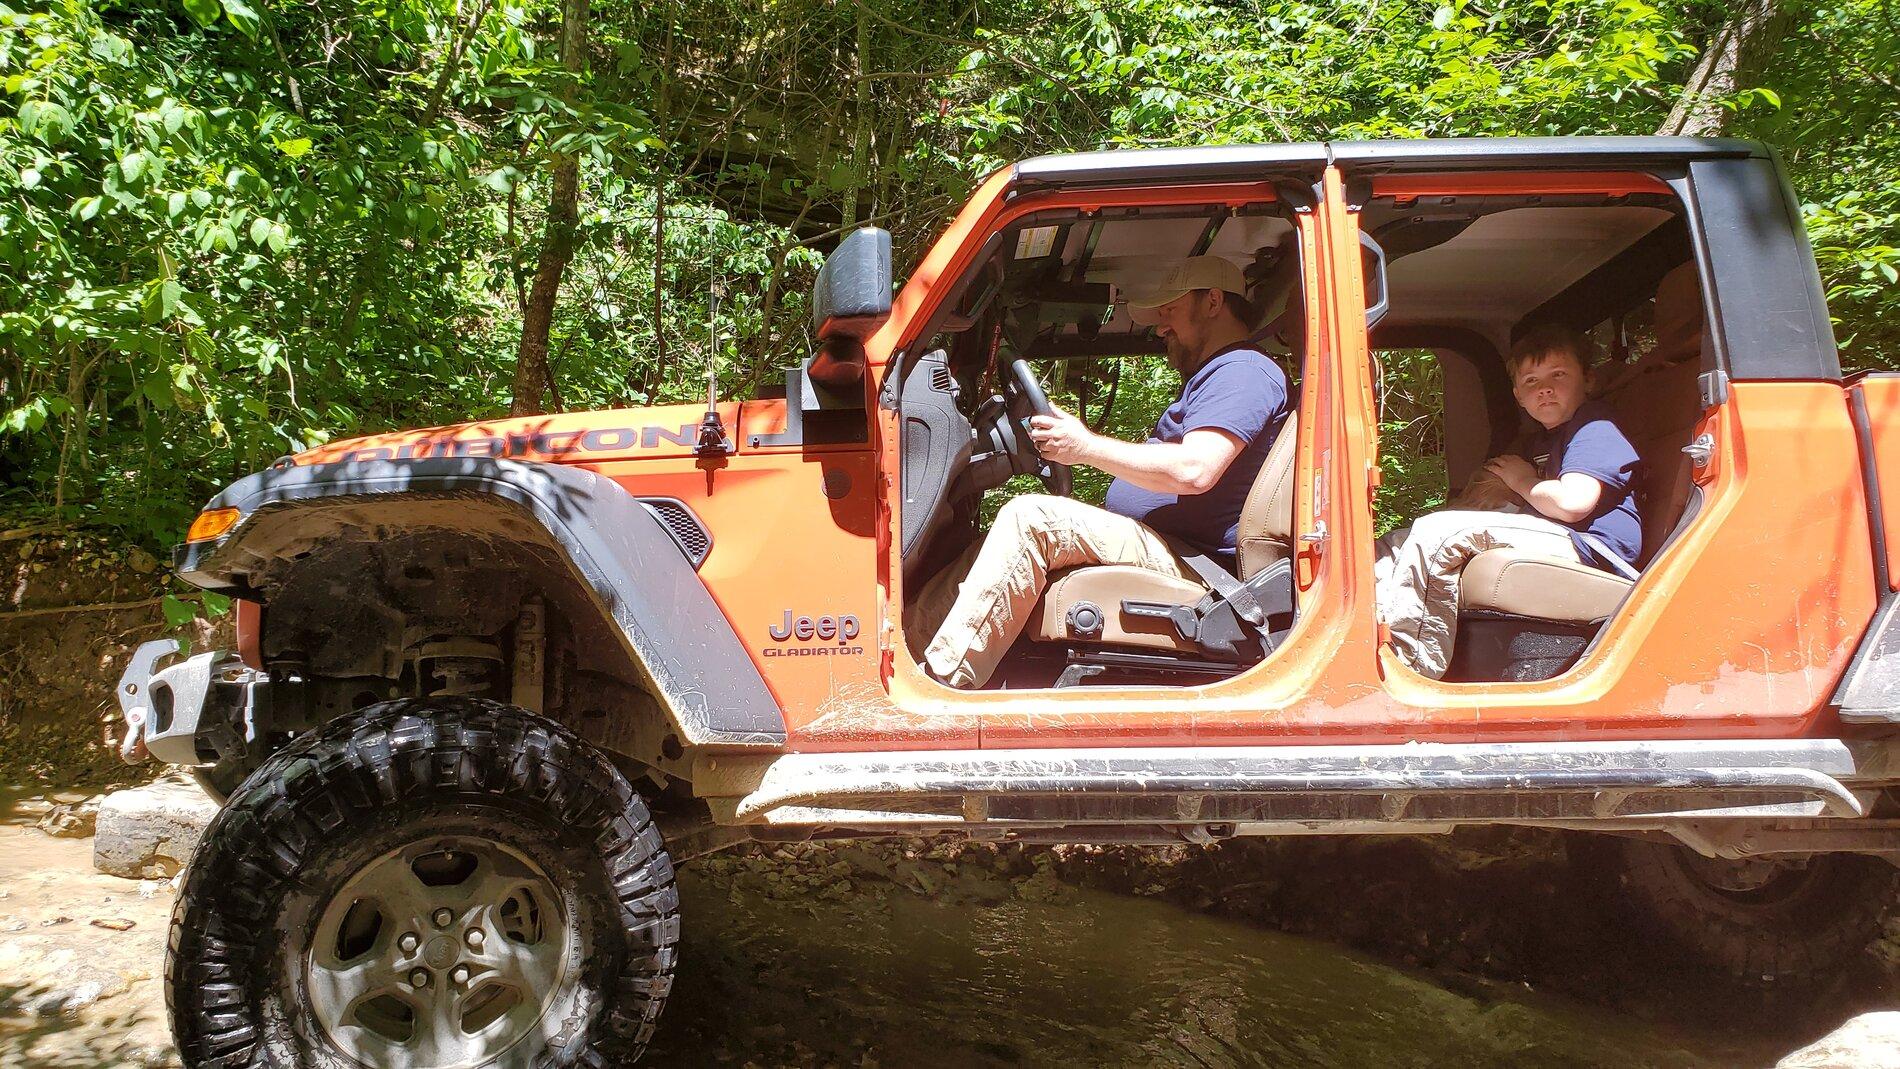
When I got the Gladiator from the dealer, the 2" Mopar lift was installed, with 37" tires. From there I added a few things that I knew I wanted to have as similar from my JKU.
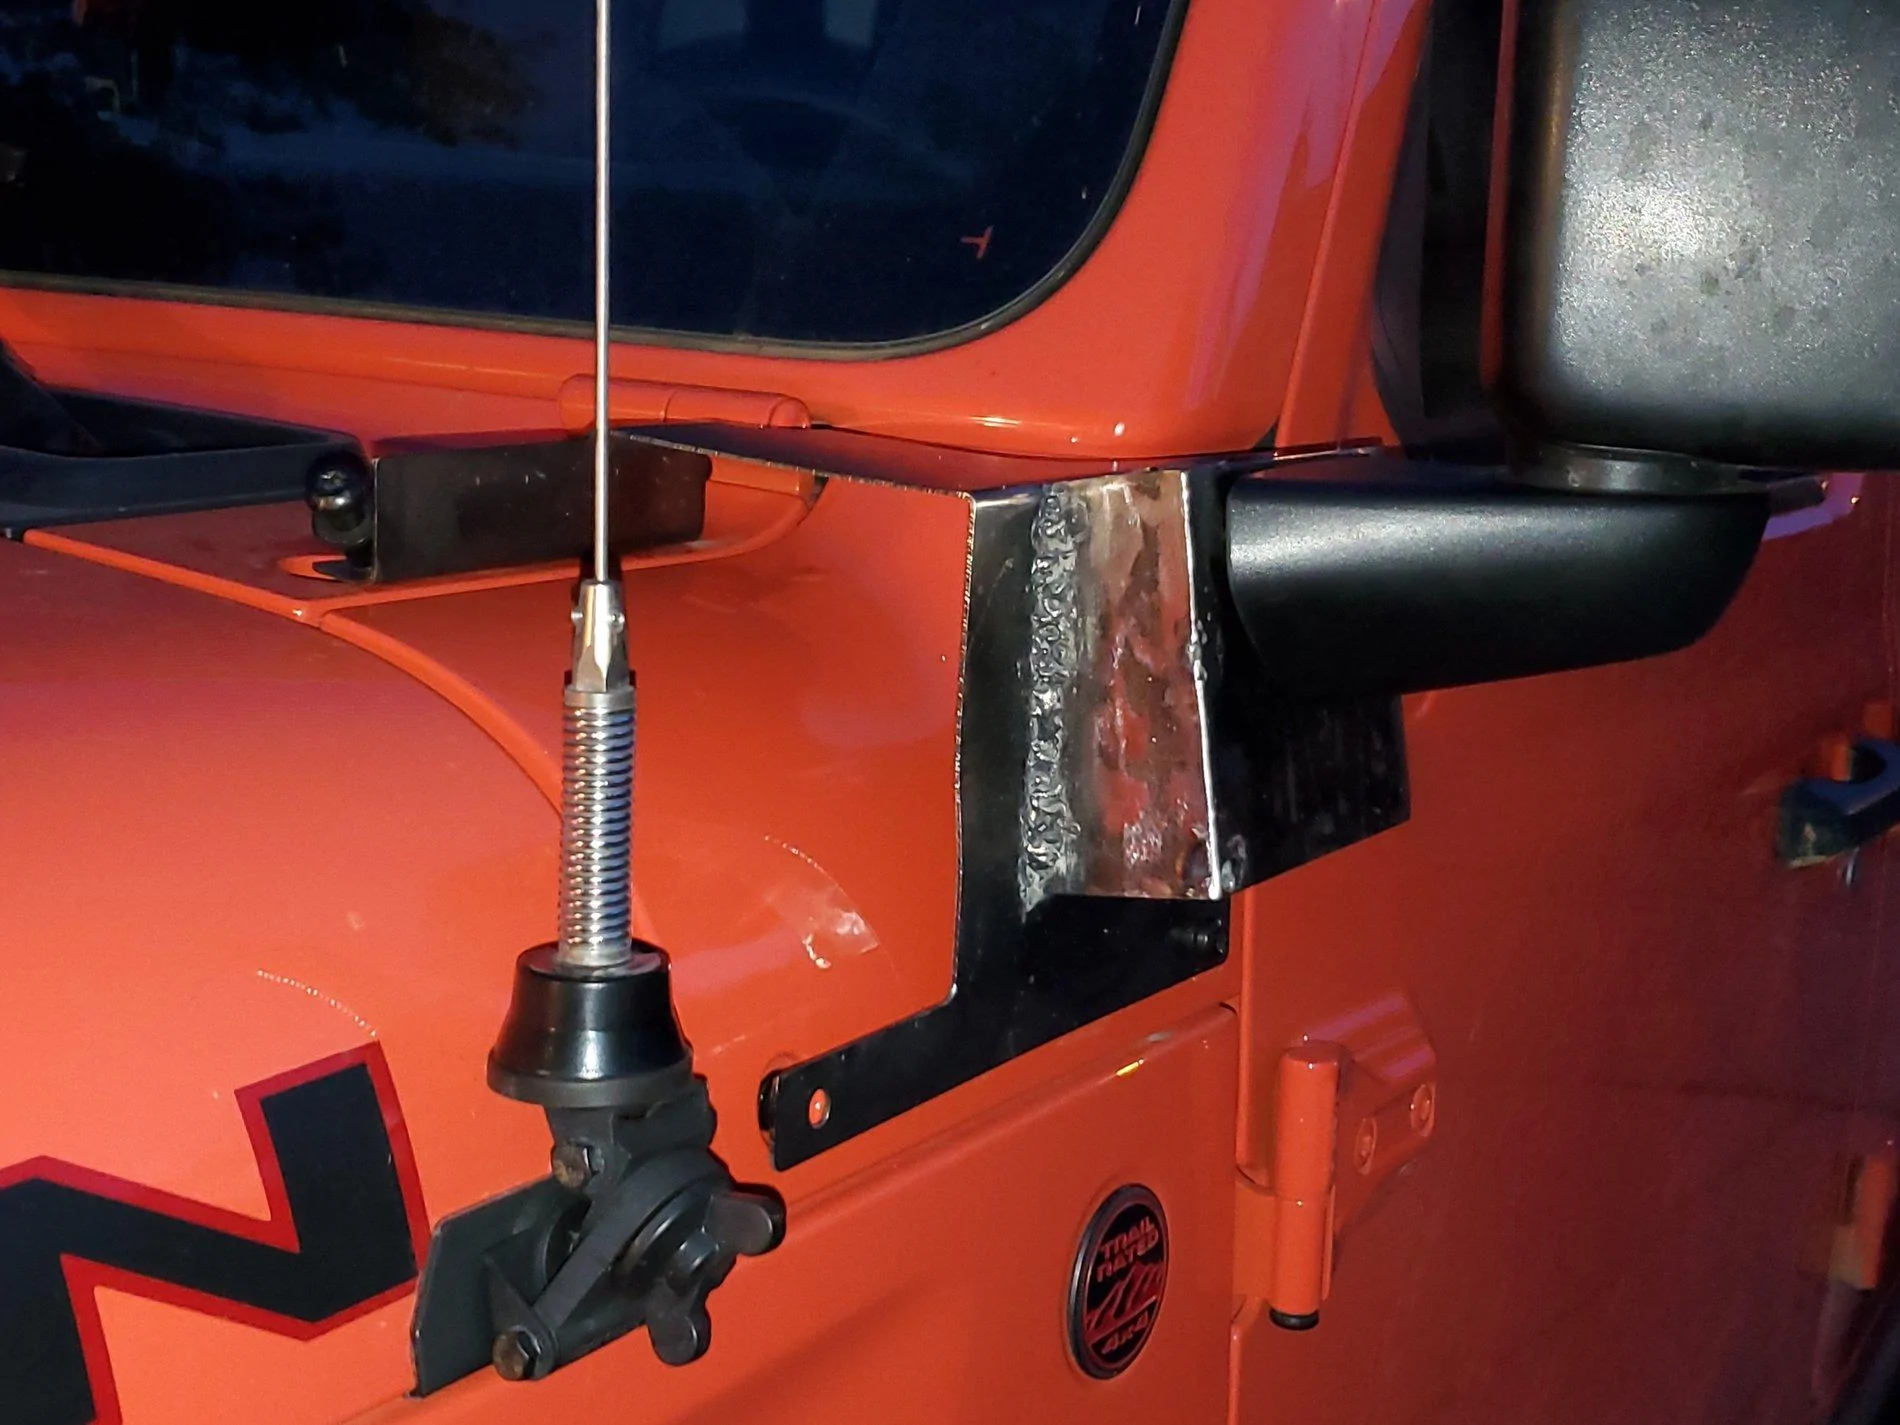
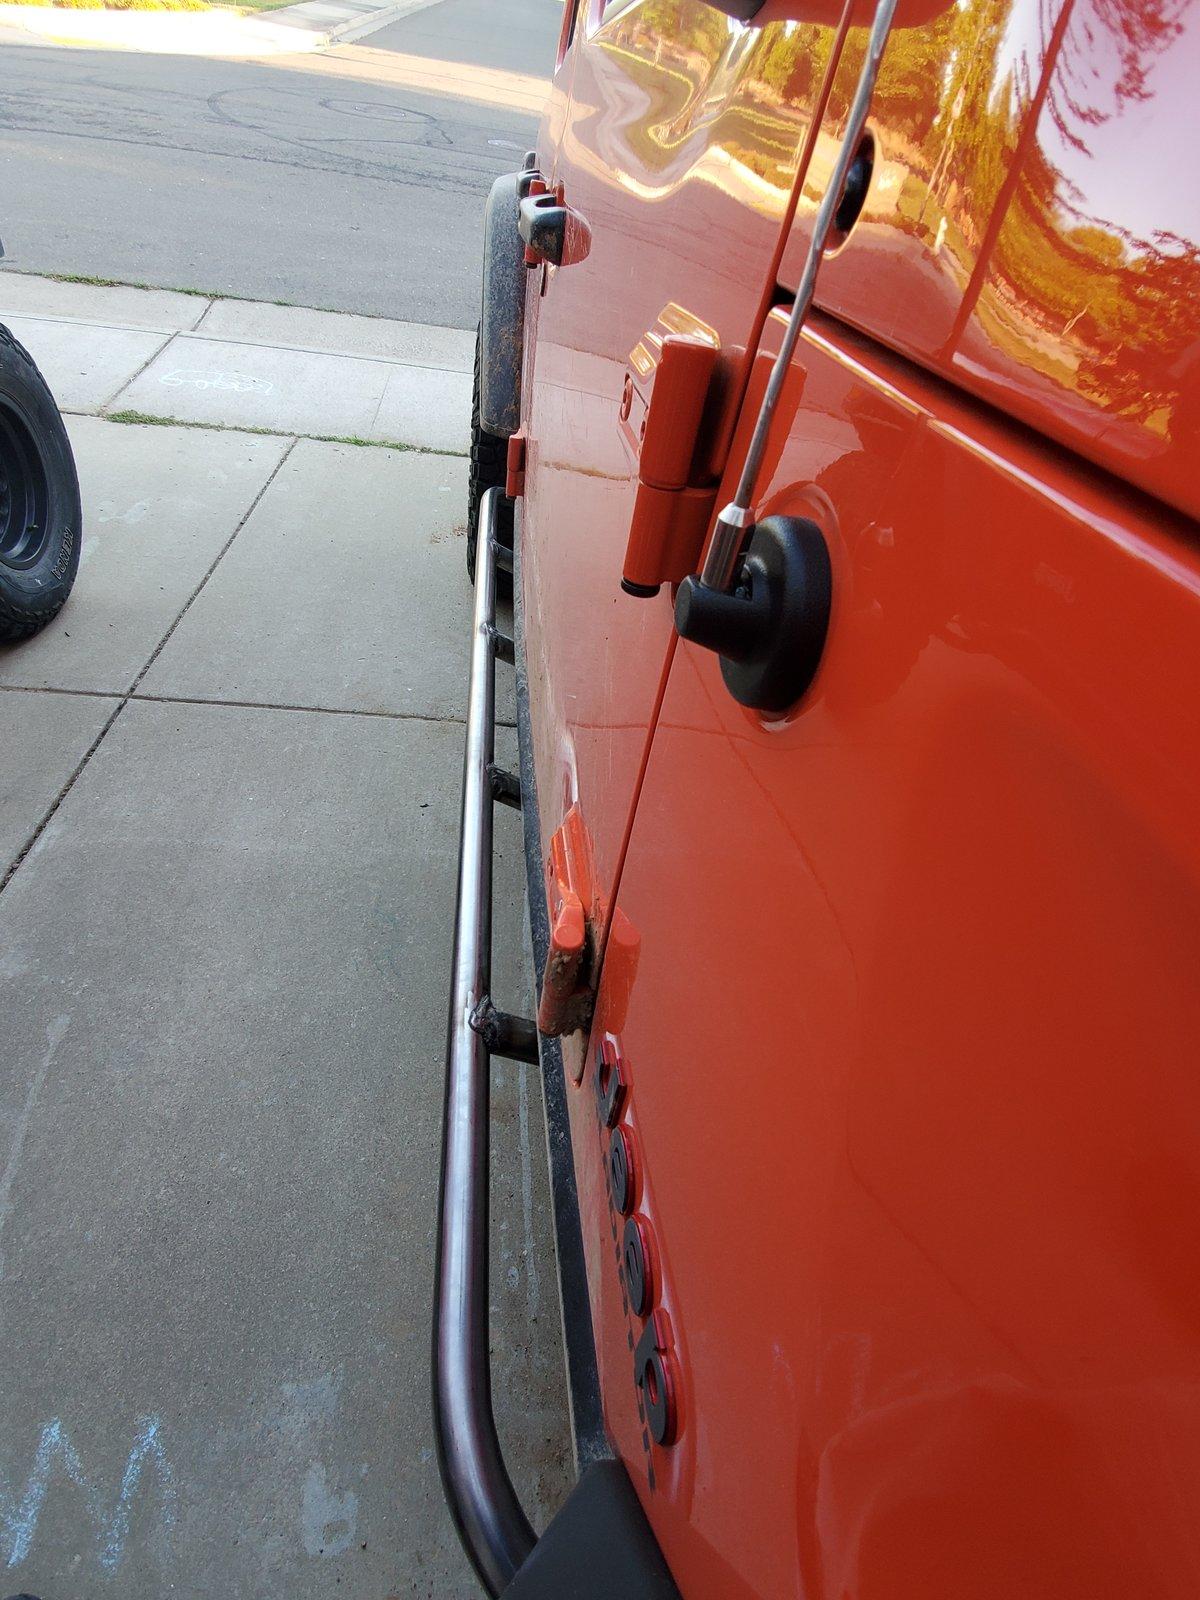
I didn't like any of the mirror solutions for when doors are off, so I fabbed up my own. More to come on these, but eventually I will be re-wiring so the mirrors heat up and move with door buttons, and an extra set of buttons for half doors/no doors.

Just drove 2k miles with these mirror movers on, and have had no issues. The design is such, I can use the top of the bracket for small spot lights.
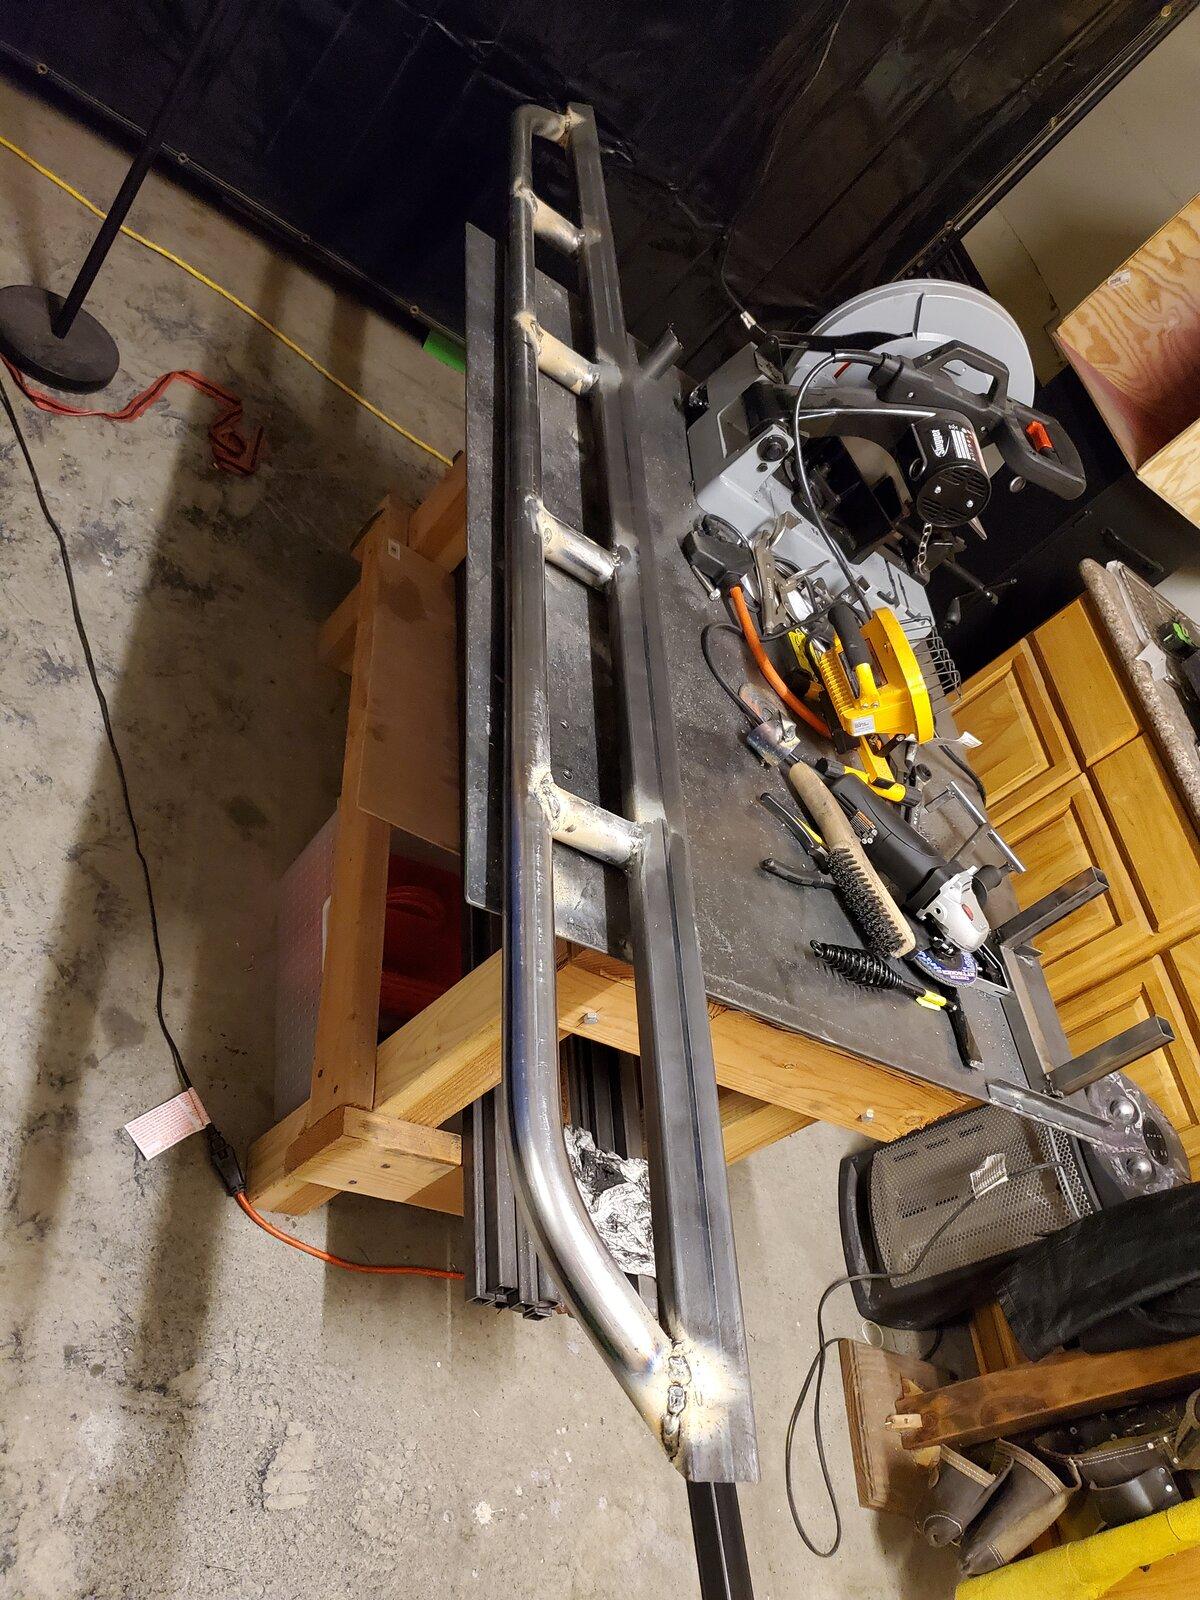
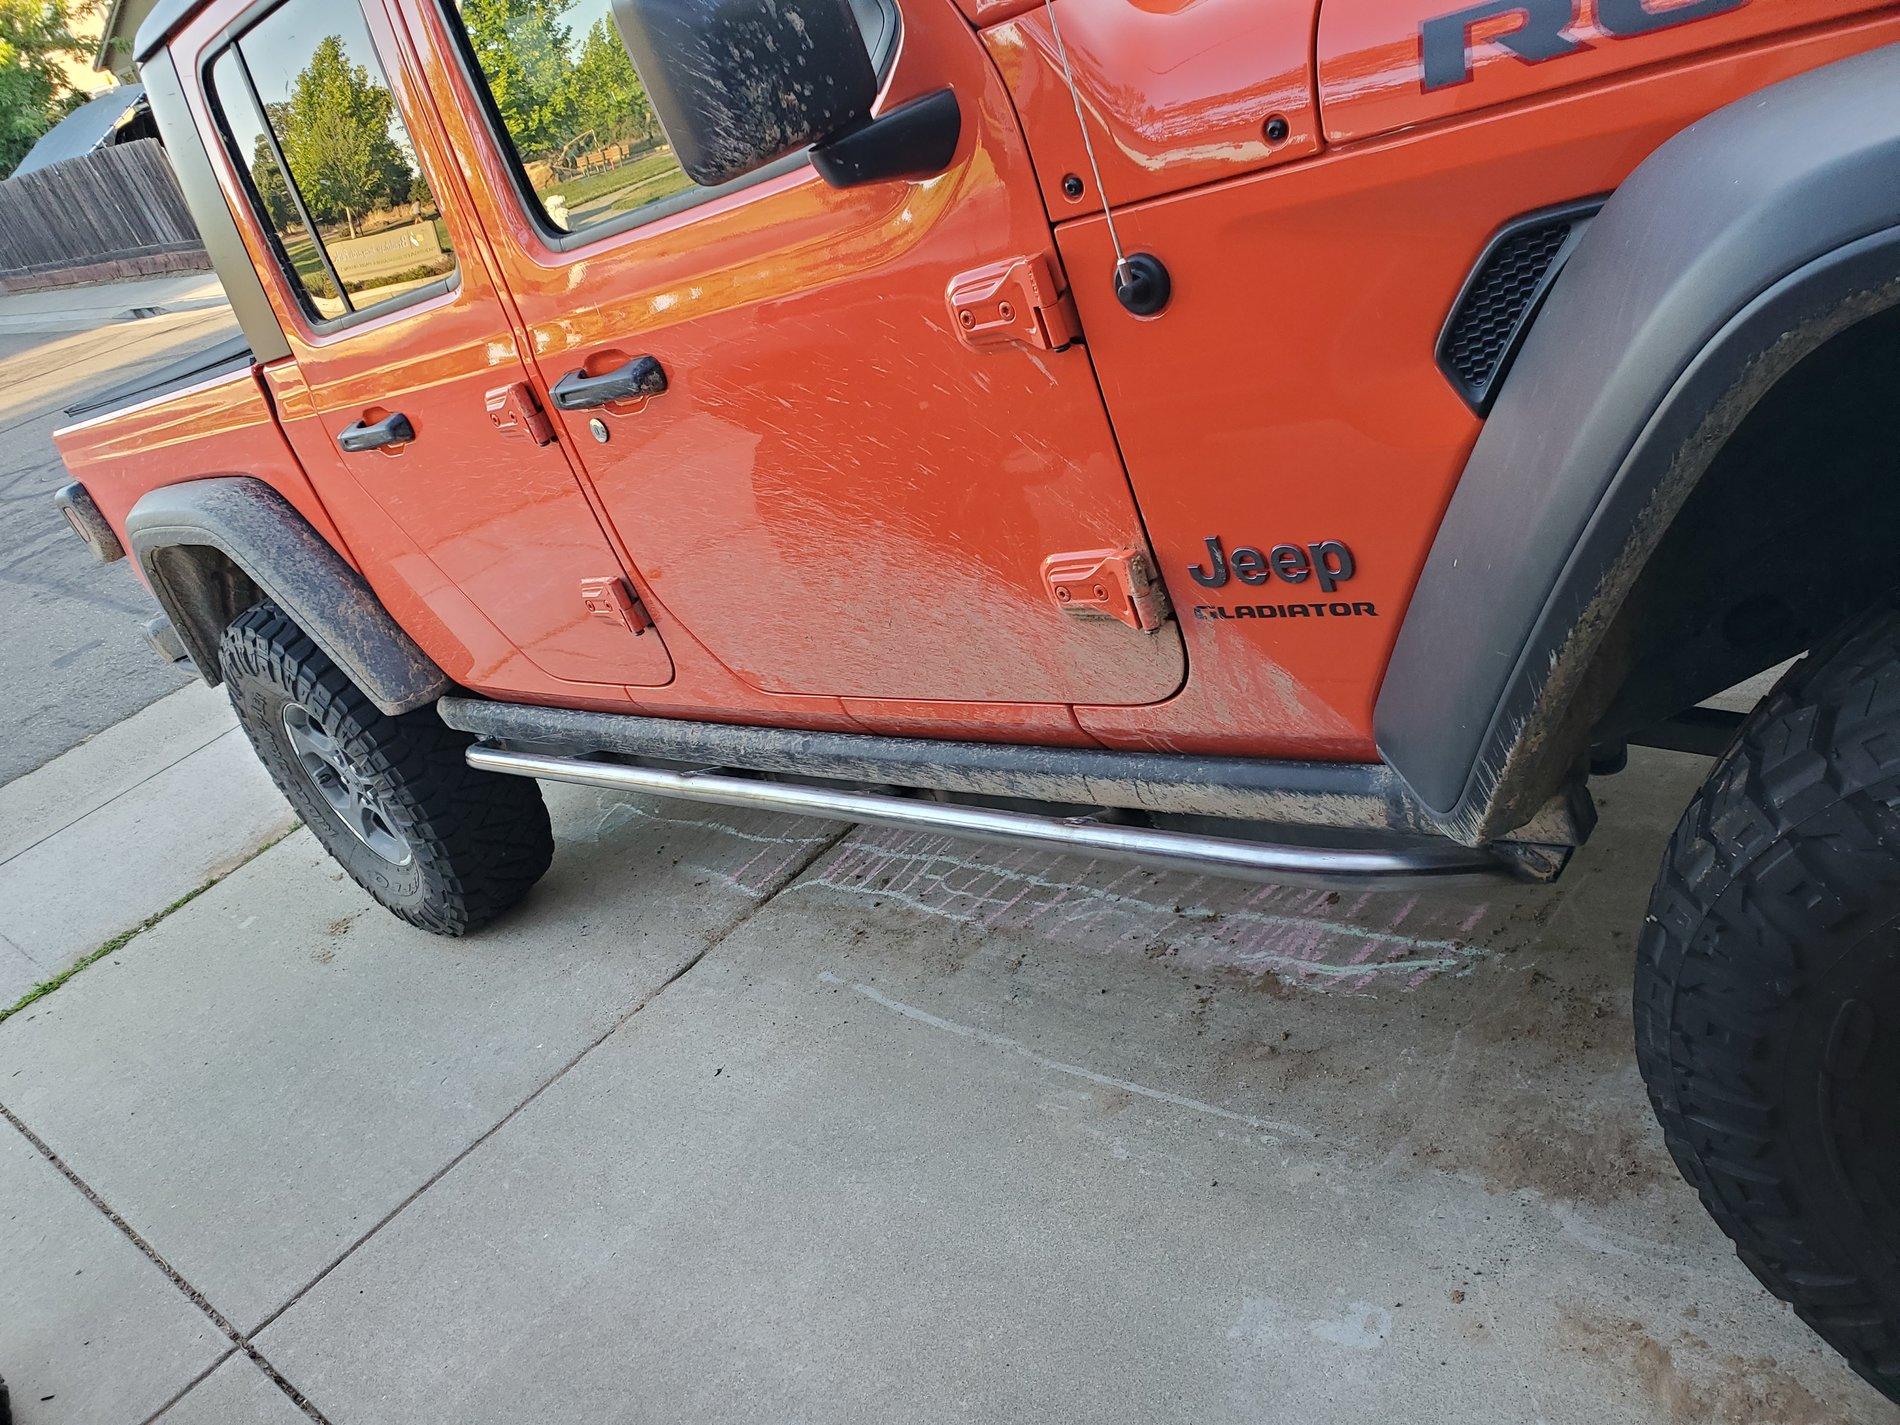
One of my musts was rock sliders. So I made my own that use 4 mounting positions on each side, 2 frame and 2 around the body mount bolts.

The last item I'll mention in this first post is my oil pan skid. I fabbed this myself as well, and I was purpose building the skid.
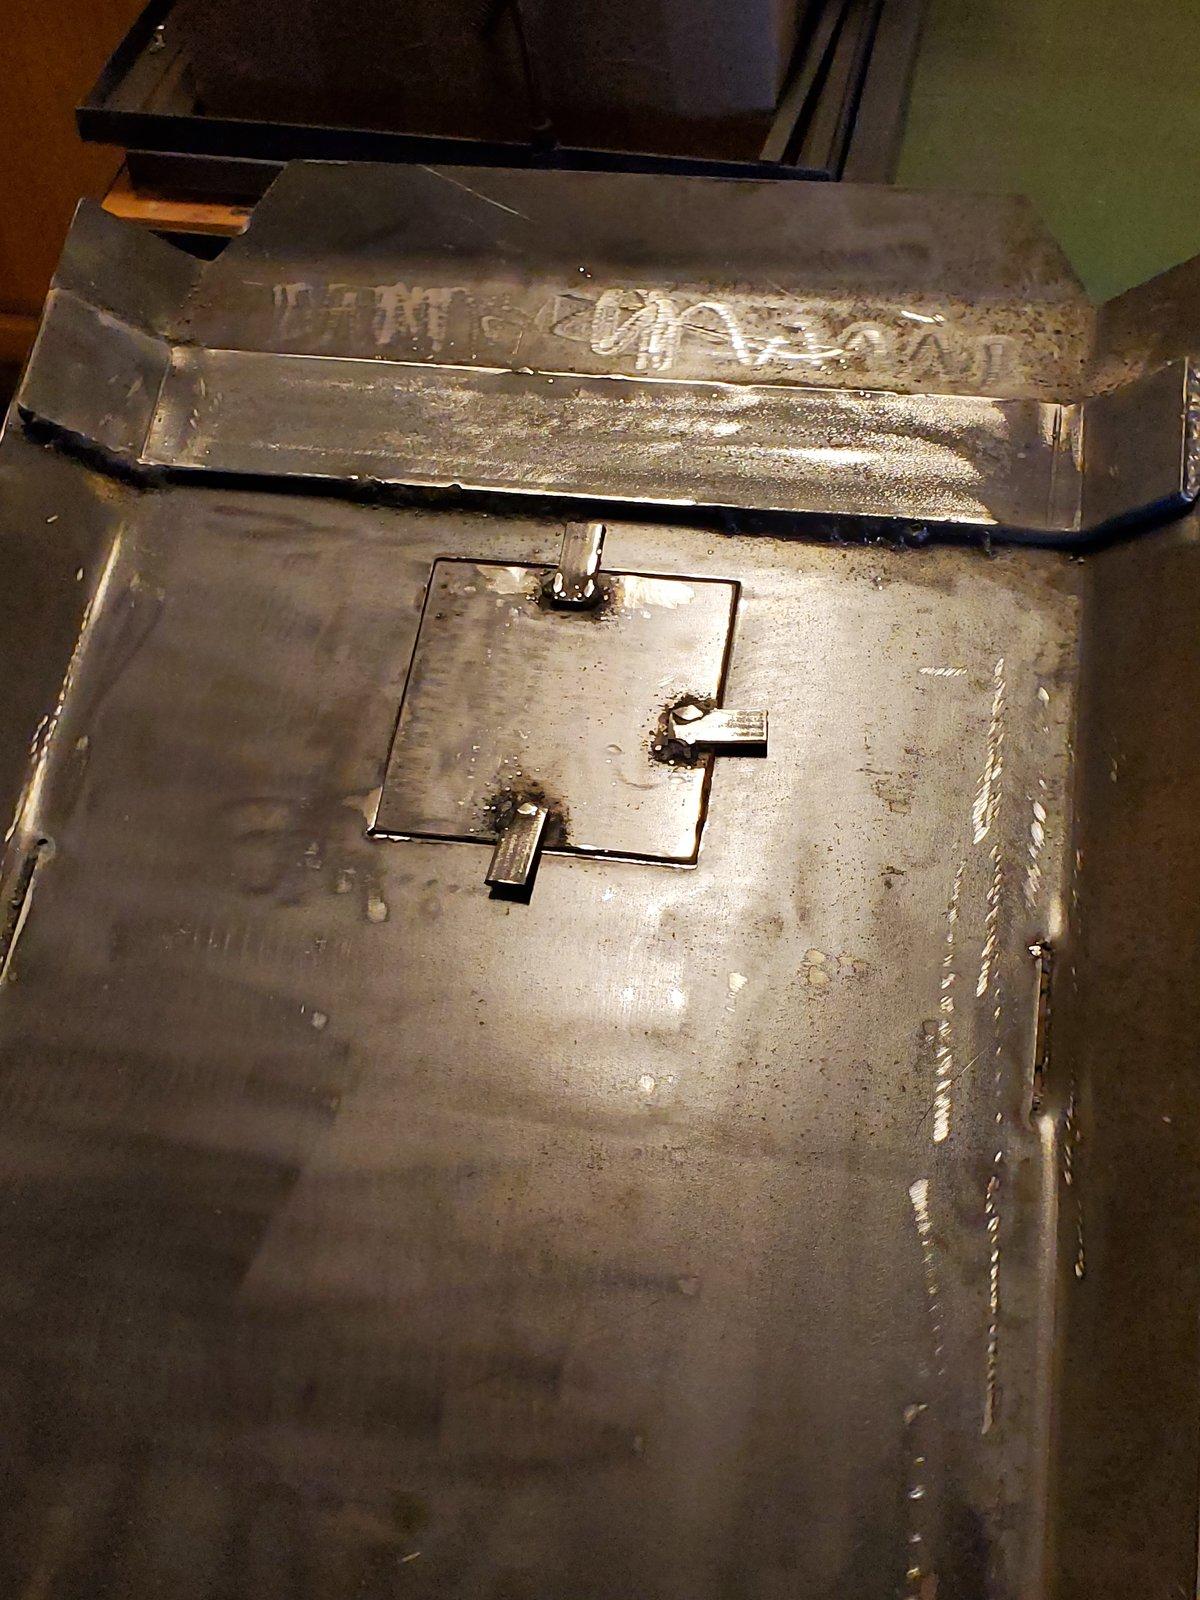
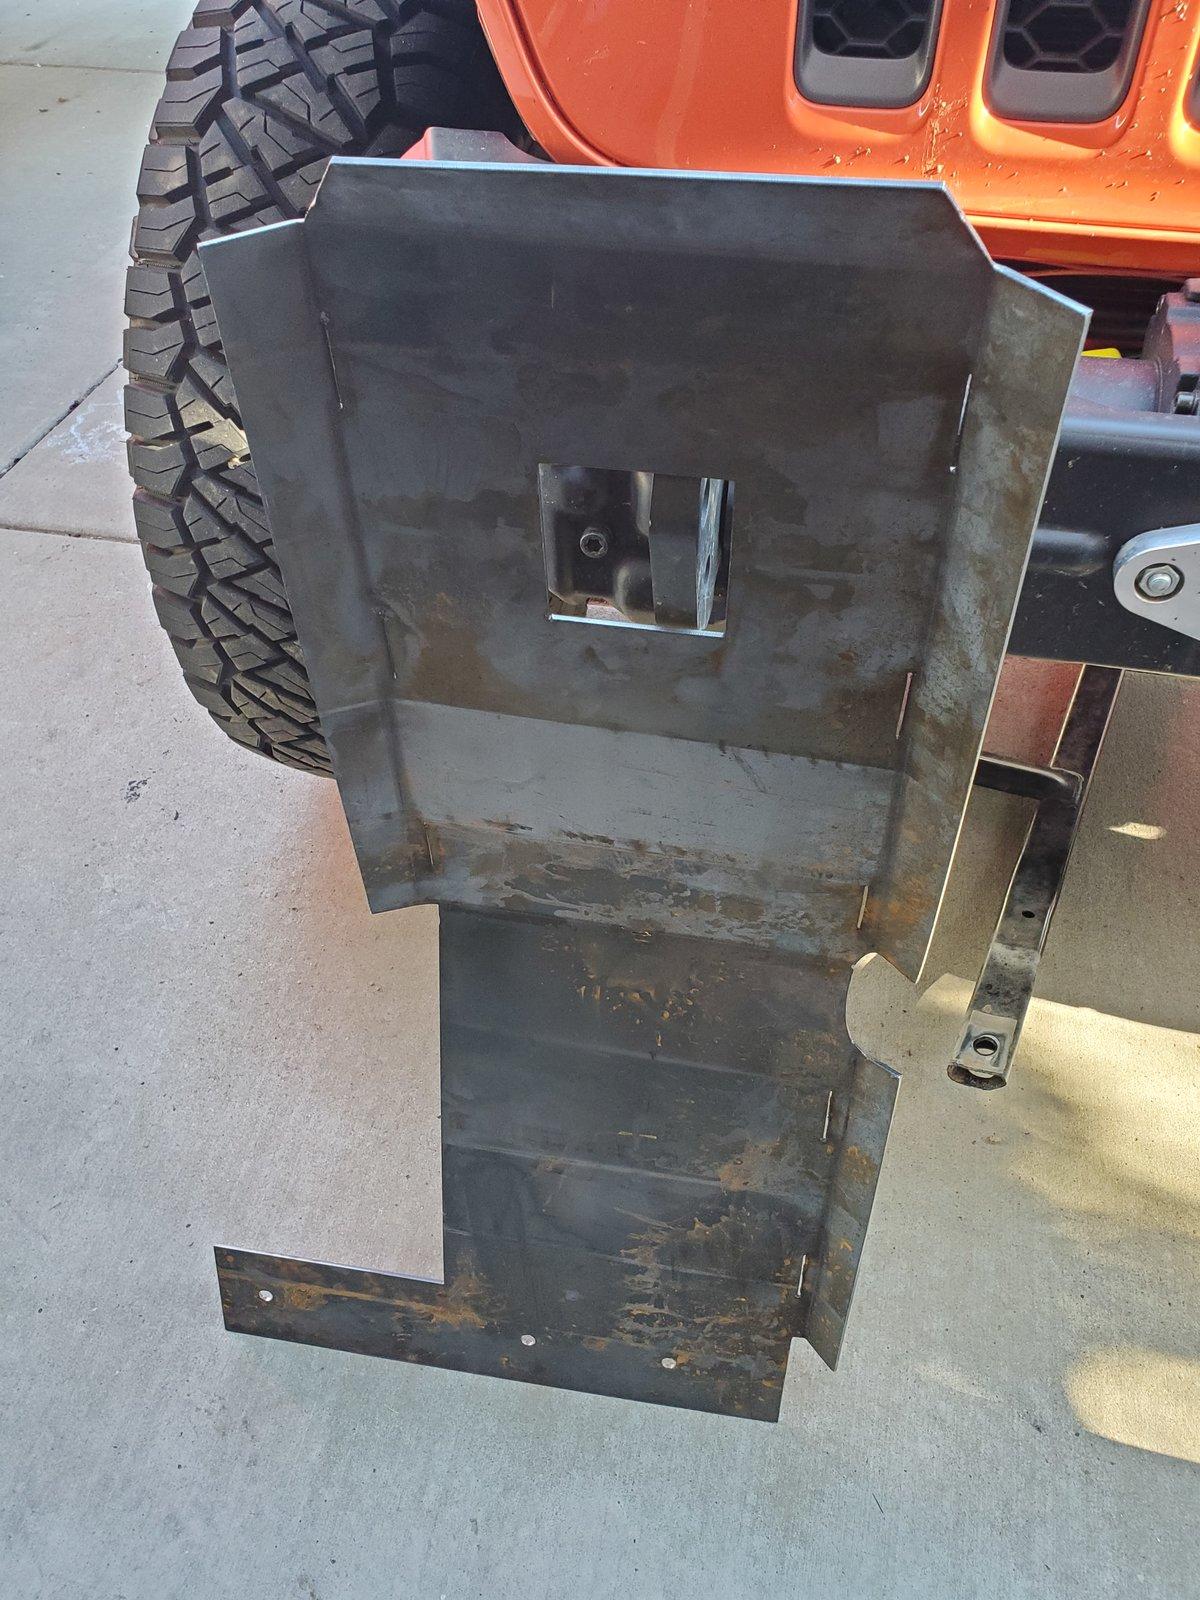
I love rock crawling, but find myself doing overlanding a lot more. Weight was a huge concern with my JKU, so I challenged myself to build a lighter oil pan skid for the Gladiator. I wanted maximum protection for the oil pan itself and additional protection for the auto tranny coolant lines (I've personally repaired another Jeeps tranny line on the trail because it got ripped out from a stick.
First shot of the oil pan skid is with the support in. Second picture is before the support. The weight reduction comes from using 1/8" sheet metal, which for most overlanders is more than adequate. Then I added the cross section support which is 2"x1/4" flat stock. The mounting bolts that go to the engine mounts, are tied directly into the 1/4" thick flat bar, providing strength. The 1/8" thick plate provides coverage for the tranny lines, and other areas.
I need to really test the design on some hard trails this weekend, but I'm happy with the way the skid turned out.
When I got the Gladiator from the dealer, the 2" Mopar lift was installed, with 37" tires. From there I added a few things that I knew I wanted to have as similar from my JKU.
I didn't like any of the mirror solutions for when doors are off, so I fabbed up my own. More to come on these, but eventually I will be re-wiring so the mirrors heat up and move with door buttons, and an extra set of buttons for half doors/no doors.
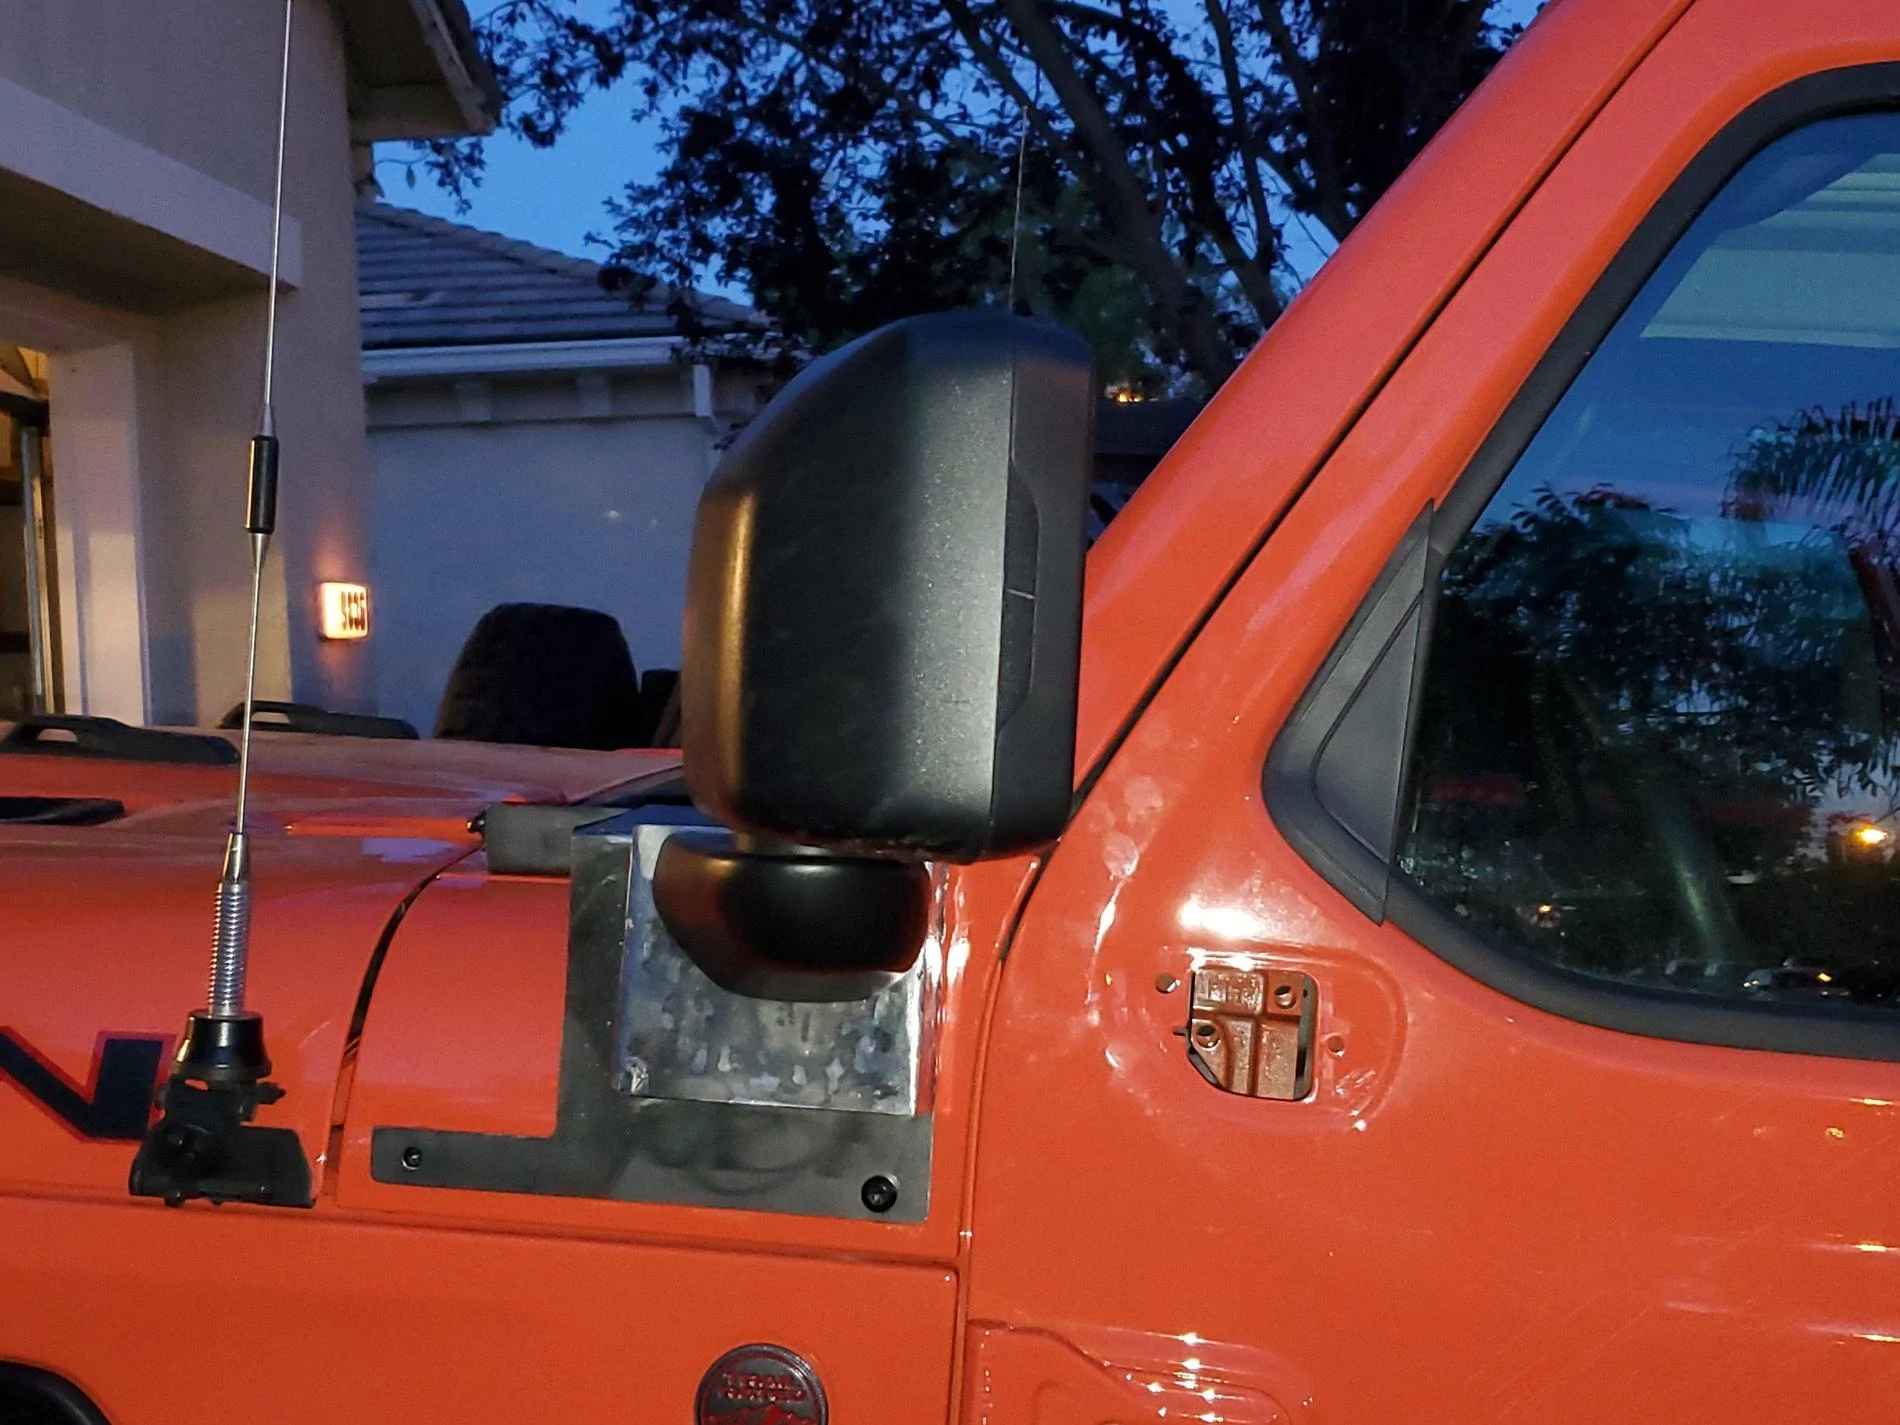
Just drove 2k miles with these mirror movers on, and have had no issues. The design is such, I can use the top of the bracket for small spot lights.
One of my musts was rock sliders. So I made my own that use 4 mounting positions on each side, 2 frame and 2 around the body mount bolts.
The last item I'll mention in this first post is my oil pan skid. I fabbed this myself as well, and I was purpose building the skid.
I love rock crawling, but find myself doing overlanding a lot more. Weight was a huge concern with my JKU, so I challenged myself to build a lighter oil pan skid for the Gladiator. I wanted maximum protection for the oil pan itself and additional protection for the auto tranny coolant lines (I've personally repaired another Jeeps tranny line on the trail because it got ripped out from a stick.
First shot of the oil pan skid is with the support in. Second picture is before the support. The weight reduction comes from using 1/8" sheet metal, which for most overlanders is more than adequate. Then I added the cross section support which is 2"x1/4" flat stock. The mounting bolts that go to the engine mounts, are tied directly into the 1/4" thick flat bar, providing strength. The 1/8" thick plate provides coverage for the tranny lines, and other areas.
I need to really test the design on some hard trails this weekend, but I'm happy with the way the skid turned out.
Sponsored