Orange01z28
Well-Known Member
- First Name
- Andrew
- Joined
- Aug 19, 2020
- Threads
- 69
- Messages
- 1,420
- Reaction score
- 1,814
- Location
- Queen Creek Arizona
- Vehicle(s)
- 2020 JTR
- Thread starter
- #1
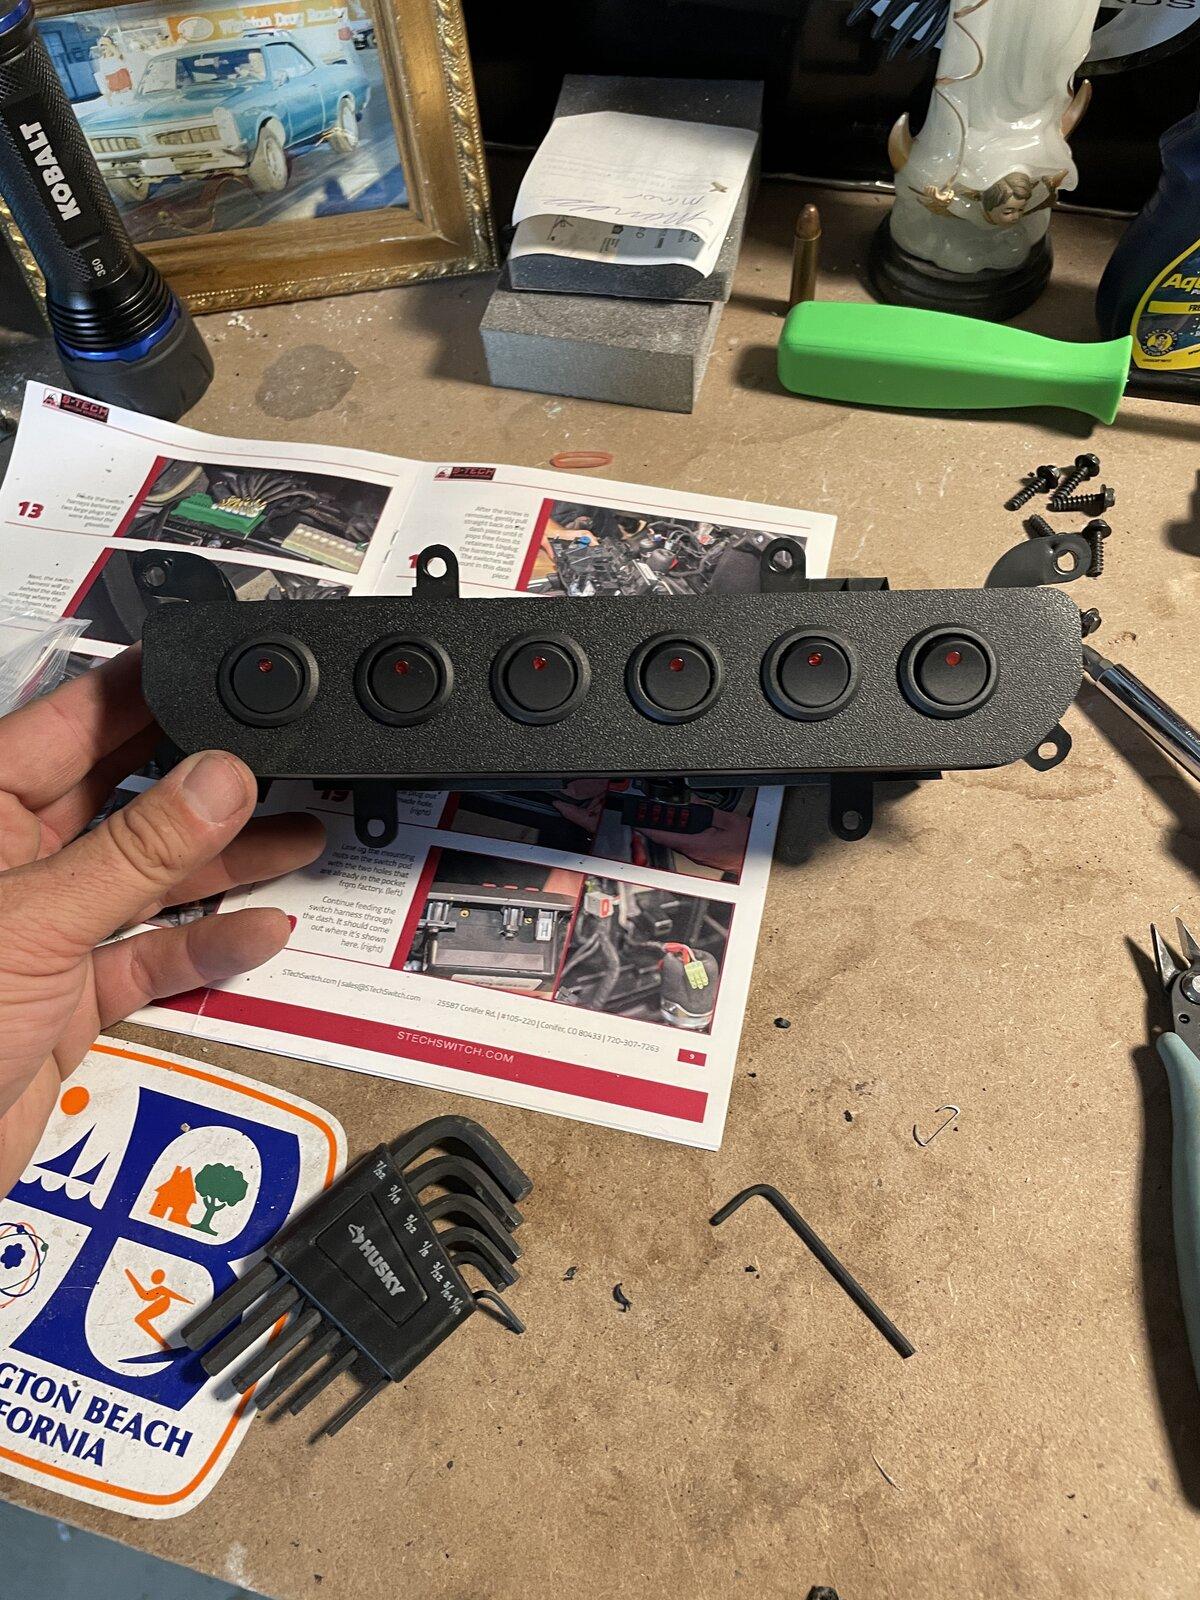
https://stechswitch.com/product/s-tech-heritage-edition-6/
This is for a non-Rubicon but most everything about the install would apply to the half-bank switch panel on a Rubicon or Mojave
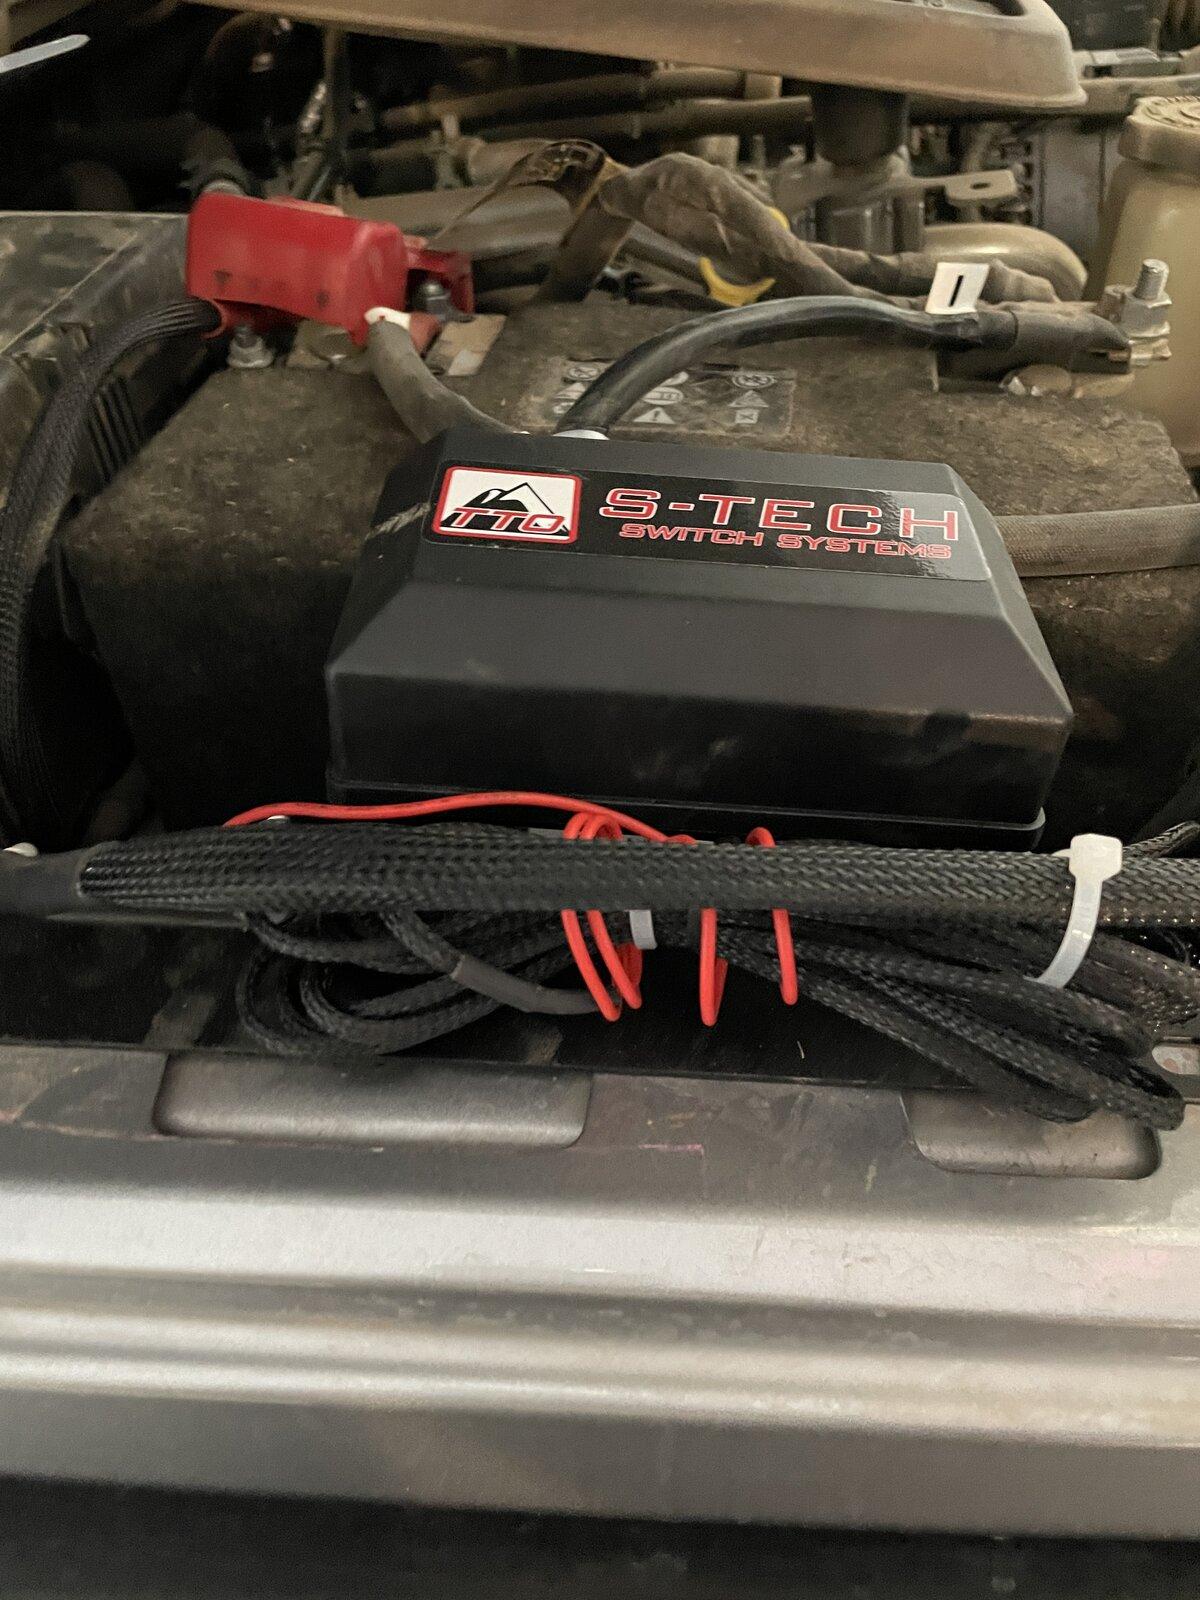
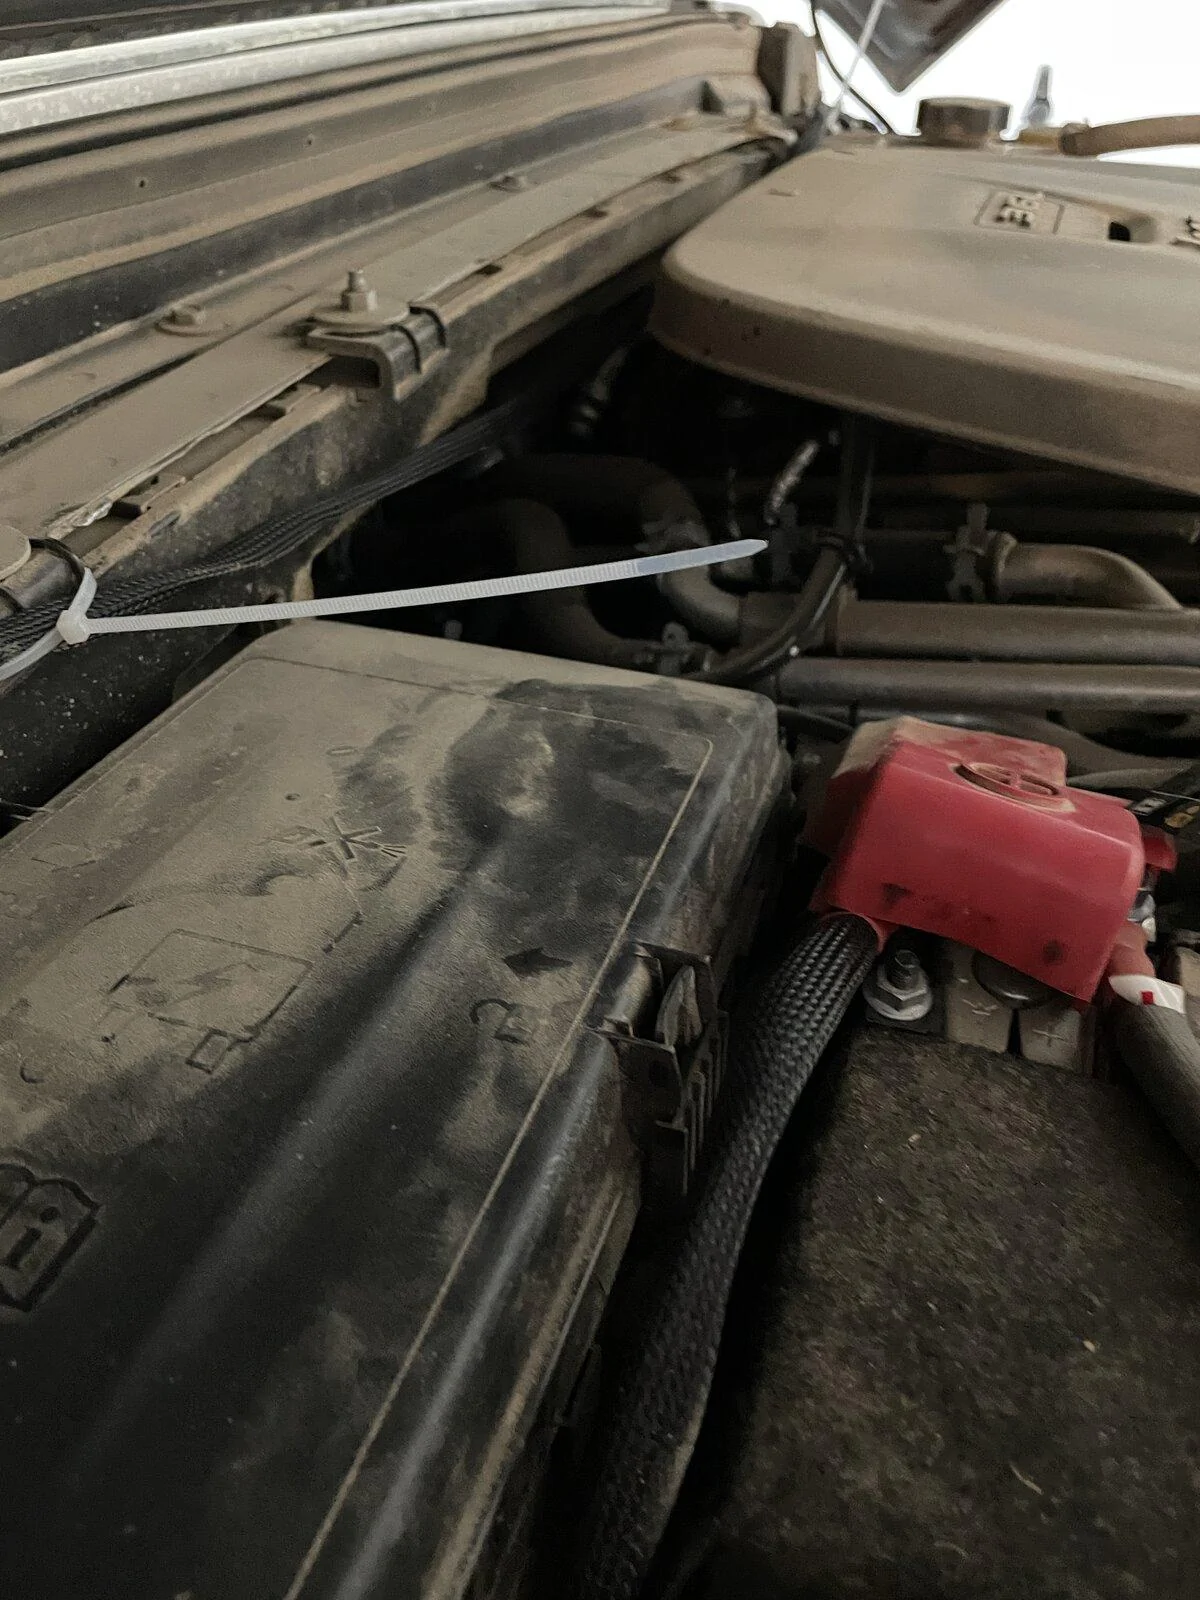
The relay box fits in perfectly on the passenger side between the battery and the body. They make a panel for driver's side installation, but I found there's no real reason for that

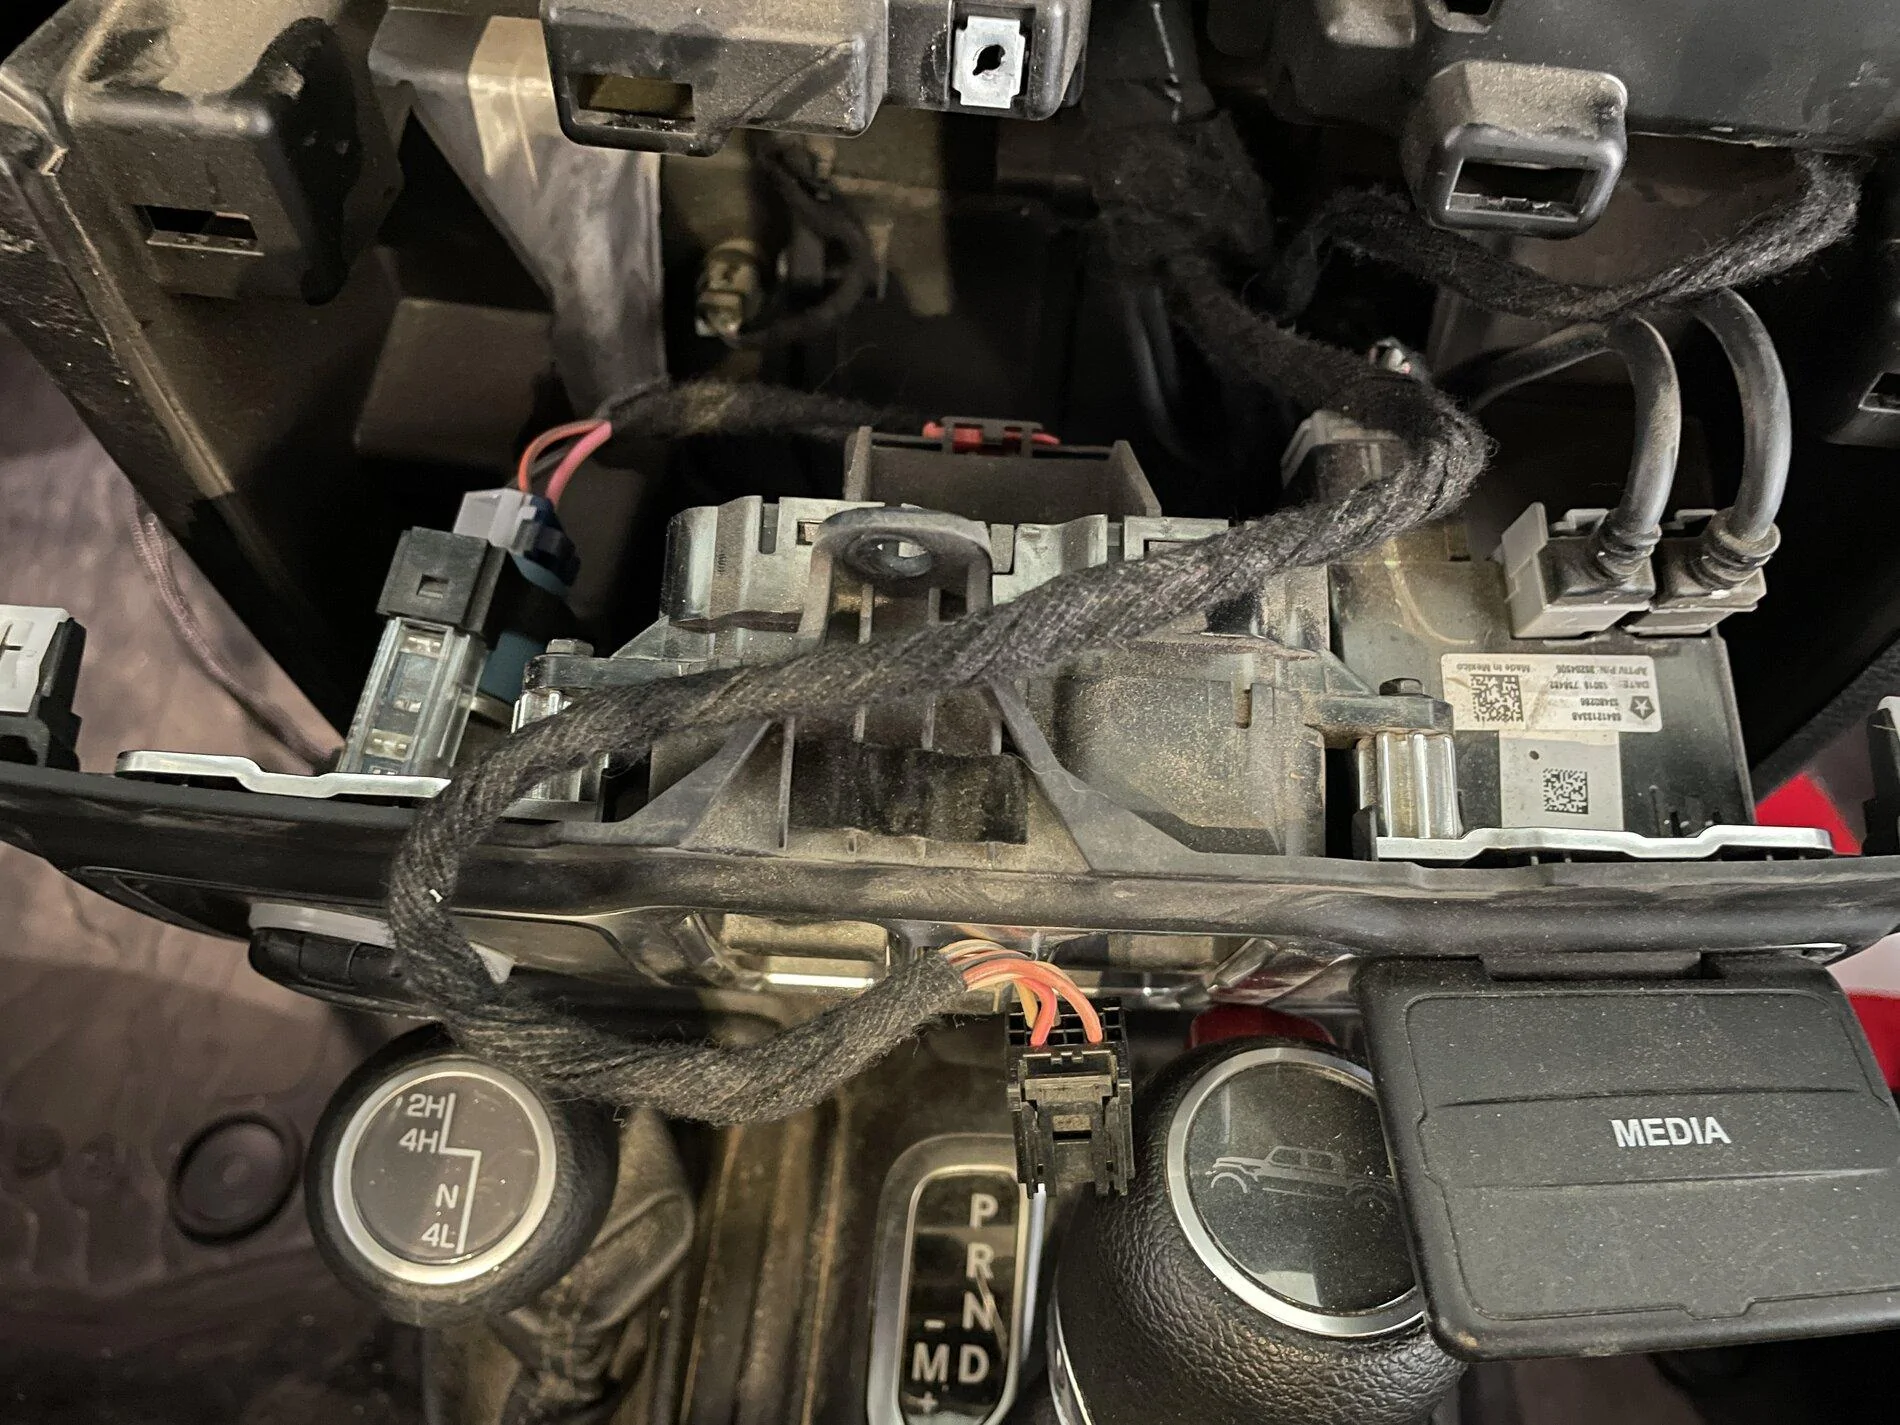
I ran the main wires for the switch panel across the cowl to the driver's side. I popped out the plug that's there for the clutch cable and it went right in. There is plenty of cable to do it this way, and it ends up being just the right length where there is no extra cable to wrap up.
I fought trying to get that cable through the firewall harness passthrough gasket thing on the passenger side but it was a fight that involved cutting that gasket. Somehow while trying this I pissed off my airbag system and have a warning light on now. I wish I watched the video that showed the run I ended up taking before I was fighting that thing
Long story short, mount on the passenger side, and run the cable through the driver's side
(the cable is more taut now)
Next came the scary part

The directions are really good in this kit. You get a glossy color paper version and it is available online here https://stechswitch.com/wp-content/uploads/2020/09/JL-Install-Guide-2020-0620b.pdf
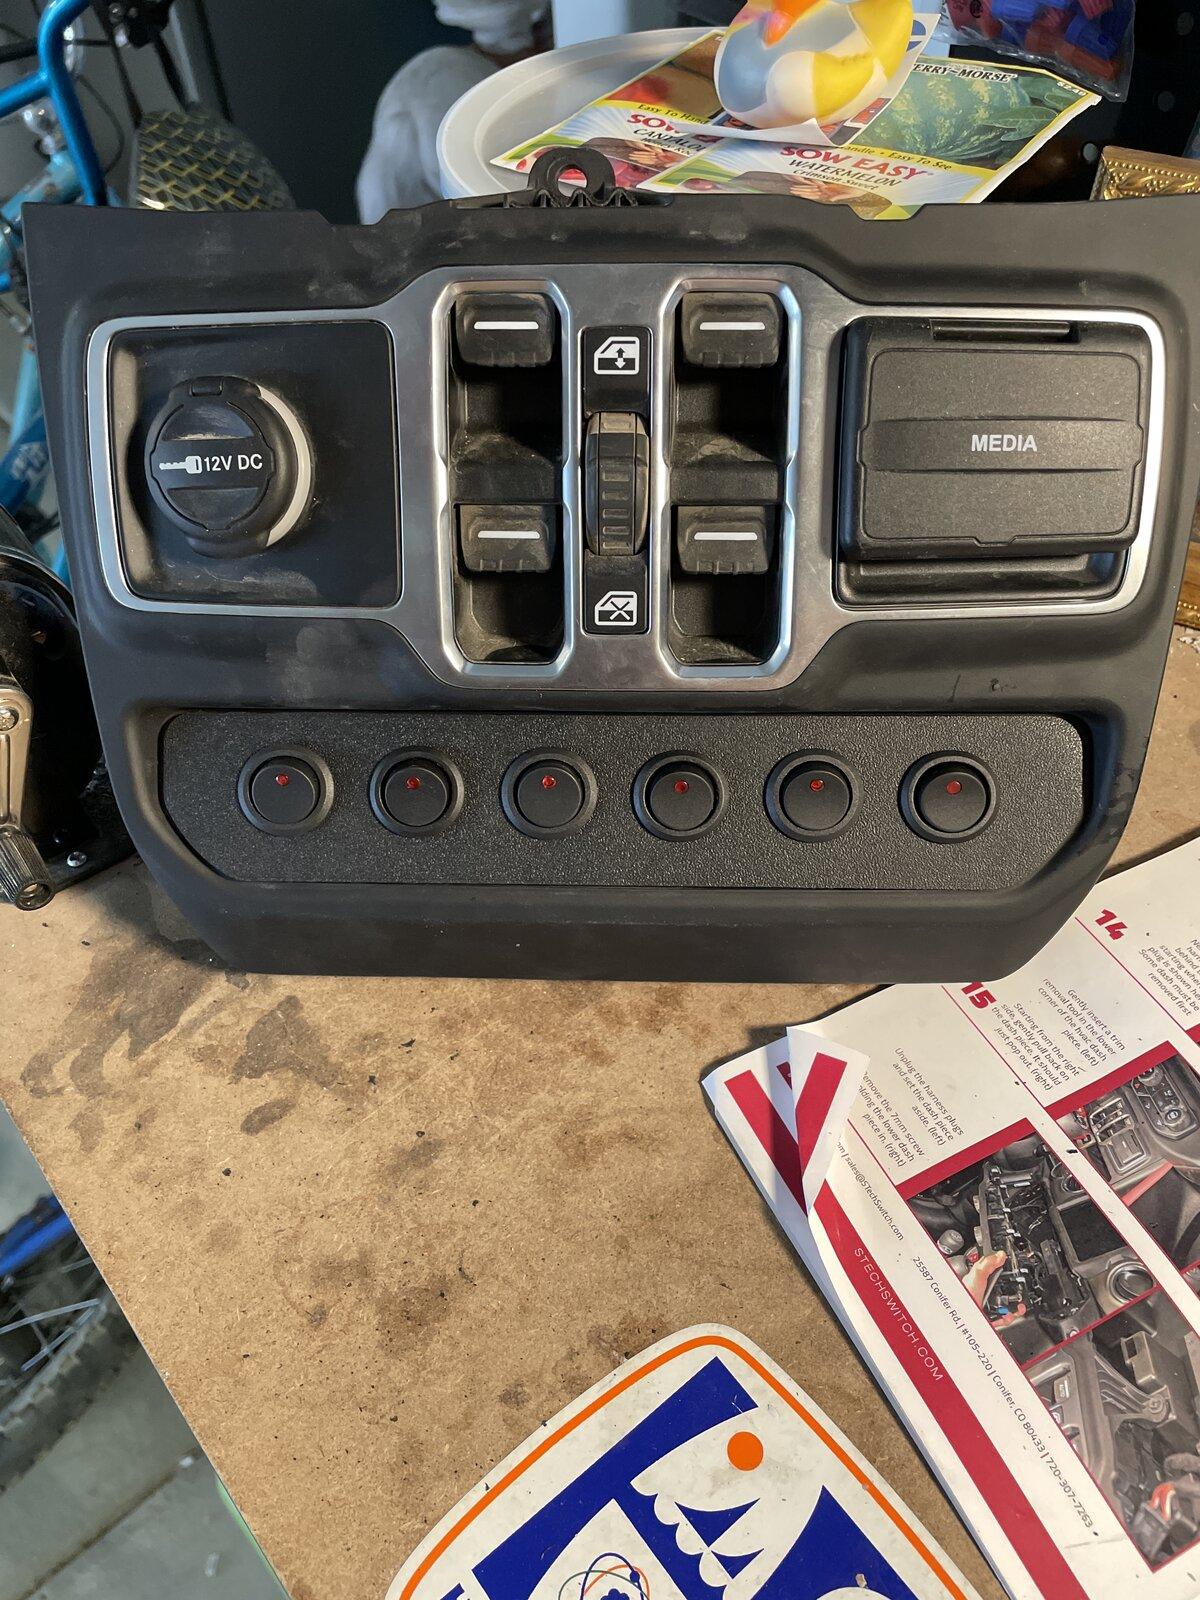
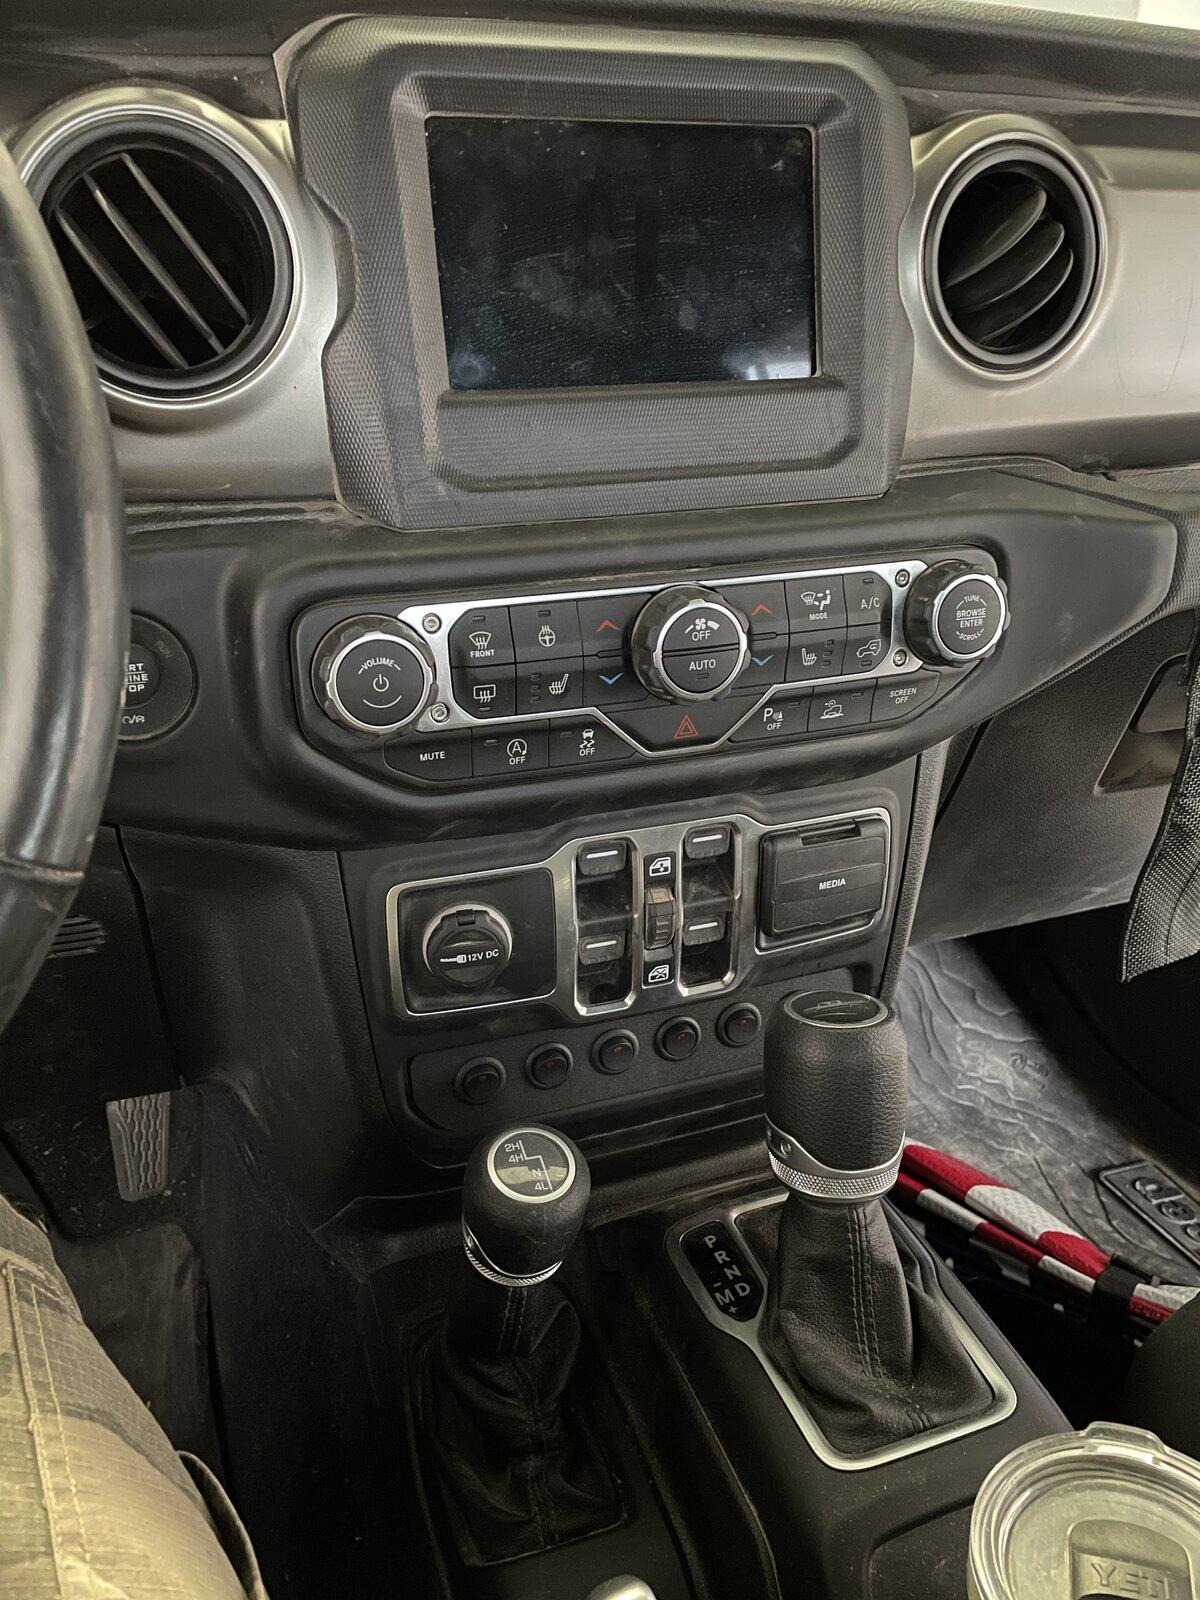
HVAC Panel
I didn't get a picture, but if you look at the one below you can see that I removed the shelf that the switch panel is going to sit it. This made it much easier to drill and Dremel a hole for the wiring harness to pass though, and made installation of the panel into the shelf easier since the screws are tiny
This is for a non-Rubicon but most everything about the install would apply to the half-bank switch panel on a Rubicon or Mojave
The relay box fits in perfectly on the passenger side between the battery and the body. They make a panel for driver's side installation, but I found there's no real reason for that
I ran the main wires for the switch panel across the cowl to the driver's side. I popped out the plug that's there for the clutch cable and it went right in. There is plenty of cable to do it this way, and it ends up being just the right length where there is no extra cable to wrap up.
I fought trying to get that cable through the firewall harness passthrough gasket thing on the passenger side but it was a fight that involved cutting that gasket. Somehow while trying this I pissed off my airbag system and have a warning light on now. I wish I watched the video that showed the run I ended up taking before I was fighting that thing
Long story short, mount on the passenger side, and run the cable through the driver's side
(the cable is more taut now)
Next came the scary part
The directions are really good in this kit. You get a glossy color paper version and it is available online here https://stechswitch.com/wp-content/uploads/2020/09/JL-Install-Guide-2020-0620b.pdf
HVAC Panel
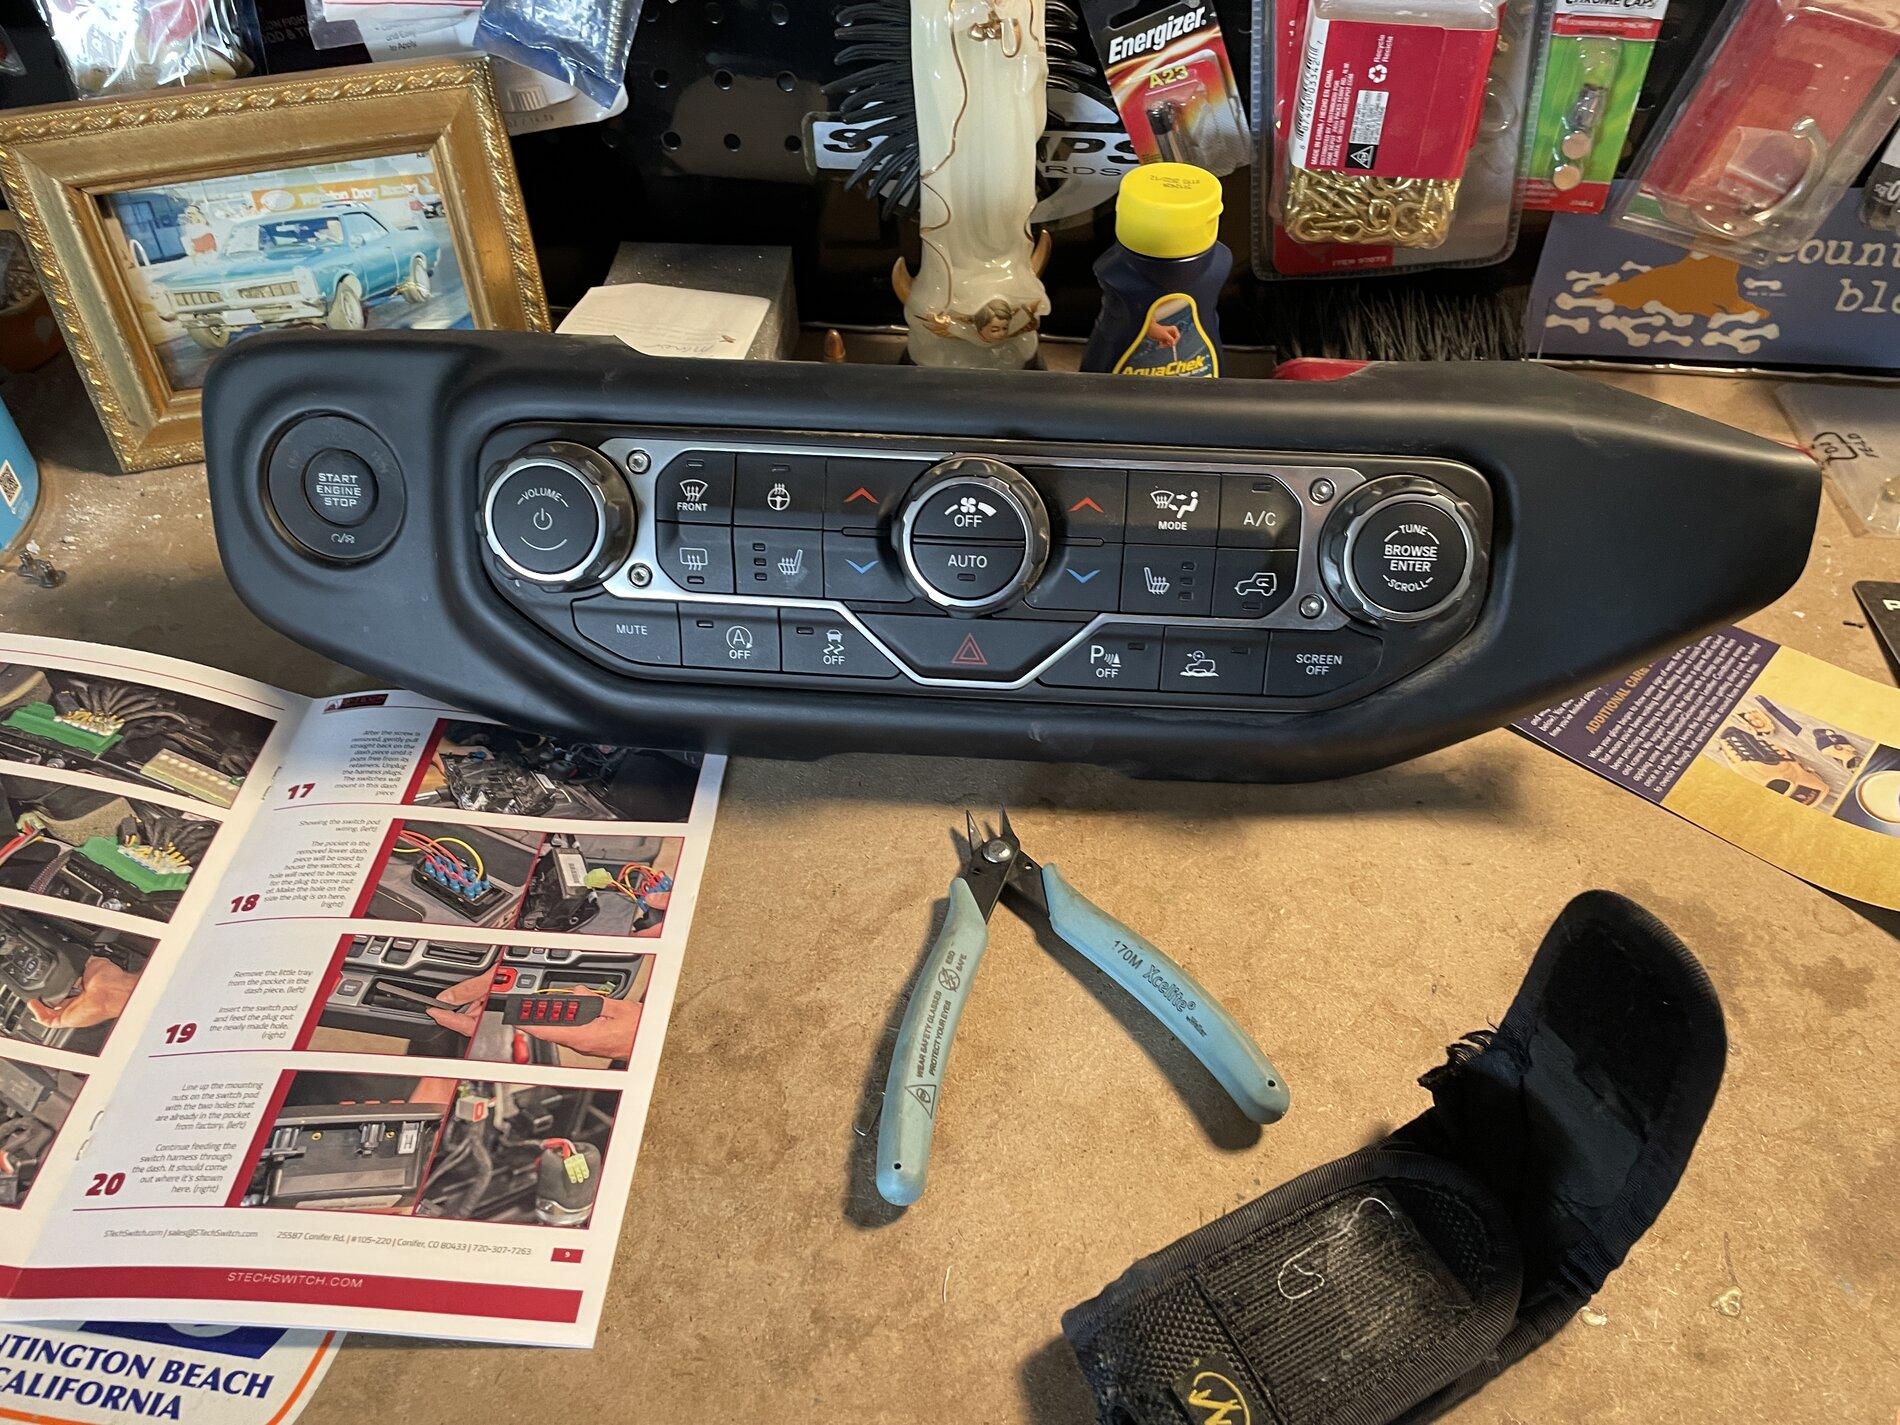
I didn't get a picture, but if you look at the one below you can see that I removed the shelf that the switch panel is going to sit it. This made it much easier to drill and Dremel a hole for the wiring harness to pass though, and made installation of the panel into the shelf easier since the screws are tiny
Sponsored