Sponsored

Matt's Red Rubi EcoDiesel

OP
OP
WMWHV

WMWHV

Well-Known Member
First Name
Matt
Joined
Nov 25, 2018
Threads
24
Messages
276
Reaction score
280
Location
Houston, TX
Vehicle(s)
2021 Gladiator Rubicon EcoDiesel, 1947 Willys CJ2A
Build Thread
Link
I’ve gotten plenty of JCR items; they’re excellent. QC issues happen; still leagues better than a smittybilt product
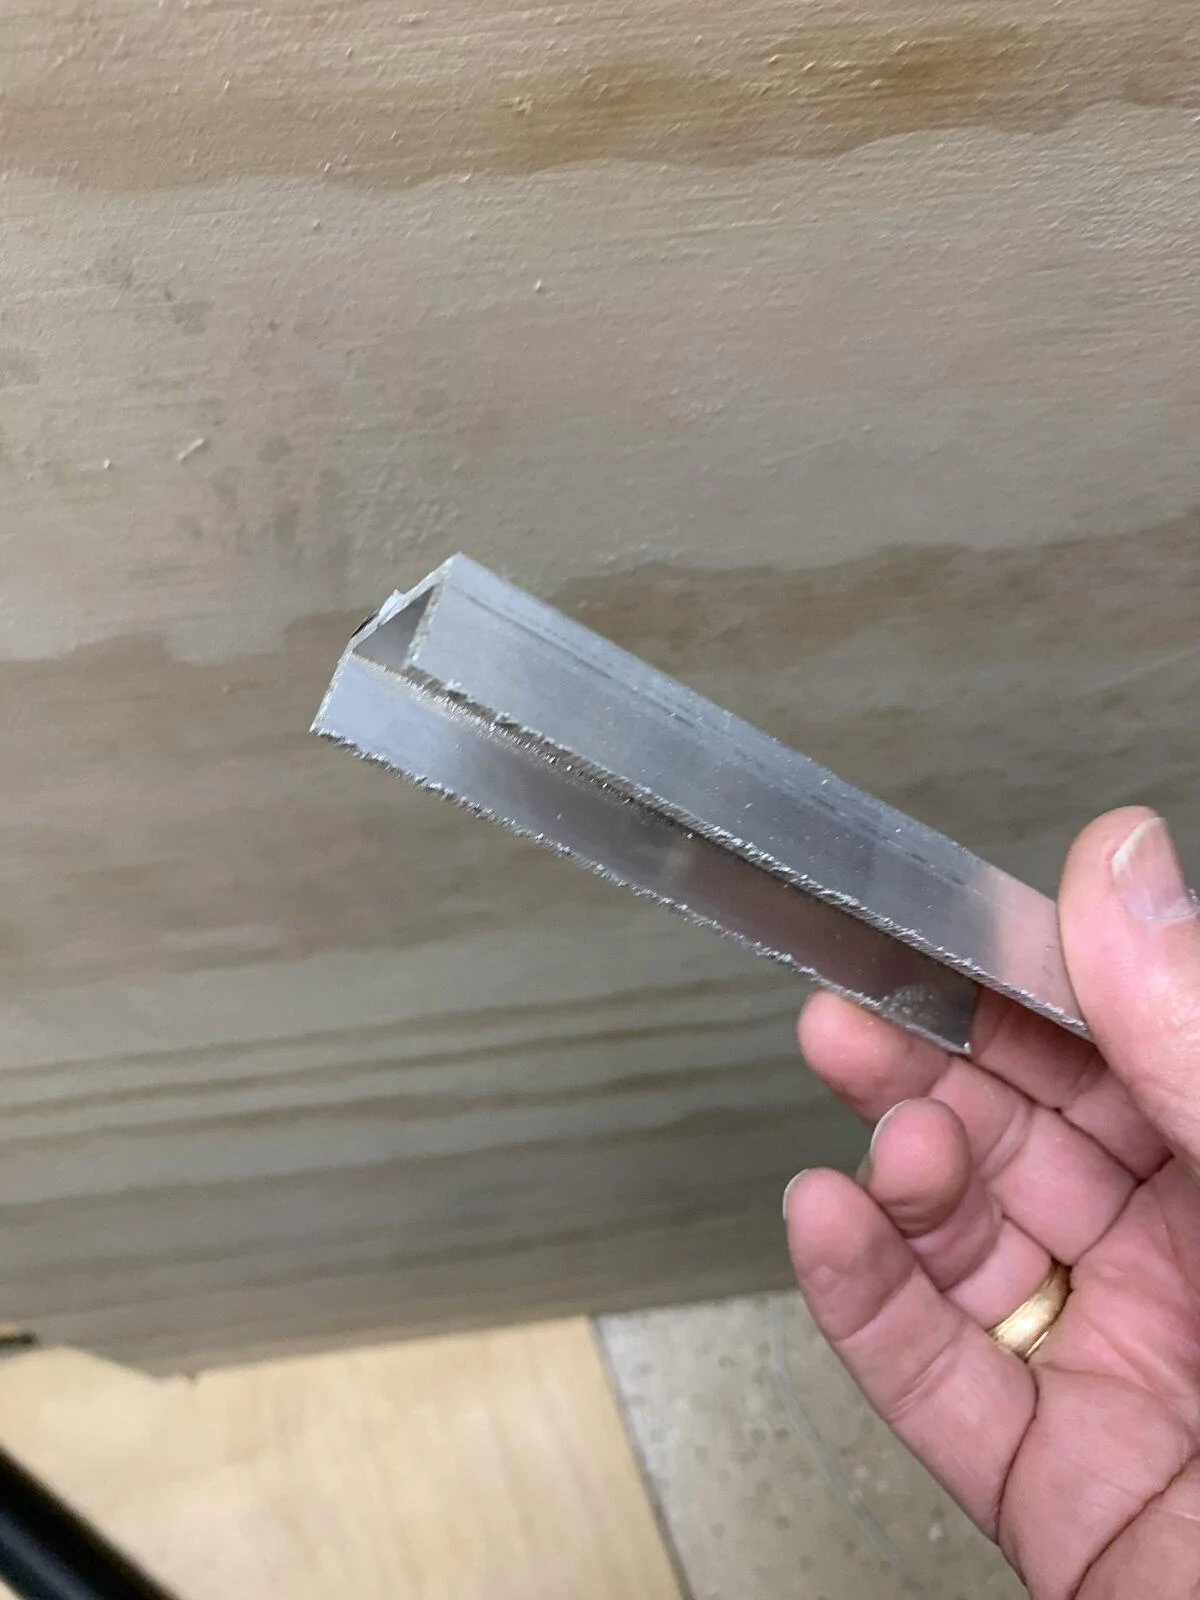
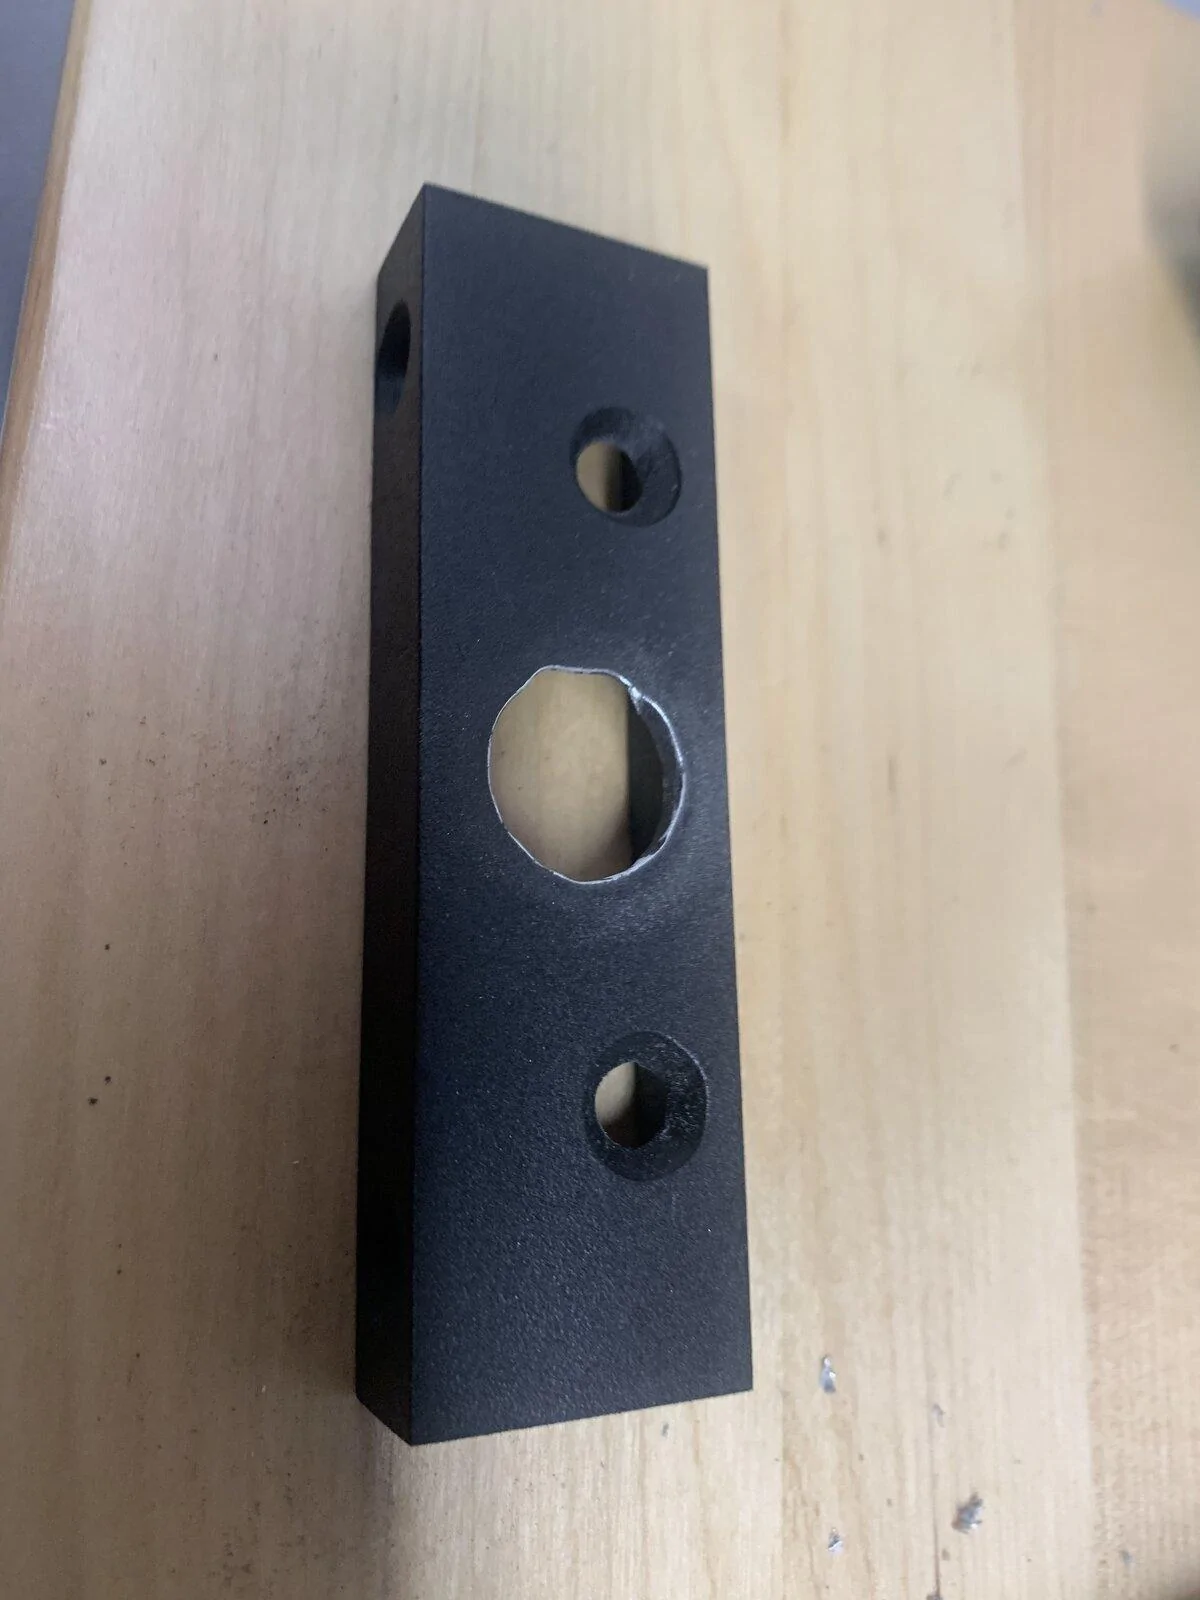
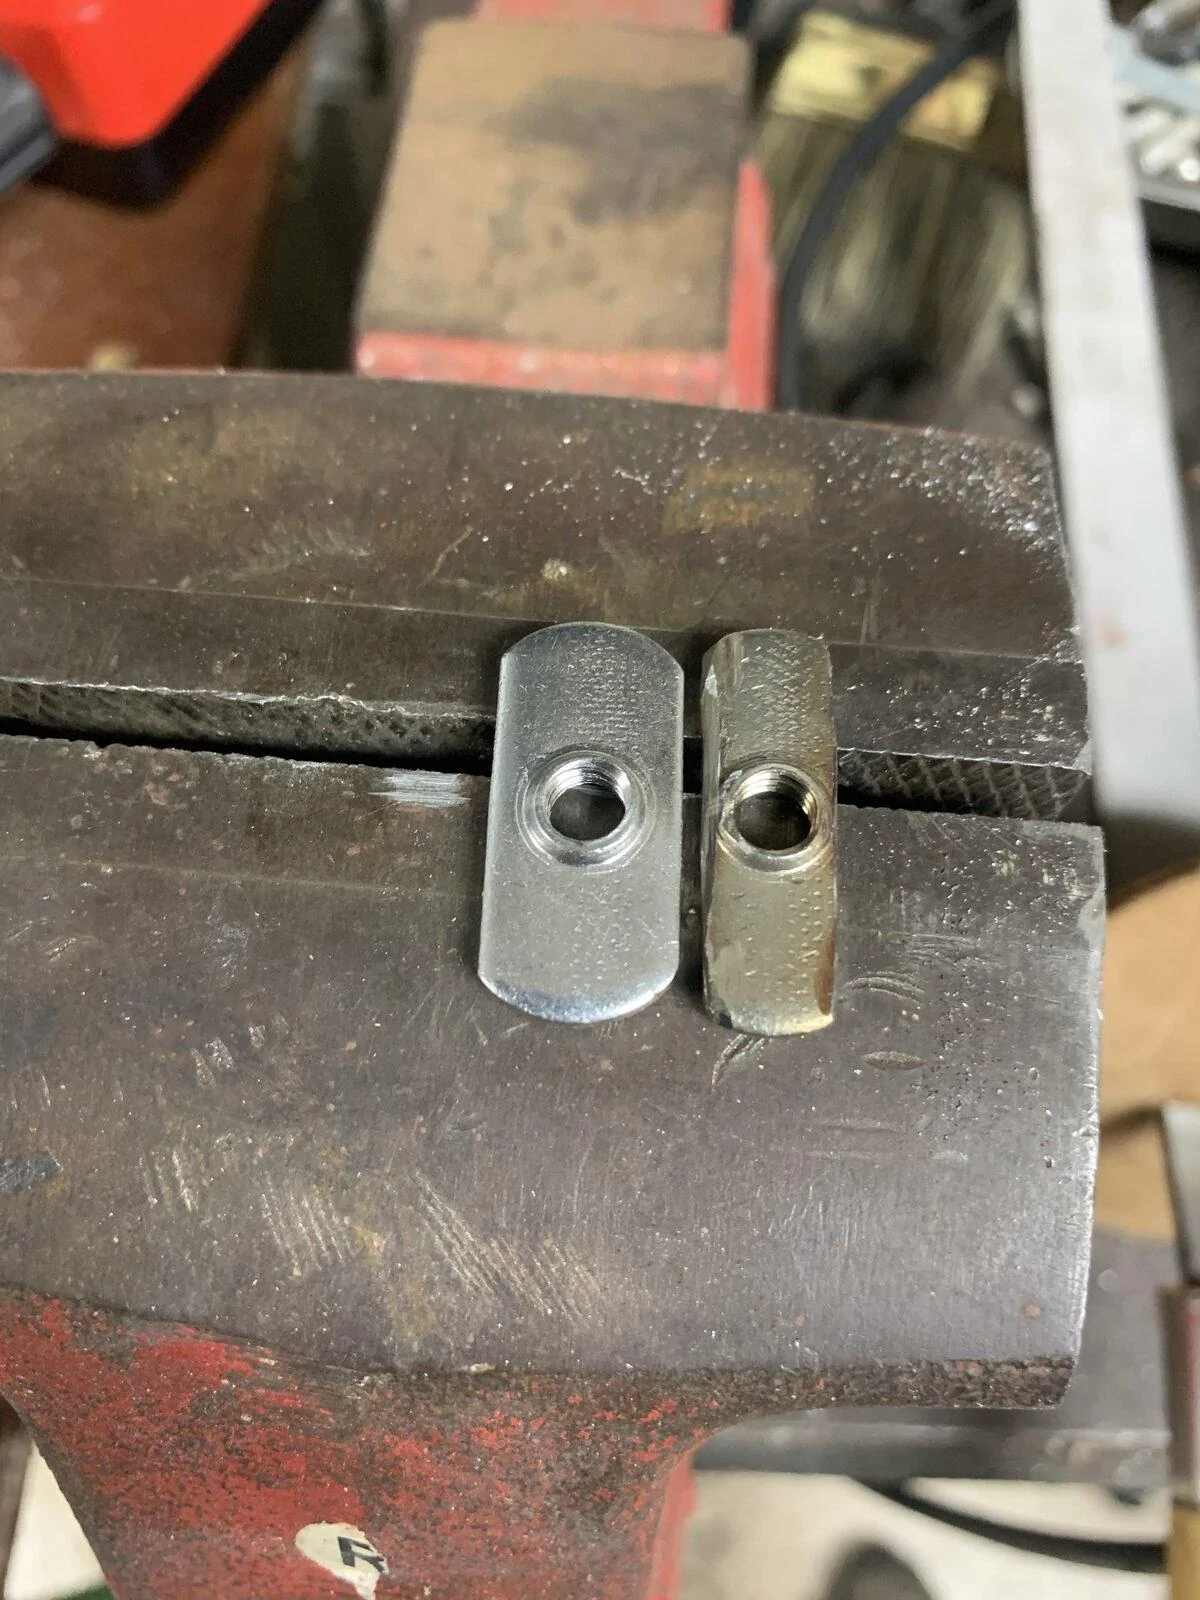
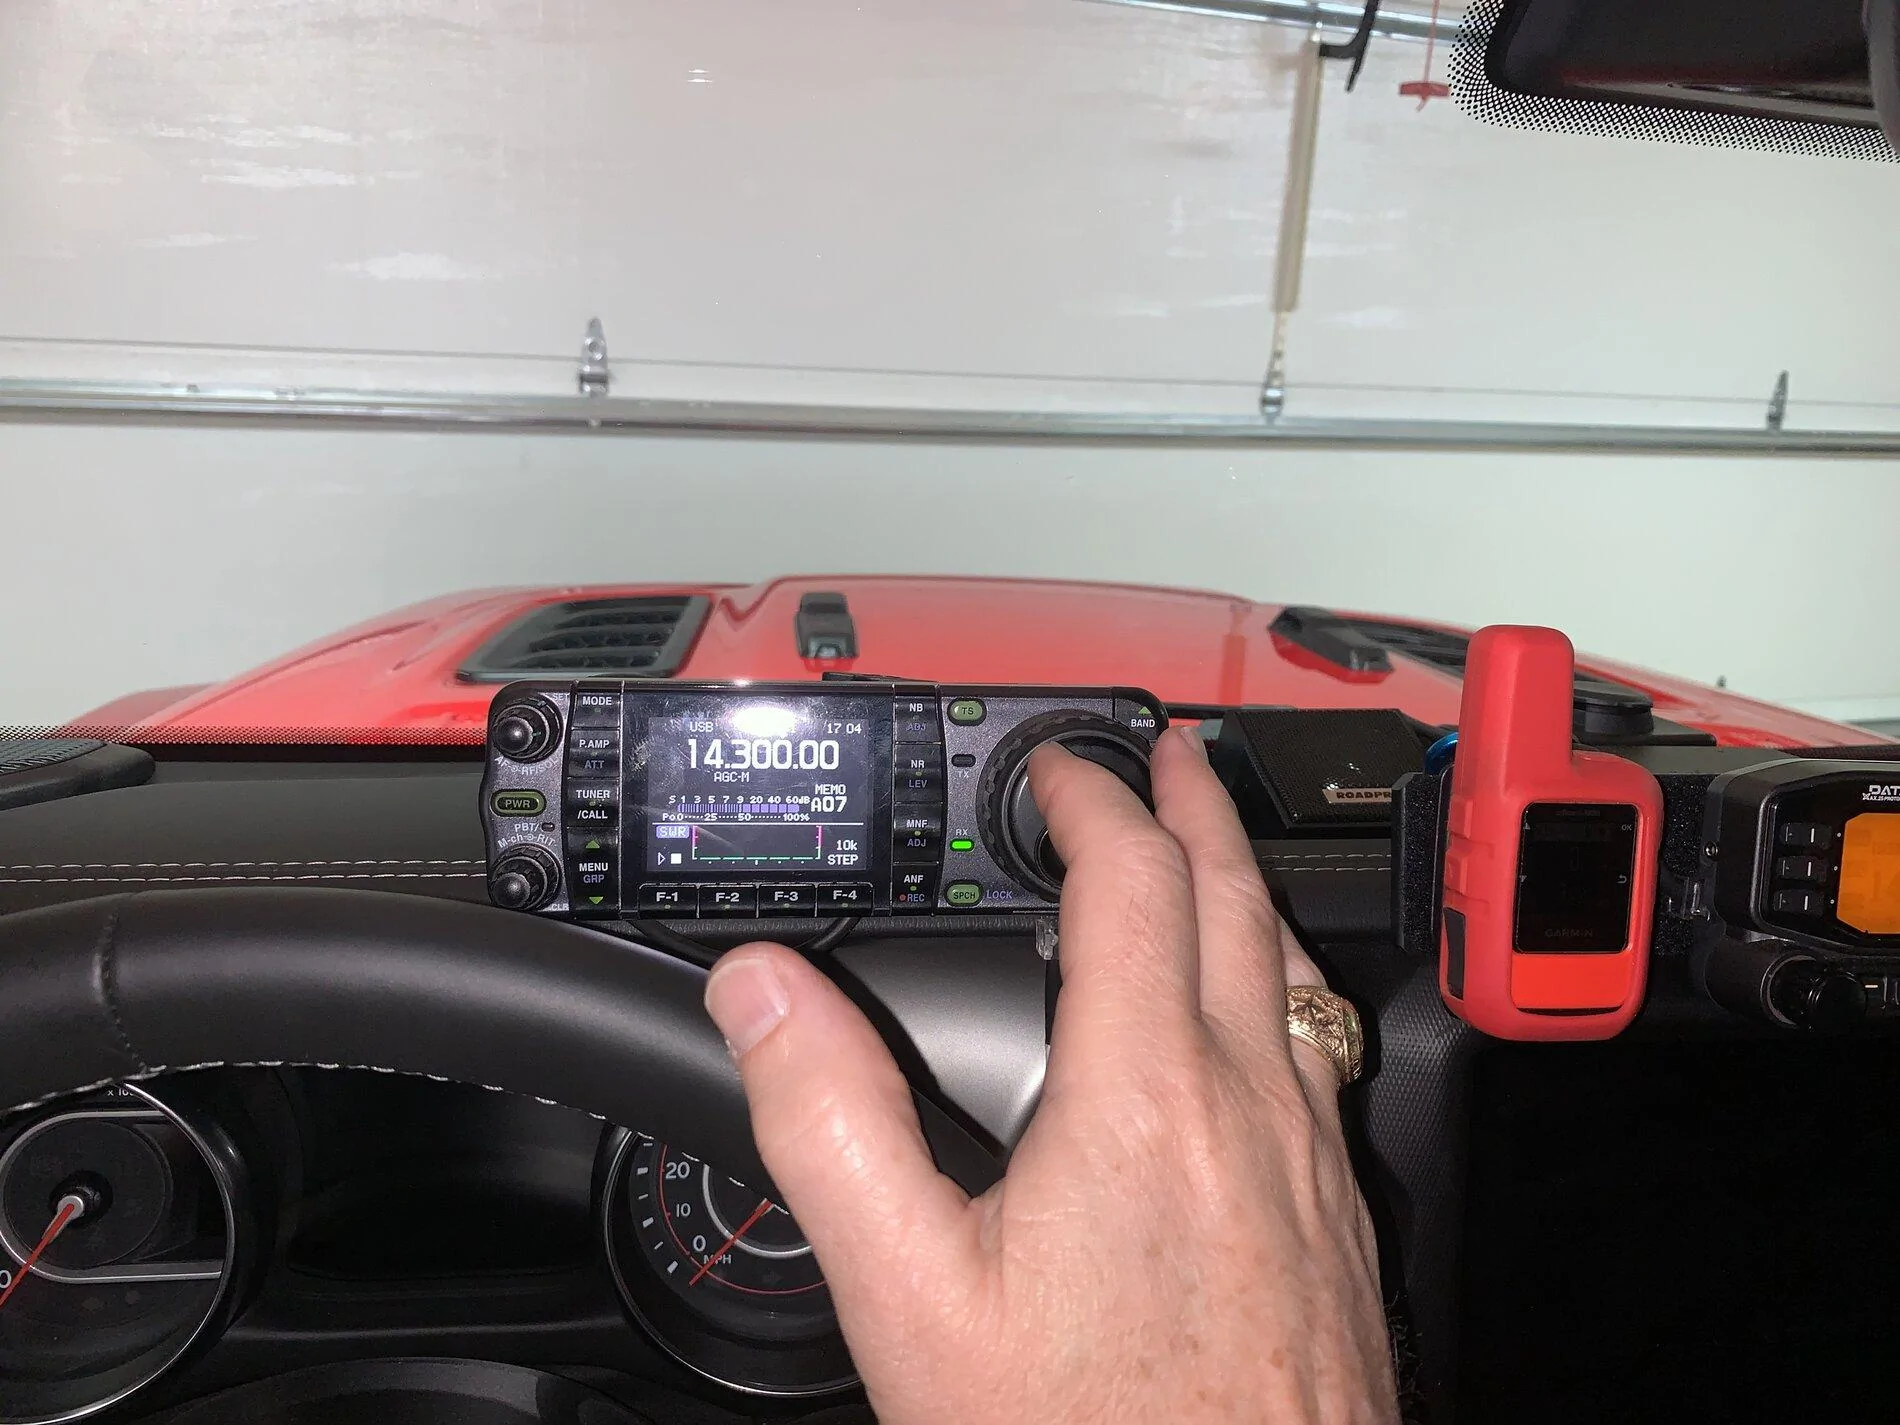
I am not slamming the guys. I am seriously considering adding the Molle panels for my console and the sides of my bed. The bumper is seriously stout and a good looking design. That said, I want to be right up front with the issues I had so that people can know what they might experience.
Sponsored

 
OP
OP
WMWHV

WMWHV

Well-Known Member
First Name
Matt
Joined
Nov 25, 2018
Threads
24
Messages
276
Reaction score
280
Location
Houston, TX
Vehicle(s)
2021 Gladiator Rubicon EcoDiesel, 1947 Willys CJ2A
Build Thread
Link
Hawse fairlead Light and License Plate Mounts on JCR Bumper

I apparently did take a picture of the JCR light bracket and the AEV license plate bracket I mounted behind the fairlead. The license plate bracket is upside down, but I think it will work. Still waiting on my amateur radio operator plates in the mail. I am hoping the plate does not get in the way of whatever lights I eventually put on there.
 
OP
OP
WMWHV

WMWHV

Well-Known Member
First Name
Matt
Joined
Nov 25, 2018
Threads
24
Messages
276
Reaction score
280
Location
Houston, TX
Vehicle(s)
2021 Gladiator Rubicon EcoDiesel, 1947 Willys CJ2A
Build Thread
Link
Ham Radio Antenna Install - Custom Mounts

I originally planned to install my antennas on Mopar A pillar mounts. I bought them and had them waiting when the Jeep arrived. Once I got the Bak Revolver X4 on there, I came up with another idea: Mounting the antennas on the T Slot rail on either side of the bed. I had some aluminum square tubing I cut in half for another project, so I started there. I painted them with Rustoleum Textured Black paint and then cleaned up the paint where the antenna would go into the mount. I drilled out holes for the antenna (more on that later) two mounting screws and a ground strap attachment.

Jeep Gladiator Matt's Red Rubi EcoDiesel IMG_3371(1)

Jeep Gladiator Matt's Red Rubi EcoDiesel IMG_3384(1)


The BAK T Slot is 20mm wide on the inside, has a 10mm opening and the slot is 5 mm high. BAK does not sell anything to fit these nor does anybody else I found. The closest I found were the Yak Attack nuts designed for their kayak racks. I could have slid them down from the end as is, but I wanted them to drop in, so I cut them down. What I did was not pretty, but it worked. Here are before and after views.

Jeep Gladiator Matt's Red Rubi EcoDiesel IMG_3373(1)


I used Larsen NMO mounts and they are designed to mount in thinner metal. Because of that, They would not simply slide into the mount. I had to take my grinder and grind down the inside until it was thin enough for the mount to go in there. It was not pretty, but you don't see that part.

I found that 3/4 inch machine screws were too short to catch the nuts and 1 inch ones were long enough to go into the base of the rack, so I had to cut off the ends of the mounting screws and clean up the threads. I painted the heads of the screws too.

I have some insulated ground strap I bought when I bought my High Sierra screwdriver antenna years ago and I used that from the mount to the extra hole in the front of the bed. I was barely able to reach in and push a 1/4 inch hex bolt with the ground strap and a washer on it into the hole and catch it on the inside of the bed. I then got a quarter inch ratchet with a short extension in there and was able to tighten it up. It may not be the best RF ground, but I am using half wave antennas which are ground independent.

I ran the coax down between the cab and the bed and then brought it in the Jeep using the drain plug just in front of the back seat on the passenger side of center. I bought one of those fancy tools to poke wire through plugs and it worked like a champ.

Jeep Gladiator Matt's Red Rubi EcoDiesel IMG_3388(1)


Since I have the diesel and all the hot-running exhaust components, I wrapped the split loom with aluminum tape before securing it all to the underside of the truck.

Jeep Gladiator Matt's Red Rubi EcoDiesel coax


I used RTV Silicone on the inside to seal any gaps around the coax. I then ran the coax under the carpet to the spot behind the driver's side rear seat where I am going to mount the radios. I have tested it with an HT connected to the antenna and it seems to be working well. I may put some ditch lights on the A pillar mounts or I may end up selling them. I think this is a better spot for my antennas.

My next trick may be to try to fabricate something similar for my HF screwdriver.

Here is the finished product:

Jeep Gladiator Matt's Red Rubi EcoDiesel mount
 
OP
OP
WMWHV

WMWHV

Well-Known Member
First Name
Matt
Joined
Nov 25, 2018
Threads
24
Messages
276
Reaction score
280
Location
Houston, TX
Vehicle(s)
2021 Gladiator Rubicon EcoDiesel, 1947 Willys CJ2A
Build Thread
Link
Ham radio install

i finished the radio install the other day. My objective was to have a spot to mount my remote head radios on the dash and do something with a DMR radio I sometimes use that does not have a remote head. I decided to use the compartment behind the rear seat on the driver’s side for the radios themselves. I used a Proclips mount on the dash that I covered in Velcro for the control head of my Kenwood 710G and my Garmin InReach Mini. I used the 67 Designs driver side kit for mounting the Icom 7000 control head. I ran power and coax to the driver’s side of the console for the DMR. More details below.

I ran power from the battery to the area behind the seat using 10 ga. Ancor duplex marine wire. i came back along the frame on the passenger side. I put plastic split loom on it to protect it and then crossed over to the drain plug on the passenger side rear seat, close to the centerline. Where the wire was near the exhaust, I wrapped it in silver foil tape. After pulling it through the drain plug, I filled the hole area with RTV silicone. I terminated the wire with a Powerpole and plugged it into a Powerpole distribution block.

Jeep Gladiator Matt's Red Rubi EcoDiesel 8718F9E6-E542-4113-84F2-197096D9BECE

This is before cleaning things up, but you get the idea.

I like to have the speakers on my dual band radios separated so that I know which side of the radio I am listening to, so I wanted speakers on the pillars between the doors. I found the smallest ones I could and figured out how to wedge the mounting bracket between the trim pieces and use Velcro to hold the edges in place. I ran the wire down the Pillar and then to the radios.

Jeep Gladiator Matt's Red Rubi EcoDiesel D10EBD75-6DBD-4B4D-8B64-5C79B18E0C3D

Zoom in and you can see the little square RoadPro speakers that disappear at the top of the pillar. There is one on each side.

For the Icom 7000, there were several challenges. One is running the separation cable with a petty big connector on the end. I popped out the trim at the base of the doors on the driver side. To do this, you use your trim tool to push toward the centerline of the vehicle and everything pops out. For the driver’s footwell, there was a nut to remove. I also had to disconnect the door wiring harness and use my Lisle plastic fastener remover to pull the door harness connector away from the body. I loosened the bracket that holds the door strap in place and was able to remove the trim piece. I then popped out the piece above it and laid down the windshield to access the channel between the dash and windshield. I snaked the wire up and found it easier to do so by removing the speaker. I later figured out that I could go around the outside of the roll bar. My goal was to run the separation cable to the centerline and then to the arm where the head was mounted. Unfortunately, it was too short, so it had to come out on the driver’s side of the dash. I was worried about having the cable going through the weatherstripping and there being an air leak. I eventually decided to use some duxseal (referred to as “monkeyshit” by some) to fill the gaps. By mounting the 7000 control head here, I can adjust the arm so that I can spin the VFO dial without taking my hand off the steering wheel. If not tuning, it can be mounted further back and out of the way.


Jeep Gladiator Matt's Red Rubi EcoDiesel D891A449-744B-47D0-9952-F10A2AF0A295


Jeep Gladiator Matt's Red Rubi EcoDiesel 16D5E9C7-6DA3-485D-912A-075357846E45


Jeep Gladiator Matt's Red Rubi EcoDiesel 9FC3BB32-1436-43BE-ACBD-DC33EAE51045


I had the idea of installing a speaker for the 7000 on the dash. I thought I could plug it into the headphone jack on the control head. No such luck. It is not amplified. So, I ended up running the speaker wire back to the radio itself.

The Kenwood separation cable was longer and it reached to the middle. I needed power for the InReach, so I found the shallowest USB power port I could find and mounted it to the Proclip mount. It has 2 outlets, so it could power a camera too. Here it is on the bench before installation and after.
Jeep Gladiator Matt's Red Rubi EcoDiesel 3B0C865F-C314-474C-91E0-C6193B757D6D
Jeep Gladiator Matt's Red Rubi EcoDiesel 93960989-9A04-4B49-BB44-885F24E97C26


Again, I used Velcro to mount the speaker. I wrapped all the wires with Tesa cloth wiring harness tape. It makes for a nice install.

For the DMR radio, I ran a power wire and coax from the back area where the radios (and antenna connections) are to the console area. I can use a barrel connector to connect an antenna to this coax jumper and run a radio from that spot. I also ran the microphone cable from the Kenwood to this spot. My thinking is that I will install the JCR MOLLE panel on the console and if I need the radio there, I can mount it to that. If all else fails, I still have plenty of Velcro.
Jeep Gladiator Matt's Red Rubi EcoDiesel 5940A6DB-DED1-45F5-B7C6-738FC6D08D1E


So far, everything is working well. I have not yet come up with a mount for my HF antenna, so nothing but V/UHF for now. I am still focused on the skid plate between the rear wheel well and the bumper as a possible mounting point for a screwdriver antenna.

I am happy to answer questions or provide photos and parts lists if you want more details.
Sponsored


Top