Sponsored

MrFahrenheit's Red Rubi

jurfie

Well-Known Member
Joined
Sep 4, 2019
Threads
7
Messages
1,433
Reaction score
1,988
Location
Vancouver, BC
Vehicle(s)
2014 Granite Crystal Metallic JKR; 2016 Daytona Grey Audi A5 Competition Package
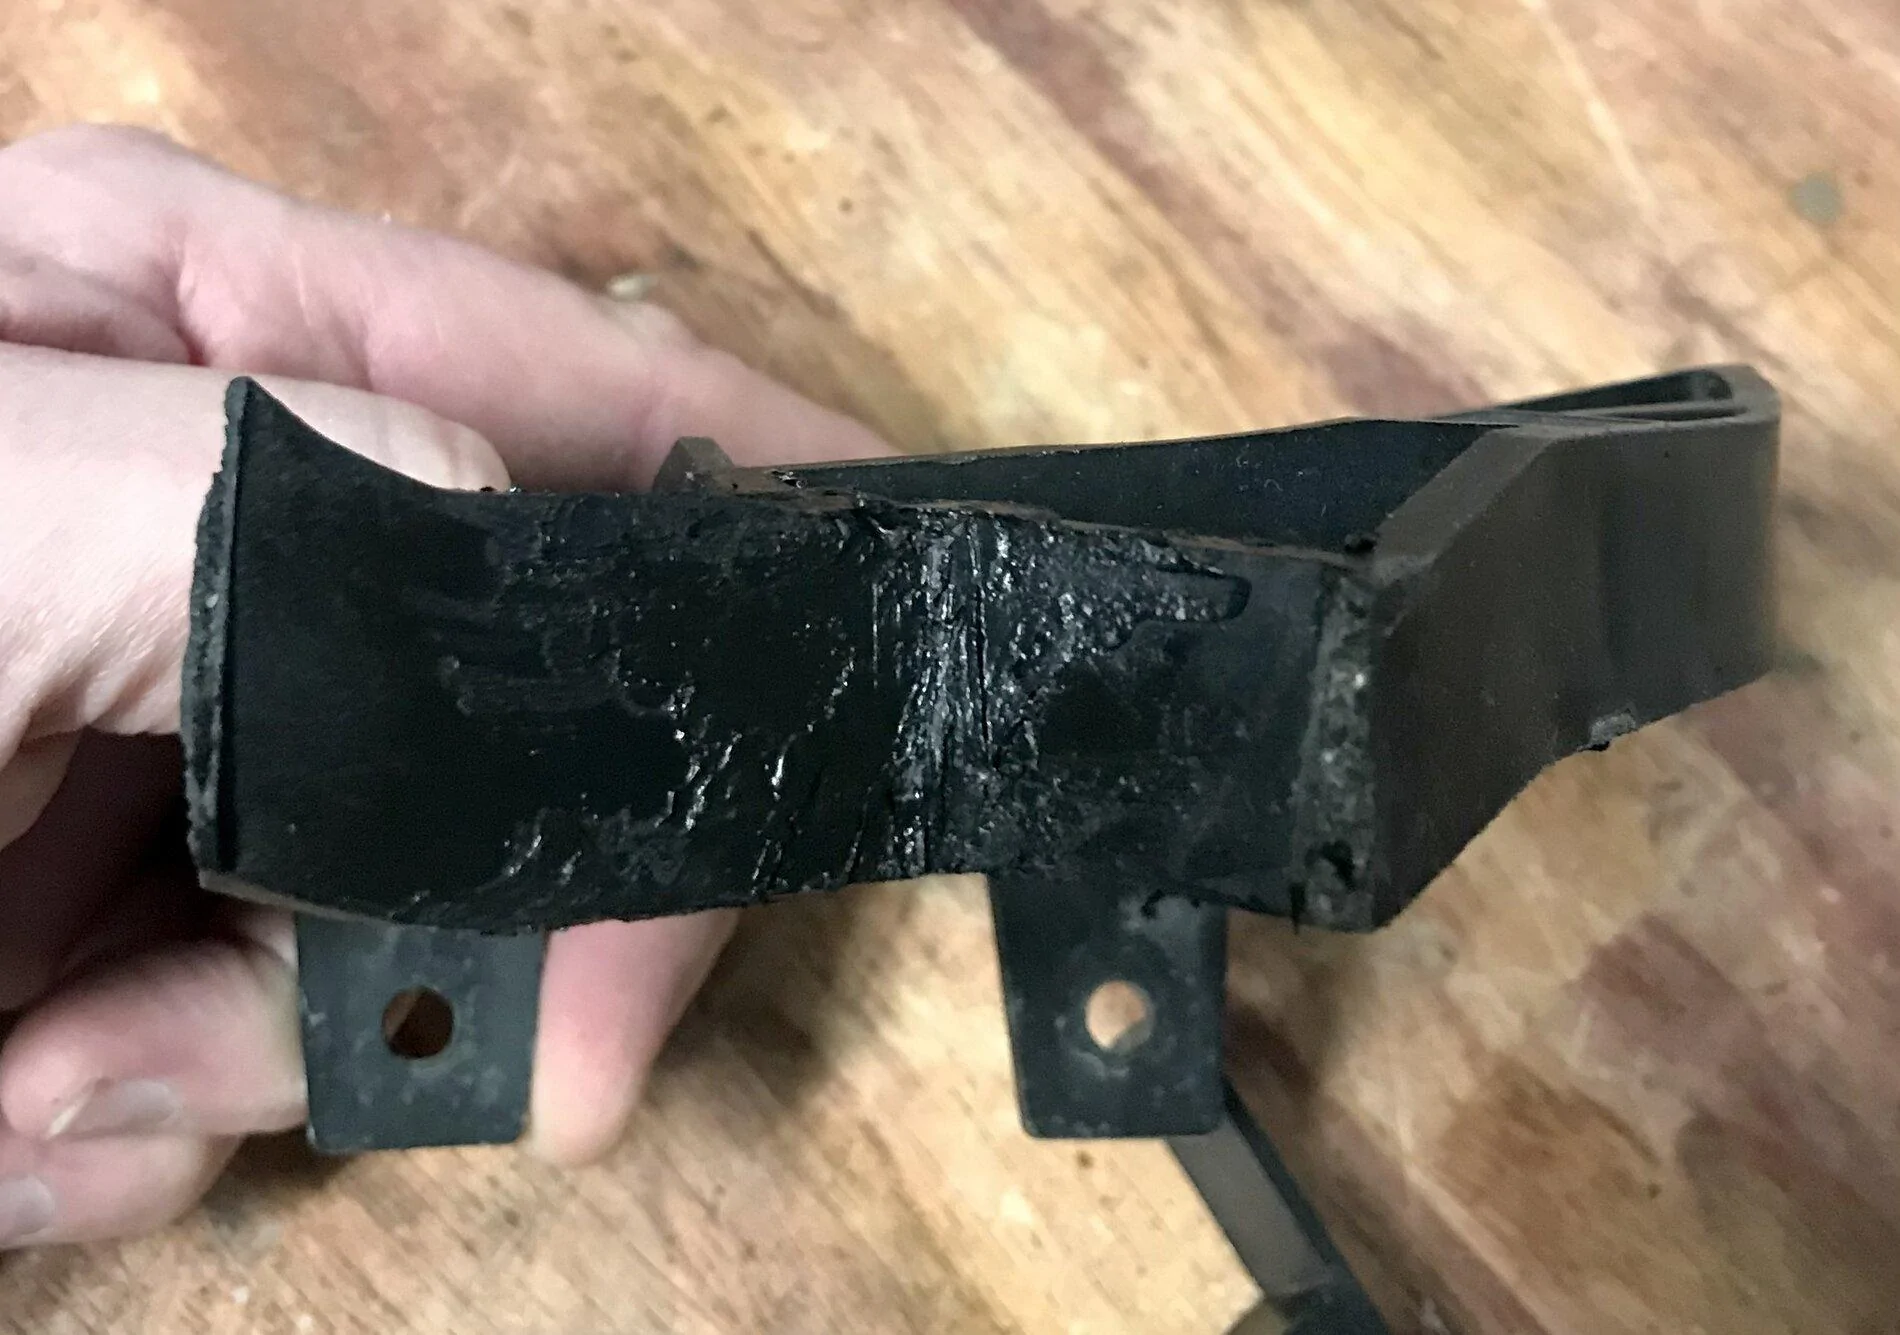
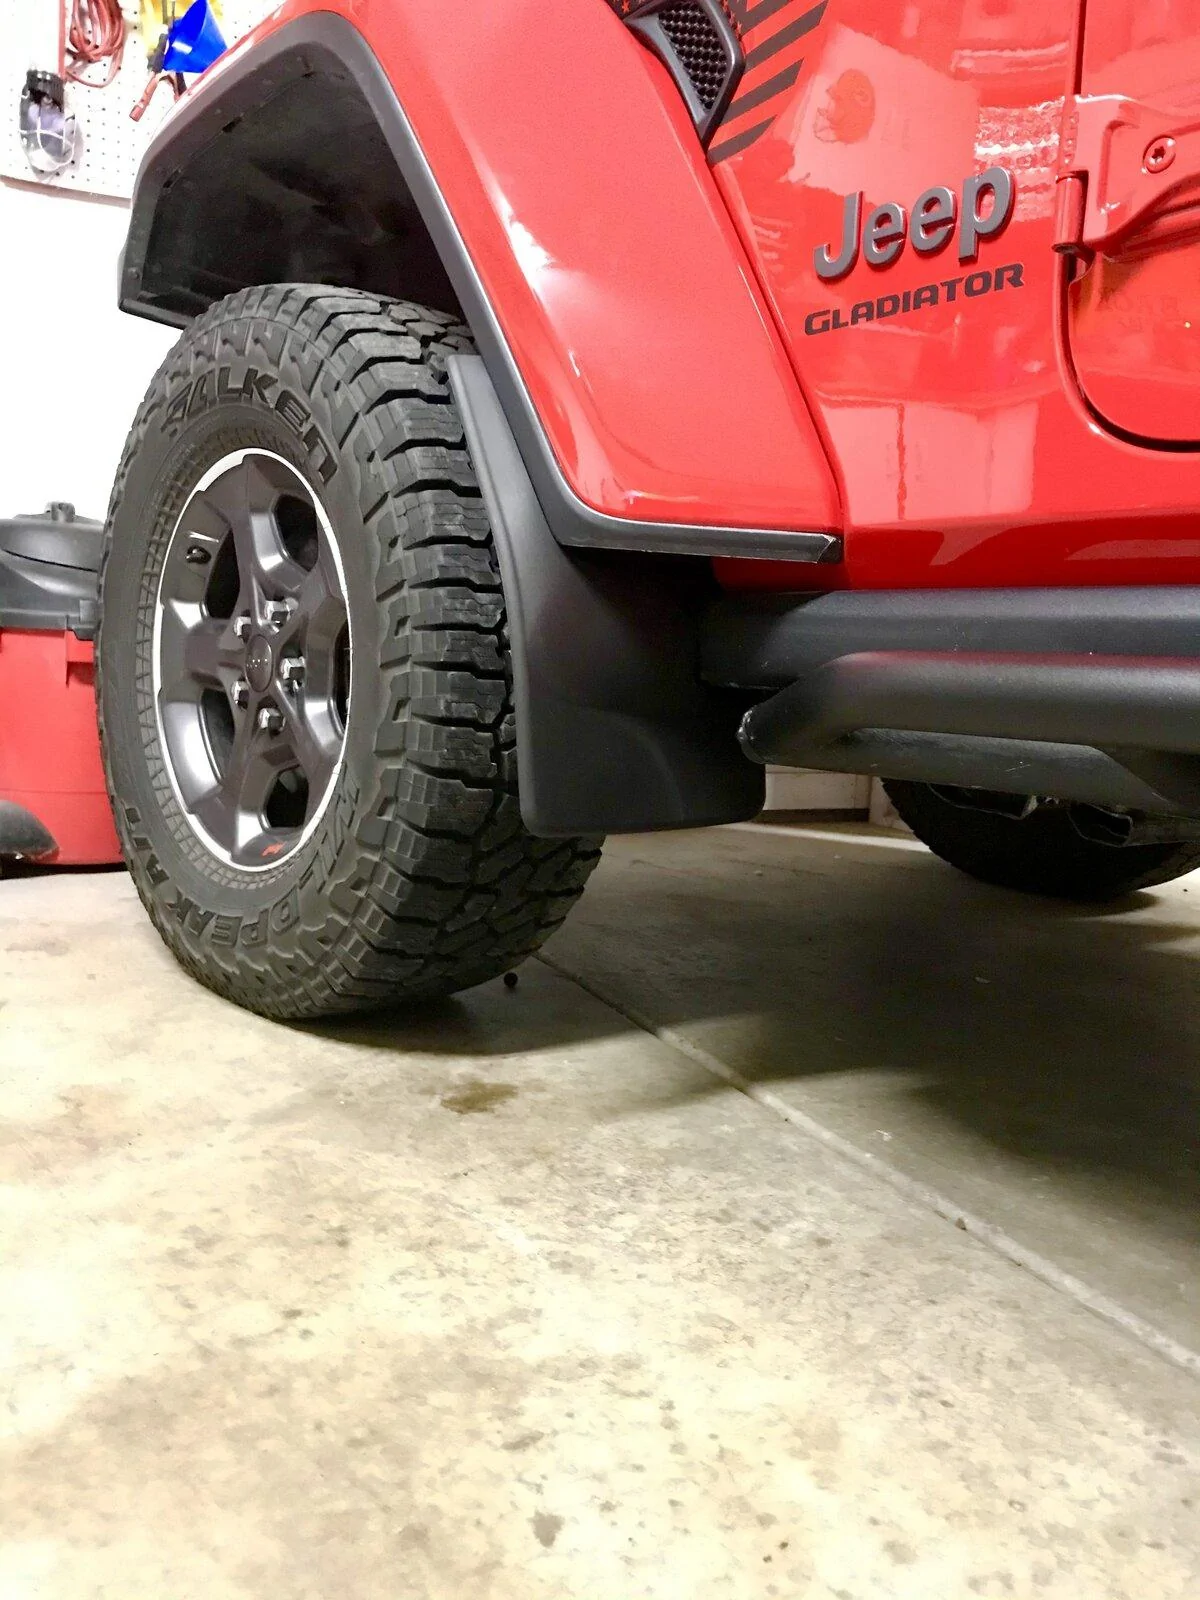
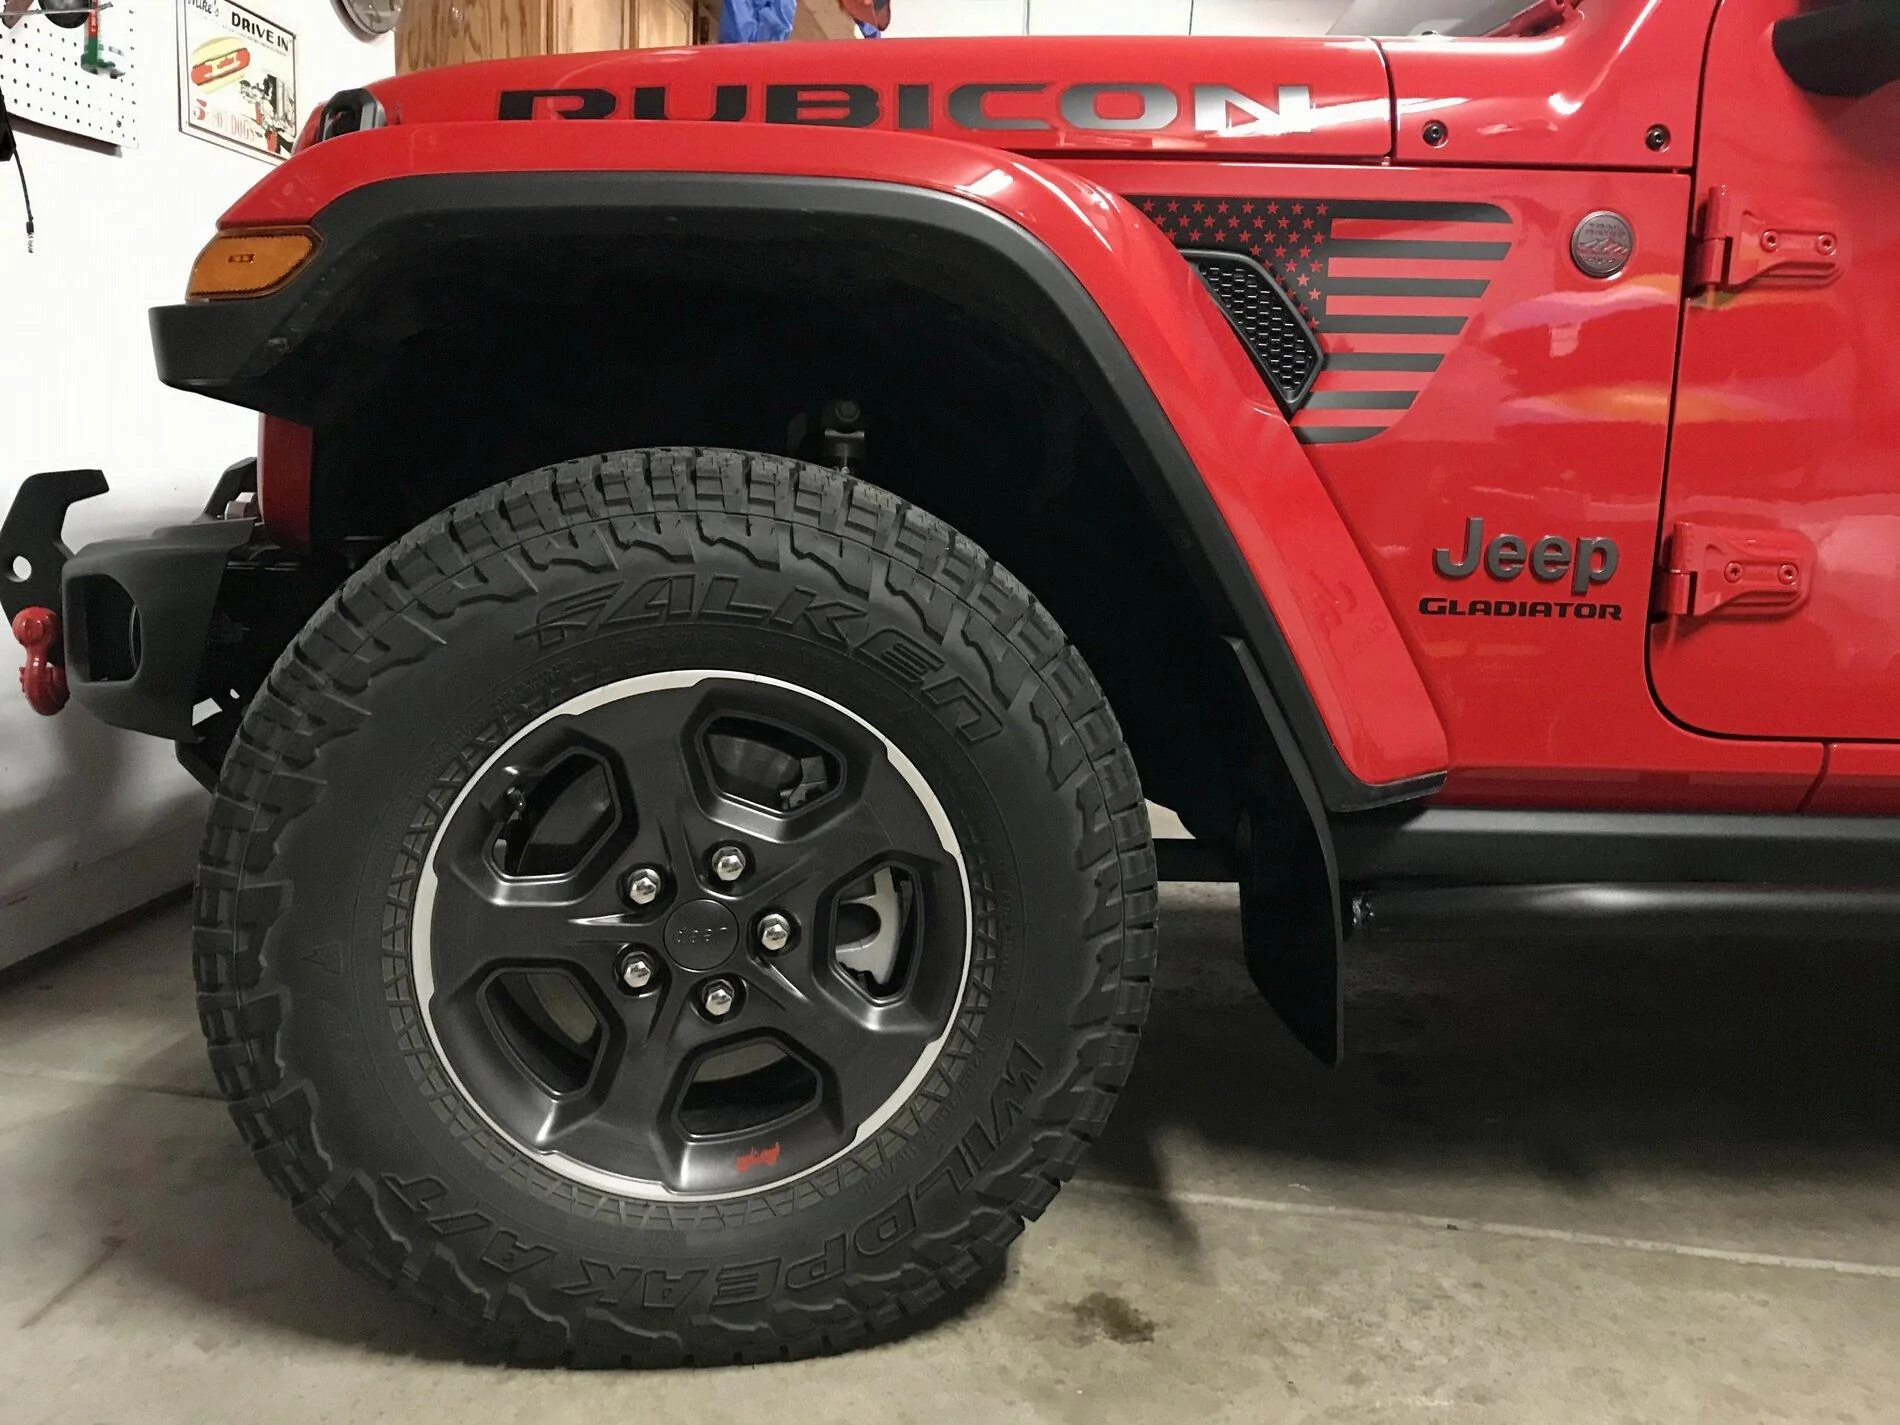
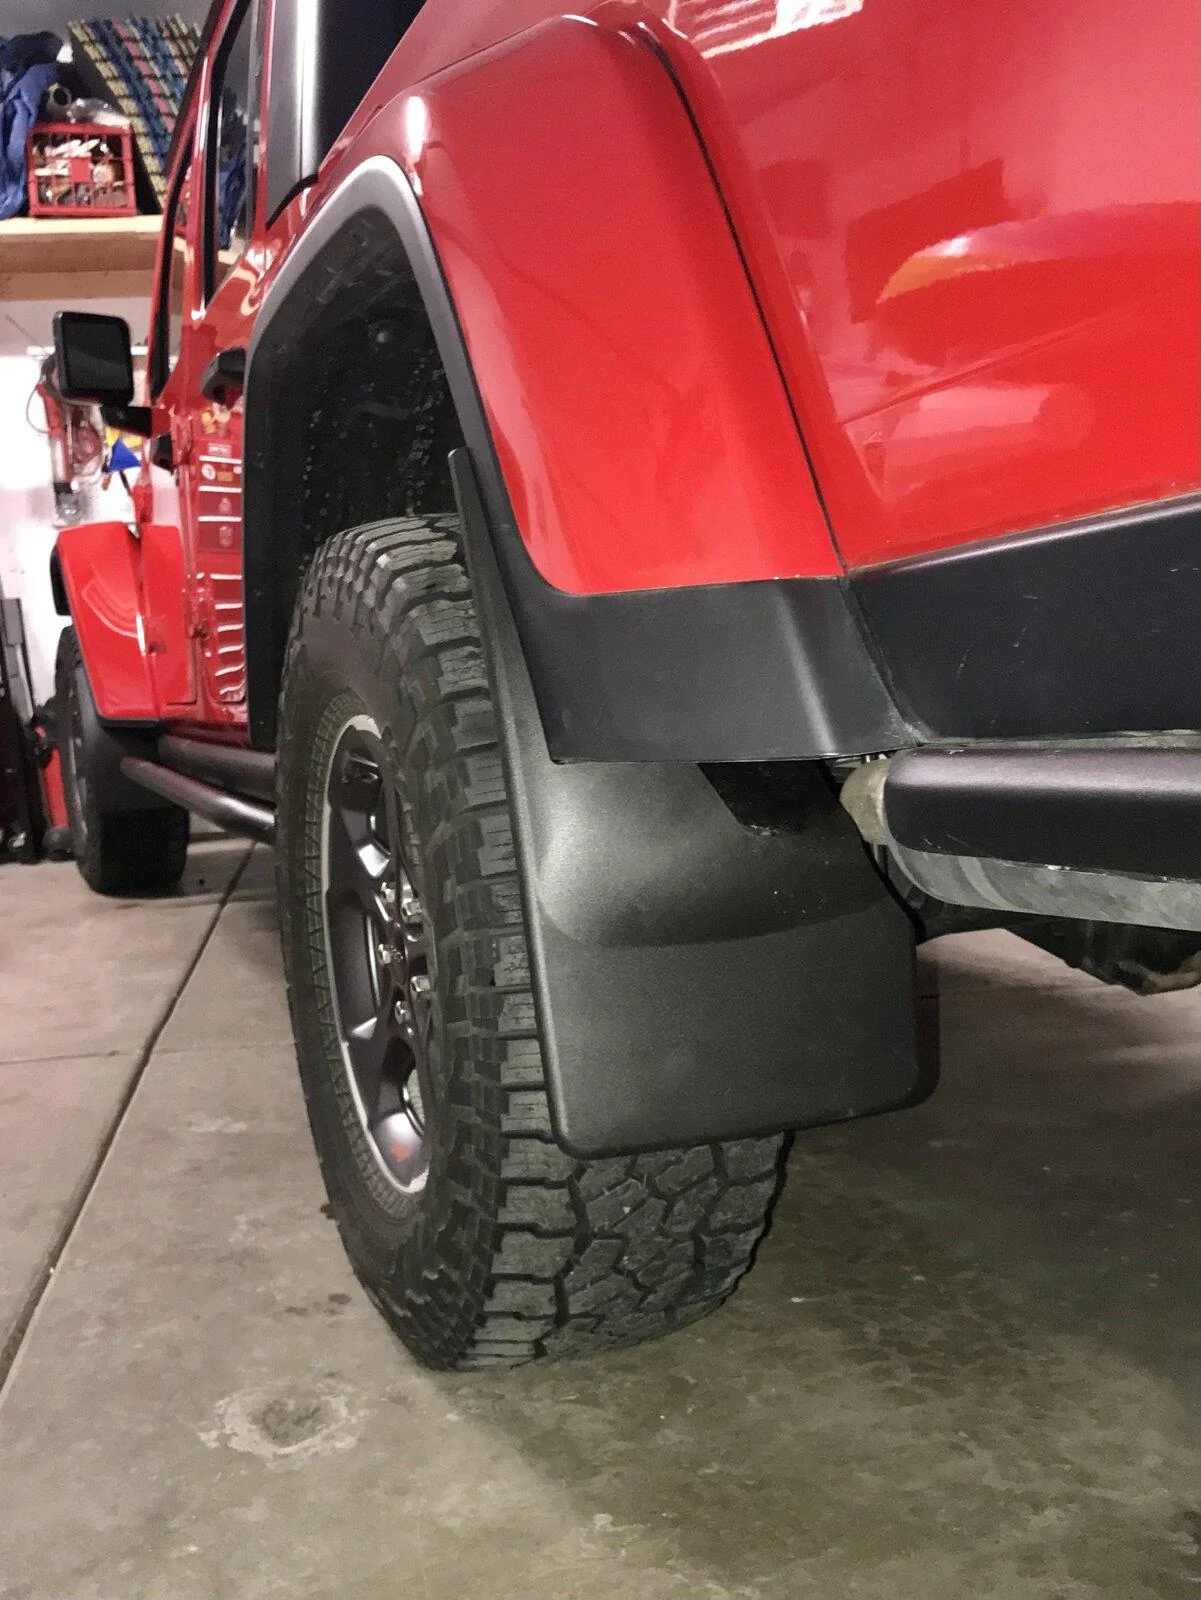
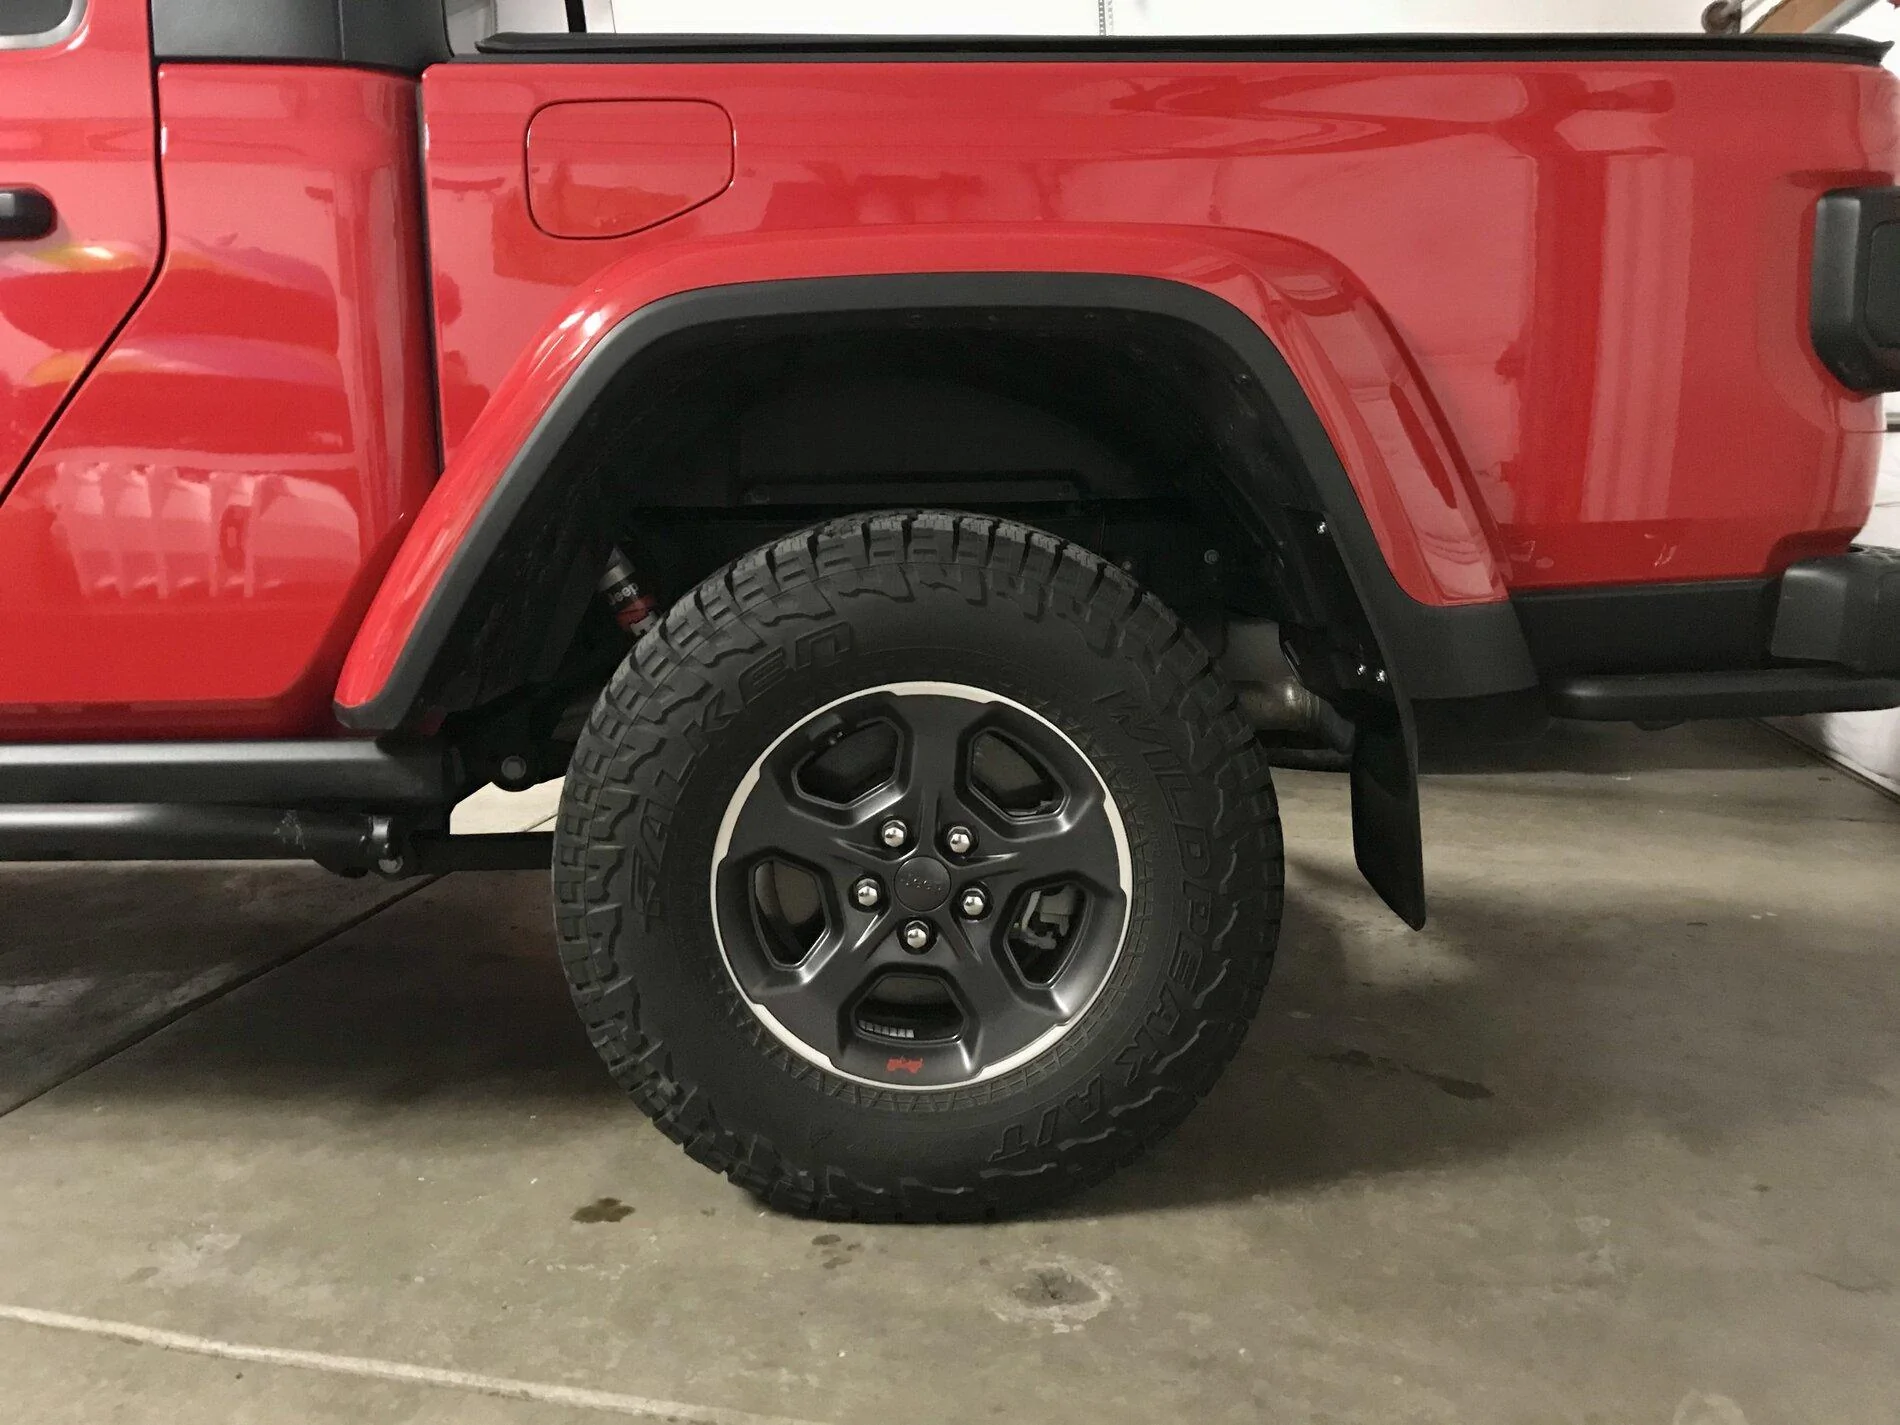
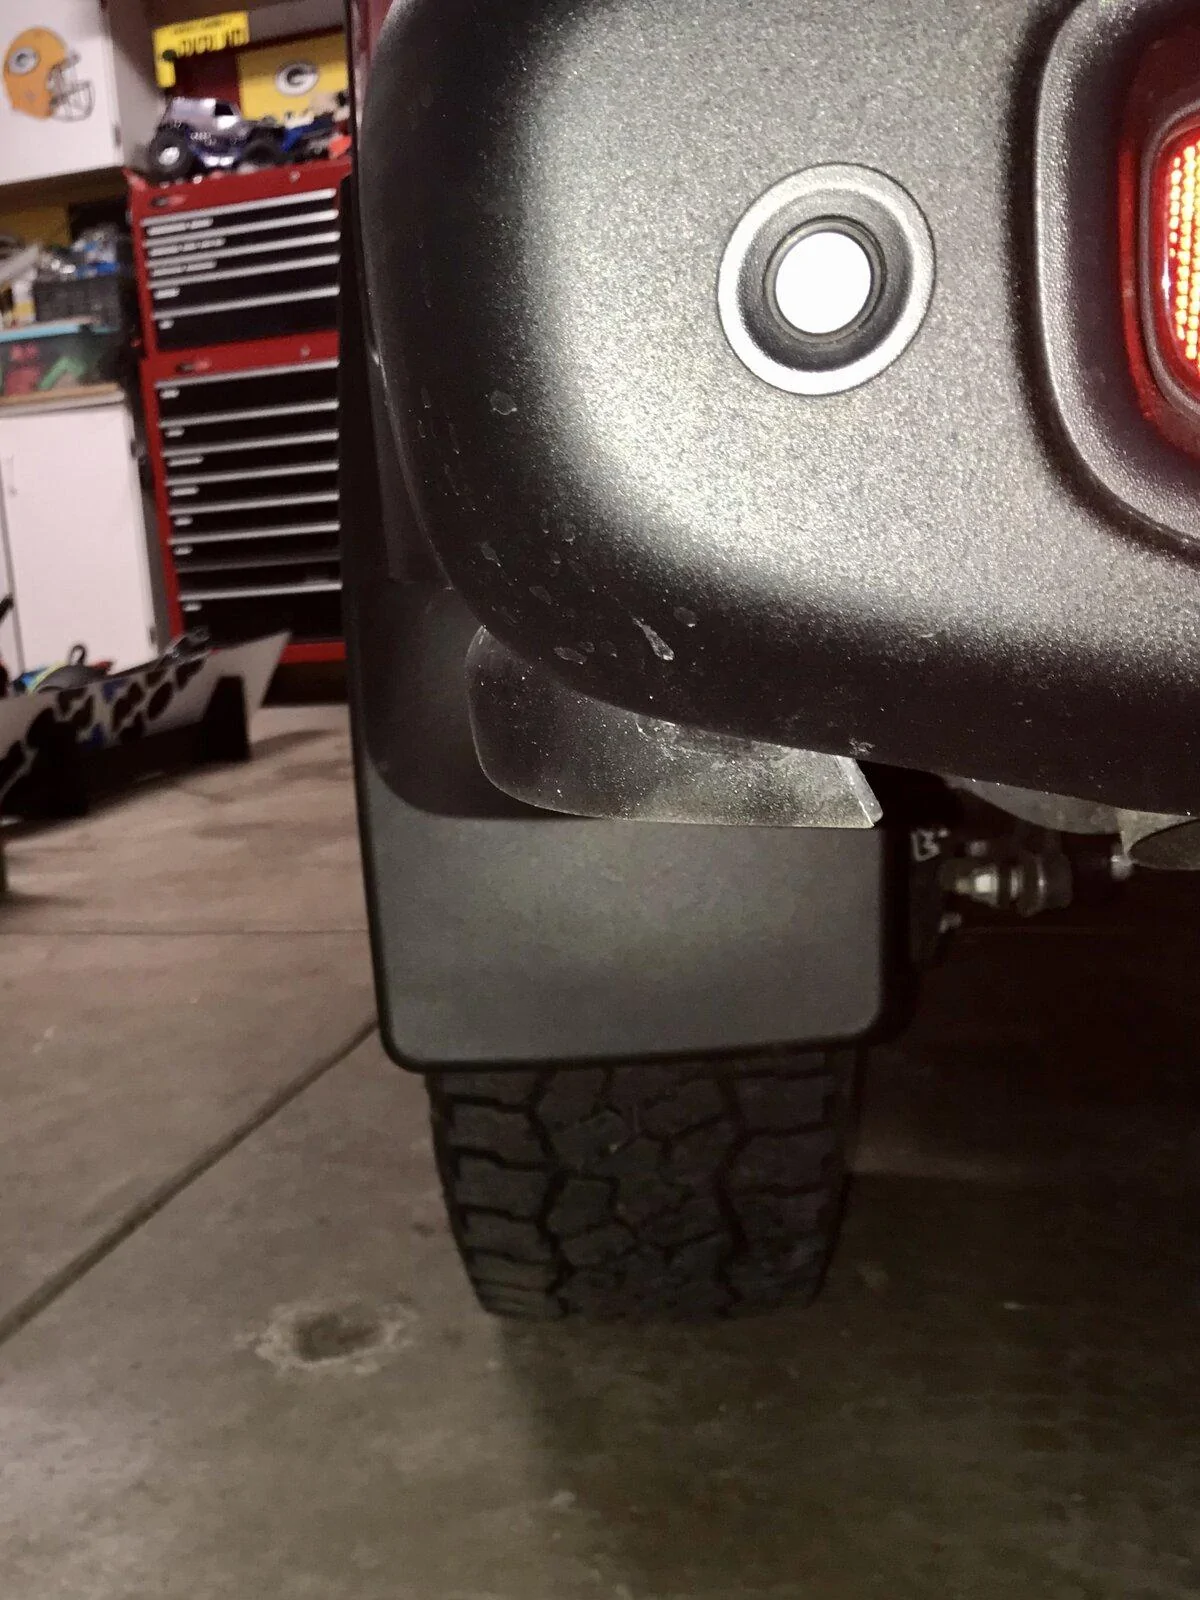
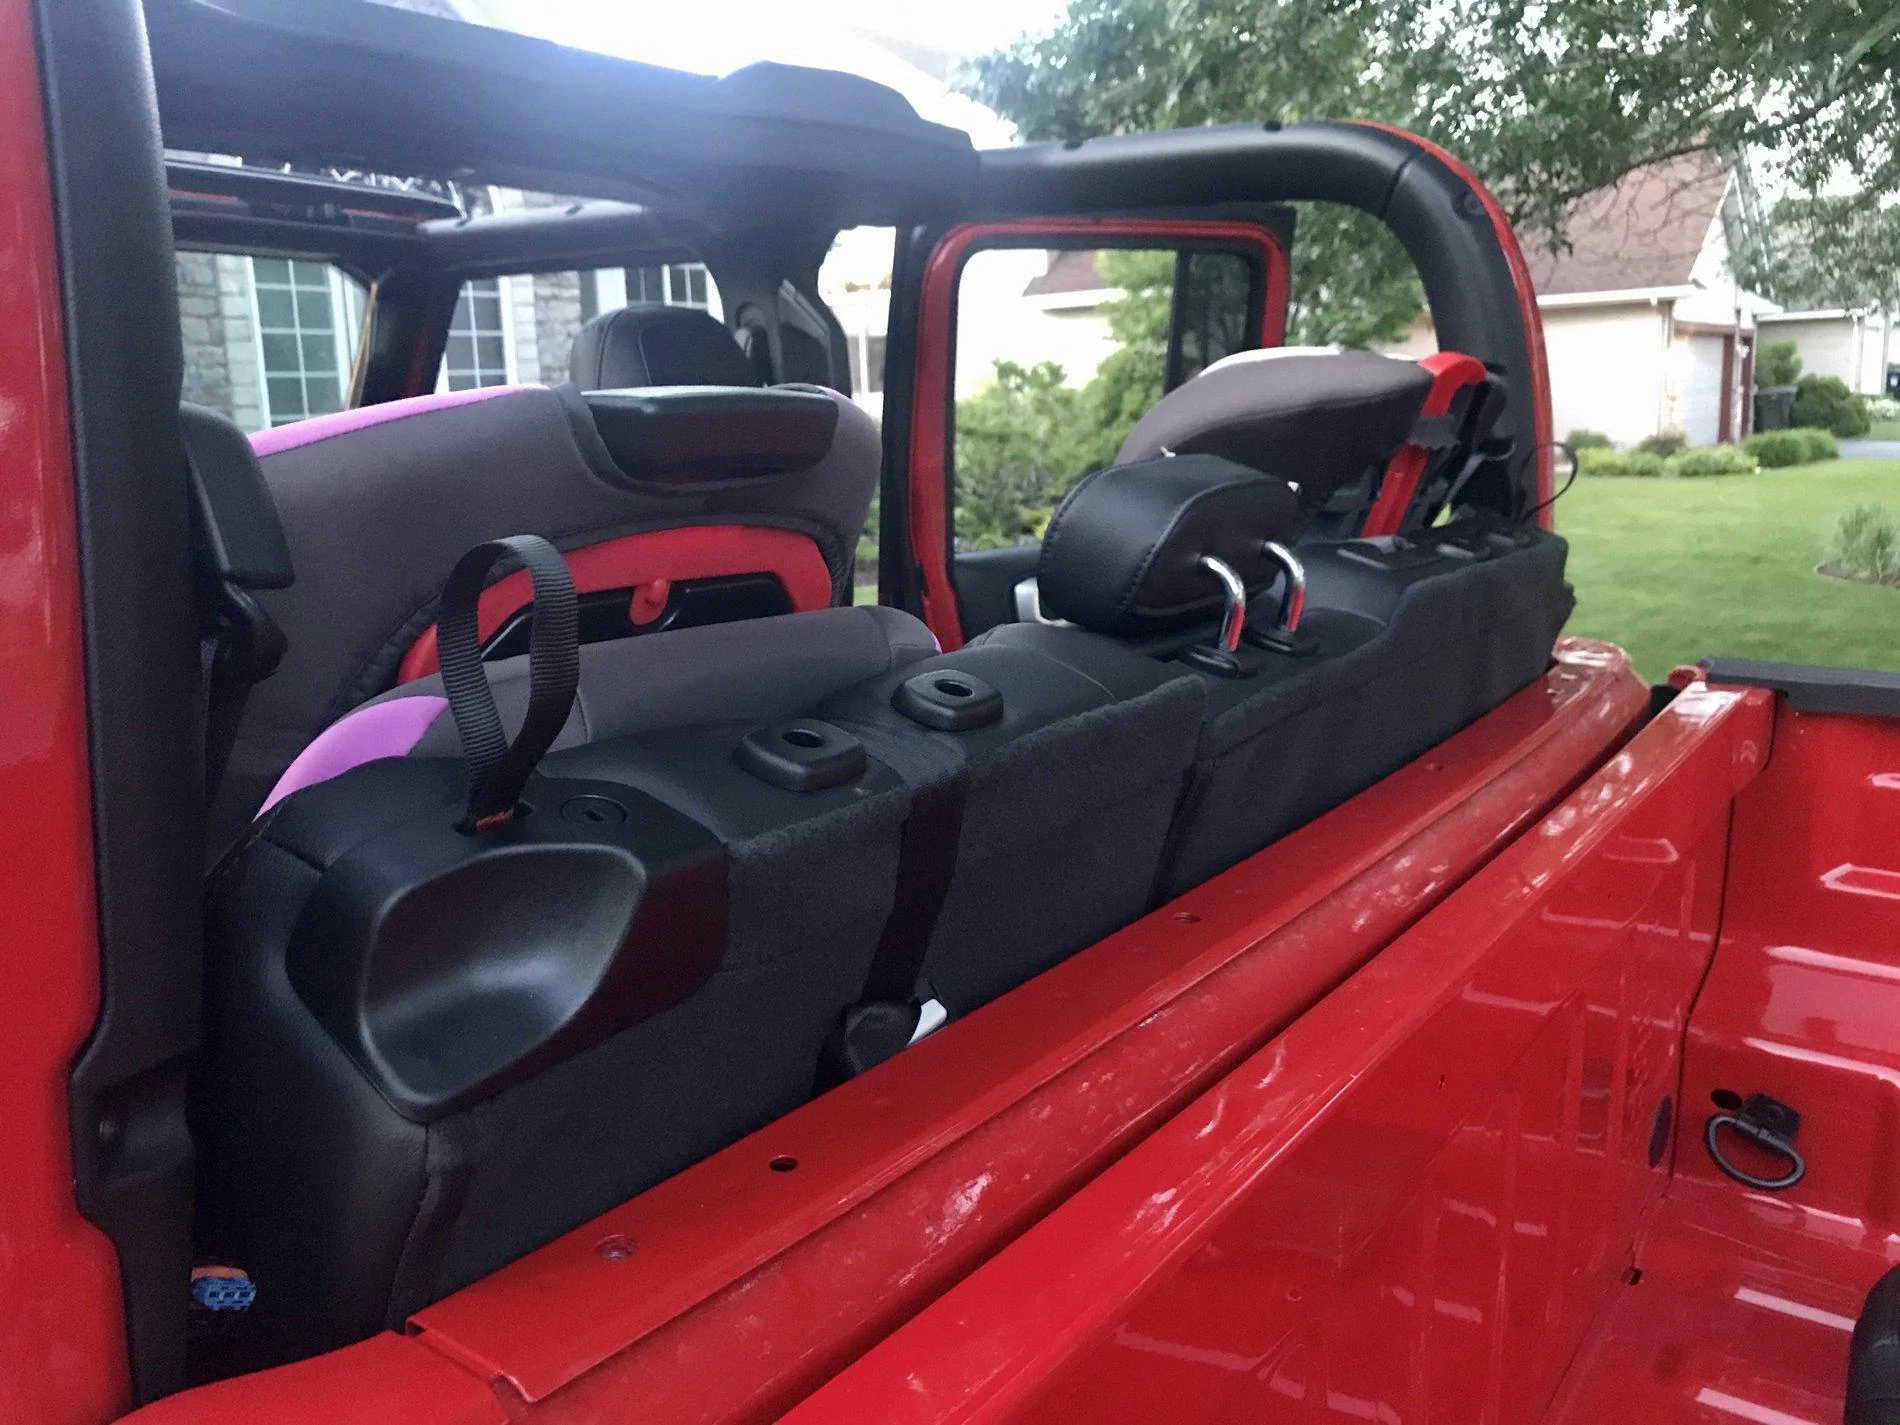
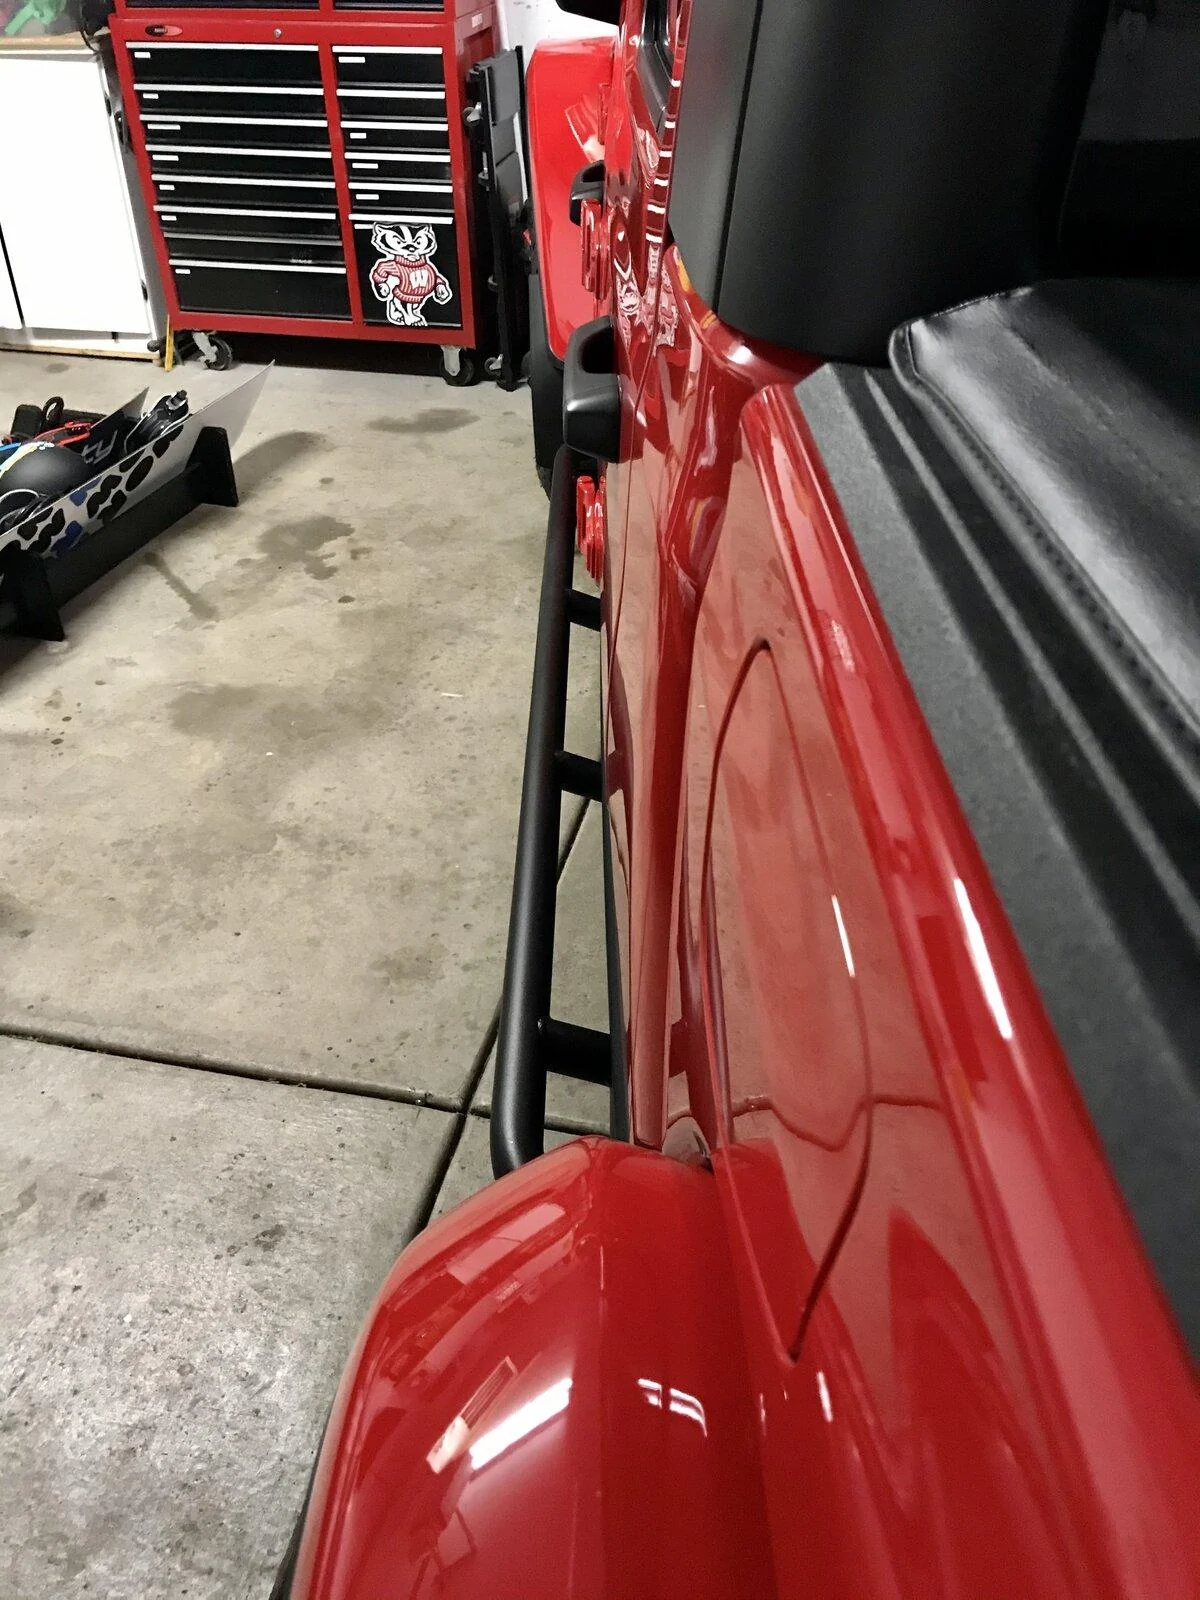
OP
OP
MrFahrenheit

MrFahrenheit

Well-Known Member
First Name
Mike
Joined
Jan 6, 2020
Threads
10
Messages
478
Reaction score
793
Location
Arizona
Vehicle(s)
2020 FC Red Gladiator Rubicon
Build Thread
Link
Just this last weekend I found the time to fix my passenger fender that I broke offroading over the summer. I was coming up a hill and caught the fender on a stump as I was turning a corner. It not only broke some of the clips holding the fender flare to the fender but also broke the support structure at the bottom rear of the passenger fender.

The part circled in red is what I'm talking about. Even though its actually a separate piece from the fender, it is not a part you can get, you'd have to buy a whole new fender flare.

Jeep Gladiator MrFahrenheit's Red Rubi Capture.JPG


This is a picture of my drivers side one that I used as a comparison to rebuild the passenger side one. This piece ties in the fender flare and inner fender liner to the body.

Jeep Gladiator MrFahrenheit's Red Rubi IMG_5572


These were the pieces I still had from the passenger side:

Jeep Gladiator MrFahrenheit's Red Rubi IMG_5573


Being plastic, I new a glue wasn't going to old up well so I started looking at alternatives and discovered plastic welding. Plastic welding is basically just heating up the plastic to the point it melts and by doing so, you can combine pieces of plastic. Harbor Freight sells a glorified soldering iron as a plastic weld kit. This is what I used and it worked very well and includes plastic filler strips you can use to fill in gaps and help mold pieces together:

https://www.harborfreight.com/80-watt-iron-plastic-welding-kit-60662.html

I had watched a ton of videos online and saw someone make a whole custom airbox by cutting his old one up so I figured it would be a good tool for the job. I started out by attaching the small plastic rib to the main structure to get a feel for how it works.

Jeep Gladiator MrFahrenheit's Red Rubi IMG_5574


Jeep Gladiator MrFahrenheit's Red Rubi IMG_5575


After having success with that I moved on to attaching the other large chunk:

Jeep Gladiator MrFahrenheit's Red Rubi IMG_5576


This was the end of the original material I had so Now I had to weld in new plastic to fill the remaining gaps. For this I picked up some HDPE sheets from my local Menards. I bought the thicker of the two available black HDPE sheets but in the end, I should have bought the thinner stuff, more on that later. For those that can't save big money at Menards and are stuck with Home Depot and Lowes (or whatever) I'm sure there are similar options. The only unfortunate thing about it was I could only get it in 2 x 3 foot sheets, and I only needed about a 1 x 5 inch piece....

This is the part number from Menards:

Jeep Gladiator MrFahrenheit's Red Rubi IMG_5578


Cutting out pieces of this material, I welding in the missing pieces:

Jeep Gladiator MrFahrenheit's Red Rubi IMG_5579


Jeep Gladiator MrFahrenheit's Red Rubi IMG_5580


The above was the finished piece. It came out way better than I expected and plastic welding was way easier than I thought it would be. Now, onto why I should have bought the thinner material. In the first picture showing the drivers side, in the bottom middle you can see there is a white fender clip that goes through this piece and secures it to the body. Well, the material I bought was WAY to thick for this clip to slide over so I ended up having to use my Dremel and thin down that area by at least half in order to get the clip to slip over. In the below picture, I circled in green where I had to grind down. This picture shows it re-installed on the vehicle, minus a few clips because of some additional mods happening.

Jeep Gladiator MrFahrenheit's Red Rubi InkedIMG_5584_LI


It's amazing how much more secure the inner fender liner is with this piece back in place. It's unfortunate that Jeep doesn't sell this part as I know I'm not the only one that has broken one, however, if you do break yours, save as many pieces as you can and repair it like I did!
 
OP
OP
MrFahrenheit

MrFahrenheit

Well-Known Member
First Name
Mike
Joined
Jan 6, 2020
Threads
10
Messages
478
Reaction score
793
Location
Arizona
Vehicle(s)
2020 FC Red Gladiator Rubicon
Build Thread
Link
The last mod I got done, now that my fender flare was repaired, was to add the WeatherTech mudflaps that I bought at the end of November. it's amazing how much stuff sprays up on the sides of our vehicles even in stock form. I wanted something that complimented the truck while offering some more protection. I am not a fan of the RockBlokz flares. They are WAY to expensive and, in my opinion, are ugly. Unfortunately, they are probably the only real protection for those that have tires that stick out past the fender flares. Since my truck has stock tires, the WeatherTech's were the answer for me.

The WeatherTech mud flaps are molded for the Rubicon, I believe they have ones for other models as well but I needed ones that worked with the Rubi Rails. They attach very easily and while they do not boast being a no tool removal like the RockBlokz ones I think they could be easily modified to remove with no tools. As it is, you would need a socket or two, a Philips screwdriver and a trim tool to get them off.

I haven't had a chance to drive through the Minnesota slush and snow yet with them so I will report back as to their effectiveness at a later point.

Front:

Jeep Gladiator MrFahrenheit's Red Rubi IMG_5595


Jeep Gladiator MrFahrenheit's Red Rubi IMG_5596


Front Coverage:

Jeep Gladiator MrFahrenheit's Red Rubi IMG_5594


Rears:

Jeep Gladiator MrFahrenheit's Red Rubi IMG_5599


Jeep Gladiator MrFahrenheit's Red Rubi IMG_5597


Rear Coverage:

Jeep Gladiator MrFahrenheit's Red Rubi IMG_5598
 

ian.miller

Member
First Name
Ian
Joined
Dec 18, 2020
Threads
7
Messages
12
Reaction score
0
Location
Dallas
Vehicle(s)
2021 jeep gladiator sport s
Occupation
Pediatric anesthesiologist
While I had the top off today I decided to tackle taking out the rear passenger headrests so my kid's car seats could finally sit flush against the rear seat's. I'm 100% positive the passenger rear headrests were made not easily removable as a safety feature with the rear glass right there but man, it really it a pain in the ass for people with car seats as they interfere with their installation..

I followed the PDF's in this link: https://www.jeepgladiatorforum.com/...adrest-removal-process-from-fca-manual.22237/

The only difference is that I didn't take the hard board backing off the seat like they mention. As other photos show in that link, there are two cutouts that give access to the tabs that must be pushed in. These tabs were a real pain, they cannot be pressed in my mere mortal's hands. I used a pair of channel locks and squeezed them a bunch. Once they seemed kind of 'flat', I squeezed them with the channel locks and pulled out on that side of the headrest with the seat back folded down. There is enough play that the tabs can move into the outer sleeve and stay there while you rinse and repeat on the other side. These tabs hold in the inner sleeve, which goes all the way up and out of the top of the seat ending with the rectangles on the outer top of the seat that the headrest slides into. There are clips near the top of these sleeves that clip into a notch in the headrest poles keeping them in place. The second headrest went much faster than the first.

Headrests out!

Jeep Gladiator MrFahrenheit's Red Rubi IMG_5598


Before, the tops of the the car seats would be pushed up against the headrest keeping the back of the carseat from sitting flush against the rear seat.

Jeep Gladiator MrFahrenheit's Red Rubi IMG_5598
Love it. We are still rear facing in my household, but this is definently in our future.
I’m also curious. Have you found a way to remove the hardtop with the carseats installed?? Or are you having to remove and replace the car seats each time?

looks like a fun family ride.
Sponsored


Top