jwt123
New Member
- Thread starter
- #1
I posted some photos of my new bed lights on Reddit and was asked to do a write up on them so here goes. First of all I realize that some of the wiring is overkill (12 gauge wire for tiny LED lights is way overkill) but I used what I had available. I'll post Amazon links of what I used or something pretty close.
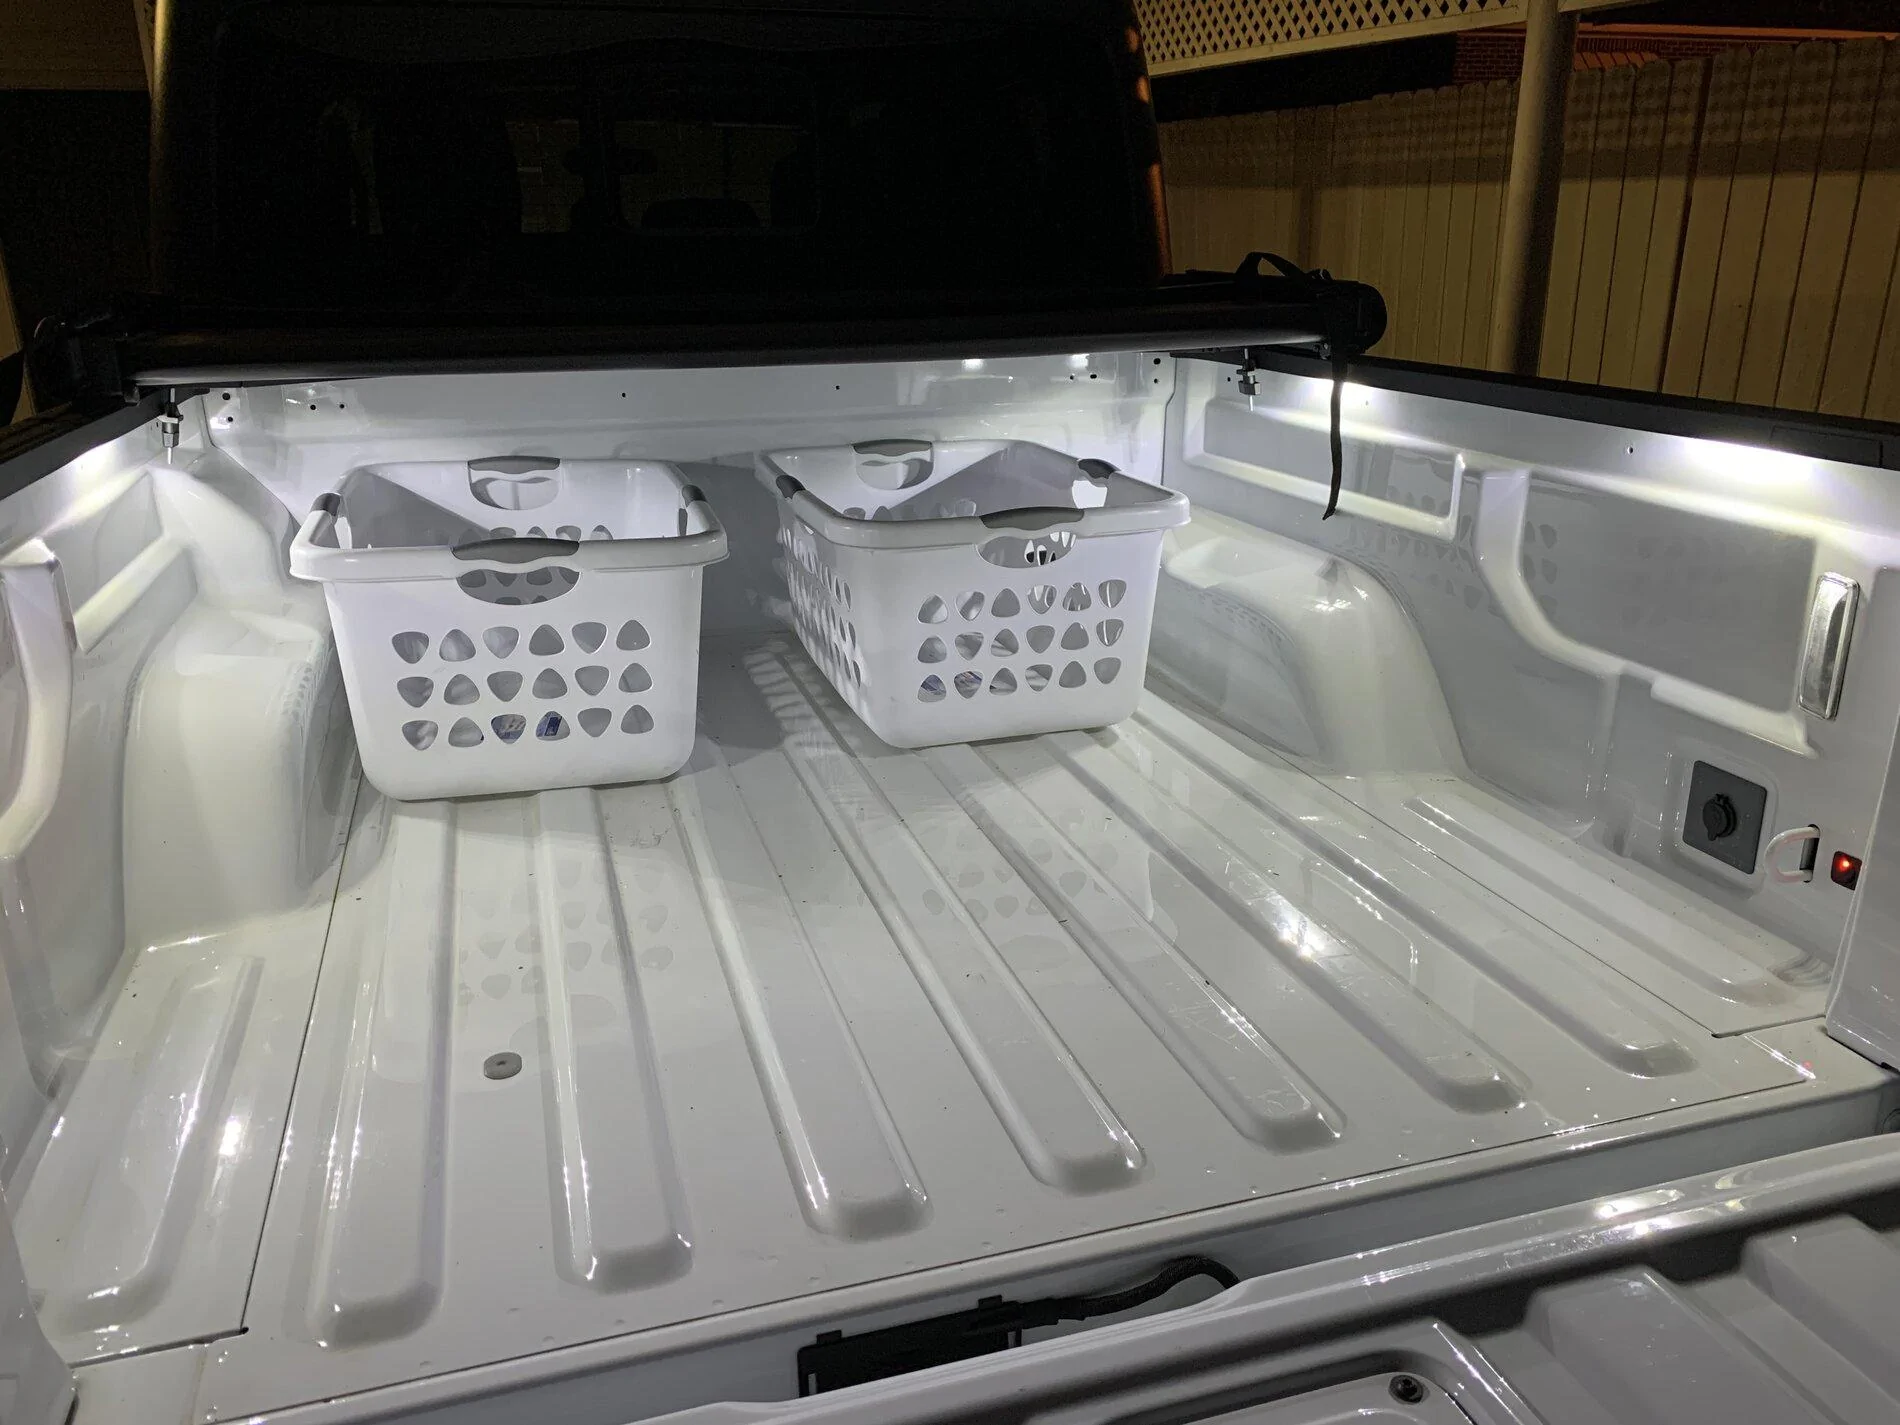
Here are some pictures of the final product. (Ignore the 12v plug - it isn't wired up yet)


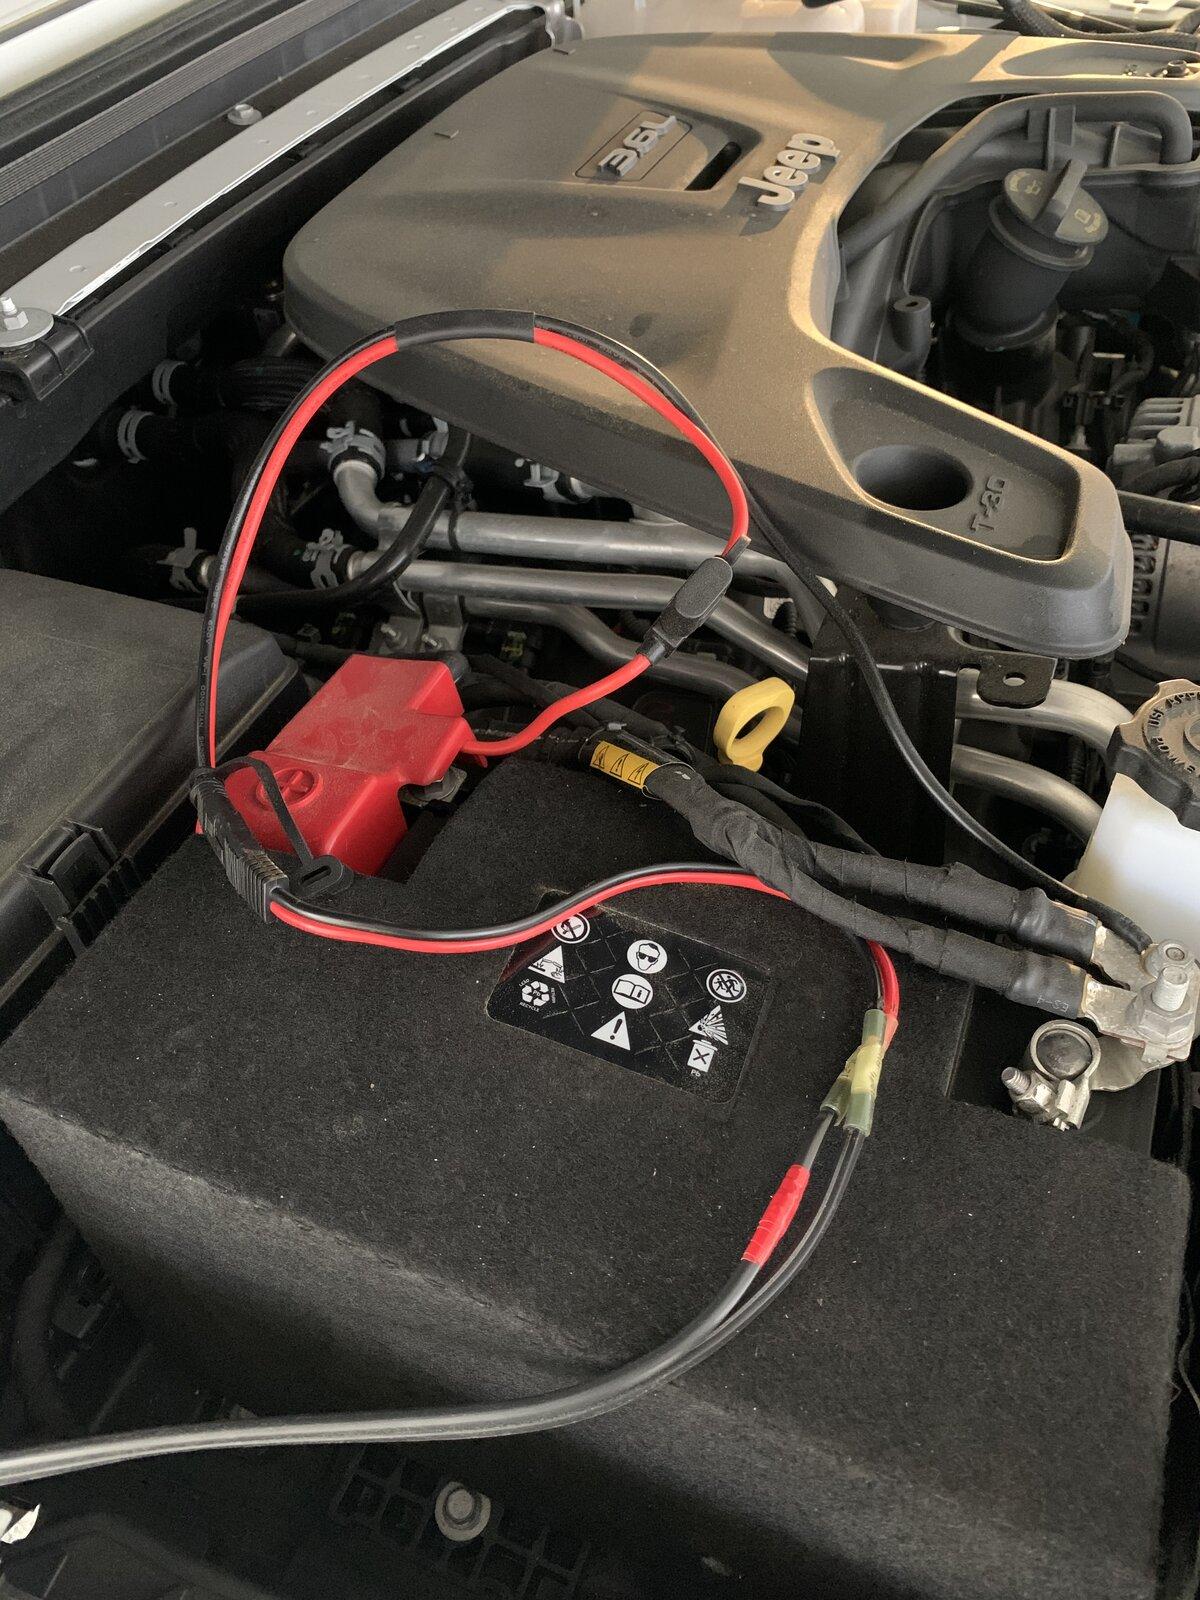
I used this fused harness to hook to the battery.
I used this SAE pigtail to hook to the battery harness and used heat shrink butt connectors to join in to the wiring running to the rear of the Gladiator on the passenger side. I had a roll of low voltage direct burial 12-2 cable laying around from a project a couple of years ago so that's what I used for my wire on this project.
Here it is all hooked up.
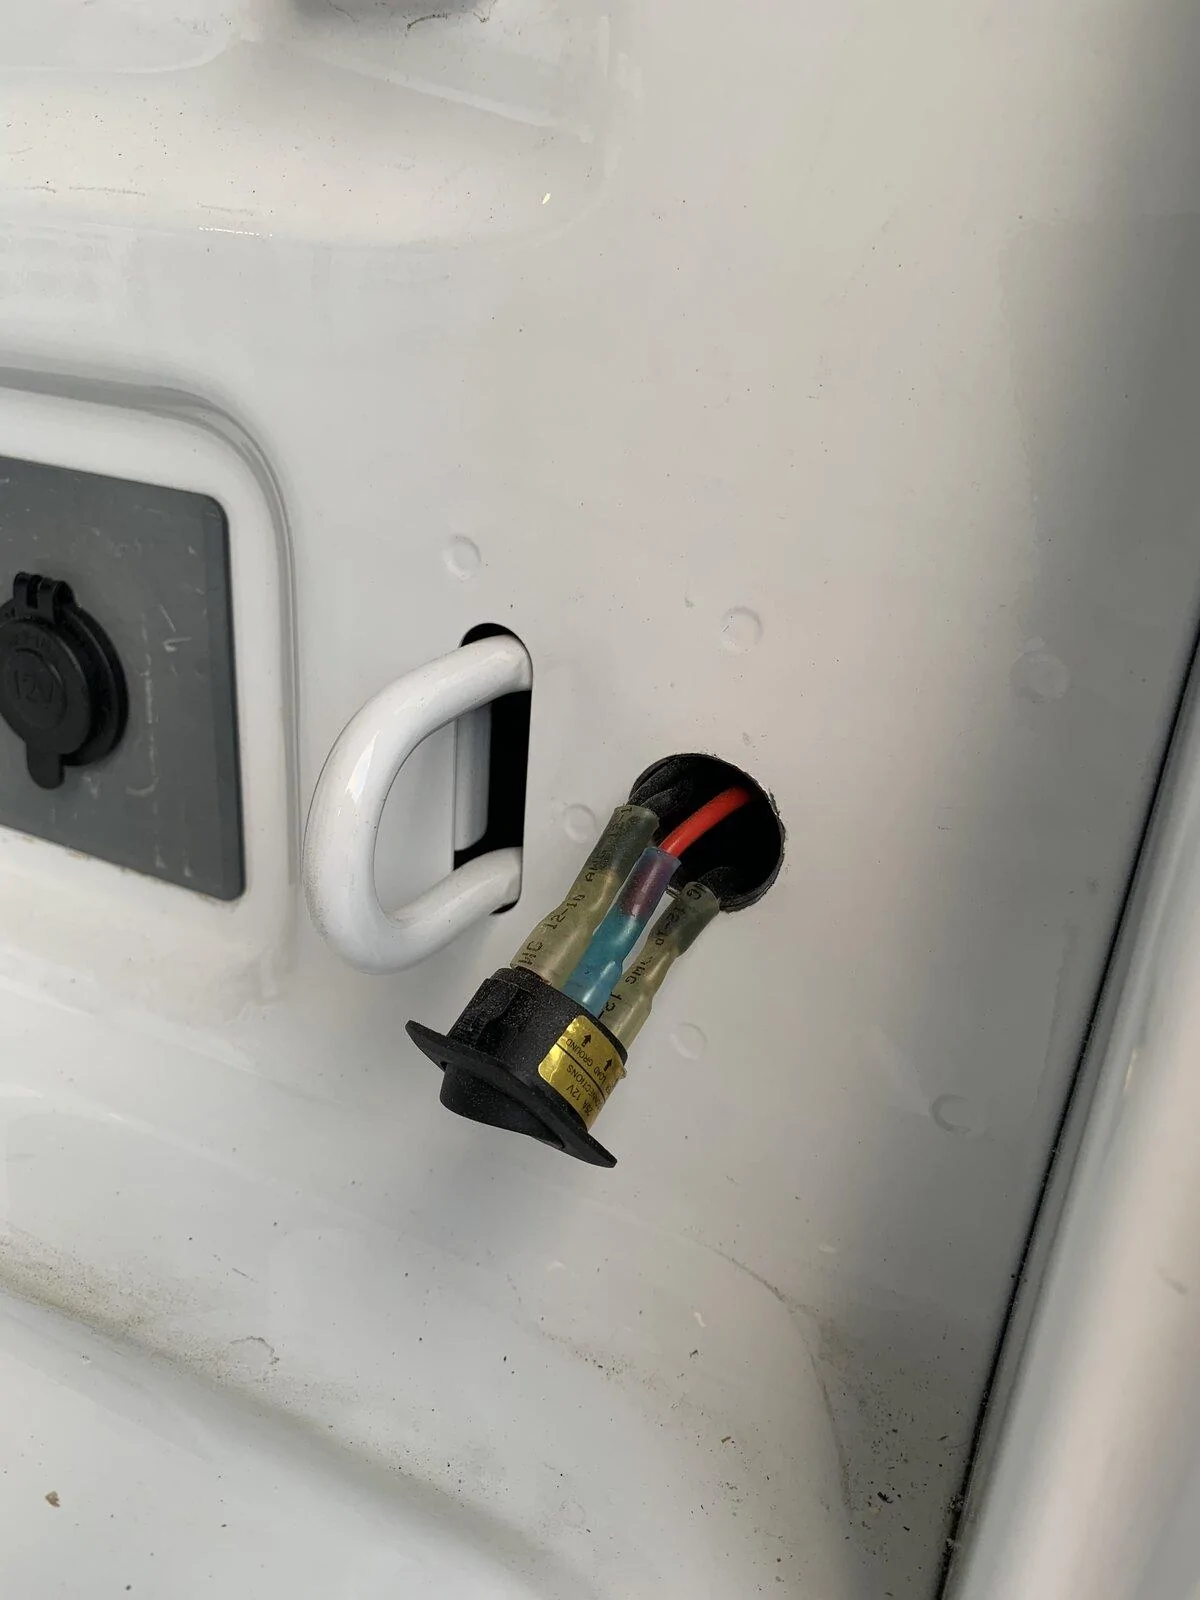
Here are the lights I used. There were 8 lights in the package but I only used 4 for this project. The kit comes with a switch you could use (I used one I already had). There was already a hole in the bed where I put the switch. I had to enlarge it to make the switch fit. Here is the switch out of the hole.
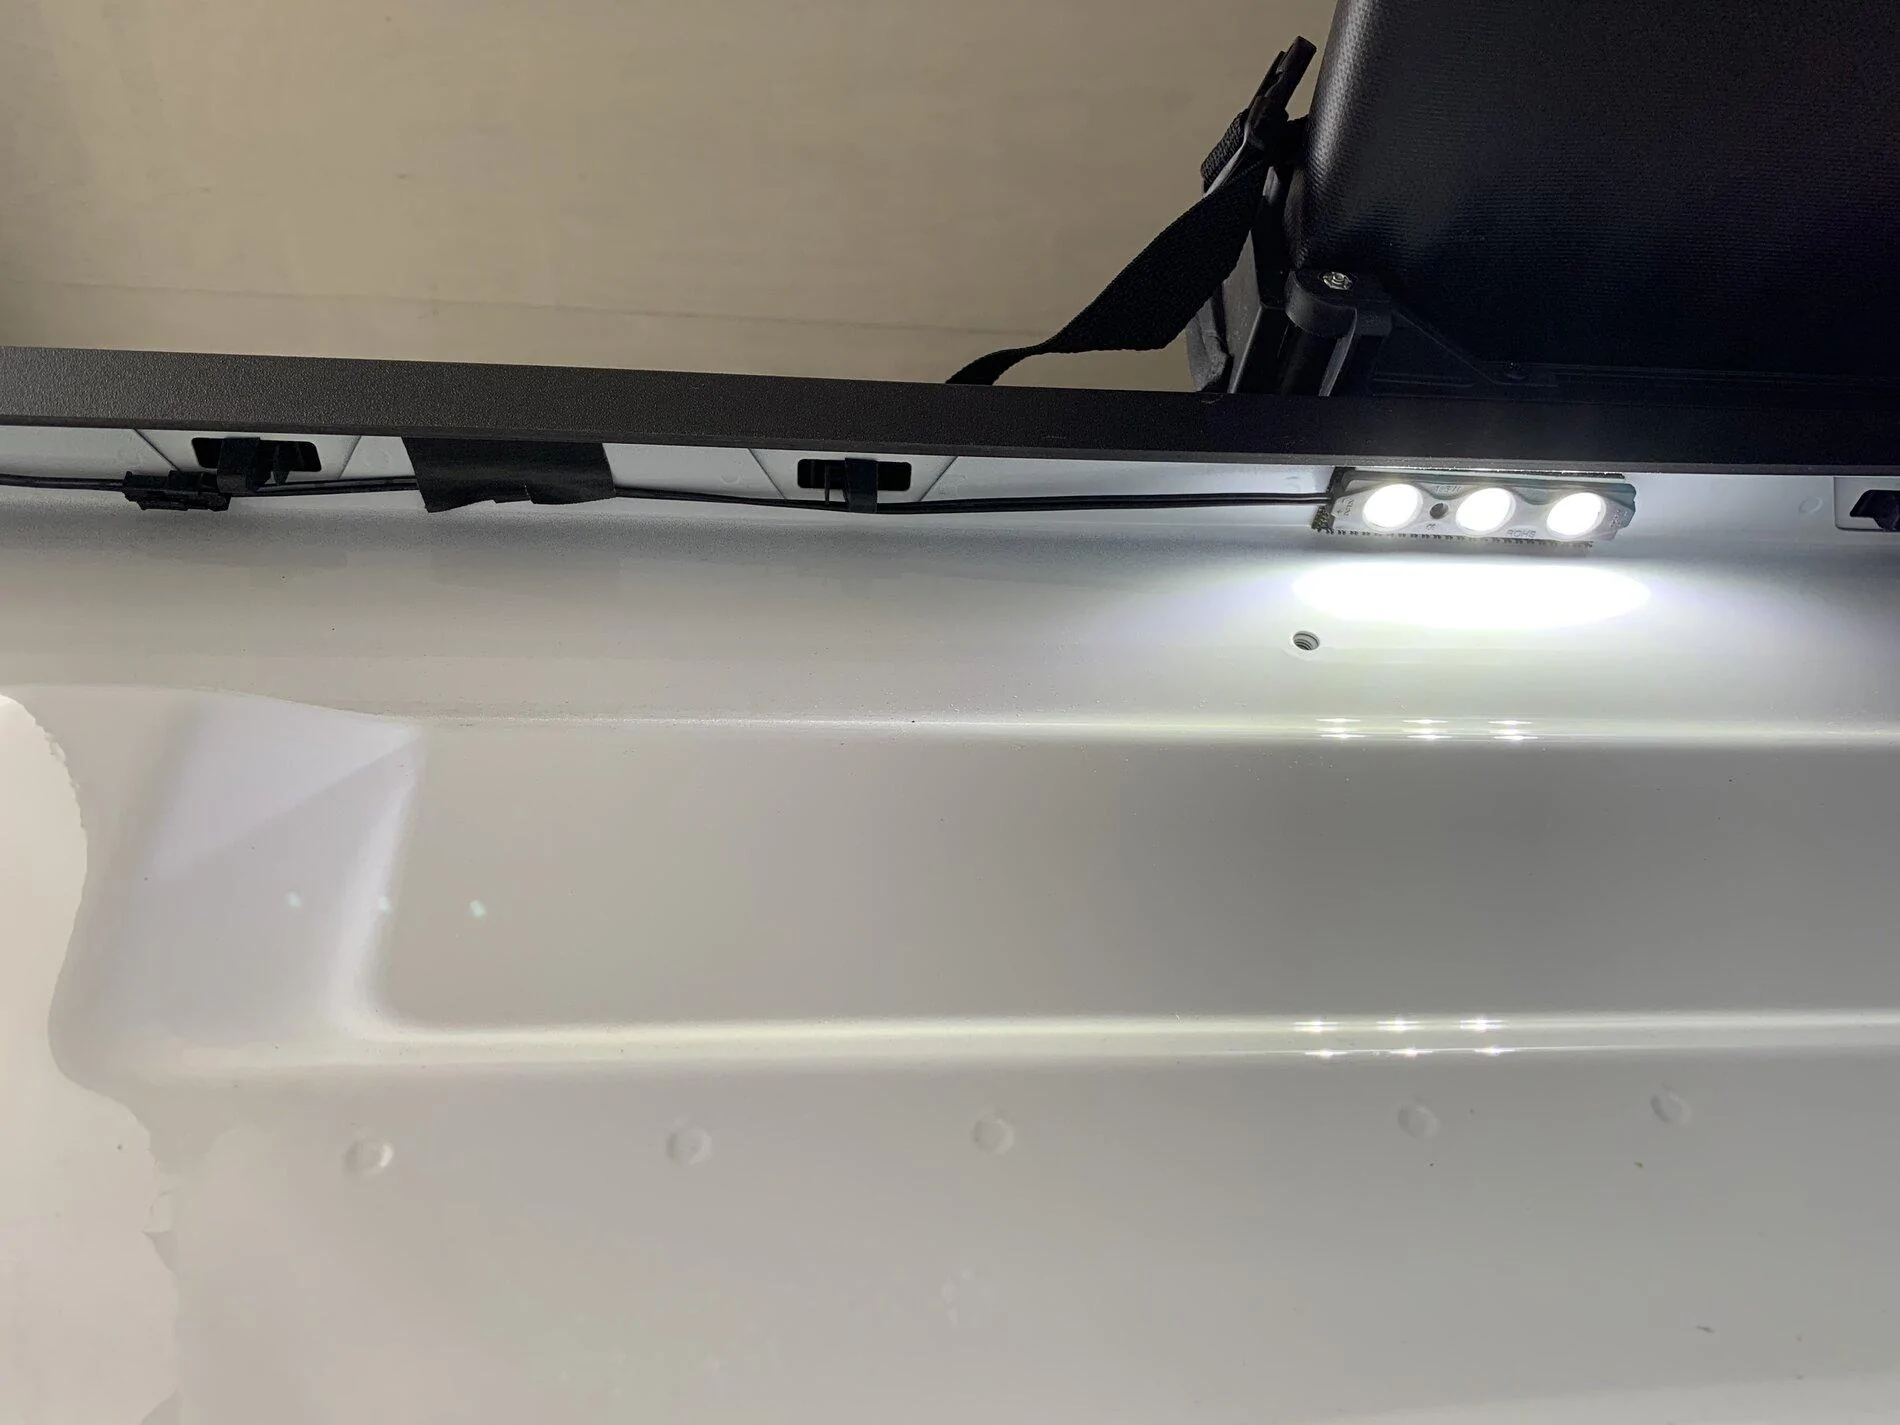
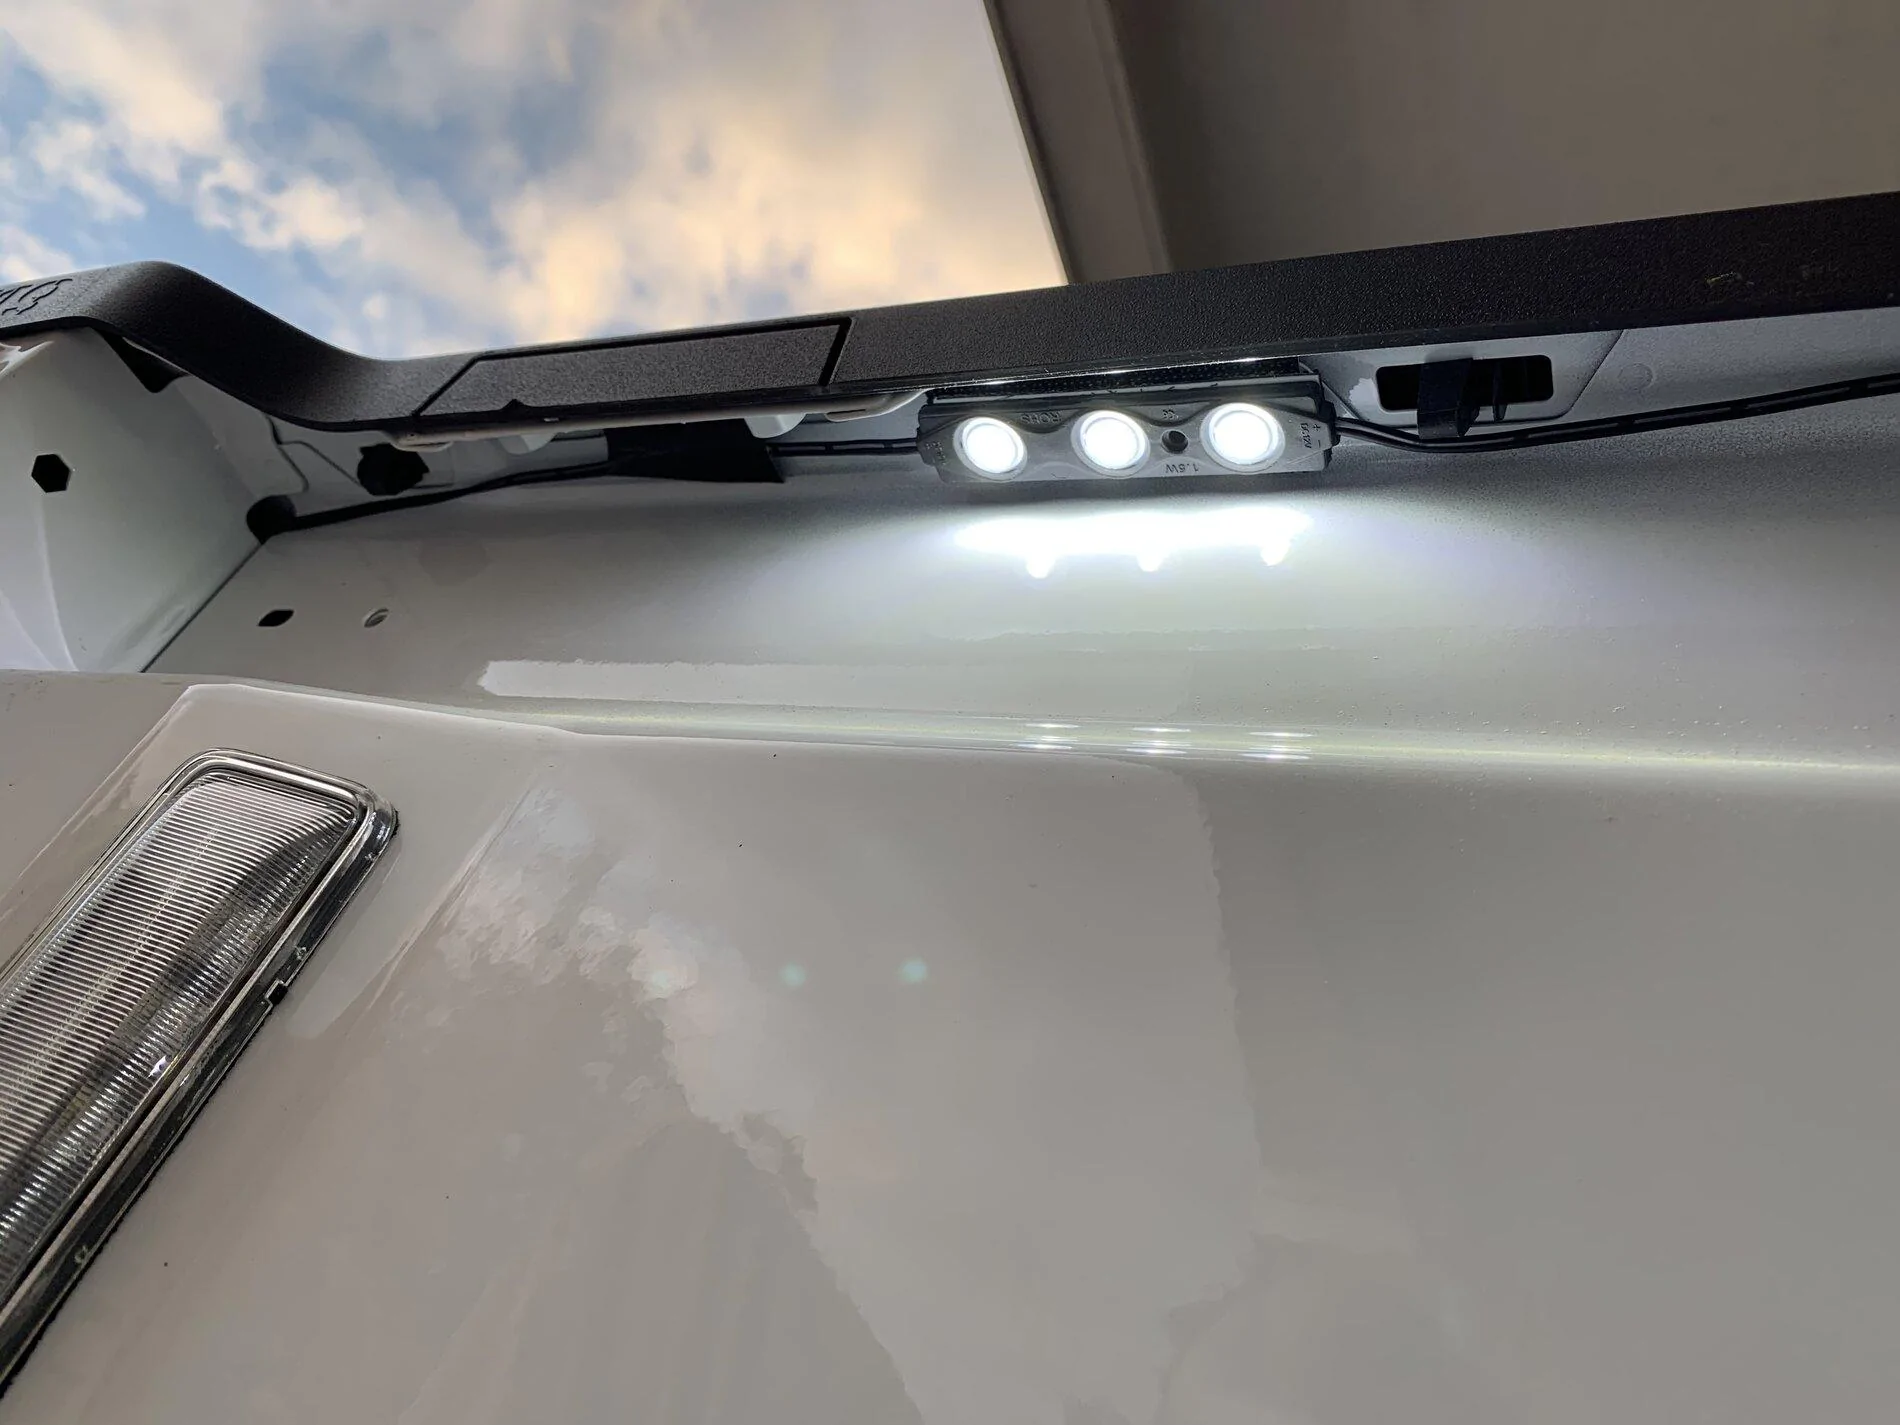
You can see here where I attached the lights to the underside of the bed rail.
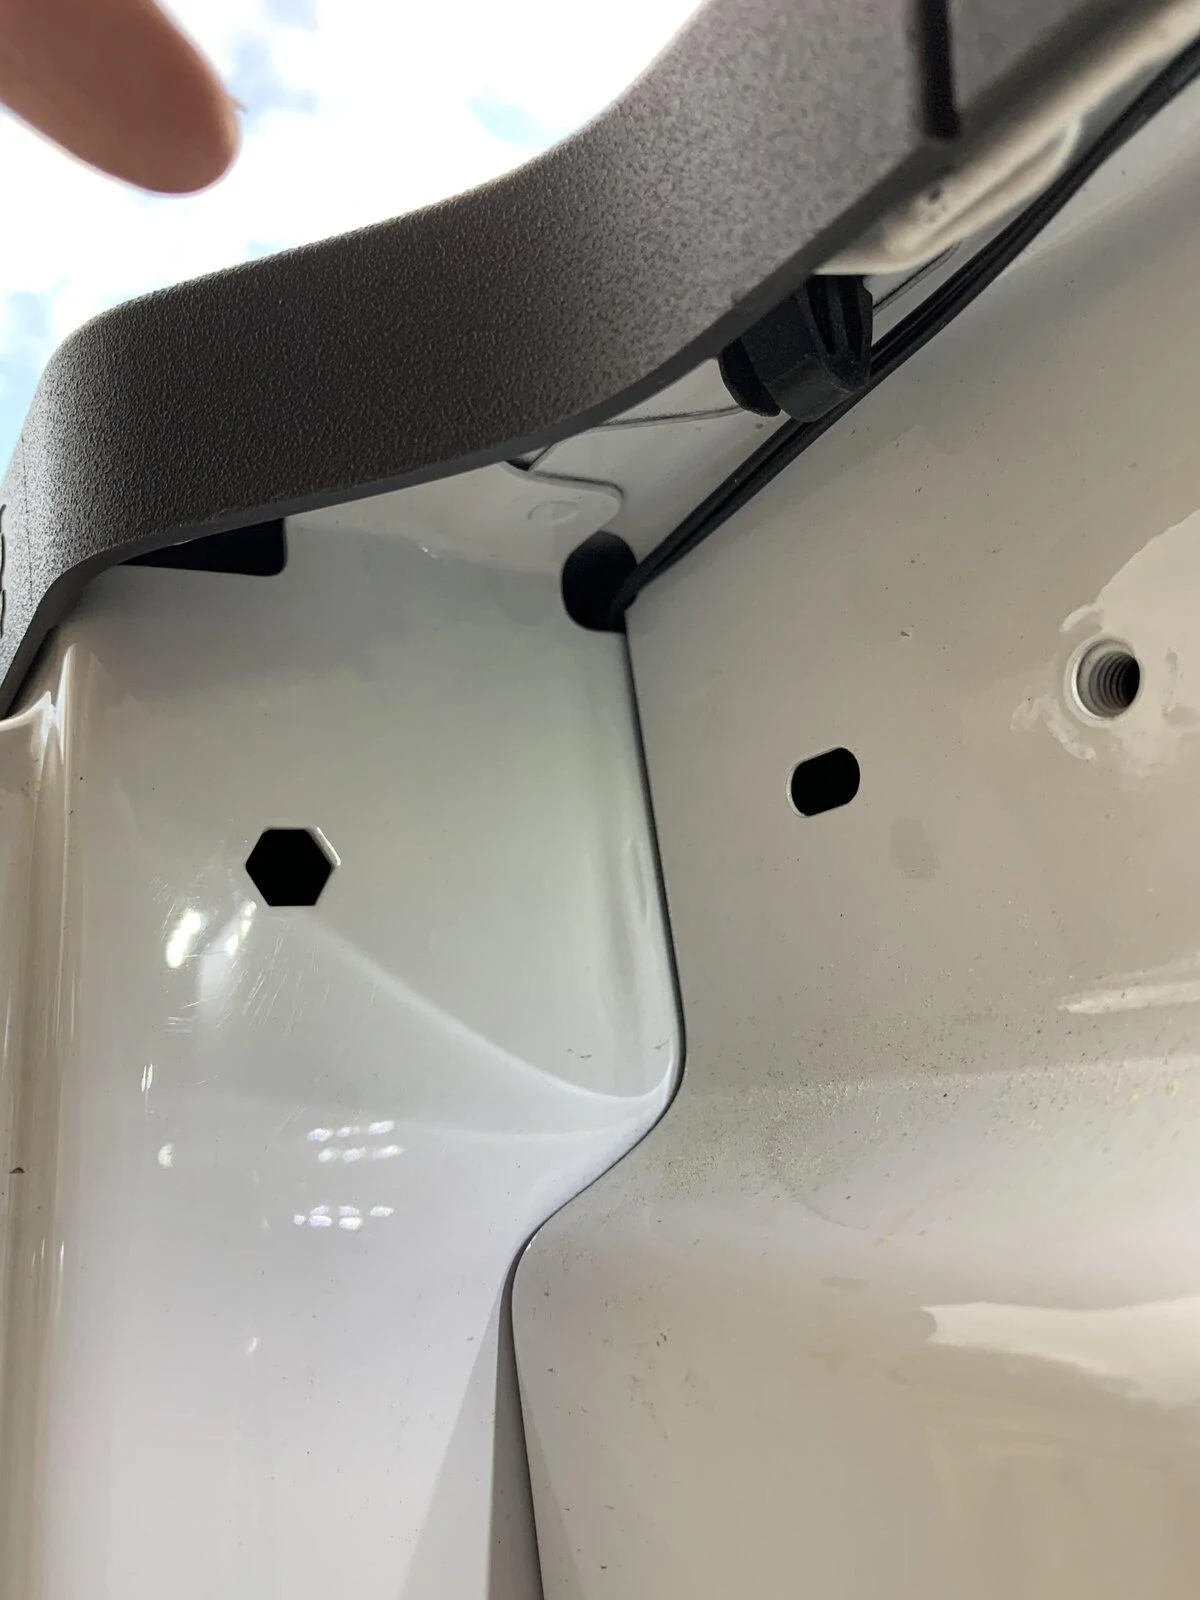
The hole in the upper corner of the bed rail is the perfect size to pass the plug on the end of the light wires through.
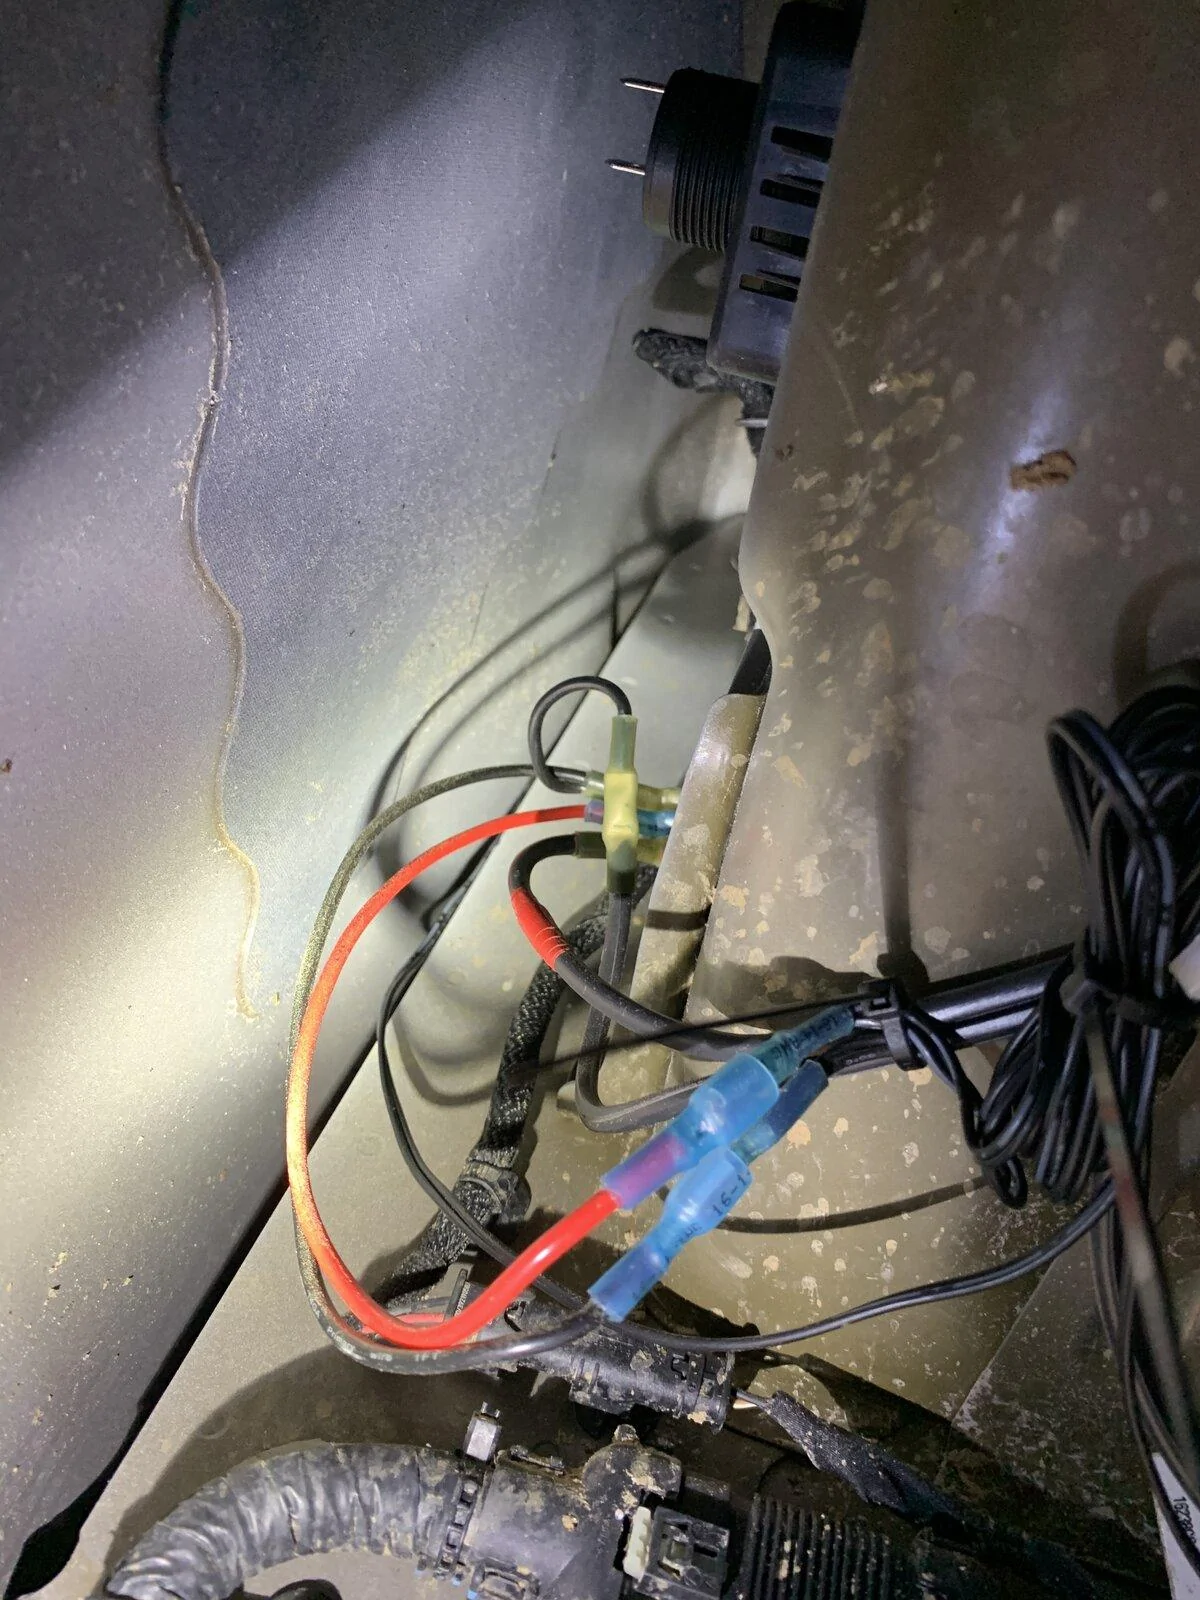
I ran the wire from the driver's side lights under the rear of the Gladiator to the passenger side and joined in with the passenger side light wires and then connected them both to the switch in the bed. It may be a little hard to see but here is how it is wired to the switch.
The lights don't come on with the factory bed lights but that's how I wanted them. Those factory bed lights turn off way too quickly and I kept having to hit the unlock button on the key fob to make them come back on. I wanted a switch in the bed because when you realize you need them, you're standing at the rear of the truck, not sitting in the cab. It's too early to know if these will last but I am very pleased with the light output. It beats the heck out of the OEM lights.
Here are some pictures of the final product. (Ignore the 12v plug - it isn't wired up yet)

I used this fused harness to hook to the battery.
I used this SAE pigtail to hook to the battery harness and used heat shrink butt connectors to join in to the wiring running to the rear of the Gladiator on the passenger side. I had a roll of low voltage direct burial 12-2 cable laying around from a project a couple of years ago so that's what I used for my wire on this project.
Here it is all hooked up.
Here are the lights I used. There were 8 lights in the package but I only used 4 for this project. The kit comes with a switch you could use (I used one I already had). There was already a hole in the bed where I put the switch. I had to enlarge it to make the switch fit. Here is the switch out of the hole.
You can see here where I attached the lights to the underside of the bed rail.
The hole in the upper corner of the bed rail is the perfect size to pass the plug on the end of the light wires through.
I ran the wire from the driver's side lights under the rear of the Gladiator to the passenger side and joined in with the passenger side light wires and then connected them both to the switch in the bed. It may be a little hard to see but here is how it is wired to the switch.
The lights don't come on with the factory bed lights but that's how I wanted them. Those factory bed lights turn off way too quickly and I kept having to hit the unlock button on the key fob to make them come back on. I wanted a switch in the bed because when you realize you need them, you're standing at the rear of the truck, not sitting in the cab. It's too early to know if these will last but I am very pleased with the light output. It beats the heck out of the OEM lights.
Sponsored