
Bill's Workbench
Member
- First Name
- Bill
- Joined
- Jun 7, 2026
- Threads
- 4
- Messages
- 22
- Reaction score
- 31
- Location
- Las Vegas
- Website
- www.youtube.com
- Vehicle(s)
- 2026 Jeep Gladiator (MOZYIN)
- Occupation
- ID Dude
- Thread starter
- #1
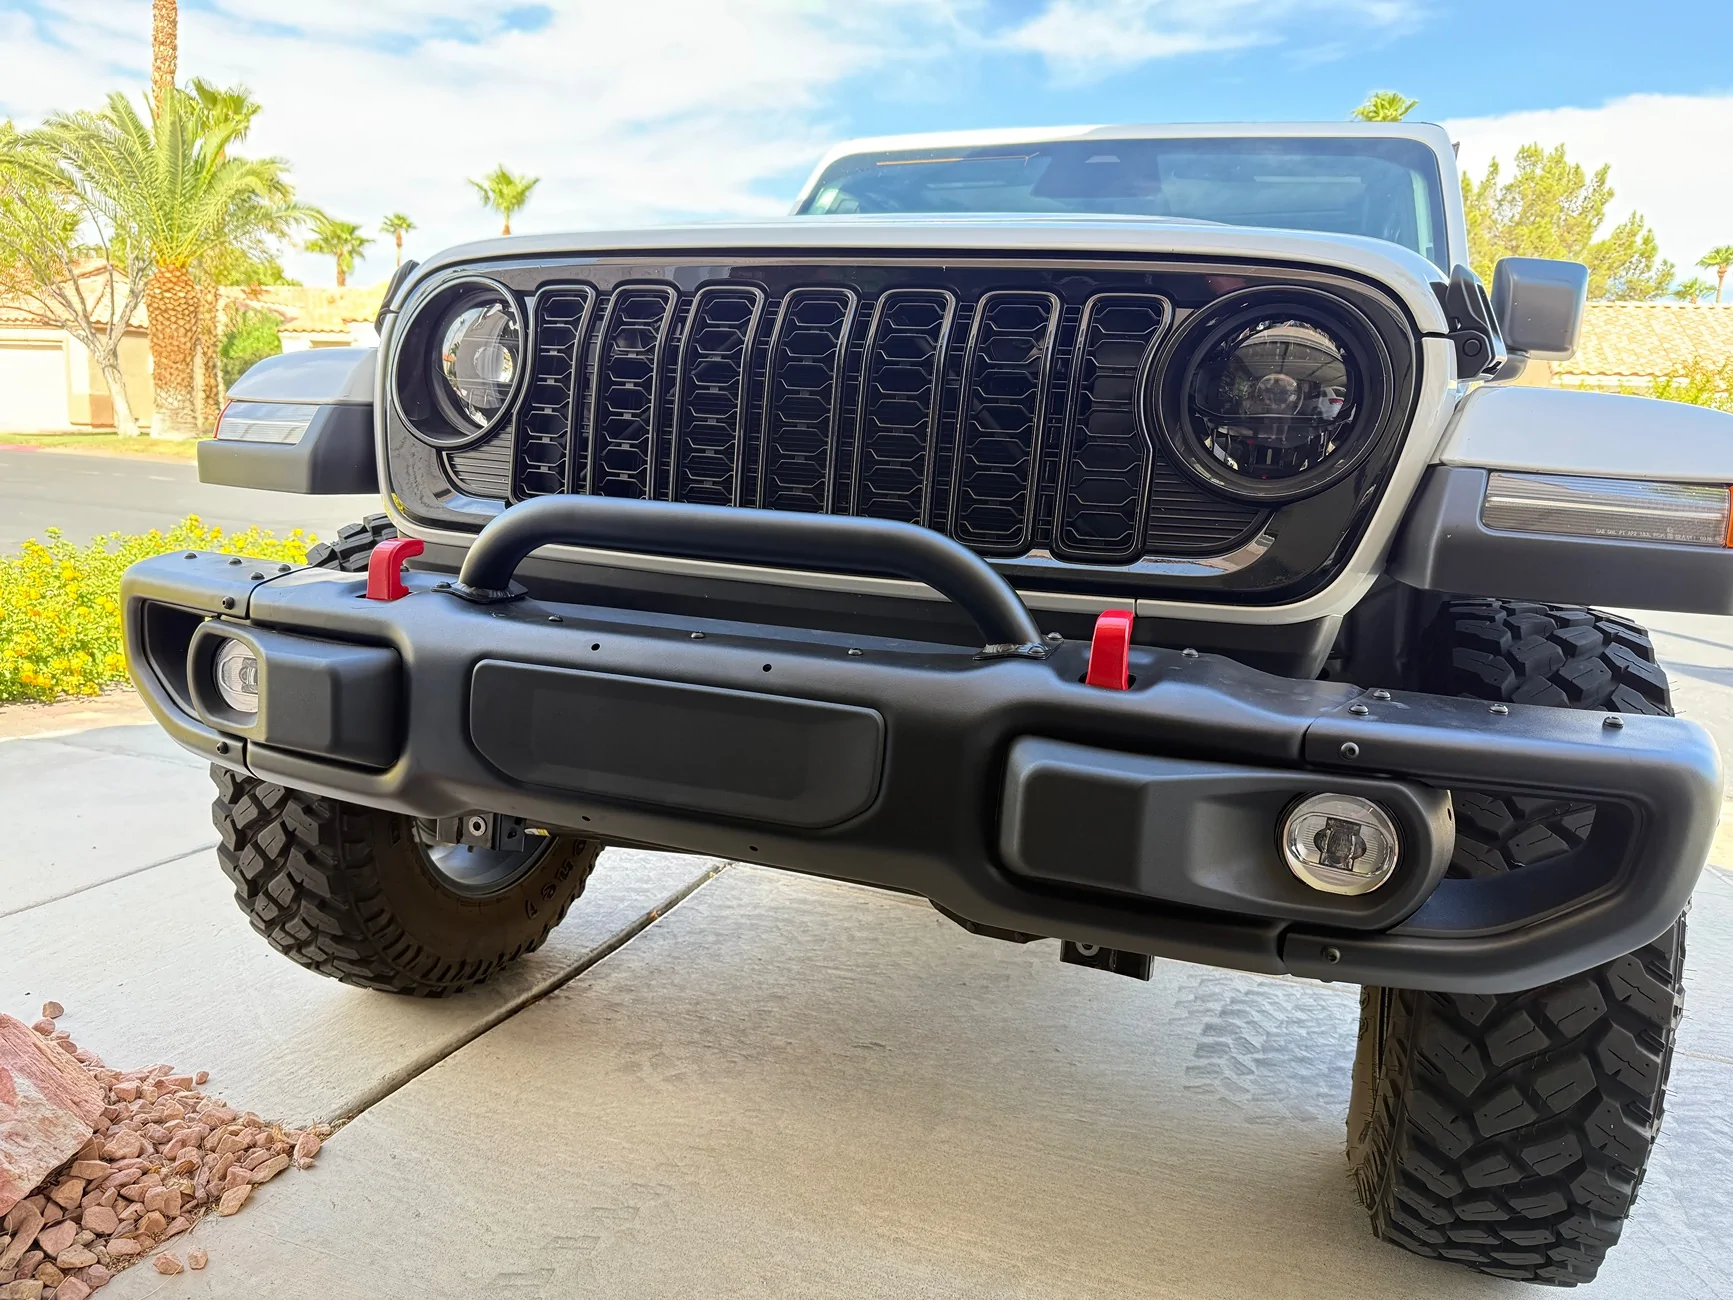
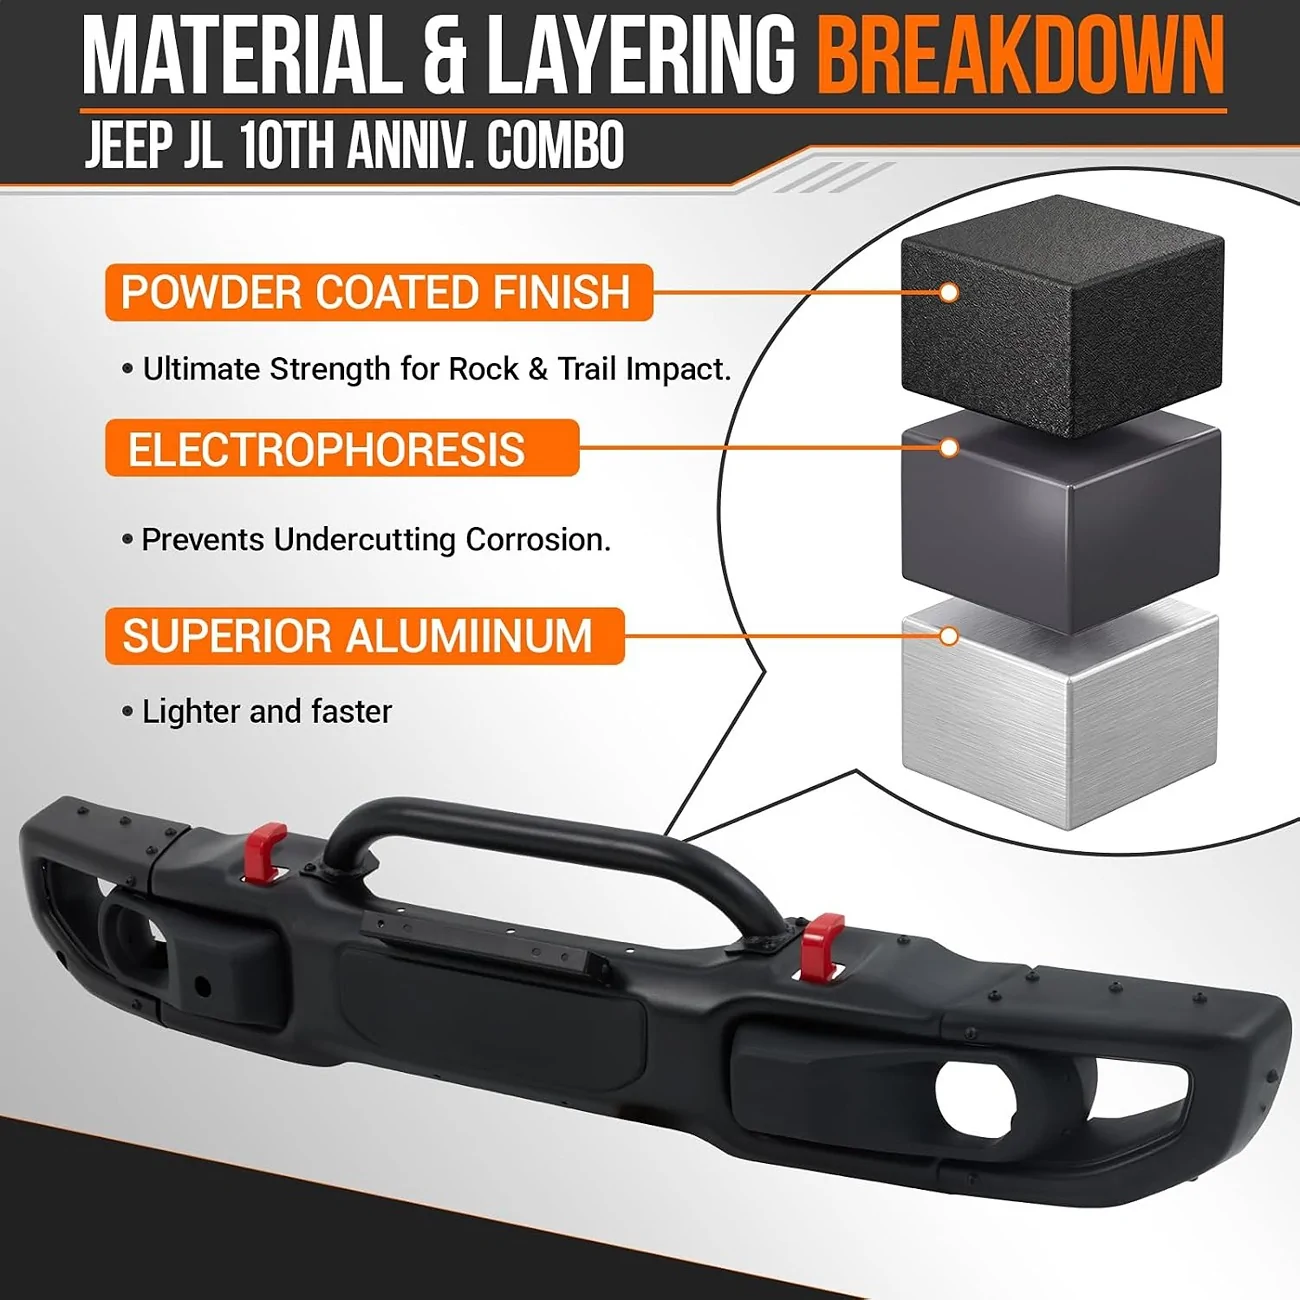
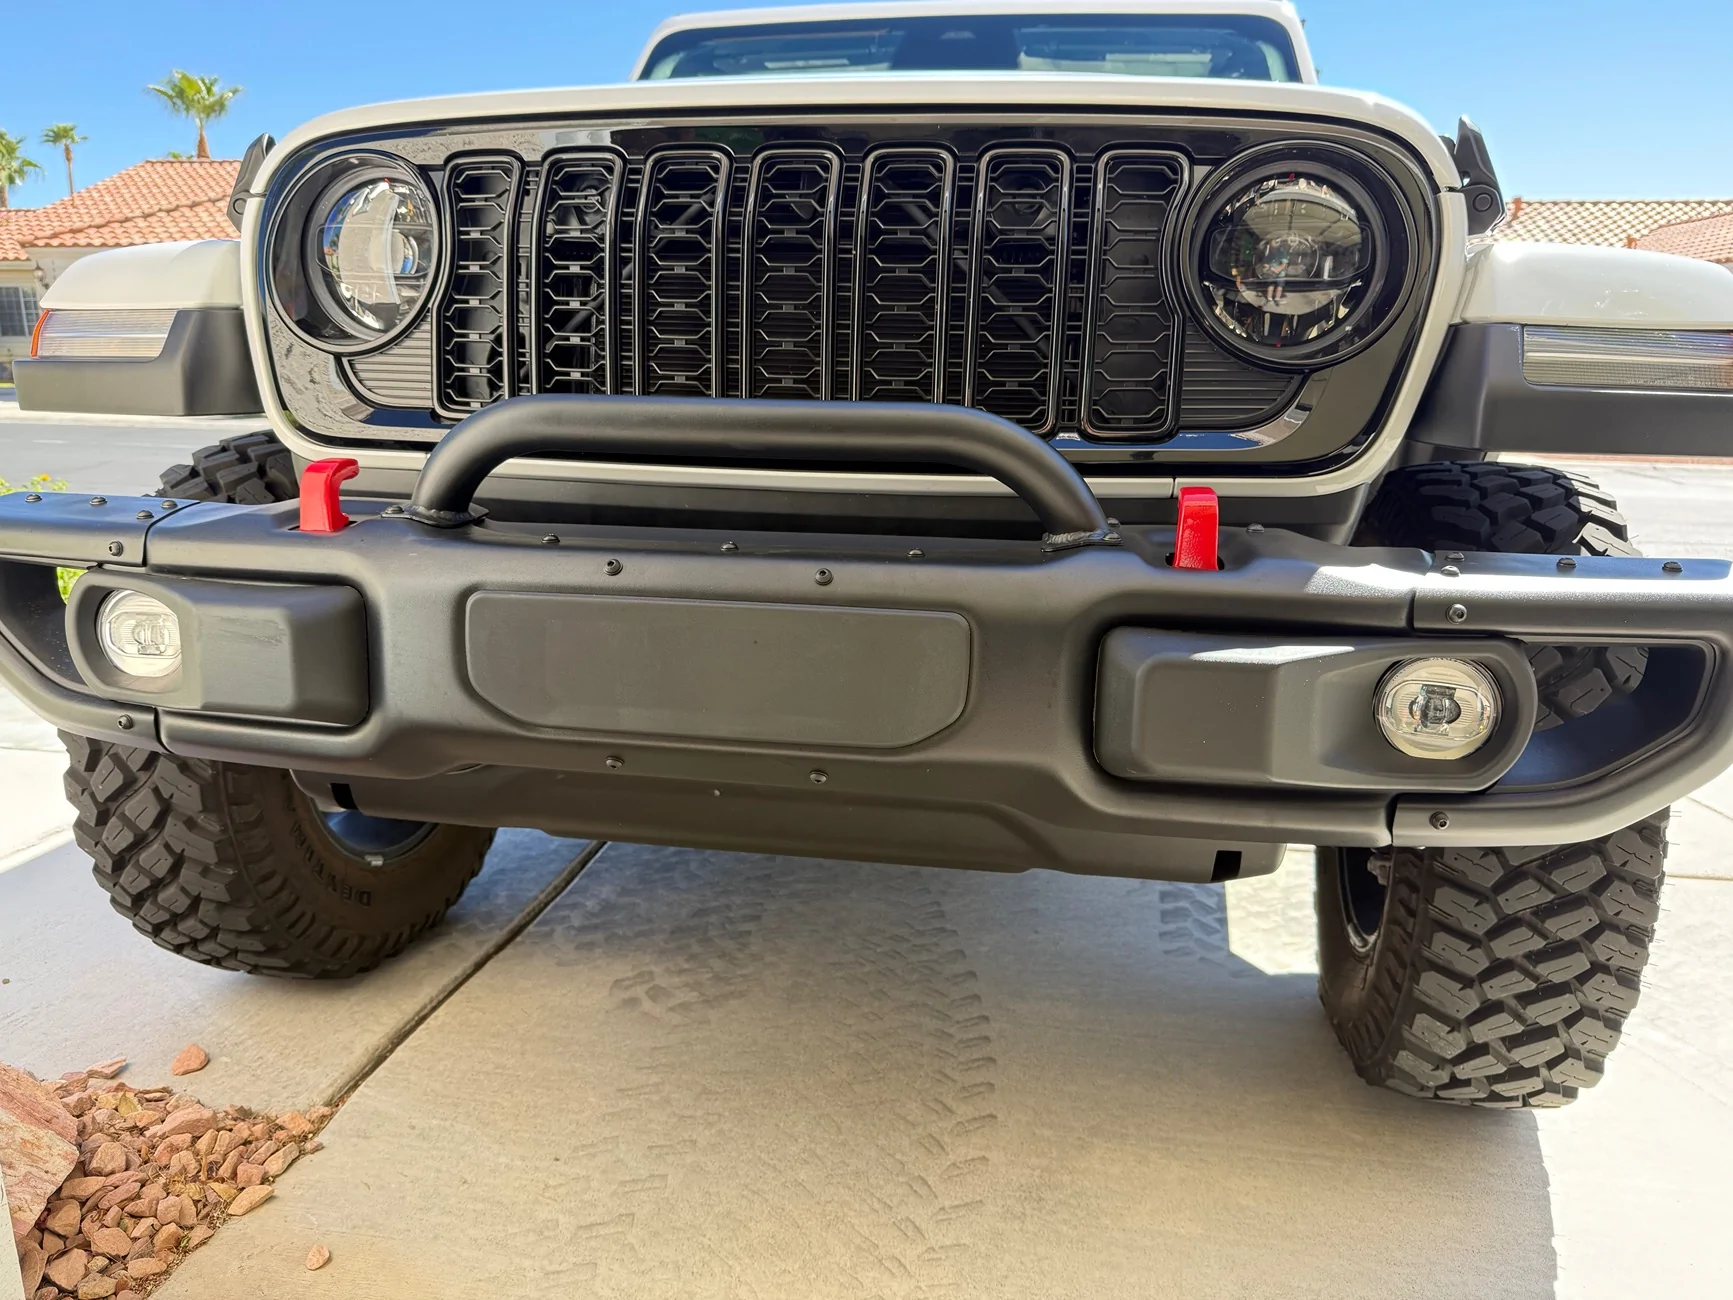
Today I installed an inexpensive aluminum version of the 10th anniversary front bumper on the Gladiator.
Link to bumper: https://amzn.to/3Utv14j
UPDATE: I found the little box of parts. I don't know why I placed it in the wrong spot while unpacking, but I did. The seller did get back to me the next morning, which is also great news!
Here are the highlights:
Here are the lowlights:

Lesson Learned.
I am happy with the bumper; it looks great. Fingers crossed.
Link to bumper: https://amzn.to/3Utv14j
Link to bumper: https://amzn.to/3Utv14j
UPDATE: I found the little box of parts. I don't know why I placed it in the wrong spot while unpacking, but I did. The seller did get back to me the next morning, which is also great news!
Here are the highlights:
- There were instructions, but the YouTube videos helped a bunch.
- Took me 4 hours to install. The fog lights were the hardest part. (more on that below)
- It looks great
- It is a little heavier than the plastic bumper I replaced.
- It comes with a winch mount. I did not install that; I'm waiting to see if I get a winch.
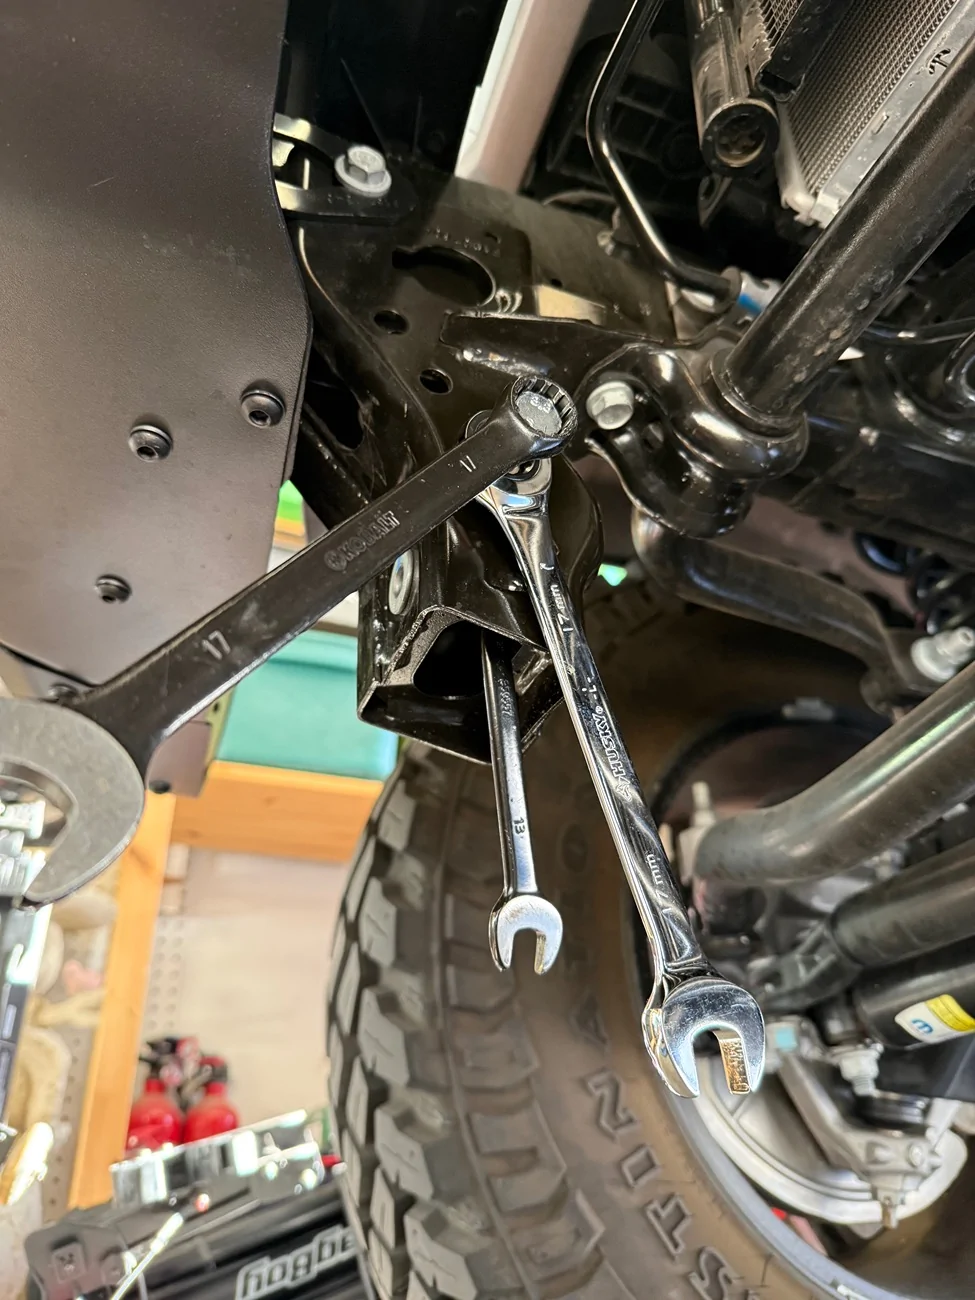
- I got to invest in more tools; I needed 18mm sockets and such. Weird that tool kits don't include 18mm.
Here are the lowlights:
- The bumper didn't include all the M8 bolts or washers needed to fill every hole. Not a problem I have some M8 button head replacements coming and I will give those a coat of black paint and install. (Easy Fix)
The skid plate did NOT include the mounting hardware or brackets. I reached out to the Amazon Seller for guidance. (This is the reason for the thread: to share those experiences.)
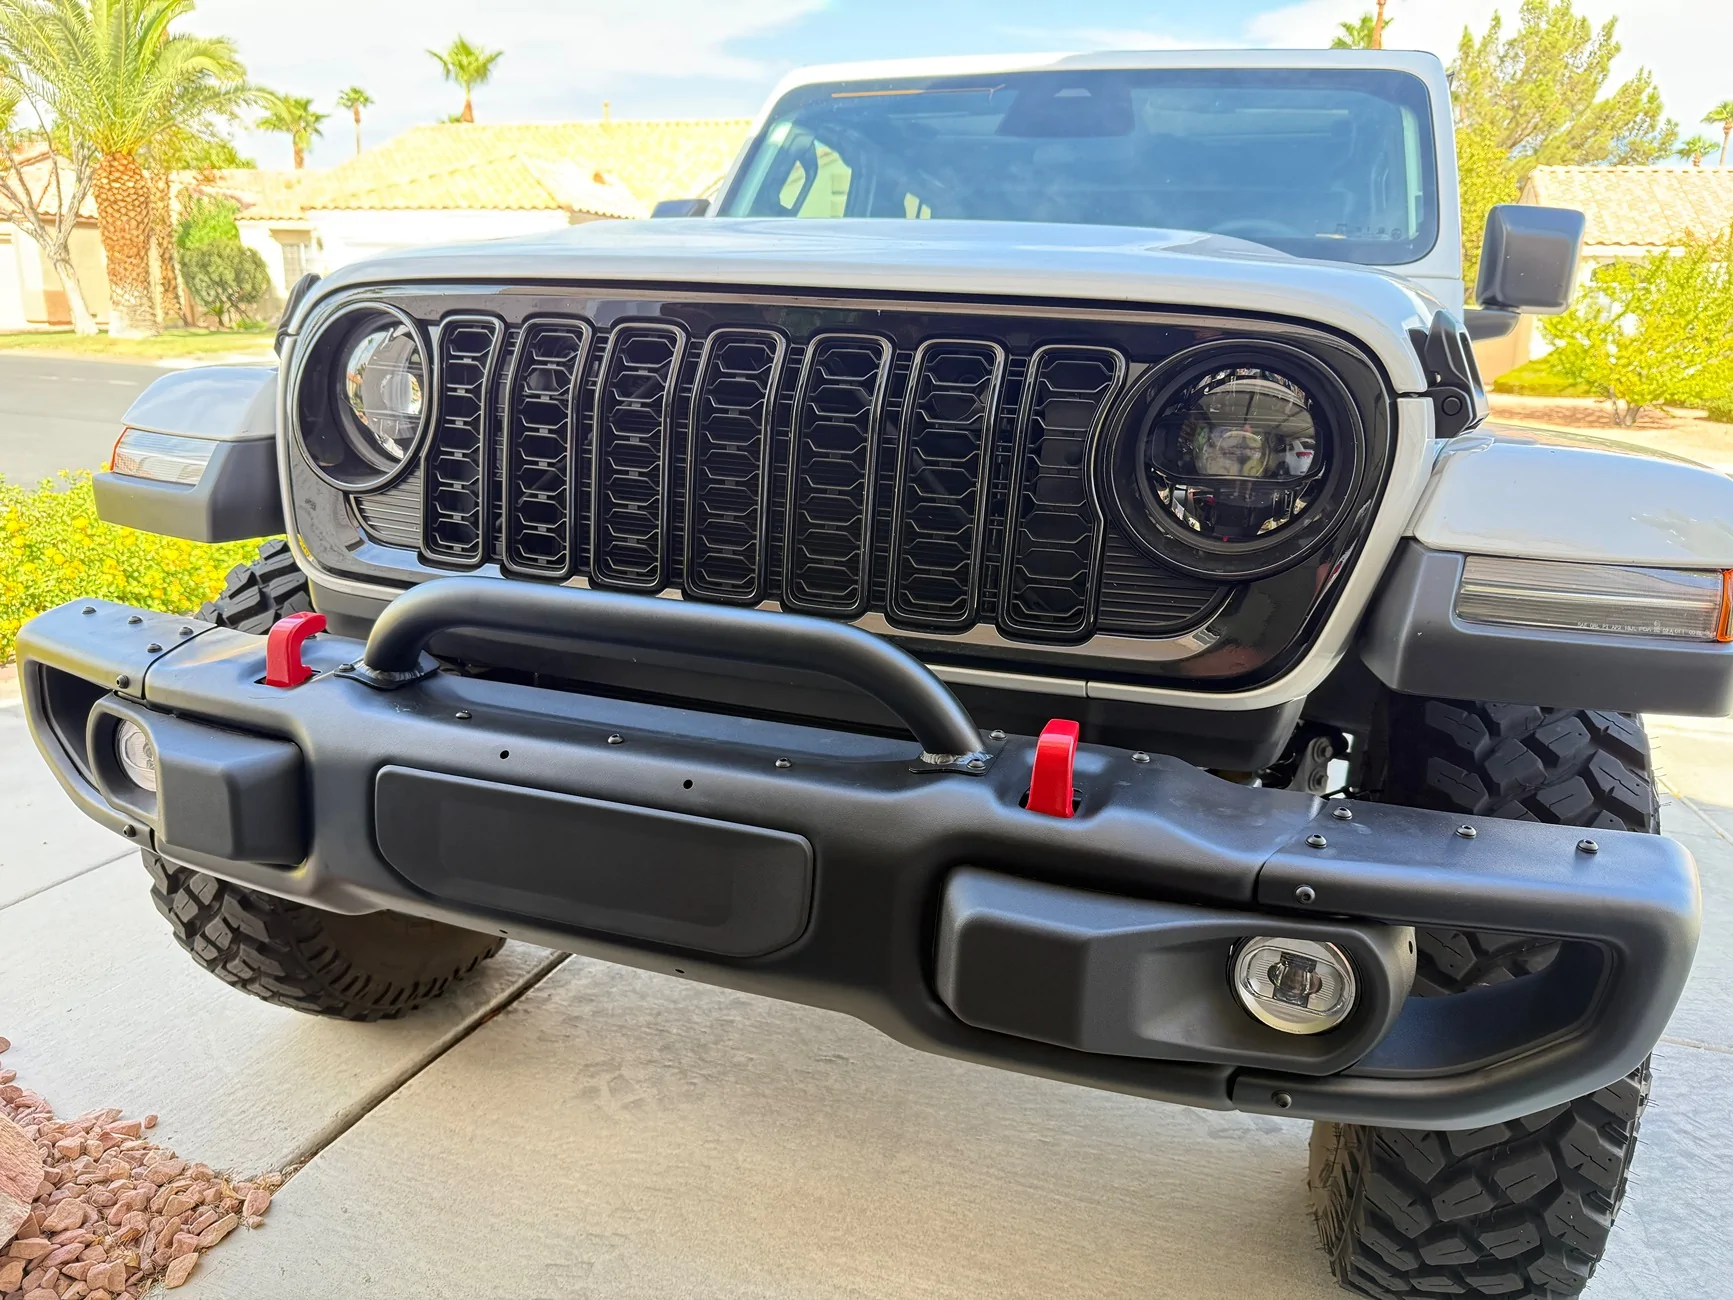
Lesson Learned.
- Take your time and don't rush the job. If you don't have a day to install, wait until you do.
- Make sure you have 18mm sockets, deep ones, and an extension if needed.
- You will need more button-head screws to fill in the two holes in the bumper.
- This can be done with one person
- The fog lights were the most difficult part.
- They mount on the outside of the brackets, not between the bracket and the bumper
- Document which way is up on the lights. Wires go up.
- Routing the wires is done with the supplied clips and the 5 M8 cap head screws on the top center of the bumper
- You need to take the old plastic bumper apart to get out the wiring harness.
I am happy with the bumper; it looks great. Fingers crossed.
Link to bumper: https://amzn.to/3Utv14j
Sponsored