Sponsored

Hardtop and Door Cart

HastyJeep

New Member
First Name
Chris
Joined
Jul 27, 2025
Threads
0
Messages
3
Reaction score
2
Location
Virginia
Vehicle(s)
2025 JT
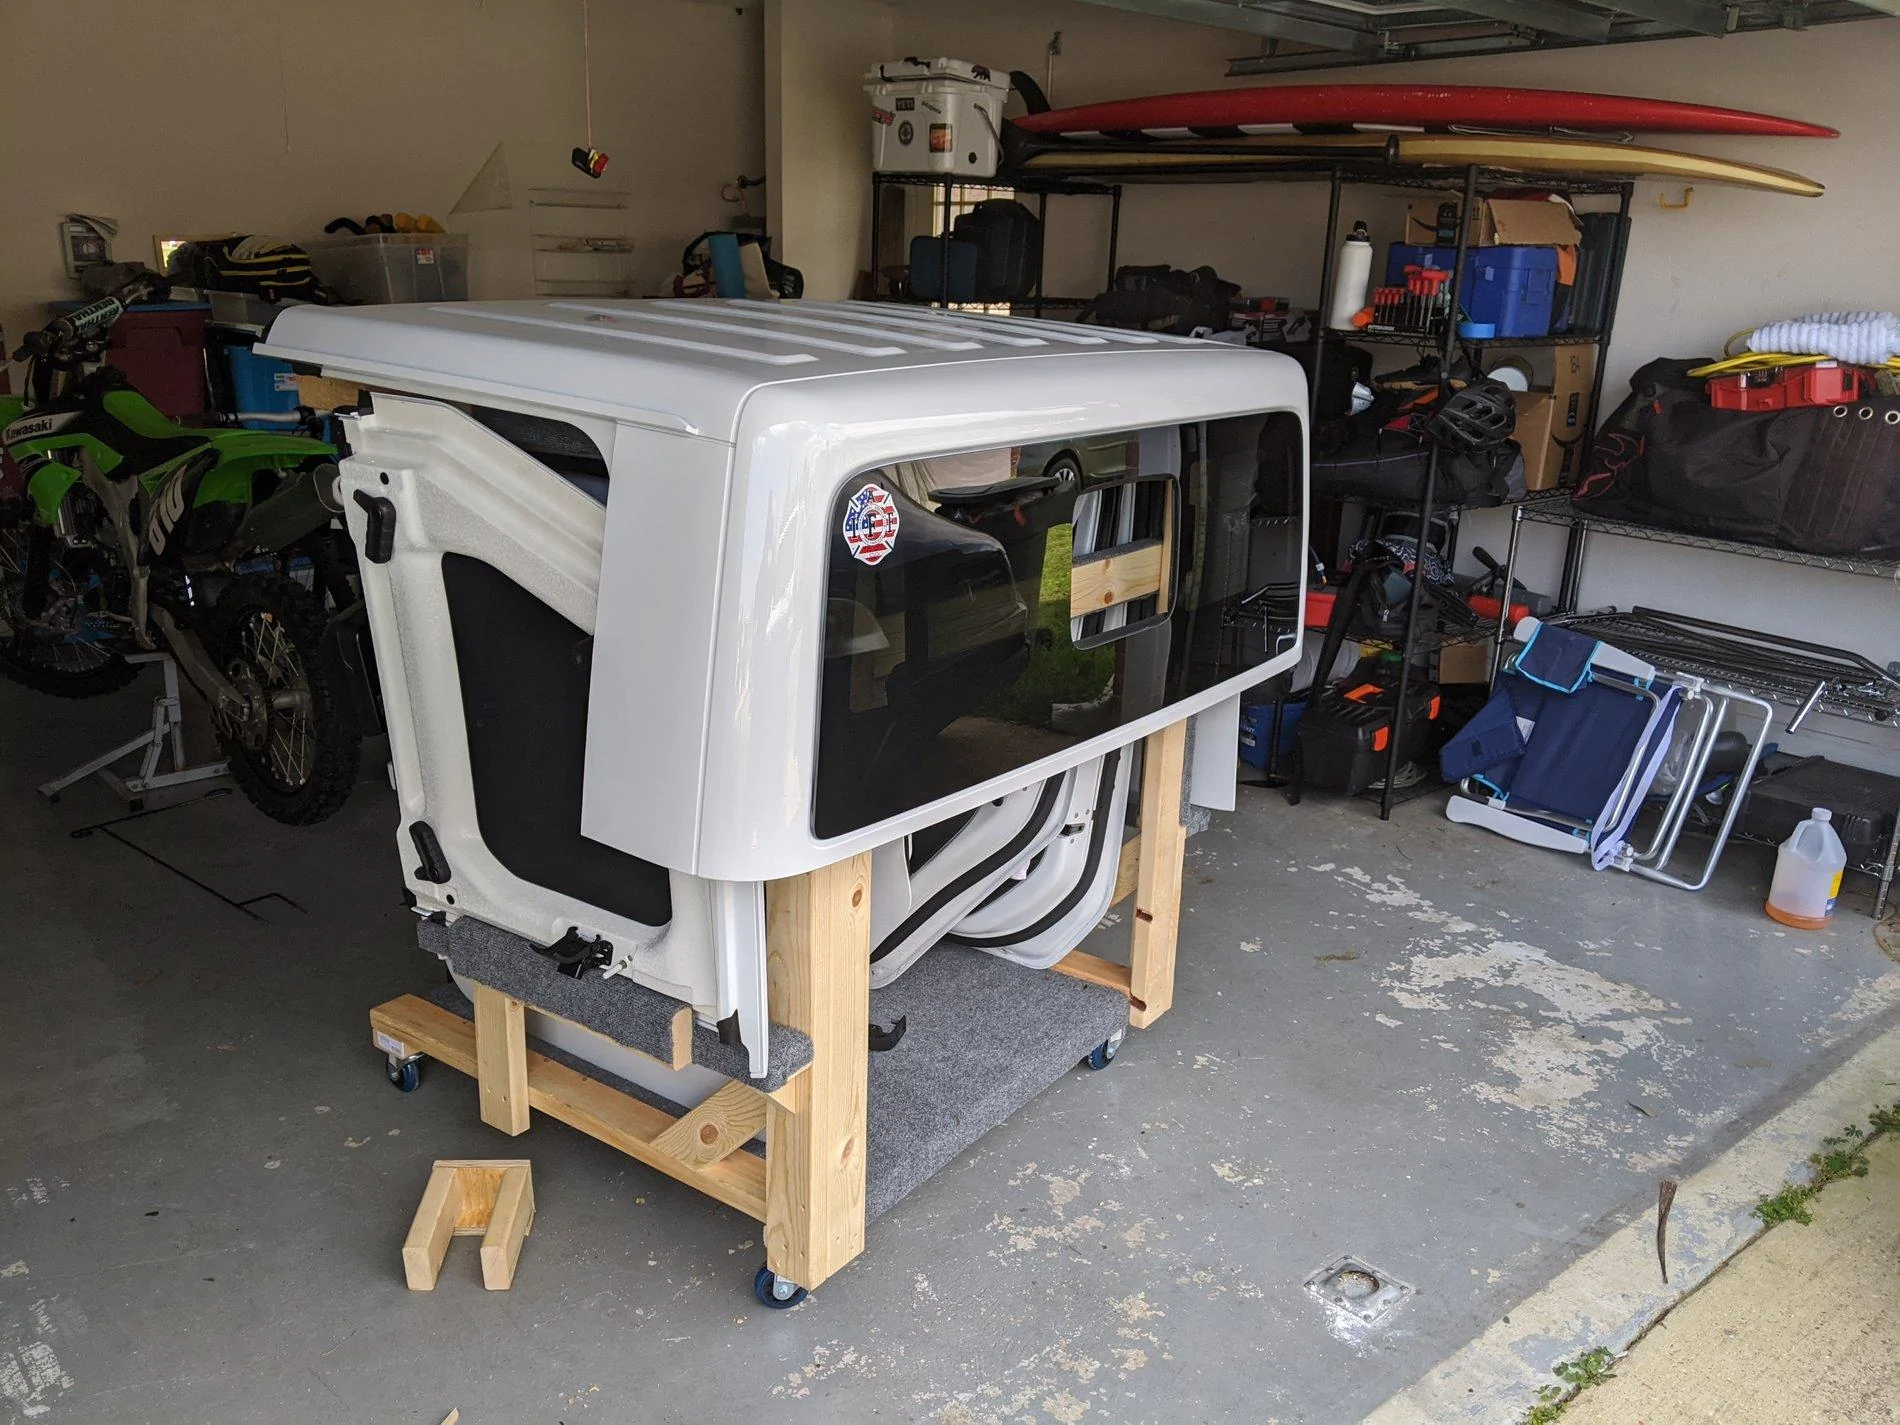
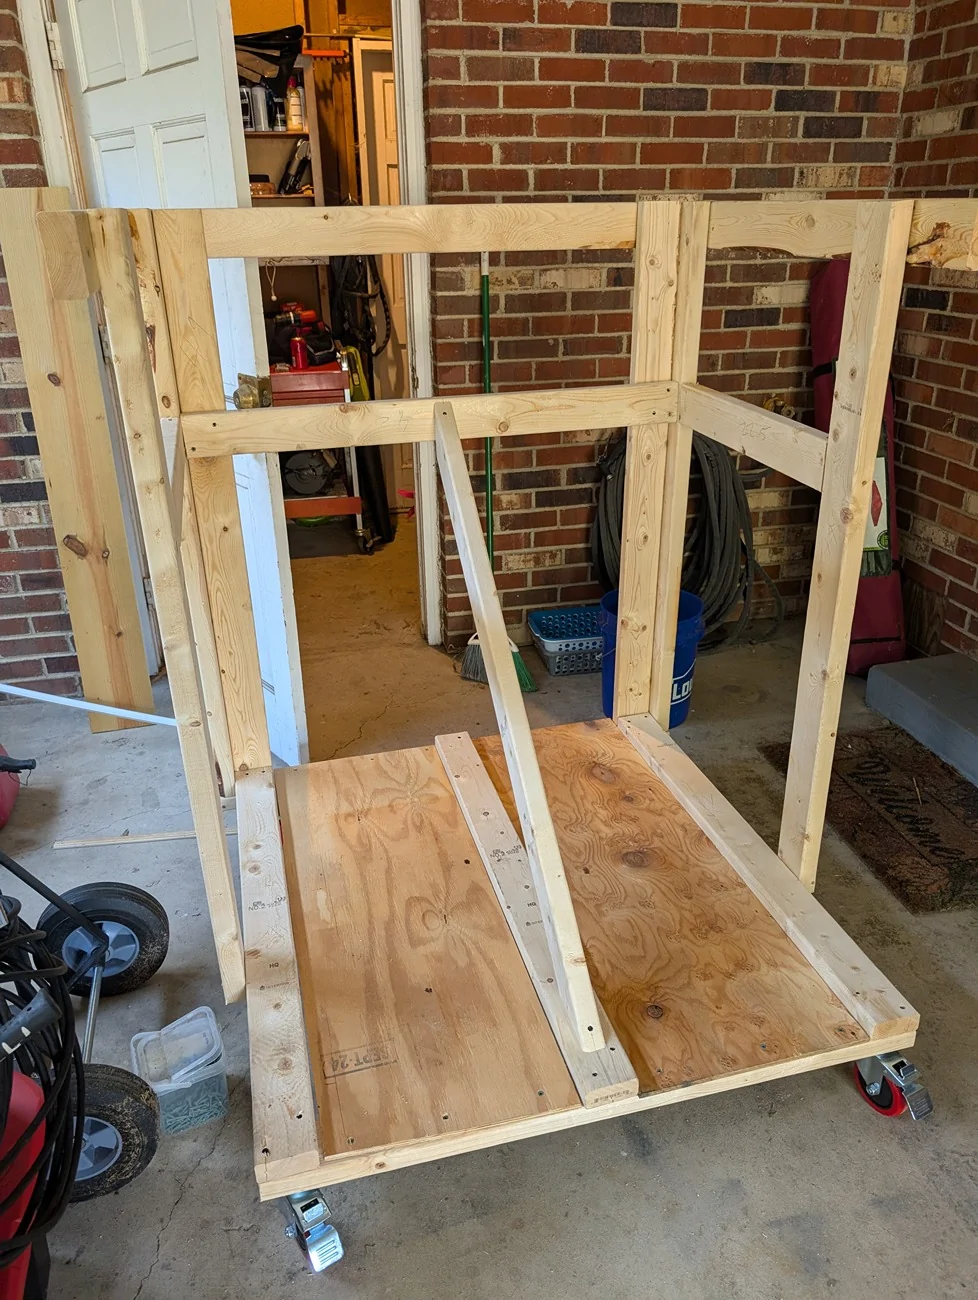
Thank you to the OP. 2025 and I just started the build with basic tools and some very cheap wood given the increase in prices. The total build is just at $115. This by far is the best option given I was also able to get tow straps and hooks to lift the top off myself, included in that total.

Jeep Gladiator Hardtop and Door Cart PXL_20250817_220732896
Sponsored


Happy Viking

New Member
First Name
Donald
Joined
Aug 26, 2025
Threads
0
Messages
1
Reaction score
0
Location
SC
Vehicle(s)
2024 Jeep Gladiator Rubicon X (manual)
OP - not all heroes wear capes… I created an account on here for the sole purpose of saying THANK YOU for this thread. This will be my next build once I get my garage settled (just moved) and as mentioned above this saves me from deciding between a $600+ commercial setup vs taking up the entire garage with the lid.

Edit: also thanks to all those who added their modifications/build info since the original post.
 

RenegadeBI

Well-Known Member
First Name
Ren
Joined
Jul 6, 2019
Threads
0
Messages
53
Reaction score
50
Location
CT
Vehicle(s)
2007 Suburban
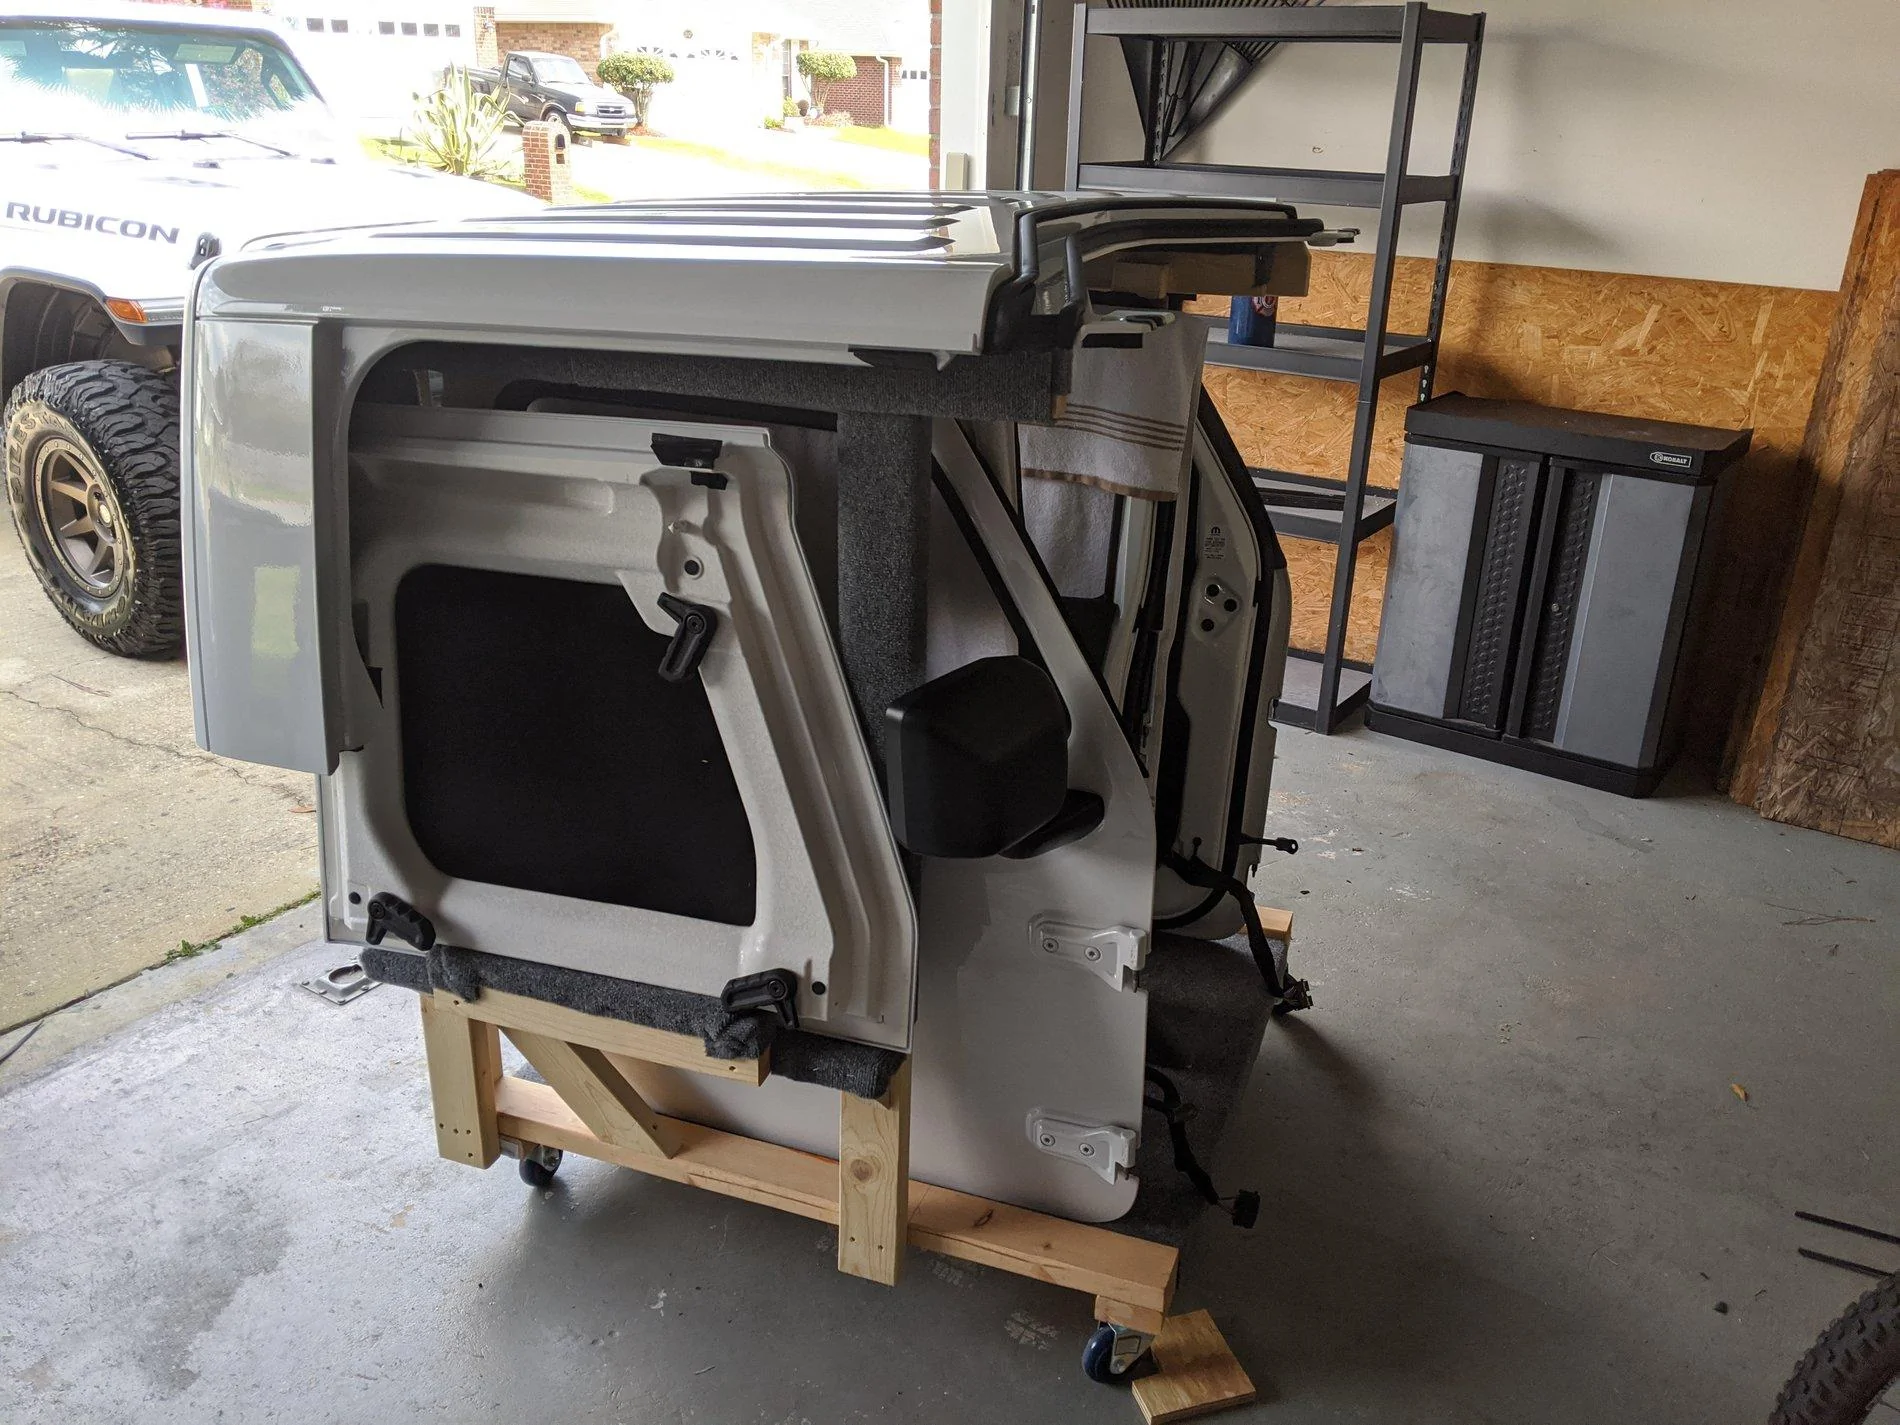
After balancing my hardtop on some scaffolding and taking up half the garage with hard door landmines for a couple weeks I decided it was time to make a dolly that I could use to protect and easily move around my hardtop and doors. I did not want to spend a bunch of money because I want to hang the doors and make a hoist for the top eventually.

Now my only complaint is it rolls too easily. I will be switching 2 of the casters to the locking type.

$upplies:
- 4 @ 250LBS casters from harbor freight = $25
- 11 @ 2"x4"x92 5/8" = $30 (I went with the 92" studs because they were cheaper)
- roll of outdoor carpet = $17 (it was in a rack at depot in the flooring area. I believe it was 6'x8' and I used almost all of it.)
- 42" x 36.5"ish ply for decking

IMG_20200317_111910.webp


IMG_20200317_111905.jpg


IMG_20200317_111859.webp


I made the cart 42" x 42" at the base and decked it with a 3/4" piece of scrap I had.
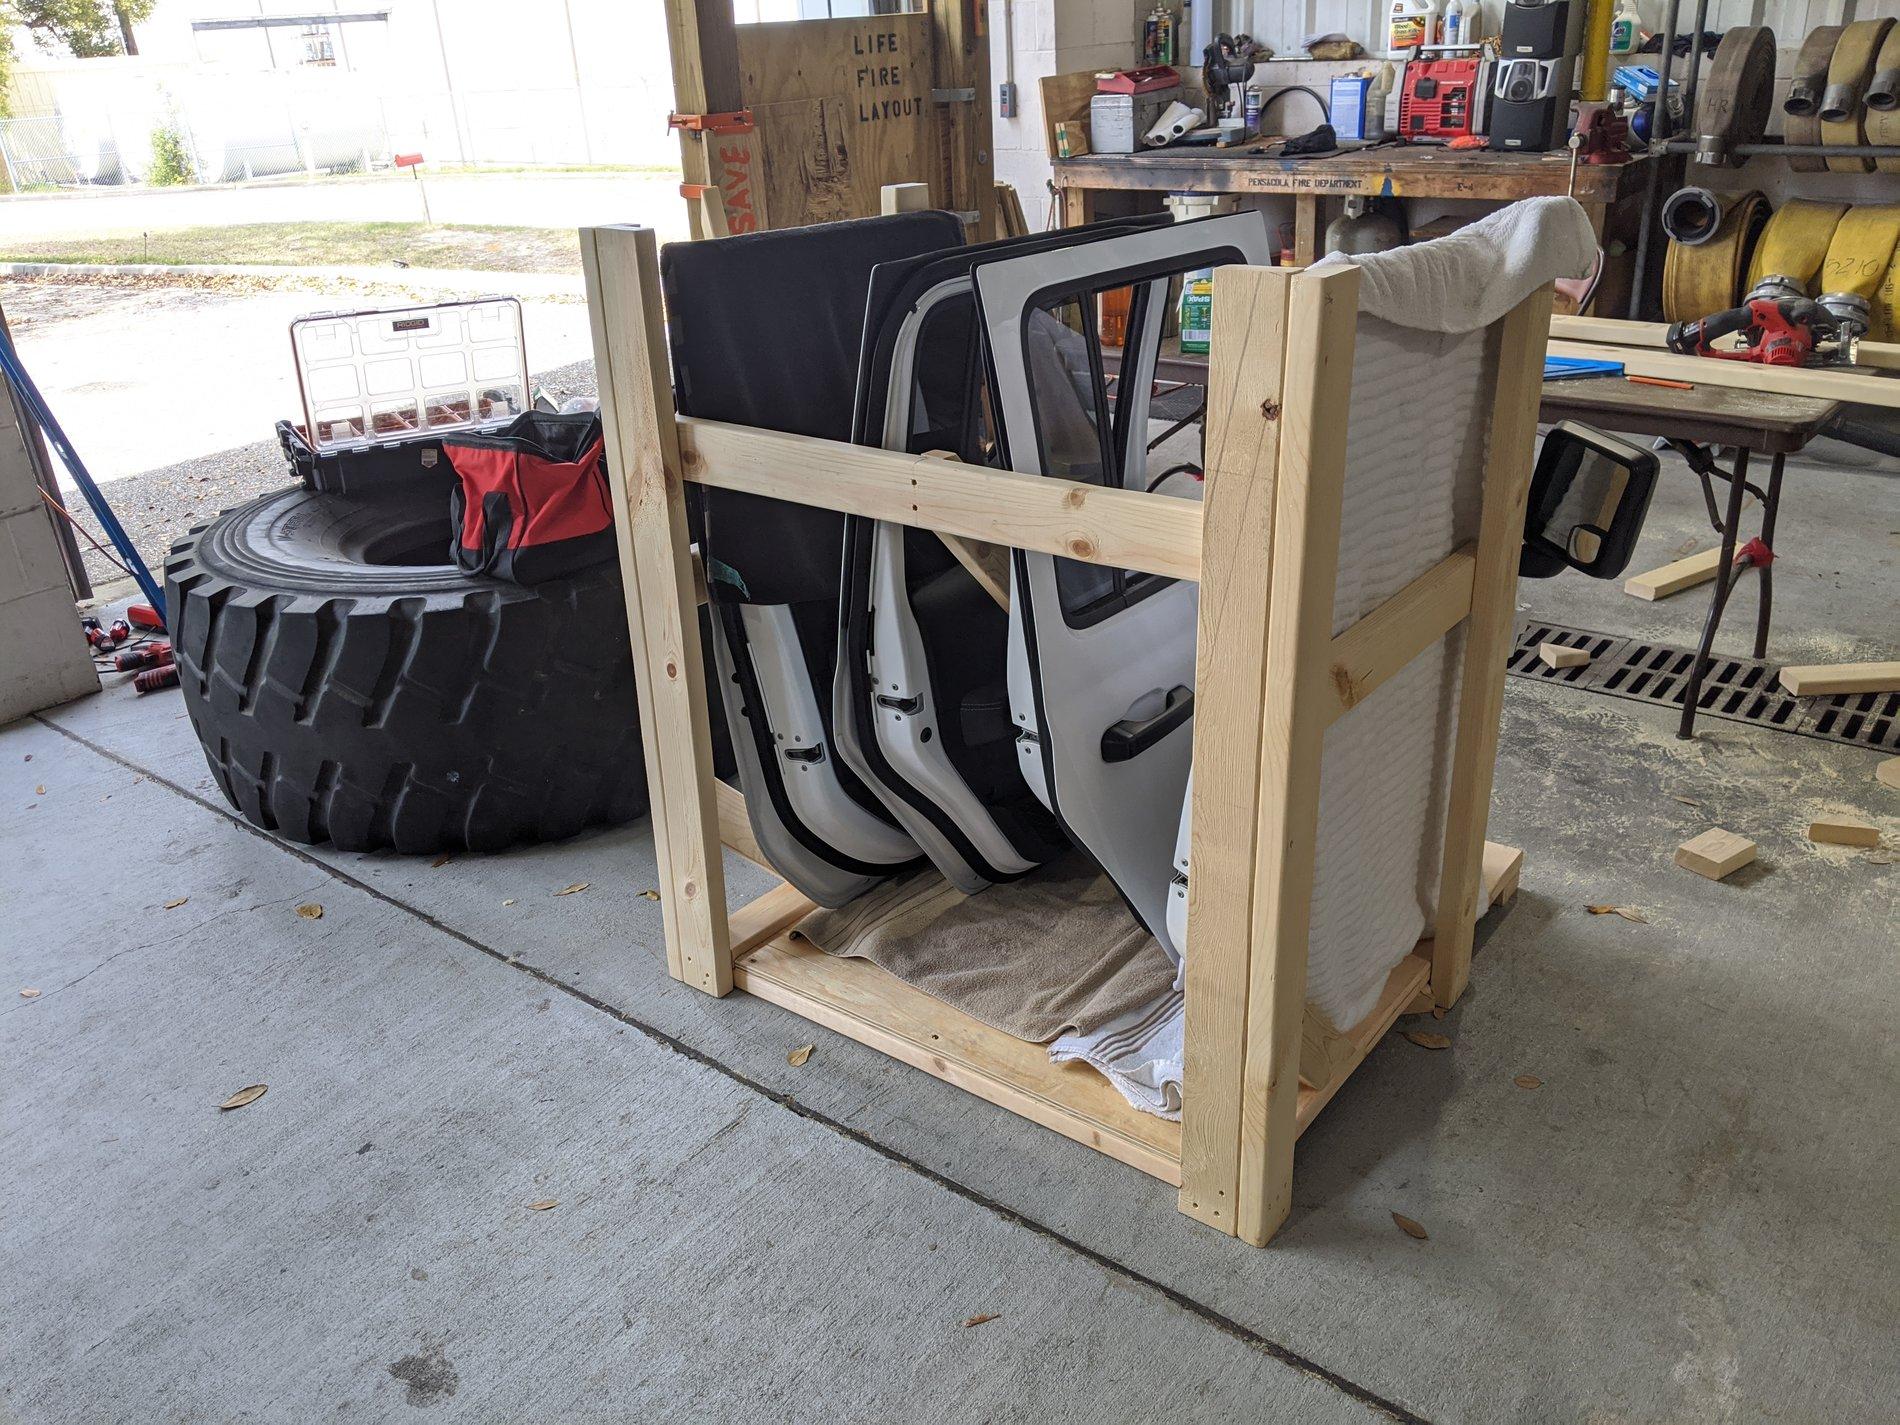
For the back 2 corners I took 4 @ 2"x4"x49" pieces and made 2 L -shaped corners and attached them to the base. I screwed the uprights together first then screwed them to the base. I added the support braces after the fact to stabilize it. 3" screws were used it to screw the uprights into the base and a square was used to keep everything aligned.

IMG_20200315_122335.jpg


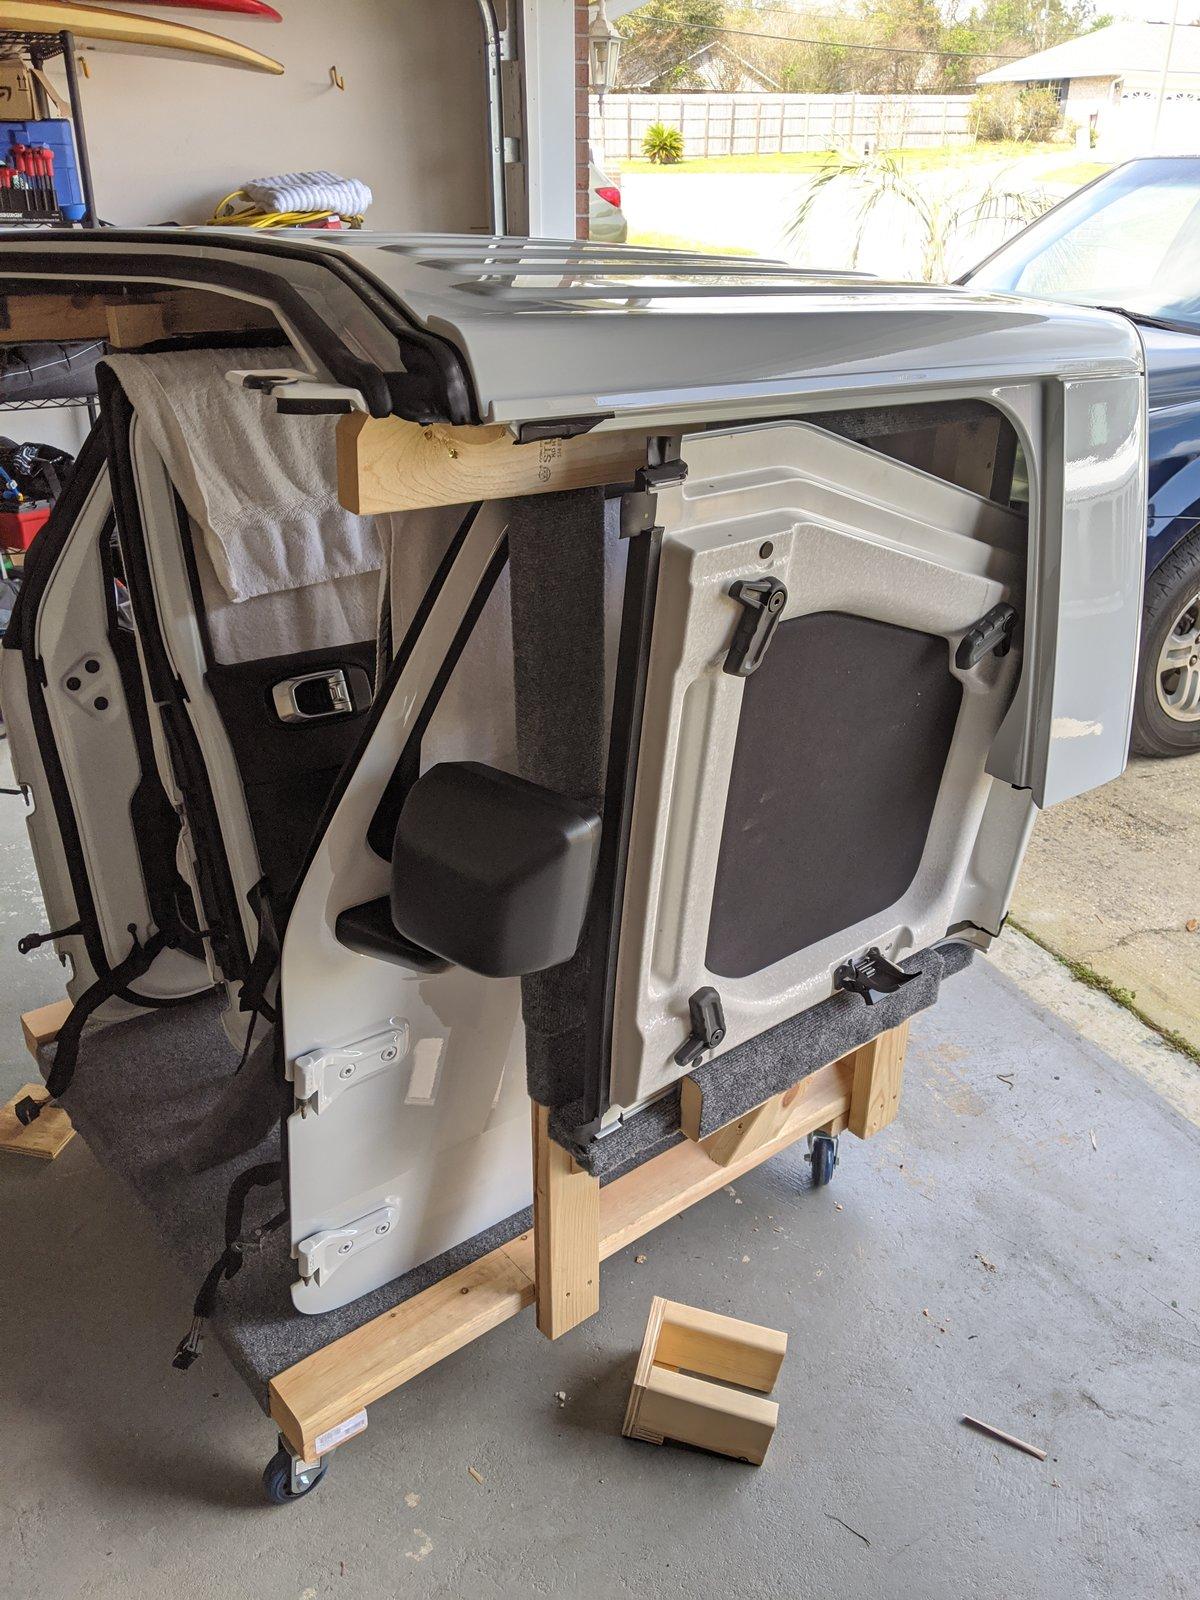
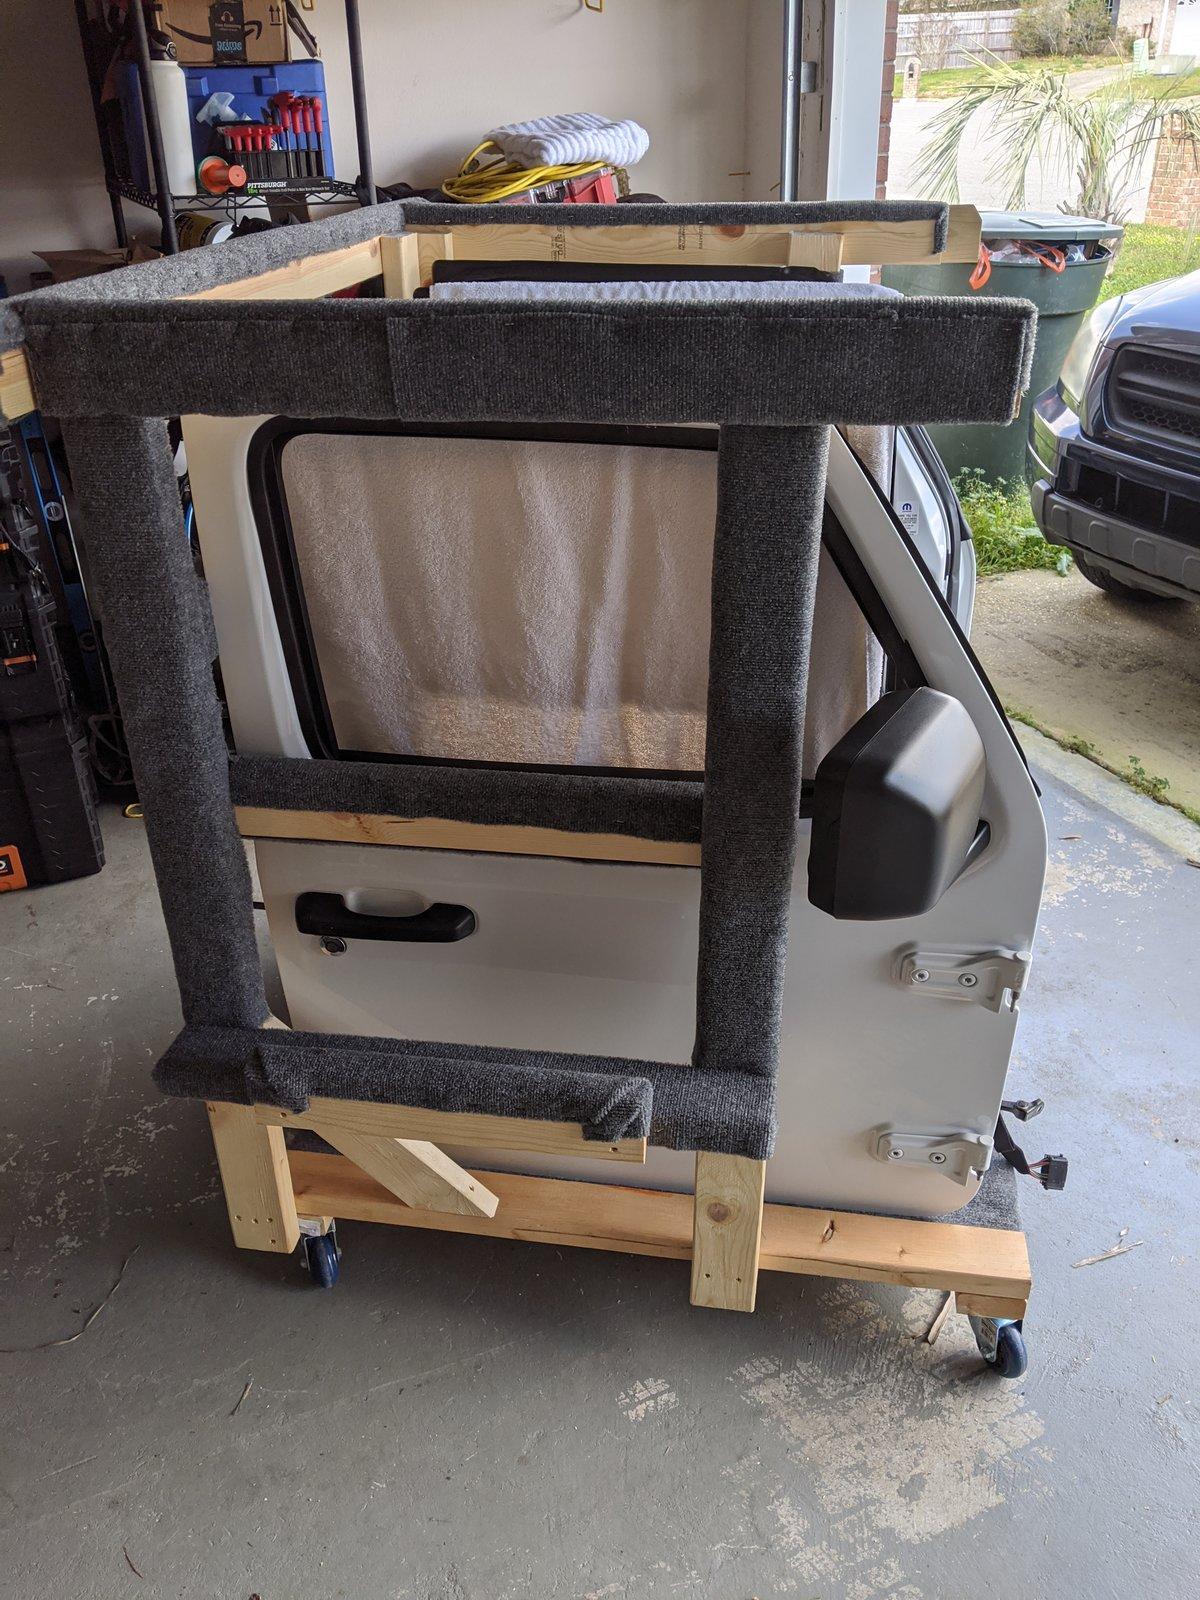
After Attaching the back corners I measured from the front of the door to the mirror to make the front uprights and placed them so they doors would fit and the mirrors would be facing the outside. The front upright is also 49" tall. I placed the upright 14" from the front of the dolly, squared it up with a framing square and secured it to the 2"x4" it ran perpendicular to.

IMG_20200317_111210.jpg


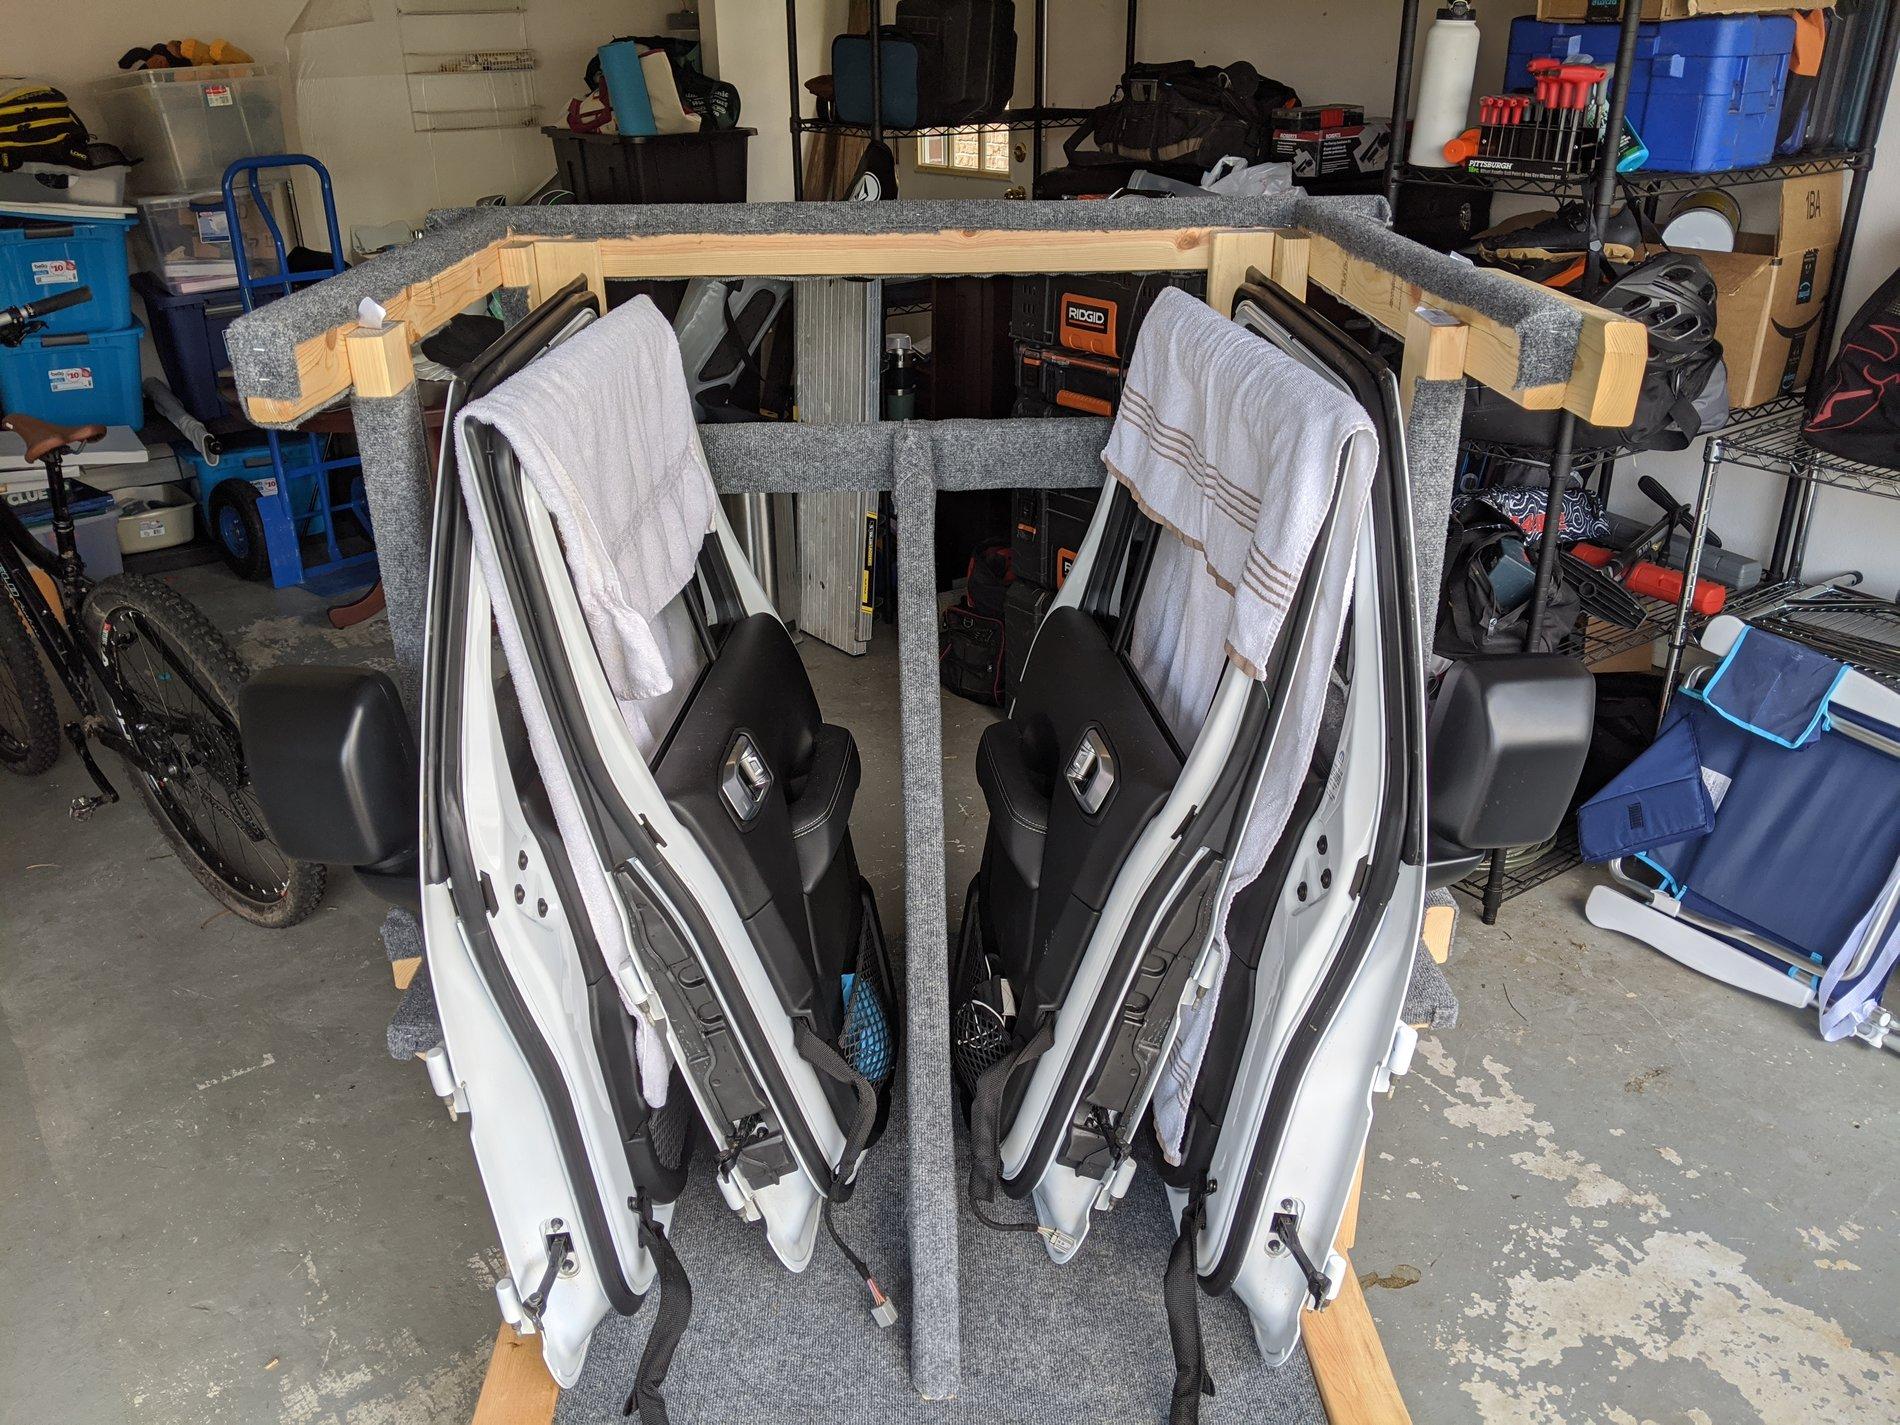
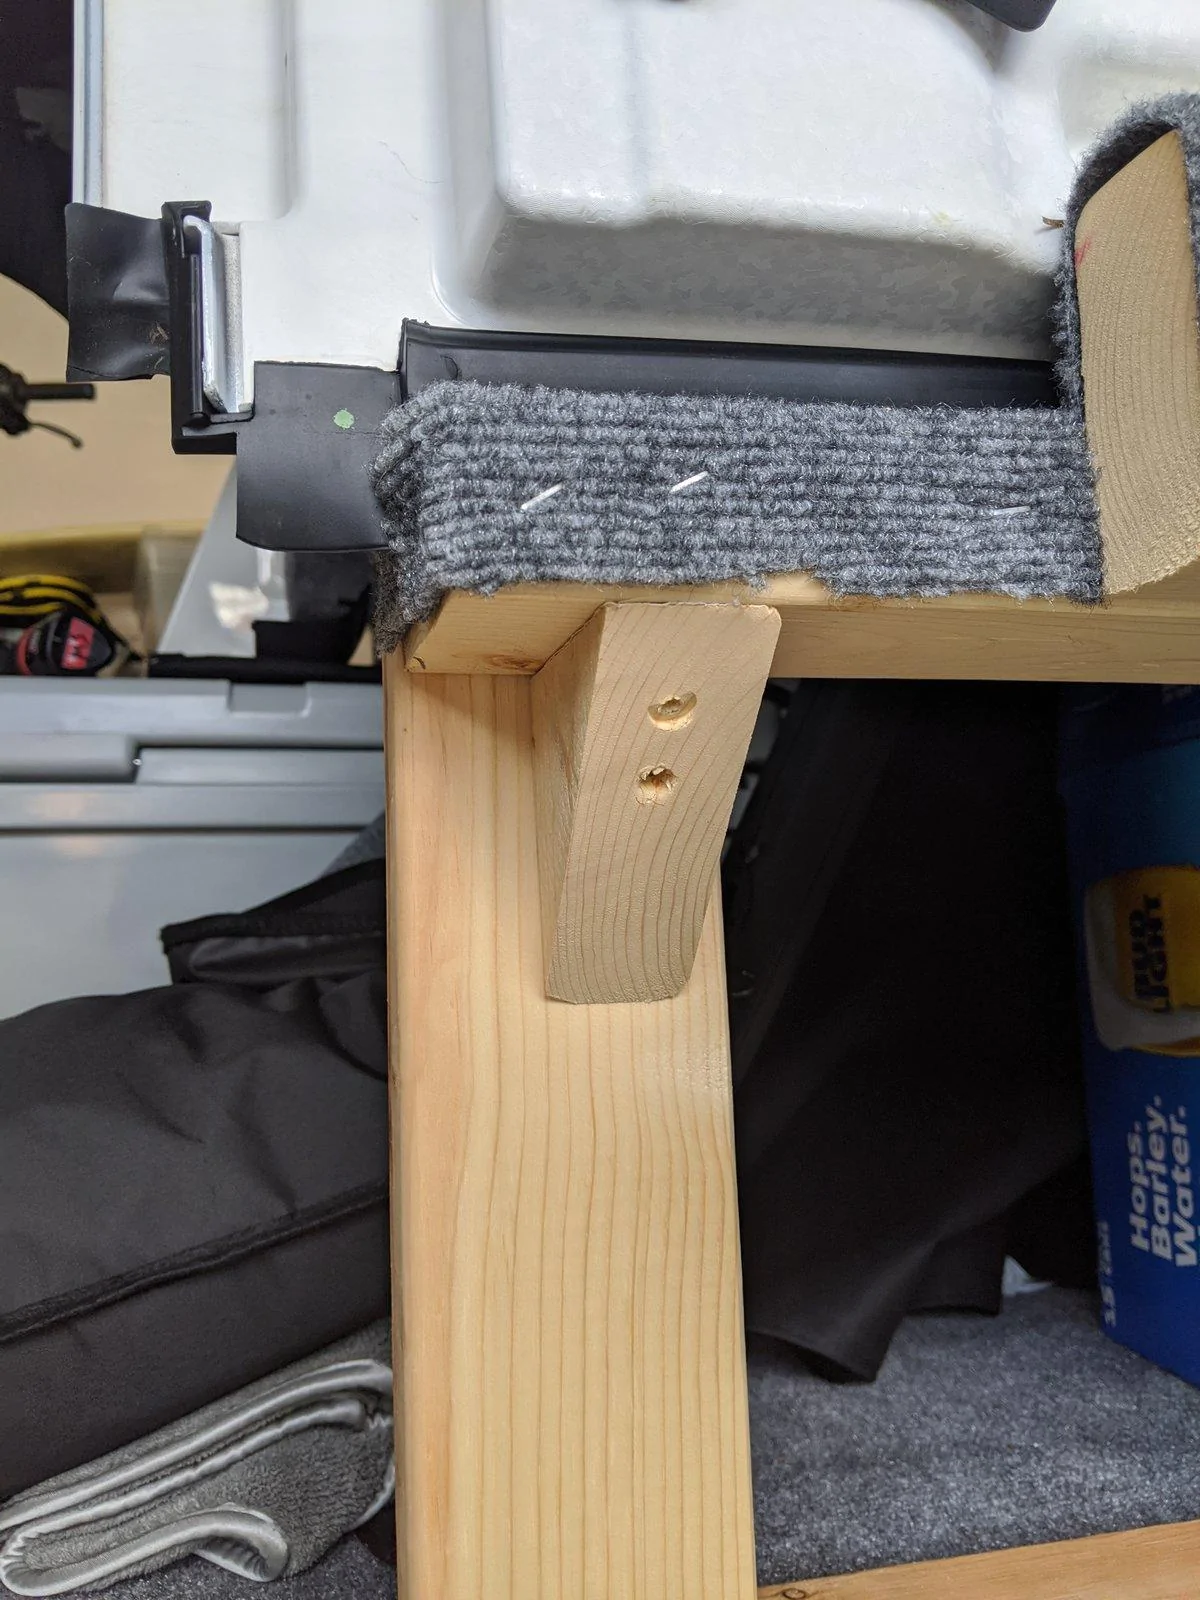
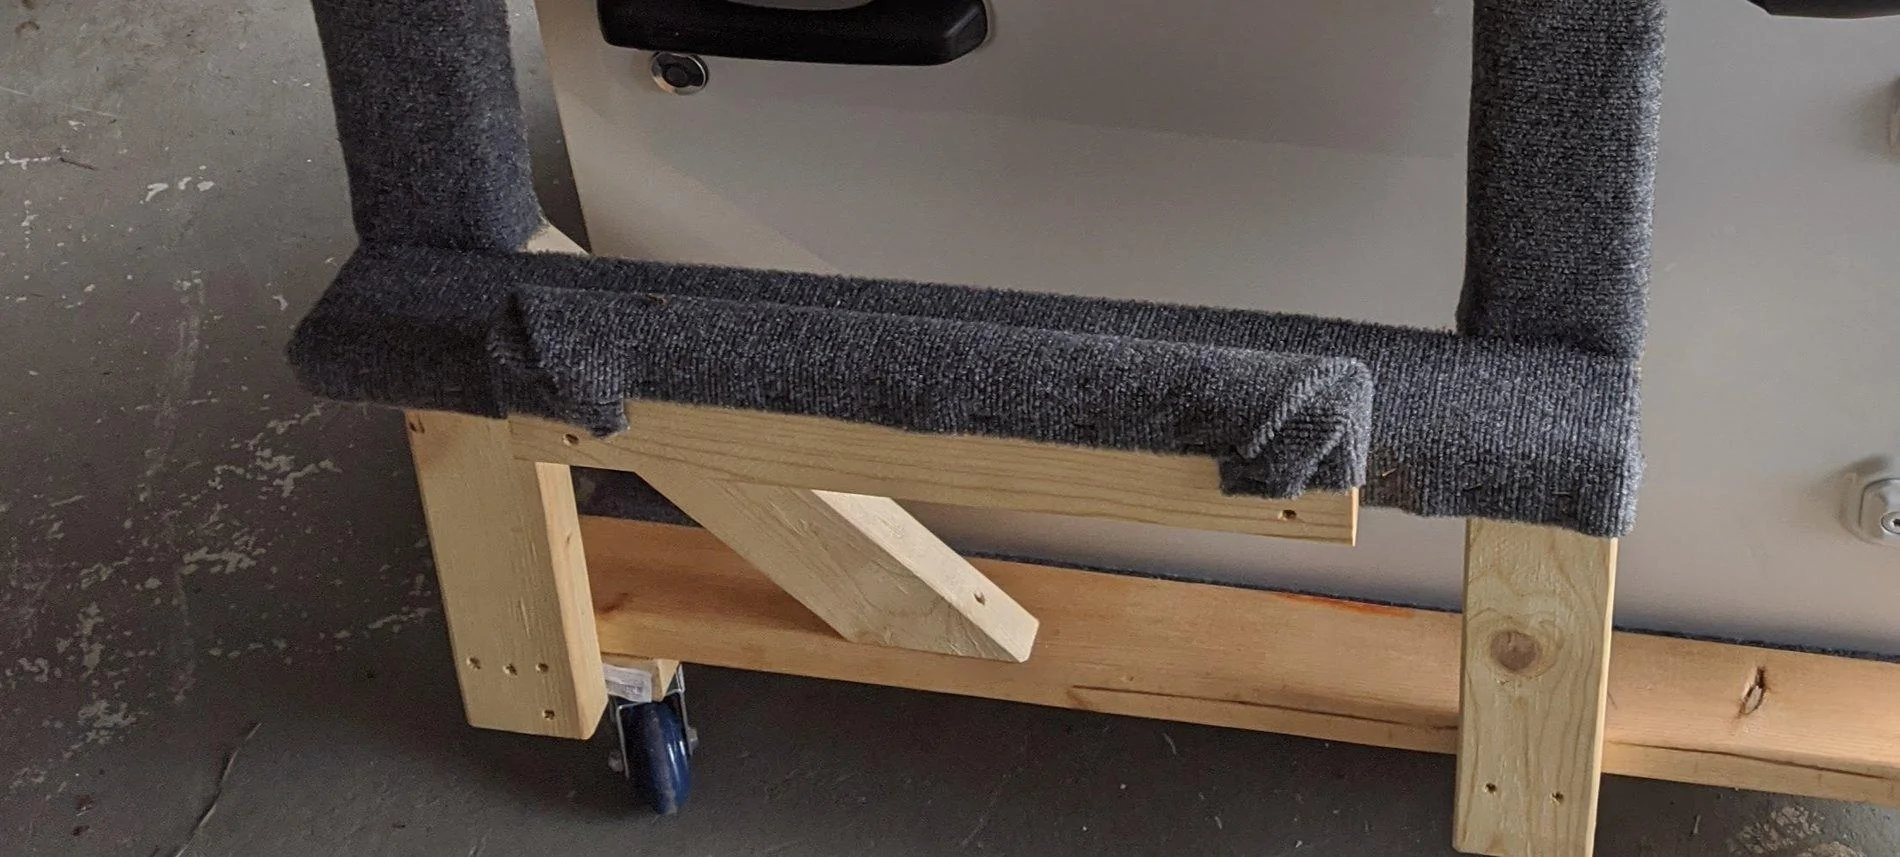
After placing the front uprights I then braced the back and sides to stiffen it up and guesstimated where I wanted the doors to lean. My goal was to have the door be supported by the covered 2"x4". Just Cut your braces to fit and make sure you measure as close to the base as you can. That will make it easier to get the uprights square when you screw everything together.


The angled center brace was done after everything was done and is only there to give me something to bungee the doors to if they are going to be left on the cart for a while.

IMG_20200317_111204.jpg


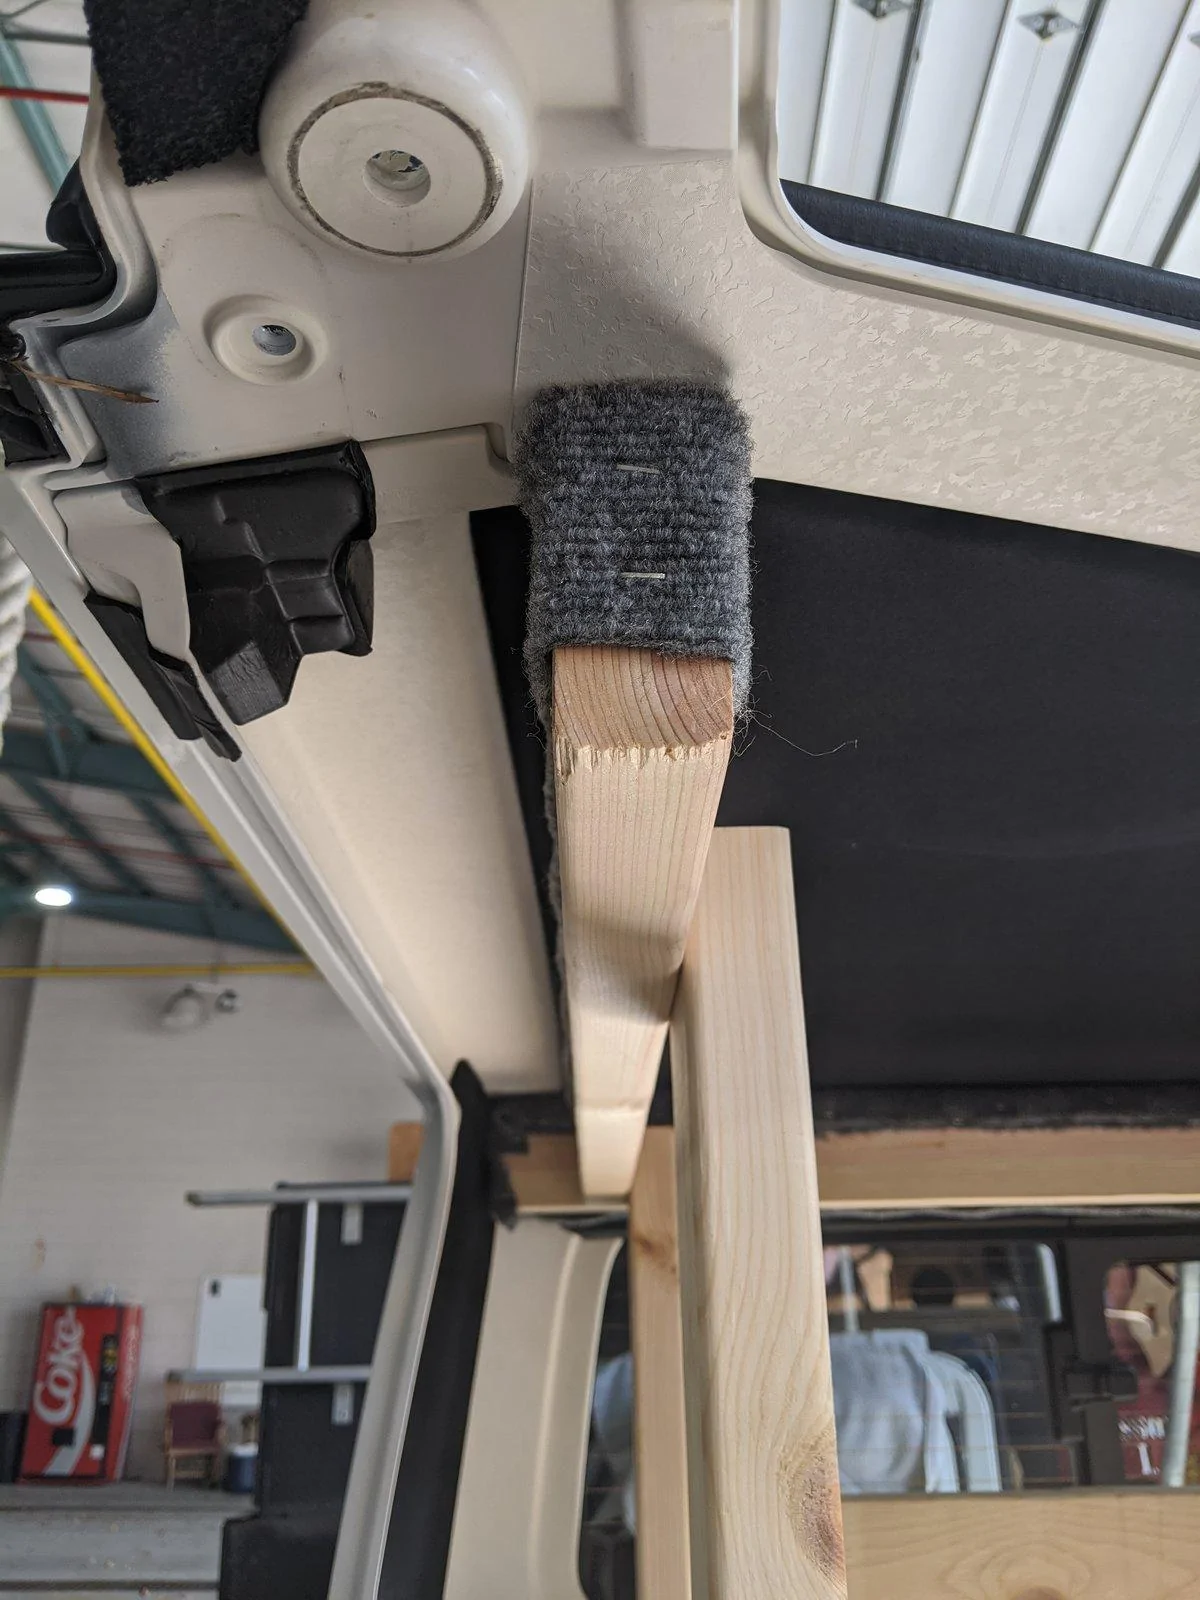
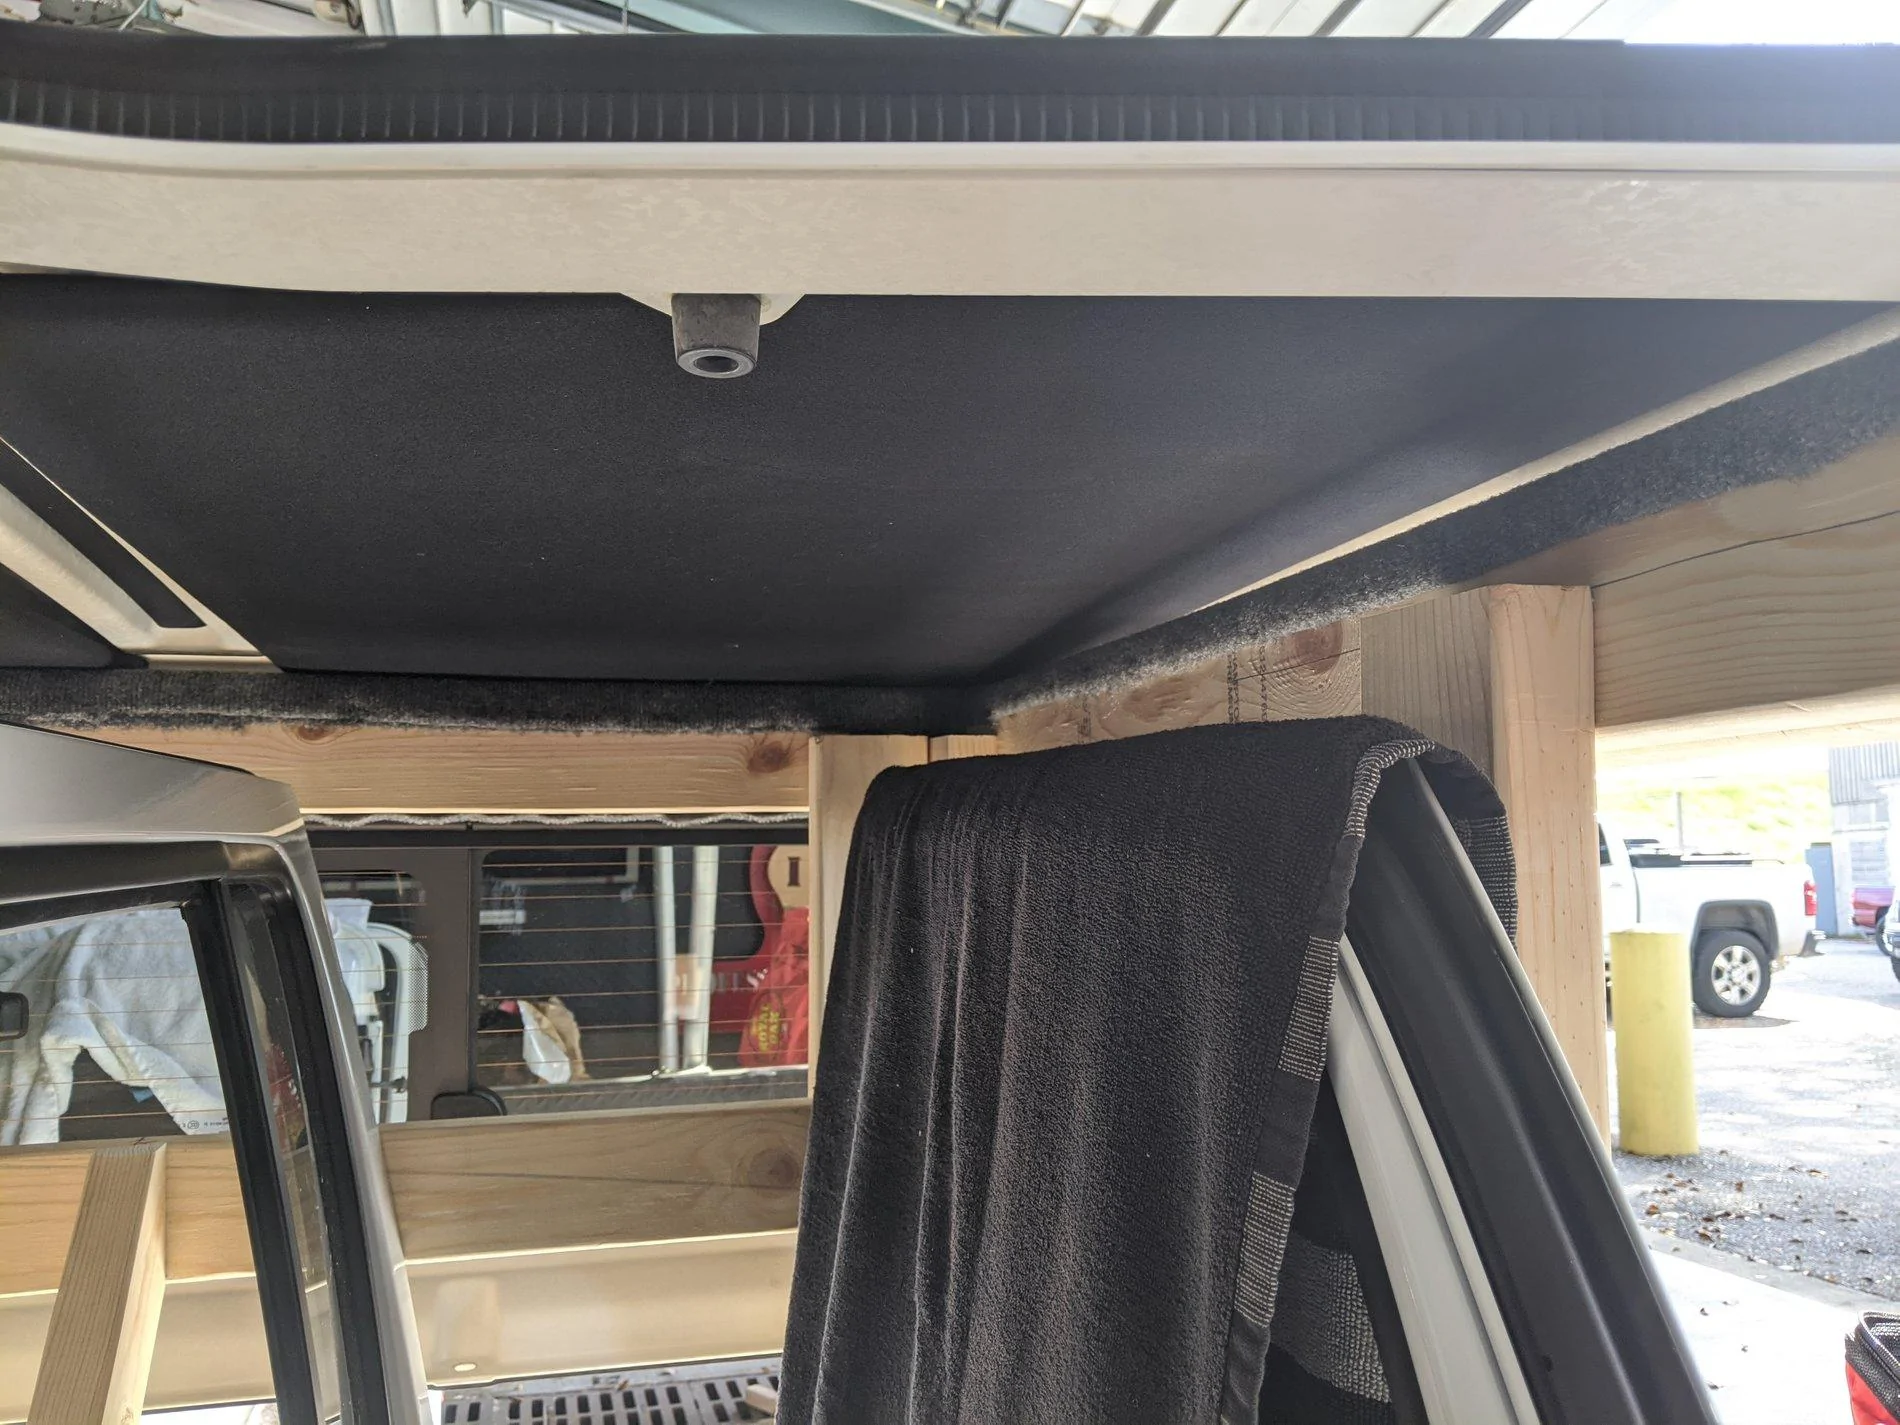
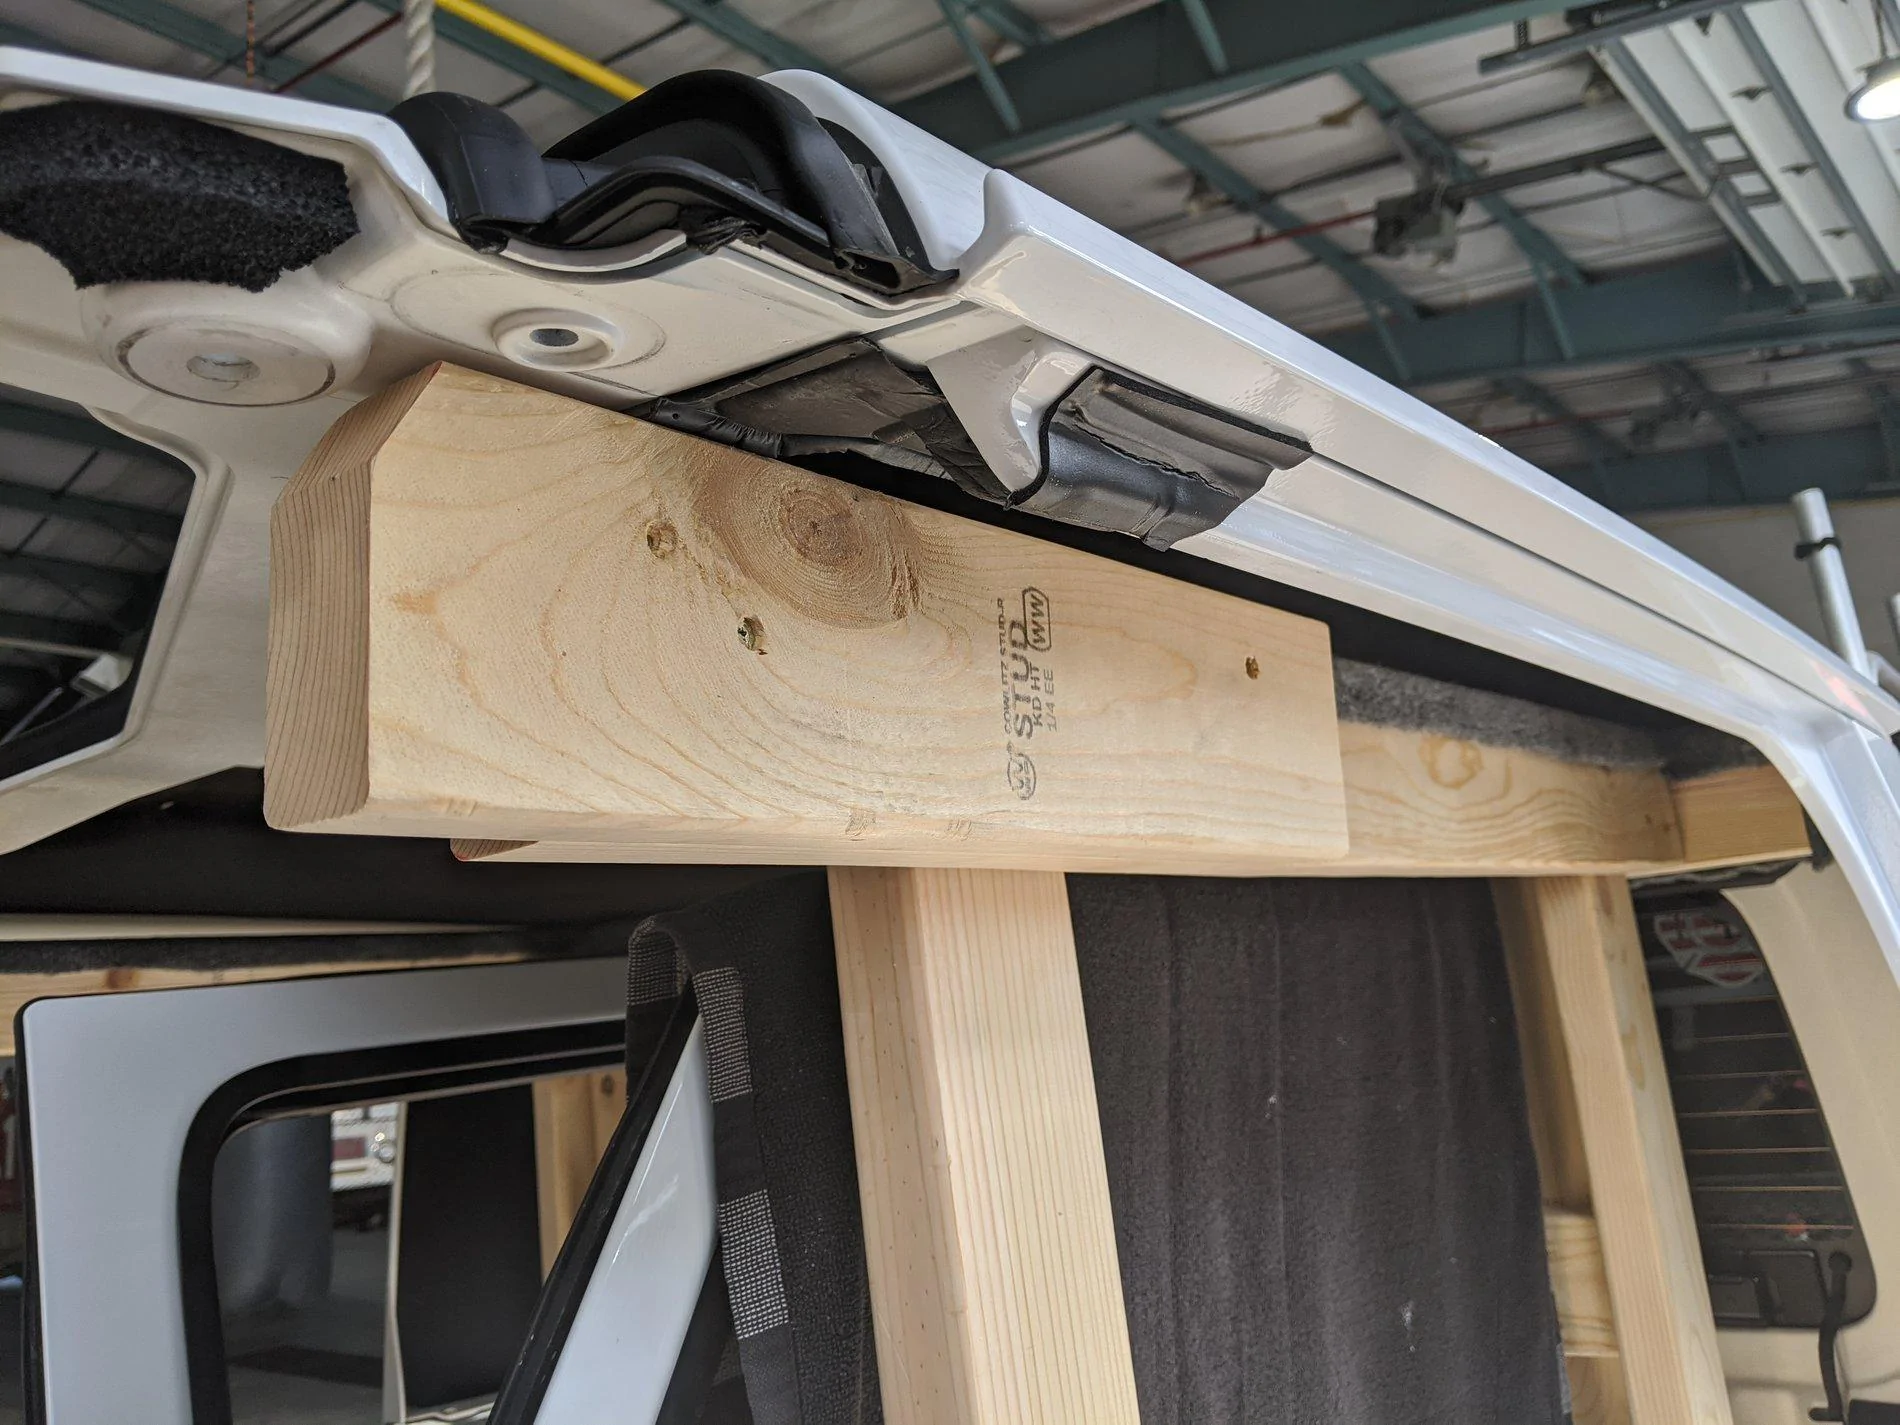
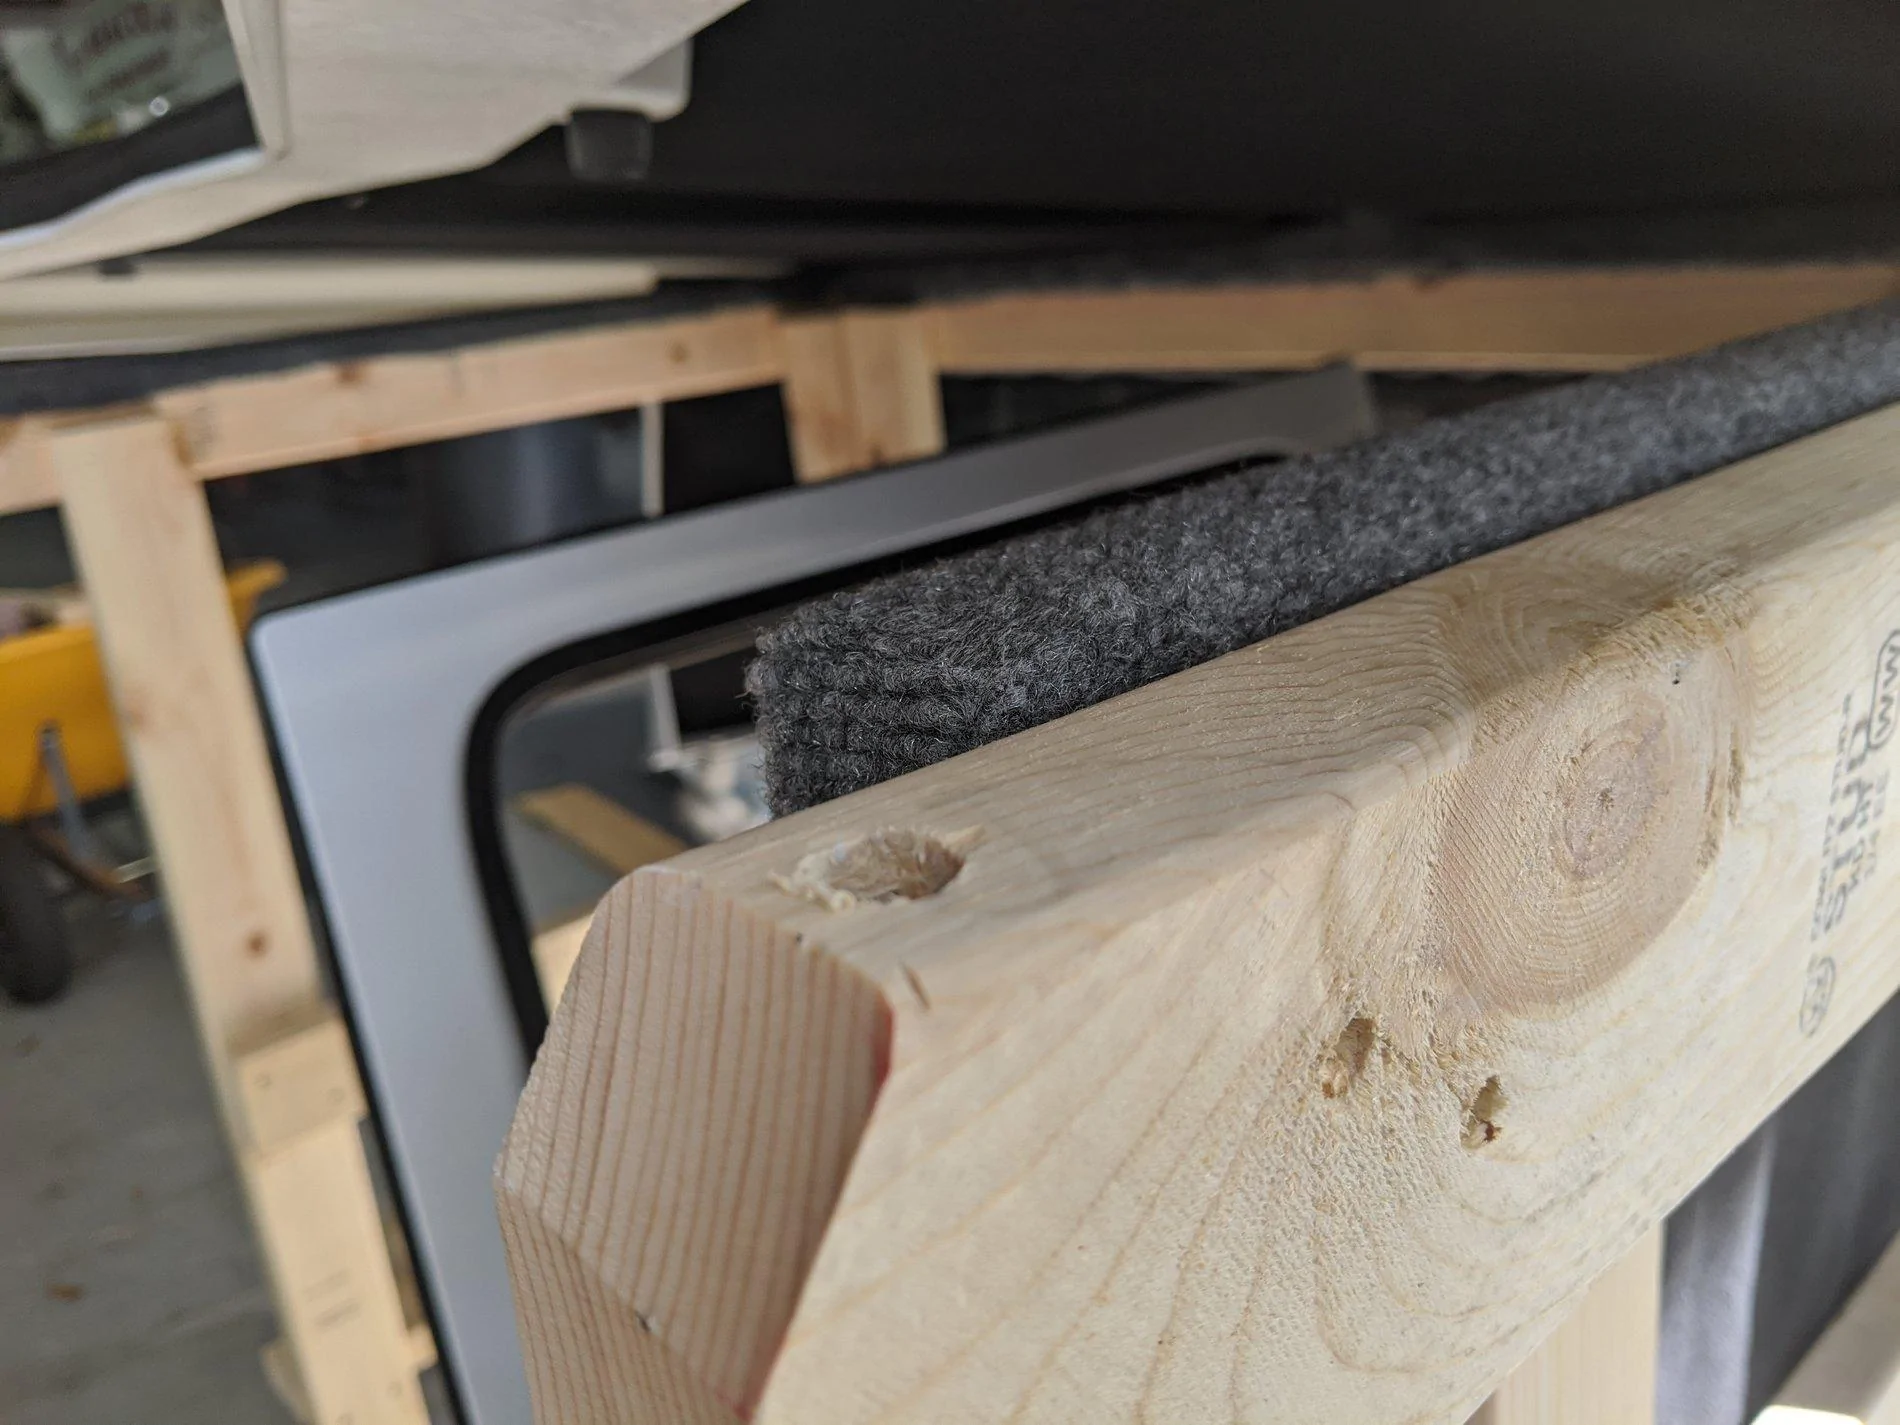
After getting the sides and back secured and squared up I ran the rear top support. I measured the span between the fiberglass structure of the hard top on each side and gave it about an inch of space on each side. I made this 2"x4"x54" long and attached it to the rear uprights. I slid the 2"x4" up about 1" above the uprights and secured it. I wanted to make sure the frame of the cart would not come in contact with the hotheads headliner. I made the side top supports 36" and secured them to the back L upright and ran it to the front/side uprights.

IMG_20200315_154818.webp


IMG_20200315_154824.webp


I then made a ledge to hold the freedom panels. They are 29.5" long and are made so that I can set the panels in after the top is in place and they will not fall out. My initial intention was to secure them with bungees but they nest in there nicely and I don't thing I will need to do anything unless I want to put the back half on without the panels. The first two photos show how the fit in there.

IMG_20200329_105849.webp


IMG_20200317_111210 (1).webp


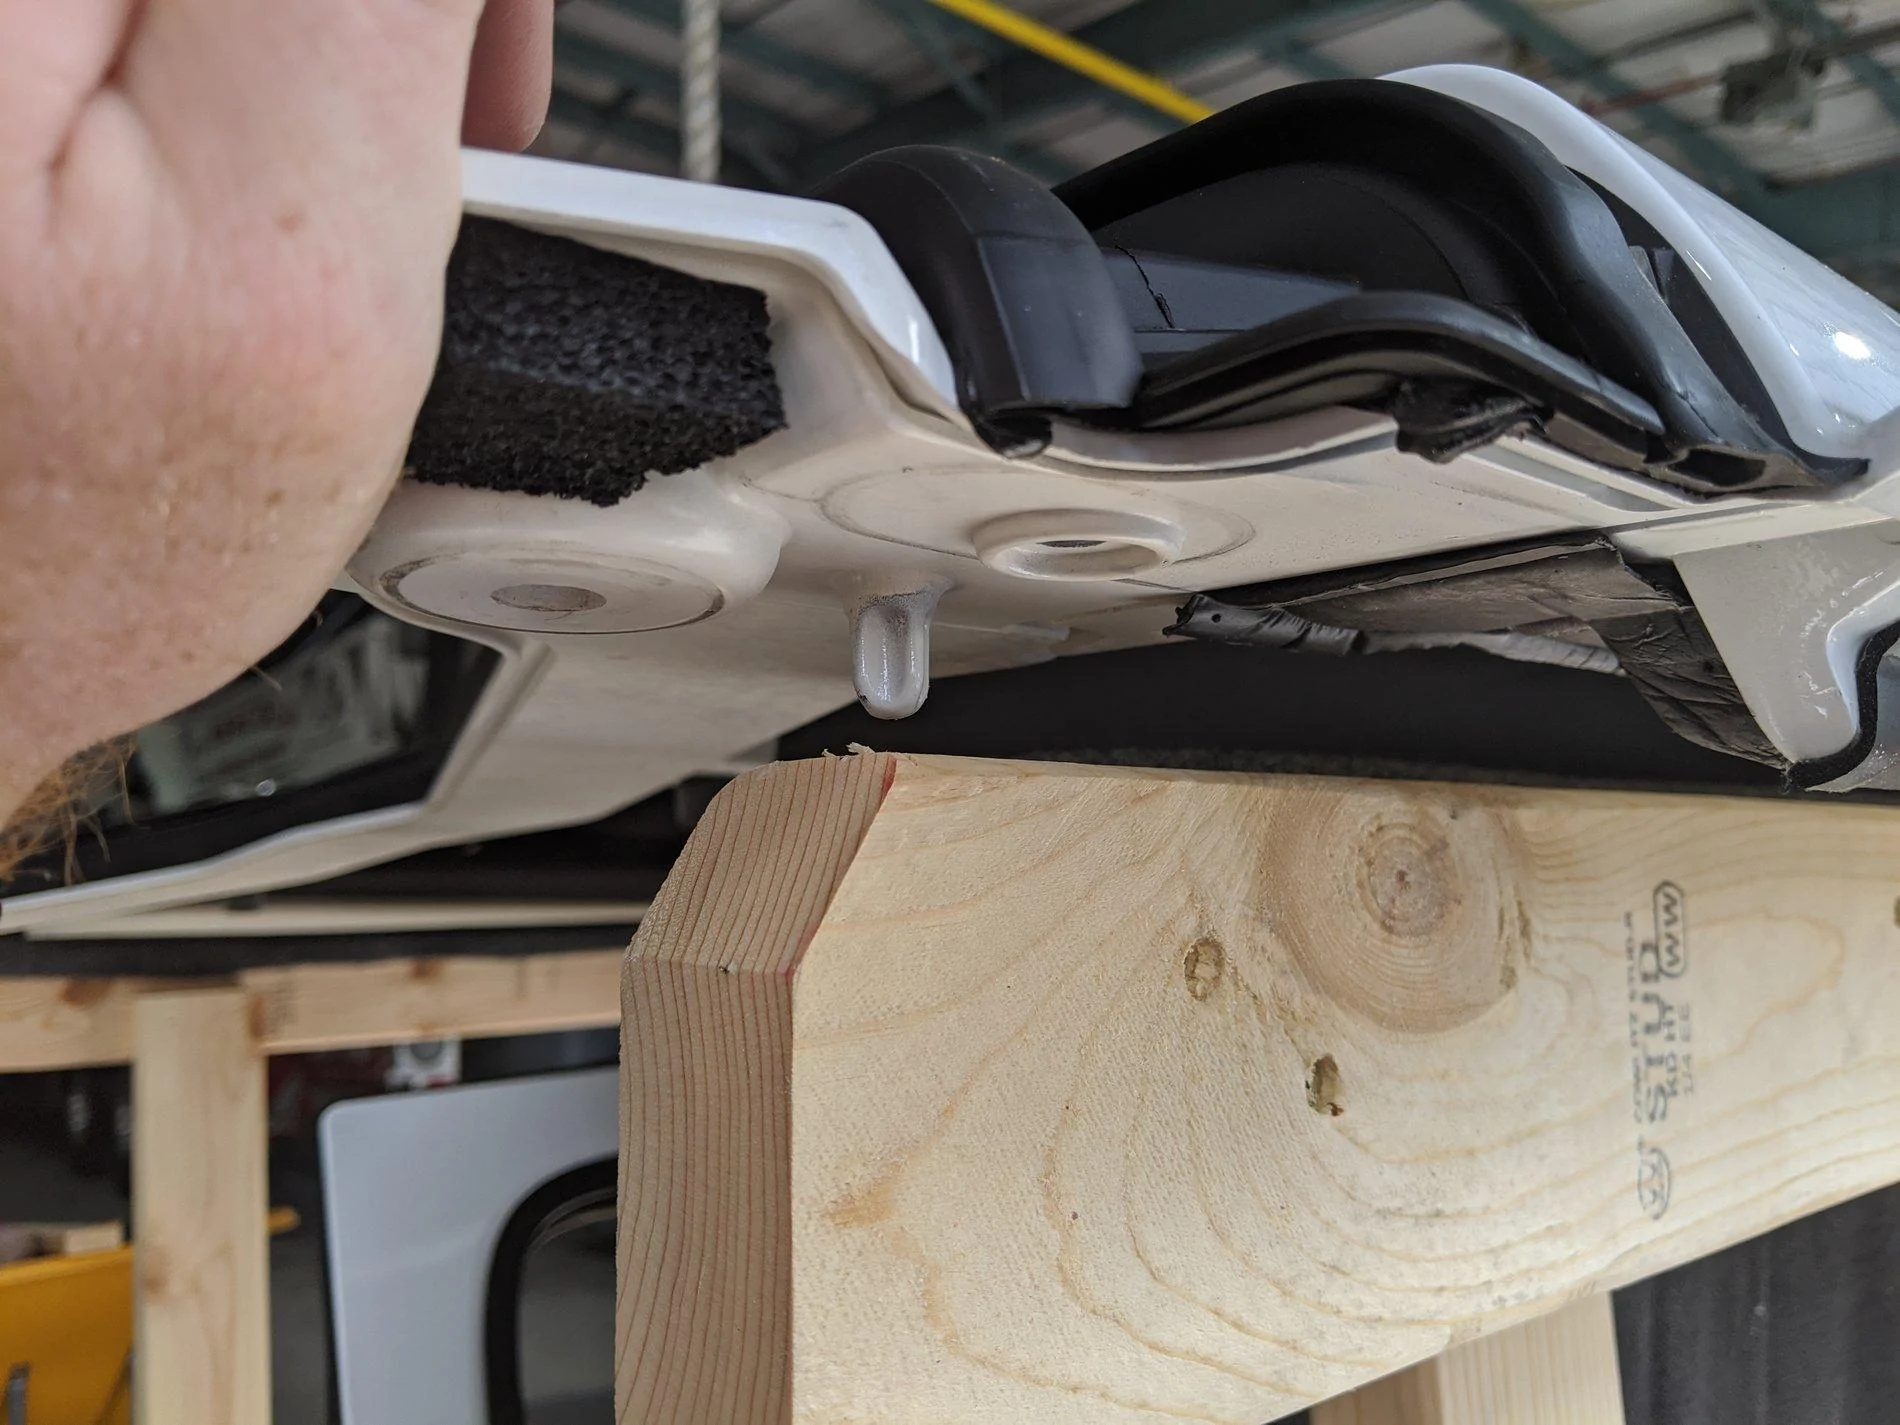
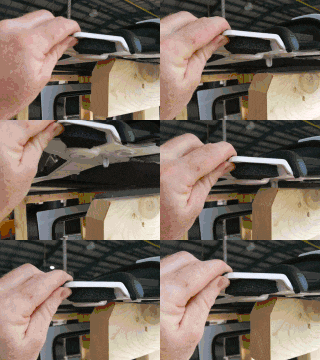
Finally I attached a scrap of 2"x4" that the indexing pin would fall into. I drilled a hole in the 2"x4" and screwed it to the side top support and now the top is locked into the dolly.

IMG_20200315_154831.webp


MVIMG_20200315_154835.webp


IMG_20200315_154834.webp


image (1).gif


Finally I wrapped it in carpet everywhere it could come in contact with the doors or top and added the casters.
Nicely done!
Sponsored


Top