Bigbrownpilot
Member
- First Name
- David
- Joined
- May 30, 2021
- Threads
- 3
- Messages
- 16
- Reaction score
- 16
- Location
- Big Canoe, GA
- Vehicle(s)
- 2021 Jeep Gladiator Overland
- Occupation
- Retired pilot
- Thread starter
- #1
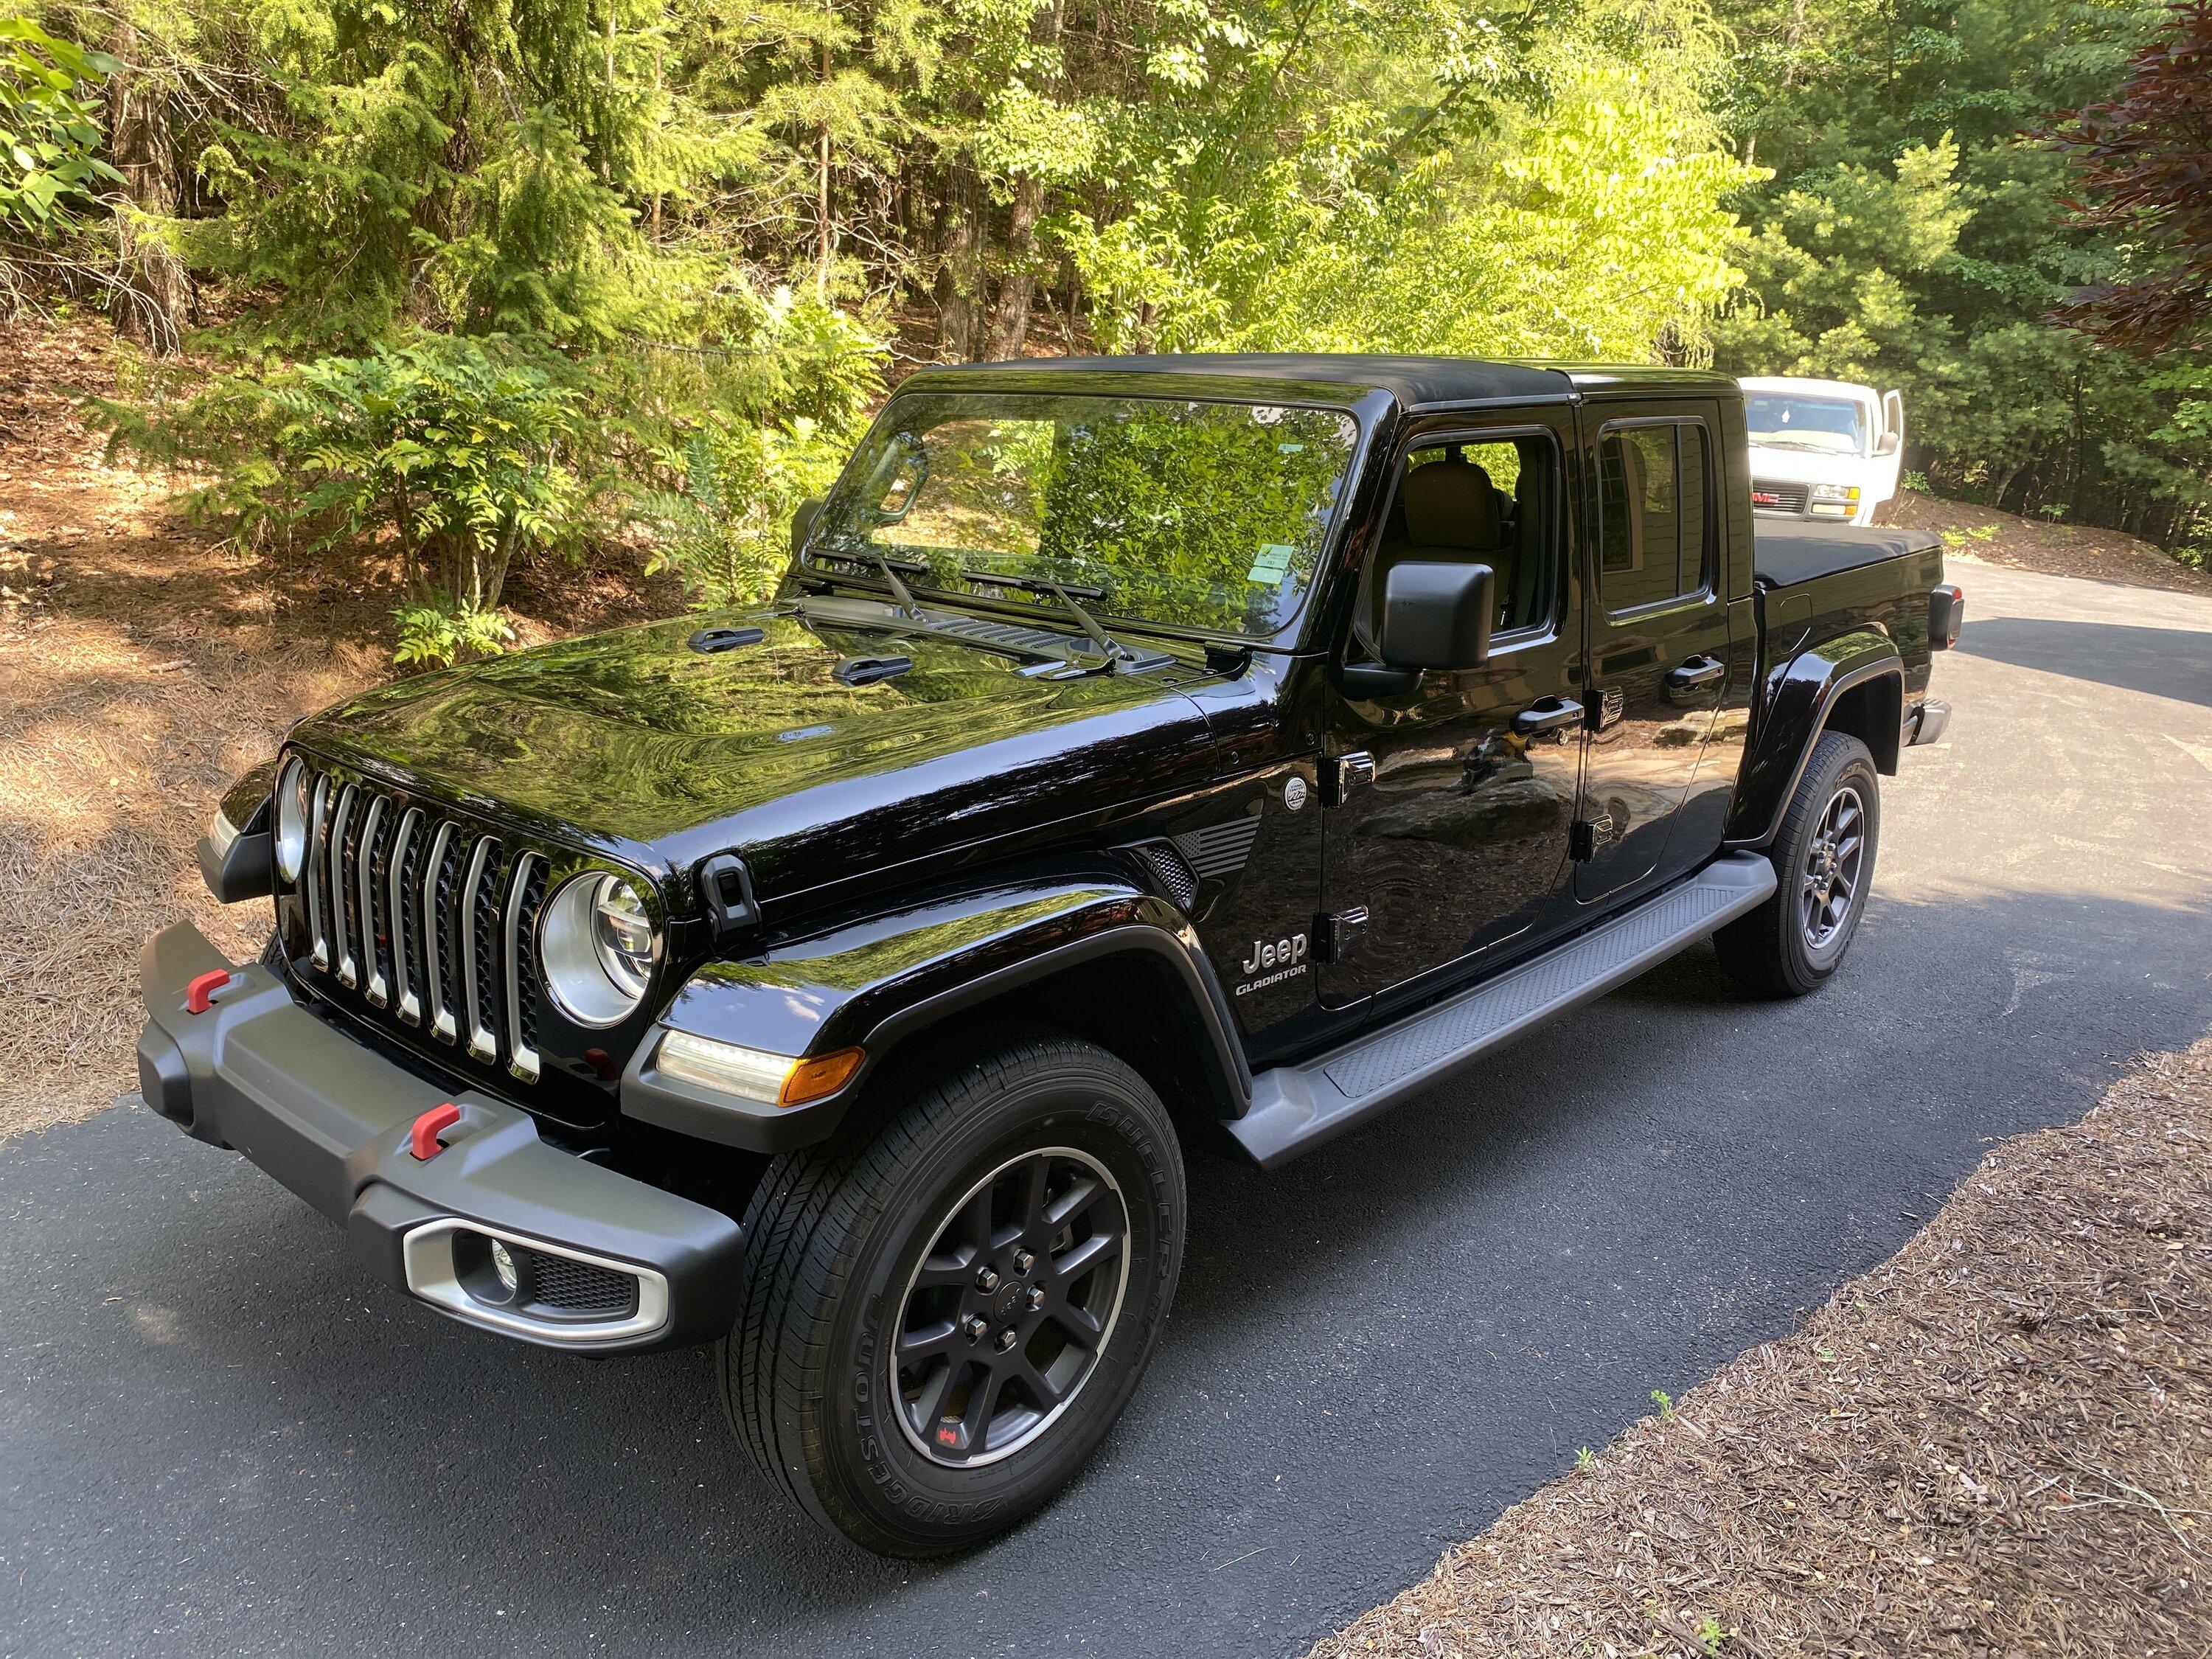
After my negative experience with Quadratec turned out positive in the end, I received my Sunrider top in good shape. I had already downloaded the printed instructions and watched a couple YouTube videos on the install. The best install video was the Quadratec video. His method and instructions were a little but different than the Bestop printed instructions. The Gladiator needed a good wash beforehand to get off some tree sap we picked up down at Tybee Island. The day after, I got with it. I'm not posting step-by-step photos, but I will post finished pictures and discuss the steps as well as minor problems I discovered along the way.
1. Removing the Freedom Tops-- Straightforward and painless. This is my second recent Jeep (third overall), and my 2018 Wrangler had the same top design. I have to give the engineers credit for an easy, painless and leak-free design that is solid and quiet when installed. I used the bed and tailgate of the truck as my work surface, and managed to get them off without damaging or scratching the black paint.
2. Storing the Freedom Tops in the bag-- The pictograms in the bag show you how to do it. I checked the Owners' Manual to make certain I was going it correctly and it was really no help. What confused me was what to do with the two rubber edge guard blocks in the pouch on the outside. The owners' manual mentions them, but never shows how or where they go. I couldn't find a picture of them installed anywhere. I finally gave up and didn't use them. Just zipped up the storage bag and put it on top of the freezer in the garage out of harm's way.
3. Cleaning the seal-- no big deal. Used Windex and then went over the area with some silicon lubricant sprayed onto a rag to keep the seals pliable.
4. Installing the side rails/"Z" clips-- This is where the video install instructions differ from the printed ones. Bestop has you insert the "Z" clips first, then attach the top to the side rails. Then you put the whole thing on the Jeep with a helper and bolt down the side rails. The video I watched has you put the side rails on with the front bolt, then install the "Z" clips, then bolt the top to the side rails. The rear bolt between the sport bar and the side rail then goes in at the end

 . This is where the ugly starts. I had a feeling that getting the "Z" clips installed properly was going to be major ass pain, and i was correct. While it was easier to install the side rails first and then put the top in place, there was no way to insert and rotate the "Z" clip into the hole without removing the side rail and twisting it around with the clip until it was in place correctly. I spent way more time sweating and swearing doing this step than anything else. I think the Bestop instructions would have worked better-- get the clip in place while you can rotate the side rails around to assist, then bolt it all together and put it on top as a unit. I guarantee if/when I remove it for the winter that it's coming off as an assembled unit and when I put it back on in the summer it will go on as an assembled unit. I had to unbolt the forward bolt and remove the side rails to twist them around. When I put them back on I left the front bolt loose so there was enough play to adjust everything and bolt it all down securely at the end.
5. Bolting the top to the side rails-- the short Torx bolts seem a little too short, and it was a bit difficult to get the alignment pins into the locating holes on the side rails. When I got it all lined up, I had a bit of an issue getting the first threads to bite, but finally when I did, it bolted together easily. It's a little difficult to leave these bolts loose until final alignment because they are so short. I recommend tightening them up and then loosening them enough where there is some play between the top and side rails rather than installing them loose because they are likely to fall out.
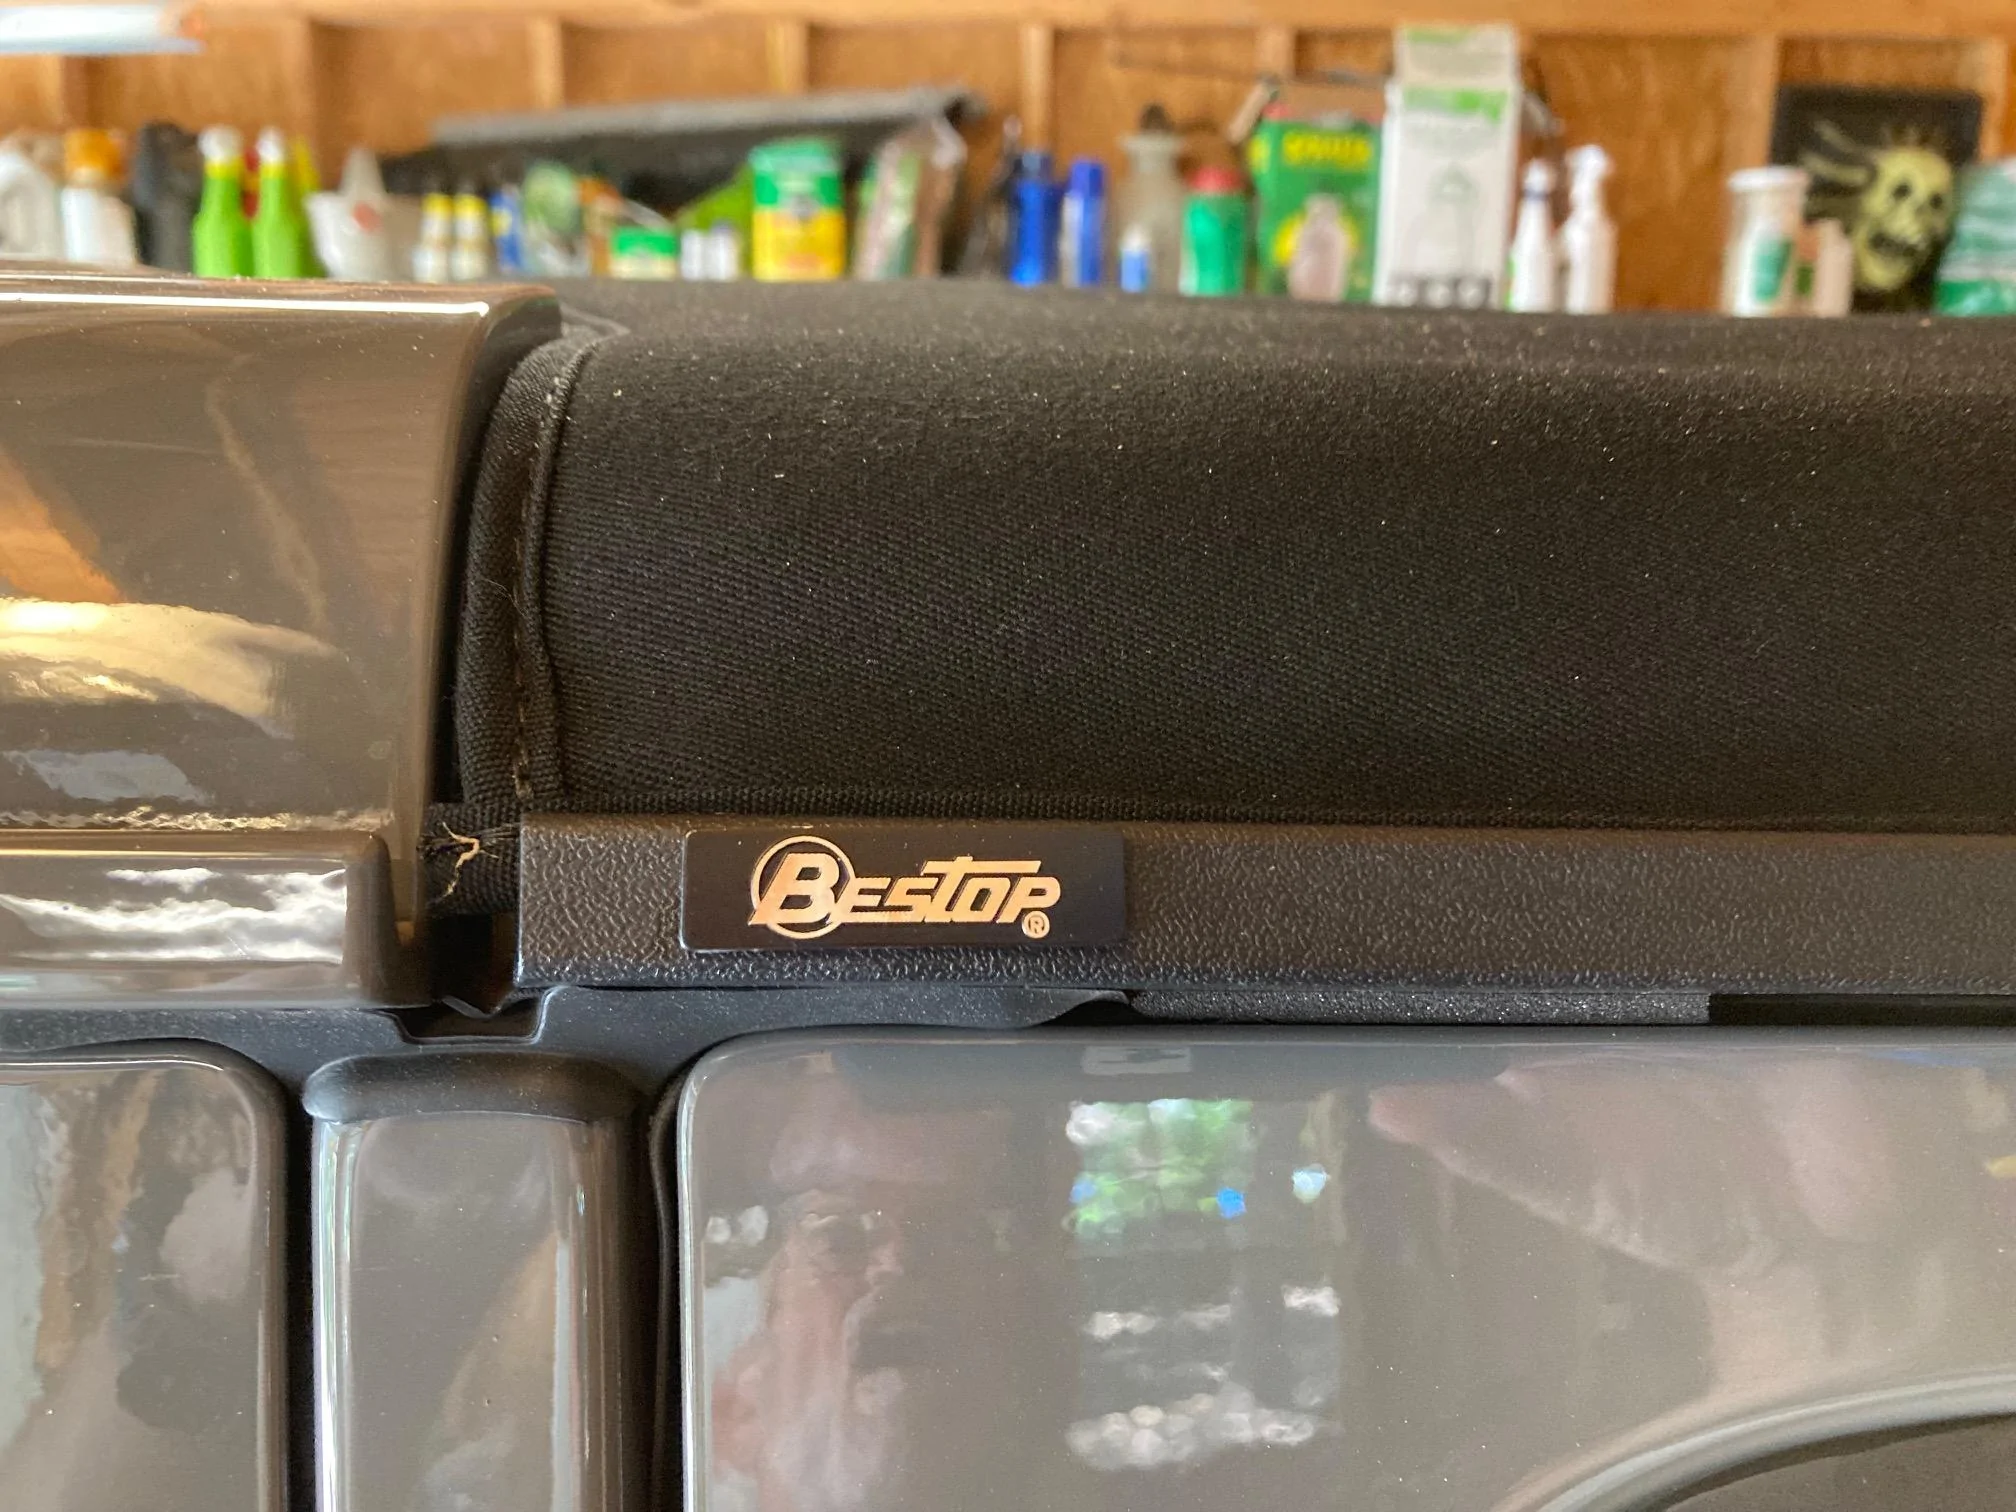
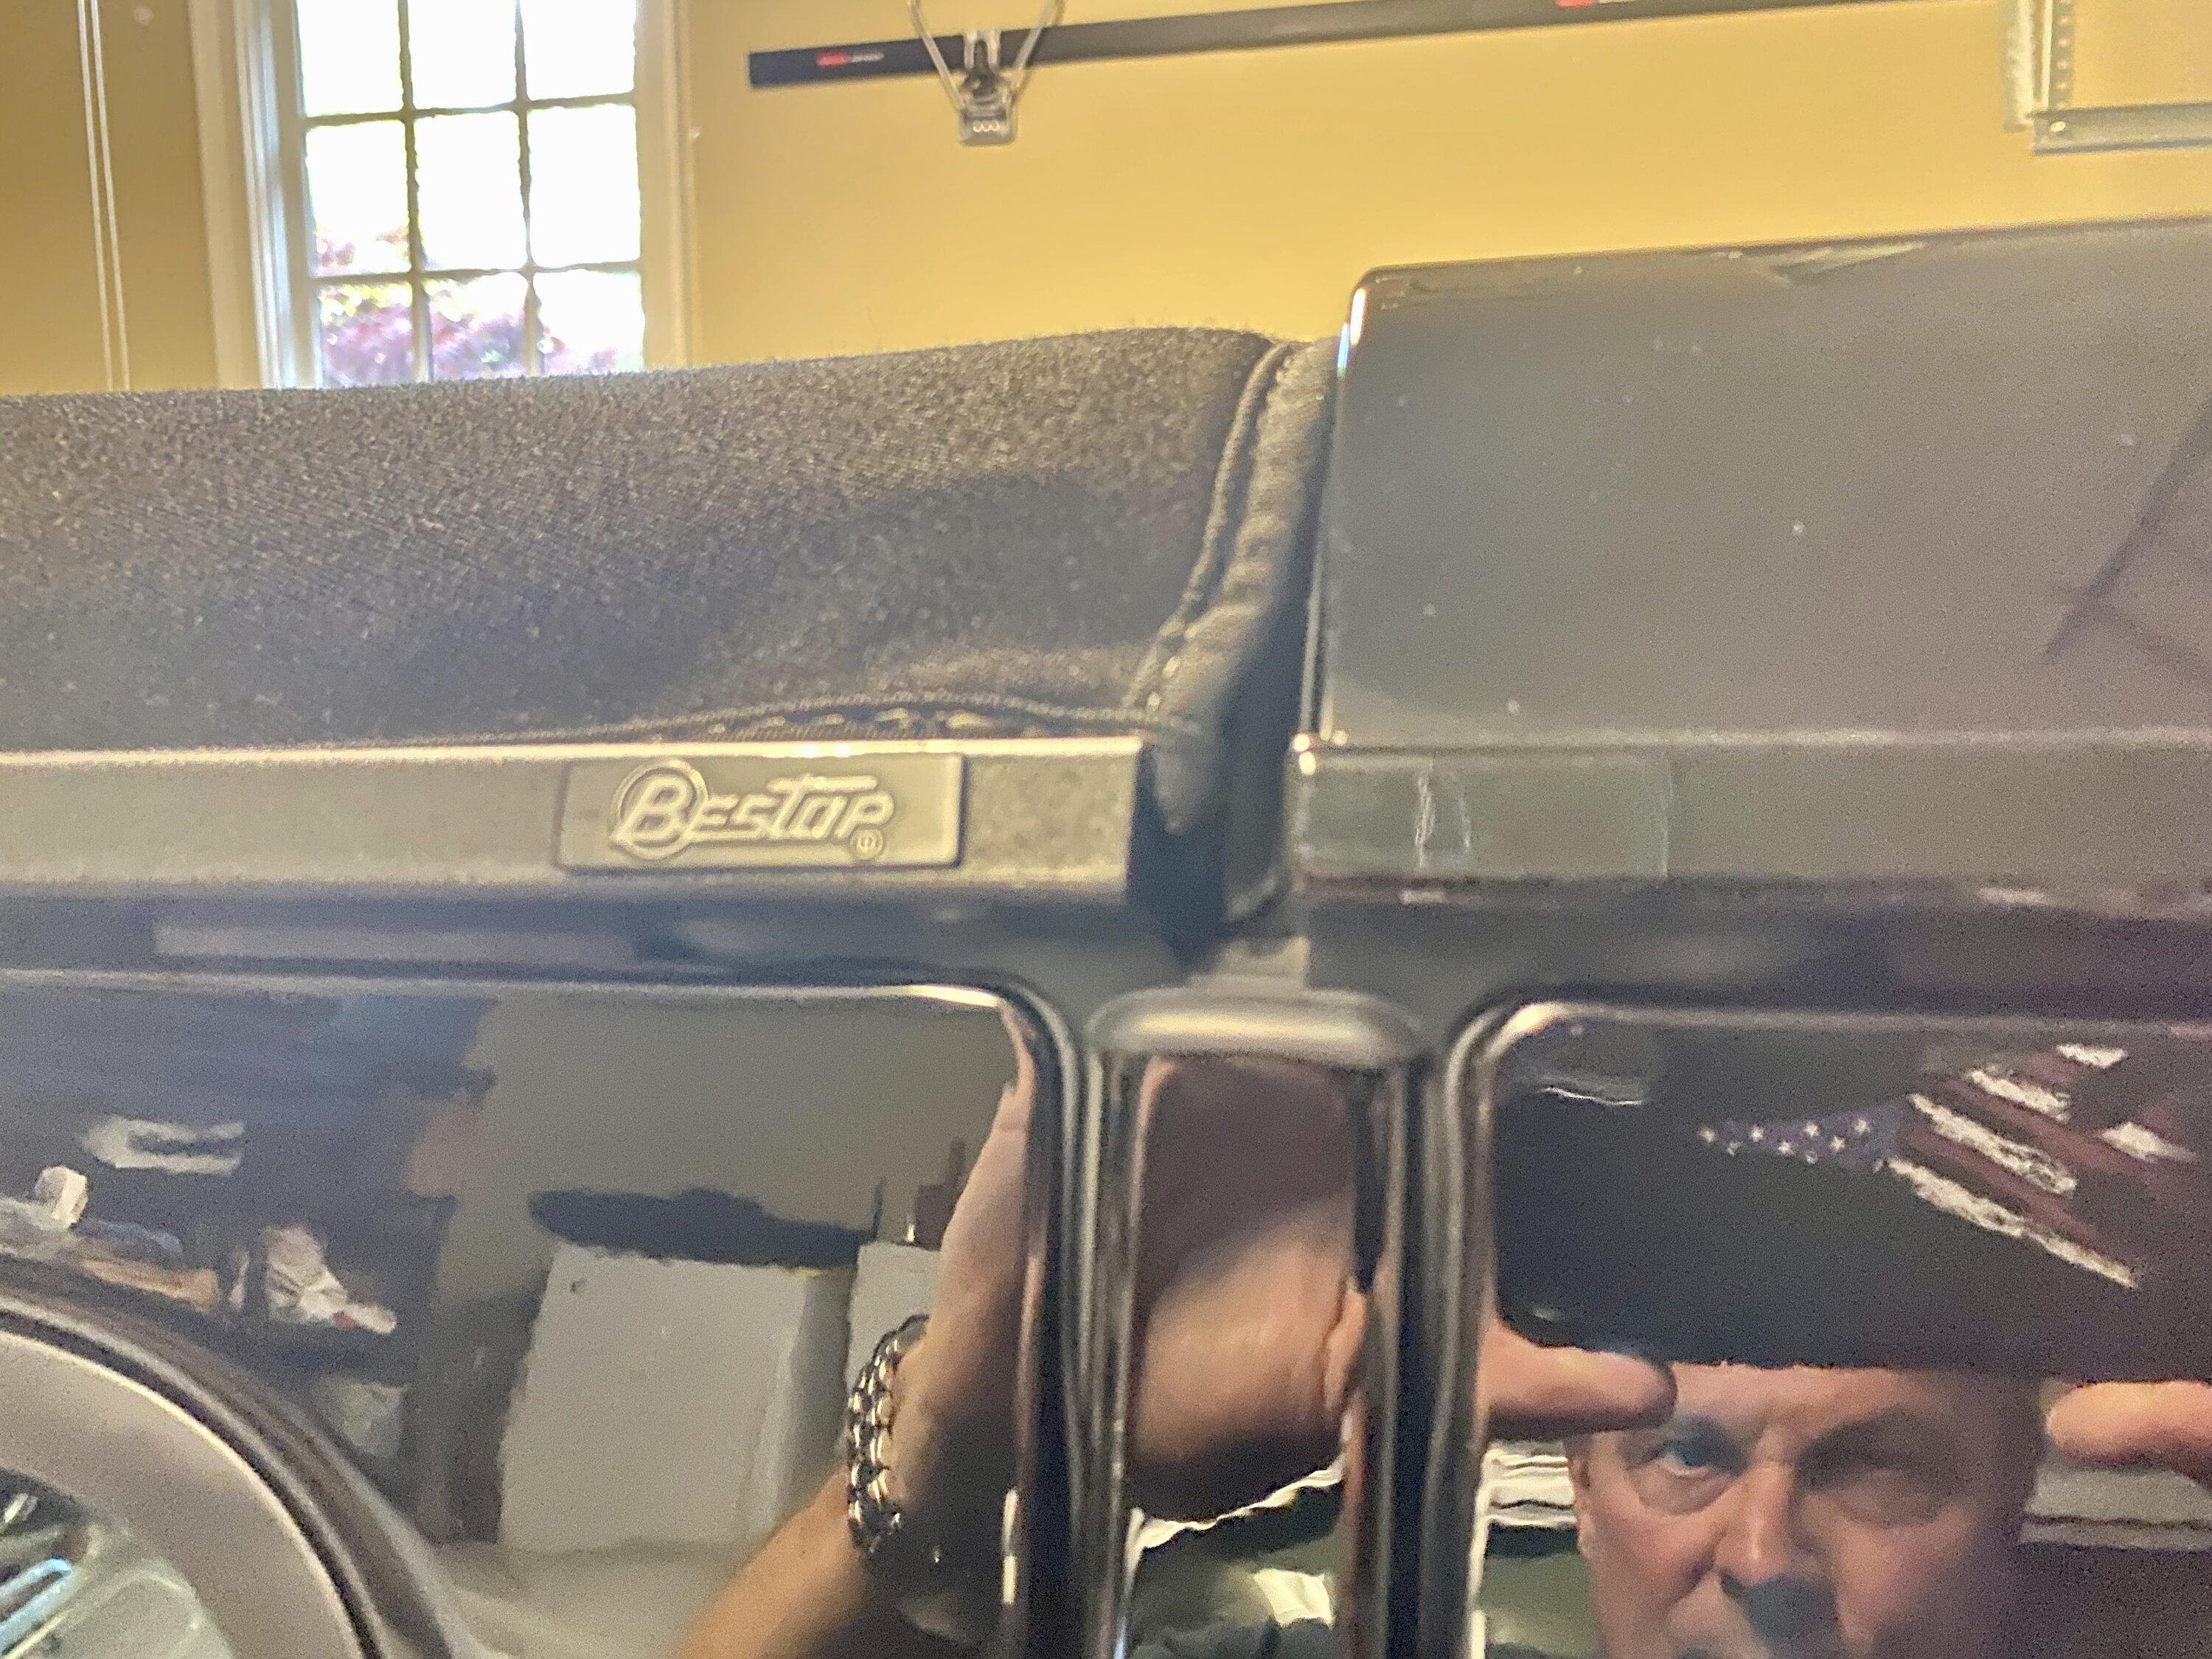
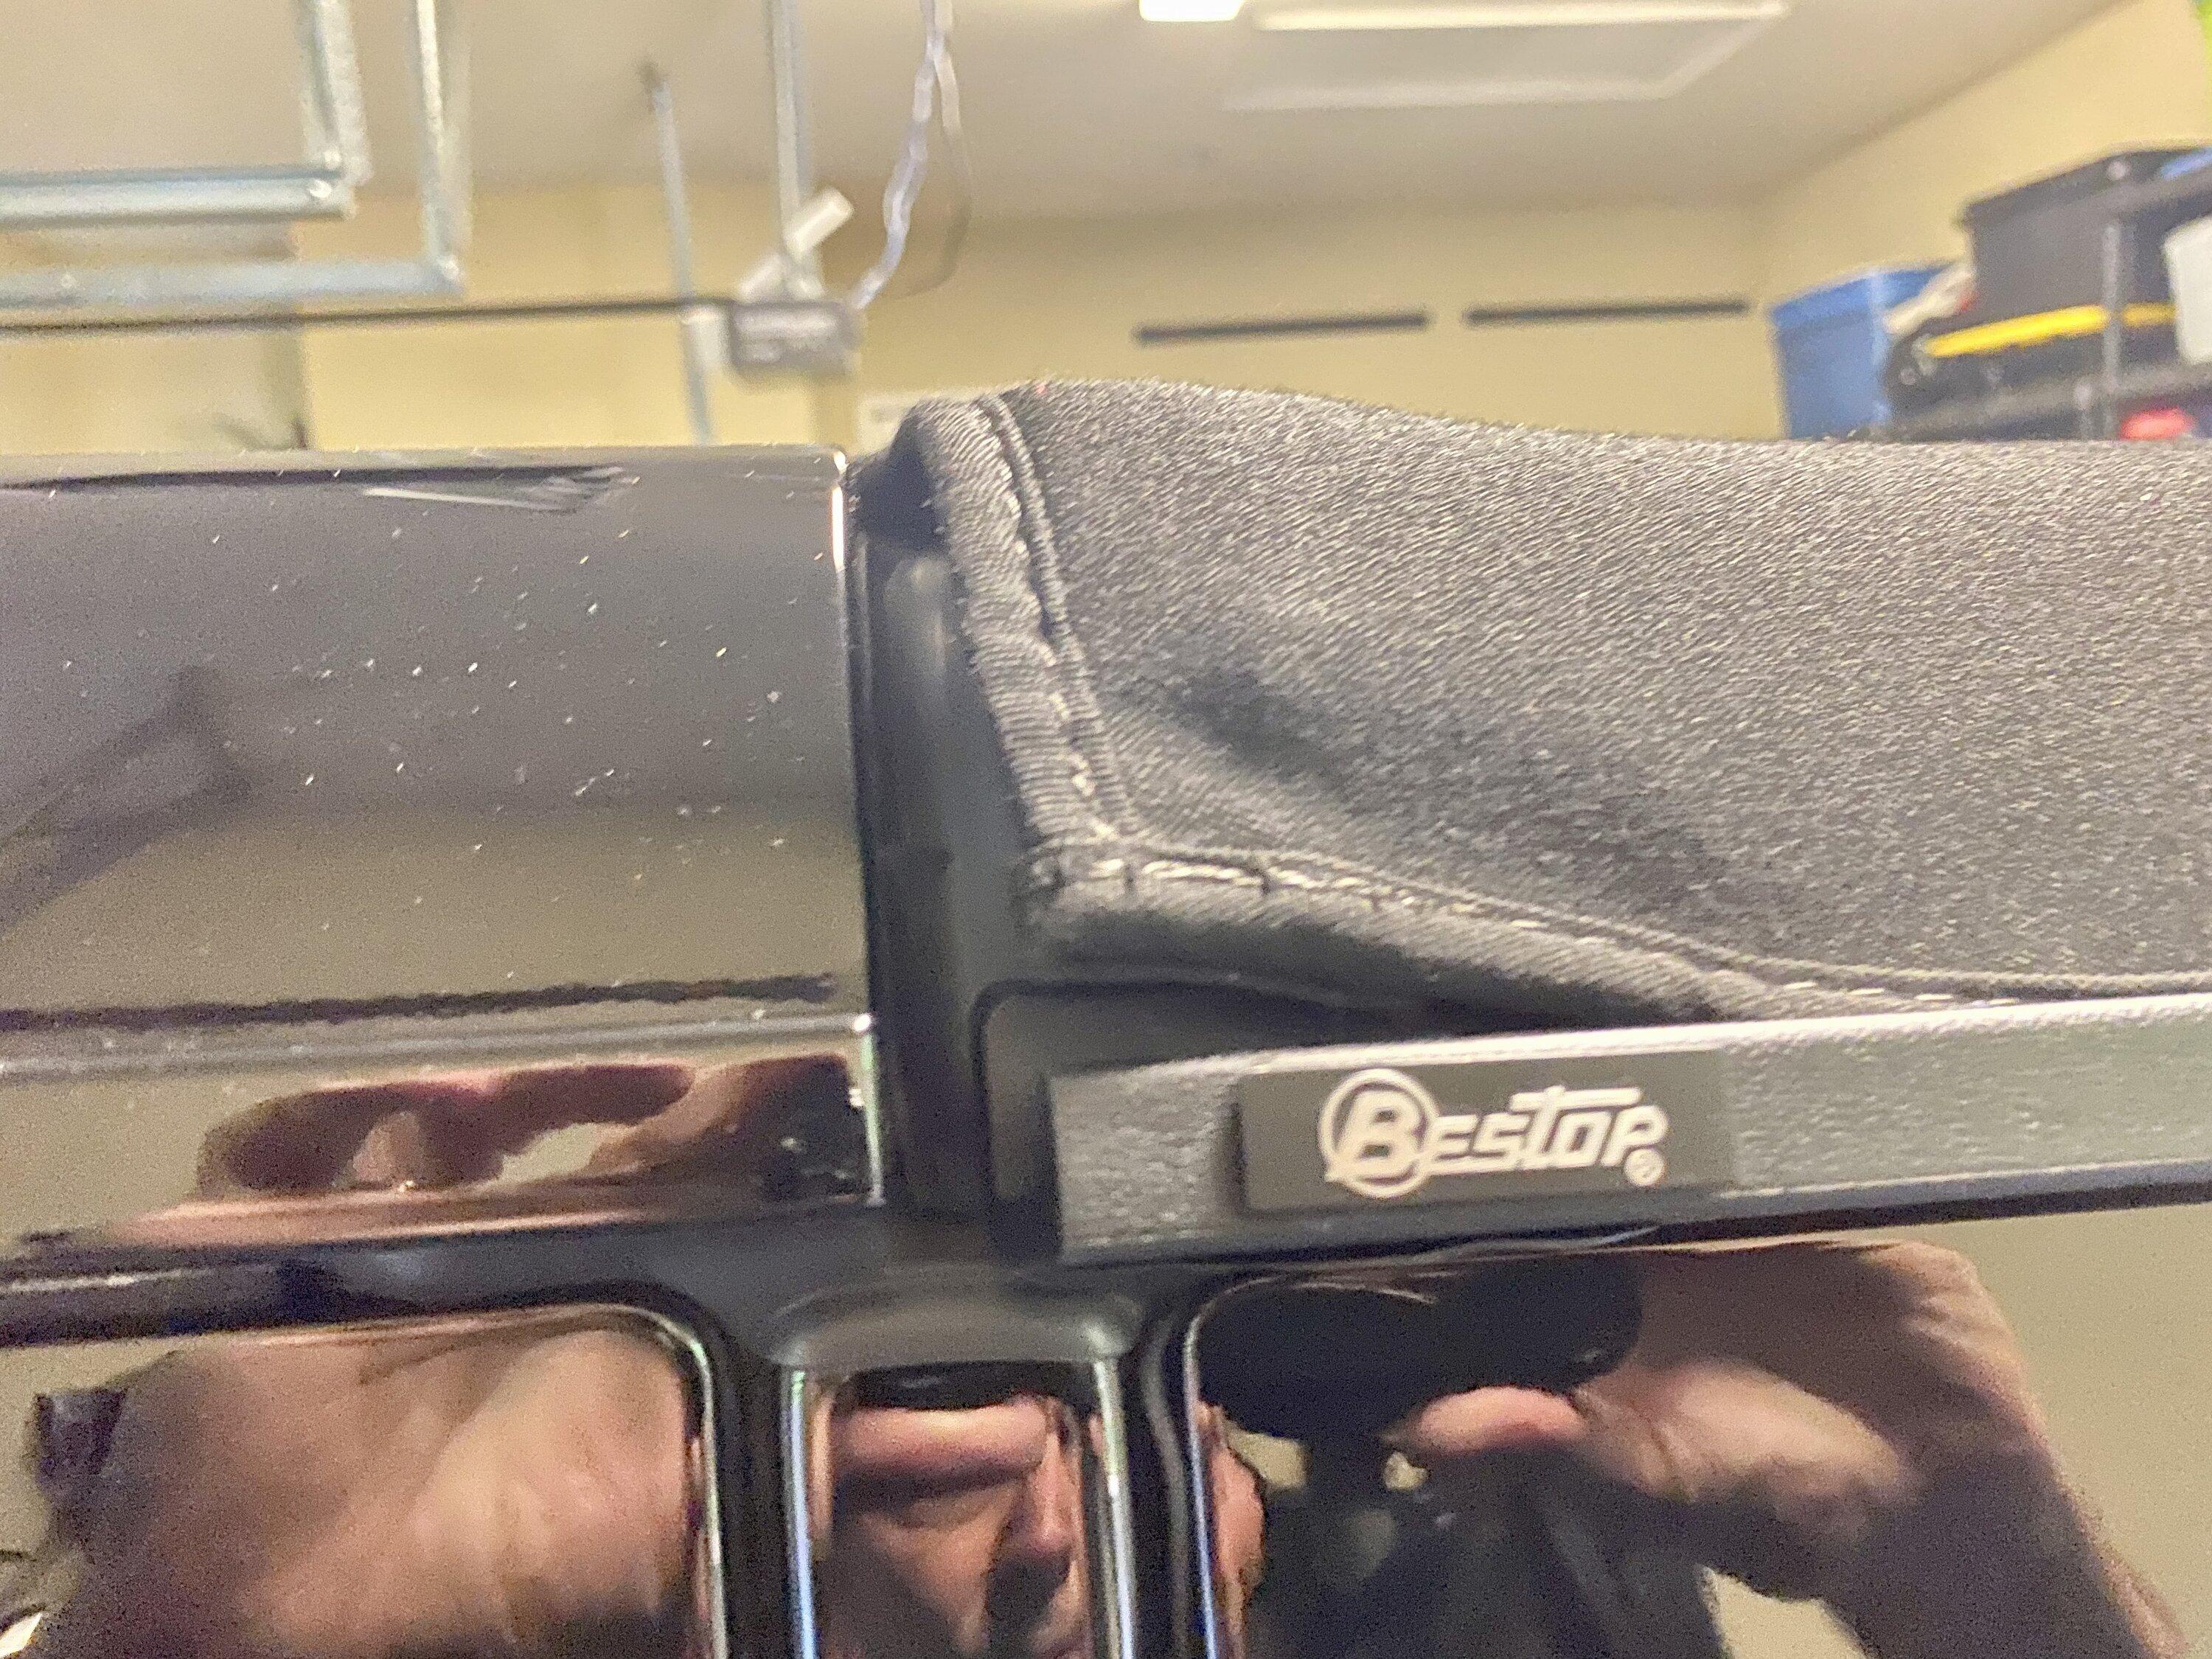
6. Adjusting the top for fit and seal-- I was really pleased with how the back corner fit into the groove and sealed on the left side. The right corner is lifted up a bit. I tried to adjust it to lay flatter (see pictures below) but it won't lay perfectly flat and fit into the groove on the side rail. I'll wait and see whether it leaks before I do anything radical. The rest of the top looks and fits great.
7. Bolting the side rails down- Installing the rear bolts with the space is a breeze. Then I bolted it all down securely.
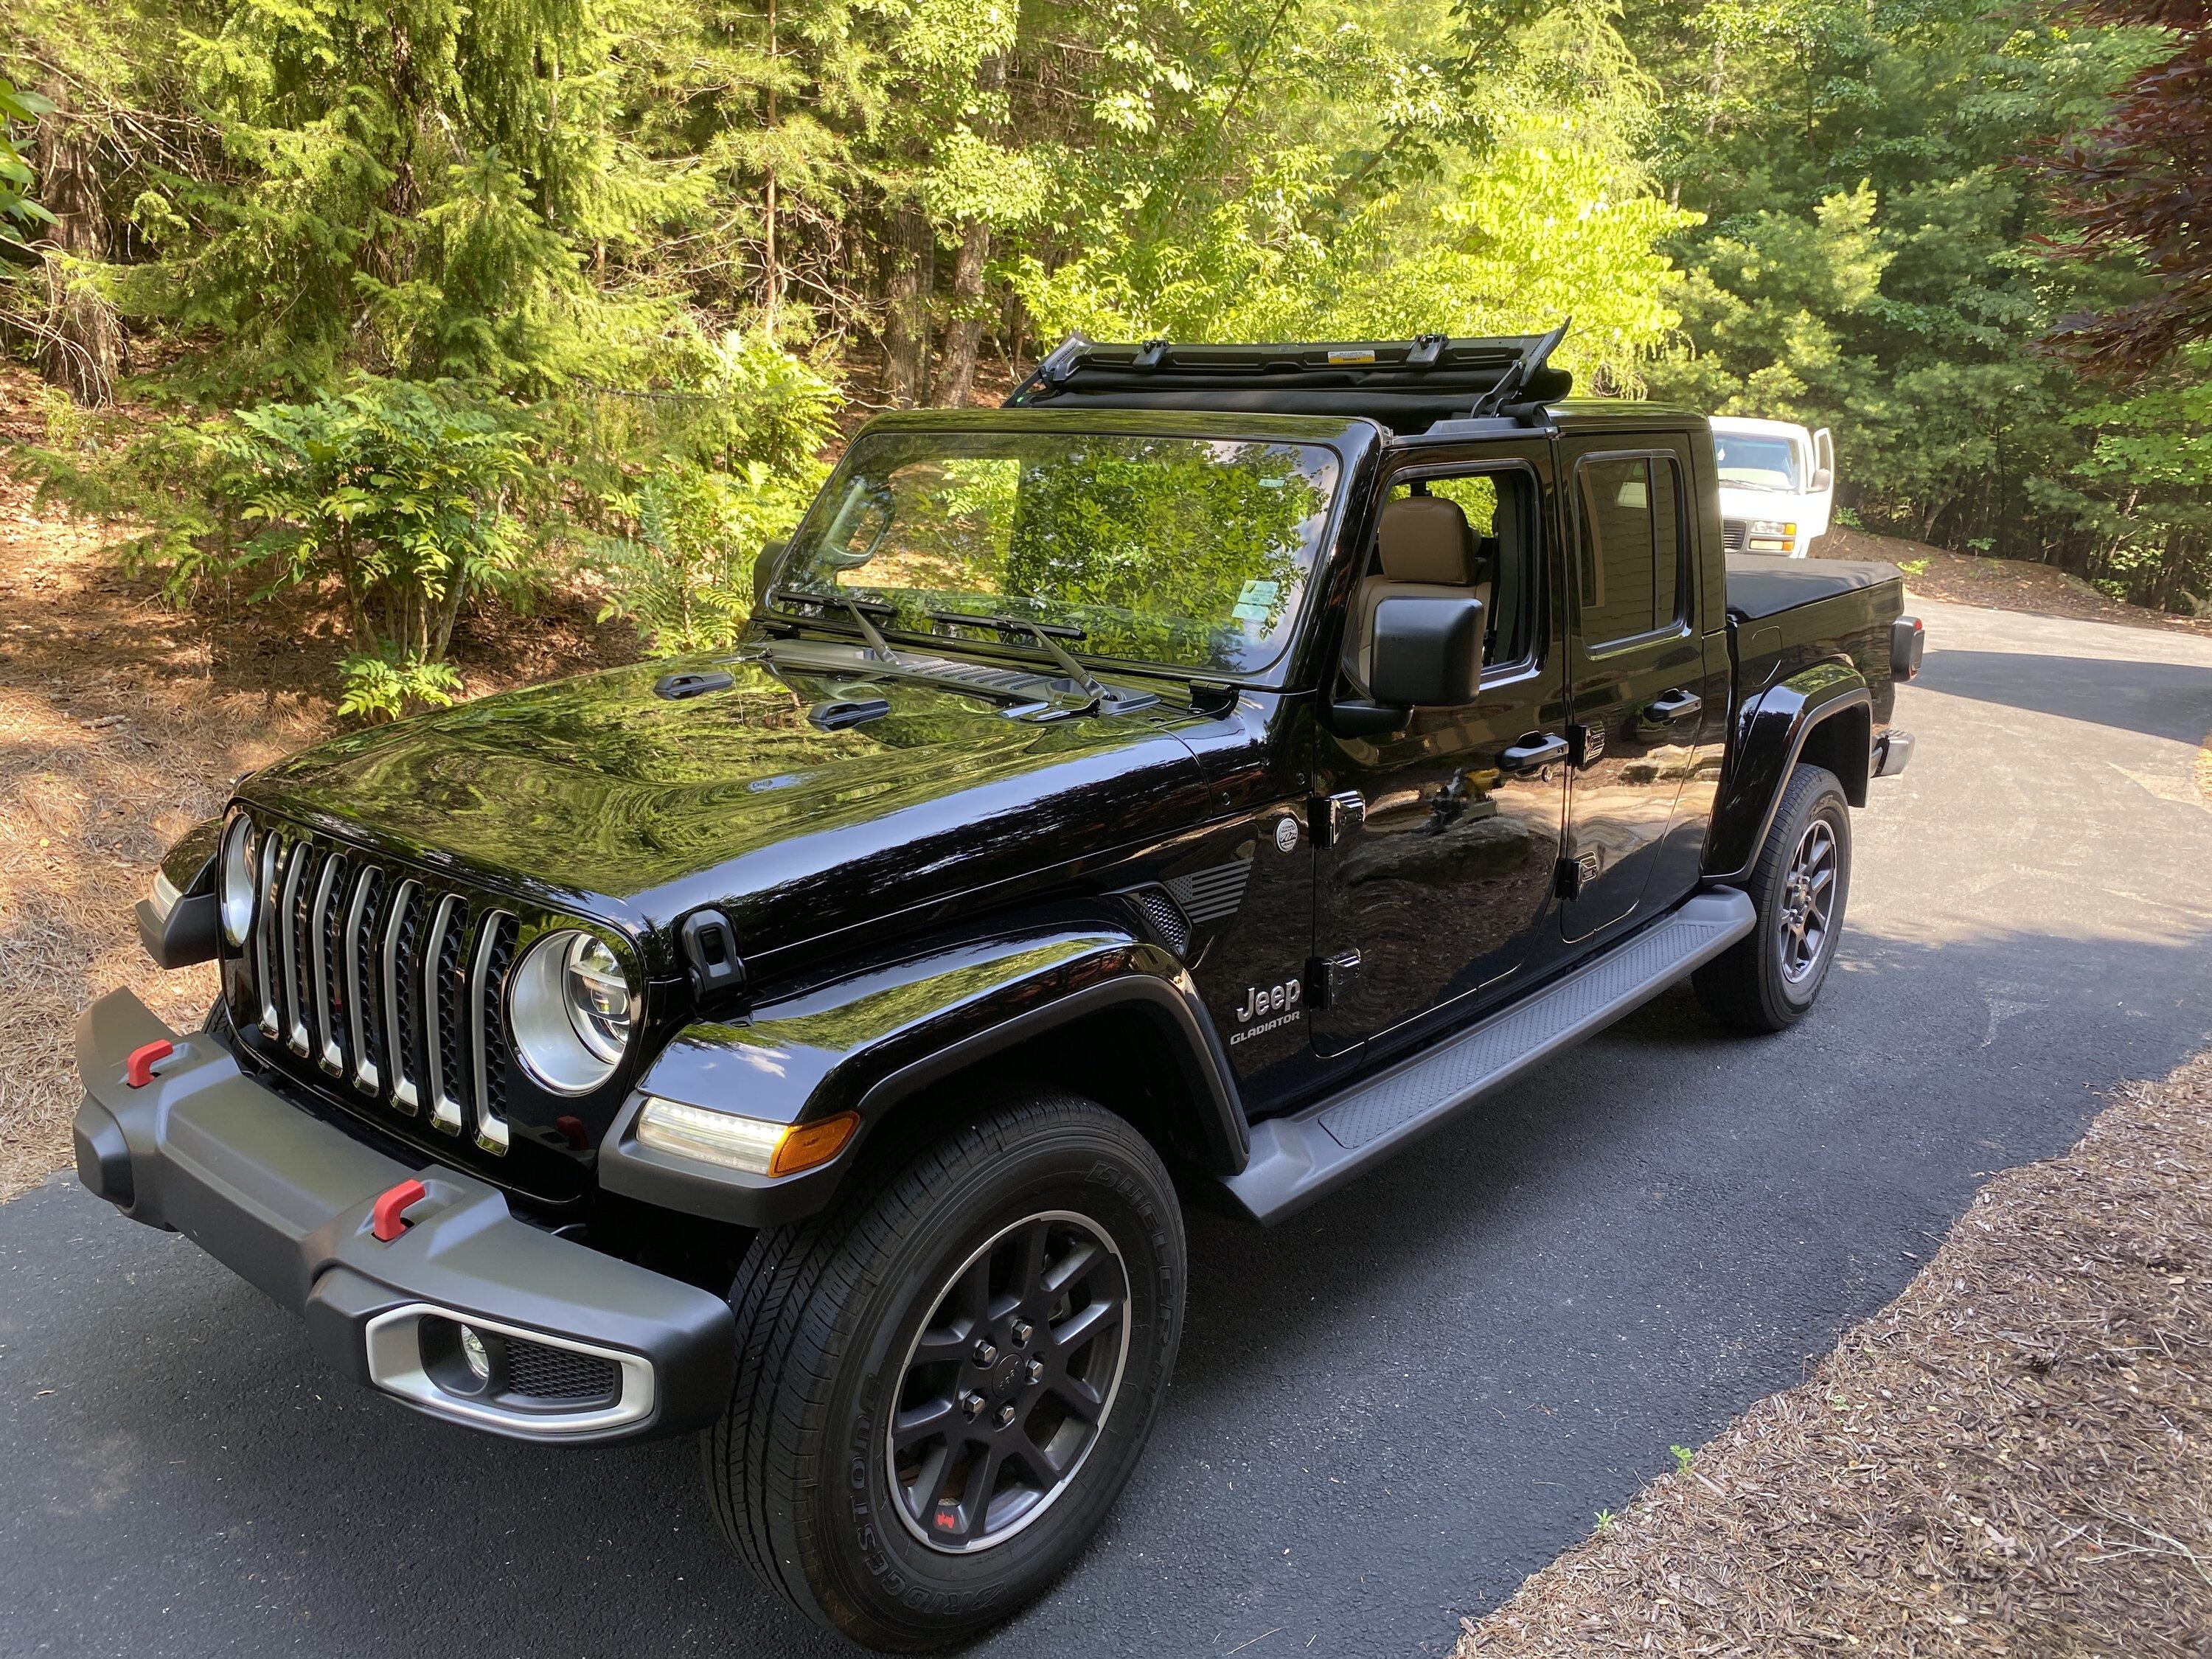
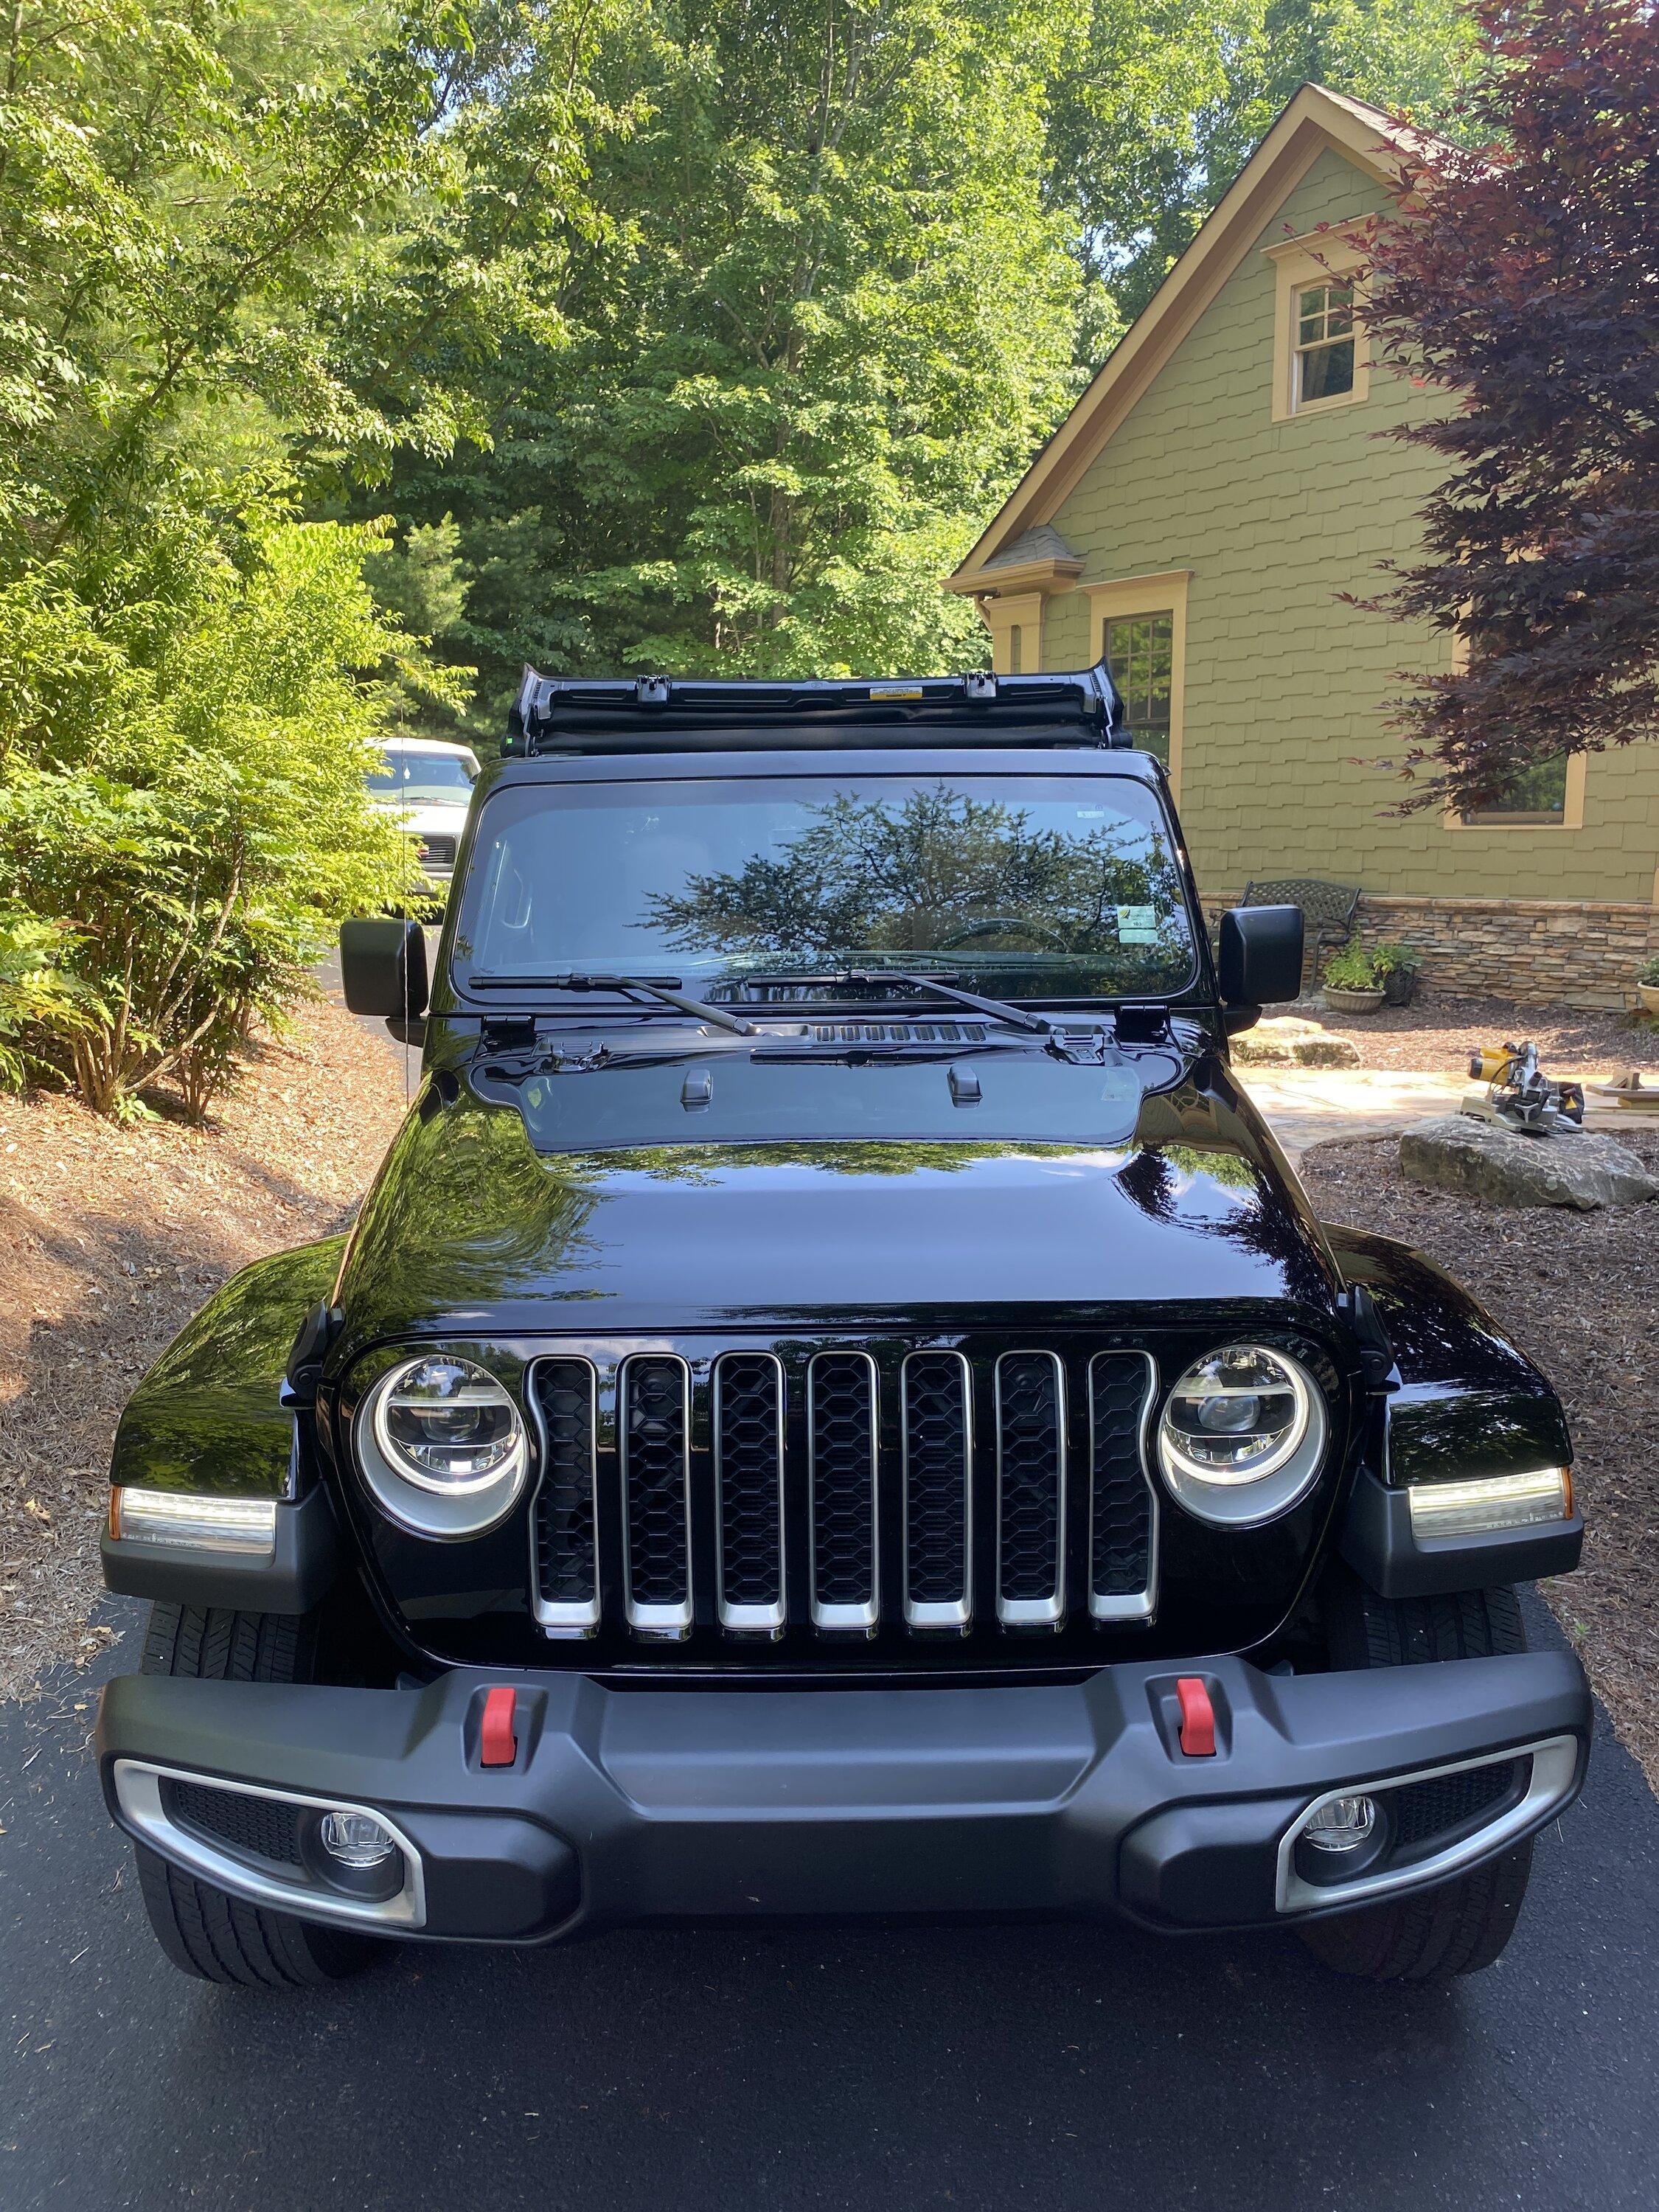
8. Installing the rear clamp-- piece of cake, no issues. The instructions make it sound harder than it is. Once you start installing it, it naturally slides into place and the bolt holes align. At this point, you are done and it's time to test it out by closing and opening it. If's a smooth, one-hand process and the front latches work great.
Here's pictures of the finished product installed. Note the difference between the way the left back corner fits and the right. If it doesn't leak, I can live with it until I remove the top and re-install it later. If it leaks, I'll need to address it.
1. Removing the Freedom Tops-- Straightforward and painless. This is my second recent Jeep (third overall), and my 2018 Wrangler had the same top design. I have to give the engineers credit for an easy, painless and leak-free design that is solid and quiet when installed. I used the bed and tailgate of the truck as my work surface, and managed to get them off without damaging or scratching the black paint.
2. Storing the Freedom Tops in the bag-- The pictograms in the bag show you how to do it. I checked the Owners' Manual to make certain I was going it correctly and it was really no help. What confused me was what to do with the two rubber edge guard blocks in the pouch on the outside. The owners' manual mentions them, but never shows how or where they go. I couldn't find a picture of them installed anywhere. I finally gave up and didn't use them. Just zipped up the storage bag and put it on top of the freezer in the garage out of harm's way.
3. Cleaning the seal-- no big deal. Used Windex and then went over the area with some silicon lubricant sprayed onto a rag to keep the seals pliable.
4. Installing the side rails/"Z" clips-- This is where the video install instructions differ from the printed ones. Bestop has you insert the "Z" clips first, then attach the top to the side rails. Then you put the whole thing on the Jeep with a helper and bolt down the side rails. The video I watched has you put the side rails on with the front bolt, then install the "Z" clips, then bolt the top to the side rails. The rear bolt between the sport bar and the side rail then goes in at the end

5. Bolting the top to the side rails-- the short Torx bolts seem a little too short, and it was a bit difficult to get the alignment pins into the locating holes on the side rails. When I got it all lined up, I had a bit of an issue getting the first threads to bite, but finally when I did, it bolted together easily. It's a little difficult to leave these bolts loose until final alignment because they are so short. I recommend tightening them up and then loosening them enough where there is some play between the top and side rails rather than installing them loose because they are likely to fall out.
6. Adjusting the top for fit and seal-- I was really pleased with how the back corner fit into the groove and sealed on the left side. The right corner is lifted up a bit. I tried to adjust it to lay flatter (see pictures below) but it won't lay perfectly flat and fit into the groove on the side rail. I'll wait and see whether it leaks before I do anything radical. The rest of the top looks and fits great.
7. Bolting the side rails down- Installing the rear bolts with the space is a breeze. Then I bolted it all down securely.
8. Installing the rear clamp-- piece of cake, no issues. The instructions make it sound harder than it is. Once you start installing it, it naturally slides into place and the bolt holes align. At this point, you are done and it's time to test it out by closing and opening it. If's a smooth, one-hand process and the front latches work great.
Here's pictures of the finished product installed. Note the difference between the way the left back corner fits and the right. If it doesn't leak, I can live with it until I remove the top and re-install it later. If it leaks, I'll need to address it.
Sponsored