TheTrailGeek
Well-Known Member
- First Name
- David
- Joined
- Sep 16, 2021
- Threads
- 31
- Messages
- 516
- Reaction score
- 921
- Location
- Murphy, NC
- Vehicle(s)
- 2020 Jeep Gladiator Rubicon - Gator
- Occupation
- Coder
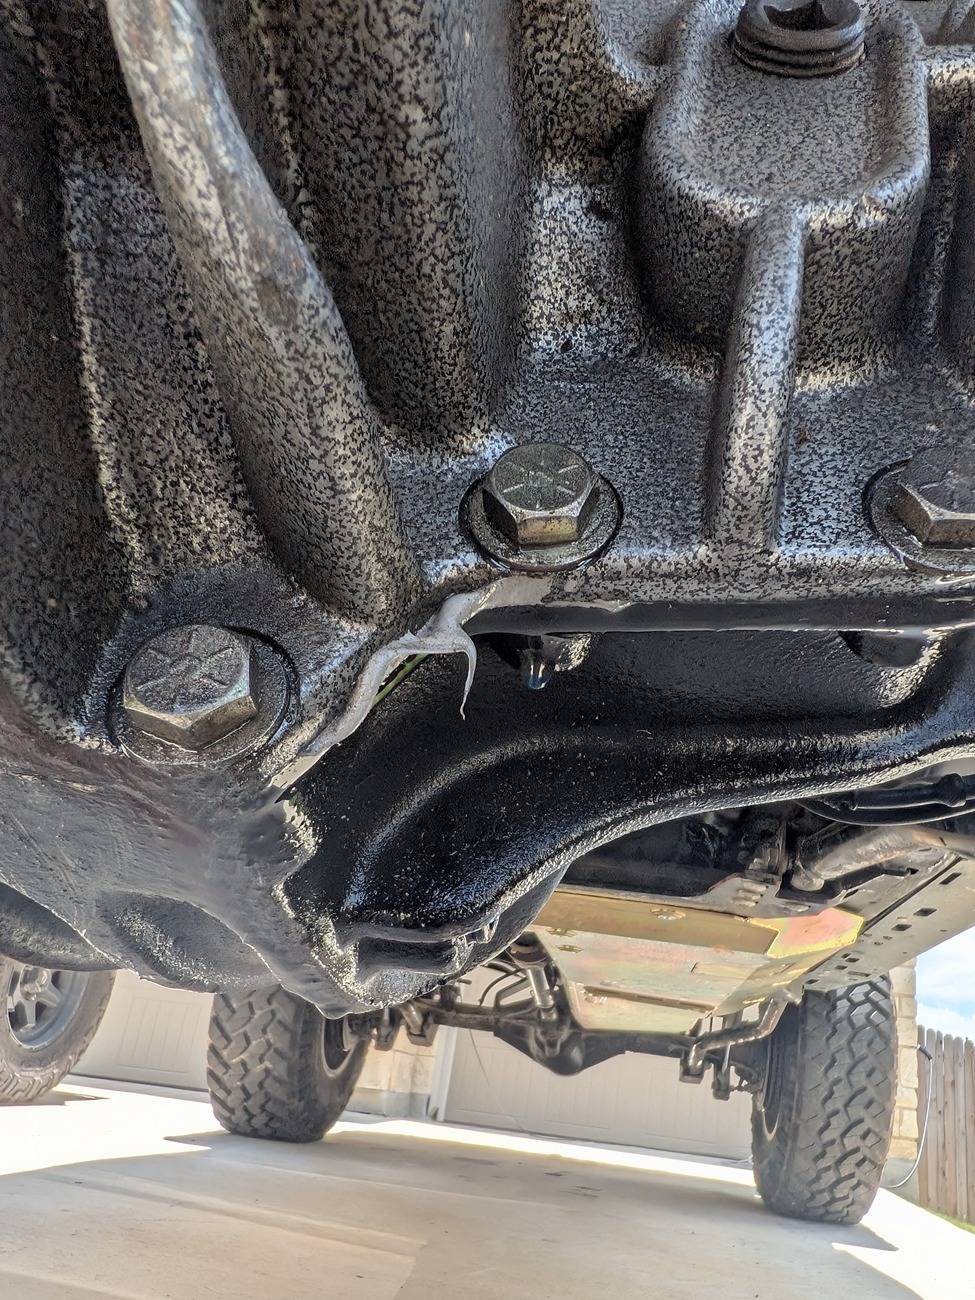
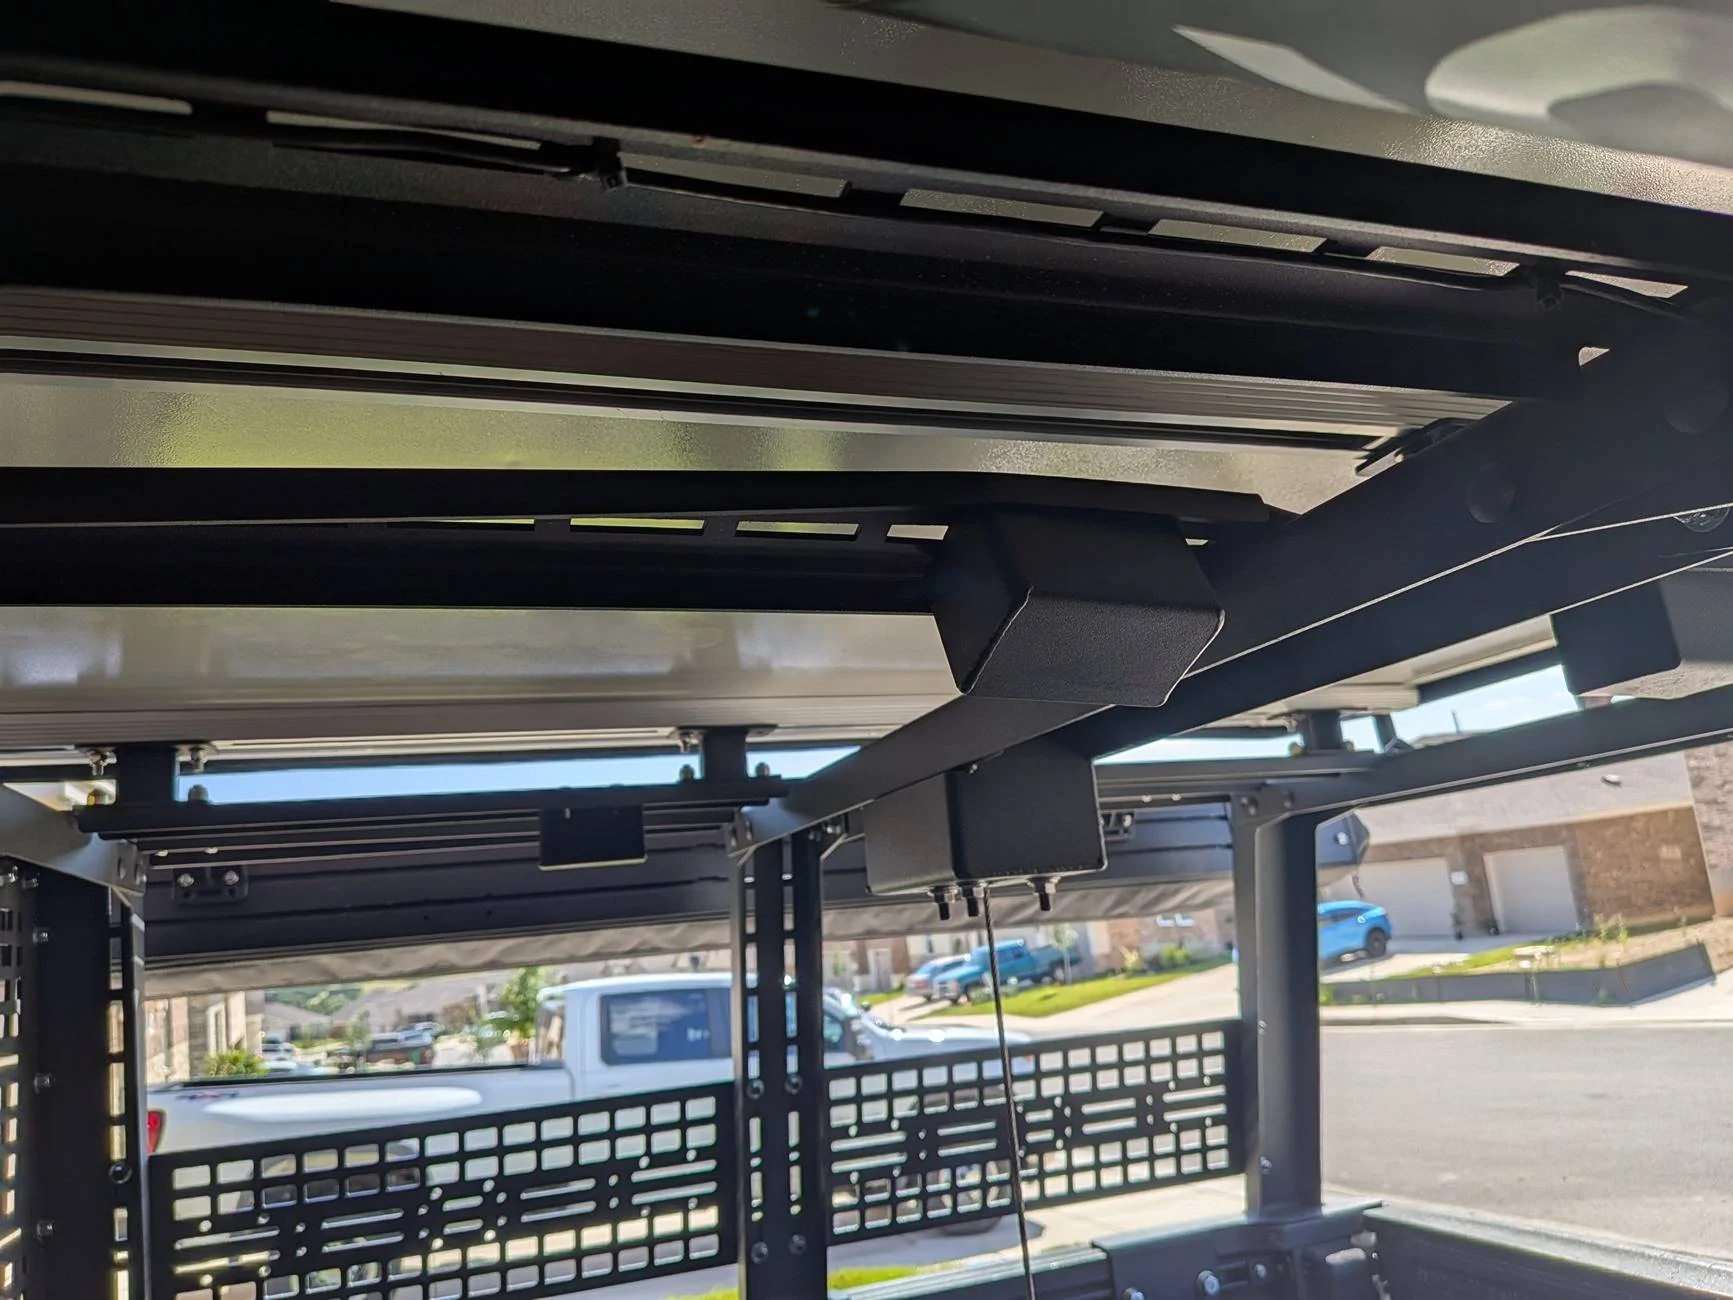
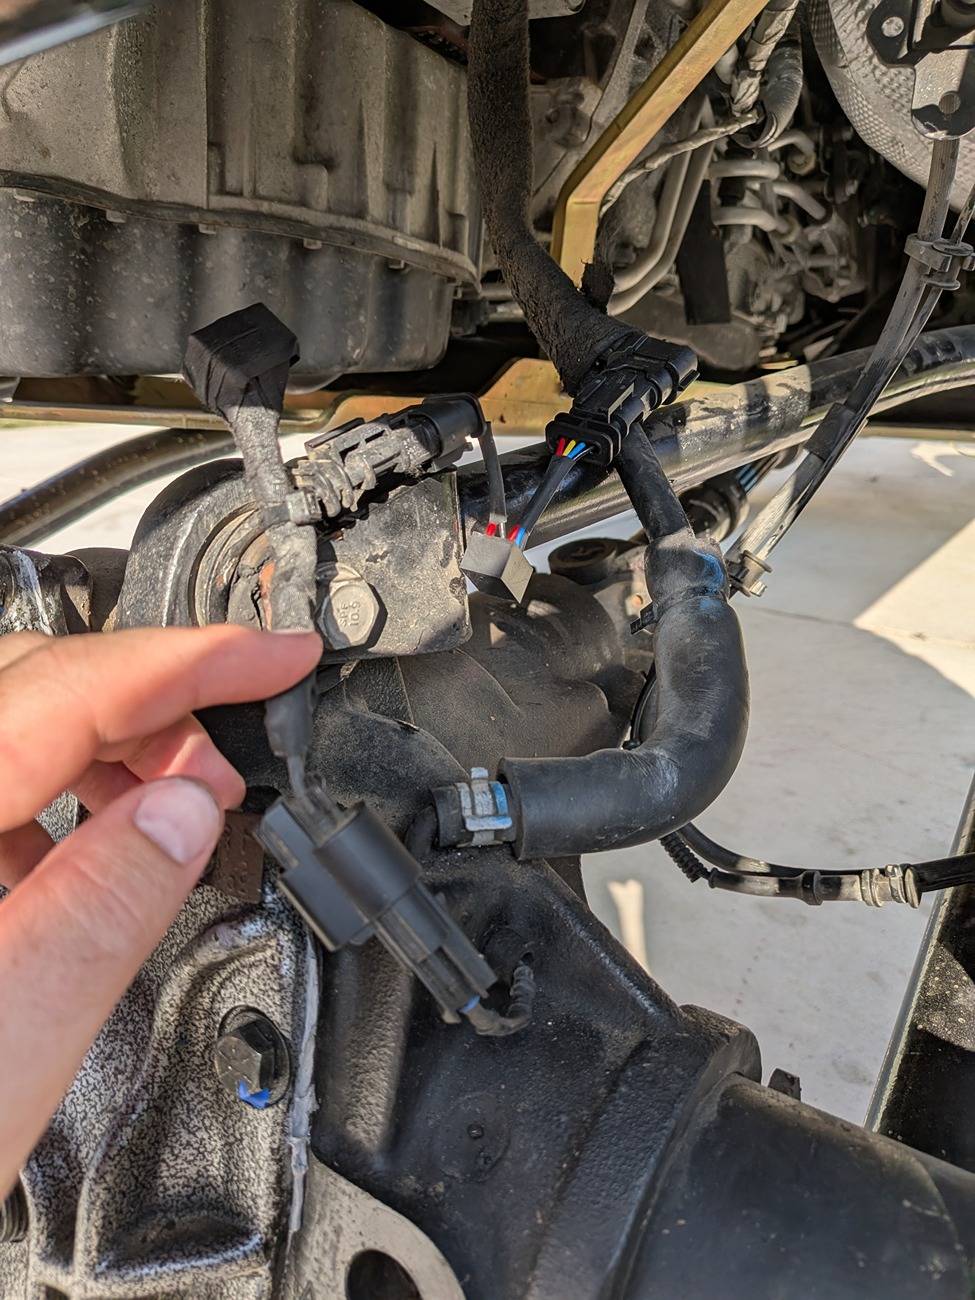
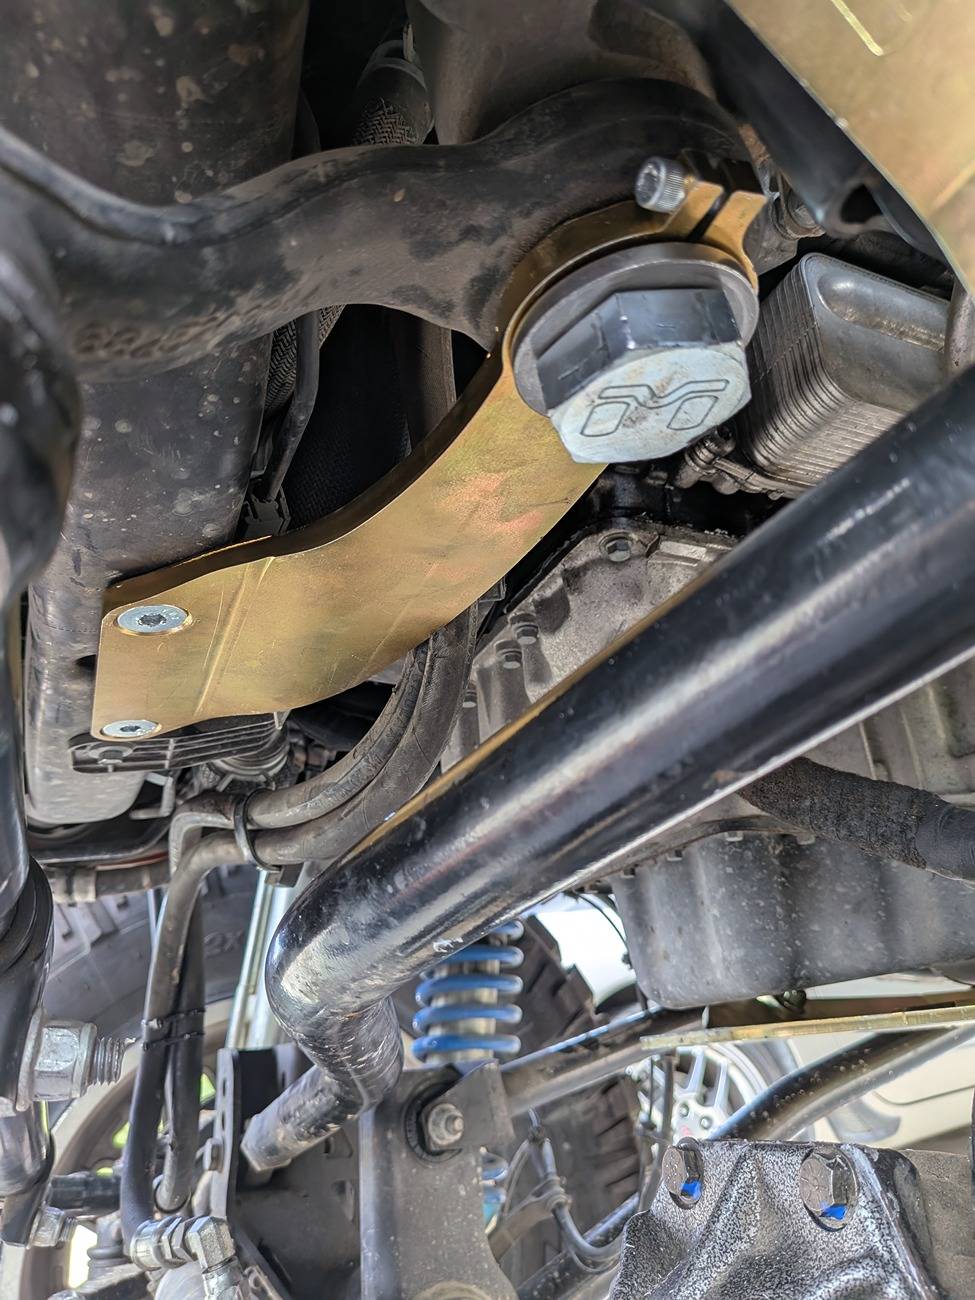
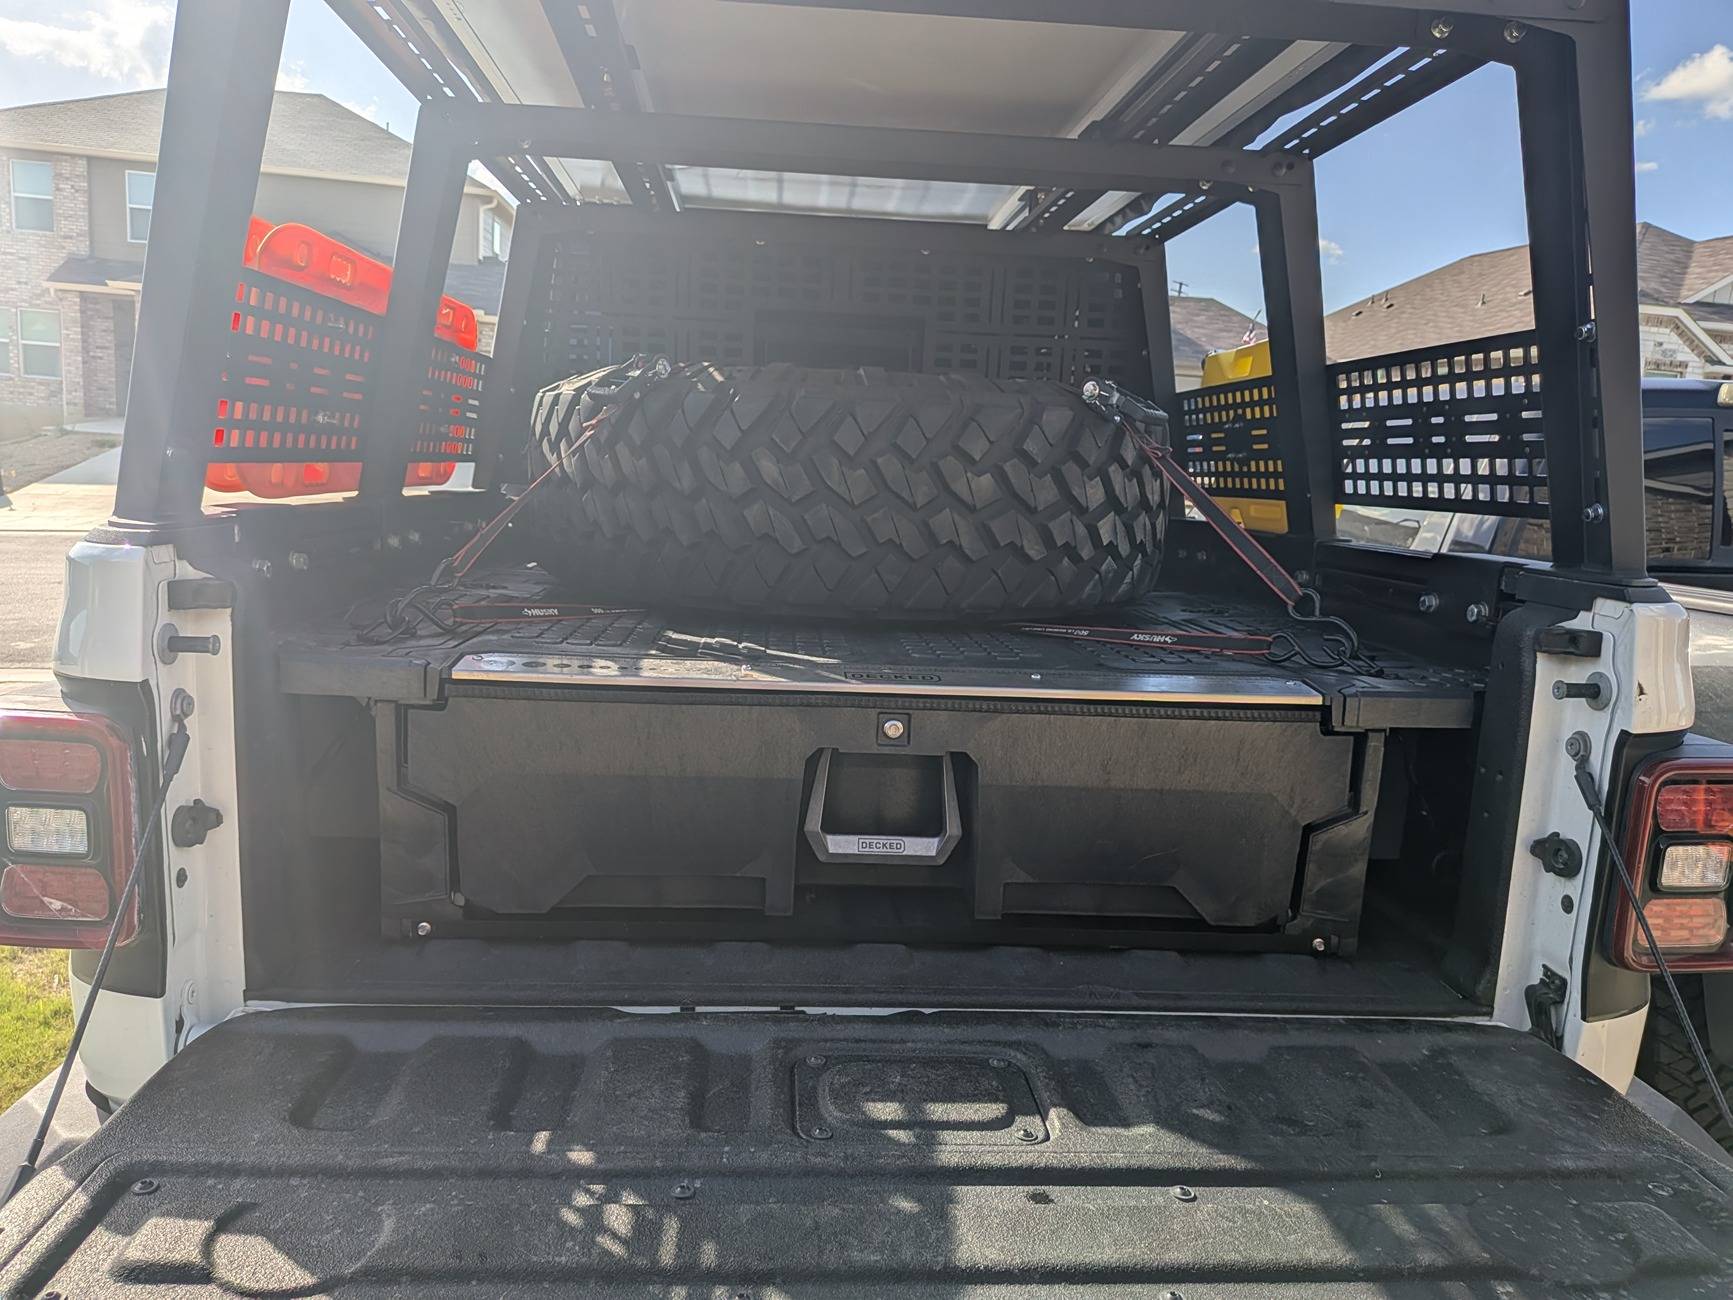
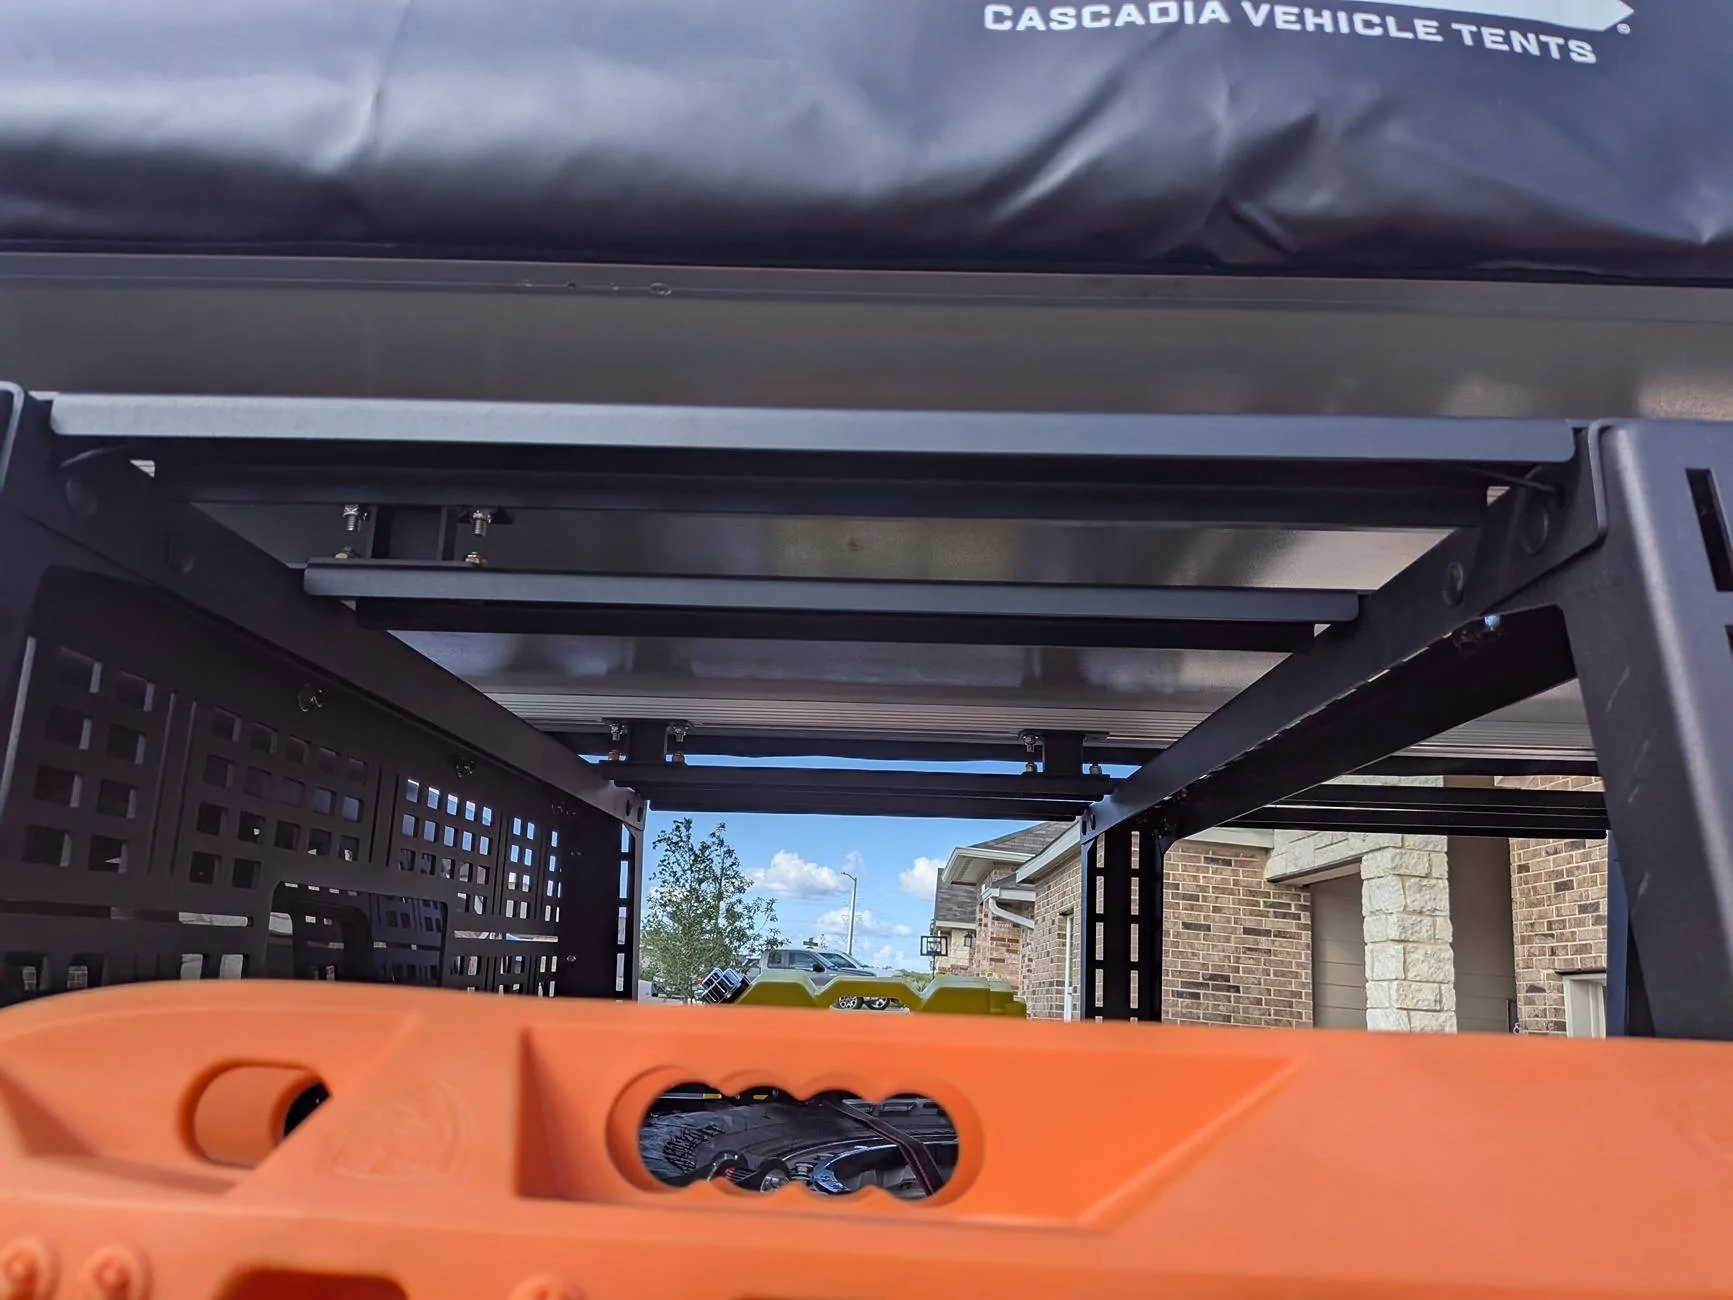
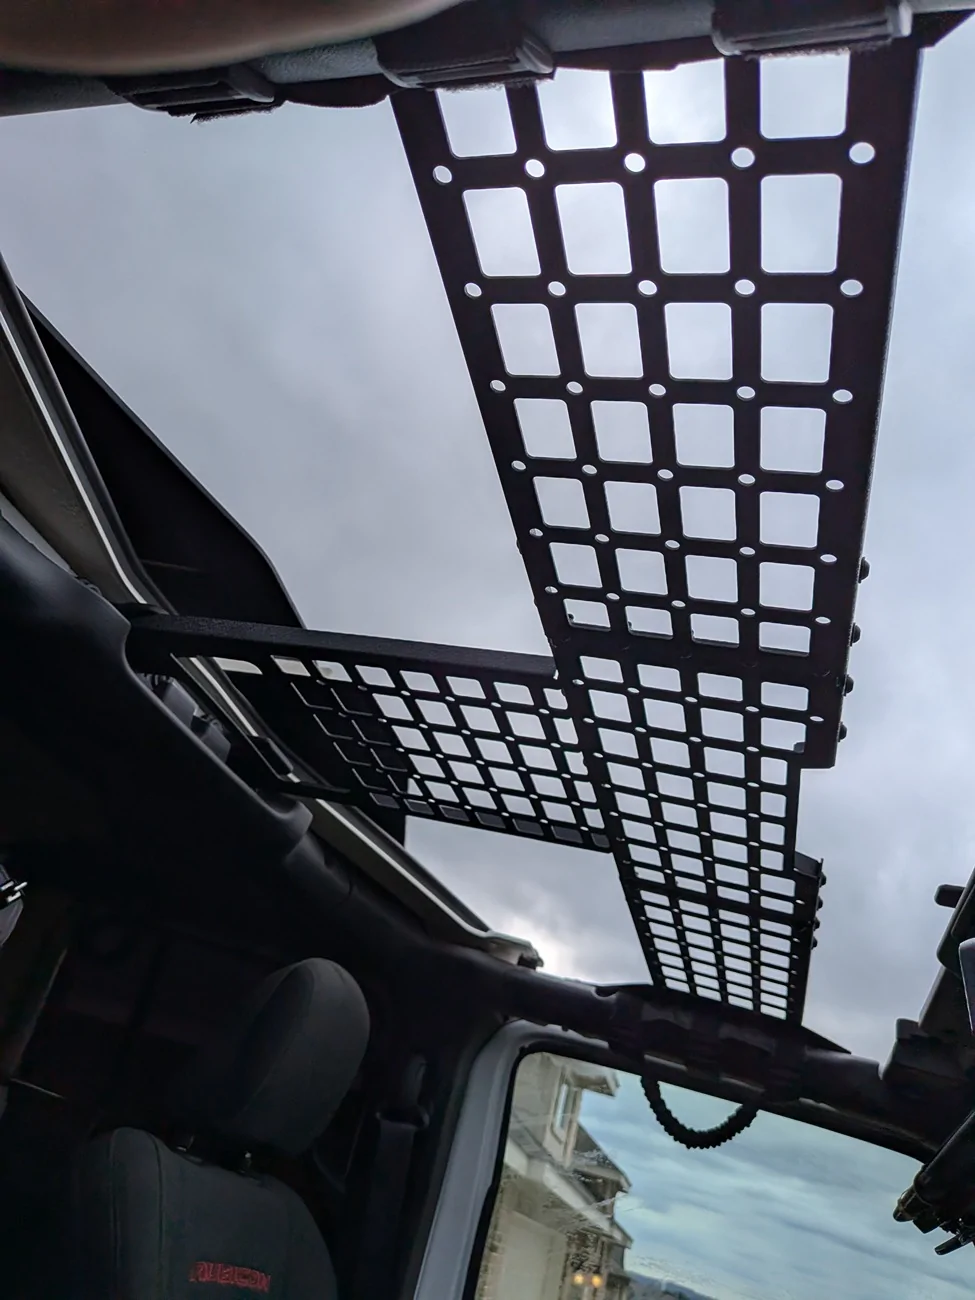
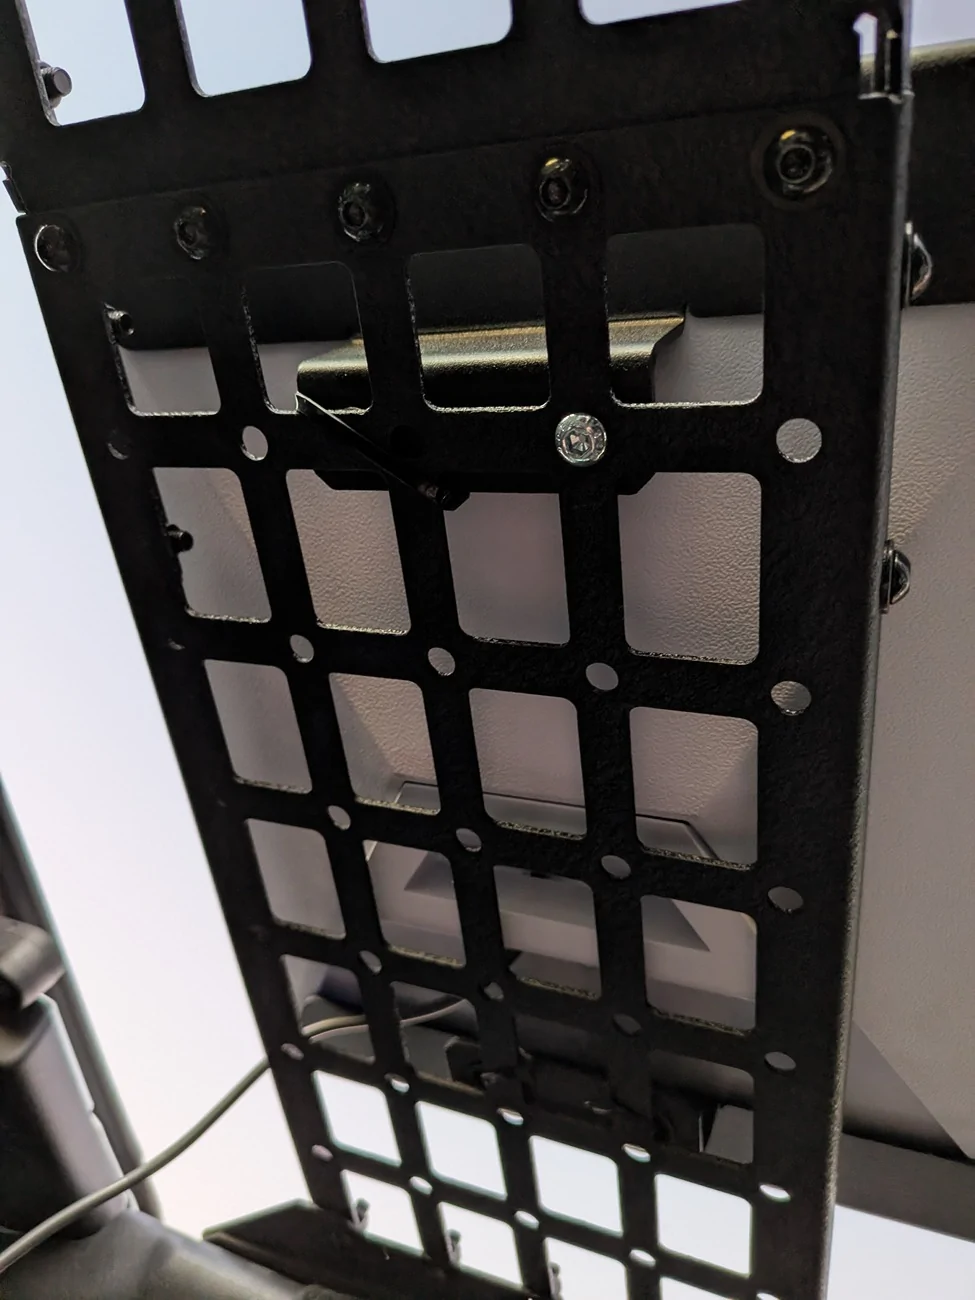
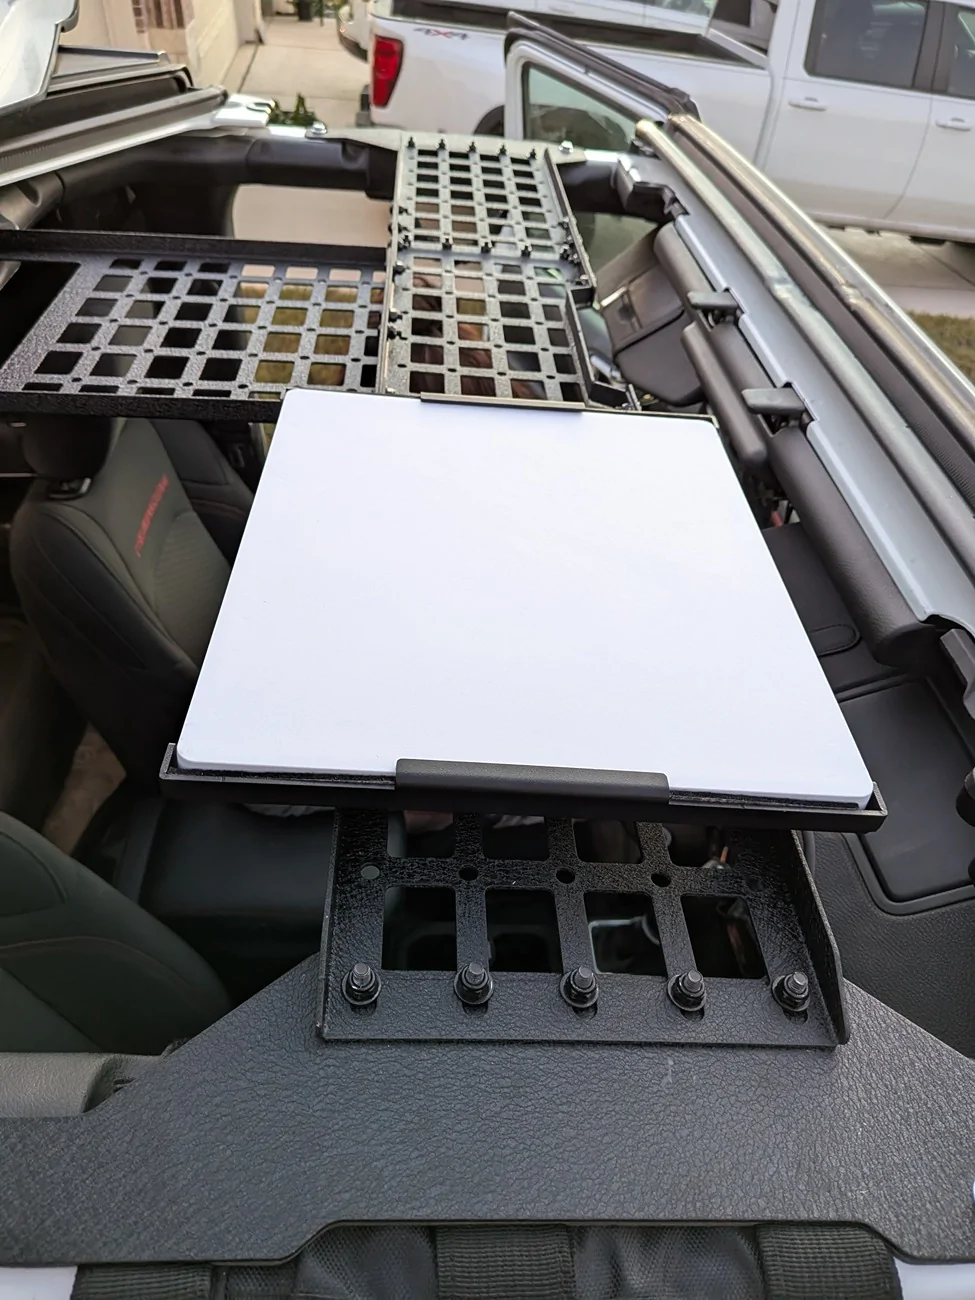
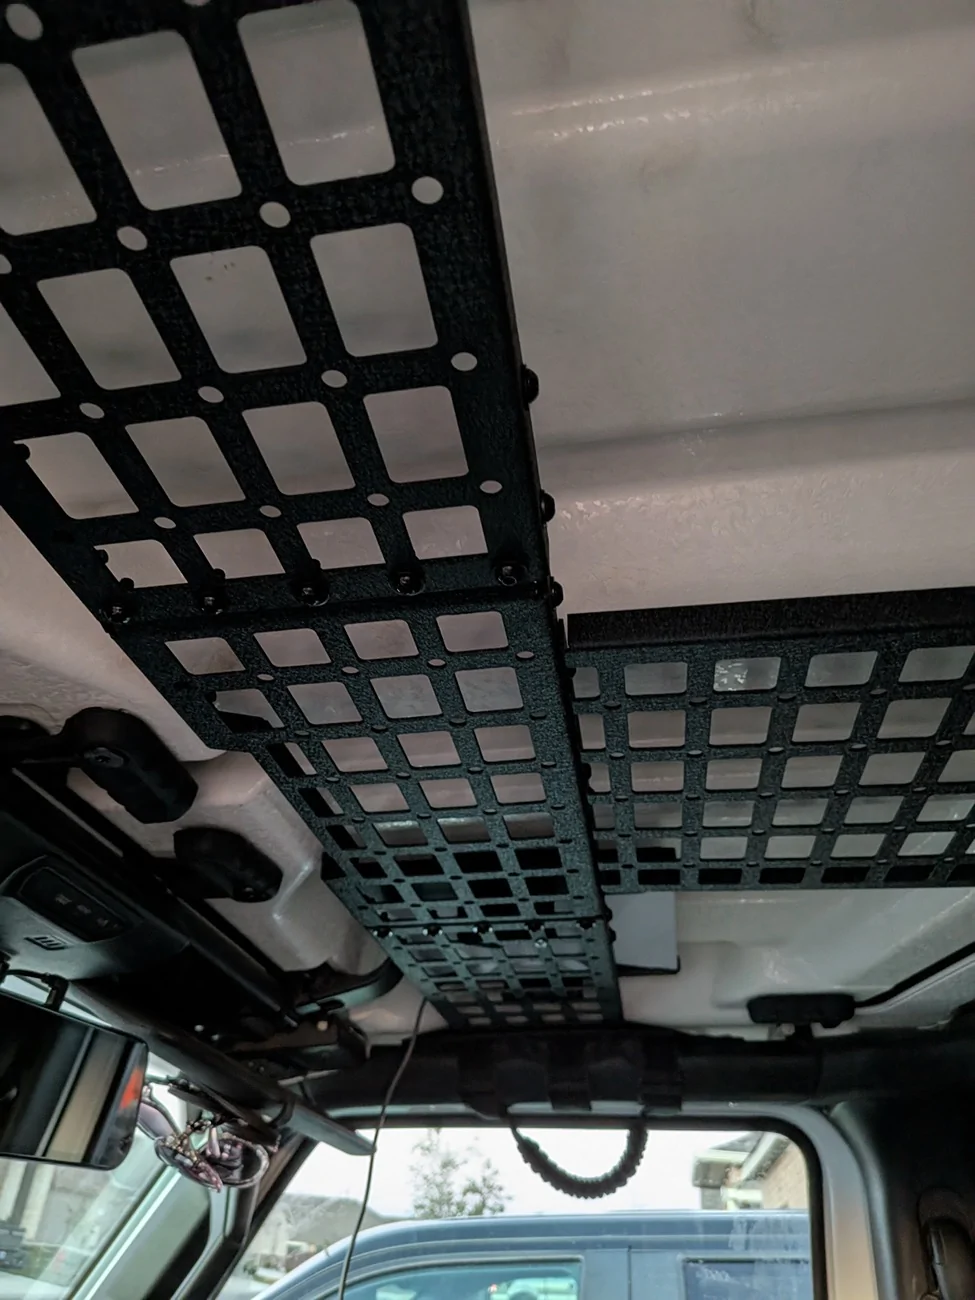
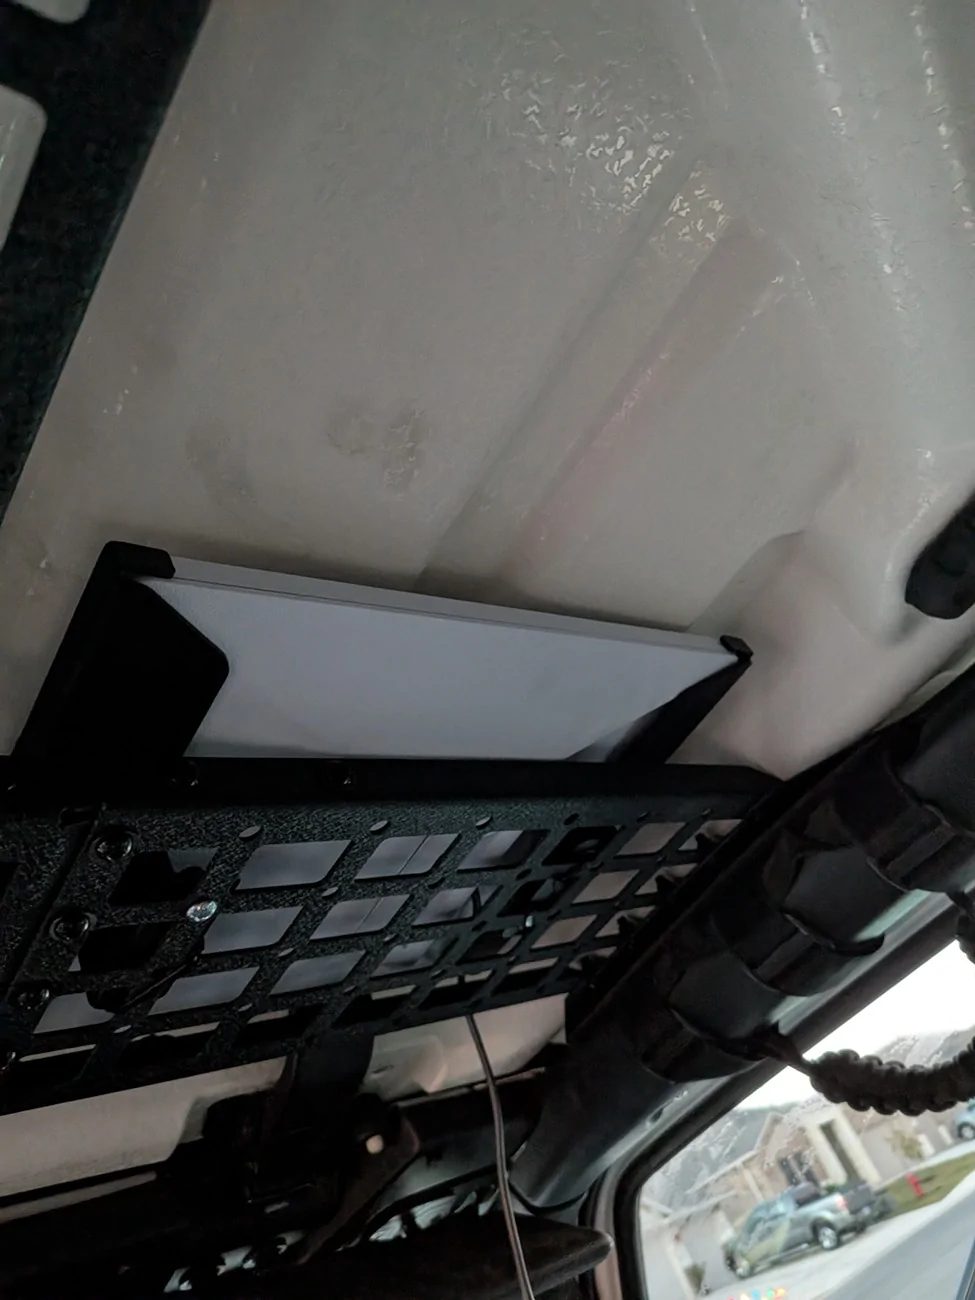
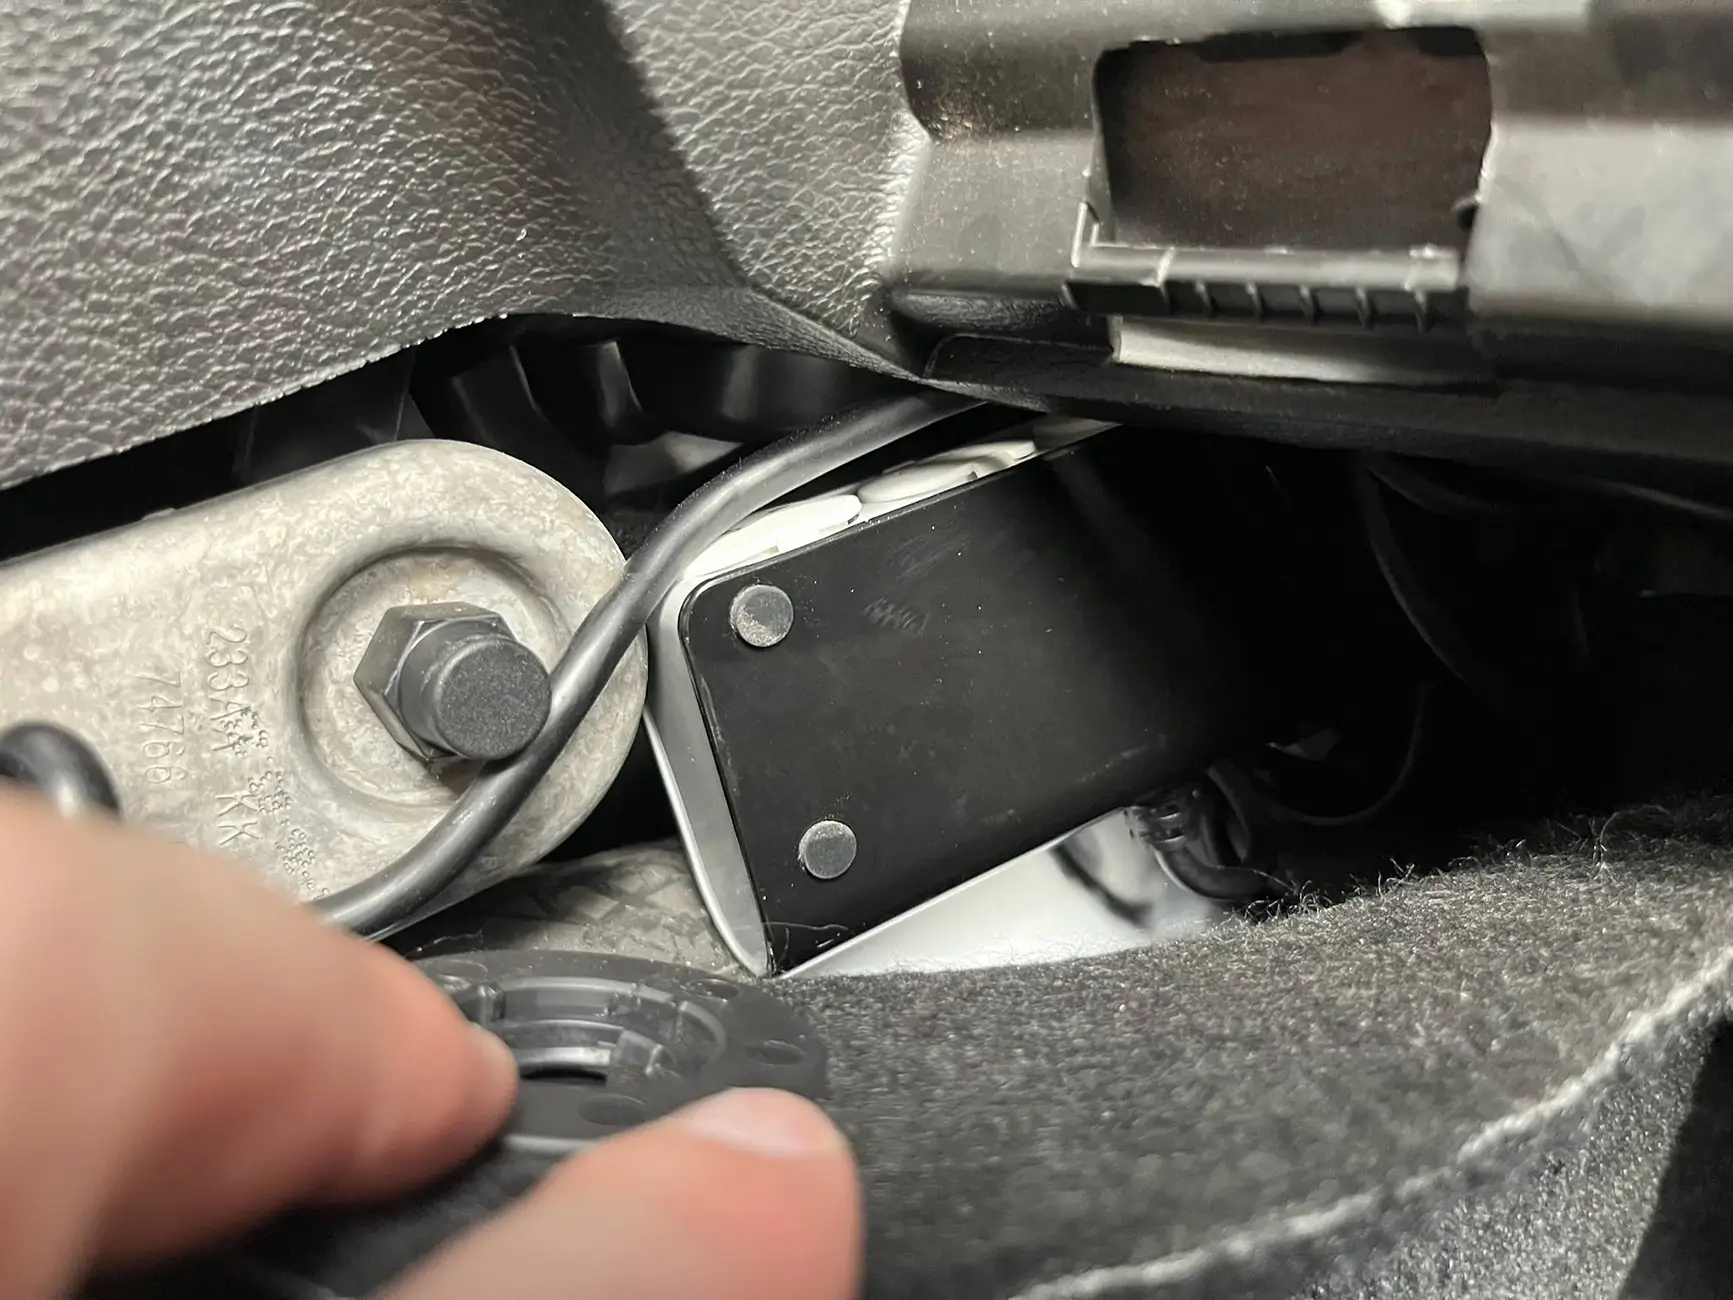
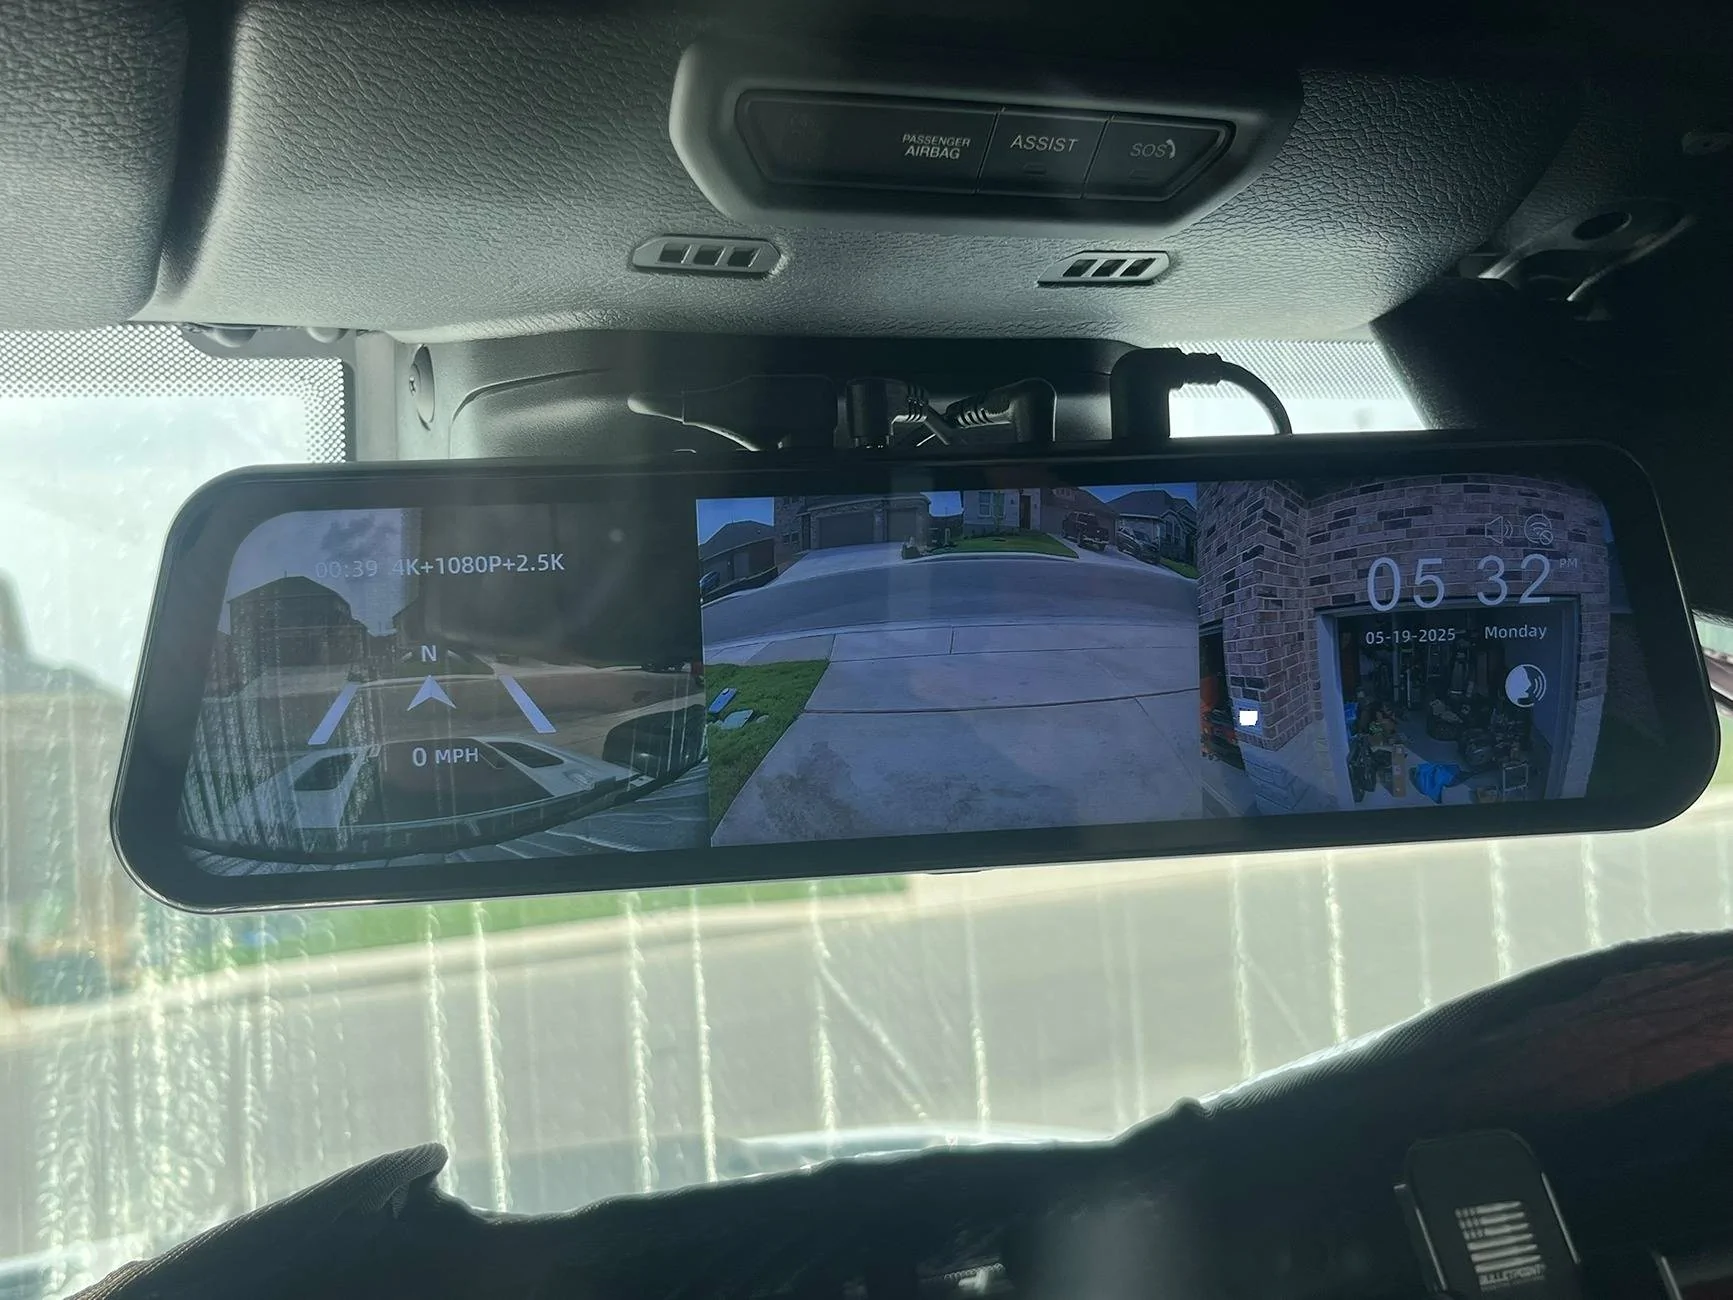
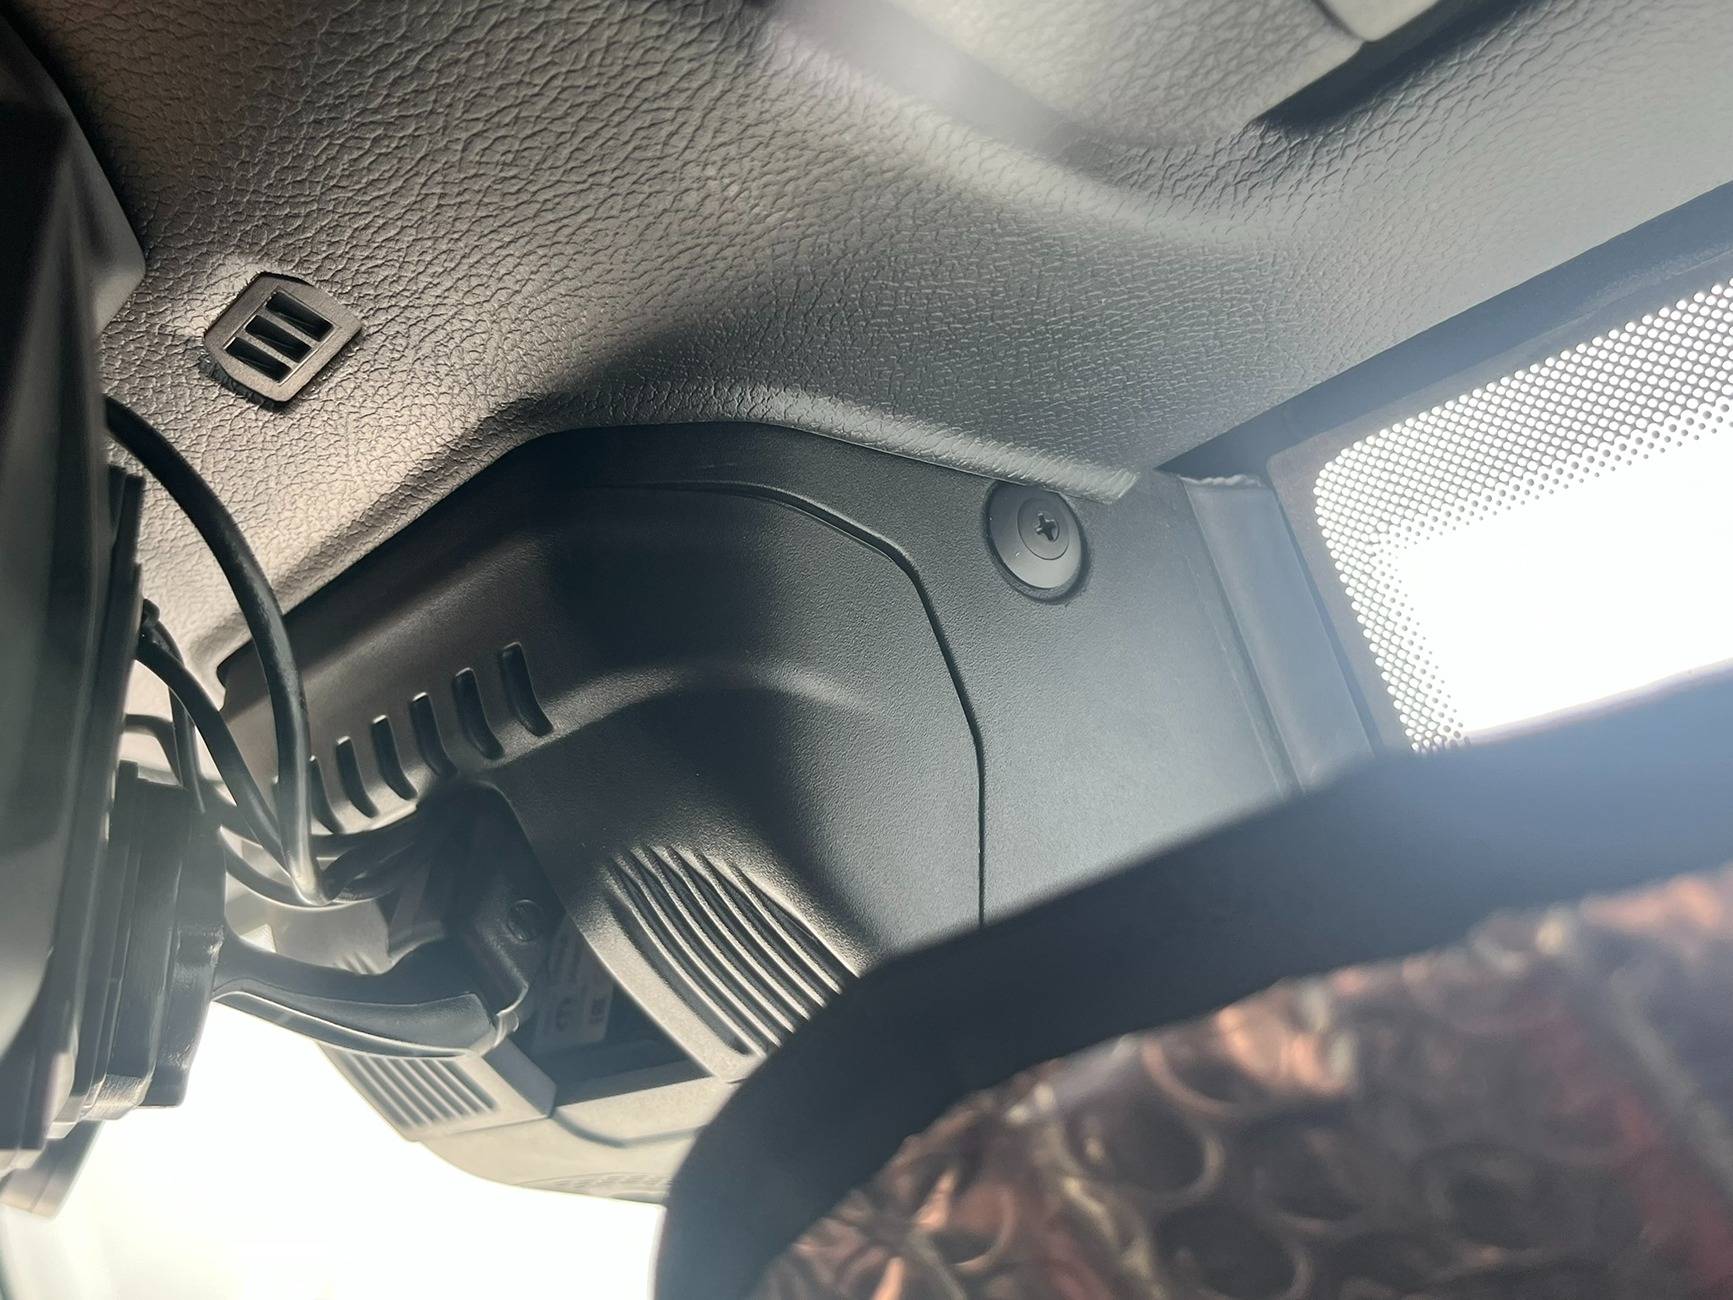
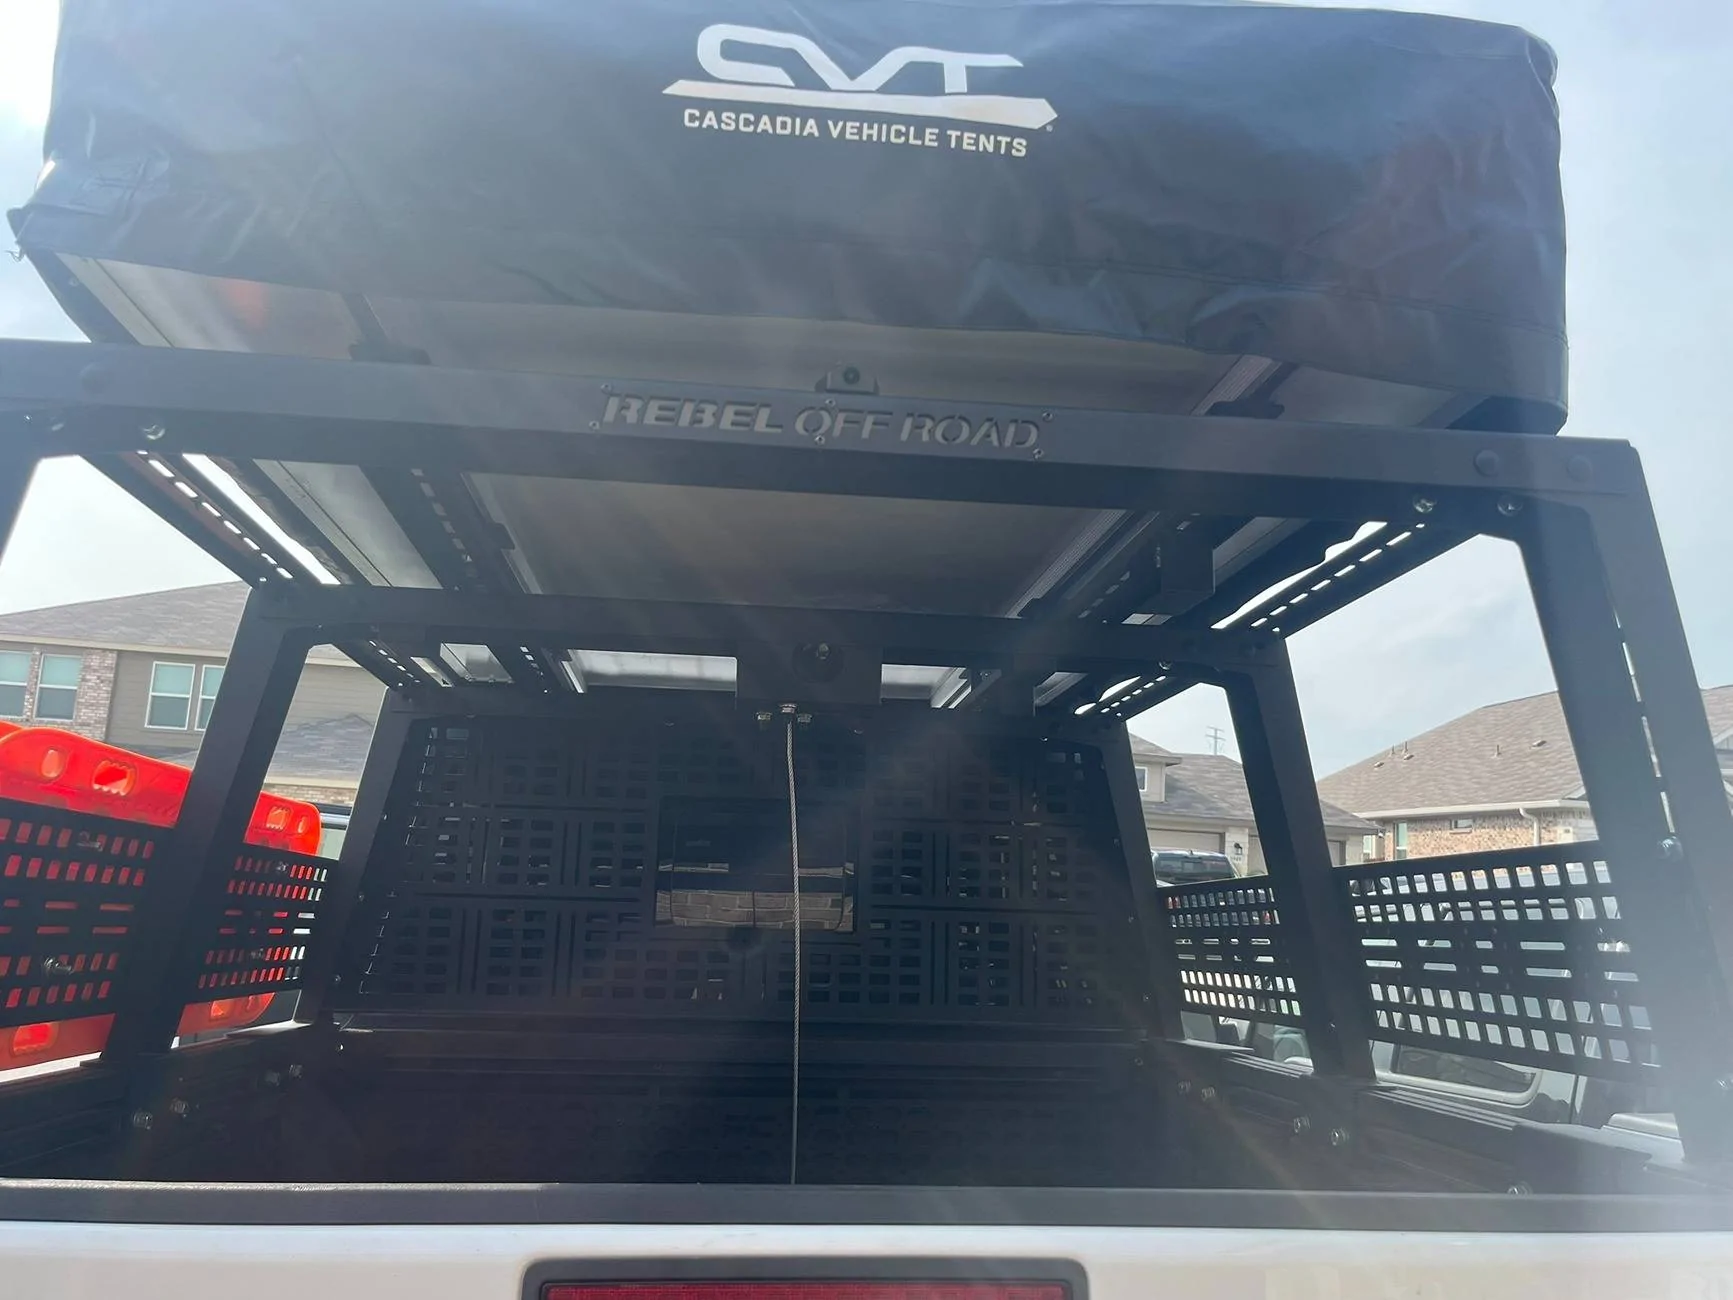
Super clean! Great work!Finally got the Wolfbox fully installed. Going to see how I like the rear camera mounted on the bed rack. Might change it and mount it on the license plate later. Next up is the CVT awning, Metal Cloak Skid plate, sector shaft brace and Front track bar reinforcement.


Sponsored