DankjeeP
Well-Known Member
- Thread starter
- #1
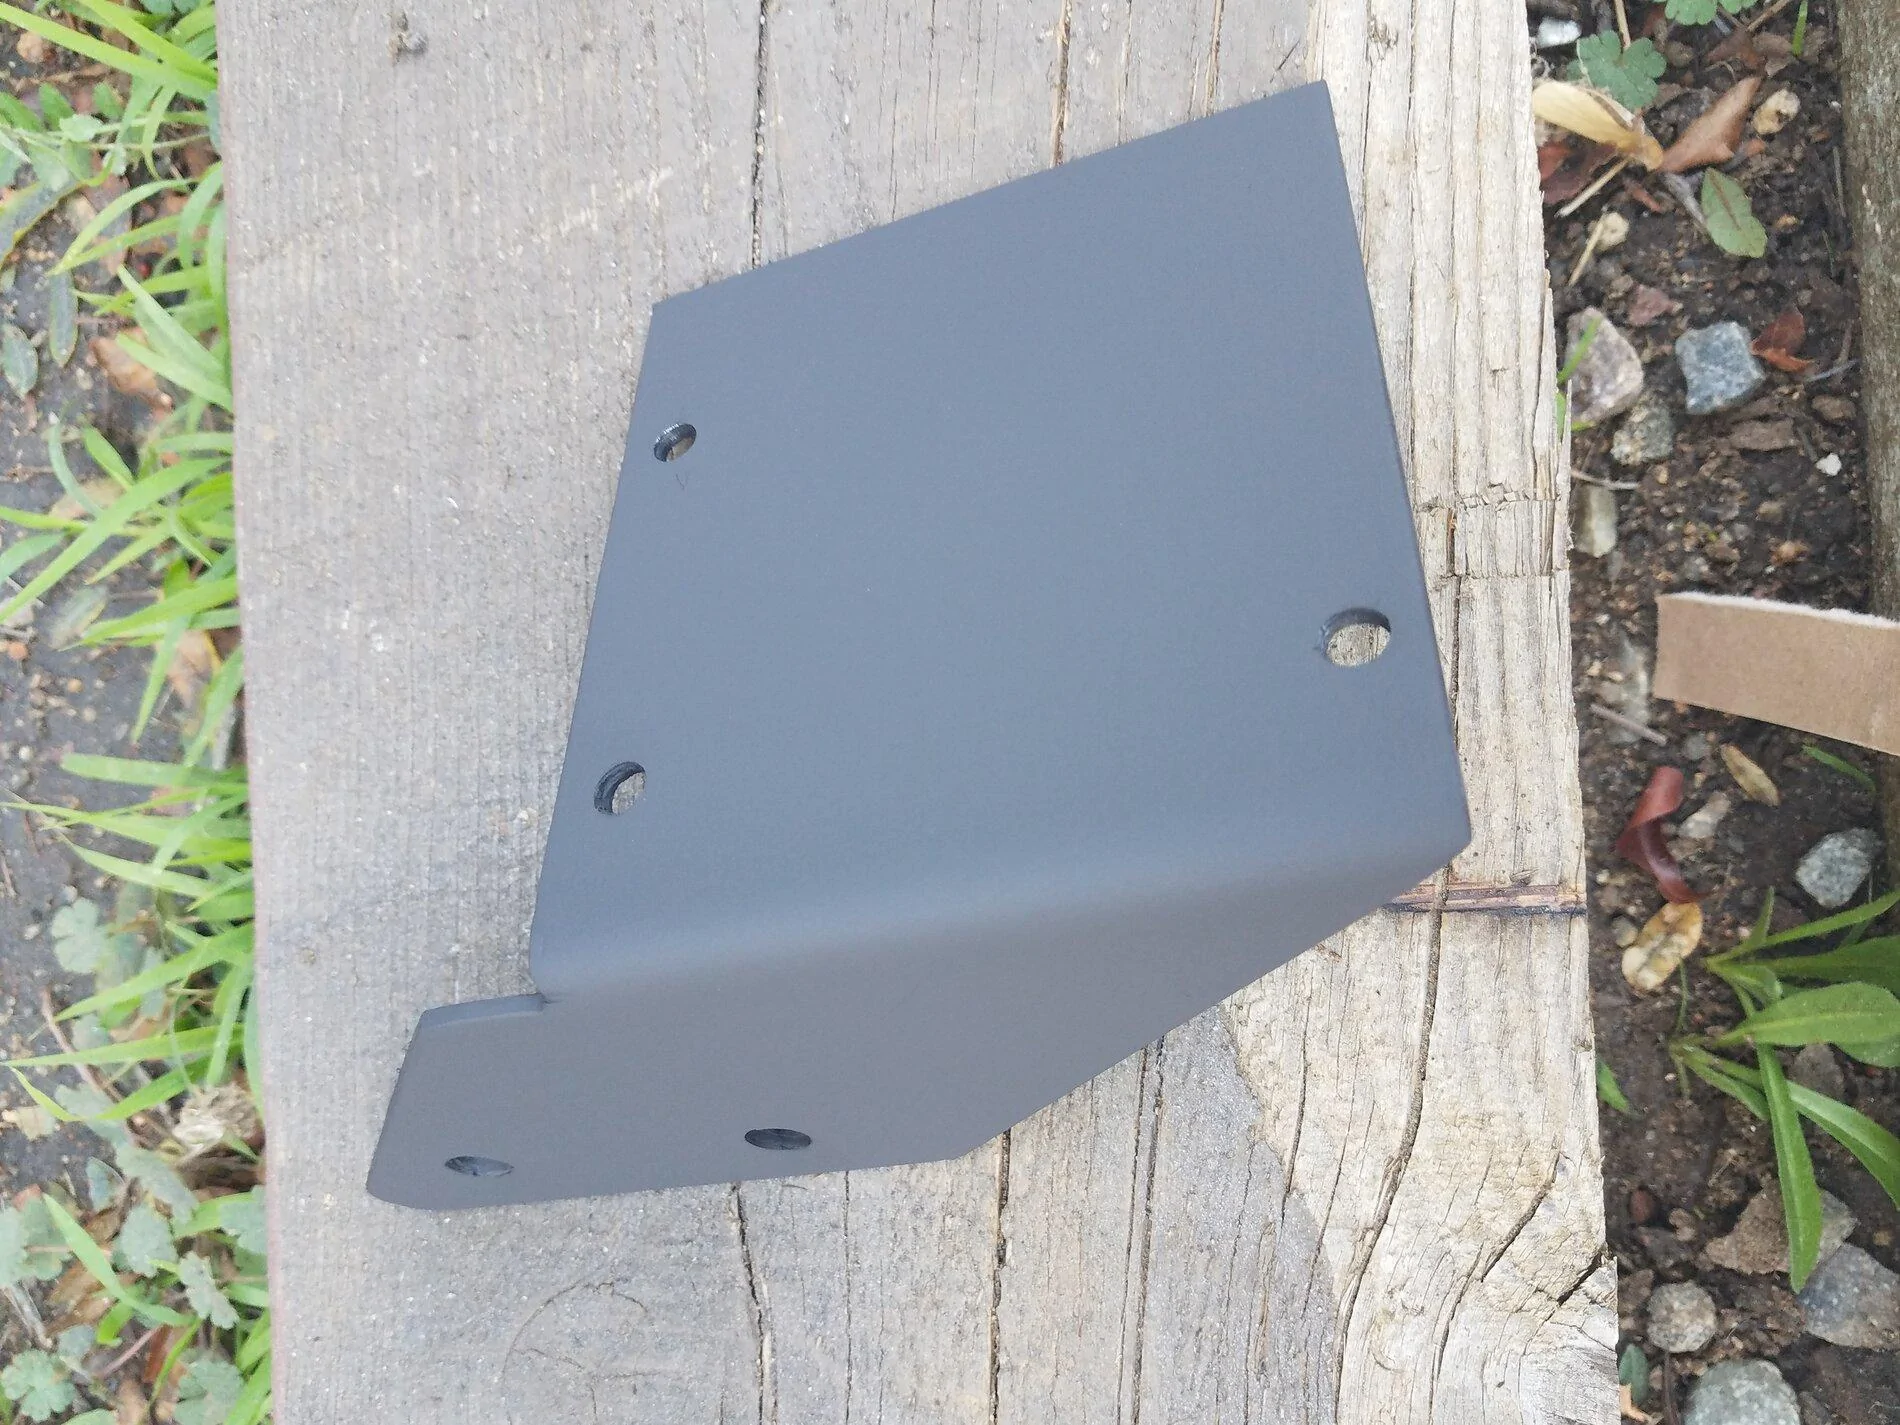
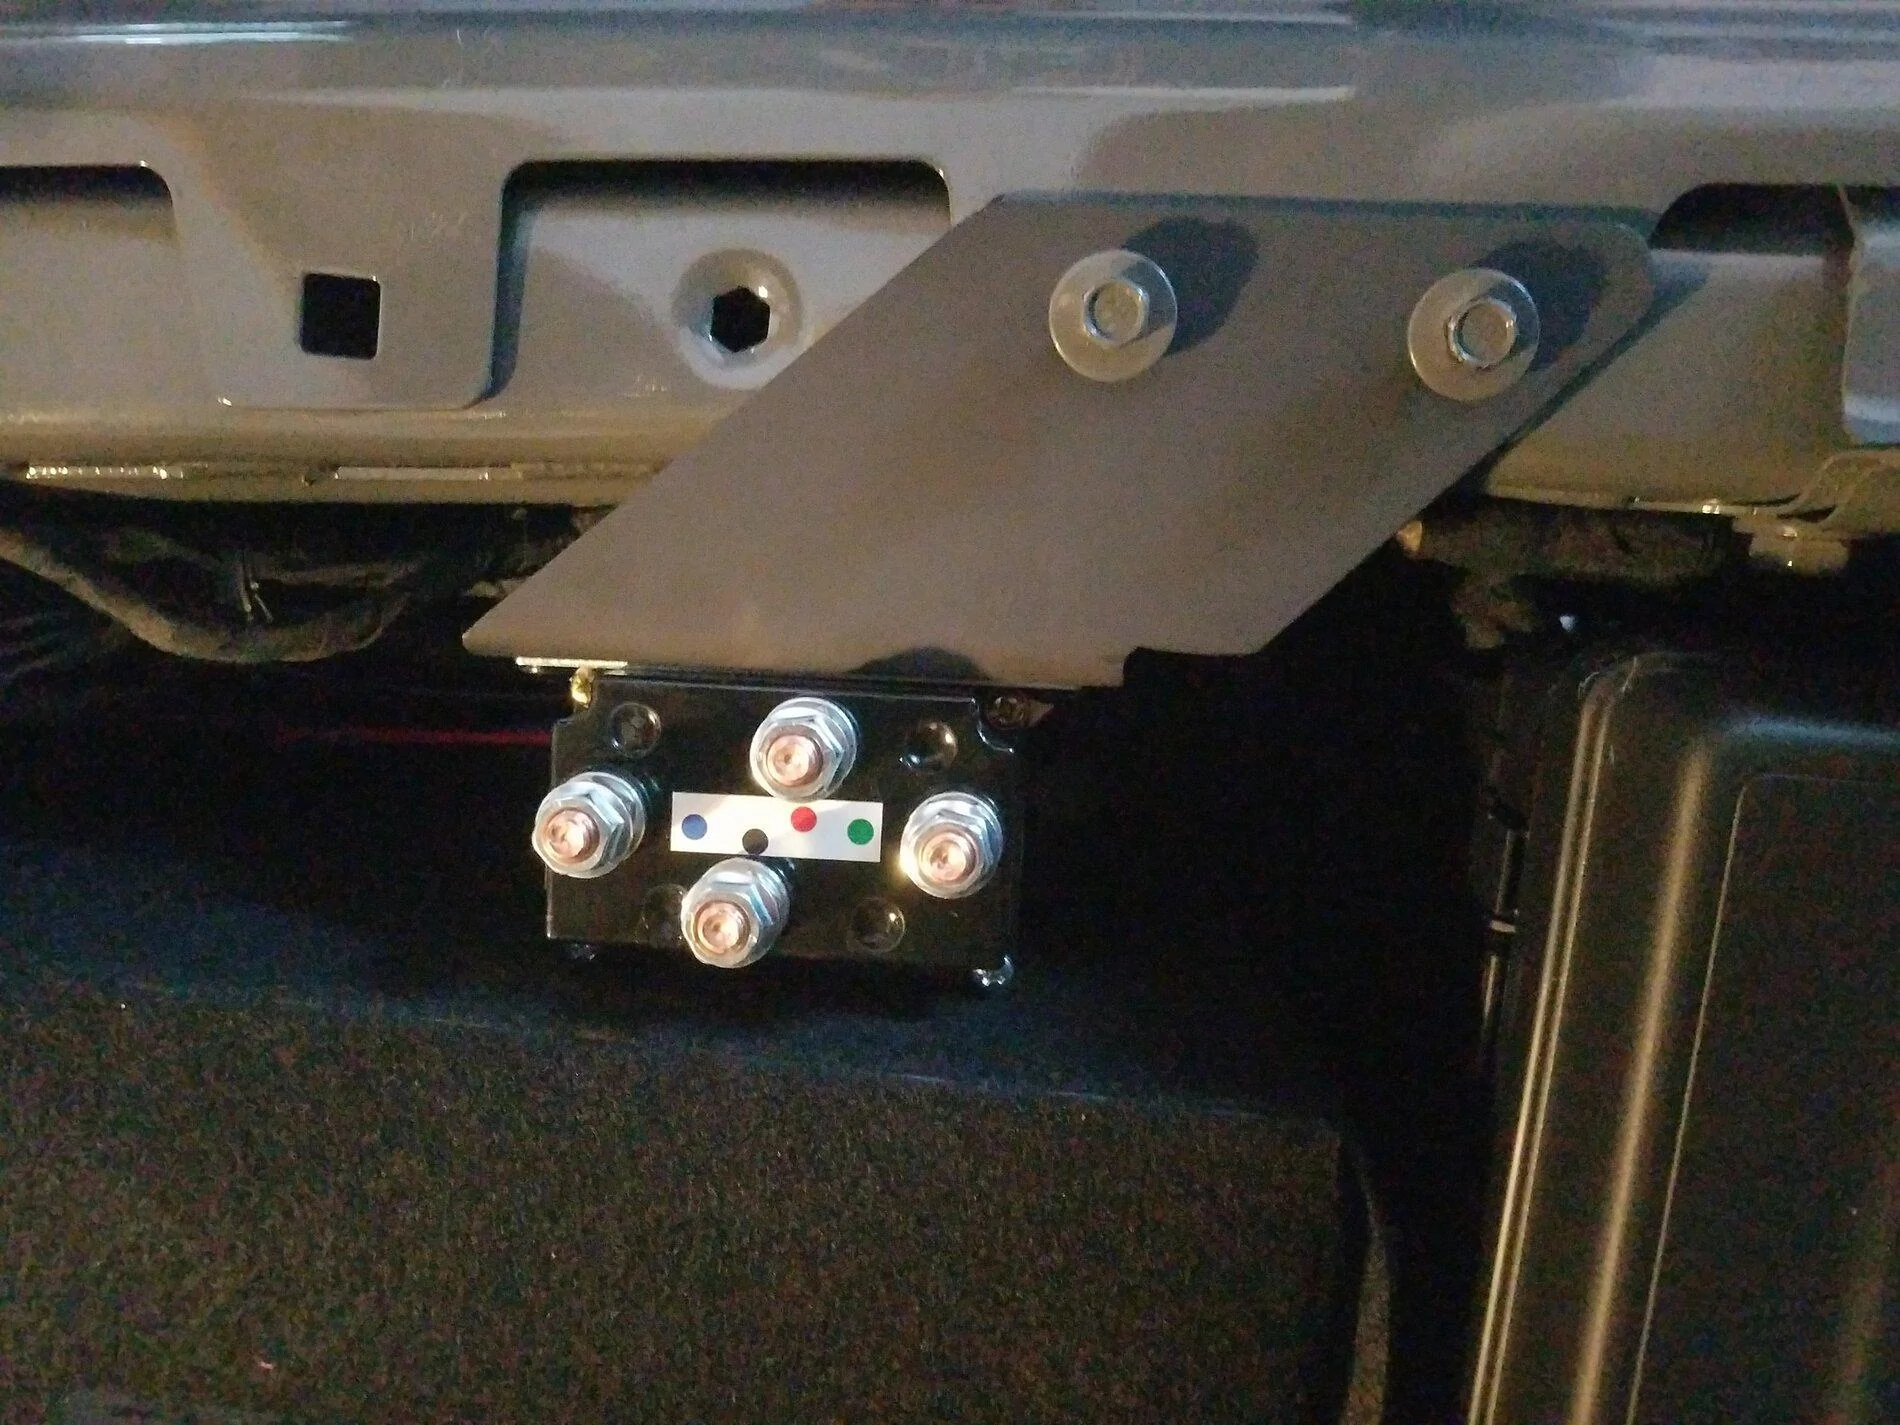
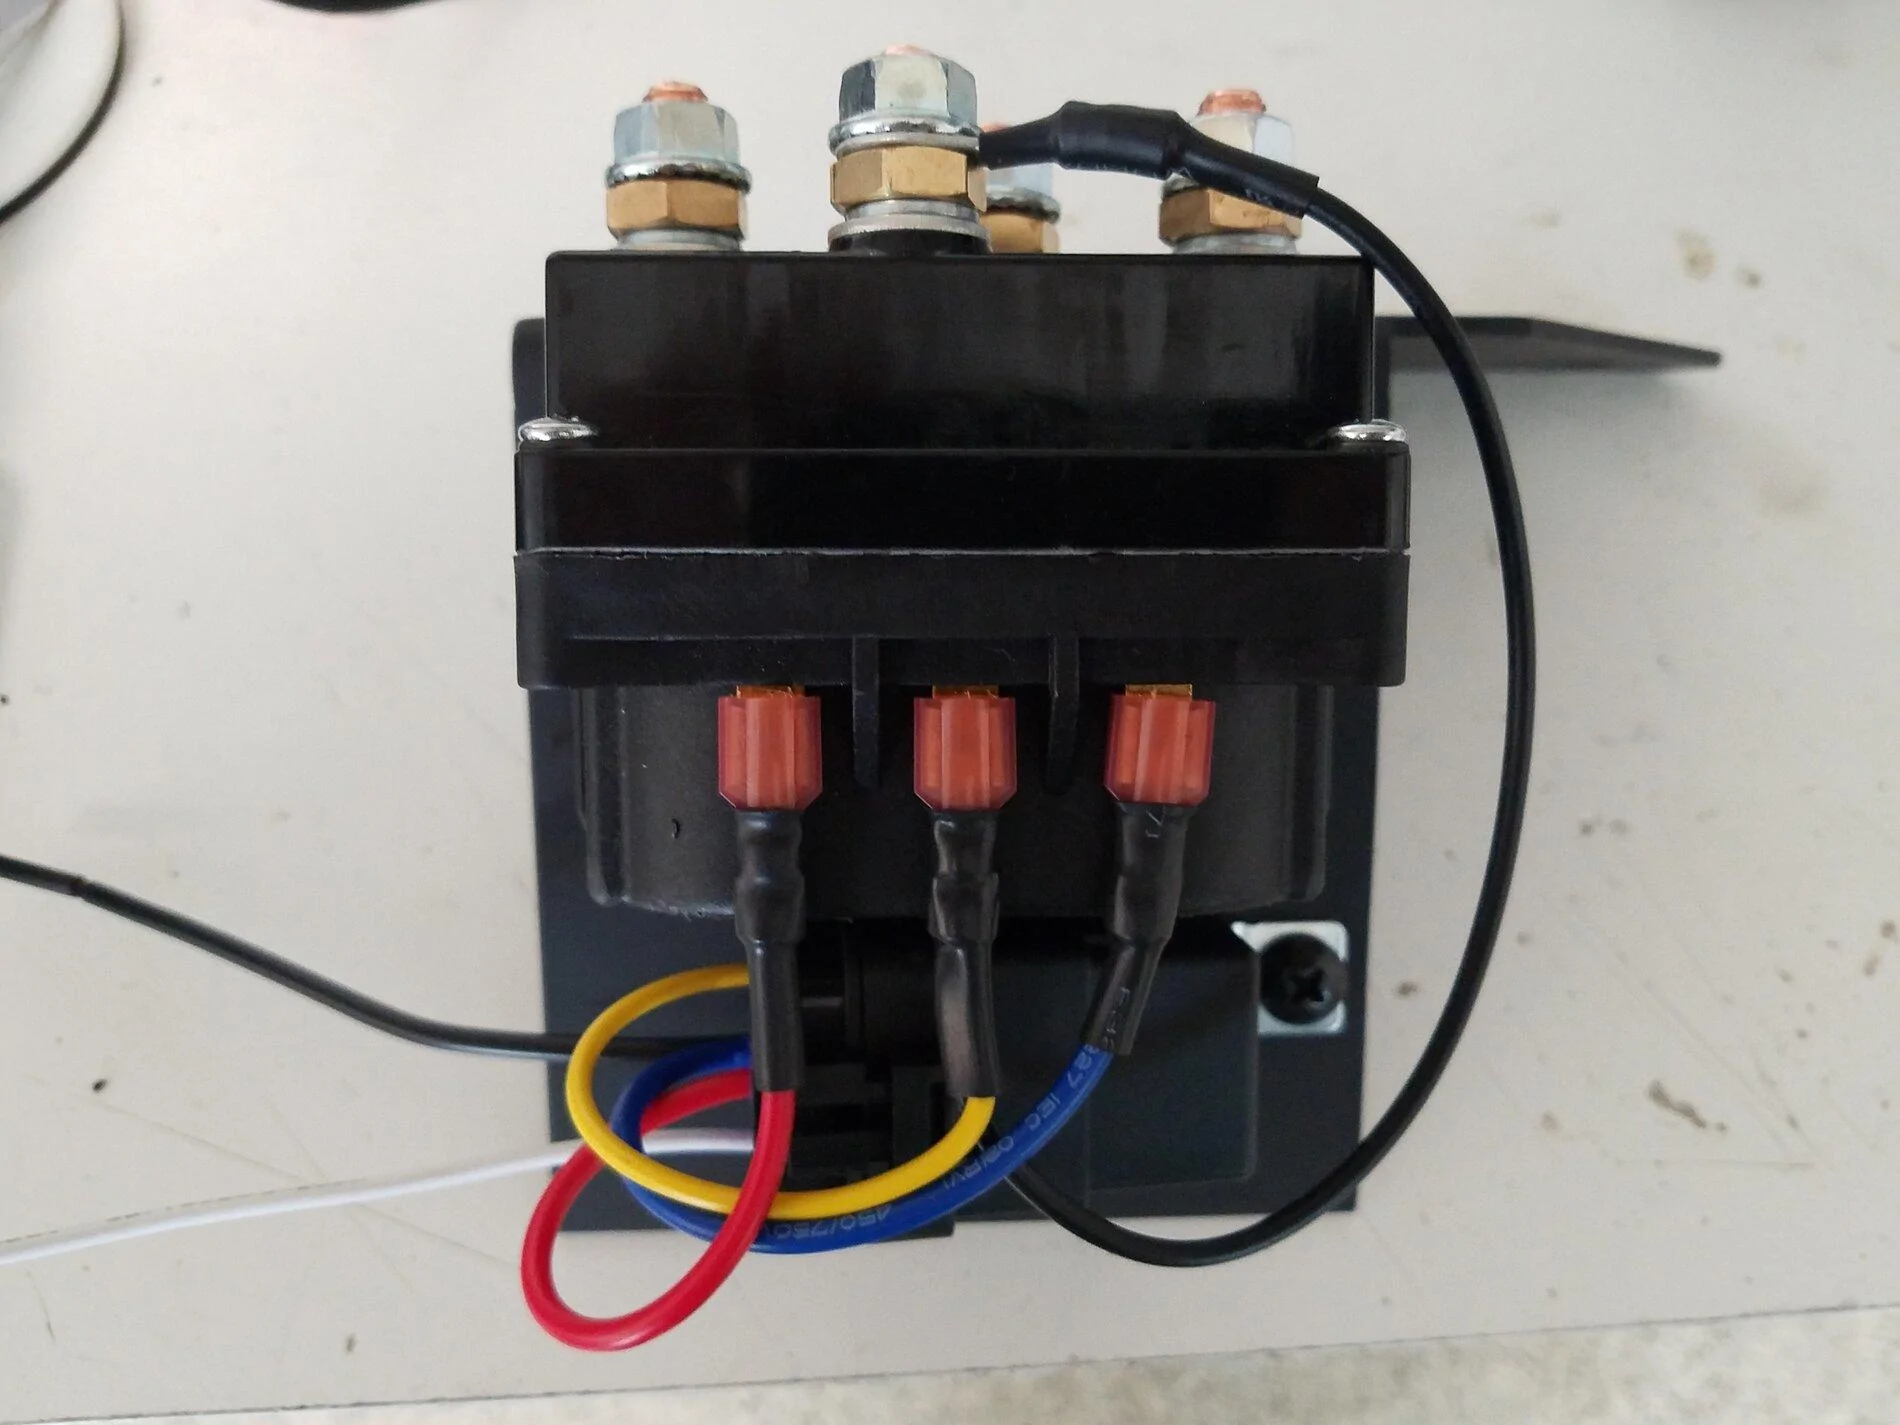
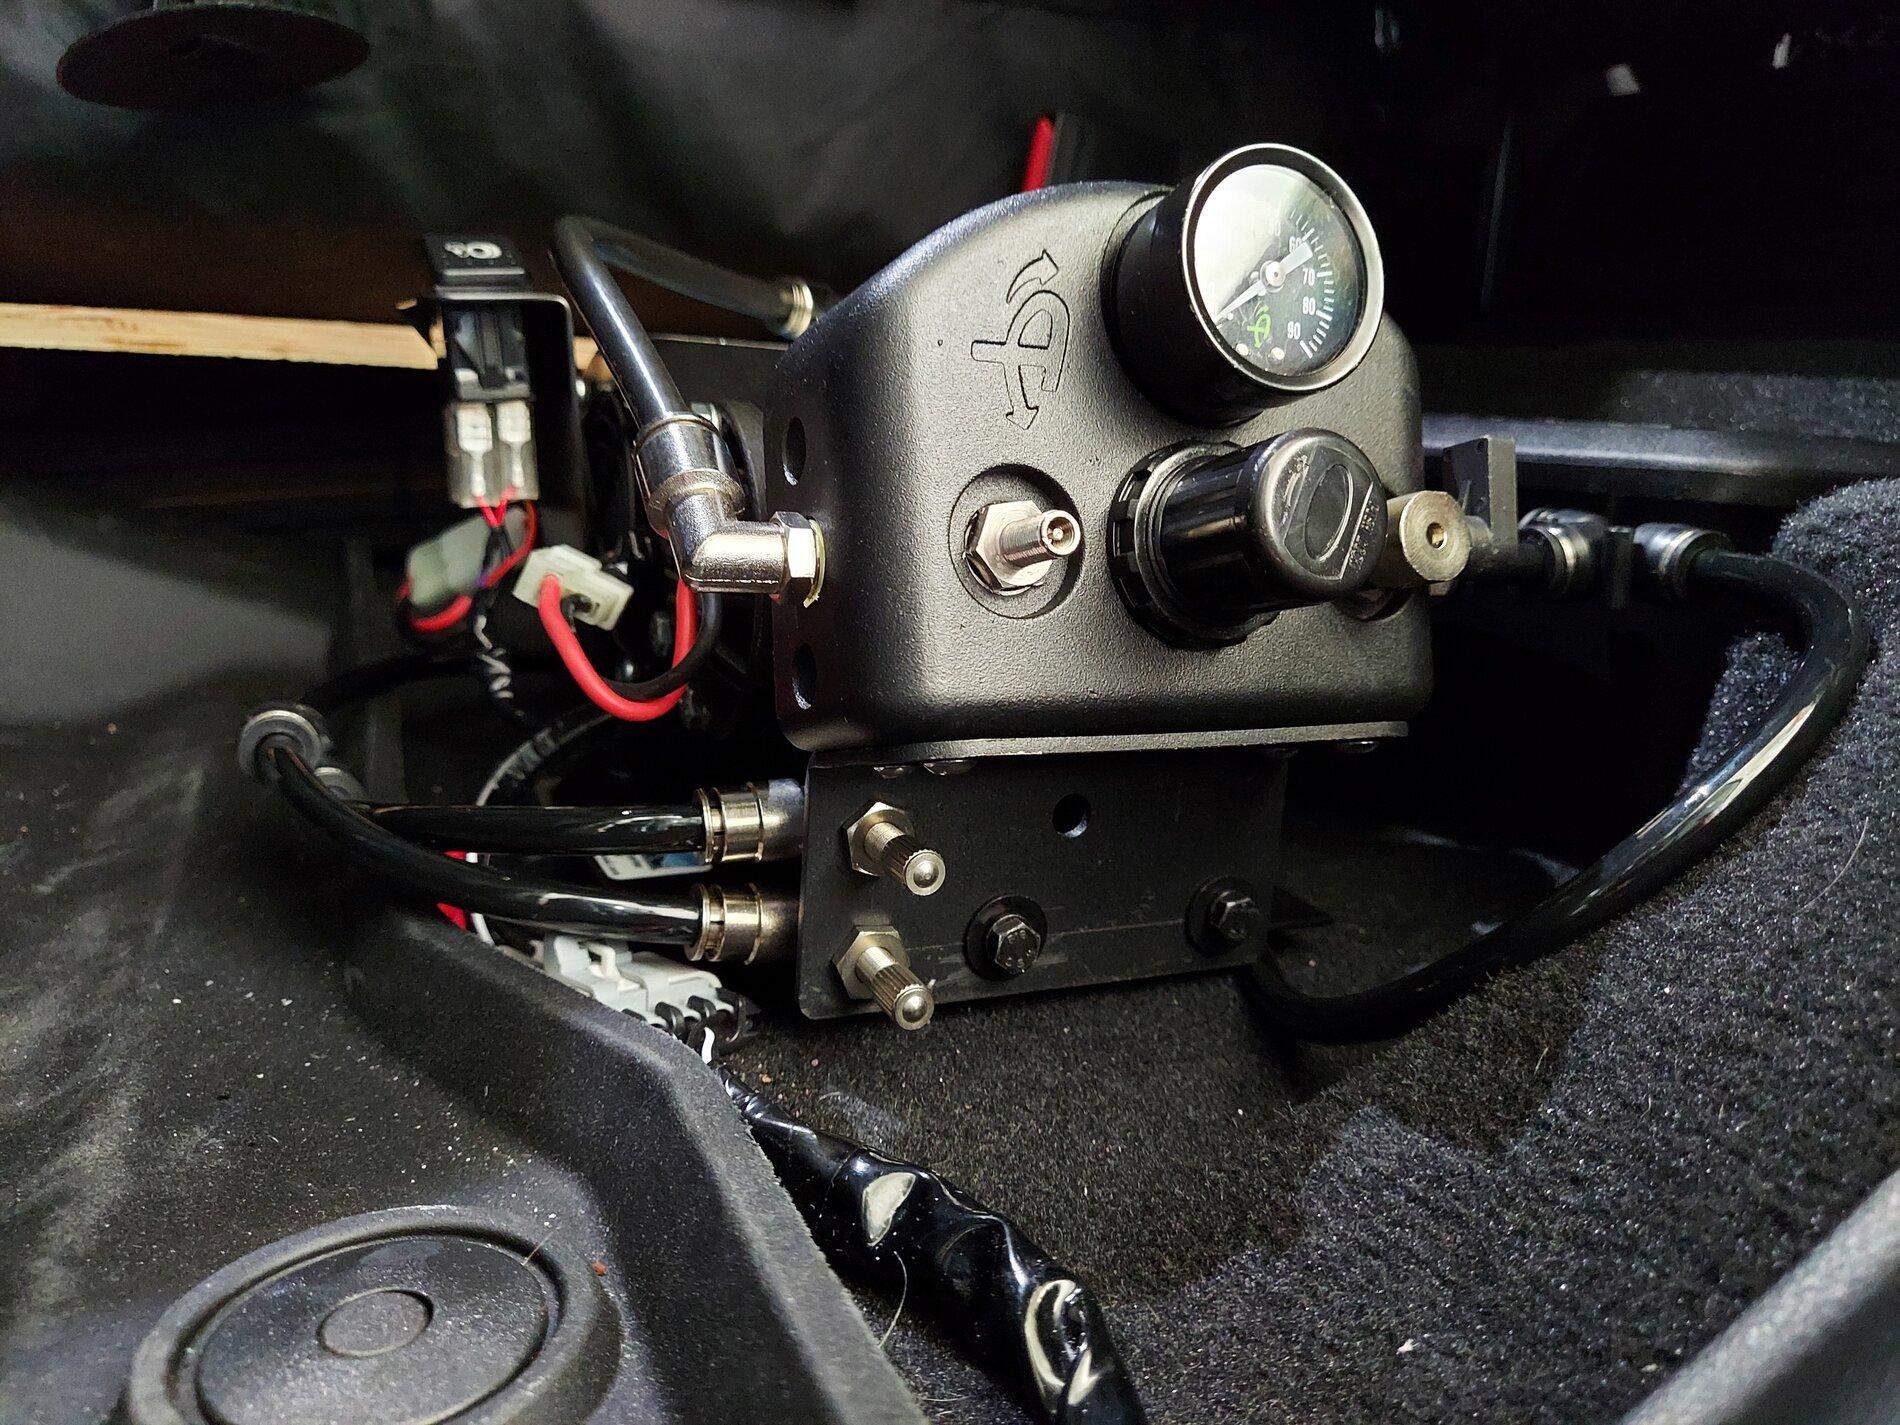
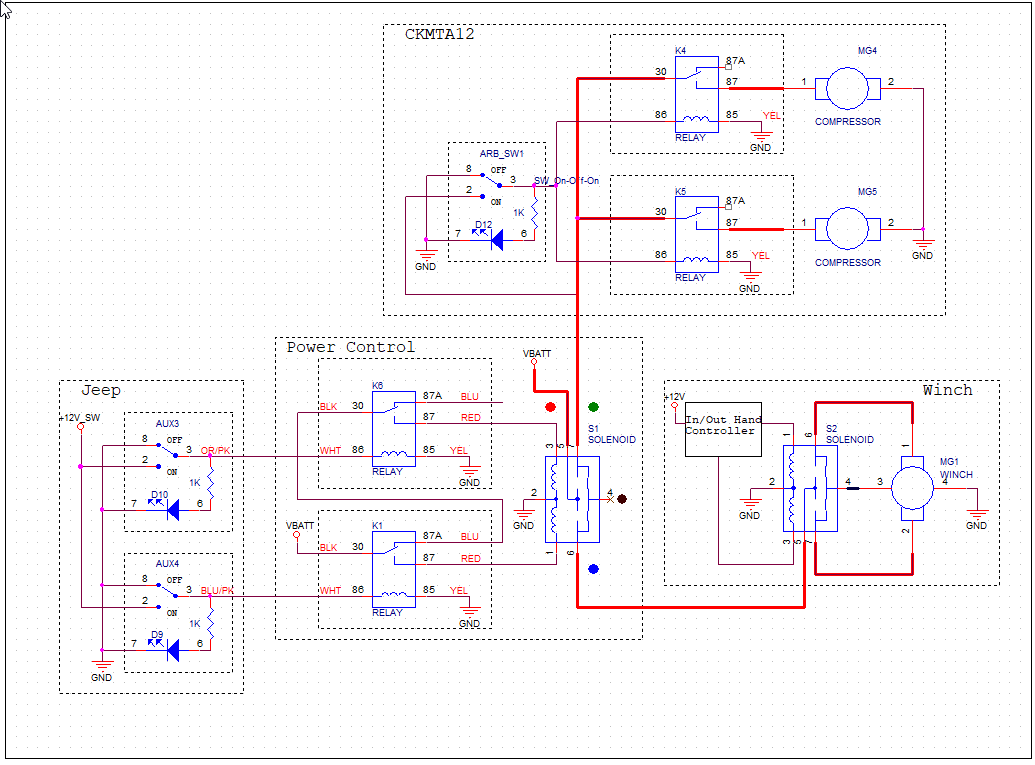
I made a bracket to mount the winch/compressor solenoid. I will use AUX3 to activate one side of the two way solenoid for the compressor, and AUX4 to flip it to the winch with a relay. It's been awhile since I did any metal fab, so take it easy. I'm pretty happy with it though.


I eliminated all of the secondary switching harness, because all I need is OBA. There is a small hot wire on the three pin connector for the switch (red, purple, black) on the dual compressor that is not used. I just cut the connector to the harness off and wired the switch to the hot lead for the compressor relays and the LED....easy peasy and eliminated like three miles of wire.
Updated 3-19-21:
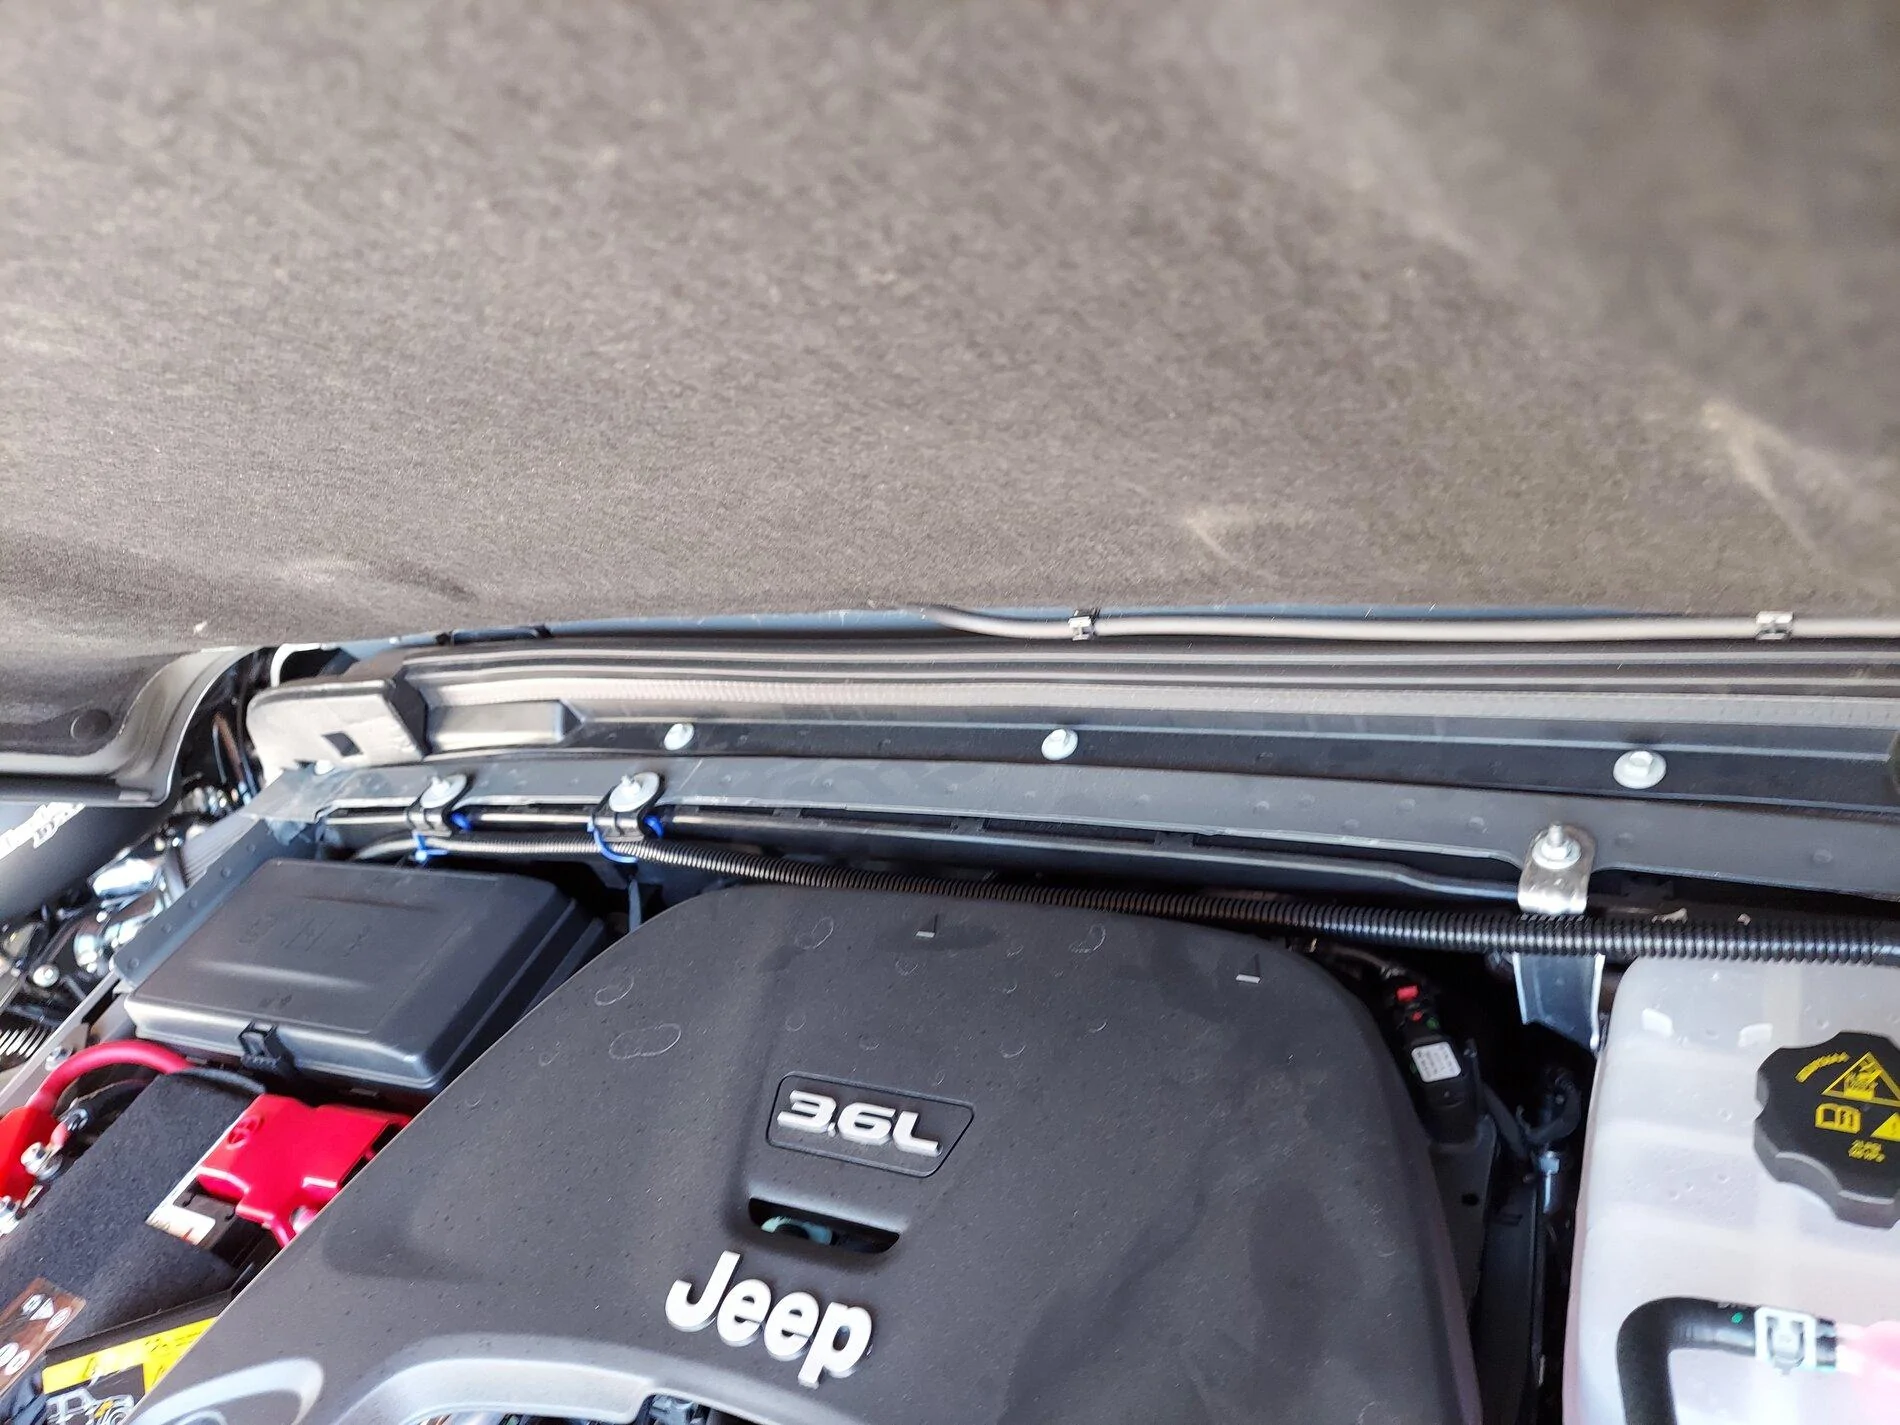
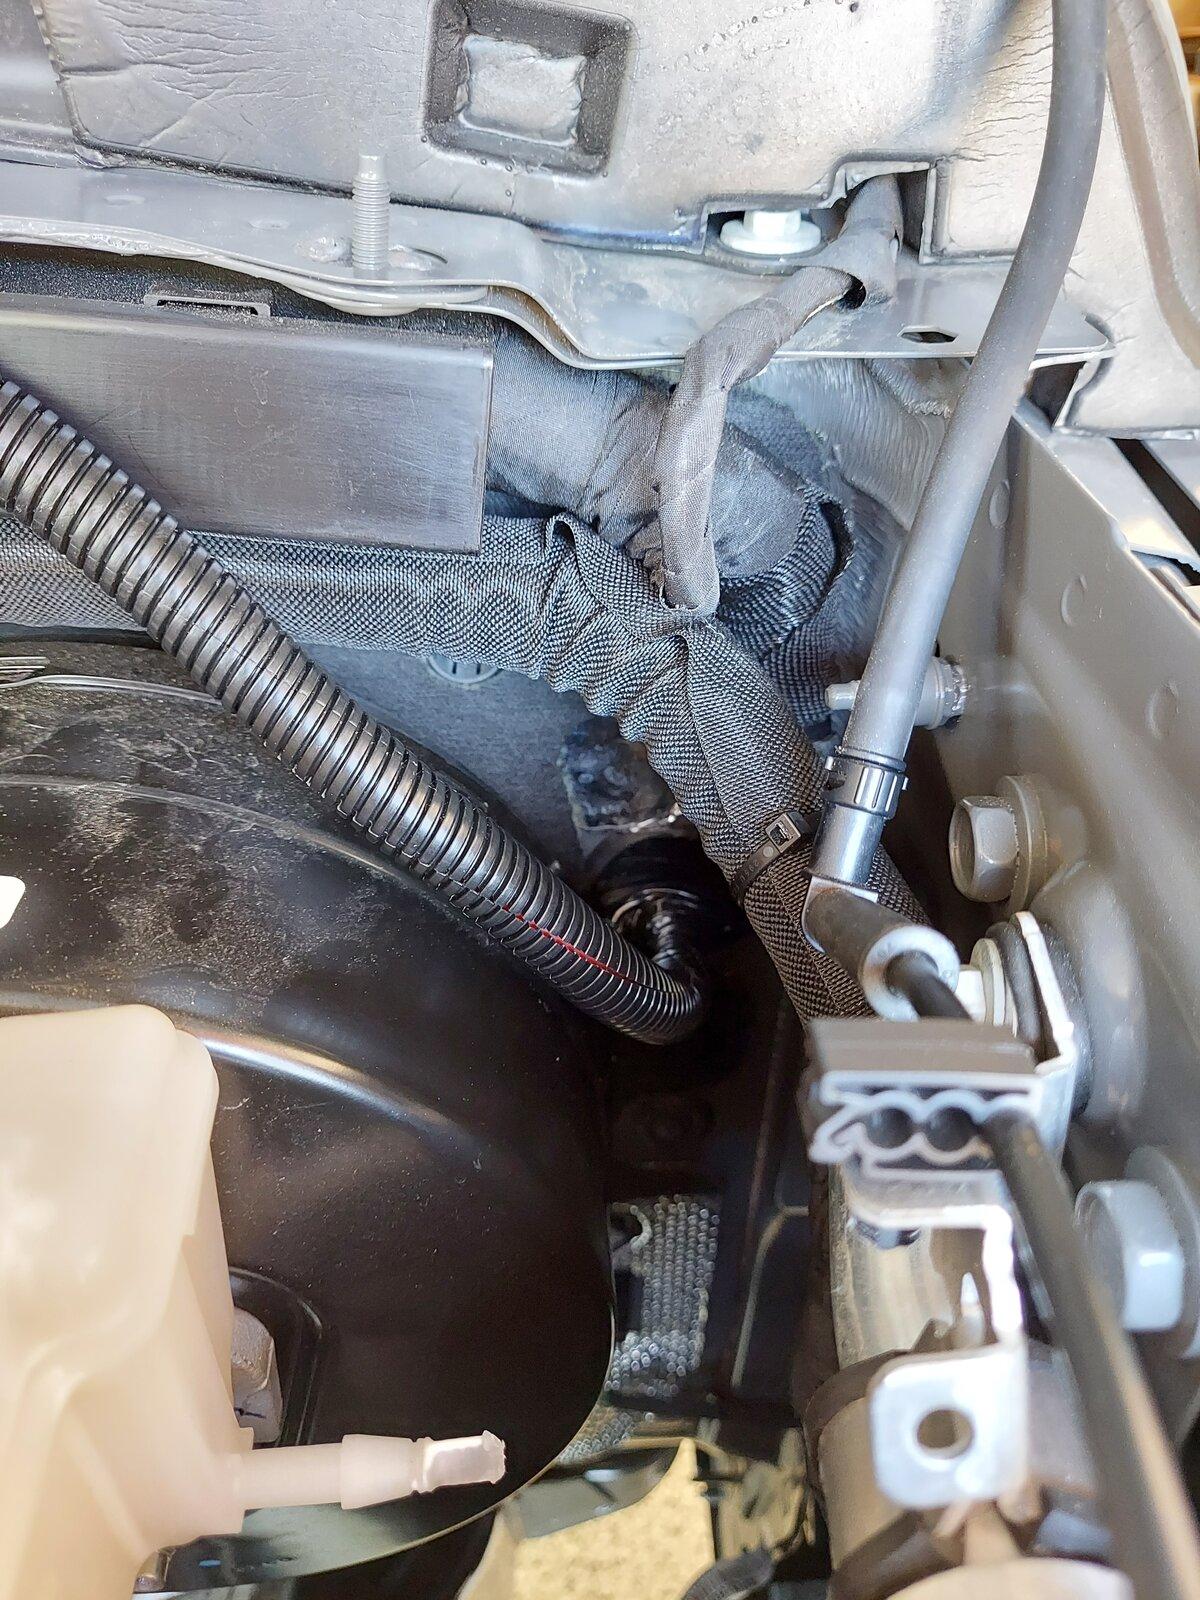
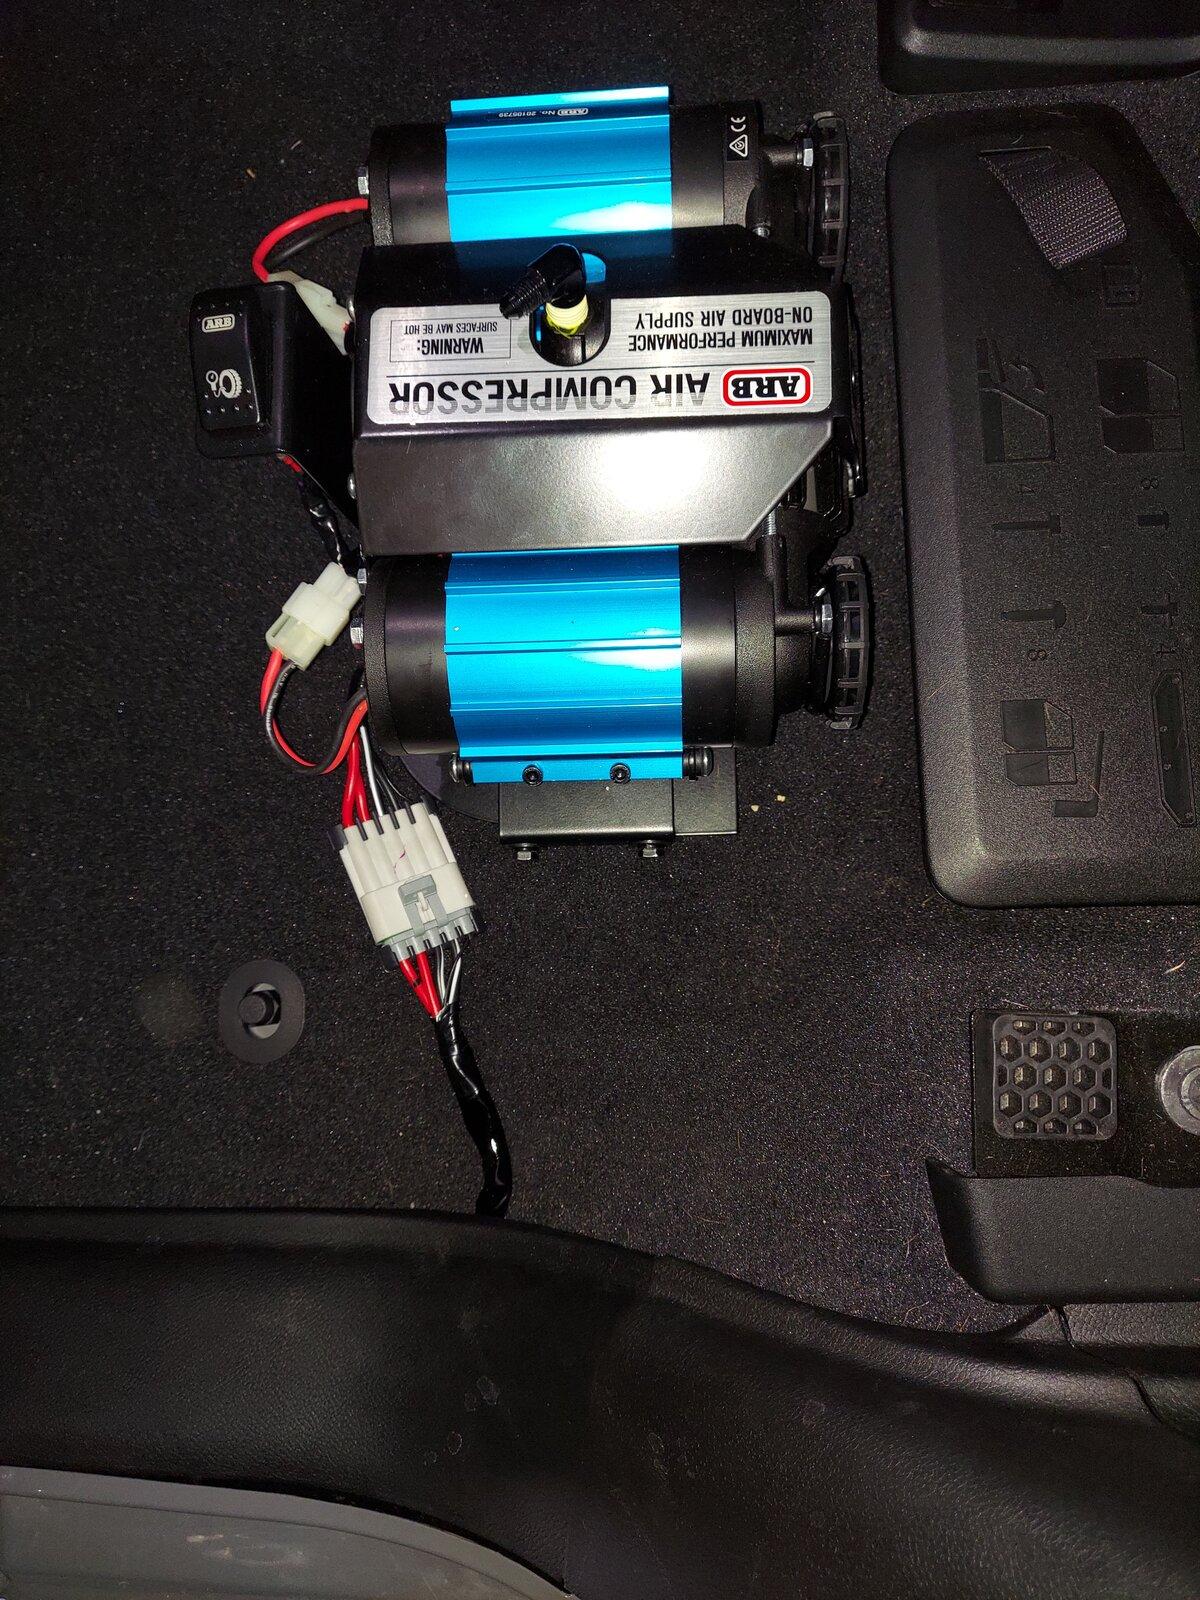
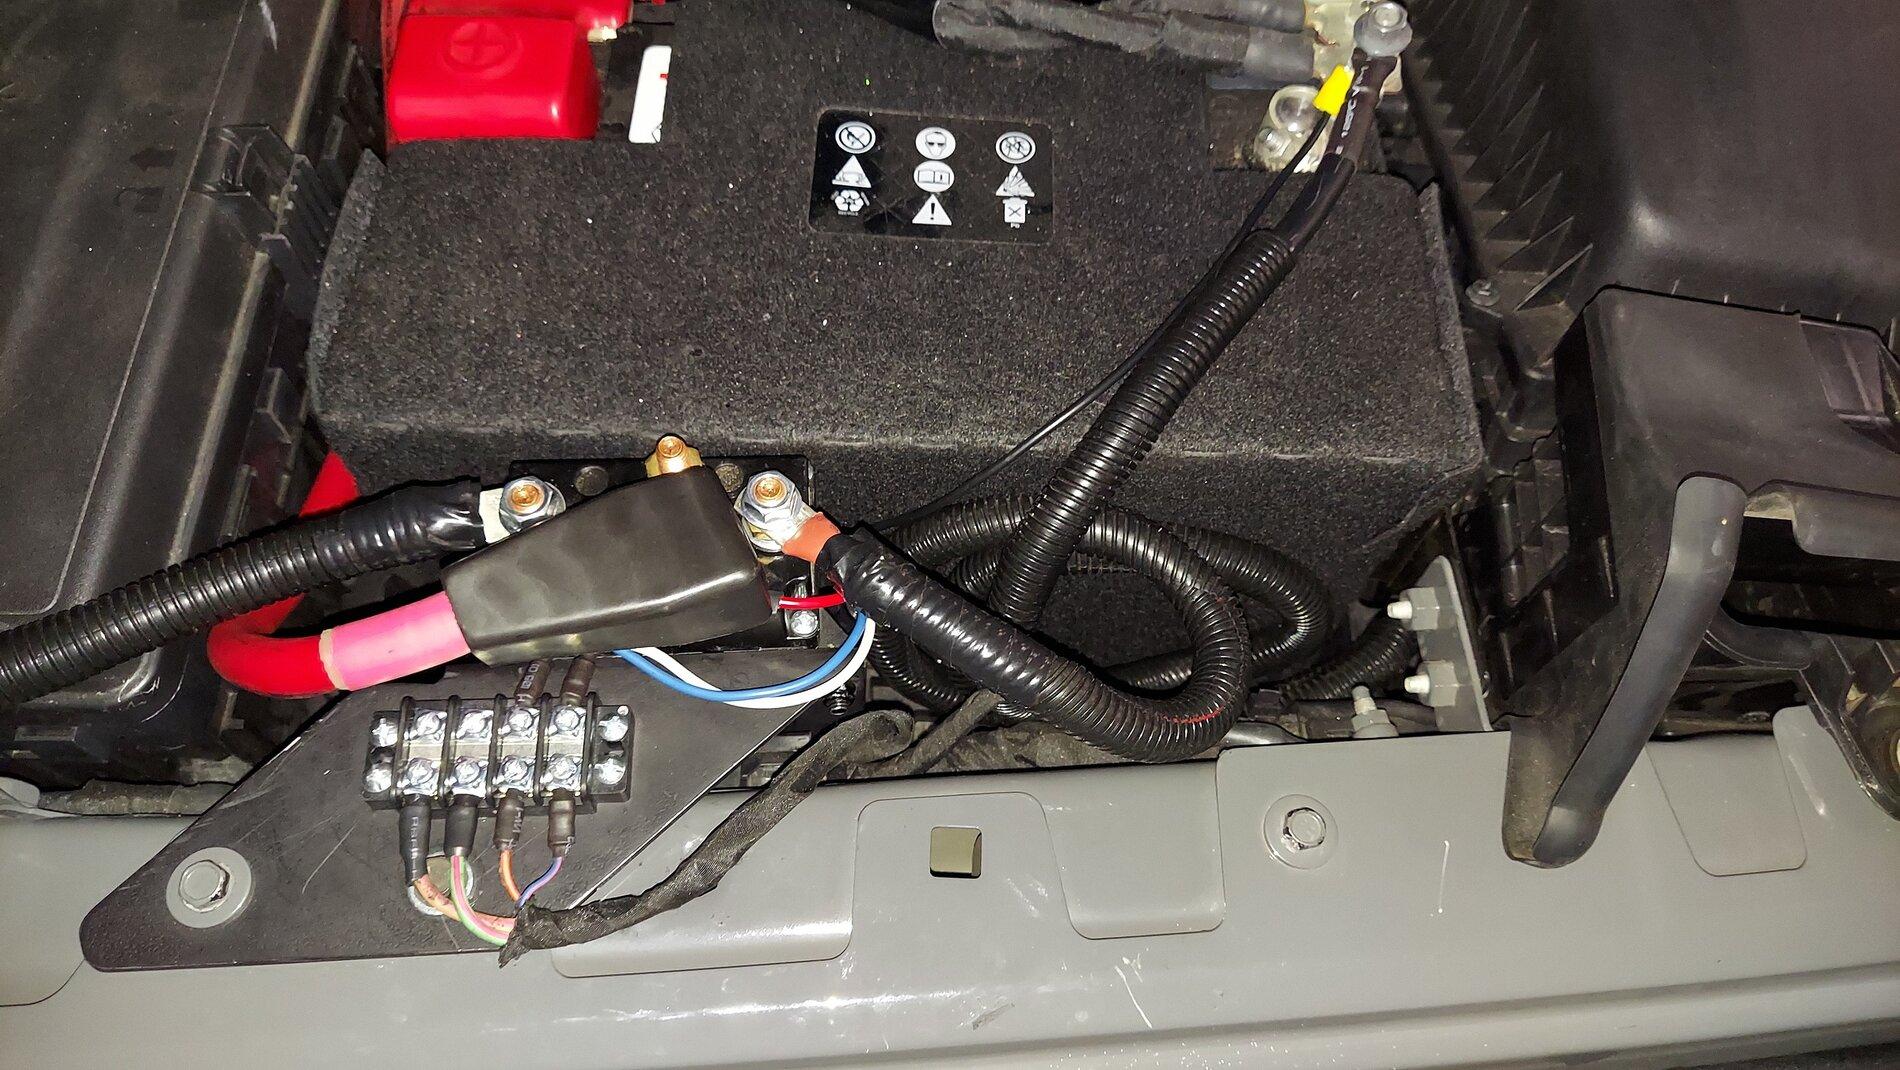
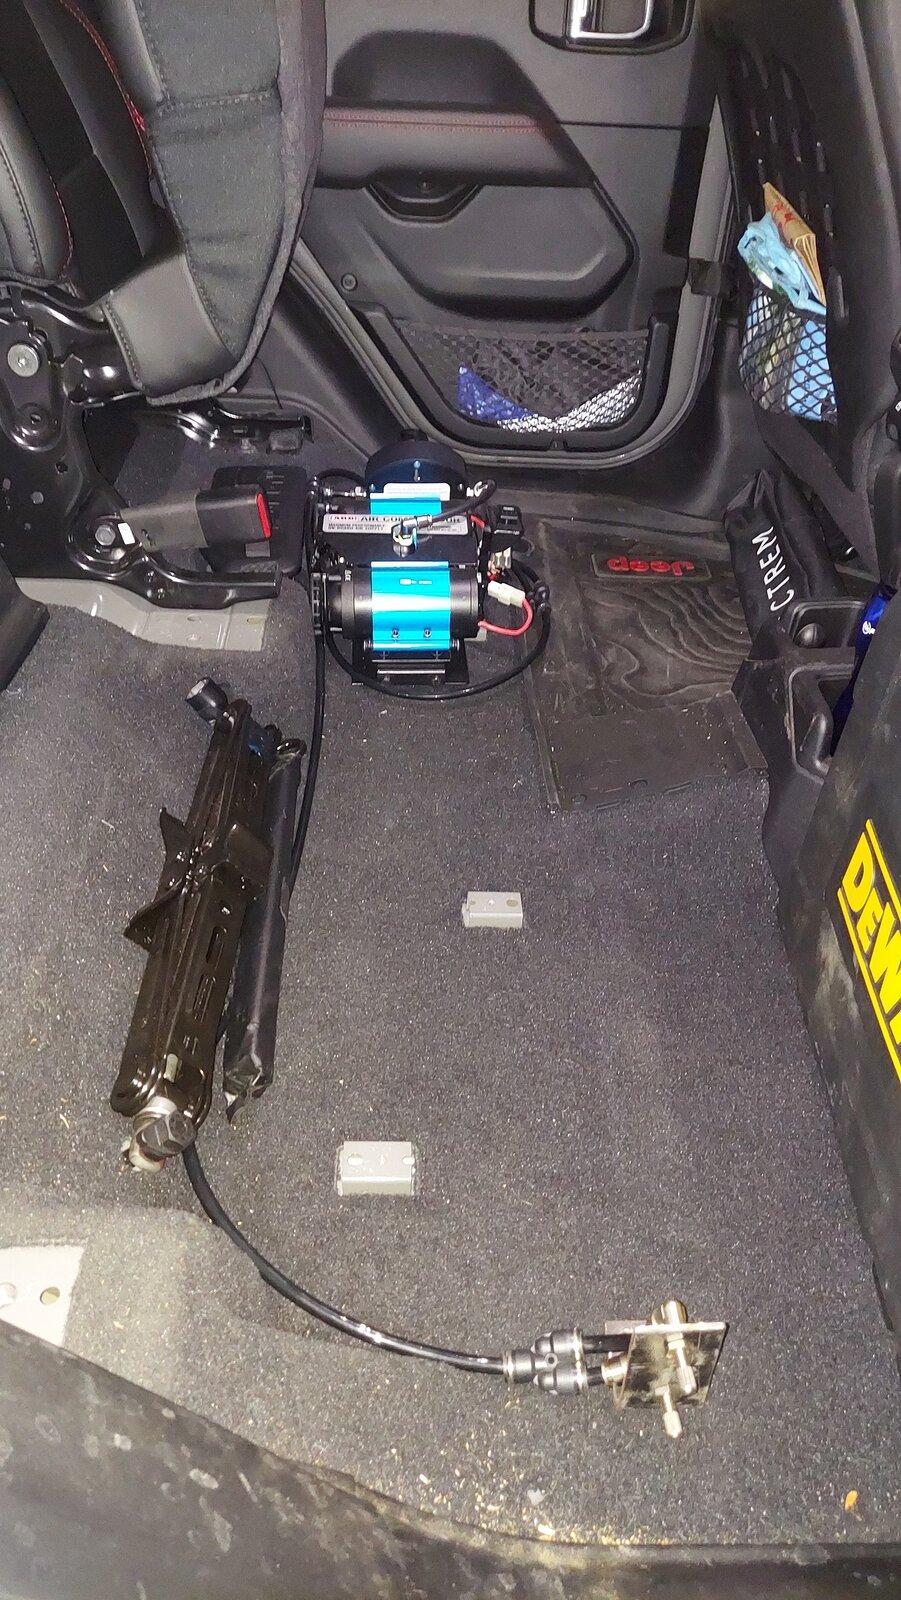
Finally got around to installing this thing. I decided to go with the original plan and put it in the intended spot under the driver rear seat. Ran 6ga wire from the solenoid over to the driver side in the engine bay.
There is a passthrough plug in the firewall that was a perfect spot to run the cable.
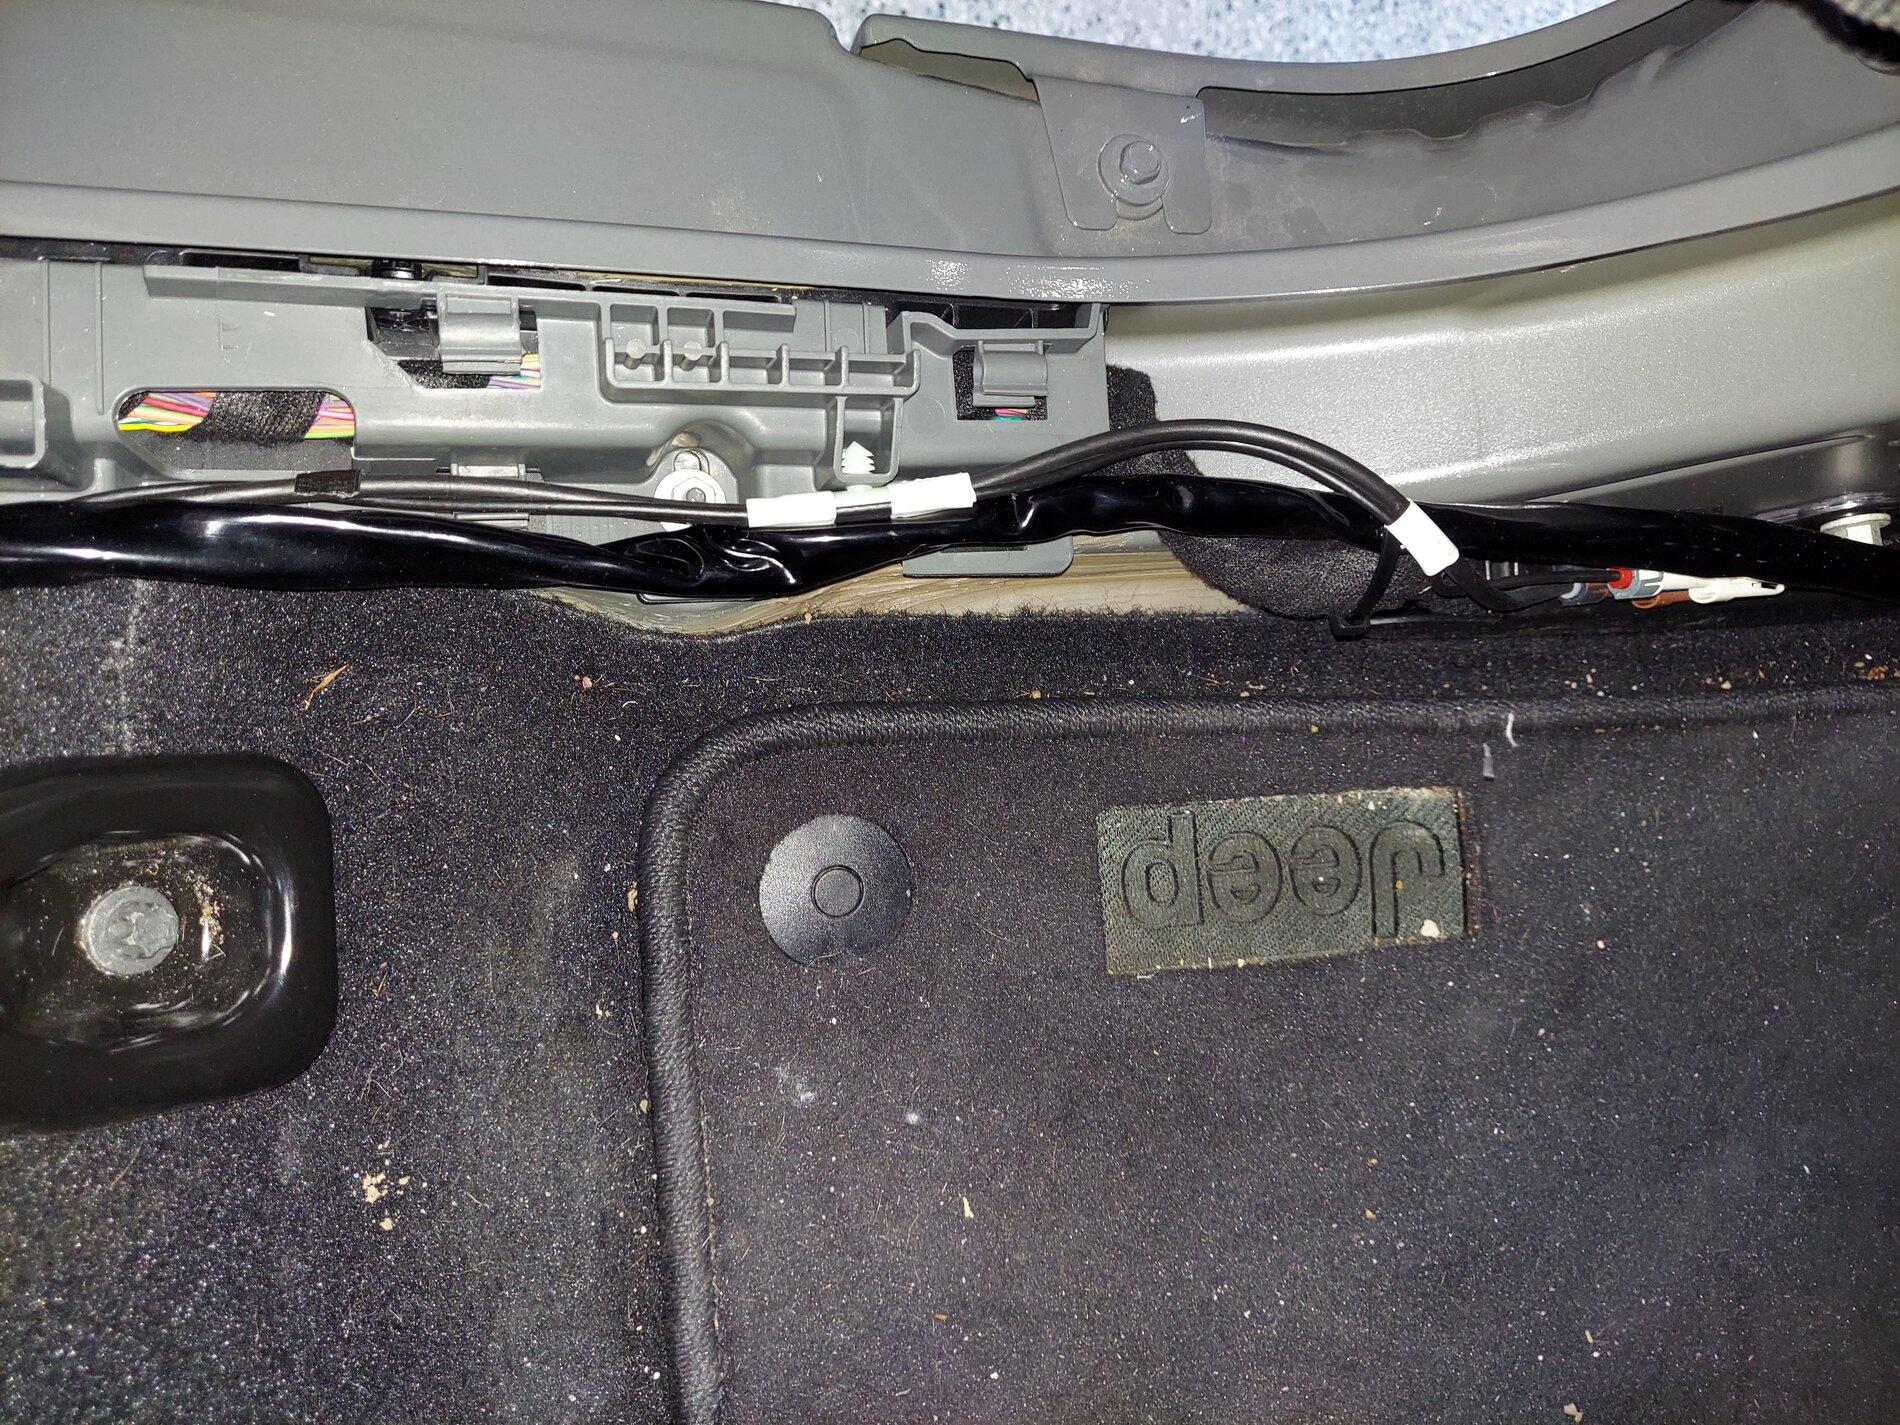
Dropped in right at the driver side kick panel. I bought the Anderson connector thinking I would use both + and - but noticed this open ground lug at the bottom of the door frame and just used that for the grounds.
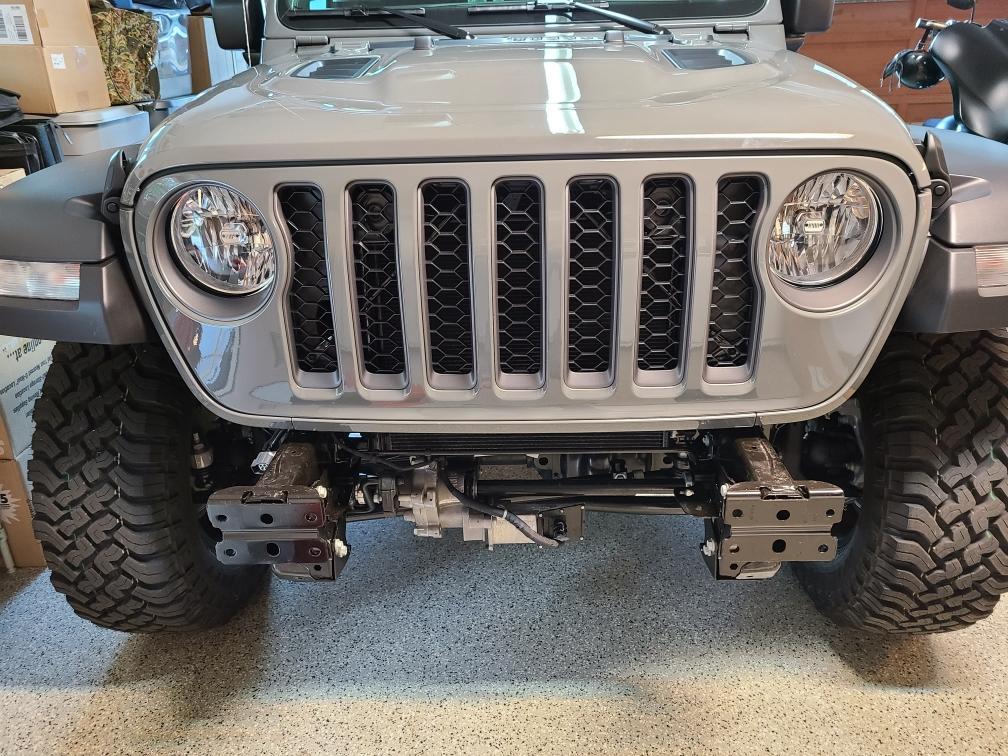
This trim panel was a little stubborn to get off in the front since it's hard to see under there, but it does come off.
So there it sits. Surprisingly not as loud inside the cab as I had expected. My dog won't like it, but she can just get out and take a walk as I air up lol.
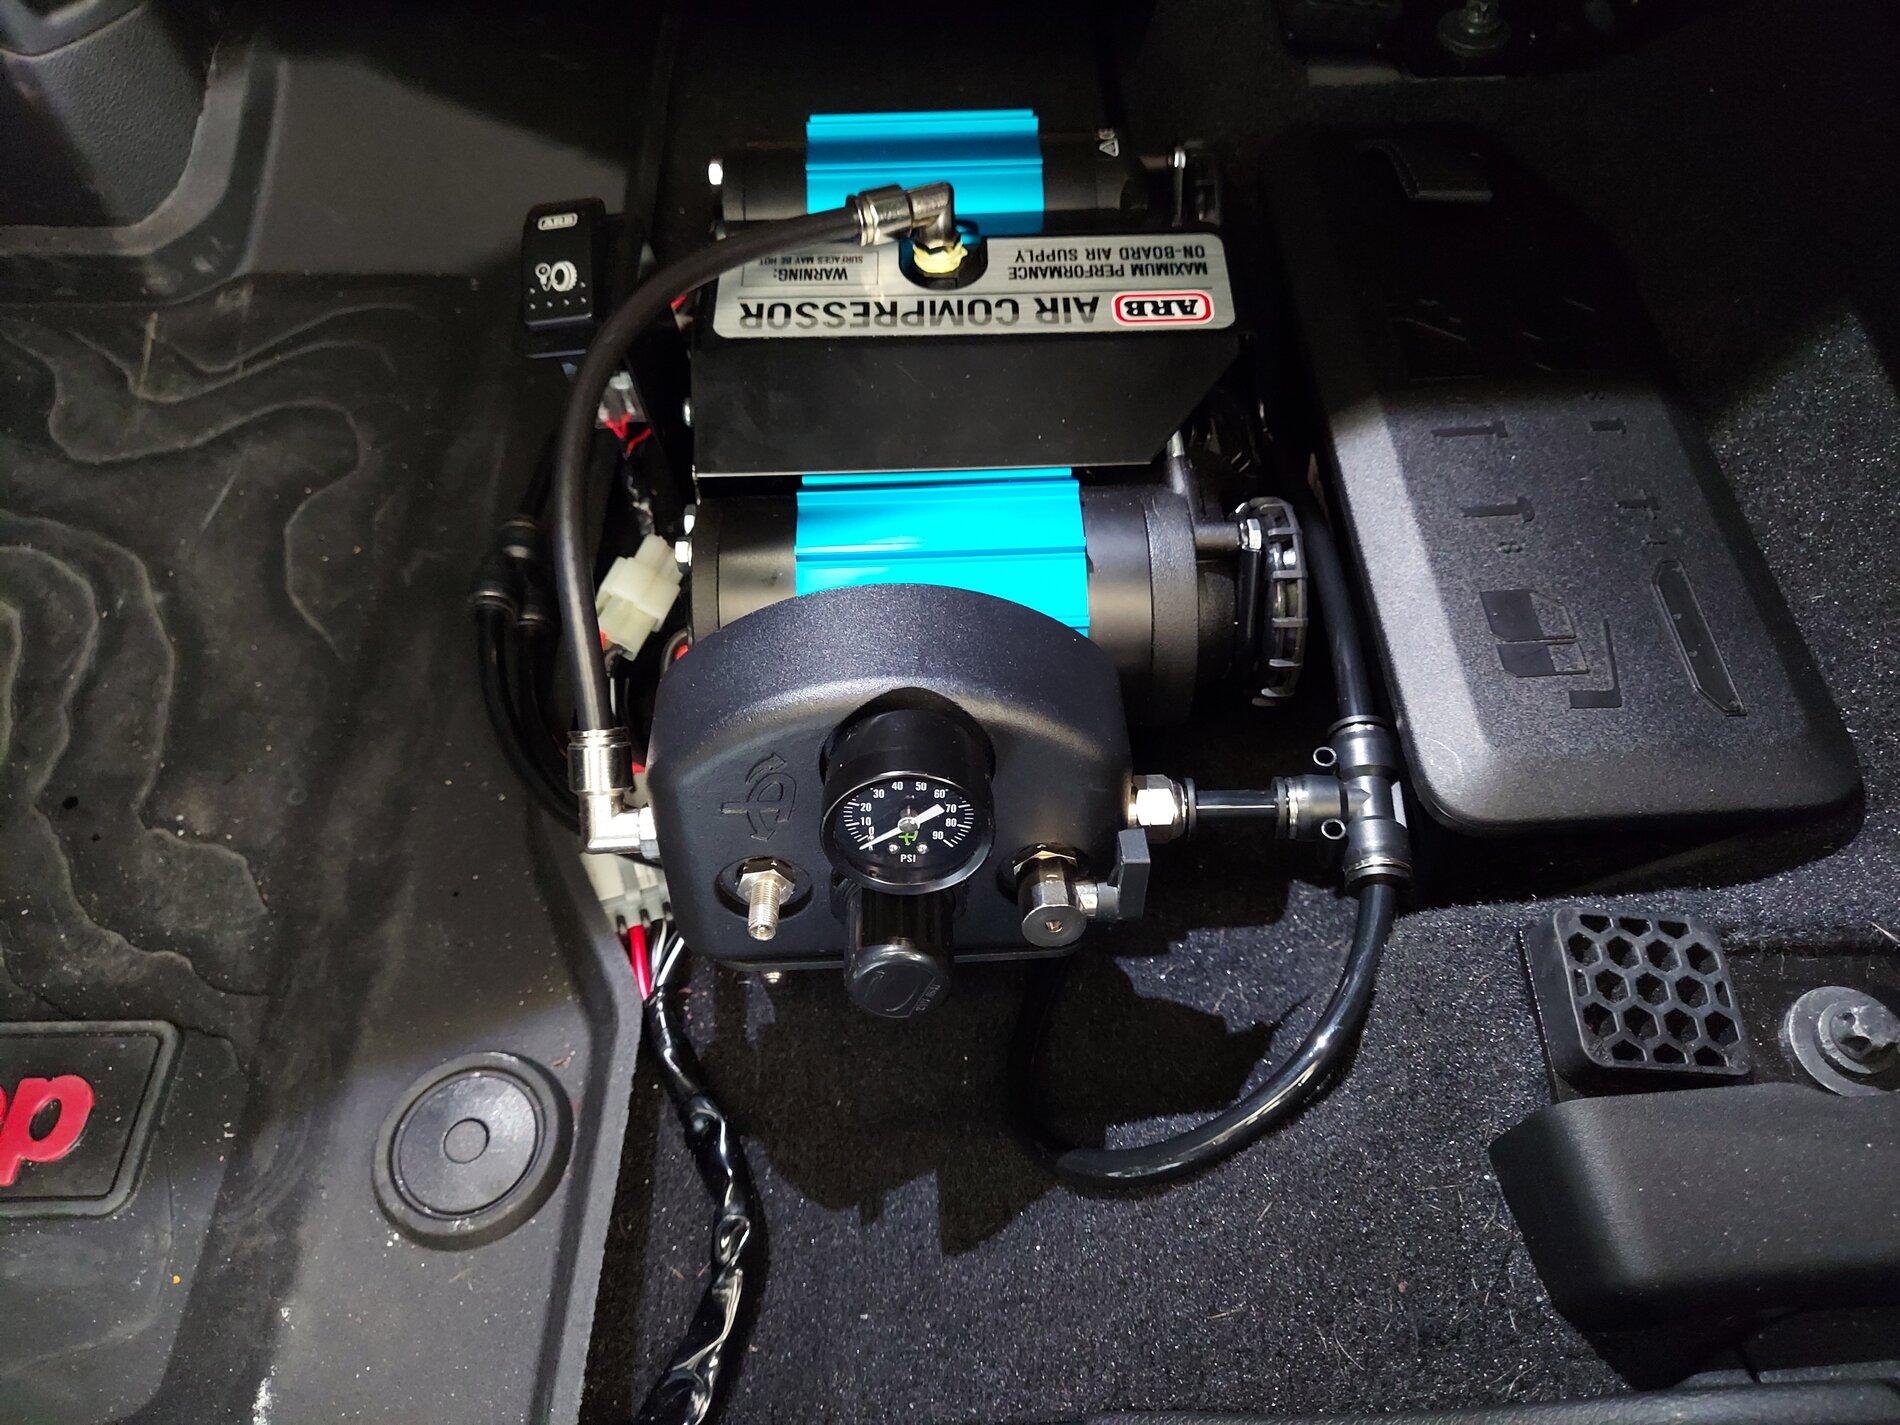
All that is left to do is add the chuck. I am not going to bother running air lines all over the truck at this point, just maybe a 4-way hose I will store behind the seat.
Update: 5-18-21
Added UpDown Air Universal kit. Nice simple unit that comes with hose T's and Y's and schrader valves. Did a little tweaking to the bracket to get it to sit at a better angle so I could use the bracket for the tire inflation hoses on the driver side. I just drilled a couple of holes for the schrader valves and to mount the bracket to the MORE compressor mount. Worked out nicely. Ran a hose to the other side and made a metal bracket to mount the schrader valves over there also, but need to decide how to mount the bracket.
Update 8-25-21:
I added a terminal block to the bracket to connect all the AUX switch wires to. I am not currently using the 2x 40 amp ones, but it will be much easier to connect to them later on. I will clean up the extra length of cable for the winch next, but it is fine for now.

I used one of the floormat mounts for the shrader valve bracket on the passenger side. I deleted the passenger side seat and have a platform that goes above the bracket, so no worries about anything bumping it. So far this setup has worked out great.

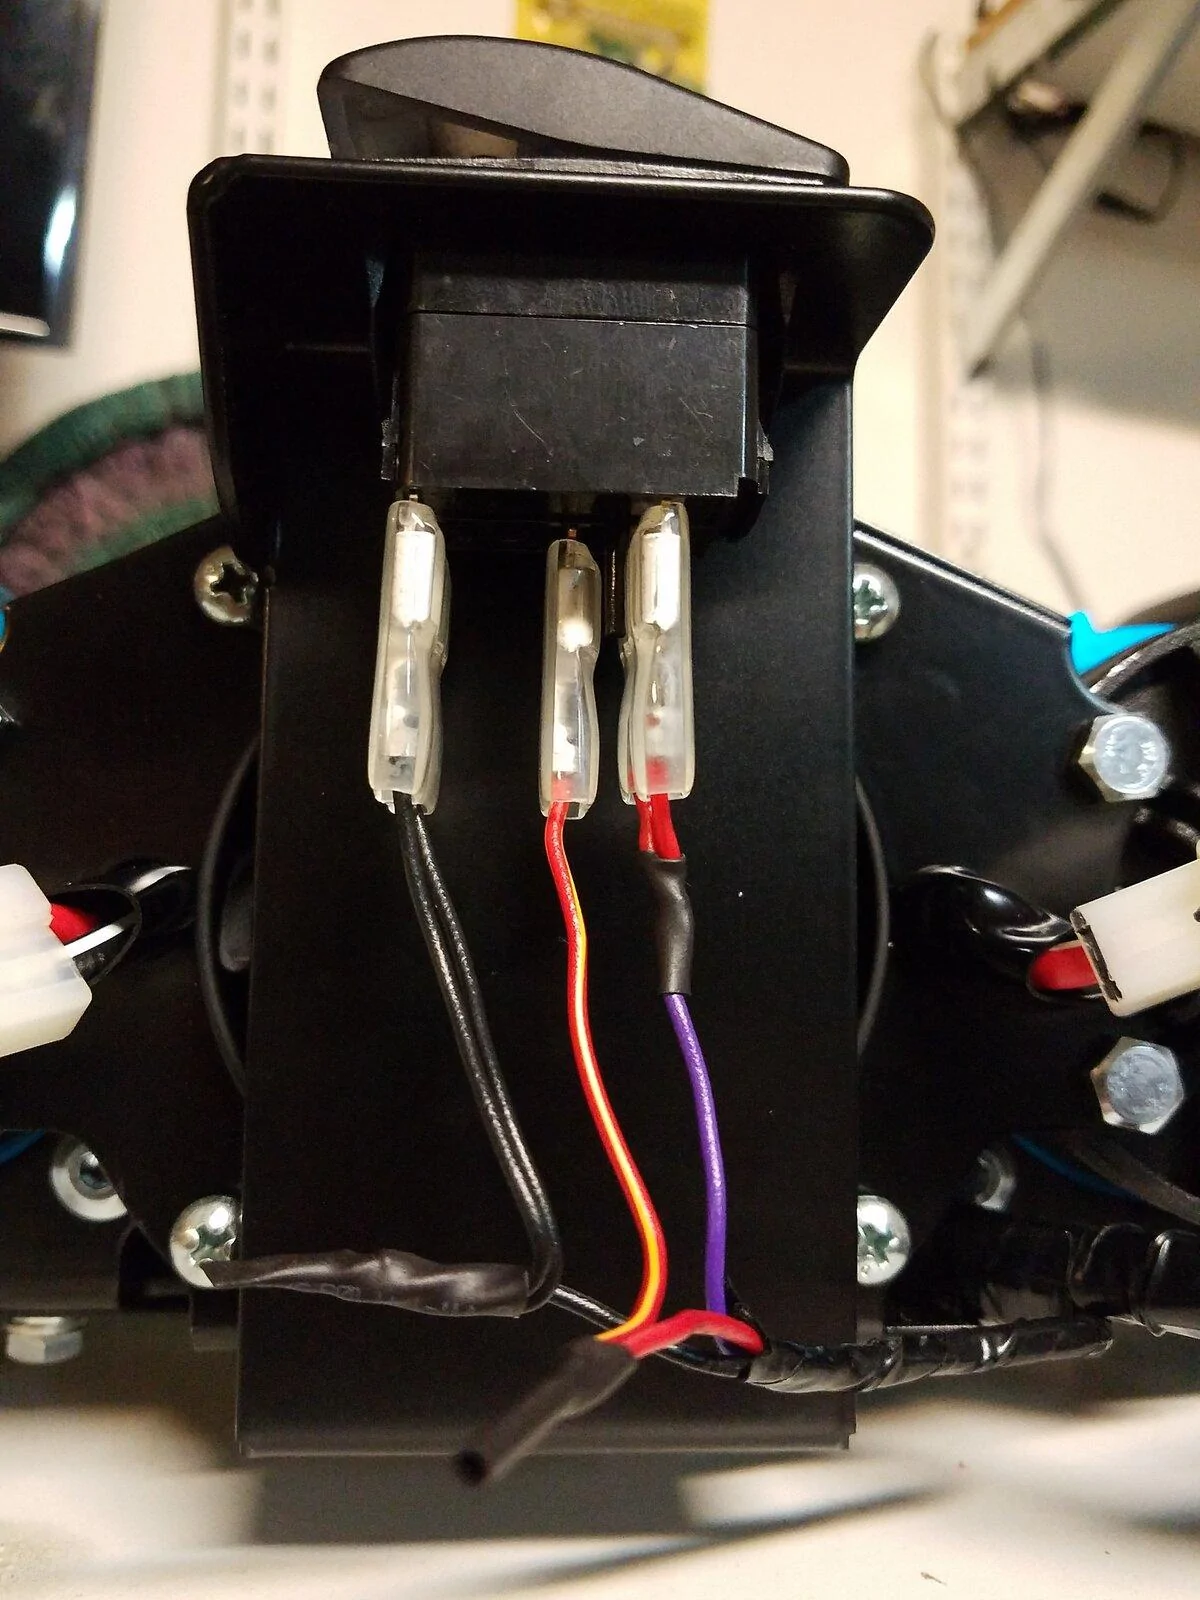
I eliminated all of the secondary switching harness, because all I need is OBA. There is a small hot wire on the three pin connector for the switch (red, purple, black) on the dual compressor that is not used. I just cut the connector to the harness off and wired the switch to the hot lead for the compressor relays and the LED....easy peasy and eliminated like three miles of wire.
Updated 3-19-21:
Finally got around to installing this thing. I decided to go with the original plan and put it in the intended spot under the driver rear seat. Ran 6ga wire from the solenoid over to the driver side in the engine bay.
There is a passthrough plug in the firewall that was a perfect spot to run the cable.
Dropped in right at the driver side kick panel. I bought the Anderson connector thinking I would use both + and - but noticed this open ground lug at the bottom of the door frame and just used that for the grounds.

This trim panel was a little stubborn to get off in the front since it's hard to see under there, but it does come off.
So there it sits. Surprisingly not as loud inside the cab as I had expected. My dog won't like it, but she can just get out and take a walk as I air up lol.
All that is left to do is add the chuck. I am not going to bother running air lines all over the truck at this point, just maybe a 4-way hose I will store behind the seat.
Update: 5-18-21
Added UpDown Air Universal kit. Nice simple unit that comes with hose T's and Y's and schrader valves. Did a little tweaking to the bracket to get it to sit at a better angle so I could use the bracket for the tire inflation hoses on the driver side. I just drilled a couple of holes for the schrader valves and to mount the bracket to the MORE compressor mount. Worked out nicely. Ran a hose to the other side and made a metal bracket to mount the schrader valves over there also, but need to decide how to mount the bracket.
Update 8-25-21:
I added a terminal block to the bracket to connect all the AUX switch wires to. I am not currently using the 2x 40 amp ones, but it will be much easier to connect to them later on. I will clean up the extra length of cable for the winch next, but it is fine for now.
I used one of the floormat mounts for the shrader valve bracket on the passenger side. I deleted the passenger side seat and have a platform that goes above the bracket, so no worries about anything bumping it. So far this setup has worked out great.
Sponsored
Last edited:
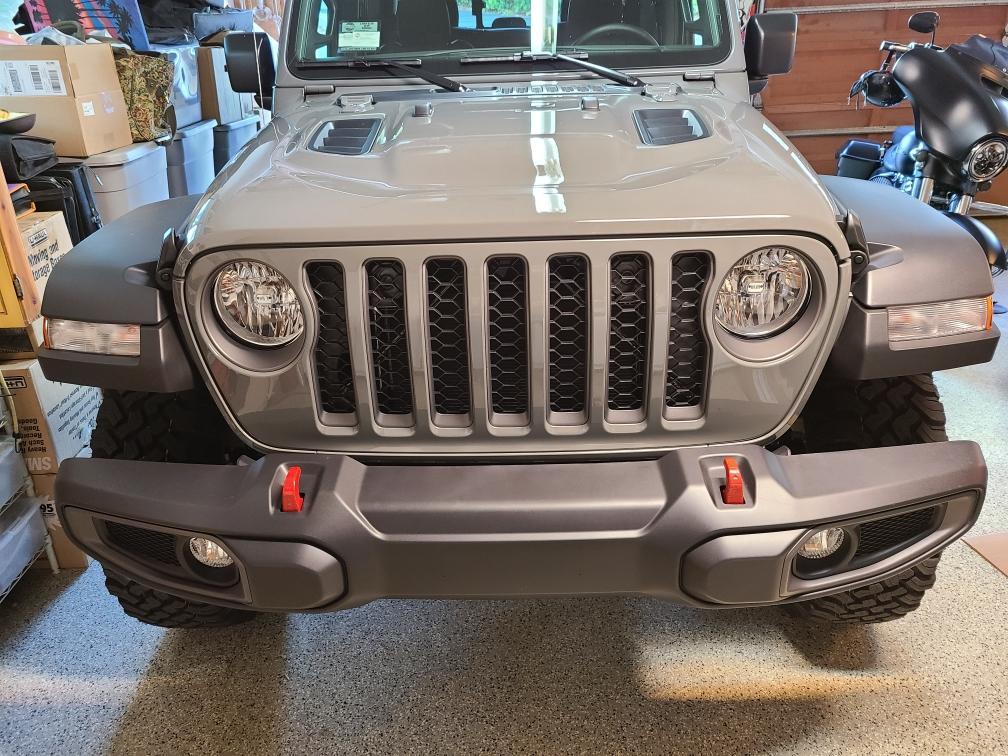
") Need to get past the gear break-in before we get to any serious off road to really test thing out.
Need to get past the gear break-in before we get to any serious off road to really test thing out.