Apocalypz
Well-Known Member
- First Name
- Tim
- Joined
- Jan 6, 2020
- Threads
- 0
- Messages
- 97
- Reaction score
- 80
- Location
- North Carolina
- Vehicle(s)
- 2007 JK Unlimited, 2021 JTR Diesel (Ordered 7/11/20)
- Occupation
- Operations
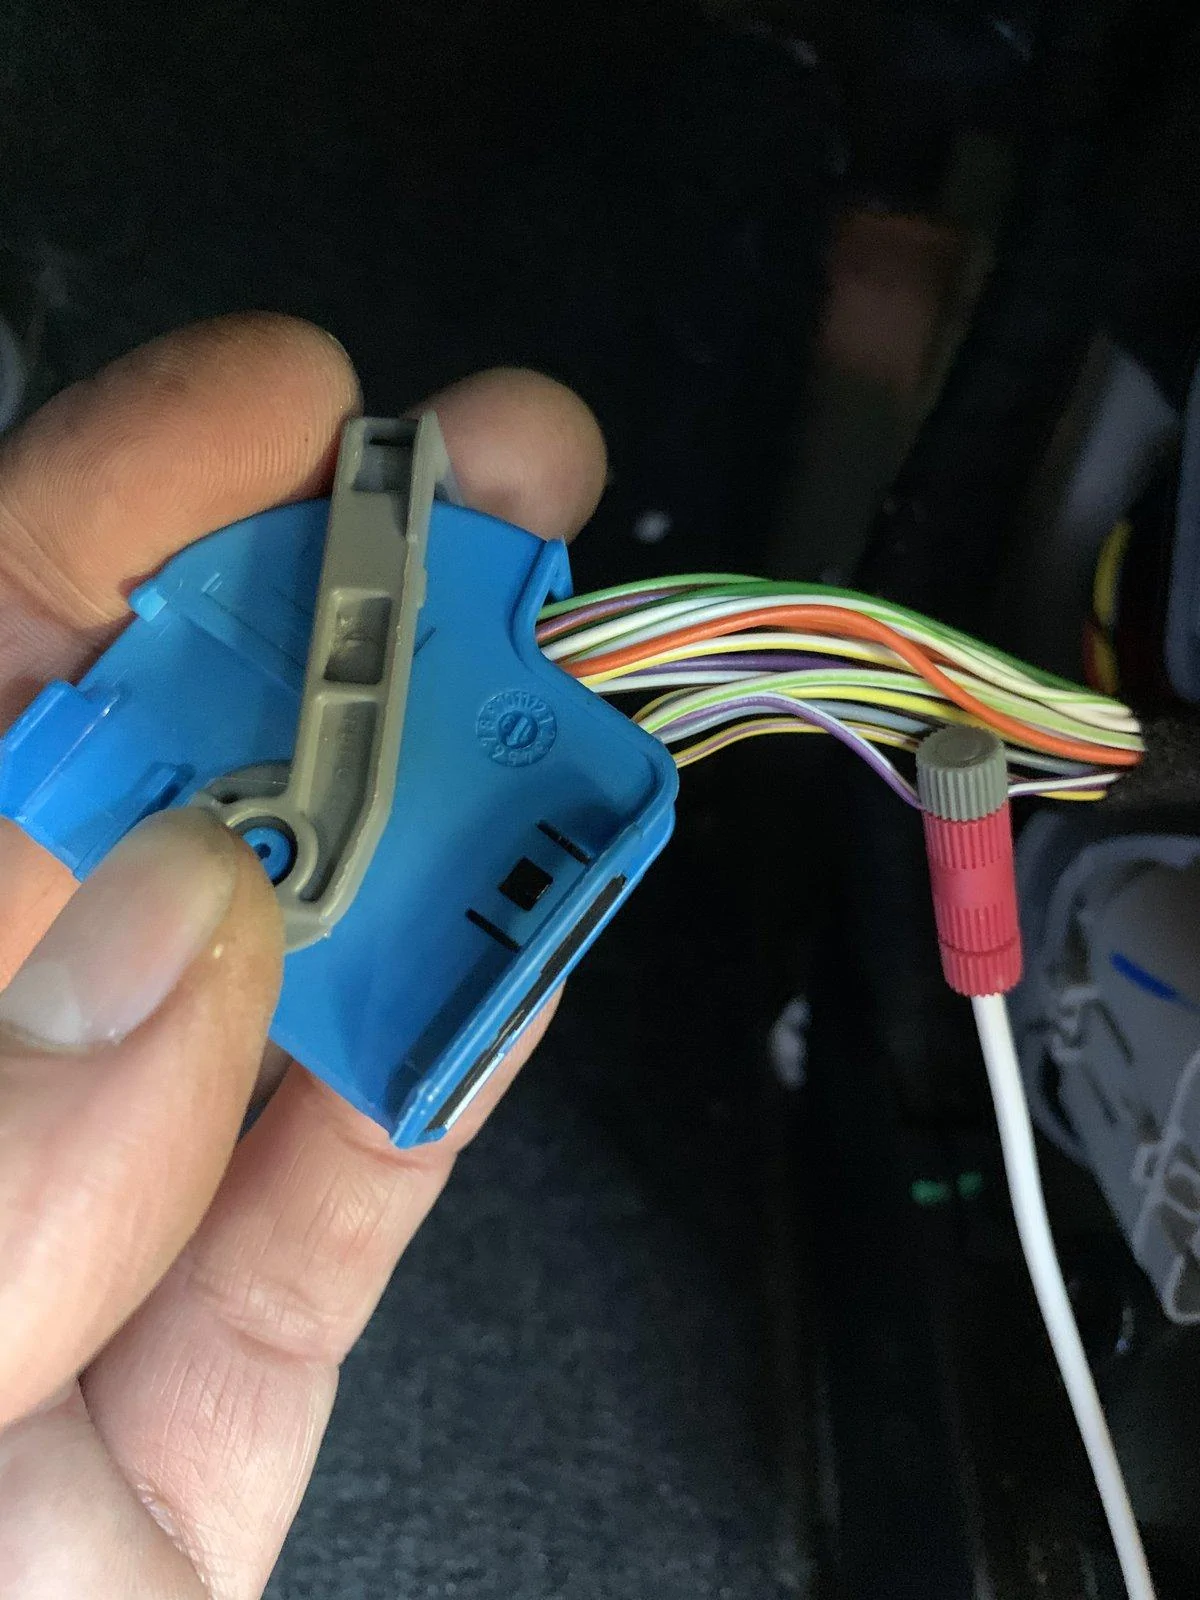
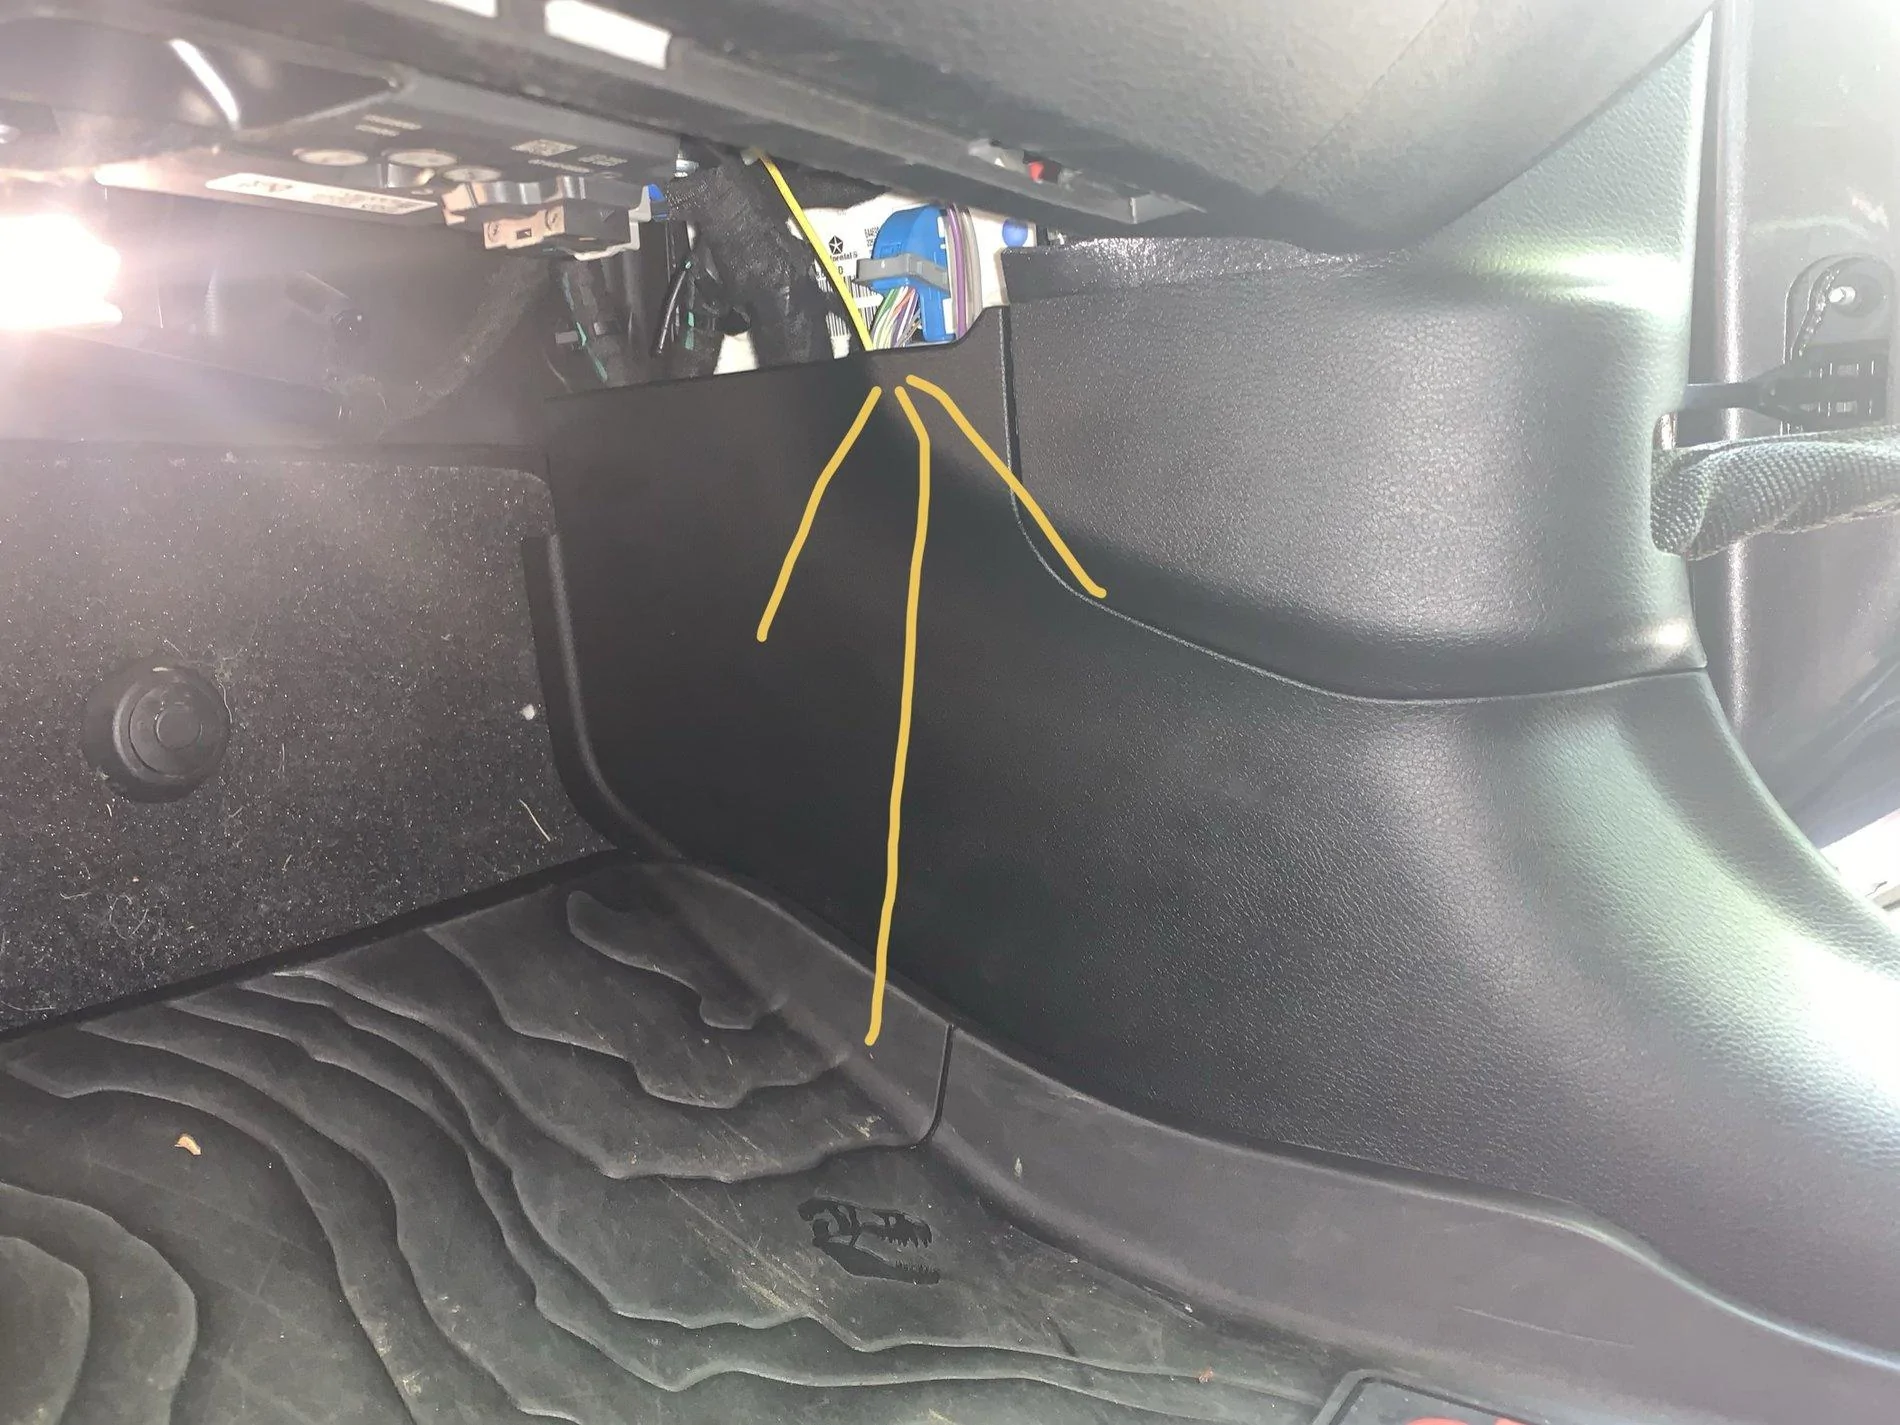
I have it mounted in the glove box. Can send pic later. 3 settings. 1 - Normal operation with doors on. 2 - Complete disengaged, so they don’t go down at all 3 - Door off operation.To the guys with these installed, do you have the bypass switch and can you show a picture of where it's mounted? Thanks
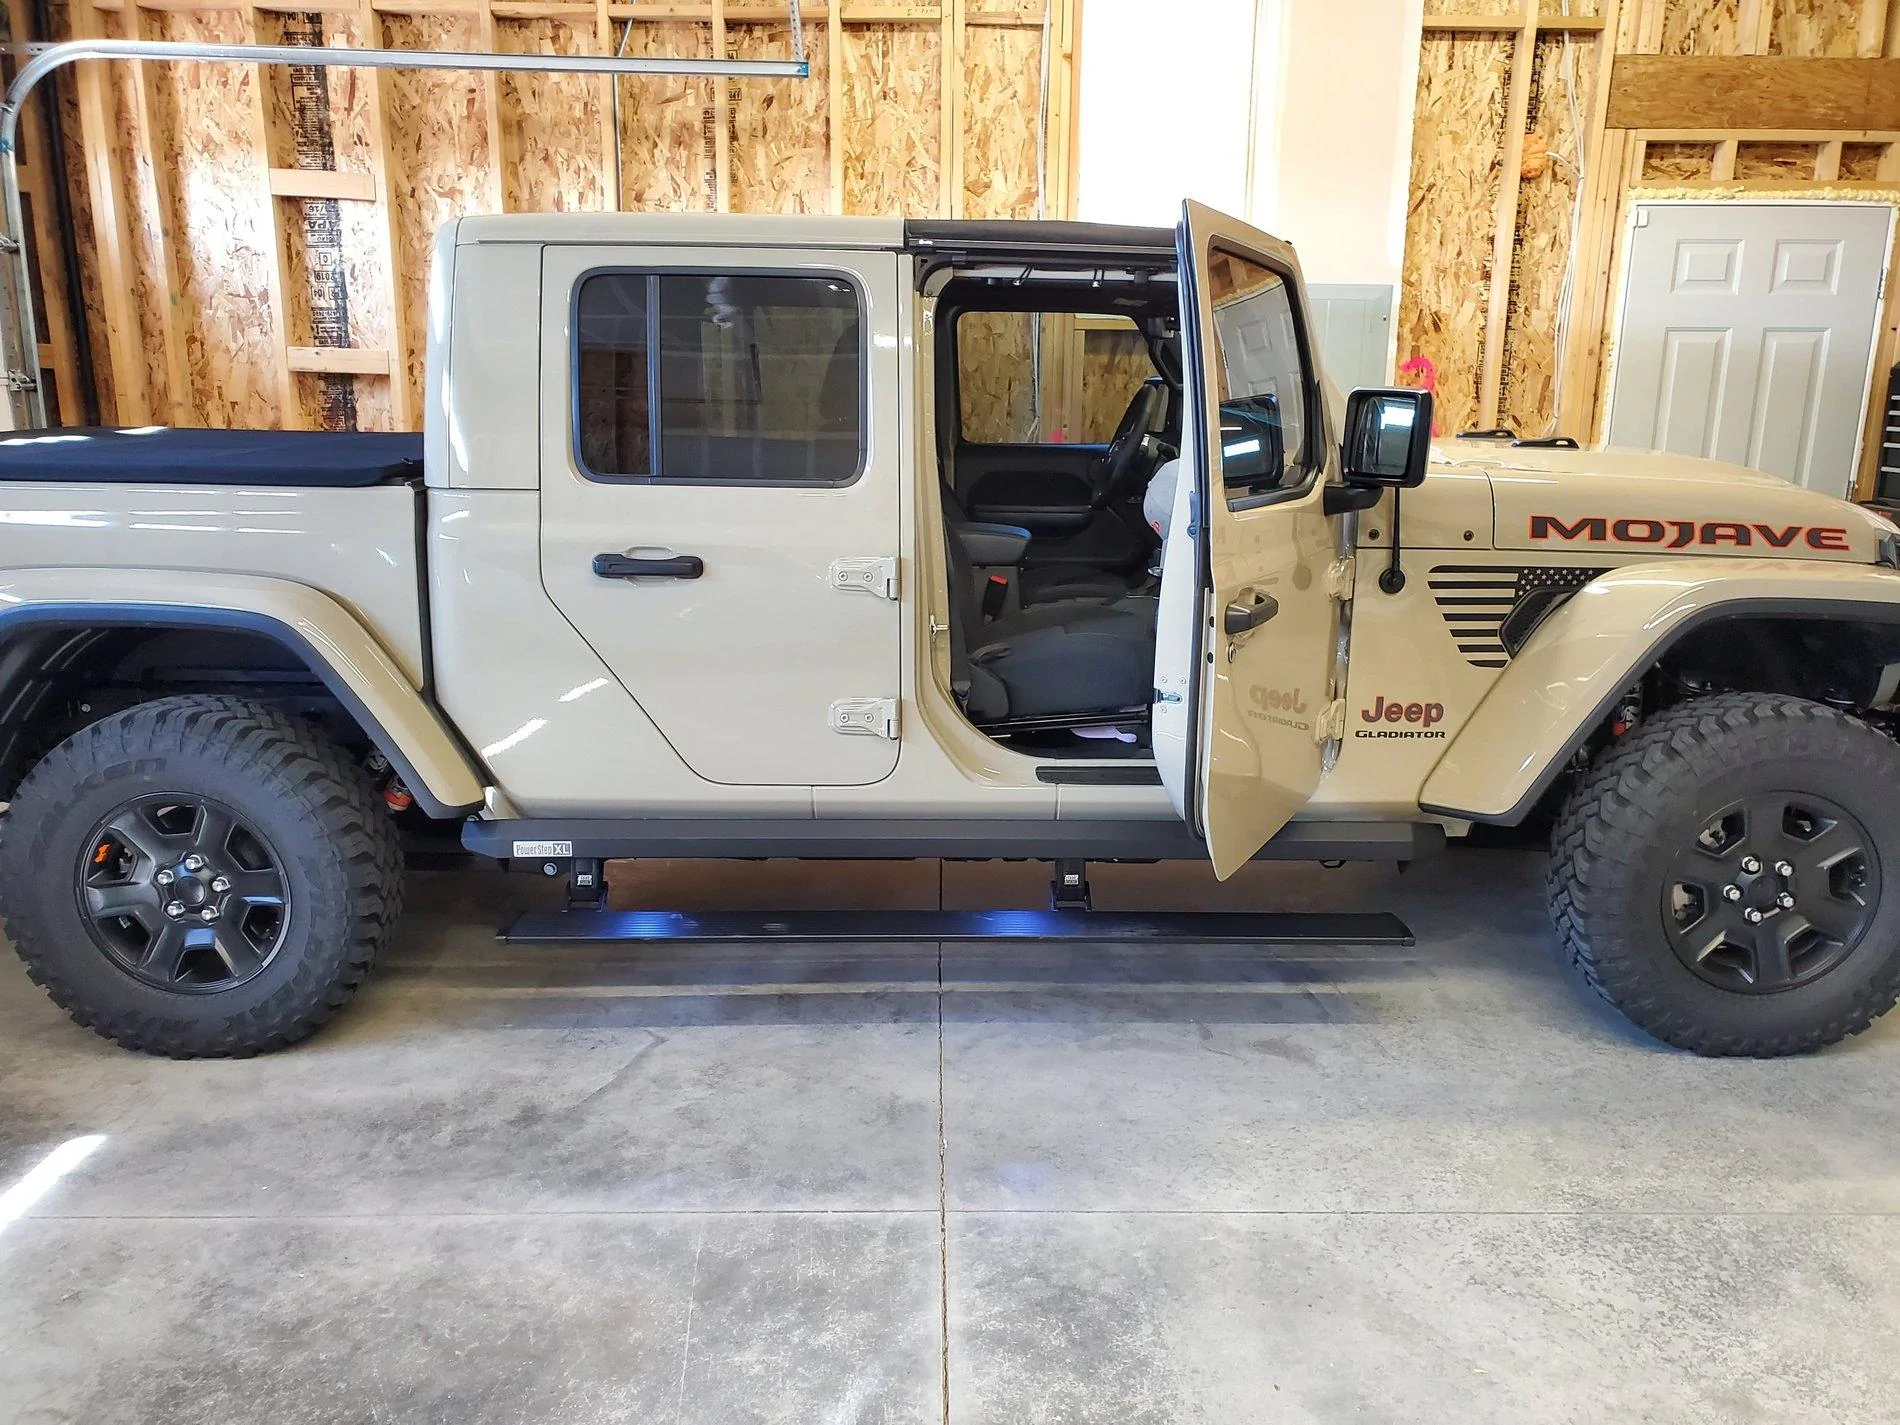
When the doors are off, I have it also wired to the a toggle switch, so you can manually put them down to get in.
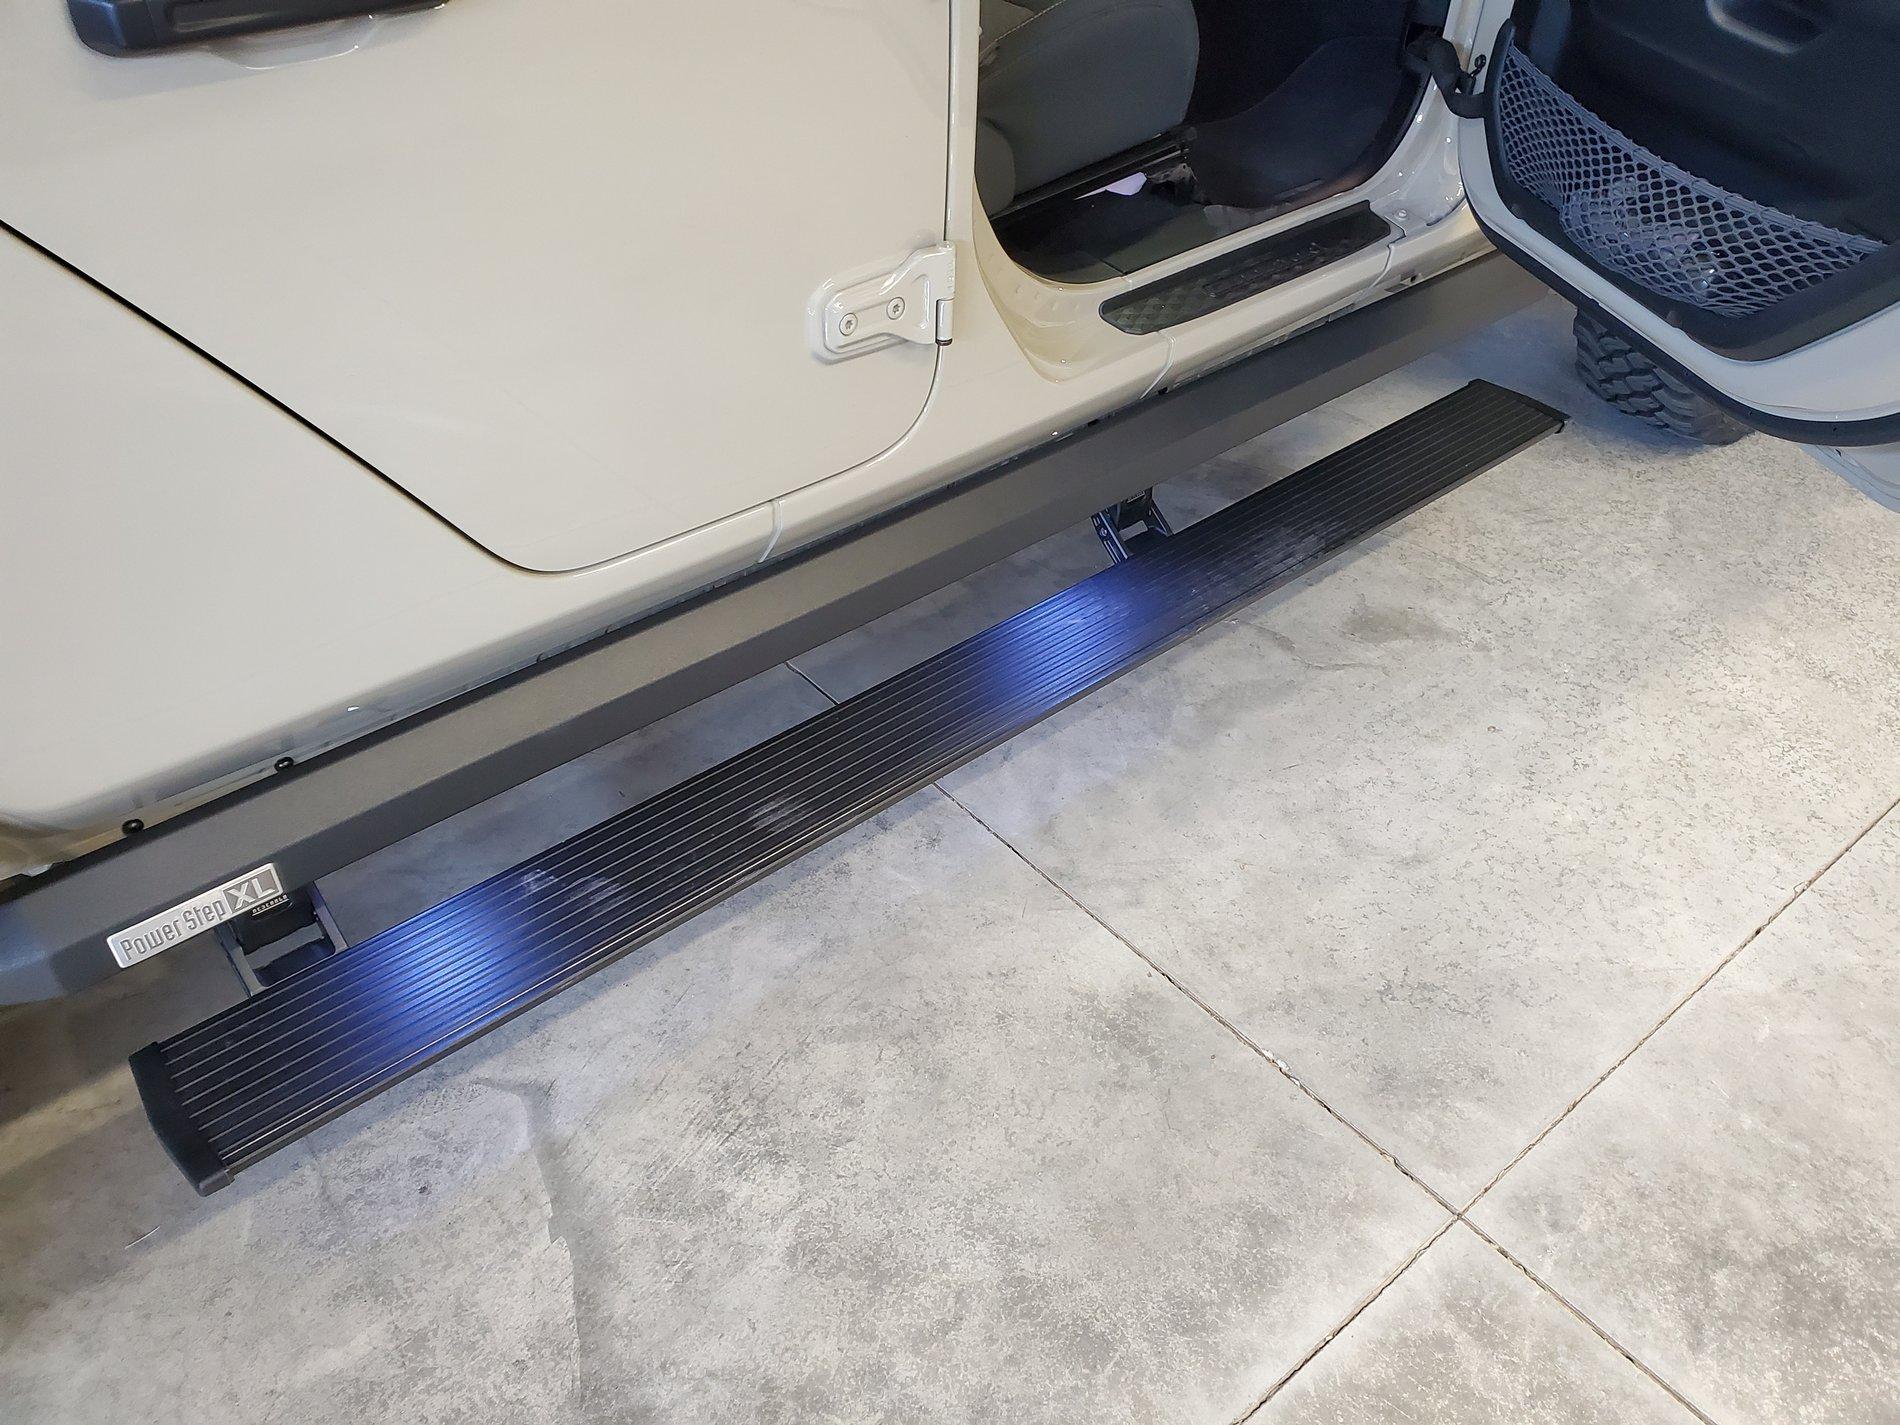
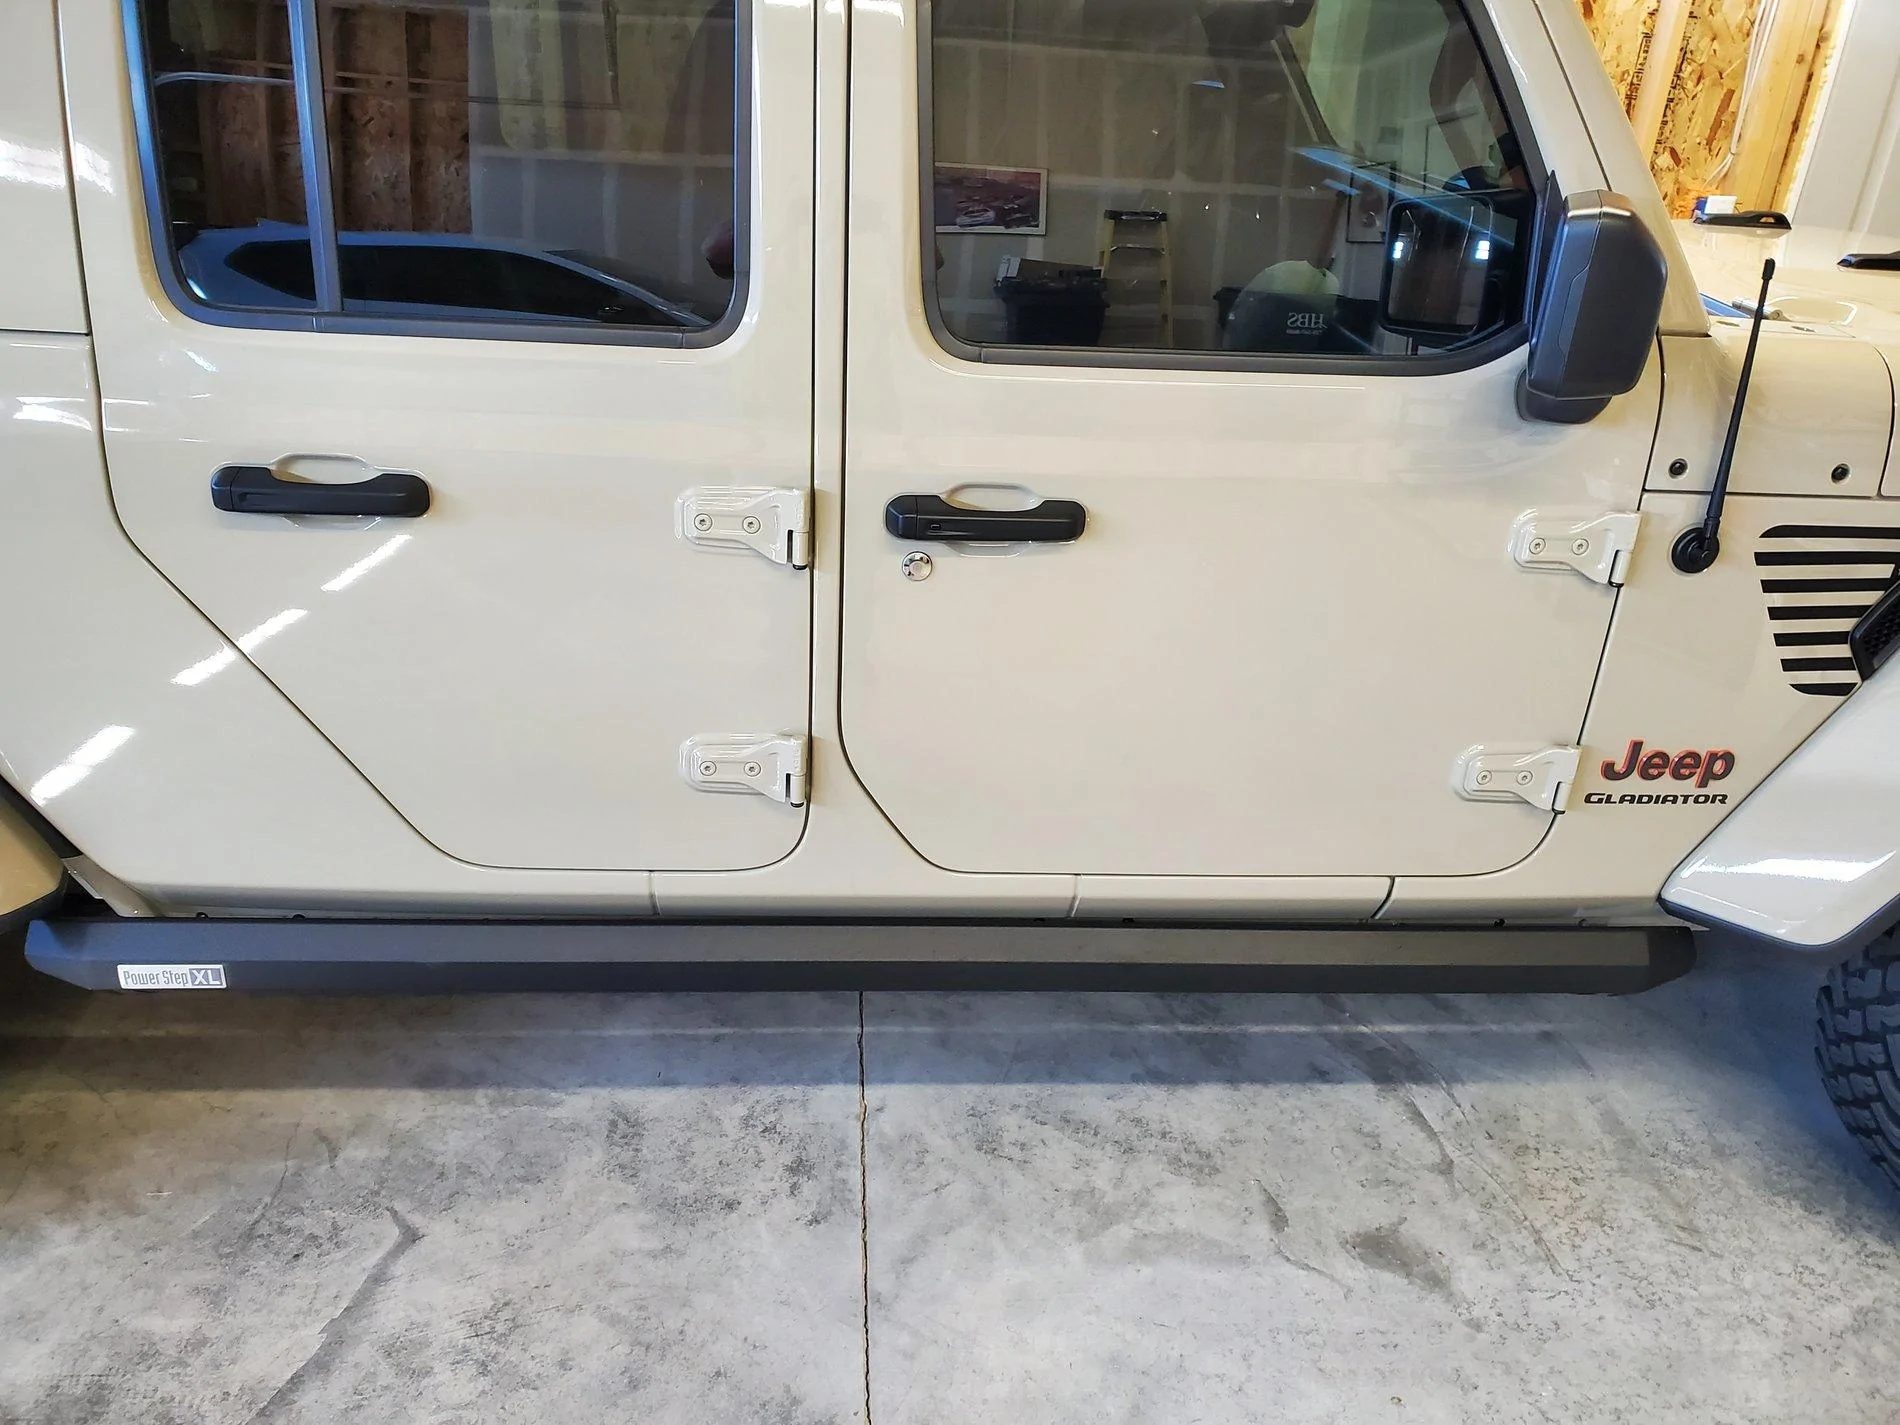
Mine are on a 2007 JKU. I have a 2021 JTR diesel on order, so will be looking to get a set for it, although, AMP Research does not have a set built and ready for the 2021 JTR diesel yet.
Sponsored
 Apparently, the motors will self-sync on initial power. Seems like a nice thing to mention in installation instructions. I was lucky in that I asked the question before powering on.