Bobzdar
Well-Known Member
Wow, kudos for getting it on there. However, that's way more work than modifying the feet for the trail rail setup. With an angle grinder it took about 30 seconds per foot (they're aluminum and cut really easily) and no modifications needed to the truck. That plus you can still adjust the bar spacing if you want.I looked over this thread before I bought a rack. I tow a 20' travel trailer and I wanted the rack to be above my cab so my 8' and 10' Kayaks I carry didn't extend past my tailgate towards the trailer behind. I decided to go with the Xsporter Pro. I ordered the XK48 Xsporter Pro Adapters to mount to the cargo rail system inside the Gladiator bed. I saw the bit about modifying the feet, but after playing with it for a few hours I decided to return the adpators and use the C-Clamps that came with base rack package.
The alterations I had to make were:
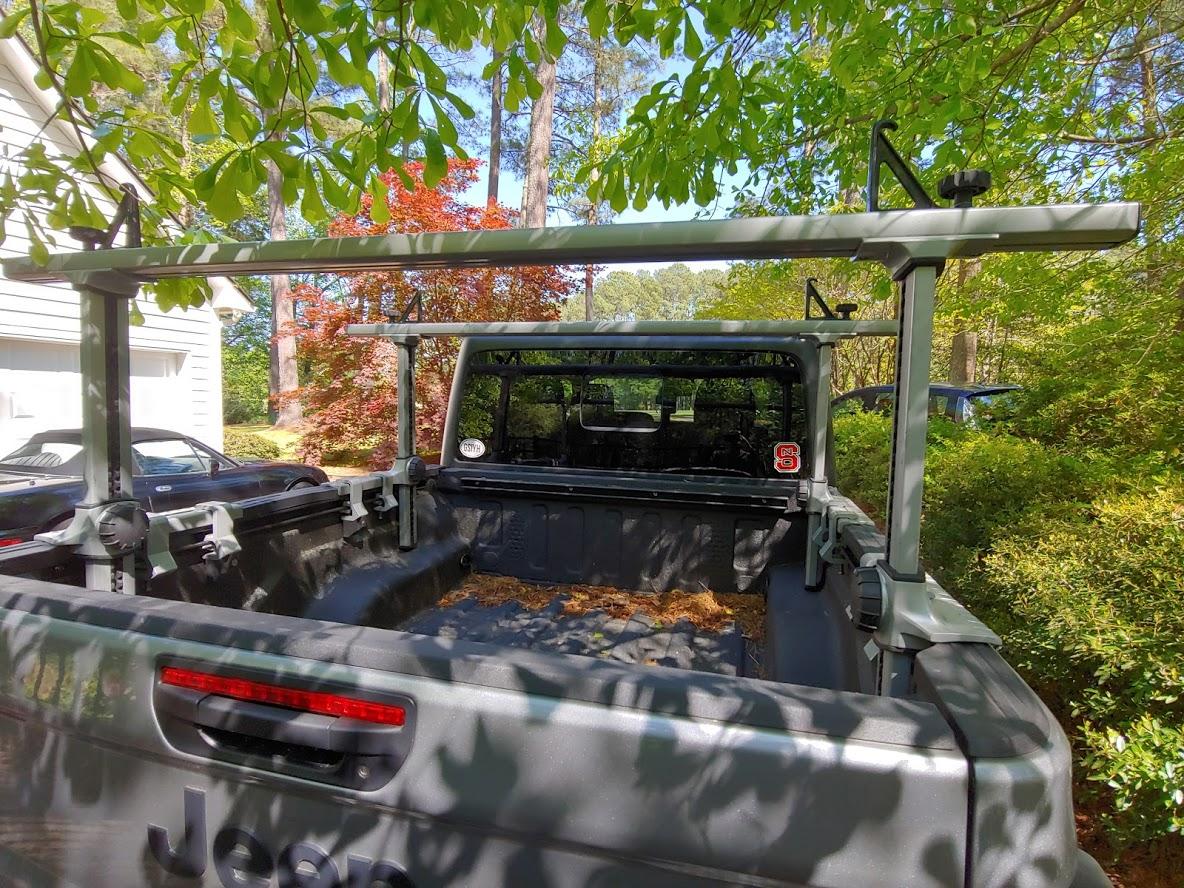
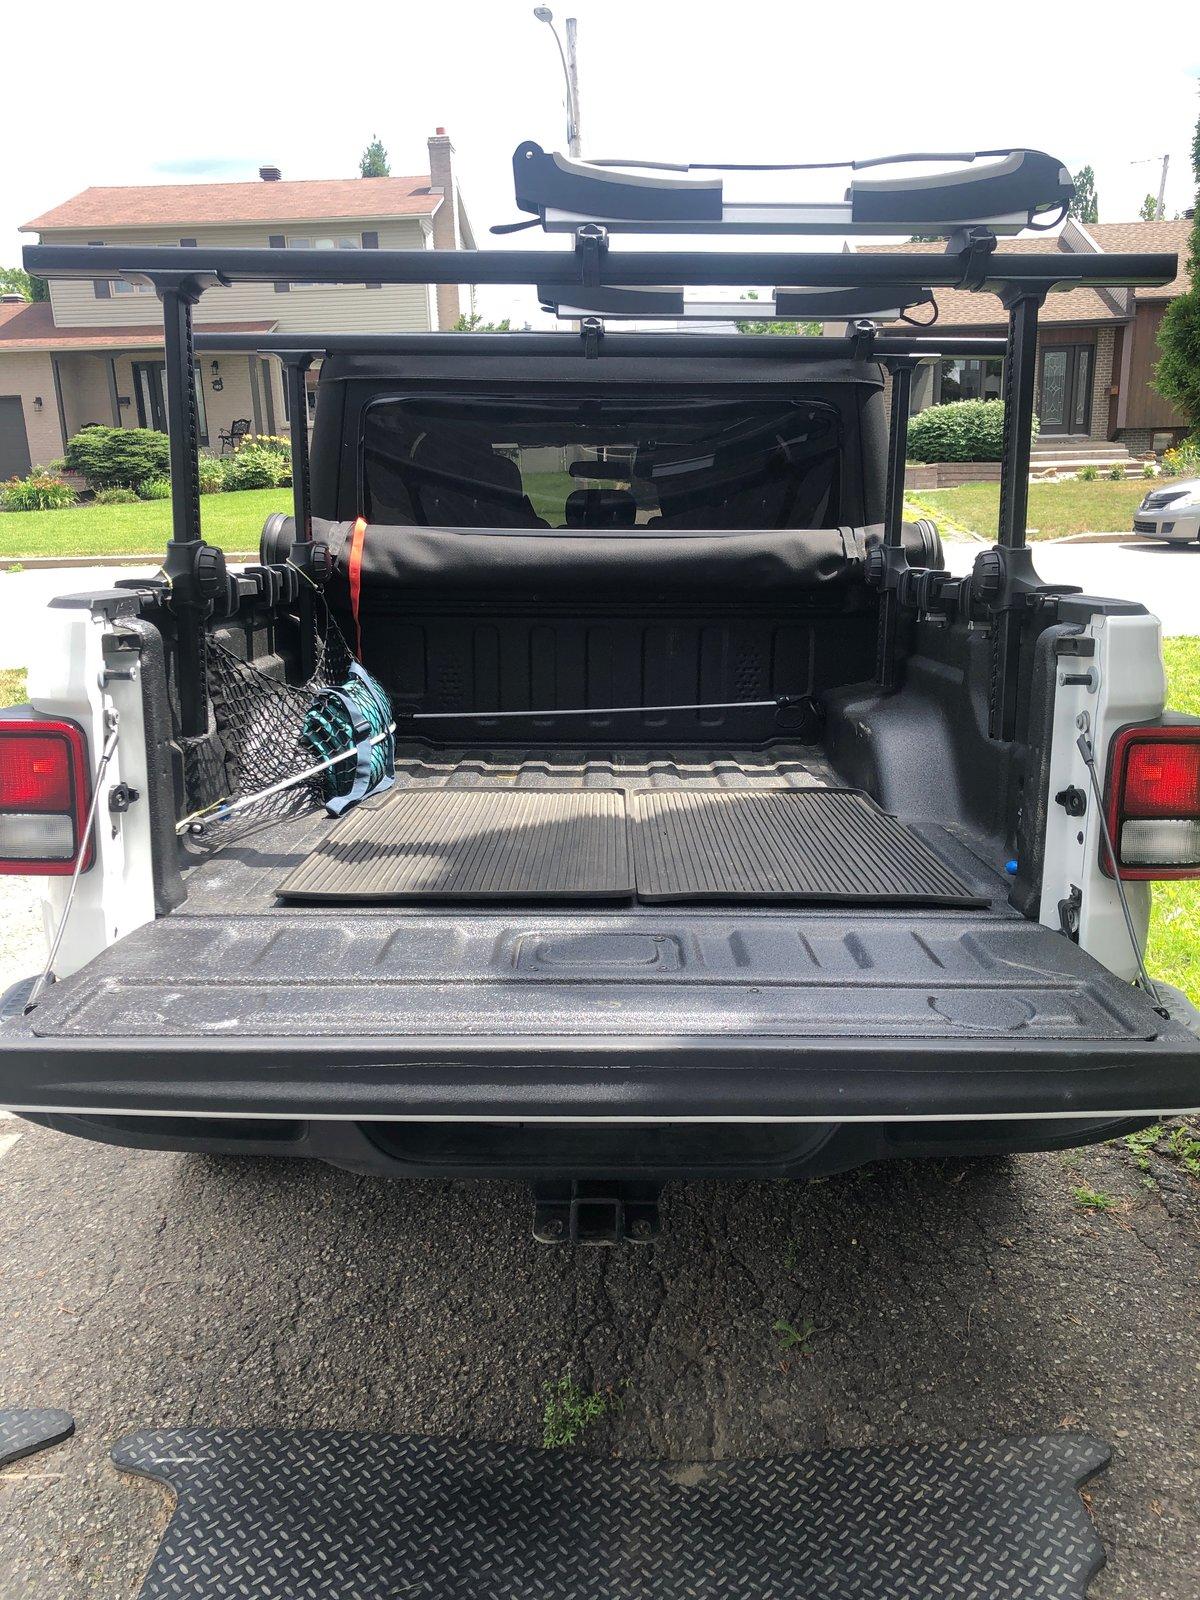
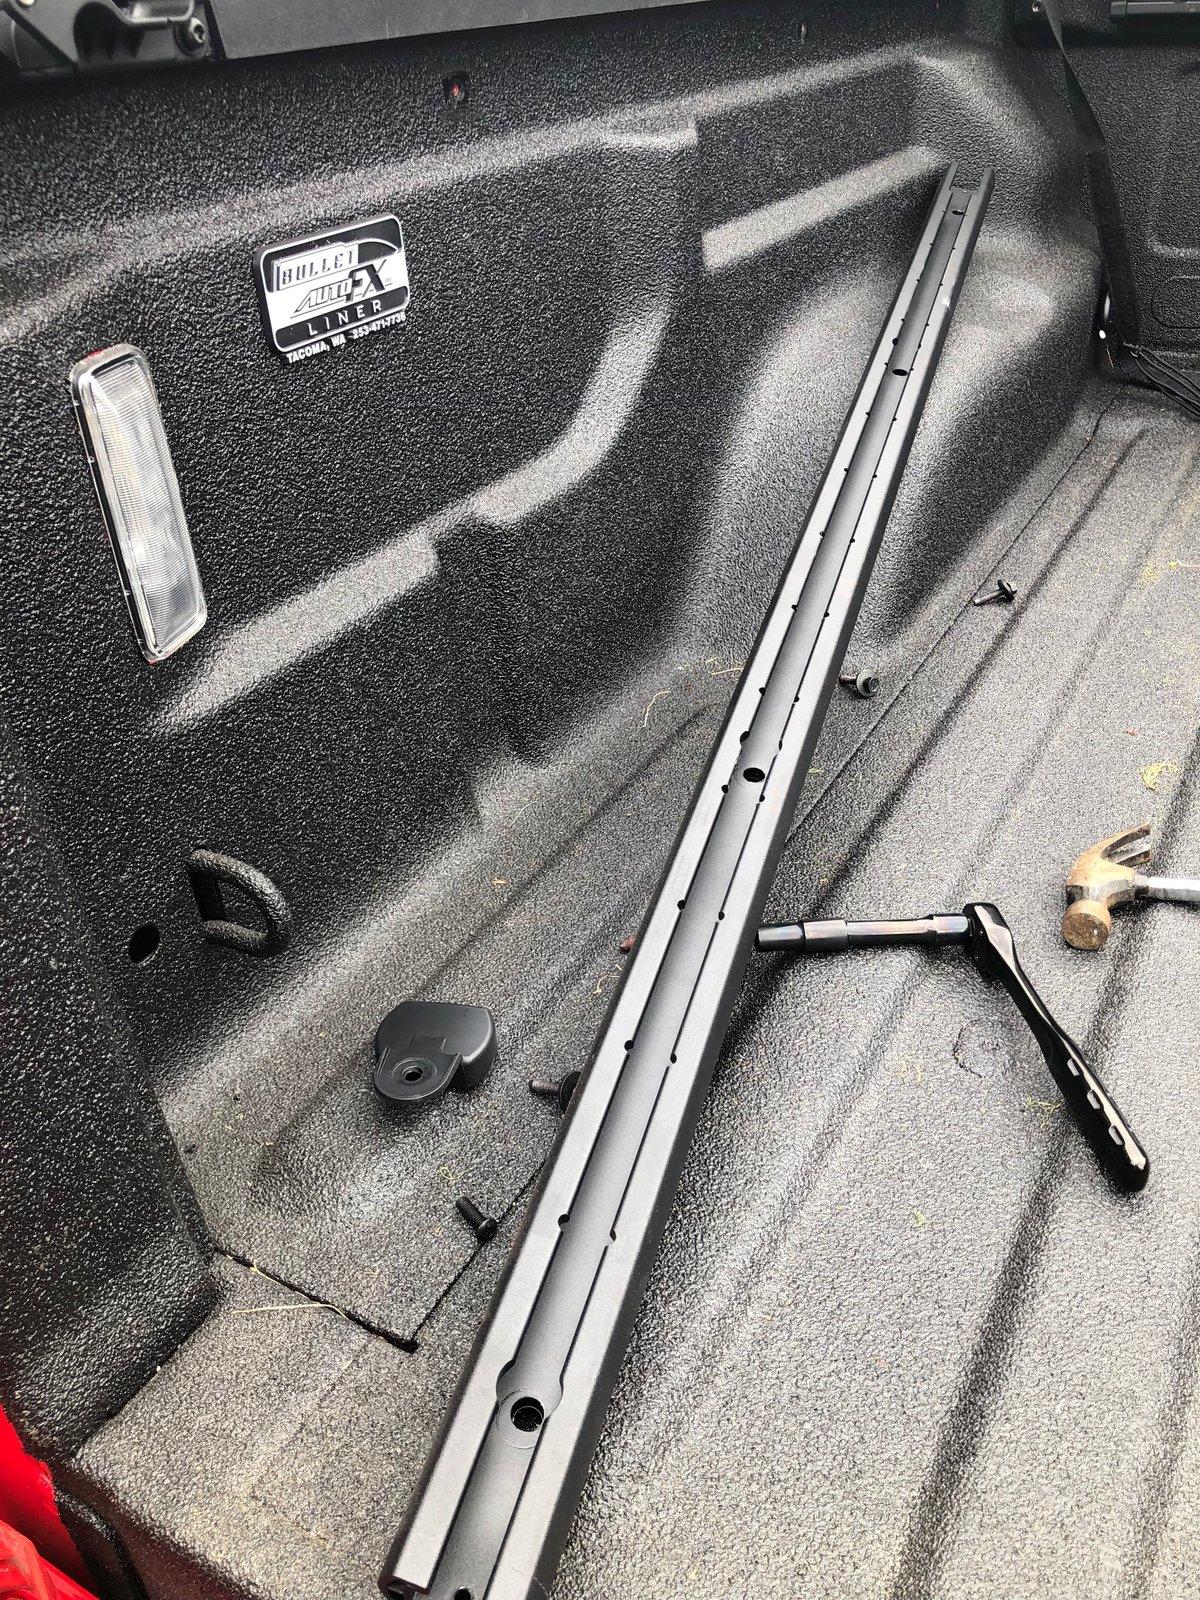
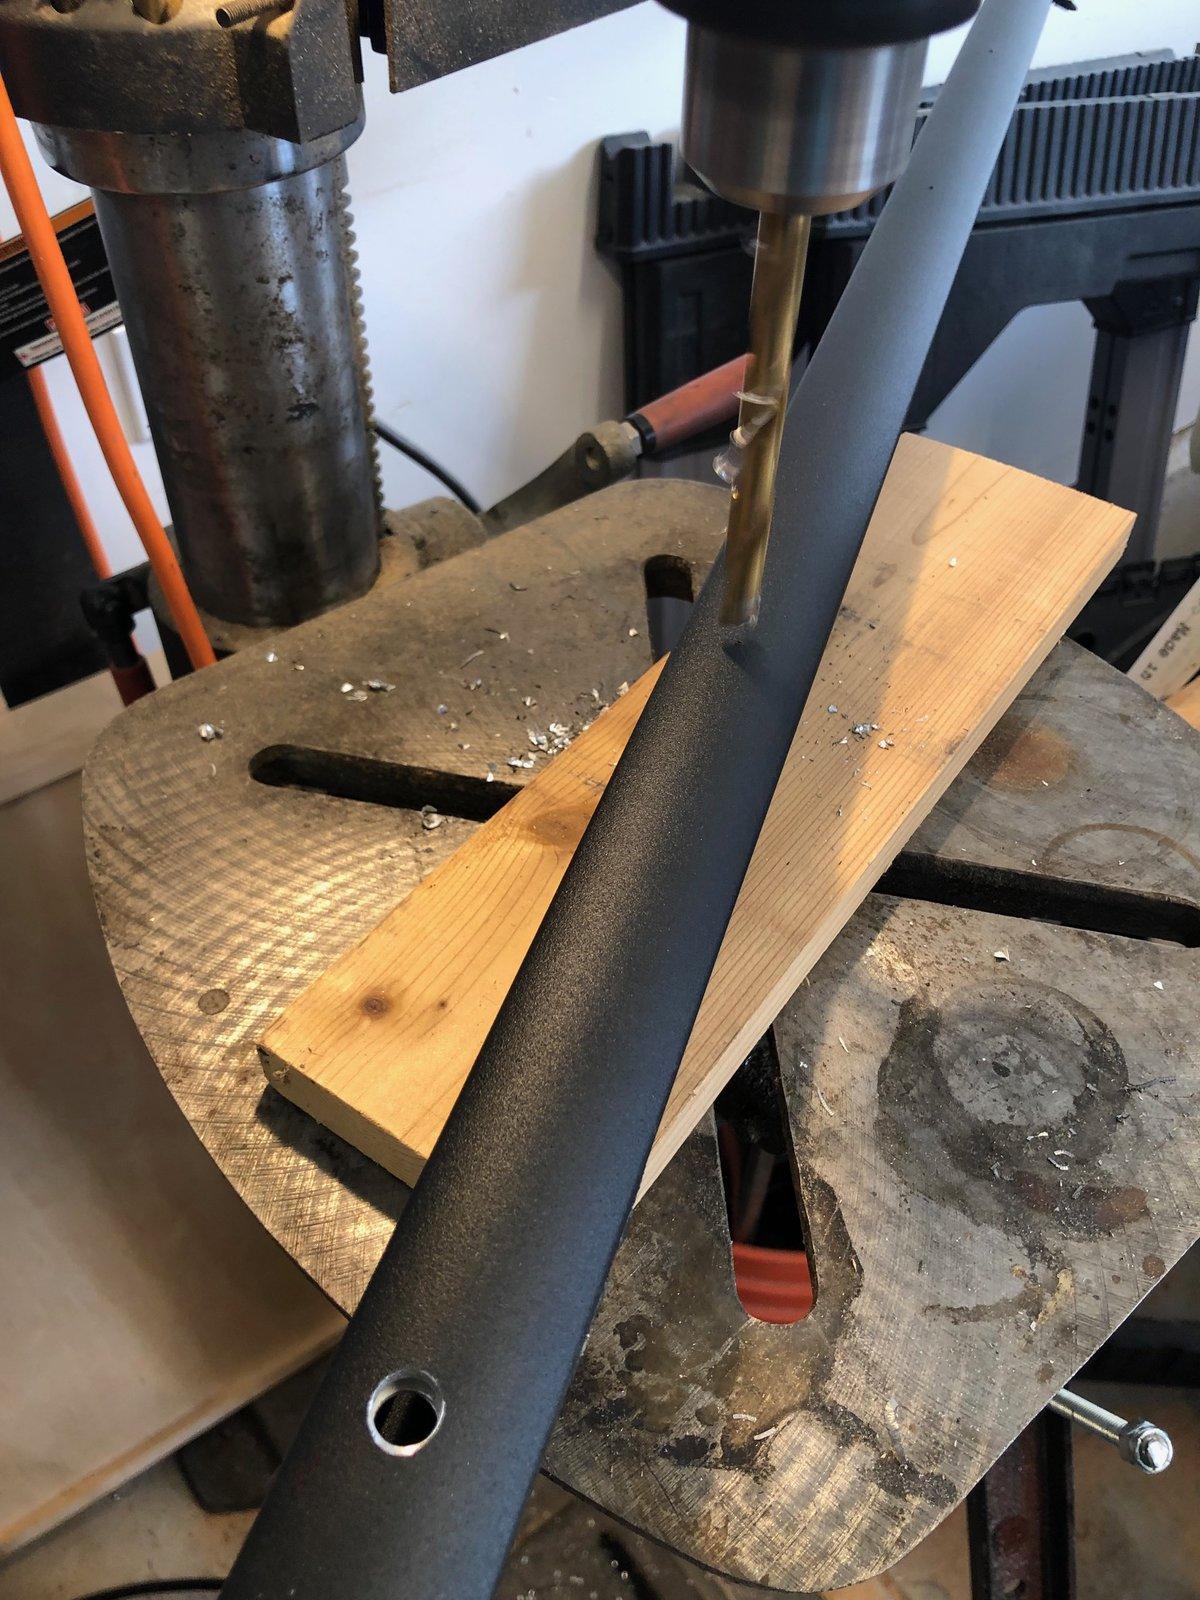
1. Take off the two cargo rails from each side of the truck bed.
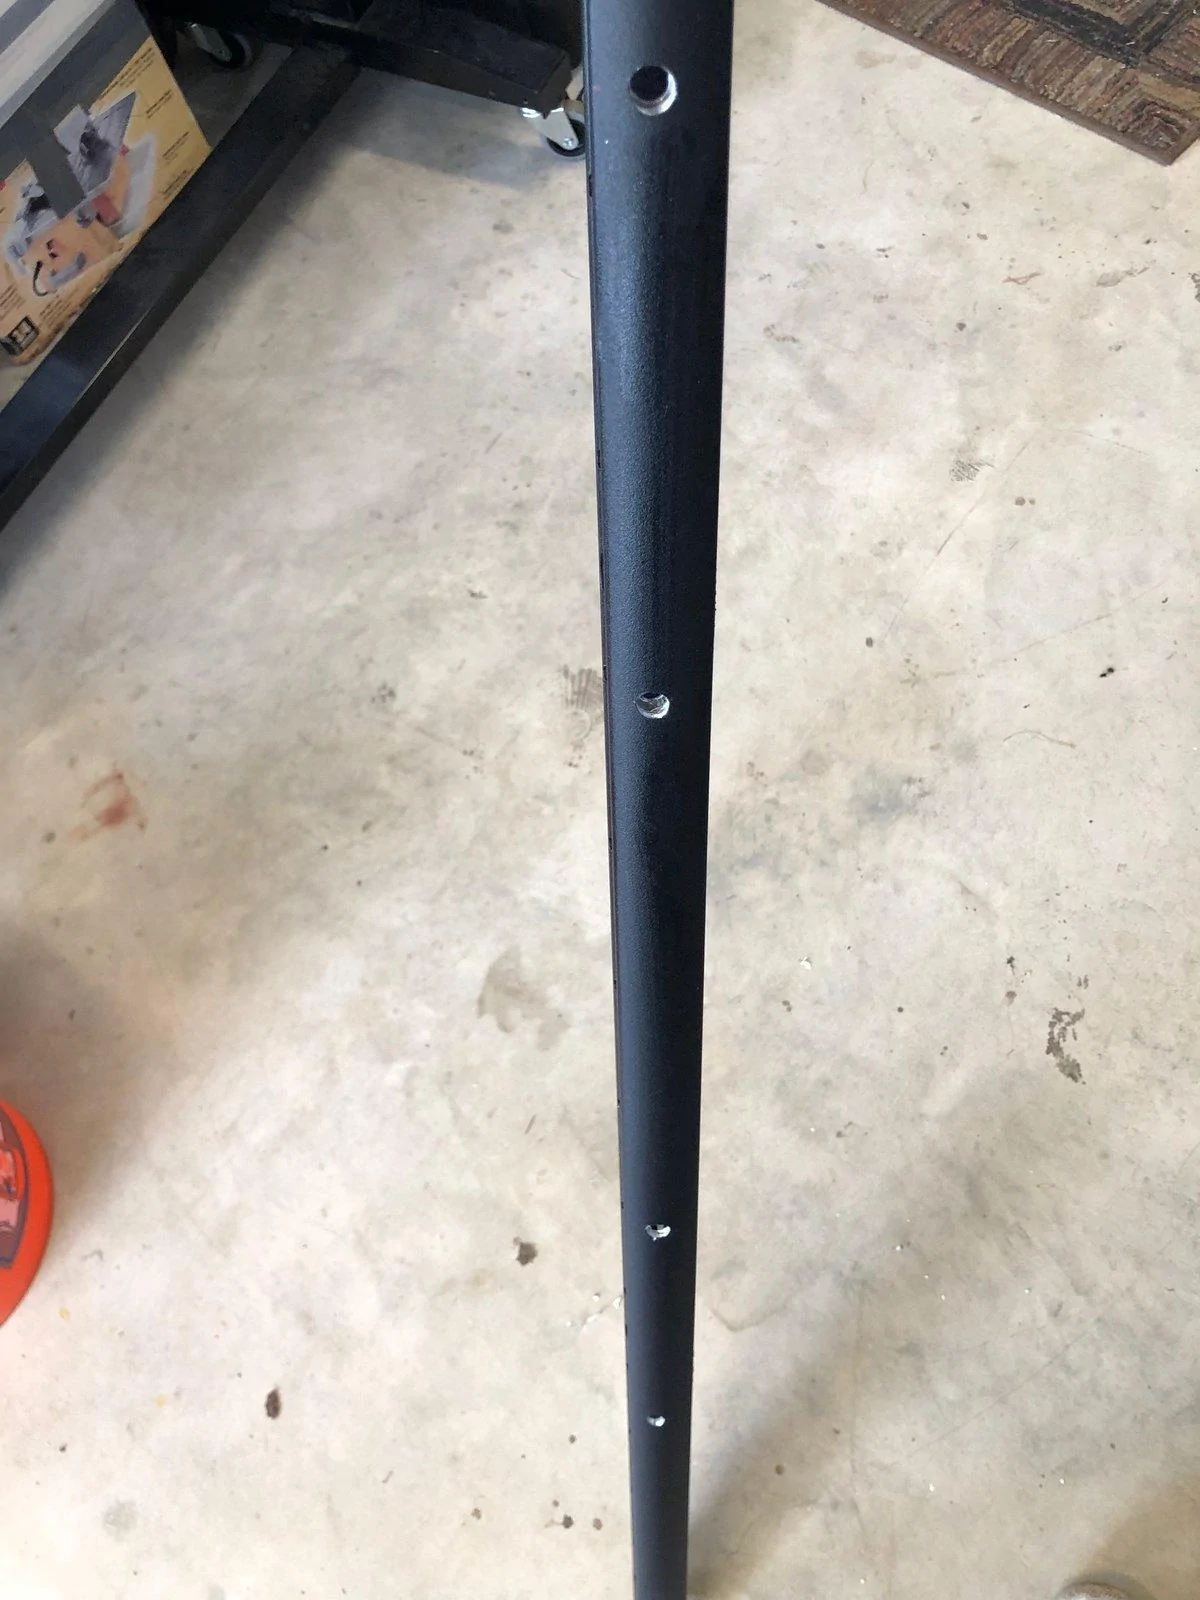
2. Drill a 3/8" hole through the bottom chord of both cargo rails at 10-3/8" from the front end.
3. Drill a 3/8" hole through the bottom chord of both cargo rails at 17-1/2" from the front end.
4. Drill a 3/8" hole through the bottom chord of both cargo rails at 29-5/16" from the front end.
5. Drill a 3/8" hole through the bottom chord of both cargo rails at 36-9/16" from the front end.
6. Reinstall both cargo rails to the truck bed.
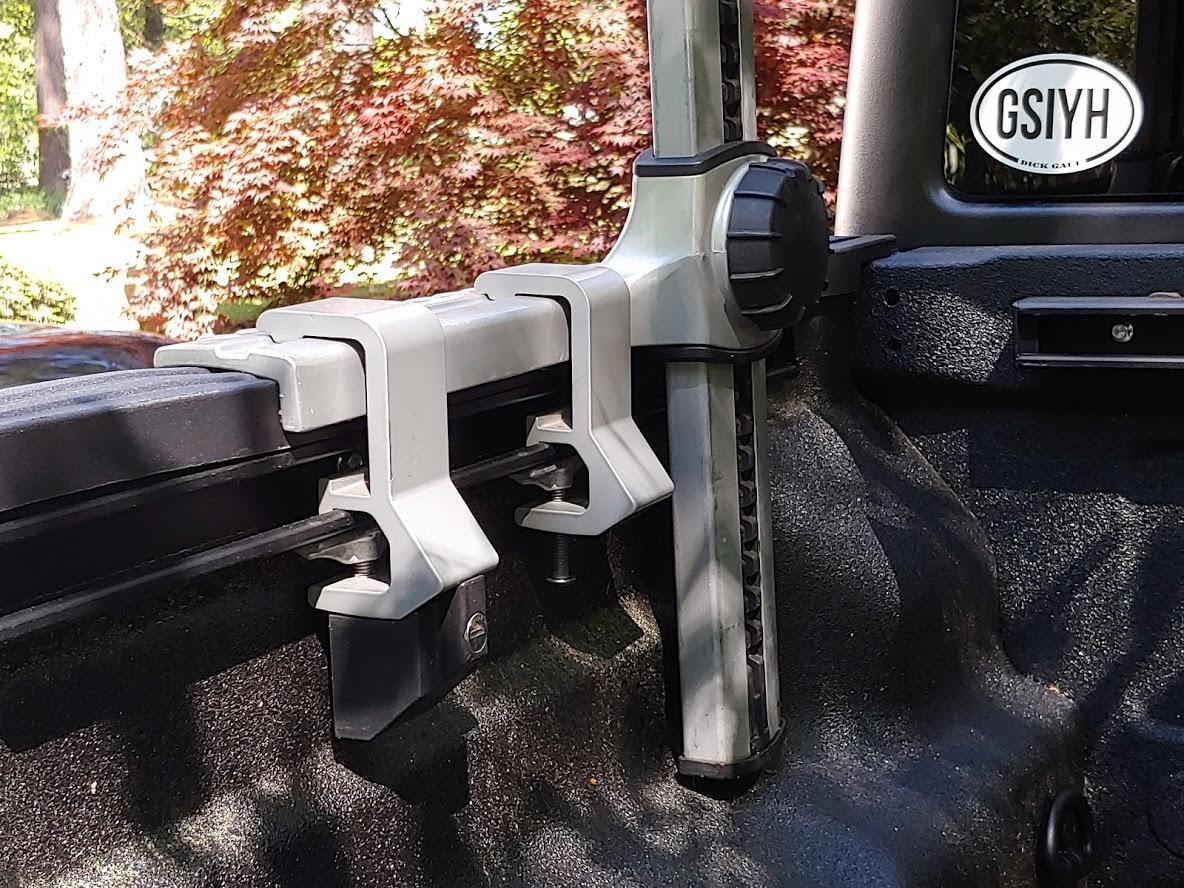
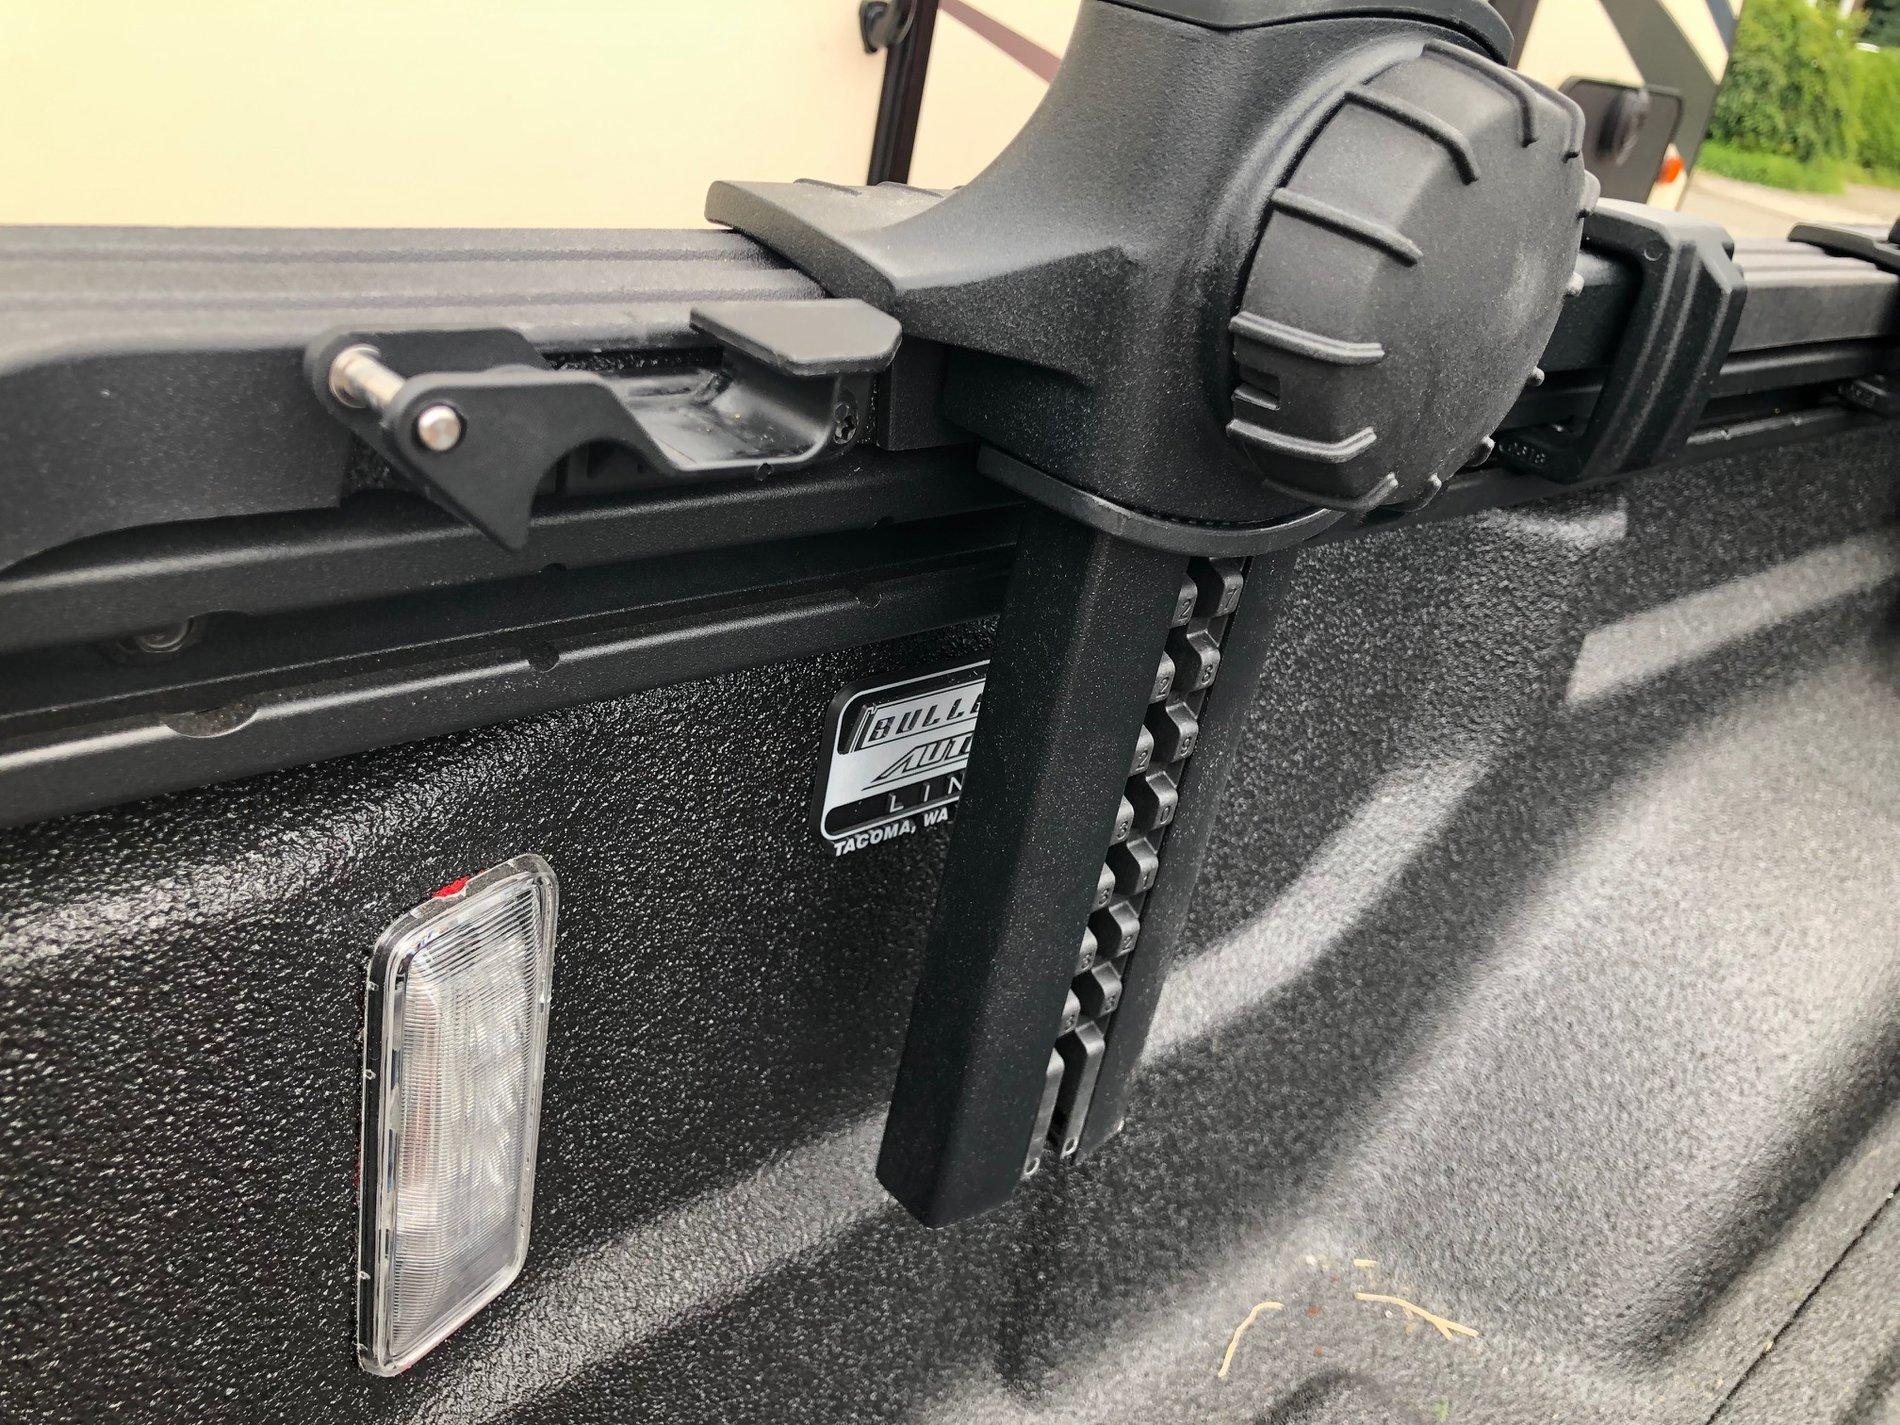
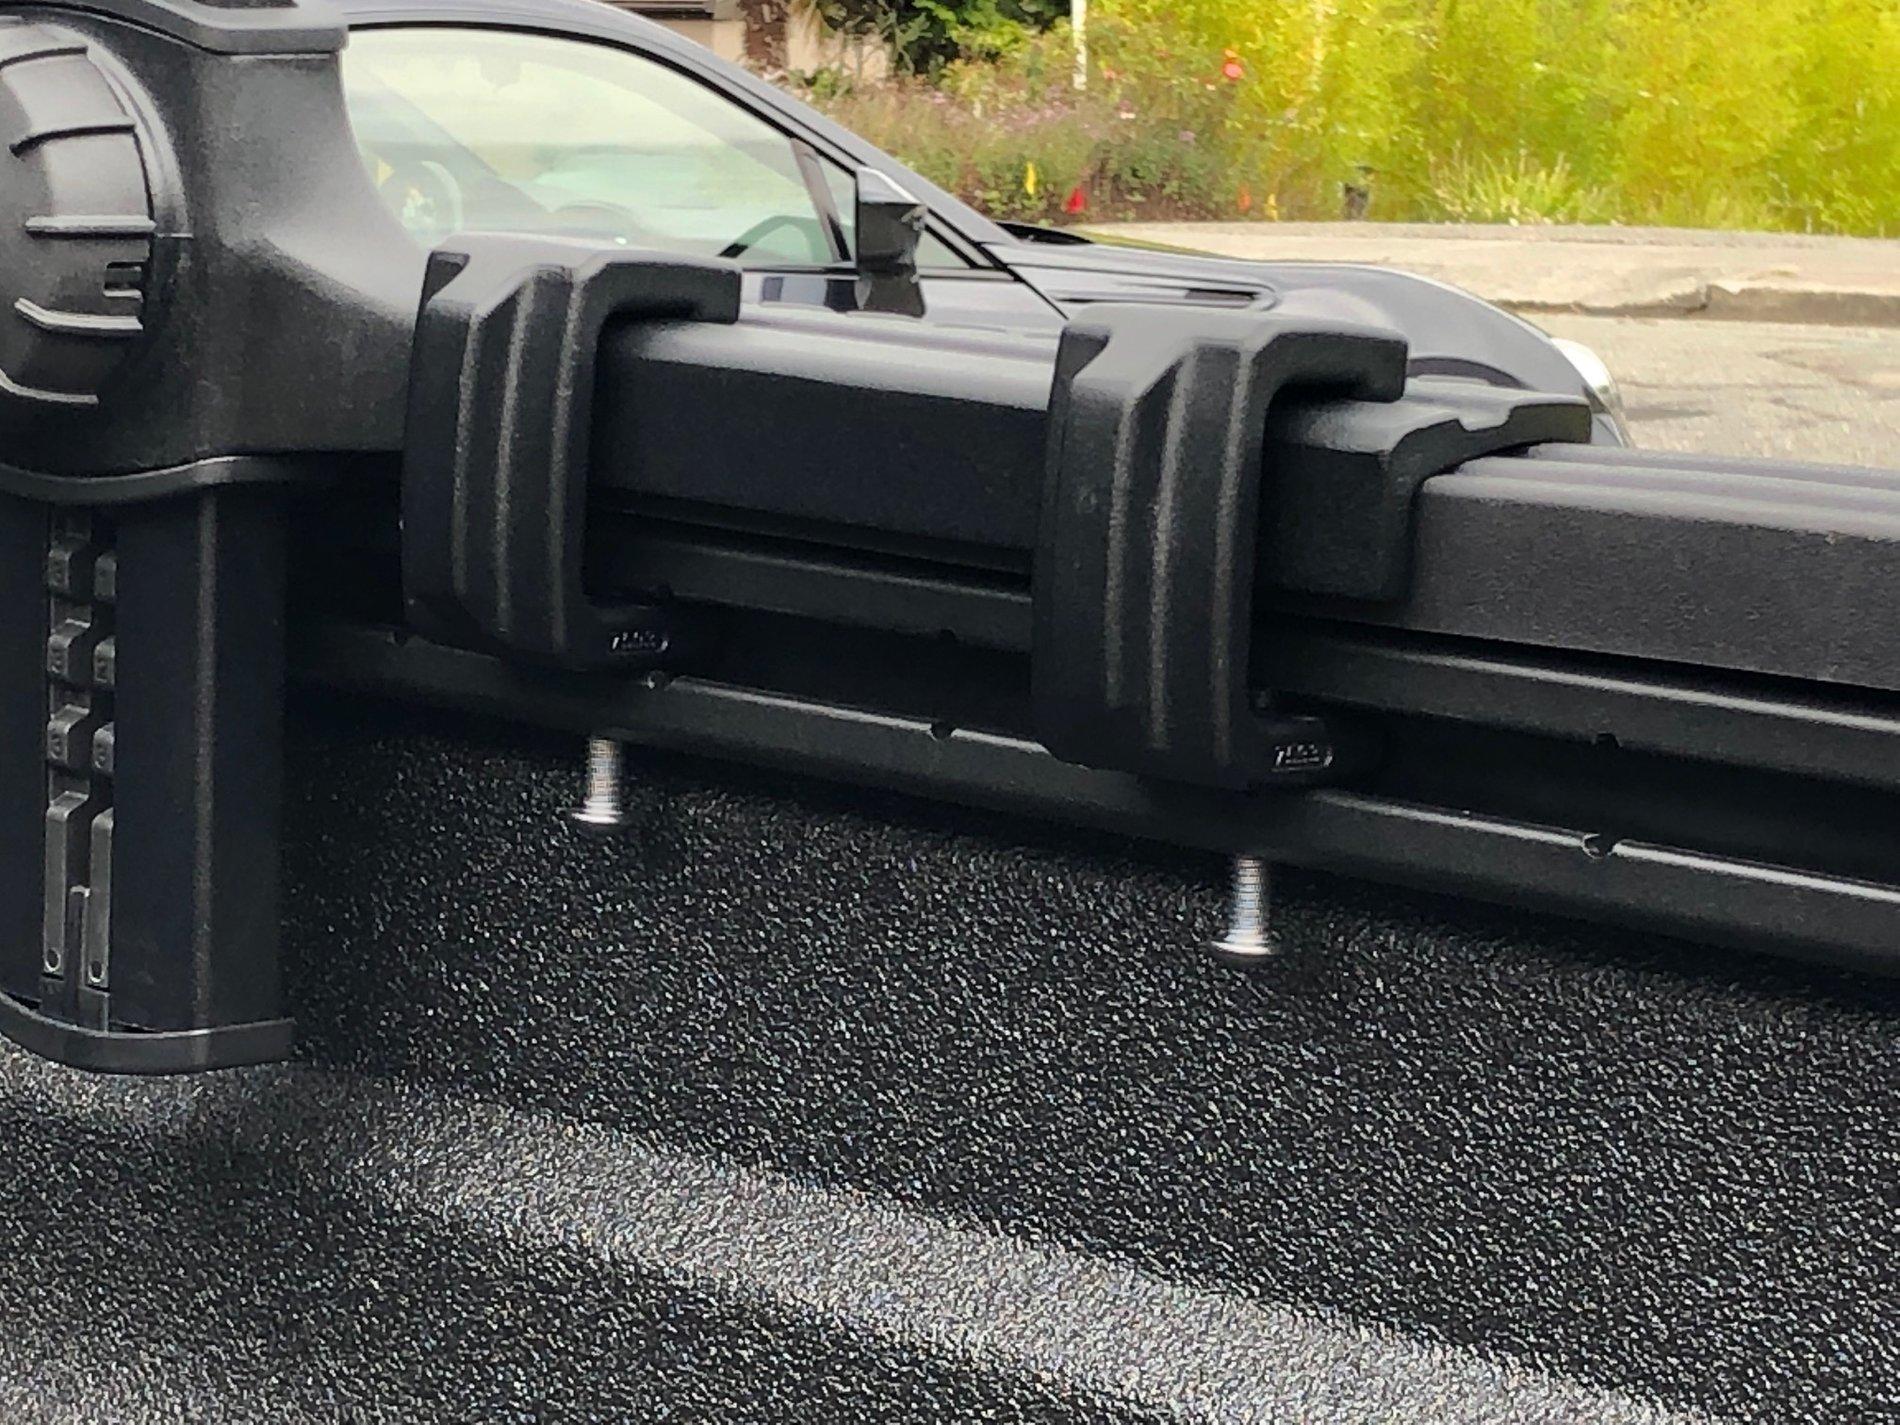
7. The C-Clamps wouldn't fit (shims were too thick) using the Rubber Shims (Part P from the Thule directions) under the Base Assembly (Part E from the Thule directions), so I bought 1/8" thick by 4" wide neopreme rubber strip grade 65A from Amazon for $19.00 and cut them to match the same size of the stock model with an exacto knife.
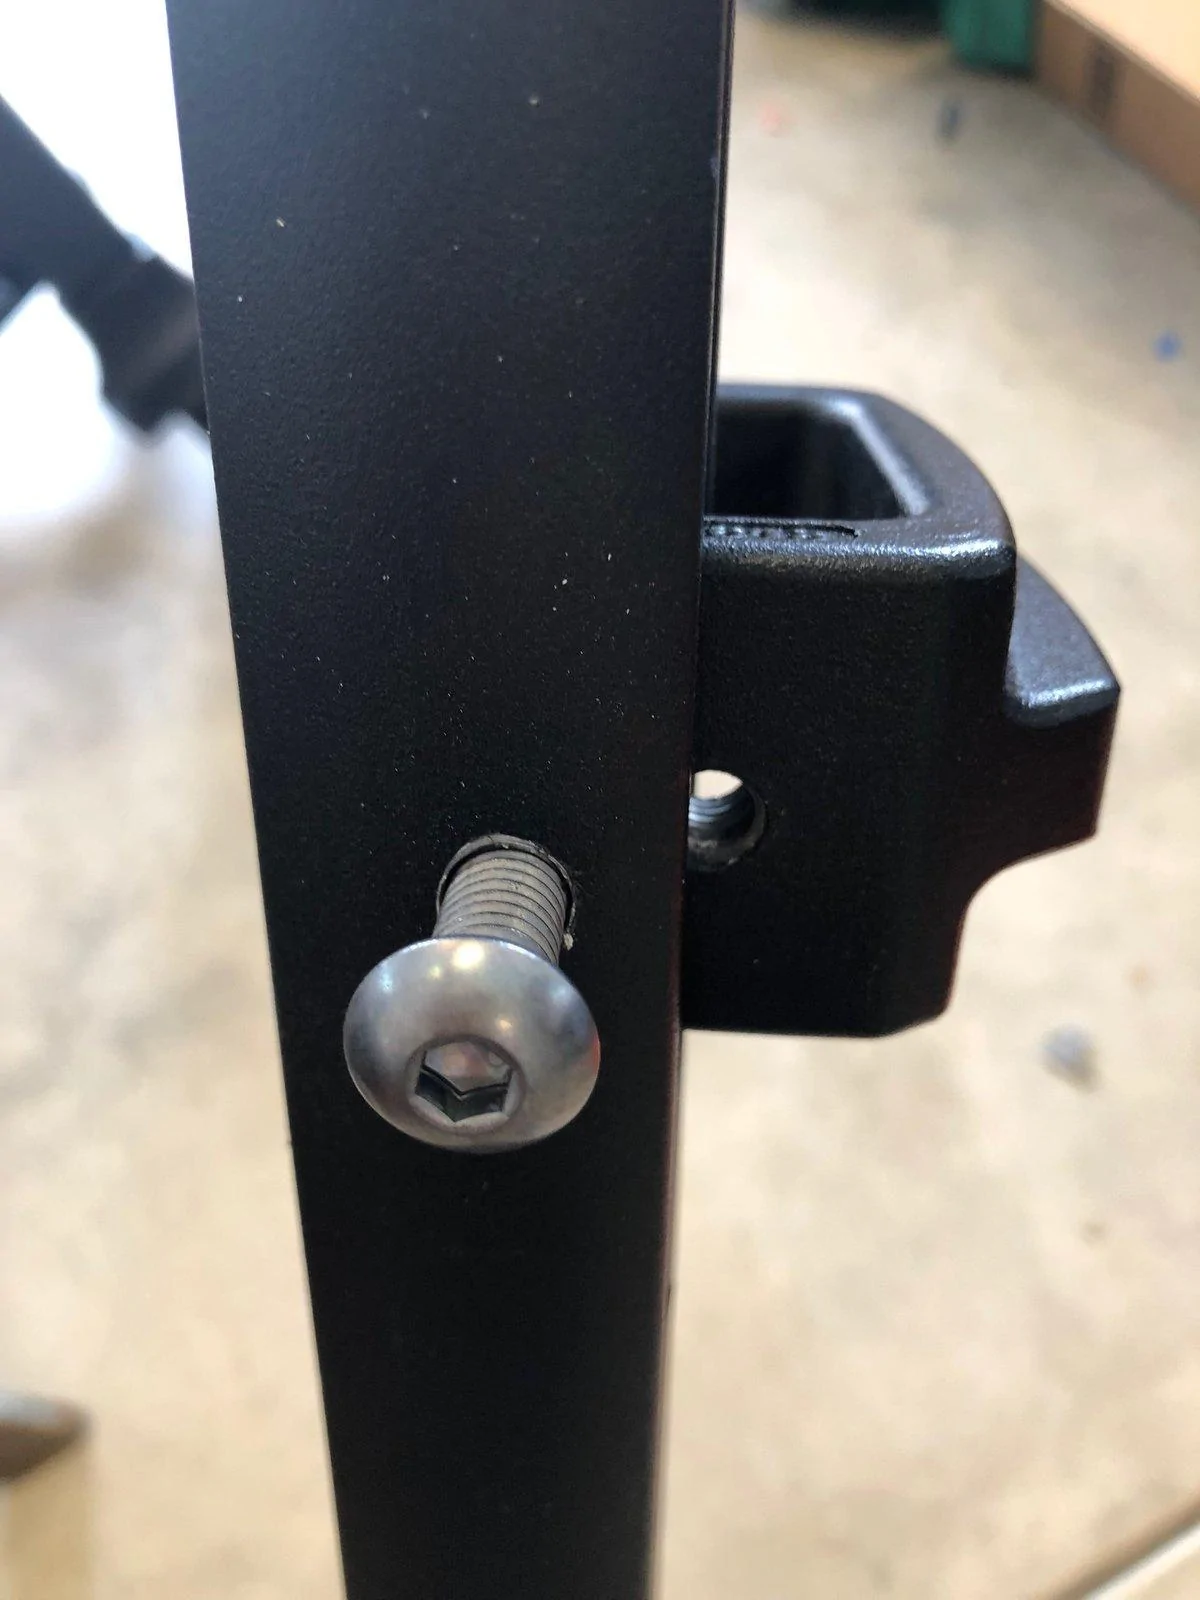
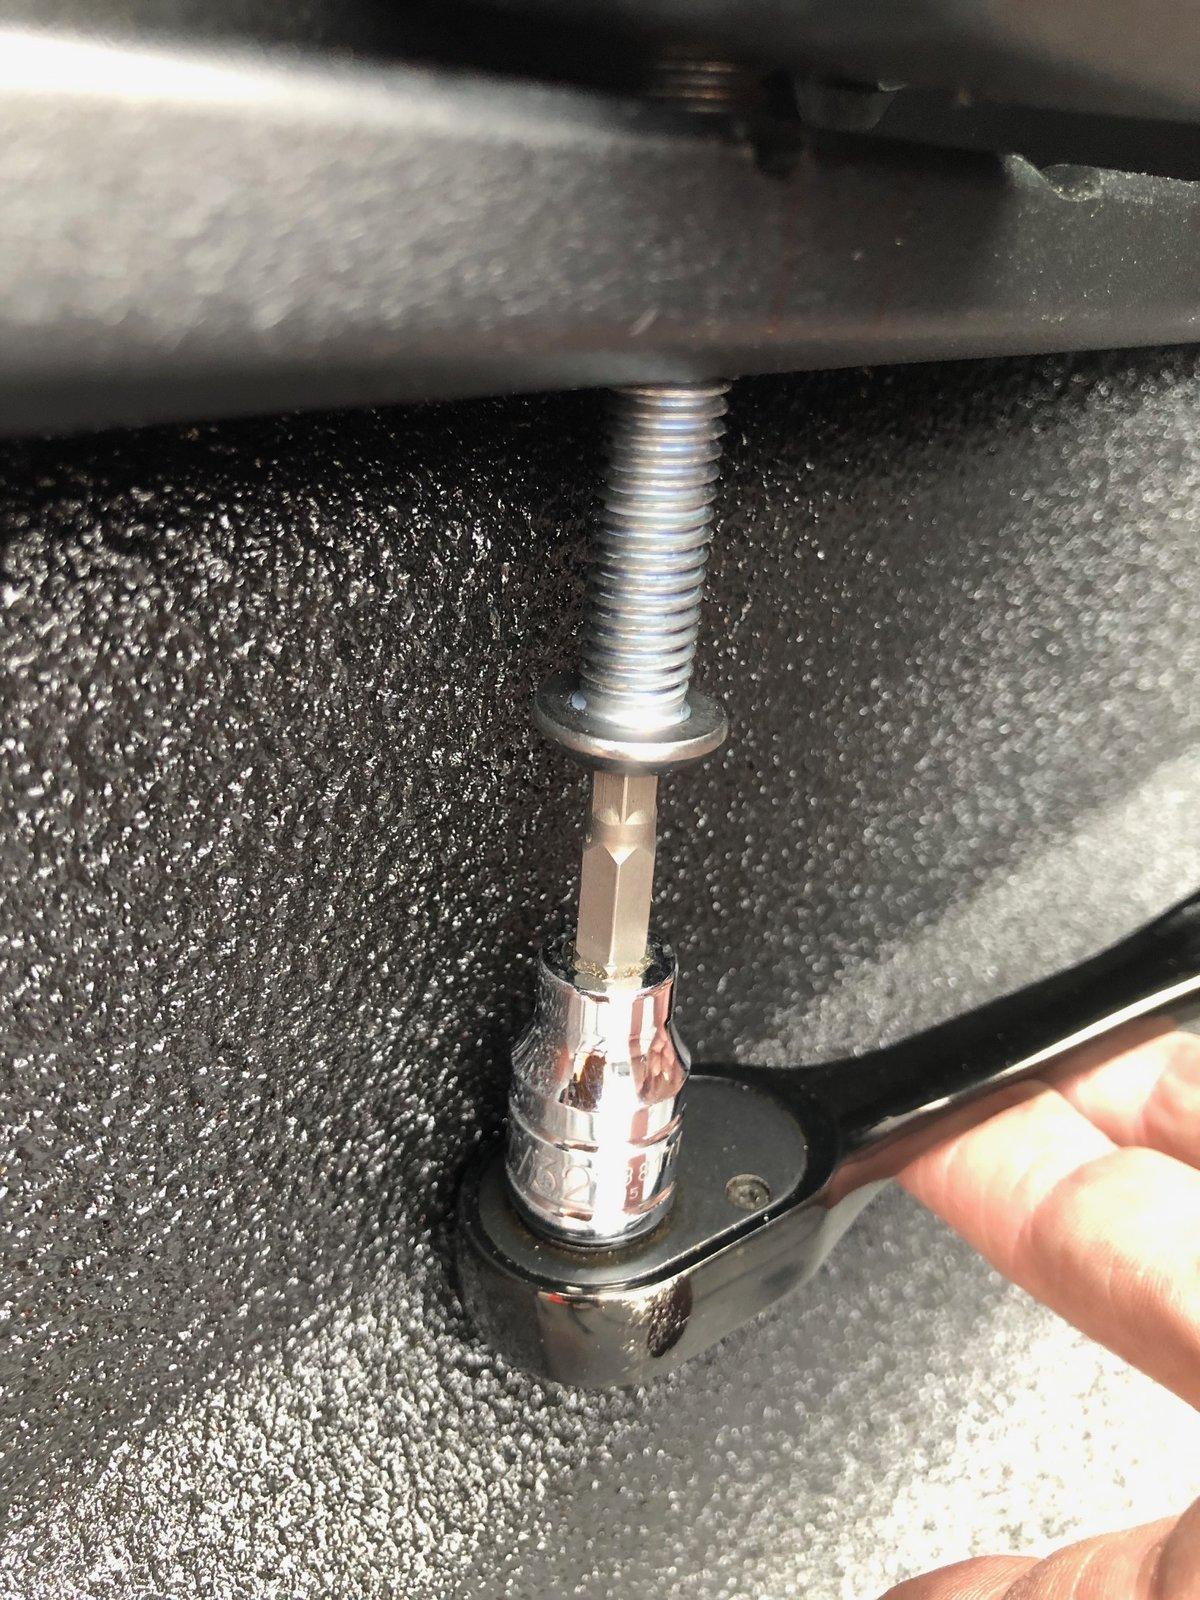
8. I then placed the Base Assembly over the 1/8" rubber shim I built and slipped the (2) C-Clamps on each. The bottom of the C-Clamp slips inside of the cargo rail. I then pushed the 3" button head cap screws throught the holes I drilled in the bottom sides of the rails and turned them into the C-Clamps factory treaded hole in the center of the clamps.
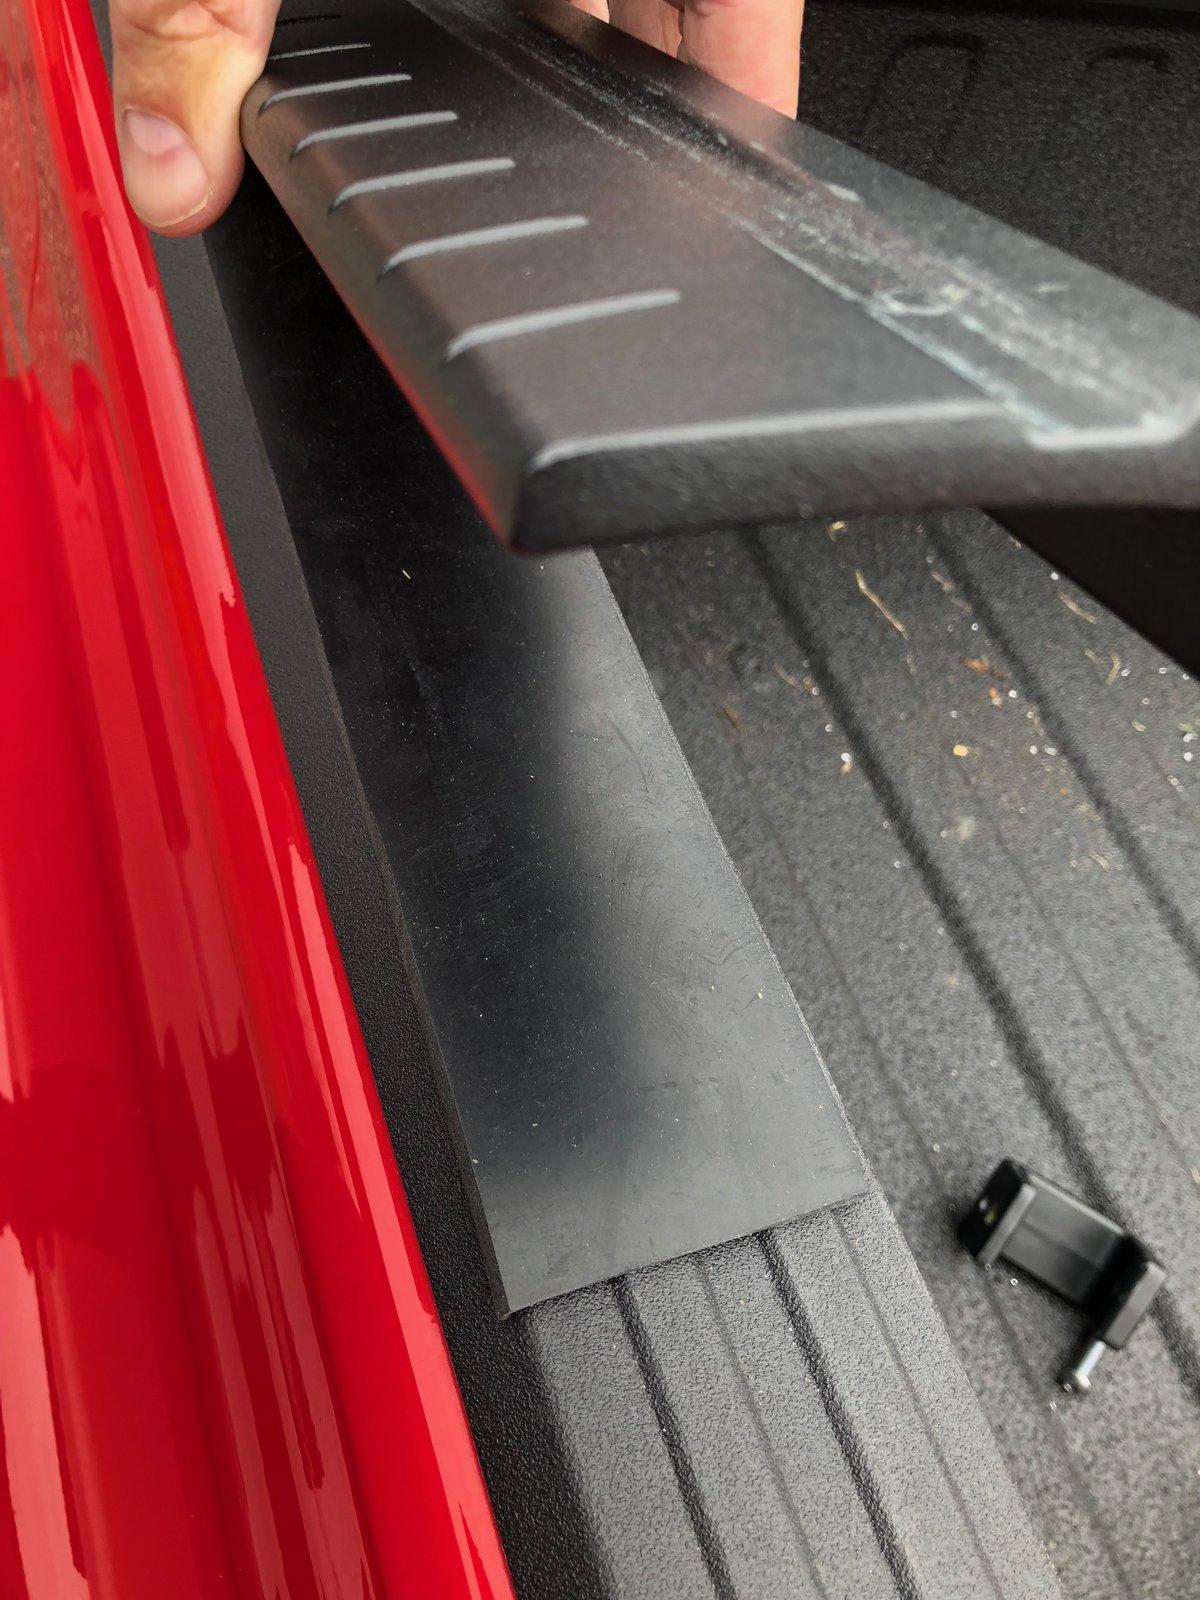
9. Before I cranked these tight, I took the factory shims that were too thick and cut them into 10-1/4" by 1-9/16" pieces.
10. I sprayed both side of the rubber lightly with WD-40 and slipped them into the space above the top of the cargo rail and the bottom of the factory plastic bed rail cap. This acted as a washer to keep these two surfaces from squeezing together and warping when I tightened the cap screws down with a ratchet and hex tip from below.
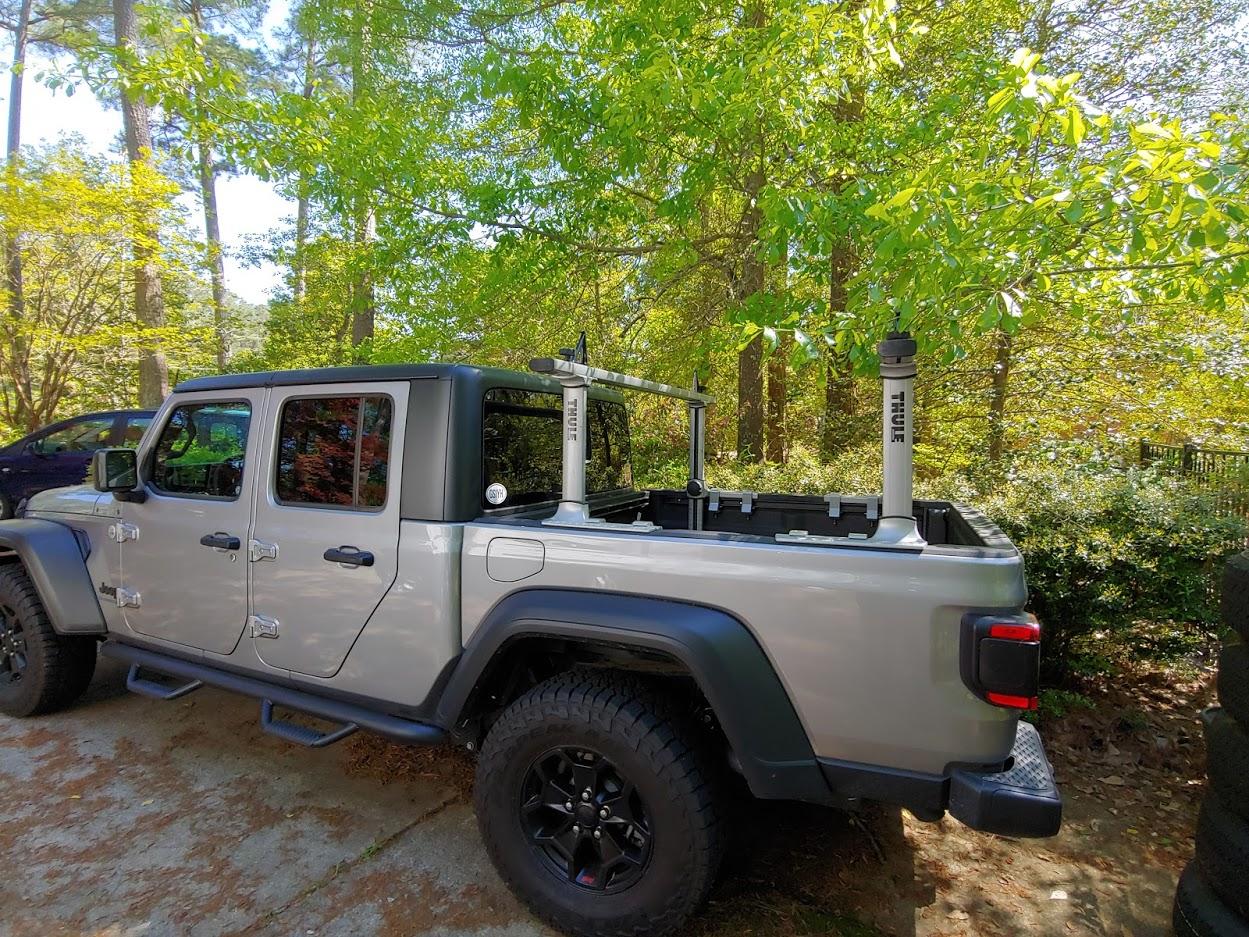
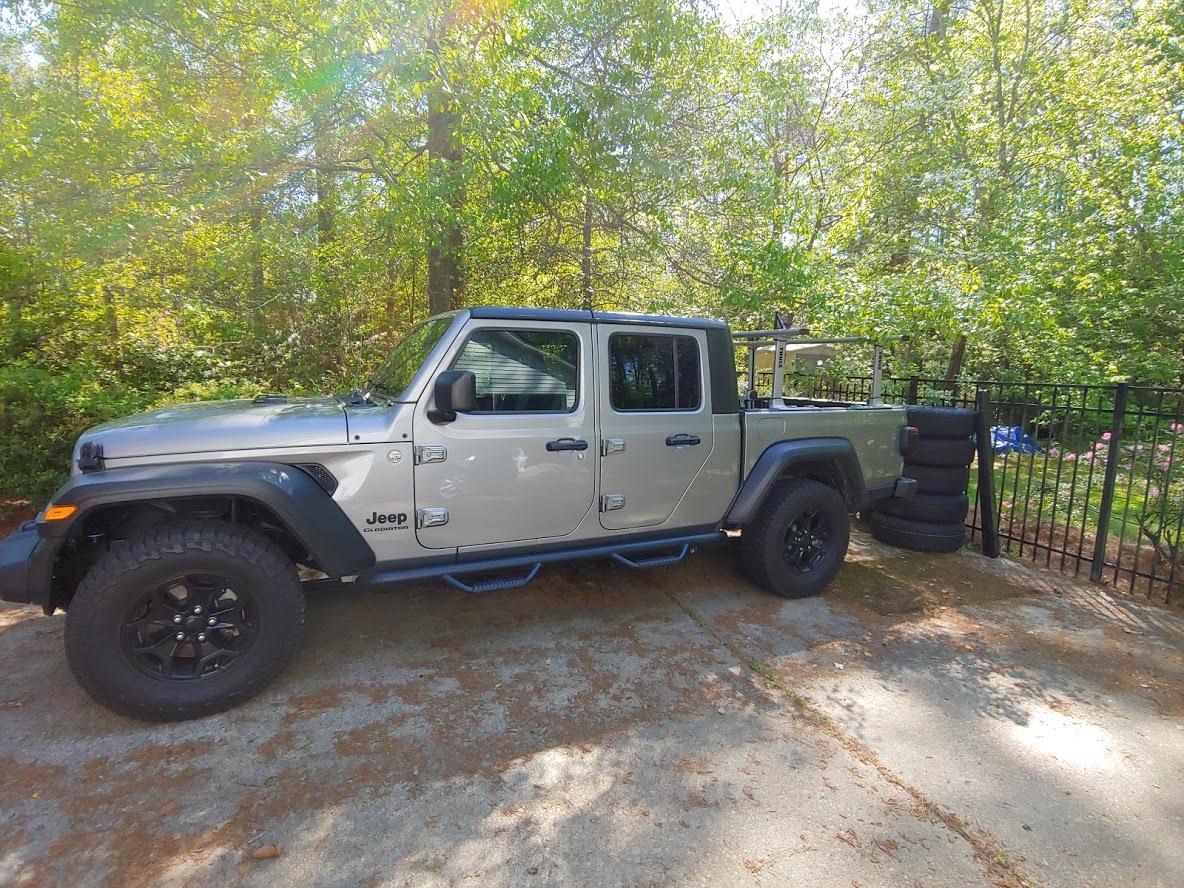
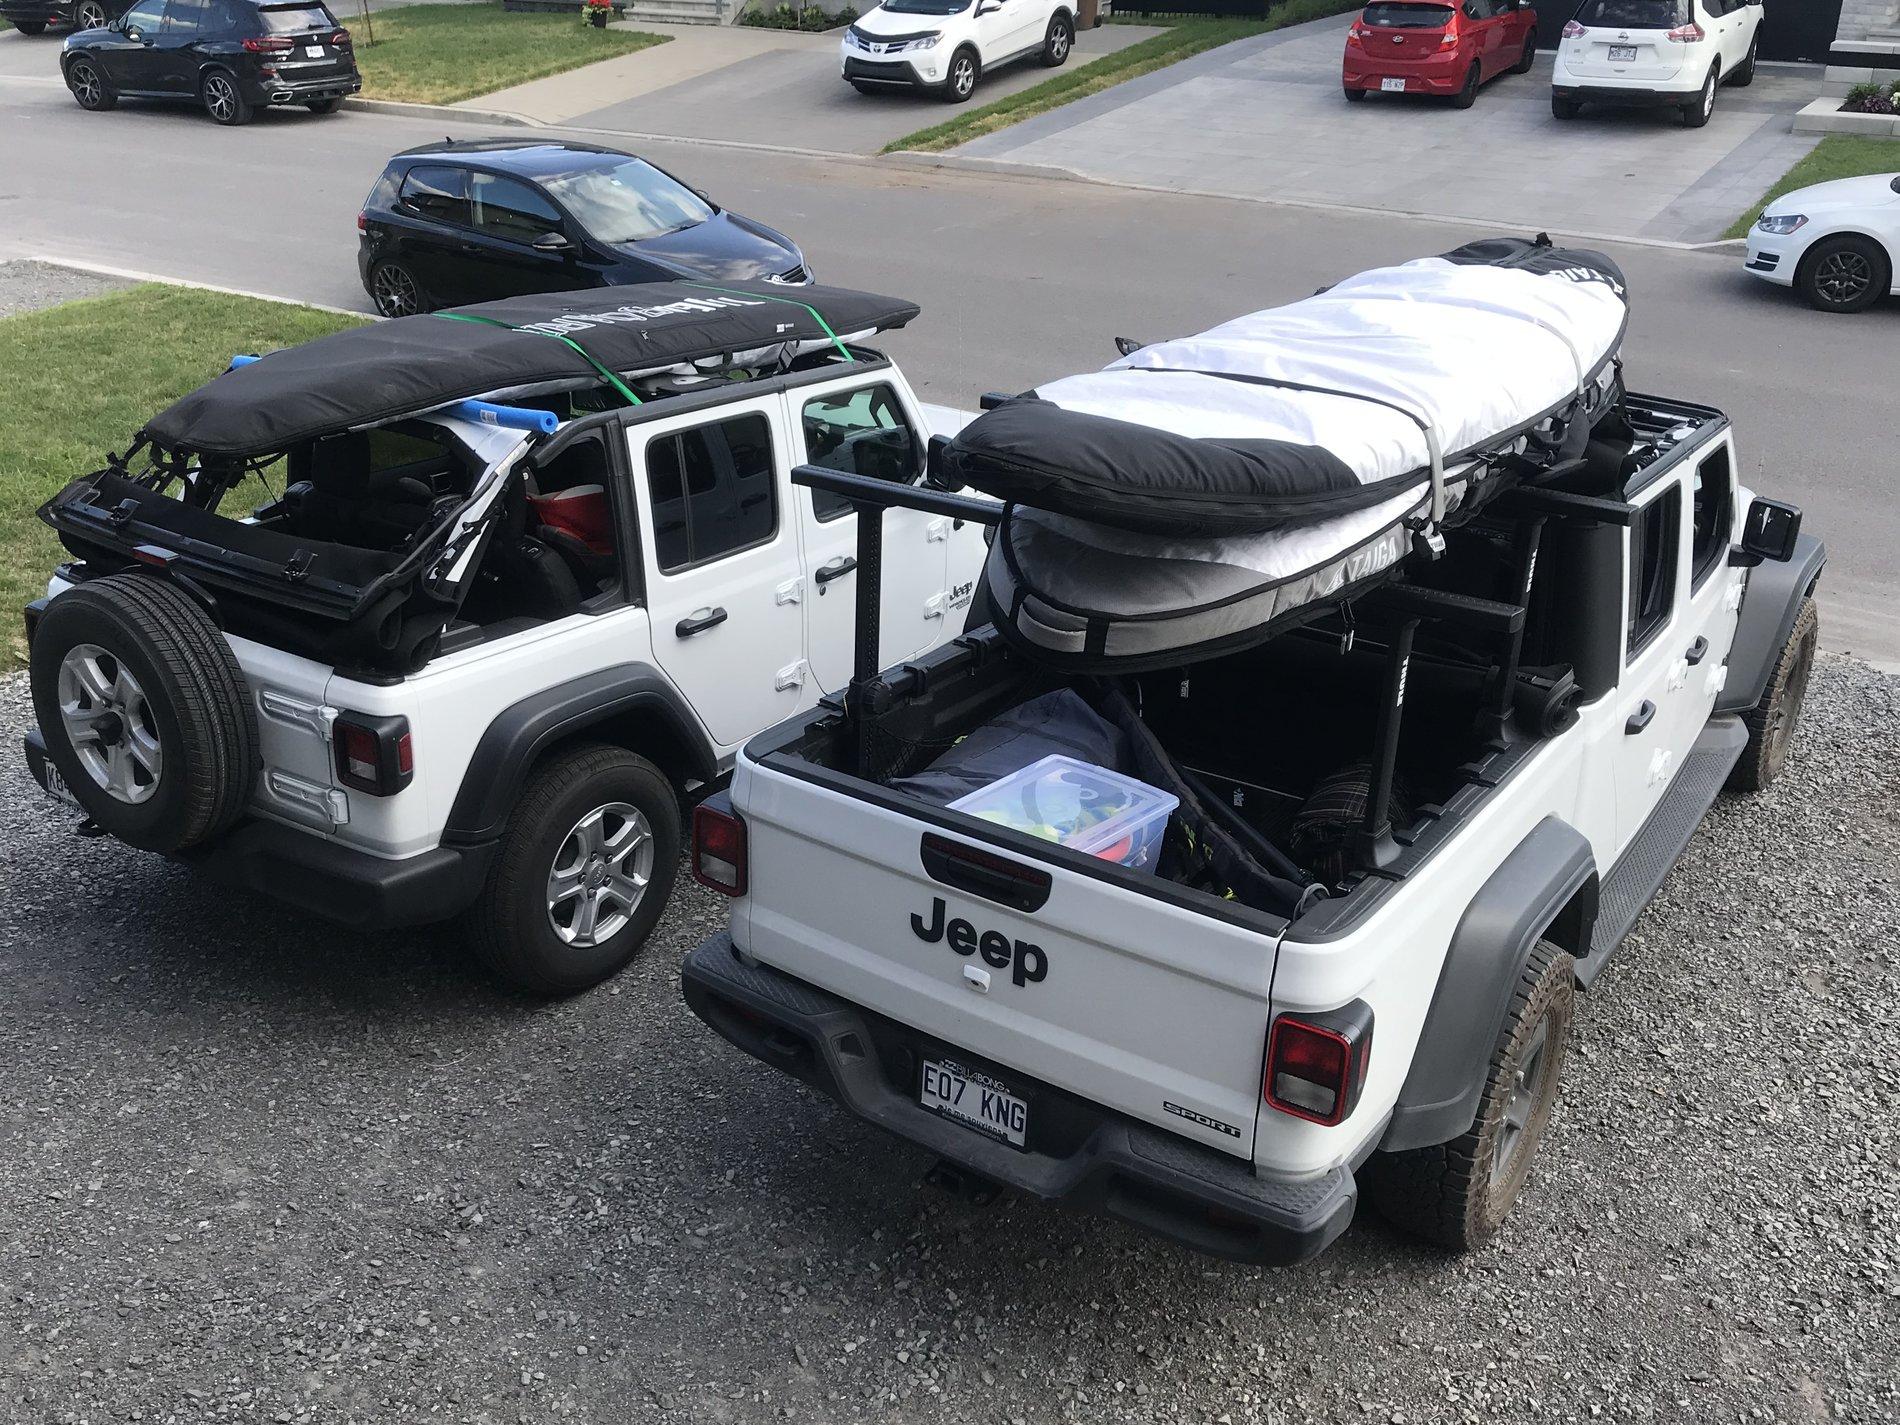
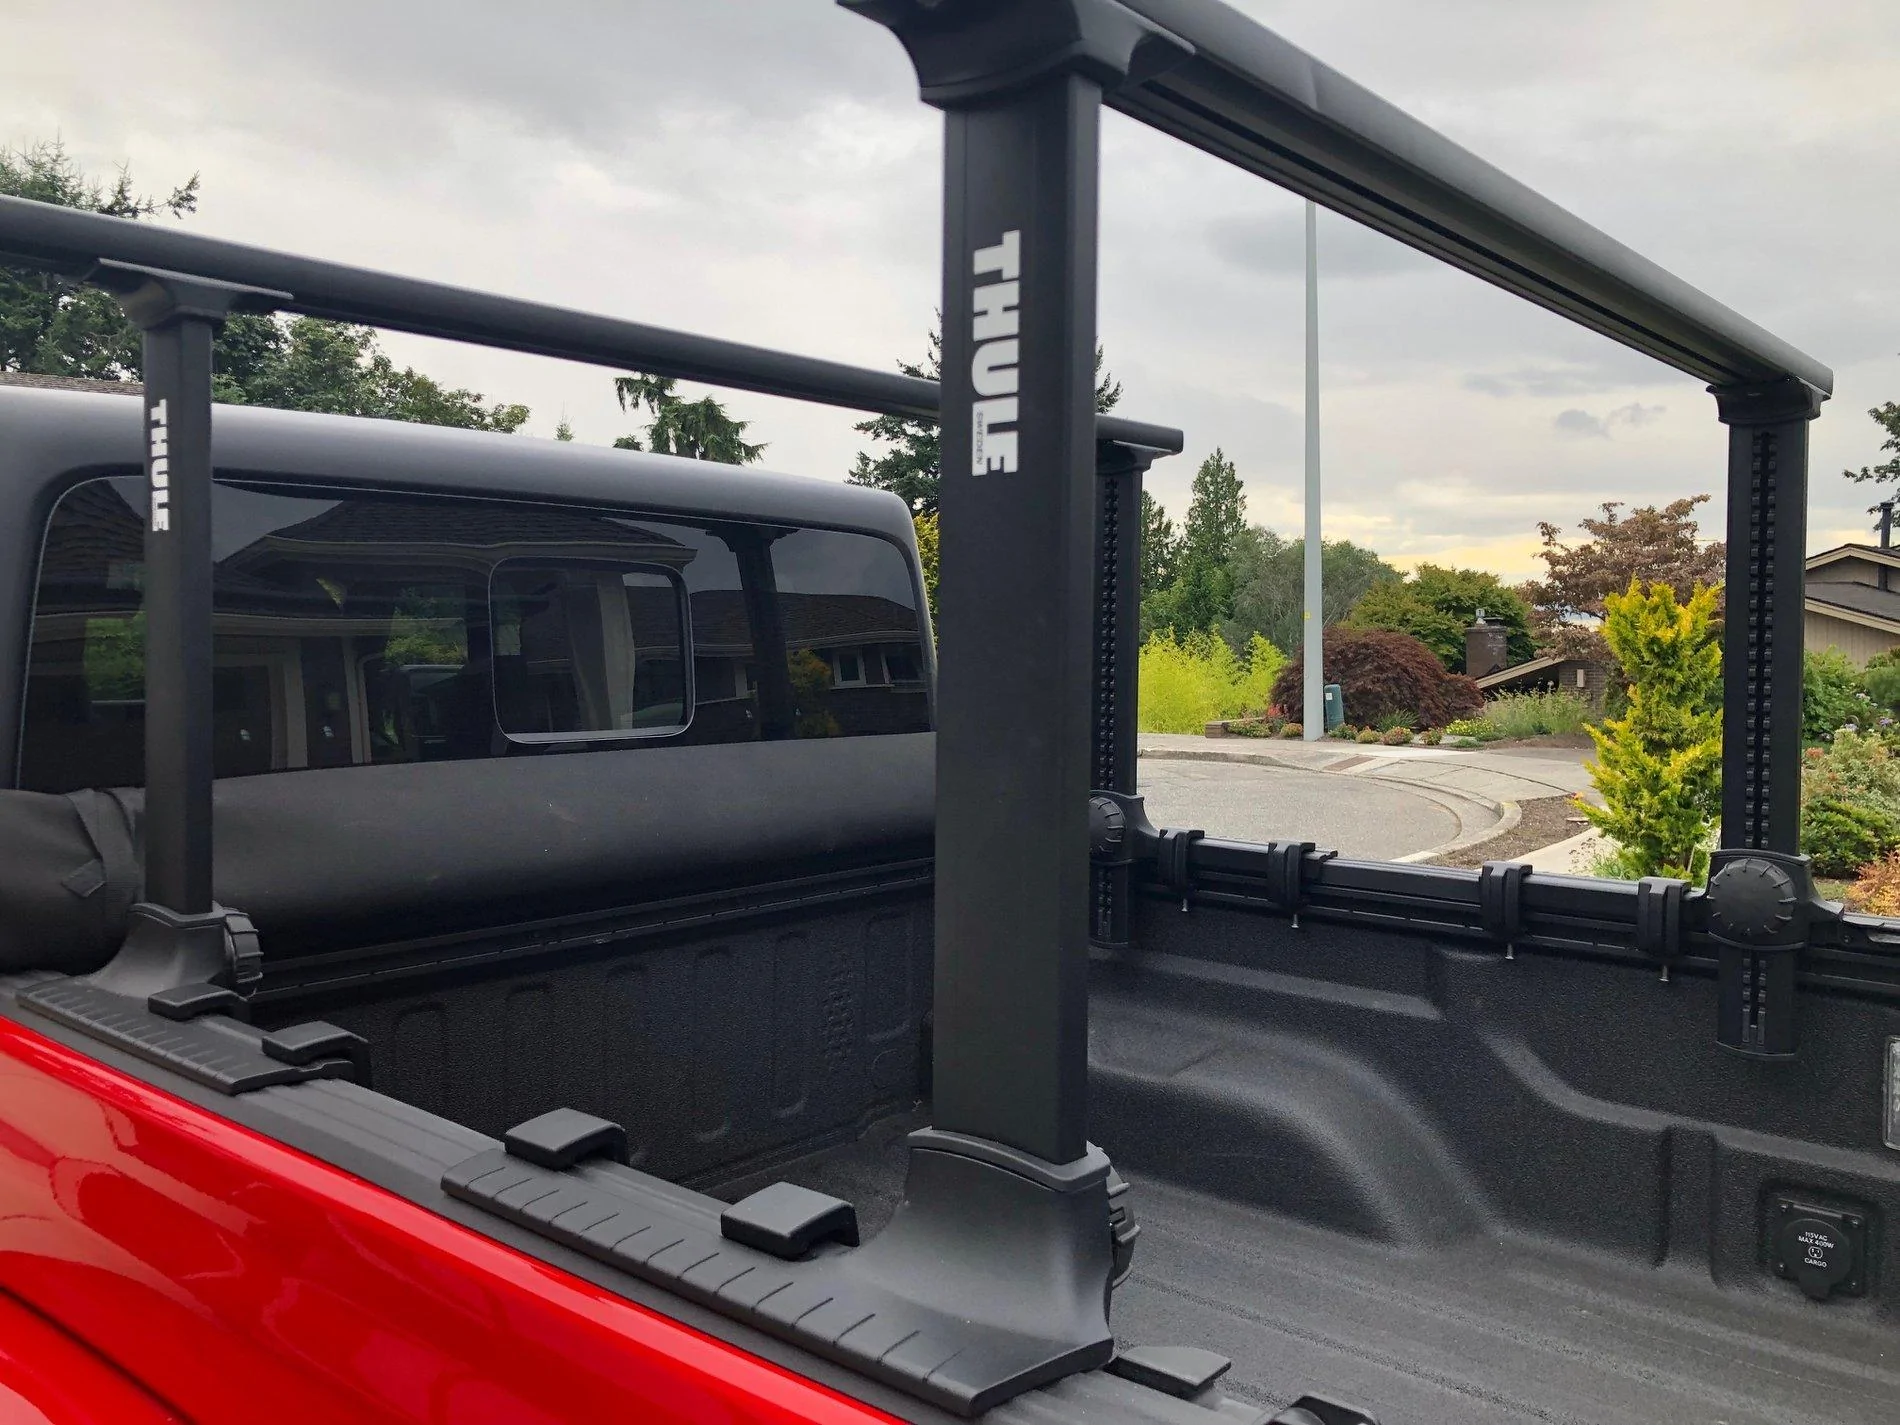
11. I cut the crossbars down to 63" which is about the width of the cab.
The Thule system is definantly not cheap but niether is the Gladiator. It took more time then Thule stock parts to mount to the Jeep cargo rail system but in June thiis wasn't an option (still dont know if it is). The other parts I used to mount the Kayaks were : Thule 834 Hull-a-Port J style & Hull-a-Port T-Track Adaptor KIT. Theres no wind noise from the rack (empty or loaded with kayaks) with or without my trailer in tow. I'm very happy with it and I'm glad I bought the adjustable model.


View attachment 34787
View attachment 34788
Sponsored