Sponsored
OP
OP
TheHops

TheHops

Well-Known Member
Joined
Dec 23, 2019
Threads
33
Messages
559
Reaction score
823
Location
Nashville
Vehicle(s)
2020 Jeep Gladiator Rubicon
Build Thread
Link
Vehicle Showcase
1
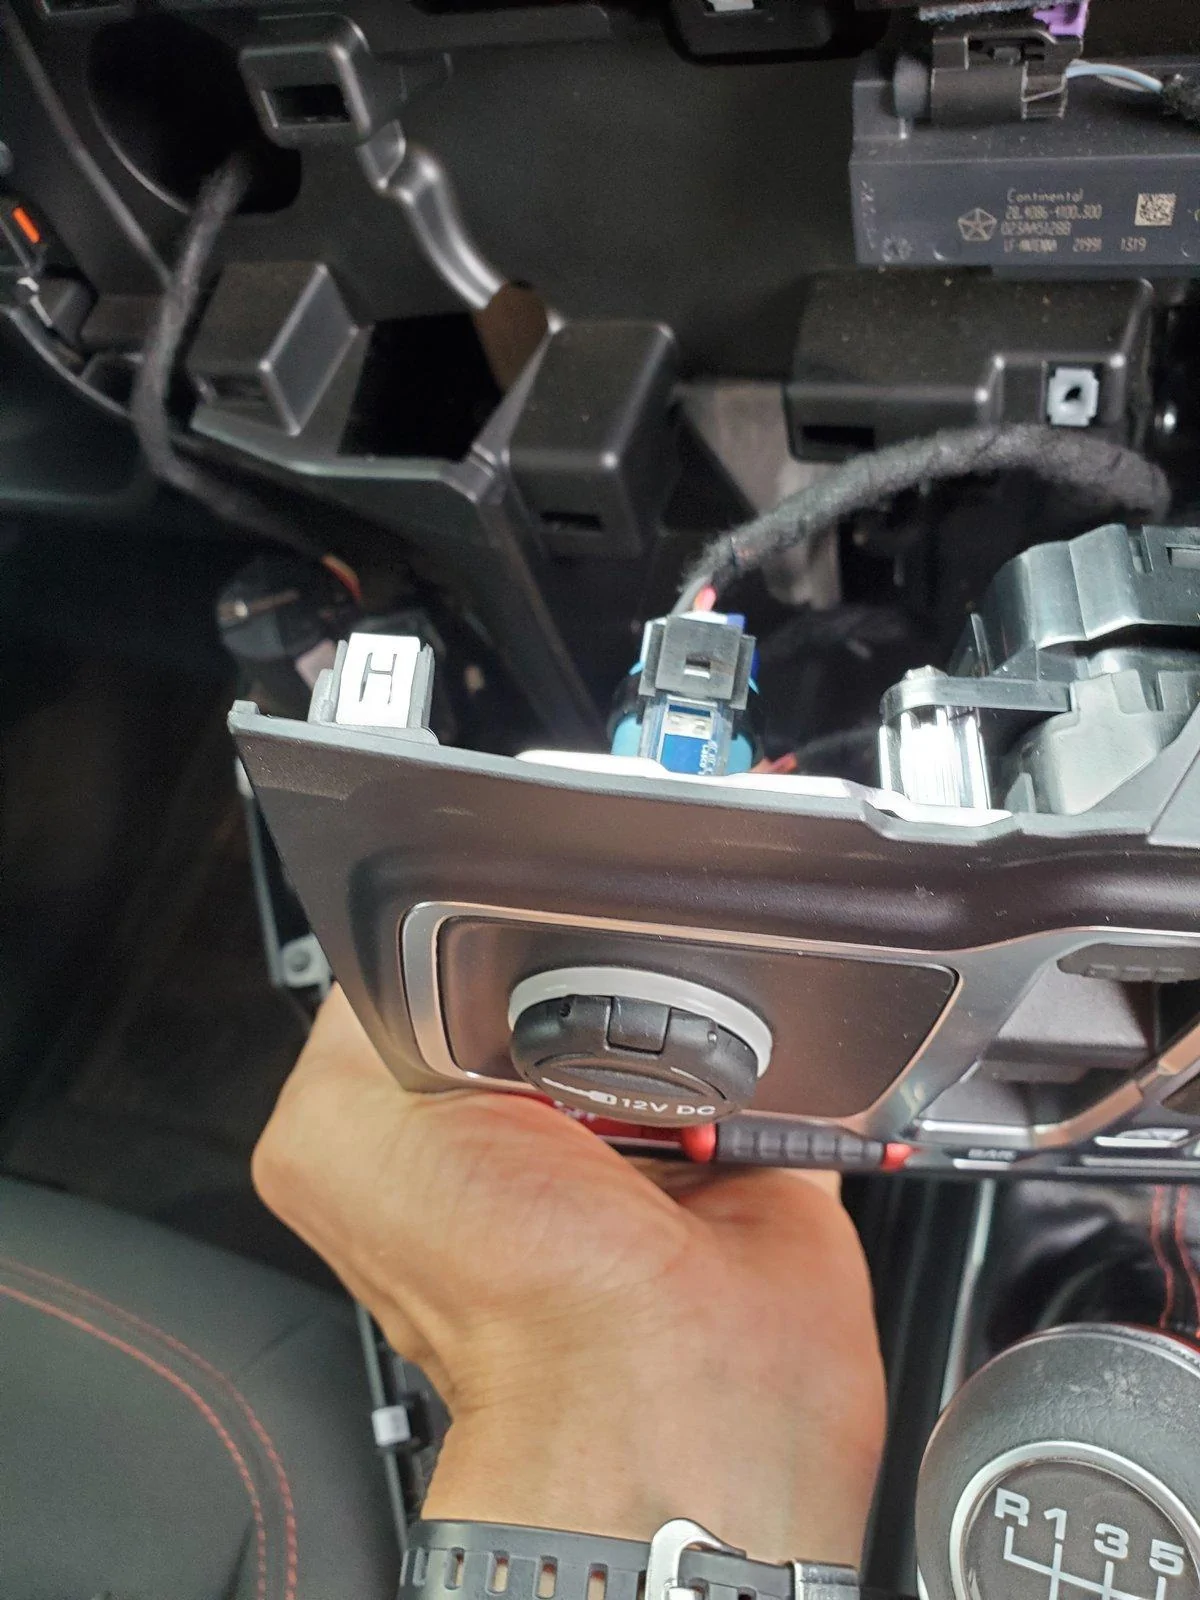
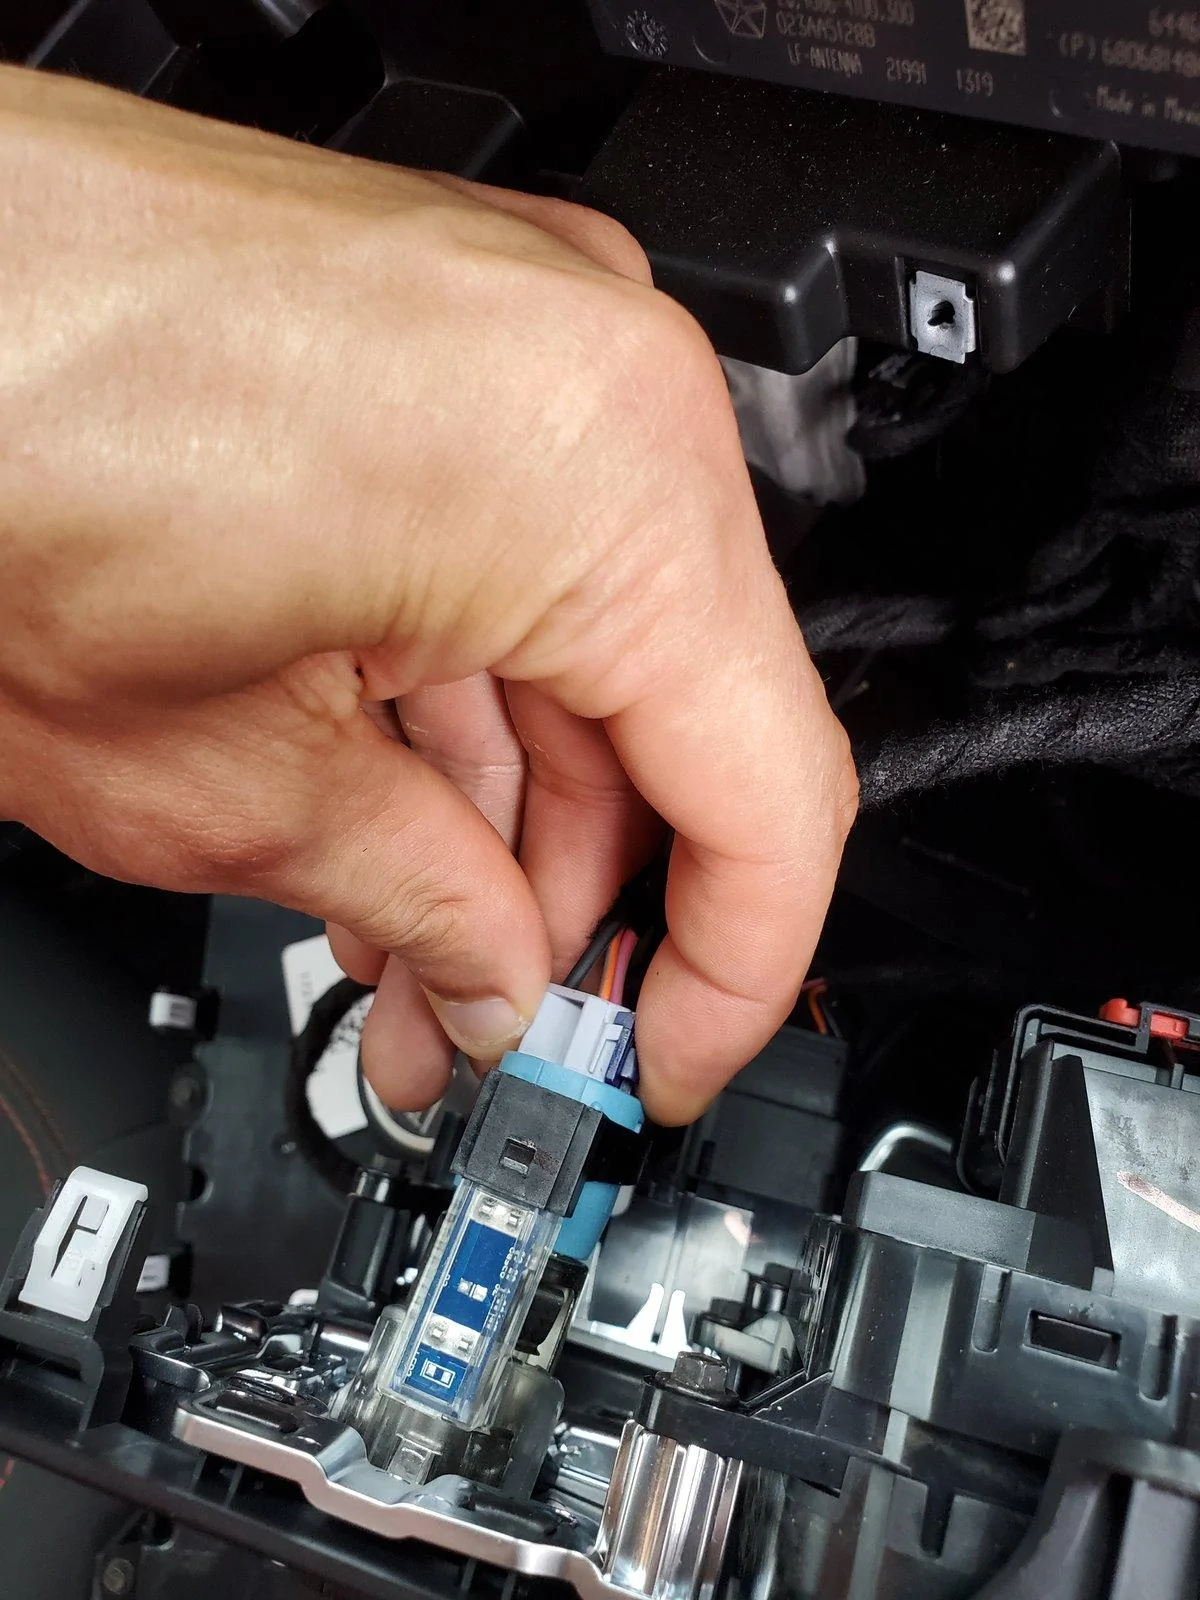
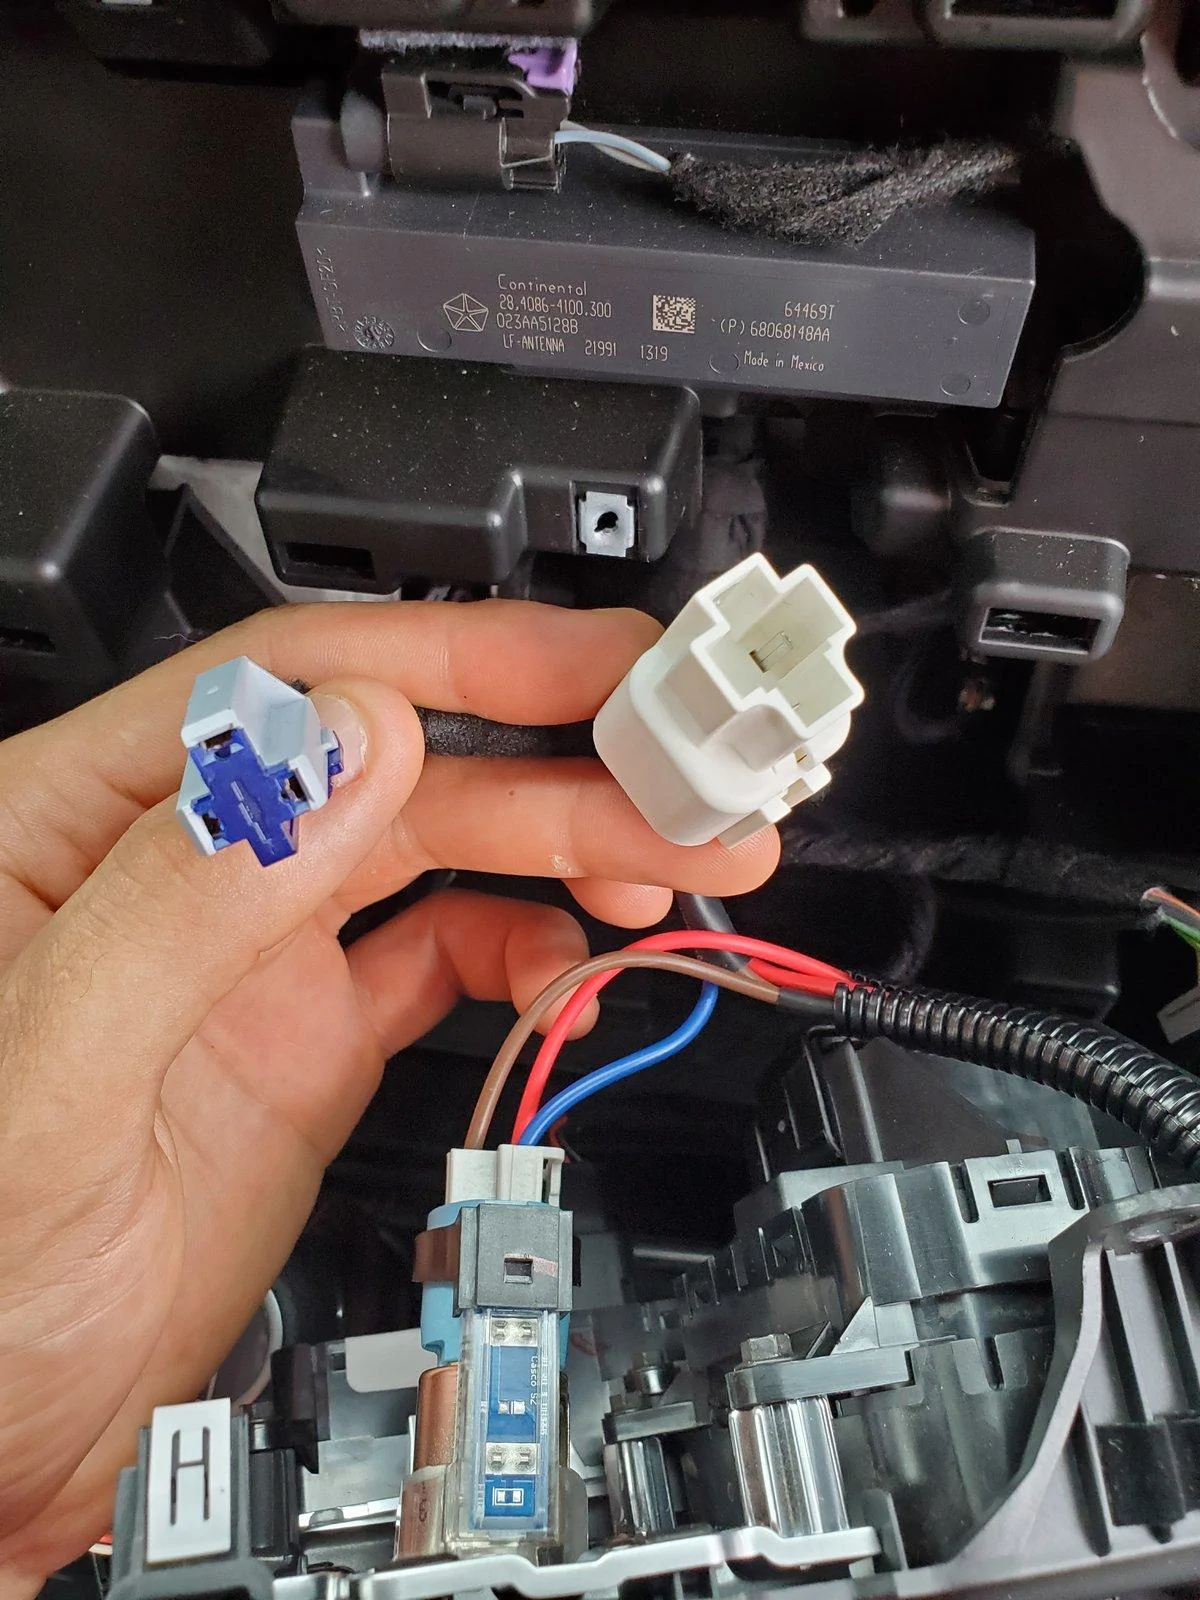
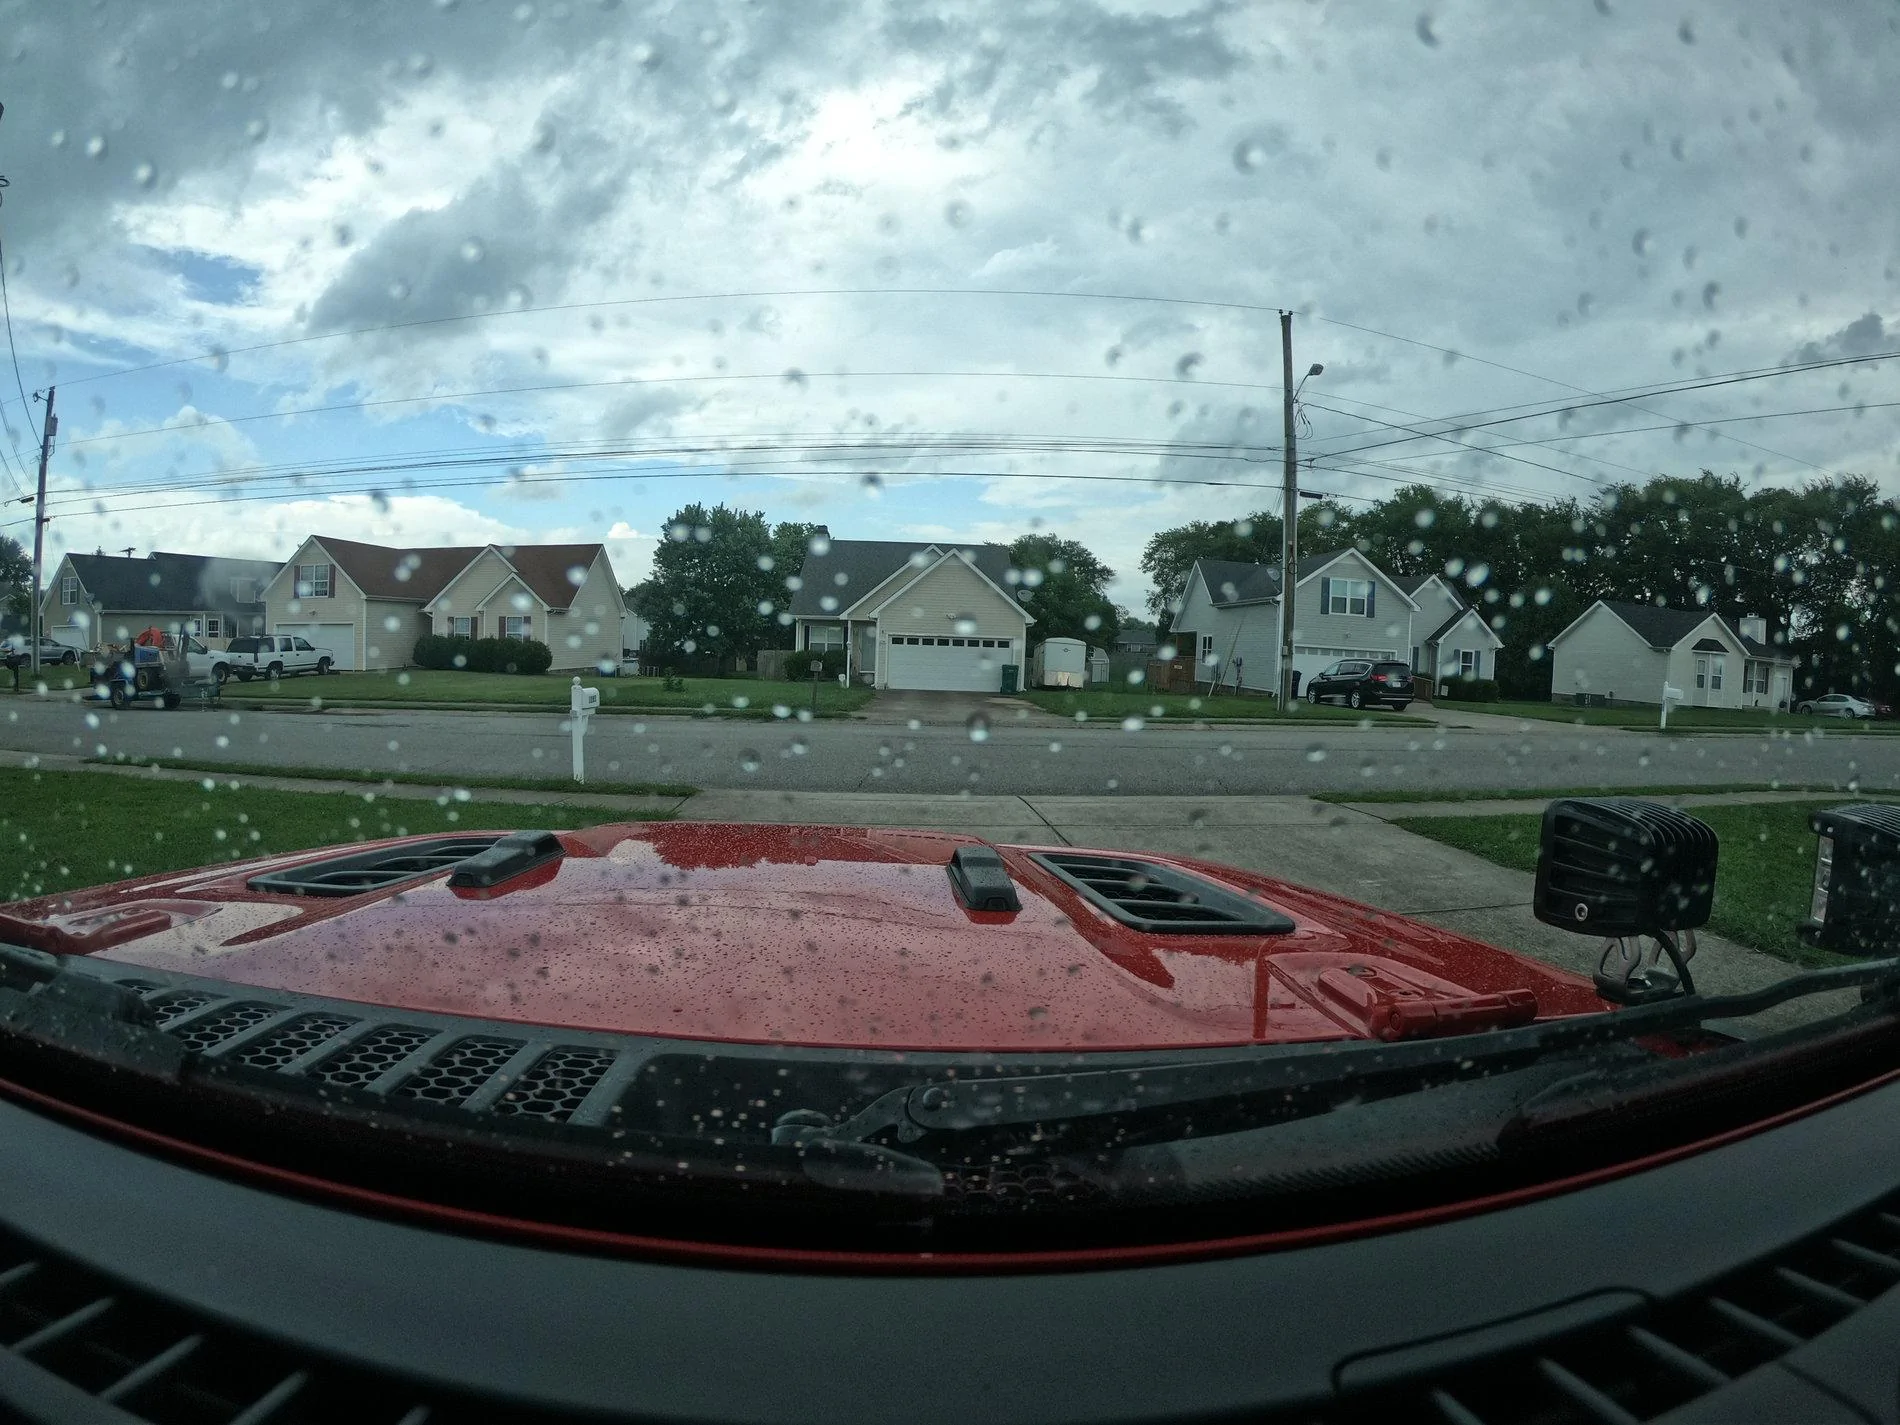
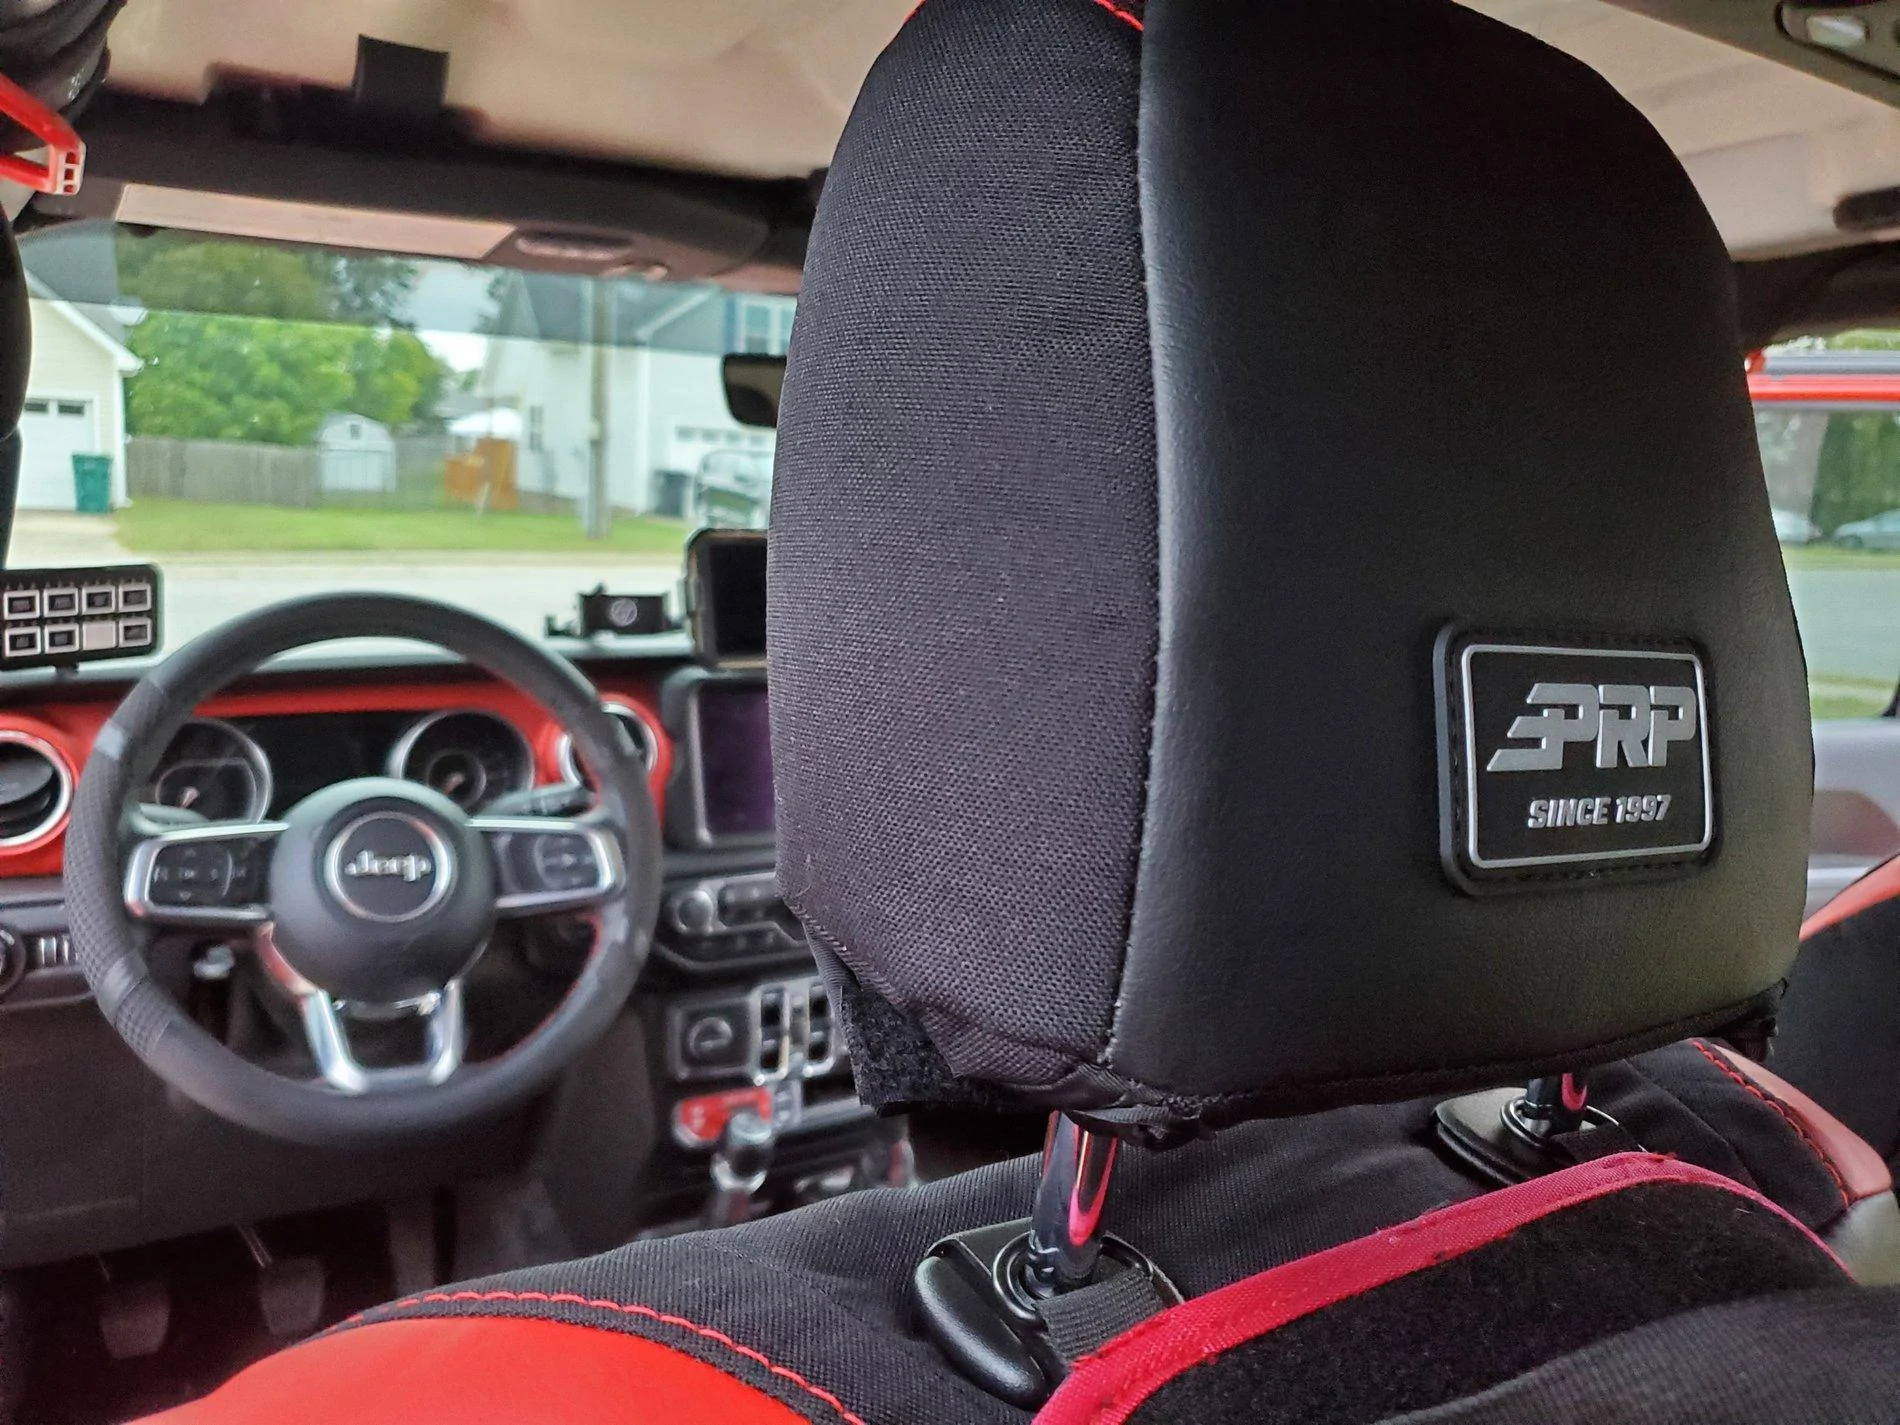
Another quick update today! My PRP seat covers finally arrived (they took 6 weeks from order to arrival), and I couldn't resist getting them installed. I'm very happy with how they turned out. Admittedly, install was...a bit of a pain. It was mostly time consuming, and involved contorting my 6'4" frame in to positions I probably shouldnt have attempted, but here we are.

Jeep Gladiator Ares - Build Thread 20200922_180817
Jeep Gladiator Ares - Build Thread 20200922_180846
Jeep Gladiator Ares - Build Thread 20200922_180903


I originally considered the Bartact route, but after seeing how many options PRP offered and after reading great reviews, I decided to pull the trigger, and I'm glad I did. I went with a black tweed interior (butt and lower back), with a black cordura exterior (stress areas, such as where you slide off of the seats) and a black vinyl backing, with red vinyl accents at the shoulders. I'm blown away by the quality, and their price was better than Bartact for my specific needs.

You may notice in the pictures that the center console cover looks a bit...saggy. I recieved that about three days ago ahead of my seat covers. I informed PRP of how it looked and sent them pictures, and within the same day they got back to me saying they'd forward my concern and pictures to the heads of production and customer service. The next day, the department heads contacted me saying that they'd rush an order for a replacement back to me free of charge. Big shout out to Aileen and JR at PRP.

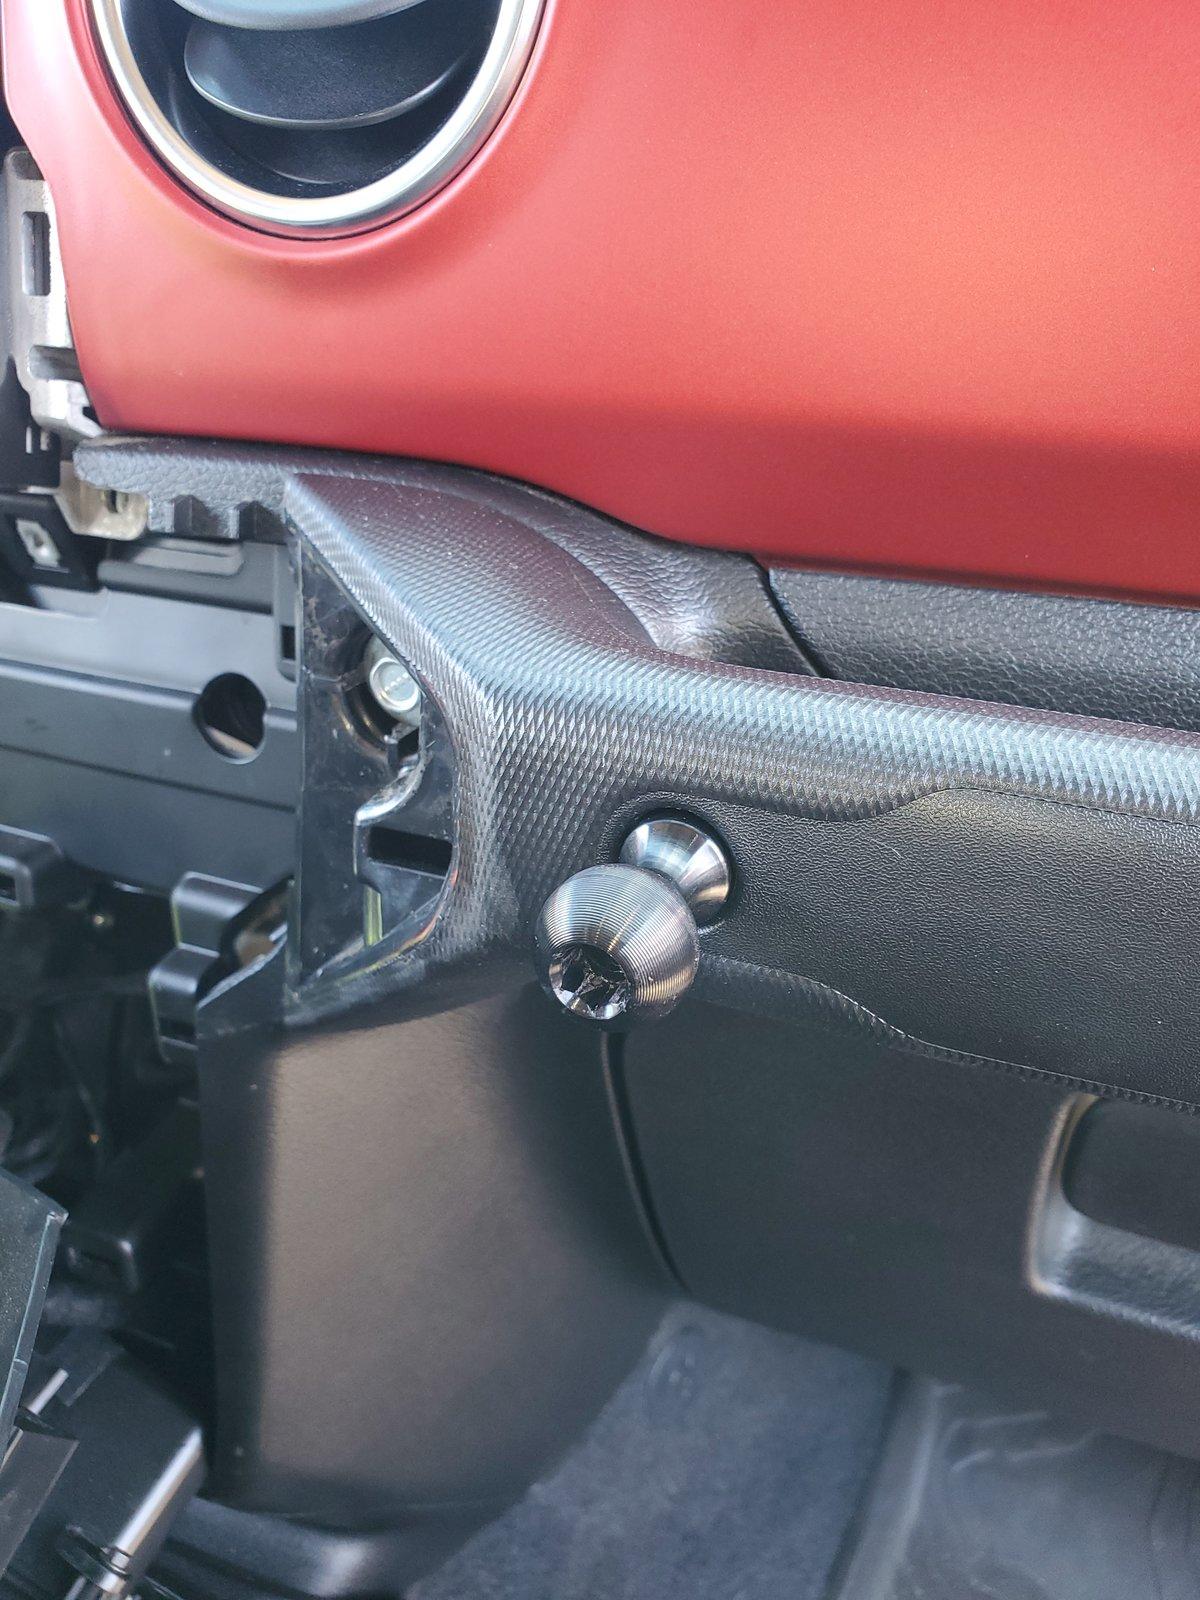
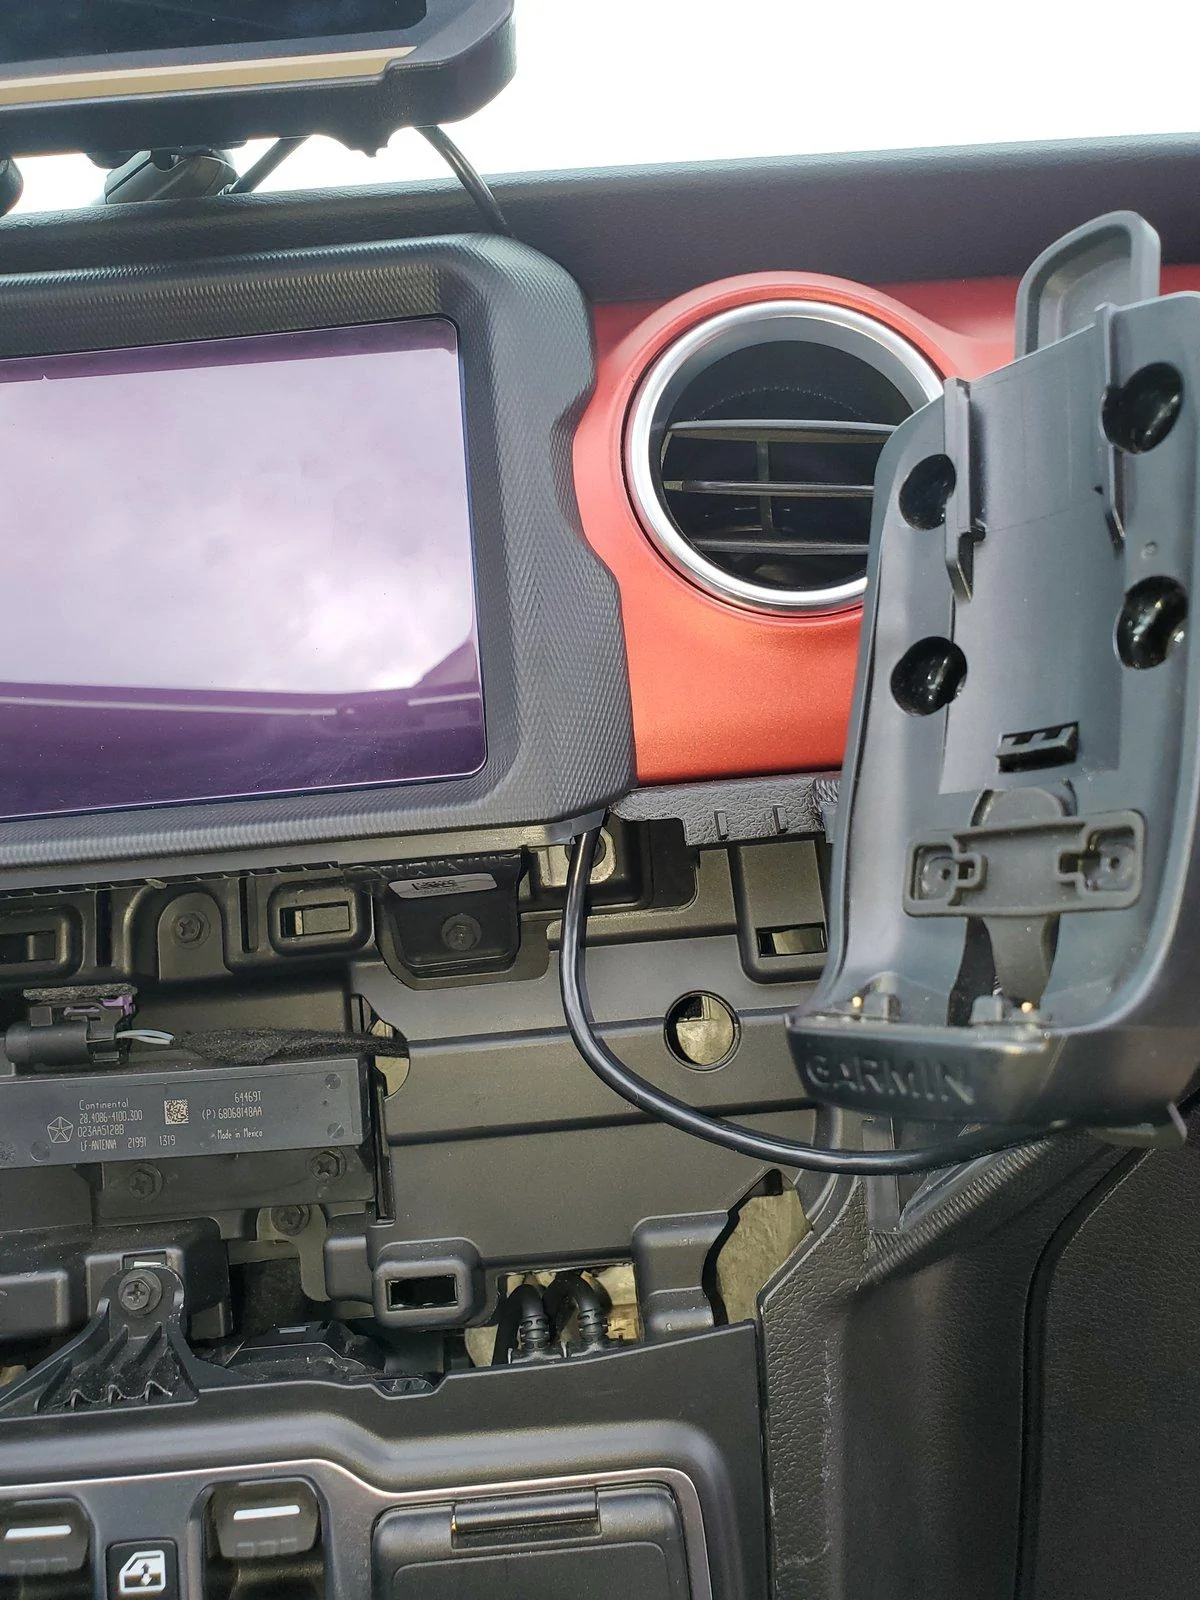
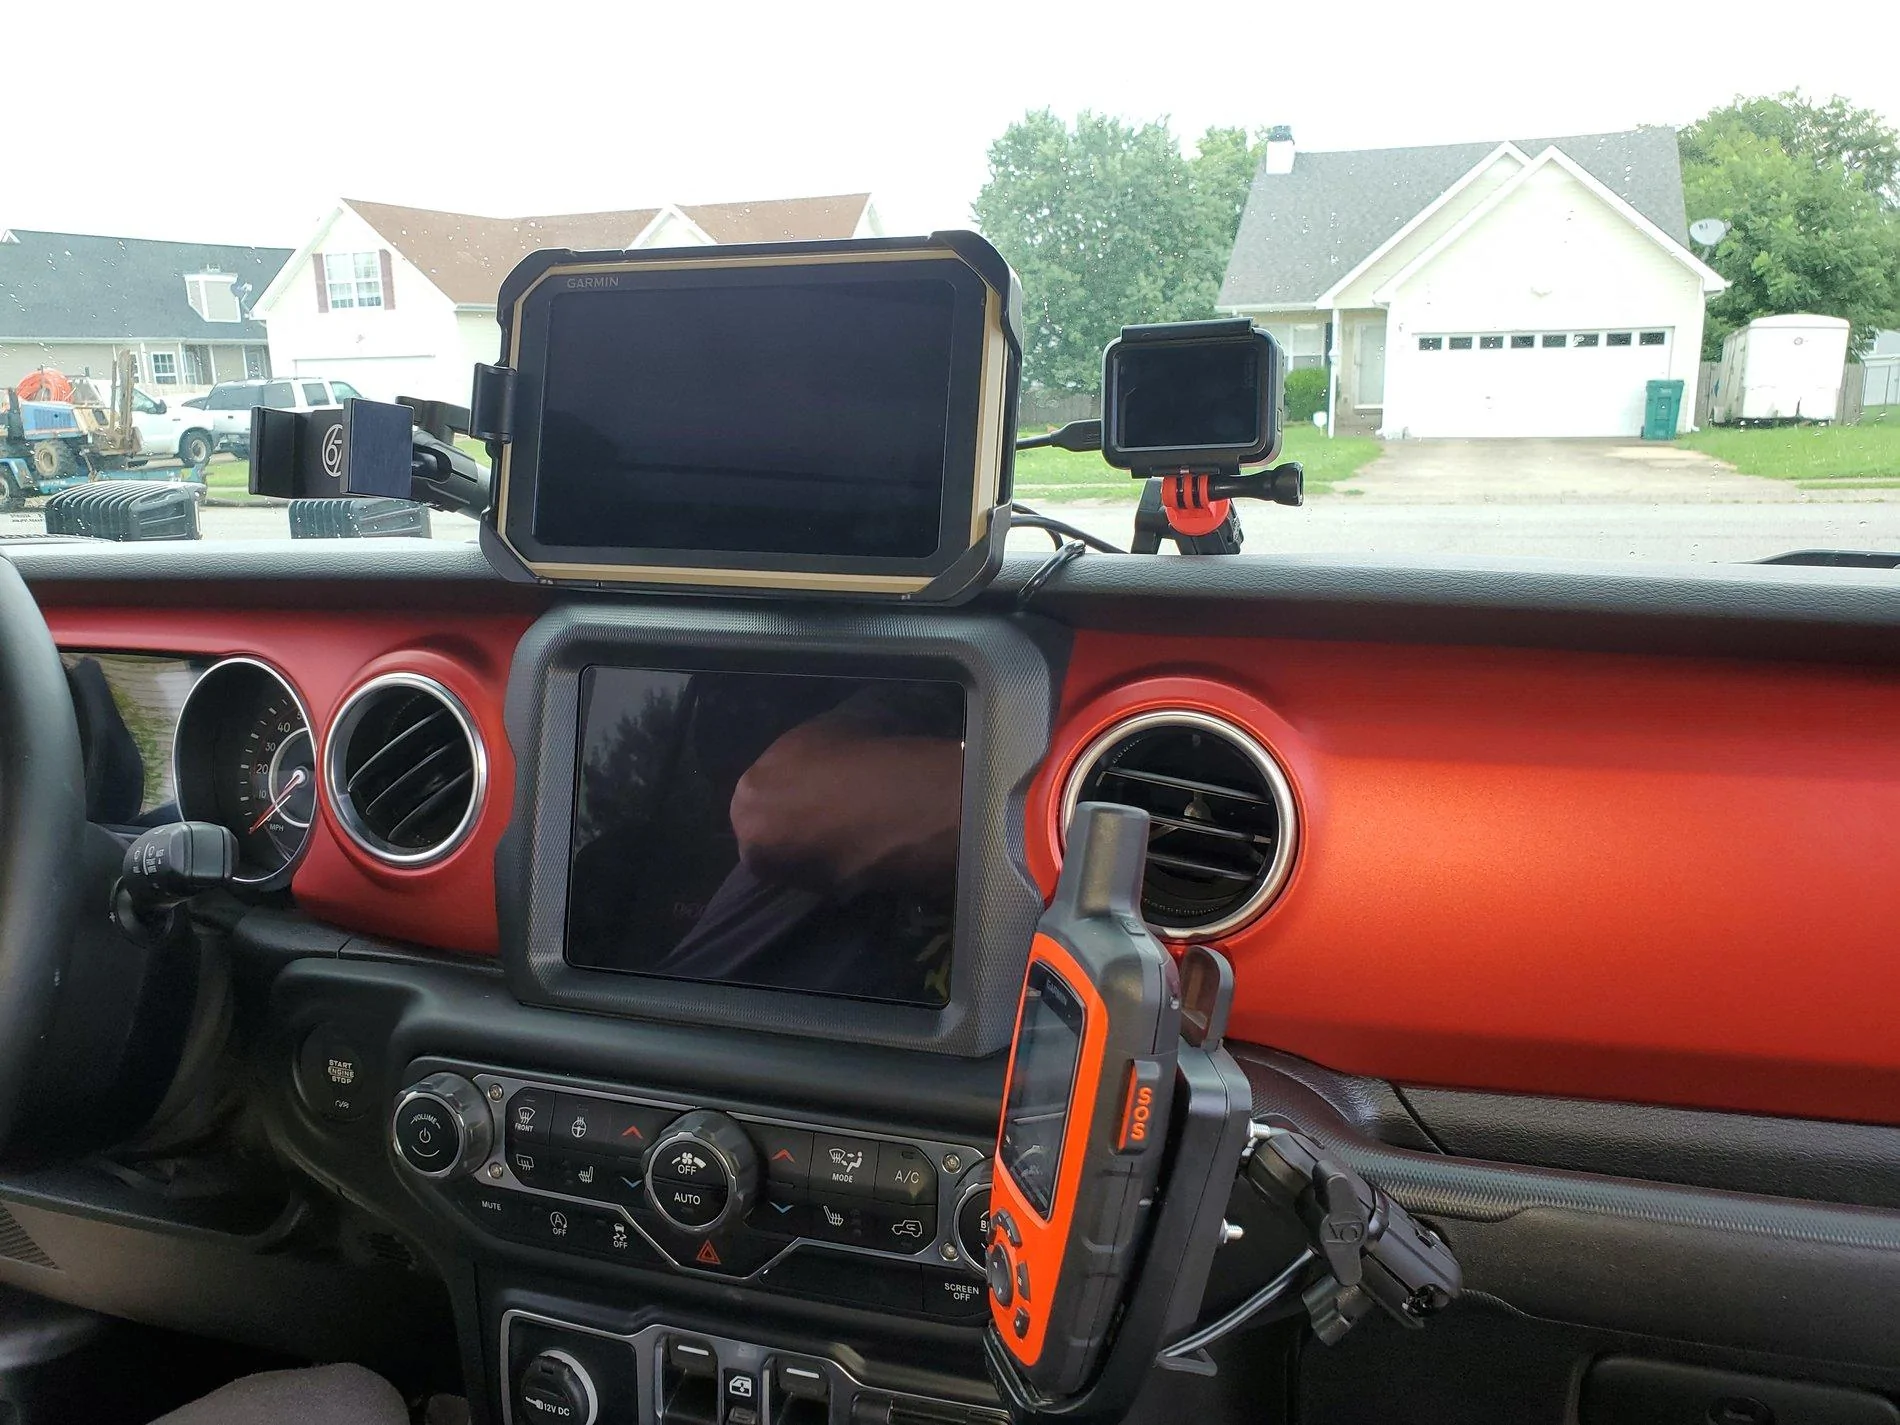
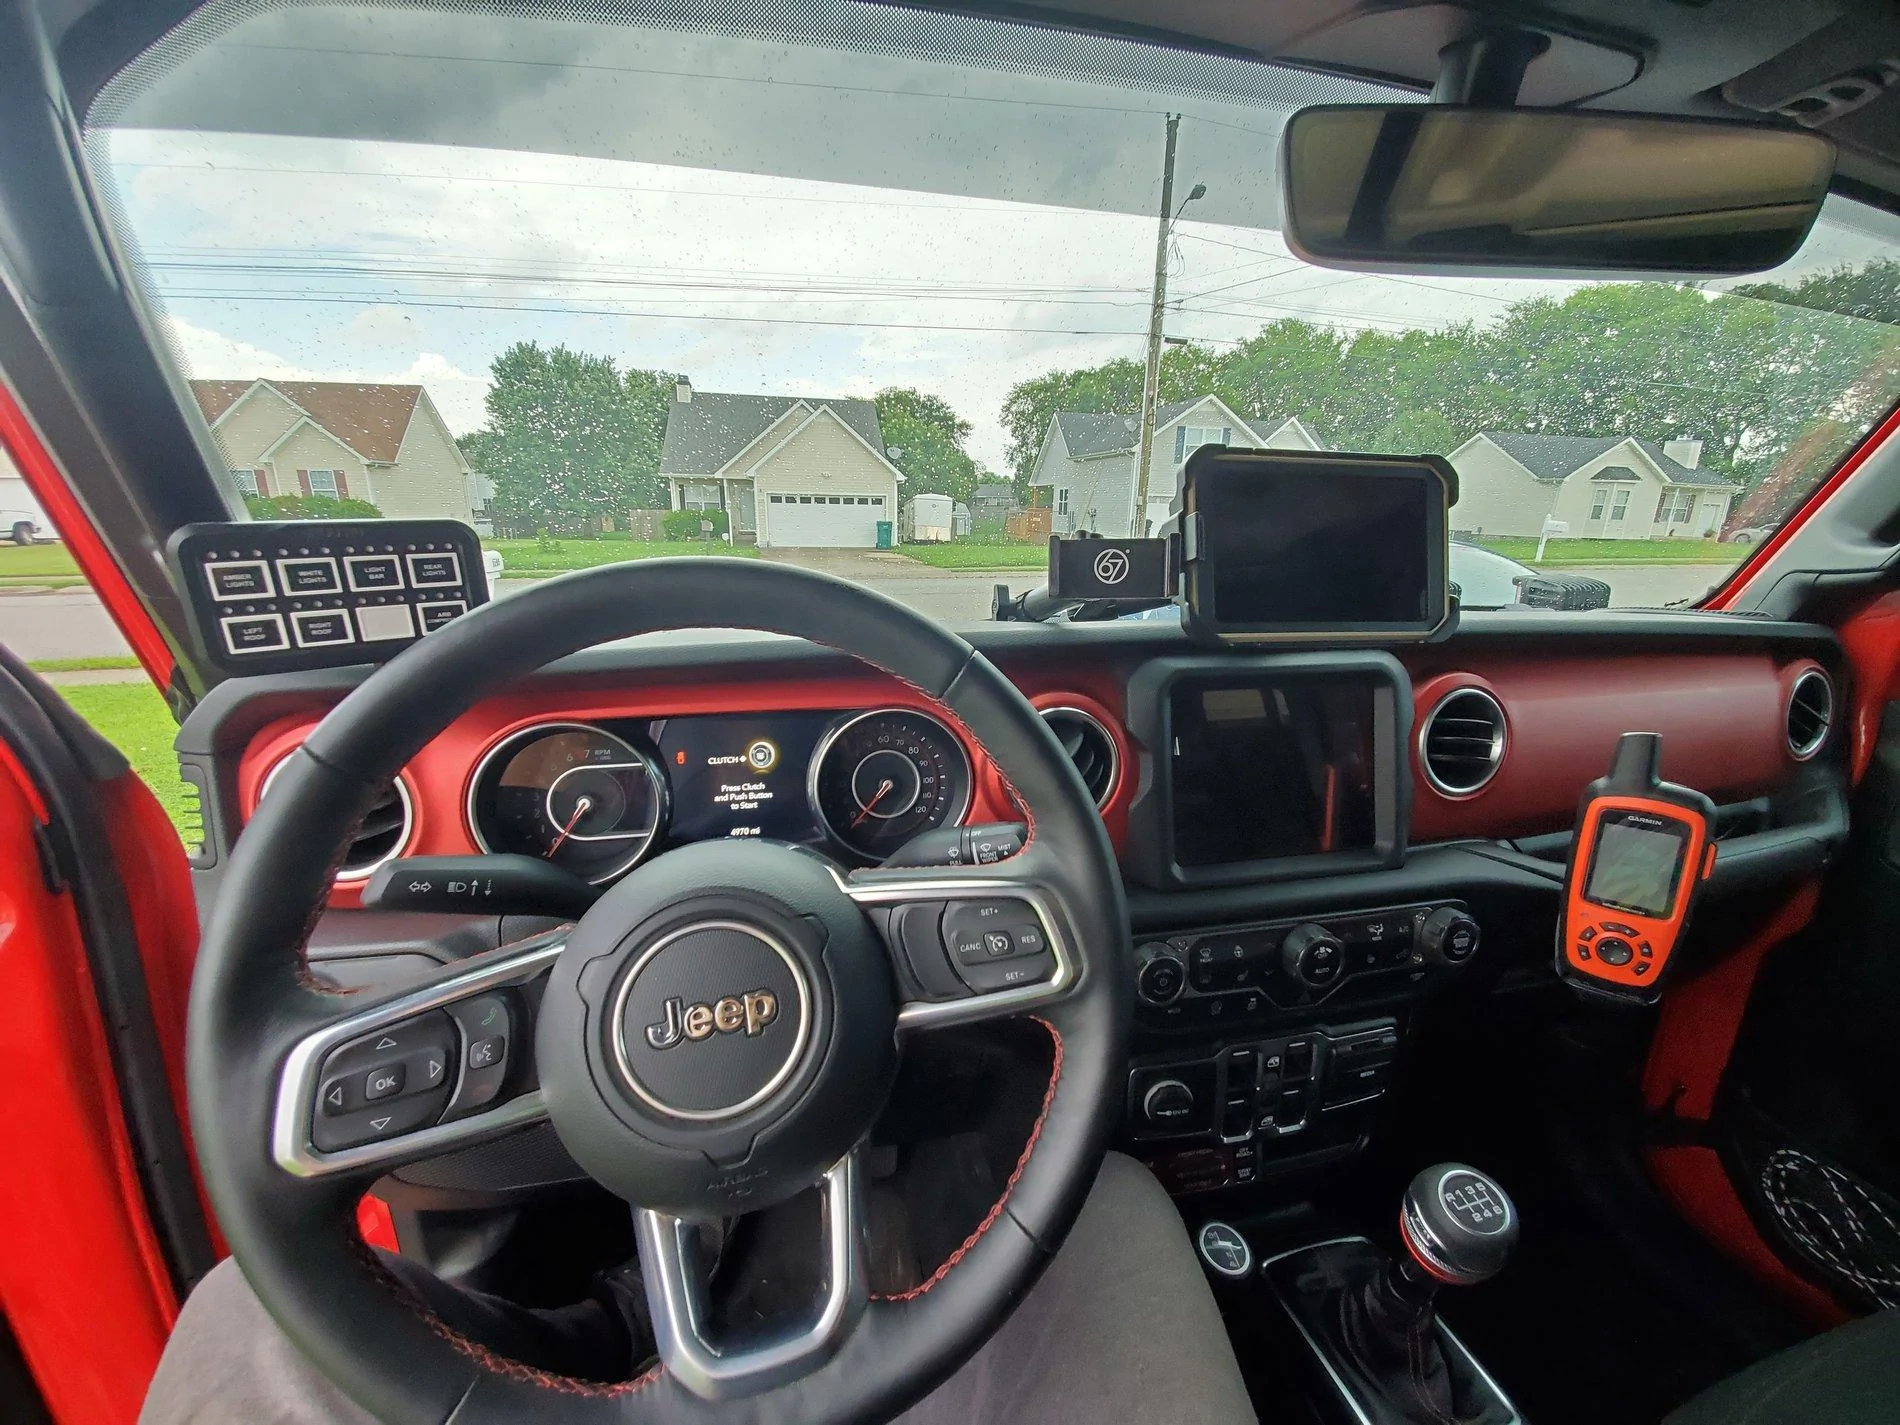
That should just about wrap up my interior mods. The only other interior mod that I have planned is a HAM radio install, but that's pretty low priority since I have my inReach for emergency contact purposes. As usual, more to come!
Sponsored

 
OP
OP
TheHops

TheHops

Well-Known Member
Joined
Dec 23, 2019
Threads
33
Messages
559
Reaction score
823
Location
Nashville
Vehicle(s)
2020 Jeep Gladiator Rubicon
Build Thread
Link
Vehicle Showcase
1
Alright, so...I've decided to go pretty much an entirely different direction in regards to the solar setup. The setup that I originally had planned is still a great idea, in my opinion, and I wouldn't hesitate to point anyone in that direction. With that being said, when I really sat down and started planning out how best to mount the flexible panel to the top of my rooftop tent (which is supposed to FINALLY arrive on Tuesday...super stoked), I kept coming up empty on an option that really worked for me..

-I considered drilling the top of the tent and mounting through the four panel eyelets, but that's a big ouch on a brand new unit of that cost, and I don't want any potential water intrusion issues.
-I considered using a sh*t ton of double sided tape, but there's no guarantee it would hold at high speeds or for long term, and would make eventual removal a pain.
-I considered a high-strength 3M spray on glue, but that would essentially be a permanent solution and if the panel went bad I would be screwed. Either the tent or the panel would be destroyed upon removal.

I toyed around with a couple of other ideas, and combinations of the above, but nothing really sat well with me. So, I threw away the whole idea and came up with what I believe will be a much more elegant and effective solution. I will reuse all of the groundwork that has already been laid, such as the charge controller, wiring and input. I'm actually really excited about the new idea, and can't wait to get to work on it, and to share it here, as I don't believe this solution exists on a Gladiator yet. The mounting solution will be a combination of a (repurposed) existing product, and a bit of light custom fabrication.

Hopefully, I'll have all of the necessary parts by the end of the month. Stay tuned!
 

Gatorized

Well-Known Member
Joined
Sep 13, 2019
Threads
6
Messages
1,663
Reaction score
1,535
Location
ME/NH
Vehicle(s)
ā€˜06 CRV, ā€˜14 Mazda3, ā€˜20 JTR (Gator)
Why not stick with the RTT top but do a temp mount and remove it while traveling and install it when camp is set up. Use bungee cords or glue on steel plates to the roof top and magnets to the solar panel.
 
OP
OP
TheHops

TheHops

Well-Known Member
Joined
Dec 23, 2019
Threads
33
Messages
559
Reaction score
823
Location
Nashville
Vehicle(s)
2020 Jeep Gladiator Rubicon
Build Thread
Link
Vehicle Showcase
1
Why not stick with the RTT top but do a temp mount and remove it while traveling and install it when camp is set up. Use bungee cords or glue on steel plates to the roof top and magnets to the solar panel.
True. That's really not a bad idea. It's not exactly what I'm looking for though, and I figure with something like this I want to do it right the first time.

The goal is to have it be as convenient as possible. Almost mindless to operate. It probably sounds trivial, but I only want to have to utilize the quick-disconnect when switching from expedition mode, back in to daily driver mode--not every time I set up or tear down camp. Pulling the panel out of cargo, climbing up to mount it and routing the cable to the connection (and vice versa) would add an extra 1-2 minutes on each end of camp, potentially in poor weather. Again, I know it doesn't sound like much...but with an iKamper, that'd be doubling to tripling my setup time, and creating a potential problem if I forgot to stow it.

With what I'm planning now, I'd be looking at about an extra 10 seconds of effort on camp set up and tear down to deploy/stow the panels, and they would maintain their quick-disconnect/removability as desired. Also, I'm looking at nearly quadrupling my solar output.

Appreciate the input/ideas!
 
OP
OP
TheHops

TheHops

Well-Known Member
Joined
Dec 23, 2019
Threads
33
Messages
559
Reaction score
823
Location
Nashville
Vehicle(s)
2020 Jeep Gladiator Rubicon
Build Thread
Link
Vehicle Showcase
1
My new RTT finally arrived! Initial impressions are great: Fantastic build quality (feels very solid), great quality on the coating (I went with the "Rocky Black" line-x version), and the packaging was great. I placed my order on August 17th, and it arrived today, October 15th, so they were almost spot on for their estimate of 8 weeks of delay at the time I ordered.

I'll likely be putting up a video walkaround once I actually have a means to mount it. My RSI camper shell is supposed to be in in November, which is what the tent will live on top of, so I'm looking forward to that.

To-do list for the near future, in rough order:
  • Order/Install bed rails in preparation for camper shell
  • Receive/install Frontrunner over-cab rack (I may test fit the tent over the cab prior to the arrival of the camper shell)
  • Finalize/implement solar setup
  • Order over-shell Frontrunner rack
  • Receive and install camper shell
  • Install over-shell roof rack
  • Complete satellite lighting setup/wiring (left facing and right facing underslung white LED flood lights), and roof rack marker lighting (LED amber sides, LED reds rear) install/wiring
  • Rewire dedicated 12v fridge port from behind rear seats to the bed
  • Install Dometic fridge slide
This is the most expensive portion of my build to date, so the mods will likely slow for some time after this. Also, I'll actually get to start using the Jeep for the purpose that I bought it for, so I'll be less concerned with modifying. Once the above list is knocked out, I will be planning several weekend or week long trips to shake down the setup in order to determine if anything is missing.

Stay tuned!

Jeep Gladiator Ares - Build Thread 20201015_155907
Jeep Gladiator Ares - Build Thread 20201015_160137
Jeep Gladiator Ares - Build Thread 20201015_160620
Jeep Gladiator Ares - Build Thread 20201015_160752
Jeep Gladiator Ares - Build Thread 20201015_161946
 

Sponsored

jurfie

Well-Known Member
Joined
Sep 4, 2019
Threads
7
Messages
1,433
Reaction score
1,986
Location
Vancouver, BC
Vehicle(s)
2014 Granite Crystal Metallic JKR; 2016 Daytona Grey Audi A5 Competition Package
Look forward to hearing your impressions of the Skycamp Mini. :like:
 
OP
OP
TheHops

TheHops

Well-Known Member
Joined
Dec 23, 2019
Threads
33
Messages
559
Reaction score
823
Location
Nashville
Vehicle(s)
2020 Jeep Gladiator Rubicon
Build Thread
Link
Vehicle Showcase
1
Look forward to hearing your impressions of the Skycamp Mini. :like:
Oh, I'll definitely be sharing. I've been wanting an iKamper since their early kickstarter days, but couldn't afford one at the time. Being in between builds, I figured now was a good time to sell my trusty old CVT tent of about 5 years in order to upgrade. I'm very excited to start racking up some nights in this tent.
 
OP
OP
TheHops

TheHops

Well-Known Member
Joined
Dec 23, 2019
Threads
33
Messages
559
Reaction score
823
Location
Nashville
Vehicle(s)
2020 Jeep Gladiator Rubicon
Build Thread
Link
Vehicle Showcase
1
No major updates, but I took the tent out today to weather the fabric. I've had it opened in the garage since receiving it, letting it air out. Today is a nice day, so I'm following iKamper's instructions on initial care.

The fabric is a poly-cotton blend canvas, and supposedly achieves peak waterproofing after being soaked and dried three times. As you can see, the fabric is highly hydrophobic. Leaks inside were minimal, mainly through the zipper up top where water pools a bit on the window. With that being said, this is *without* the rain fly installed, which covers the entire top portion. I had to remove it in order to get the fabric wet, and I anticipate zero issues with it installed, which is the configuration that I will run it in 100% of the time.

I really like the fabric itself. Though it doesn't feel quite as durable as my previous tent (a ruggedized CVT), it seems to be much more breathable. Initial impressions are great, and I can't wait to start spending nights in it. I'll continue to update accordingly.

Jeep Gladiator Ares - Build Thread 20201017_104708
Jeep Gladiator Ares - Build Thread VideoCapture_20201017-105701
Jeep Gladiator Ares - Build Thread VideoCapture_20201017-105630
Jeep Gladiator Ares - Build Thread VideoCapture_20201017-105618
 

LancGladiatorGuy

Well-Known Member
First Name
Brad
Joined
Oct 5, 2020
Threads
5
Messages
47
Reaction score
16
Location
Lancaster, PA
Vehicle(s)
Rubicon JLU
Occupation
LEO
It sounded like today was going to be the nicest day for us here this weekend, so I took the time to do some pretty extensive rewiring and engine bay organization.

All of my wires that were ran in to the cab through the door jambs have been pulled, and rerouted through the floor drain holes. Unfortunately, I discovered some nasty leaks associated with that wire routing. The water was not getting through the seals, rather it was using my own wire loom essentially as a waterslide, riding it down through my door, in to my trim, and settling in the carpet. Luckily there was no water intrusion anywhere other than at floor level, but I knew I had to fix that. Truthfully, the drain holes seem to be a much easier route to run. I can't have the plugs in place though, so we'll see how watertight this option is. If it becomes and issue, I may end up drilling paths in the plugs and sealing around the wires with silicone sealant.

Along with rerouting, I reorganized the electronics. I thought it was alright before, but it's much better now.

Before:

Jeep Gladiator Ares - Build Thread VideoCapture_20201017-105618


After:

Jeep Gladiator Ares - Build Thread VideoCapture_20201017-105618

Jeep Gladiator Ares - Build Thread VideoCapture_20201017-105618


More improvements coming!
What are the 2 black switch like boxes next to the sPod in the cleaned up wire pictures?
 
OP
OP
TheHops

TheHops

Well-Known Member
Joined
Dec 23, 2019
Threads
33
Messages
559
Reaction score
823
Location
Nashville
Vehicle(s)
2020 Jeep Gladiator Rubicon
Build Thread
Link
Vehicle Showcase
1
What are the 2 black switch like boxes next to the sPod in the cleaned up wire pictures?
50 amp circuit breakers. One for the sPOD, and one for my 600W inverter in the cab.
 

Sponsored

OP
OP
TheHops

TheHops

Well-Known Member
Joined
Dec 23, 2019
Threads
33
Messages
559
Reaction score
823
Location
Nashville
Vehicle(s)
2020 Jeep Gladiator Rubicon
Build Thread
Link
Vehicle Showcase
1
Big update with my big idea. I call it: The Super Secret Solar Setup, henceforth referred to as SSSS. :rock:

The remaining primary parts for building the SSSS came today. After much research, this is what I've pieced together:

Two Renogy 100W panels, with 20ft 10 gauge MC4 extension cables, and two y-connectors in order to run the panels in parallel (pictured while test fitting for width on the roof).

Jeep Gladiator Ares - Build Thread 20201017_151243


A set of Frontrunner below-rack table slide brackets.

Jeep Gladiator Ares - Build Thread 20201021_181543
Jeep Gladiator Ares - Build Thread 20201021_182749


And a set of slides from a company I found in Australia. Rated for 220 pounds, and designed with fully sealed roller bearings impervious to water, dust and grit.

Jeep Gladiator Ares - Build Thread 20201021_153405
Jeep Gladiator Ares - Build Thread 20201021_154707
Jeep Gladiator Ares - Build Thread 20201021_154831


Perhaps from there, you all can deduce where I plan to take this project: The SSSS is a below-rack (the rack over the cab), 200 watt solar panel slide, on a quick-release mechanism. These panels will be bolted together in the middle in order to make them a single rigid panel. Those will then be bolted to the slides on each side, which is then bolted to the Frontrunner table brackets, which will finally bolt beneath my (soon to arrive) Frontrunner roof rack, between the rack and the roof. The panels will be held in place by a Frontrunner locking mechanism that can be padlocked when not in use.

I was able to test fit and measure all of these components today, and with the resulting measurements I'm confident that I can make it work, so here are my findings.

According to Frontrunner, the available space between mounting feet is approximately 46 1/4". At the widest points, my setup is 45 3/4" on the dot. Length isn't much of a factor, as there is plenty of space, but it is approximately 41 1/2" from front to rear. Height comes in at well under 2 inches, so they will slot beneath the rack just fine.

Jeep Gladiator Ares - Build Thread 20201021_182405
Jeep Gladiator Ares - Build Thread 20201021_182449
Jeep Gladiator Ares - Build Thread 20201021_182514


Fitment was my primary concern, and with these measurements well within spec, I don't foresee any issues now. As far as function, I will have them pull out forward, over the windshield/hood in order to maximize distance from the tallest object on the Jeep (the RTT at the rear). They should also throw a bit of shade and help to keep the cab a bit cooler. At 14 pounds a piece, supporting the panels with minimal flex at full extension, on slides rated for over 200 pounds at half extension, should work out just fine. With current measurements, I expect the panels to be within 3" from flush with the front of the roof rack, so at full extension I should get about 93% panel exposure with the sun directly overhead. That is more than enough power to keep my battery topped off running a fridge 24/7, charging gear, and using lighting at camp at night.

I suck at drawing, and photoshop, otherwise I'd work up a concept. I have never seen this setup on a Jeep before though, so I'm excited to implement and test it. I've seen something similar on utes out in Australia, but not exactly like this. I think this will work out much better for me than my initial idea of mounting on the RTT.

Here's everything laid out together and in place. This is looking at the left side of the assembly (slide out to the top left of the picture, with cords routed towards the back of the vehicle to the right of the picture).

Jeep Gladiator Ares - Build Thread 20201021_182545


I have a lot of hardware to pick up this weekend so that I can start getting things buttoned up ahead of the arrival of the roof rack. I'll update again once I have a working slide!
 
Last edited:
  • Wow
Reactions: N83
OP
OP
TheHops

TheHops

Well-Known Member
Joined
Dec 23, 2019
Threads
33
Messages
559
Reaction score
823
Location
Nashville
Vehicle(s)
2020 Jeep Gladiator Rubicon
Build Thread
Link
Vehicle Showcase
1
Progress update--I have a working solar slide! Well, sort of. All modifications are complete and it is assembled as intended, but I won't actually be able to truly test it until my roof rack comes in and I am able to mount it, because the whole assembly basically floats in between the outermost rails, so they need to be fixed in place for it to operate. I did a rough test last night by holding the assembly up, maintaining inward pressure (essentially bear hugging the whole thing) and having someone pull the solar panels outwards, and it worked just fine, so there shouldn't be any issues once it is properly mounted.

Nothing crazy needed to be done as far as modifications. The only hiccup was experienced off the bat, where there was insufficient clearance on the back side of the solar panels to line up my nyloc nut. To get around that, I had to drill a larger "access hole" in the side of the panel just beneath each mounting hole. The holes aren't visible anyway with the slide brackets bolted to the panels, so not a huge deal there.

I started off by drilling and attaching the inner portions of the slide assembly to the bottom of the panels. I lined up all of the pieces, and just marked with a paint marker, drilled a small pilot hole, then hit it with a larger bit to accommodate the stainless steel hardware I picked up. The panels are aluminum, so I used stainless hardware everywhere in an effort to limit corrosion.

Jeep Gladiator Ares - Build Thread 20201023_195822
Jeep Gladiator Ares - Build Thread 20201023_215913


Once that was done, I drilled out the Frontrunner table slide to bolt up the outer portion of the slide assembly. This was simple, as the two slotted together nicely. Just like before, a quick hit with the paint marker and I started drilling.

Jeep Gladiator Ares - Build Thread 20201023_224416
Jeep Gladiator Ares - Build Thread 20201023_224423
Jeep Gladiator Ares - Build Thread 20201023_230112
Jeep Gladiator Ares - Build Thread 20201023_230122


The last phase was bolting the panels themselves together in the middle. From the leading edge of the panel, I measured every 6" out to 36", and marked the side of the panels centerline, to accommodate 6 stainless bolts. The panels are, maybe, 2-3 mm from flush, so I'll probably end up pulling the bolts out, and drilling the holes out slightly larger to give it that extra bit of adjustability. It won't limit the function at all, but just knowing it's there will bug me, I know.

Jeep Gladiator Ares - Build Thread 20201023_234612
Jeep Gladiator Ares - Build Thread 20201024_004137


All in all, I'm very pleased with how it turned out. I'll probably end up affixing some small rubber stoppers/isolators either at the rear inside of the tracks, or a single larger one up front, because based on measurements I'm expecting the front of the panels to be about 3 inches away from flush with the front of the rack, and I need it more or less flush so that I can lock/isolate the panels while driving. I will wait until my rack arrives though to make that adjustment. I'm looking forward to getting it mounted up for an actual test run next month when my rack arrives.
 

WMWHV

Well-Known Member
First Name
Matt
Joined
Nov 25, 2018
Threads
24
Messages
275
Reaction score
279
Location
Houston, TX
Vehicle(s)
2021 Gladiator Rubicon EcoDiesel, 1947 Willys CJ2A
Build Thread
Link
Warning: Picture heavy post.

As indicated by my last post, I expected my cockpit to be next in the pipeline. Well, all of the remaining parts arrived today, so I got straight to work.

Jeep Gladiator Ares - Build Thread 20201024_004137


My vision was to have a customizable, centralized yet low profile "command center" that would incorporate my phone, an *actual" GPS (with off road maps), and my personal SOS beacon (which also has trail and topo maps). I also wanted a mounting solution for my GoPro to film trail runs. With all of these devices, I didn't want a spaghetti monster of cords, so having a hidden USB hub in the vicinity of the devices was also a must. That is the main reason why I opted to go with the mounts that I did, being that they retain a portion of the recessed top cubby. After months of planning, I put together the following:

Devices (I've owned most of these for some time now):
-Phone
-Garmin Overlander
-Garmin inReach Explorer+
-GoPro Hero 7 Black
-USB charging hub (Disclaimer: I goofed and ordered an AC input/DC output hub instead of a DC input/DC output hub. I already have a compatible replacement on the way, but I will go ahead with the how-to as proof of concept)

Also, a previously installed sPOD HD panel, which is pictured in the final wide angle shot, rounds out my "command center" devices. Install is not covered in this post. Also, I purchased a pre-made harness that allows for a 10a fused circuit piggybacked off of the 12v port.

Hardware:
-CMM grab bar 20mm ball
-67d small arms x2
-67d nano arm
-67d diamond plate
-67d amps plate
-67d GoPro mount
-67d universal phone clamp
-Bulletproof driver side dual 20mm ball mount
-Bulletproof passenger side single 20mm ball mount

Another CMM mount (A pillar 20mm ball mount) and another 67d nano arm support the sPOD HD panel.

Jeep Gladiator Ares - Build Thread 20201024_004137


To get started, I installed a locking case on my Garmin Overlander that adds stability and offers a bit of protection, and allows me to hard mount it to the 67d diamond plate. I also swapped out the backing on the charging cradle for my inReach.

Jeep Gladiator Ares - Build Thread 20201024_004137


With that bit of prep work out of the way, I placed the Bulletproof mounts to determine how much space I had to work with. I determined that I was going to use the small left side indent as an ingress point for the USB hub wiring.

Jeep Gladiator Ares - Build Thread 20201024_004137


Before drilling, I wanted to make sure things were clear behind the dash, so I started popping panels. This was much easier than I expected. If you are unsure, Google the how-to for the JL for a step-by-step in real time. The down and dirty though, is to start with the panel with the AC controls. It is completely held in place by clips. I started with a plastic trim tool nearest to the passenger grab bar, and worked my way across the top to the push start button. Once you have that out of place, you can work on the radio. I have the upgraded radio, but I imagine it is similar for the 7" system. There are two screws at the base of the radio to remove, that will allow you to peel off the radio surround trim, which is also held on by clips.

Jeep Gladiator Ares - Build Thread 20201024_004137


Once those are undone and the trim is removed, you will see four screws at the corners of the radio. Undo these, and the radio will pop loose.

Jeep Gladiator Ares - Build Thread 20201024_004137


Once behind the radio, I was able to see my ingress point. It appeared to be safely away from all obstructions, and was not blocked by the radio when in place.

Jeep Gladiator Ares - Build Thread 20201024_004137


At this point, I decided to remove the freedom panels and drop the windshield in order to give myself more room to work, and so that I could drill straight downward. I used a dremel and a small bit to drill out and gradually widen the hole until the clipped USB hub wires fit snugly through. I used a small cardboard box that one of my 67d parts came in to catch all of the plastic shavings, then I hit the top side with a shop vac. The result is fairly clean, and would be easily covered by the Mopar insert if taken back to stock.

Jeep Gladiator Ares - Build Thread 20201024_004137


Having completed that, it was time to work on the lower part of the dash and get my piggyback harness up behind the radio. The lower dash (with the window controls) is held in place by a single screw, and numerous clips. Once this screw is undone, gently pry on the upper corners with your fingers and it will pop out of place.

Jeep Gladiator Ares - Build Thread 20201024_004137


Once that is out of the way, look directly behind the 12v port and identify the plug. Pinch against the blue clip, and remove the OEM harness.

Jeep Gladiator Ares - Build Thread 20201024_004137


With the purchased harness (I found them on both Amazon/Quadratec for $30, plus or minus a few bucks) plug in the appropriate piece to the OEM 12v from where you just removed the stock plug, and plug the stock piece in to the splitter on the purchased harness. In the picture below, the left piece (OEM harness) plugs in to the right piece (splitter on the purchased harness).

Jeep Gladiator Ares - Build Thread 20201024_004137


After that take the free end, and route it up behind the radio, and pull through. It was a bit tight for my ham hands, but not too bad once you find the route. After that, I turned on the ignition and I hit it with my multimeter to make sure everything was good.

Jeep Gladiator Ares - Build Thread 20201024_004137

Jeep Gladiator Ares - Build Thread 20201024_004137


At this point, you would strip the positive and negative wires on the USB hub, insert it in to the corresponding opening on the purchased harness, and tighten down the clamps for a solid connection. I did not do this, because it was at this point that I realized that I did not have the appropriate hub. I will fix this next week when my new hub comes in. Once that is complete, make sure all wires are tucked safely away from pinch points, and you are good to reinstall all of the trim. Don't forget to reinstall all of the screws (again: one for the lower dash piece, four for the radio, two for the radio trim)! At this point you may have two extra screws if you undid the ones in the top dash cubby. They are all identical, so don't worry about mixing them up (can't speak for the 7" radio screws, but I assume they are also the same).

The rest is just setting up your devices how you like. The following is my personal setup.

I started off by installing my inReach on the passenger grab bar, on the CMM 20mm ball and a 67d nano arm with a 67d amps plate backing on the Garmin charging cradle. Before I finally buttoned up my trim, I routed my charging cradle wires partially behind the trim. It was snug, but did not interfere with the form or function of anything.

Jeep Gladiator Ares - Build Thread 20201024_004137


After that, I began attaching arms and mounts to the Bulletproof bases up top. For the ball mounts, from left to right, I have a 67d small arm with the universal phone mount, a 67d small arm attached to a 67d diamond plate attached directly to my Garmin Overlander case, and a 67d GoPro mount that mounts directly to a 20mm ball. This is the final result with everything installed (minus the phone that I was taking pictures with, but you get the idea).

Jeep Gladiator Ares - Build Thread 20201024_004137

Jeep Gladiator Ares - Build Thread 20201024_004137


And here's a bonus picture of the field of view from the GoPro. I expect it'll create some awesome hyperlapses of my adventures.

Jeep Gladiator Ares - Build Thread 20201024_004137


I'm very happy with the end result. The final picture was taken a bit low to highlight the devices. At my height, line of sight is minimally impacted. This may not be the case for a shorter driver. The GPS blocks my right side hood vent when in a relaxed driving position, but the entirety of the road is still visible. Along with that, all wires are clean and out of sight, and all devices (will be, once I install the new hub) are wired to charge off of the ignition, and sleep when not powered by the vehicle.

This was sort of both an update, and a how-to for a solution that I've seen minimal posts on. I may try to cross post it to the how-to section. Feel free to reach out with any questions if any of you have something similar in mind.

P.S. / In other news, I pre-ordered the RSI Smart Cap, so come October/November, as of right now, that will be the direction my build is going in as far as supporting my sleep and storage setup.
Very nice setup. I like the USB charging hub that lays flat and wonder why you went with the vertical option. Did you need the extra 2 ports? I am looking for the Ravpower unit that lays flat since 4 ports will meet my needs and canā€™t find one. Do you have a model number I can search on? I am thinking I want mine always on and may run it from the hot wire under the glove box.
 
OP
OP
TheHops

TheHops

Well-Known Member
Joined
Dec 23, 2019
Threads
33
Messages
559
Reaction score
823
Location
Nashville
Vehicle(s)
2020 Jeep Gladiator Rubicon
Build Thread
Link
Vehicle Showcase
1
Very nice setup. I like the USB charging hub that lays flat and wonder why you went with the vertical option. Did you need the extra 2 ports? I am looking for the Ravpower unit that lays flat since 4 ports will meet my needs and canā€™t find one. Do you have a model number I can search on? I am thinking I want mine always on and may run it from the hot wire under the glove box.
Thanks!

The only reason I went vertical is because I couldn't find a 4-port (or similar sized) DC hub. The Ravpower one was great, but unfortunately it was incompatible because it was AC input. In hindsight though, the vertical mount isn't bad, and makes it much easier to actually plug and unplug devices. It's a tight squeeze back there. Either way, the extra 2 inches or so of height by going vertical is honestly negligible to me personally, and can't be seen by the driver or passenger, or really even from outside of the vehicle unless you climb up on the hood.

The upside is that if I eventually do find one, or if this one fails, all of the ground work is done and I can likely just swap the hub while using the same wiring.

If you're still interested in it, here is the original Ravpower hub that I used:

https://www.amazon.com/dp/B018S6X92I/ref=cm_sw_r_cp_apa_fabt1_-Z4QFb1PBG9W0?_encoding=UTF8&psc=1
 

WMWHV

Well-Known Member
First Name
Matt
Joined
Nov 25, 2018
Threads
24
Messages
275
Reaction score
279
Location
Houston, TX
Vehicle(s)
2021 Gladiator Rubicon EcoDiesel, 1947 Willys CJ2A
Build Thread
Link
Thanks!

The only reason I went vertical is because I couldn't find a 4-port (or similar sized) DC hub. The Ravpower one was great, but unfortunately it was incompatible because it was AC input. In hindsight though, the vertical mount isn't bad, and makes it much easier to actually plug and unplug devices. It's a tight squeeze back there. Either way, the extra 2 inches or so of height by going vertical is honestly negligible to me personally, and can't be seen by the driver or passenger, or really even from outside of the vehicle unless you climb up on the hood.

The upside is that if I eventually do find one, or if this one fails, all of the ground work is done and I can likely just swap the hub while using the same wiring.

If you're still interested in it, here is the original Ravpower hub that I used:

https://www.amazon.com/dp/B018S6X92I/ref=cm_sw_r_cp_apa_fabt1_-Z4QFb1PBG9W0?_encoding=UTF8&psc=1
The fact that it is AC explains everything. I could not find anything that was 12 volt. I have a number of packages due for delivery today and tomorrow and hope to take this project on over the weekend. My present plan (subject to change as I test mount everything) is to use a relatively flush two outlet USB power hub on top of my proclip mount on the dash, then use a four outlet cigarette lighter hub in a lighter socket on the side of the center console on the passenger side. Once I have it all set up, I will post photos on my build thread.
Sponsored


Top