JonMN
Well-Known Member
- Thread starter
- #1
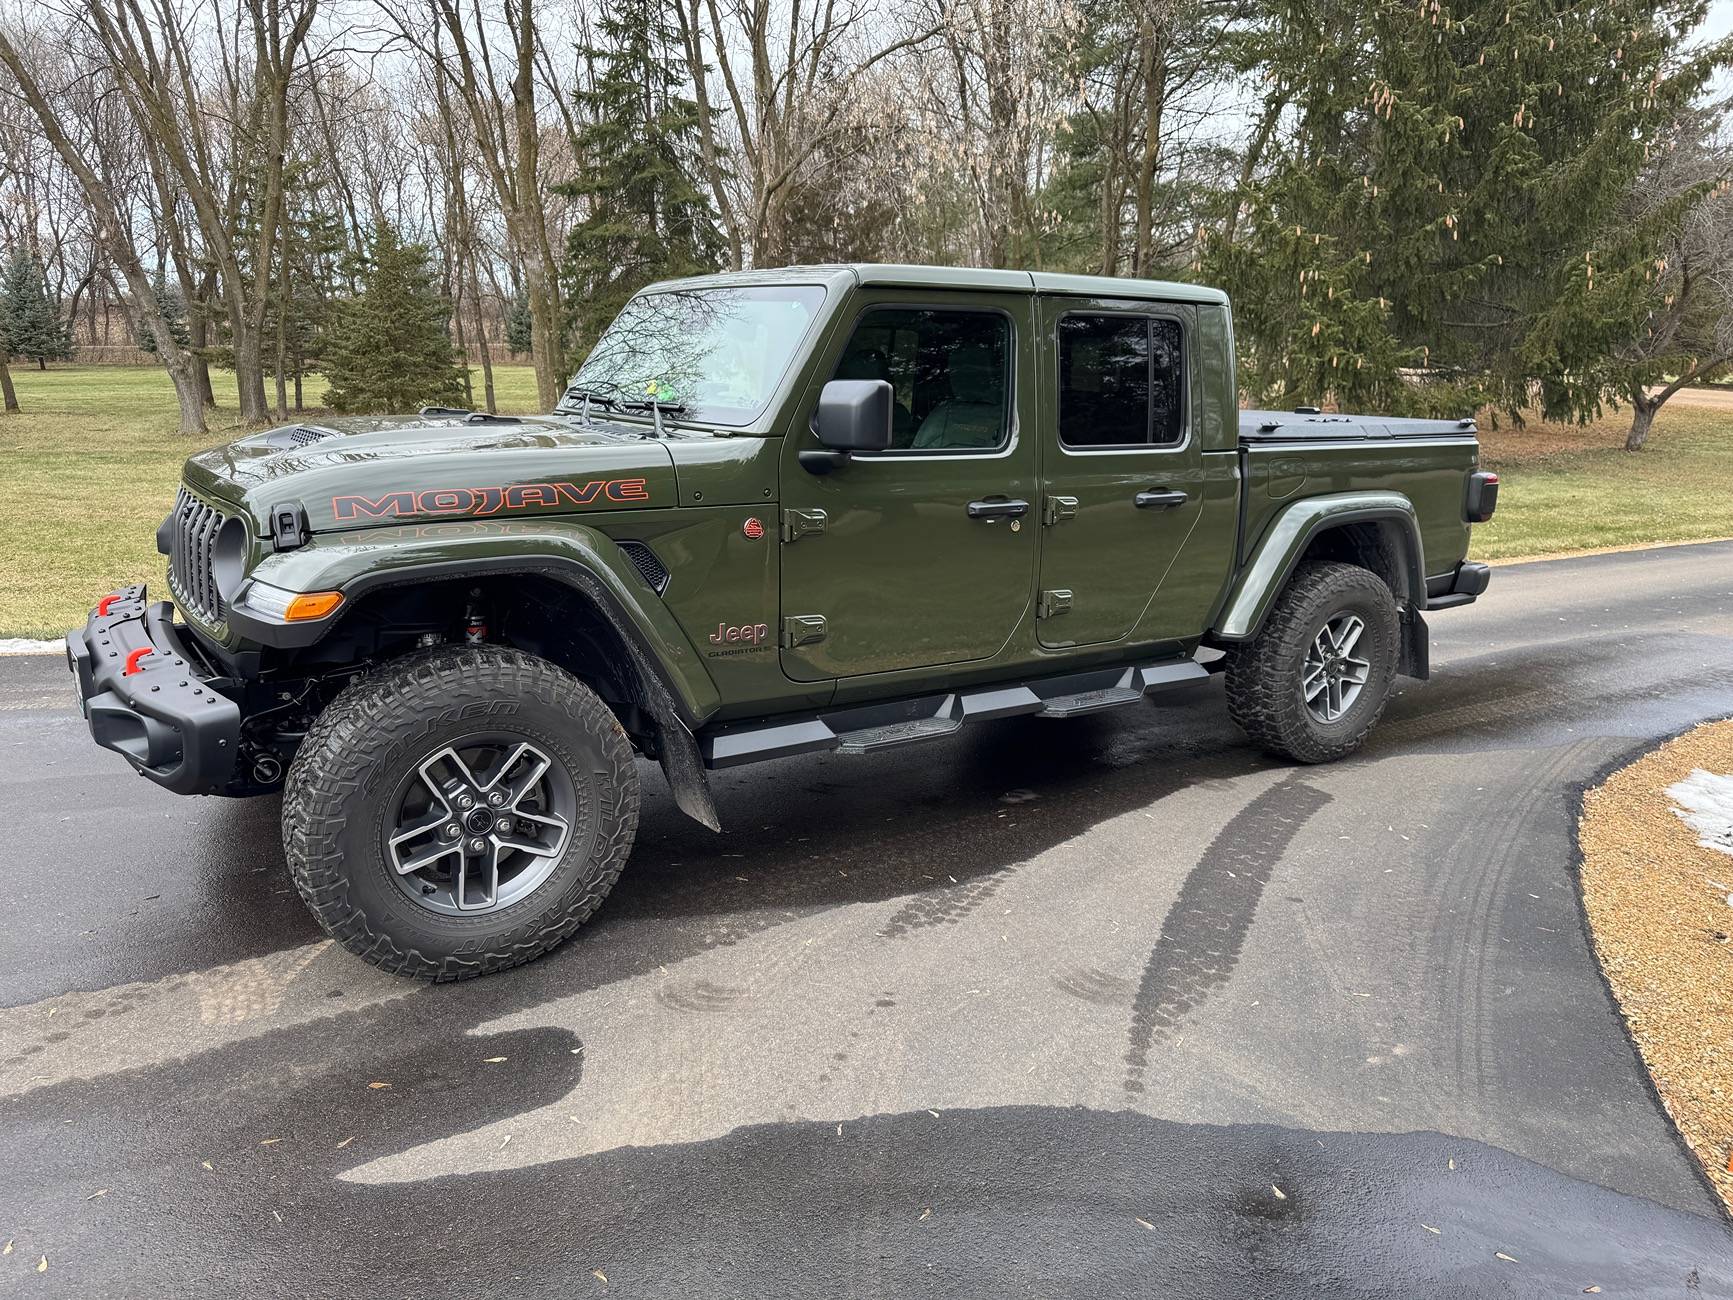
Well, after months of considering the alternatives, I went with a Diamondback SE for my JT. Thanks to the forum members that answered all of my questions! Also considered folding and retractable options, but I was attracted to the simple design and access to both front and back of the bed. We also have a 20 year old F150 sitting around when full access is needed. A 5 by 10 open trailer in the barn too.
Summary: Install took a while, but I reallly like it. More details below, and a few tips.
Bed Rail Shims: As you might have heard, this is the most annoying part. I stand in awe of the ones that removed the existing caps without breaking any tabs! I took the easy way of pre-purchasing replacements. Even so, it was a pain. But a one-time pain. I used this one-time event to Woolwax the open cavities in anticipation of my poor JTs first salty Minnesota winter.
Bulkhead Weatherstrip: The IFUs imply installing this first. In retrospect, I would have installed it last as I would know exactly where the front of the cover would have ended up. No big deal, but just an idea if you purchase one.
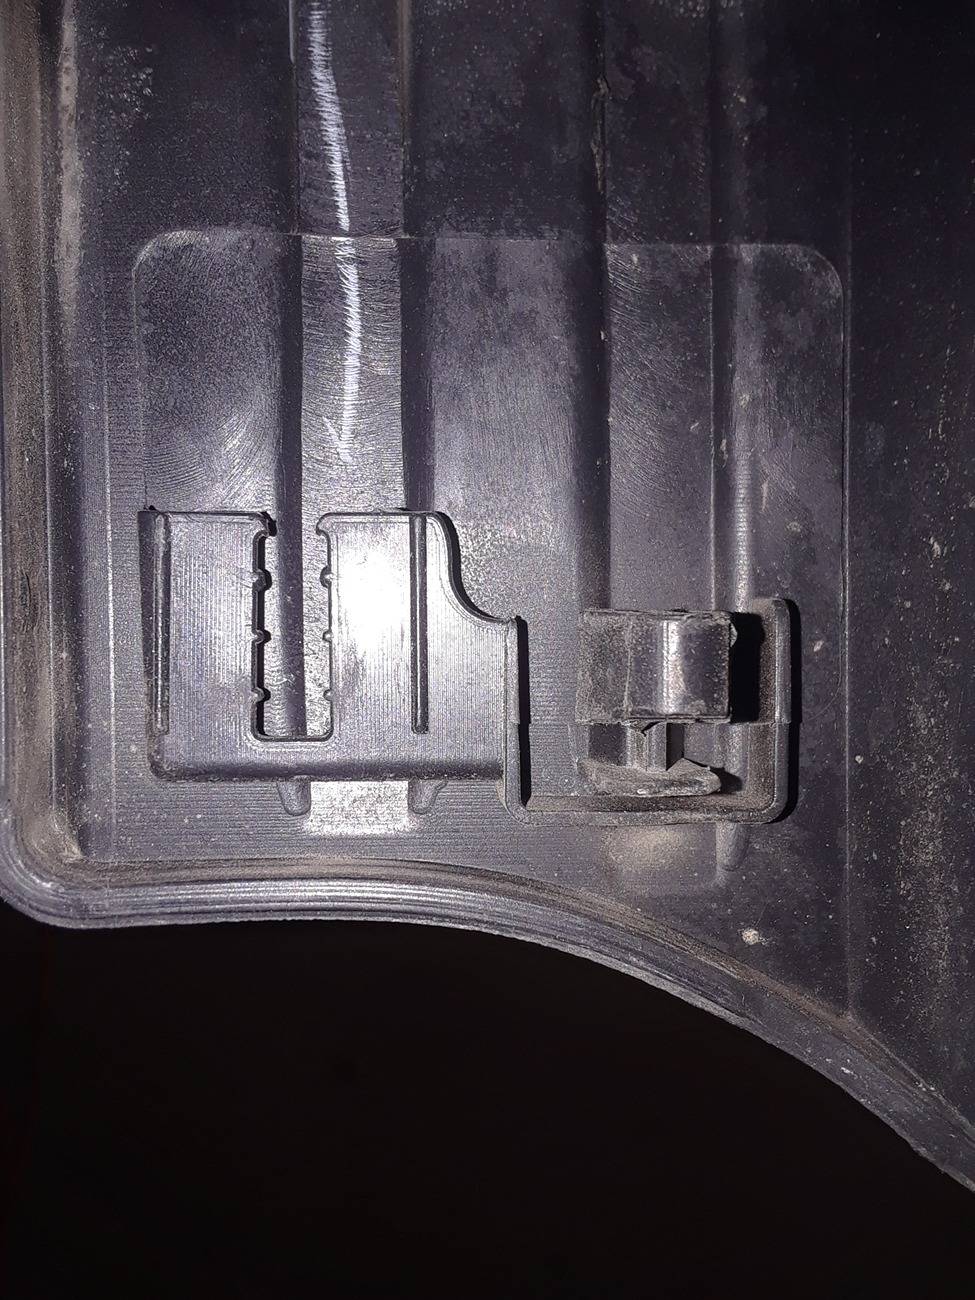
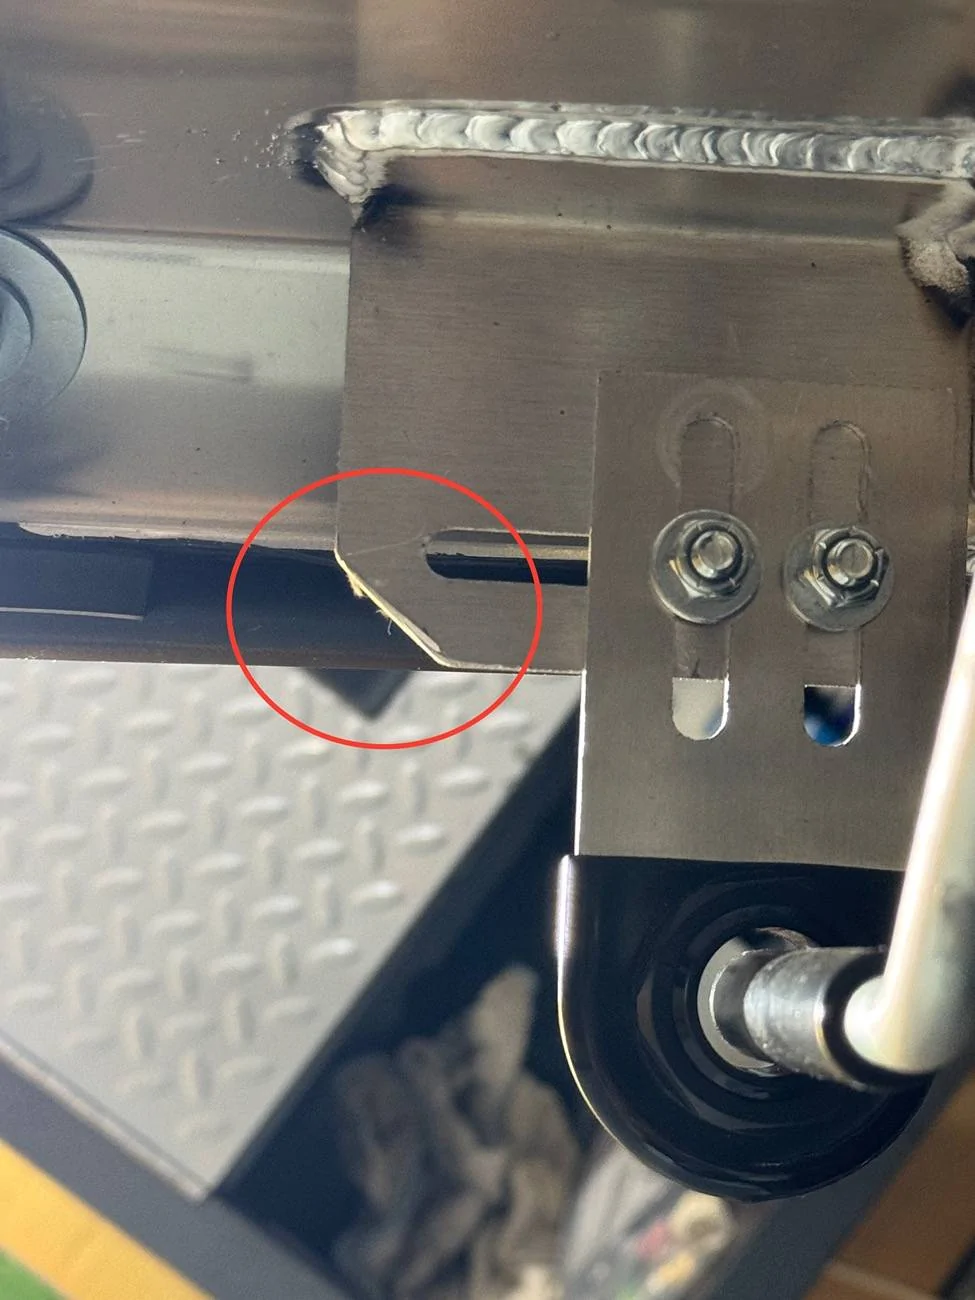
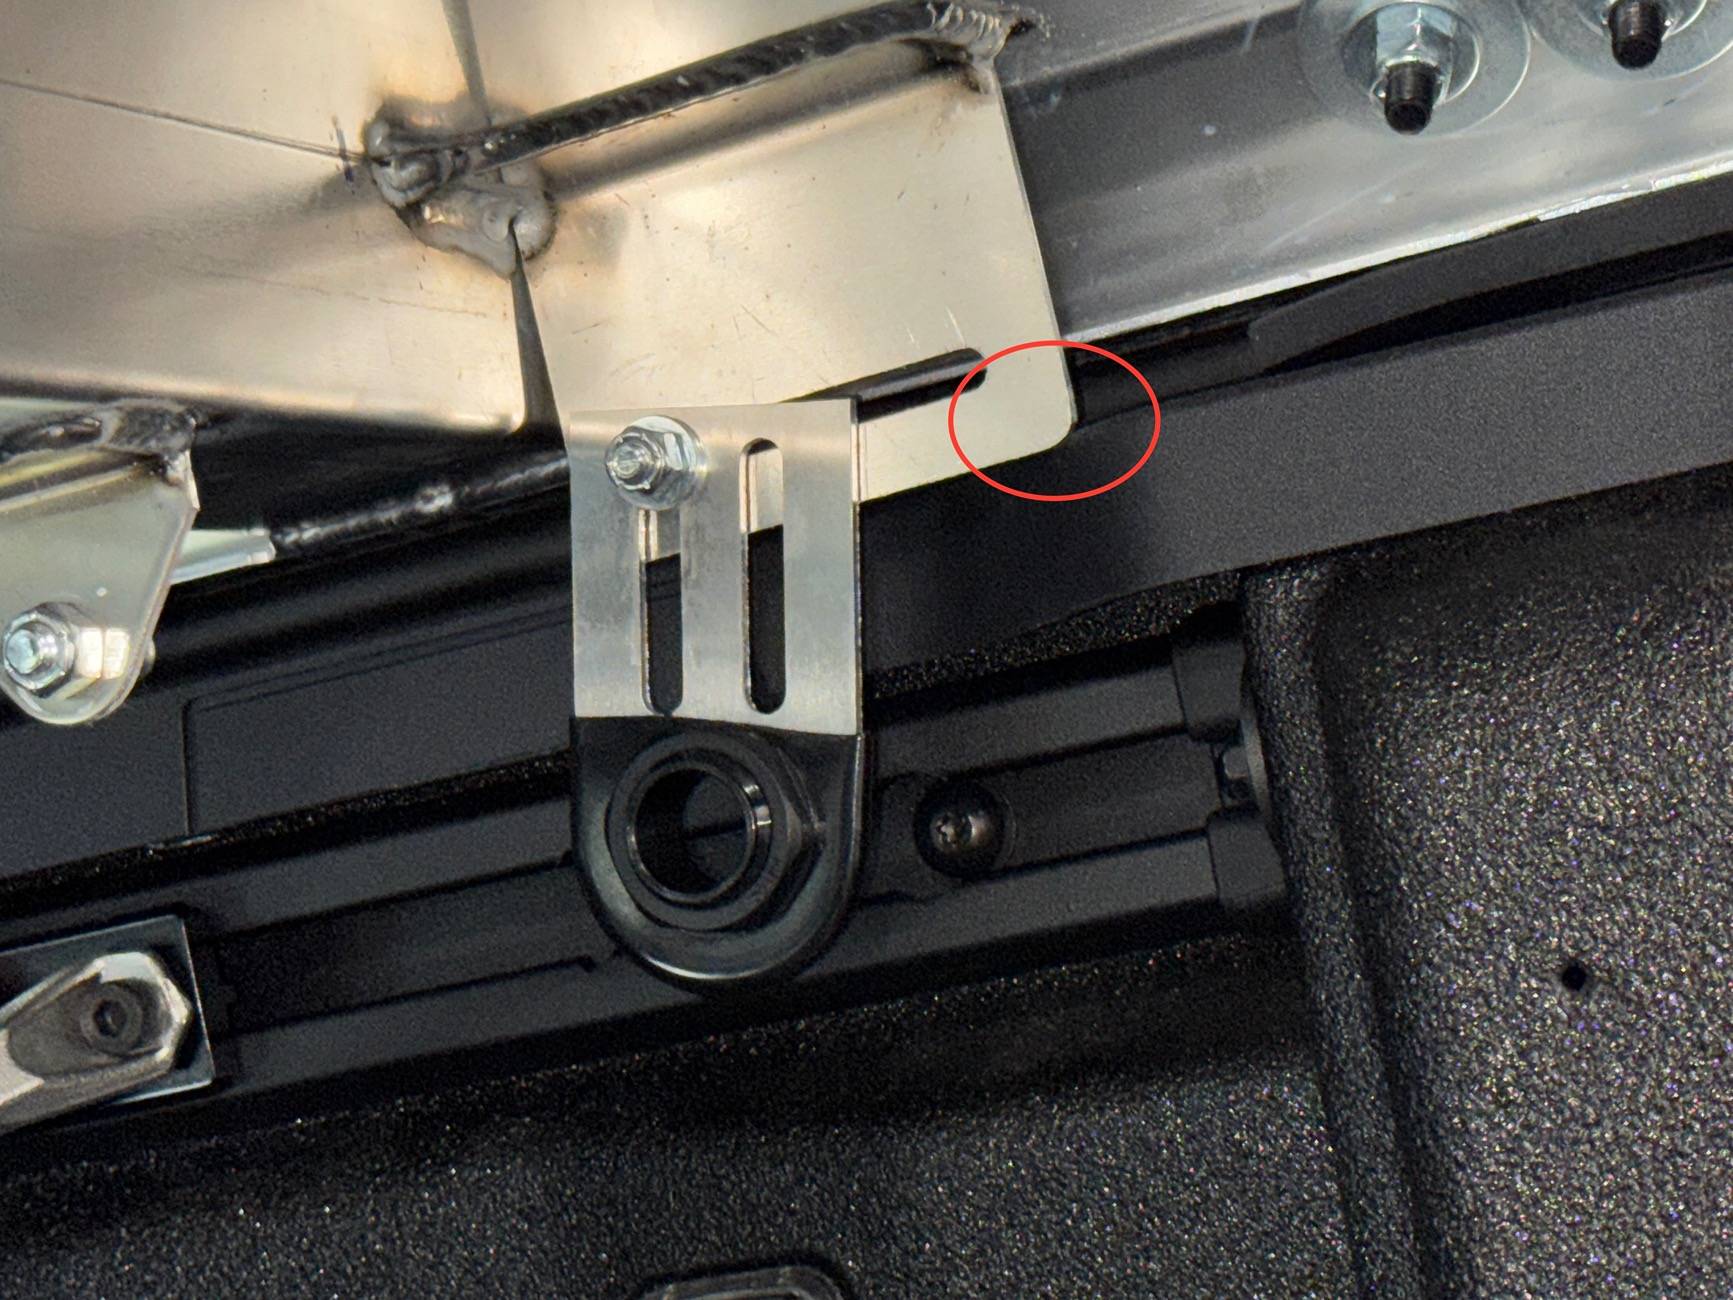
Location: I spent a lot of time measuring the spacing and tweaking it around. Probably not needed. When I measured multiple times and was happy with it, I had a little interference with the back lock rod bracket. It contacted the bed rail cap on one side. Not sure why--I checked the mounting of the bracket on the cover and it was identical on both sides. When I moved the cover enough to clear, I was not happy with placement. So I just ground down the bracket a little. (Out of principle, I did both sides.) Here are a couple photos. First one as-is, second is after tweaking (but before I filed off the burs).


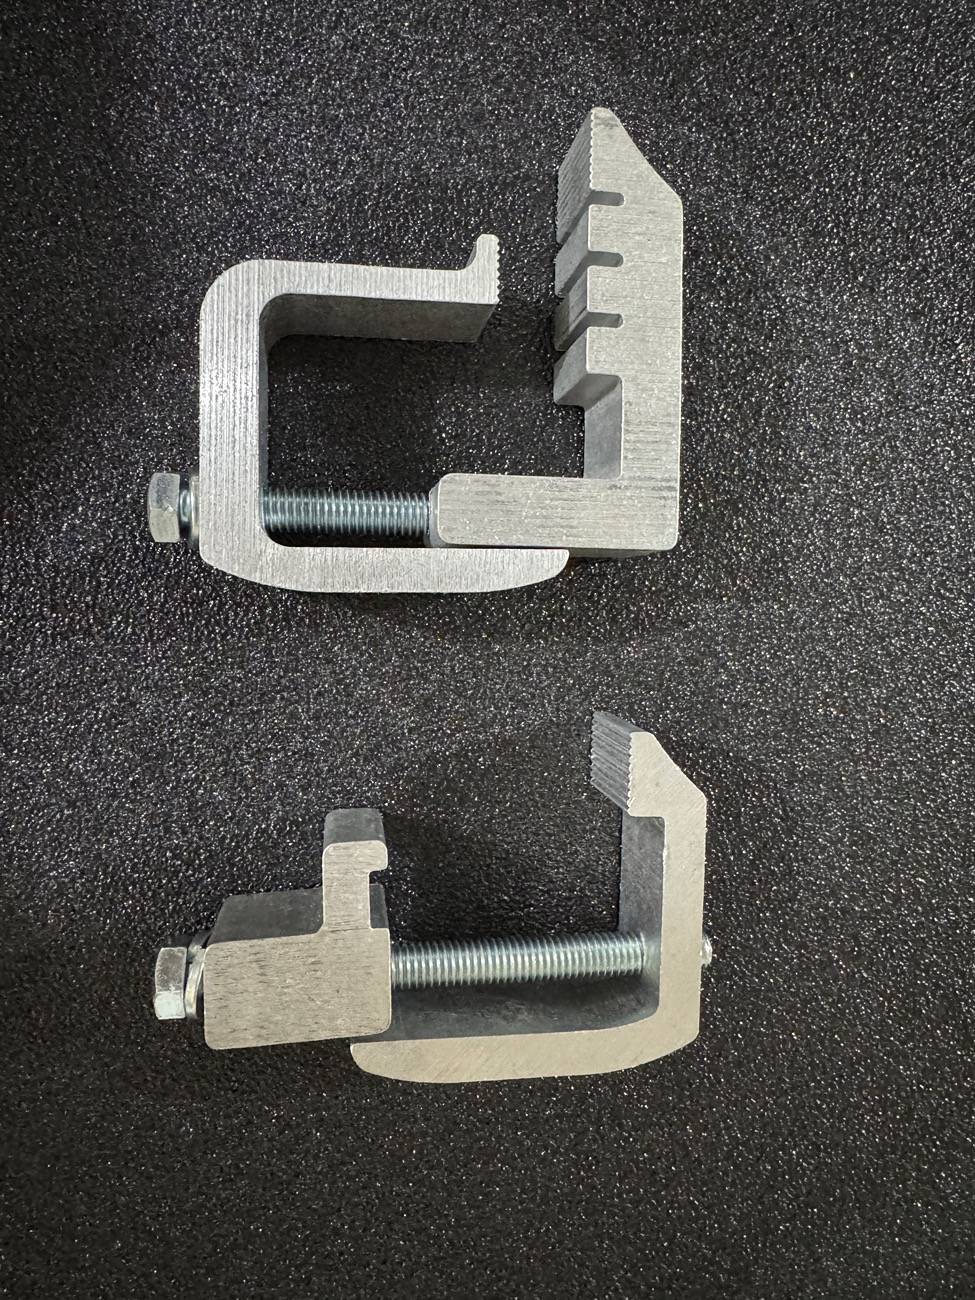
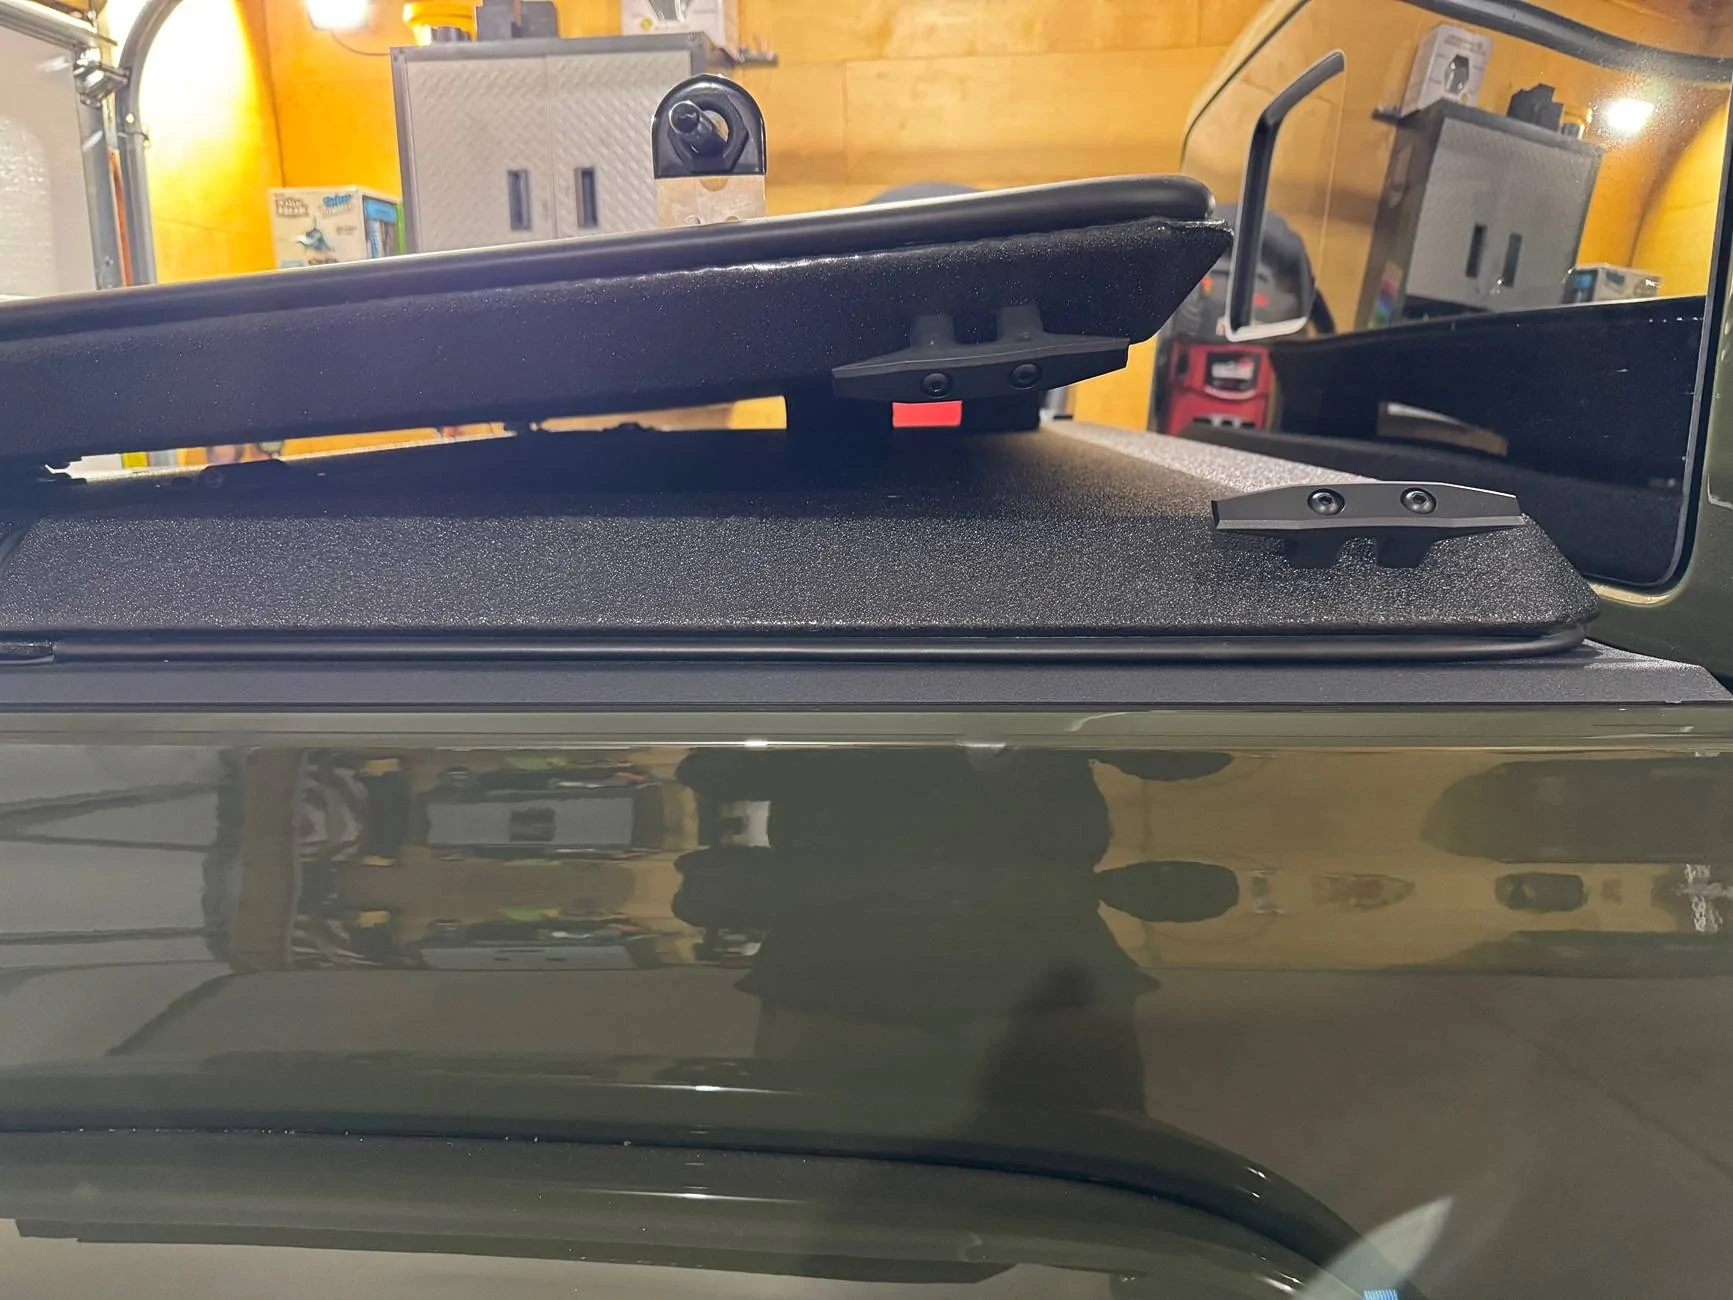
Clamping tweak: My cover arrived with the wrong clamps. (Part my fault, part their fault.) DB fixed this really fast, of course, but it gave me a chance see both clamps. The standard clamps, or the ones used without the trail rail, seemed way sturdier. They had more contact area on both the cap side and on the overlap side. I almost took off my trail rail to use these! (Standard on top, trail-rail below)
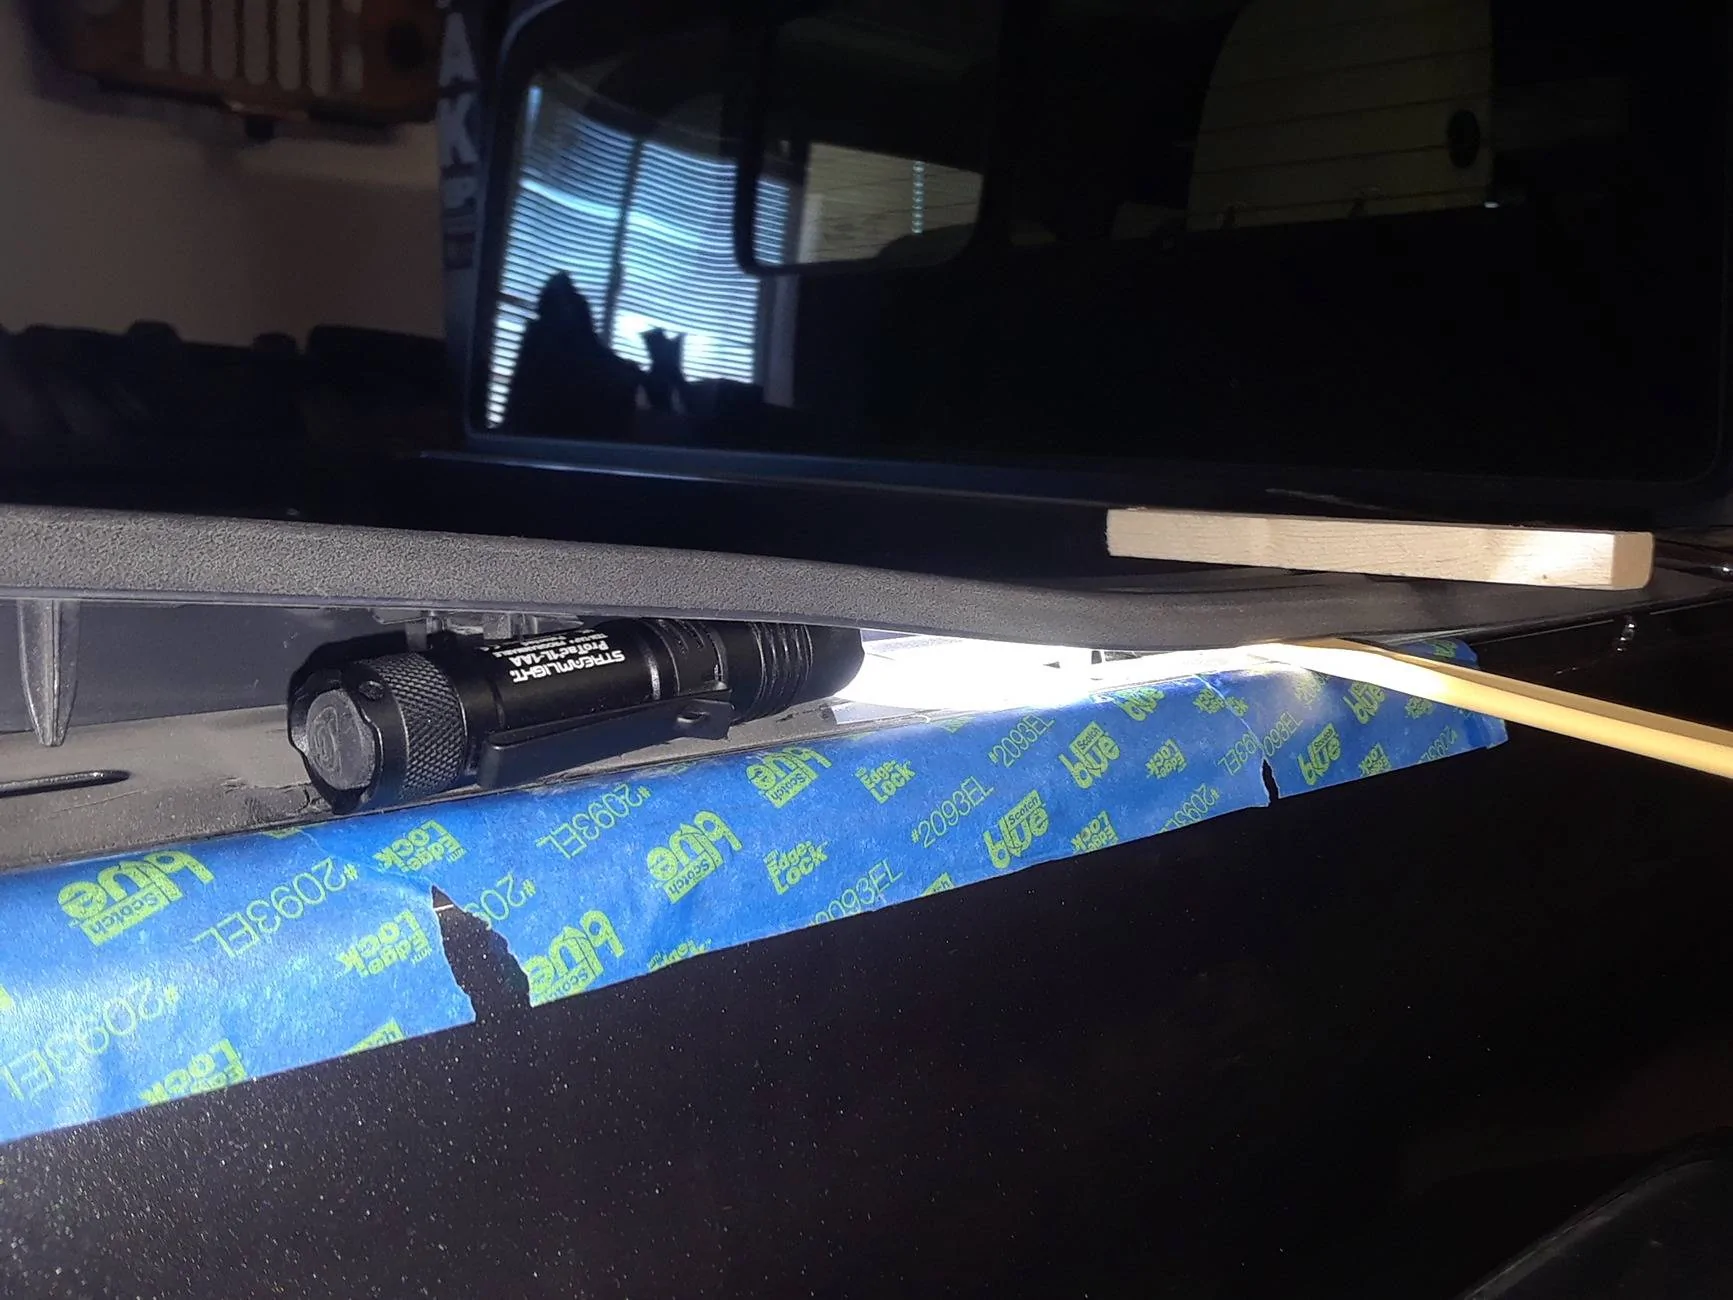
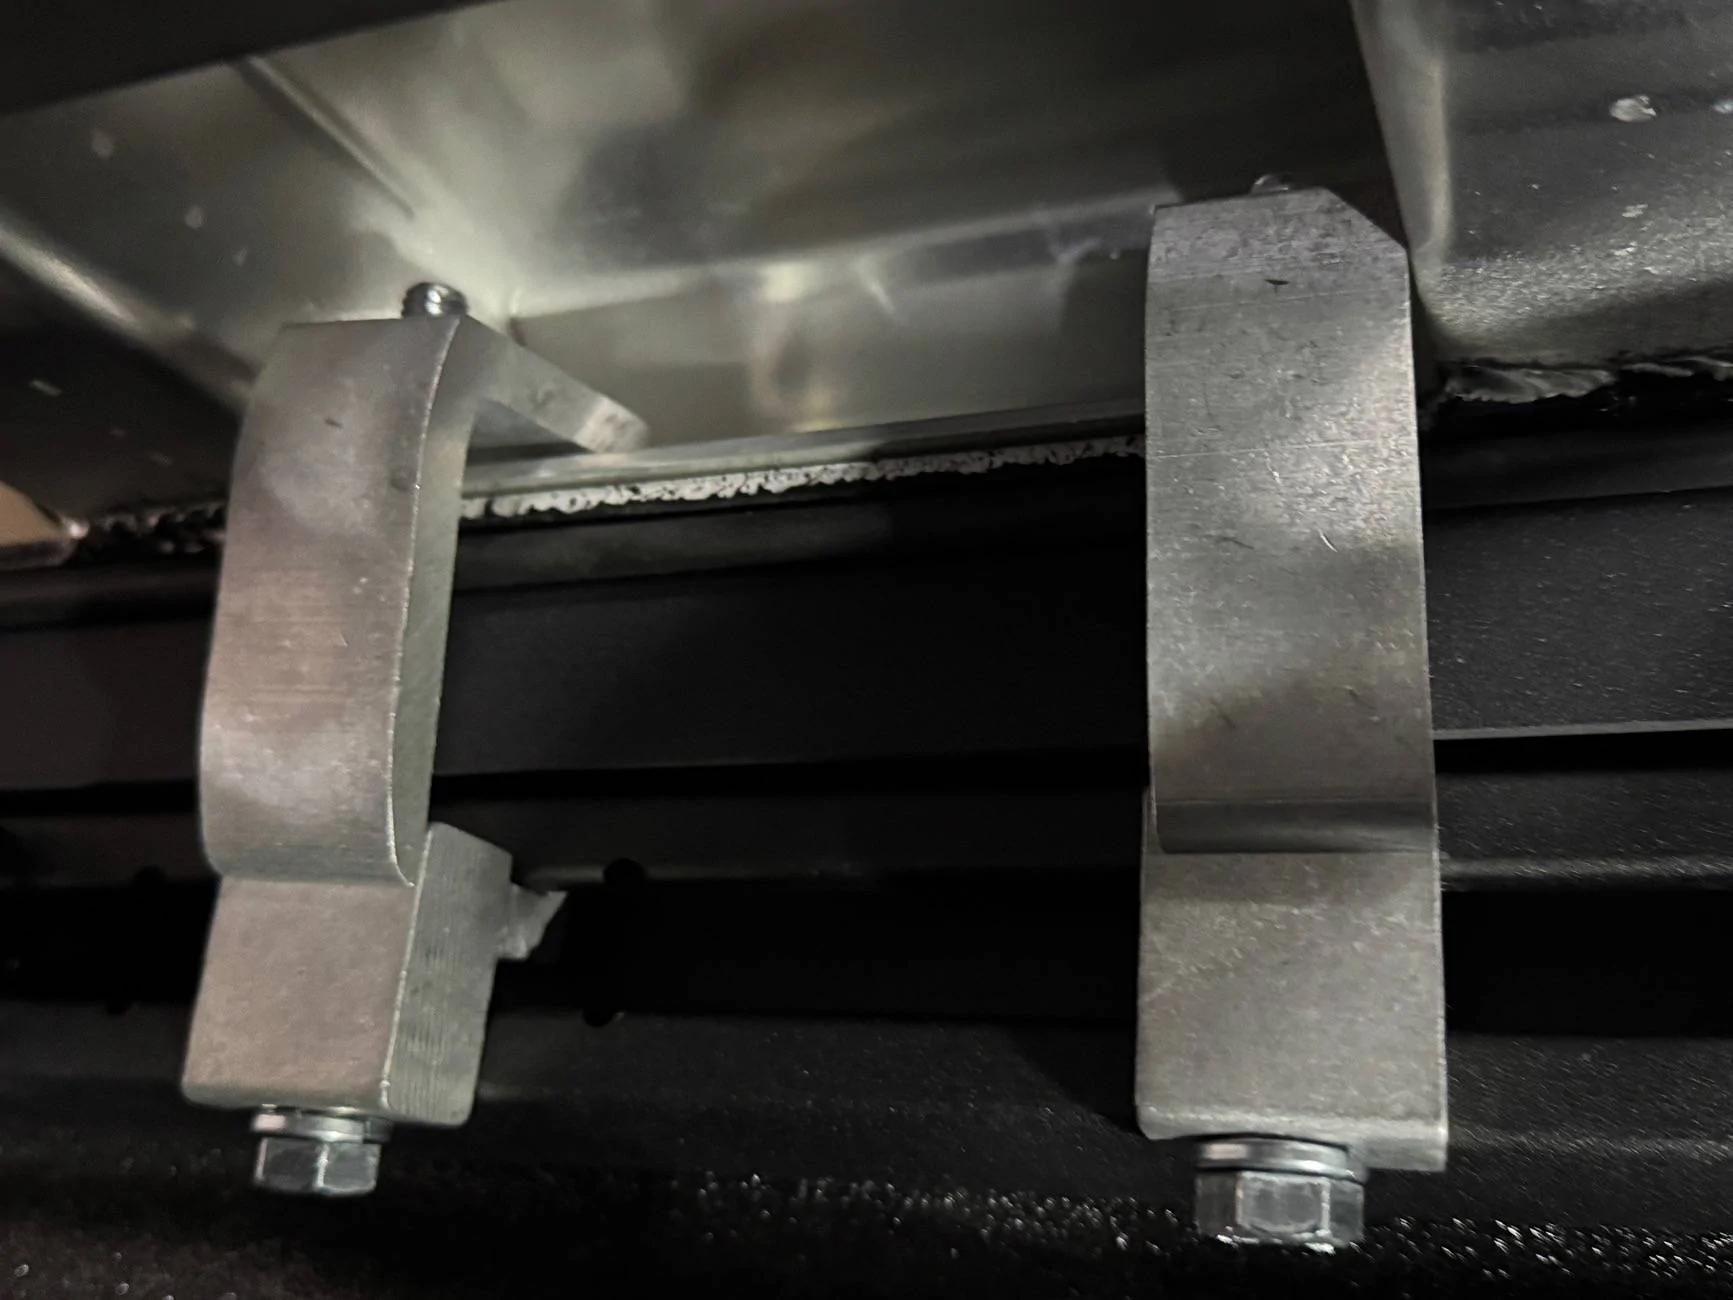
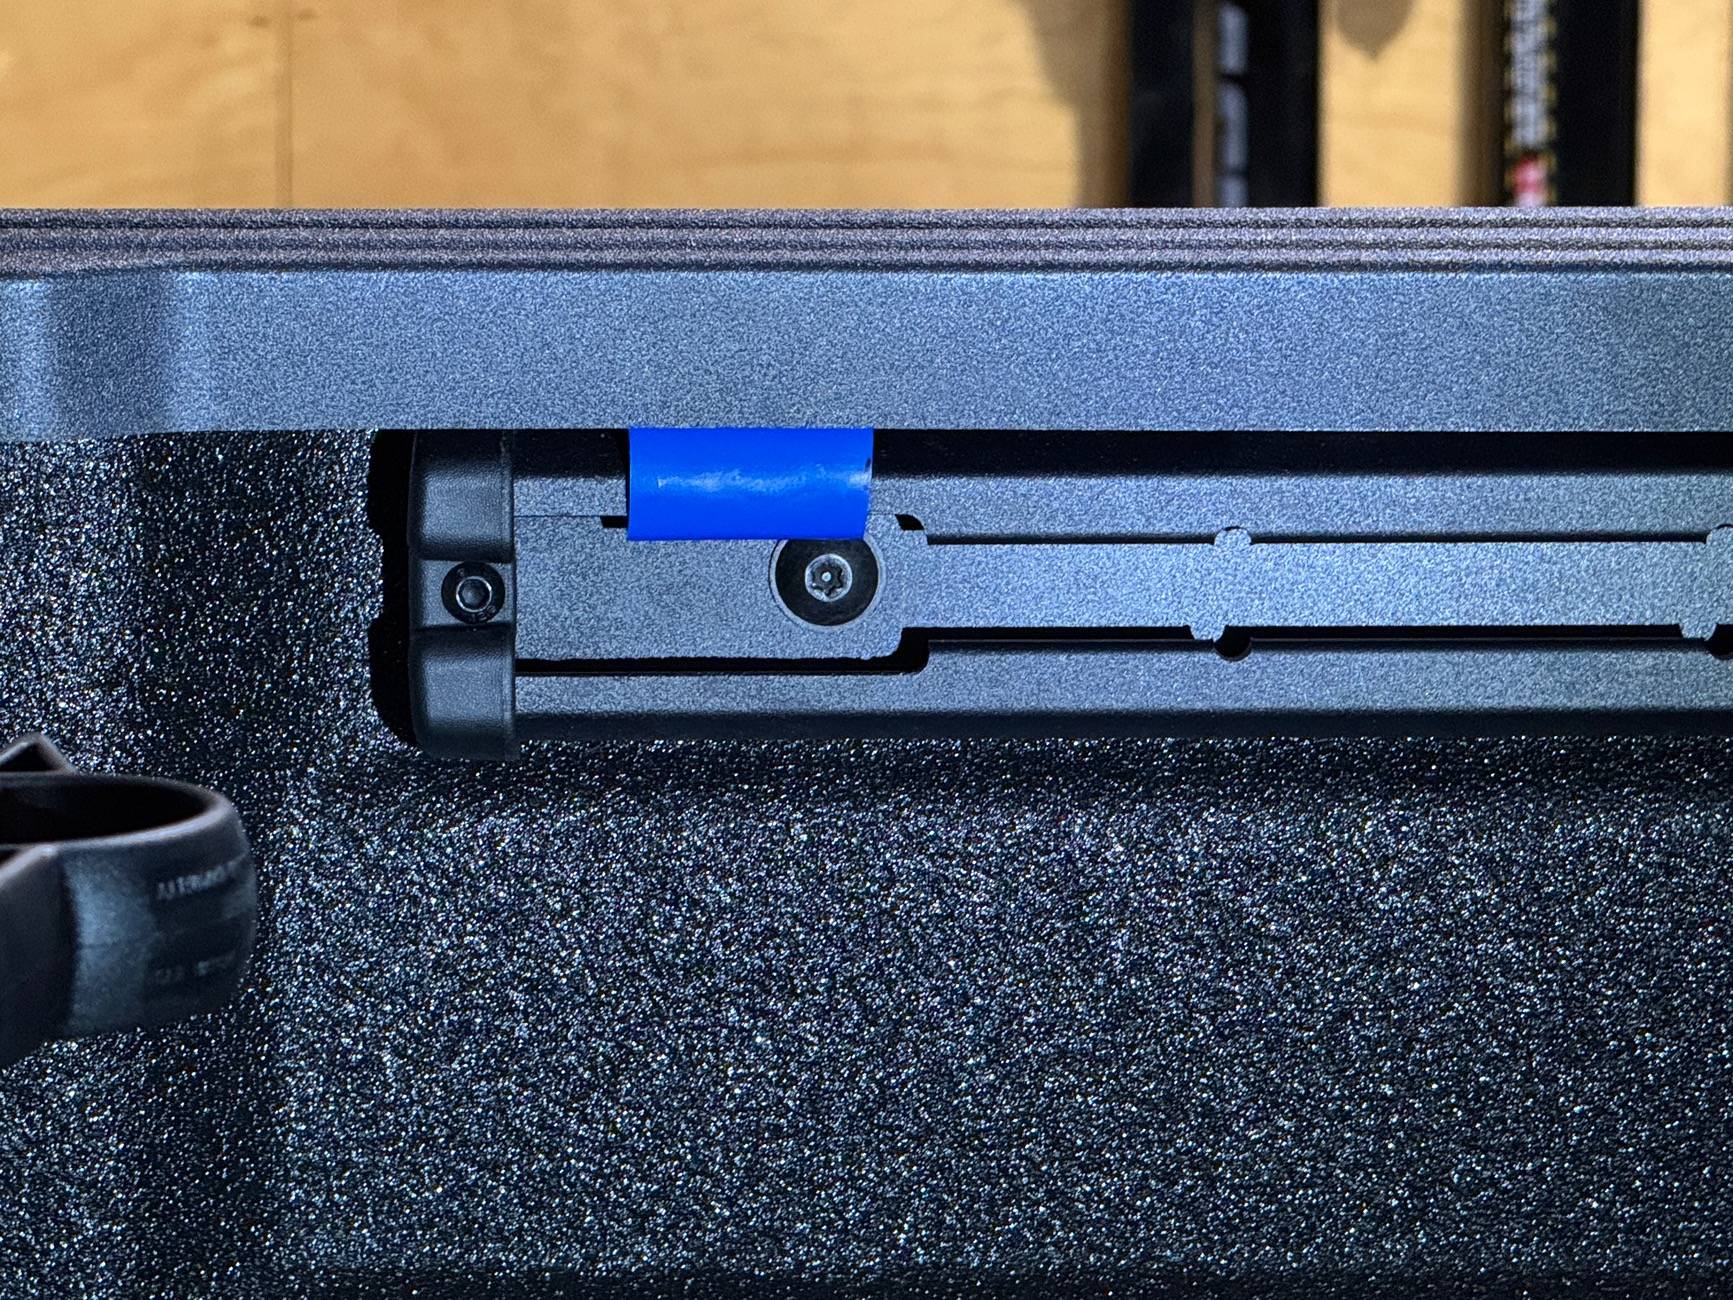
Tweak: There is no description of how far in to place the top of the clamps. When you feel in the clamping surface of the center section there is a distinct ridge where the aluminum of the top is bent under and welded to the mounting plate. This makes placing the clamps really confusing (to me anyway). After reading a bunch of threads, I found a great idea over on a Tacoma website. The ridge can be filled almost exactly with a piece of 1/8" by 1" aluminum. This makes clamping very secure, and the clamps seem to work better. It has been reported that this also reduced the tendency of the trail-rail clamps to loosen. Here is what it looks like clamped. You can see the piece of aluminum above the edge of the DB cover.
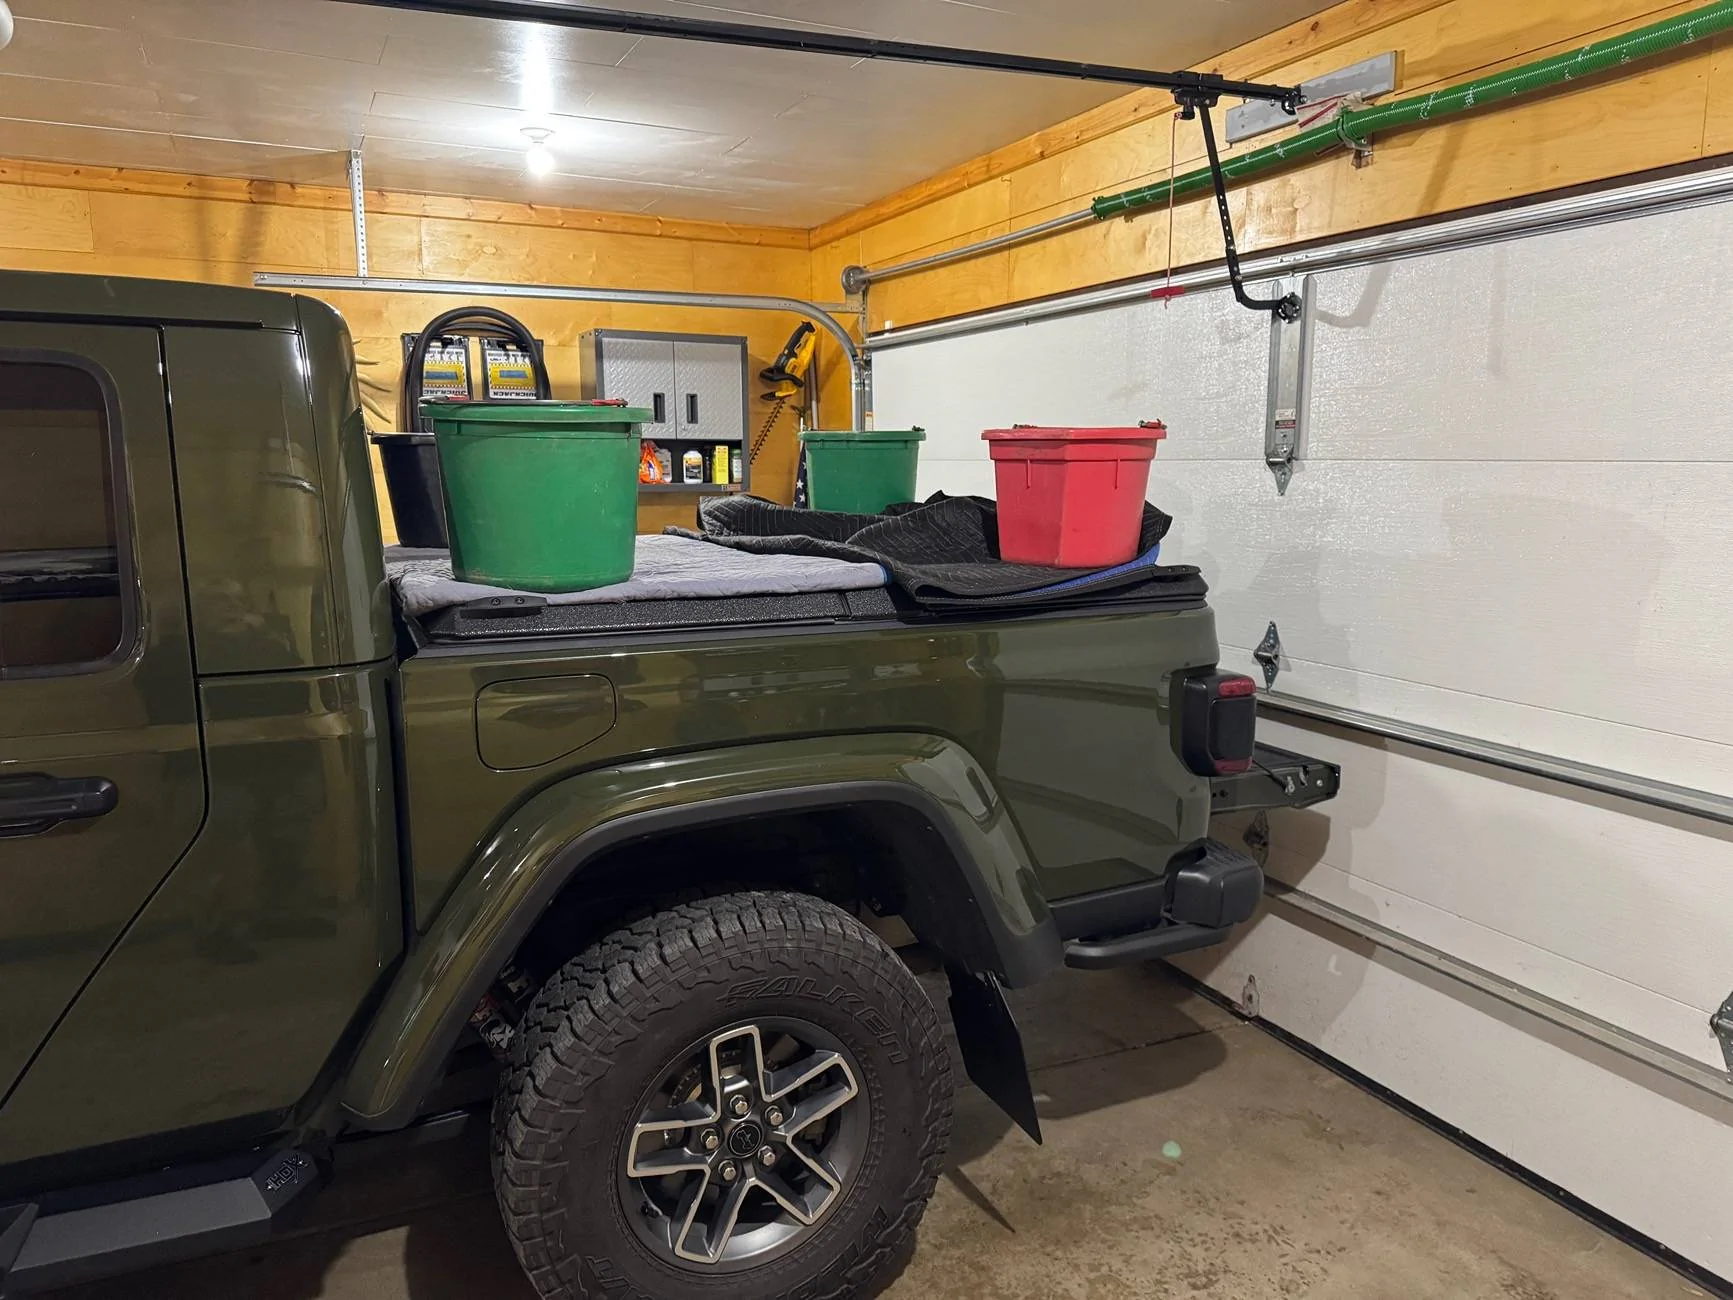
Locking rods: Thanks for the tips on using weights! I went with 5 gal buckets of water since I had them handy.
On the front the lock rod hits the gap in the trail-rail, so I used another idea from the forum (thanks again!) and added a piece of pex on both sides. Makes locking really smooth.
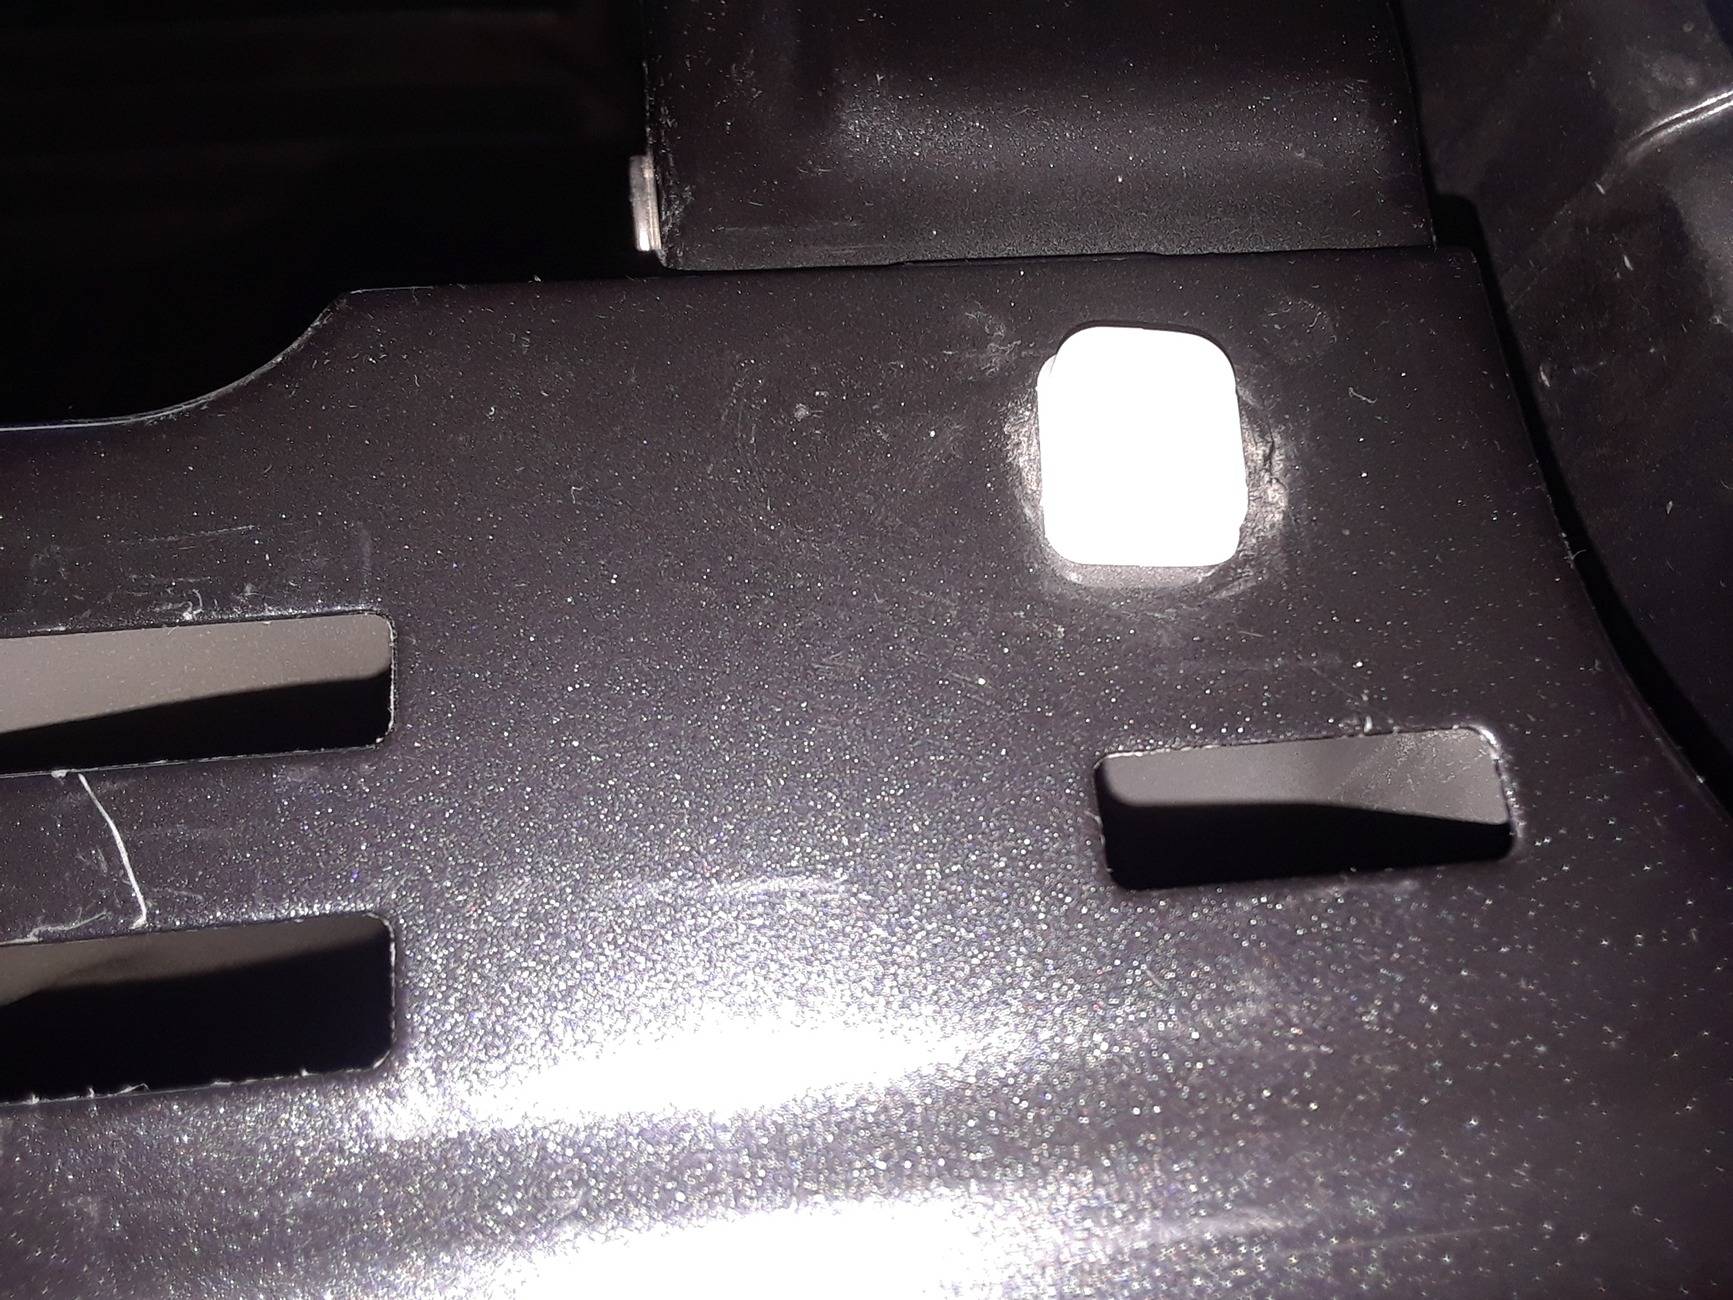
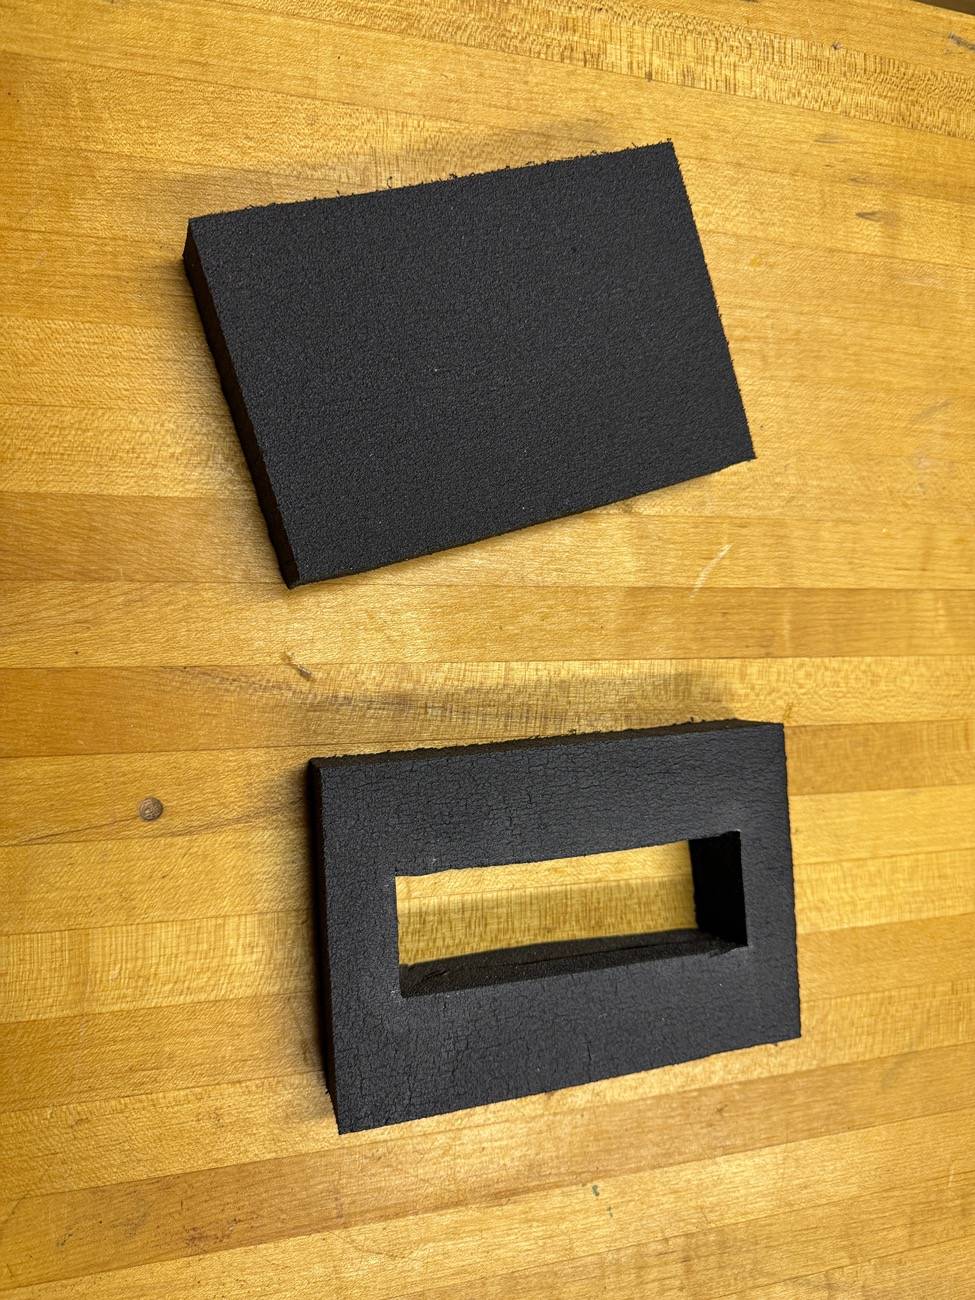
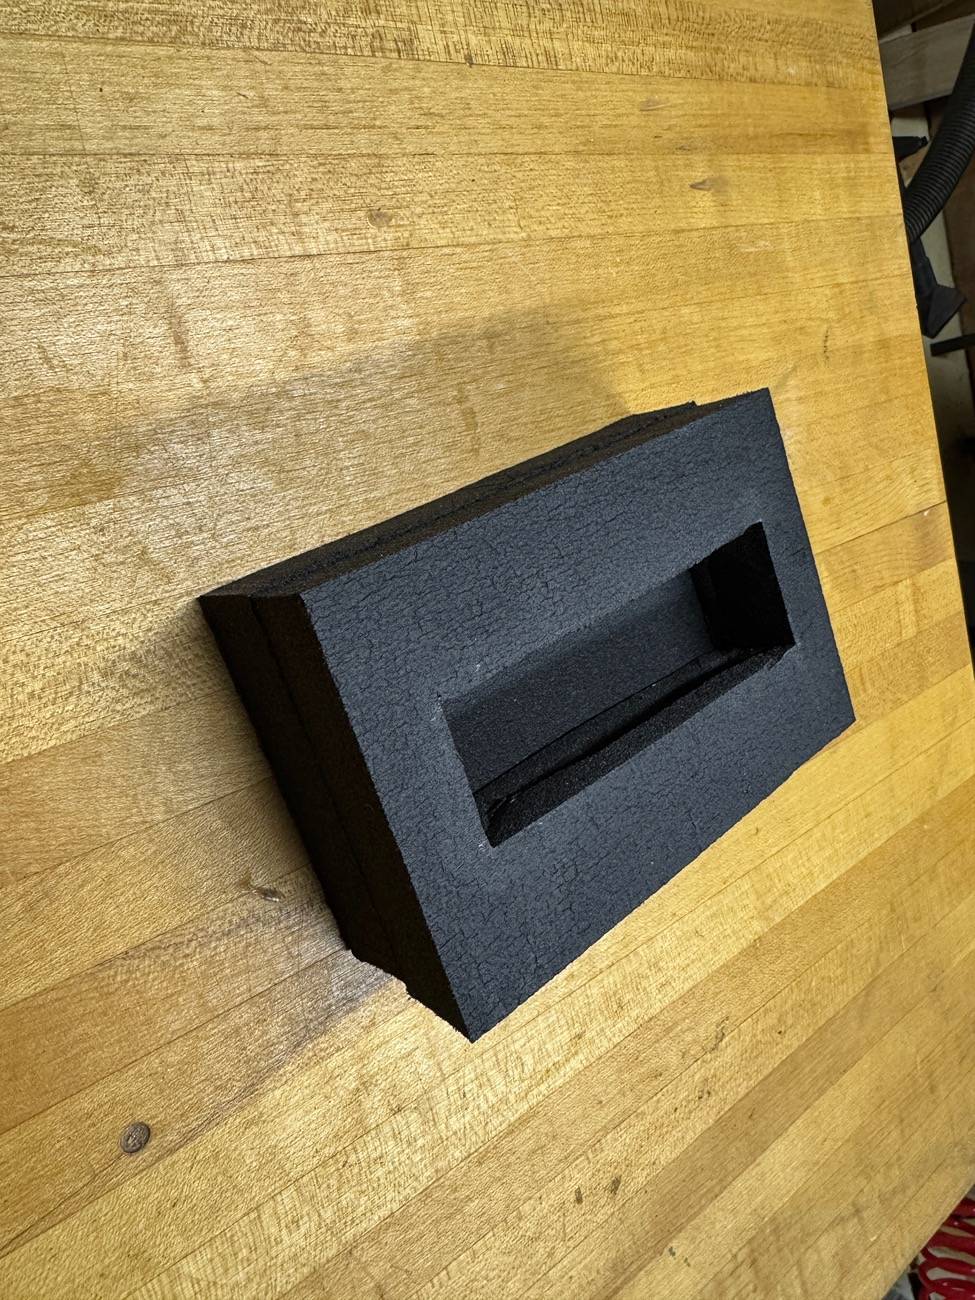
LAST TWEAK: Just one last thing I made for the project. On the off chance that I wanted to flip the back section forward and drive like this, I made a couple foam blocks to protect the locks. I used 1" as that is about the height of the lock. Probably could have used 1/2" for the contact side. Cut the hole just a little tight for a friction fit. Just flip it forward and strap the cleats together on both sides.
Just a couple final photos . . .
Summary: Install took a while, but I reallly like it. More details below, and a few tips.
Bed Rail Shims: As you might have heard, this is the most annoying part. I stand in awe of the ones that removed the existing caps without breaking any tabs! I took the easy way of pre-purchasing replacements. Even so, it was a pain. But a one-time pain. I used this one-time event to Woolwax the open cavities in anticipation of my poor JTs first salty Minnesota winter.
Bulkhead Weatherstrip: The IFUs imply installing this first. In retrospect, I would have installed it last as I would know exactly where the front of the cover would have ended up. No big deal, but just an idea if you purchase one.
Location: I spent a lot of time measuring the spacing and tweaking it around. Probably not needed. When I measured multiple times and was happy with it, I had a little interference with the back lock rod bracket. It contacted the bed rail cap on one side. Not sure why--I checked the mounting of the bracket on the cover and it was identical on both sides. When I moved the cover enough to clear, I was not happy with placement. So I just ground down the bracket a little. (Out of principle, I did both sides.) Here are a couple photos. First one as-is, second is after tweaking (but before I filed off the burs).

Clamping tweak: My cover arrived with the wrong clamps. (Part my fault, part their fault.) DB fixed this really fast, of course, but it gave me a chance see both clamps. The standard clamps, or the ones used without the trail rail, seemed way sturdier. They had more contact area on both the cap side and on the overlap side. I almost took off my trail rail to use these! (Standard on top, trail-rail below)
Tweak: There is no description of how far in to place the top of the clamps. When you feel in the clamping surface of the center section there is a distinct ridge where the aluminum of the top is bent under and welded to the mounting plate. This makes placing the clamps really confusing (to me anyway). After reading a bunch of threads, I found a great idea over on a Tacoma website. The ridge can be filled almost exactly with a piece of 1/8" by 1" aluminum. This makes clamping very secure, and the clamps seem to work better. It has been reported that this also reduced the tendency of the trail-rail clamps to loosen. Here is what it looks like clamped. You can see the piece of aluminum above the edge of the DB cover.
Locking rods: Thanks for the tips on using weights! I went with 5 gal buckets of water since I had them handy.
On the front the lock rod hits the gap in the trail-rail, so I used another idea from the forum (thanks again!) and added a piece of pex on both sides. Makes locking really smooth.
LAST TWEAK: Just one last thing I made for the project. On the off chance that I wanted to flip the back section forward and drive like this, I made a couple foam blocks to protect the locks. I used 1" as that is about the height of the lock. Probably could have used 1/2" for the contact side. Cut the hole just a little tight for a friction fit. Just flip it forward and strap the cleats together on both sides.
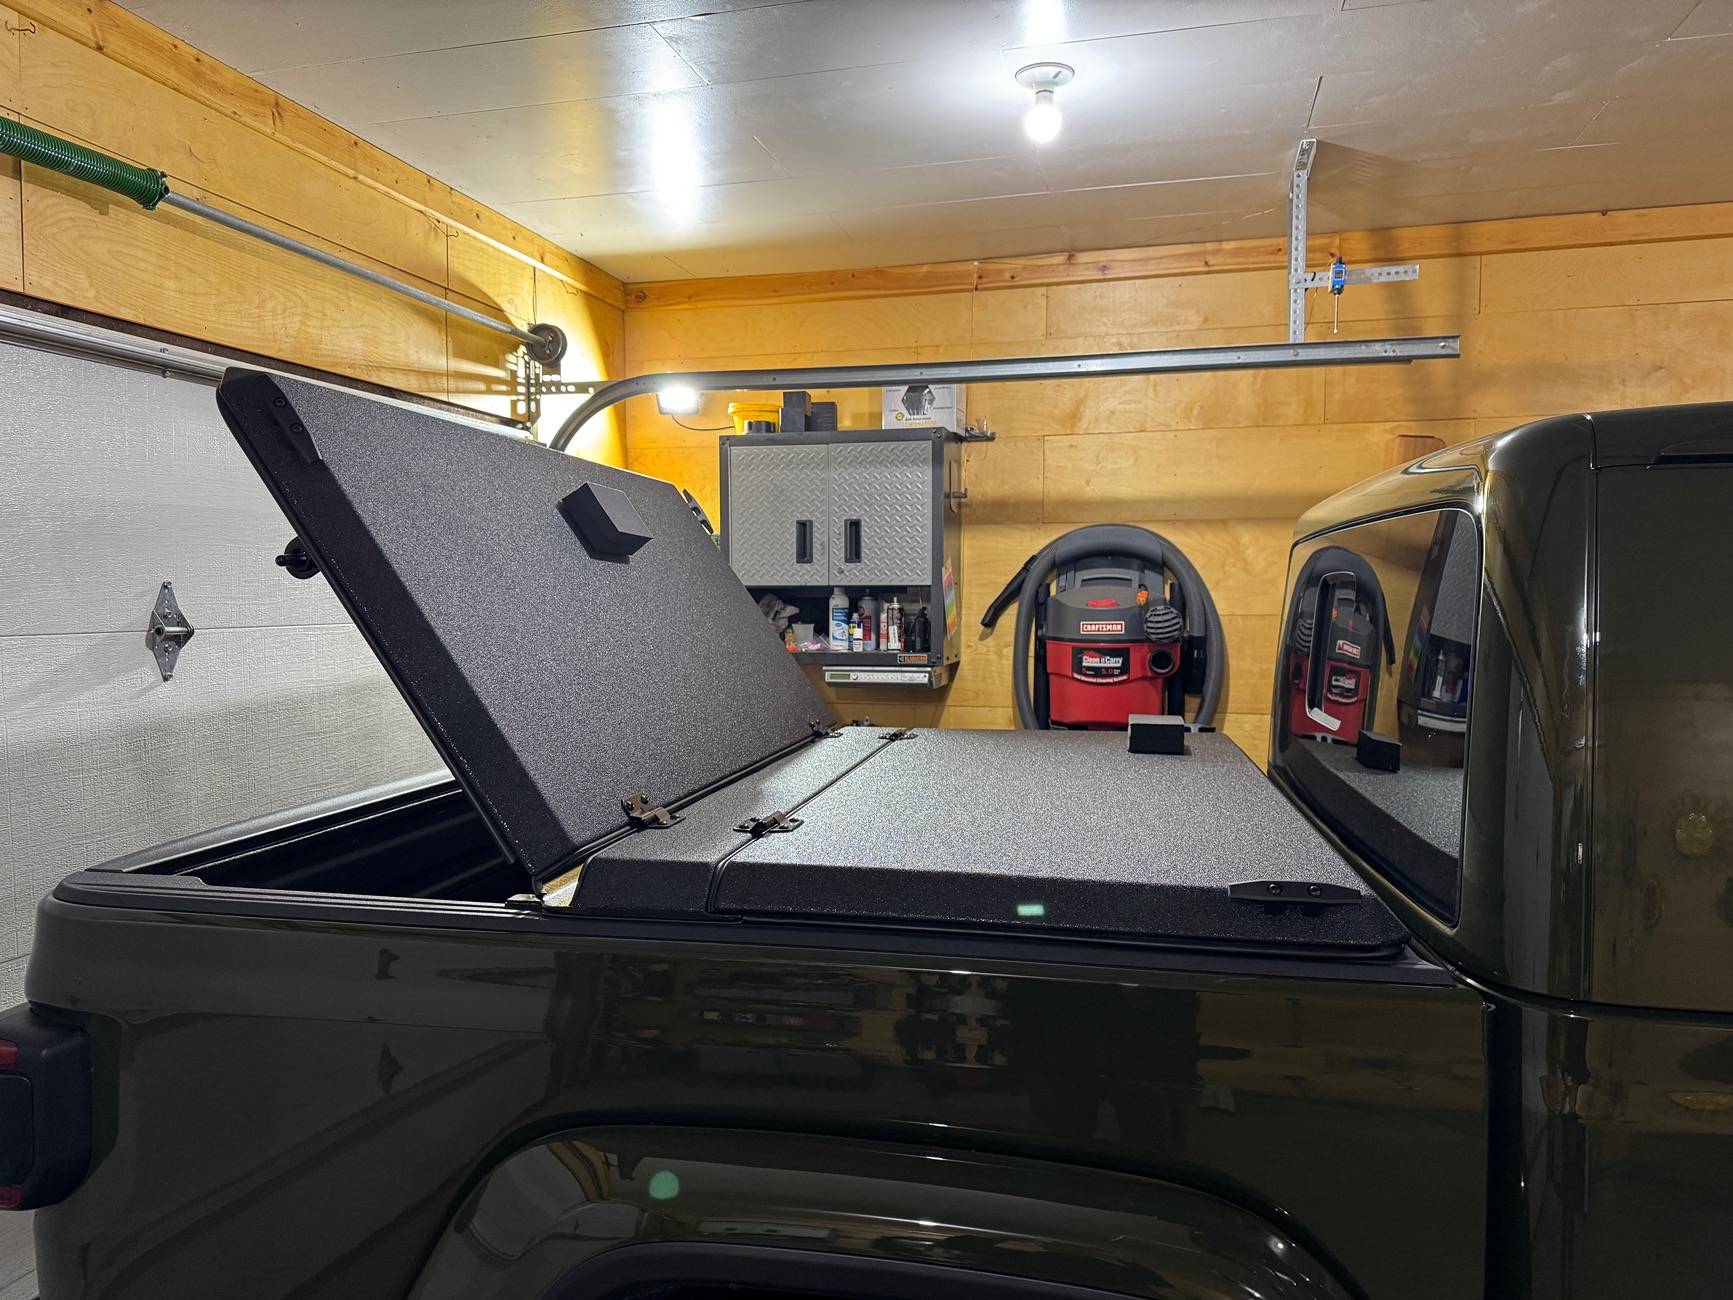
Just a couple final photos . . .

Sponsored
Last edited: