JohnFinx
Well-Known Member
- First Name
- Fin
- Joined
- Jun 12, 2020
- Threads
- 24
- Messages
- 205
- Reaction score
- 540
- Location
- Lakeland Fl
- Website
- sites.google.com
- Vehicle(s)
- 2020 Gladiator, 1988 Cherokee , 1969 Plymouth Satellite Conv
- Occupation
- Telecom engineer
- Vehicle Showcase
- 2
- Thread starter
- #1
I made this a couple weeks ago, it seems to be doing ok....

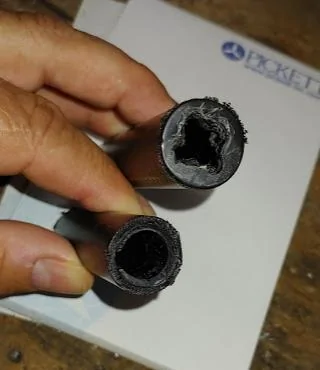
Get a piece of 1/2" polyethylene tubing and cut it in the dimensions shown. The inserts are 1/2" long pieces with a notch cut out so you can squeeze it together and stick it in the first tube to reduce the inner diameter. Glue these in with superglue and let it dry. The other tube has a cap in it with a "+" sign melted in it with a soldering iron. This is optional (it just makes it stay in place better). This is also glued in. It does NOT have a reducing insert in the other end. The foam is just blocks cut with elastic glued around them. Glue them together on the sides of the block, so you can use the large sides in either direction (you'll see later). Tube details below:

Ok, now that you made this stuff, put the front passenger seat forward a little, and lower the rear passenger 60% seat. You can put a towel on it if you like.
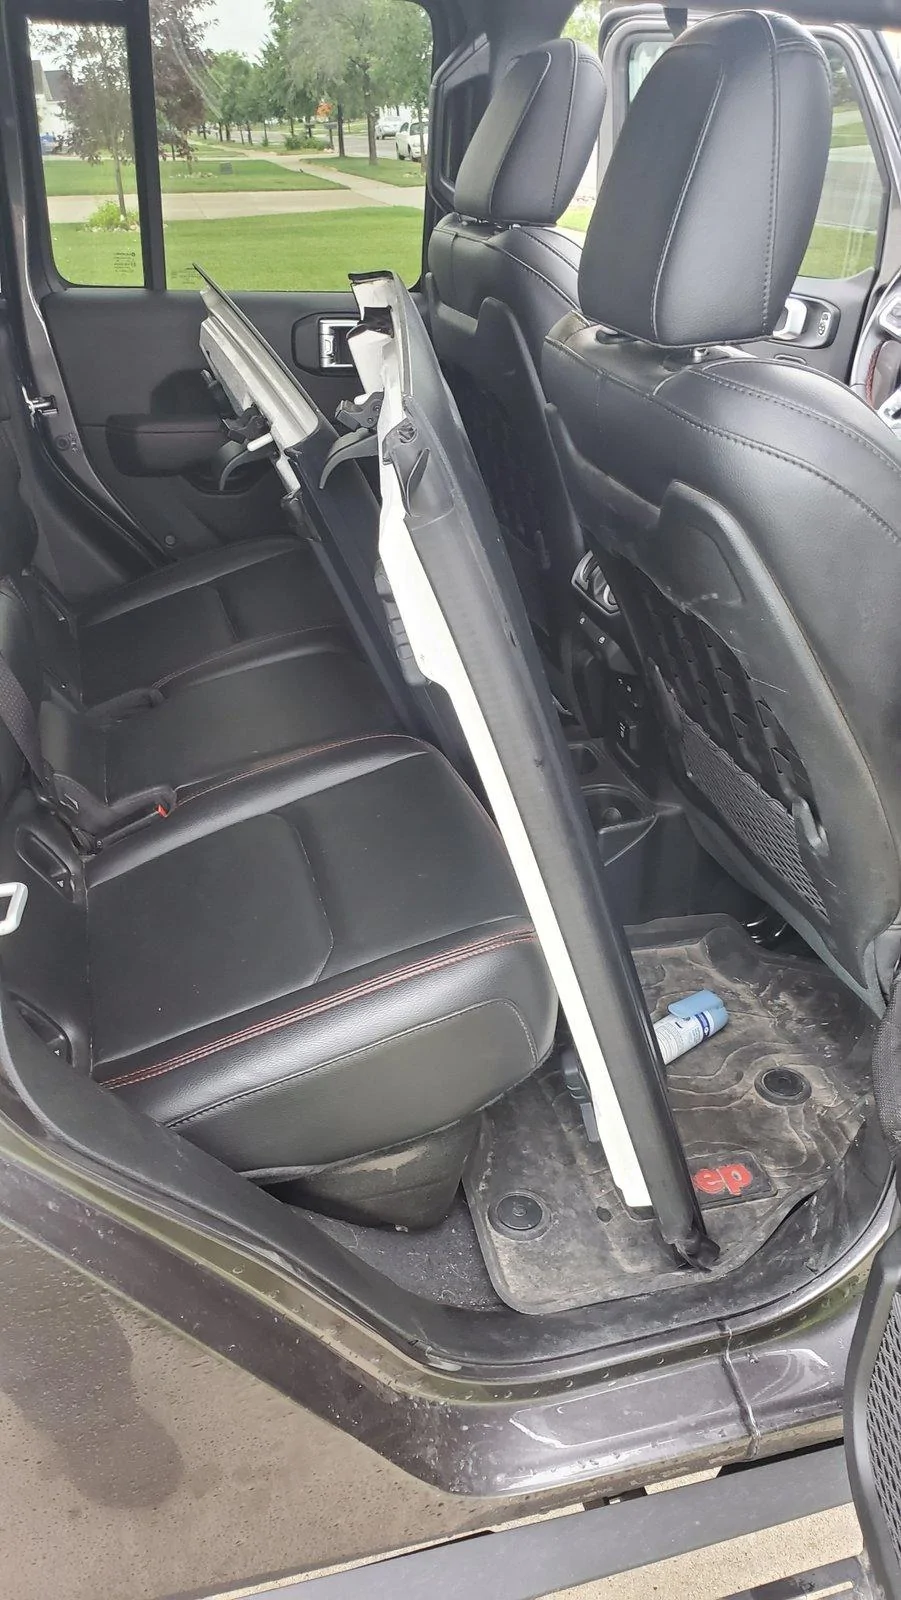
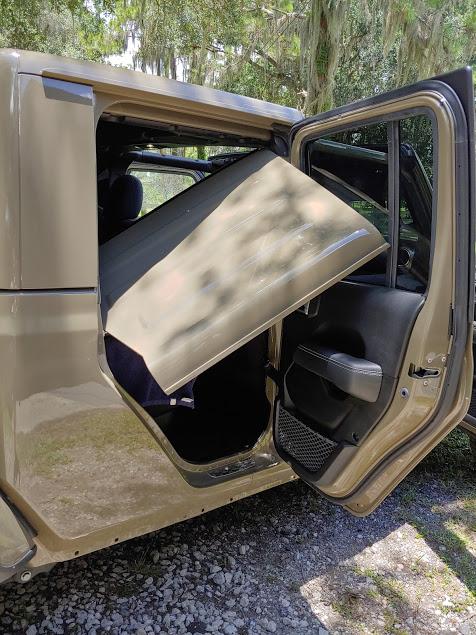
Remove the DRIVERS panel and put it here, top down, like this:

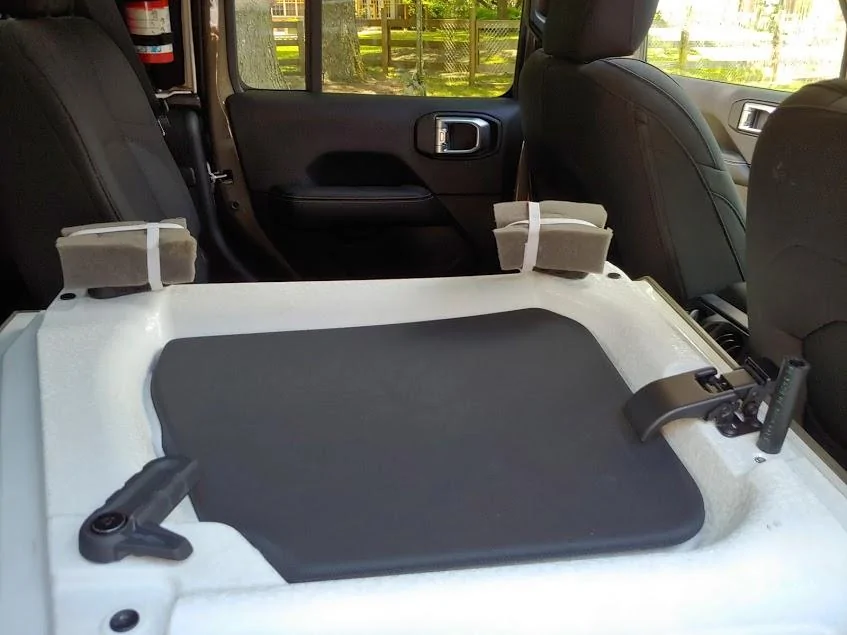
Put the SHORT tube on the front alignment pin and strap the elastic around the two latches like this:

If you have glued the elastic correctly, the foam blocks will fit in any direction. Do not put the long tube in yet. It will just get knocked off and lost.
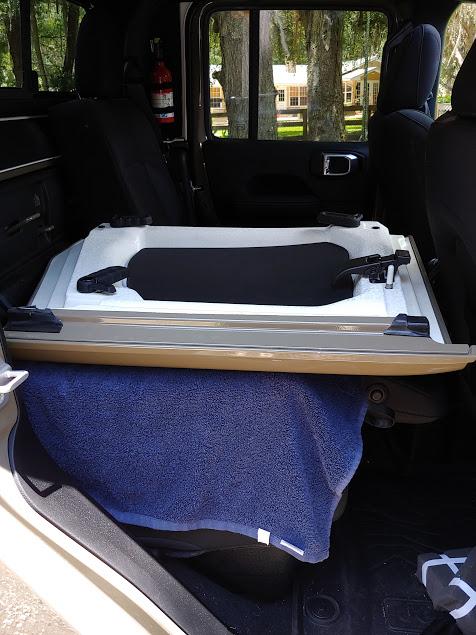
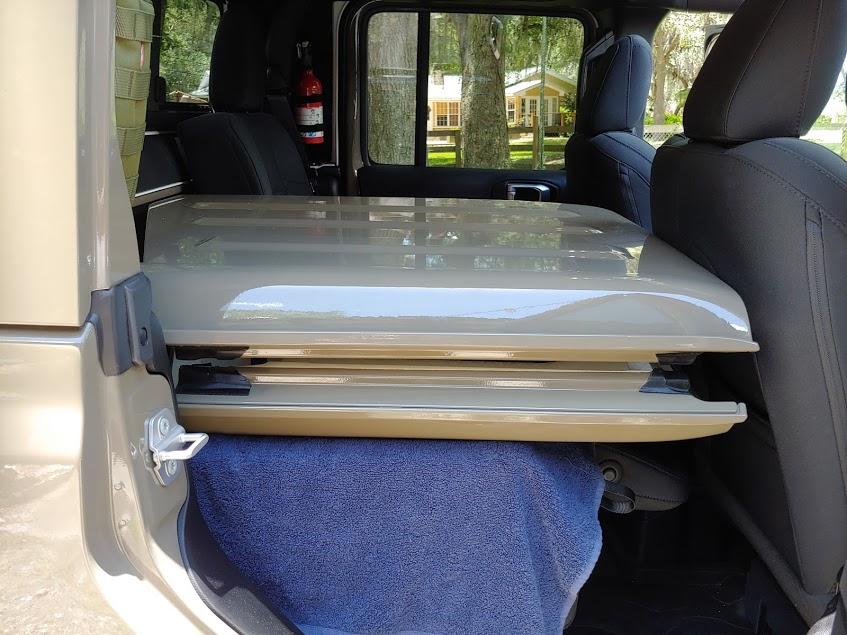
Carefully put the passenger panel on top. You will have to put it in like this, inserting the long side first and rotating it in. But it will fit!
Sit it on top of the other panel aligning the SHORT tube with both front pins, and you can now install the long tube on the rear "+" pins.
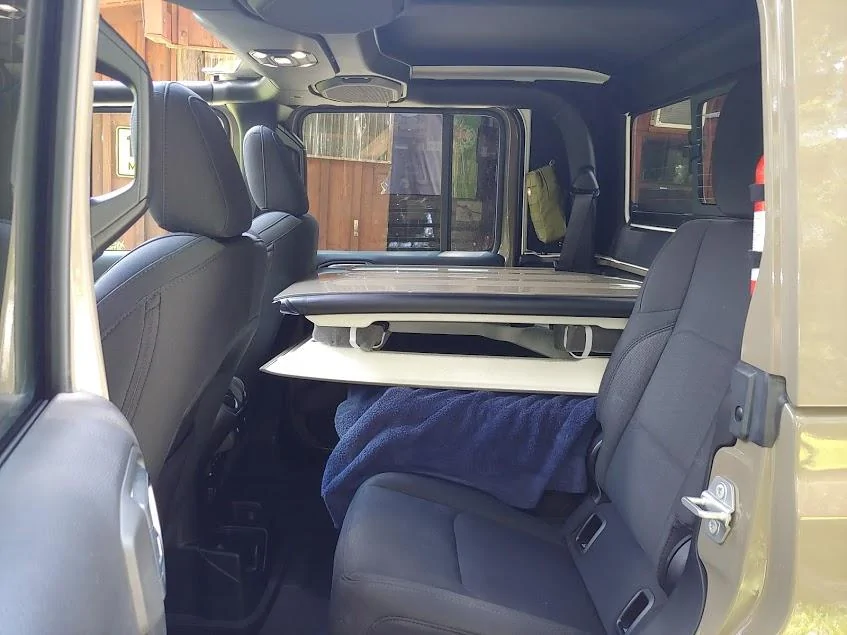
It should now look like this:
Here is a shot from the other side....you can still use the other seat!
Here is a closeup of the front tube:

I couldn't get a good pic of the back tube.
After doing this a couple times it goes really easy, and all the parts are small and easy to store.
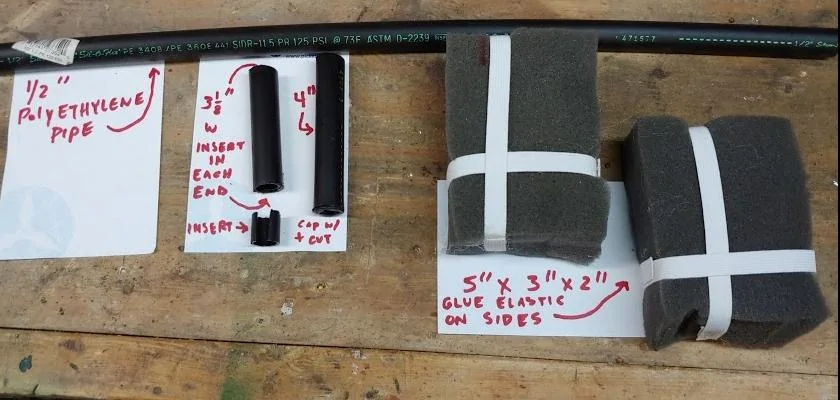
Get a piece of 1/2" polyethylene tubing and cut it in the dimensions shown. The inserts are 1/2" long pieces with a notch cut out so you can squeeze it together and stick it in the first tube to reduce the inner diameter. Glue these in with superglue and let it dry. The other tube has a cap in it with a "+" sign melted in it with a soldering iron. This is optional (it just makes it stay in place better). This is also glued in. It does NOT have a reducing insert in the other end. The foam is just blocks cut with elastic glued around them. Glue them together on the sides of the block, so you can use the large sides in either direction (you'll see later). Tube details below:
Ok, now that you made this stuff, put the front passenger seat forward a little, and lower the rear passenger 60% seat. You can put a towel on it if you like.
Remove the DRIVERS panel and put it here, top down, like this:
Put the SHORT tube on the front alignment pin and strap the elastic around the two latches like this:
If you have glued the elastic correctly, the foam blocks will fit in any direction. Do not put the long tube in yet. It will just get knocked off and lost.
Carefully put the passenger panel on top. You will have to put it in like this, inserting the long side first and rotating it in. But it will fit!
Sit it on top of the other panel aligning the SHORT tube with both front pins, and you can now install the long tube on the rear "+" pins.
It should now look like this:
Here is a shot from the other side....you can still use the other seat!
Here is a closeup of the front tube:

I couldn't get a good pic of the back tube.
After doing this a couple times it goes really easy, and all the parts are small and easy to store.
Sponsored