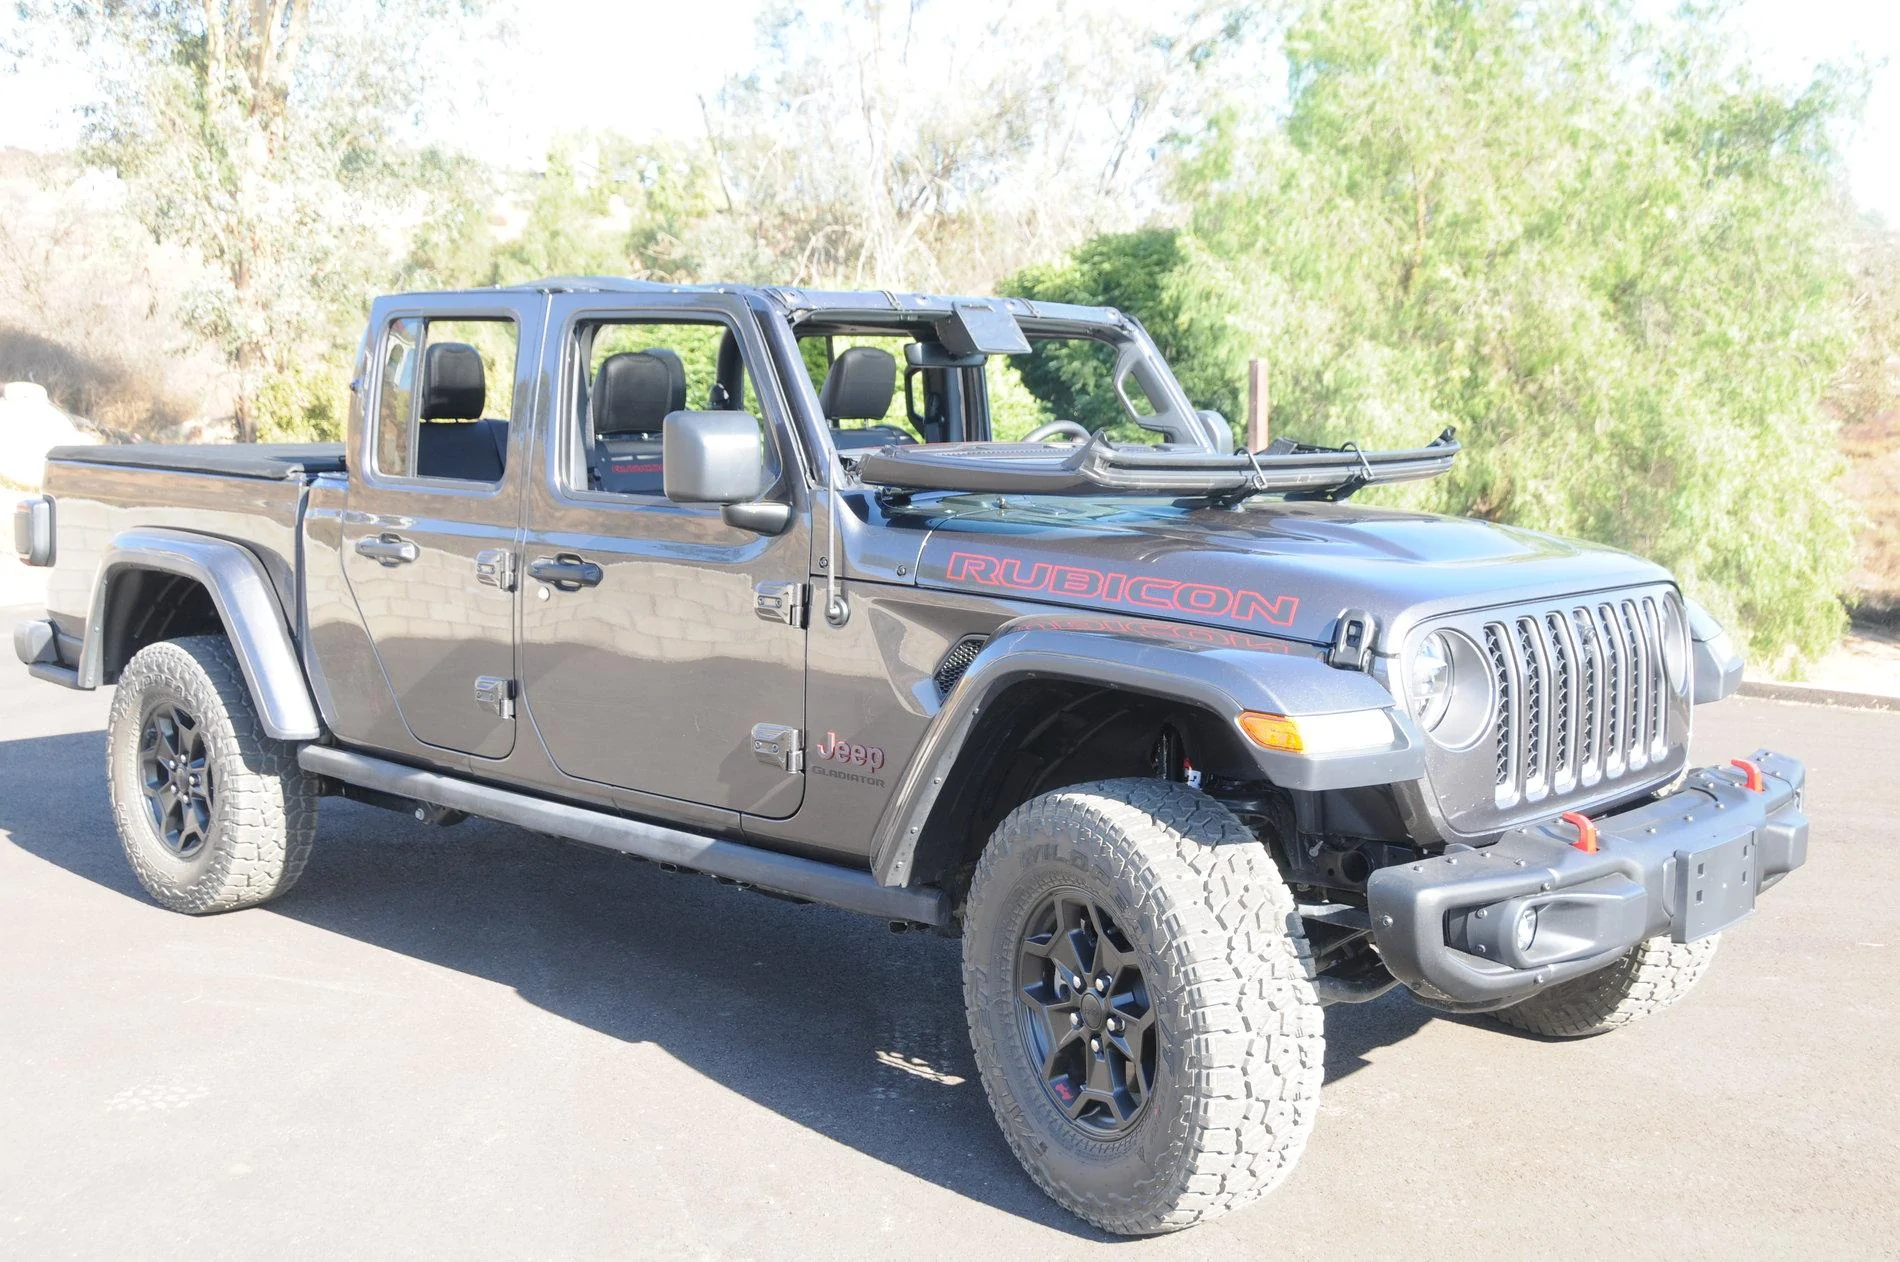
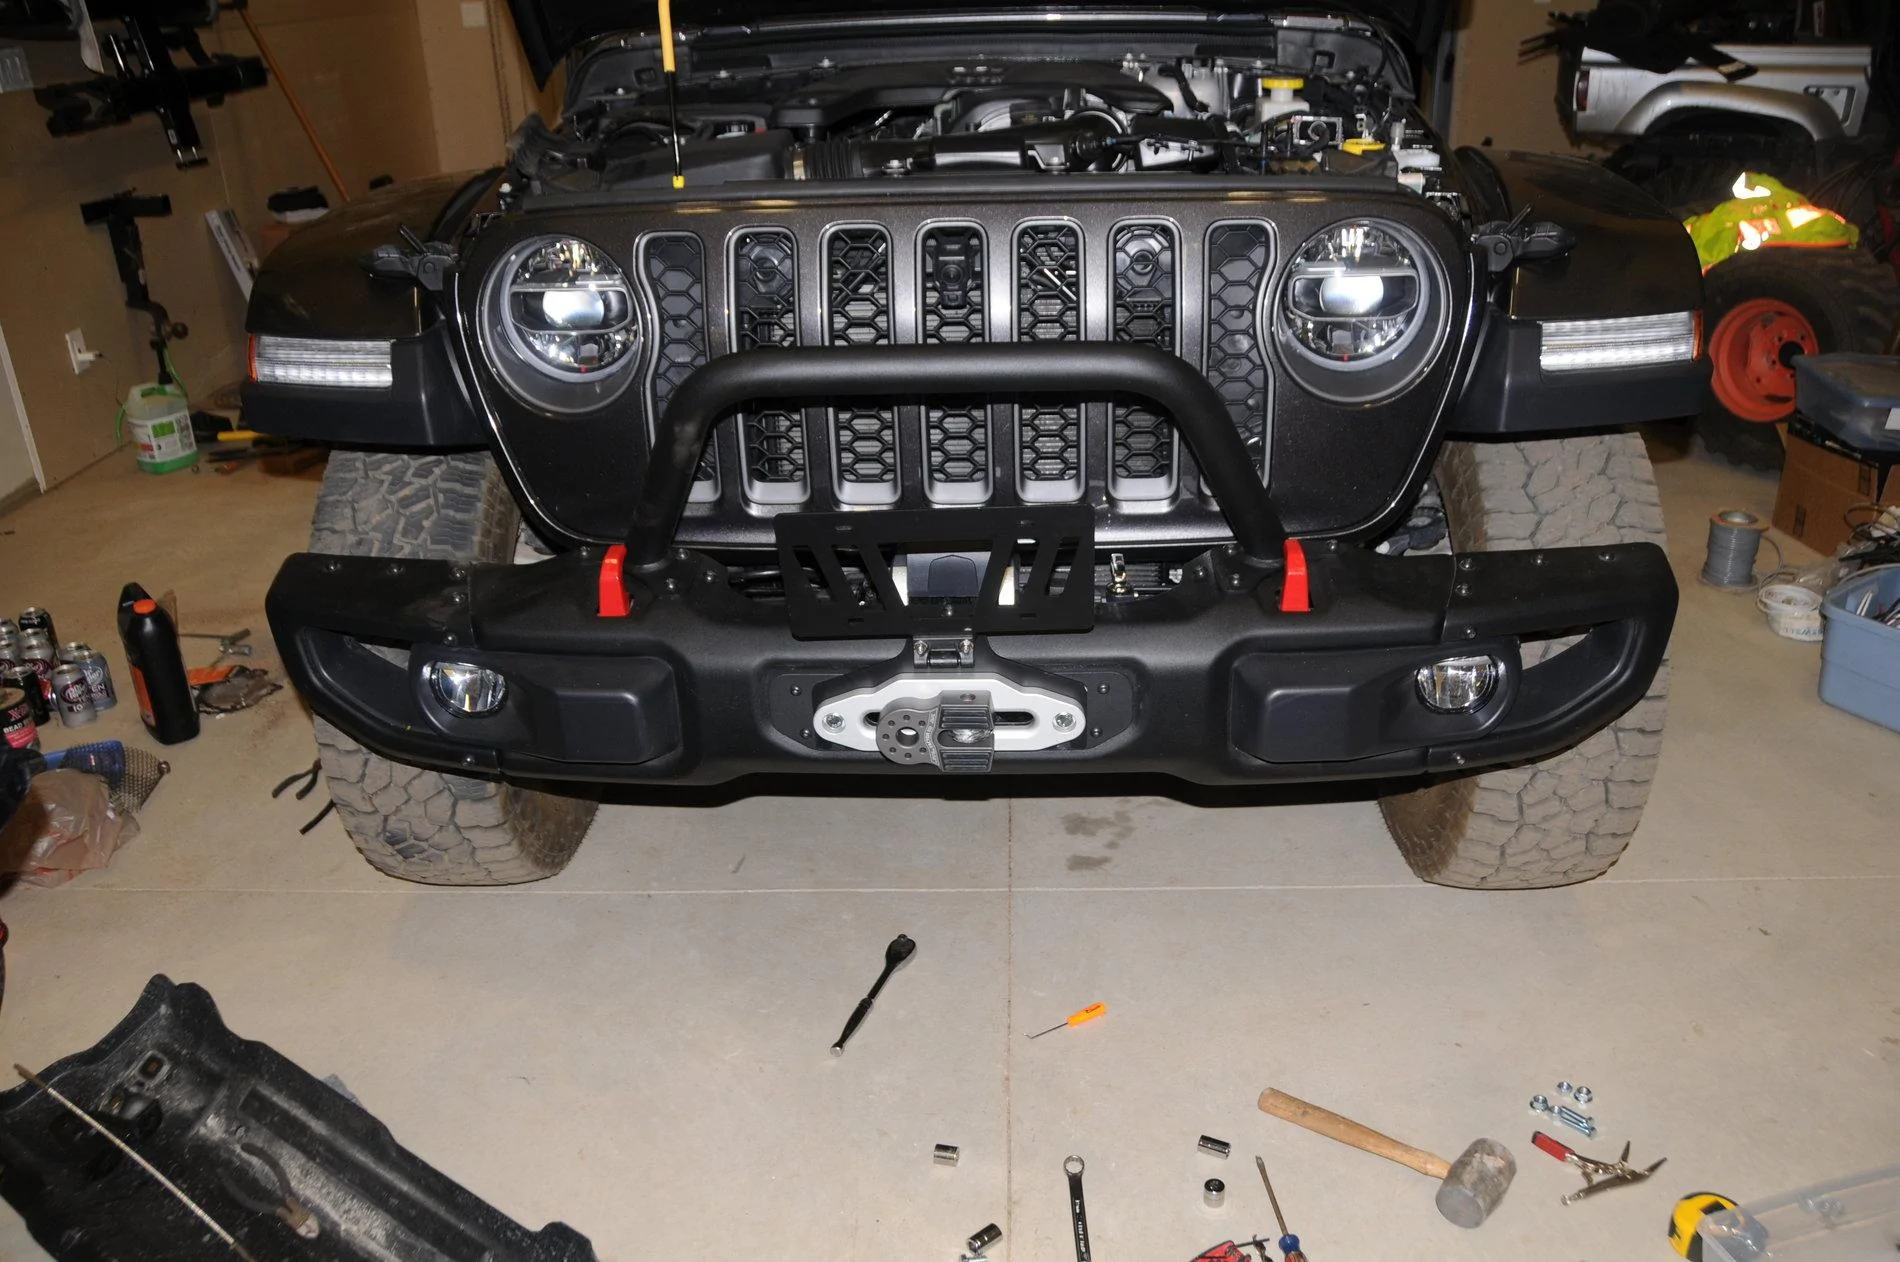
OP
OP
kayakmike
Well-Known Member
- First Name
- Mike
- Joined
- Jan 23, 2019
- Threads
- 29
- Messages
- 1,136
- Reaction score
- 1,694
- Location
- Ramona, CA
- Vehicle(s)
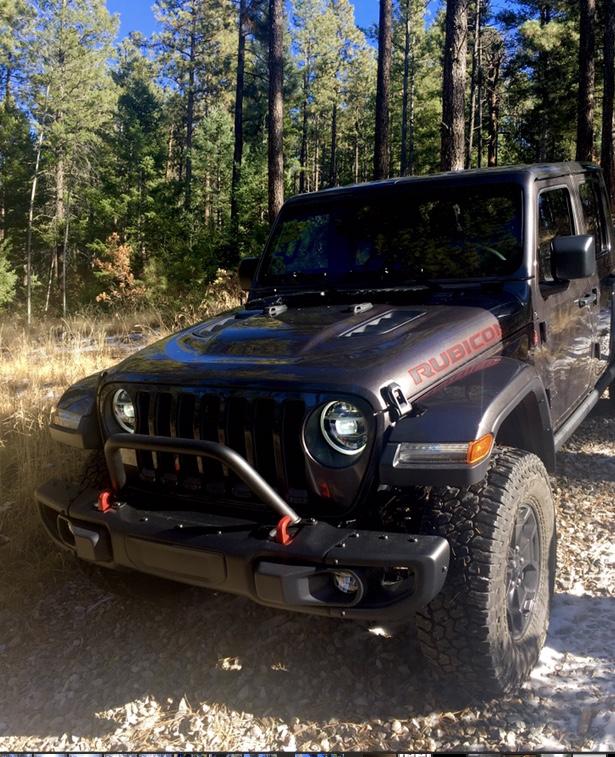
- 2020 Jeep Gladiator Granite Crystal Metallic Launch Edition
- Build Thread
- Link
- Occupation
- Rocket Scientist
- Thread starter
- #16
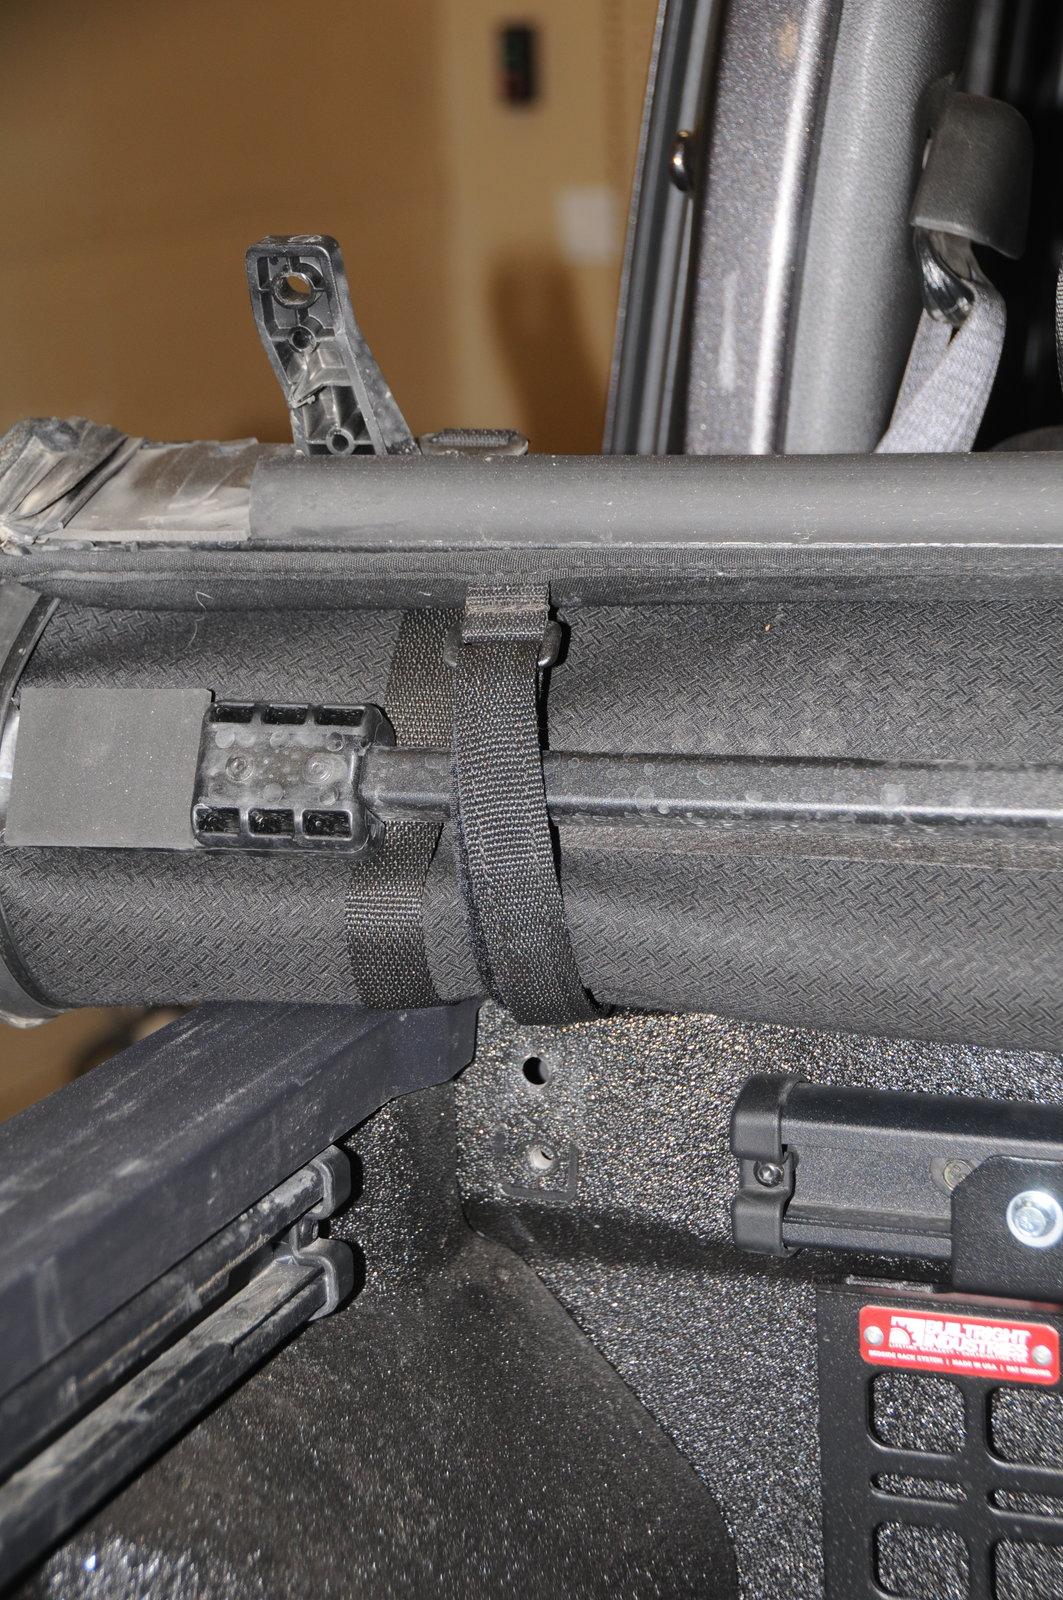
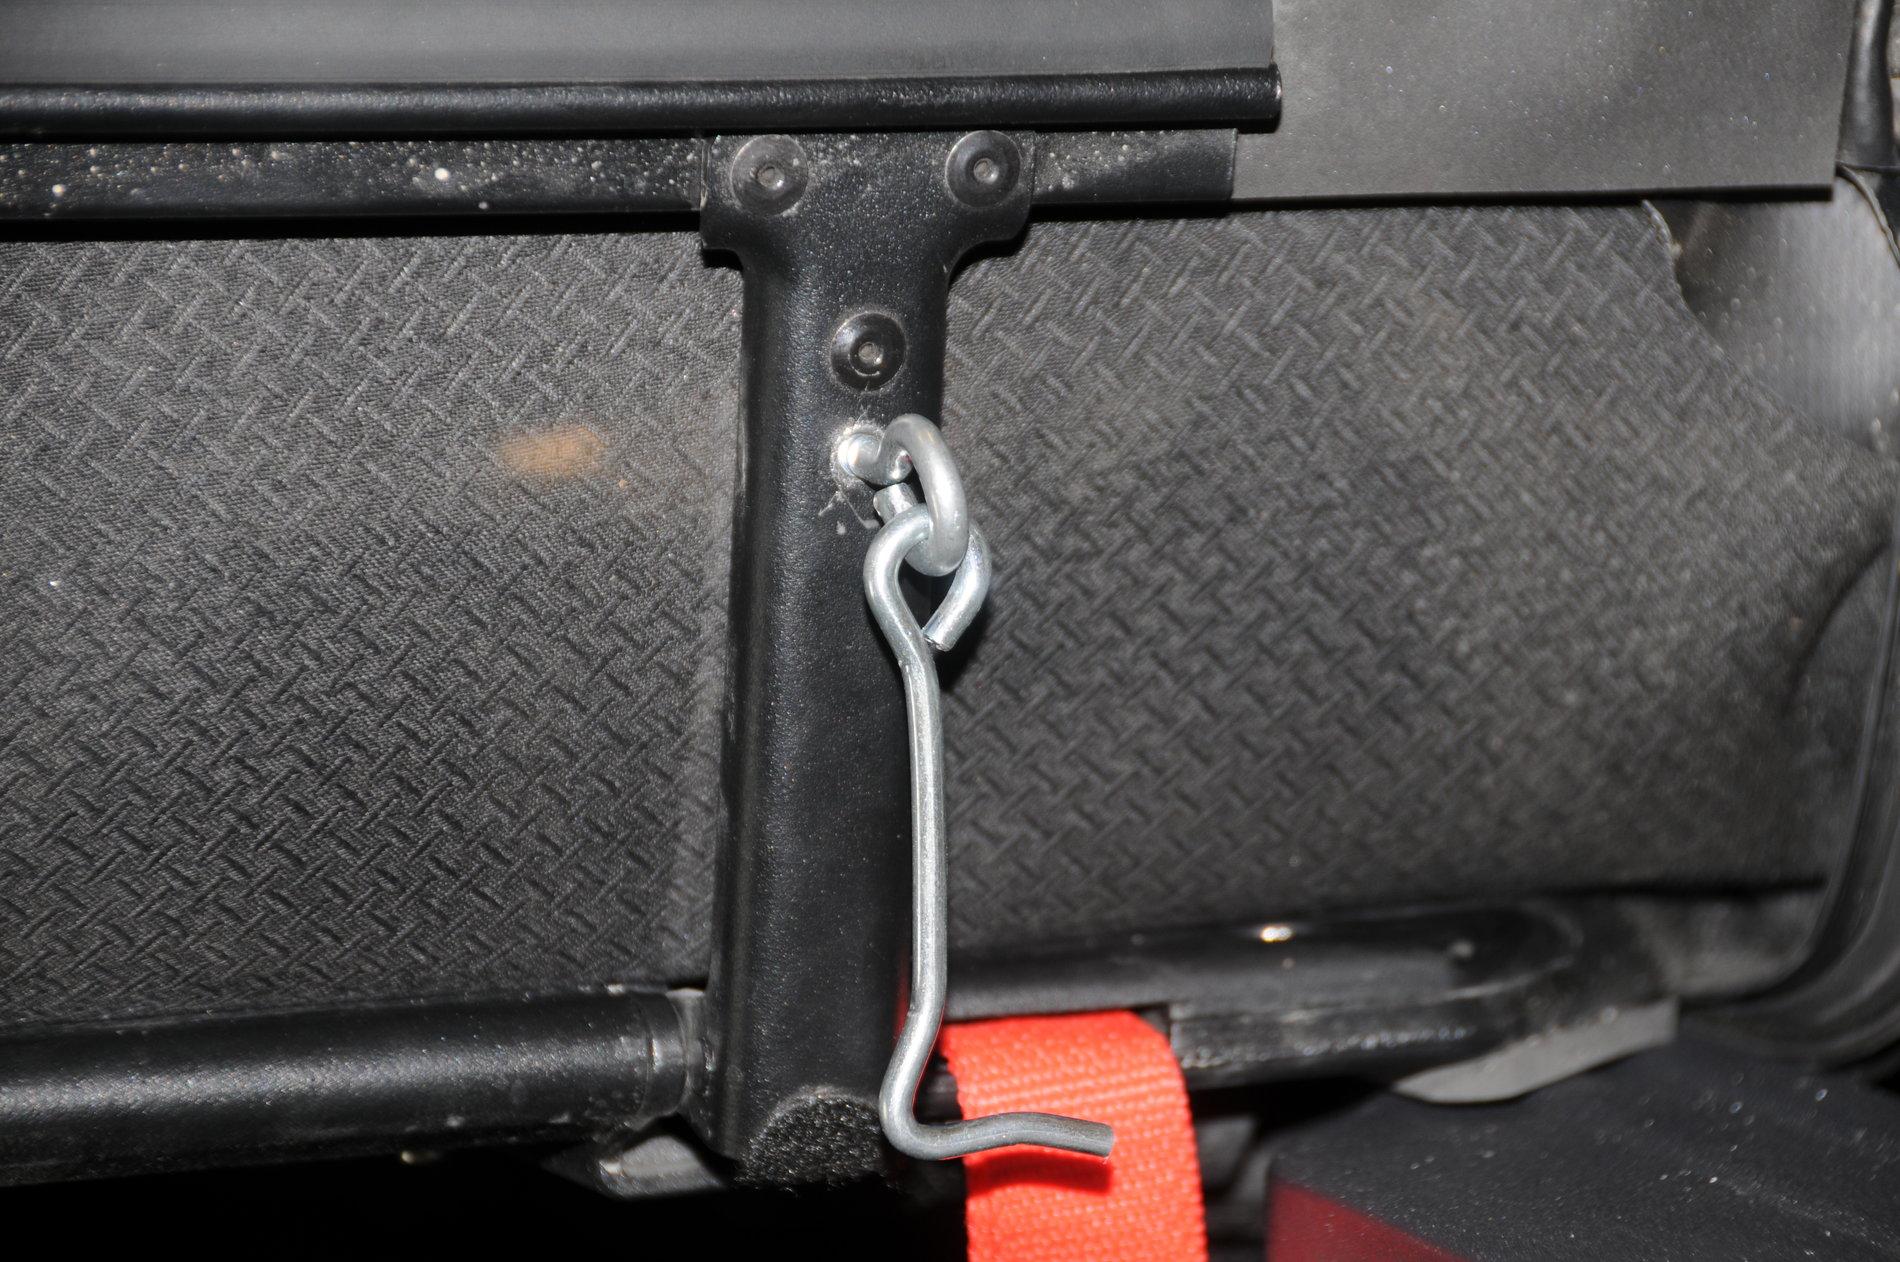
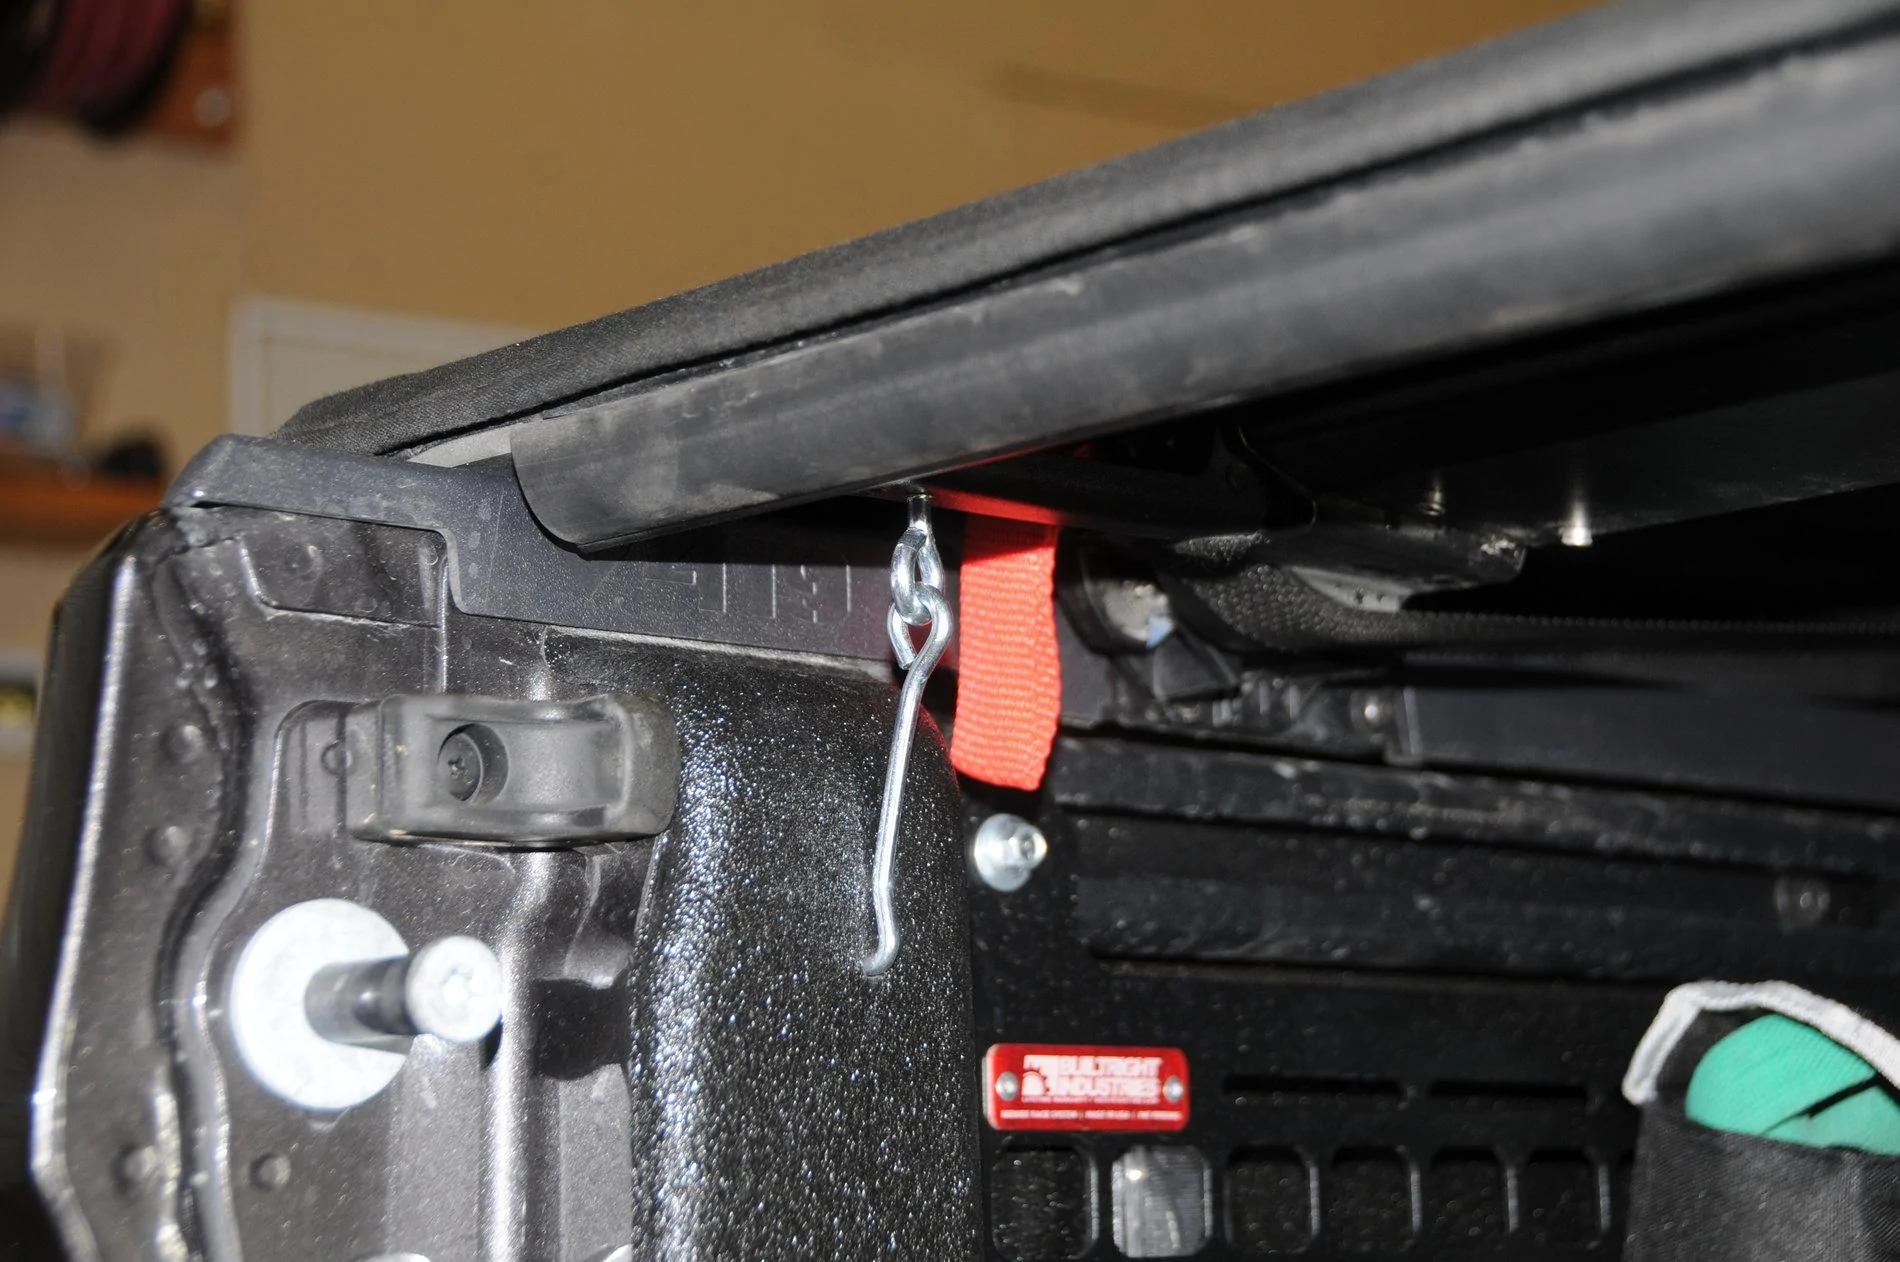
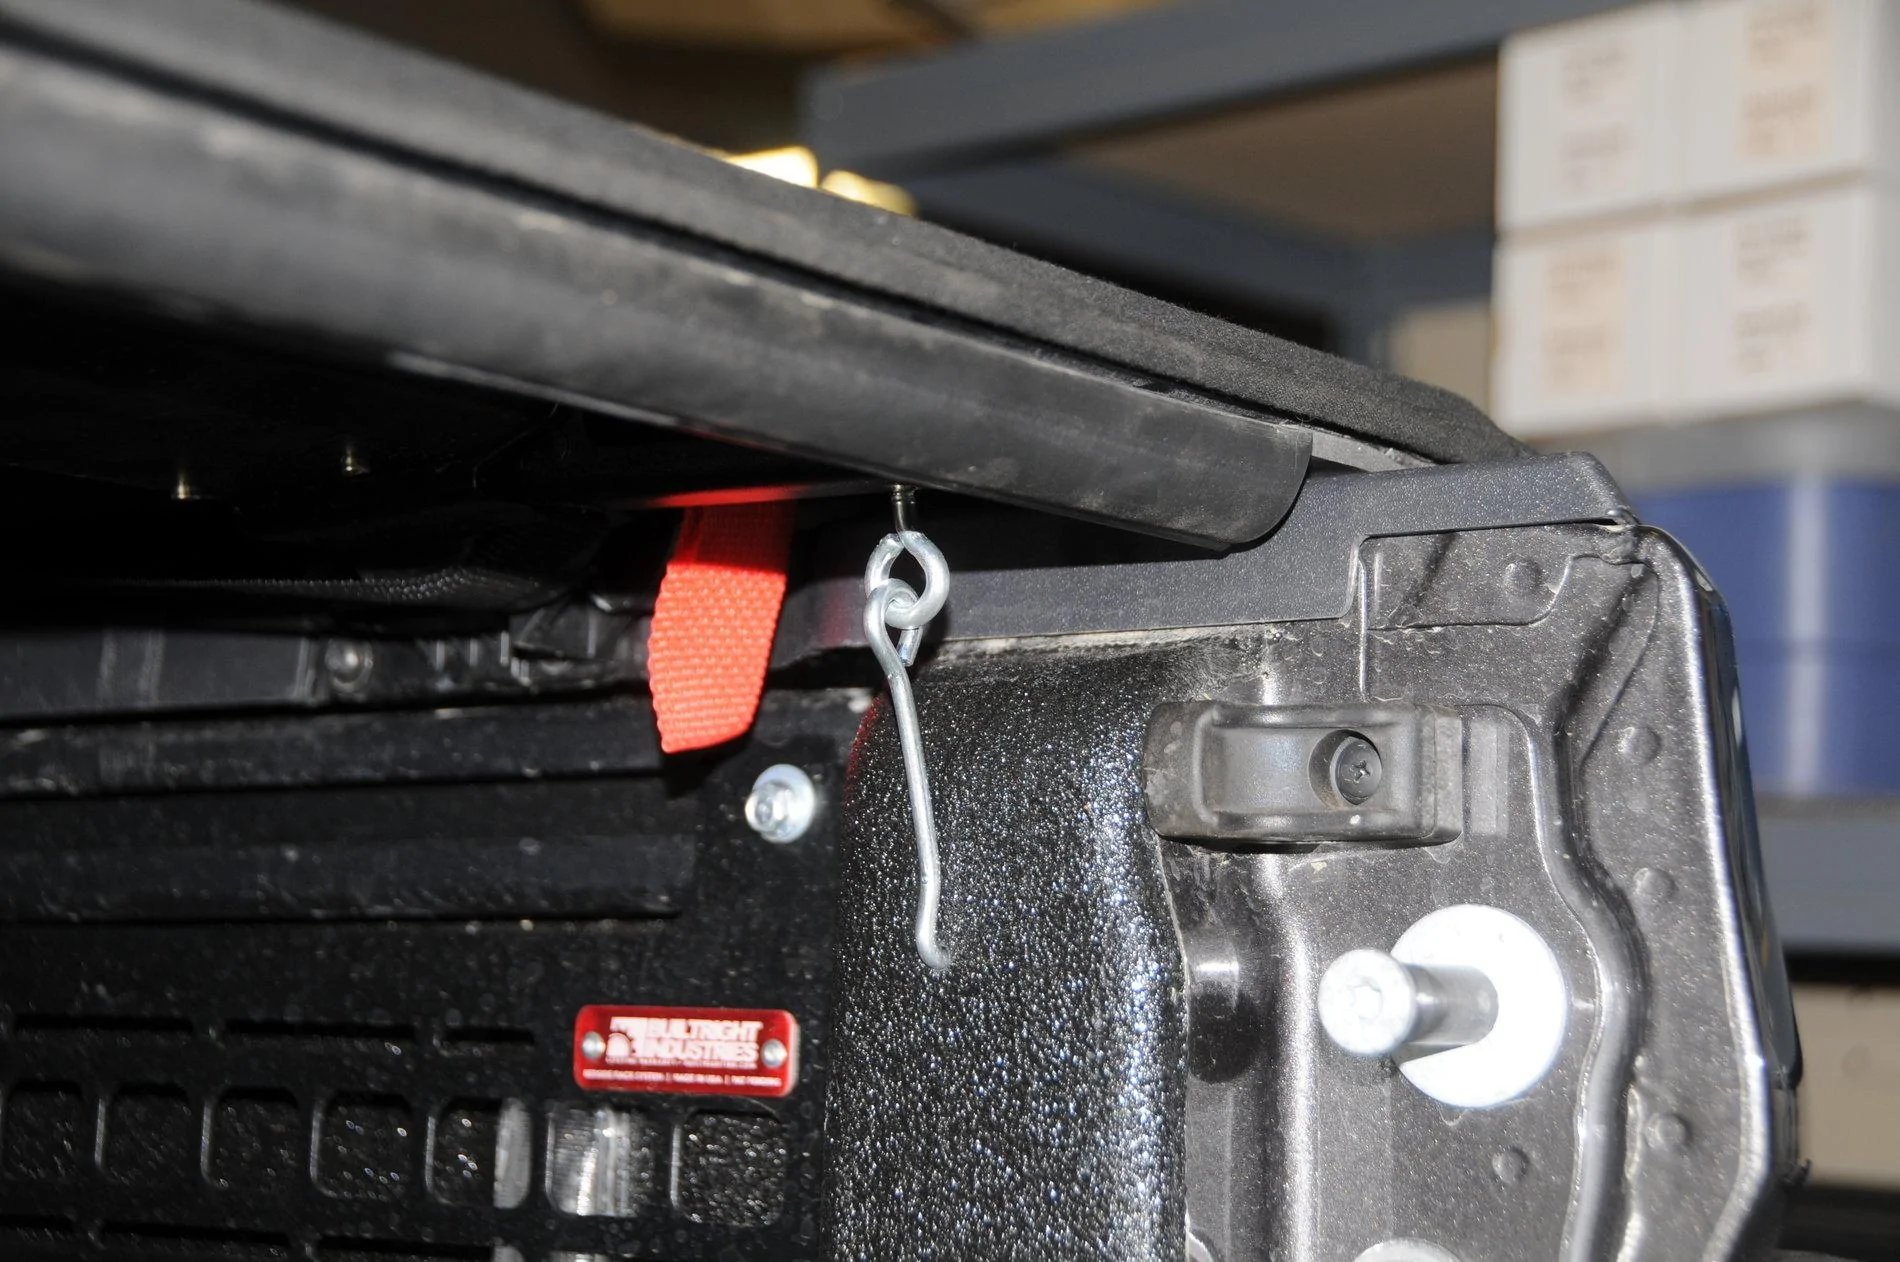
Modifications Round 1 (Stubby Antenna, All Weather Mats, MOLLE Bags)
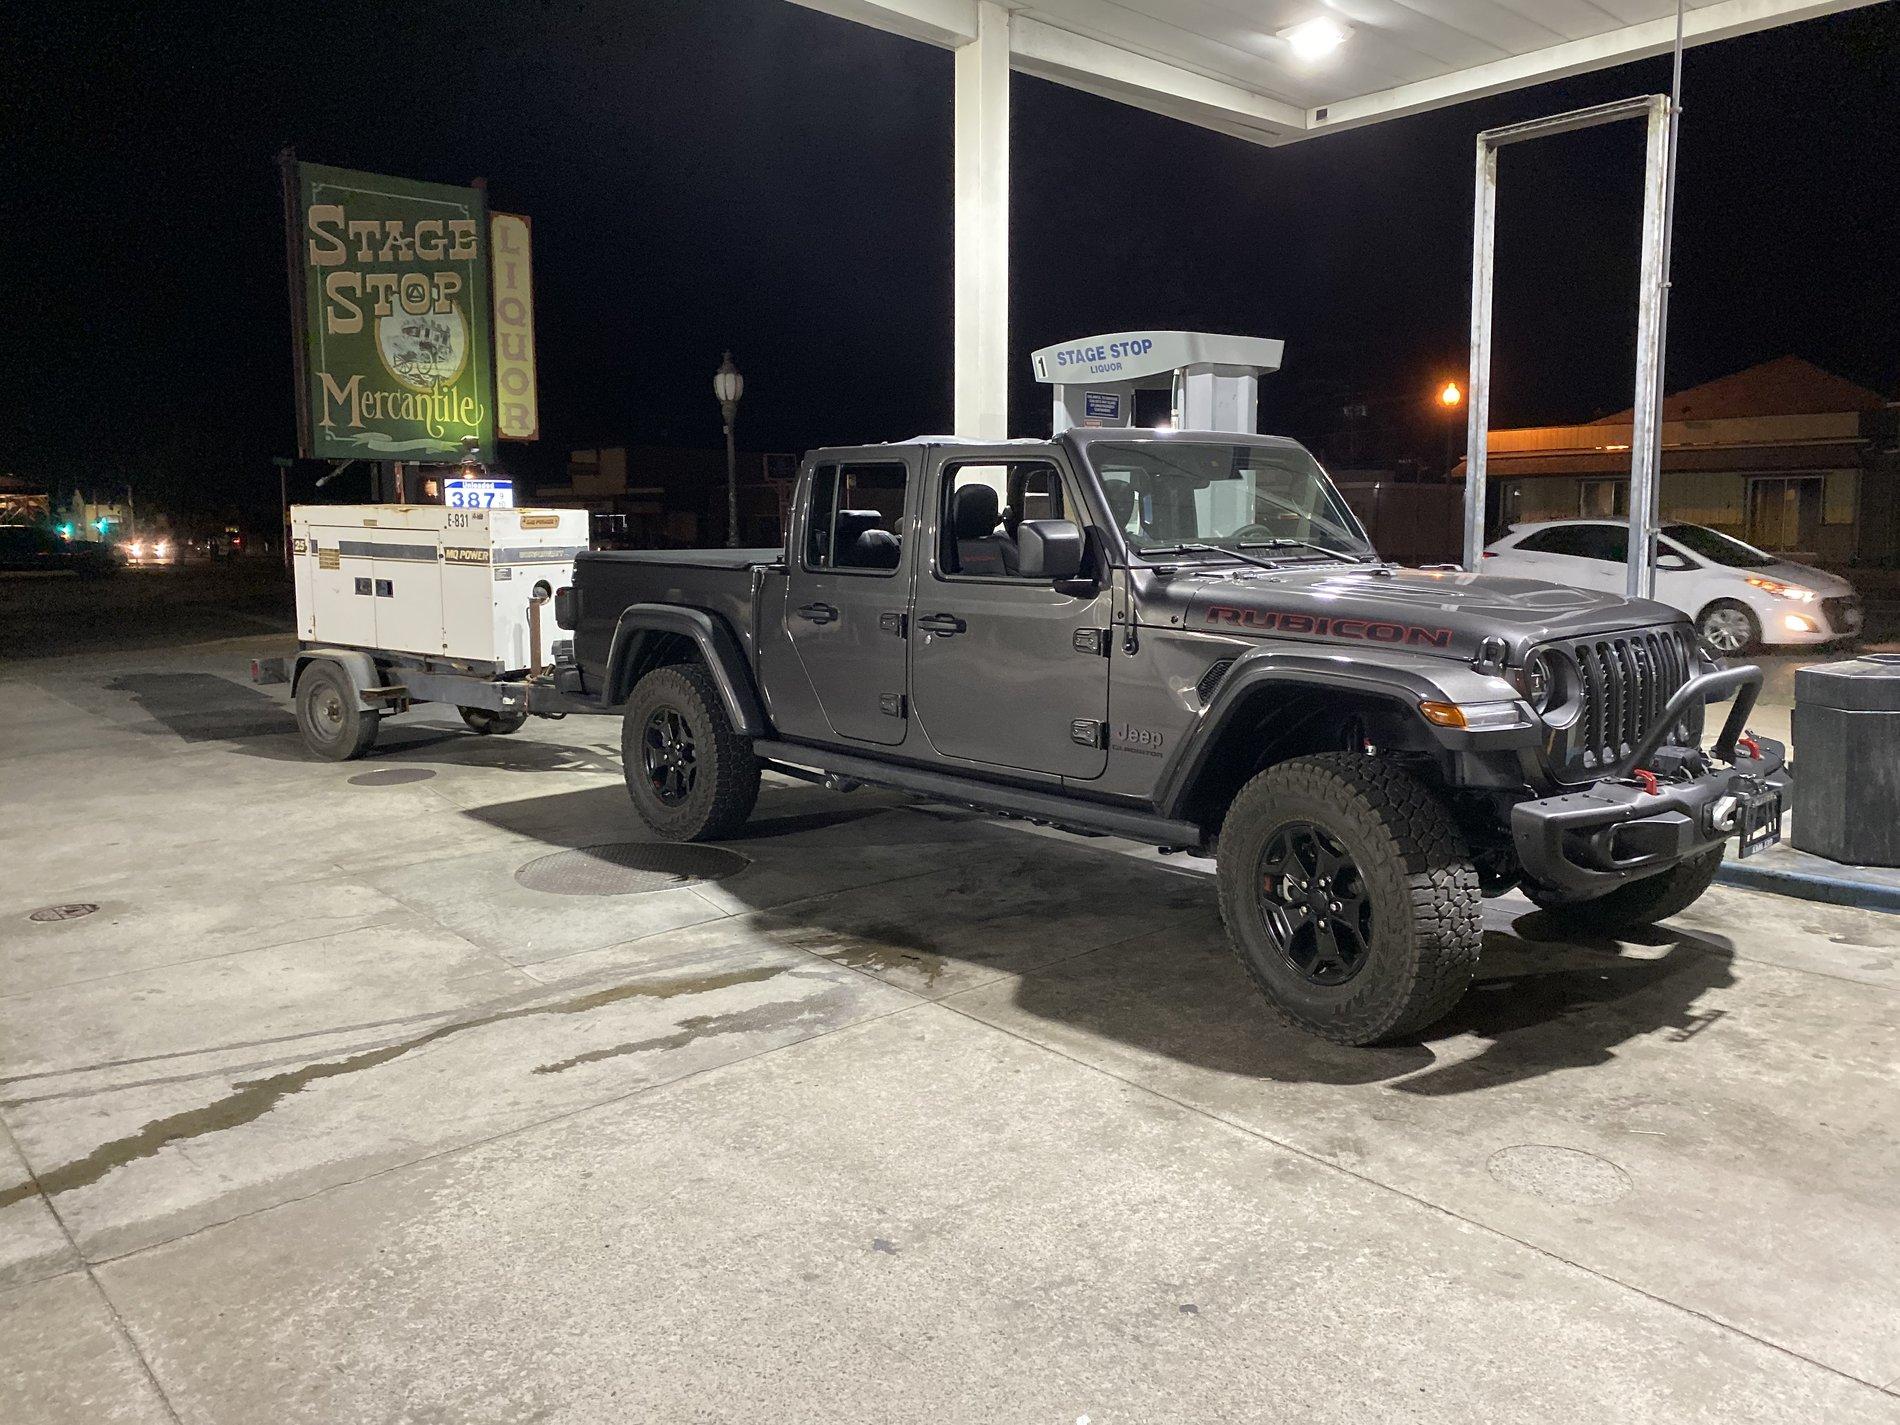
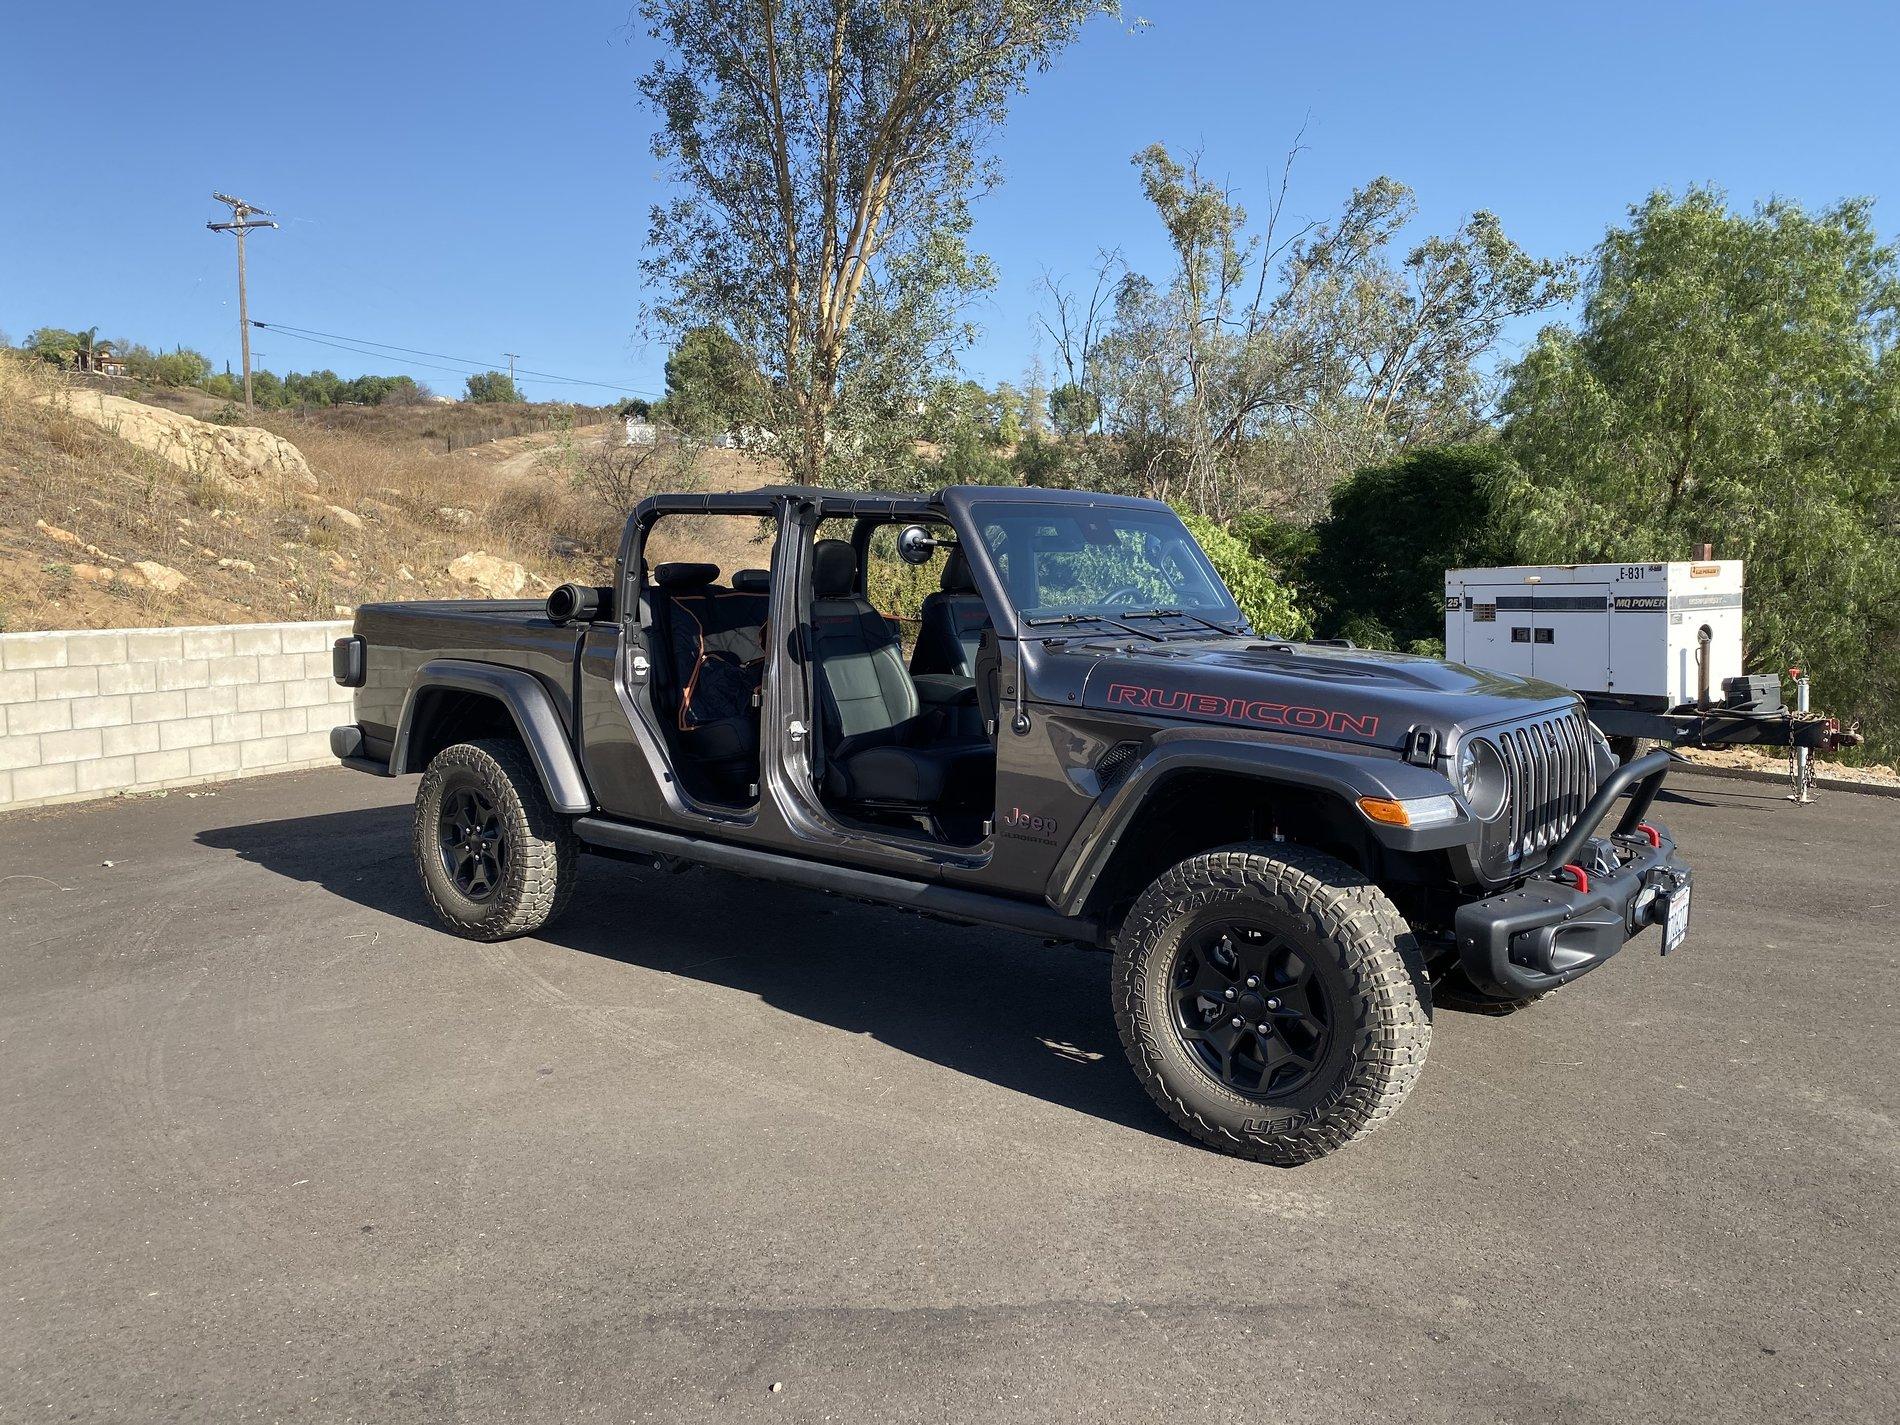
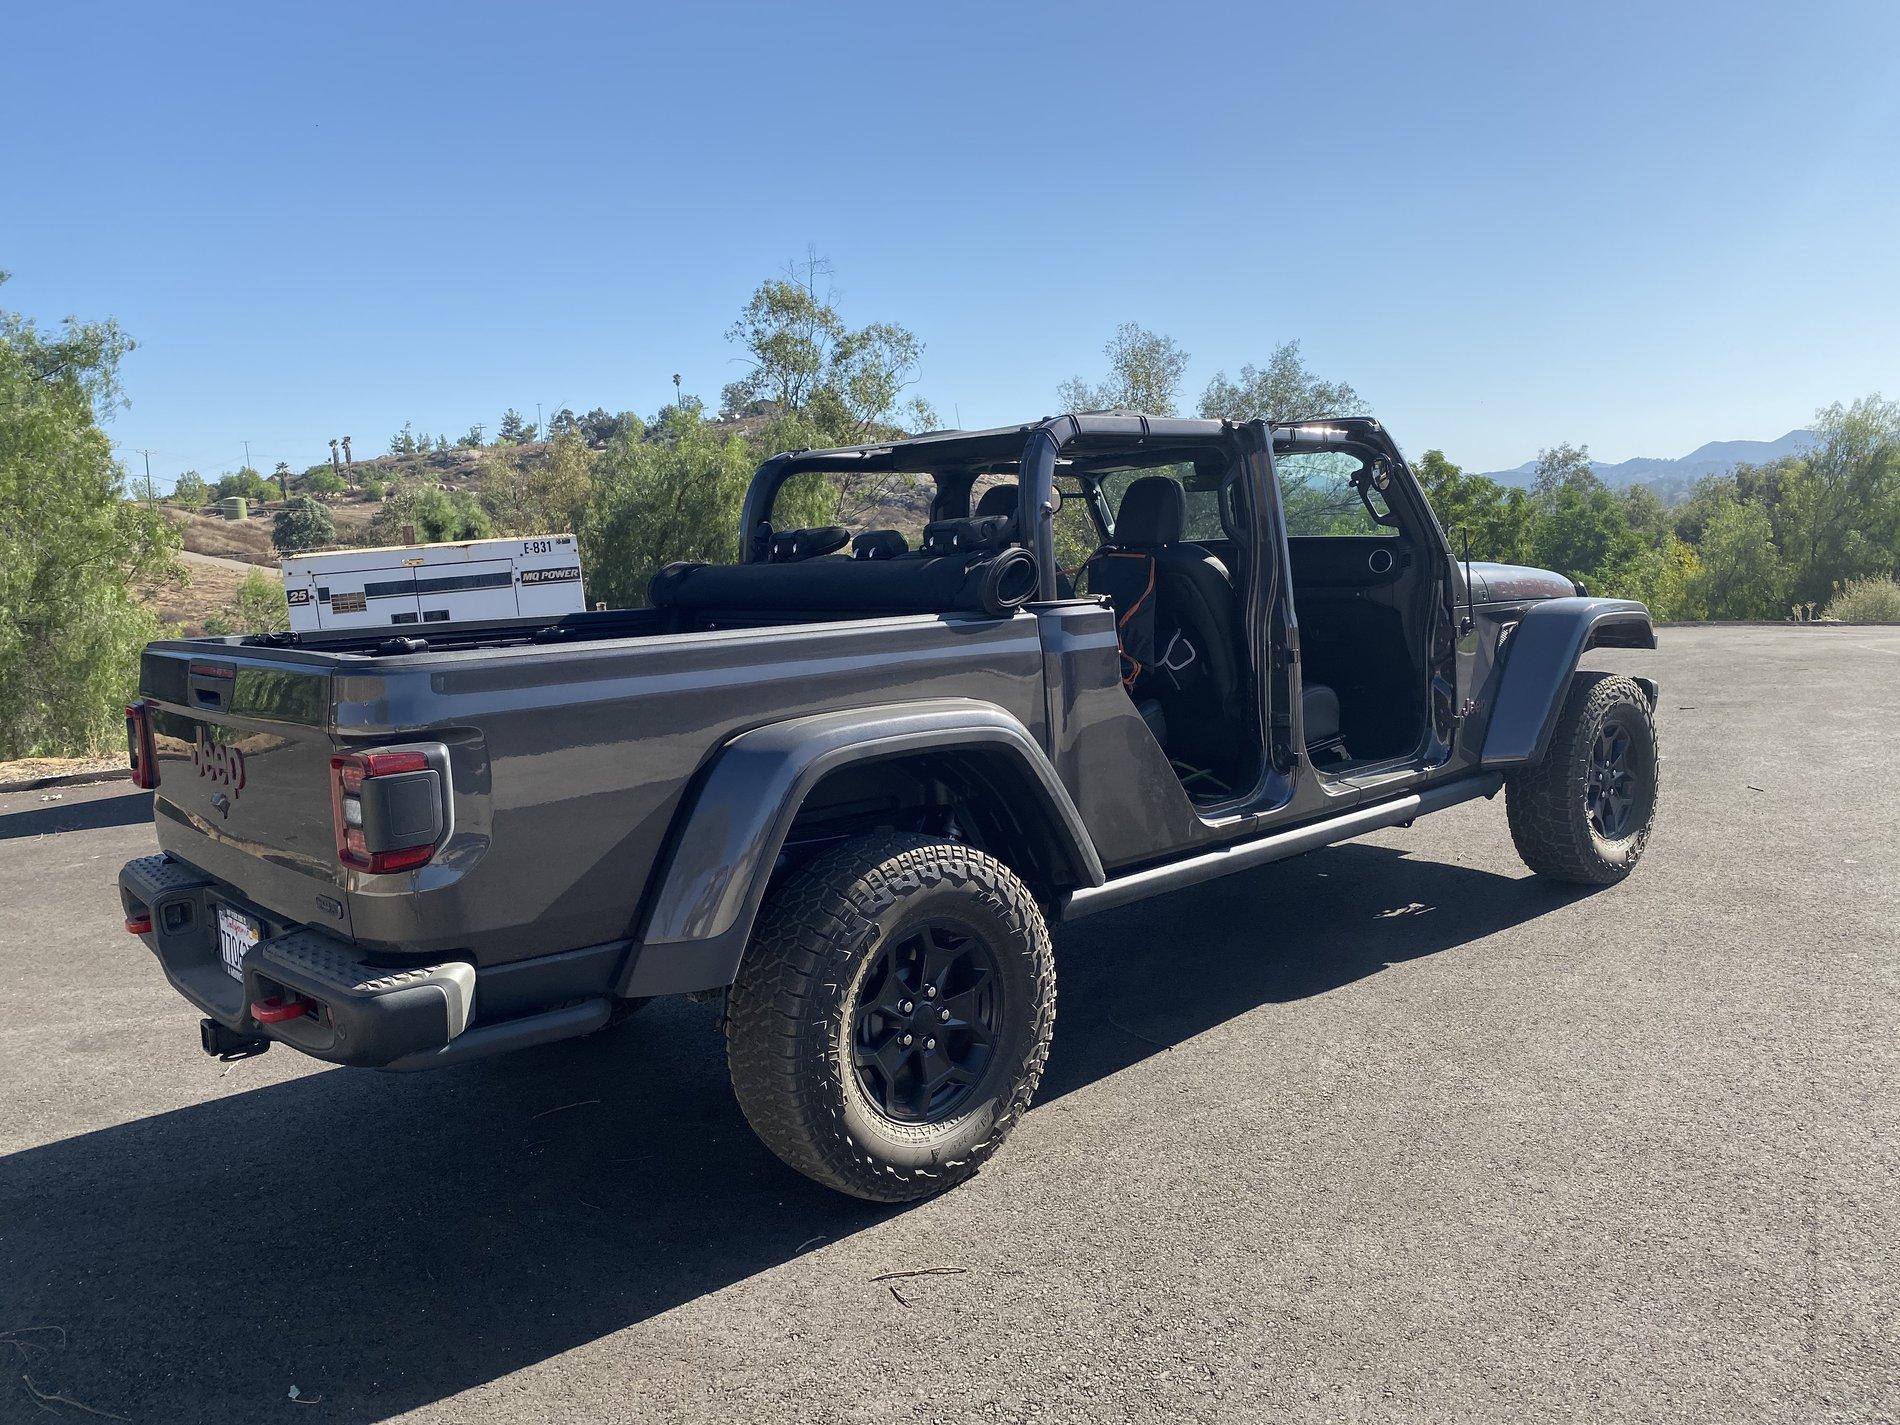
First day back from my trip home, I did a couple of the quick, simple mods. Nothing too exciting, but got them out of the way.
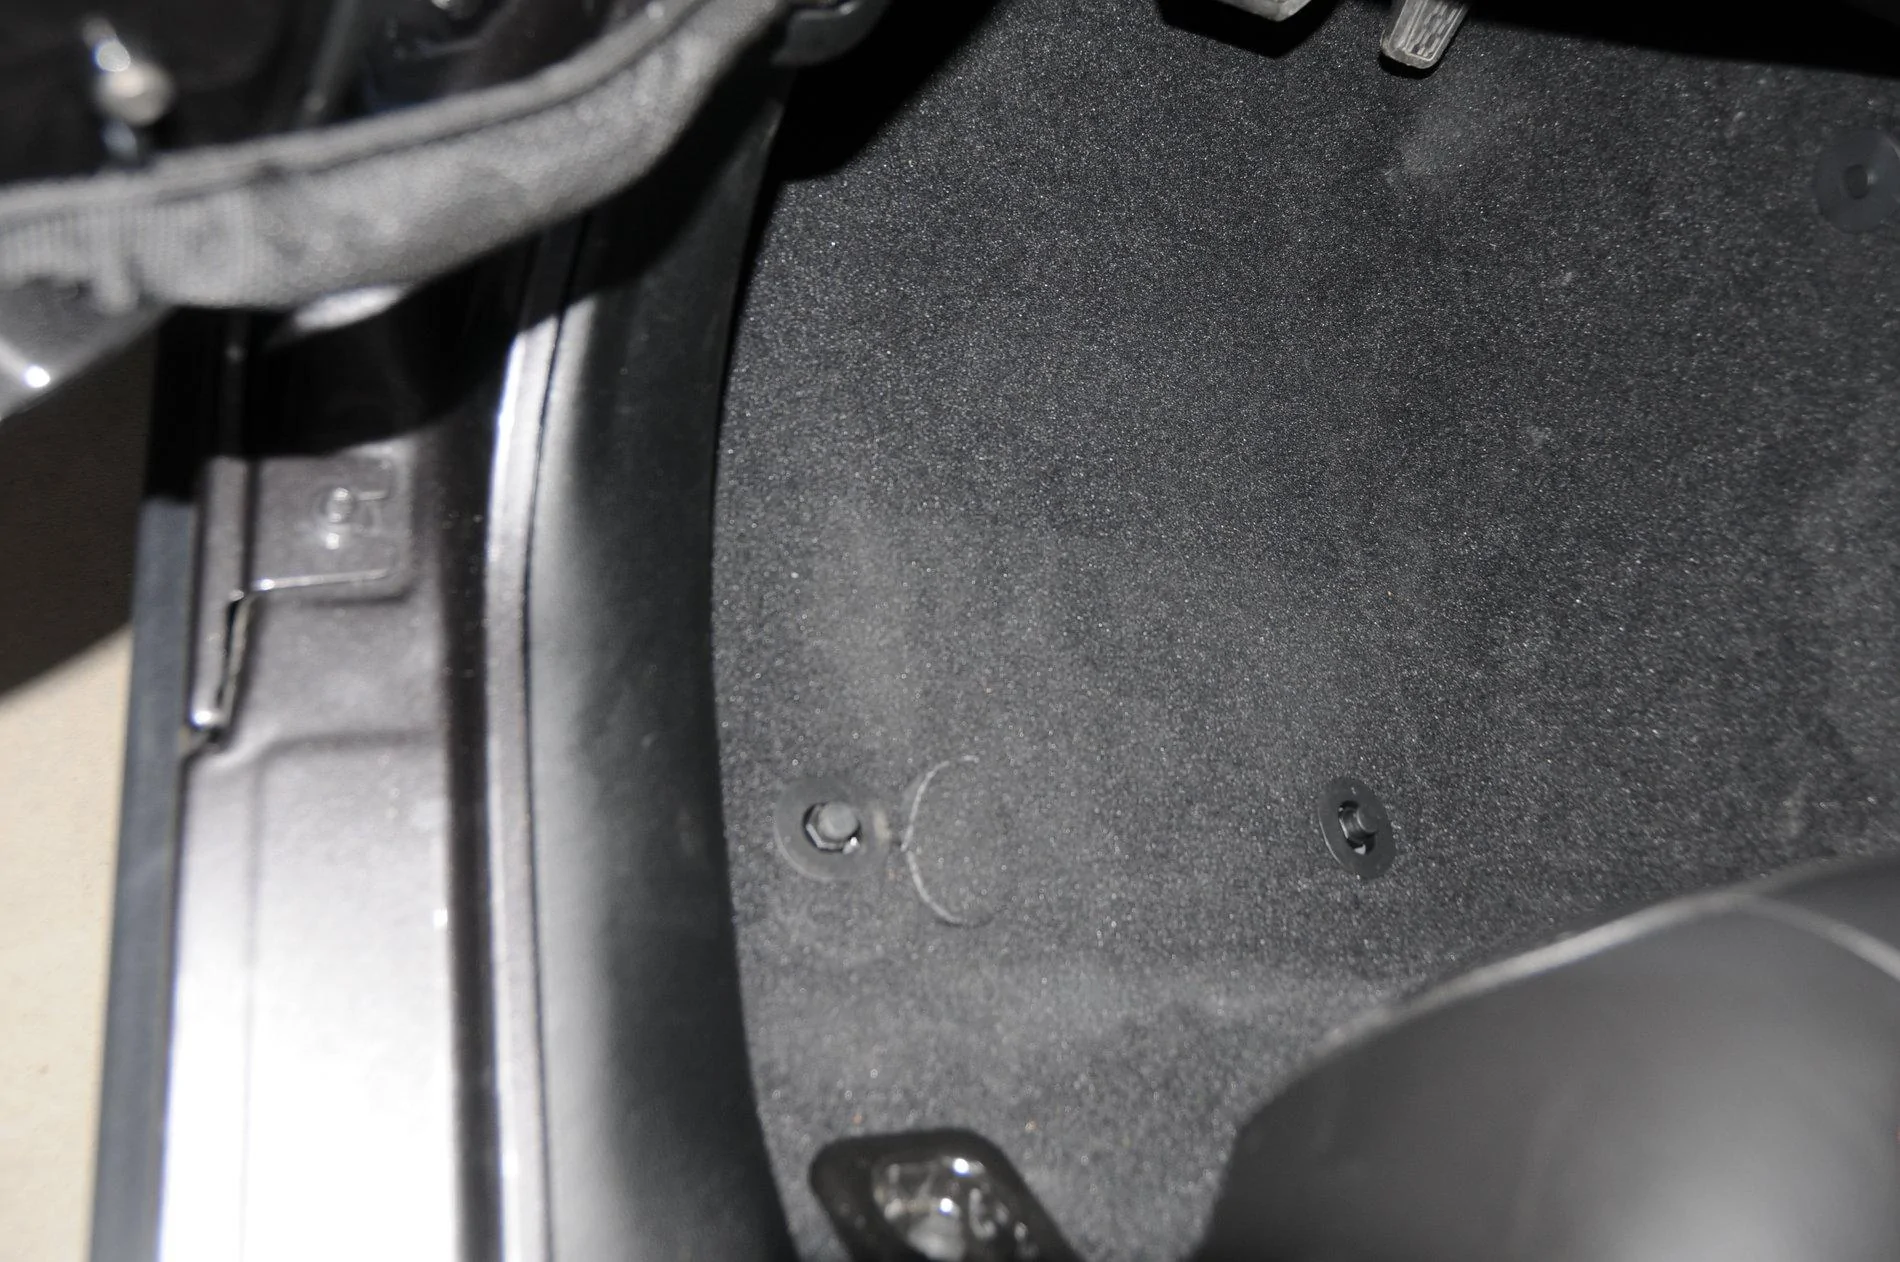
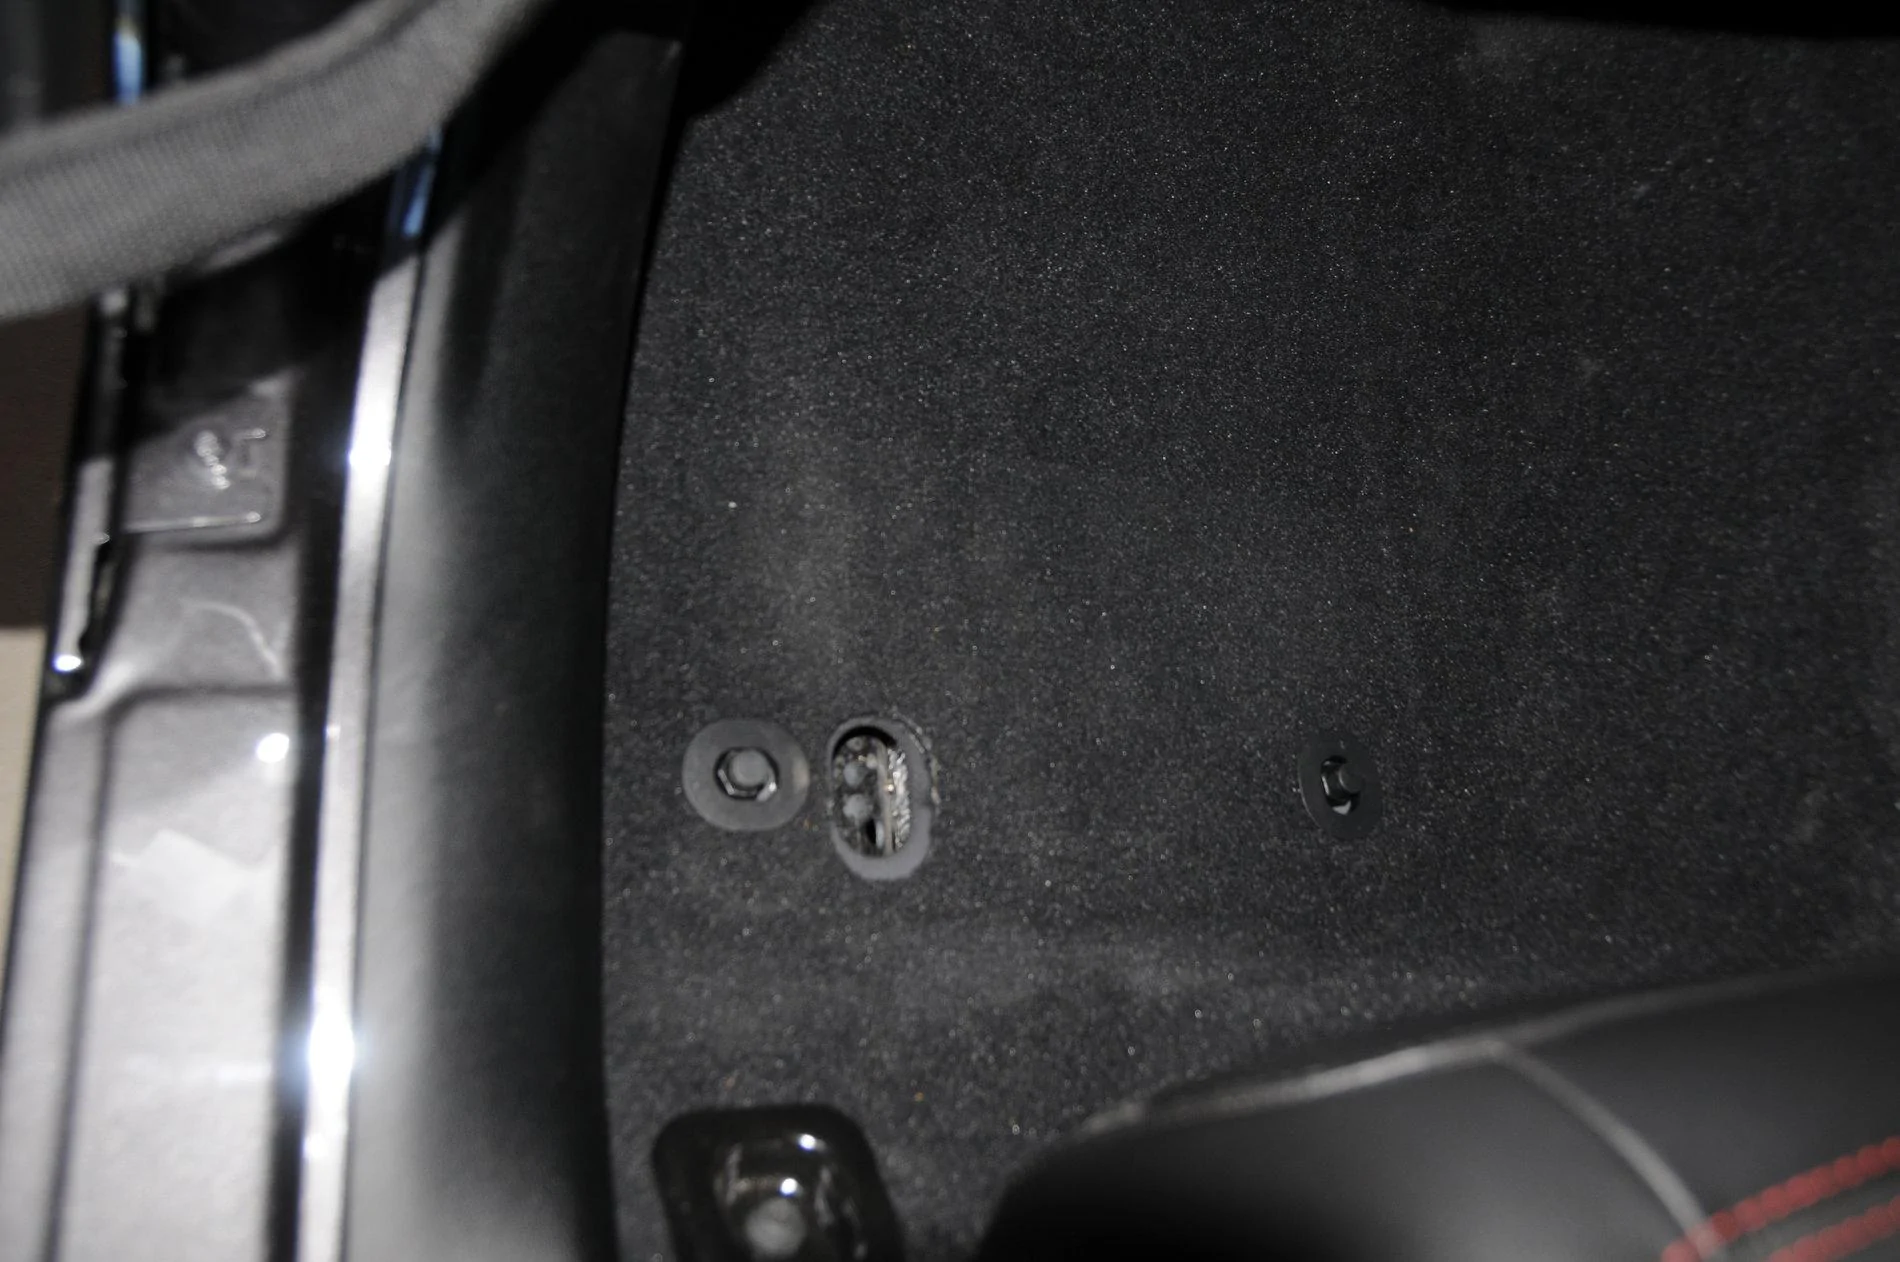
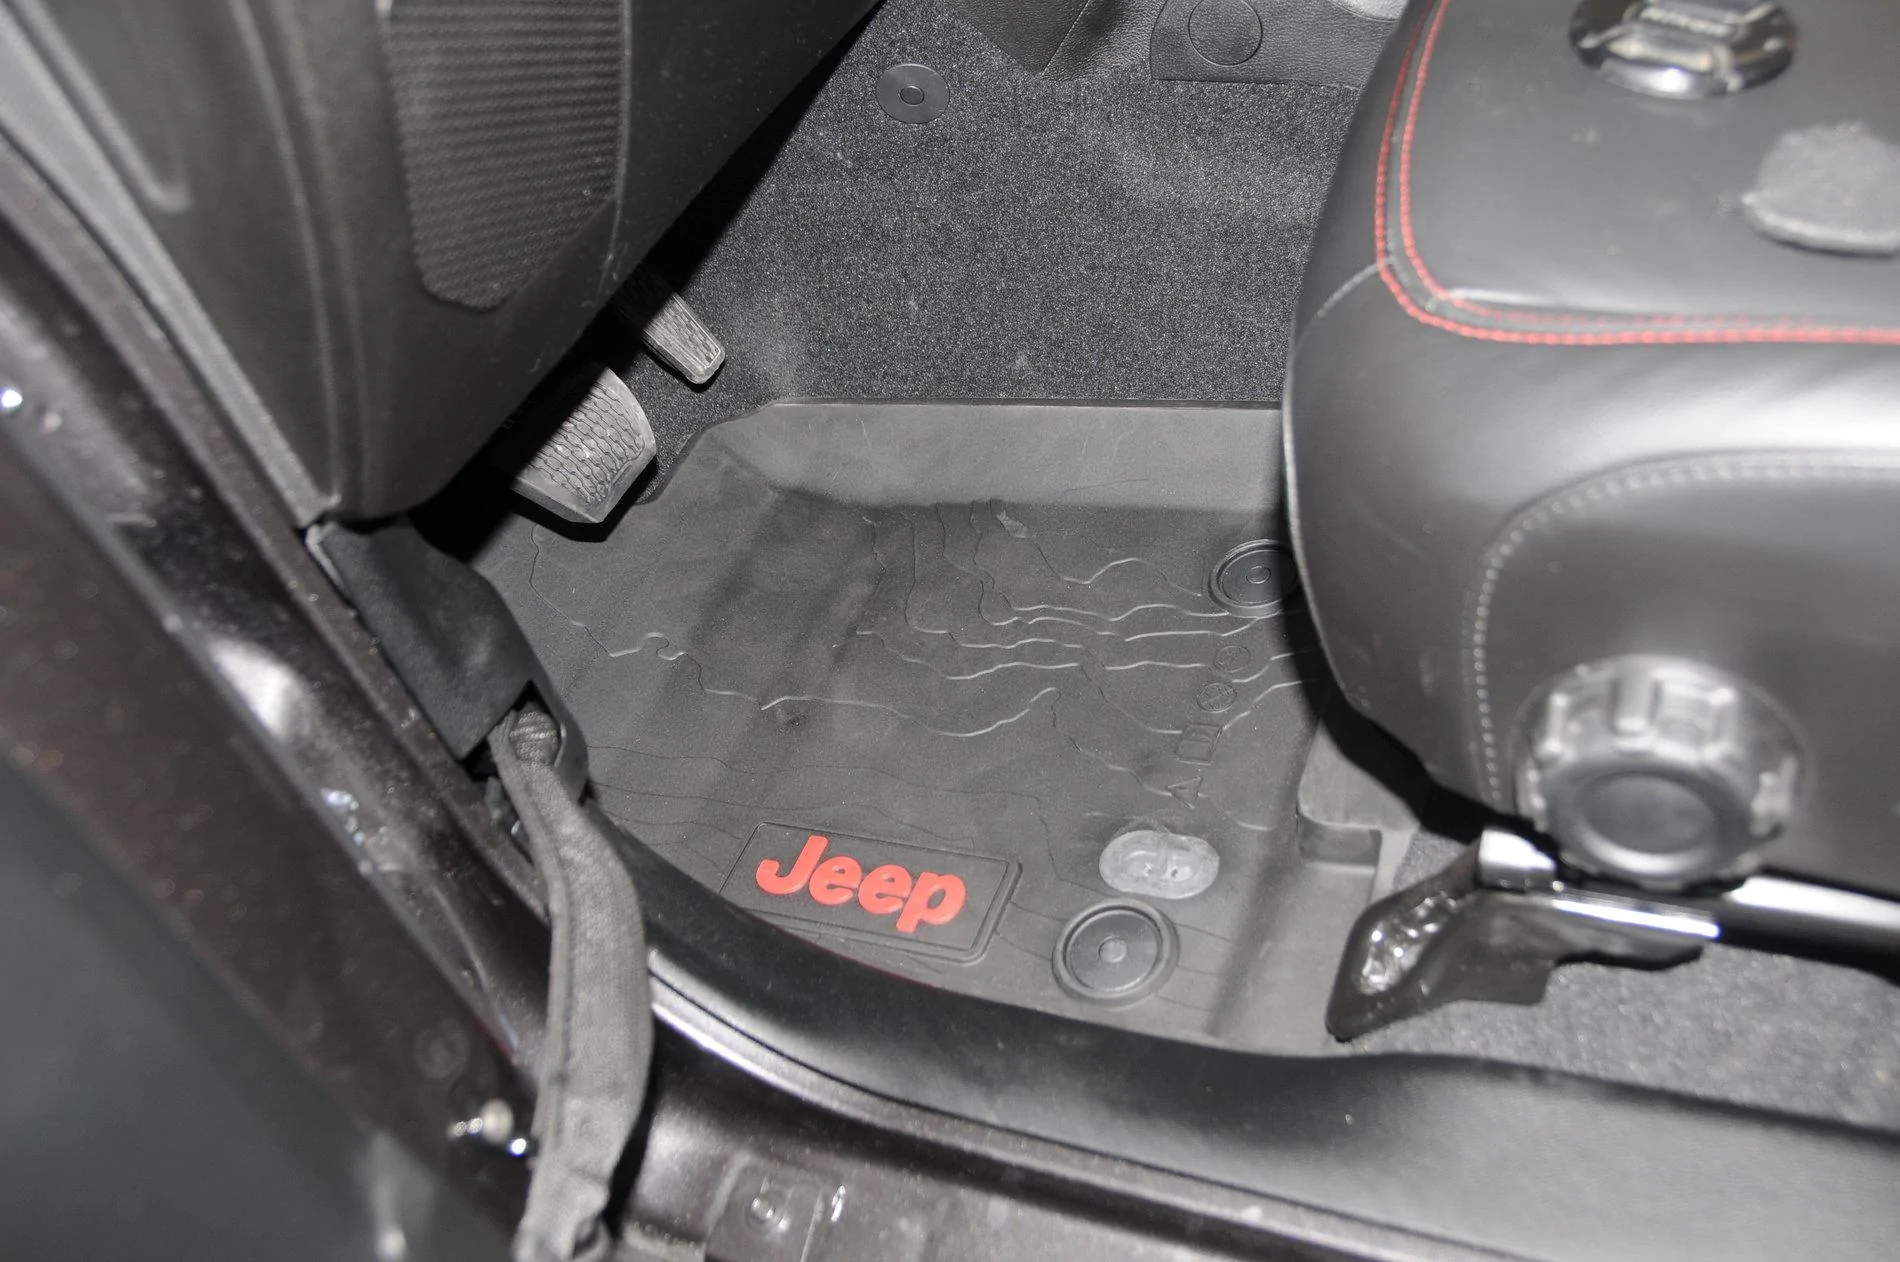
All Weather Floor Mats
Simple install. Front carpet has a couple of cutouts in the carpet when you remove the carpeted floor mats. Cutting the rest of the cutout away reveals the drain plugs. Pull those out, drop the all weather mats in and put the drain plug onto the new mats.

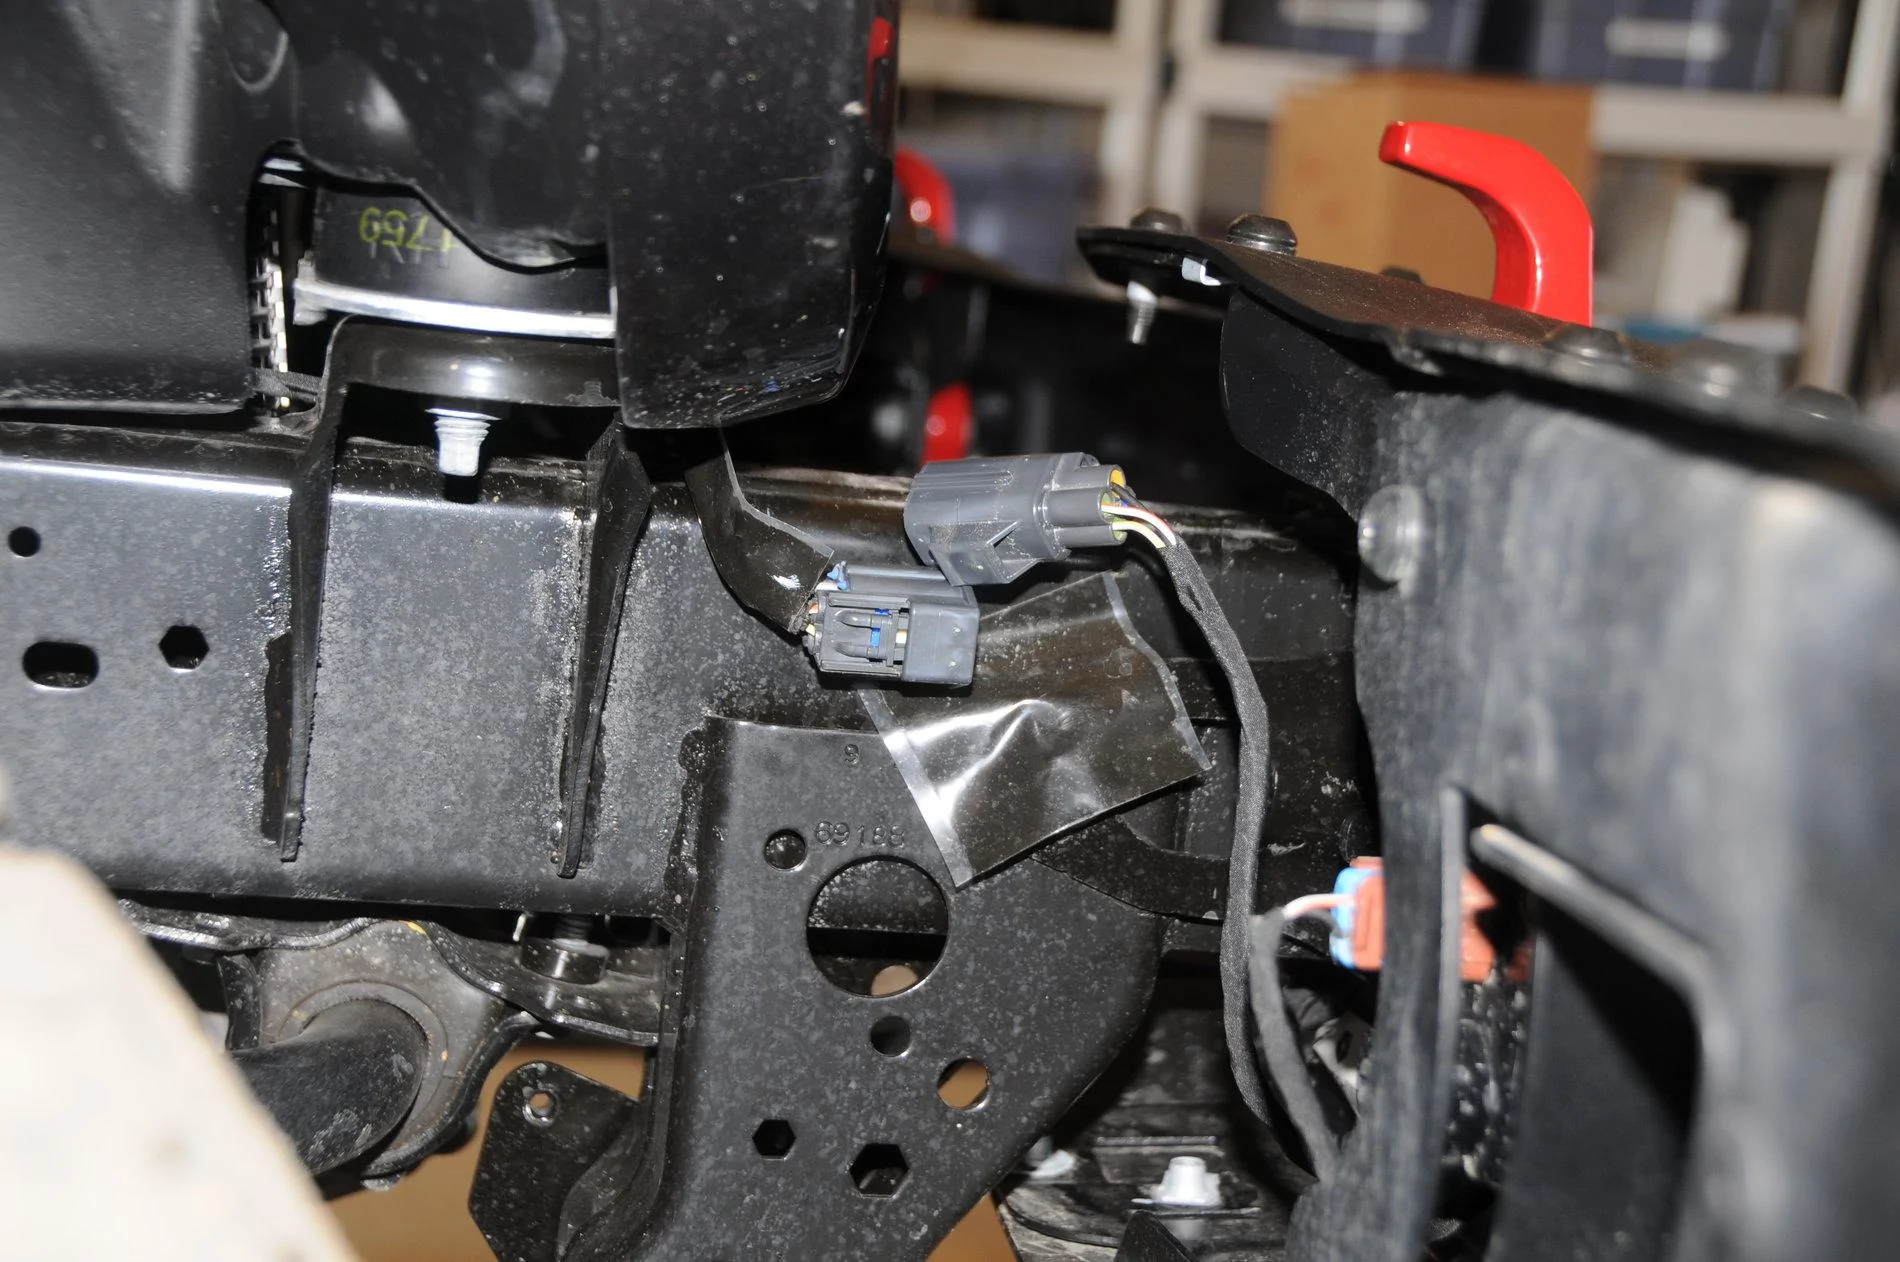
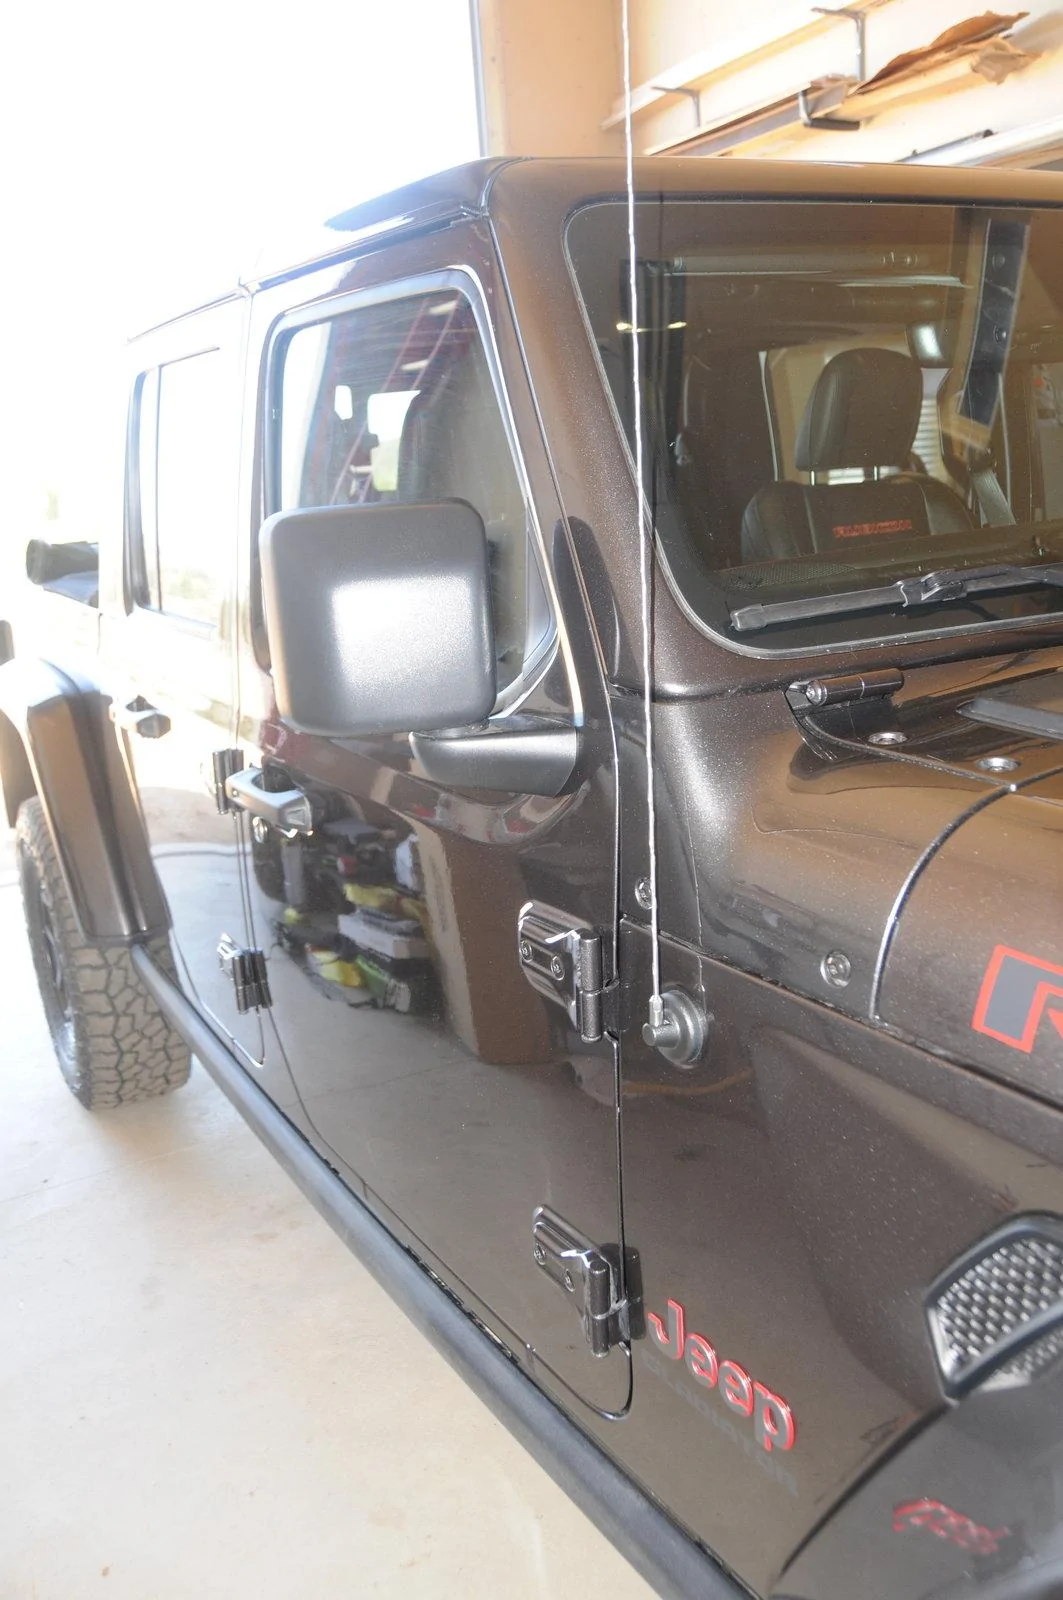
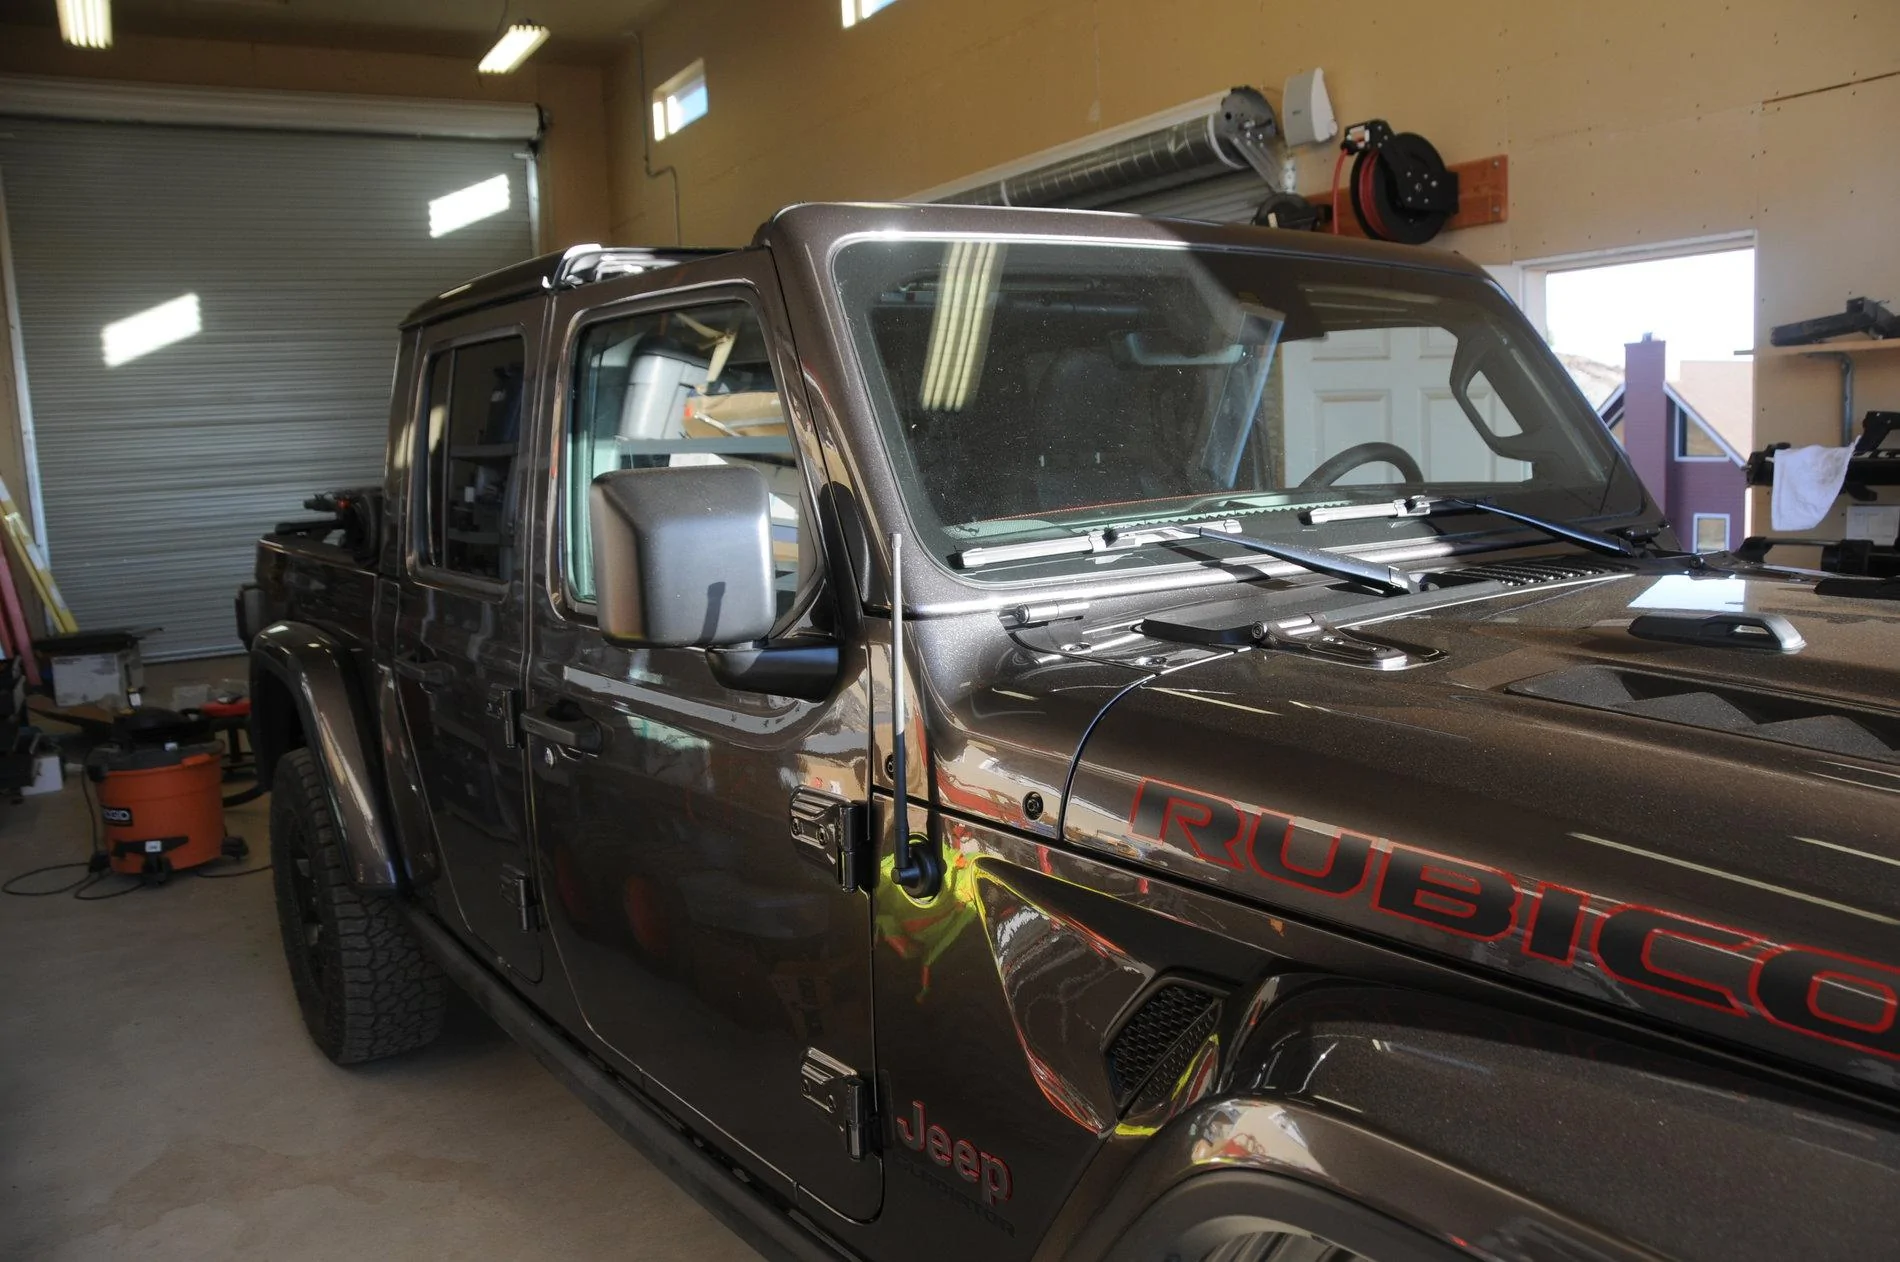
Stubby Antenna
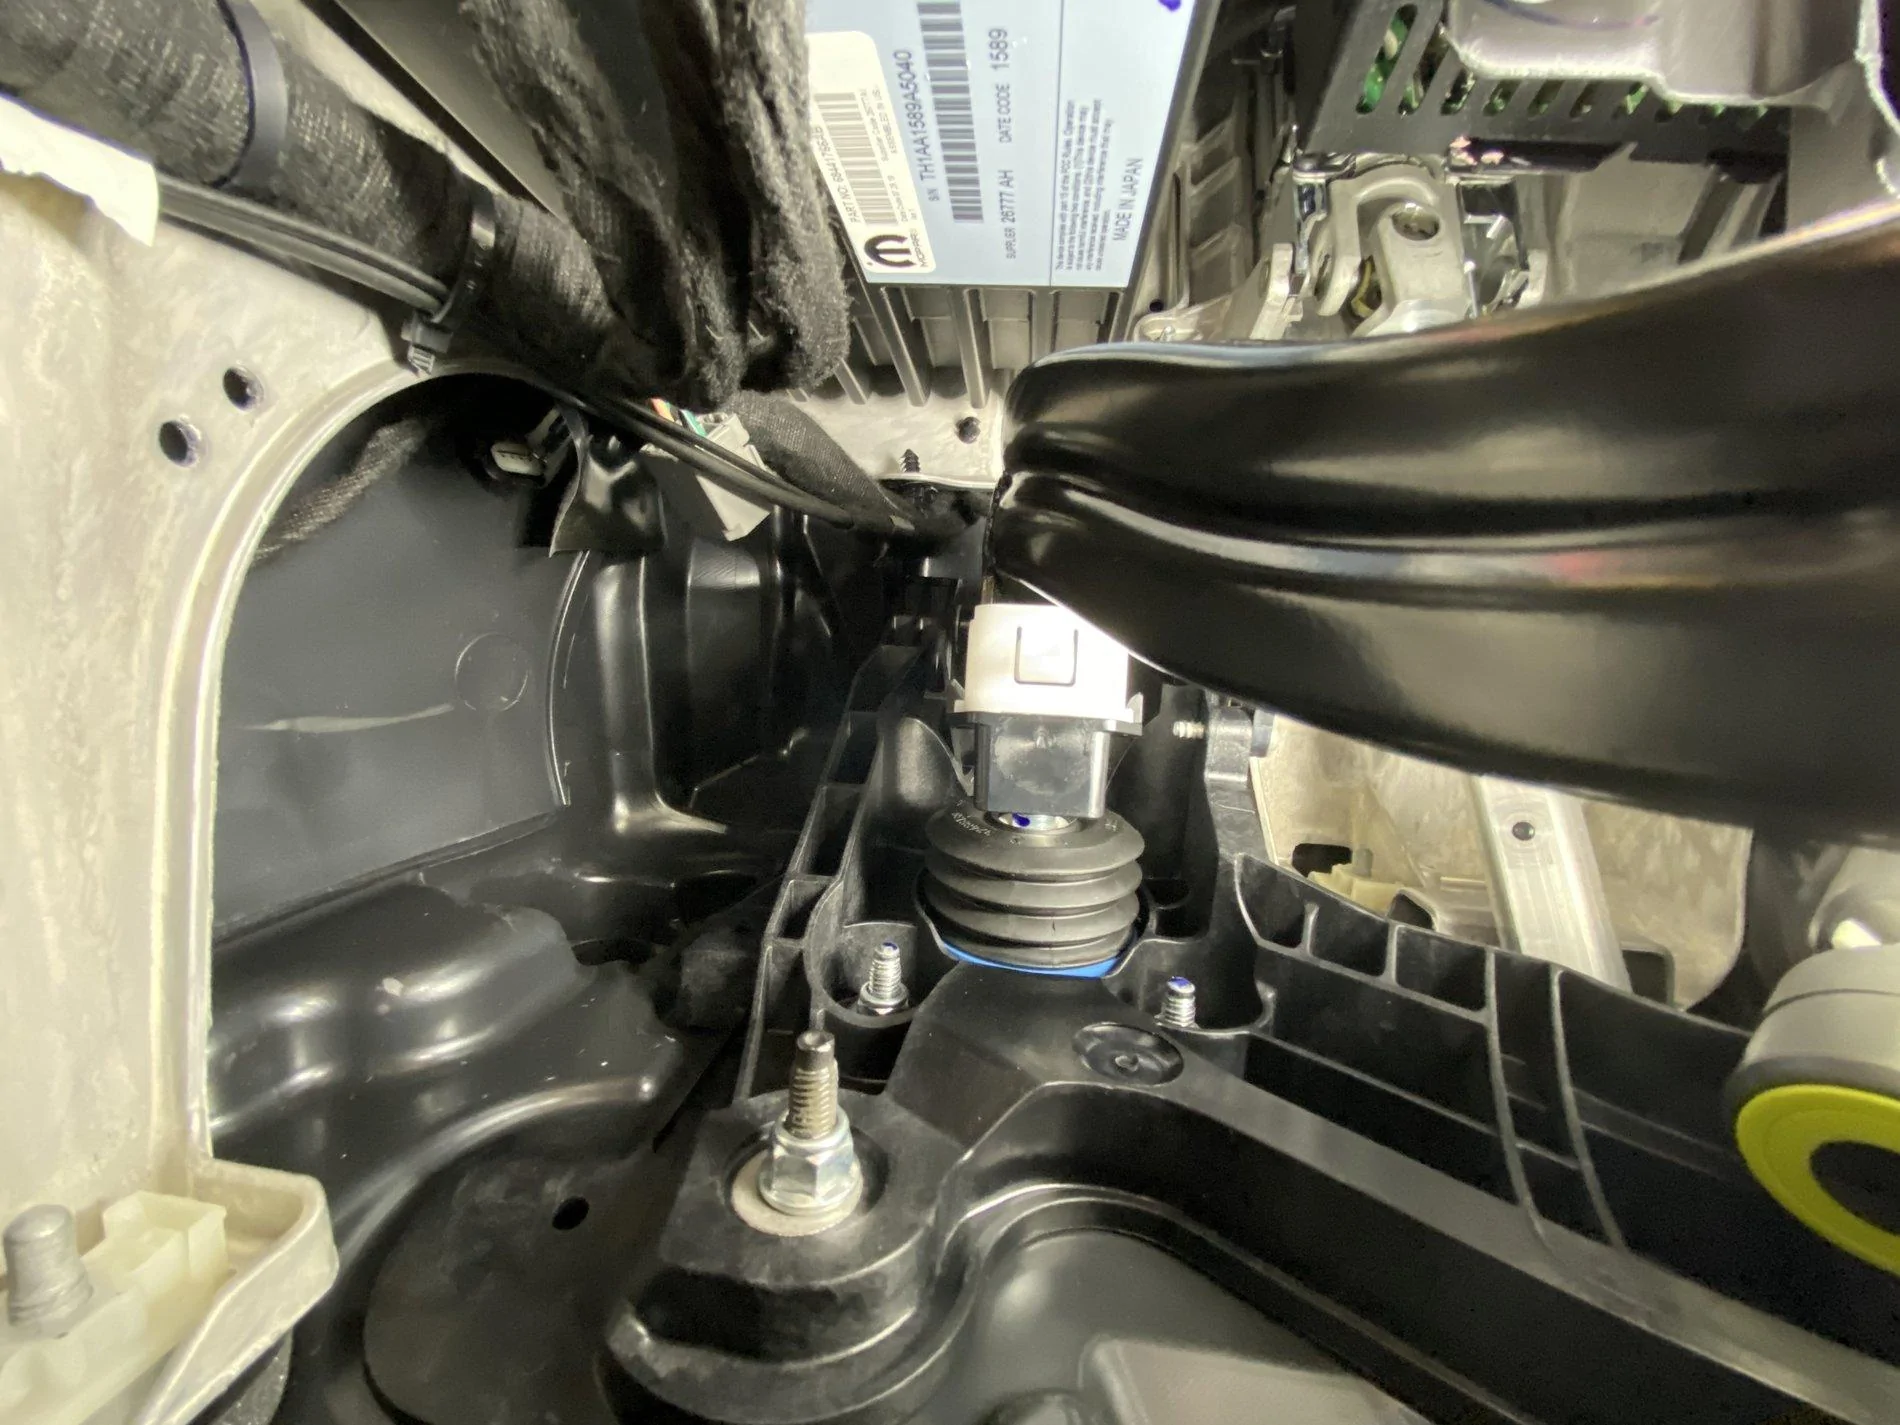
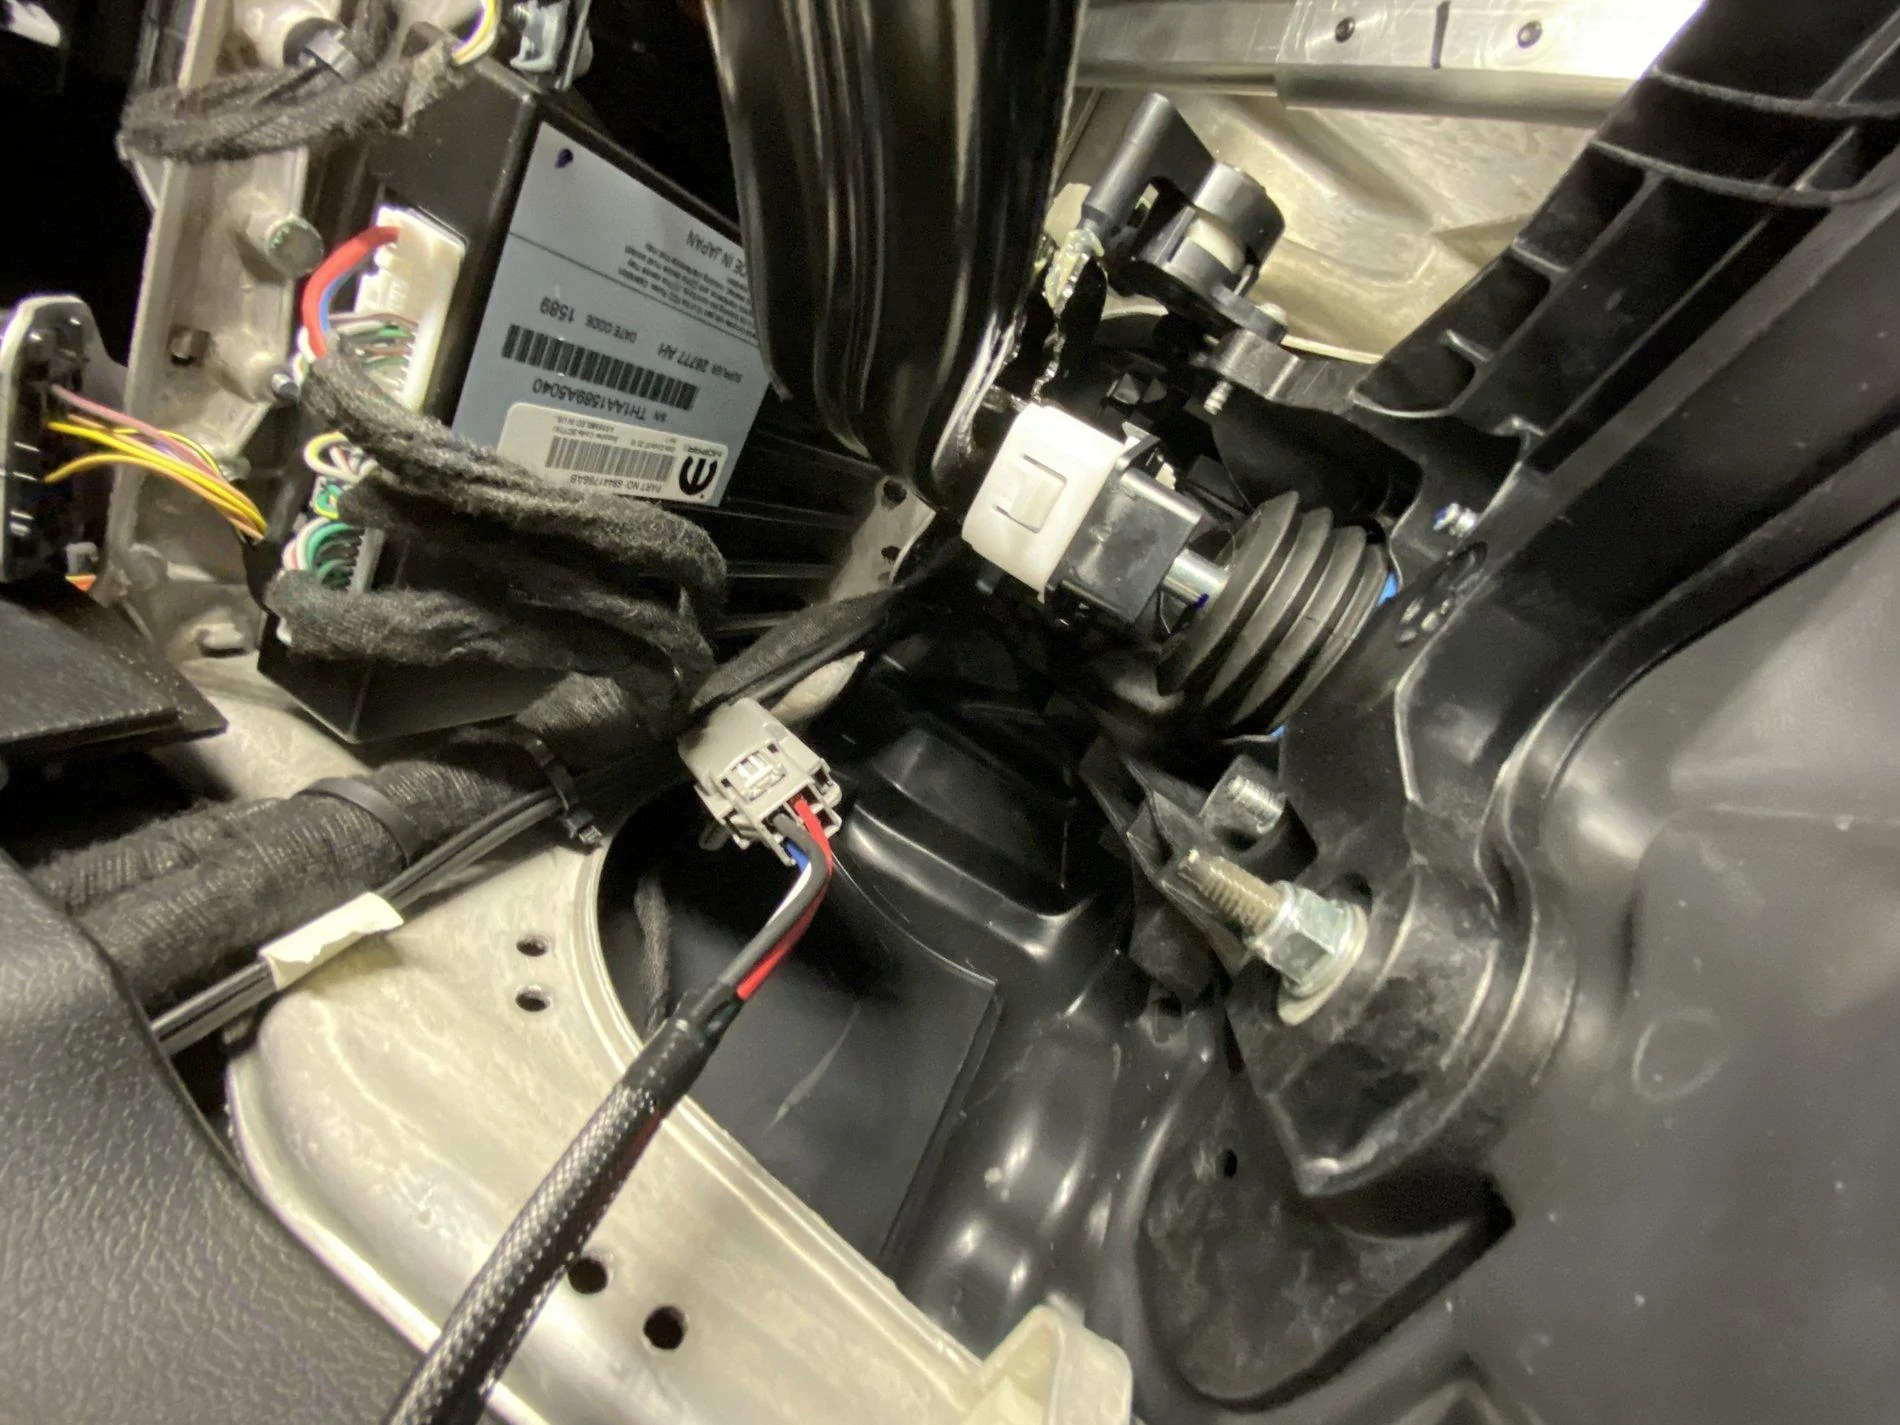
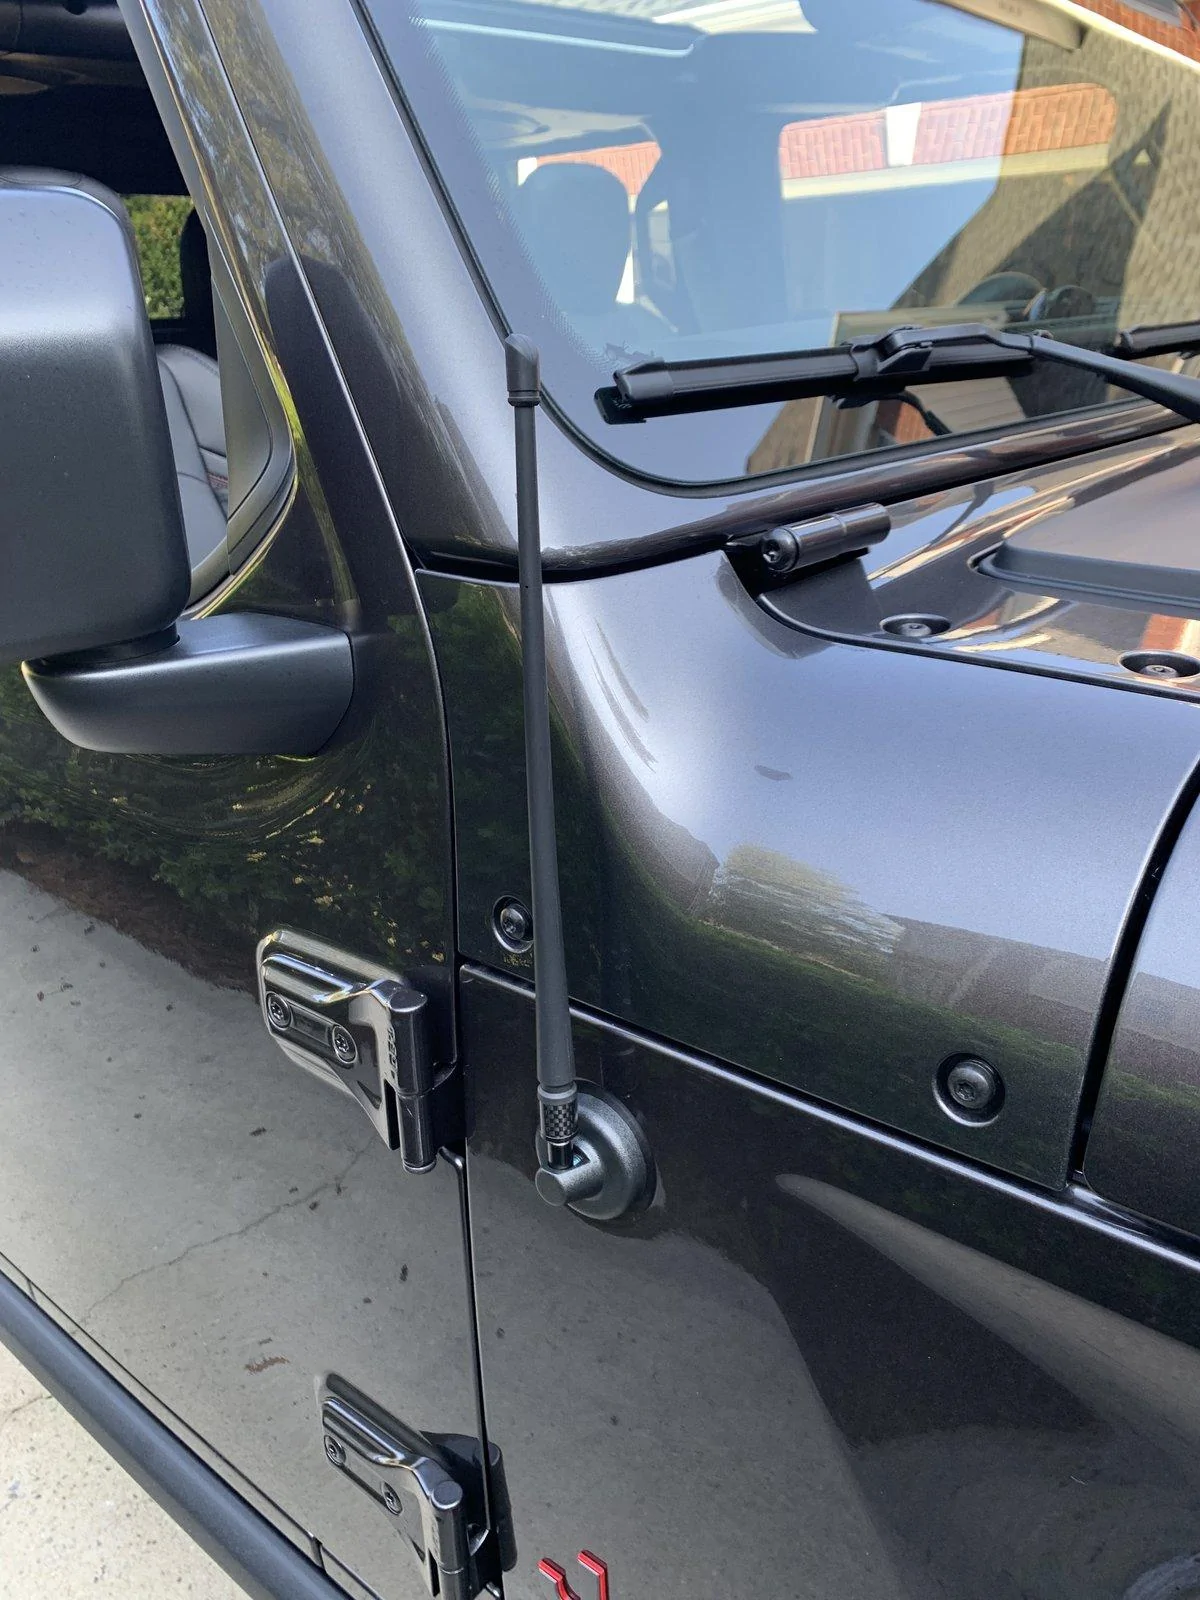
As I mentioned above, the stock antenna was extremely annoying on the drive home and wish I would have brought the stubby with me to install before the drive home. 3/8" wrench to take off the stock antenna and the stubby one I got screwed right on. Don't really use AM/FM, so haven't tried it out. Over the air radio coverage sucks at my house anyway.

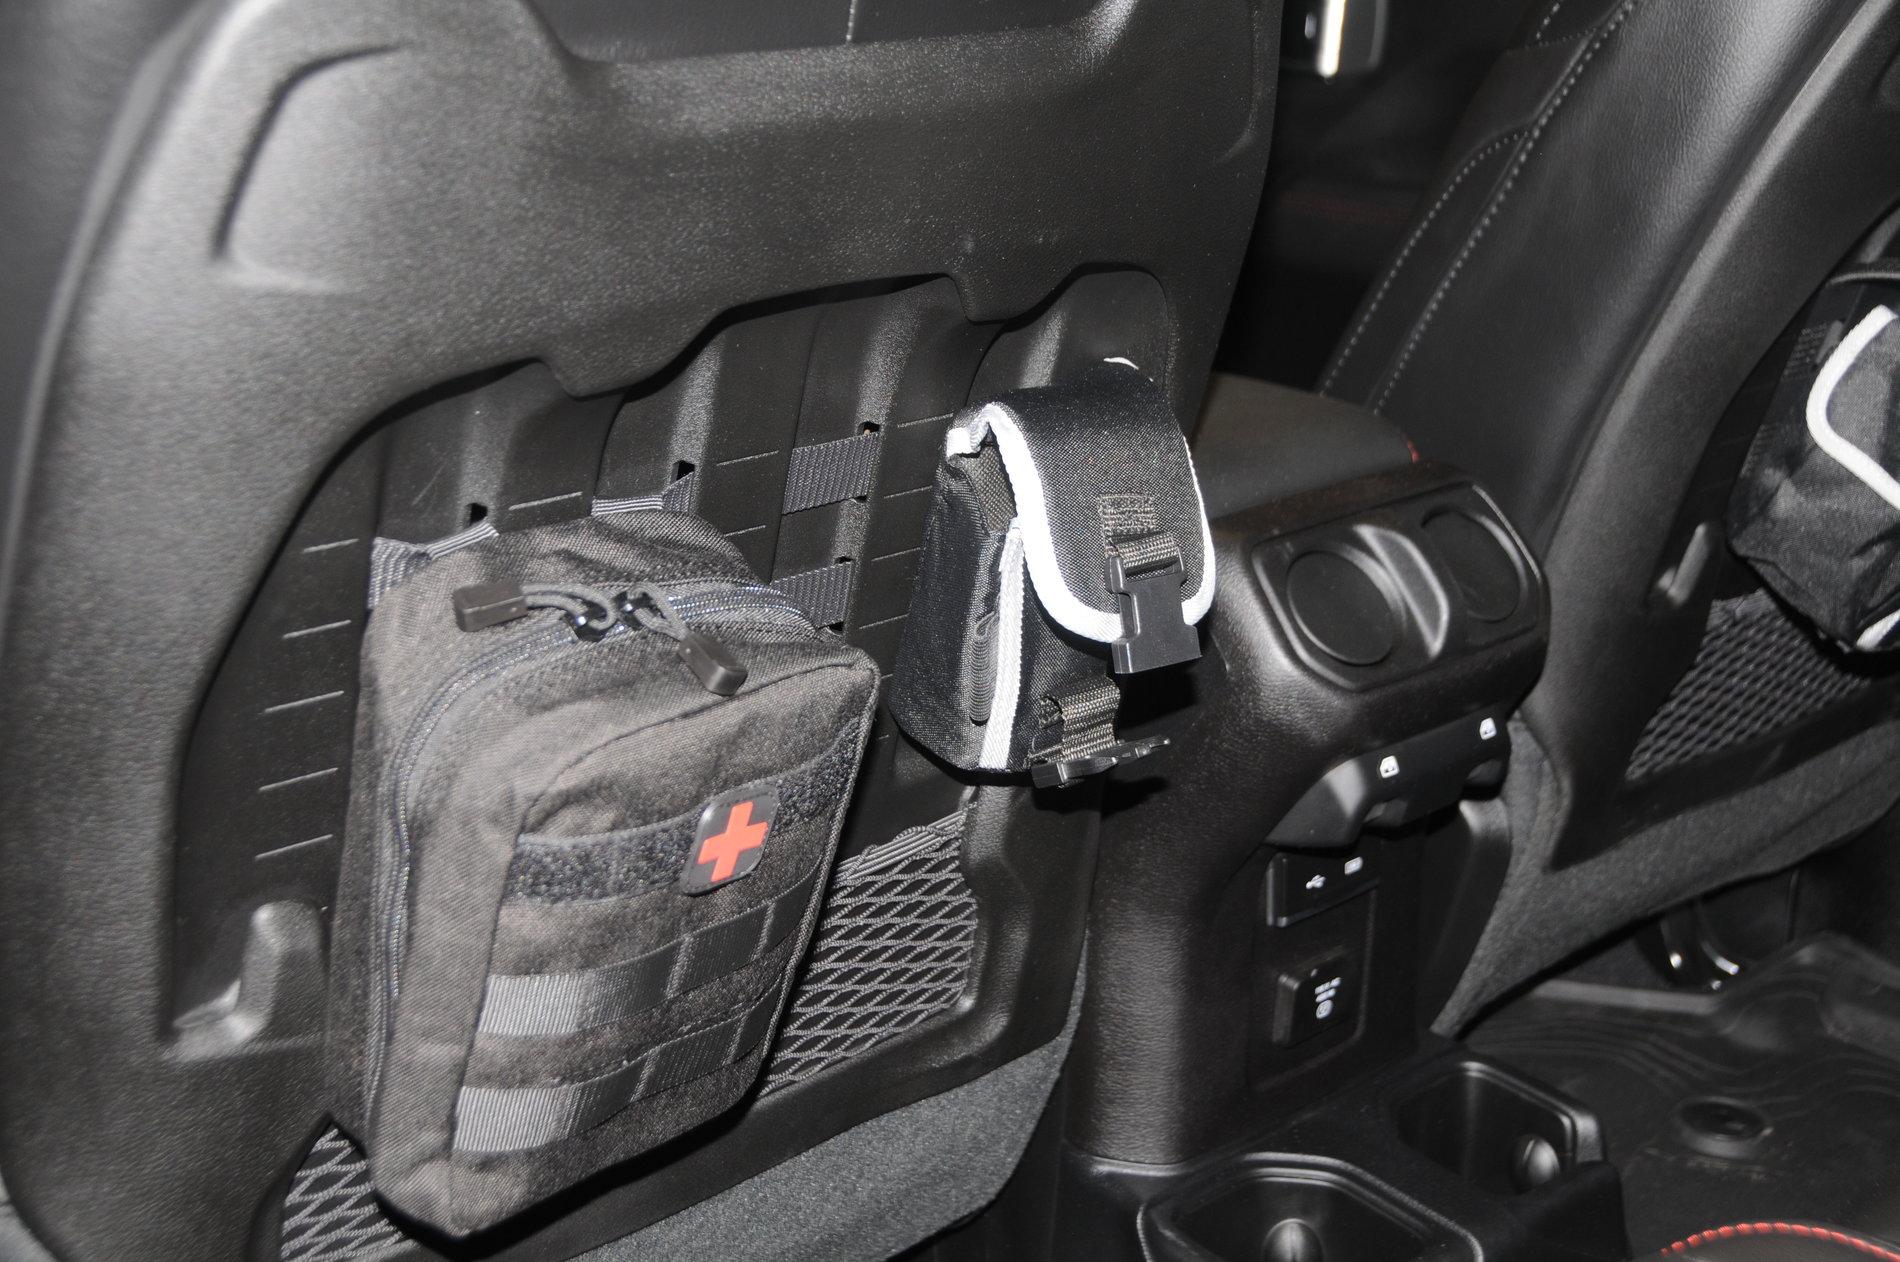
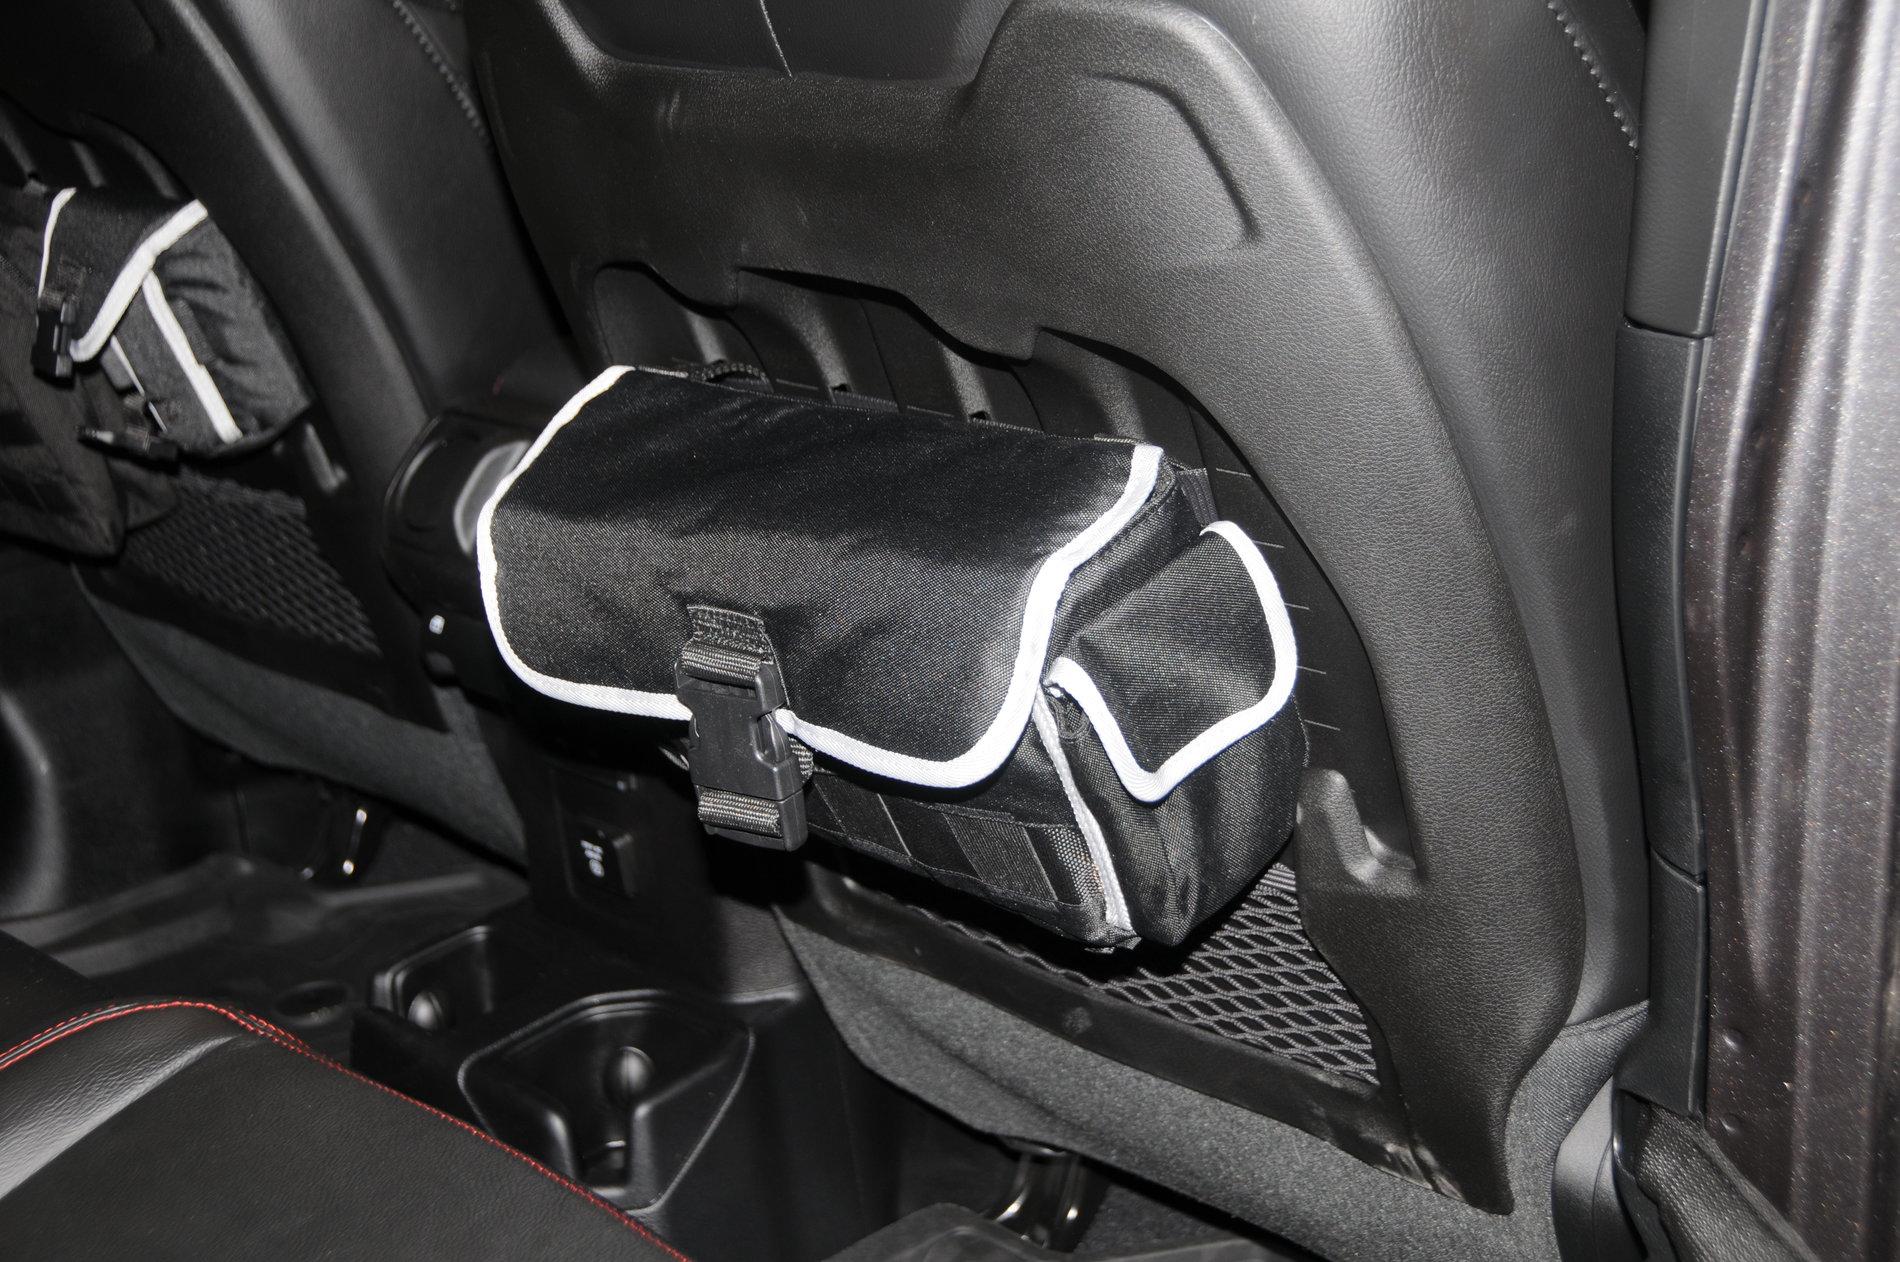
MOLLE Pouches
Bought a couple of pouches on Amazon. First Aid Kit was the main one I wanted. The others give me a little bit more storage.
First day back from my trip home, I did a couple of the quick, simple mods. Nothing too exciting, but got them out of the way.
All Weather Floor Mats
Simple install. Front carpet has a couple of cutouts in the carpet when you remove the carpeted floor mats. Cutting the rest of the cutout away reveals the drain plugs. Pull those out, drop the all weather mats in and put the drain plug onto the new mats.
Stubby Antenna
As I mentioned above, the stock antenna was extremely annoying on the drive home and wish I would have brought the stubby with me to install before the drive home. 3/8" wrench to take off the stock antenna and the stubby one I got screwed right on. Don't really use AM/FM, so haven't tried it out. Over the air radio coverage sucks at my house anyway.
MOLLE Pouches
Bought a couple of pouches on Amazon. First Aid Kit was the main one I wanted. The others give me a little bit more storage.
Sponsored
Last edited: