rickrogan
Well-Known Member
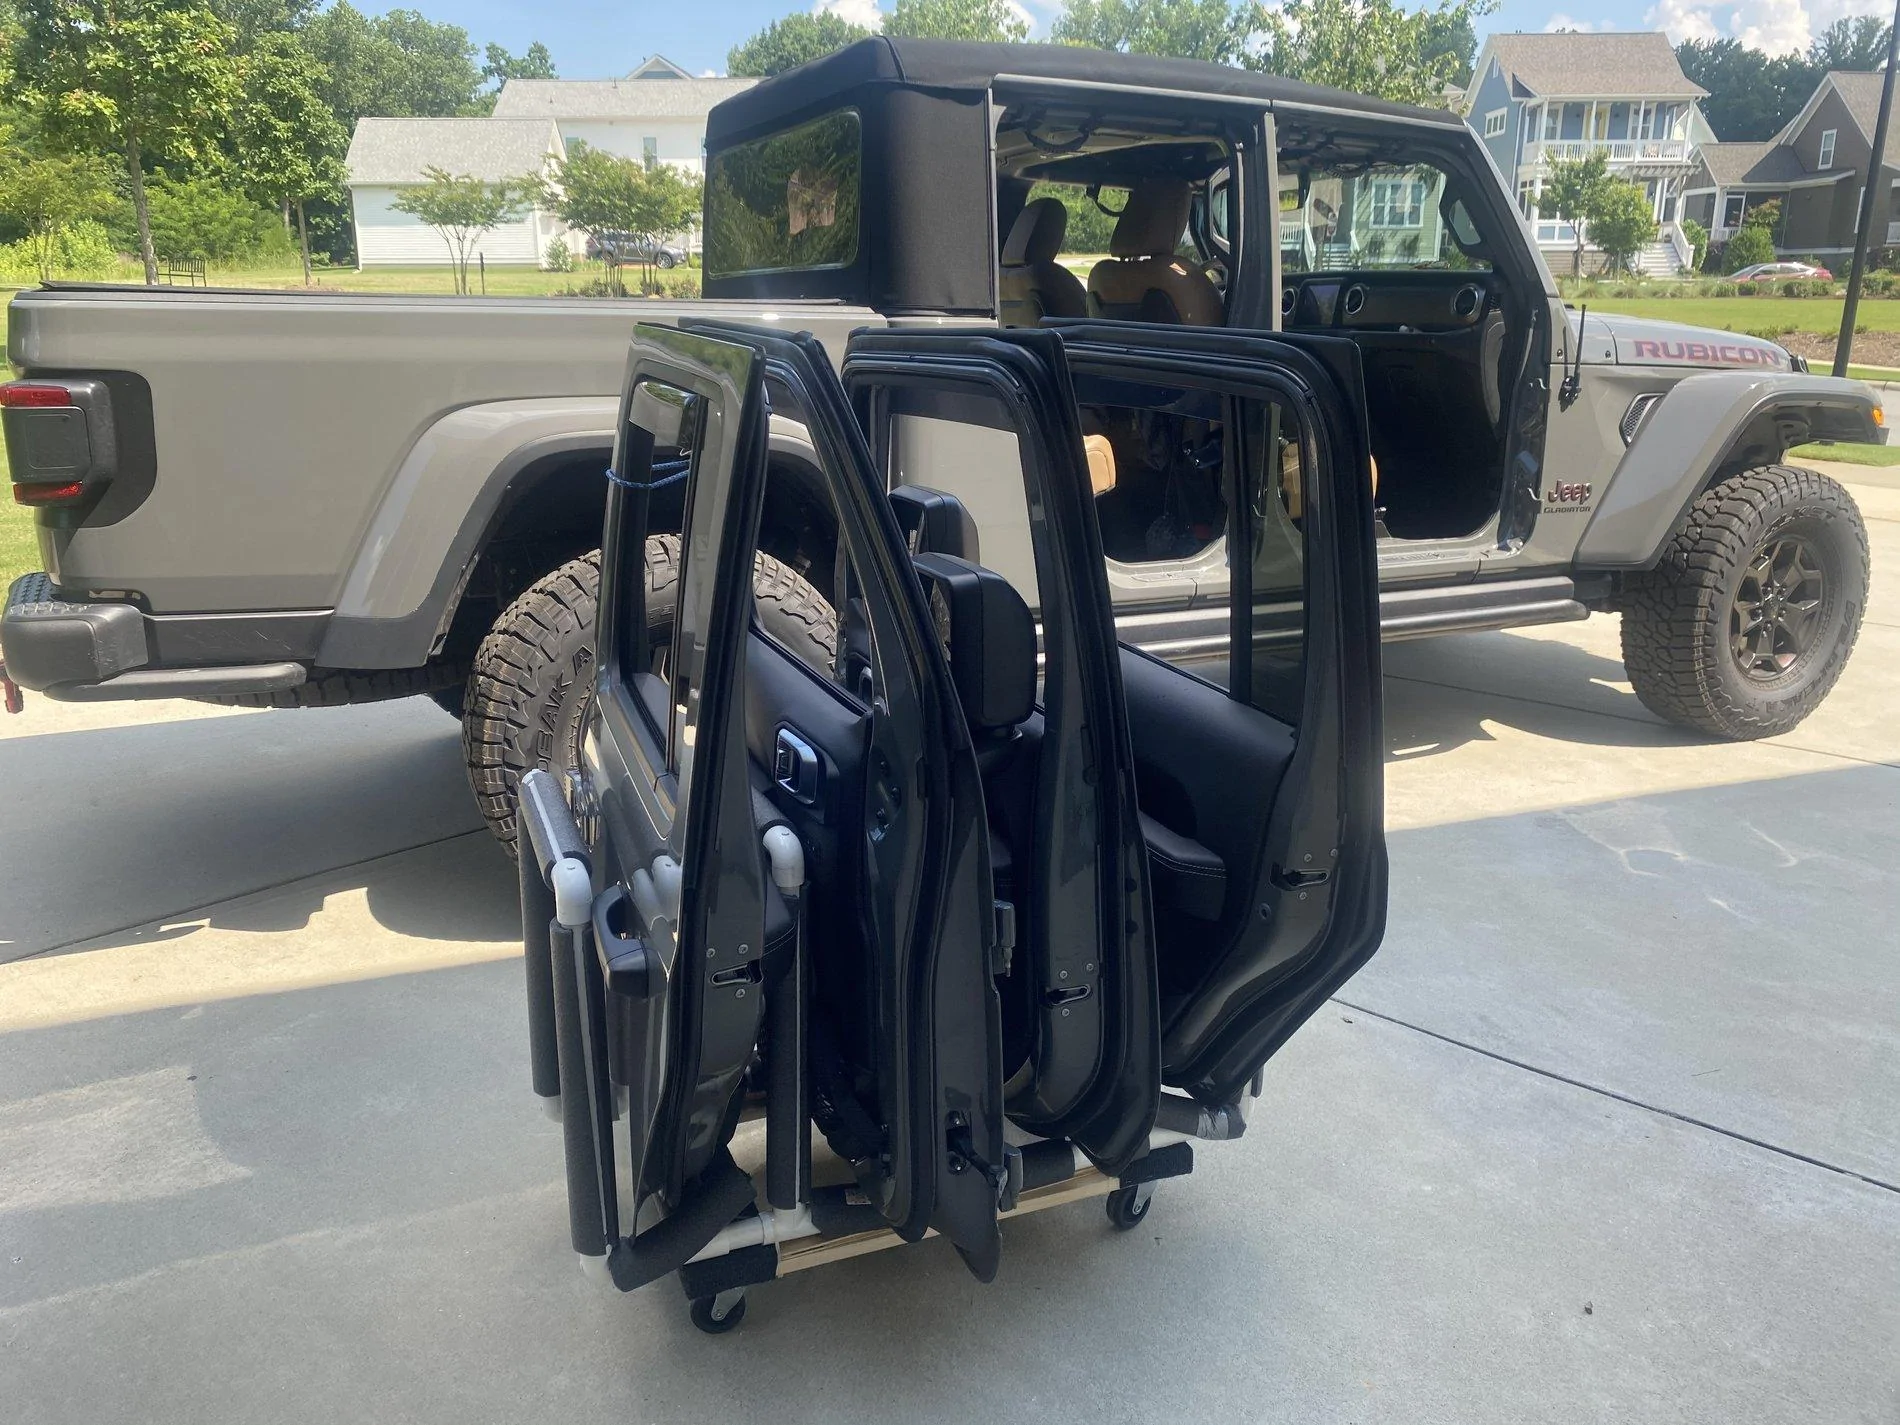
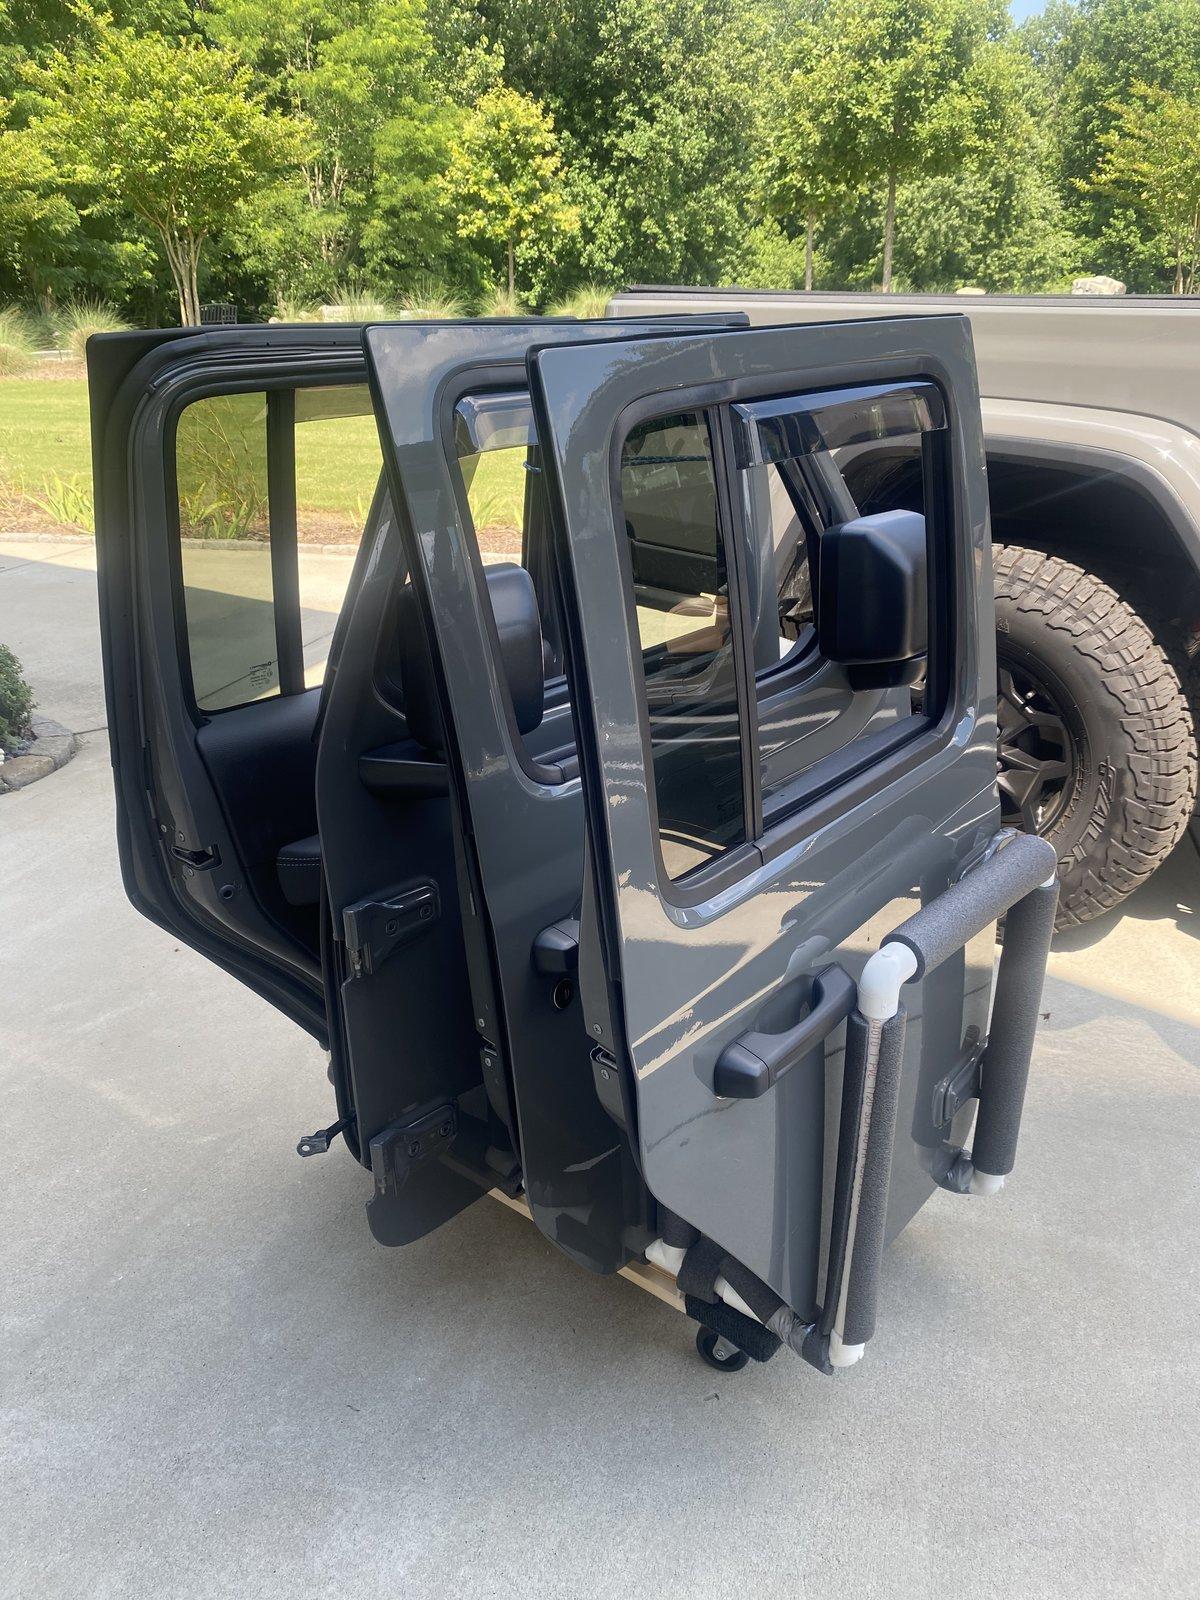
That's my kinda door cart! Do I recognize that dolly?
https://www.harborfreight.com/30-in-x-18-in-1000-lb-capacity-hardwood-dolly-61897.html
https://www.harborfreight.com/30-in-x-18-in-1000-lb-capacity-hardwood-dolly-61897.html
Sponsored