OP
OP
TRI-JAB
Well-Known Member
- First Name
- Jason
- Joined
- Aug 25, 2019
- Threads
- 35
- Messages
- 1,029
- Reaction score
- 1,659
- Location
- Northern South Carolina
- Vehicle(s)
- Samson-'20 Gladiator,'07 BMW Z4,'22 BMW M340 xDriv
- Build Thread
- Link
- Thread starter
- #106
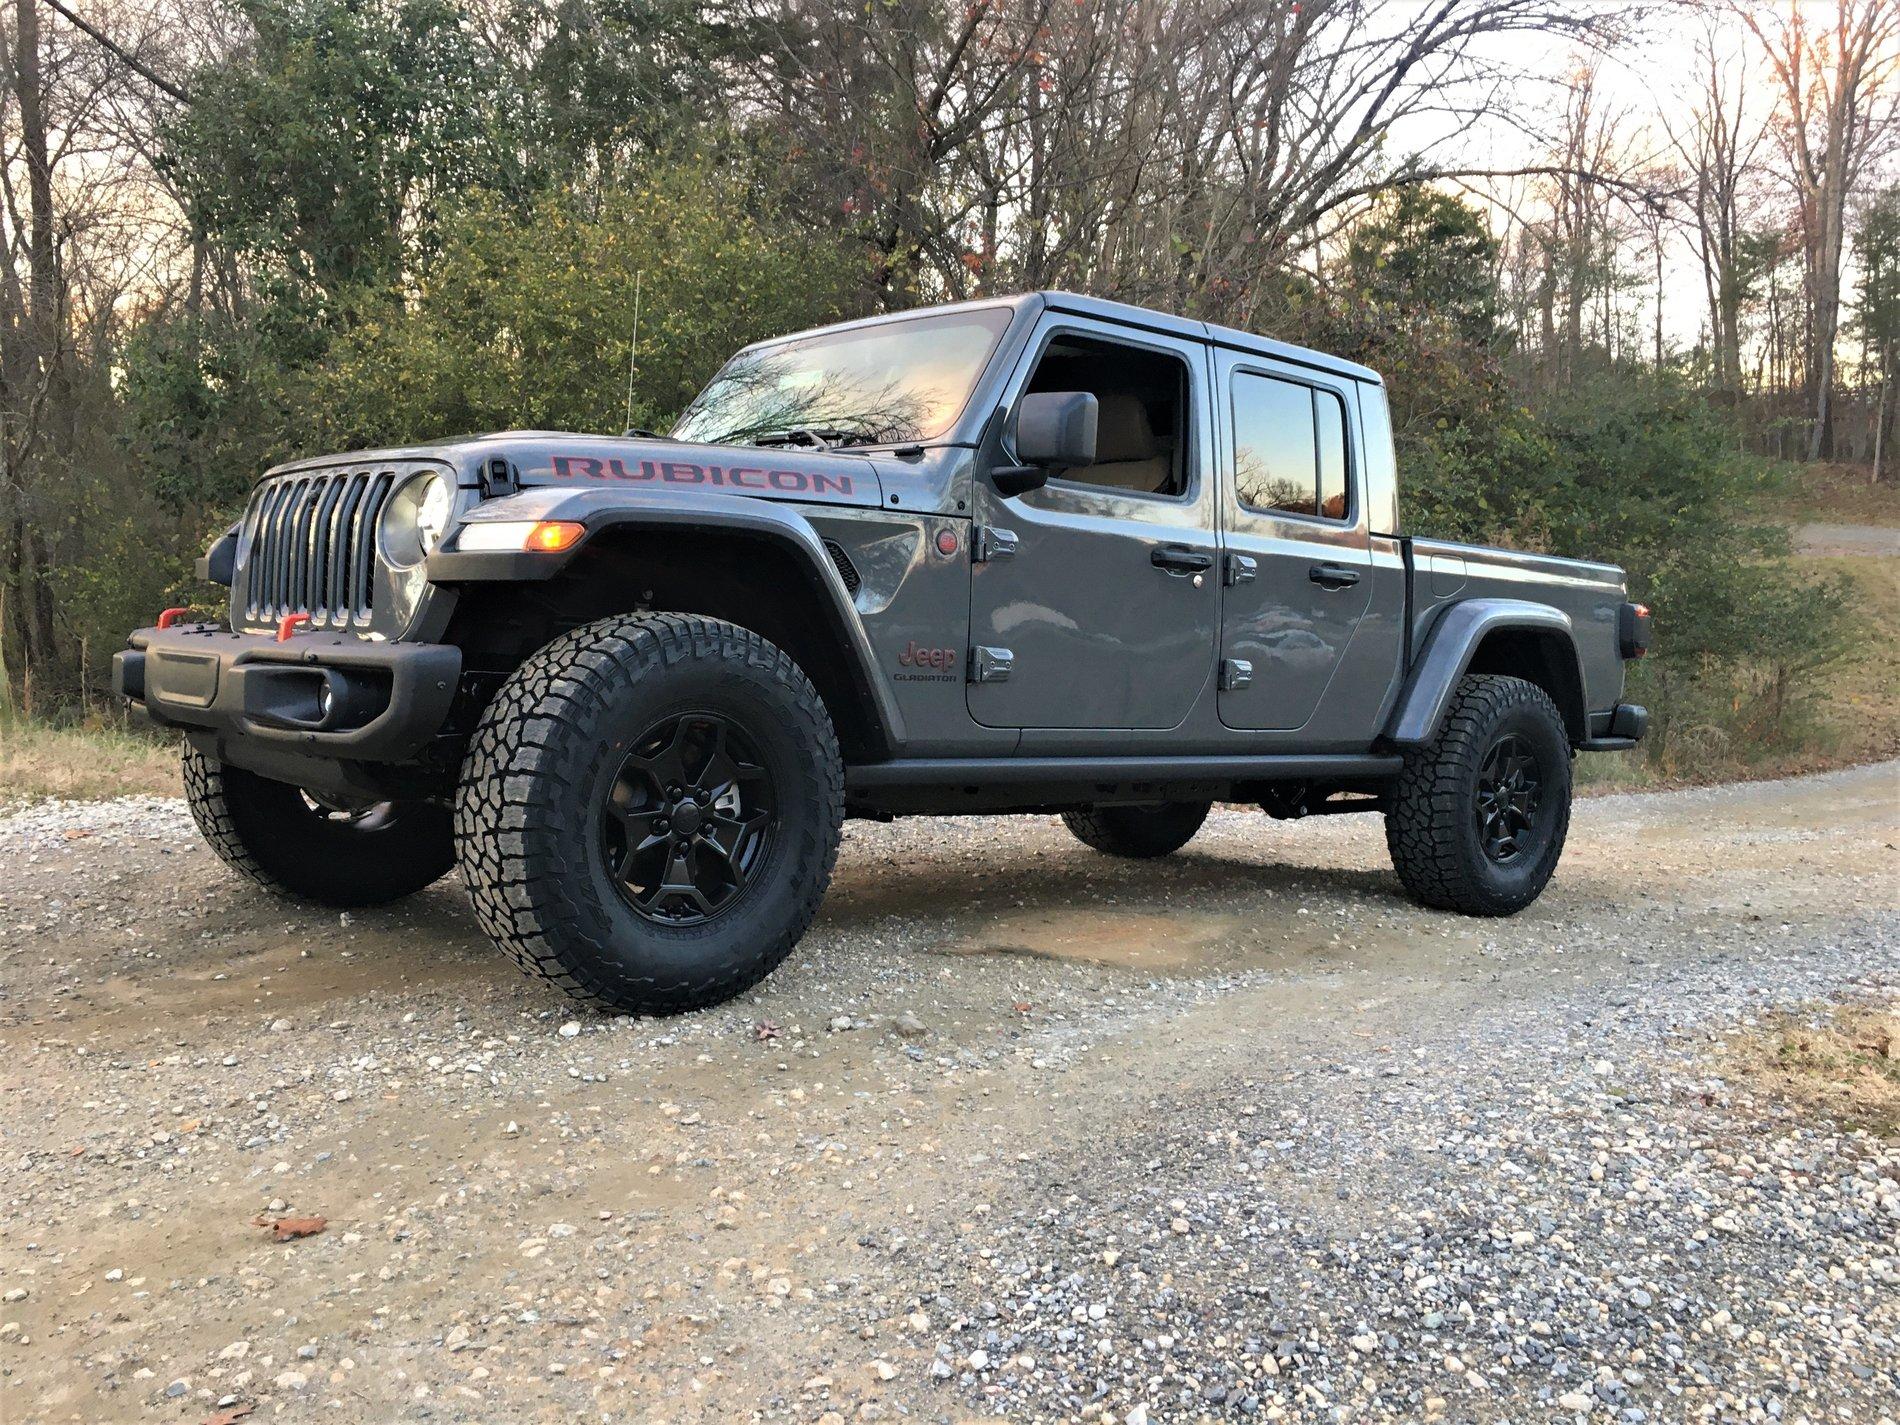
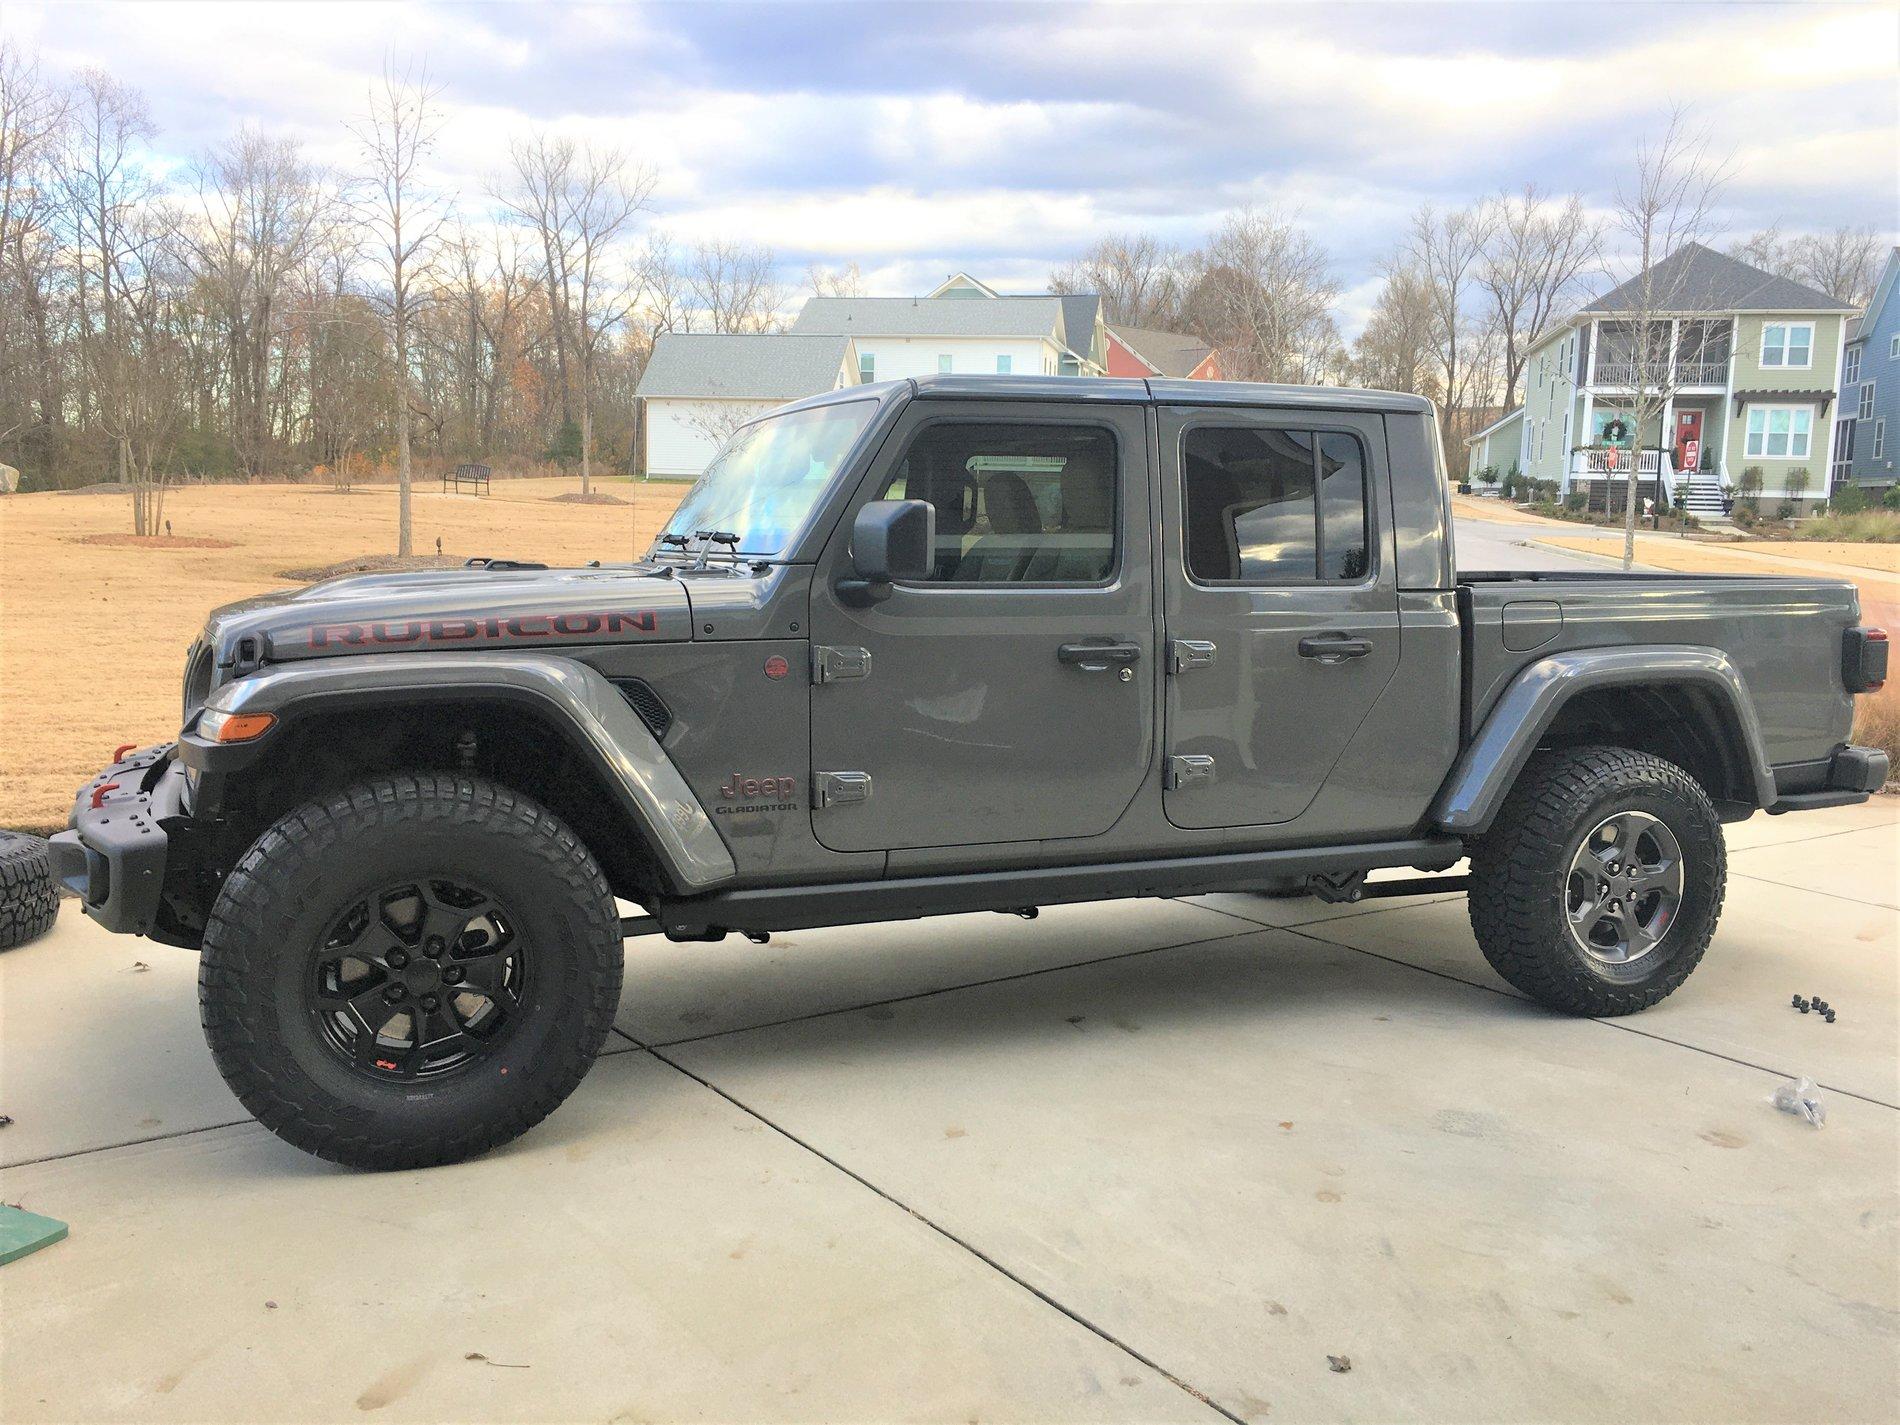
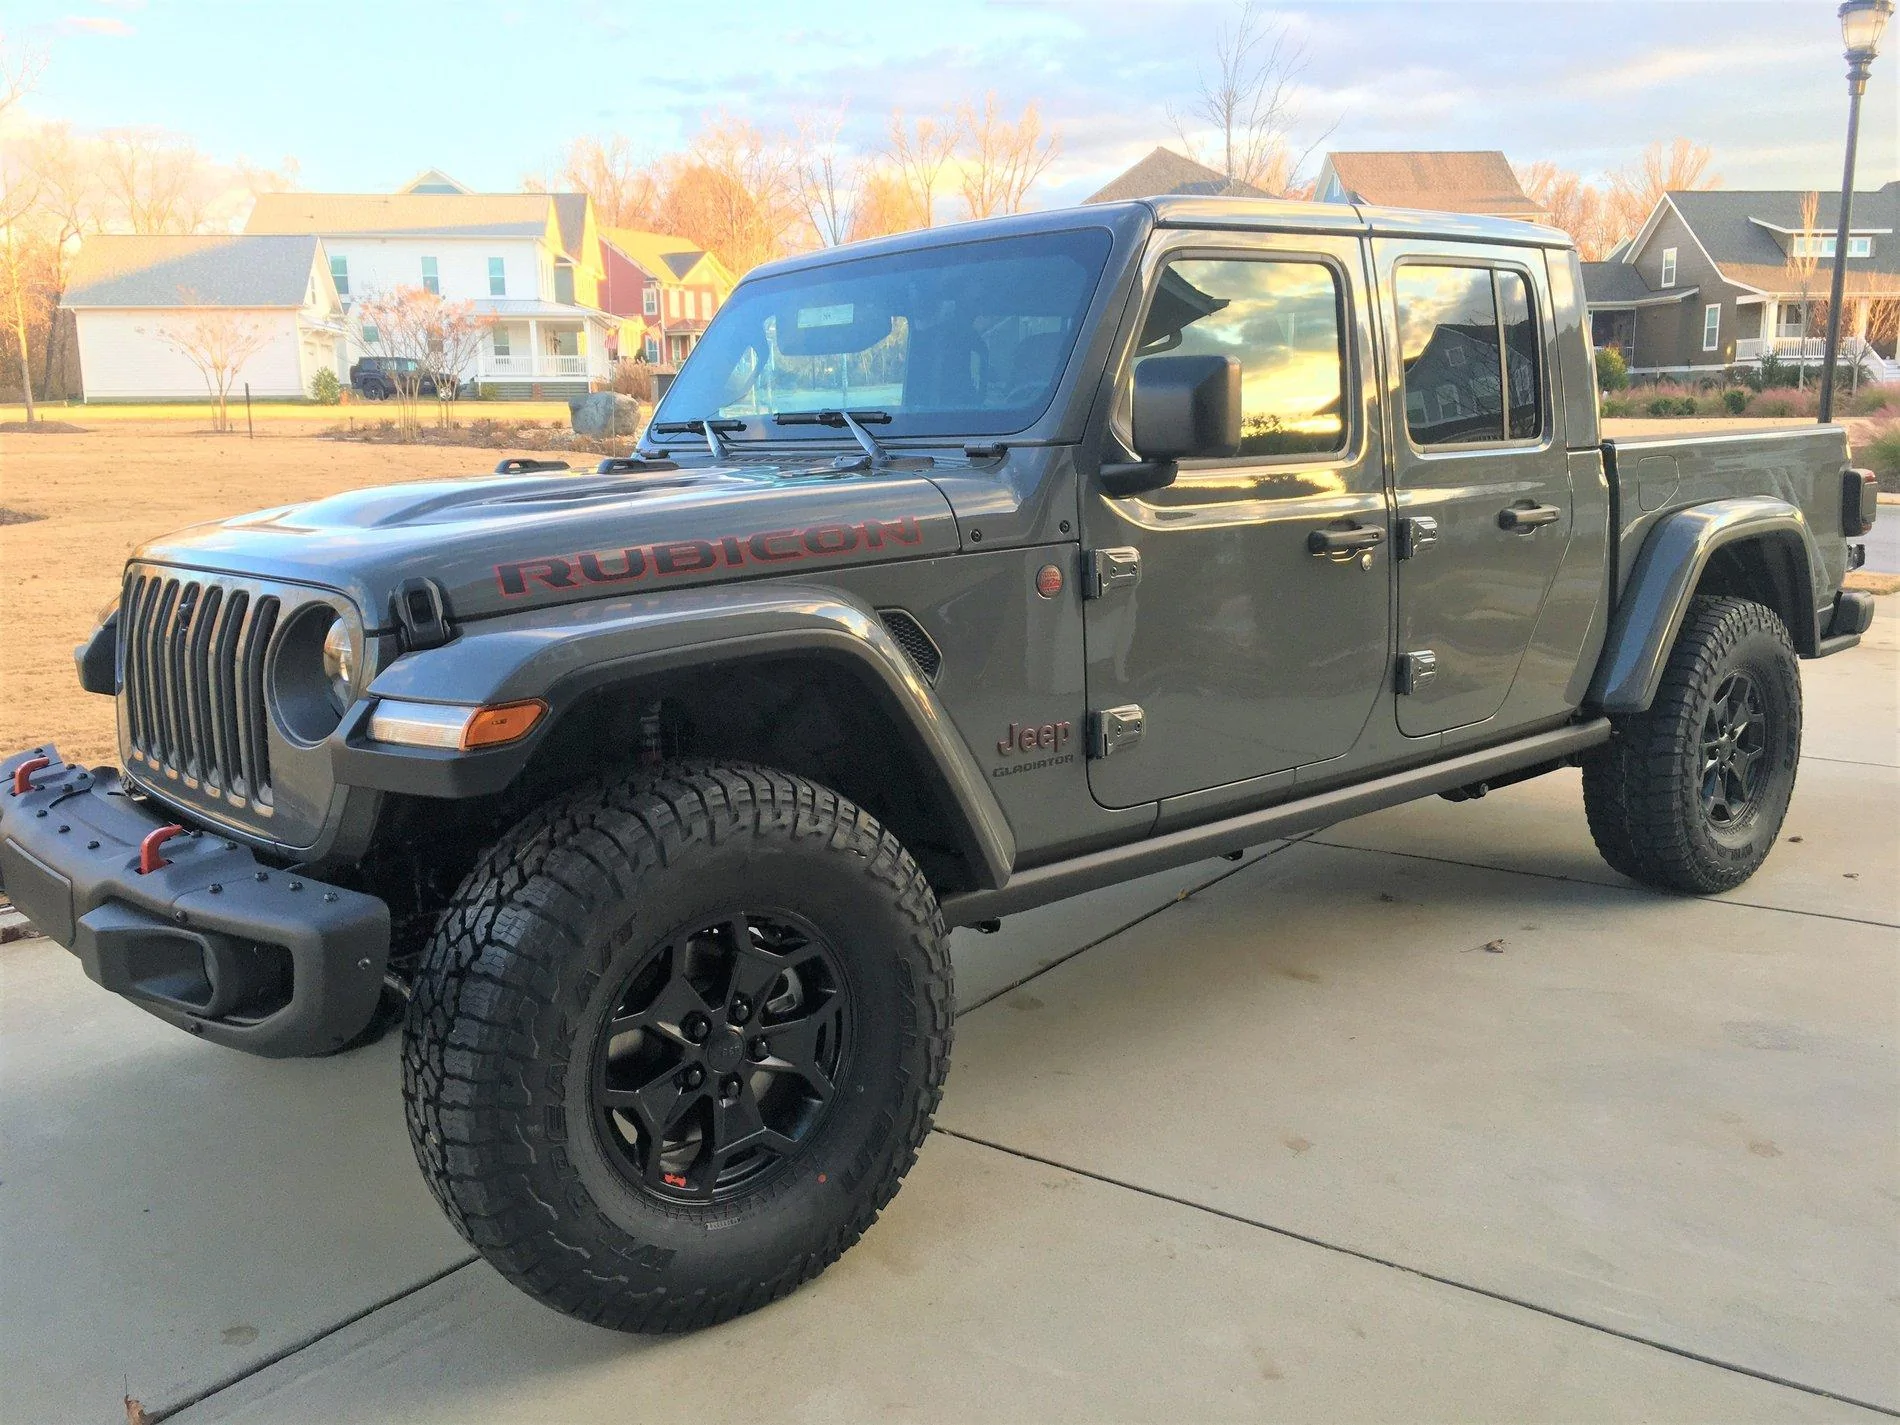
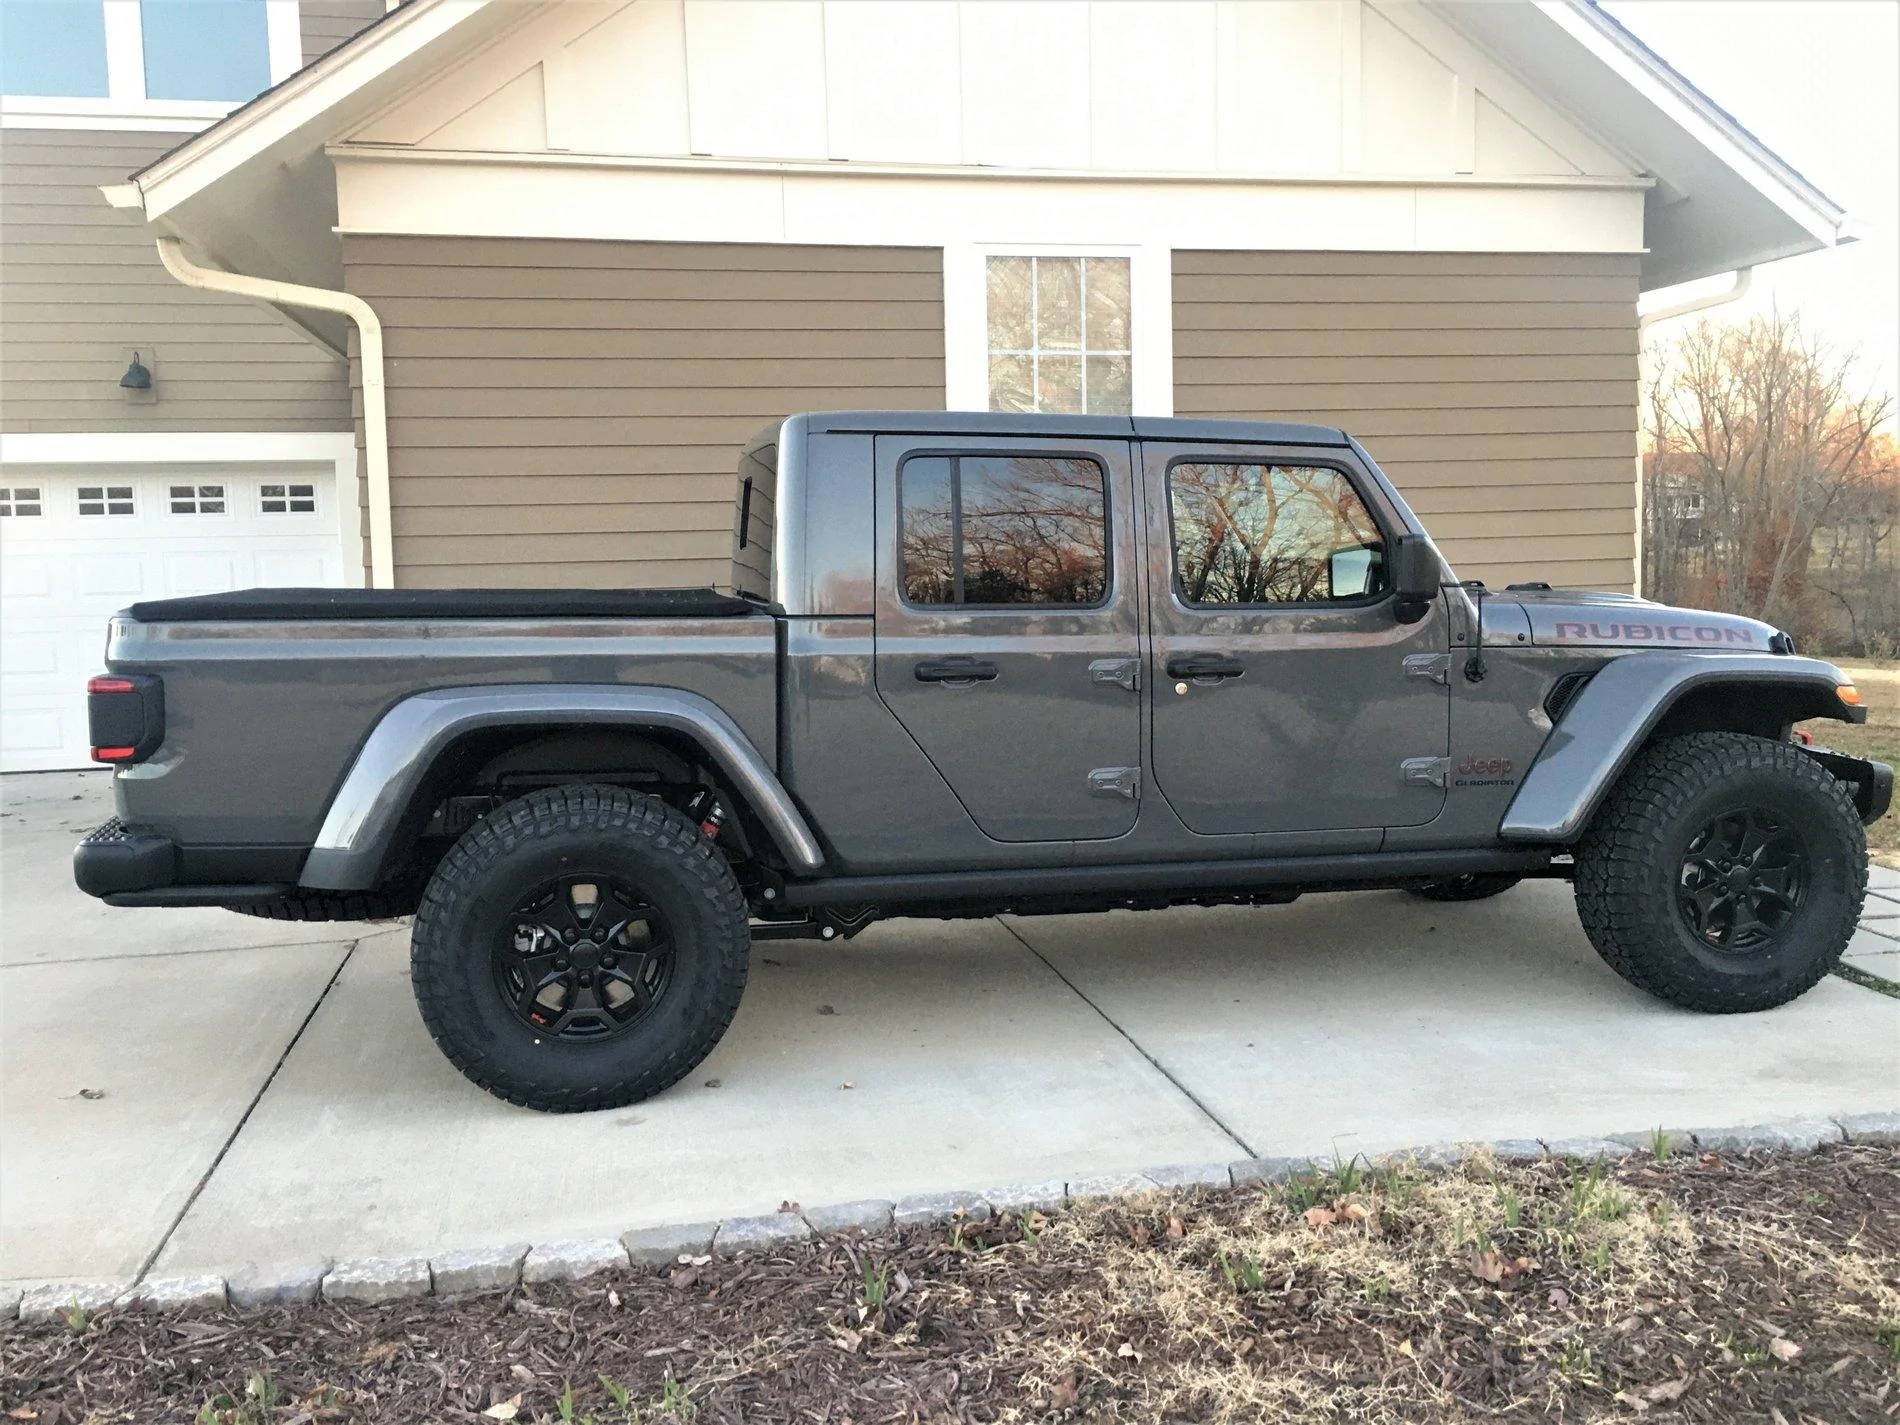
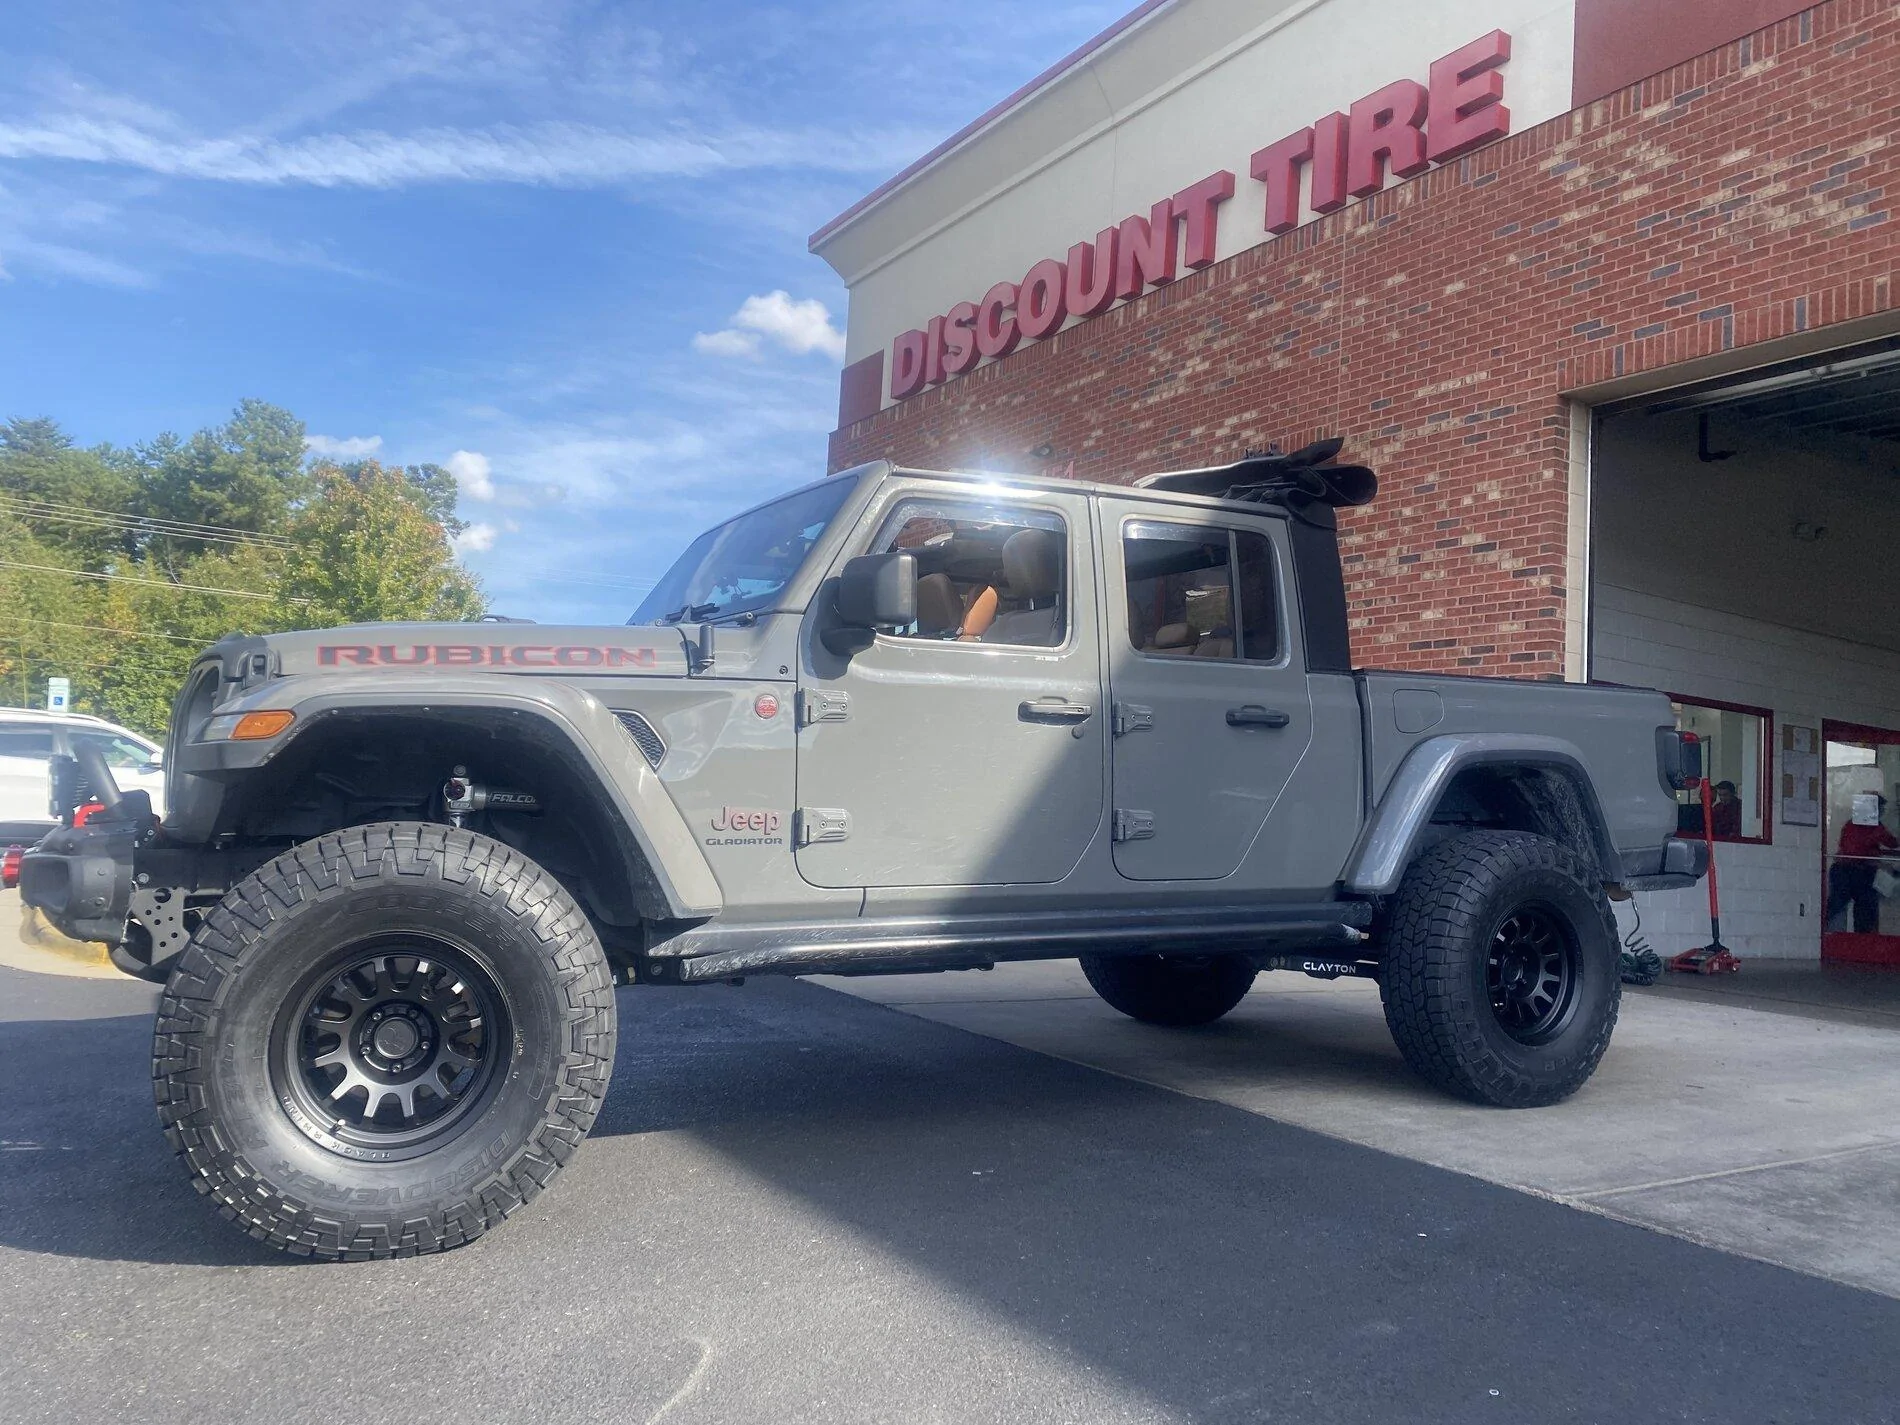
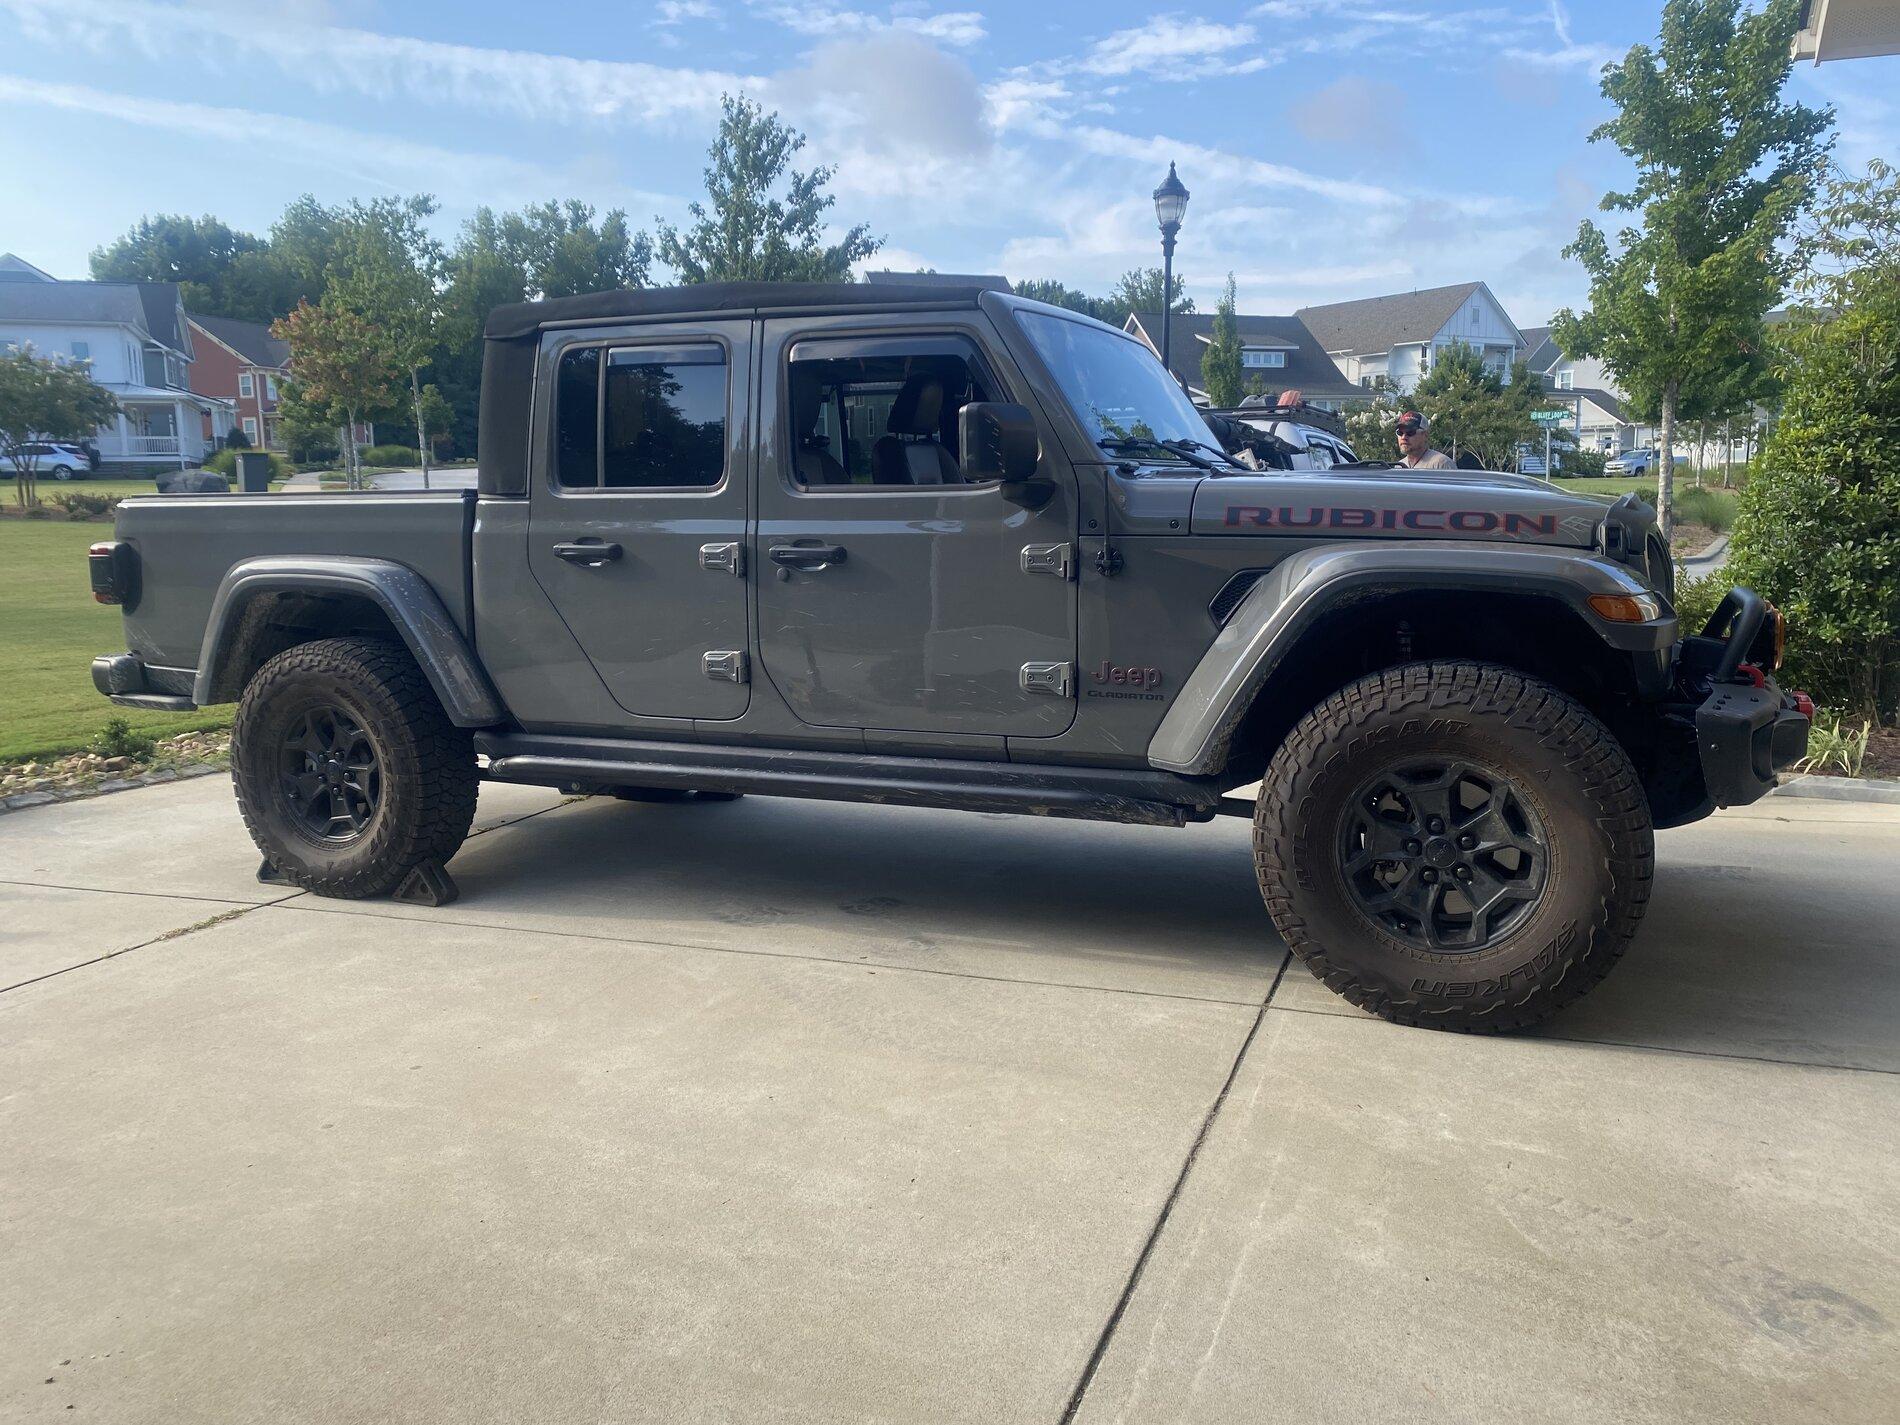
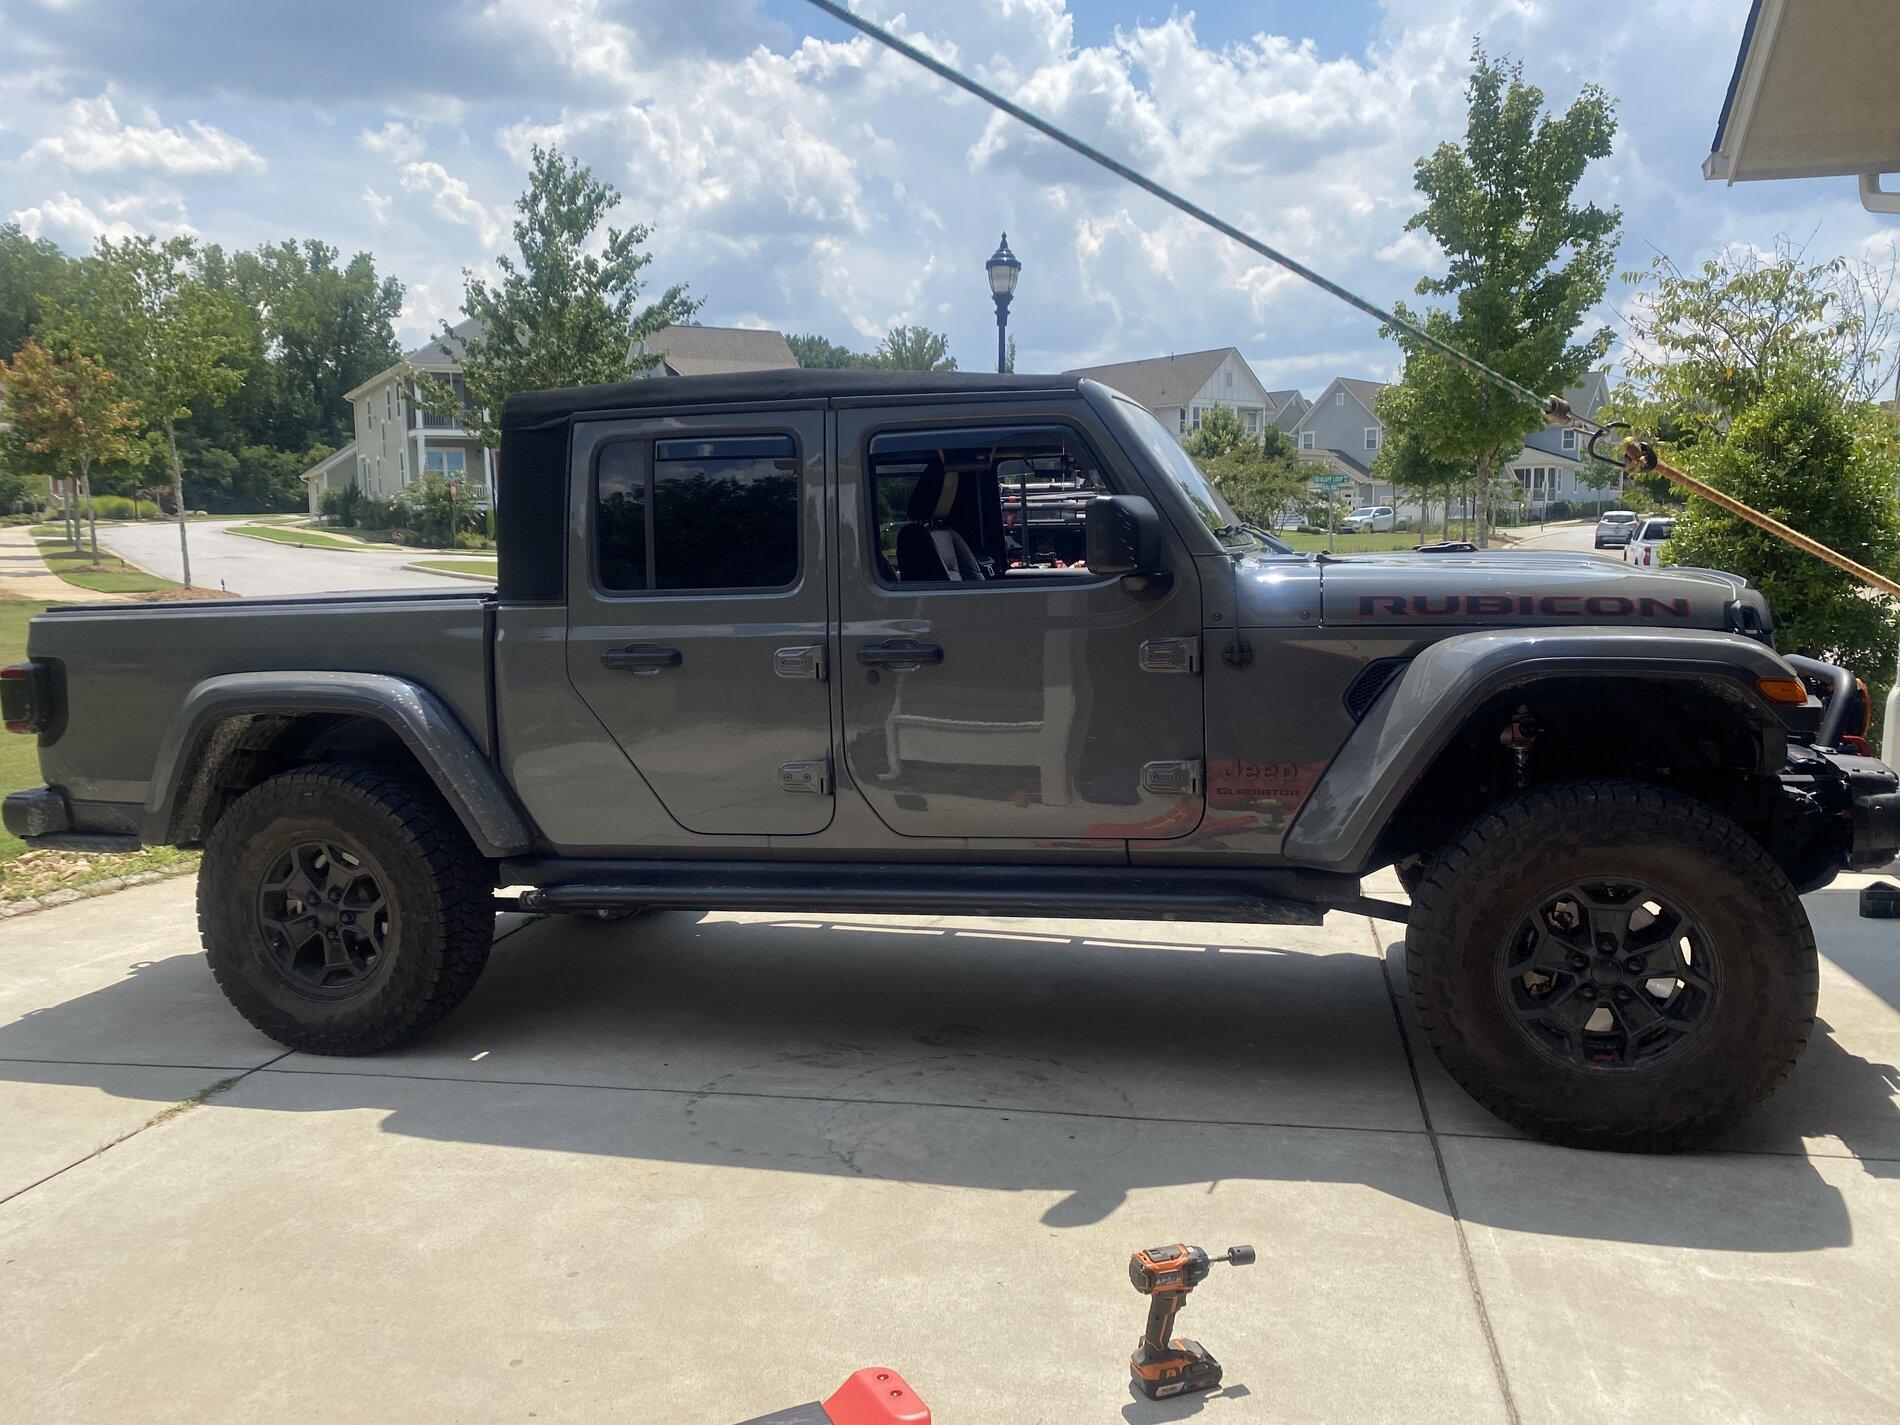
So I am way behind on posting upgrades…. I’ll try to catch up with my latest large endeavor which is a @Clayton Off Road 3.5-inch Overland Plus lift kit. I really like how beefy this lift kit is. I had the opportunity to see it in action on another JT in UWharrie which sealed the deal on me getting one. Here is a good pic of Samson before starting on the lift:

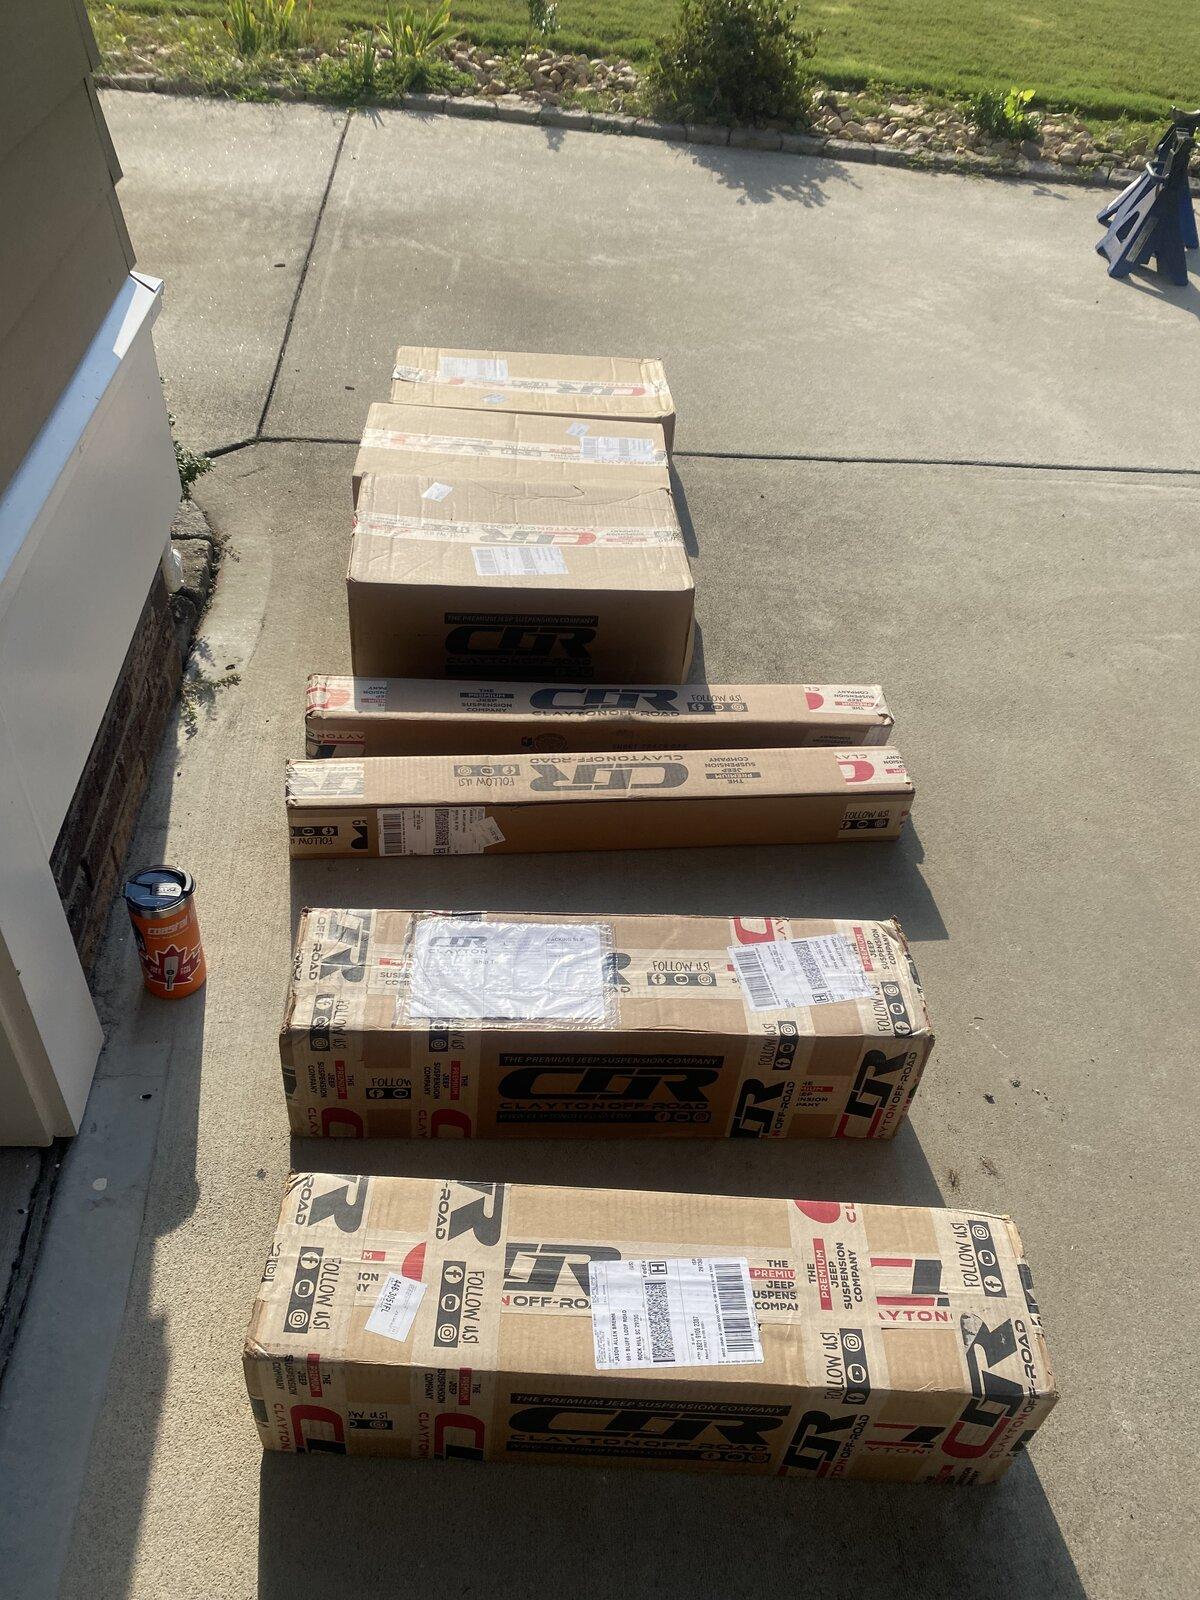
The Clayton lift came in multiple boxes (one I had to chase down FedEx to get..)

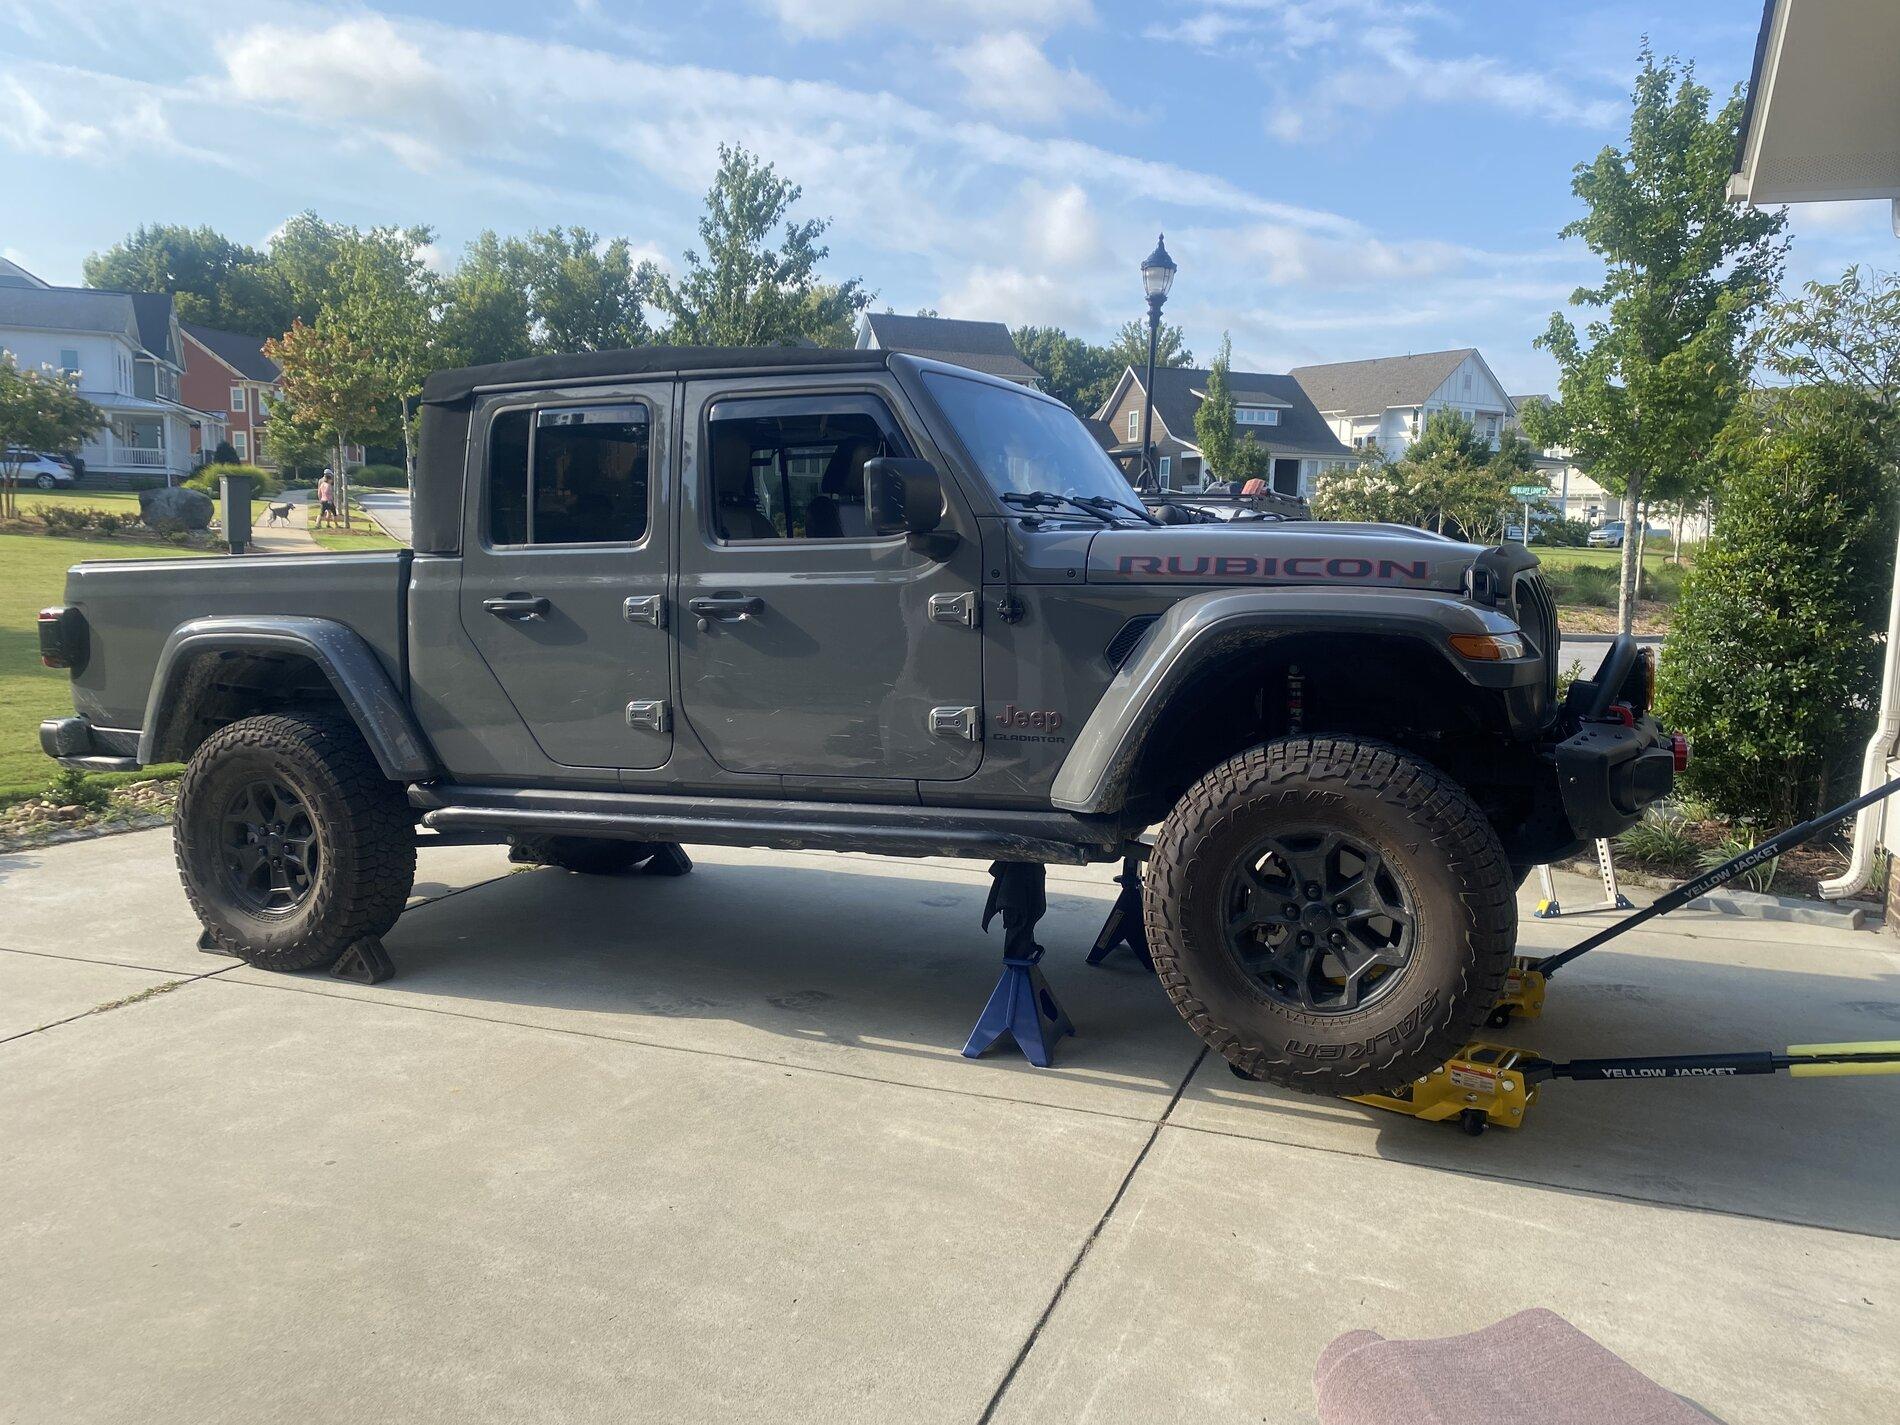
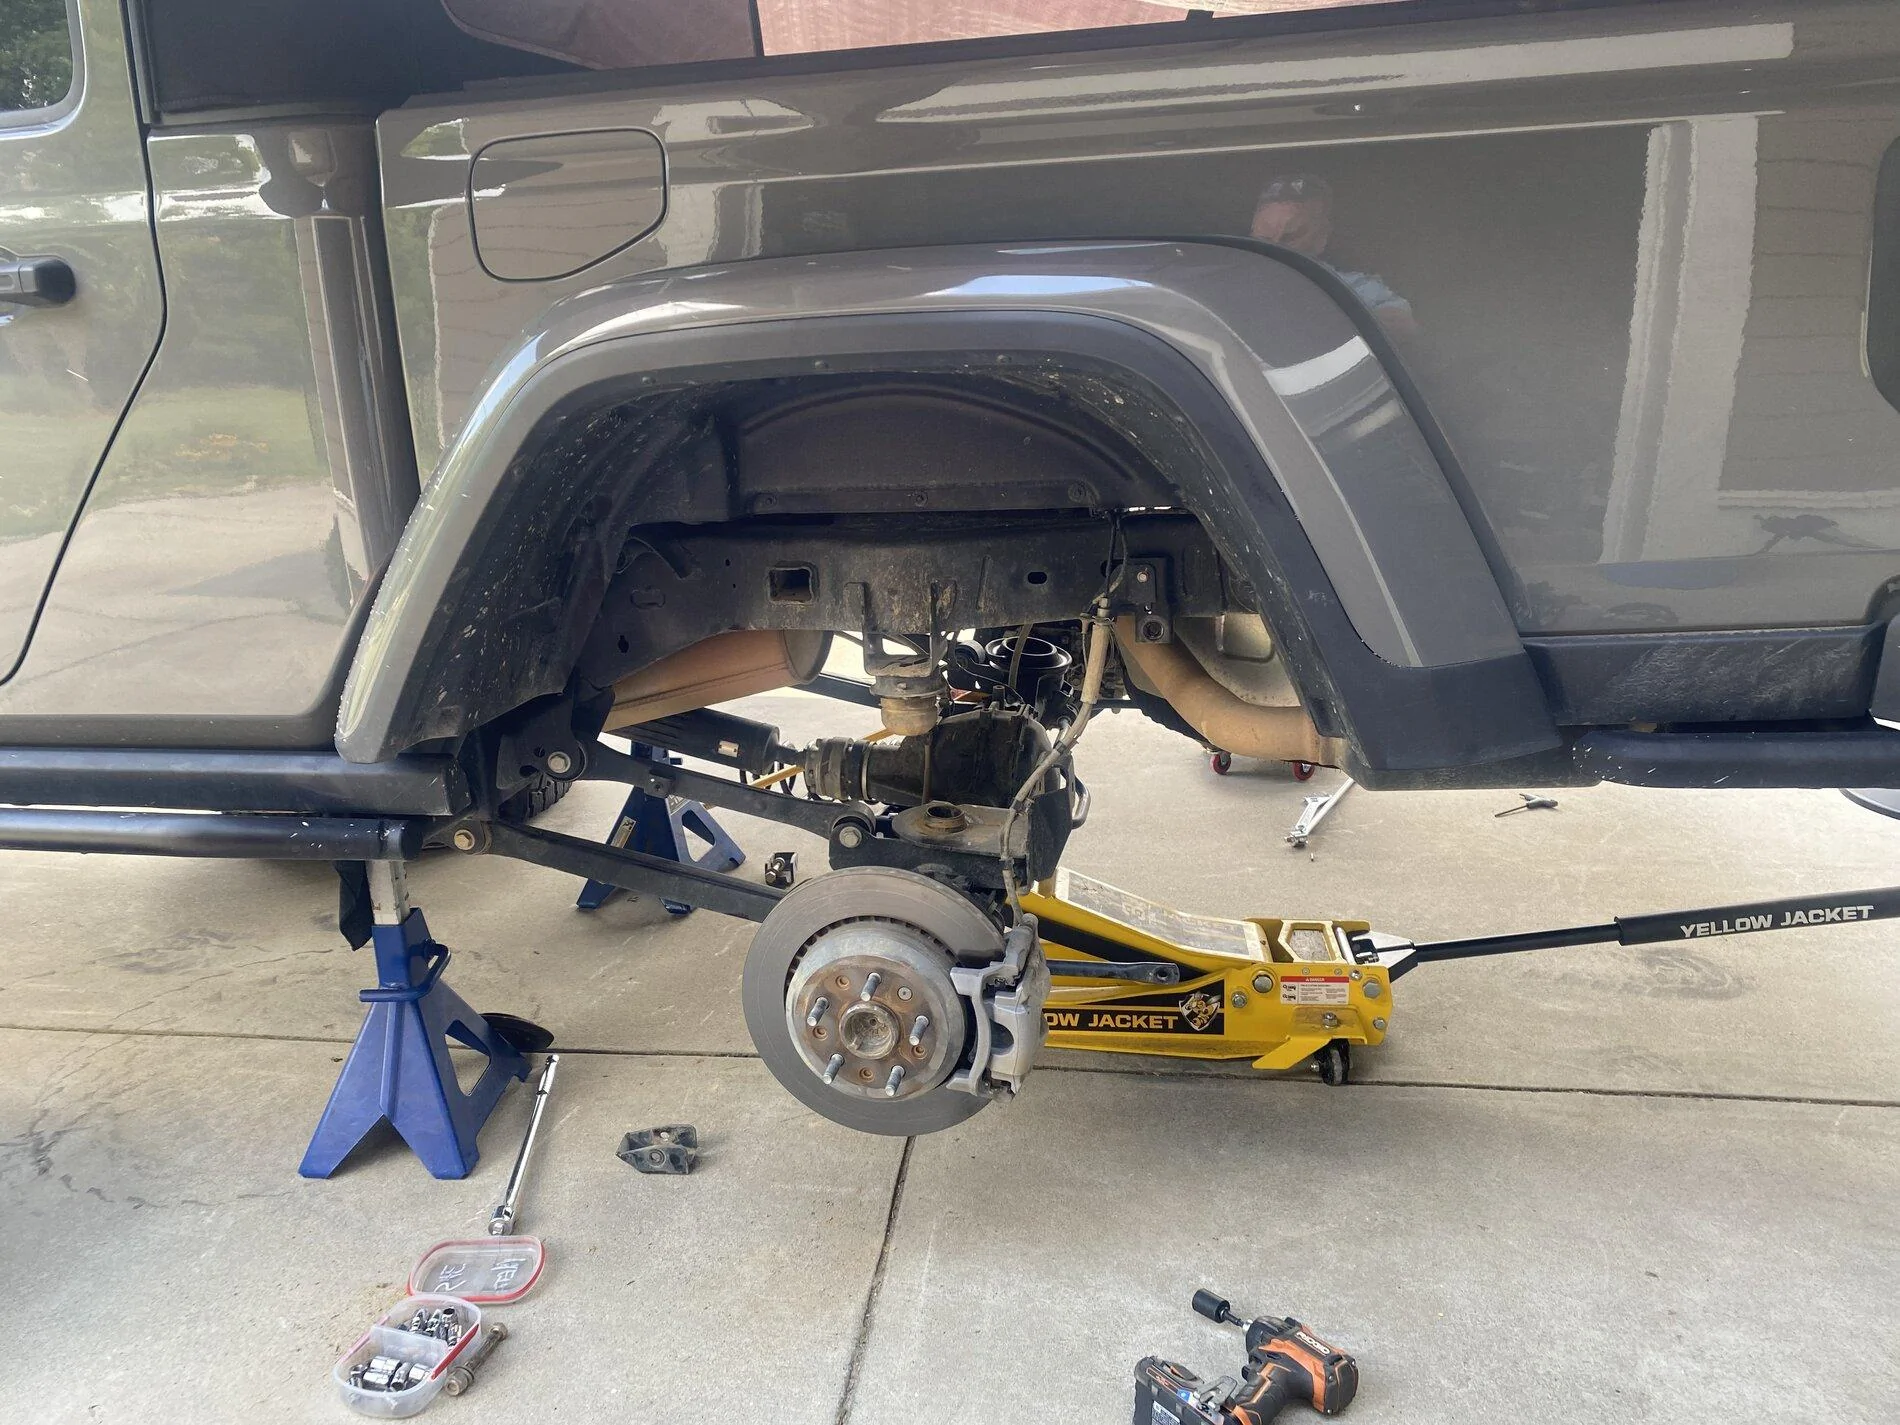
We started by getting the front off the ground:
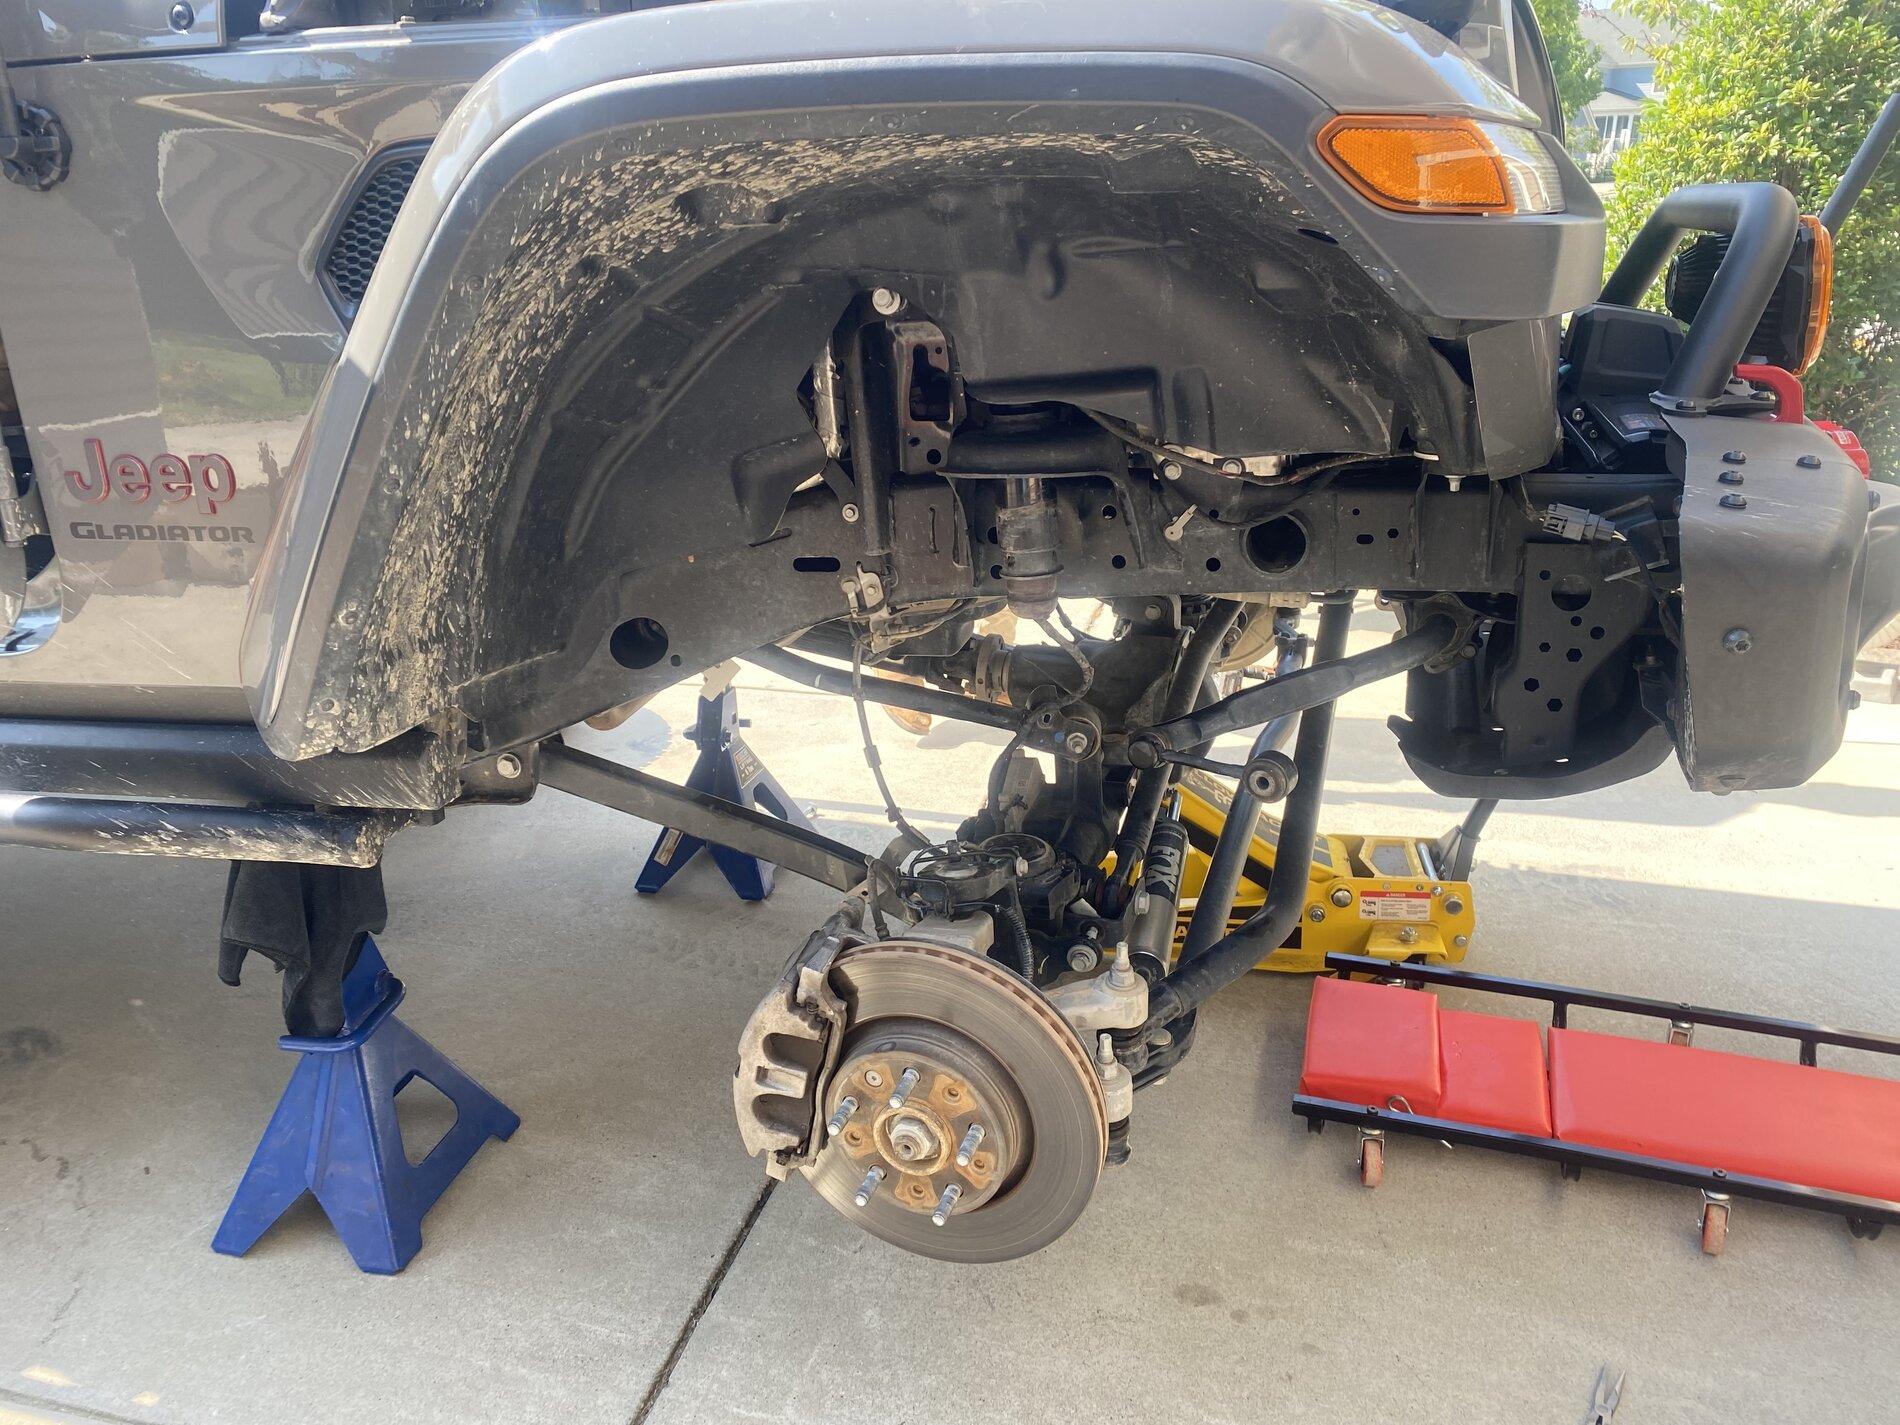
Here is the passenger side with the stock spring and shock disassembled.
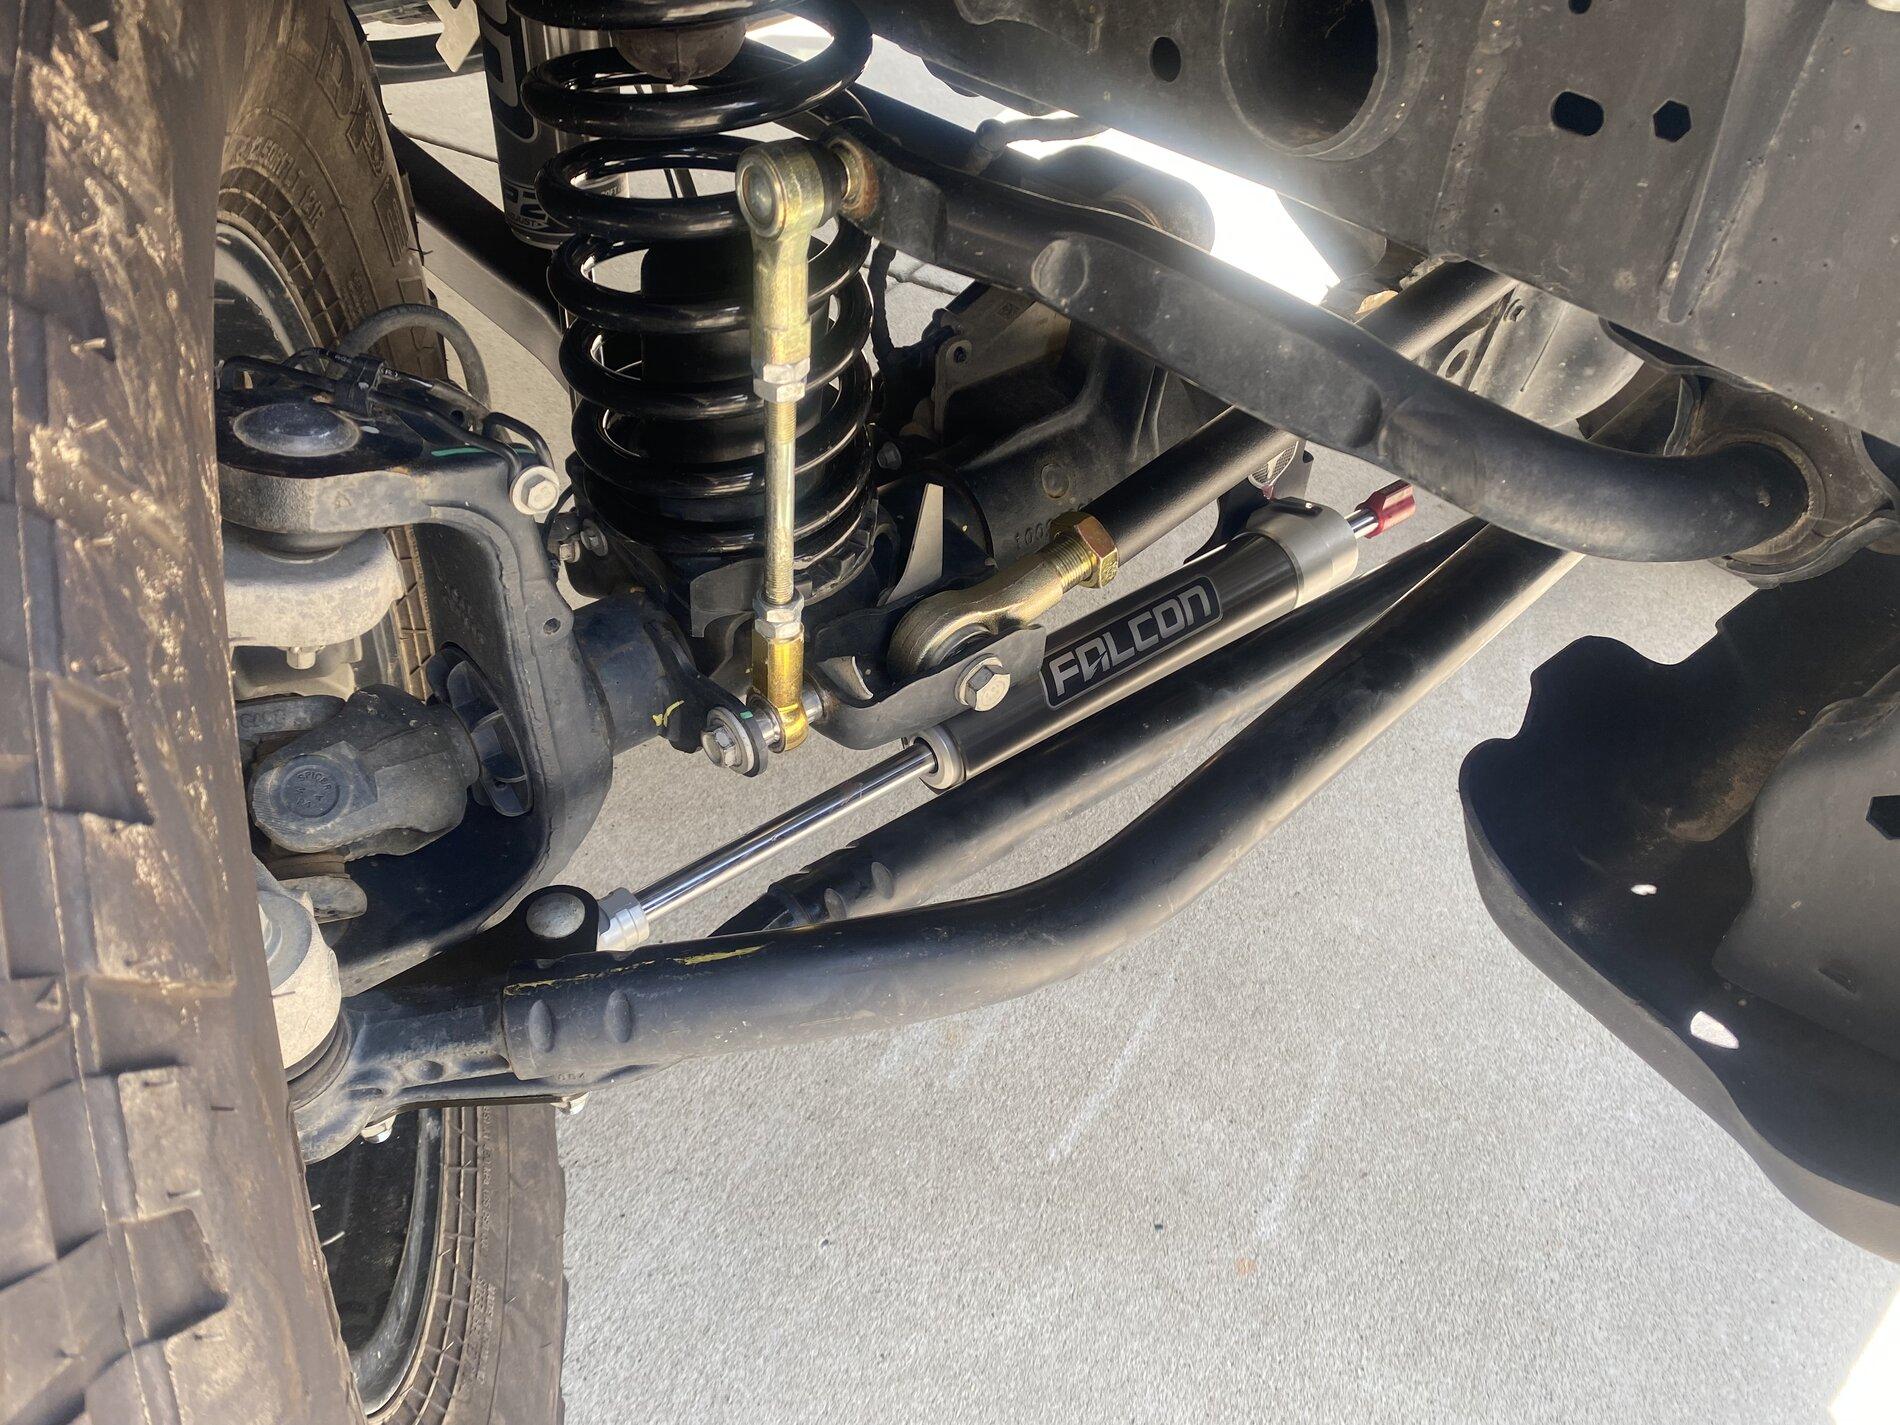
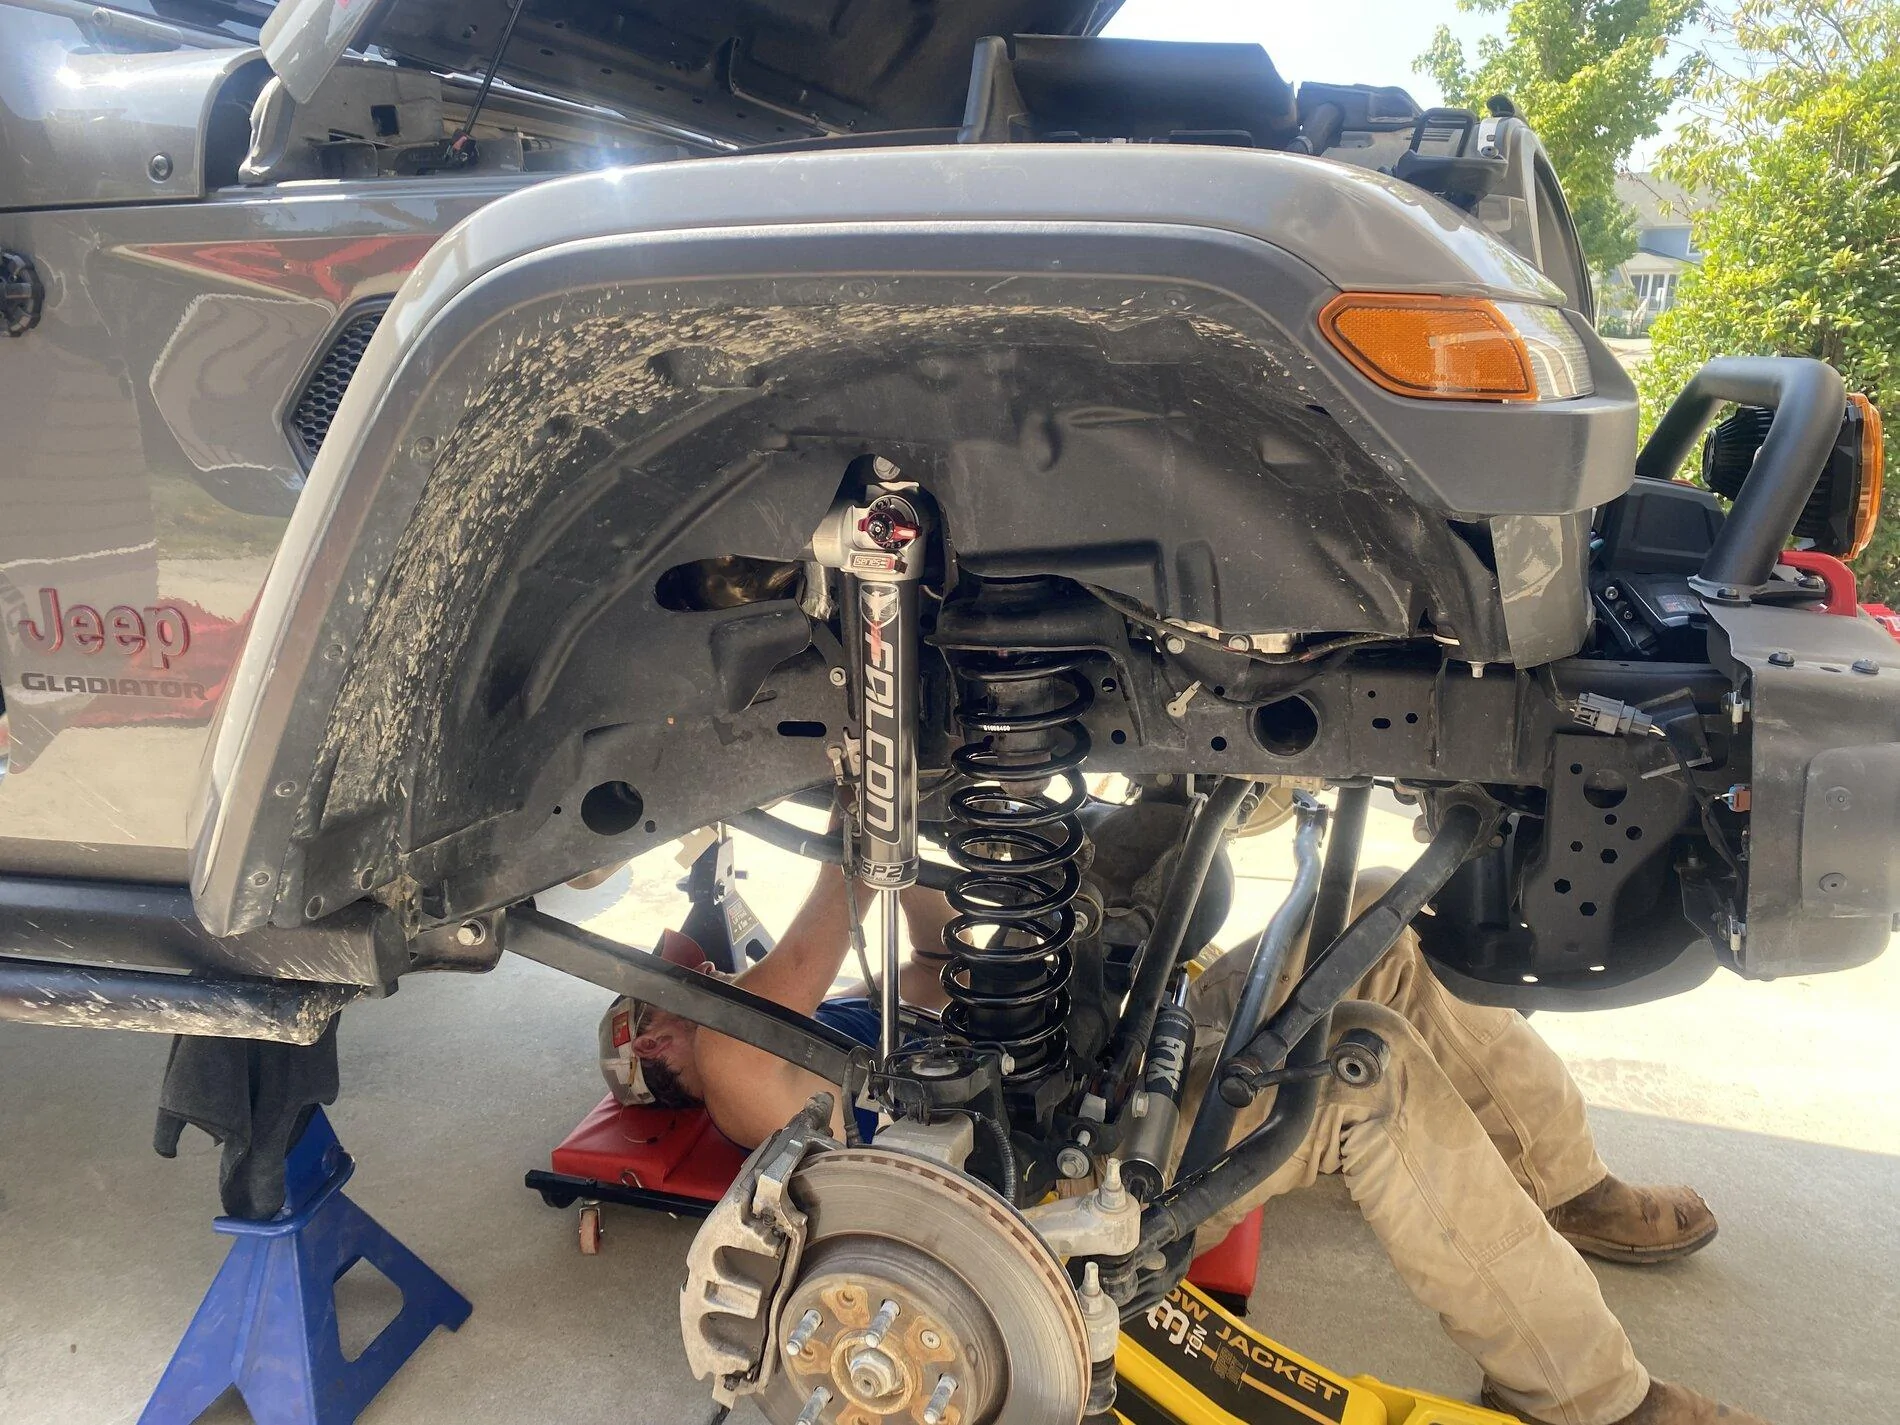
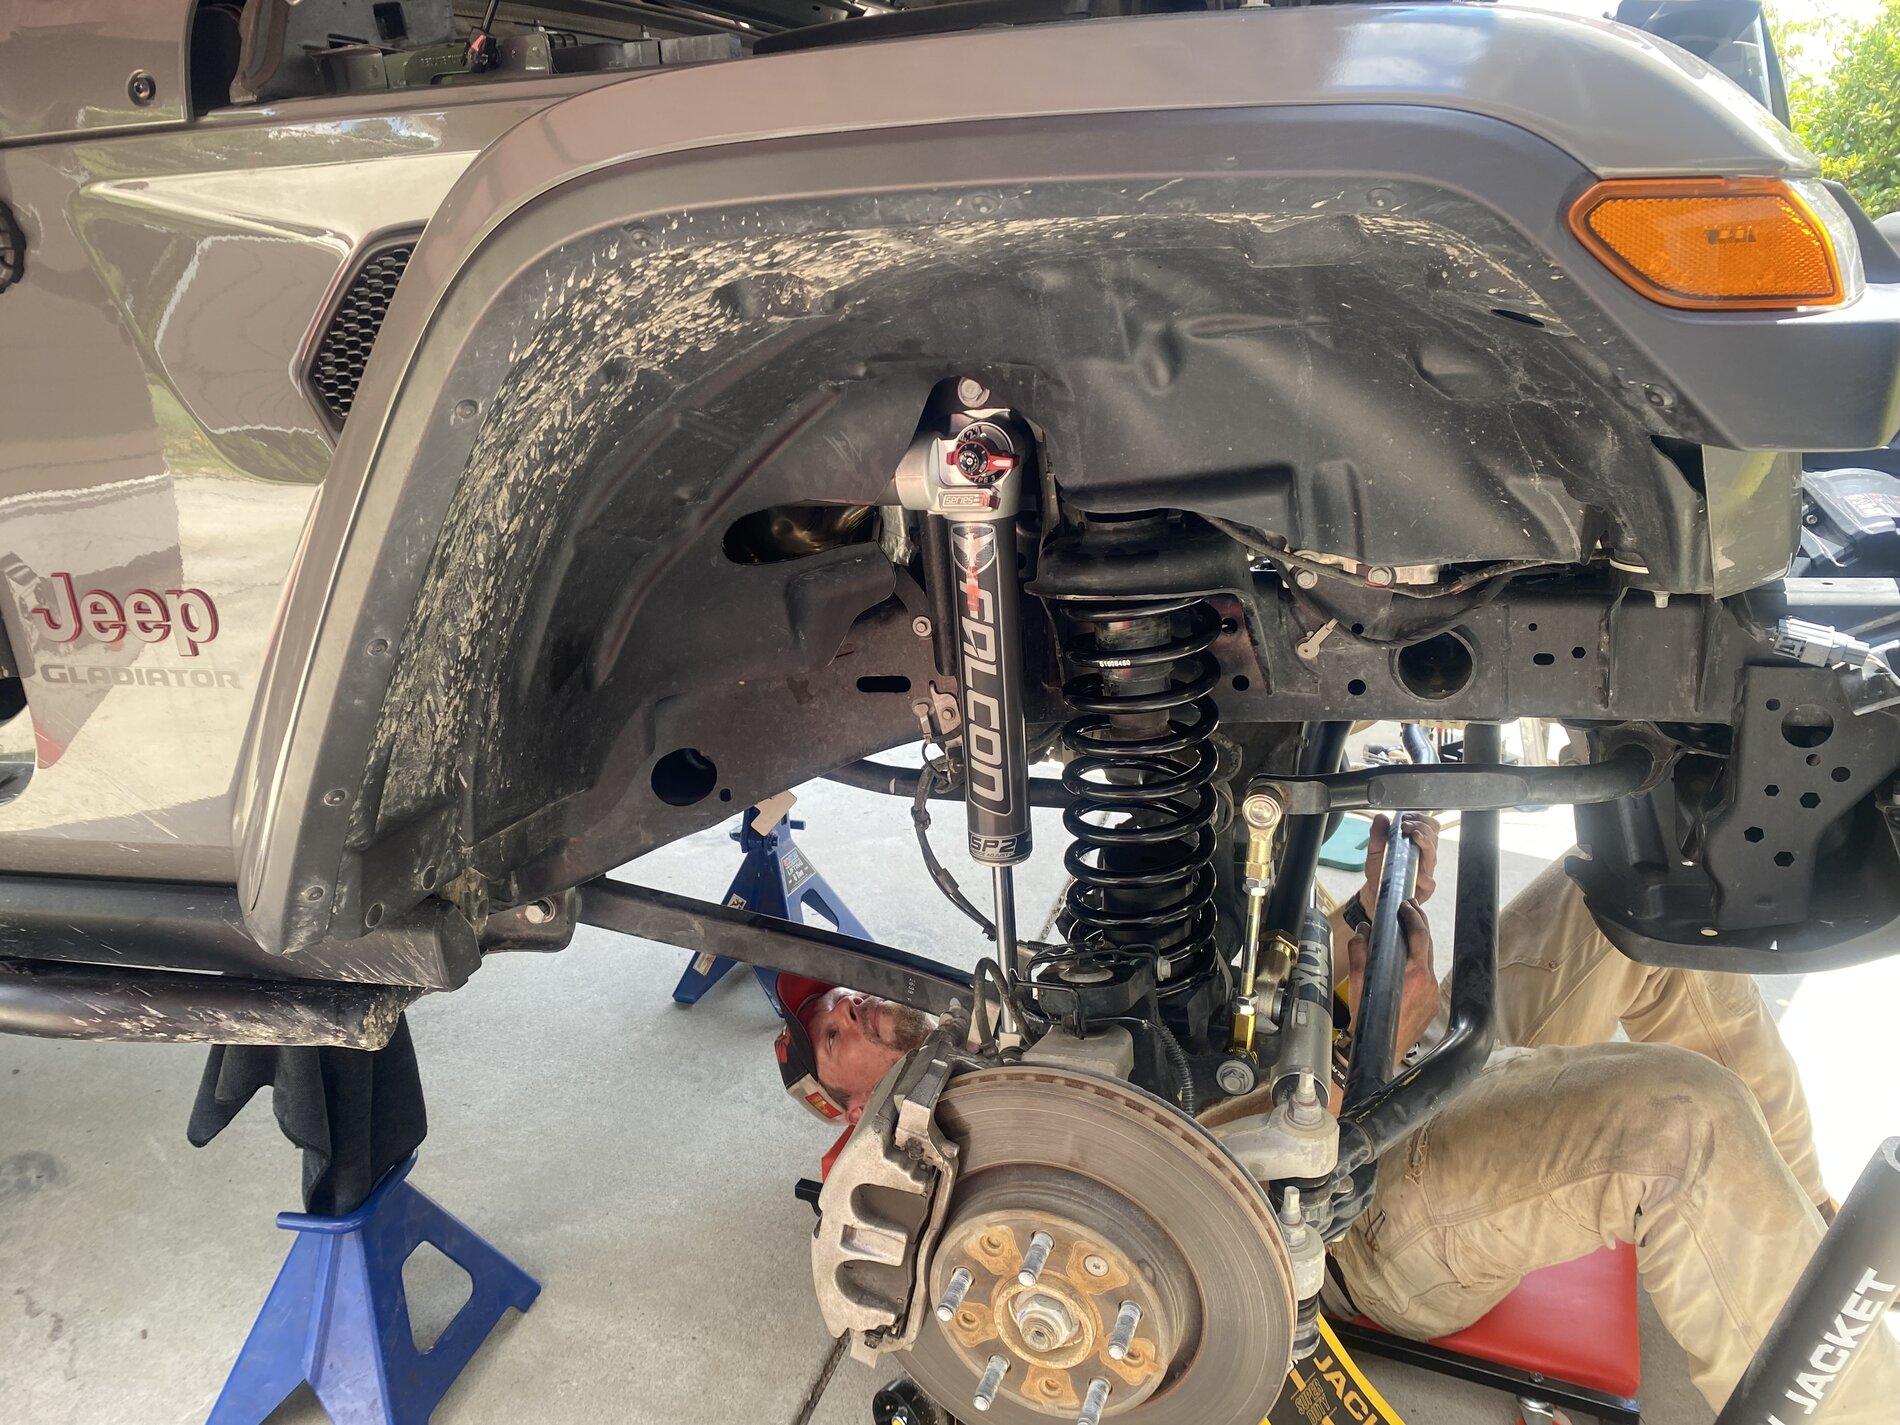
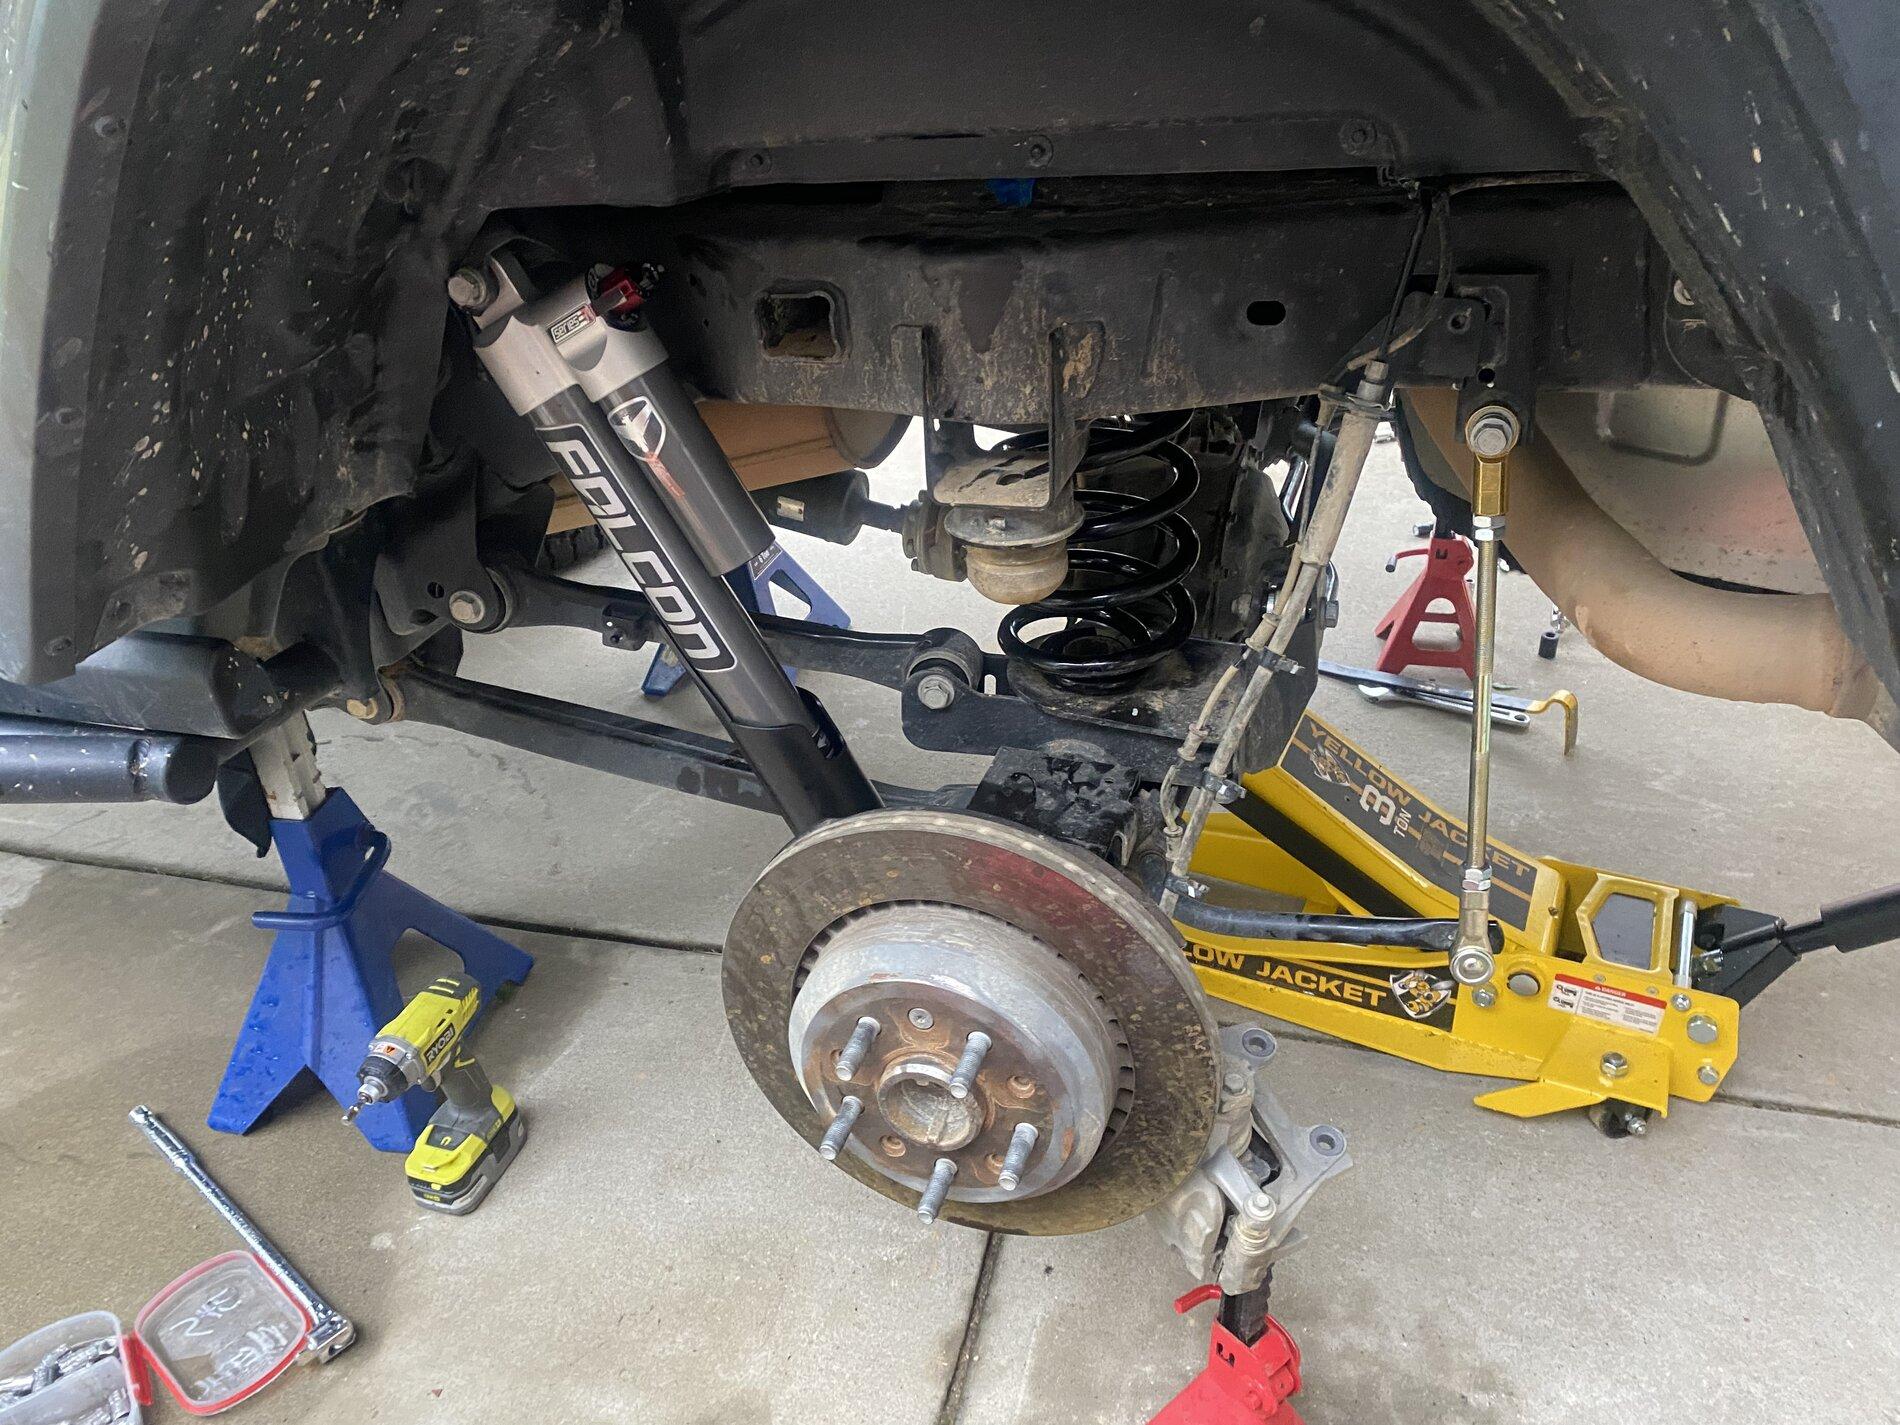
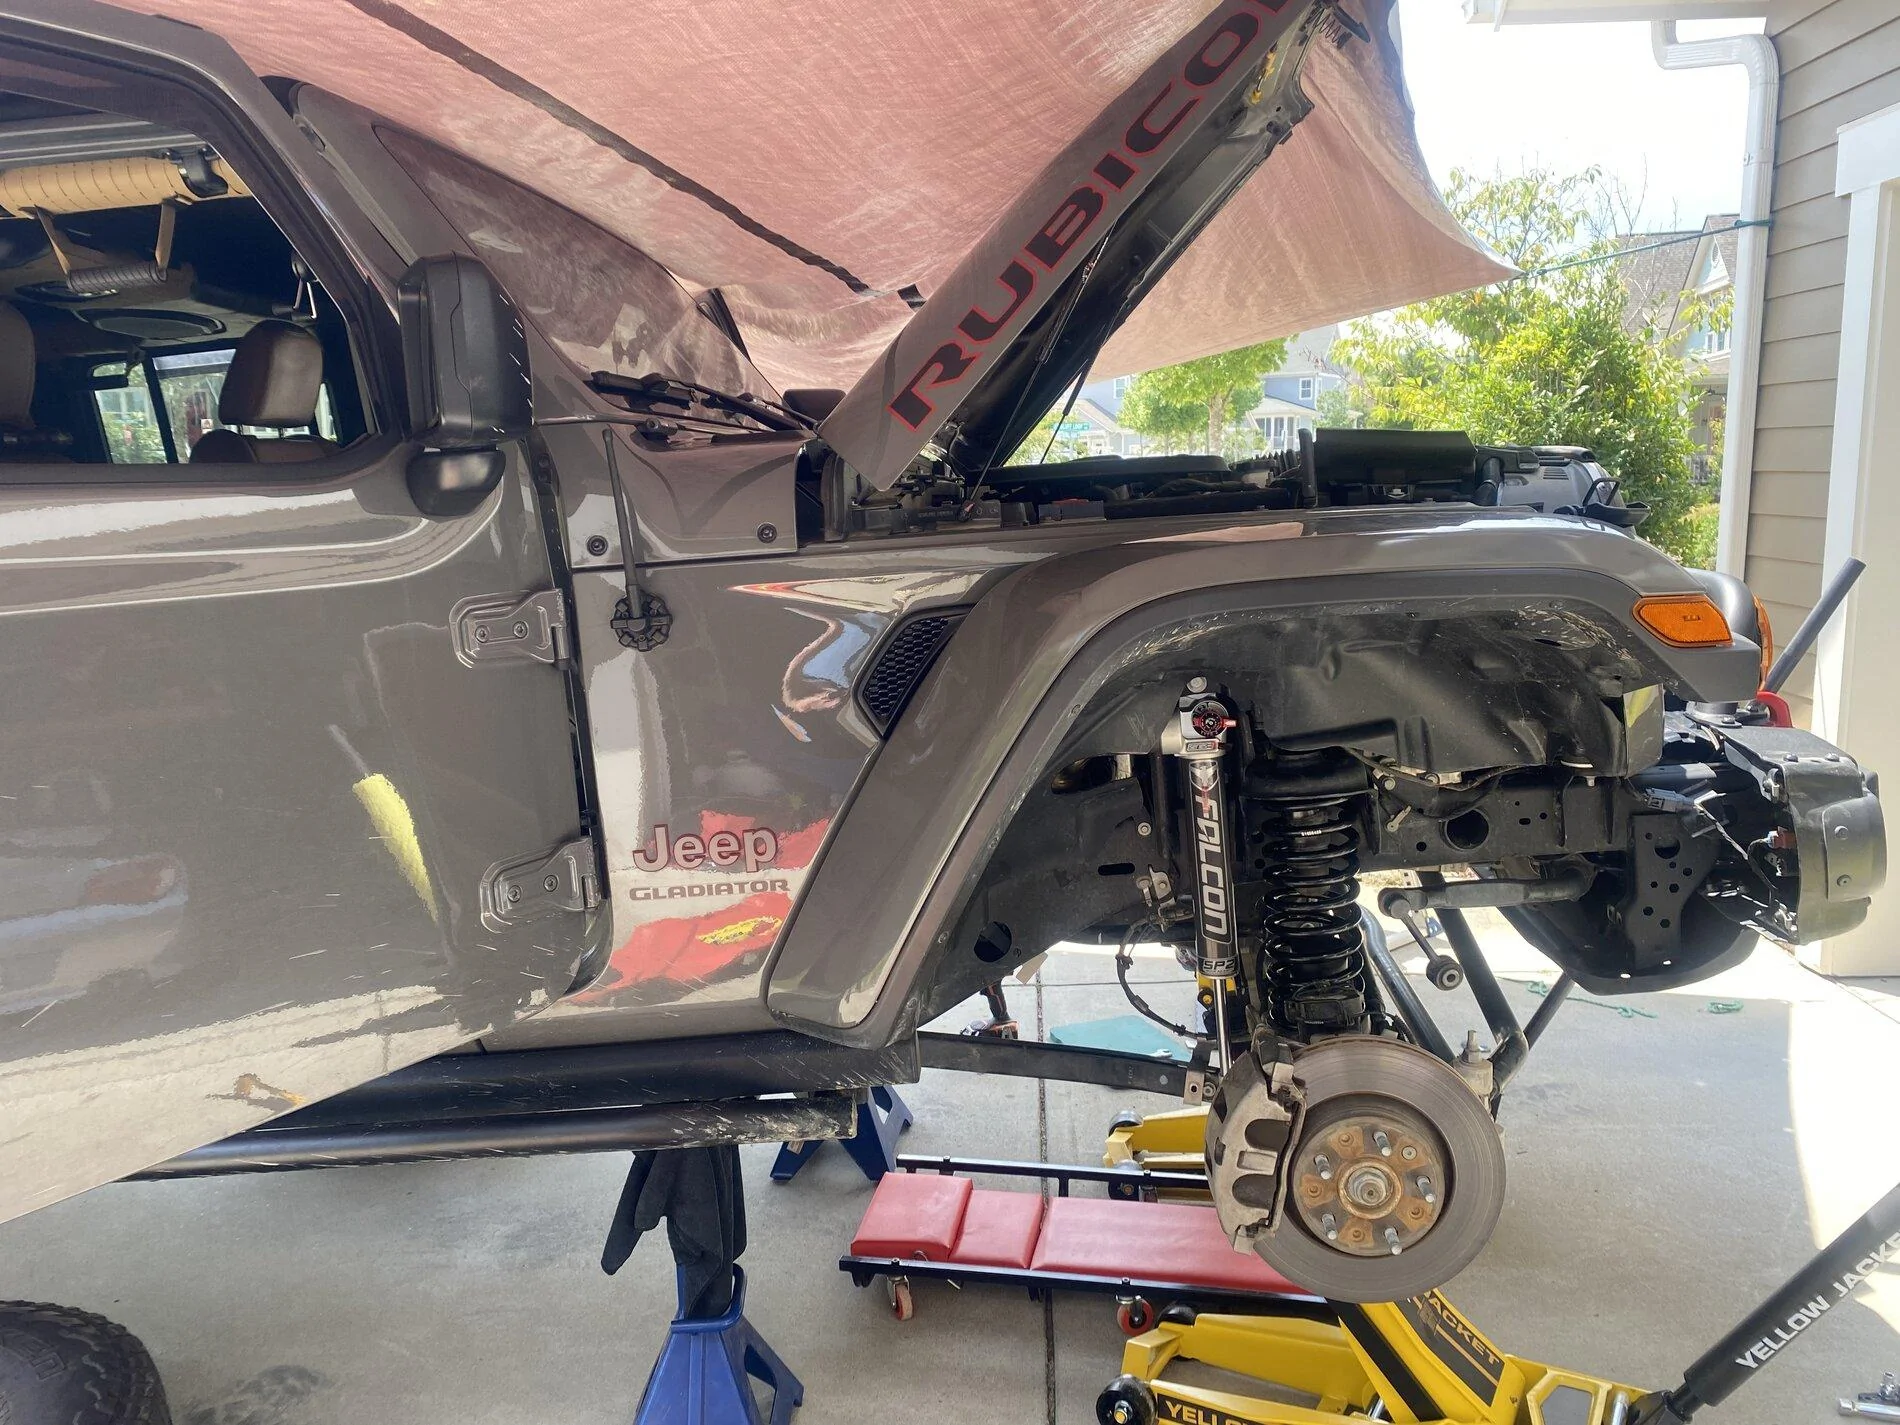
Then we changed the springs and shocks (Falcon SP2 3.3 Fast Adjust). This required an inner fender cut. The template did not work well on the passenger side(so I had to make a second cut), but the driver side was dead on. Note: I have new inner fenders with the Falcon cut in the works.
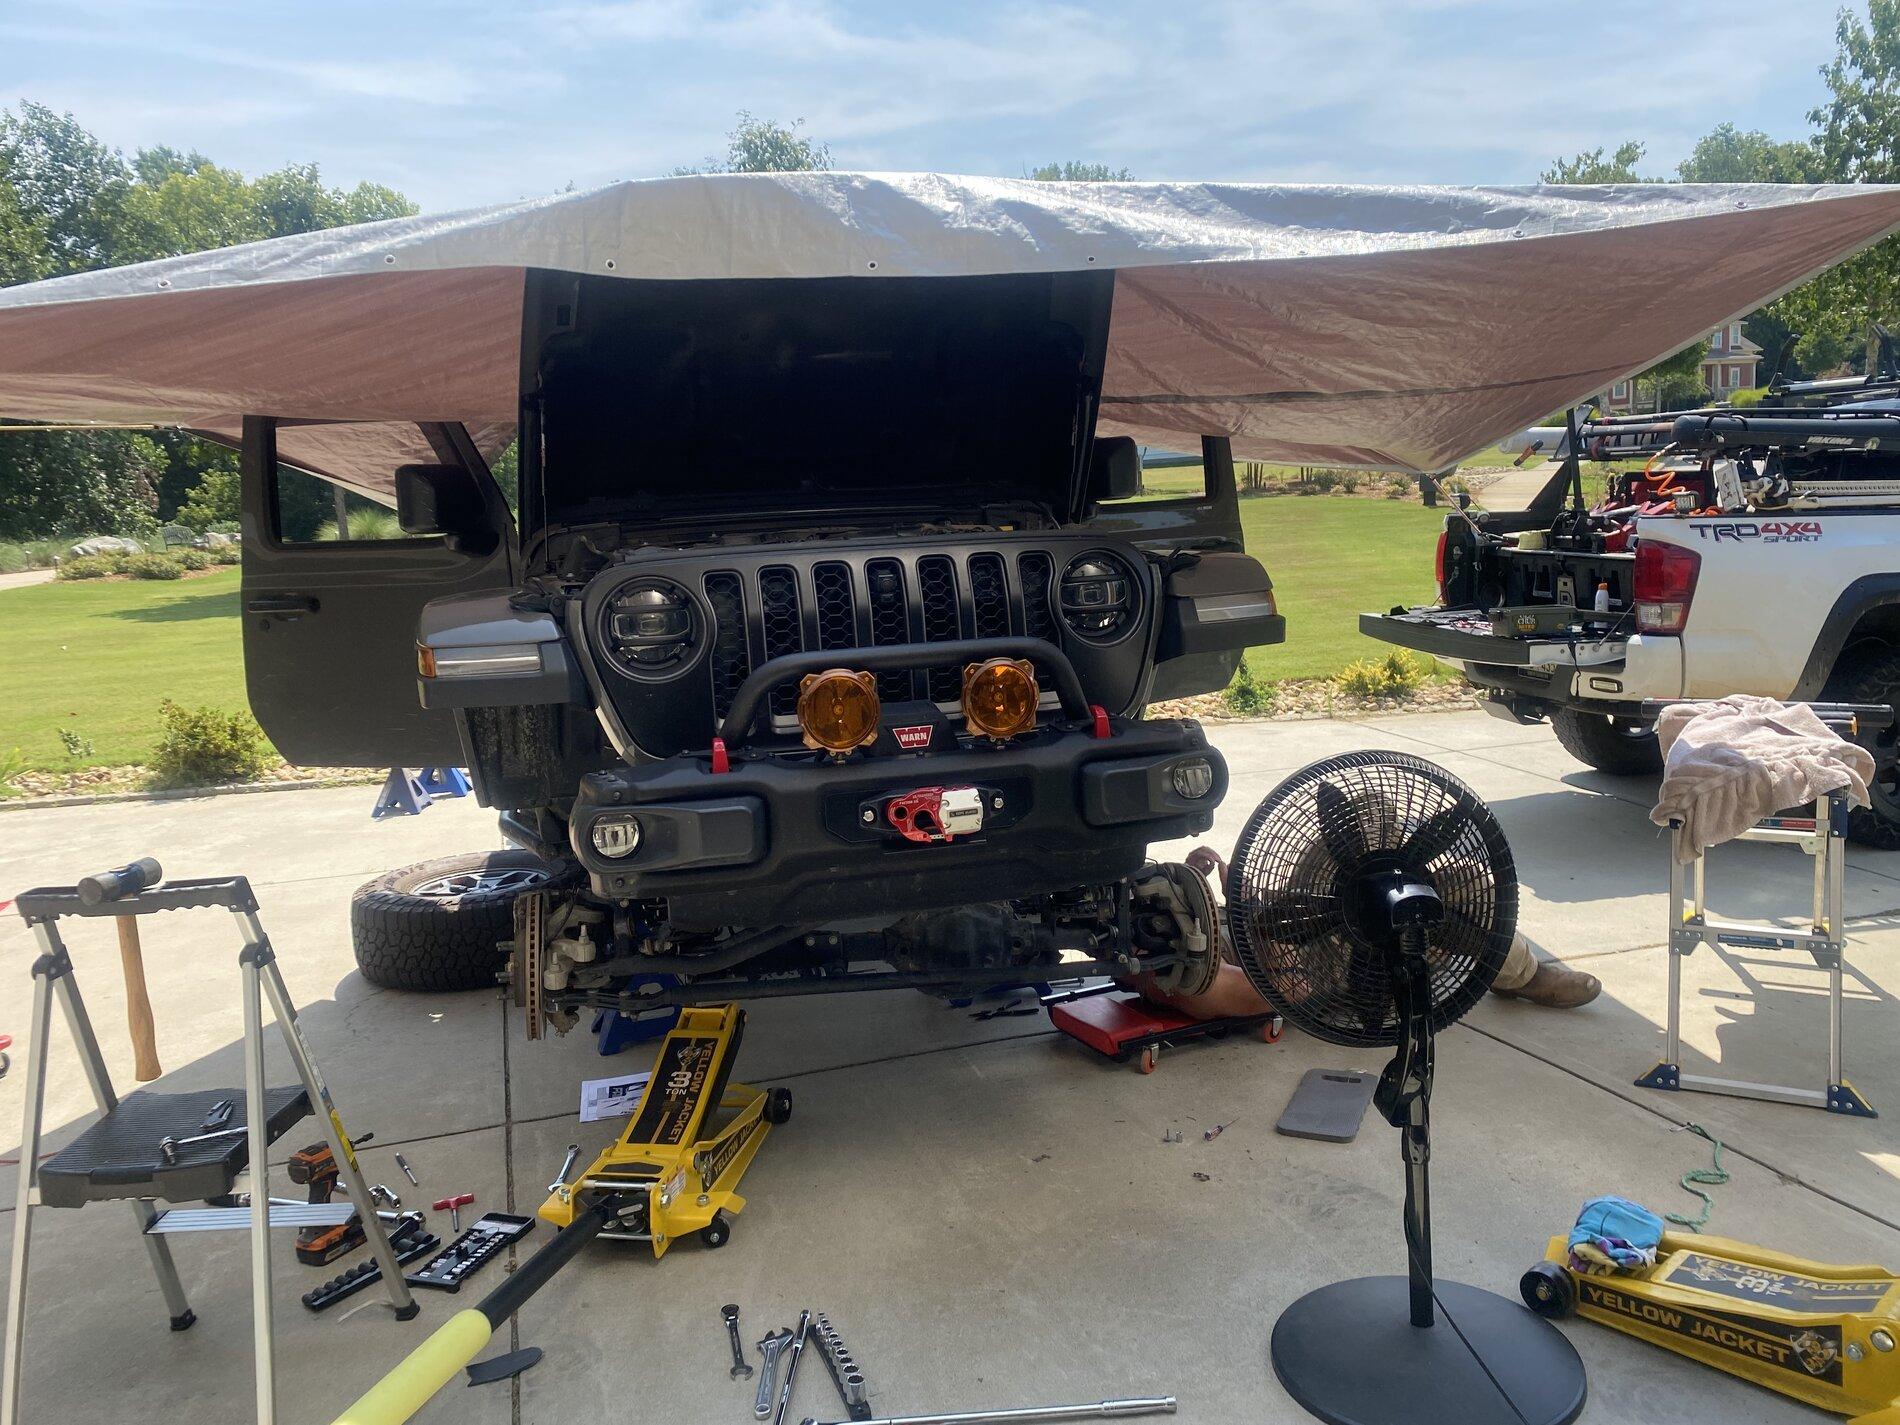
The SC heat took over and we had to adapt with a makeshift shelter from the sun....
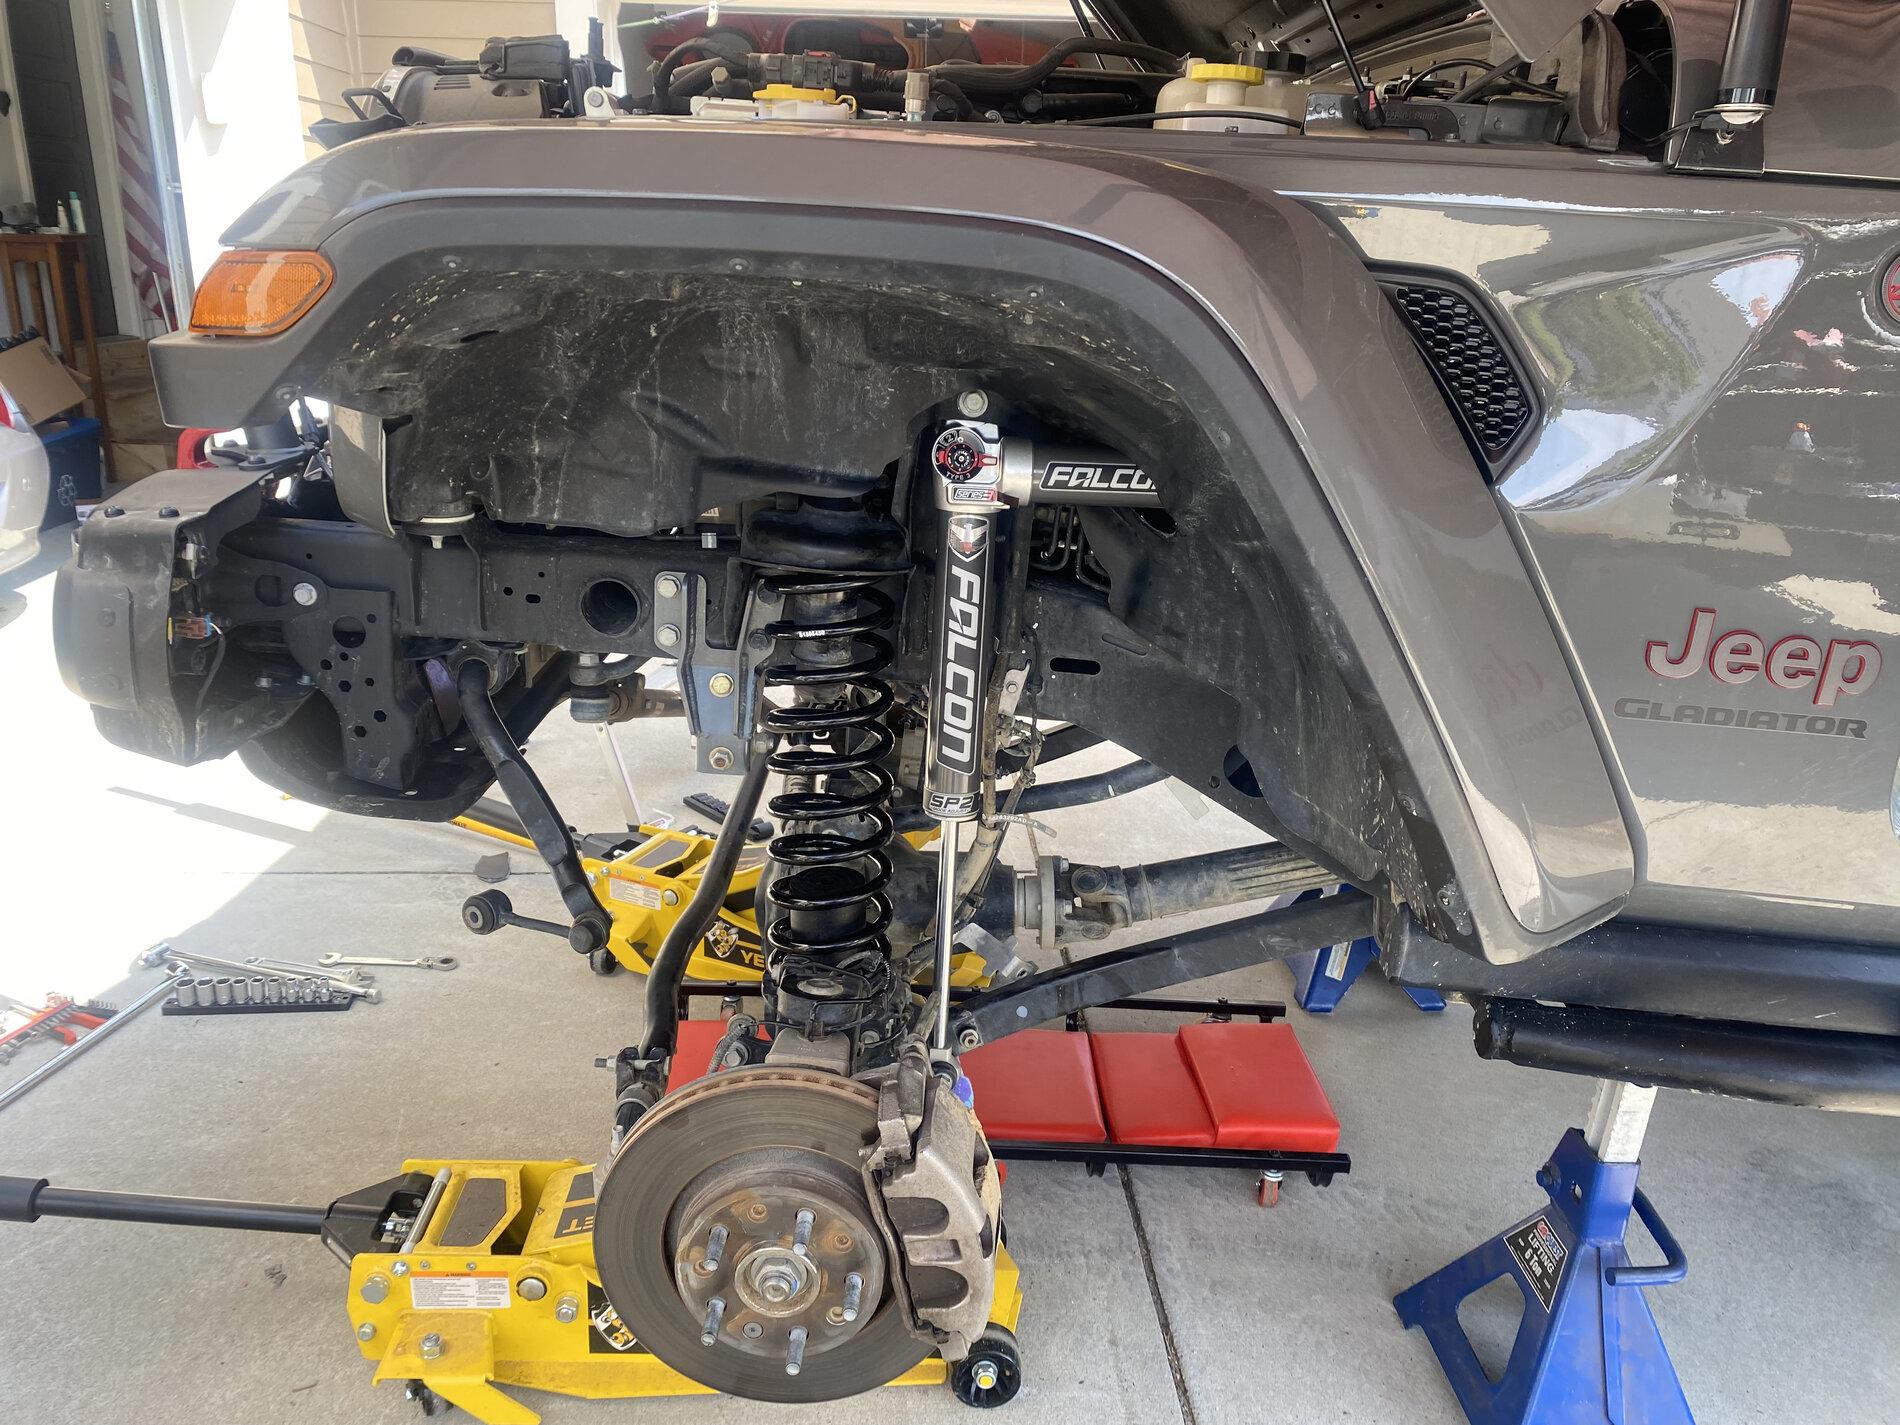
The driver side got the new spring and shock. Notice how the Falcon template worked so much better for the reservoir....
Here is a photo of how much the passenger side inner fender template was off:
The driver side fit well:
This is the proverbial "Carolina Squat" pose... front without the rear...
we went to work on disassembling the rear:
And then S.C. reminded us we were in S.C....
We worked through the rain to get the rear suspension installed:
This pic is before I installed the Upper/Lower front/rear control arms:
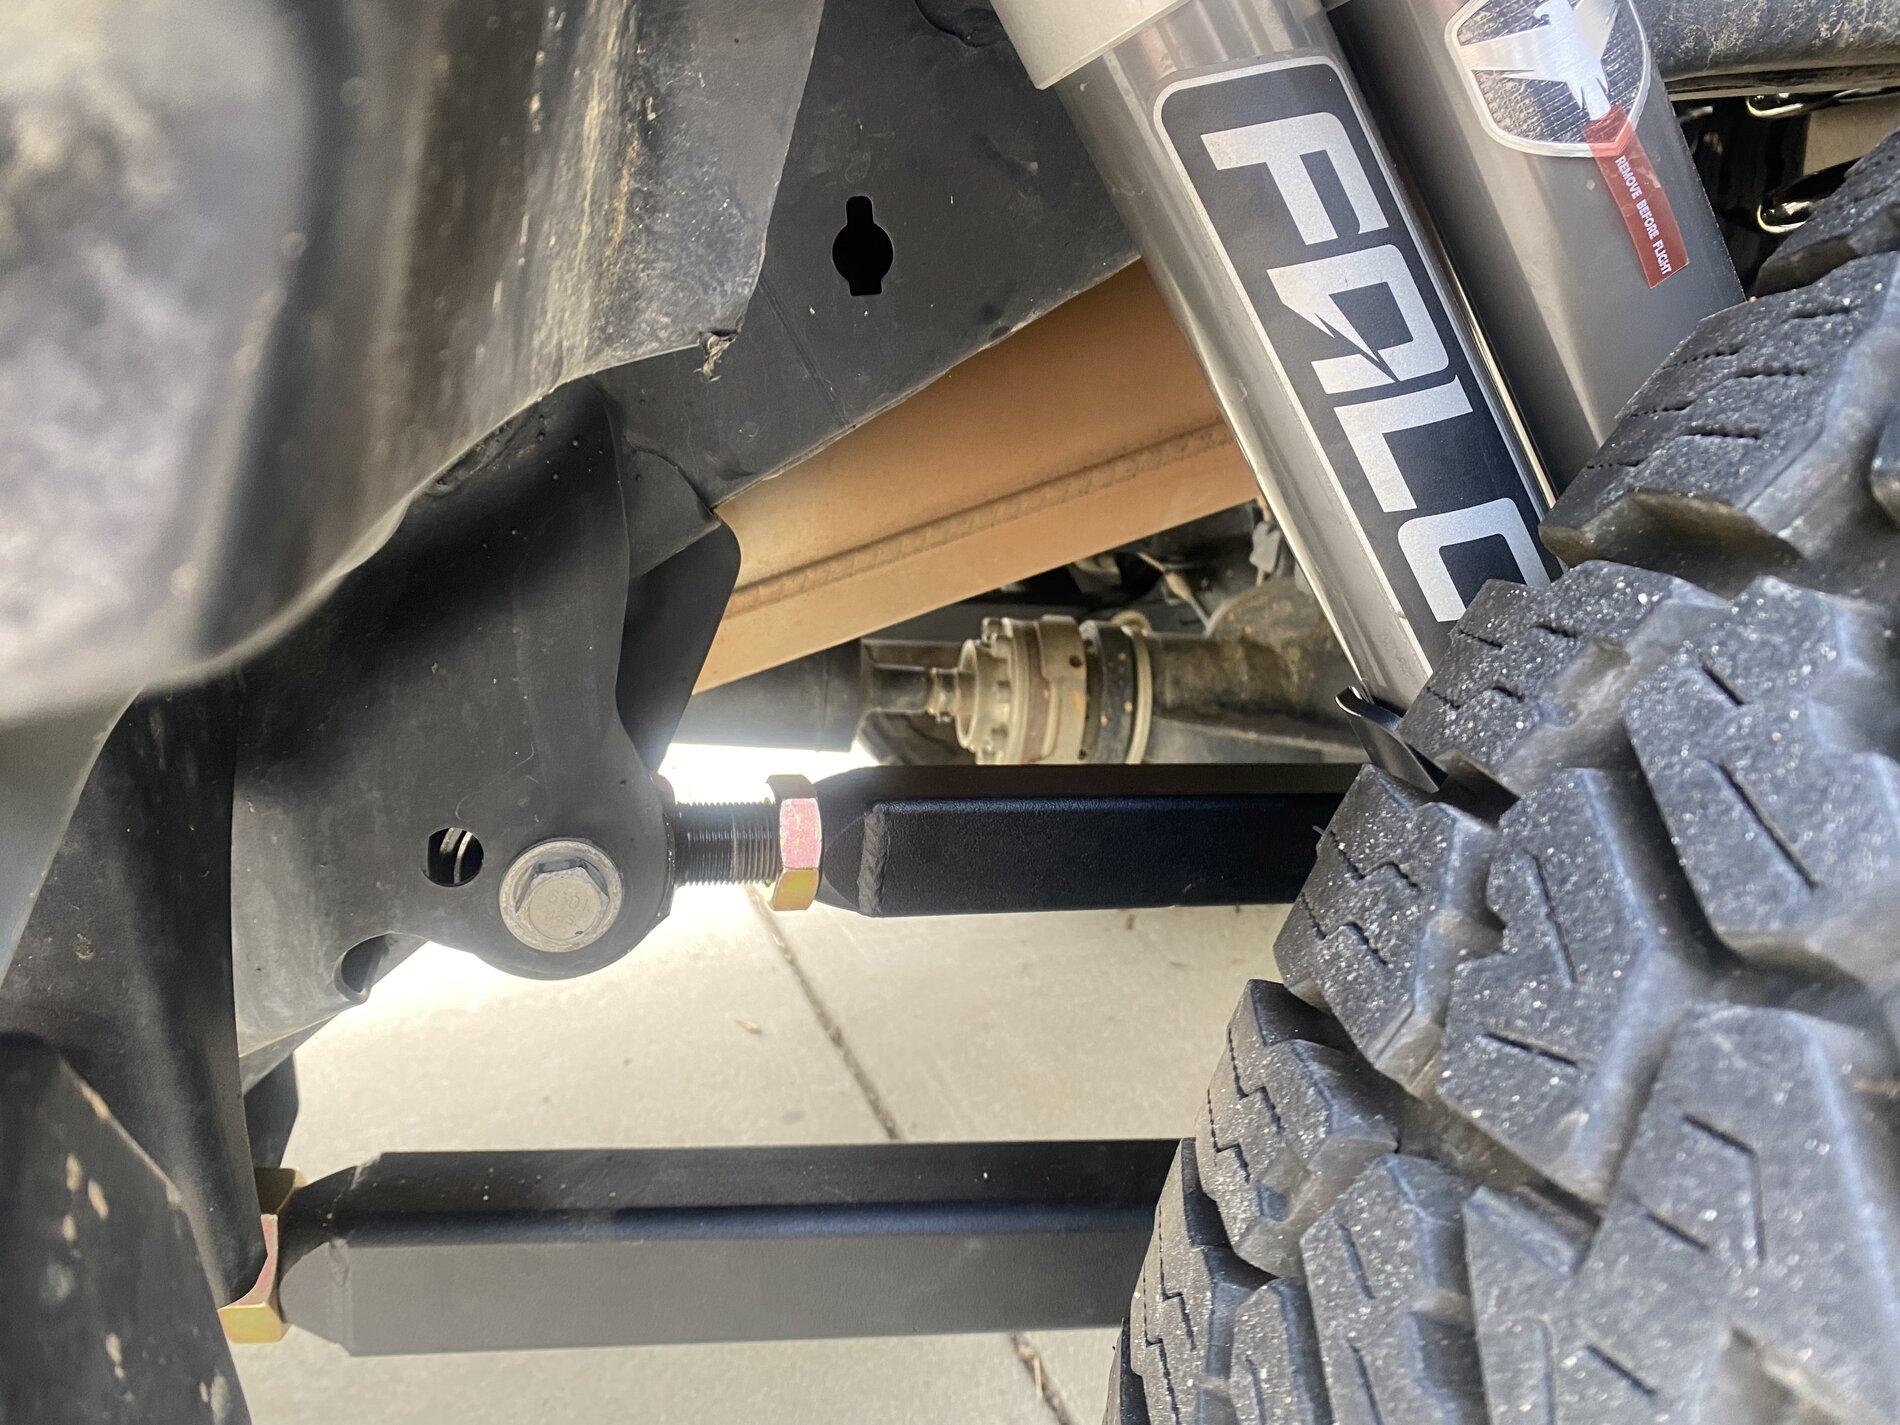
I spent time setting the the pinion angle for both the front and rear. Rear pinion angle adjustment as follows:
This adjustment really impacted the Caster angle for the front (which I learned during the alignment):
This is prior to alignment. I had to adjust the steering wheel. The ESR Warning kept flashing until I adjusted the drag link to change the pitman arm angle.
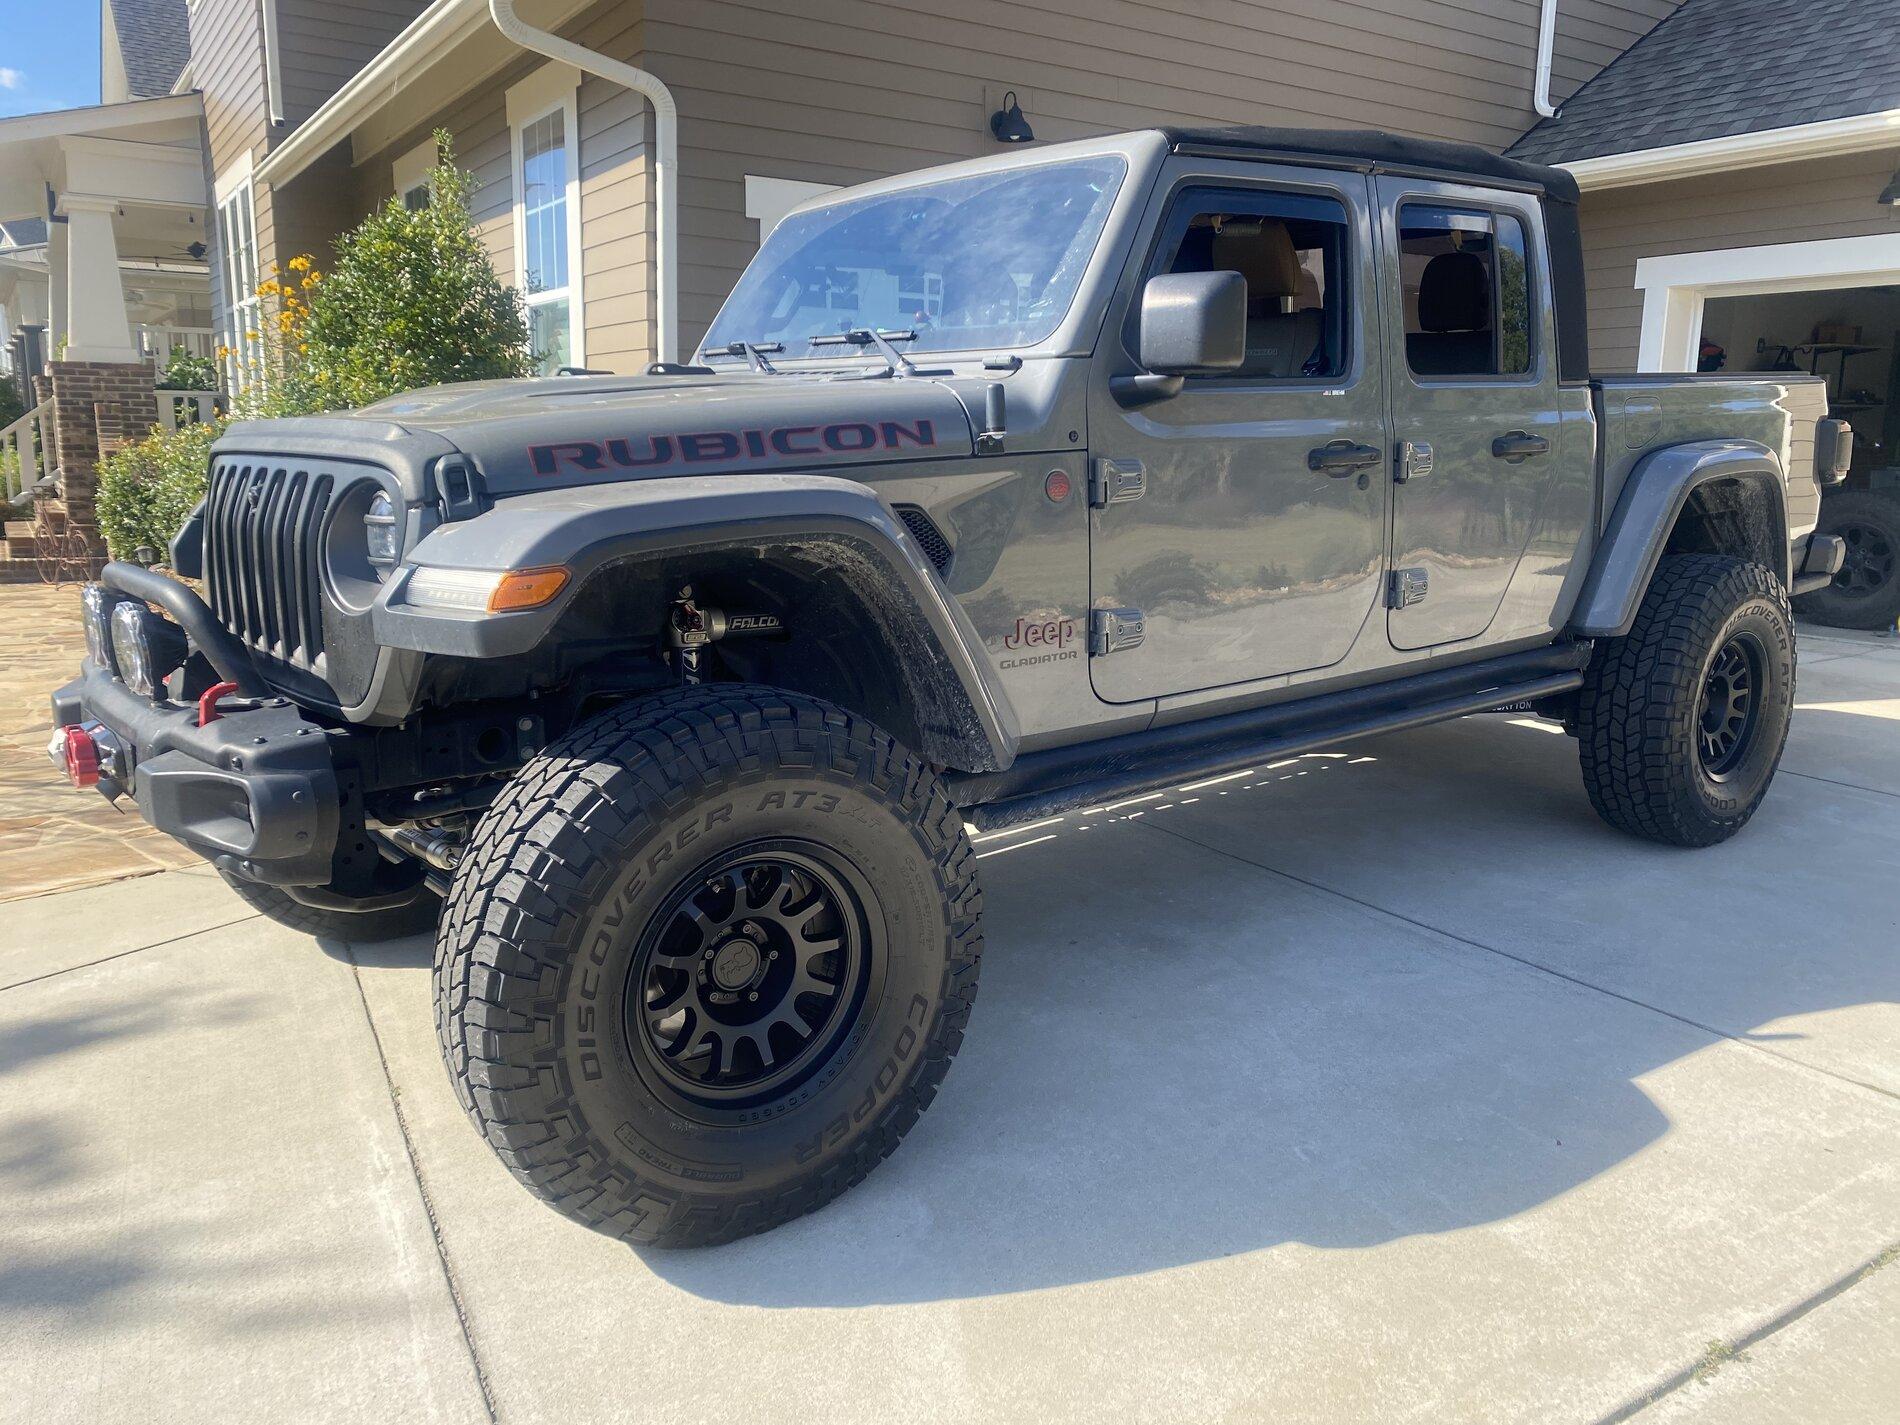
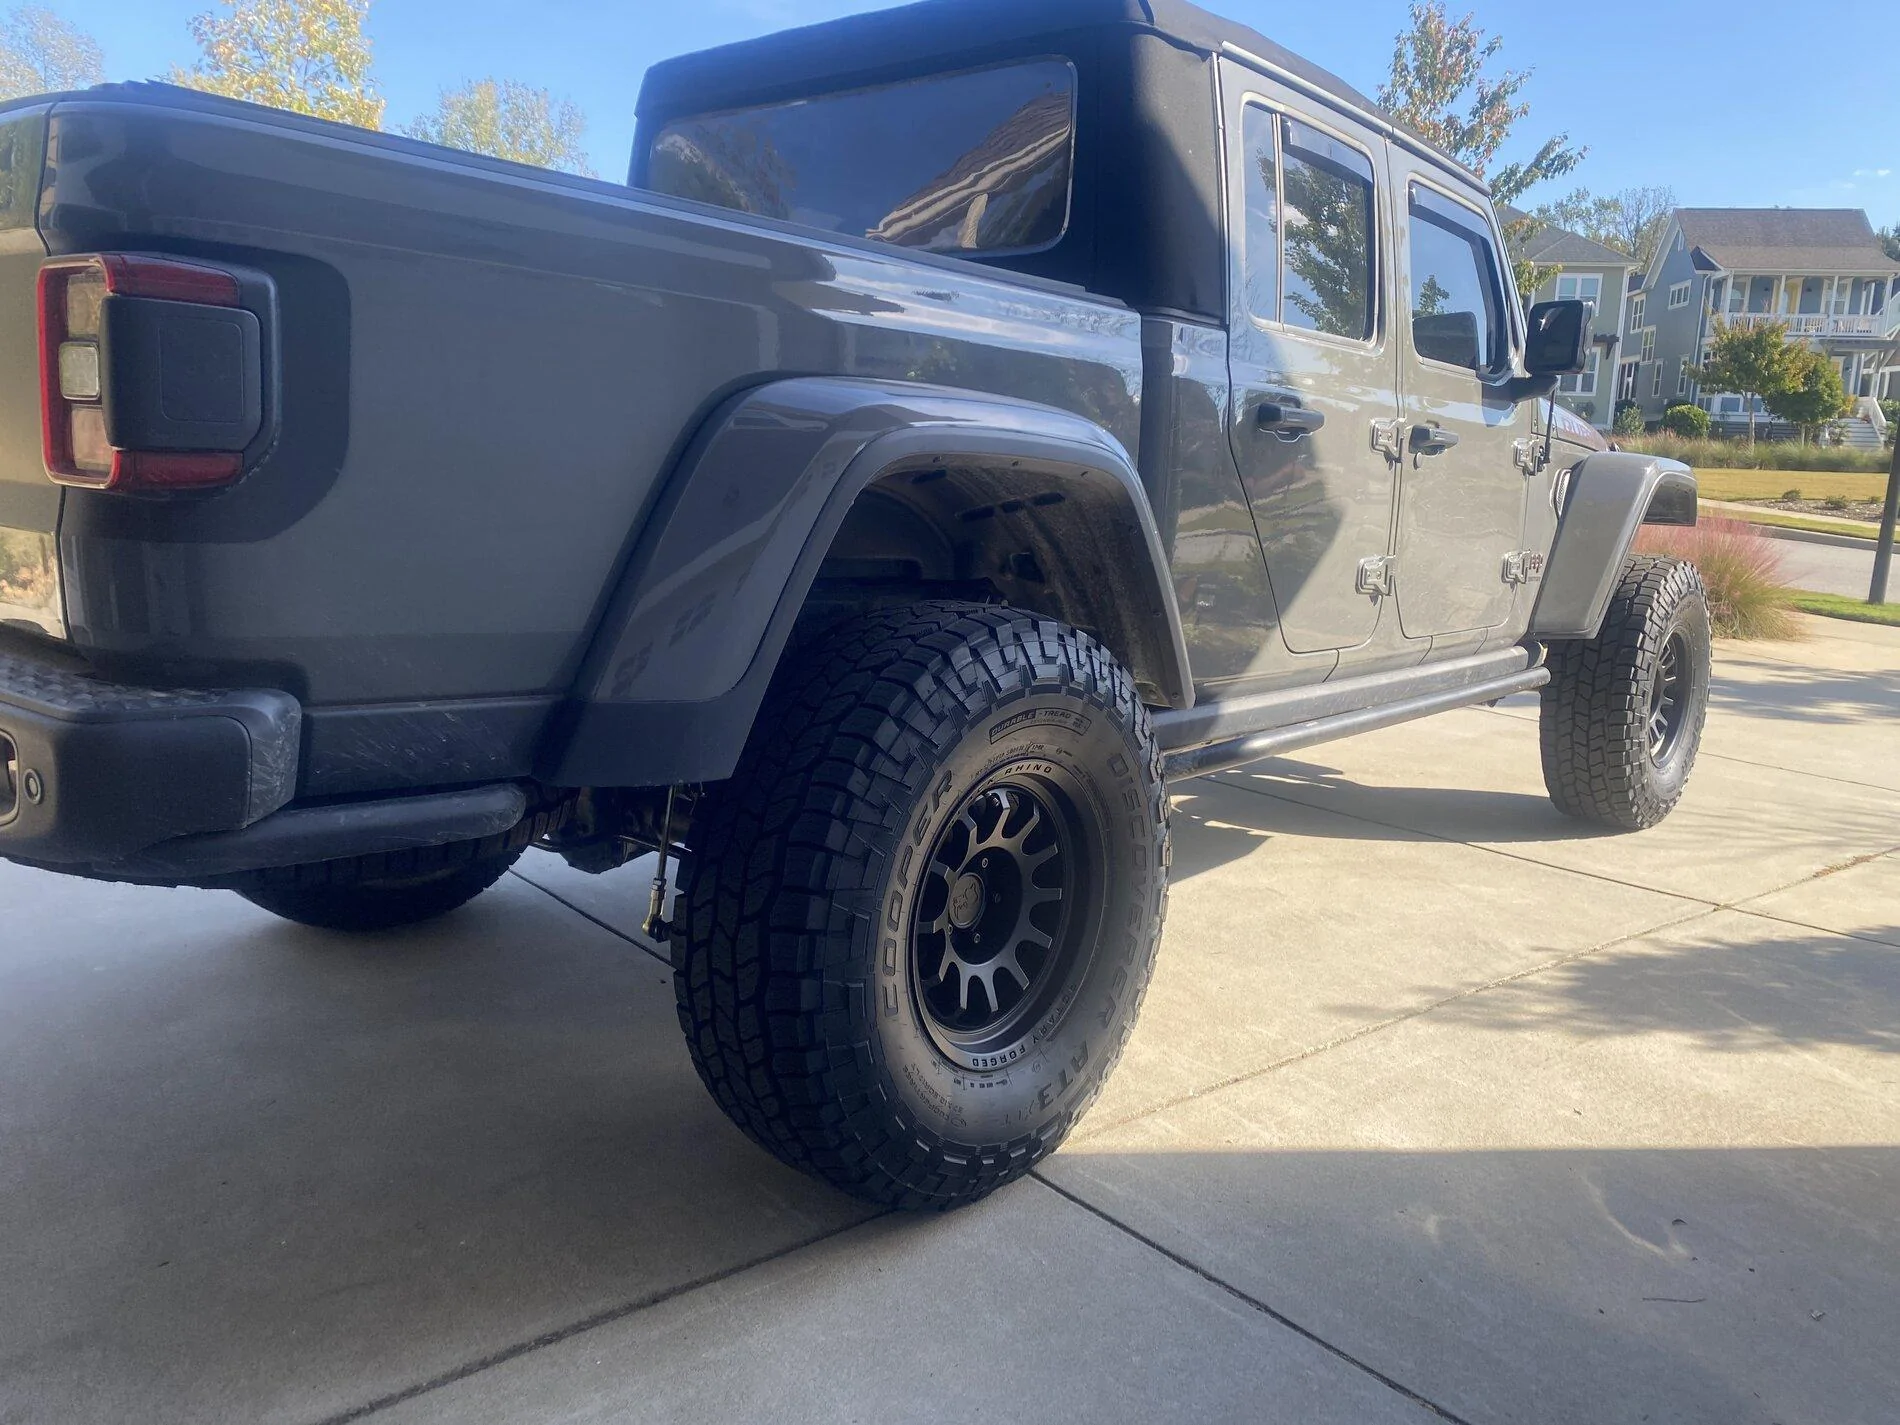
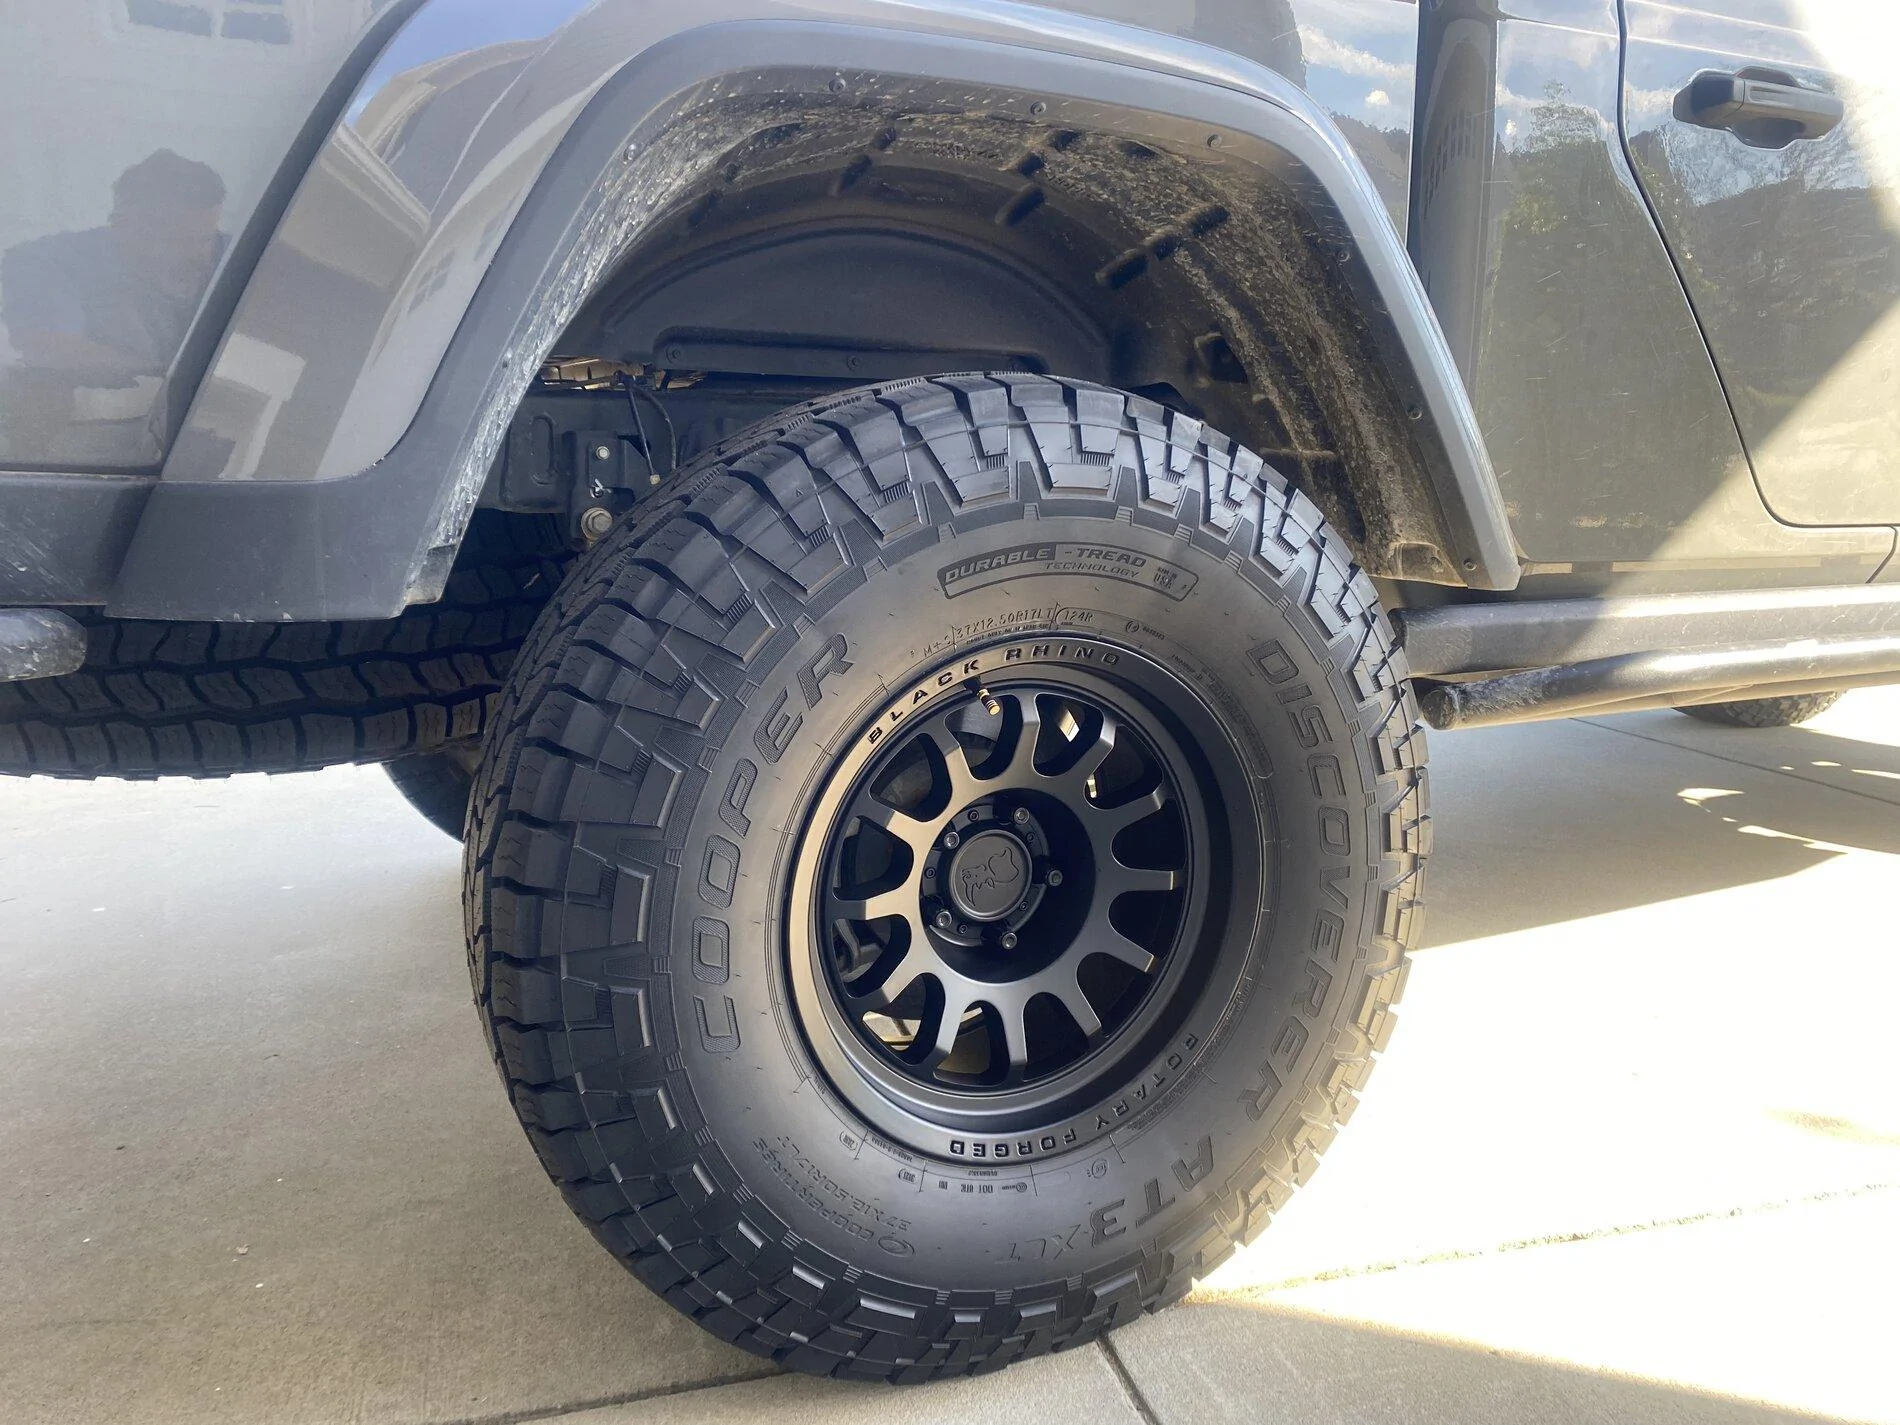
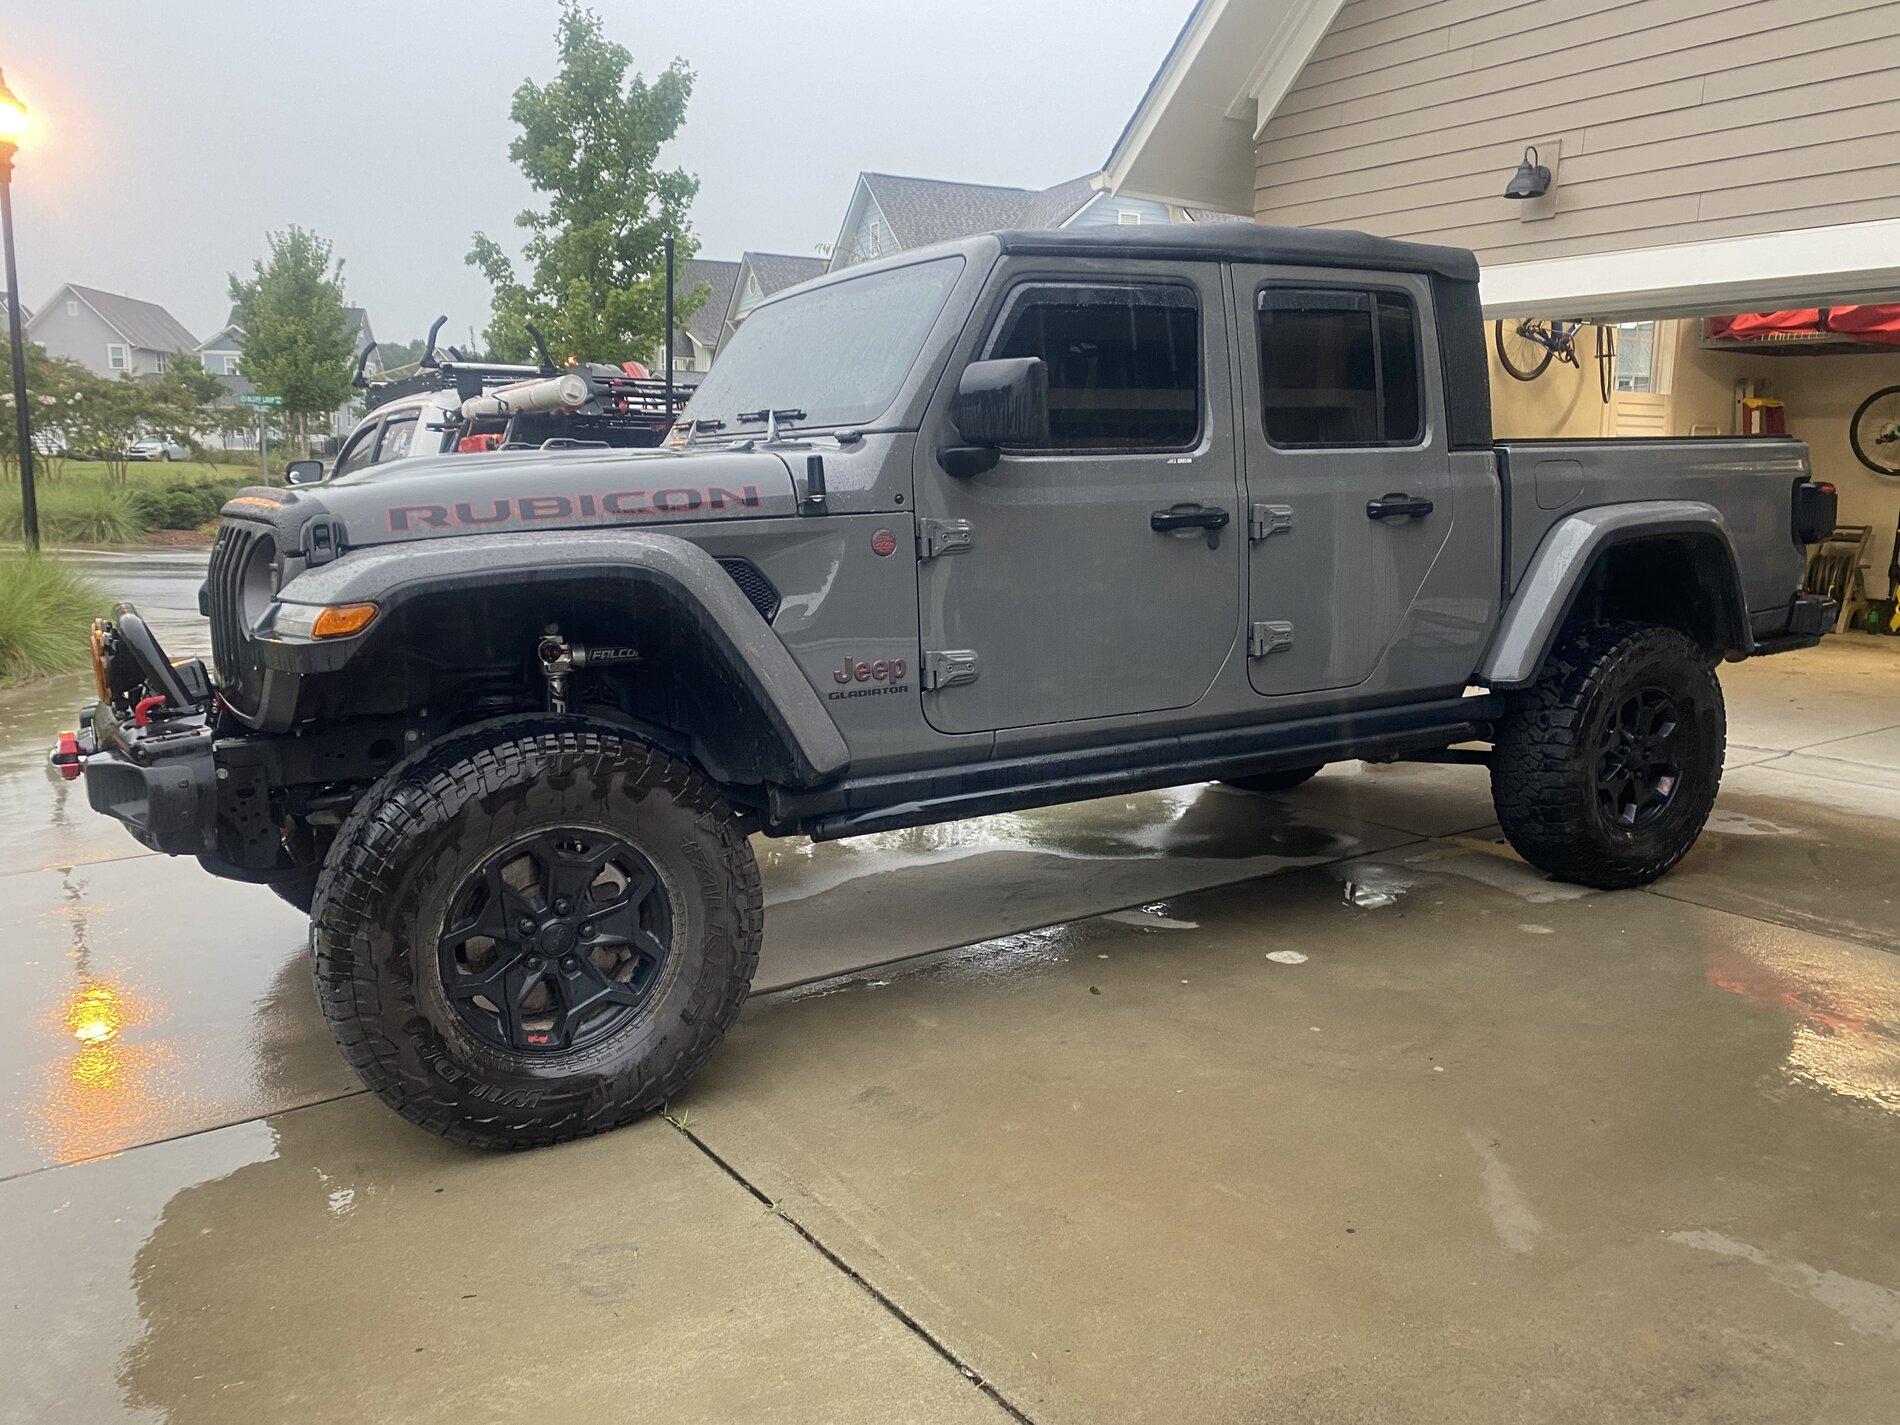
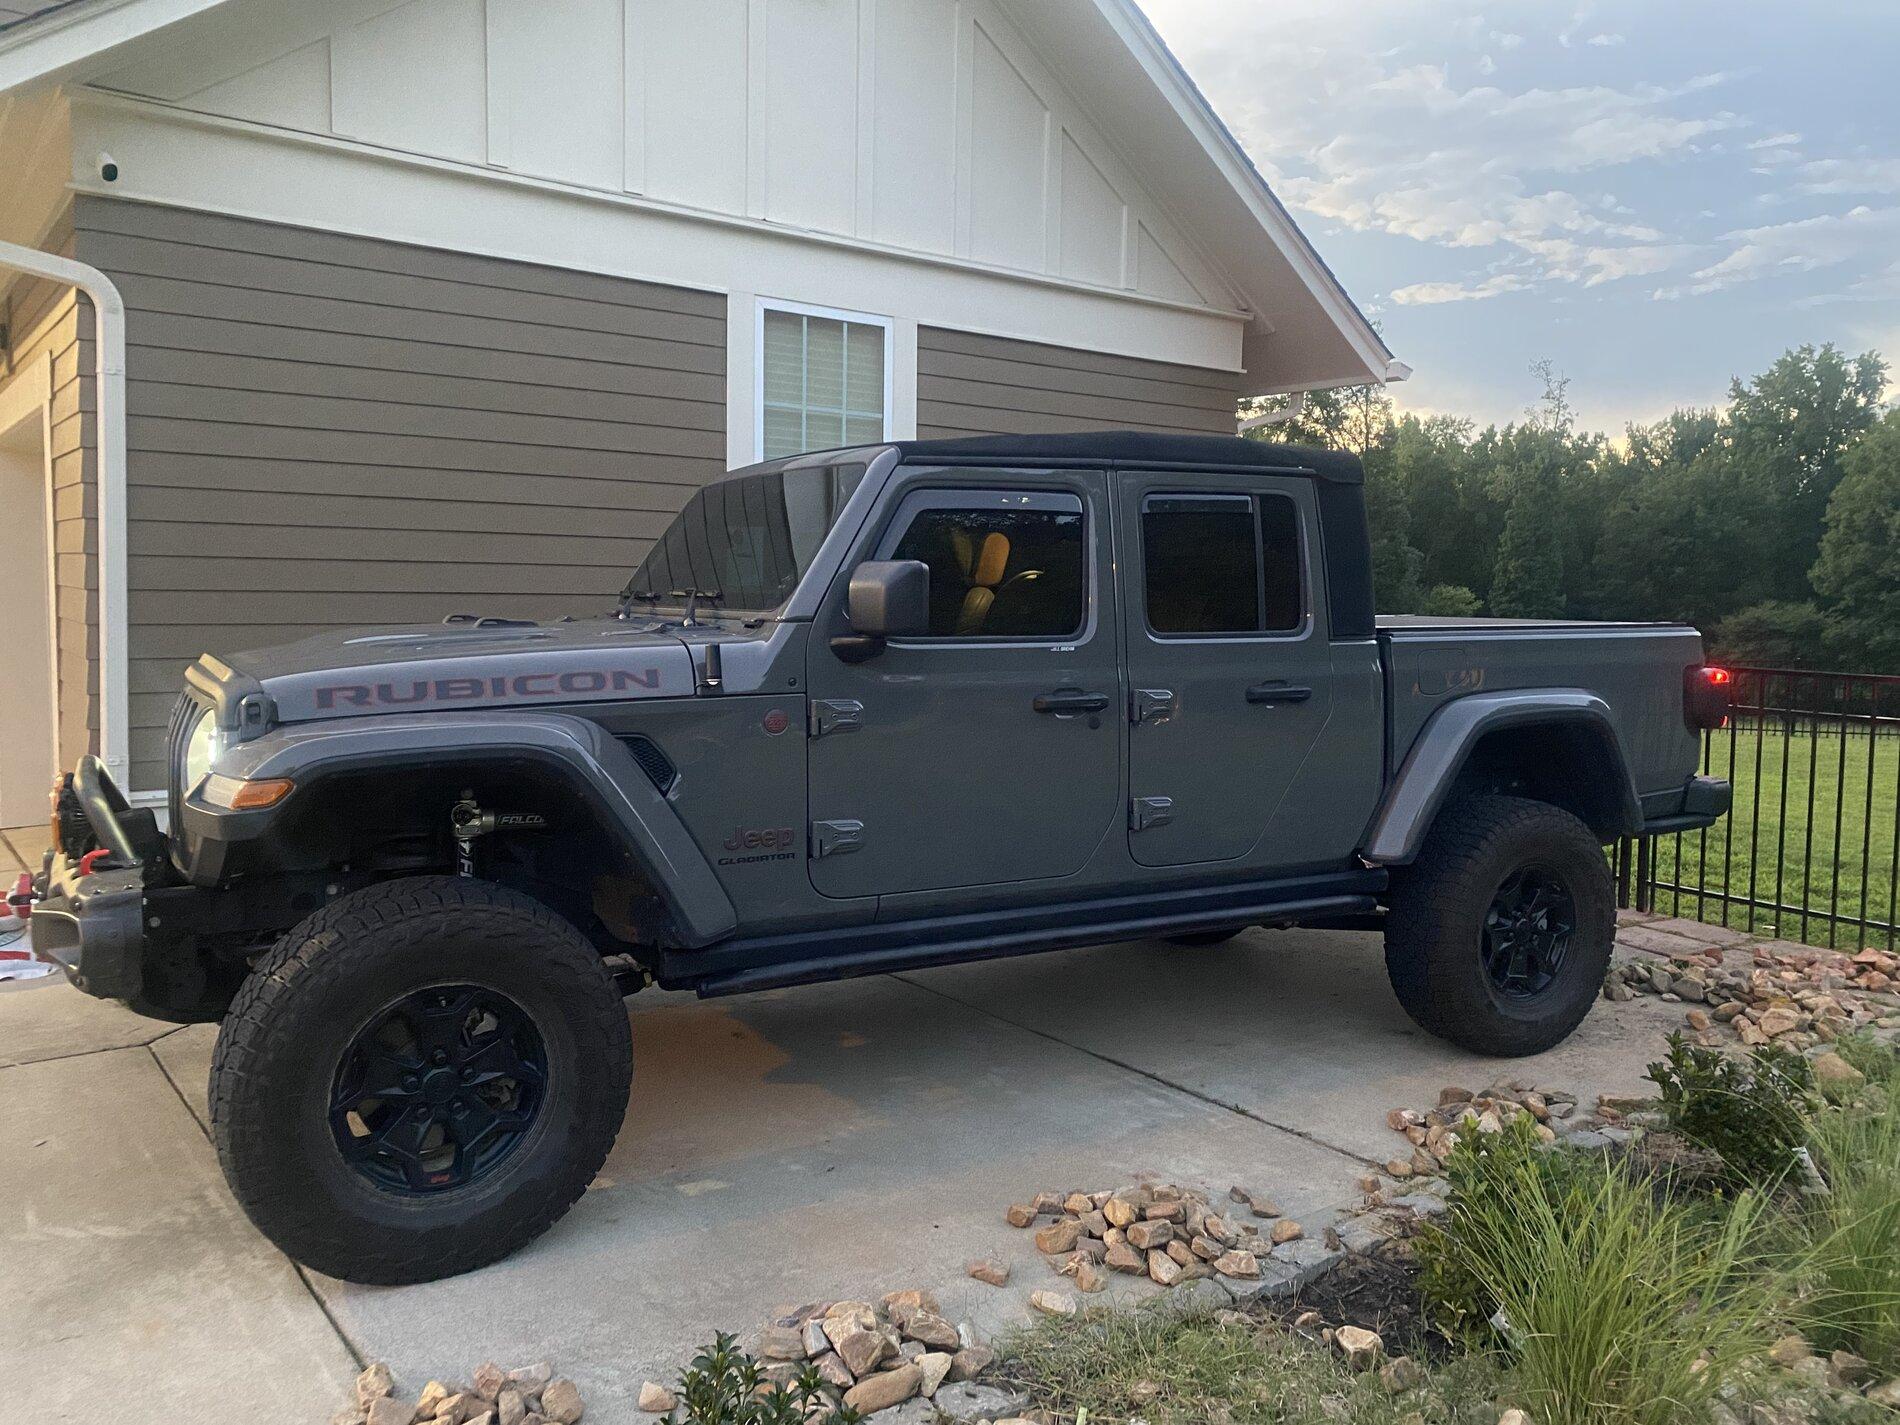
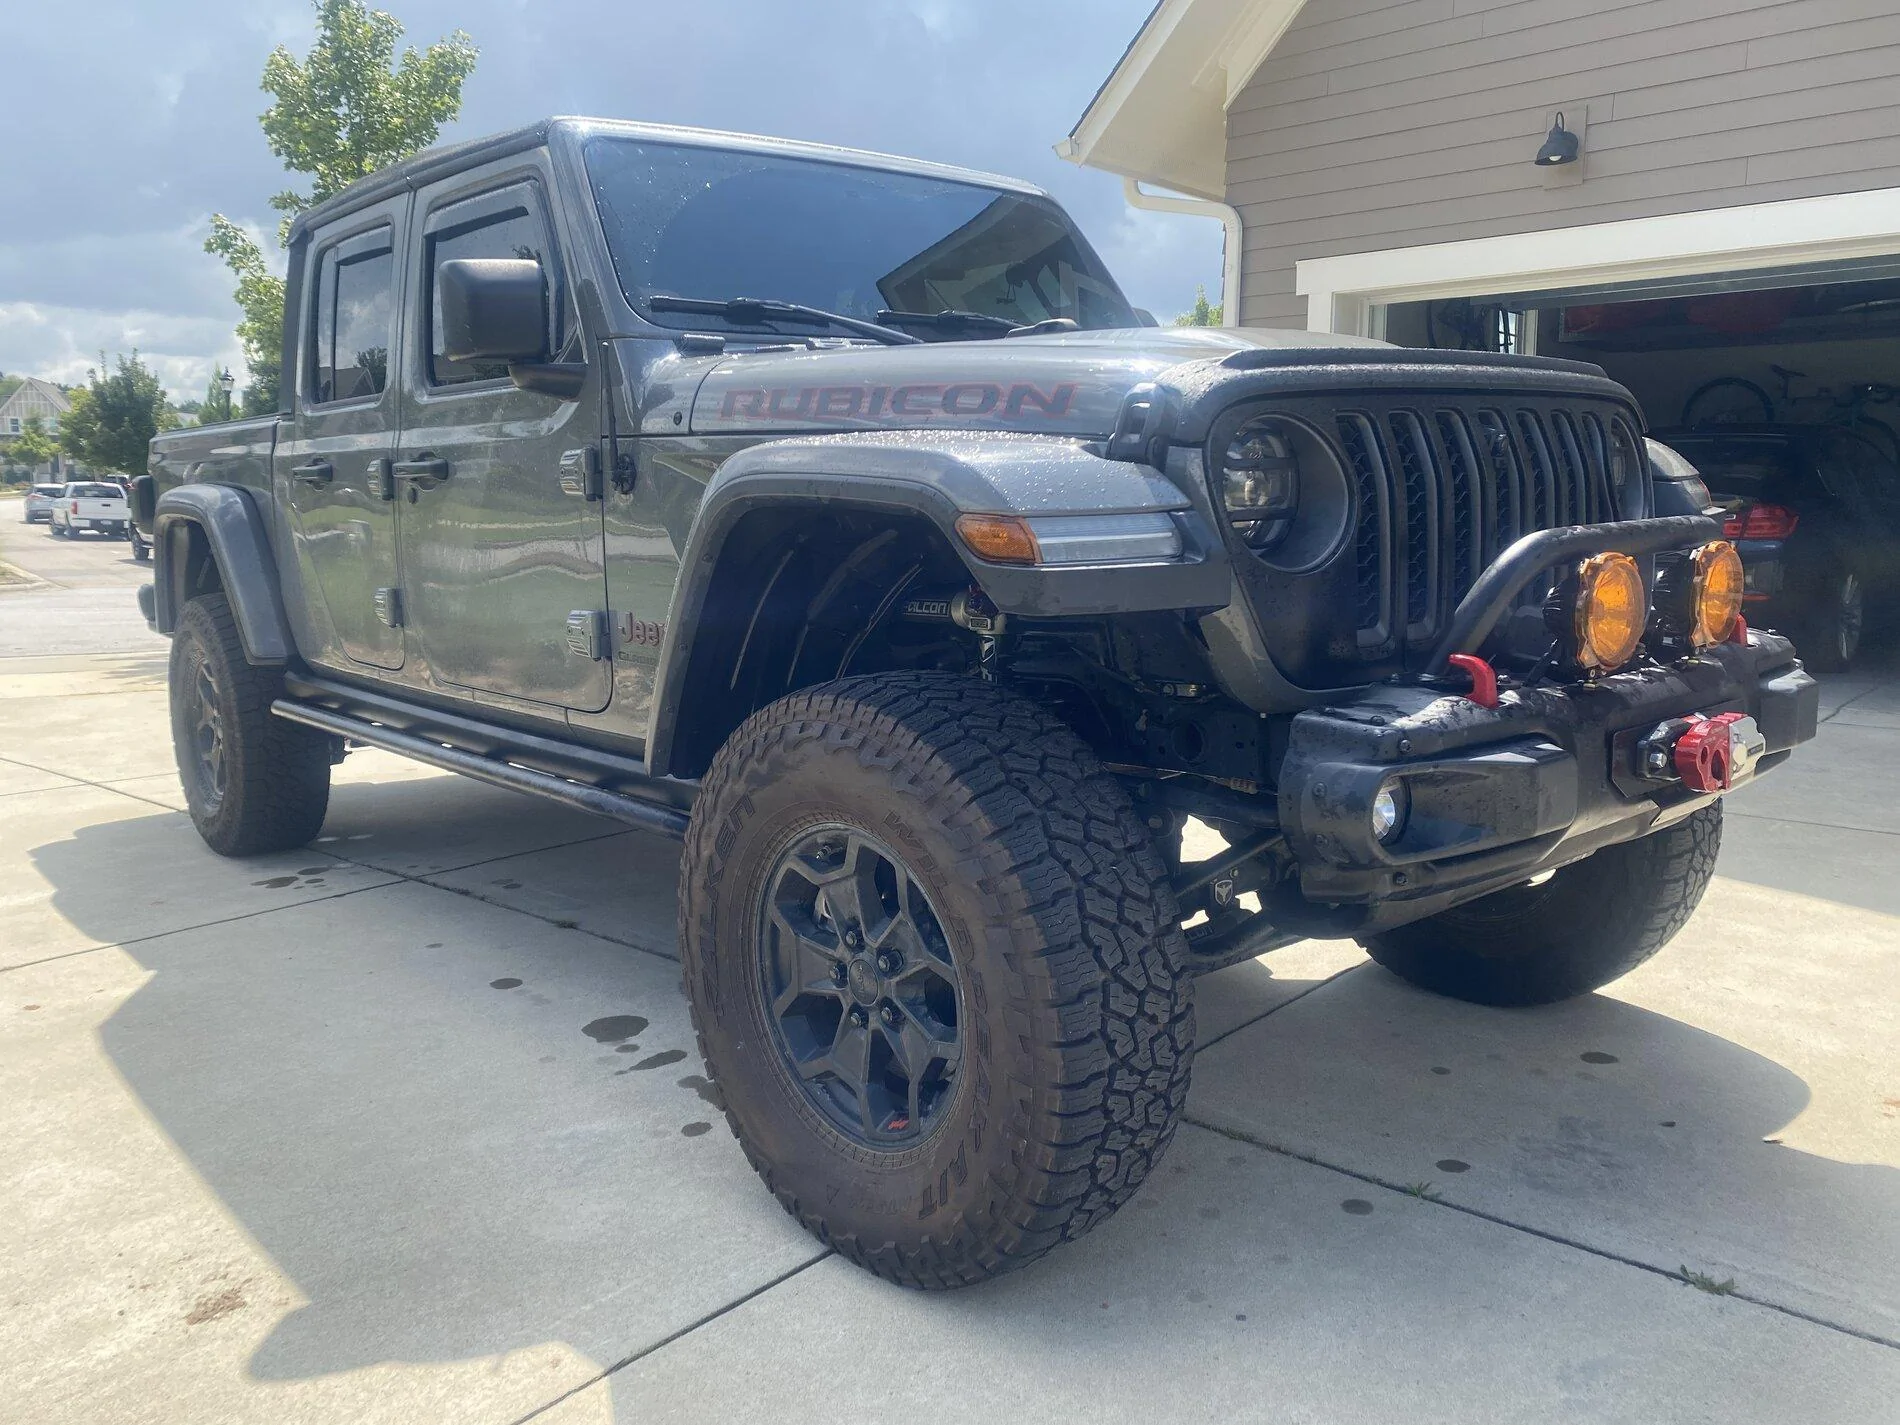
I like the stance of this lift. Next up is a set of 37's that I have had on order from @Discount Tire since July 1.... not their fault, but tires are tough to get. Just learned today that my tire order has been pushed to October 9th. Not happy, but cannot blame Discount Tire if they cannot get my Cooper Discoverer A/T XLT 37x12.5R17s from the manufacturer.
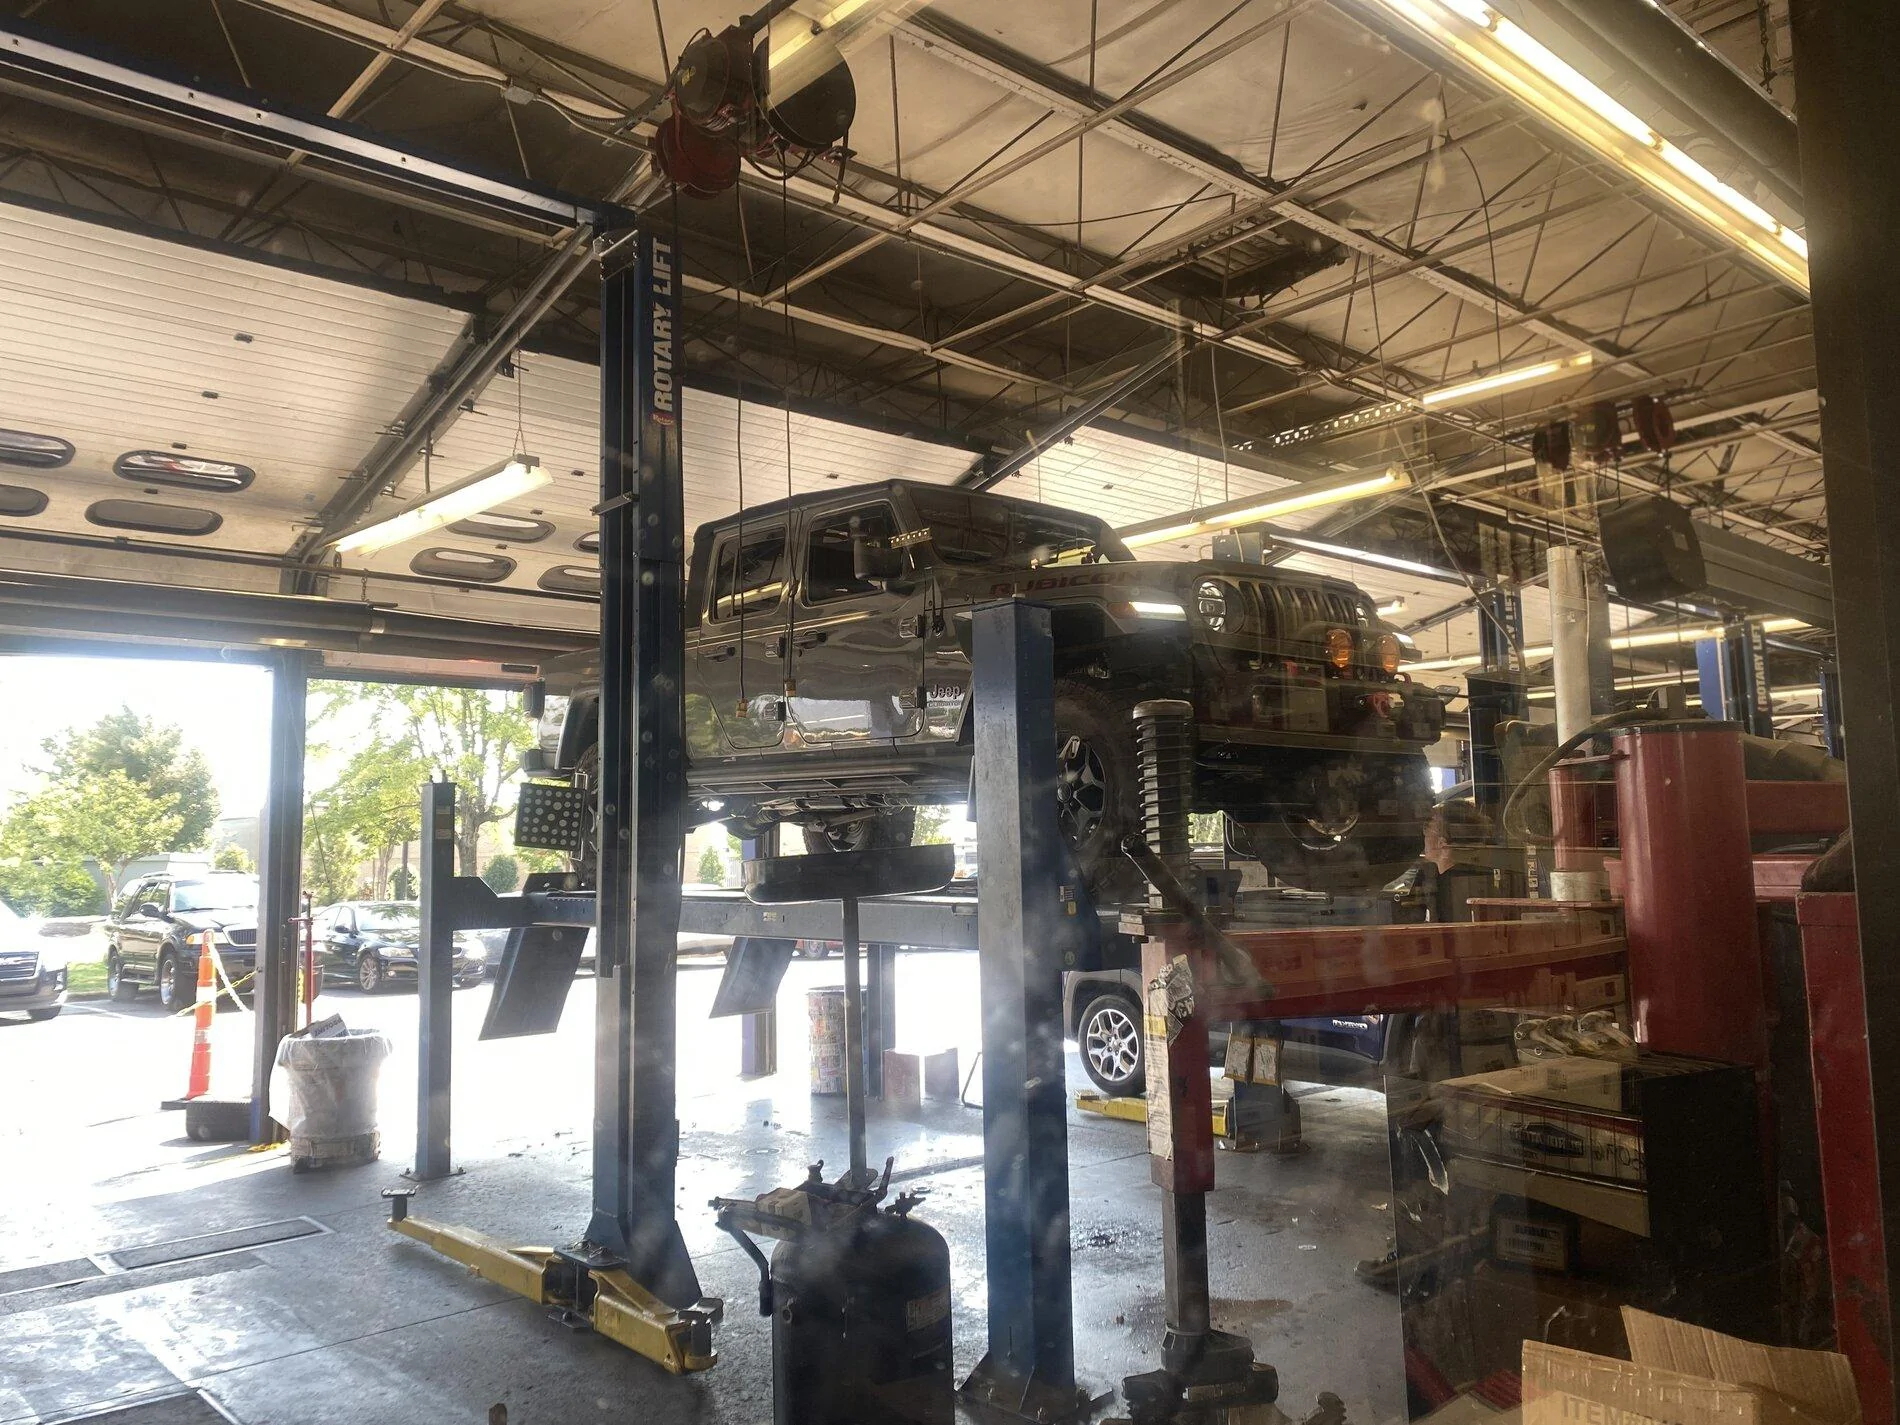
Had an alignment done today. Time will tell if this was good. I had to explain the lift and the adjustability.
Steering is a bit off, but I can adjust. The lift seems to have exasperated the steering "float", going down the road at highway speed, I seem to have a quarter turn float. Maybe this is me learning lifts and solid axles. Either way, I will continue to adjust.
To follow:
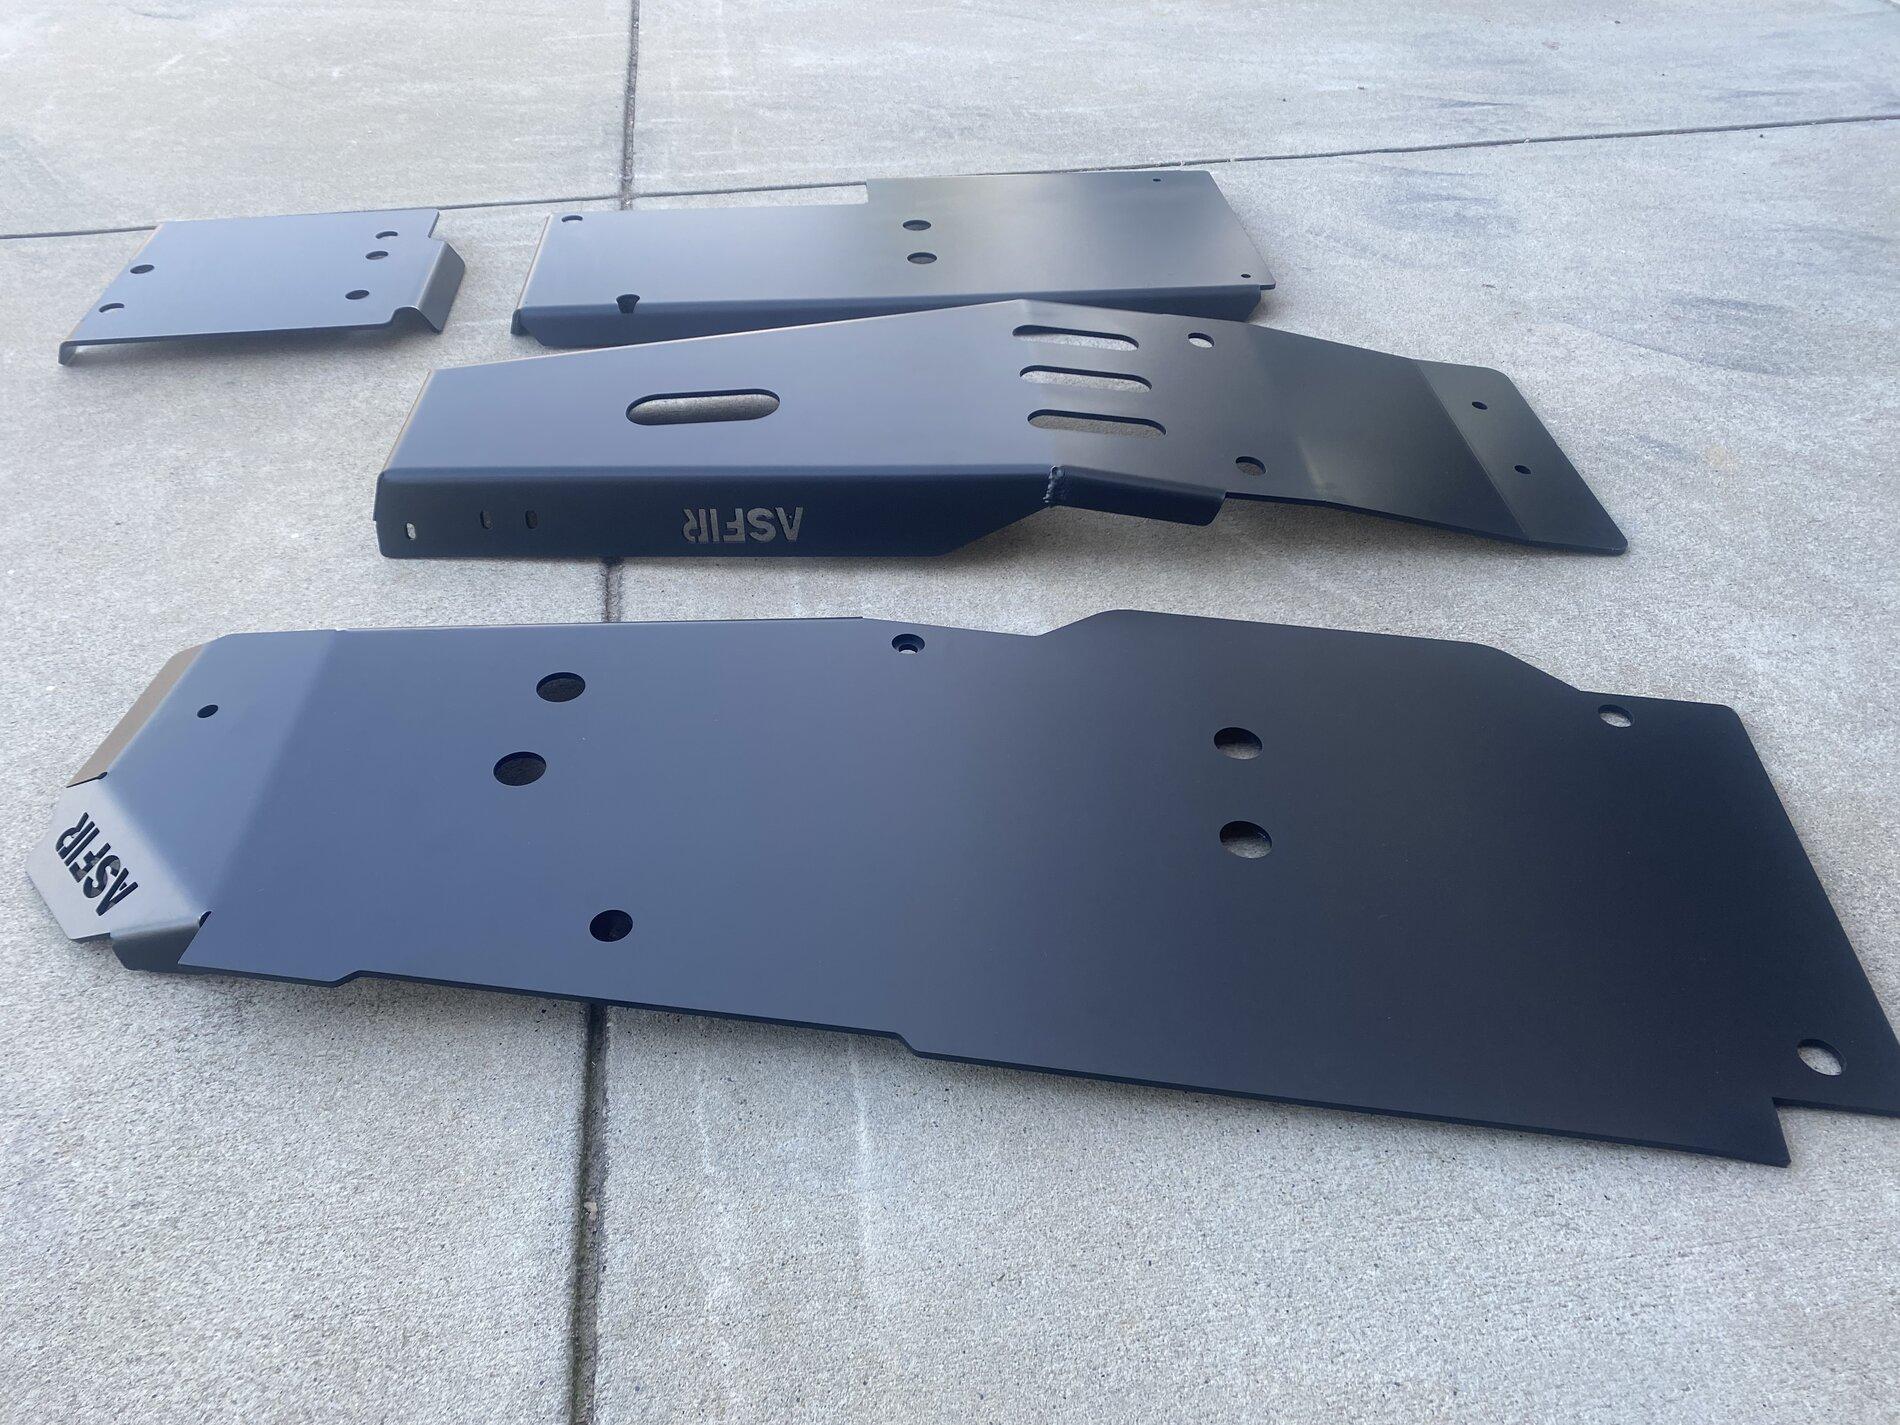
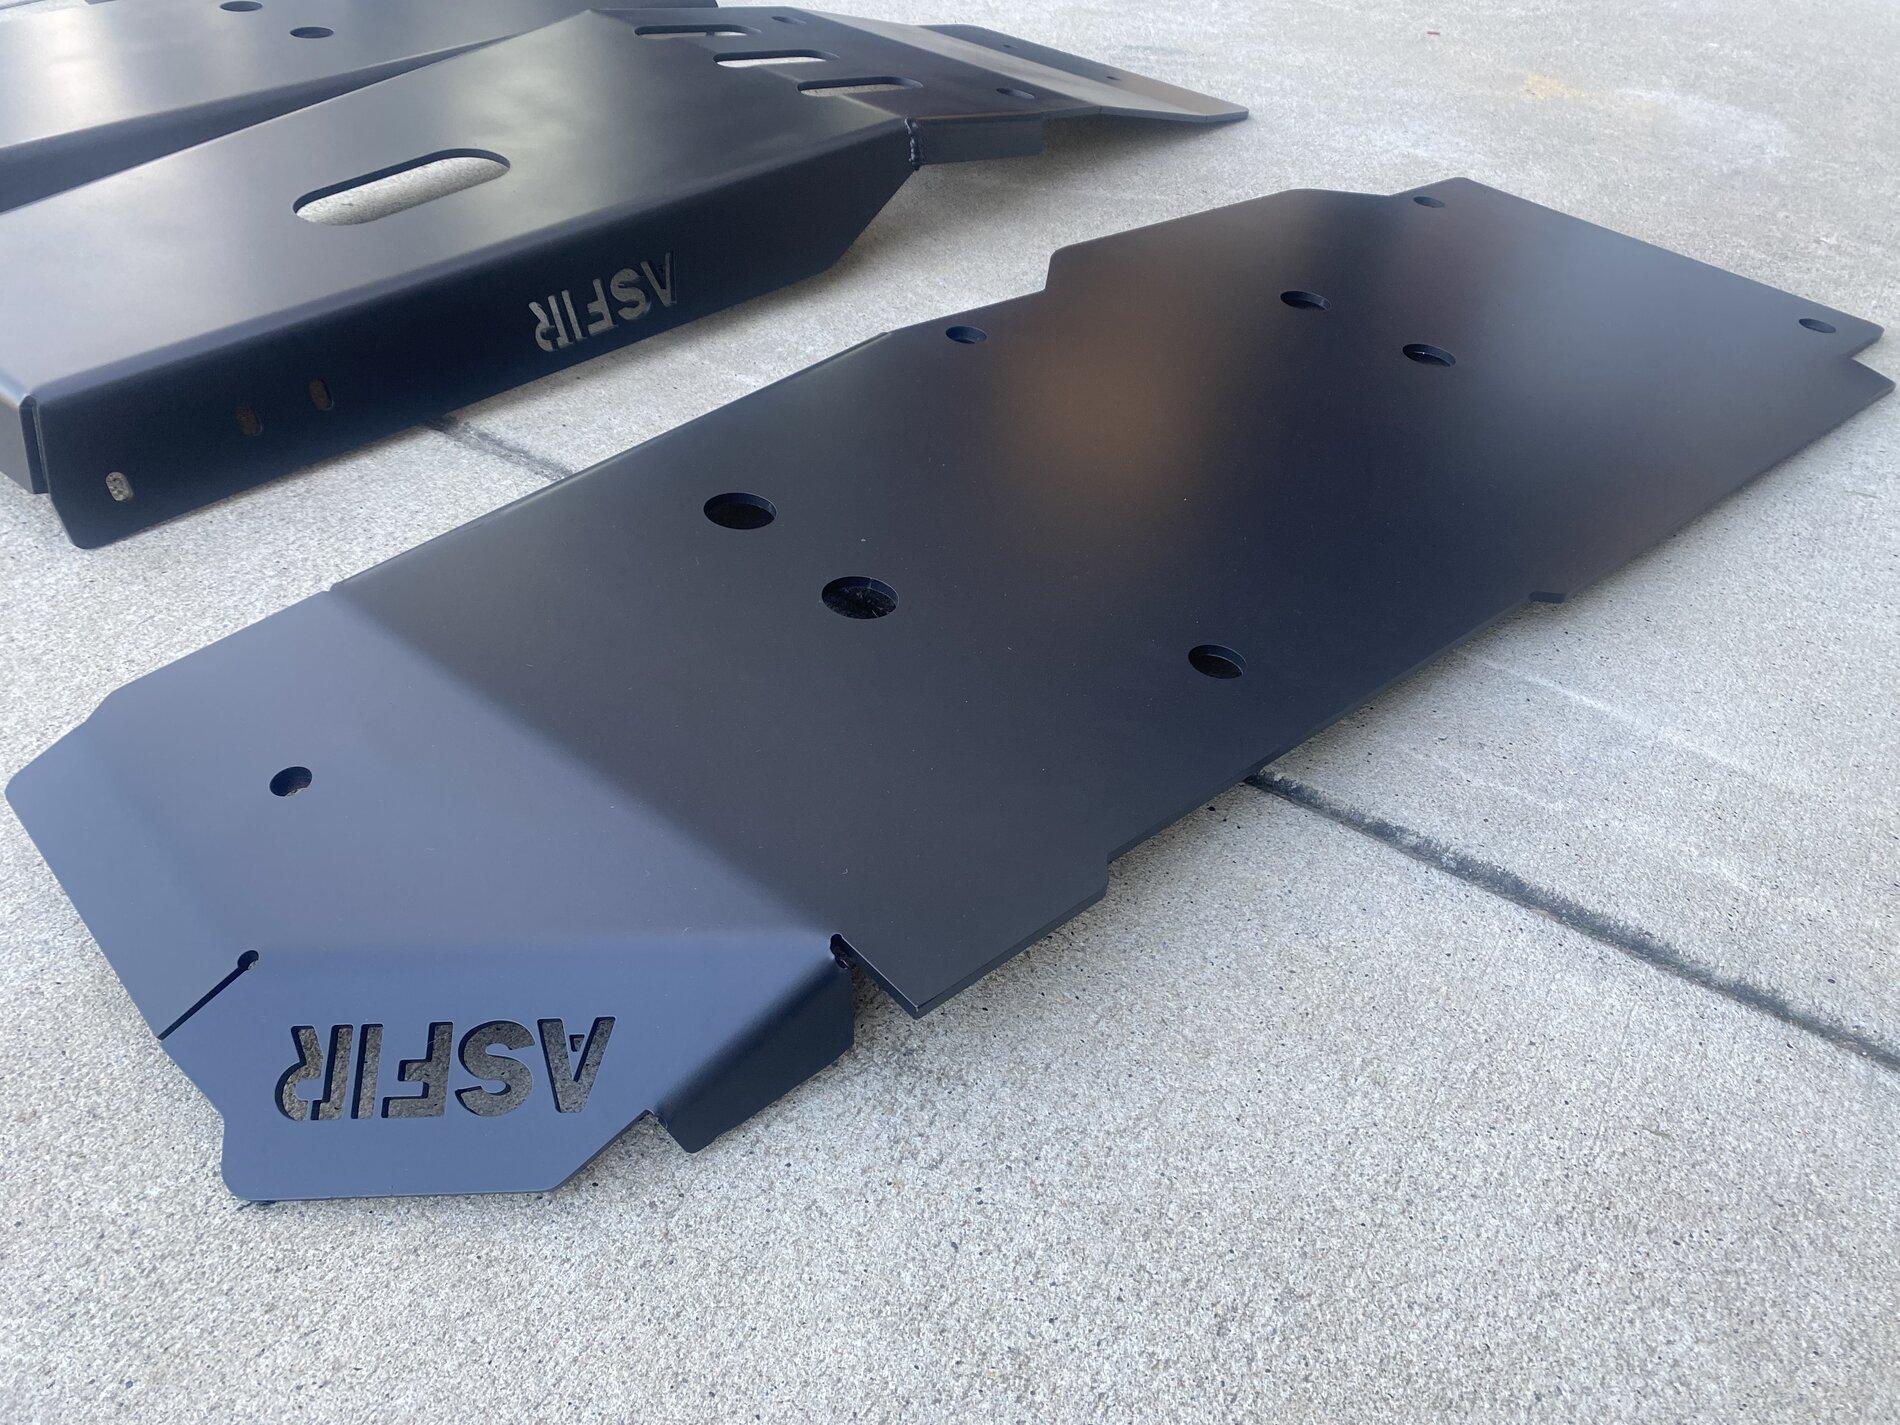
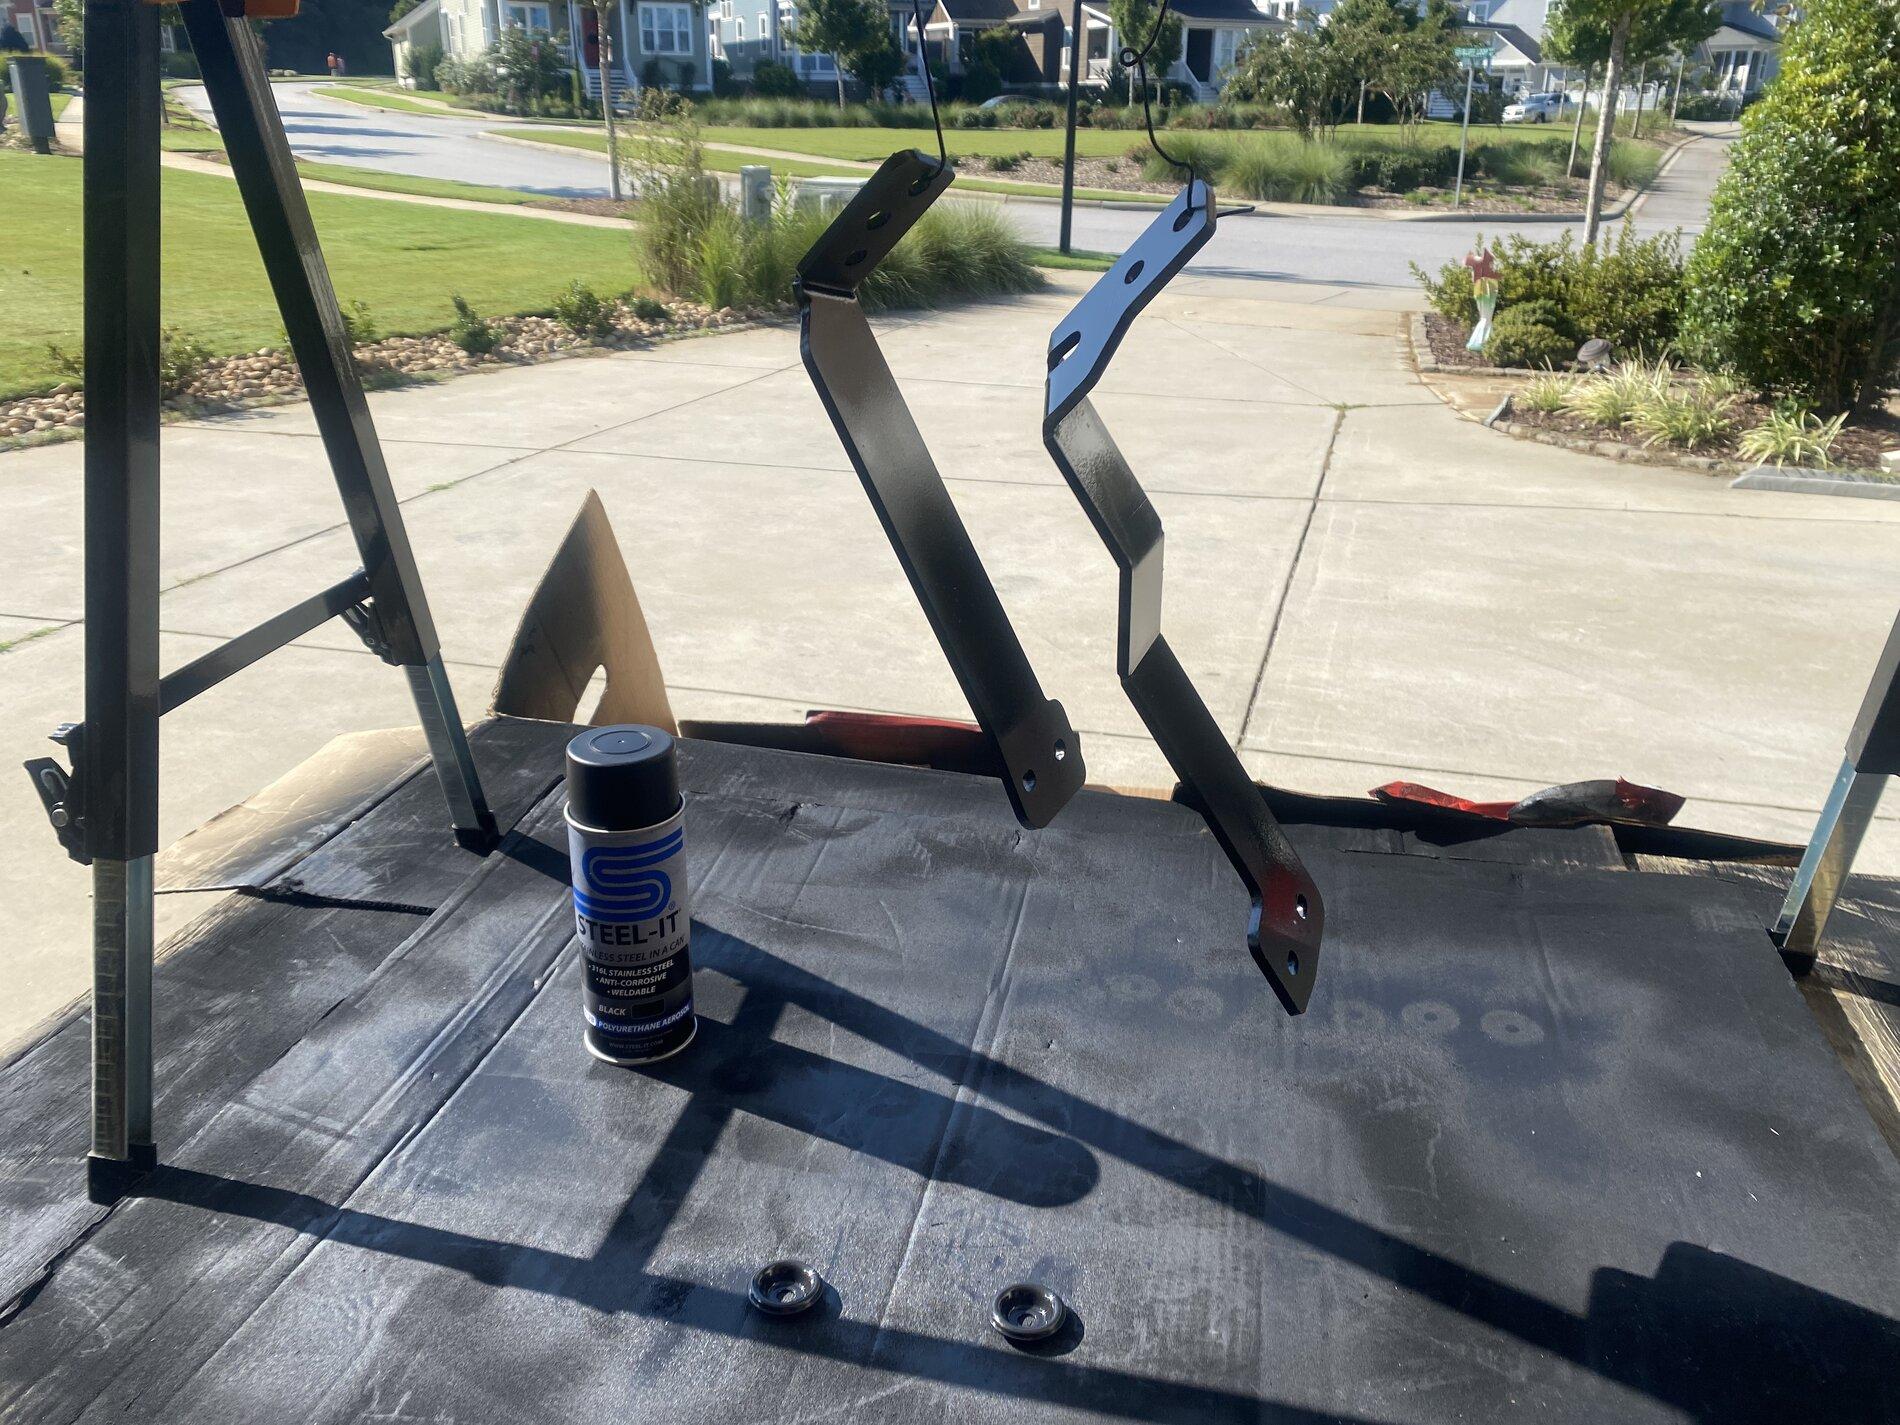
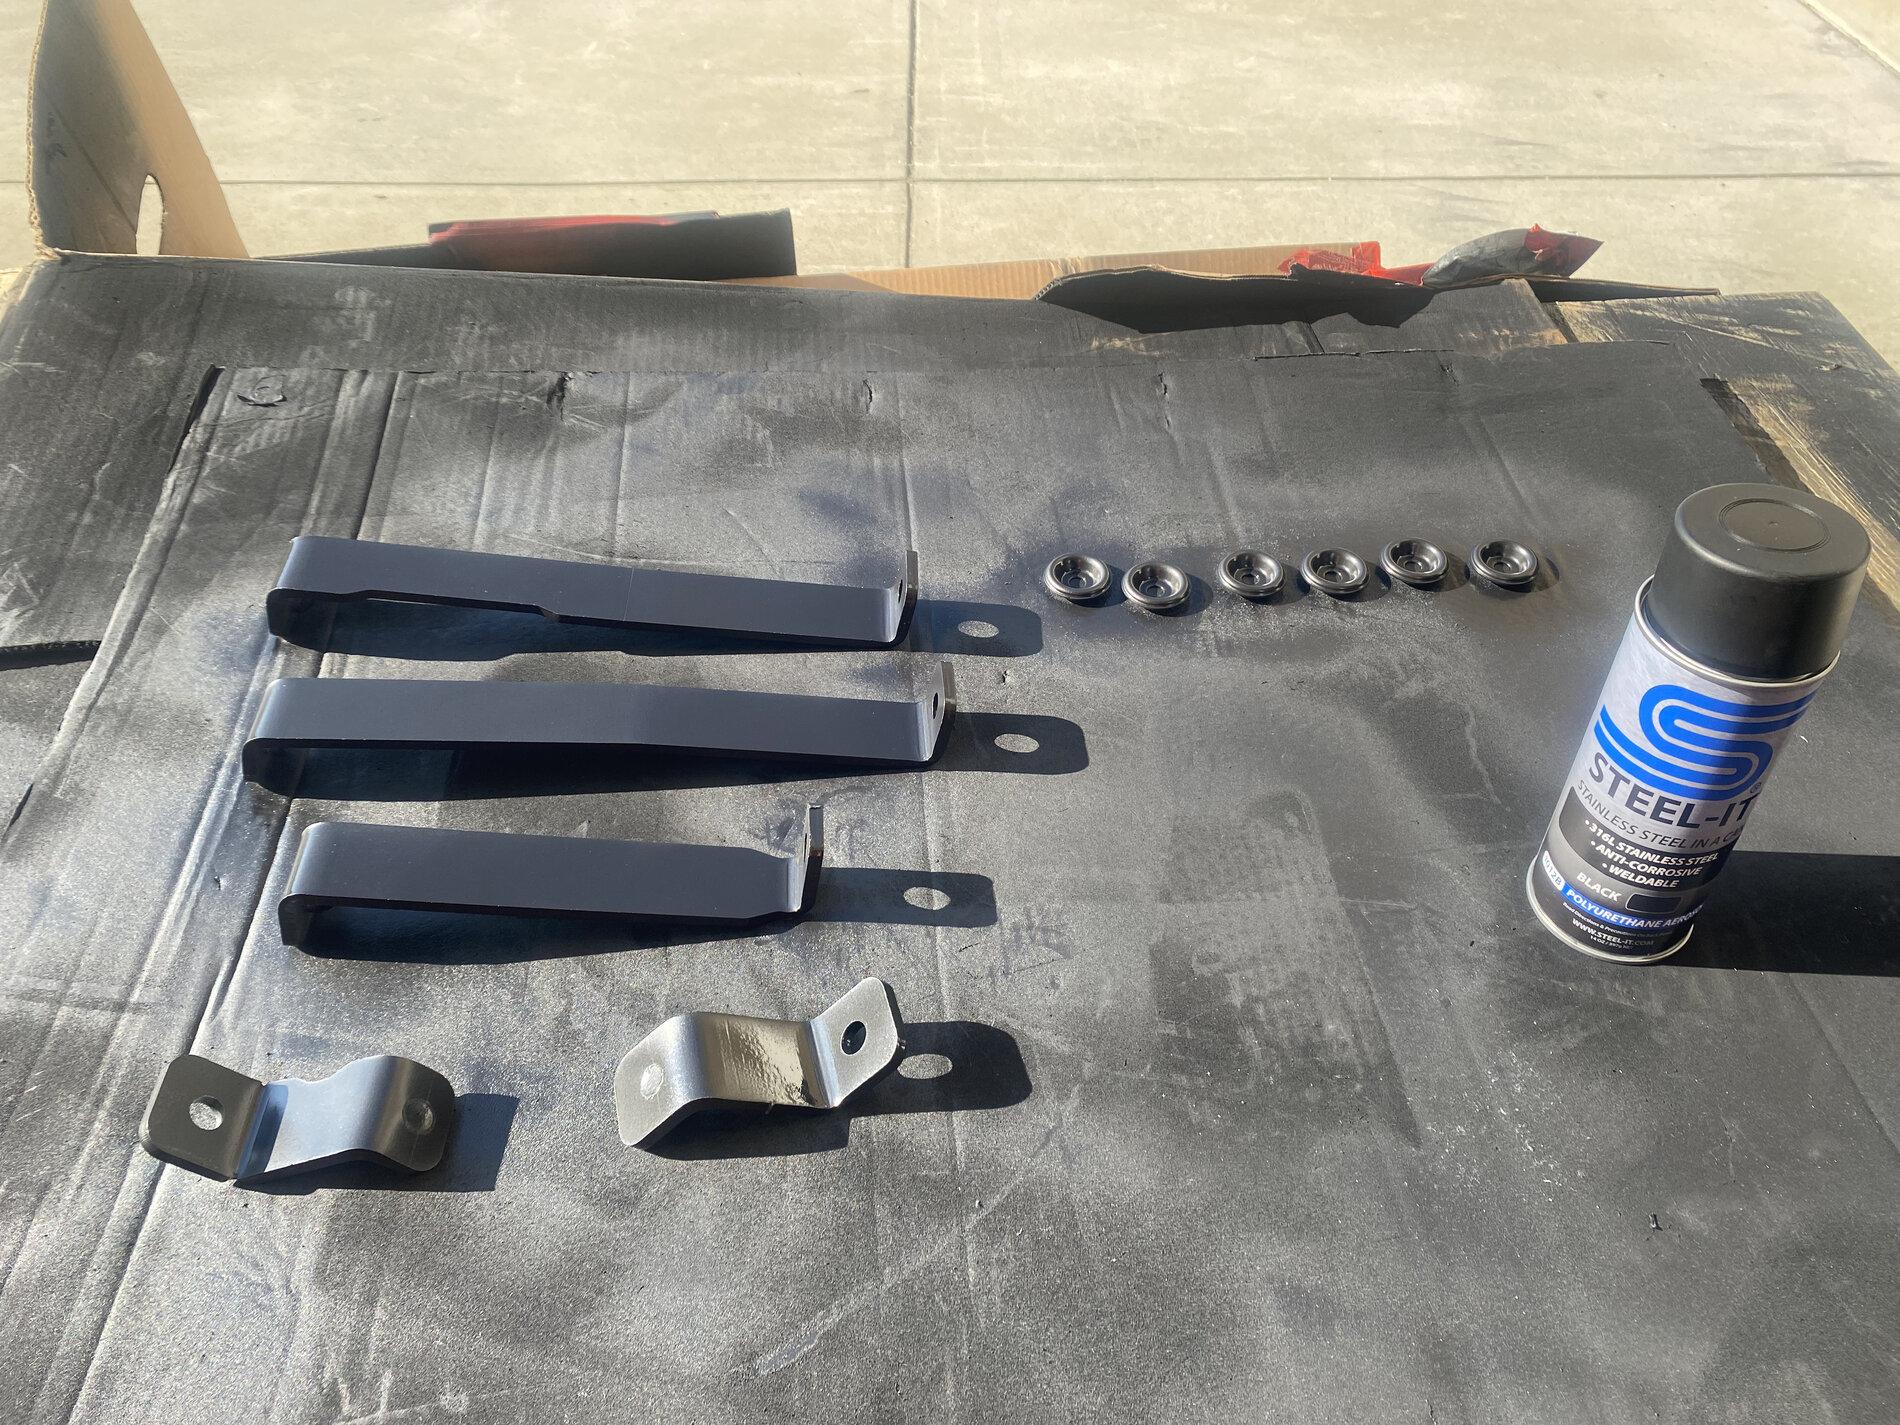
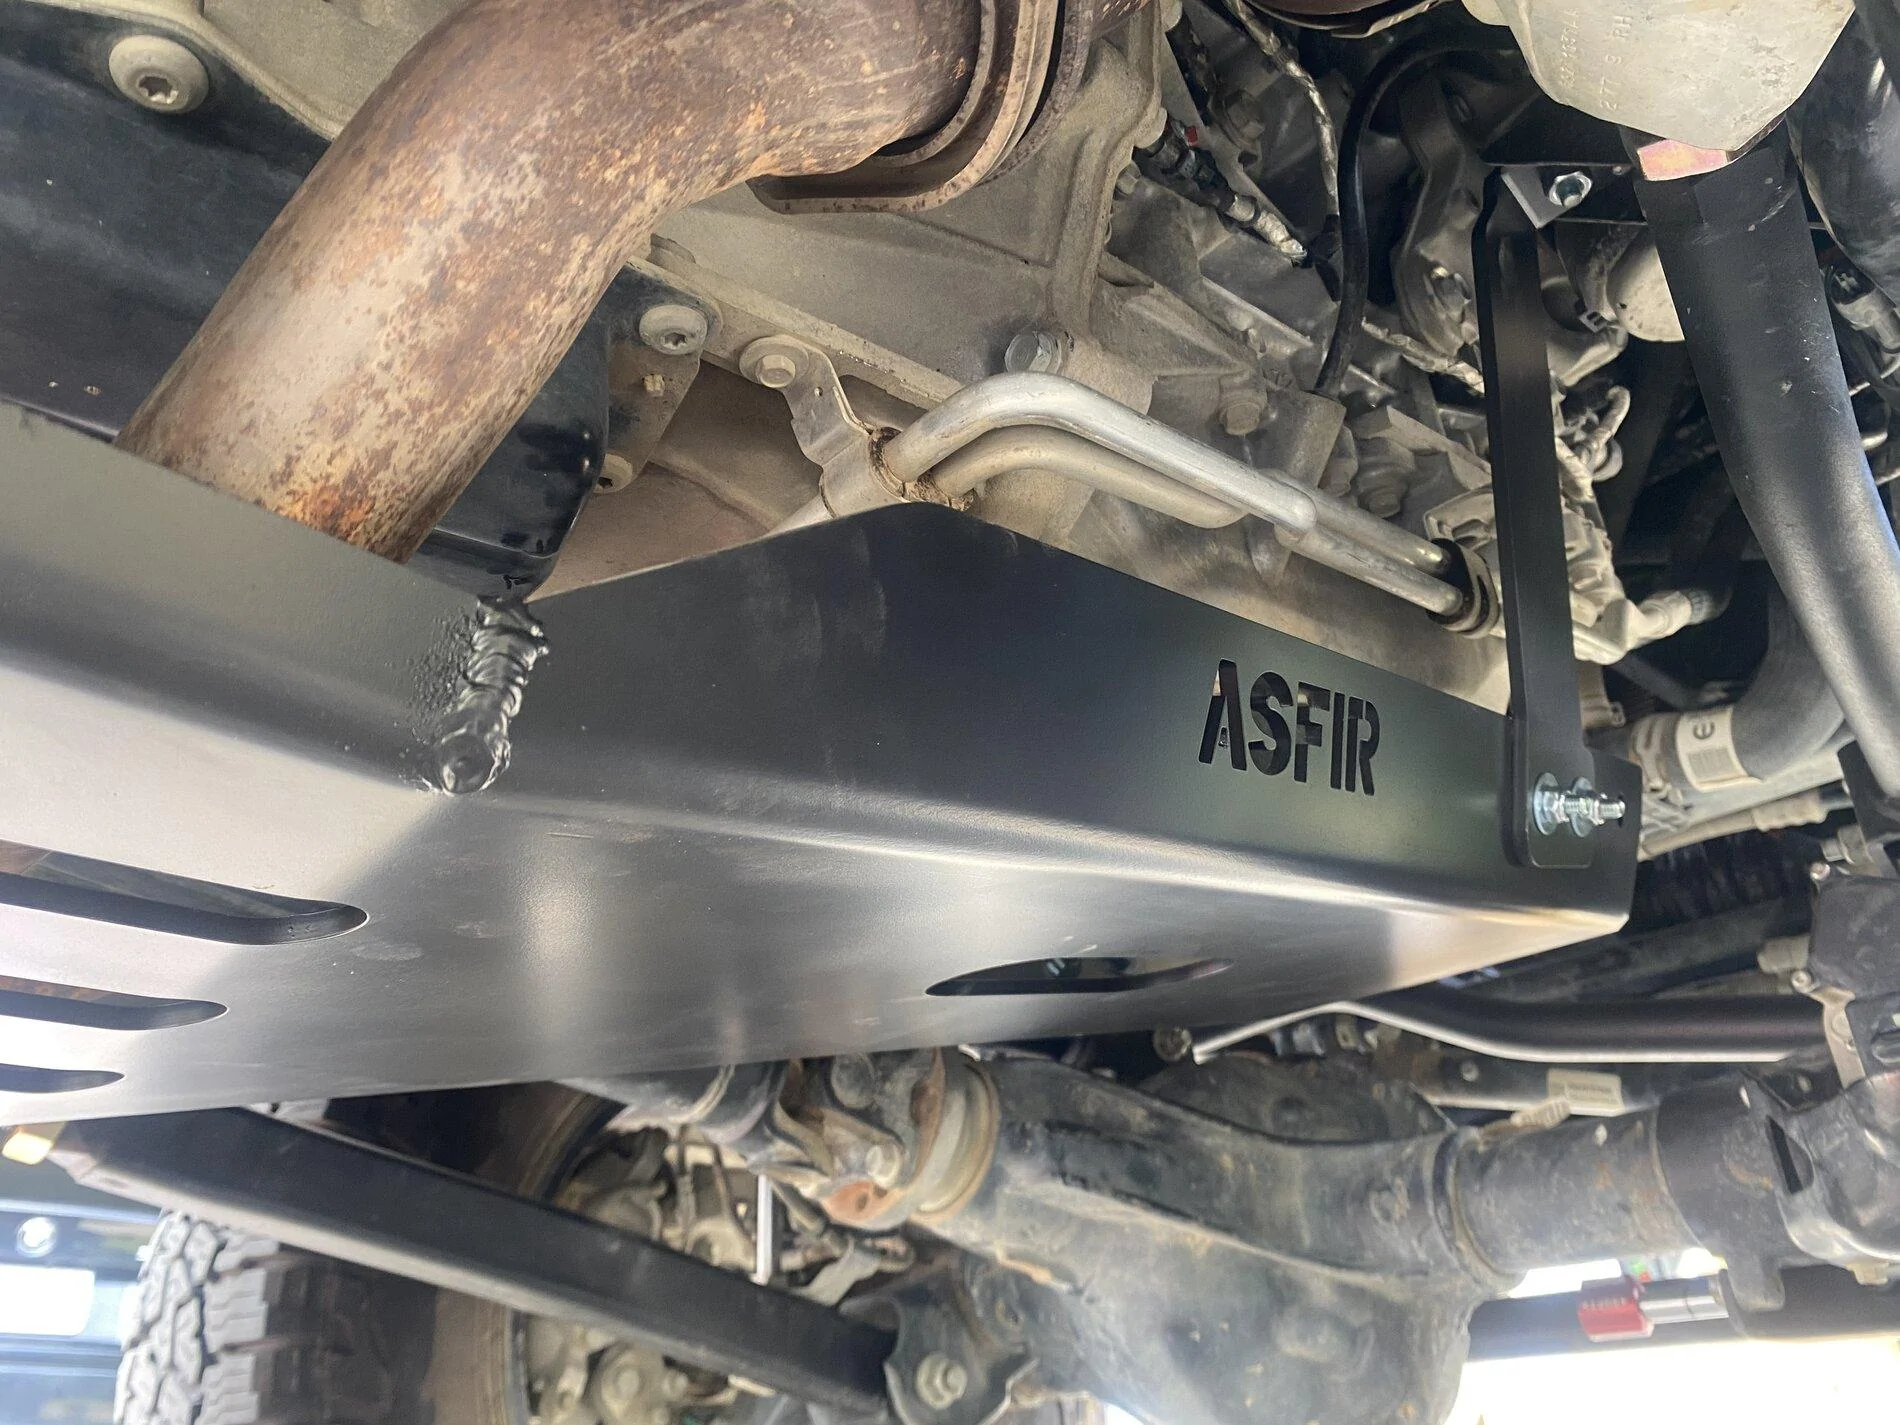
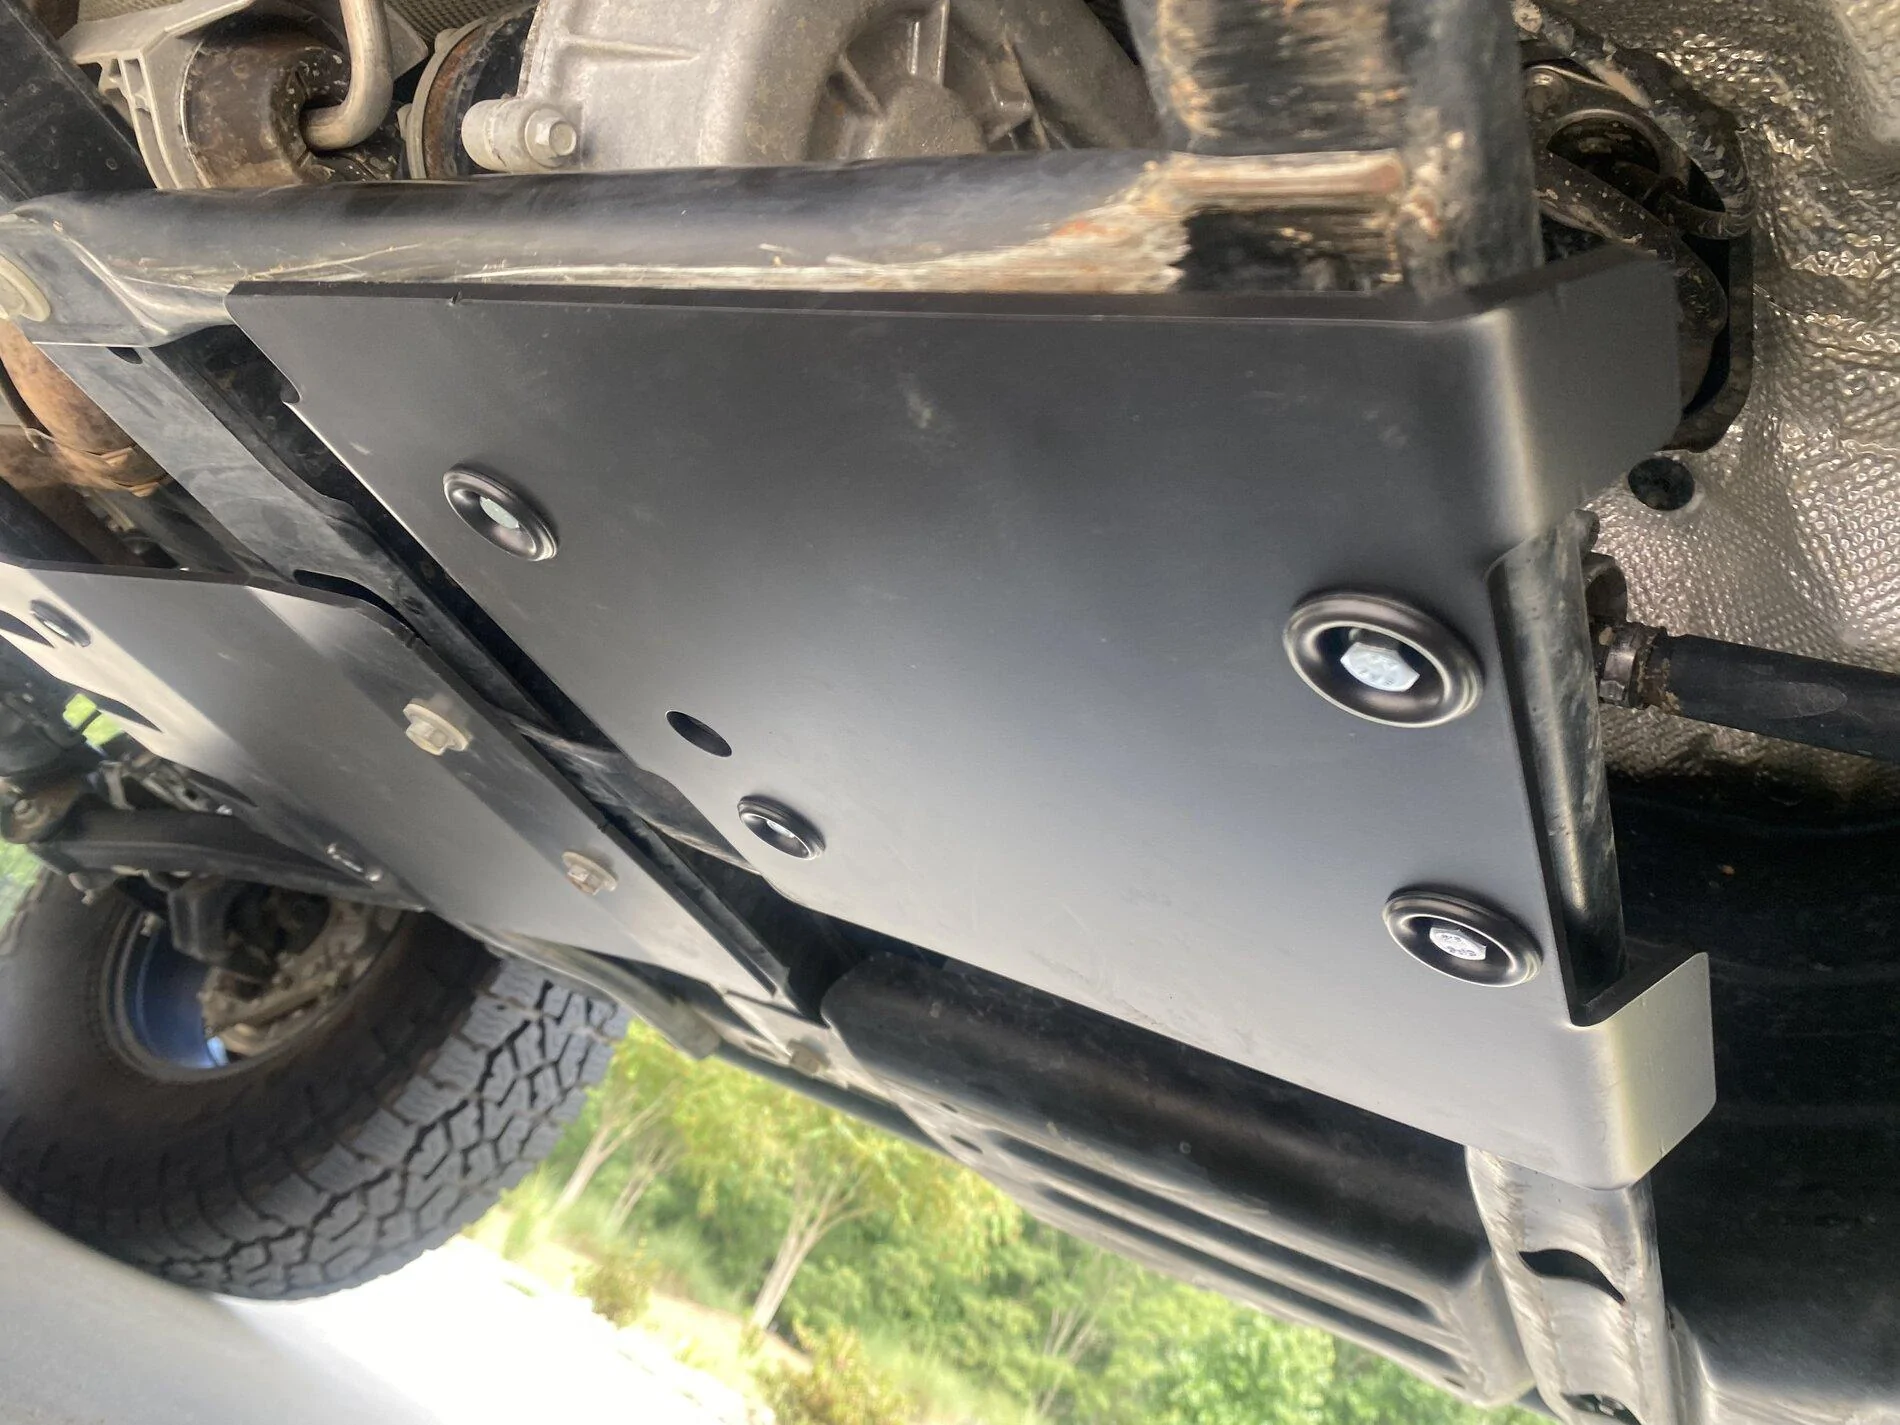
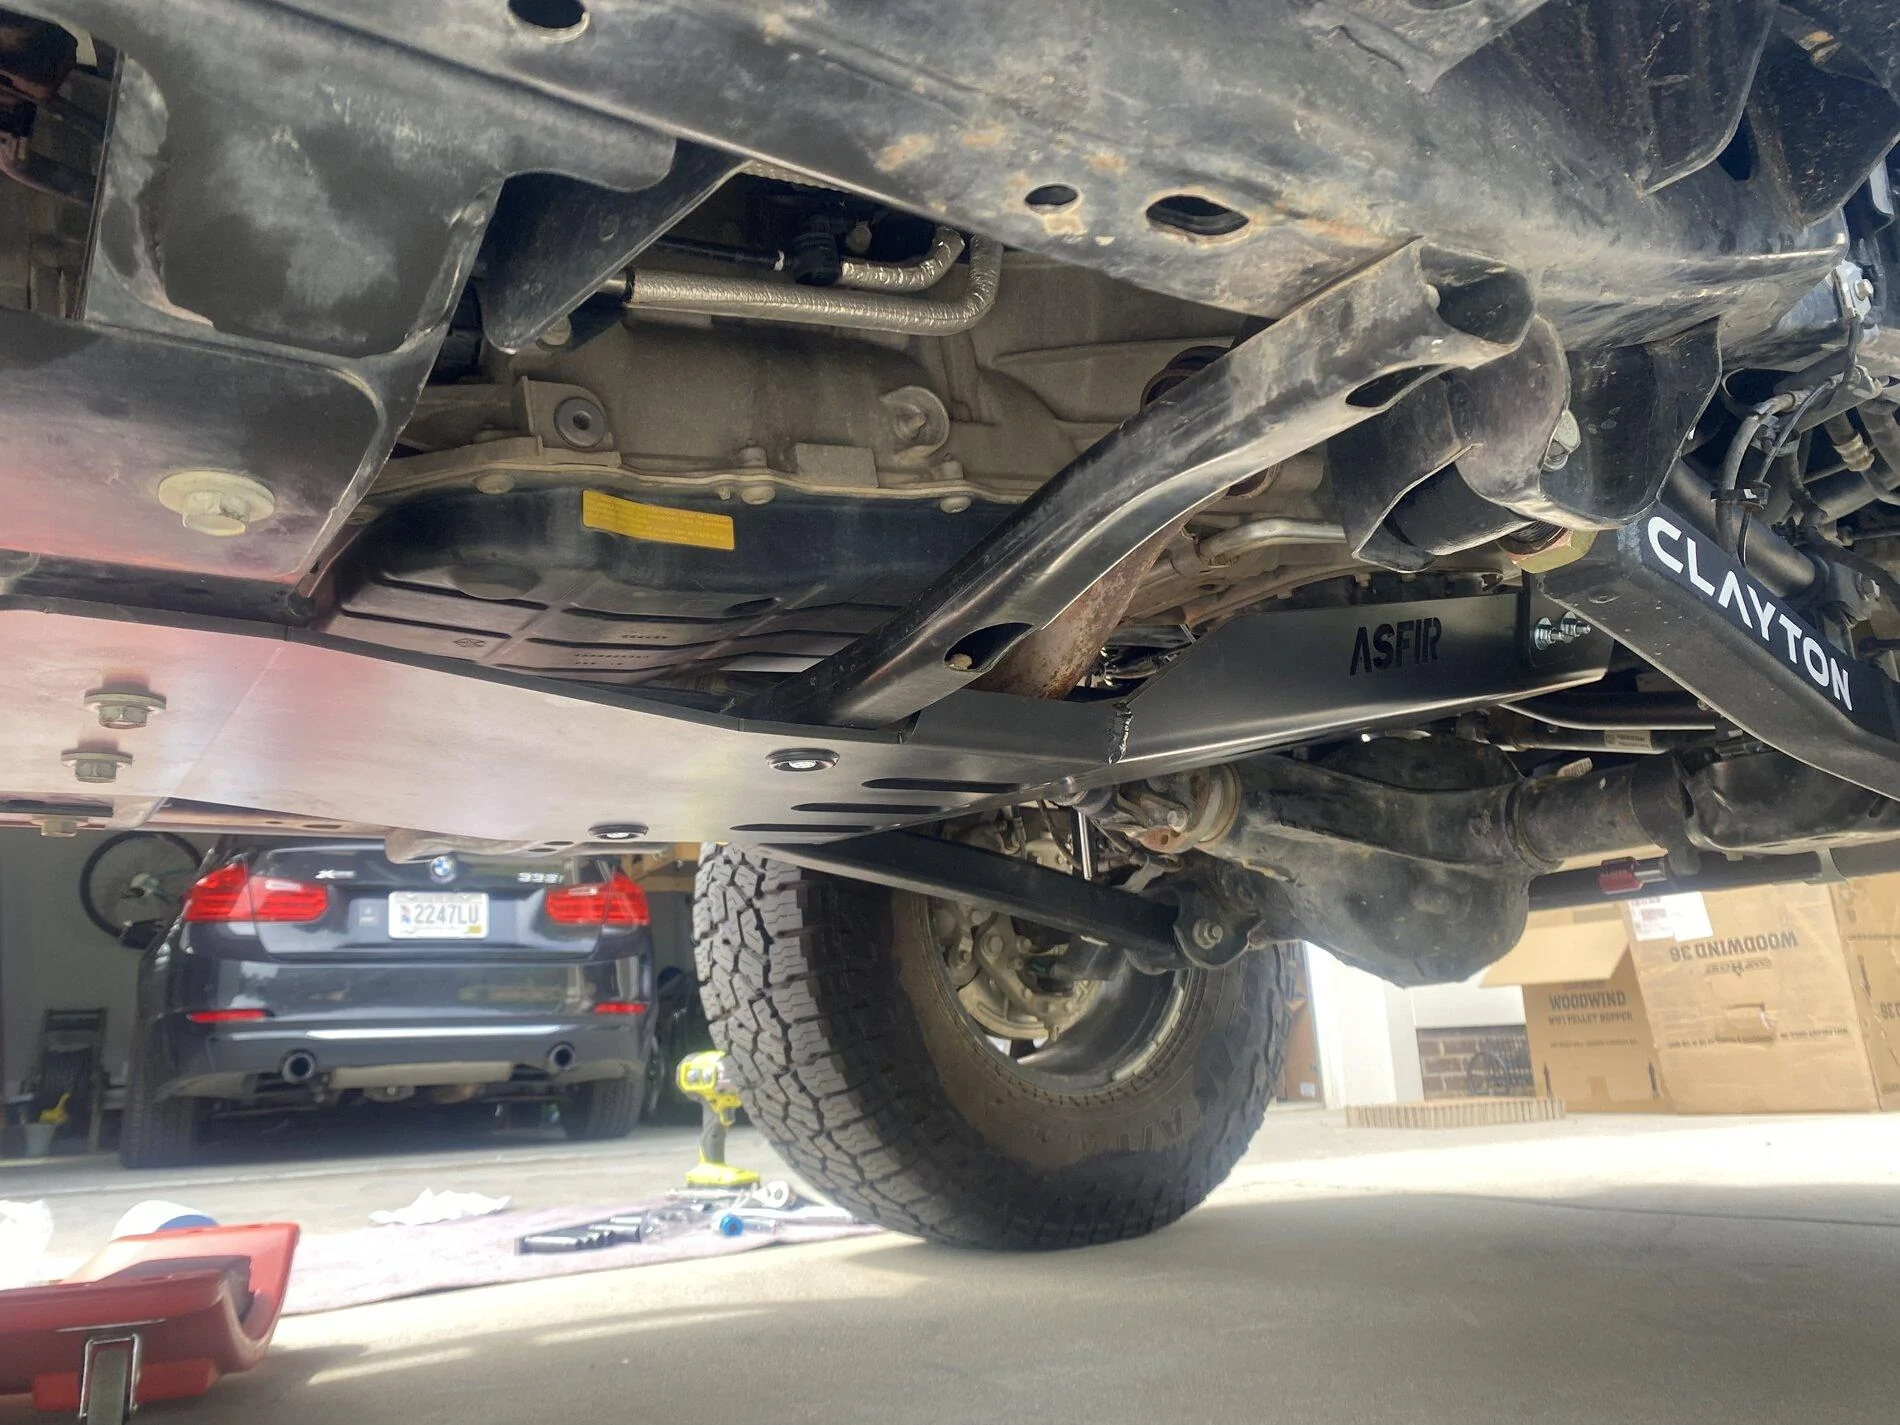
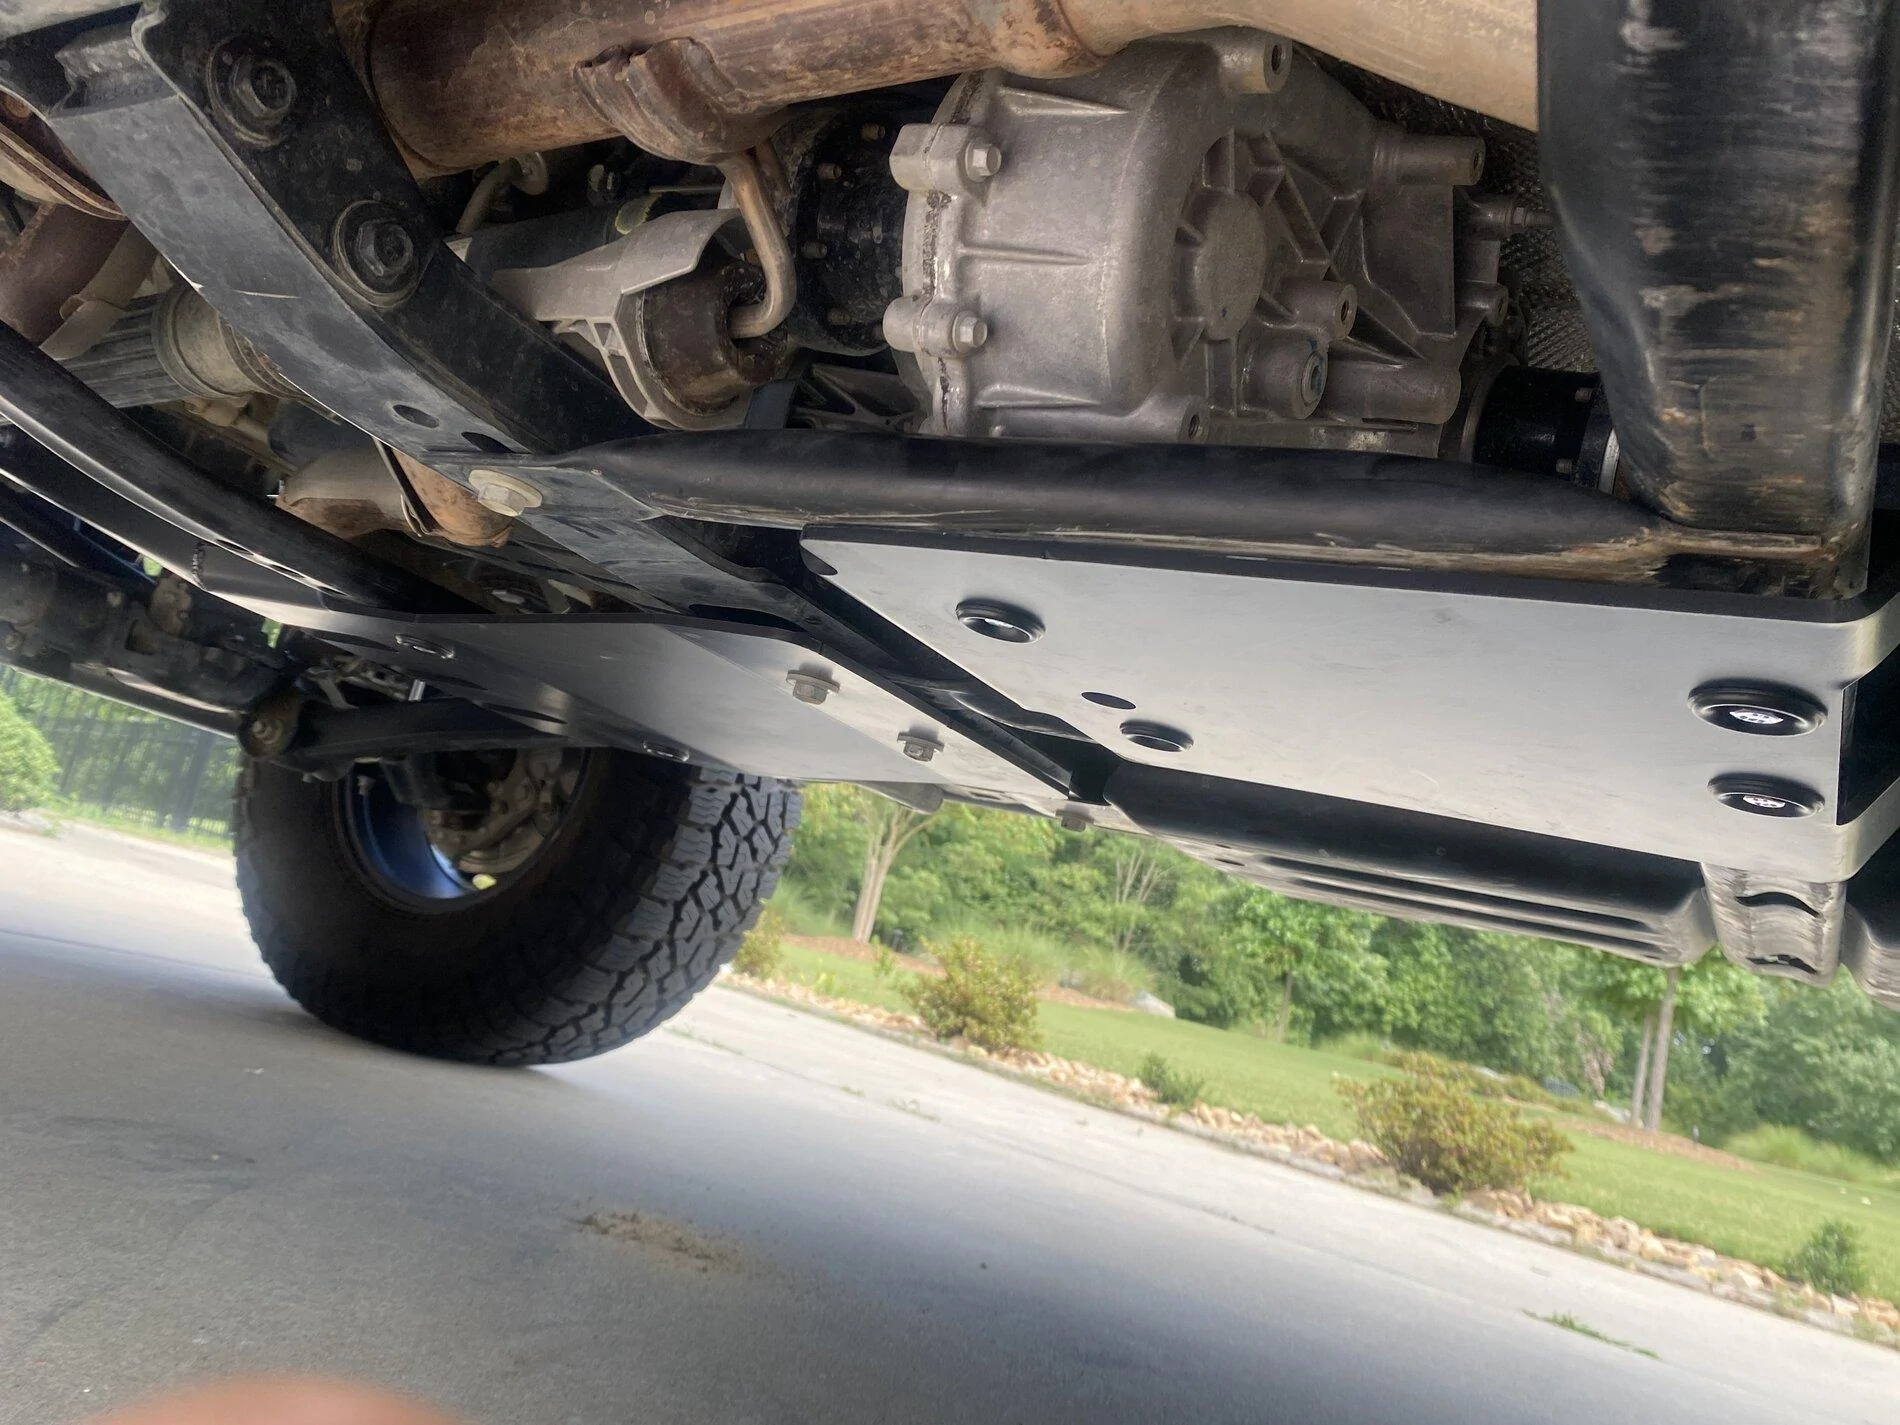
1. Install painted @ASFIR 4x4 Skid Plates
2. Install painted @Artec inner fenders
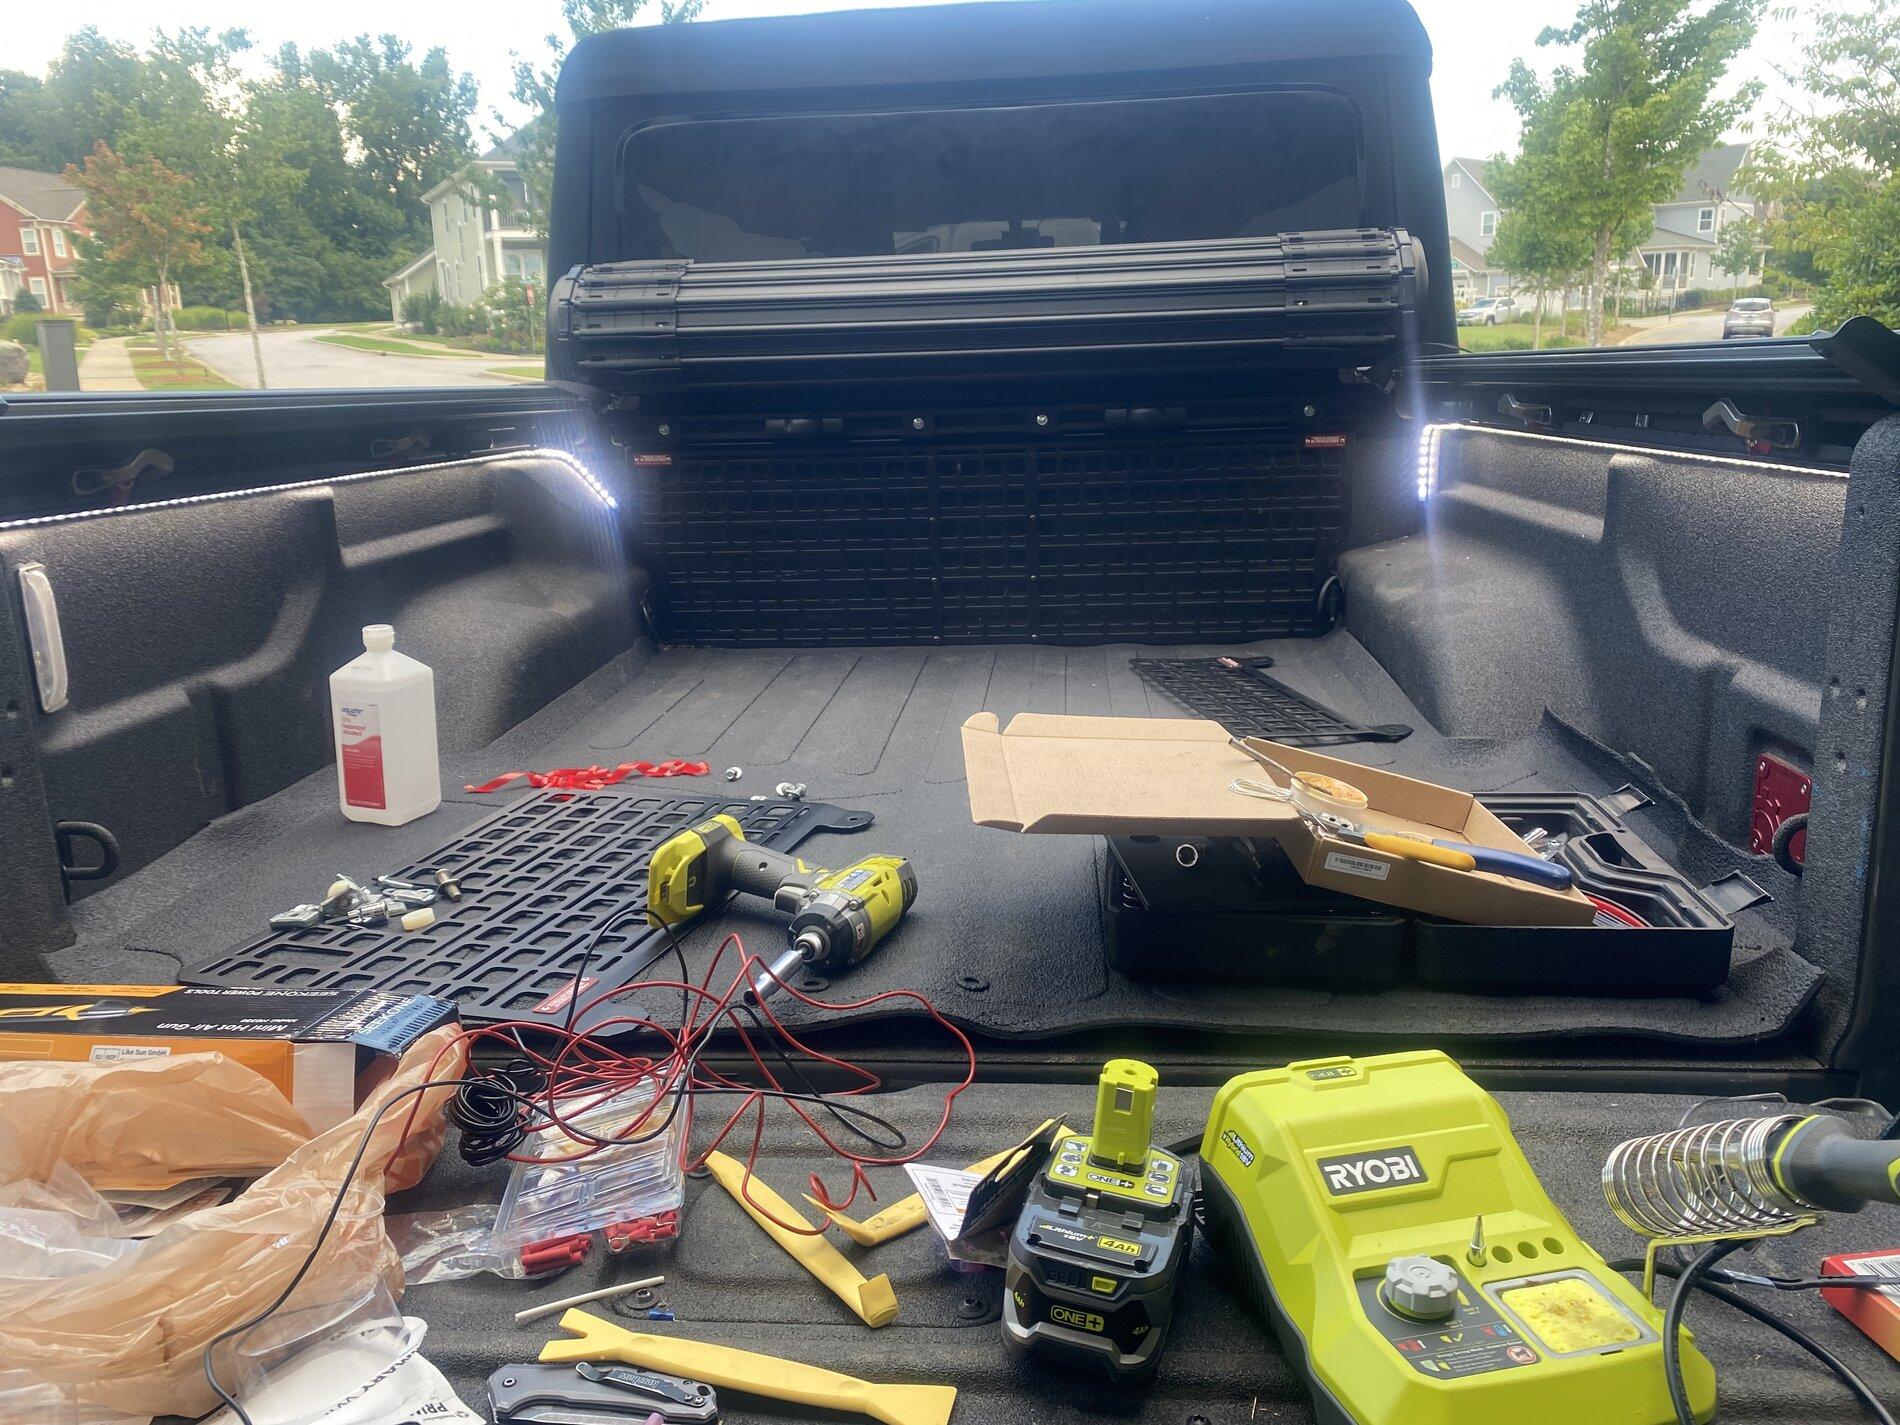
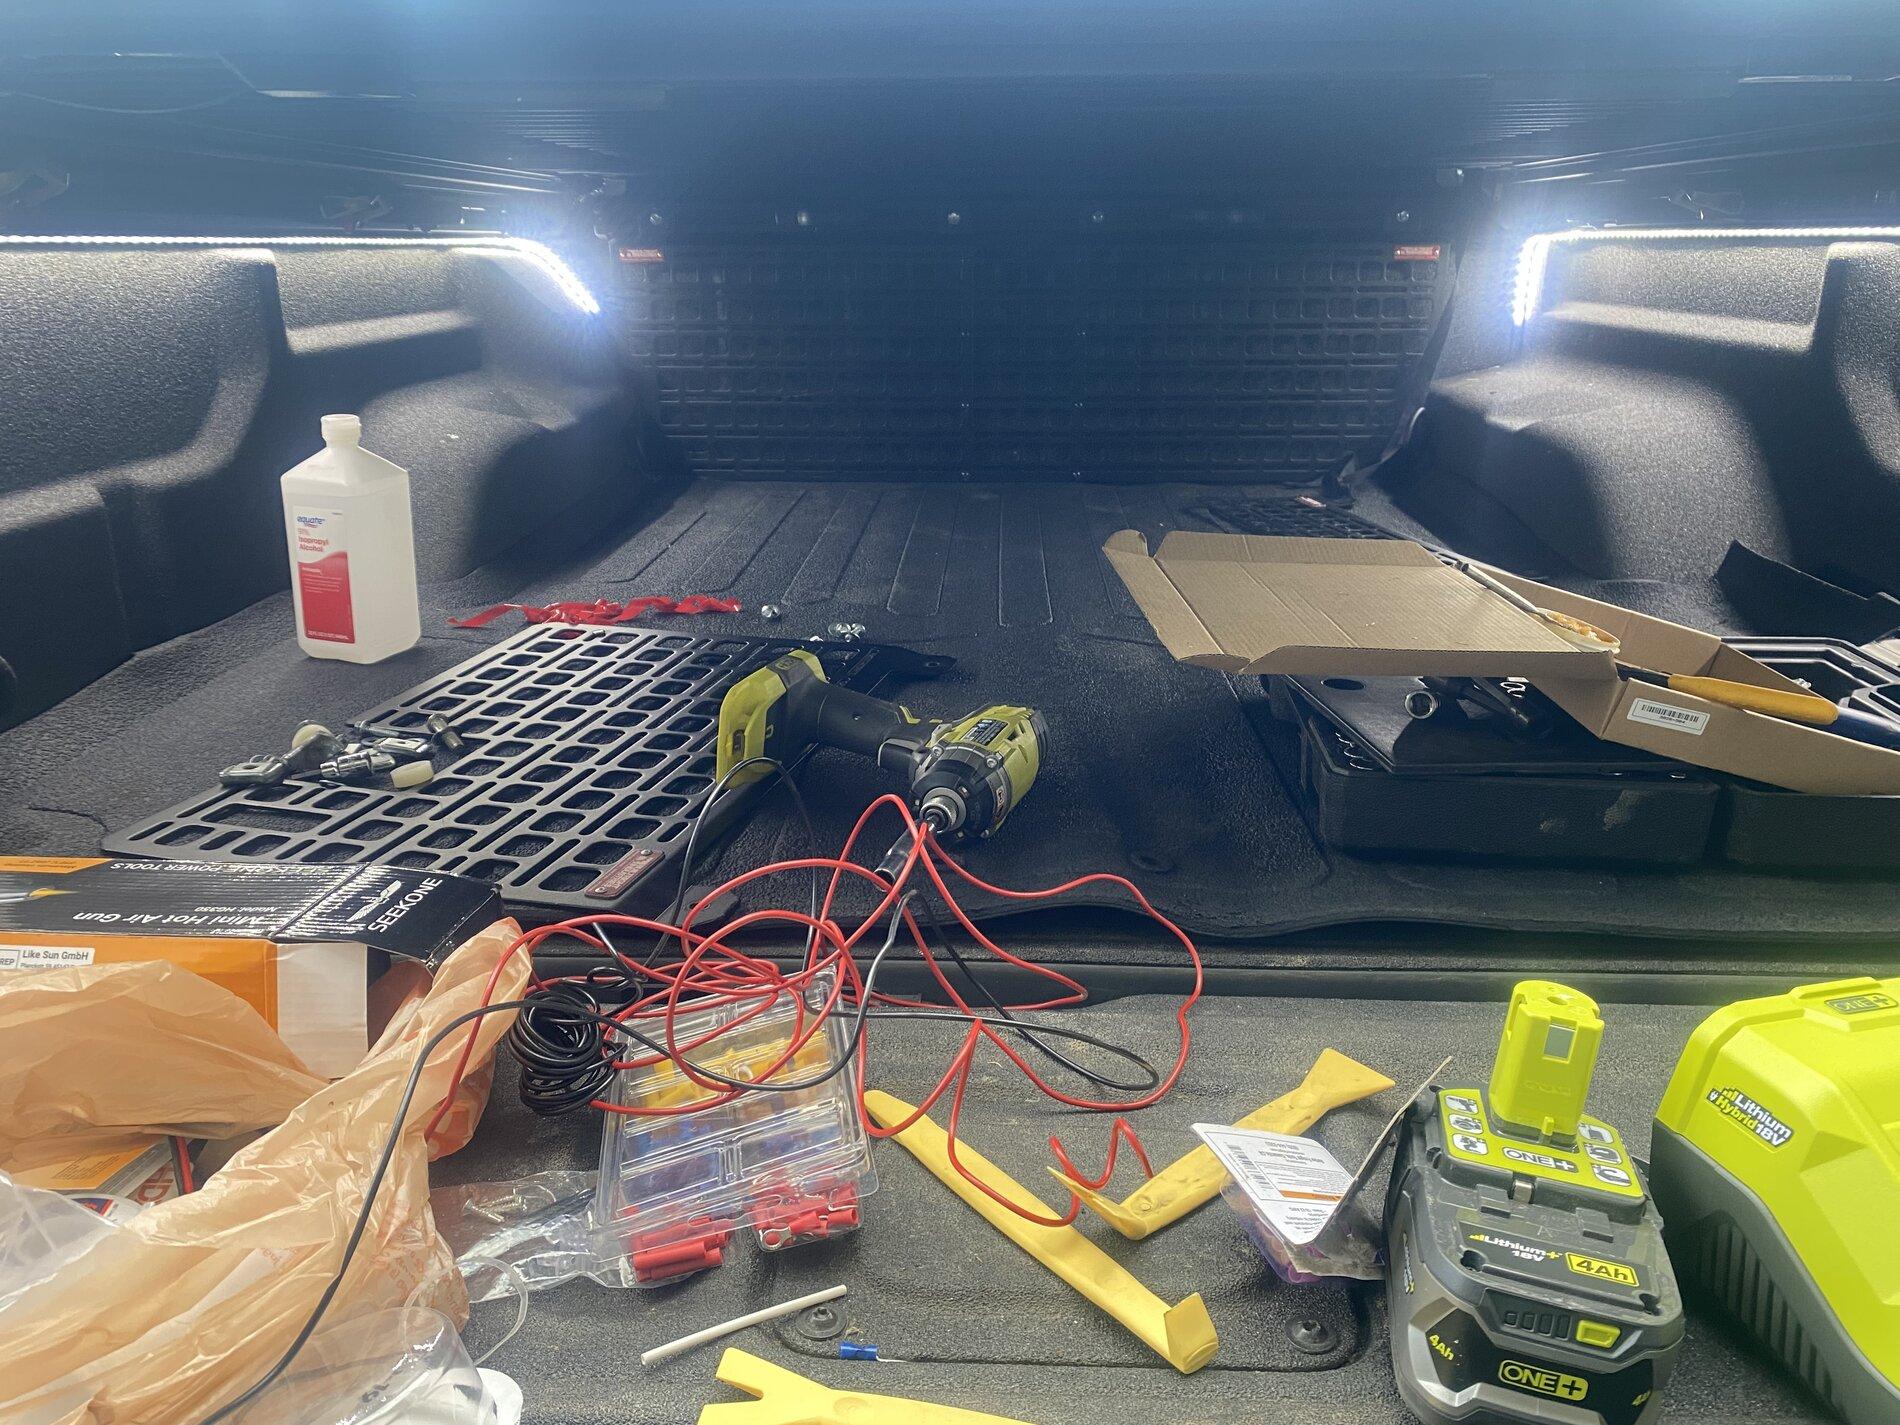
3. Install final @BuiltRight molle bed panels with tools
4. Install Yakima Overhaul rack on the Bakflip Revolver X4S from @RealTruck
5. Hopefully get the Cooper Discoverer A/T XLT 37x12.5R17 from @Discount Tire in October...
Stay tuned for more upgrades.
The Clayton lift came in multiple boxes (one I had to chase down FedEx to get..)
We started by getting the front off the ground:
Here is the passenger side with the stock spring and shock disassembled.
Then we changed the springs and shocks (Falcon SP2 3.3 Fast Adjust). This required an inner fender cut. The template did not work well on the passenger side(so I had to make a second cut), but the driver side was dead on. Note: I have new inner fenders with the Falcon cut in the works.
The SC heat took over and we had to adapt with a makeshift shelter from the sun....
The driver side got the new spring and shock. Notice how the Falcon template worked so much better for the reservoir....
Here is a photo of how much the passenger side inner fender template was off:
The driver side fit well:

This is the proverbial "Carolina Squat" pose... front without the rear...
we went to work on disassembling the rear:
And then S.C. reminded us we were in S.C....

We worked through the rain to get the rear suspension installed:
This pic is before I installed the Upper/Lower front/rear control arms:
I spent time setting the the pinion angle for both the front and rear. Rear pinion angle adjustment as follows:
This adjustment really impacted the Caster angle for the front (which I learned during the alignment):

This is prior to alignment. I had to adjust the steering wheel. The ESR Warning kept flashing until I adjusted the drag link to change the pitman arm angle.
I like the stance of this lift. Next up is a set of 37's that I have had on order from @Discount Tire since July 1.... not their fault, but tires are tough to get. Just learned today that my tire order has been pushed to October 9th. Not happy, but cannot blame Discount Tire if they cannot get my Cooper Discoverer A/T XLT 37x12.5R17s from the manufacturer.
Had an alignment done today. Time will tell if this was good. I had to explain the lift and the adjustability.
Steering is a bit off, but I can adjust. The lift seems to have exasperated the steering "float", going down the road at highway speed, I seem to have a quarter turn float. Maybe this is me learning lifts and solid axles. Either way, I will continue to adjust.
To follow:
1. Install painted @ASFIR 4x4 Skid Plates
2. Install painted @Artec inner fenders
3. Install final @BuiltRight molle bed panels with tools
4. Install Yakima Overhaul rack on the Bakflip Revolver X4S from @RealTruck
5. Hopefully get the Cooper Discoverer A/T XLT 37x12.5R17 from @Discount Tire in October...
Stay tuned for more upgrades.
Sponsored
Last edited: