OVRLND_G8R
Well-Known Member
Nice build! Can’t wait to see the solar panels done 
Sponsored
Thanks! You and me both!Nice build! Can’t wait to see the solar panels done
 The solar setup is all assembled, just sitting in my garage looking lonely.
It's a RAM mount, not an official Garmin accessory. This is the one that I used:Been looking at the overland but can't seem to find the locking clamp like you used. I see Garmin on it but can't find in on the site ?


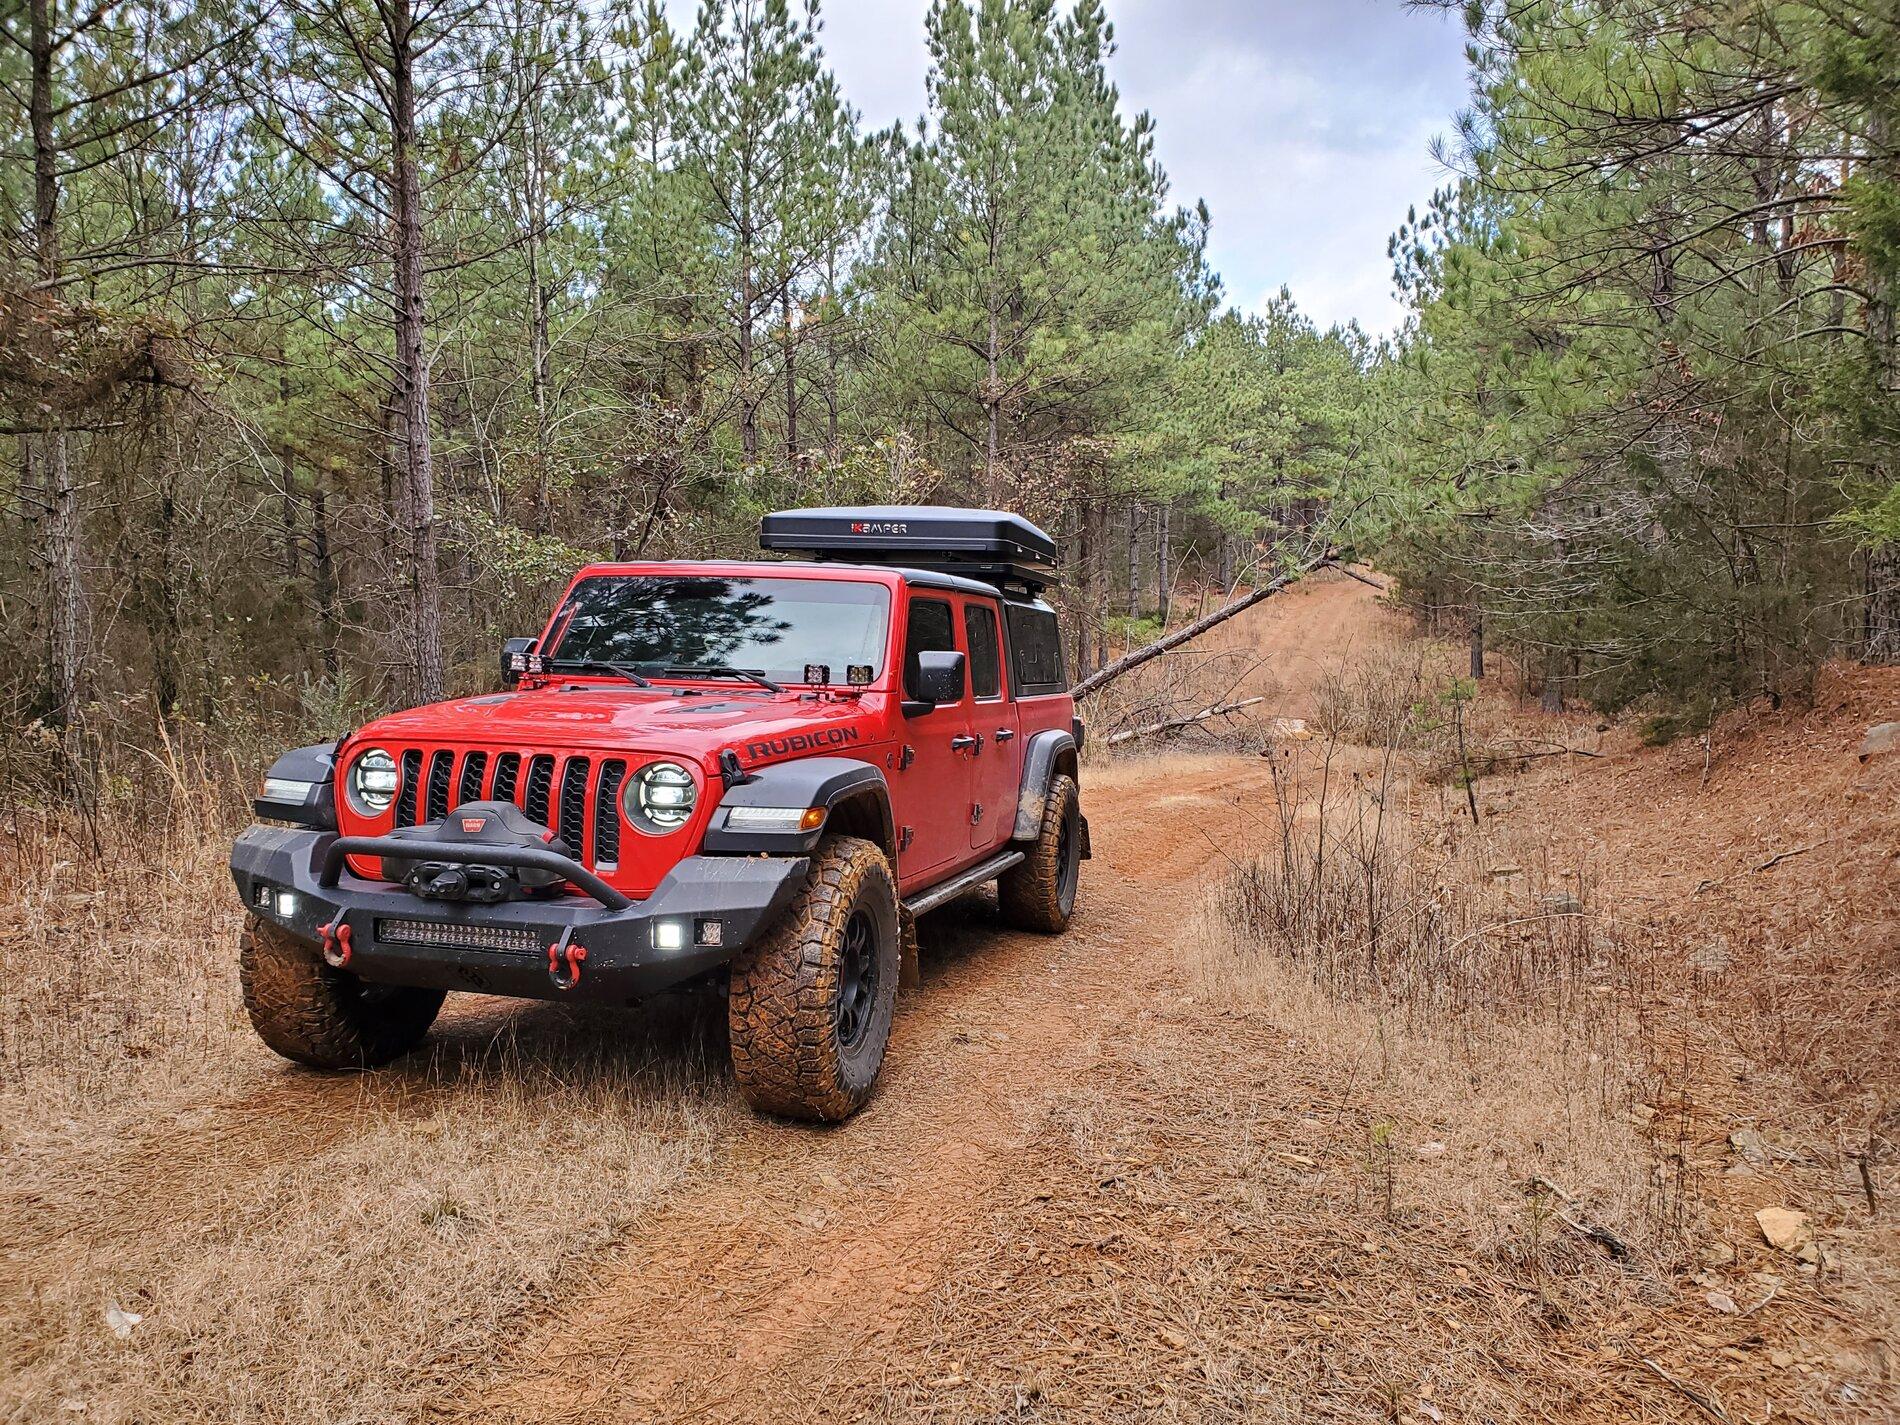
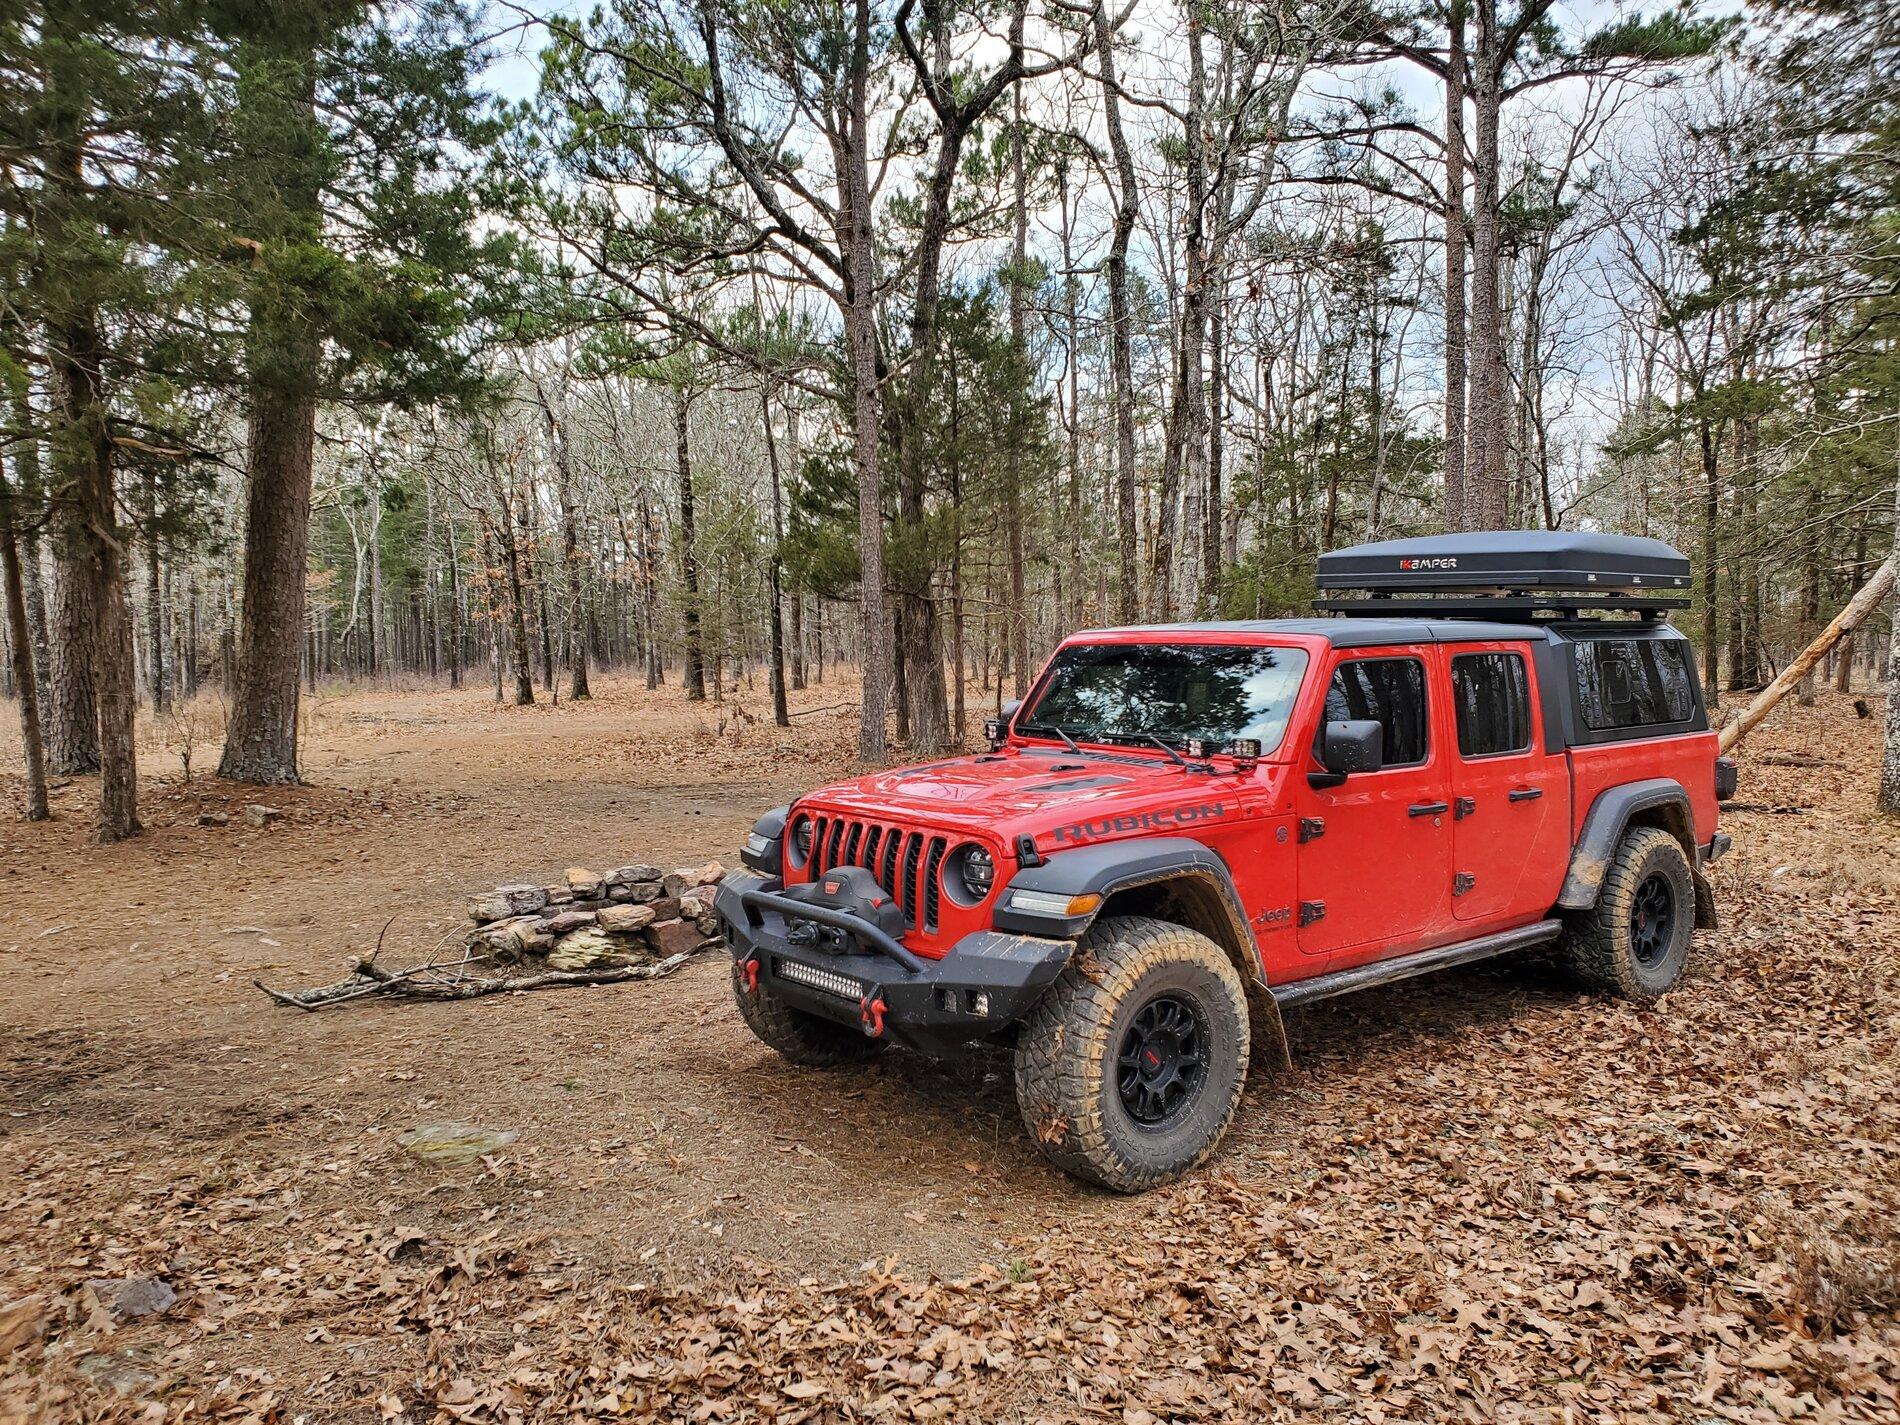
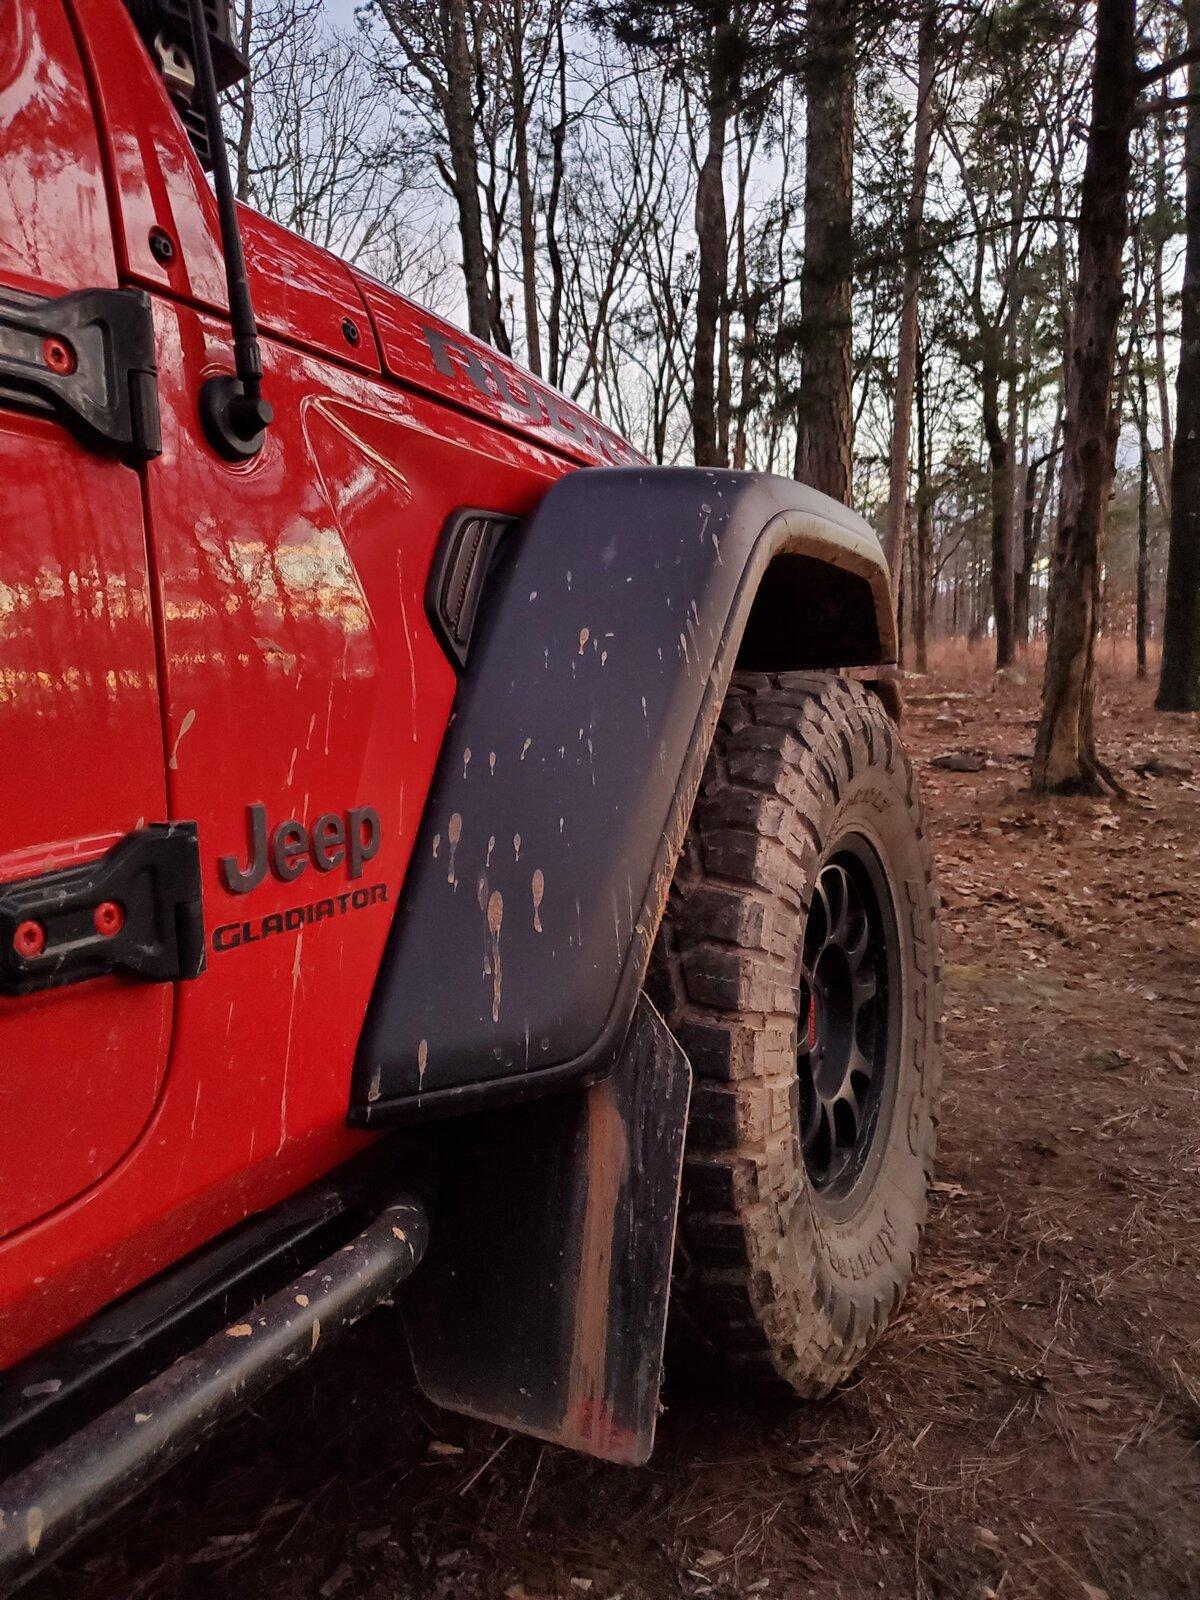
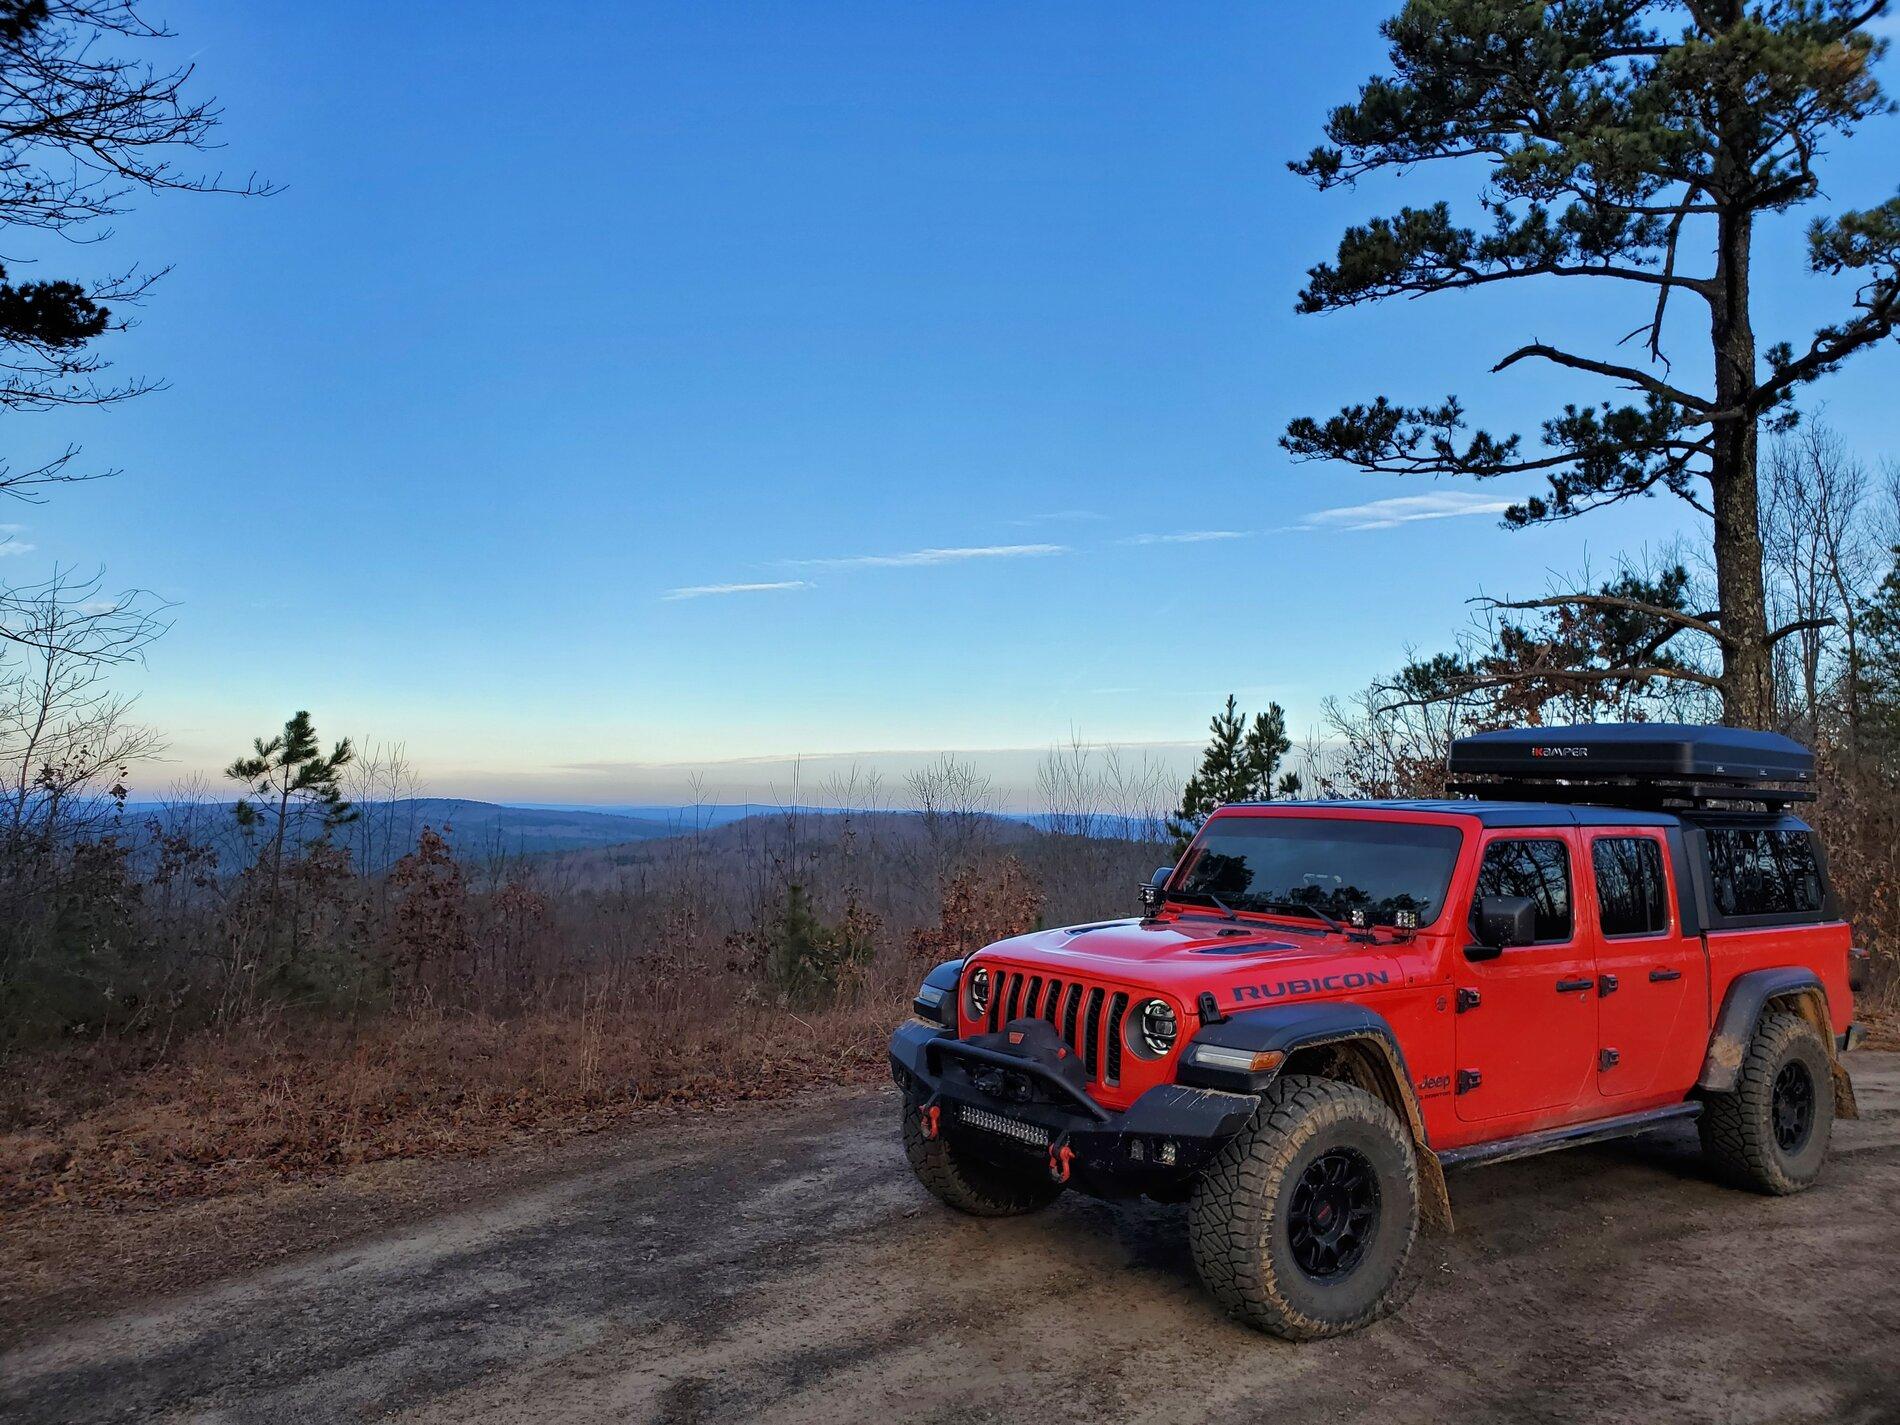
No problem at all. And thanks Mike! My core theme was to build something that can go just about anywhere, for an extended period of time, while at the same time not looking completely out of place/losing function on the road. That means no massive lift; no monster tires, and respectable economy. This is my daily driver, and let's be honest...most dailies spend 95%+ of their time on the road, making hardware store runs, grabbing groceries, heading to and from work, etc. But that 5% of the time that I spend off-grid is just as meaningful to me as the other 95%, if not more. Exploring and spending time outdoors is how I recharge, so it was important for my Jeep to be able to facilitate that.After first seeing your RSI review thread (thanks again for posting the profile pic), I've been reading your build thread over the last couple of days, and all I can say is you are doing an amazing job. You are doing exactly the kind of build I want to do once I pull the trigger on a Gladiator. Longer trips on the TAT and similar are exactly what I want to be able to do while maintaining DD capability. You've got a great template for me to follow later. Can't wait to see the front rack solar set up.
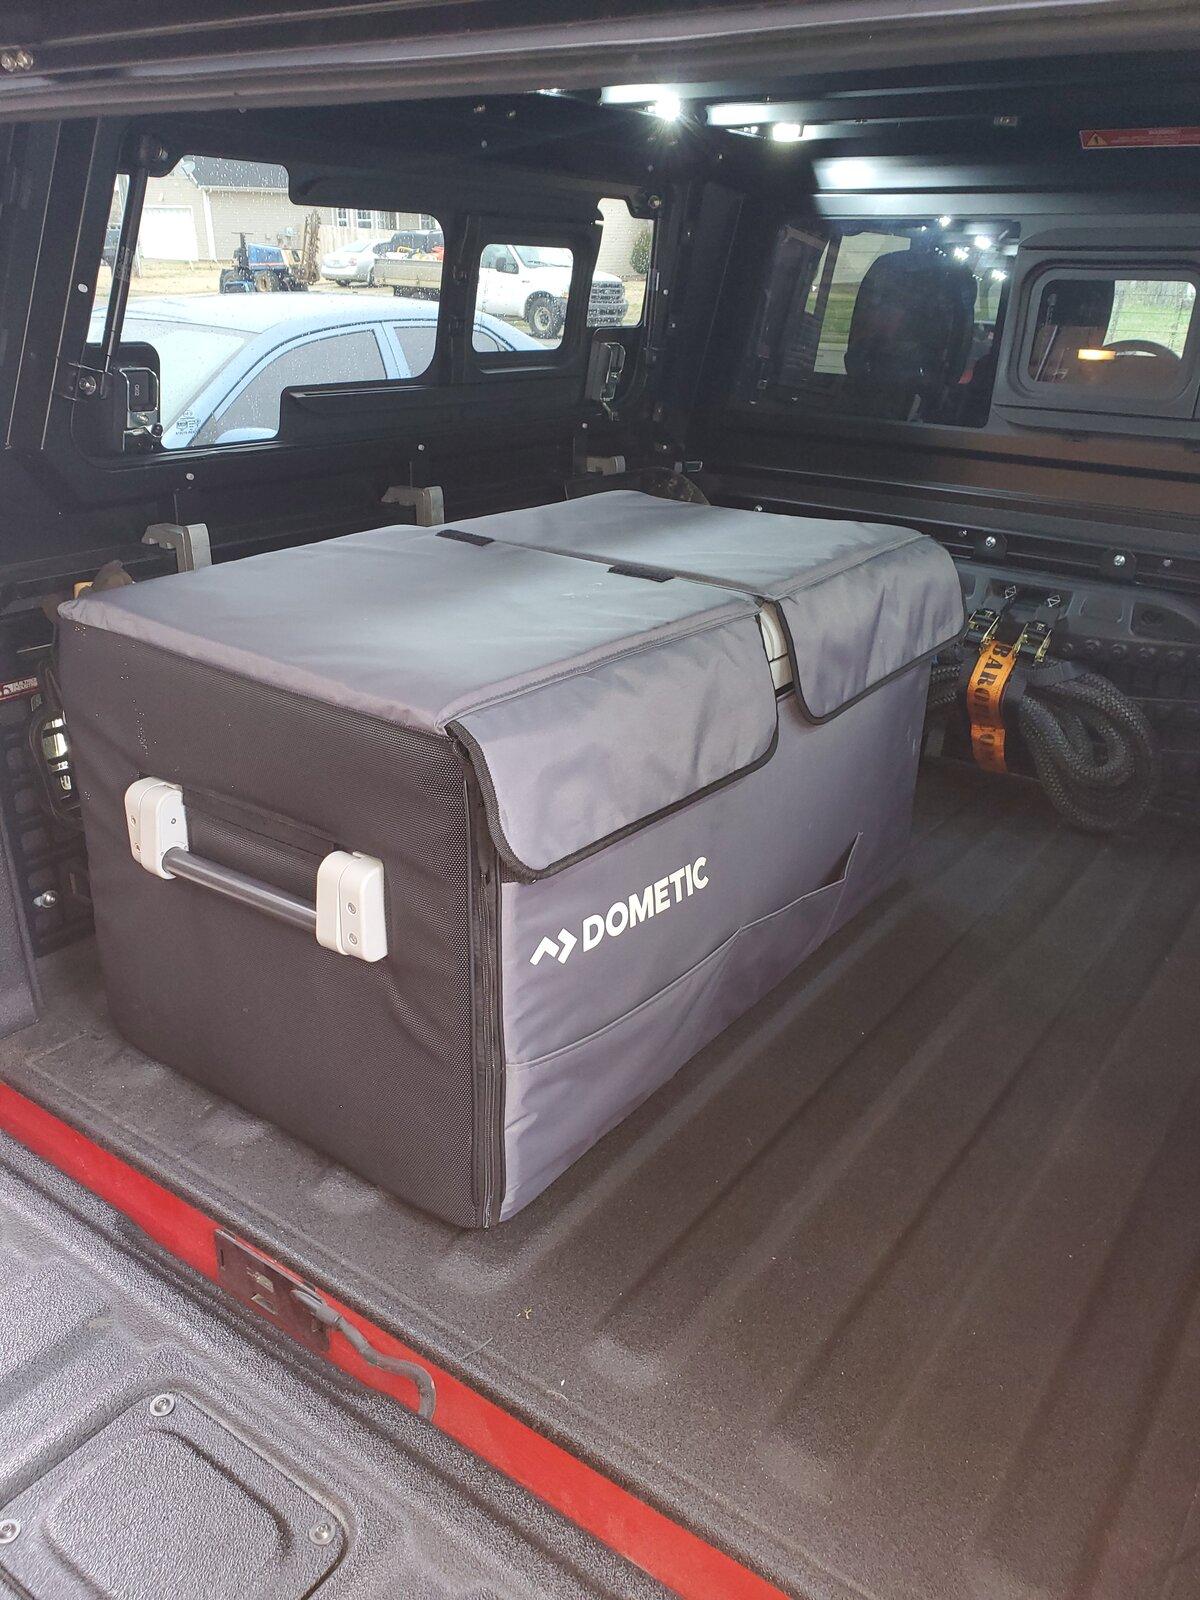
And to you also, have a Great, Safe Christmas and New Years! And, you were right, that is a big frig...how many liters?I feel like I've been spending more time crawling around in the truck bed lately than I have been sitting in the driver's seat.
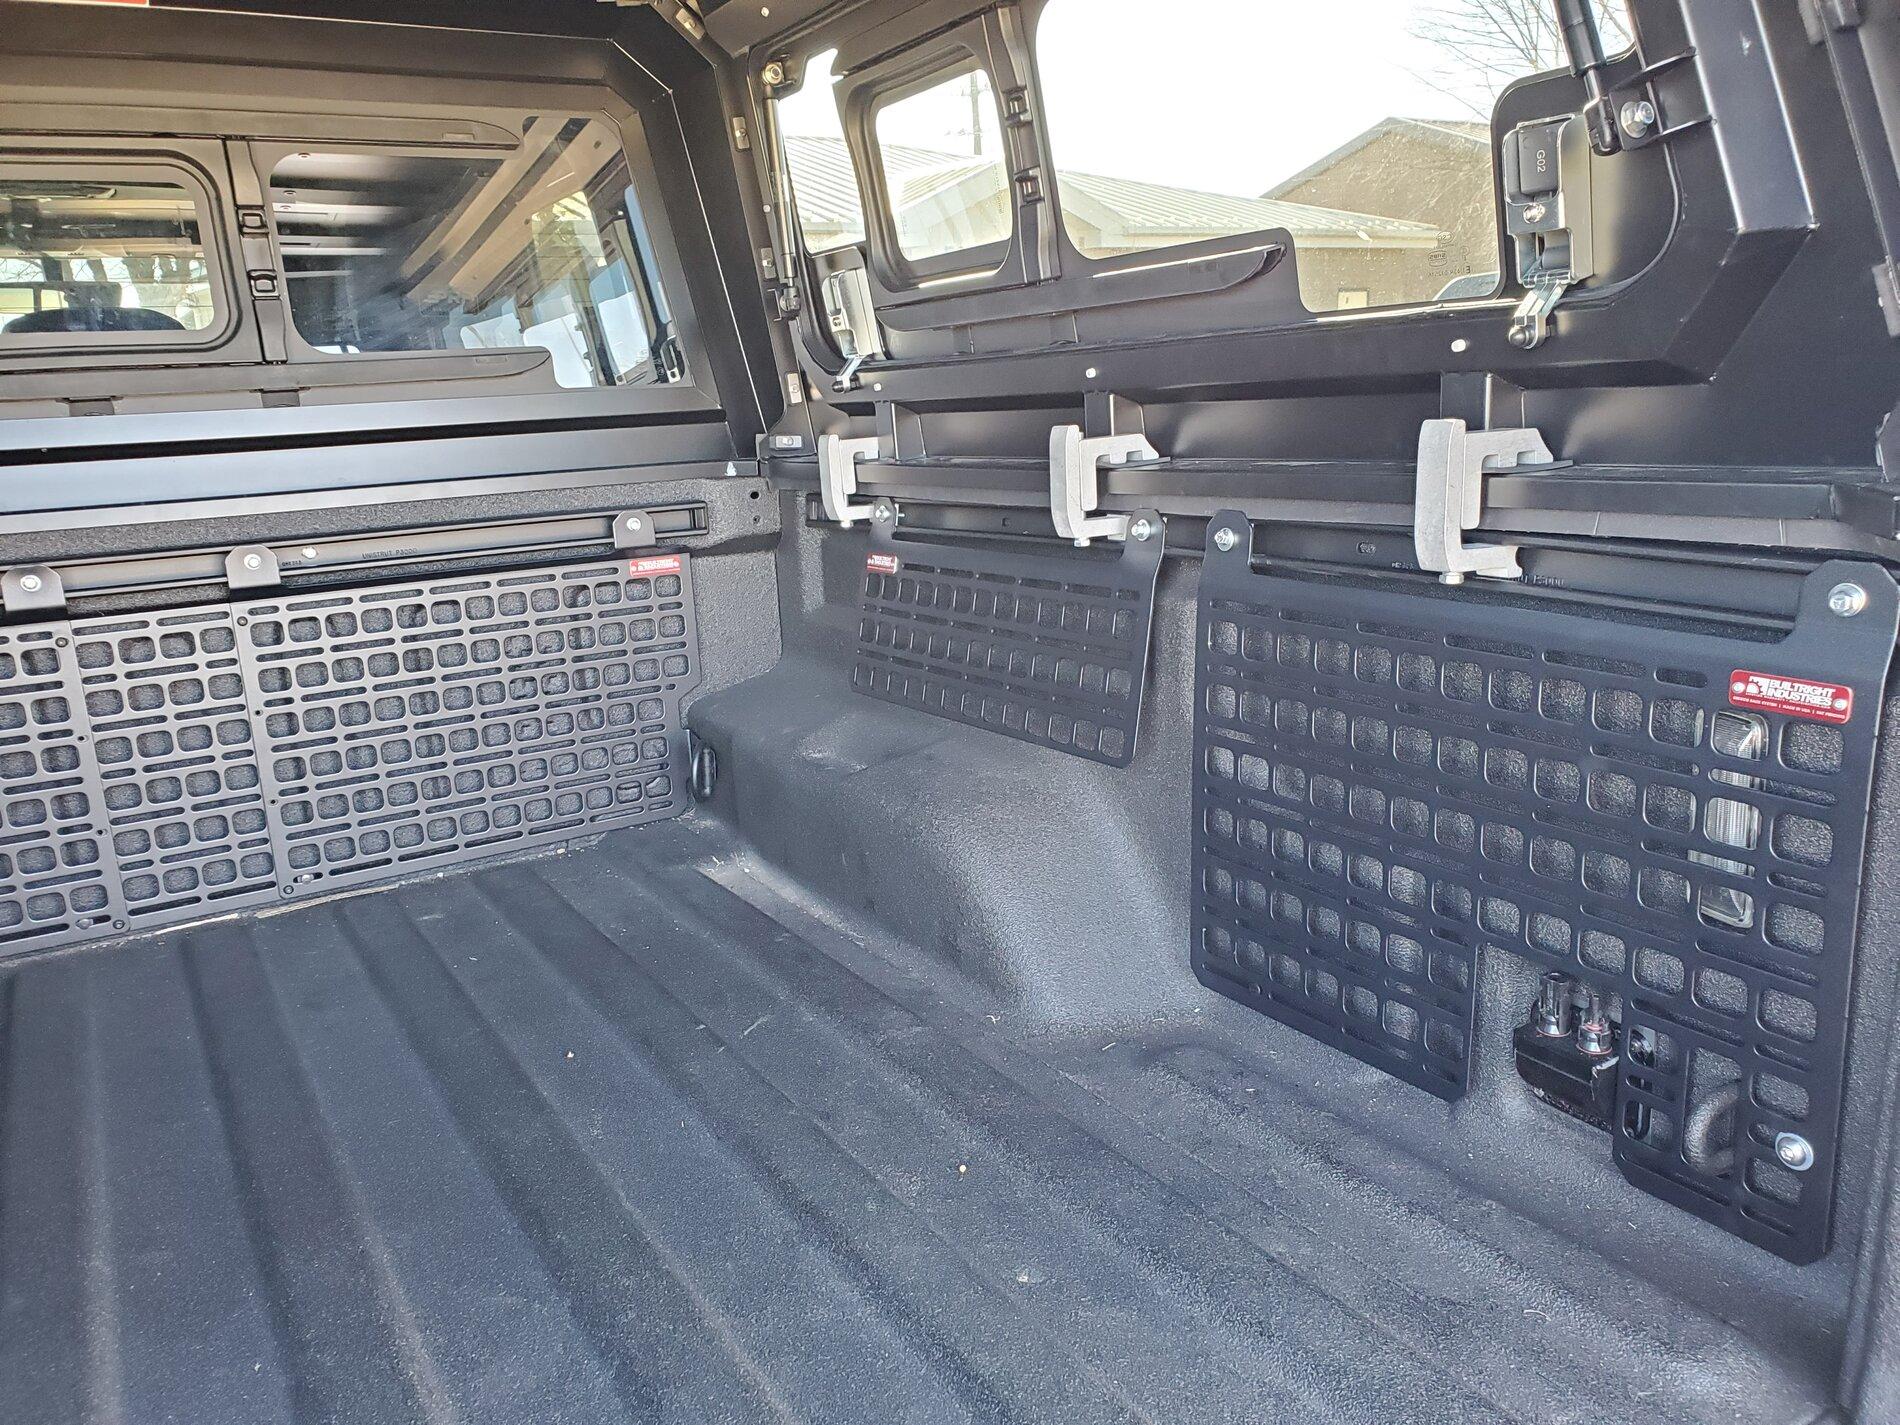
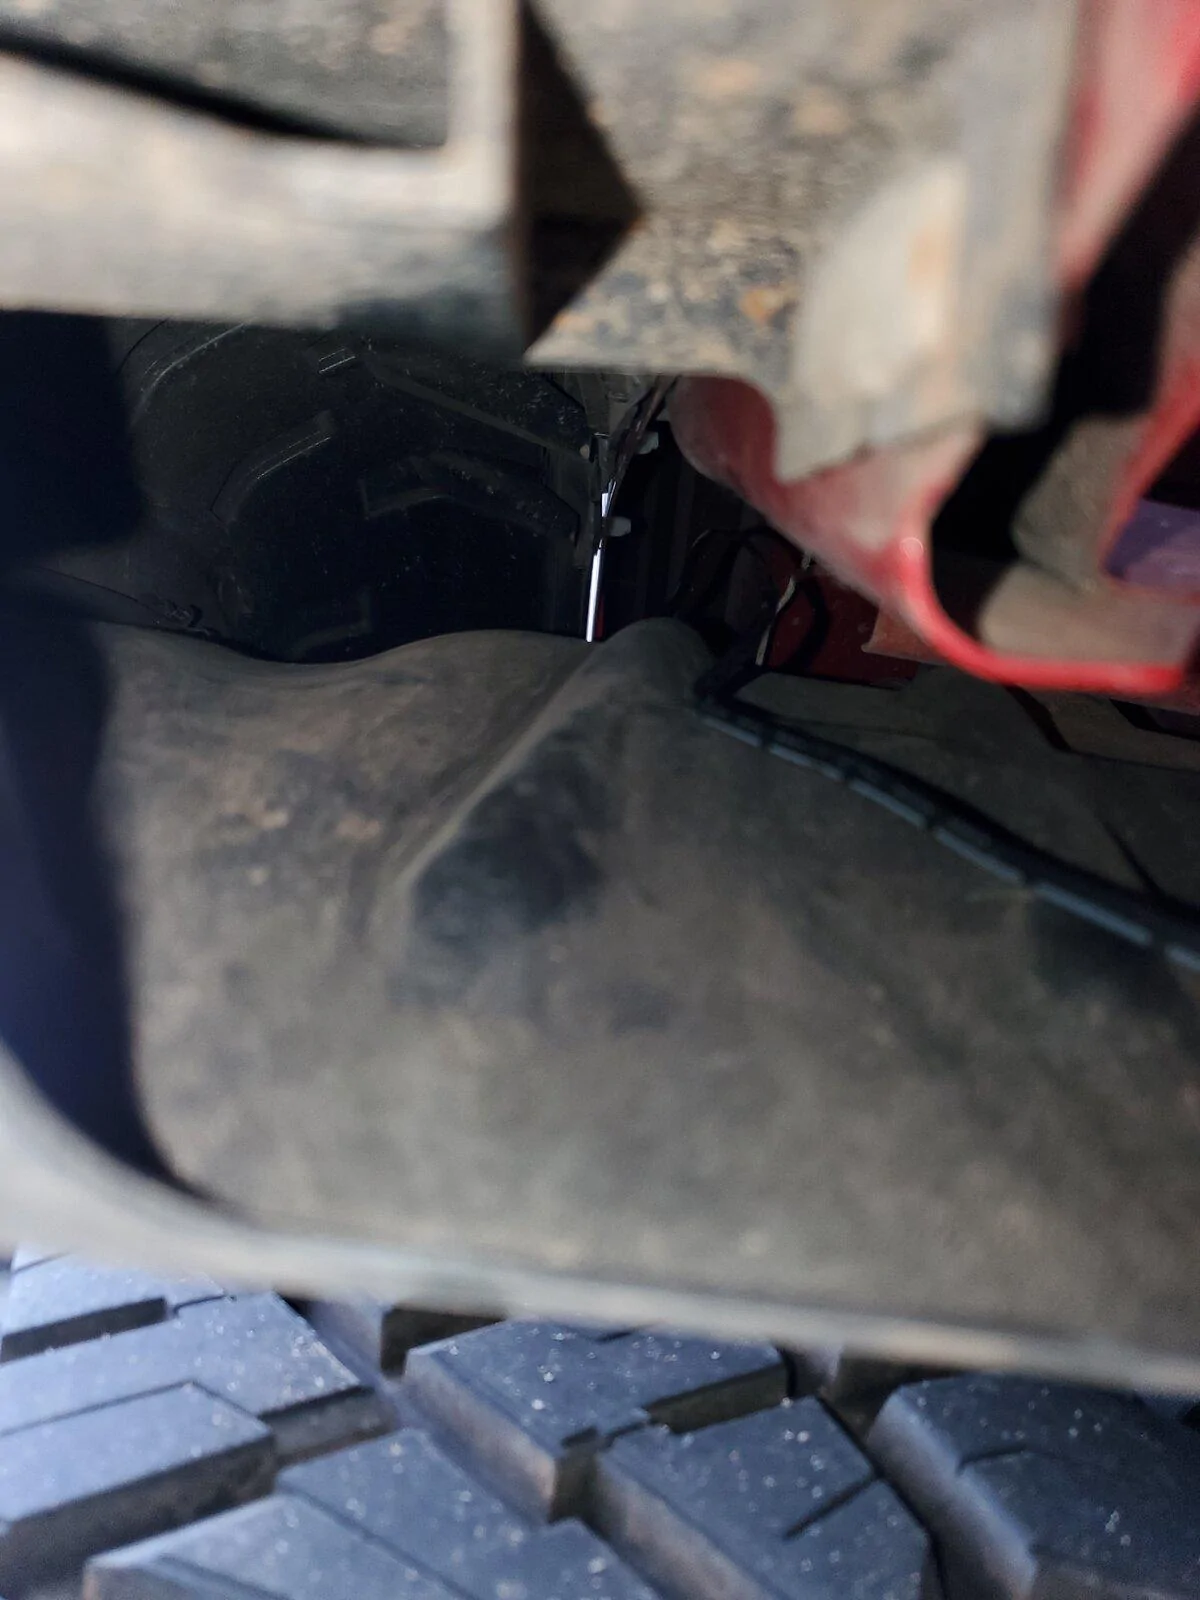
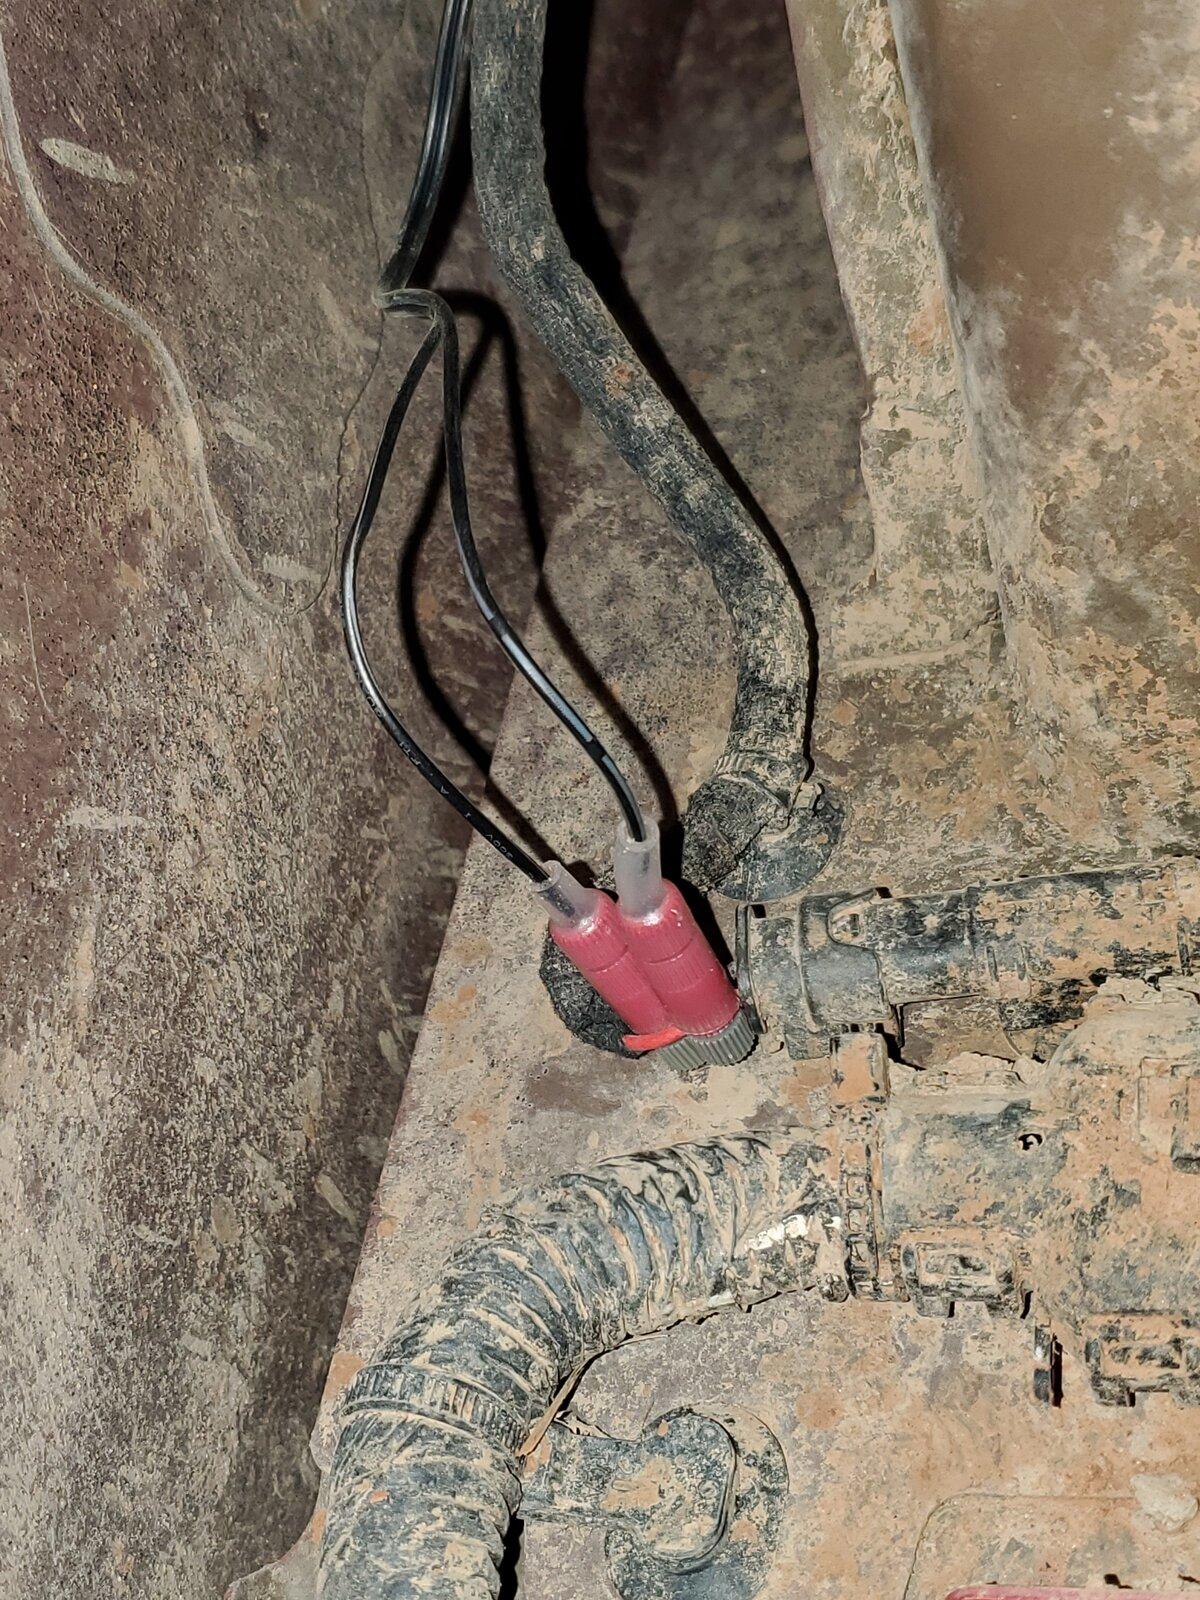
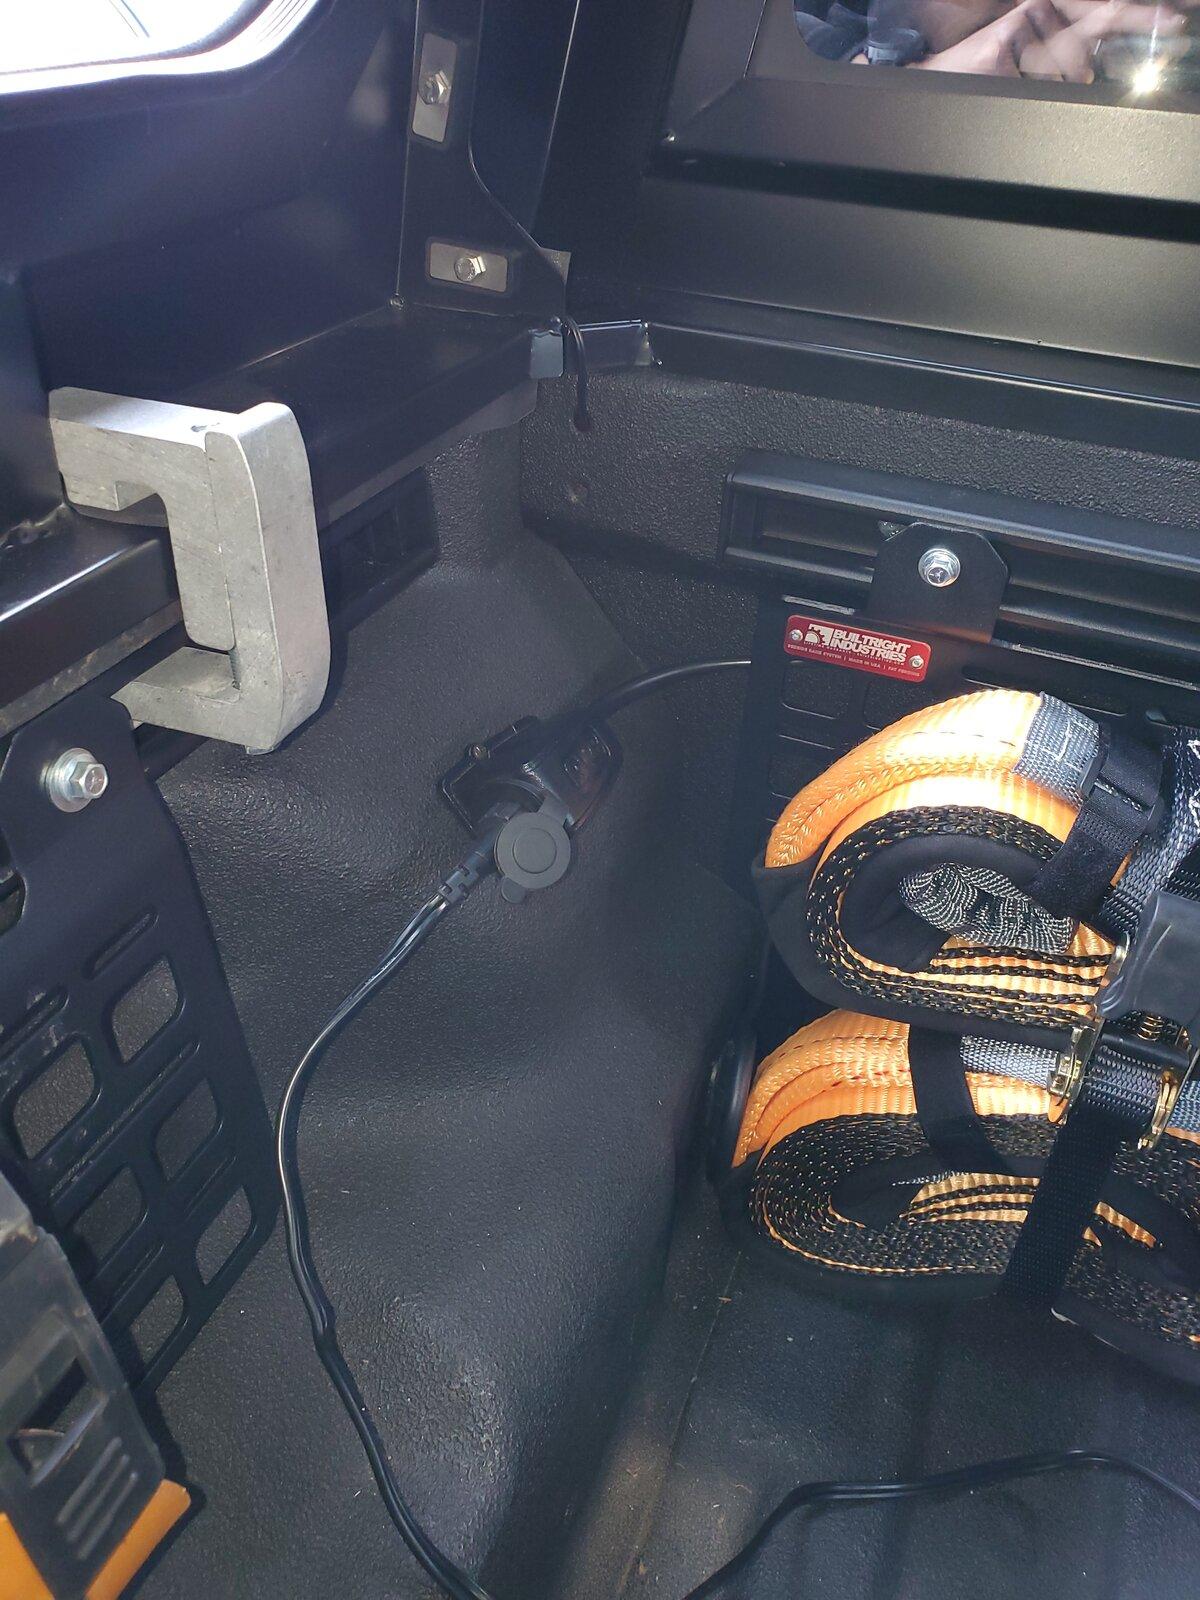
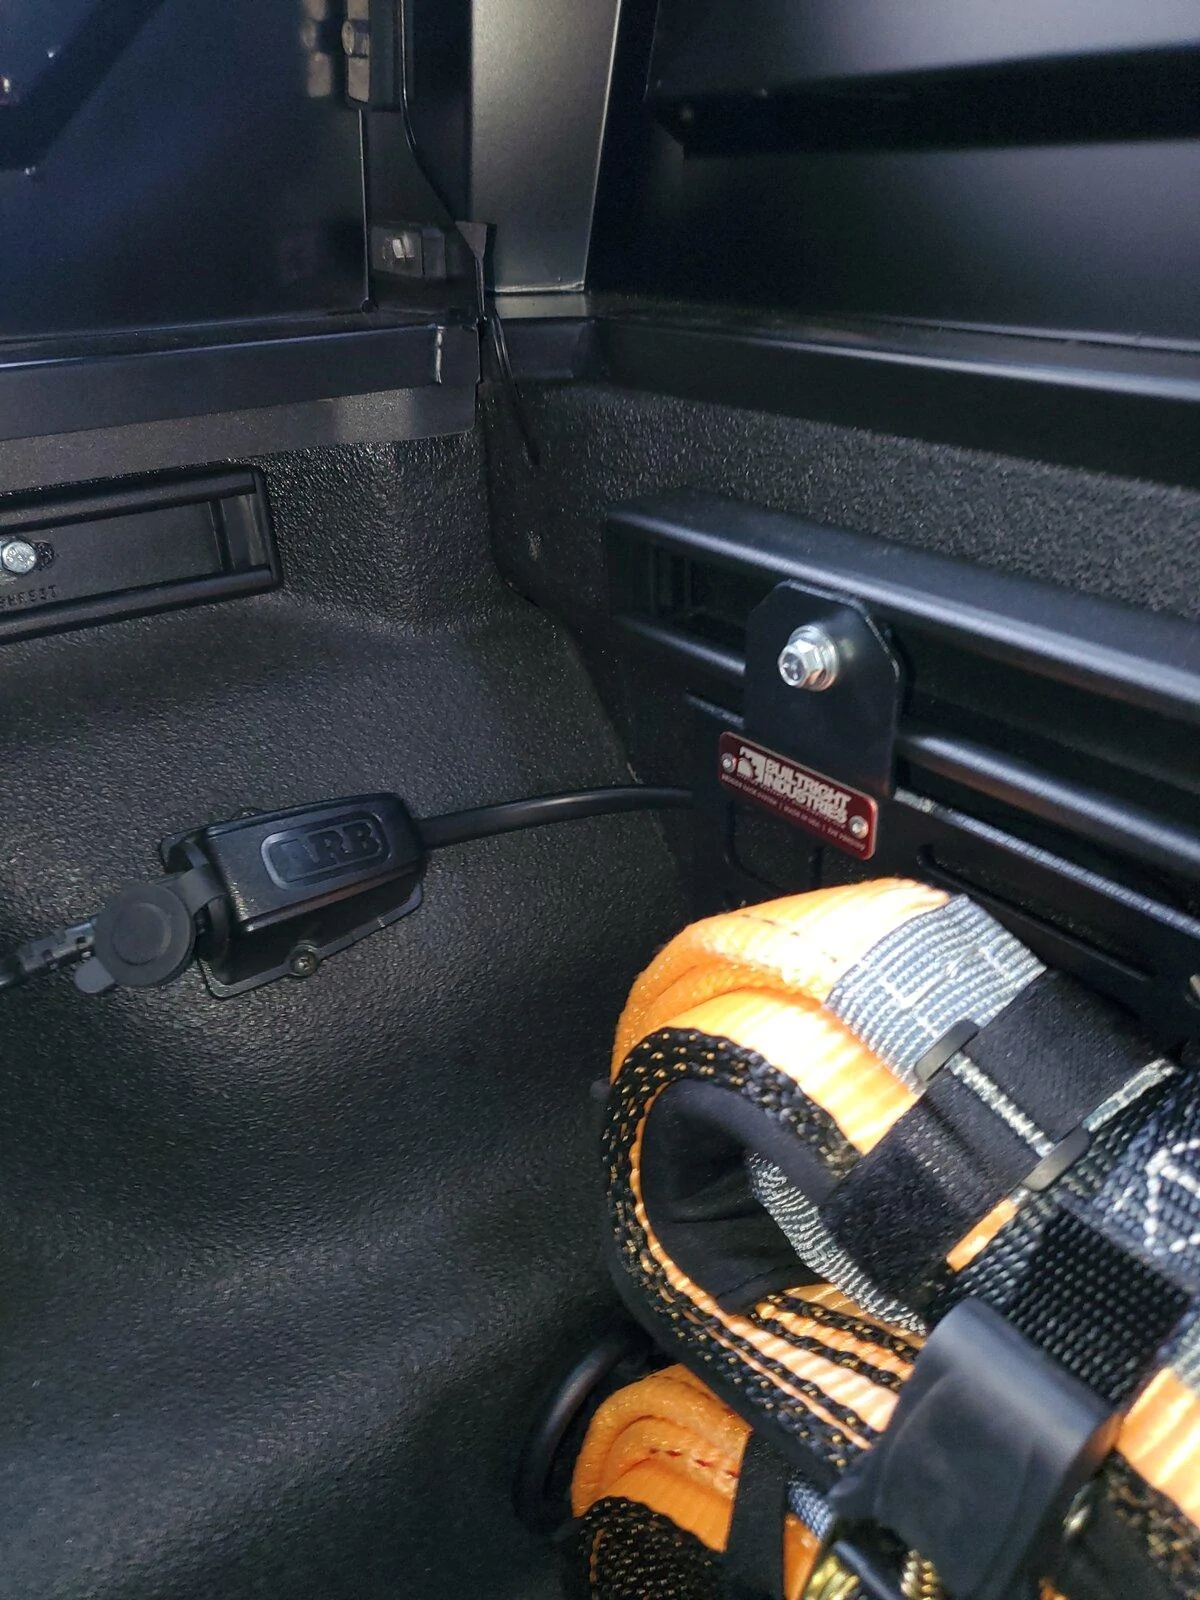
I hit my last must-do checklist item prior to heading off on my trip next week: Relocating my 12v fridge port from behind the rear seat to the bed. After considering two ports, and numerous locations for mounting the port, I decided to stick with my original ARB port in the pictured location. It's not a flush mount like I had planned, but I think it's still very clean. Instead of drilling out the side of the bed and exposing bare connections to the elements between the bed side and the fender, all it took was two self-tapping screws, so I think that's a win just by itself.
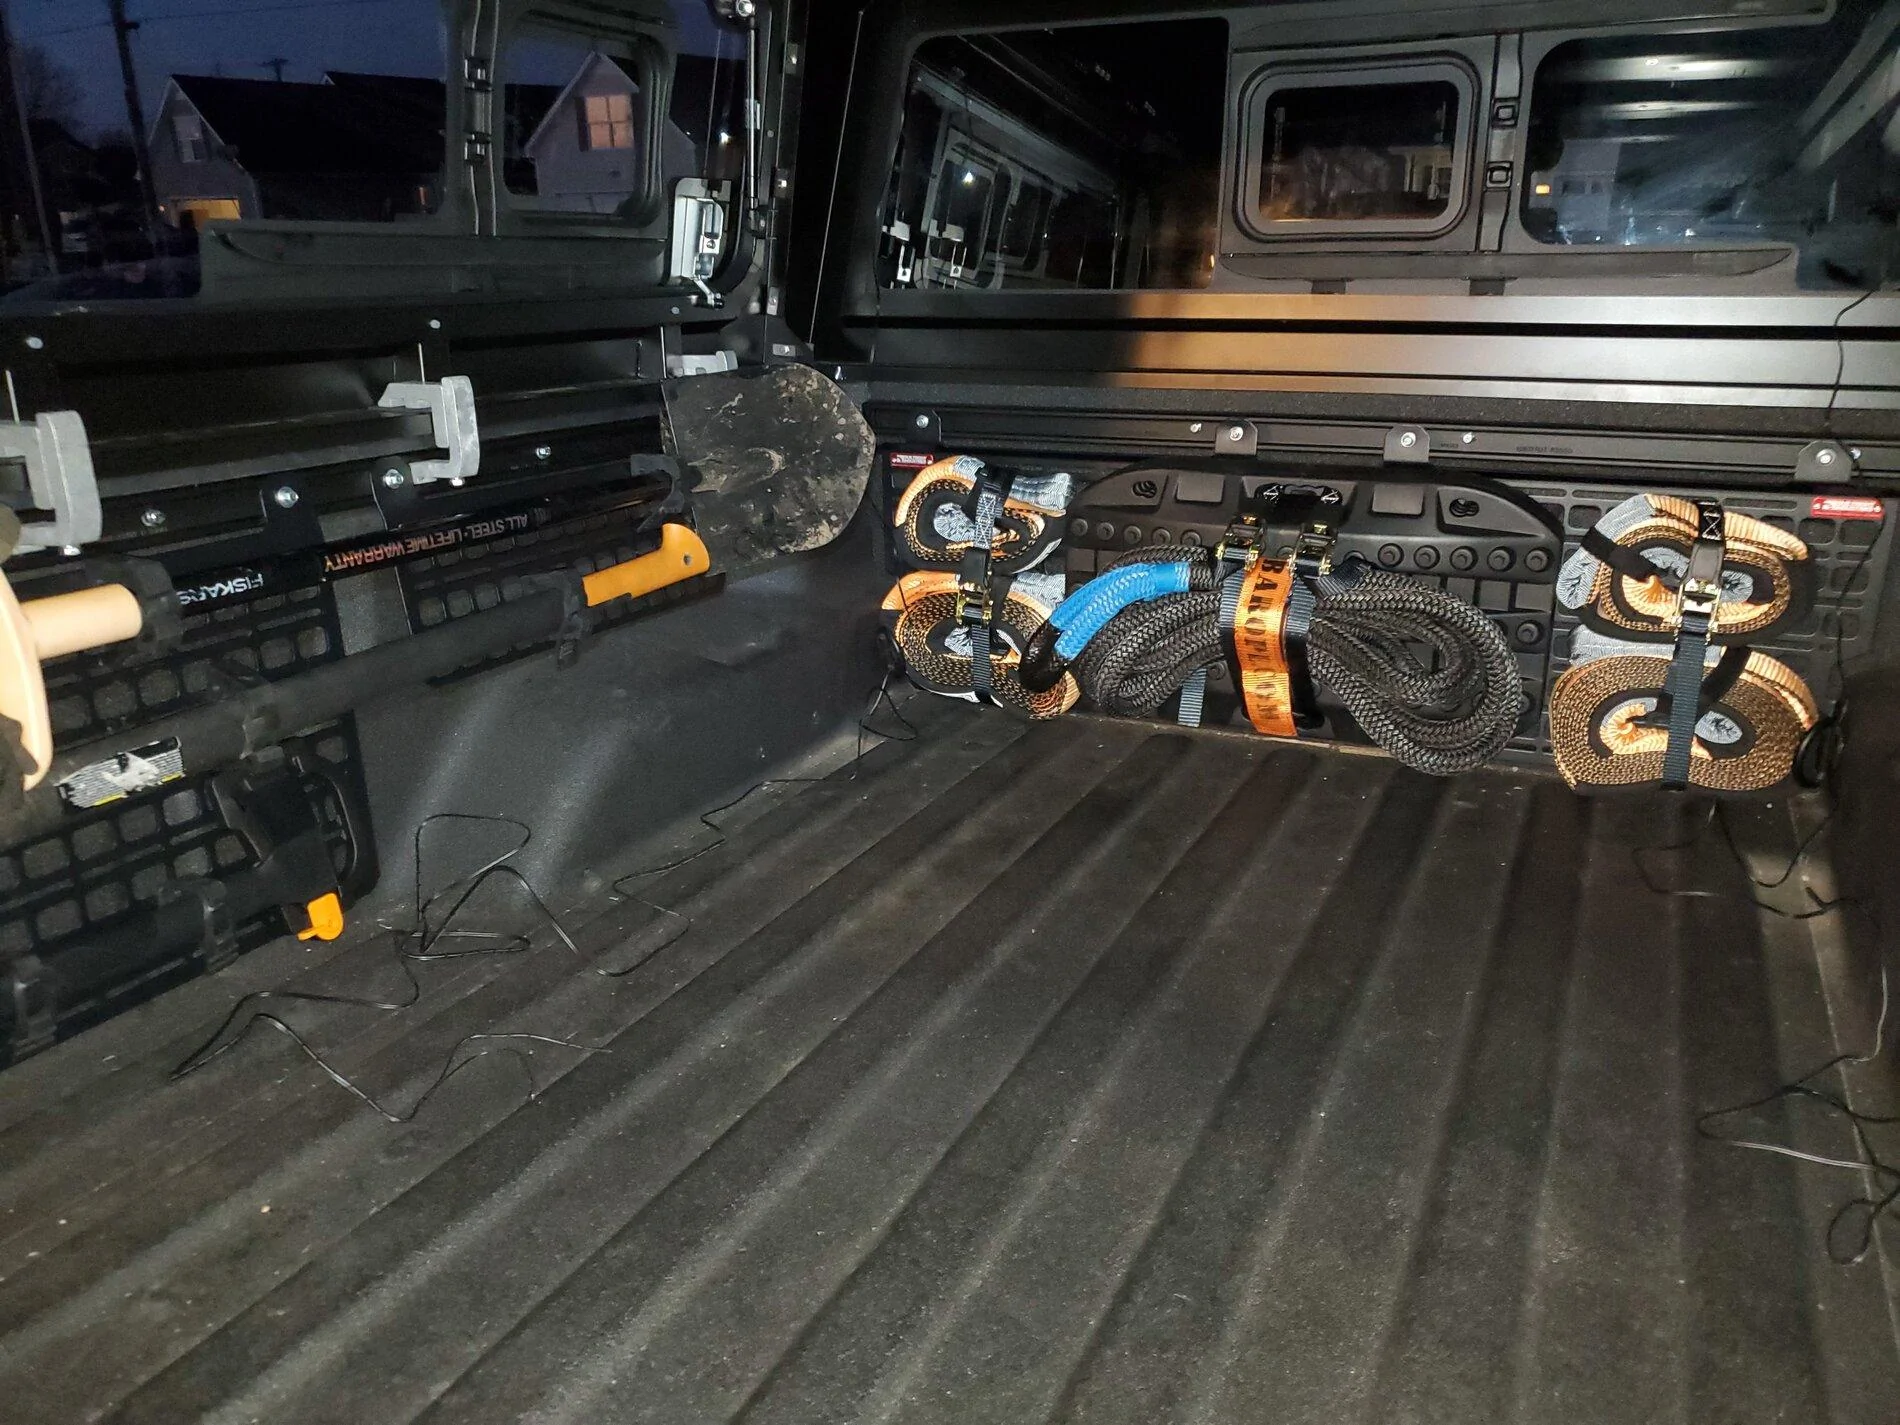
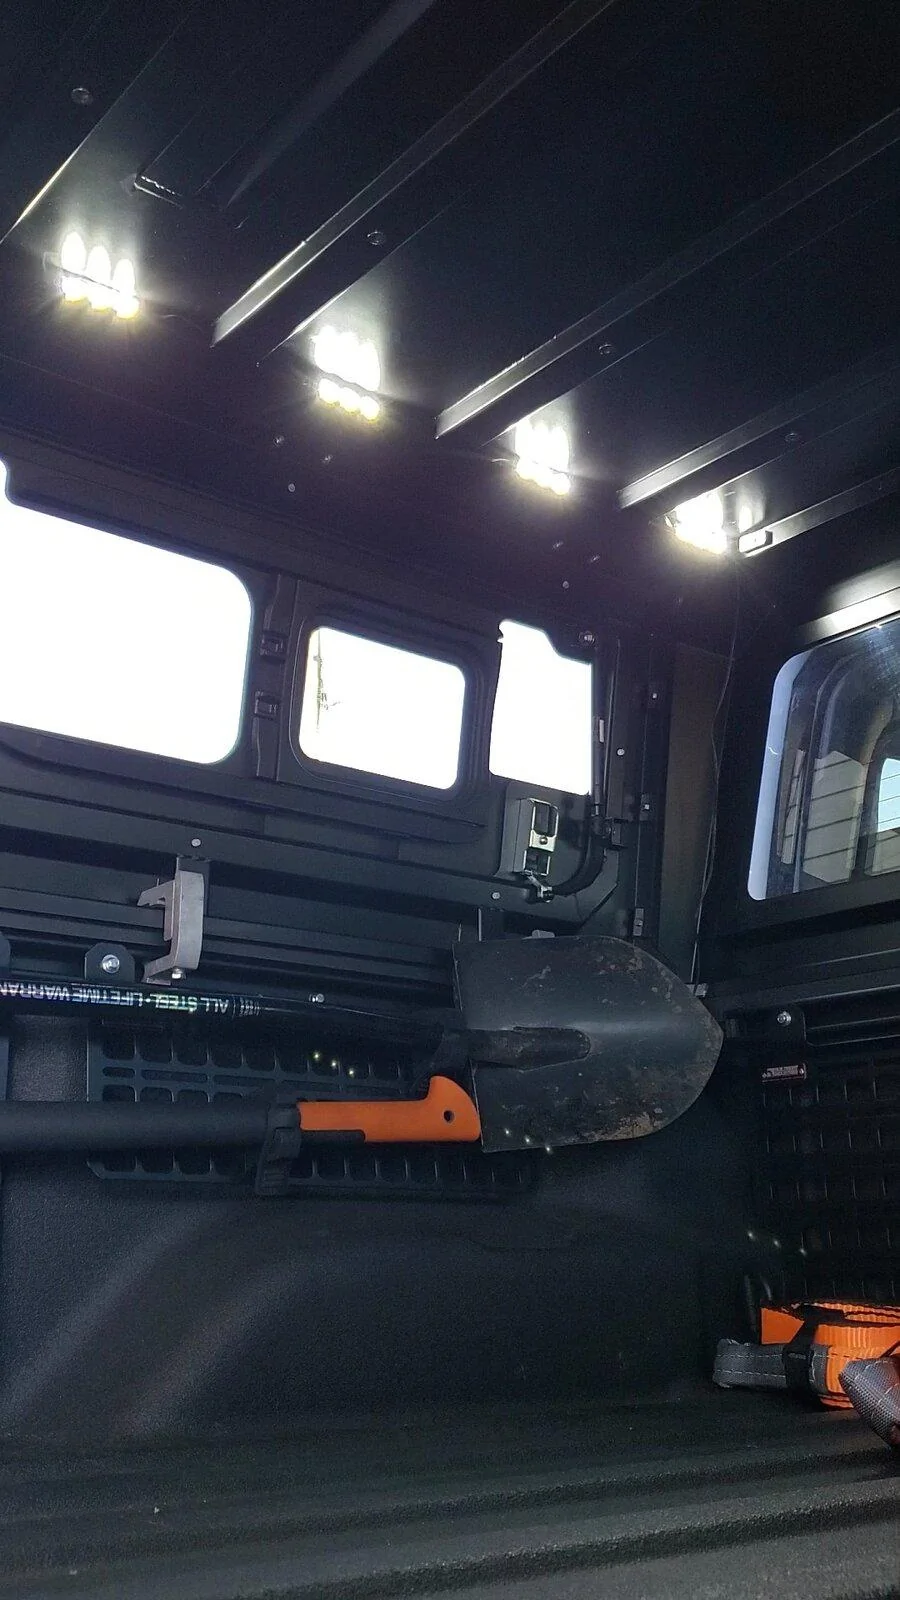
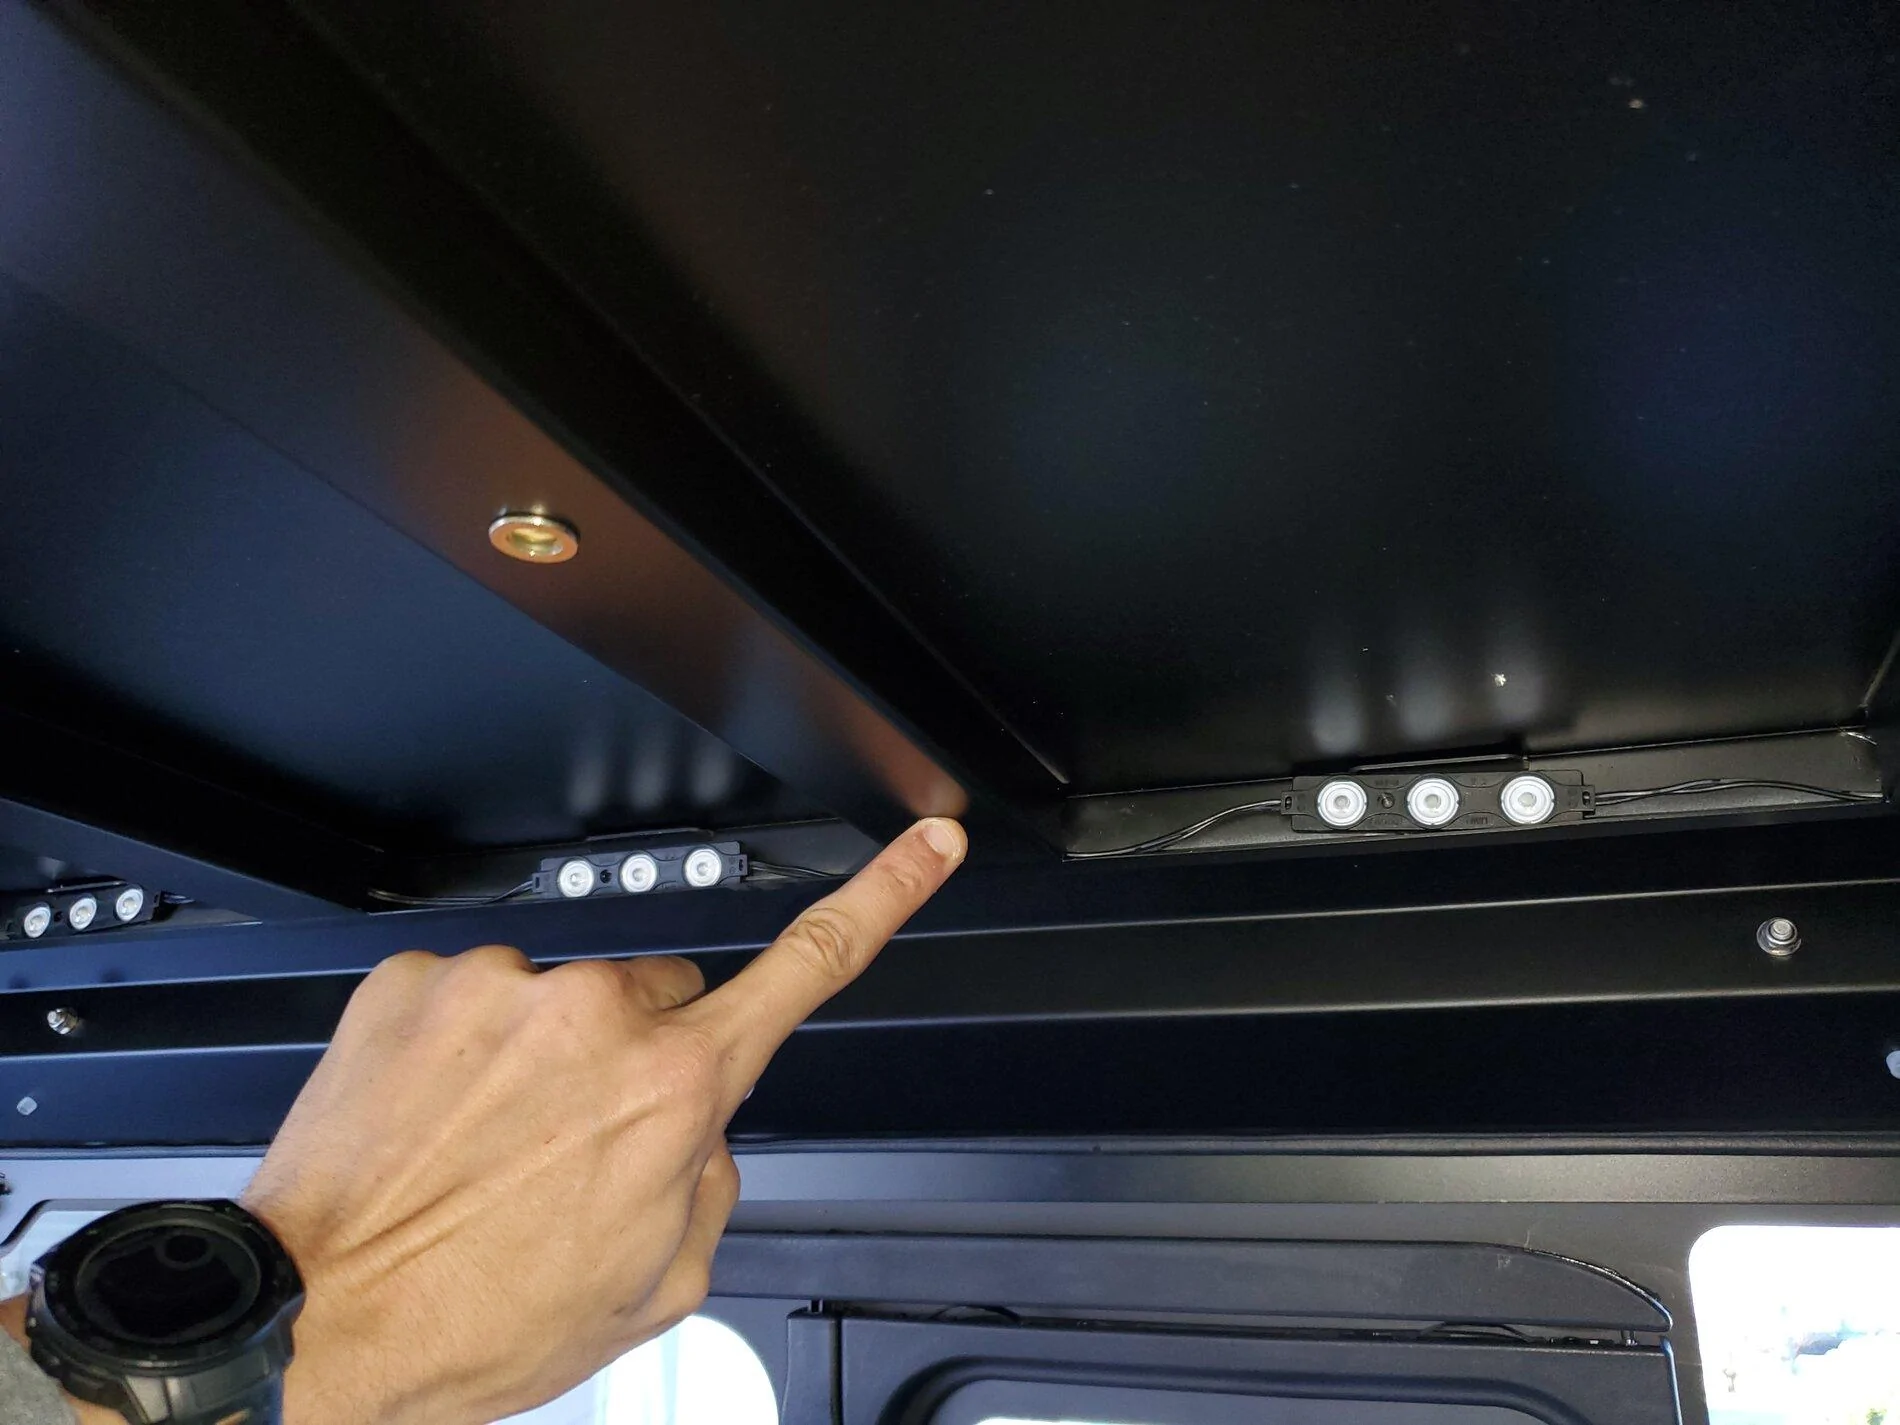
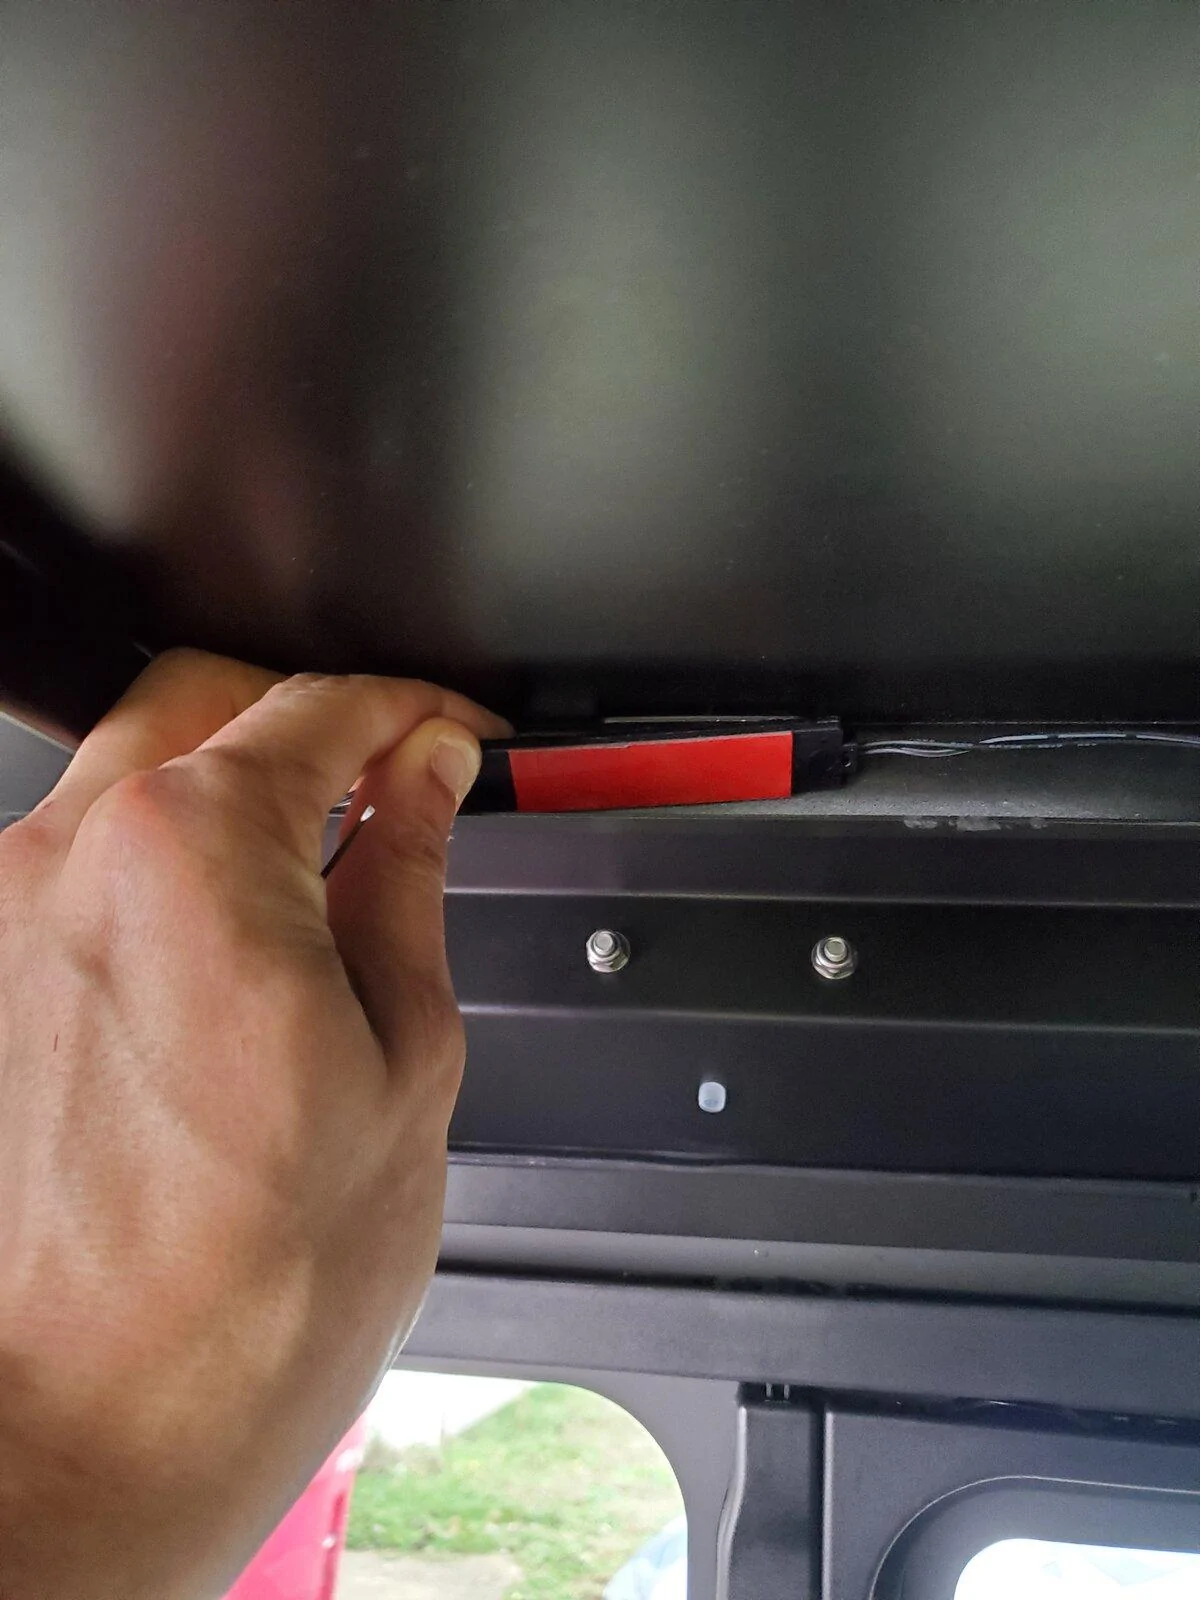
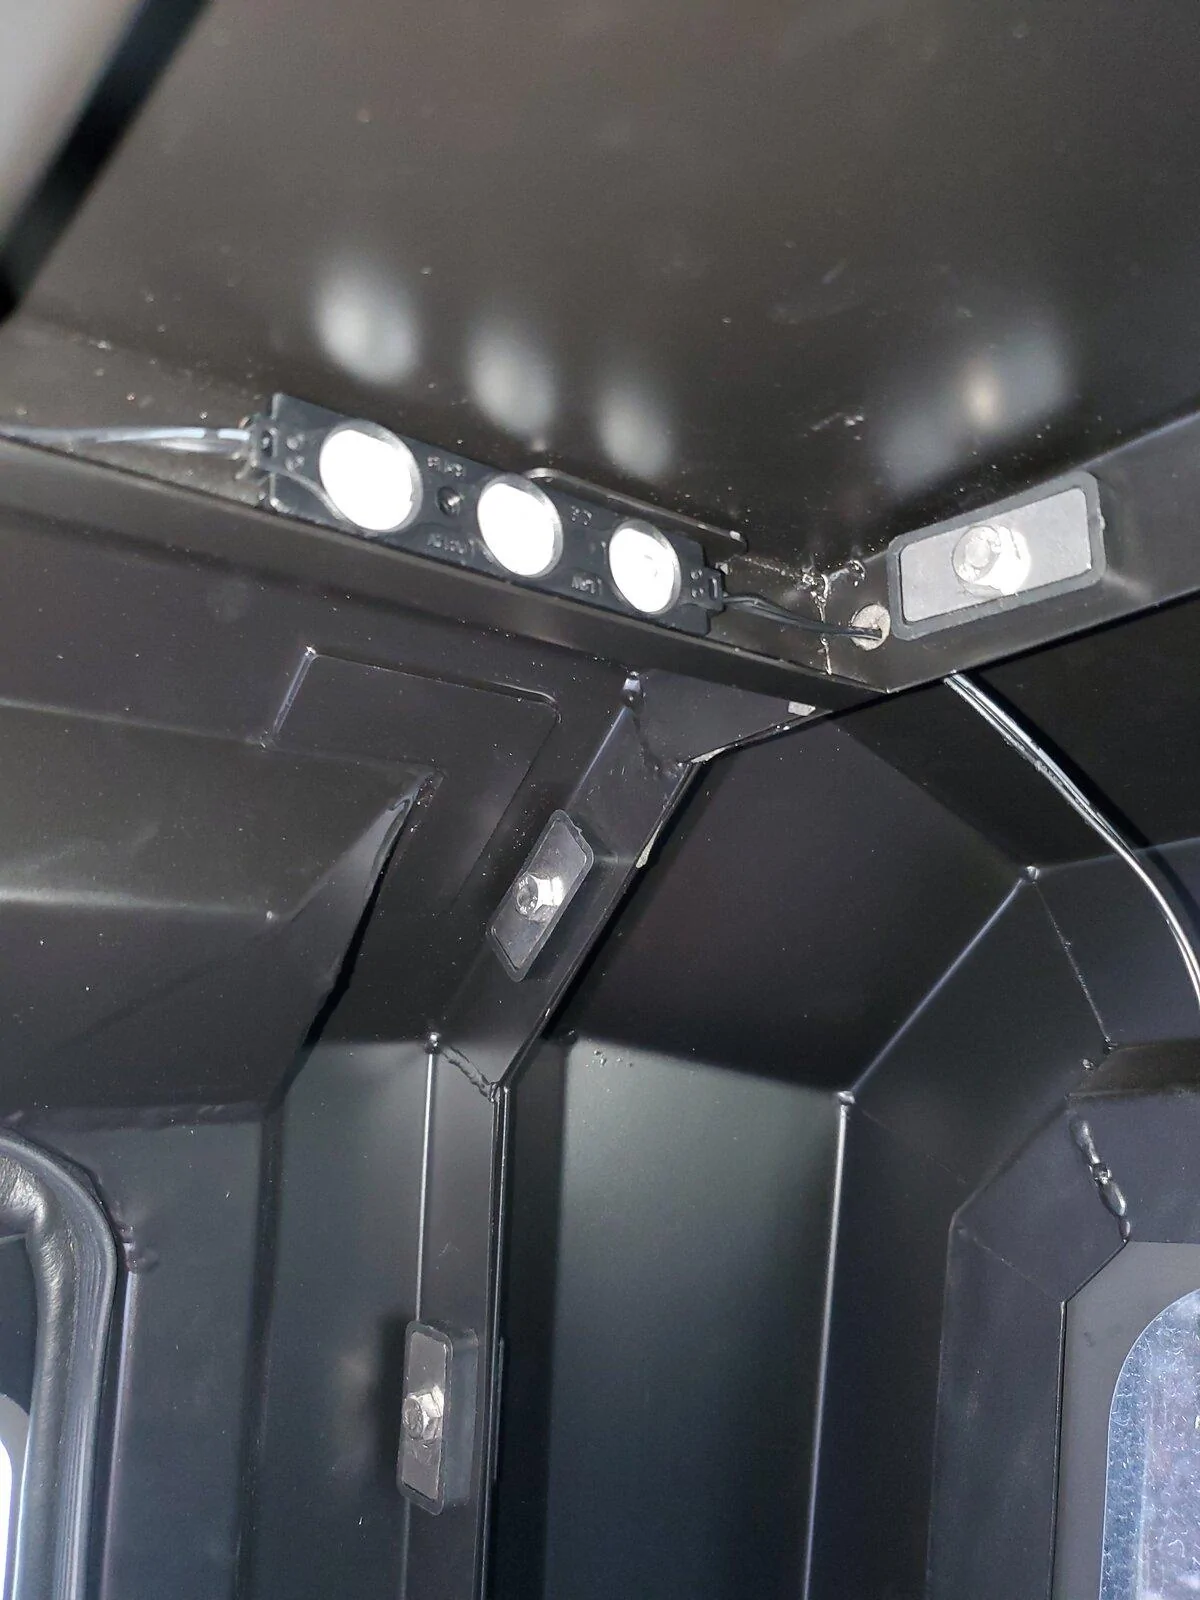
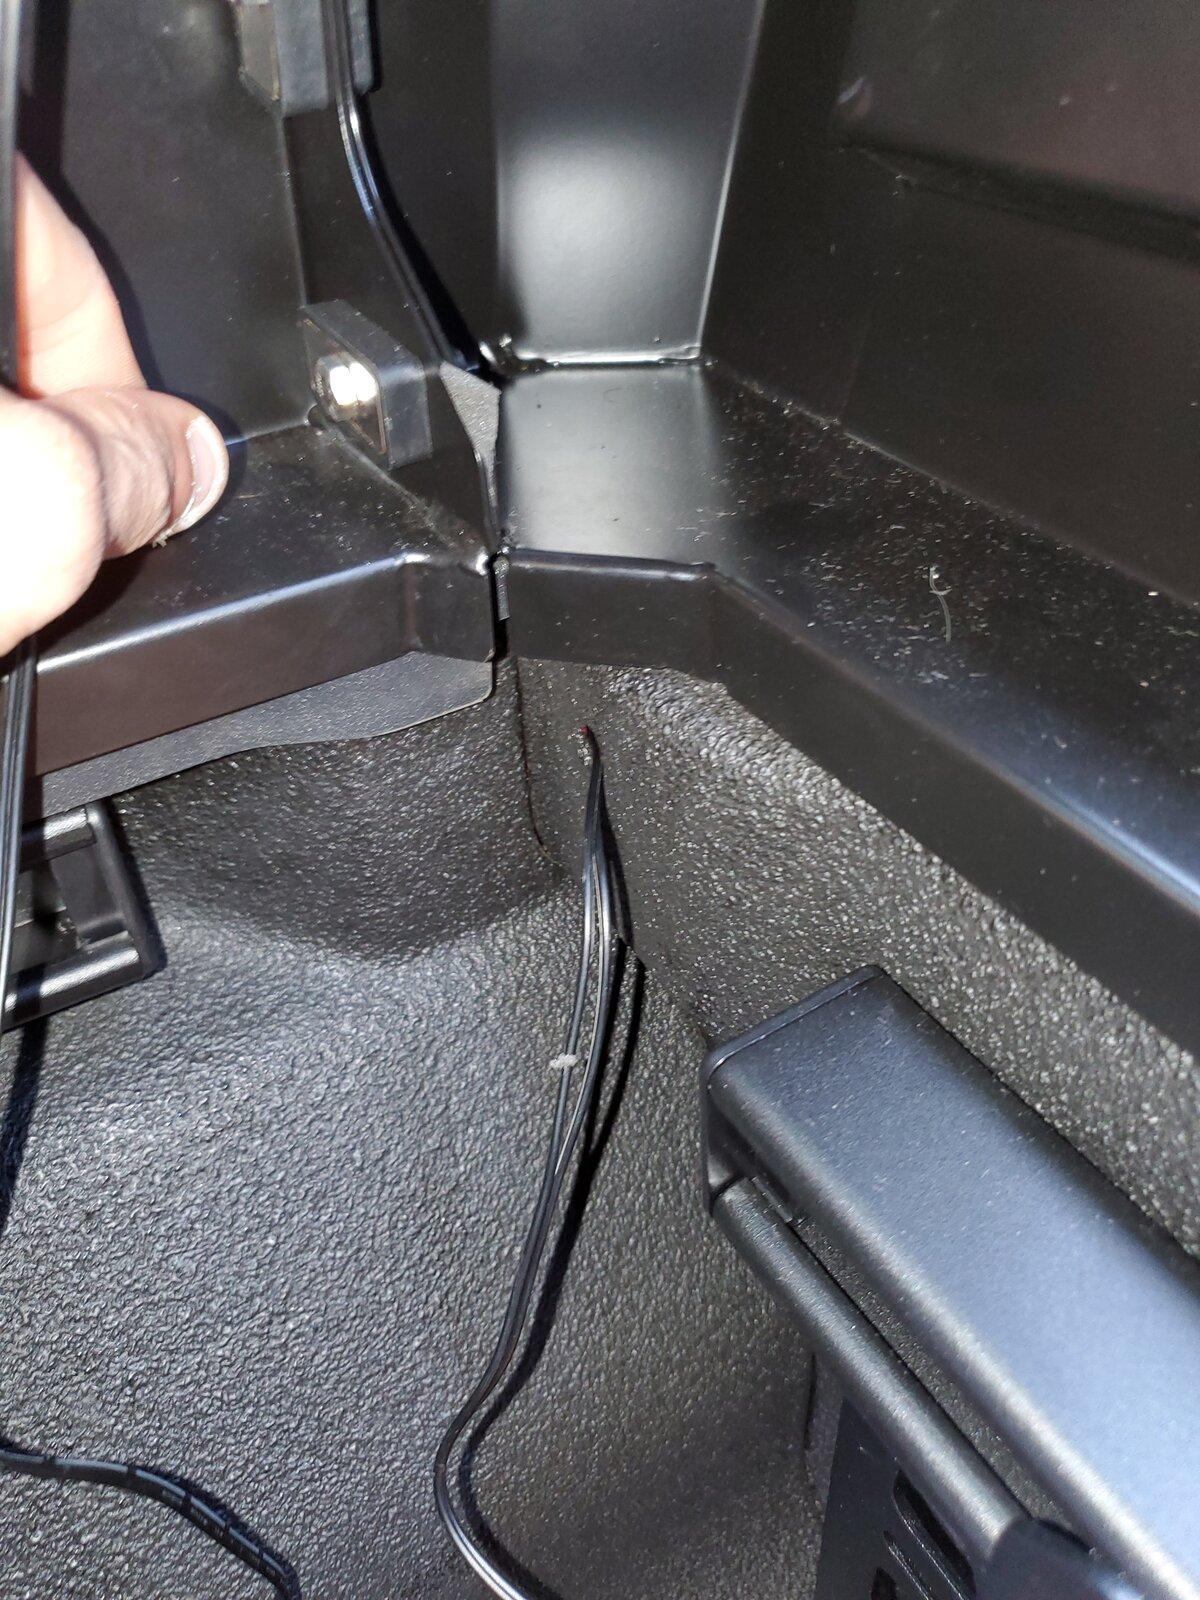
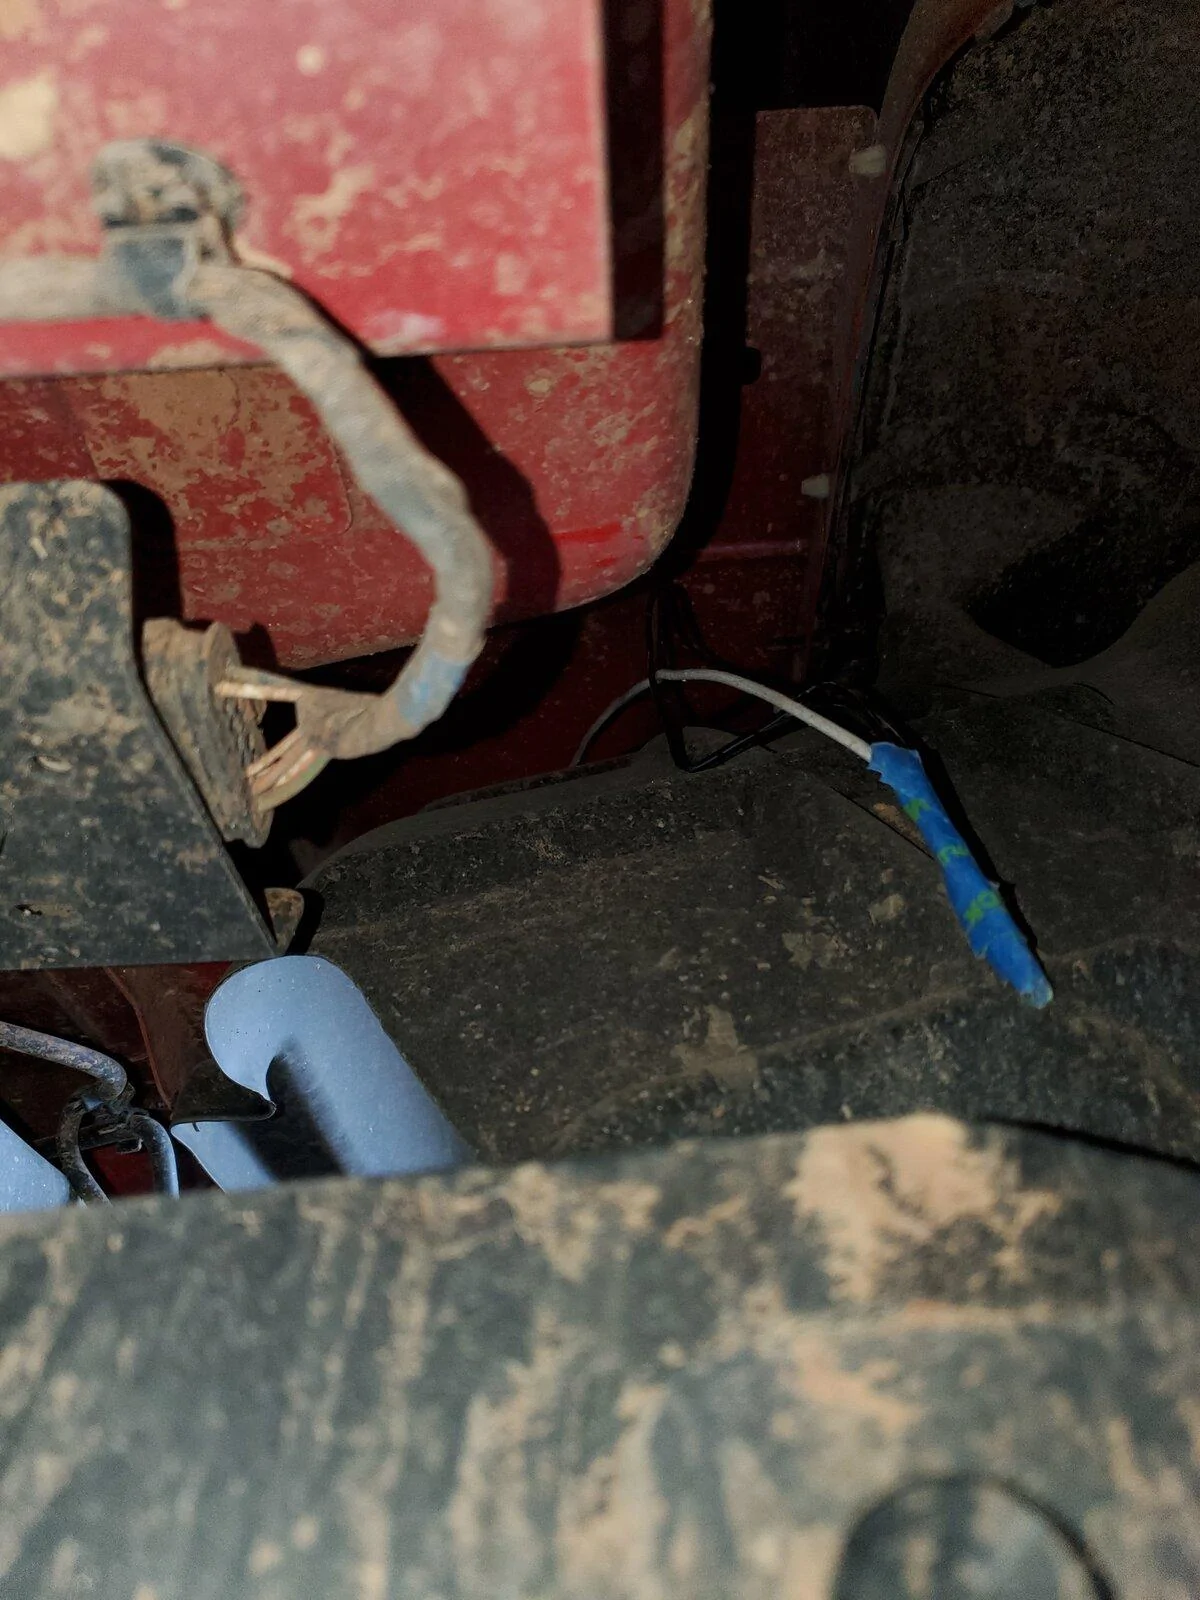
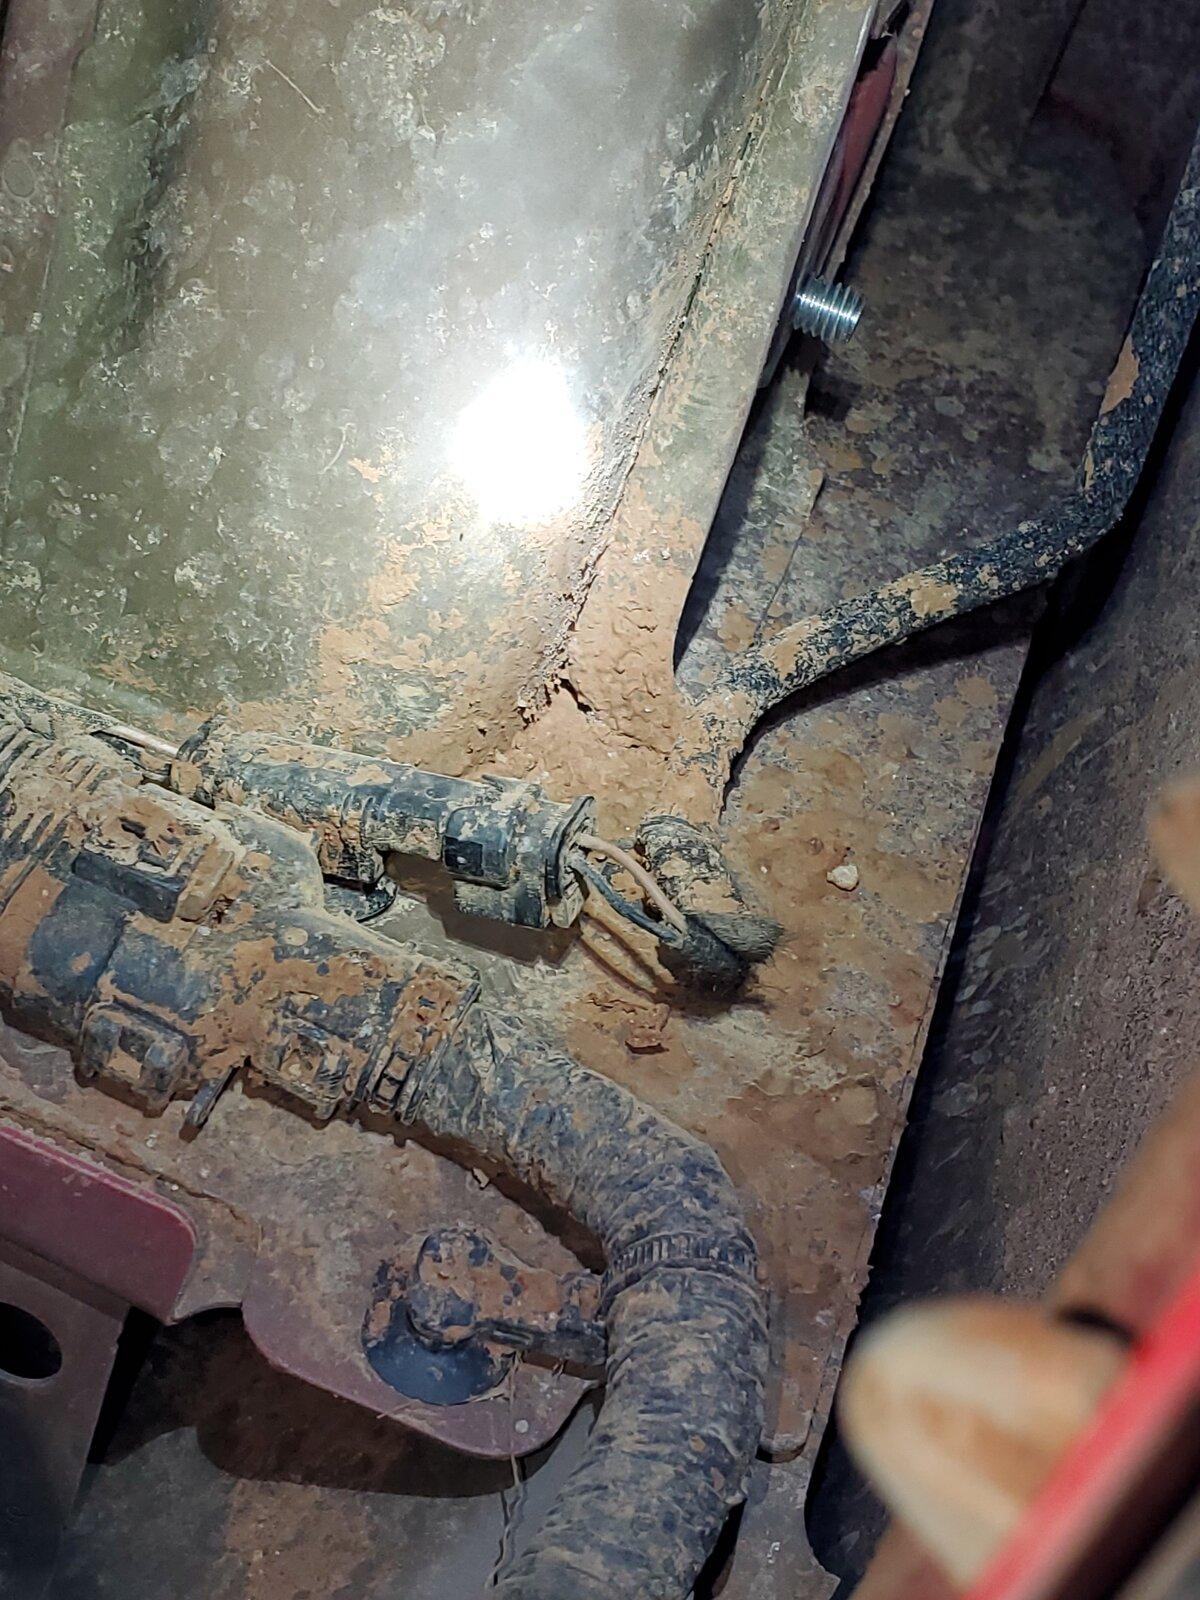
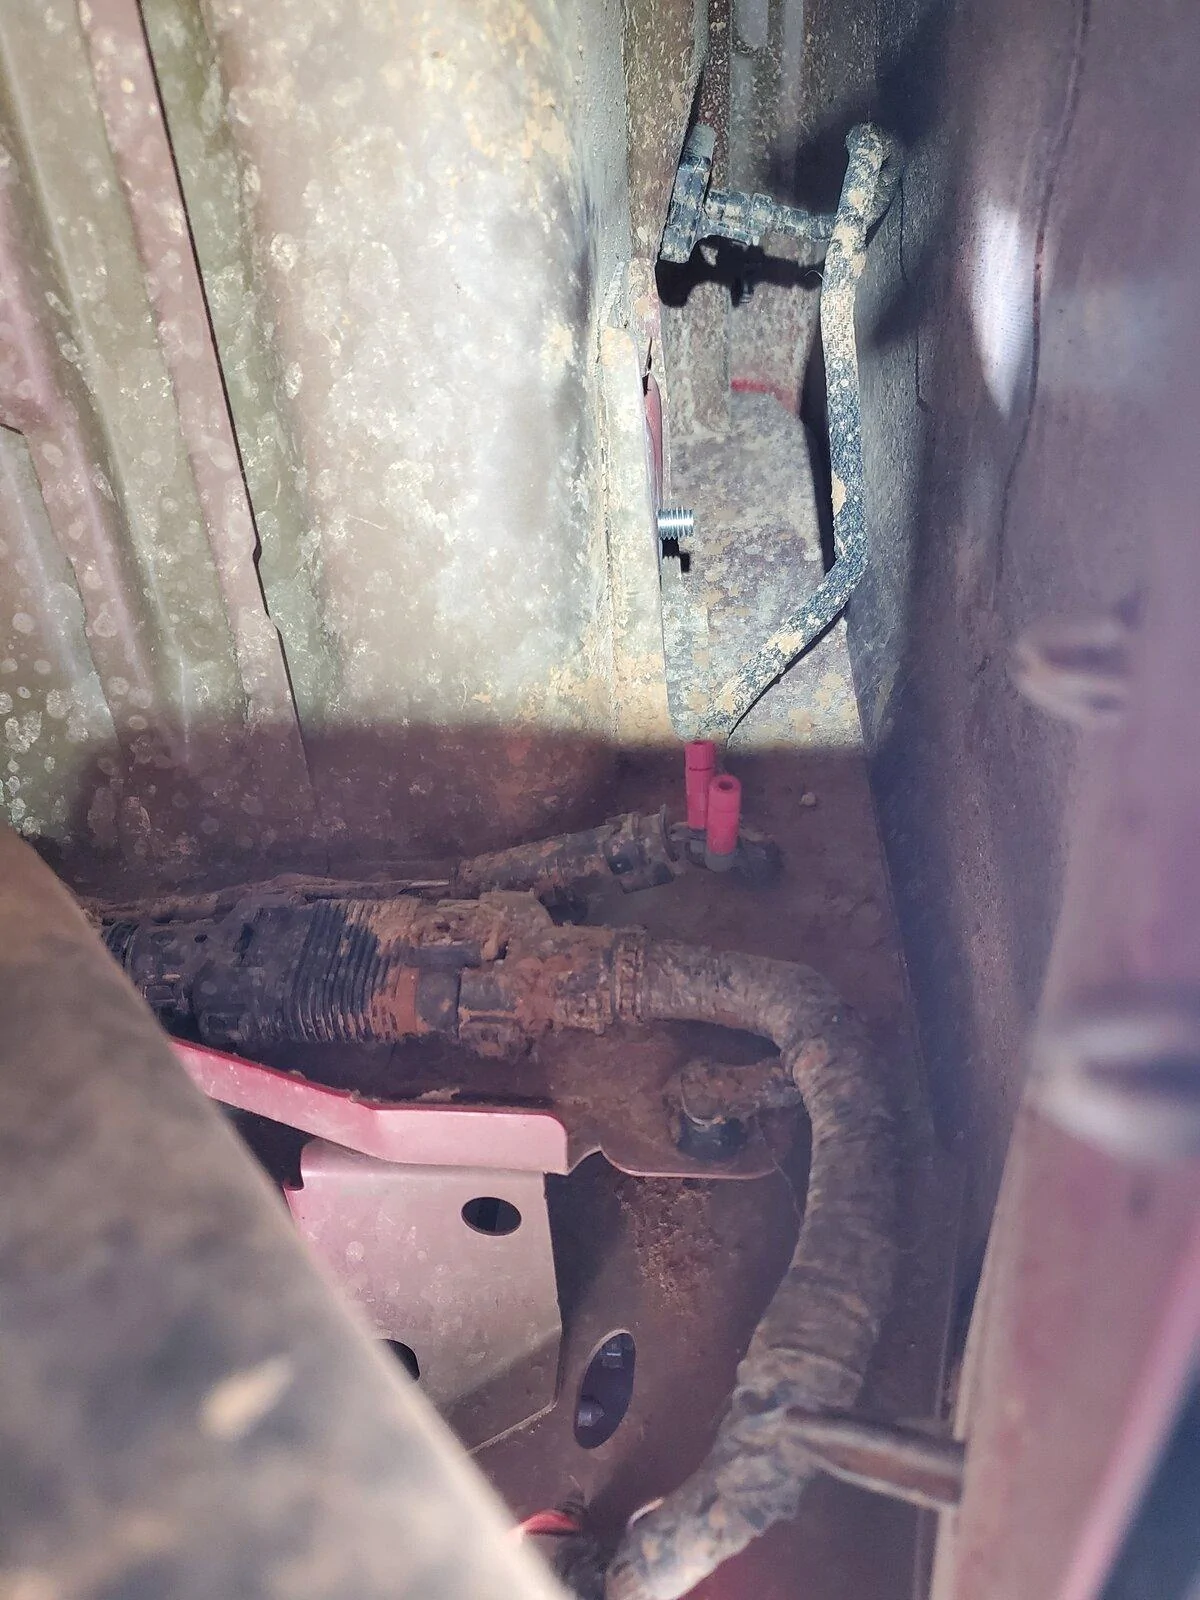
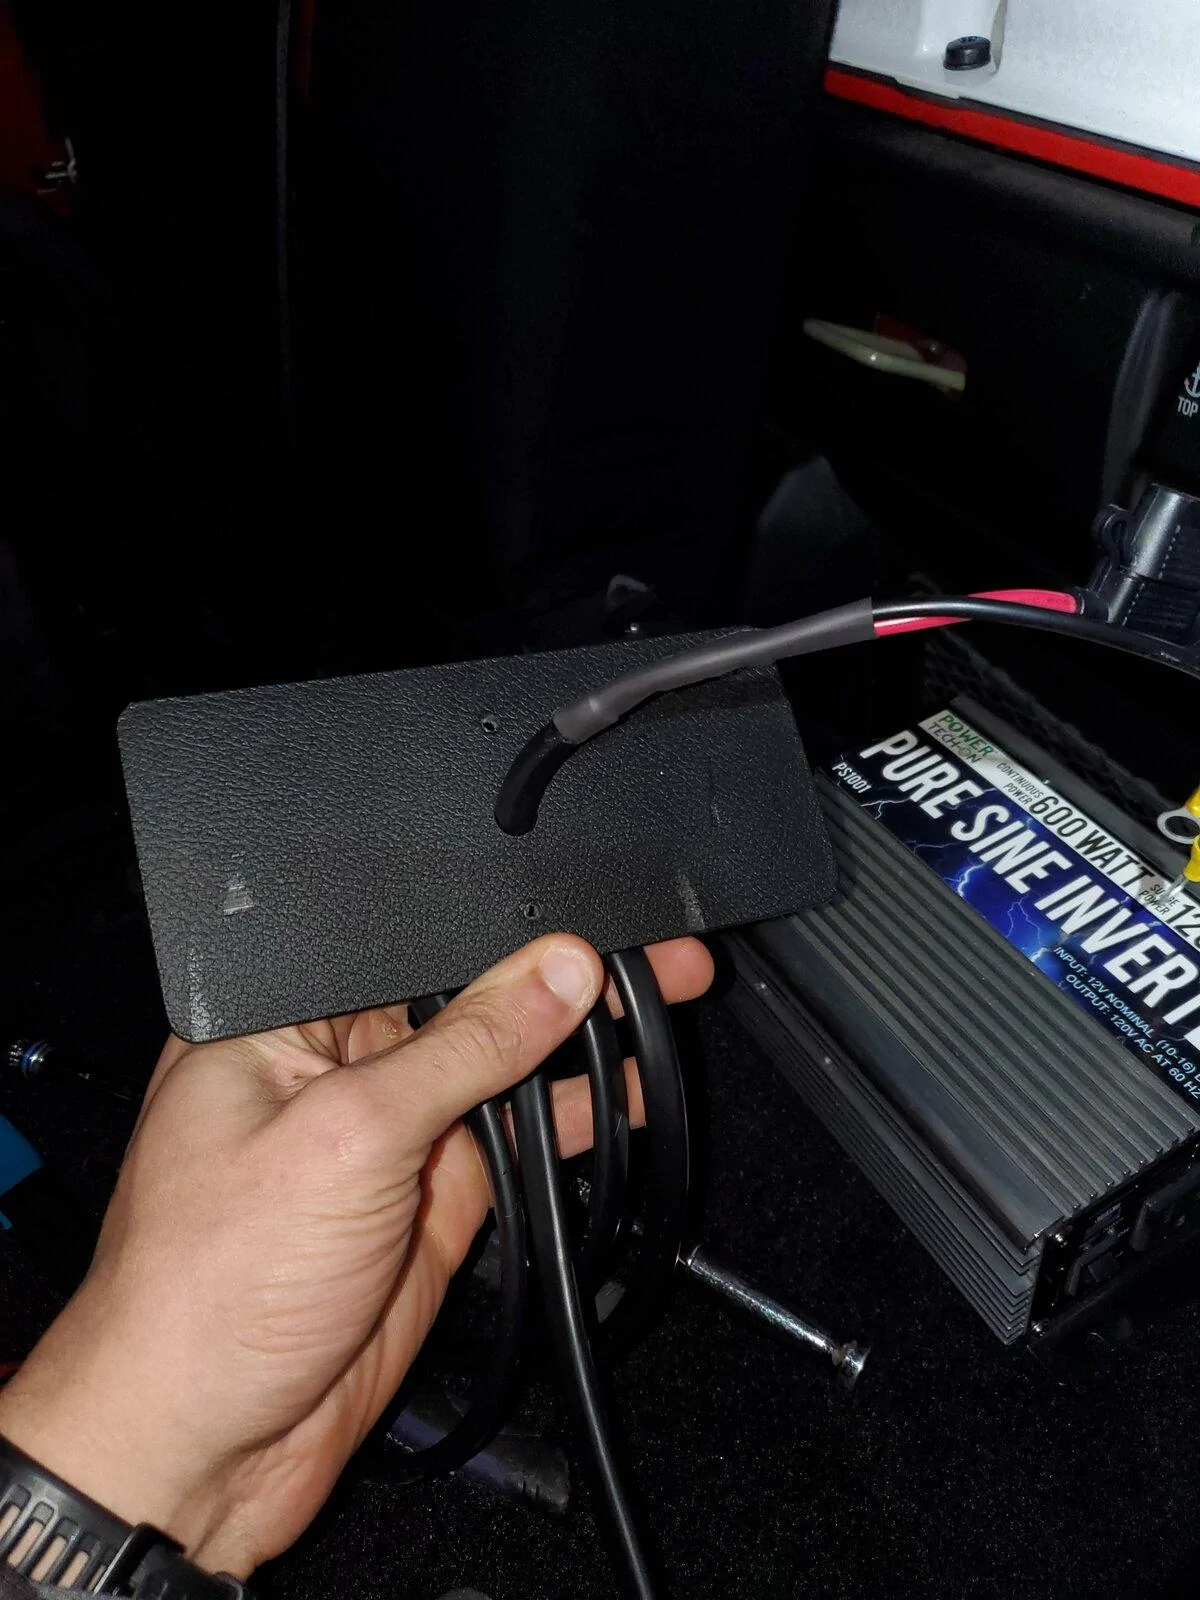
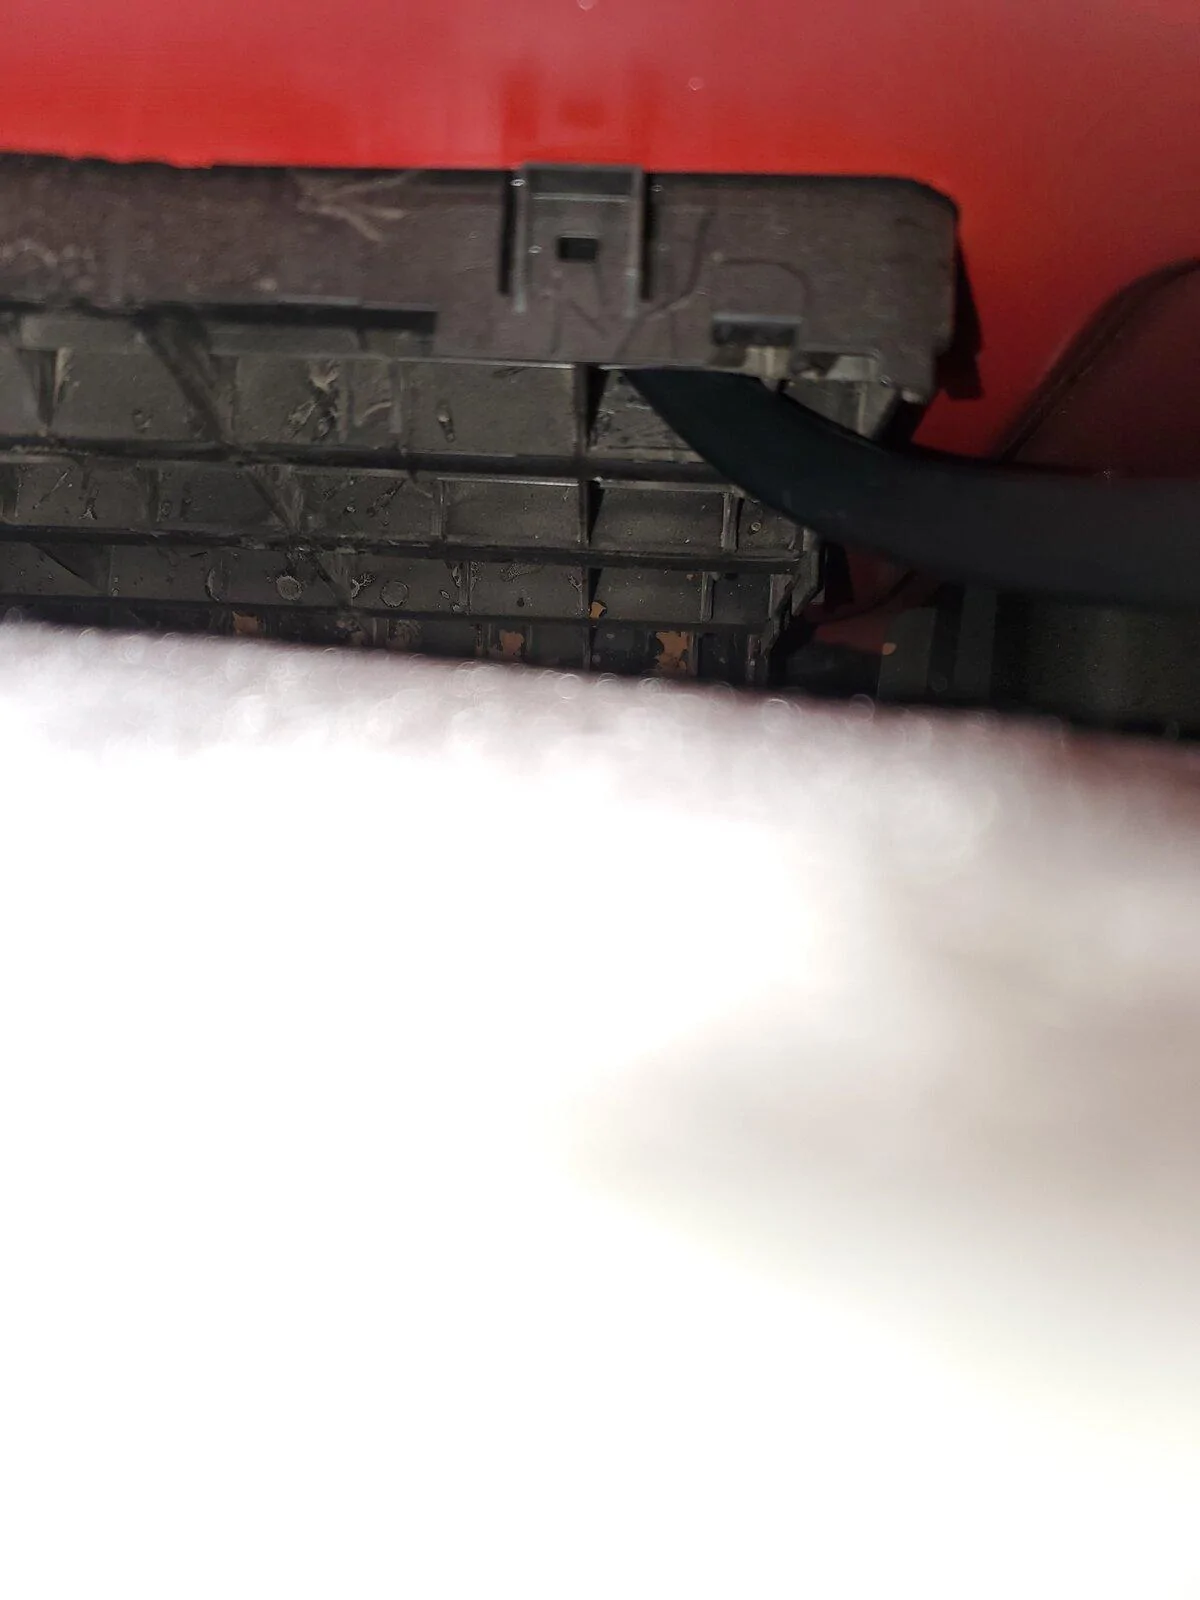
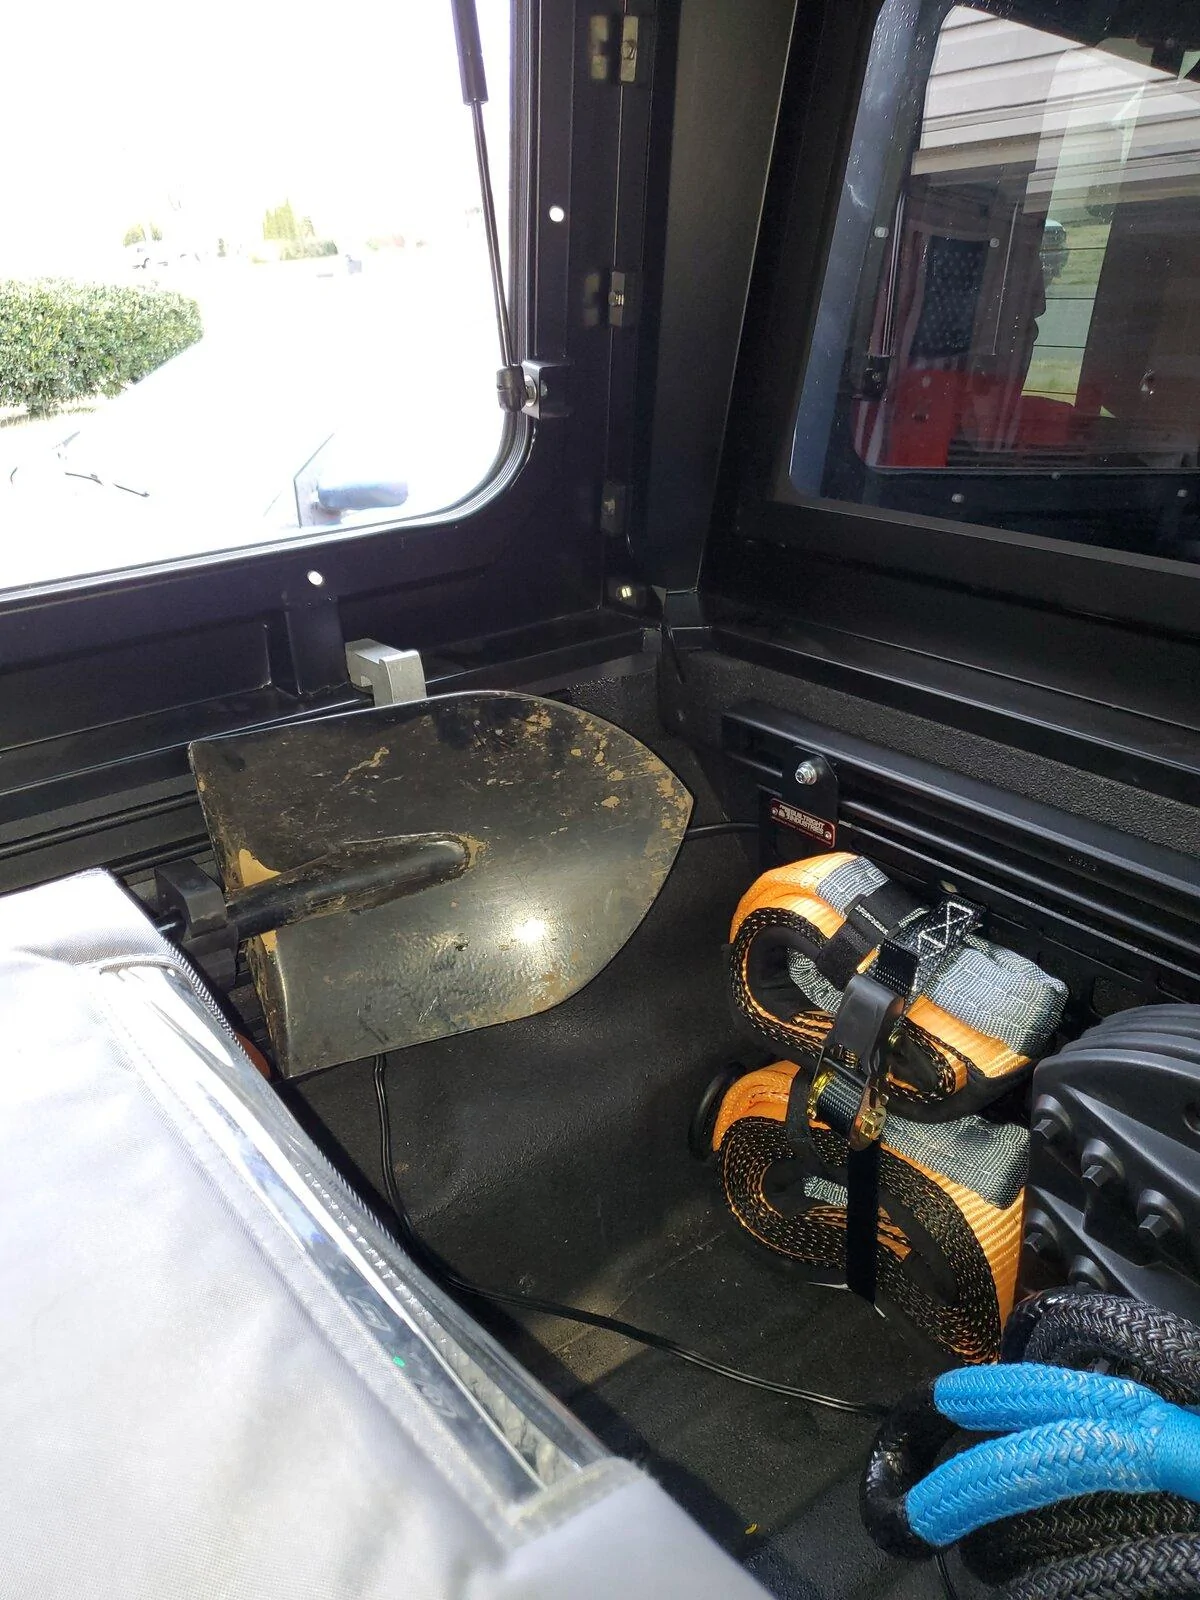
I still have it wired to the studs on my inverter, so it's still controlled/protected by the 50a circuit breaker under the hood. Adjustments made were minimal. The only other thing I had to do was drill out a small hole in the access panel that I originally had my ARB port mounted to so I could pass wires through it. From there, I just ran the wires out of the rear driver side cabin vent, under the bed and up through the access hole in the bed that is behind the front drivers side D ring in the bed. All of the wiring is well hidden, and the port itself is hidden behind my shovel when mounted.

I'm happy with the location that I decided on, because that slope on the side of the bed is otherwise unused space. It also keeps the port fairly well hidden, and in a spot where it won't be damaged.
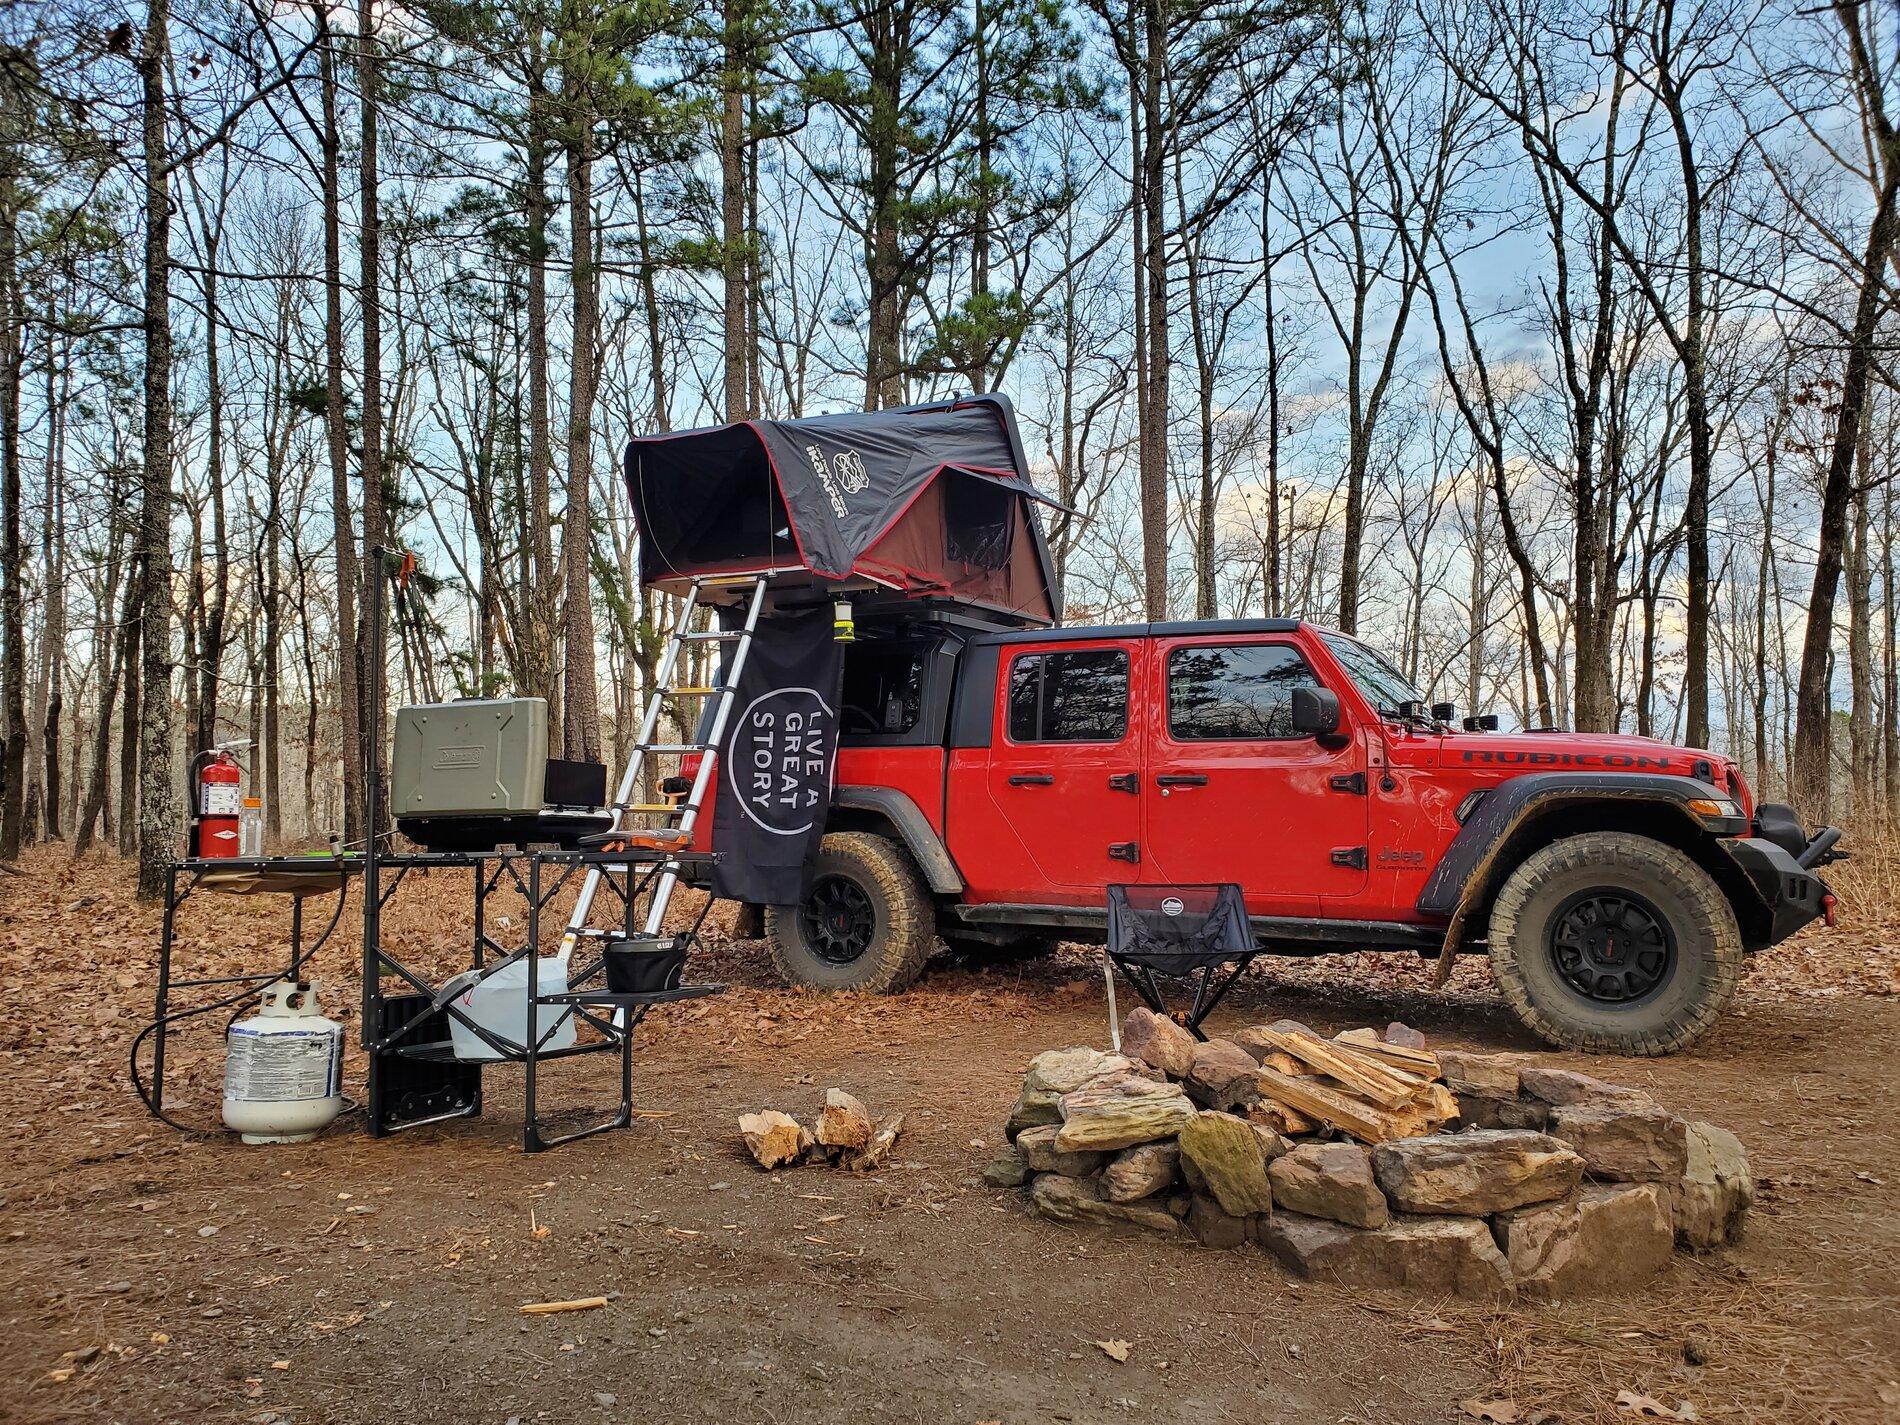
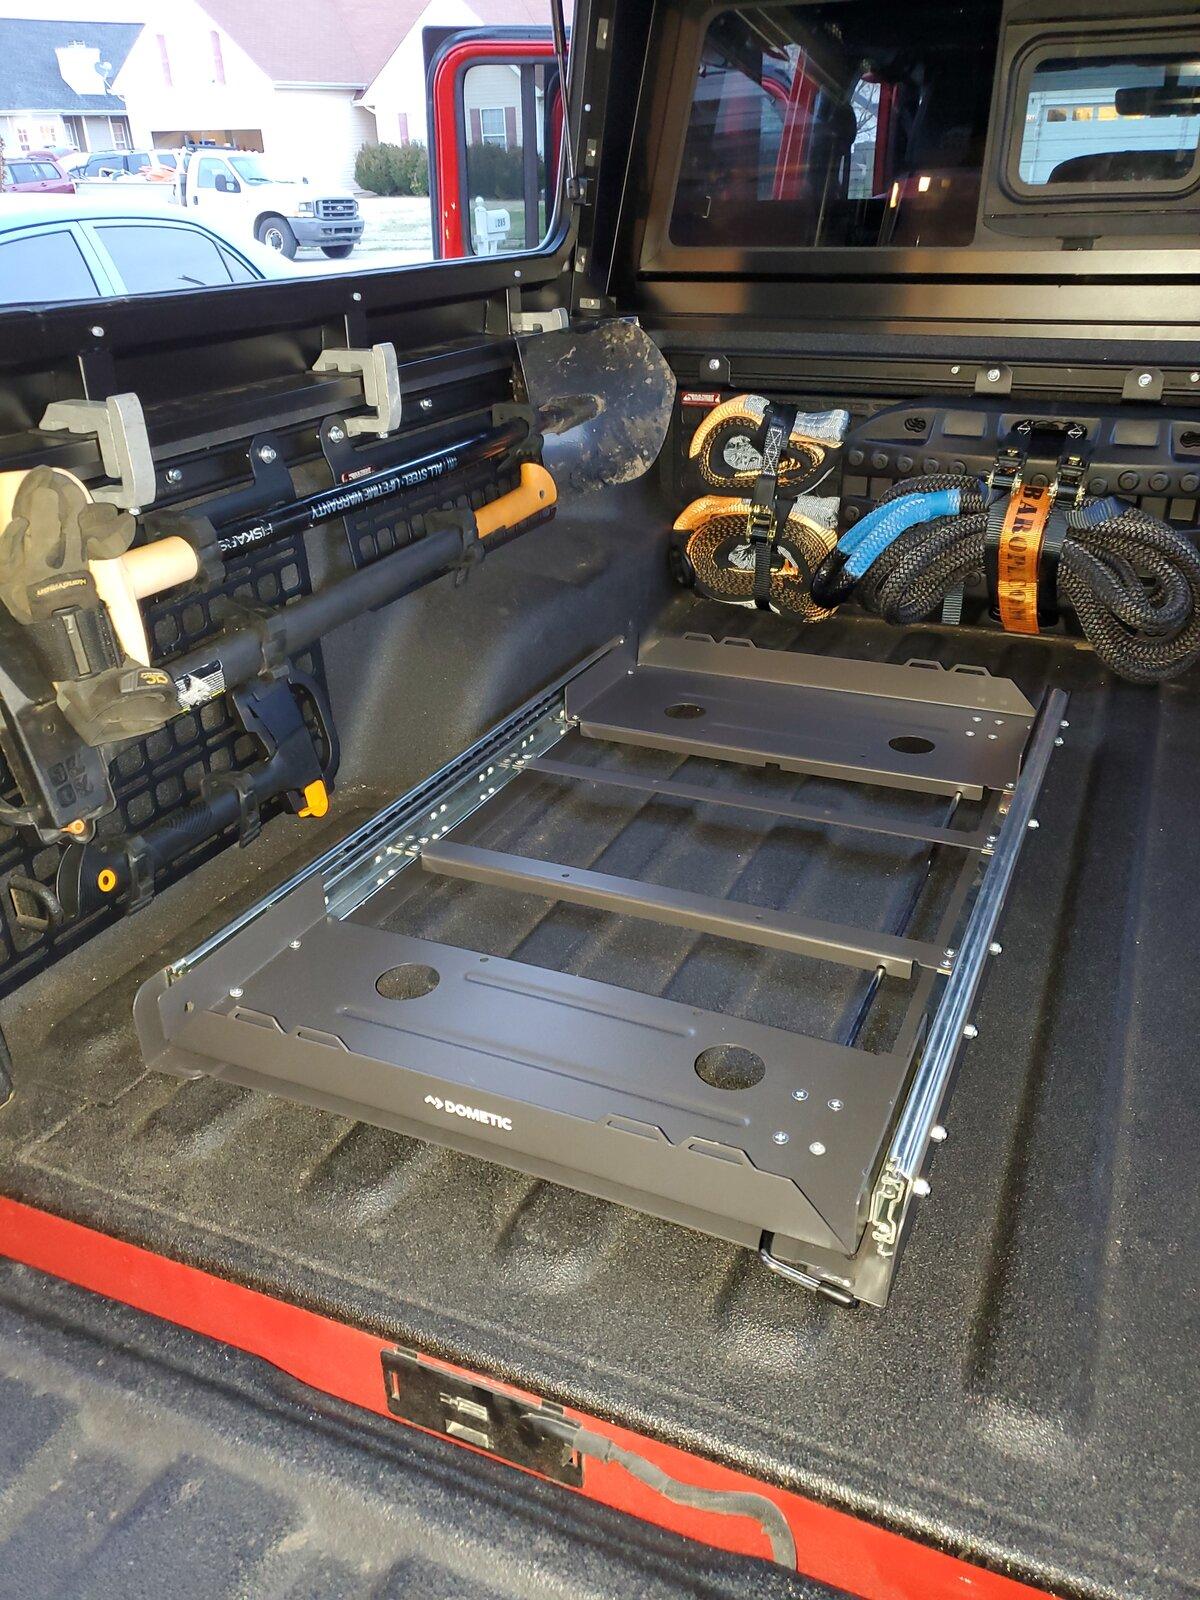
With that, I'm happy with the build as-is for my holiday shakedown trip out west. I wish I had had time to integrate the fridge slide, but I'll have to wait until the next trip to test that out.
I wish all of you and yours happy and safe holidays. Enjoy!
Thanks man!And to you also, have a Great, Safe Christmas and New Years! And, you were right, that is a big frig...how many liters?