Dew.J
Member
- First Name
- Jeff
- Joined
- Jan 7, 2021
- Threads
- 3
- Messages
- 17
- Reaction score
- 14
- Location
- Minneapolis, MN
- Vehicle(s)
- Gladiator Sport S
- Thread starter
- #1
First thing... this is only a 95% complete DIY, but if you follow this you’ll have everything you need to take it the rest of the way. Why didn‘t I finish it, well it seems I’m to tall to have a headliner unless I add something to raise it higher than the roll bars. So if you’re tall, probably not the best for you.
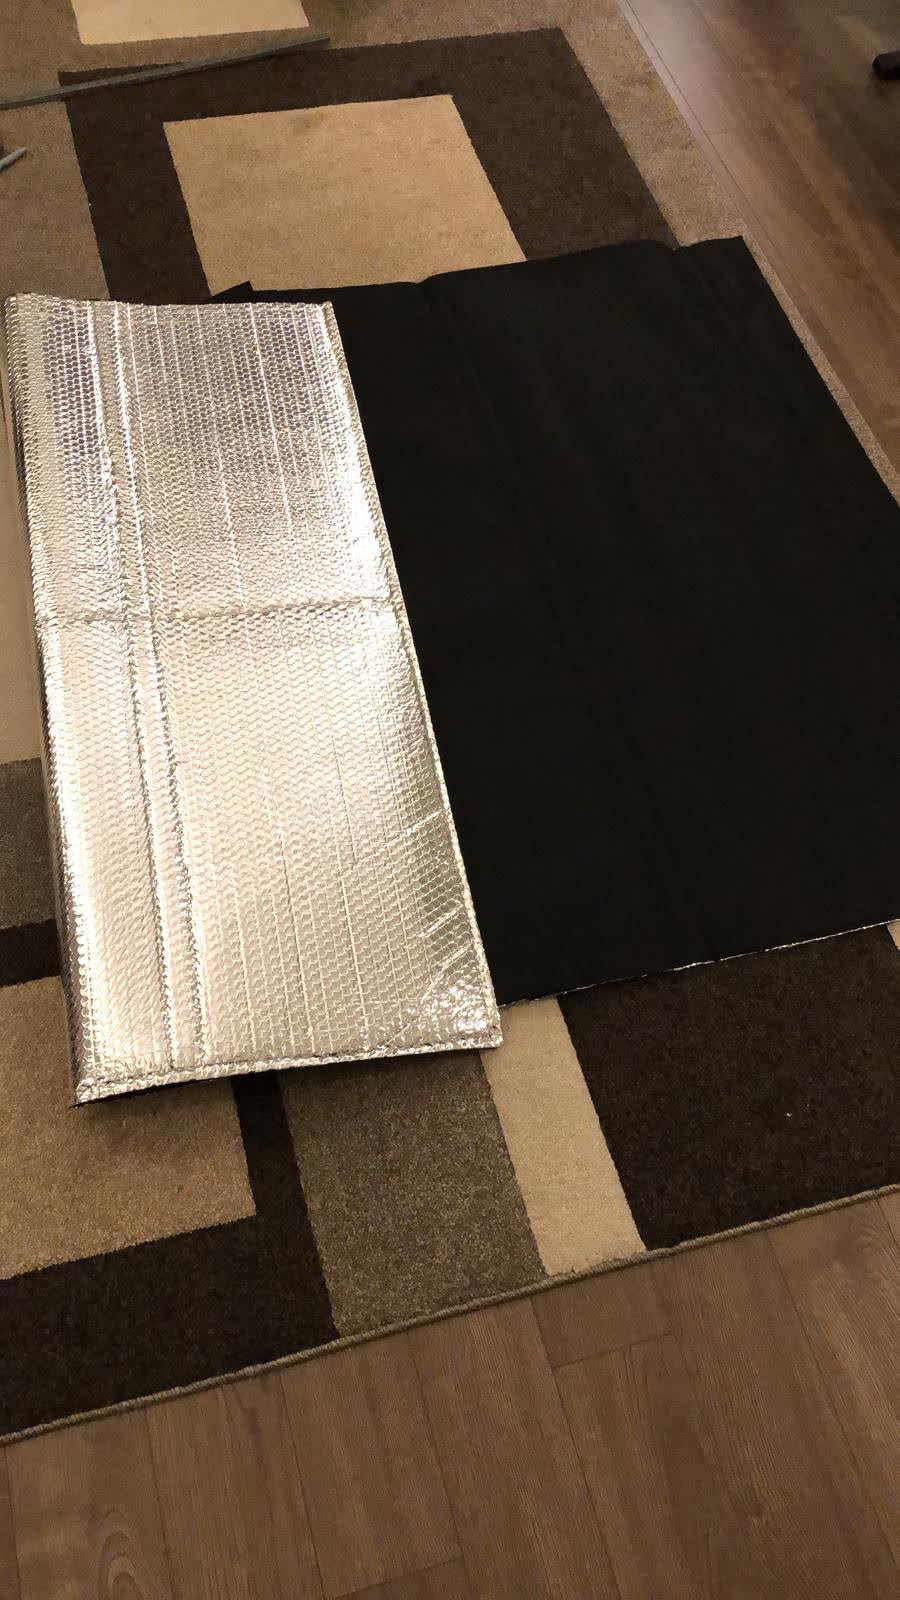
My intention with this was to put a buffer to stop that occasional pressure wave you get on windy days or when behind large vehicles and I was bored. You could add reflective foil, like a space blankets, to this to get some heat shielding similar to hotheads but in a unsealed environment not really sure the benefit.
So let’s get to it. Approximate cost all in $50

Materials list:
2 yards of felt
8 Extra large eyelets
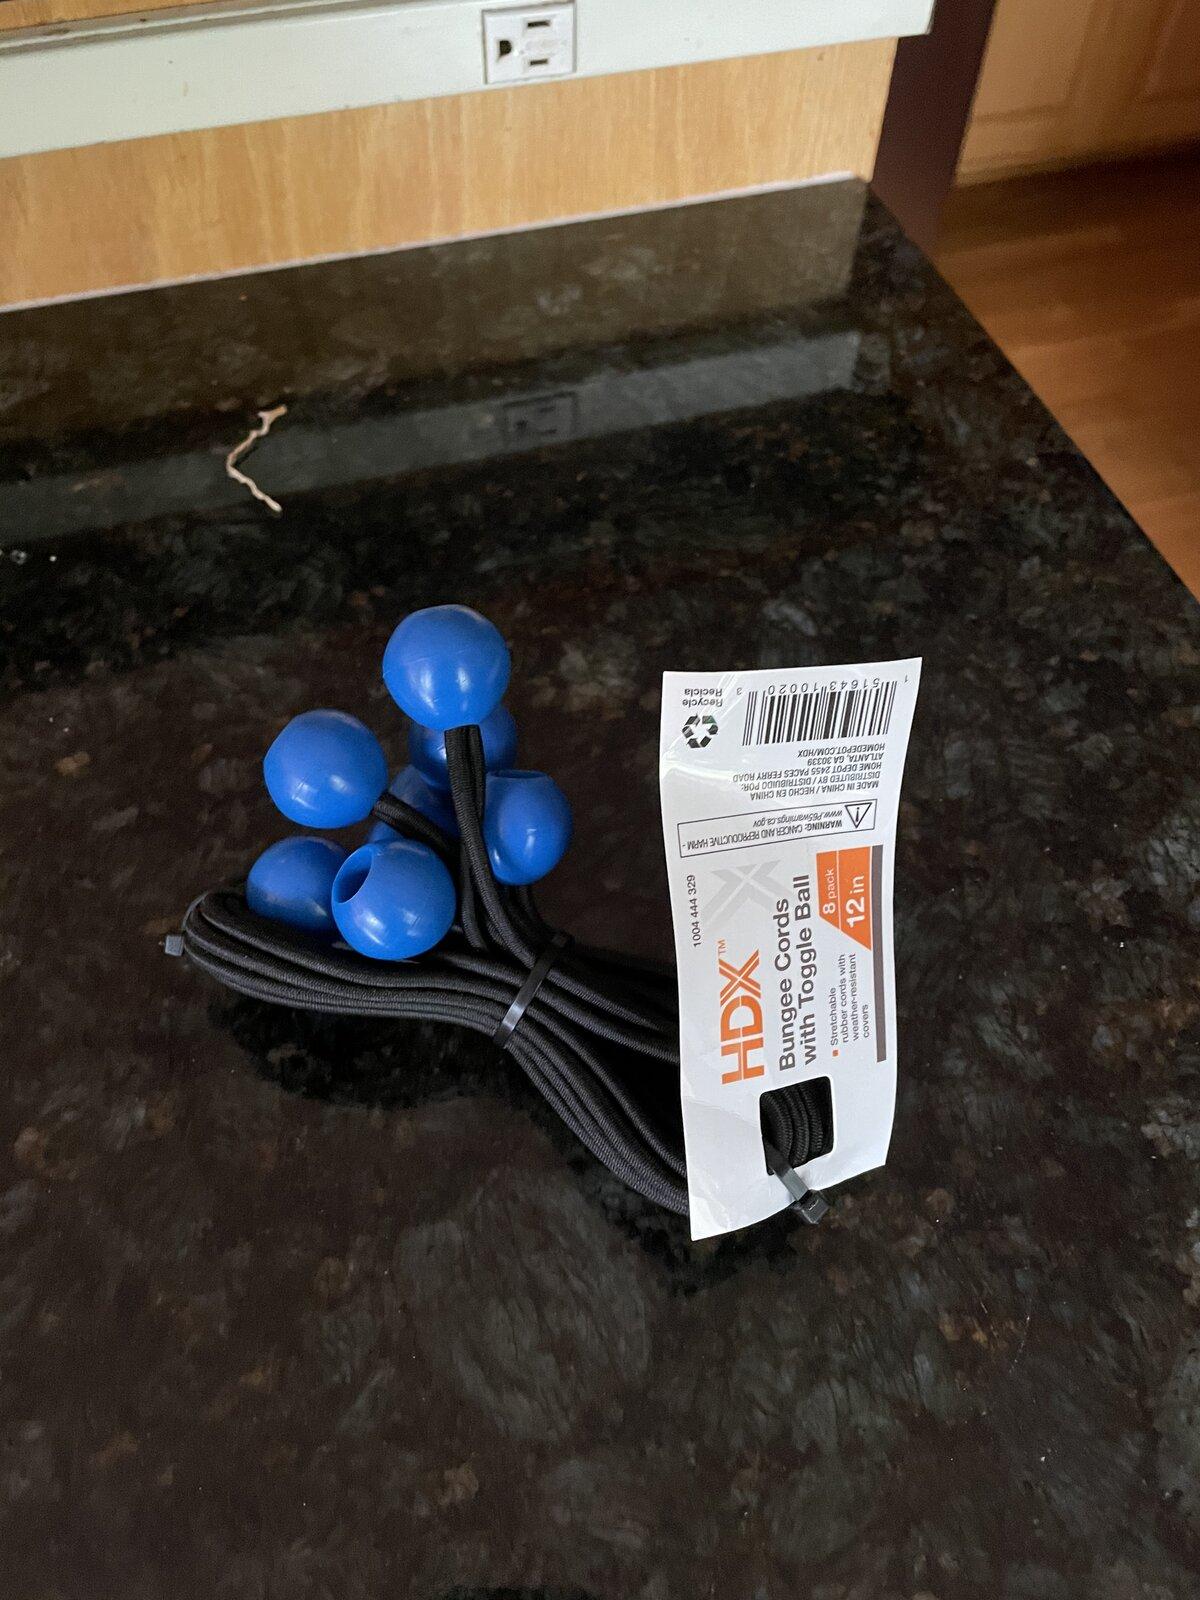
8 bungee with ball
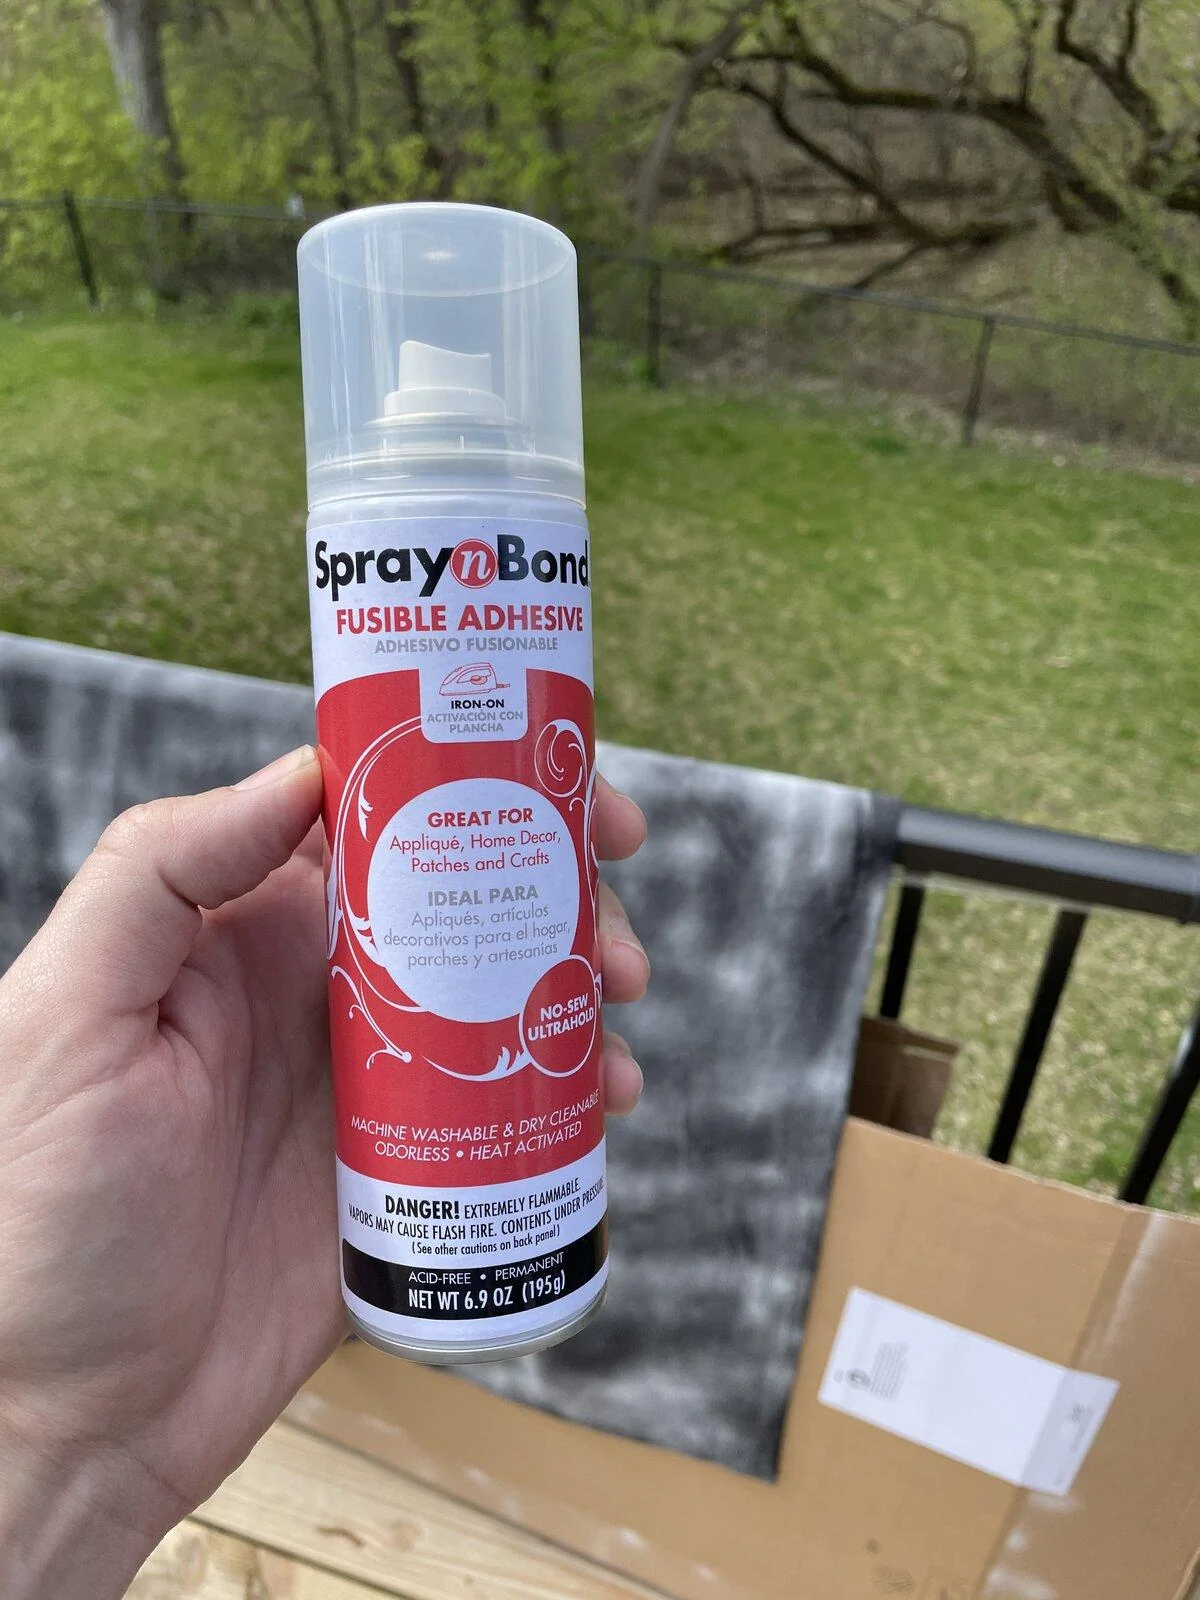
Fabric spray glue
Tools:
sewing machine (or needle and thread)
sewing pins
eyelets anvil and setter
iron
scissors
measuring tape
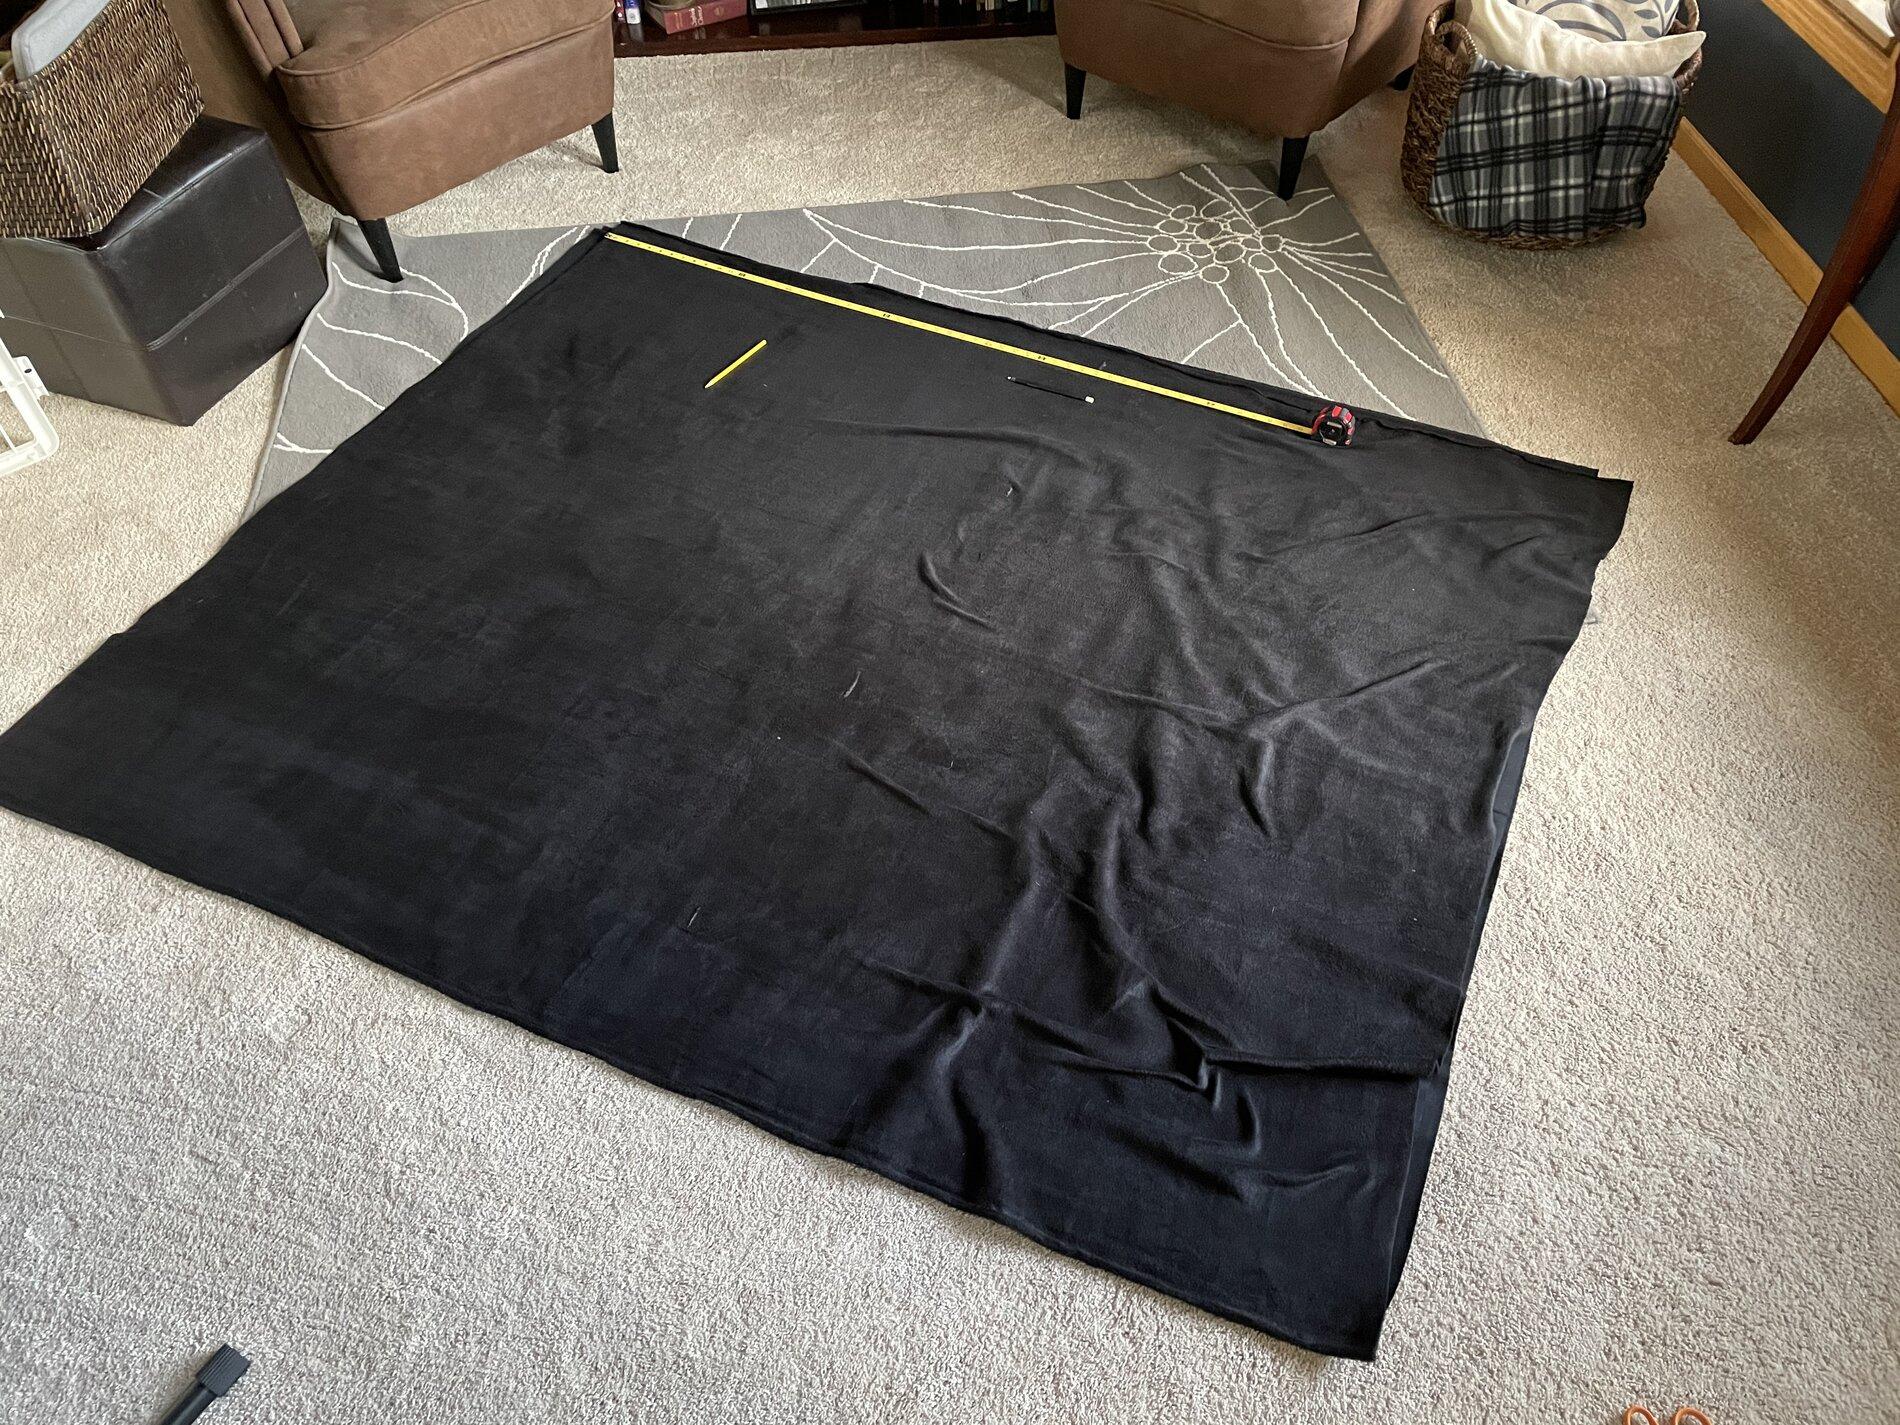
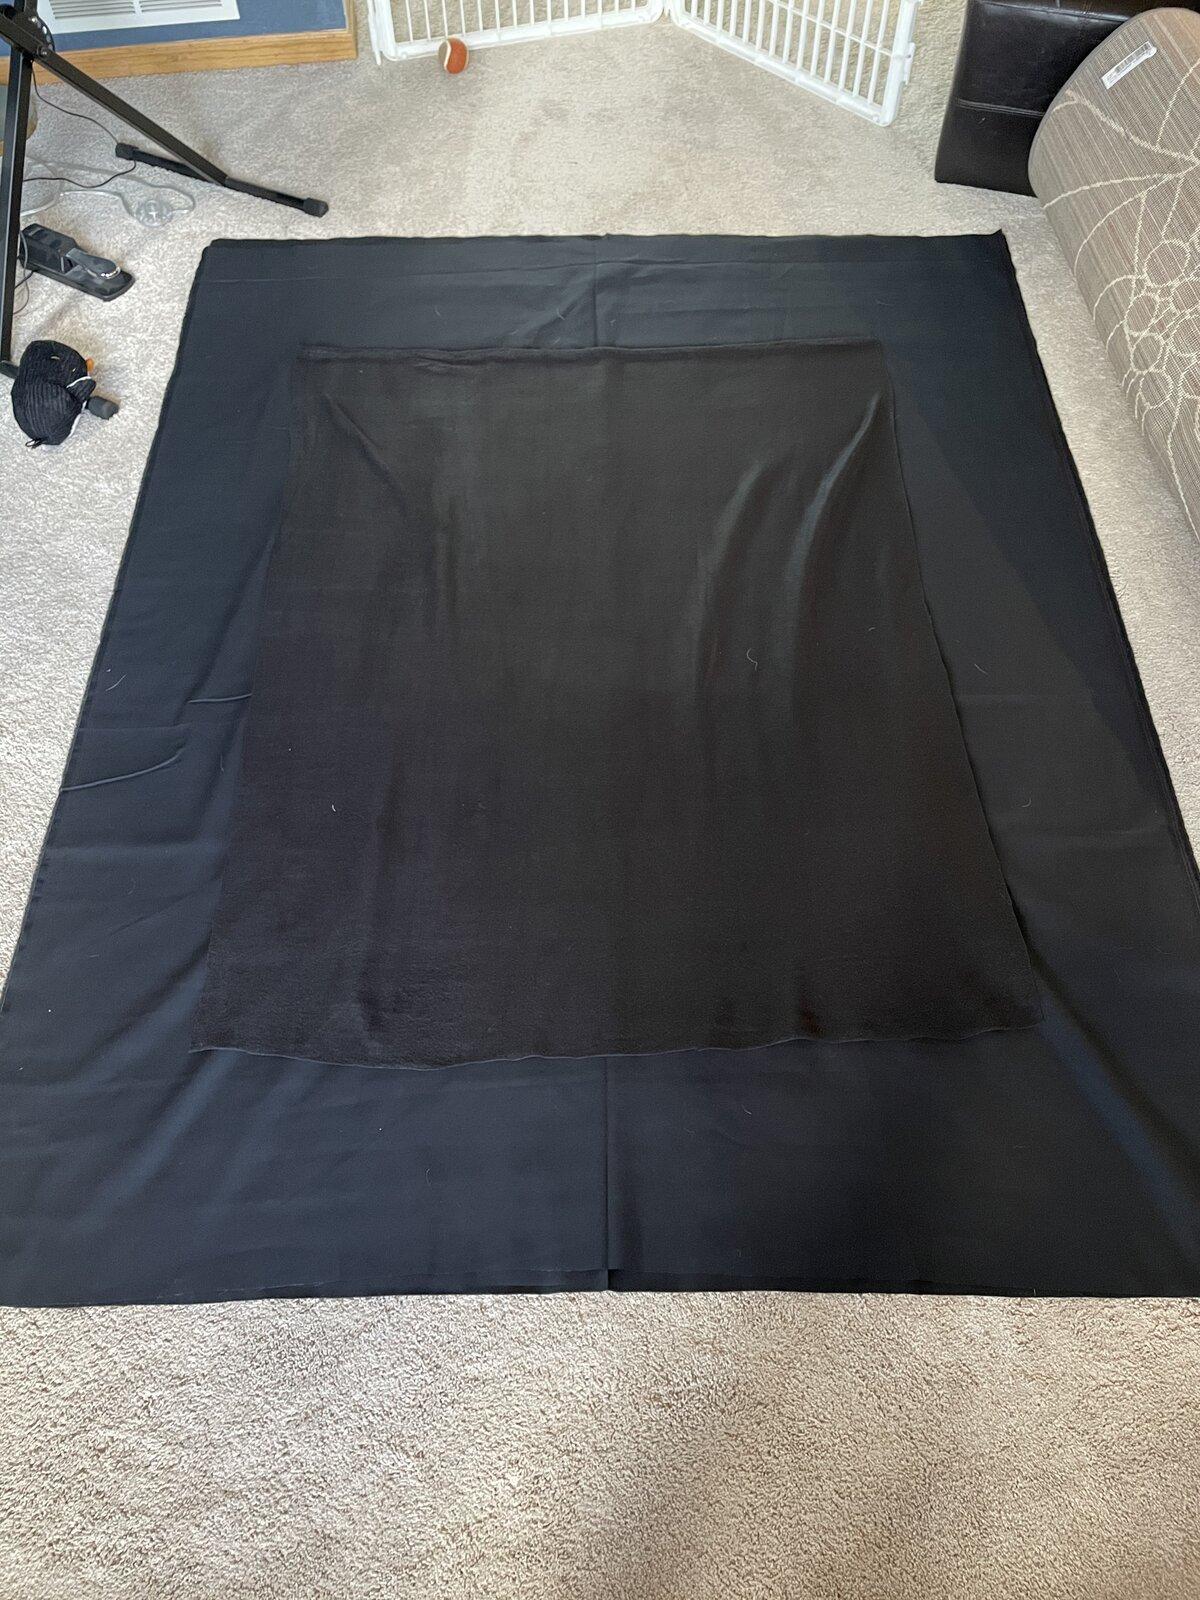
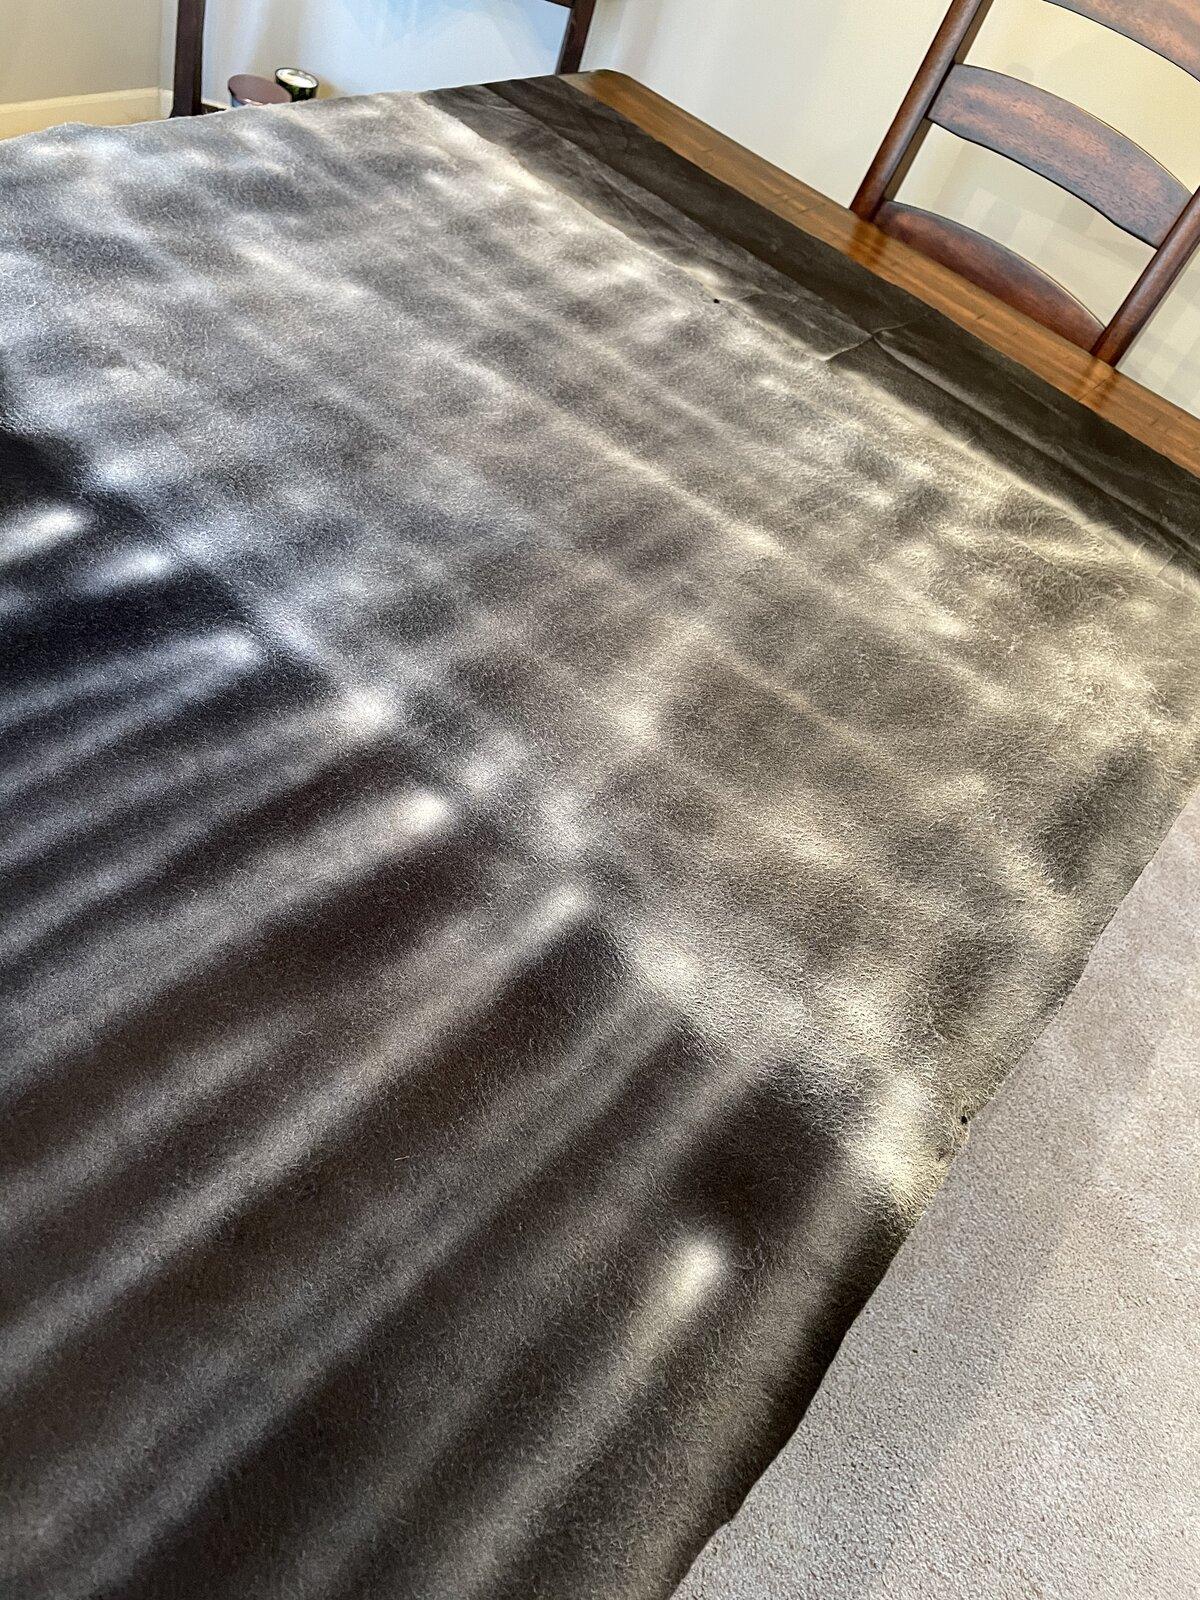
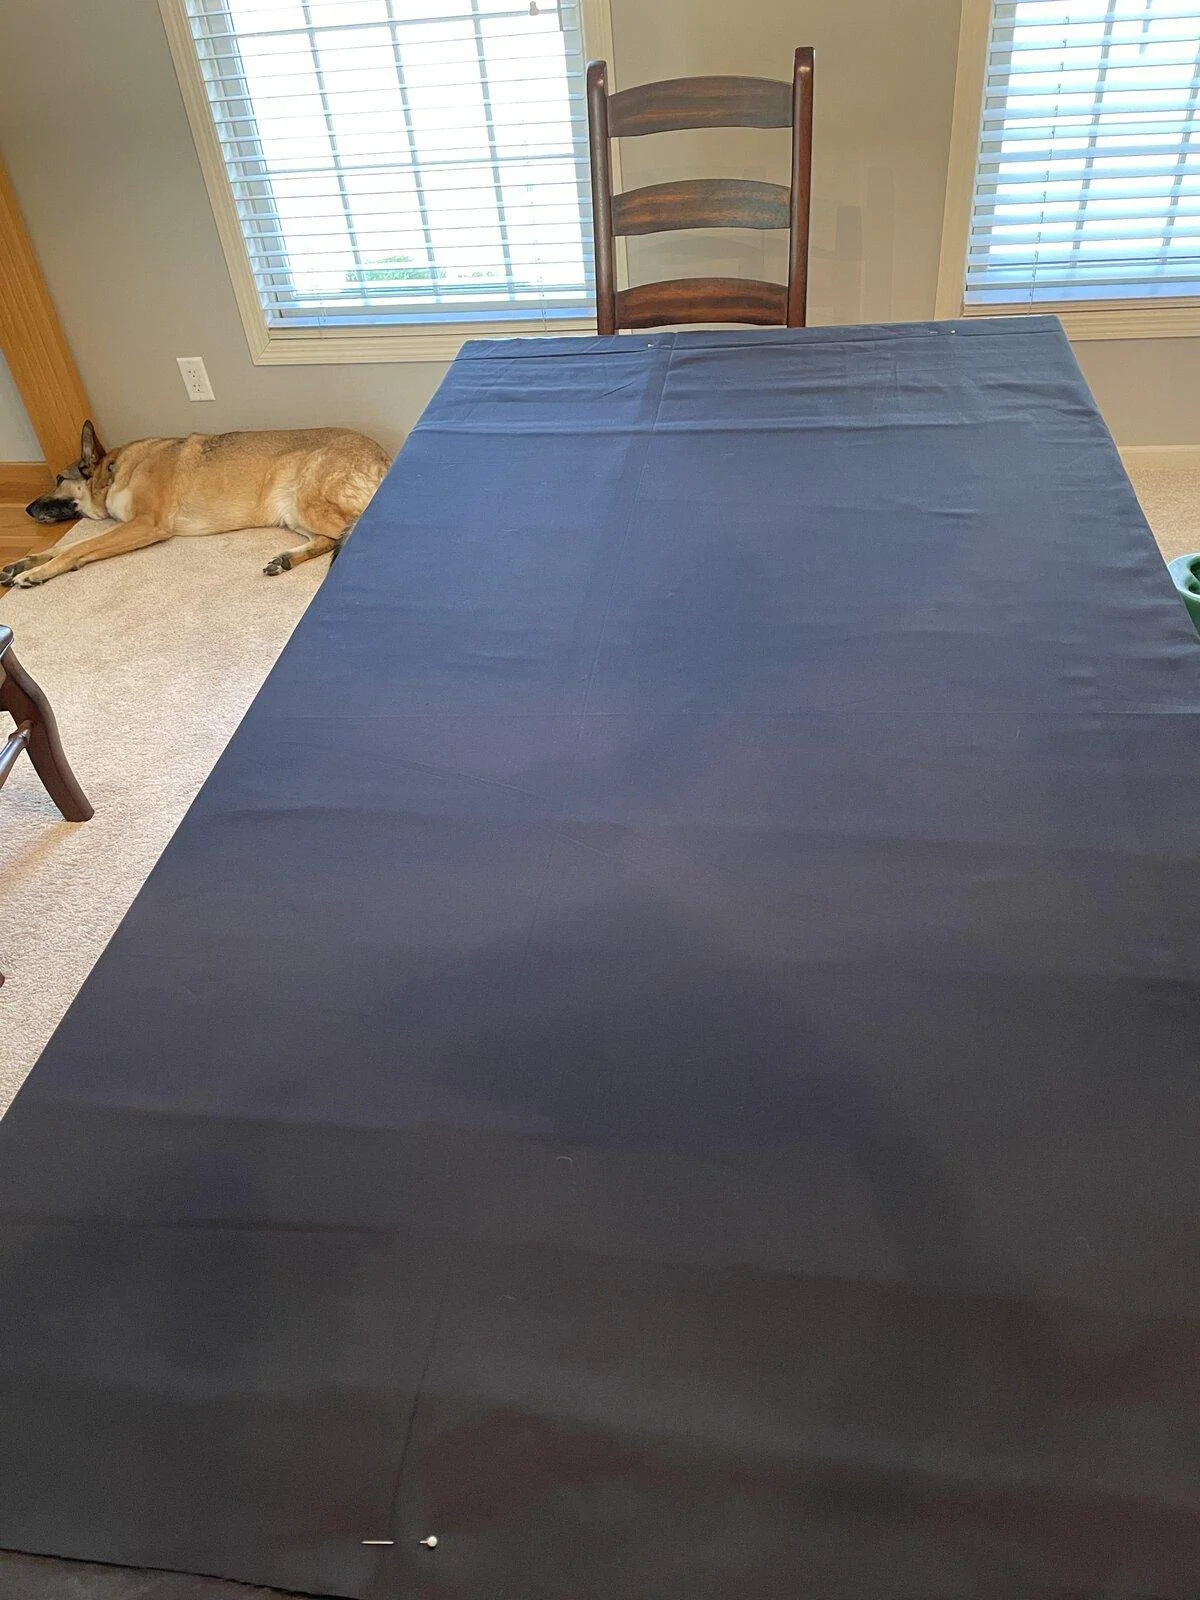
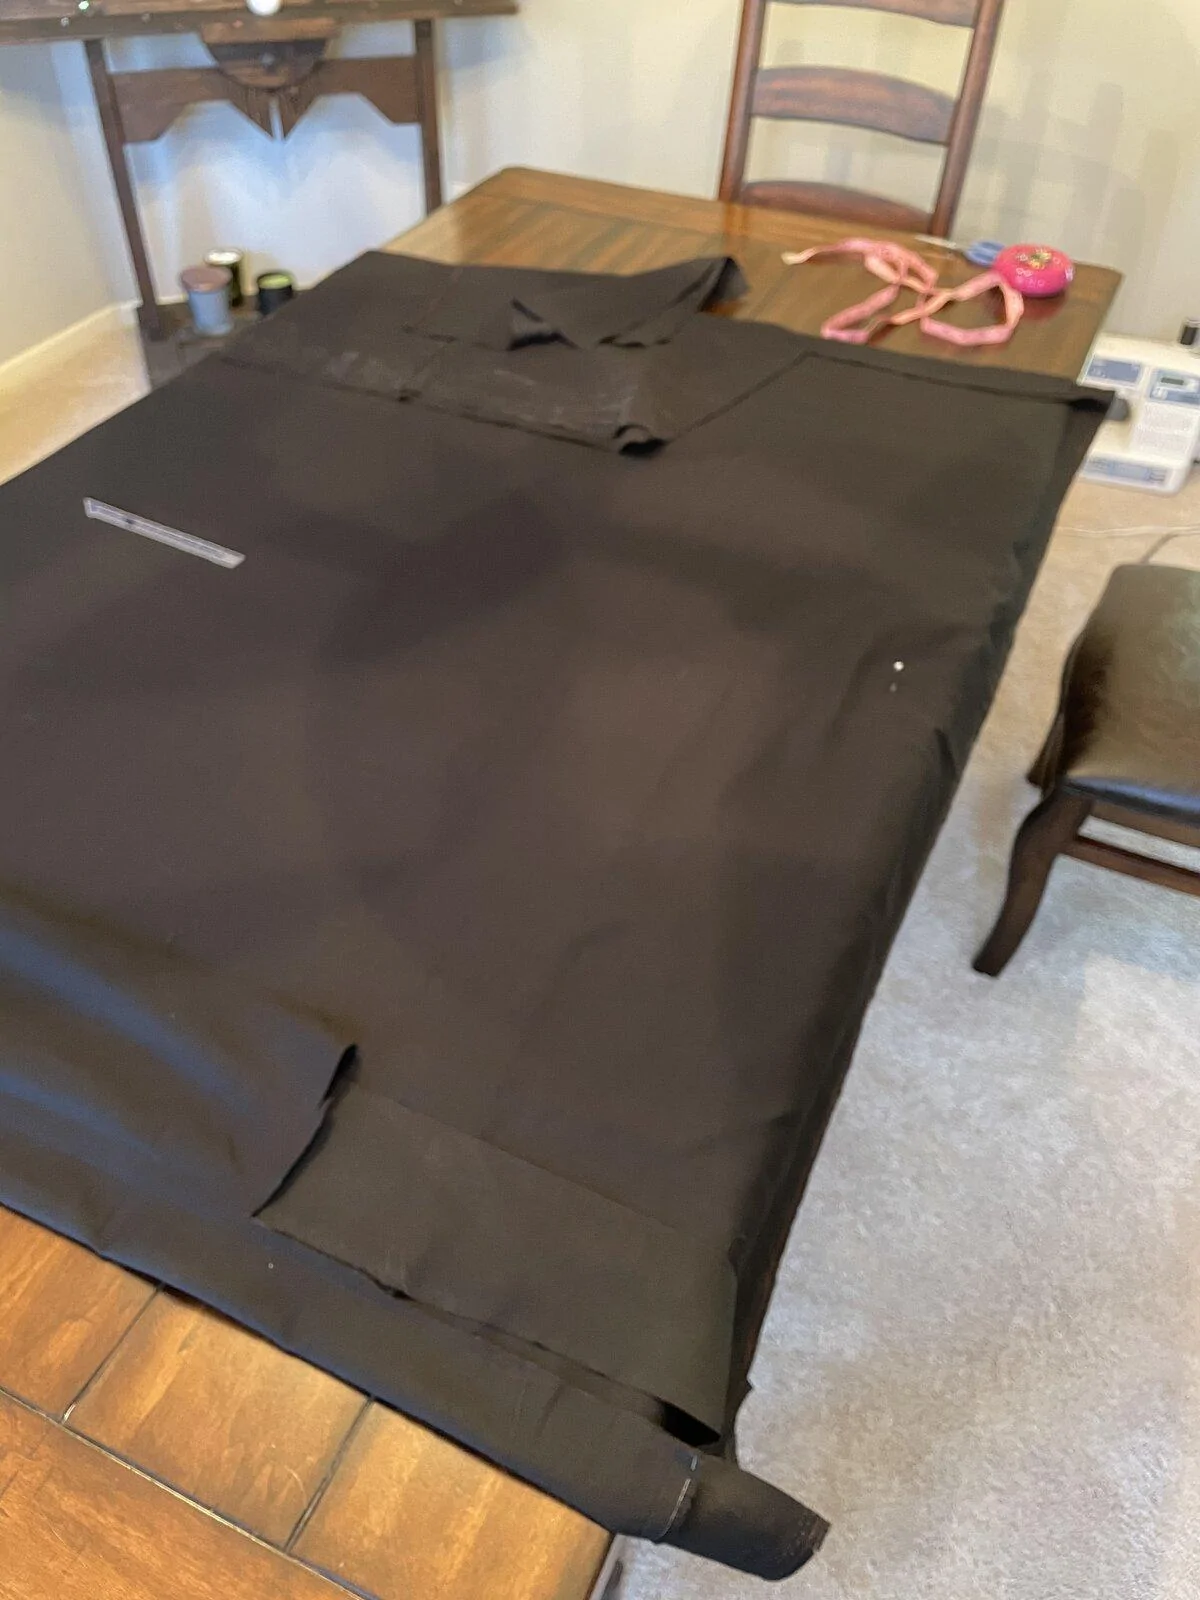
First thing is figuring out the size. I decided on 42” x 52”. This put it about an inch inside the roll bars. If I didn’t it again I would probably go with 46” wide as it would put it so it touched each roll bar. I laid out the canvas and cut it into two pieces. It doesn’t need to be the correct dimensions here as long as it’s larger. We will cut it down later. If you are going to cut it down to make it more manageable make sure to keep at least 3” of extra fabric on each side.

Next thing is to cut the felt (or whatever you decided to stuff it with). I decided that I was going to do a 1.5” edge on each side. I wasn’t sure the sewing machine could go through all the layers of materials so I cut the felt short. I cut the felt to 39” x 49”.
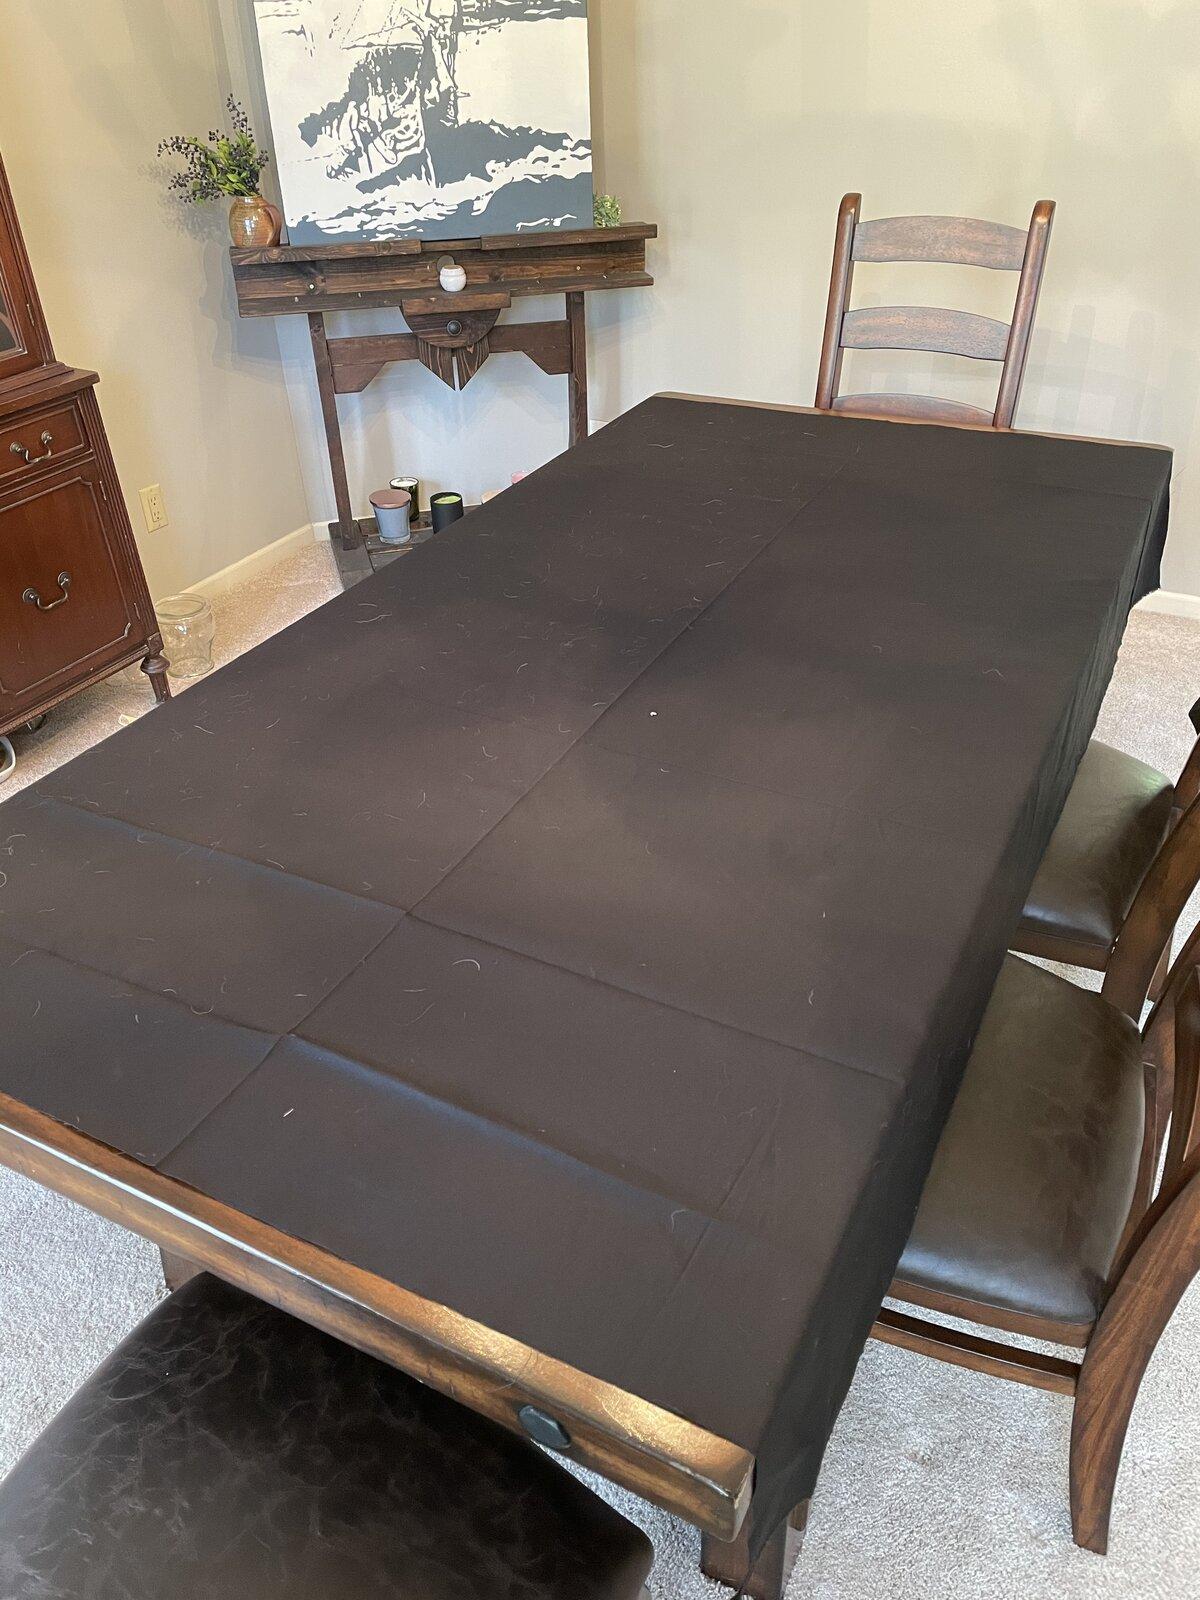
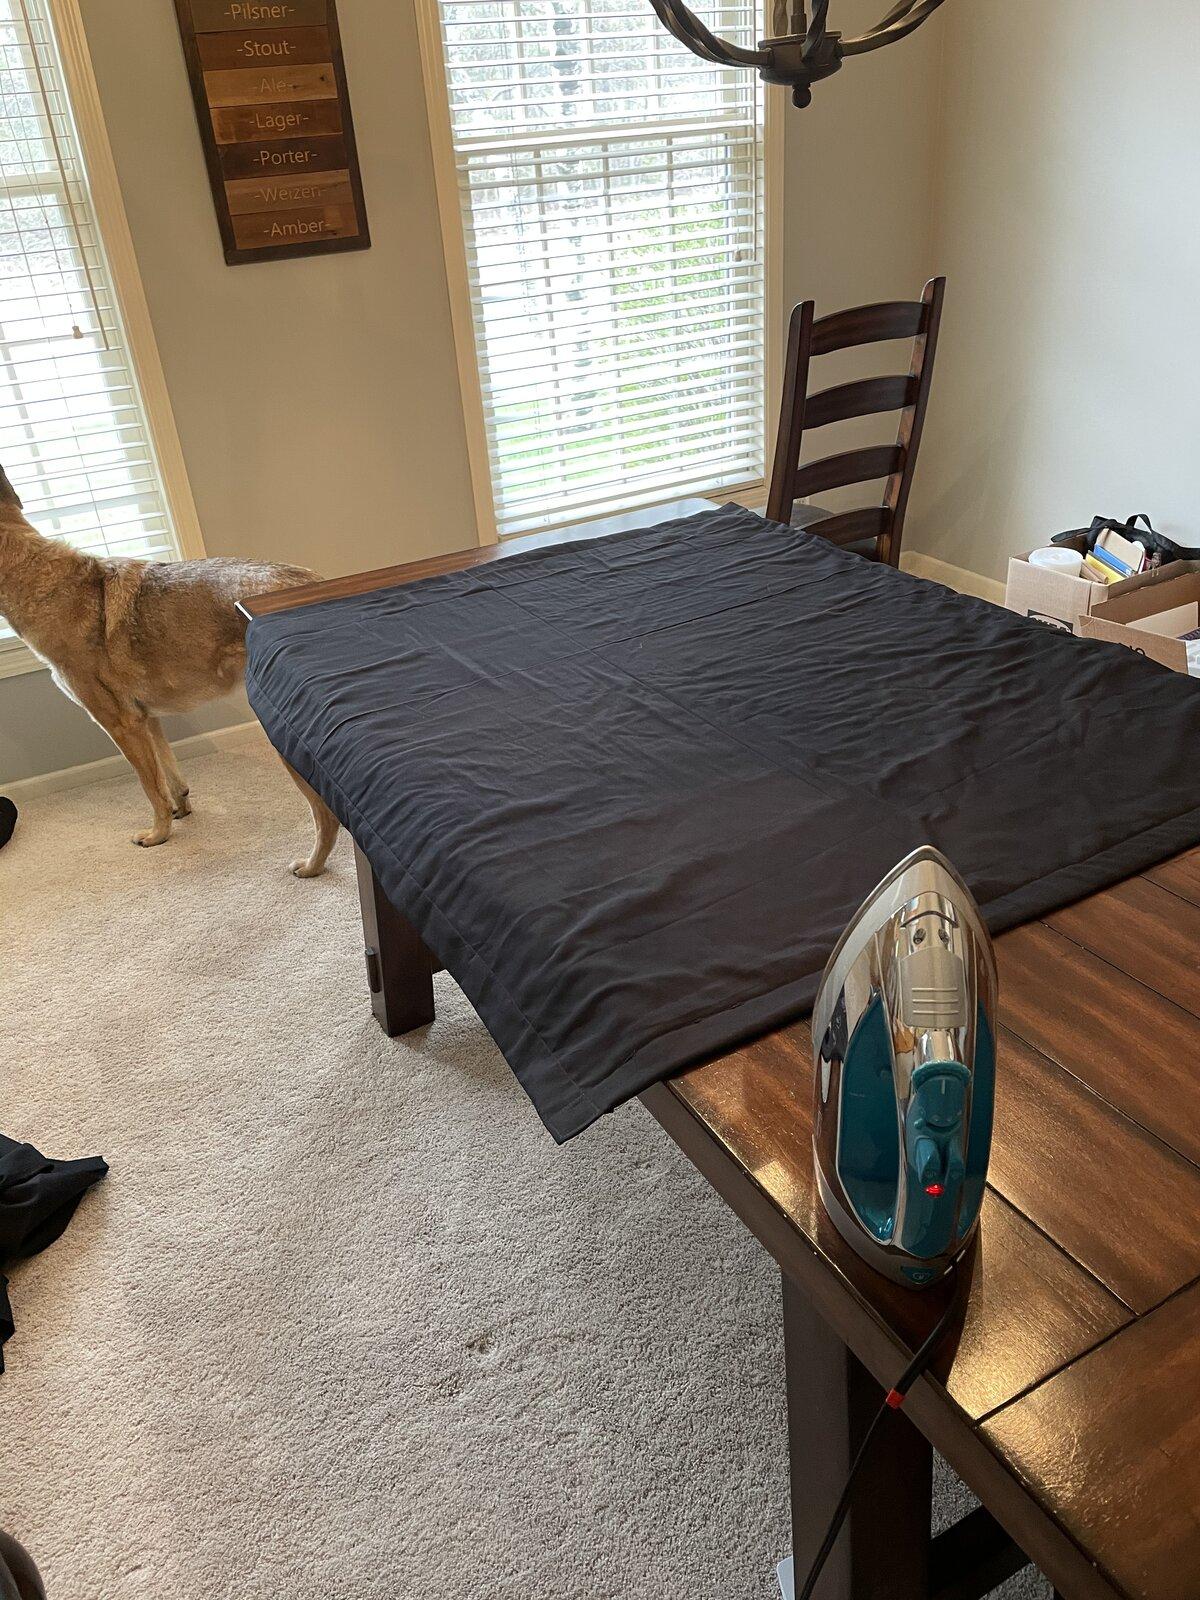
I moved the material to a flat surface for the next step as we will be ironing. Also had to do some lint rolling.
Next step is to glue the felt to the canvas. I took the felt outside for this as the spray glue tends to go everywhere. At this stage, only spray one side of the felt with glue.
Follow the directions for the glue then bring the felt back inside and lay it glue side down on the canvas. This will end up being the inside of the canvas so if there is a pattern or something make sure it is face side down on the table if you want it to show.
Now we need to iron the two pieces together to activate the glue. Big note here... felt will melt under the iron so be careful at this stage. We just need the glue to be tacky enough so we can move the whole piece.
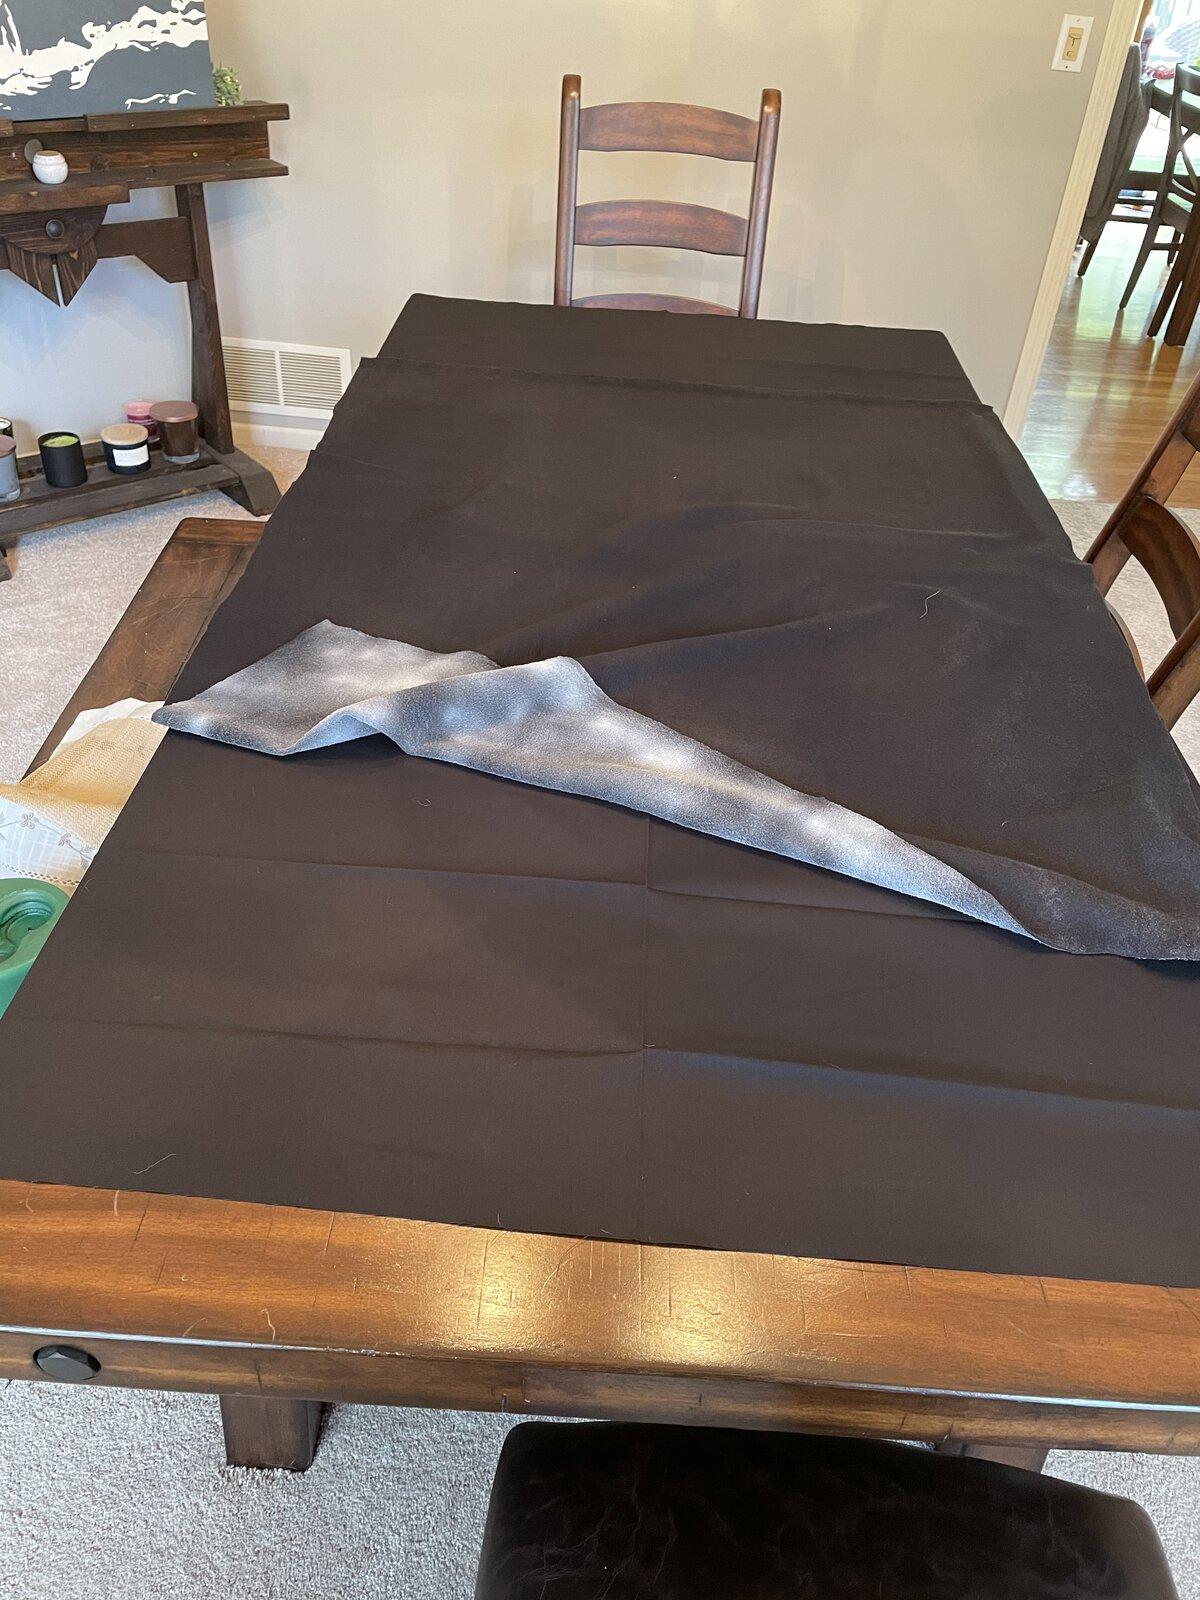
After we are satisfied that it the pieces will stay together enough to handle, take it back outside for the next round of glue. Again follow the glue directions and then bring it back in onto the table glue side up.
If you are adding something else do this now and repeat the previous step with the glue. If you did a foil layer, you might need a different glue at this step. Now lay the second piece of canvas over the two. If you left plenty of extra material, then lining them up perfectly doesn’t matter. At this point, we iron the crap out of it. Now that the felt is sandwiched, it doesn’t really matter if it melts. The canvas should be fine to take the heat. If you added an additional material to the sandwich be mindful of that with the iron temps. I only ironed the one side at this stage. We will get the other side of the canvas later.
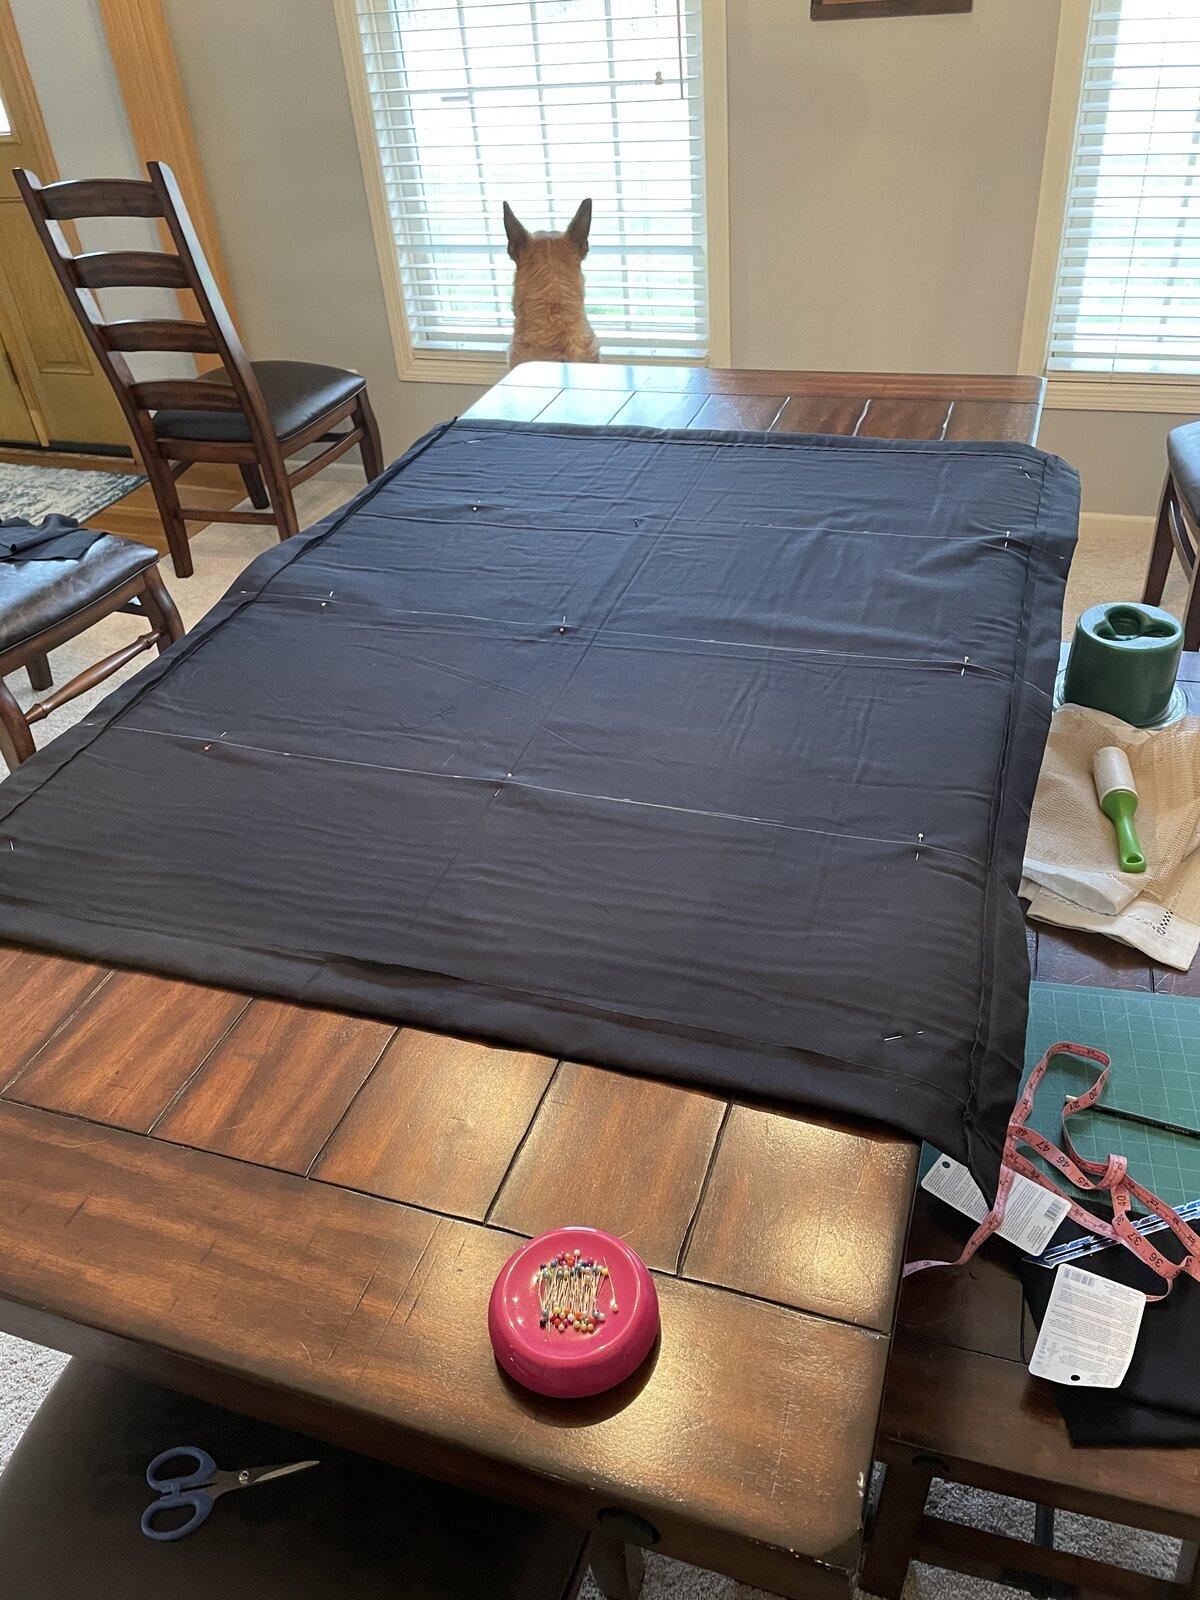
Now time to measure, fold, and pin. I measured 1.5” off the felt (slid my hand back and forth to feel the felt edge in the sandwich) and placed pins to determine the fold point. Then I folded it at the pins and placed new pins along the felt line to hold the fabric and provide a guide to sew along. Make sure to pull the fold pins as you pin the edge otherwise you’ll end up sewing them up in the edge.
Don’t sew anything yet, I know it’s the part everyone is waiting for, Joy!!! To get the correct measure to the opposing side, measure from the edge of the pinned side and place pins at the new fold line. Similar to the previous side, fold and pin remembering to remove the fold pins. Measure the overall dimension and make sure it meets the dimension you were going for. Also a good time to make sure the felt is centered if your initial cuts were not spot on. If your satisfied, sew it up. I just did a simple running stitch being careful to stay off the felt. This is more due to limitations of the machine not a design thing.
Following the same steps as above, form and sew the 2 remaining sides. While in the process trim back the edges if the sewn side at each corner. This will reduce the amount of material that must be sewn.
Alright now we got something that’s starting to look like something. Trim the excess fabric making sure not to get to close to the seems. Carefully flip the piece over. The insides may not be perfectly adhered and we don’t want them to shift. Now iron the crap out of it... again.
Next we will add some pleats to keep the material in place. I ran mine so they would go left to right (driver side to passenger side) as this is the way the material will be tensioned.
I also ran a small cross stitch diagonally in each corner for extra security.
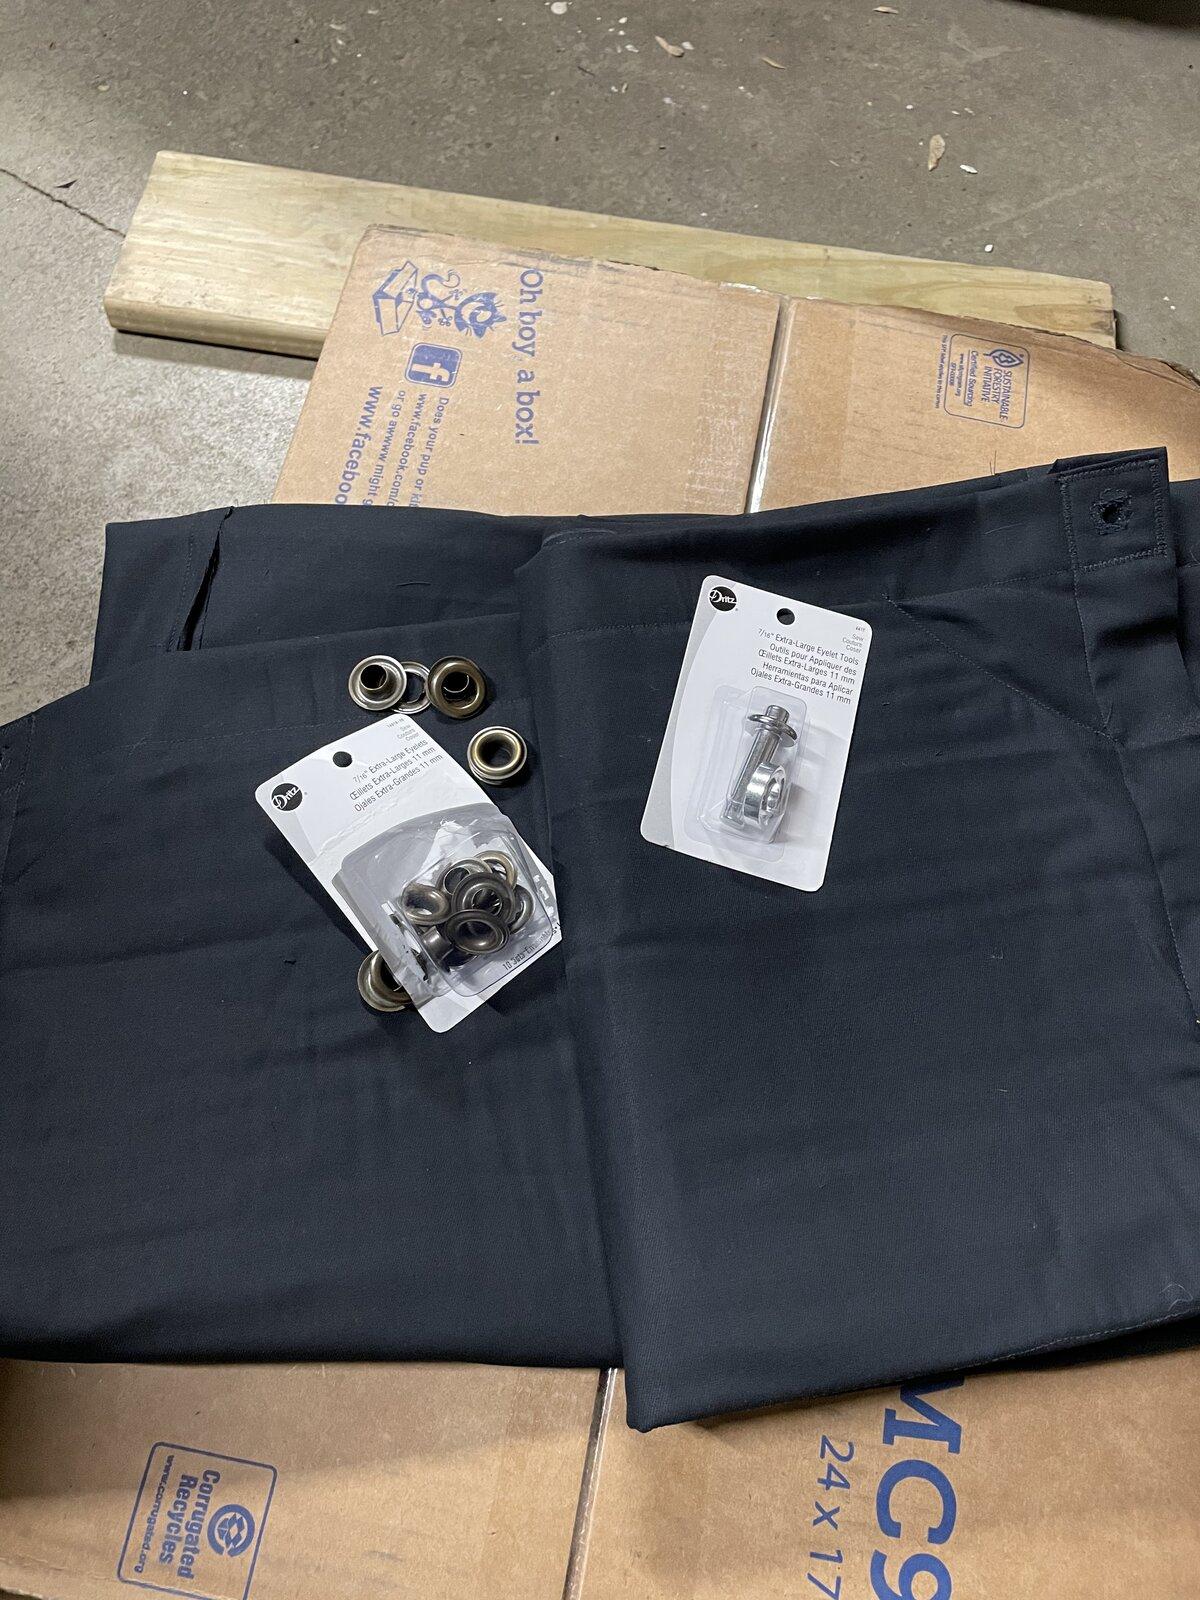
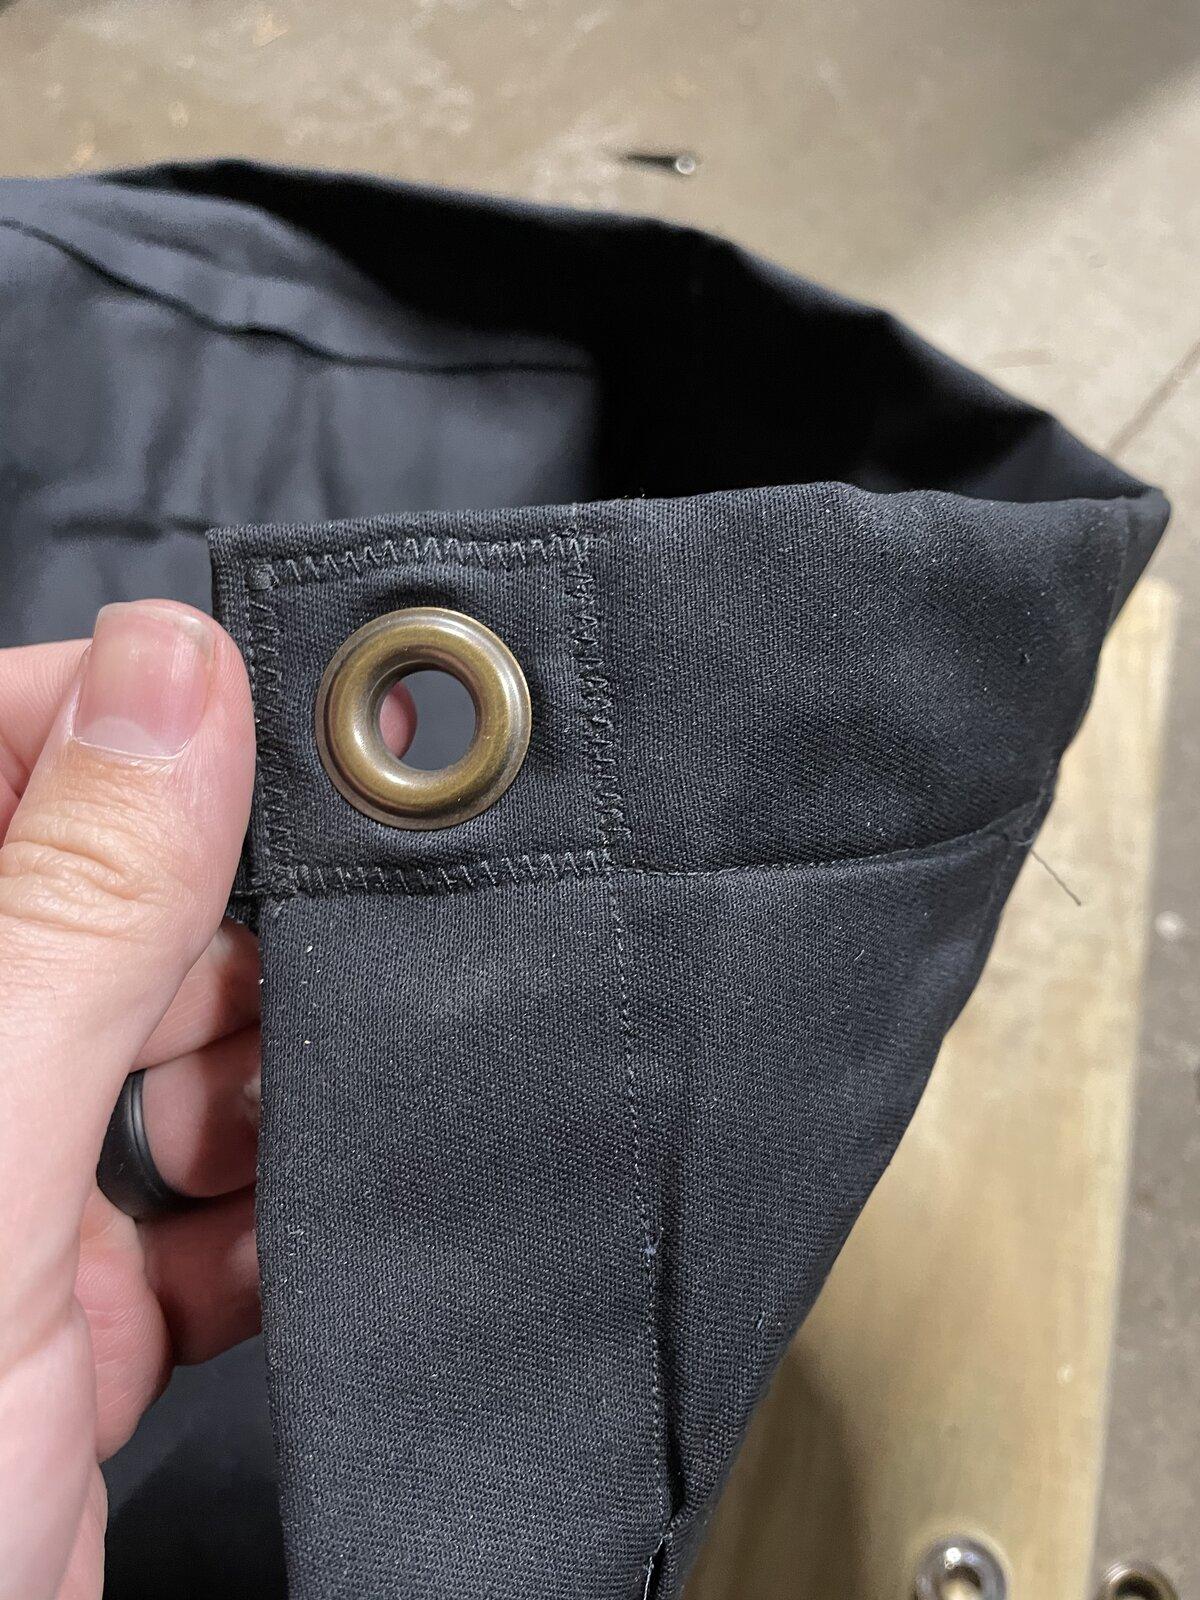
Next step is to reinforce the corners and punch holes for the eyelets. I used a zig-zag stitch to reinforce the corners and a tight running stitch to reinforce the eyelet hole. You can see the difference between a sewing machine stitch and my hand stitching here.
Put the eyelets in. At this point I only put an eyelet in each corner.
If you are looking to get real close to the hothead headliners version, don’t put an eyelet in the front corners. Put them a few inches back to leave some material to tuck into the front soft top bar. I was only looking to get a pressure buffer so I didn’t care to.
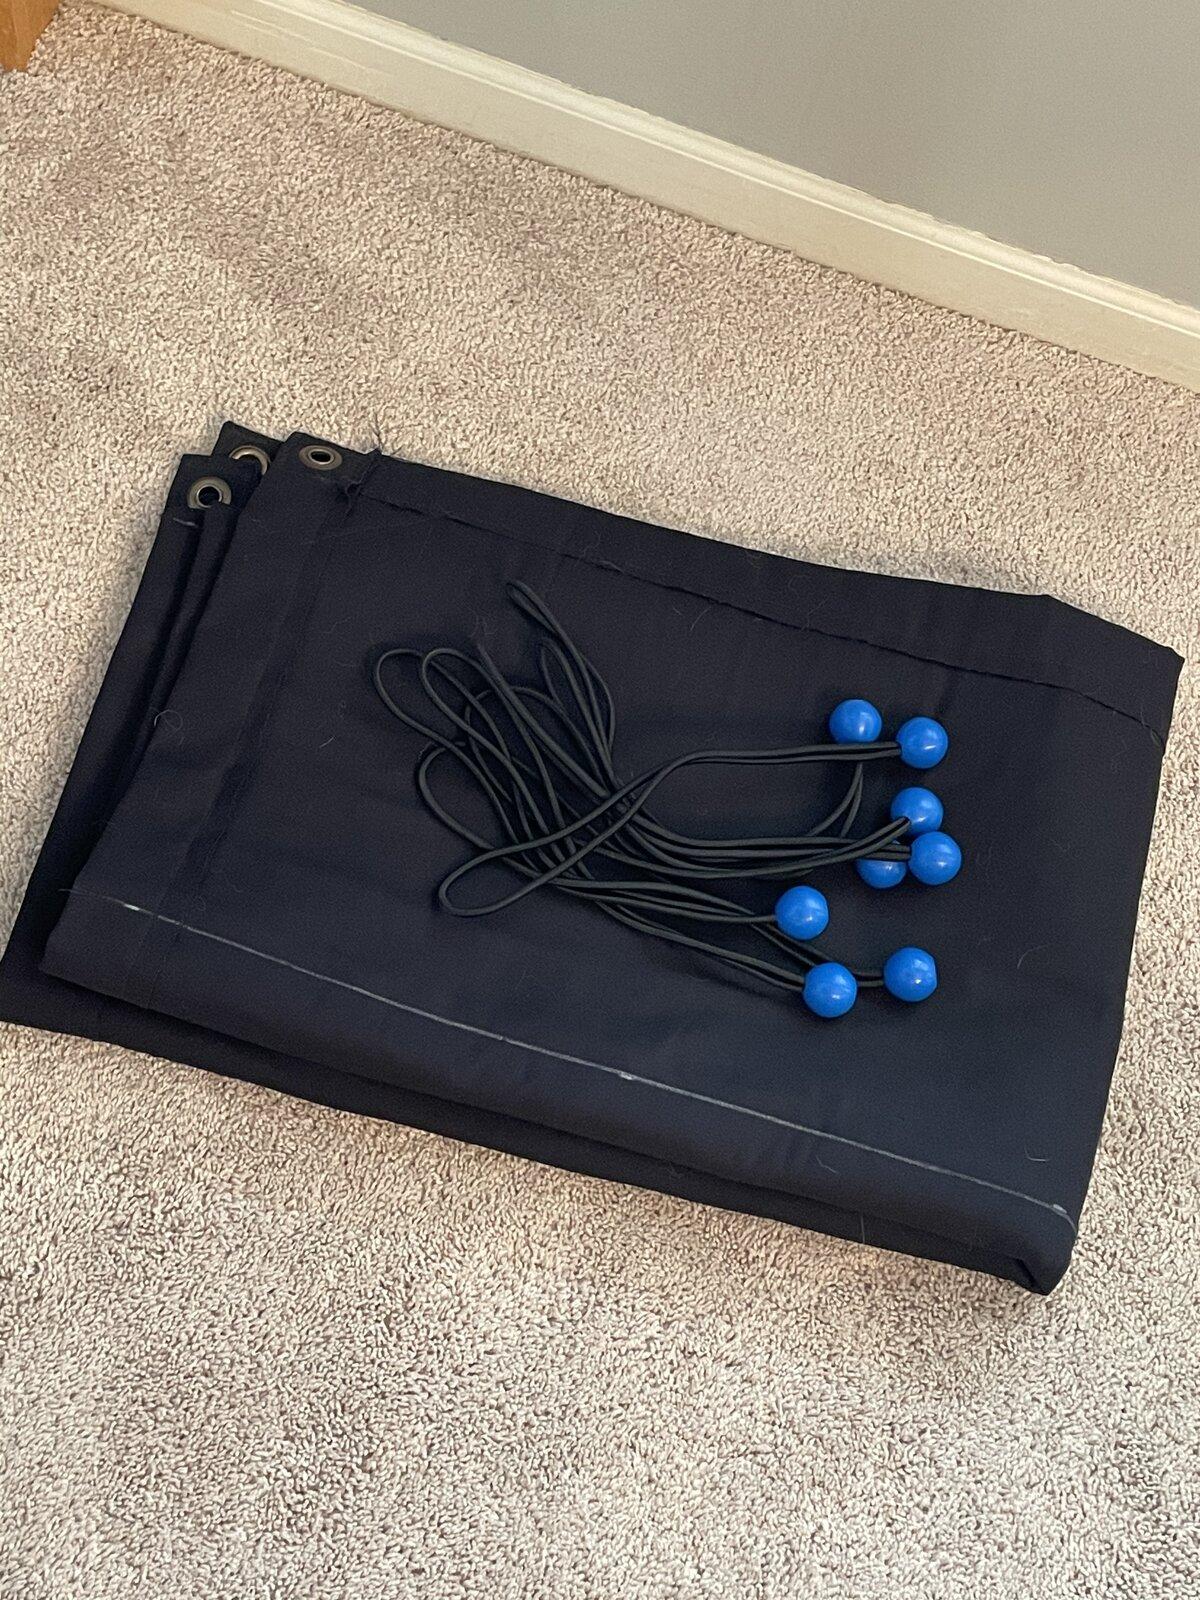
At this point we’ve got 4 attachment points. This is where we hit that 95%. Once I got here I gave it a test in the keep. I used bundges with ball ends to tighten it. They come in a fairly long size but you can push the knot out and tie them tighter based on the size you need.
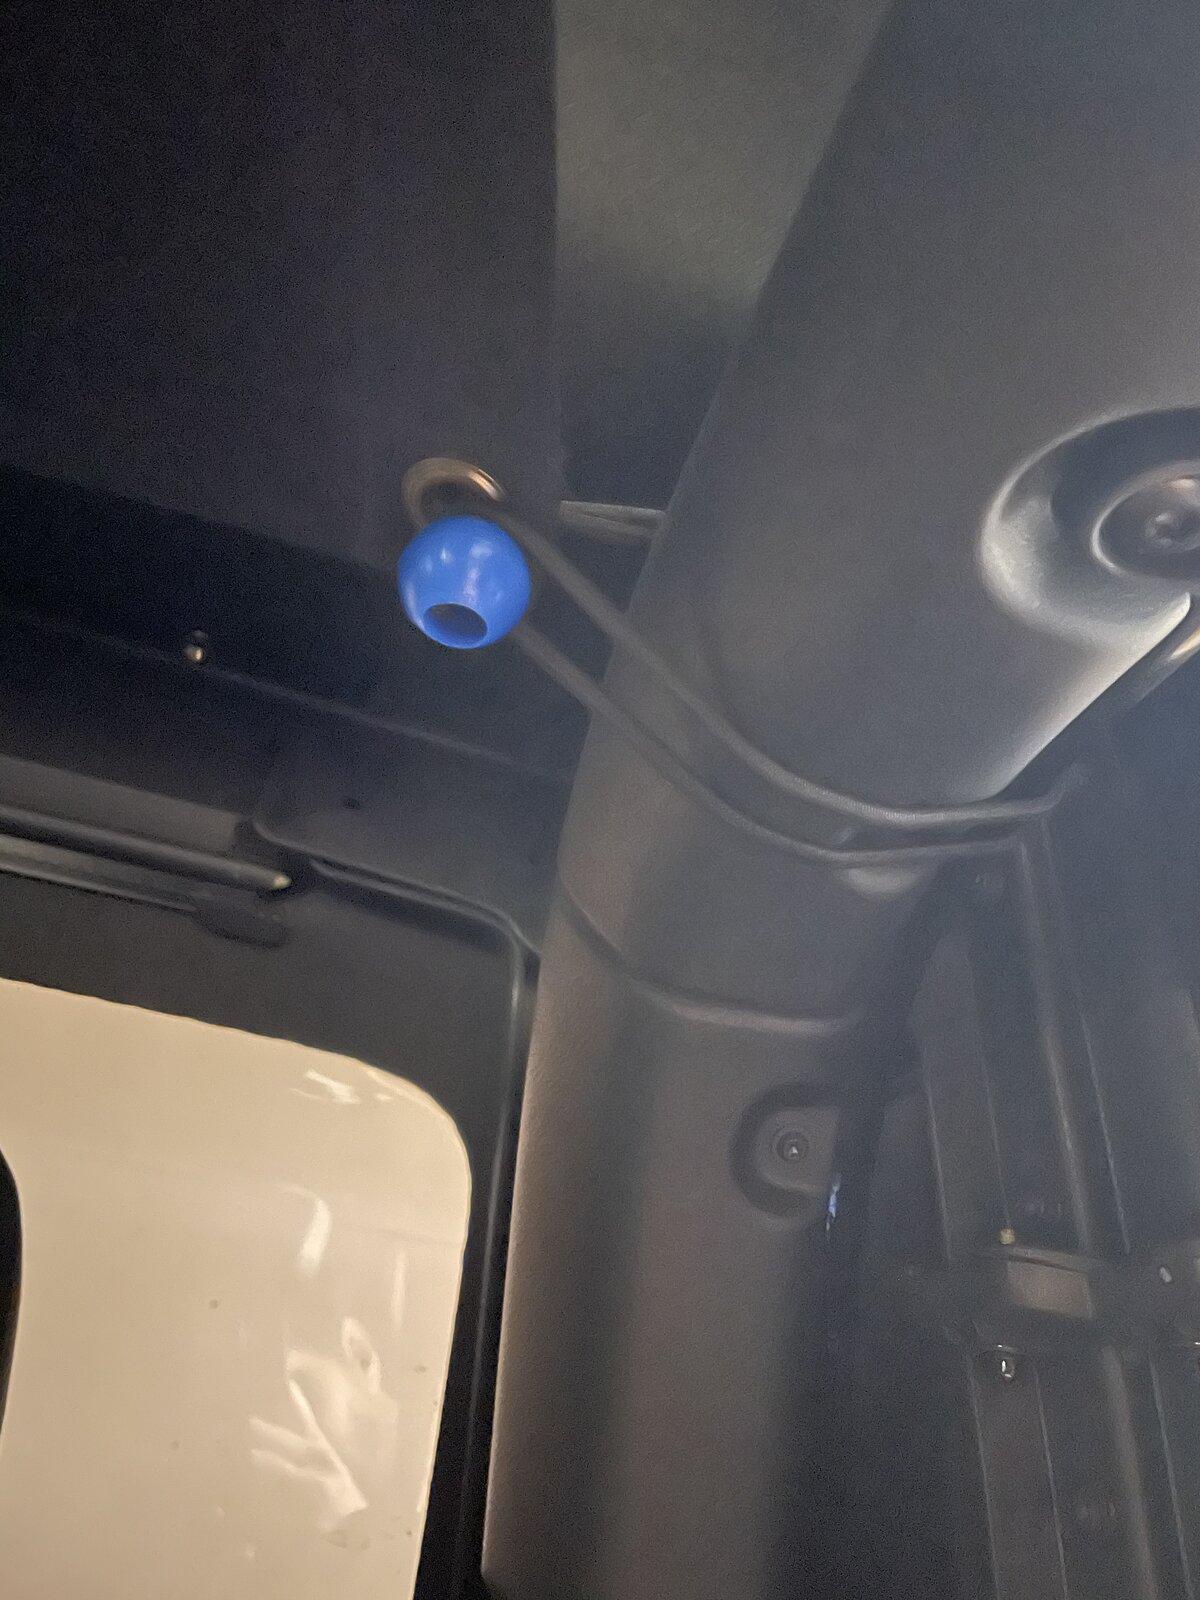
There are conveniently 4 little bump ups on each side in the front to attach the bungees. I wrapped the bungee over the top of the roll bar and around to snag the little post.
I would think the next bungee would work well near the next post. In the back, it is simply wrapped around the bar and hooked to the ball.
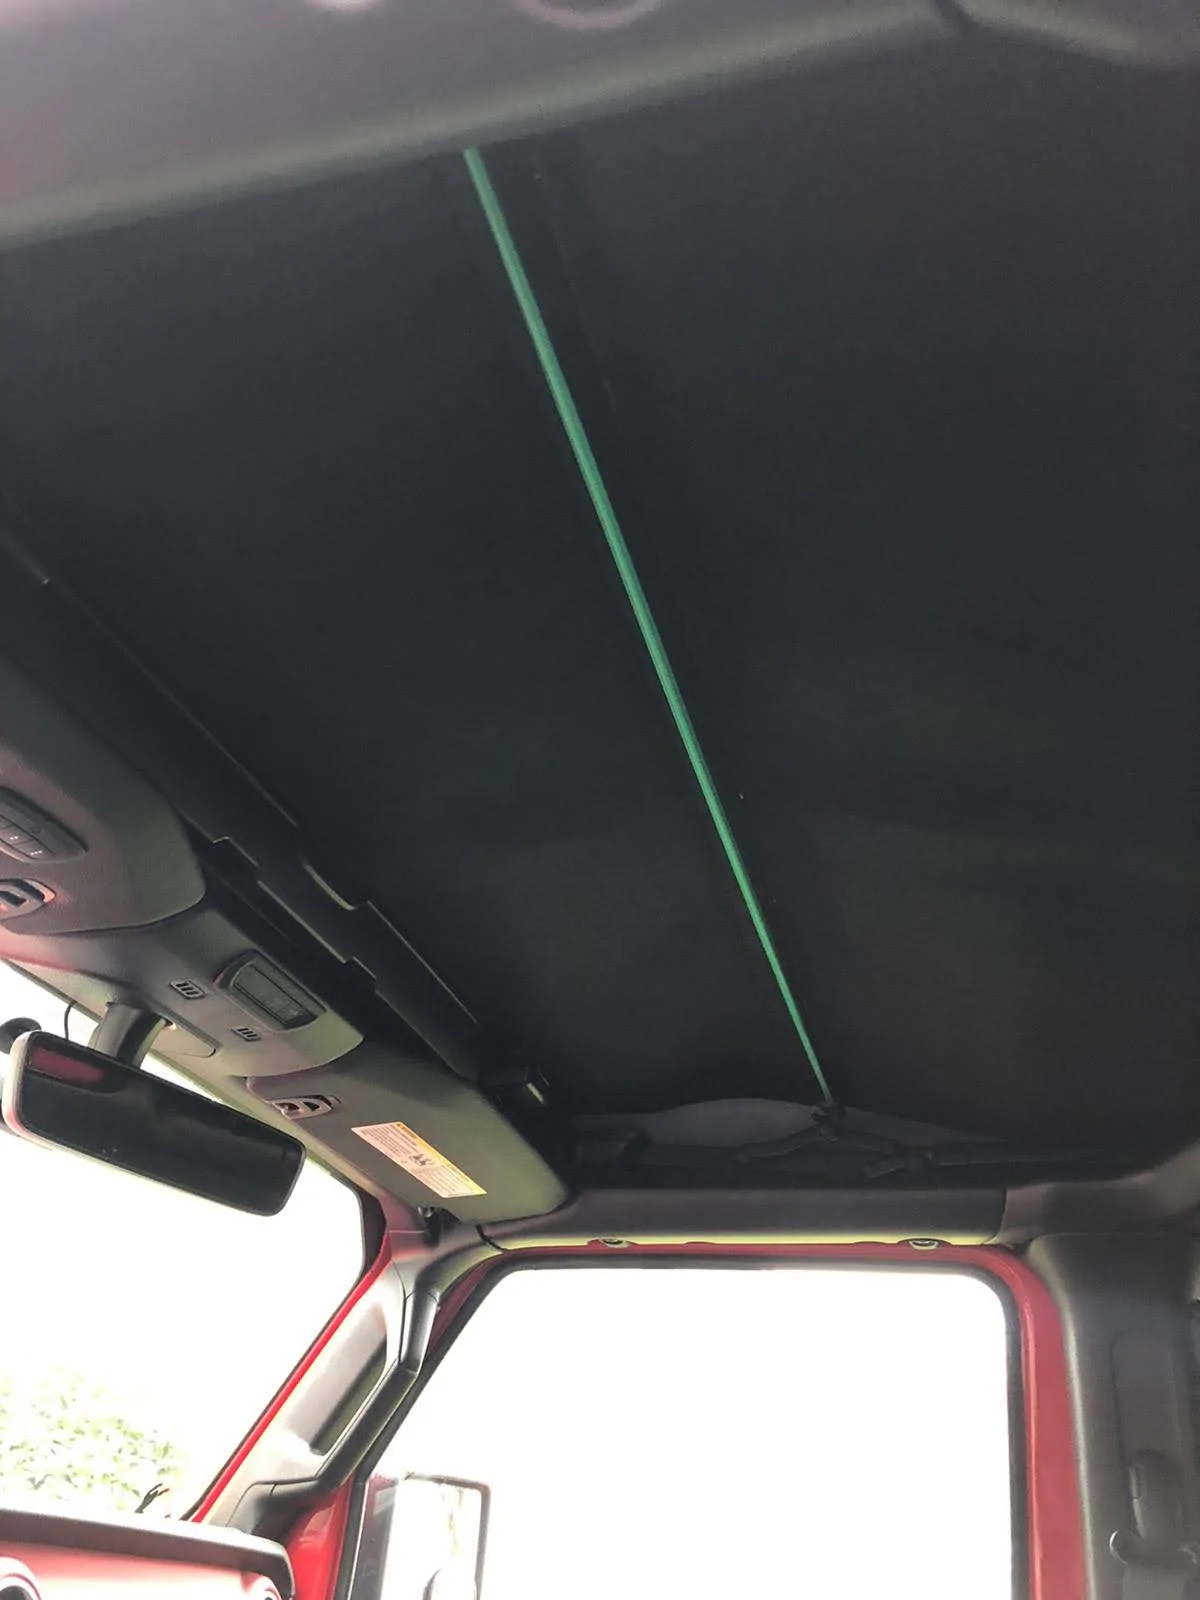
Now the downside I mentioned at the beginning, I’m to tall for it. I have since made the top taught using some string and my head still touches. Bummer. Also probably not a good sign if I roll the thing....
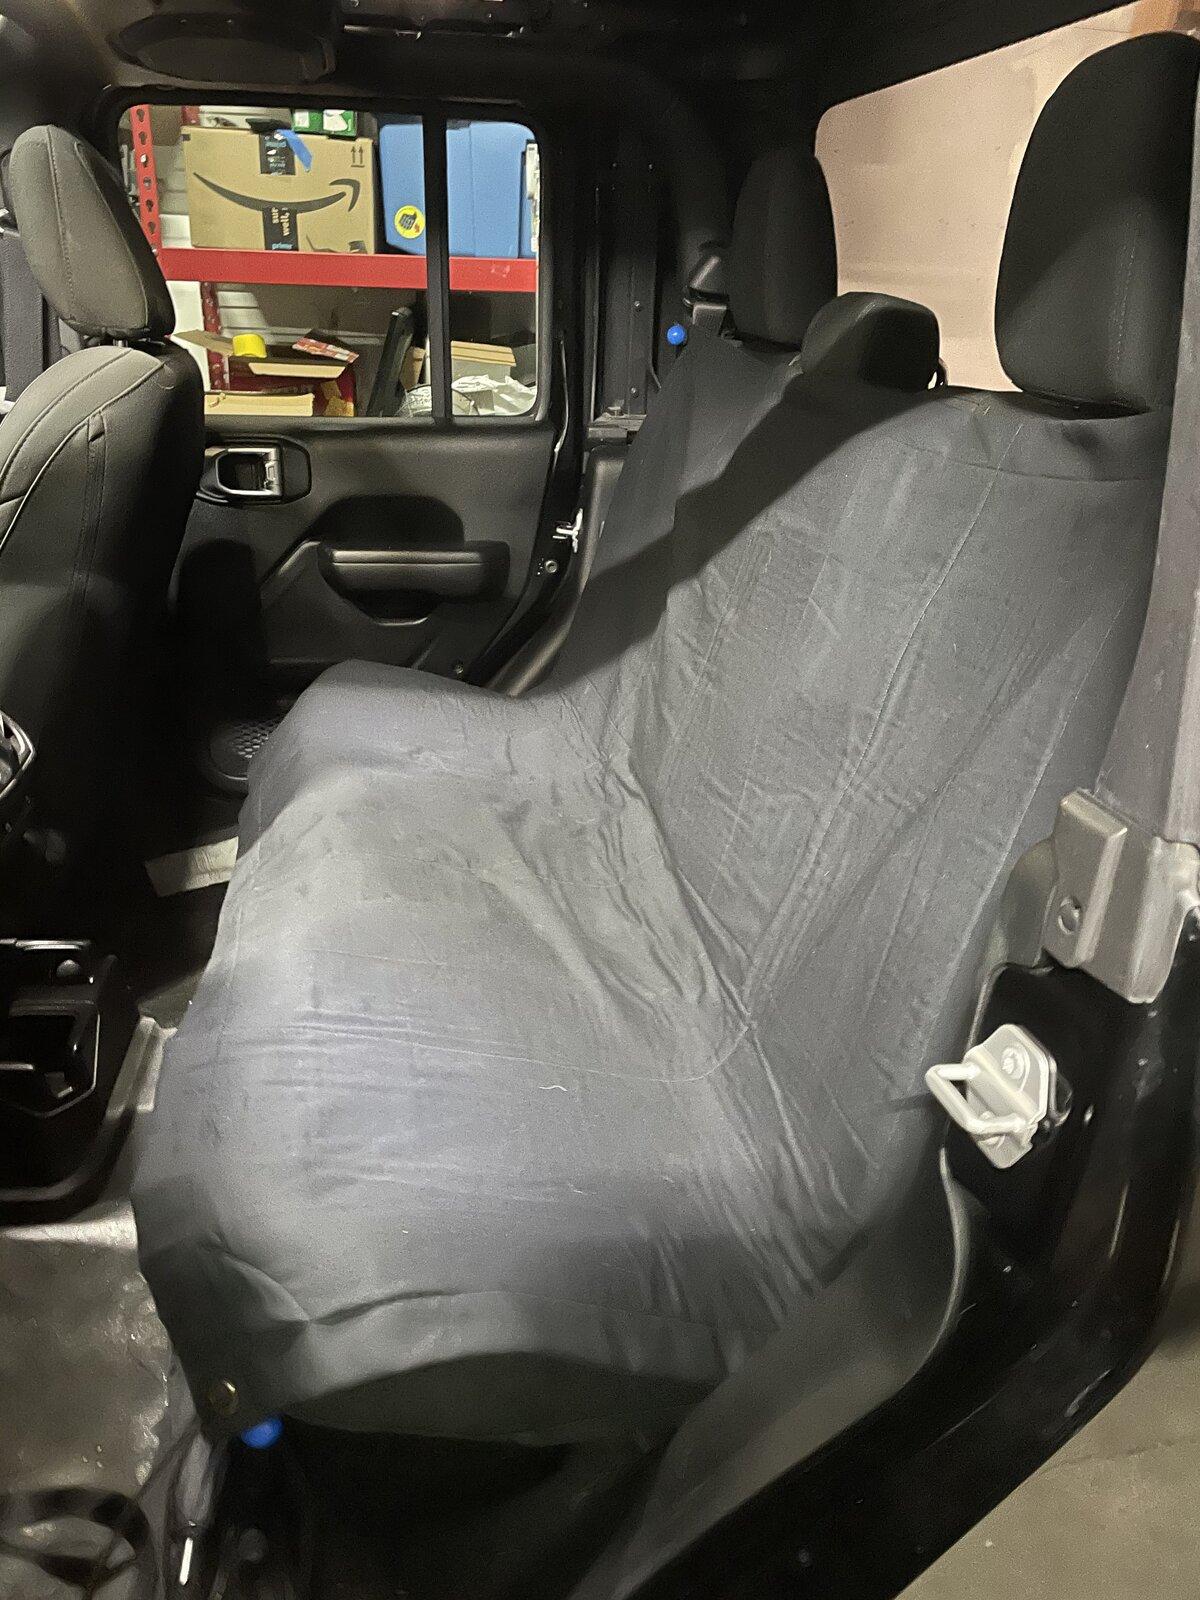
You can see there is a little sag, this is where those last 4 bungees come in. But that’s up to you!! Though it didn’t work out as a headliner, it did make a great seat cover I can quickly turn into sun cover when parked.
My intention with this was to put a buffer to stop that occasional pressure wave you get on windy days or when behind large vehicles and I was bored. You could add reflective foil, like a space blankets, to this to get some heat shielding similar to hotheads but in a unsealed environment not really sure the benefit.
So let’s get to it. Approximate cost all in $50
Materials list:
2 yards of felt
8 Extra large eyelets
8 bungee with ball
Fabric spray glue
Tools:
sewing machine (or needle and thread)
sewing pins
eyelets anvil and setter
iron
scissors
measuring tape
First thing is figuring out the size. I decided on 42” x 52”. This put it about an inch inside the roll bars. If I didn’t it again I would probably go with 46” wide as it would put it so it touched each roll bar. I laid out the canvas and cut it into two pieces. It doesn’t need to be the correct dimensions here as long as it’s larger. We will cut it down later. If you are going to cut it down to make it more manageable make sure to keep at least 3” of extra fabric on each side.
Next thing is to cut the felt (or whatever you decided to stuff it with). I decided that I was going to do a 1.5” edge on each side. I wasn’t sure the sewing machine could go through all the layers of materials so I cut the felt short. I cut the felt to 39” x 49”.
I moved the material to a flat surface for the next step as we will be ironing. Also had to do some lint rolling.
Next step is to glue the felt to the canvas. I took the felt outside for this as the spray glue tends to go everywhere. At this stage, only spray one side of the felt with glue.
Follow the directions for the glue then bring the felt back inside and lay it glue side down on the canvas. This will end up being the inside of the canvas so if there is a pattern or something make sure it is face side down on the table if you want it to show.
Now we need to iron the two pieces together to activate the glue. Big note here... felt will melt under the iron so be careful at this stage. We just need the glue to be tacky enough so we can move the whole piece.
After we are satisfied that it the pieces will stay together enough to handle, take it back outside for the next round of glue. Again follow the glue directions and then bring it back in onto the table glue side up.
If you are adding something else do this now and repeat the previous step with the glue. If you did a foil layer, you might need a different glue at this step. Now lay the second piece of canvas over the two. If you left plenty of extra material, then lining them up perfectly doesn’t matter. At this point, we iron the crap out of it. Now that the felt is sandwiched, it doesn’t really matter if it melts. The canvas should be fine to take the heat. If you added an additional material to the sandwich be mindful of that with the iron temps. I only ironed the one side at this stage. We will get the other side of the canvas later.
Now time to measure, fold, and pin. I measured 1.5” off the felt (slid my hand back and forth to feel the felt edge in the sandwich) and placed pins to determine the fold point. Then I folded it at the pins and placed new pins along the felt line to hold the fabric and provide a guide to sew along. Make sure to pull the fold pins as you pin the edge otherwise you’ll end up sewing them up in the edge.
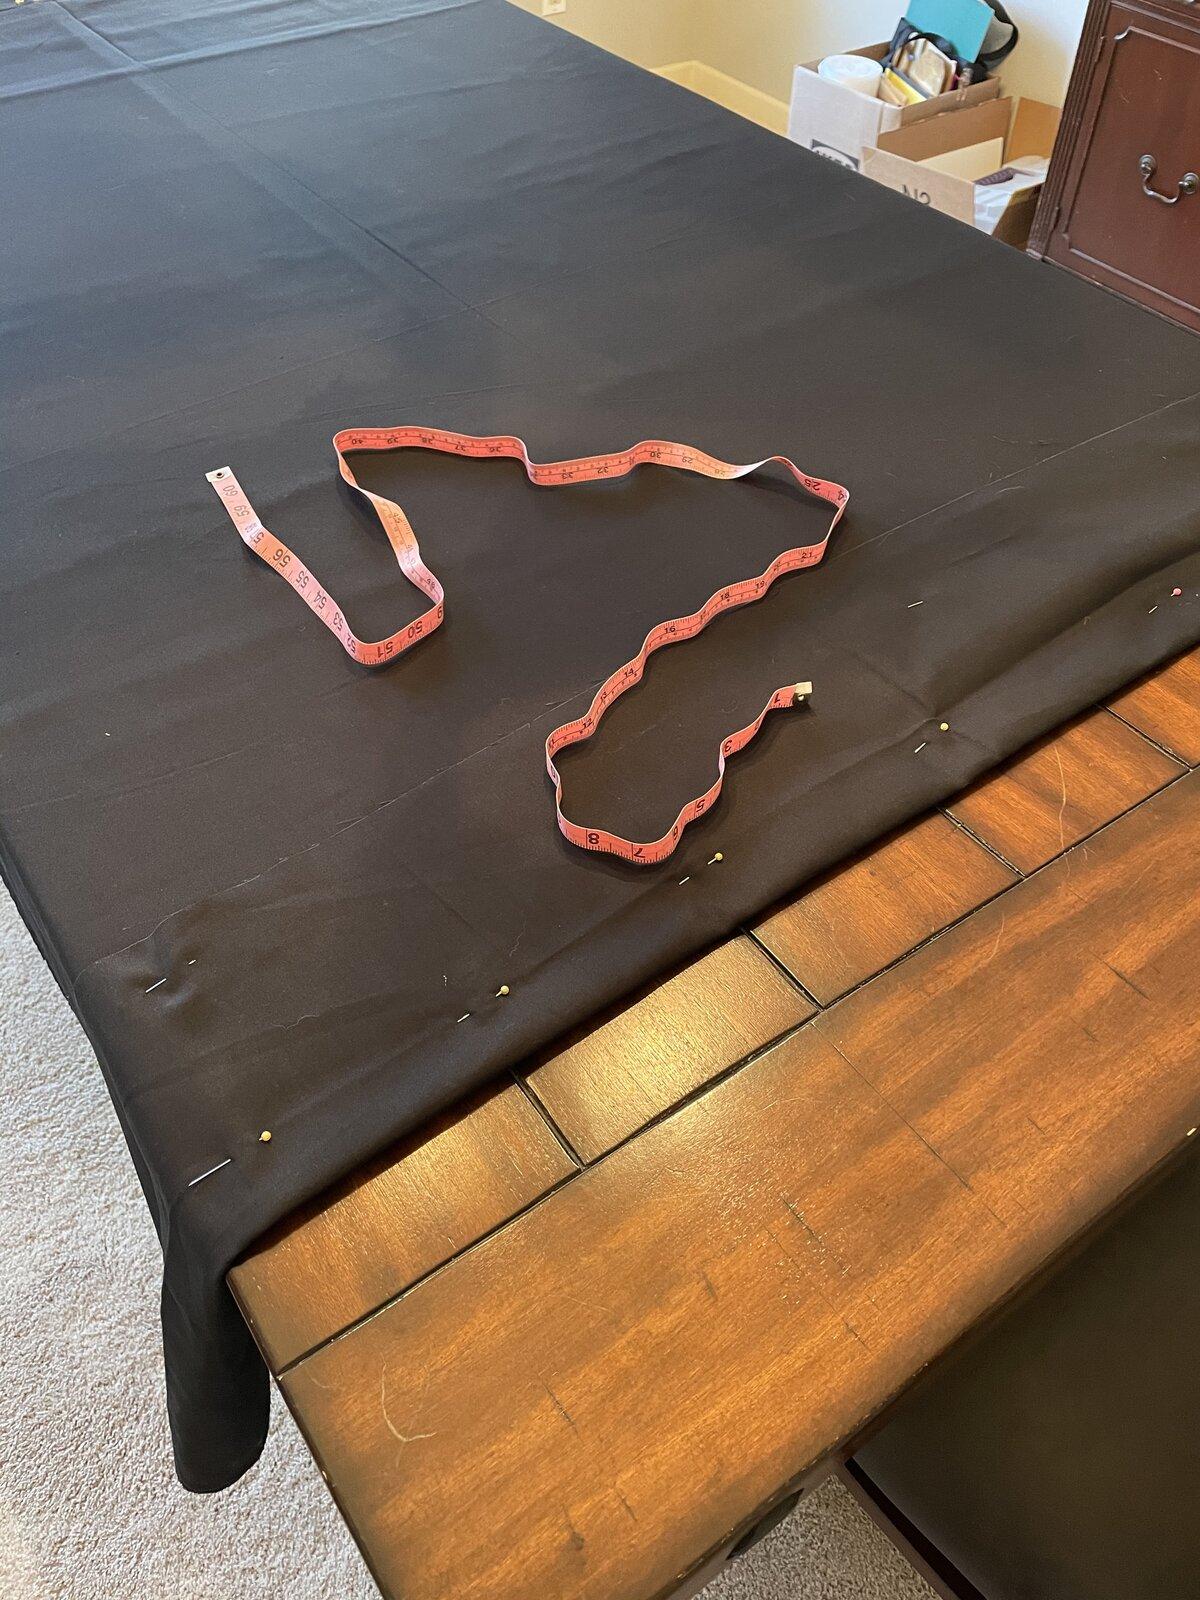
Don’t sew anything yet, I know it’s the part everyone is waiting for, Joy!!! To get the correct measure to the opposing side, measure from the edge of the pinned side and place pins at the new fold line. Similar to the previous side, fold and pin remembering to remove the fold pins. Measure the overall dimension and make sure it meets the dimension you were going for. Also a good time to make sure the felt is centered if your initial cuts were not spot on. If your satisfied, sew it up. I just did a simple running stitch being careful to stay off the felt. This is more due to limitations of the machine not a design thing.
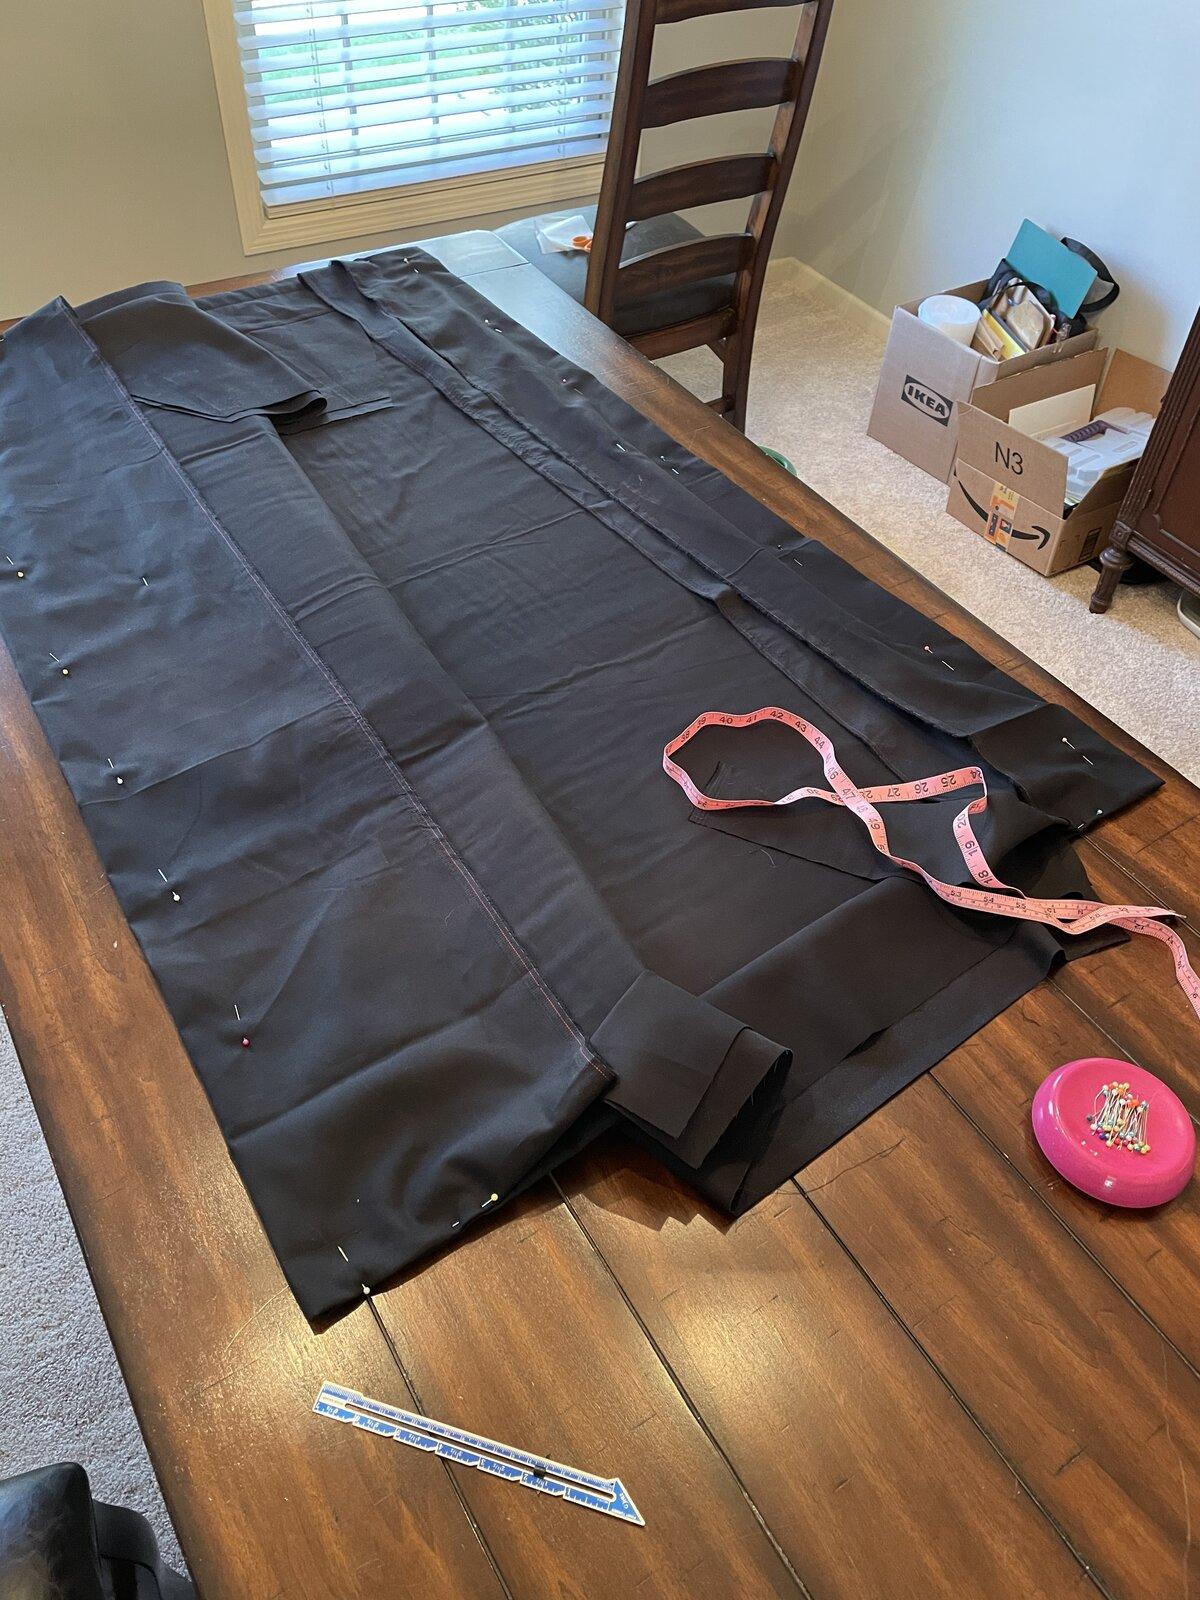
Following the same steps as above, form and sew the 2 remaining sides. While in the process trim back the edges if the sewn side at each corner. This will reduce the amount of material that must be sewn.
Alright now we got something that’s starting to look like something. Trim the excess fabric making sure not to get to close to the seems. Carefully flip the piece over. The insides may not be perfectly adhered and we don’t want them to shift. Now iron the crap out of it... again.
Next we will add some pleats to keep the material in place. I ran mine so they would go left to right (driver side to passenger side) as this is the way the material will be tensioned.
I also ran a small cross stitch diagonally in each corner for extra security.
Next step is to reinforce the corners and punch holes for the eyelets. I used a zig-zag stitch to reinforce the corners and a tight running stitch to reinforce the eyelet hole. You can see the difference between a sewing machine stitch and my hand stitching here.

Put the eyelets in. At this point I only put an eyelet in each corner.
If you are looking to get real close to the hothead headliners version, don’t put an eyelet in the front corners. Put them a few inches back to leave some material to tuck into the front soft top bar. I was only looking to get a pressure buffer so I didn’t care to.
At this point we’ve got 4 attachment points. This is where we hit that 95%. Once I got here I gave it a test in the keep. I used bundges with ball ends to tighten it. They come in a fairly long size but you can push the knot out and tie them tighter based on the size you need.
There are conveniently 4 little bump ups on each side in the front to attach the bungees. I wrapped the bungee over the top of the roll bar and around to snag the little post.

I would think the next bungee would work well near the next post. In the back, it is simply wrapped around the bar and hooked to the ball.
Now the downside I mentioned at the beginning, I’m to tall for it. I have since made the top taught using some string and my head still touches. Bummer. Also probably not a good sign if I roll the thing....
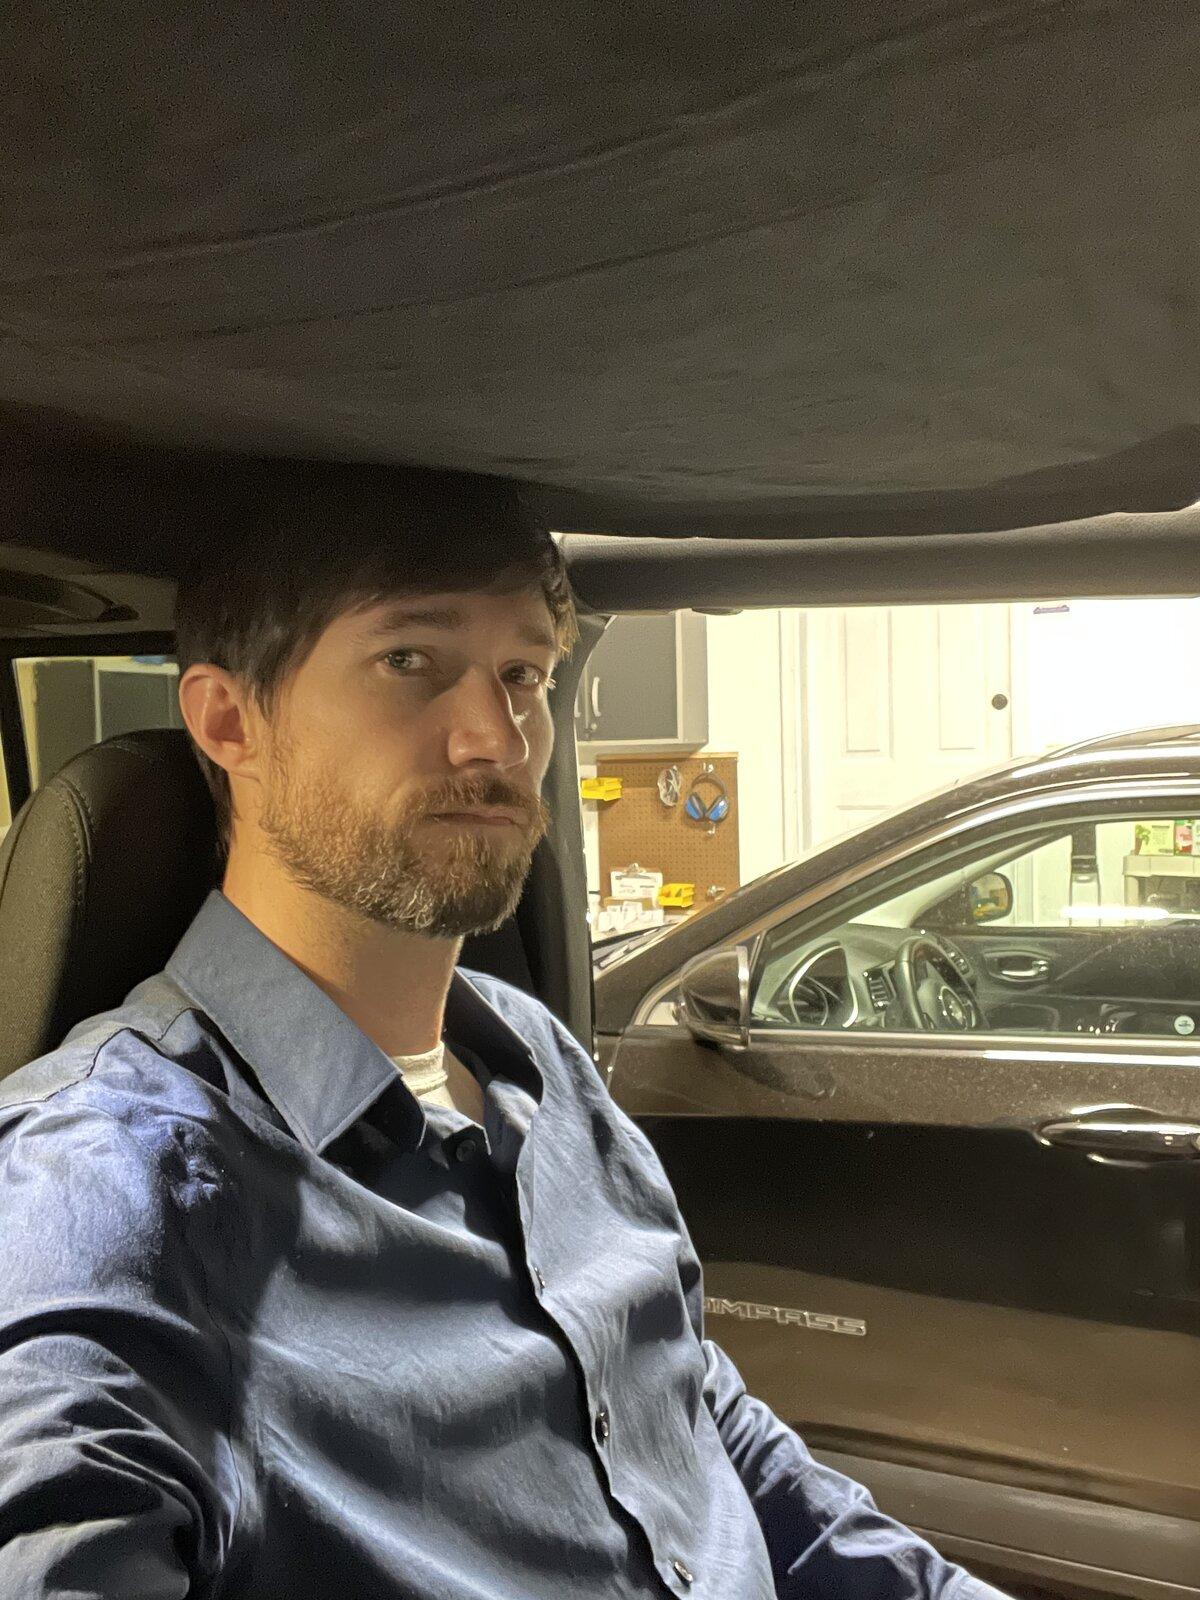
You can see there is a little sag, this is where those last 4 bungees come in. But that’s up to you!! Though it didn’t work out as a headliner, it did make a great seat cover I can quickly turn into sun cover when parked.
Sponsored