JeepDadiator
Well-Known Member
- First Name
- TJ
- Joined
- Jul 5, 2020
- Threads
- 11
- Messages
- 52
- Reaction score
- 88
- Location
- Conifer, Colorado
- Vehicle(s)
- 2020 JTR
- Occupation
- Engineer
- Thread starter
- #1
After much research and lamenting over what was the best rack for my Gladiator I landed on the Leitner Designs ACS Forged. I looked at many different variables when making this decision and was originally leaning toward a few different brands. Ultimately my decision was made based on the strength to weight ratio of the forged rack vs the competitors. Leitner clearly states their static and dynamic load ratings right on their website and includes off/on road delineation - I was disappointed to find this information on other products was not readily available or shared. The rack will be used to support a roof top tent and other overlanding gear so I needed to know exactly what it is rated for. Additionally I am keeping track of my overall build mass properties highlighting another important fact: adding accessories that increase weight cuts into the cargo capacity – and a rack is just one of many accessories planned for this build. Finally the Leitner ACS Forged should last the life of the Jeep considering its all-aluminum construction! I have had a number of jeeps in the past with wonderful aftermarket accessories that rust and peel over time – I do not want that to happen on this one!
The install process was pretty straightforward – I had lots of “help” so it did take me longer than I was expecting but I always underestimate my project timelines! Leitner didn’t really advertise some of the wonderful tools and packaging they include with their product I was truly impressed.
But first...
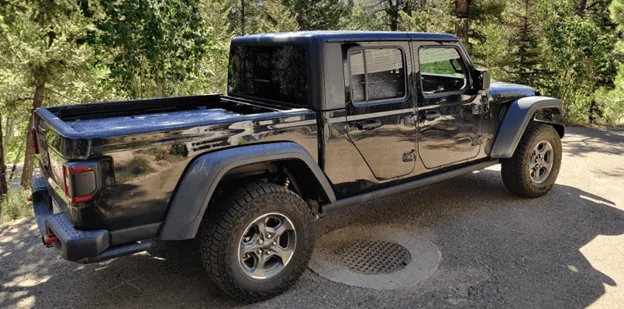
Before:

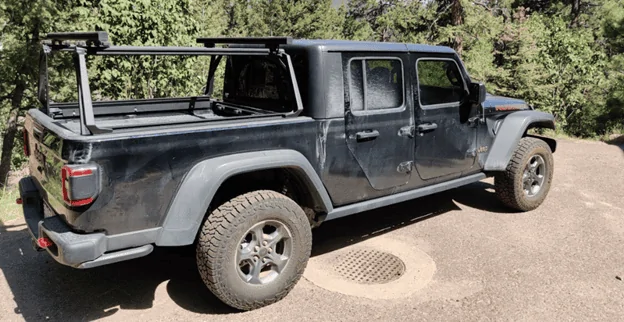
After:

And now some high level assembly steps and thoughts:
- The Instructions were unclear on what to do with these three:


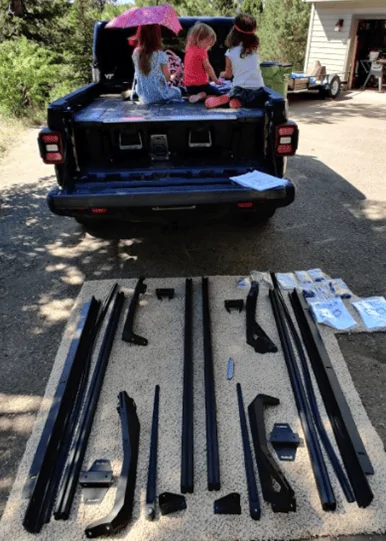
- Large parts laid out and ready for assembly – looks like my help would prefer we add an awning at some point too!

- Mostly assembled and ready for the jeep!

- Upright assemblies on the jeep and ready for the load bars to be installed. Though the instructions are very thorough one tip I would offer is to cut a piece of scrap wood (2x4) to the width specified to hold the uprights in their desired final position as they tend to sag inward until the load bars are installed – and the load bars have slotted holes.

- For me the hardest part of this installation was the brackets for the stanchions and this was only due to limited access based upon my Decked system.

Now it’s time to figure out what to mount to this rack!
Final thoughts:
The install process was pretty straightforward – I had lots of “help” so it did take me longer than I was expecting but I always underestimate my project timelines! Leitner didn’t really advertise some of the wonderful tools and packaging they include with their product I was truly impressed.
But first...
Before:
After:
And now some high level assembly steps and thoughts:
- The Instructions were unclear on what to do with these three:

- Small parts laid out Note: Leitner included hex keys, extra rivet nuts, the installation tool and even the drill bit required! I was very impressed though I did use my on 25/64” drill bit as it is slightly sharper and worked just a bit better. (Everything shown was included except the speaker and Loctite)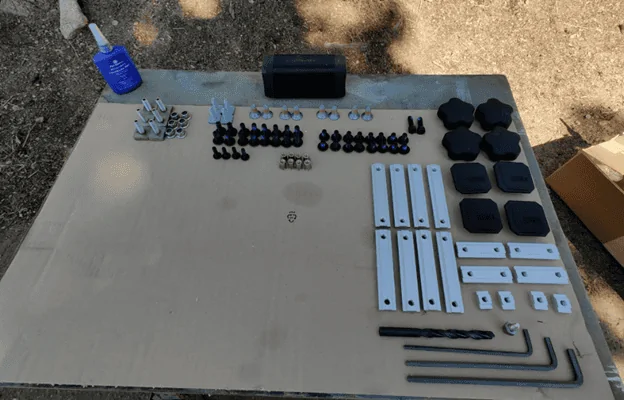
- Large parts laid out and ready for assembly – looks like my help would prefer we add an awning at some point too!
- Mostly assembled and ready for the jeep!

- Upright assemblies on the jeep and ready for the load bars to be installed. Though the instructions are very thorough one tip I would offer is to cut a piece of scrap wood (2x4) to the width specified to hold the uprights in their desired final position as they tend to sag inward until the load bars are installed – and the load bars have slotted holes.
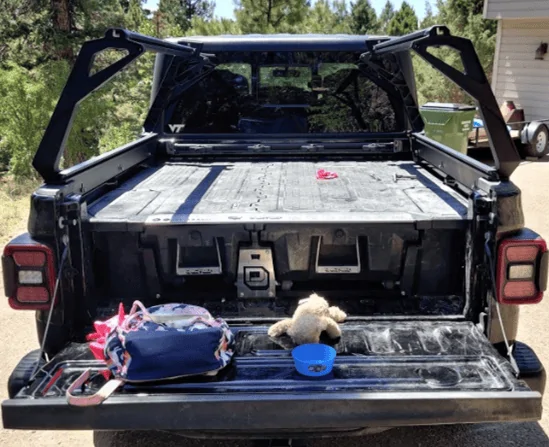
- For me the hardest part of this installation was the brackets for the stanchions and this was only due to limited access based upon my Decked system.

Now it’s time to figure out what to mount to this rack!
Final thoughts:
- The ACS forged requires the presence of the Mopar Trail Rail system for installation
- Instructions did have a typo regarding bolt length (easy to figure out) – mine was one of the first 100 produced so possibly the instructions have been updated
- Requires 4 holes to be drilled in in the bed for the stanchion mount brackets
- Only drawback I have seen so far is that the trail rails on the bed sides are now blocked by the extrusion preventing use of the factory tie downs. As shown in the final picture; Leitner does sell their own cargo tie downs that work with the extrusion so not a total loss.
Sponsored