Gruffid
Well-Known Member
- First Name
- Jay
- Joined
- Sep 4, 2020
- Threads
- 24
- Messages
- 265
- Reaction score
- 211
- Location
- San Antonio, TX
- Vehicle(s)
- 2020 JLUR 3.6L; 2021 JTR EcoDiesel
- Build Thread
- Link
- Thread starter
- #1
Hey Guys,
Here's my first build thread... it's on the Rockslide Engineering steps install. I'm going to write my notes out first, then add the photos.
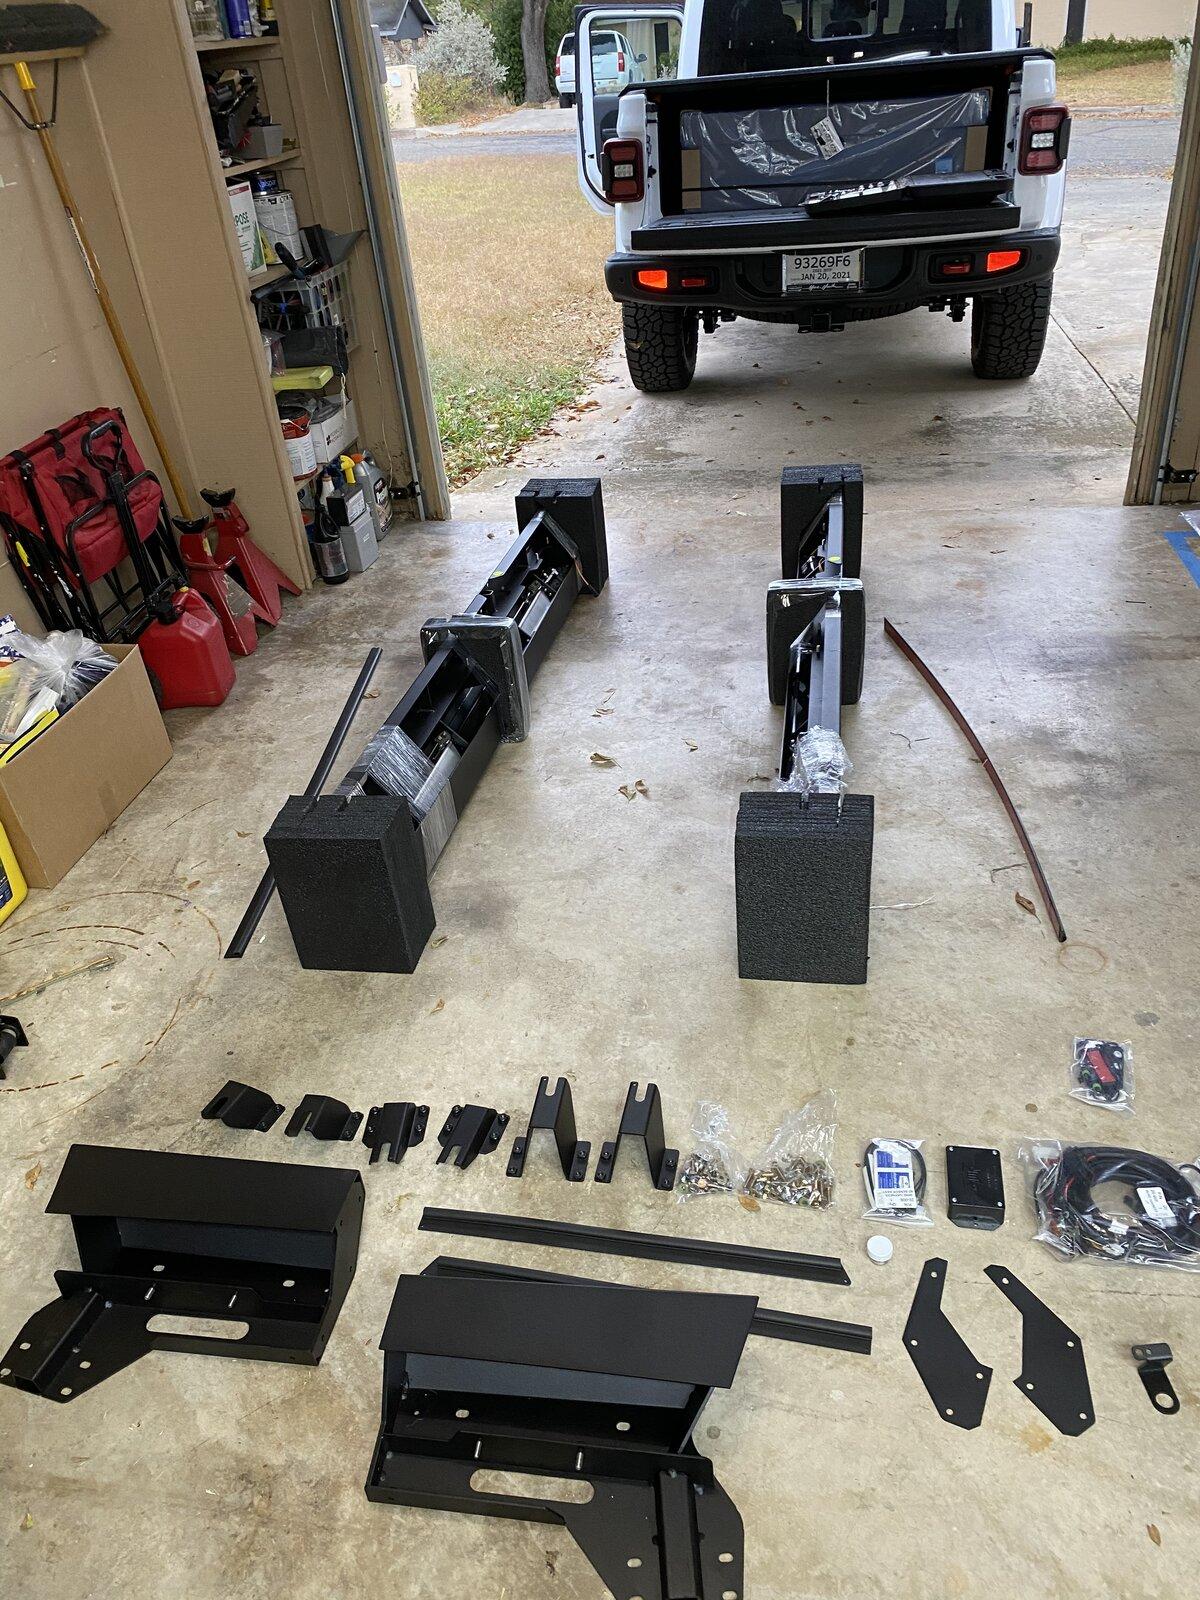
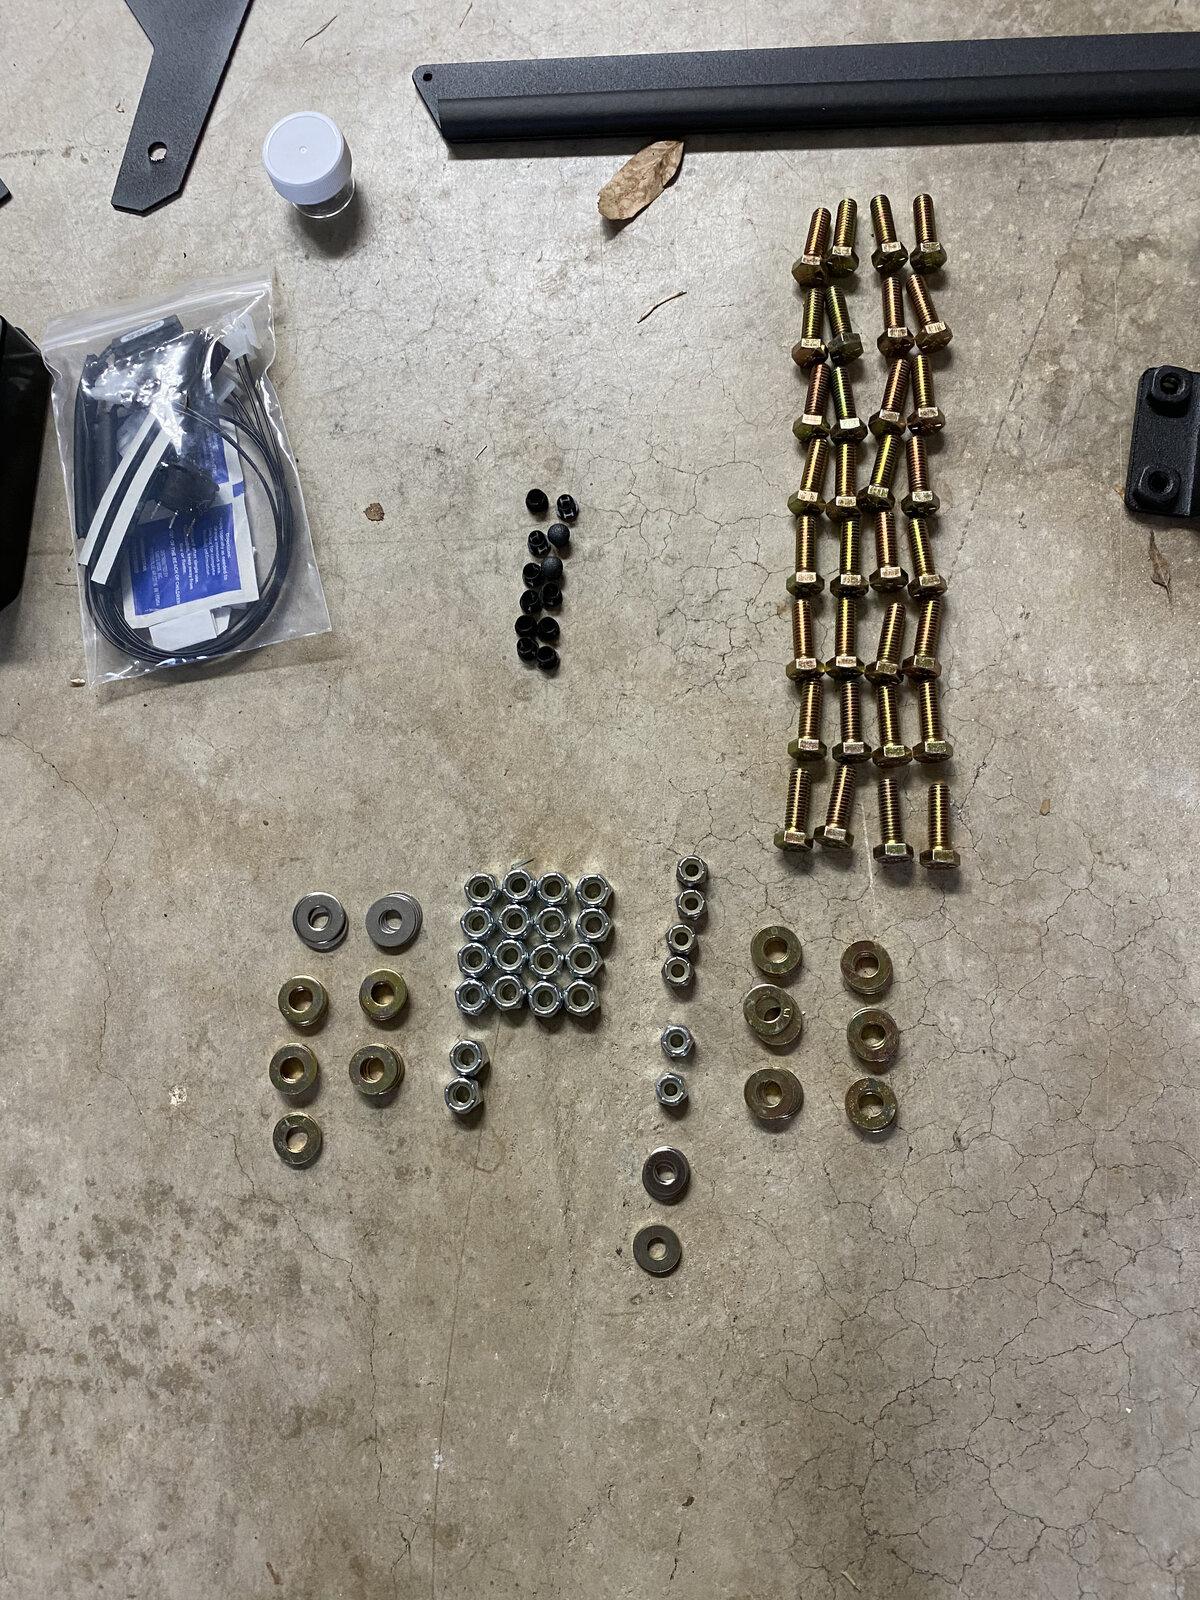
The first thing I did, was lay out all of the parts to make sure I had everything the instructions said I should have. In fact, I did not. I had way too many of the yellow zinc washers and not enough of the stainless washers. Strangely, they were the same size, and if you add them all up I had the total number of washers correct. I'm hoping down the road it doesn't matter that I had to use some of the zinc washers in place of the stainless.
With the number of hardware provided, I found it easiest to group them into lots of 4.
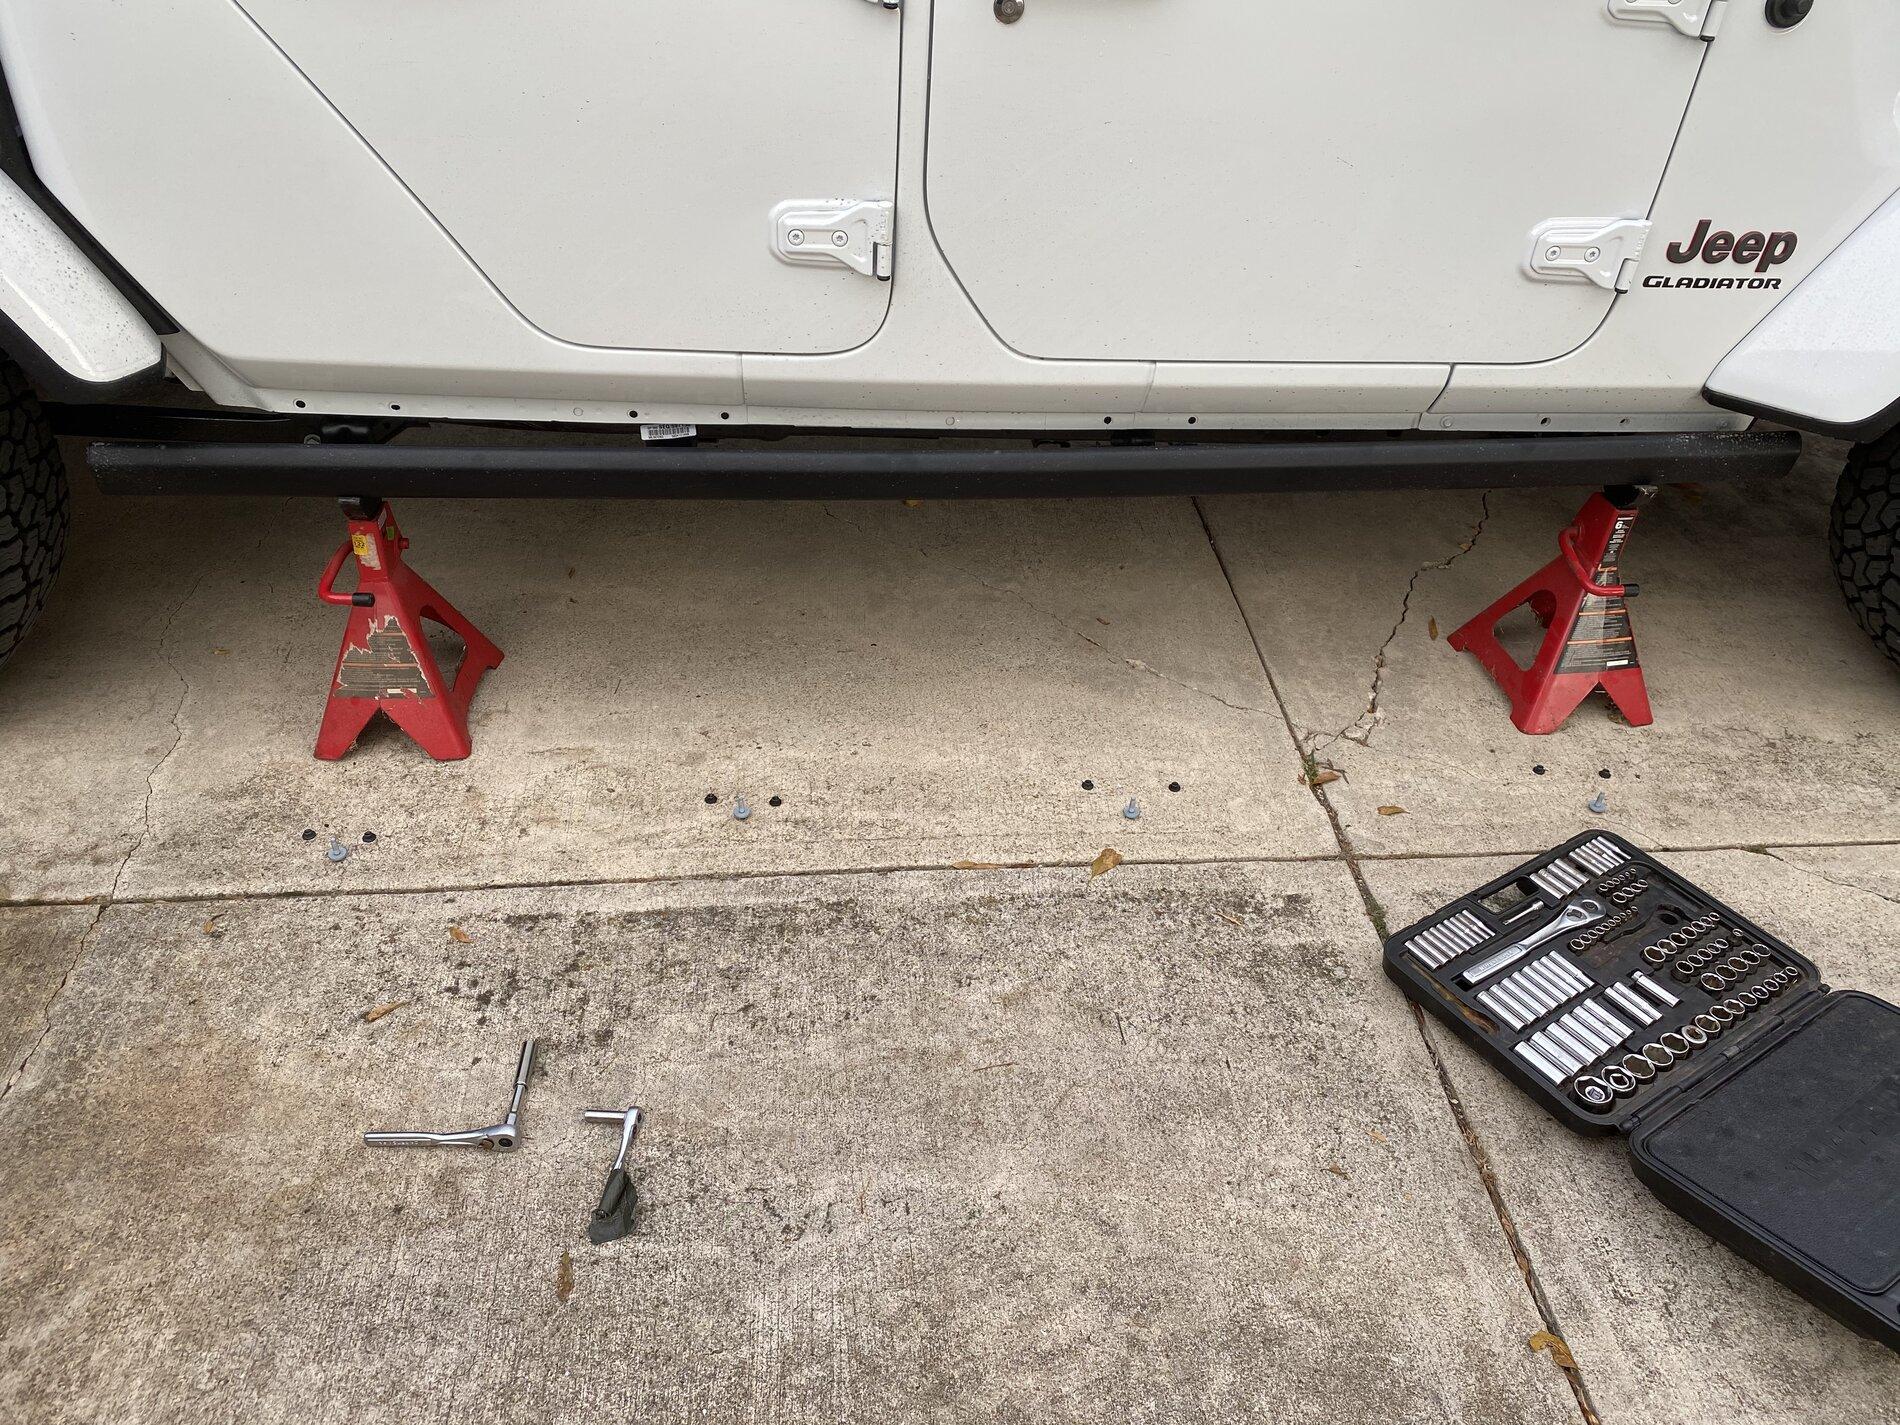
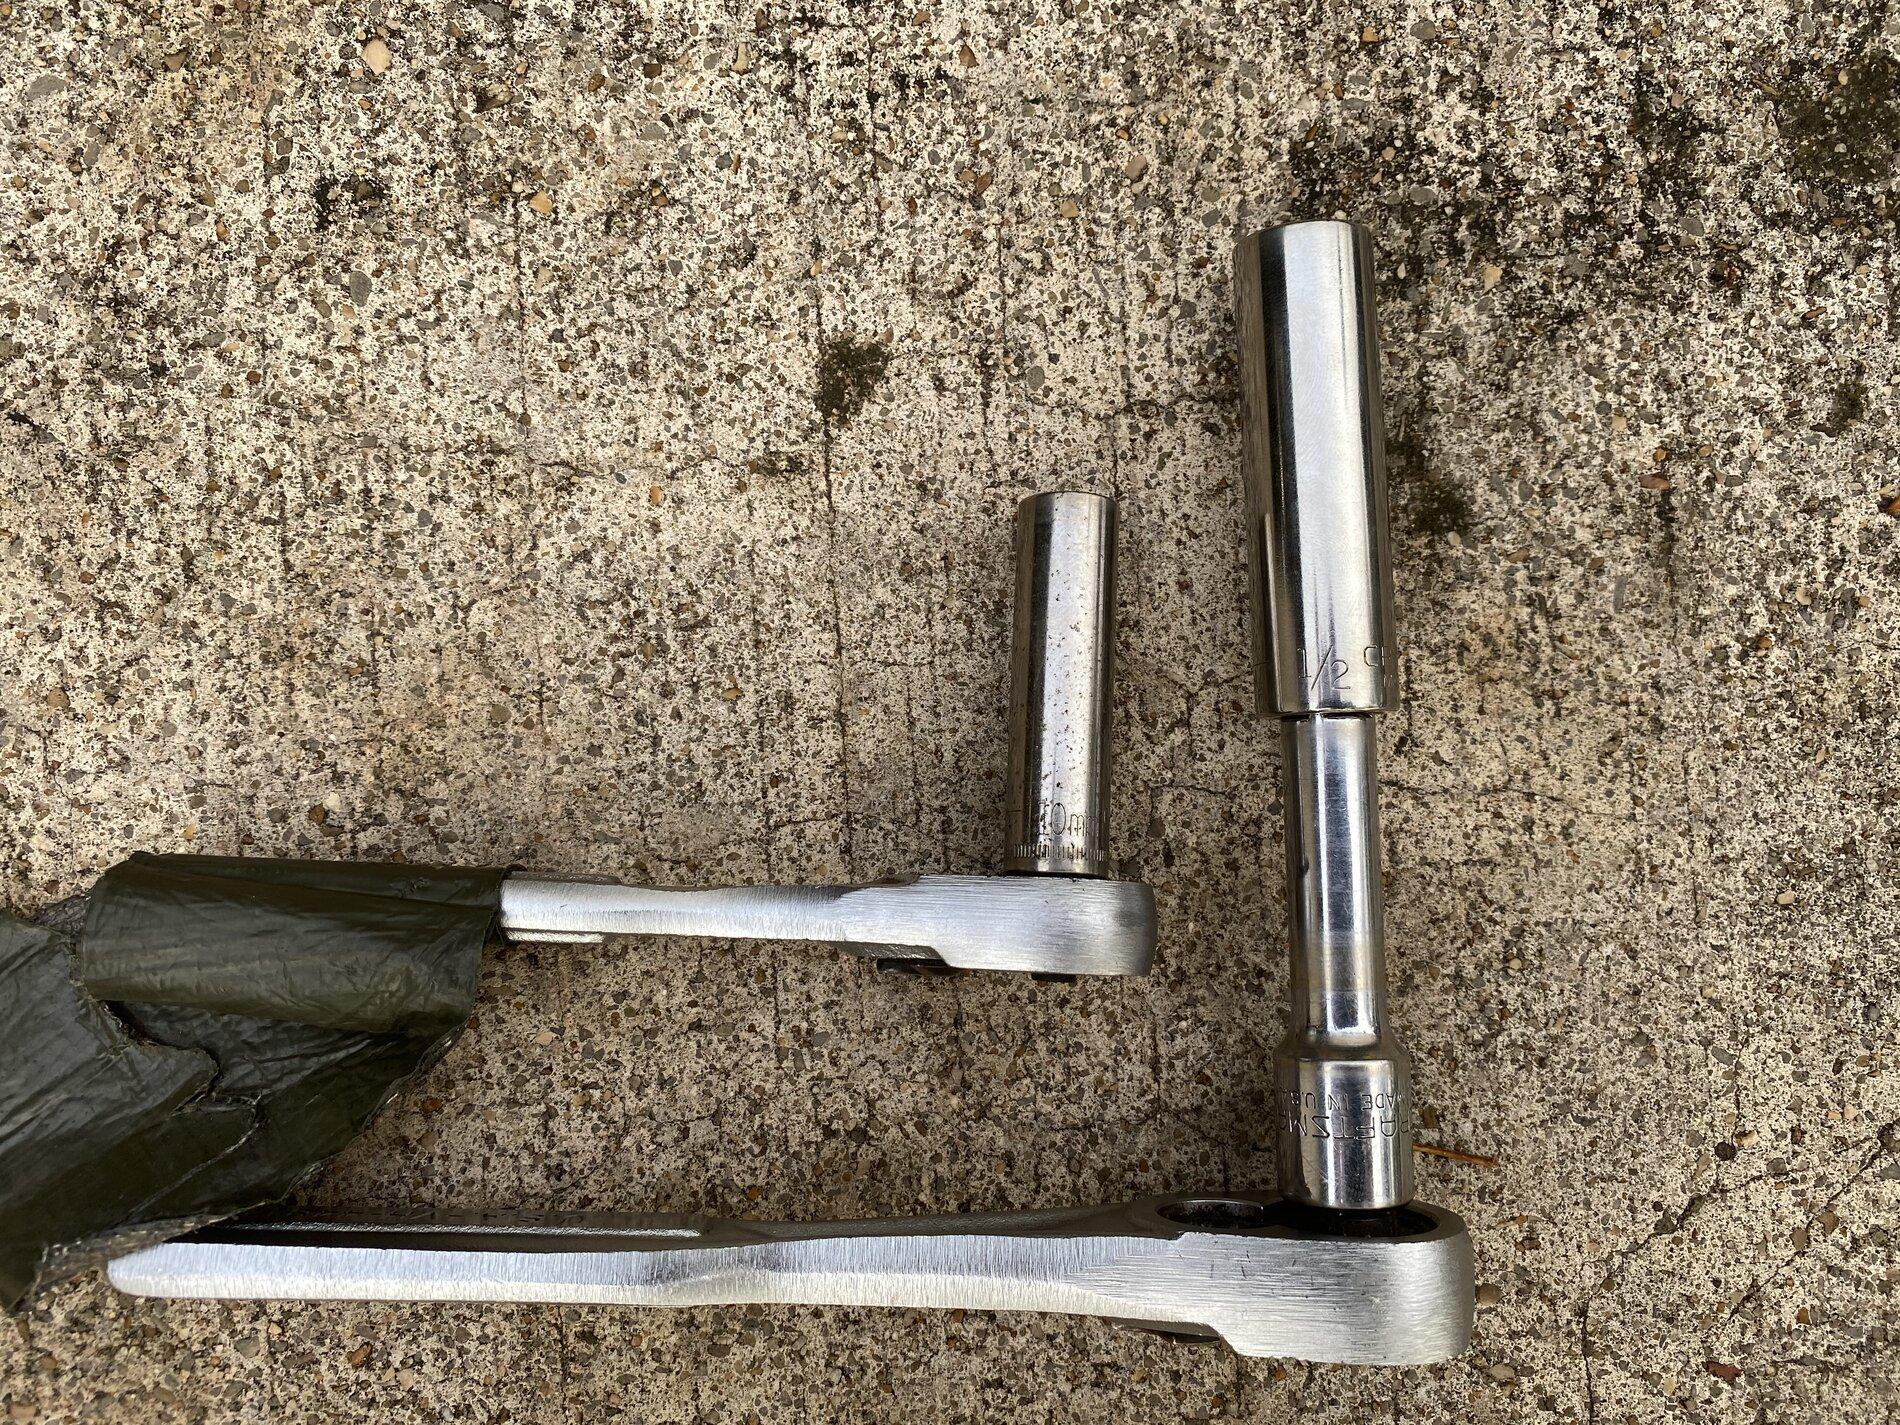
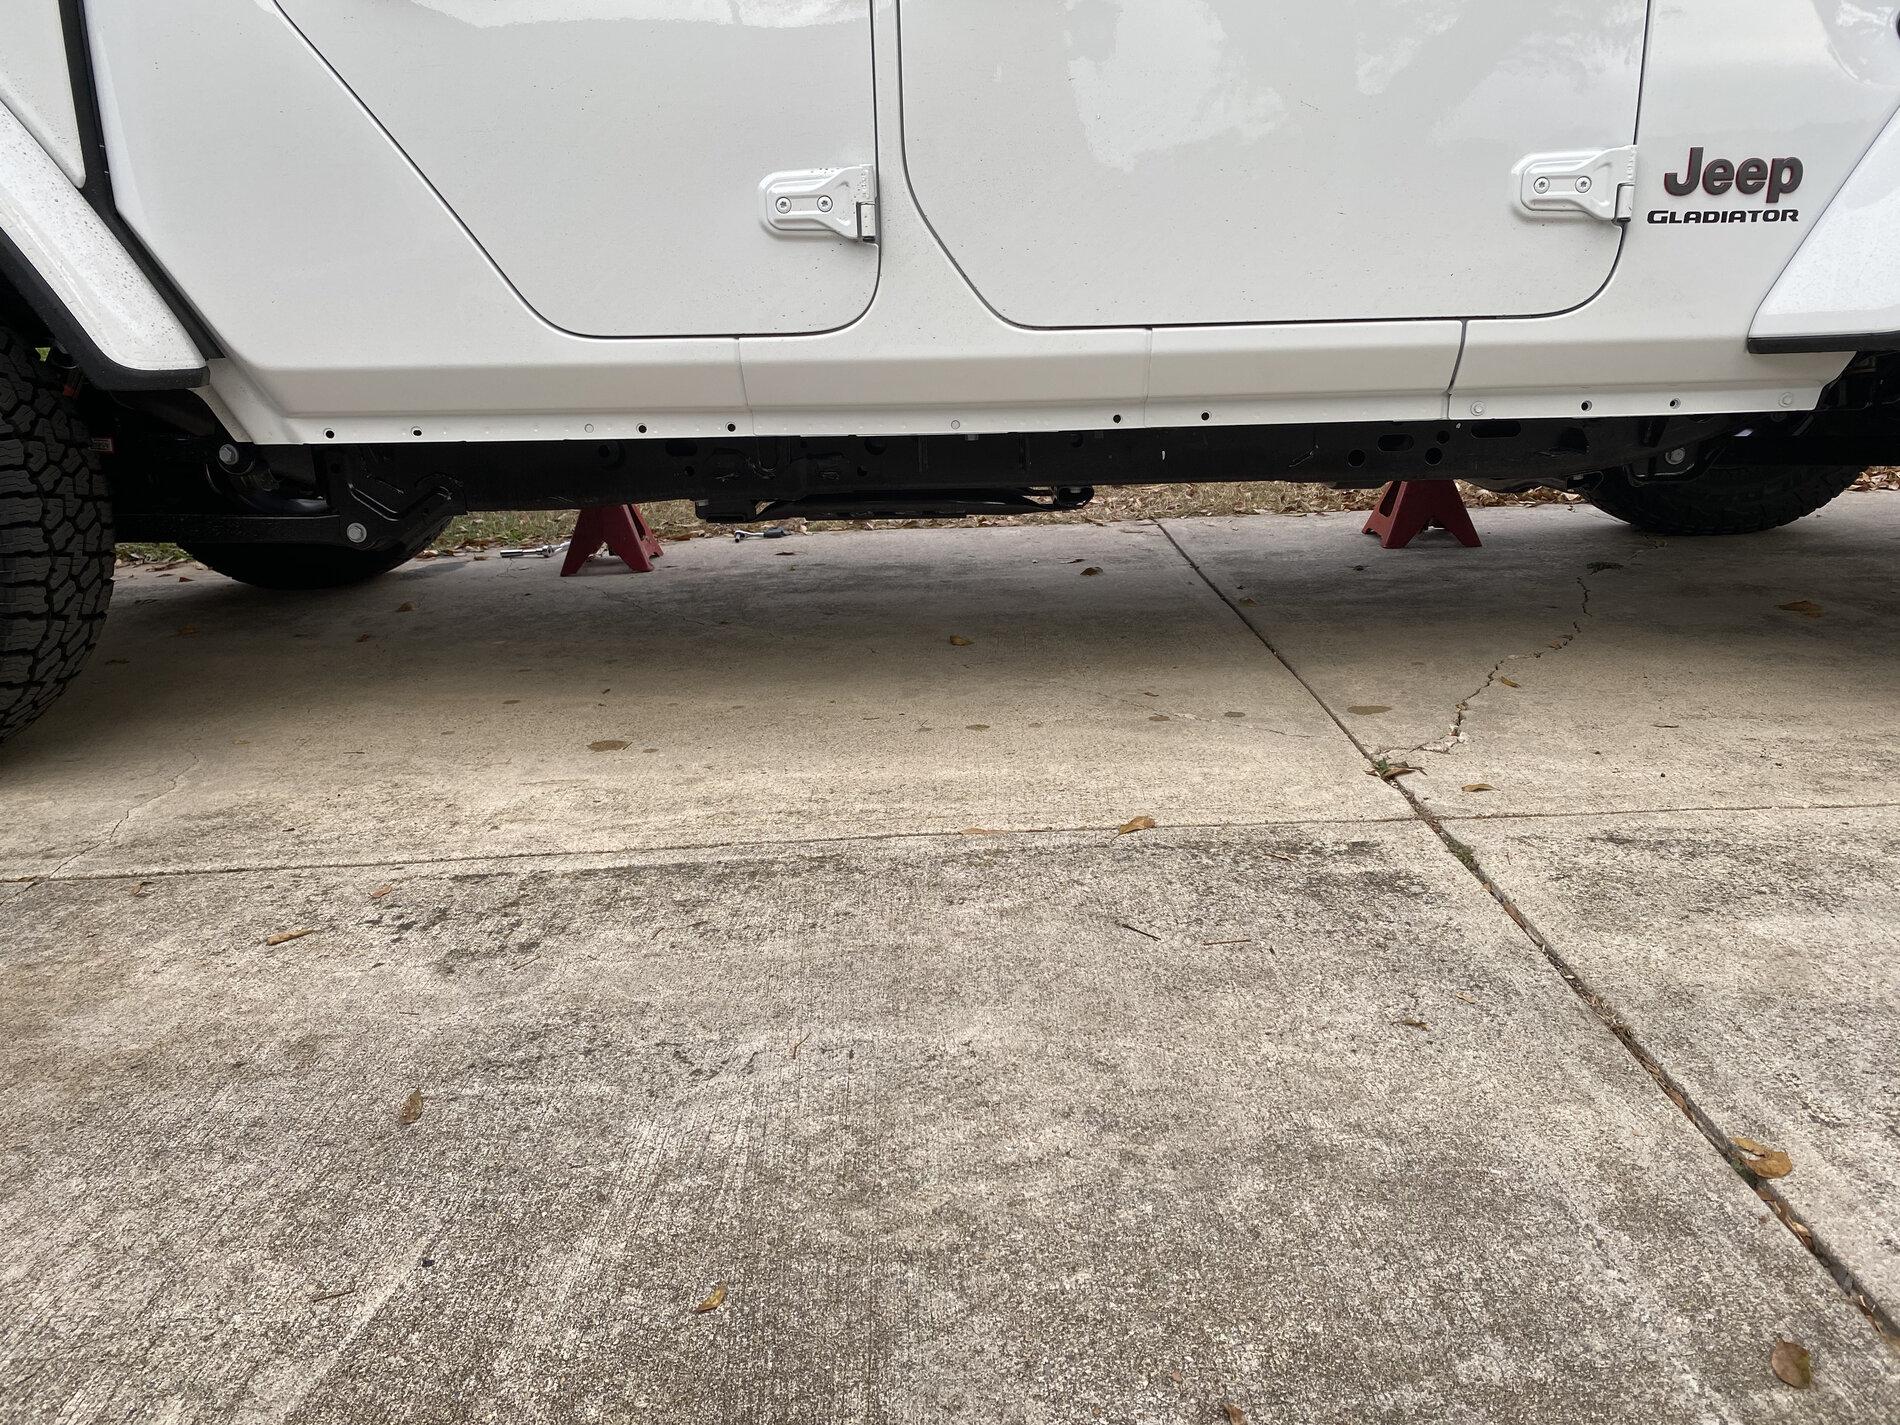
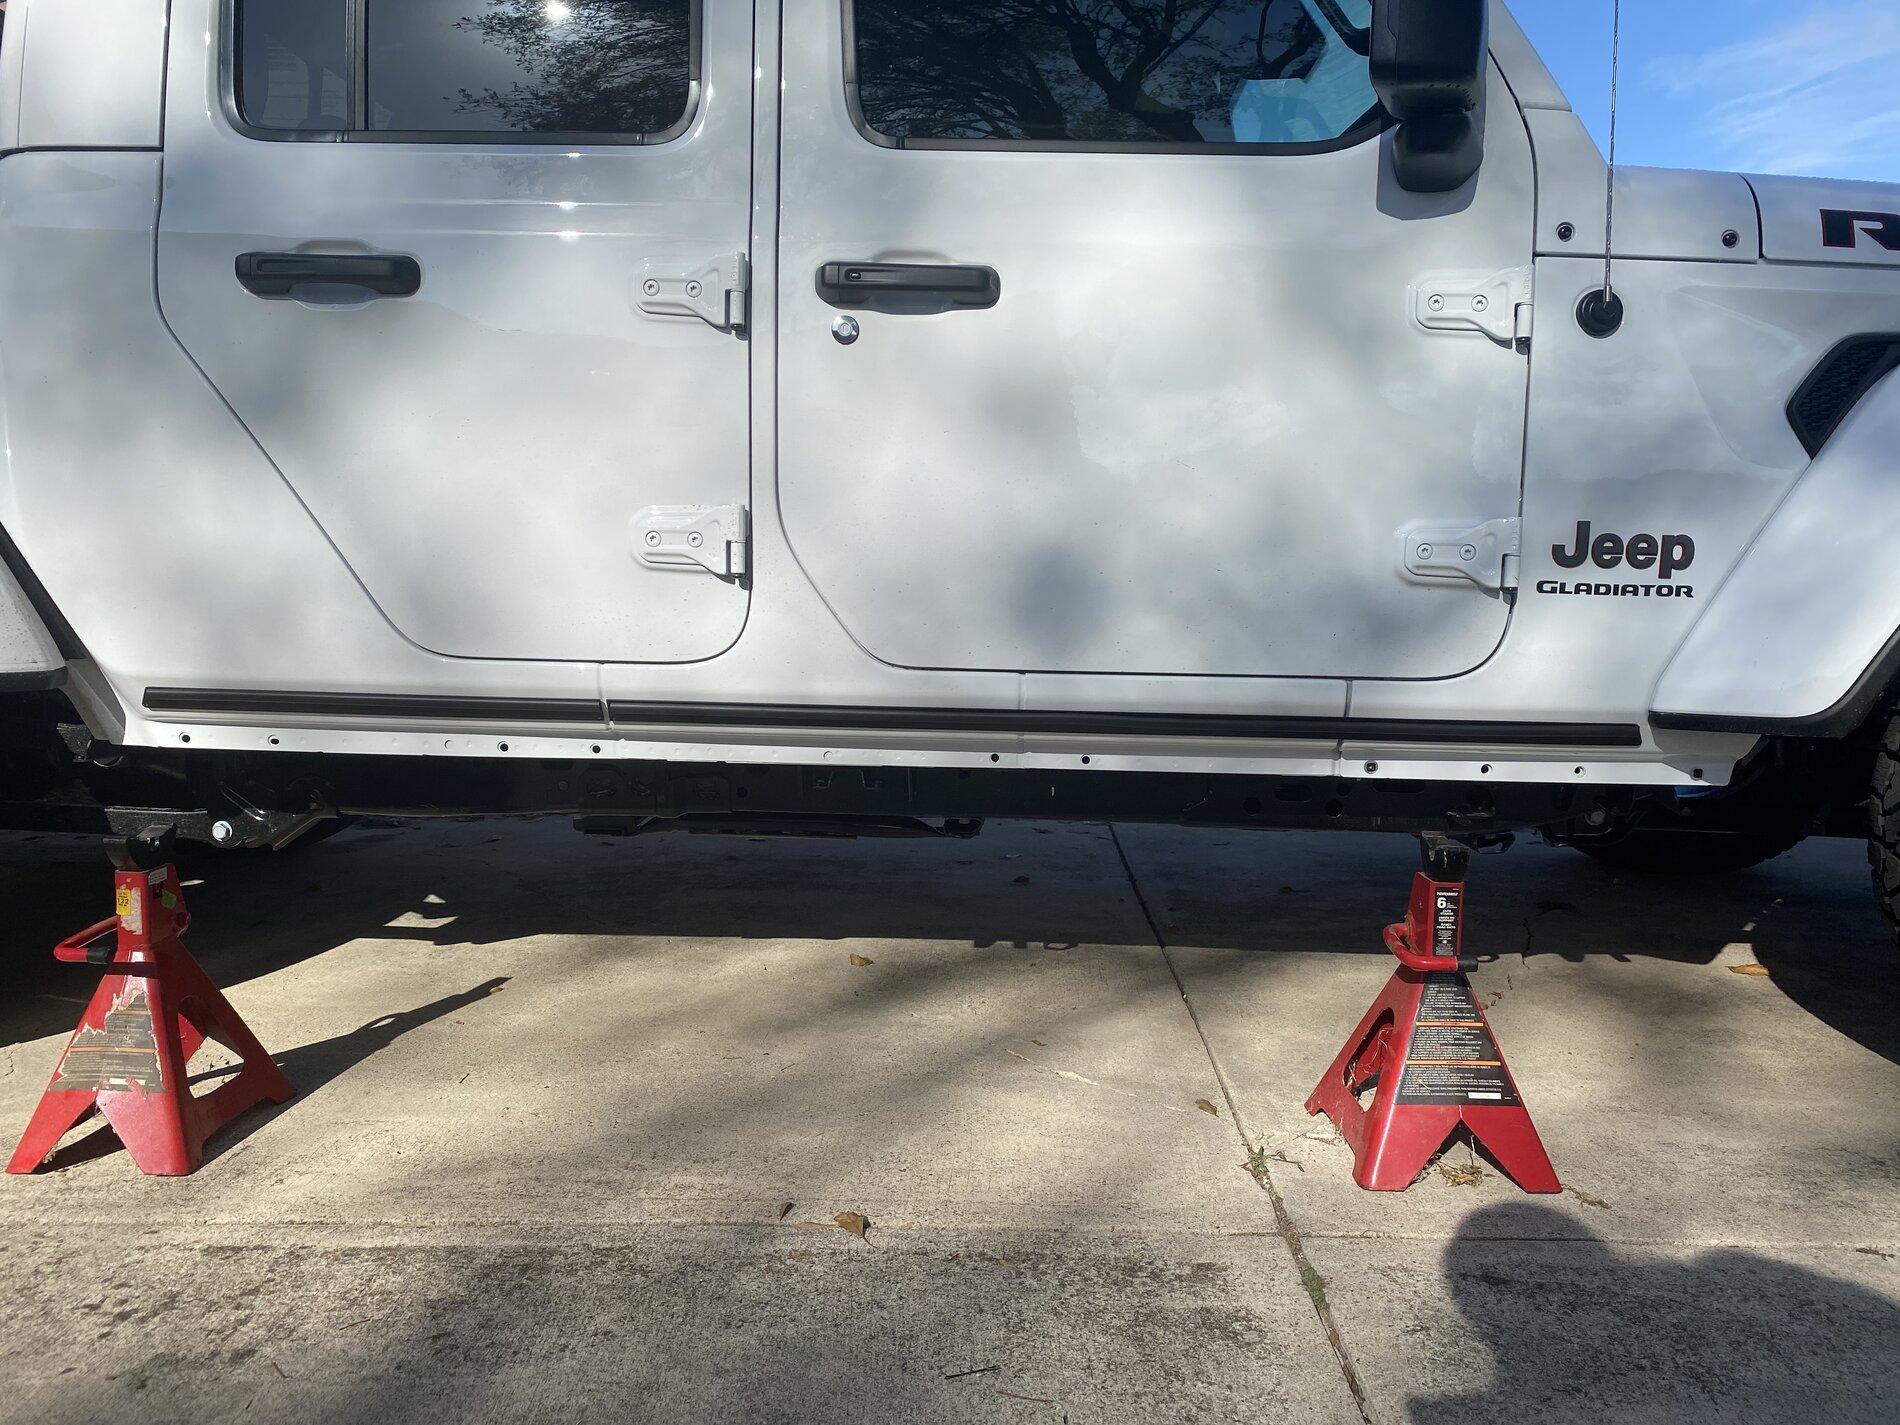
I used jack stands to help me with the removal of the original Rubicon rock rails. If I remember correctly, the instructions don't tell you what size sockets to use to remove the rock rails. you'll need a 10mm and a 1/2" socket.
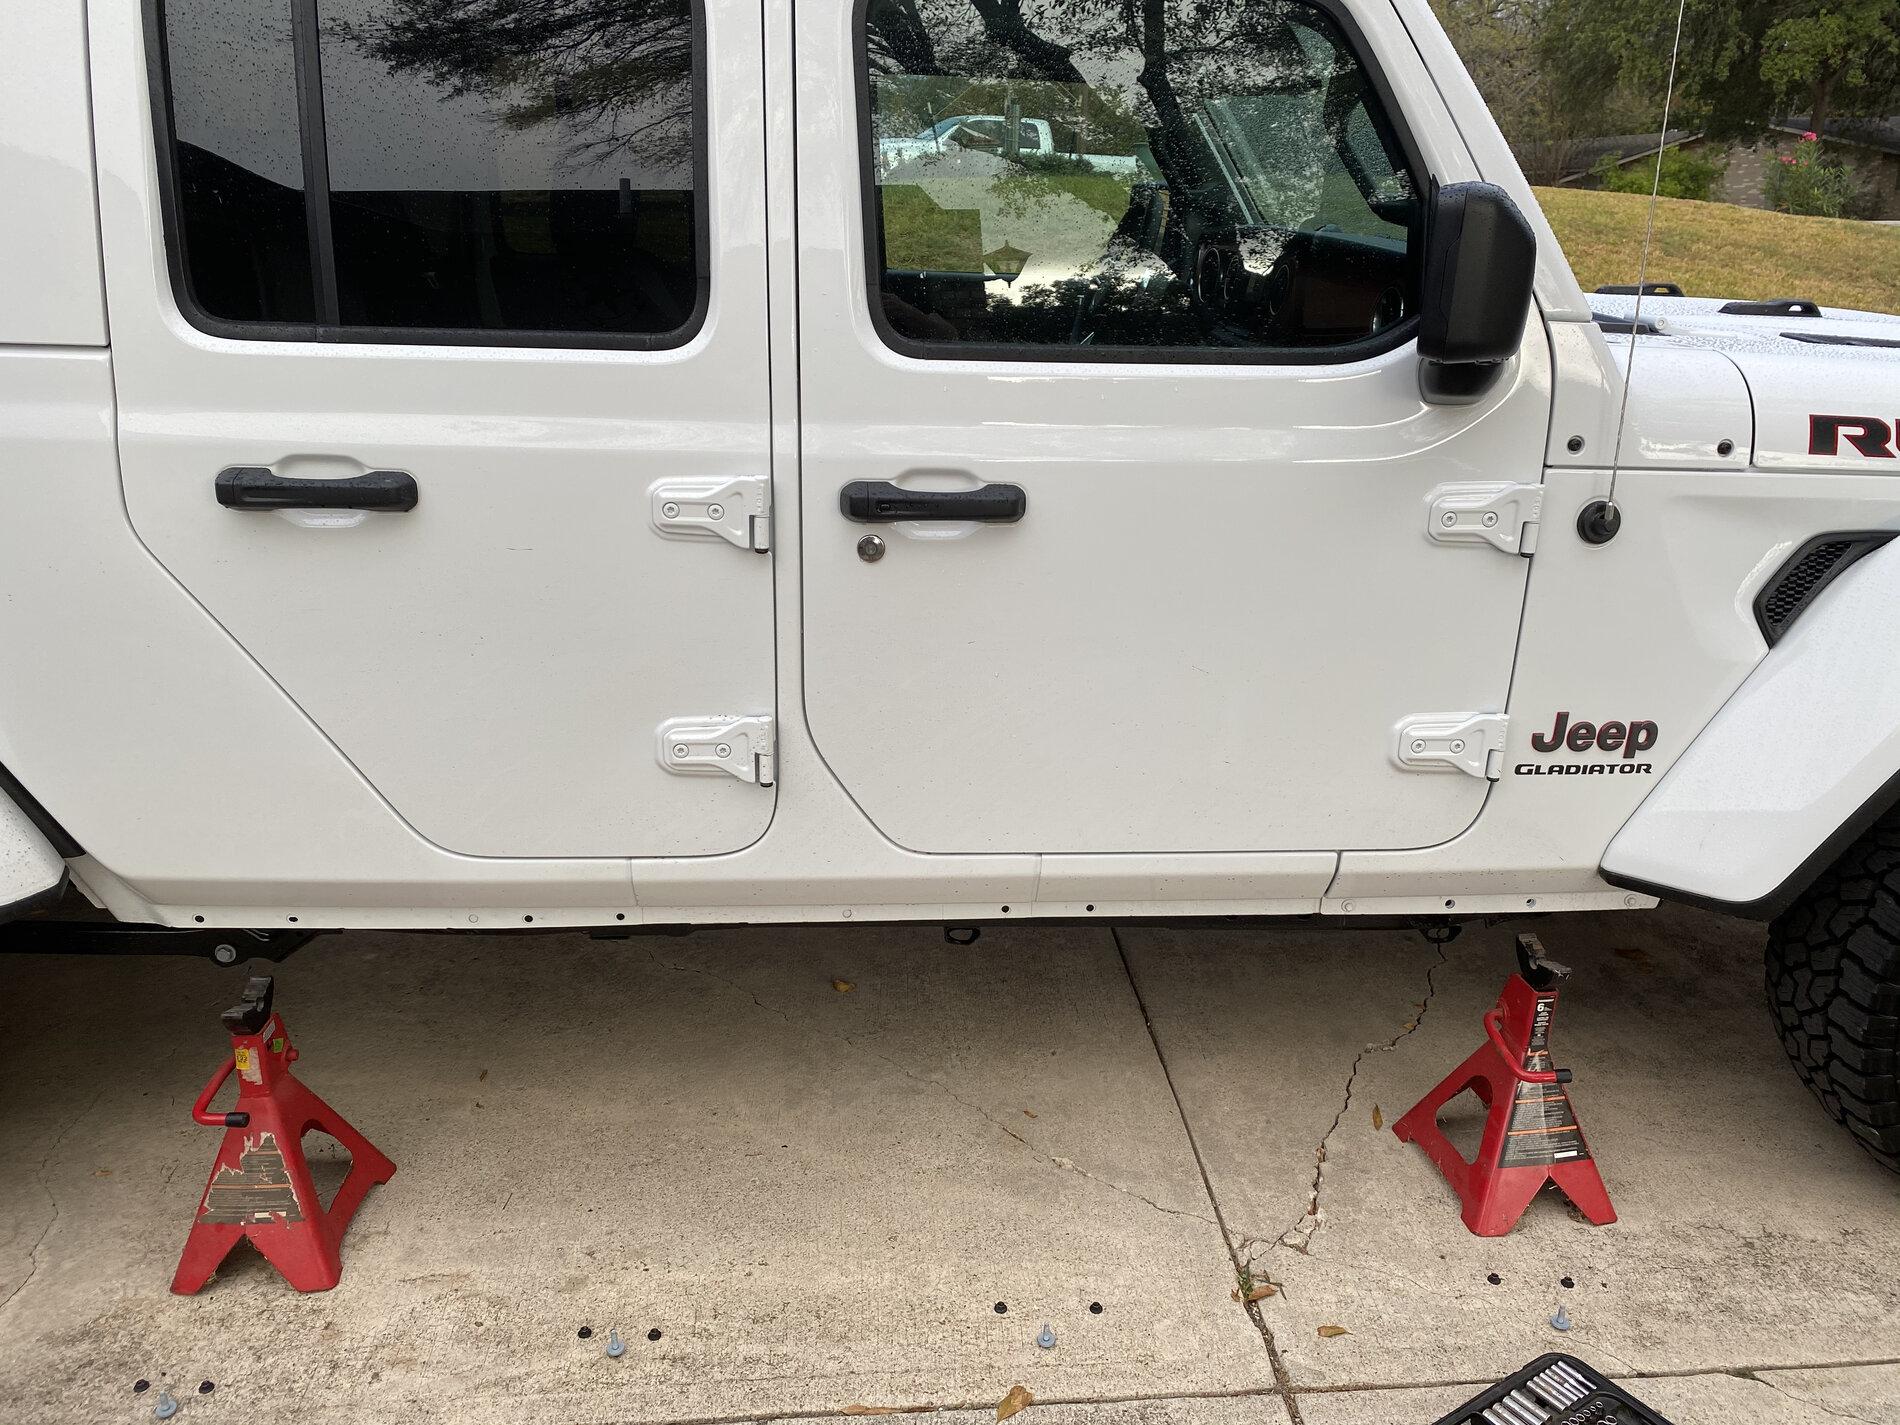
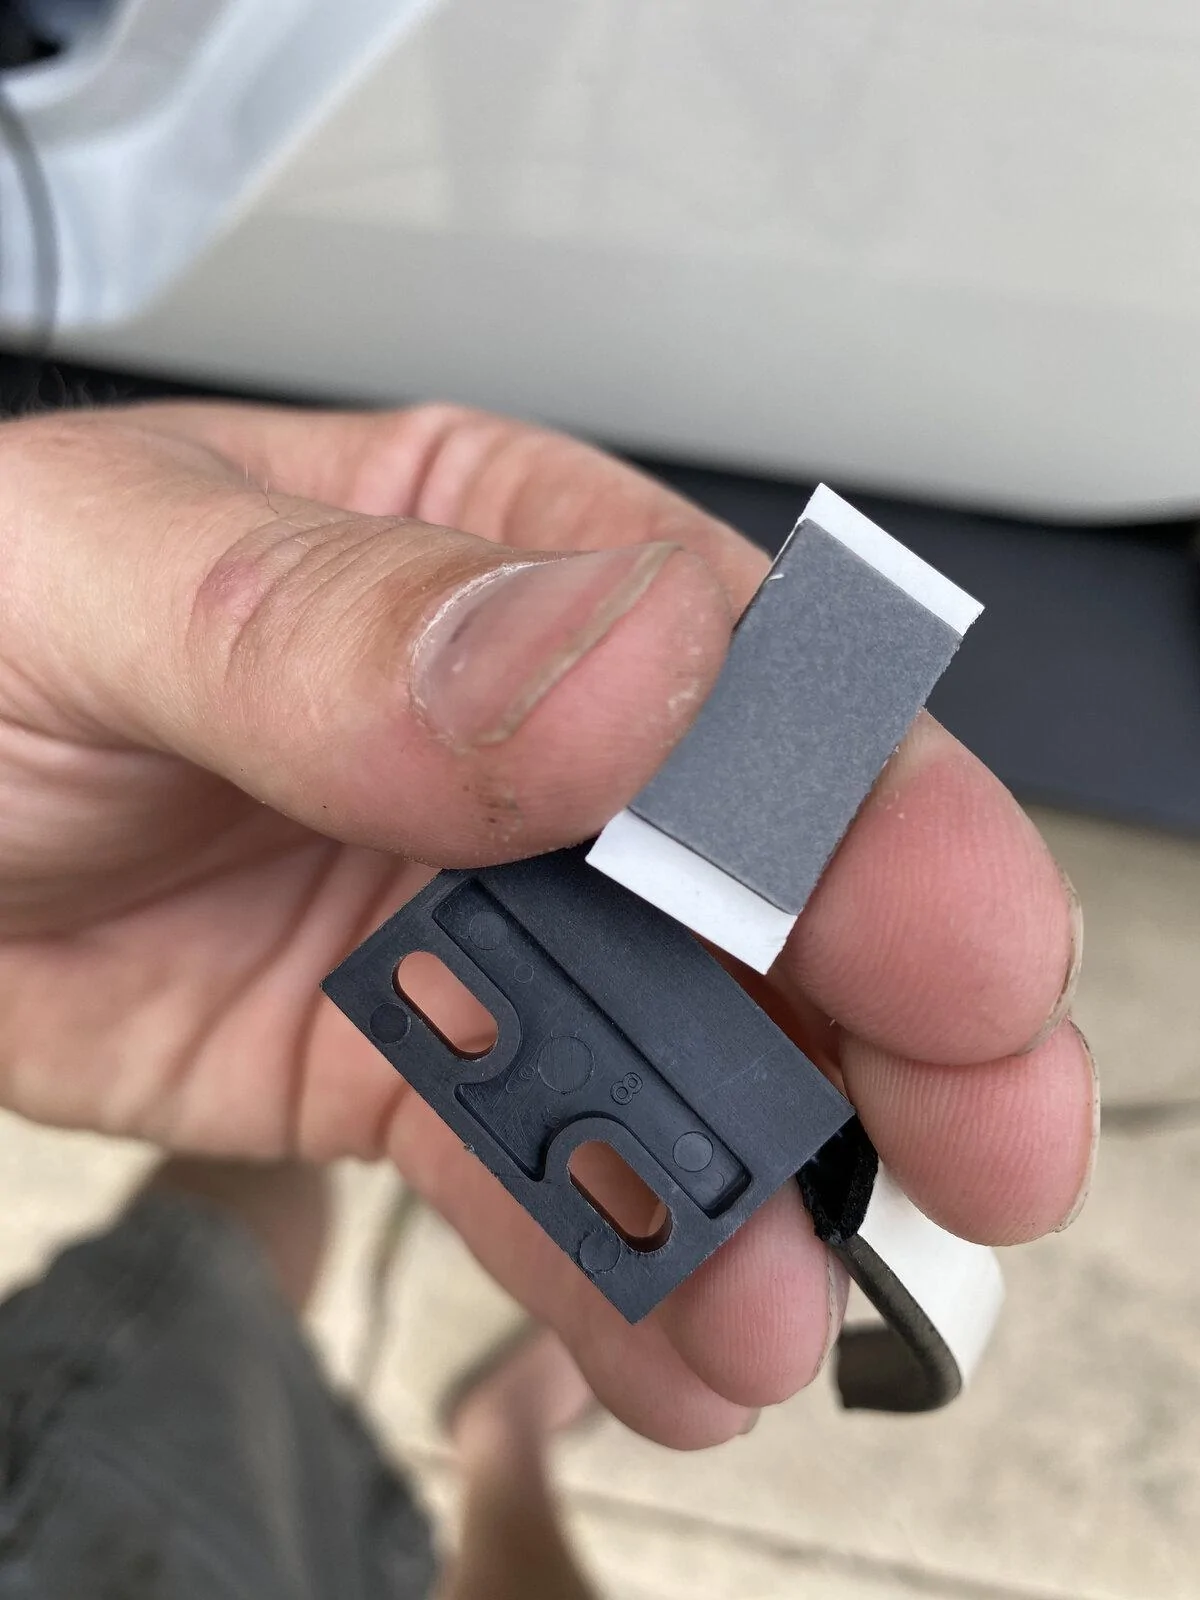
The instructions say to put the lower rocker panel protection on about 1/2" below the "break." I think I eyeballed it with my thumb.
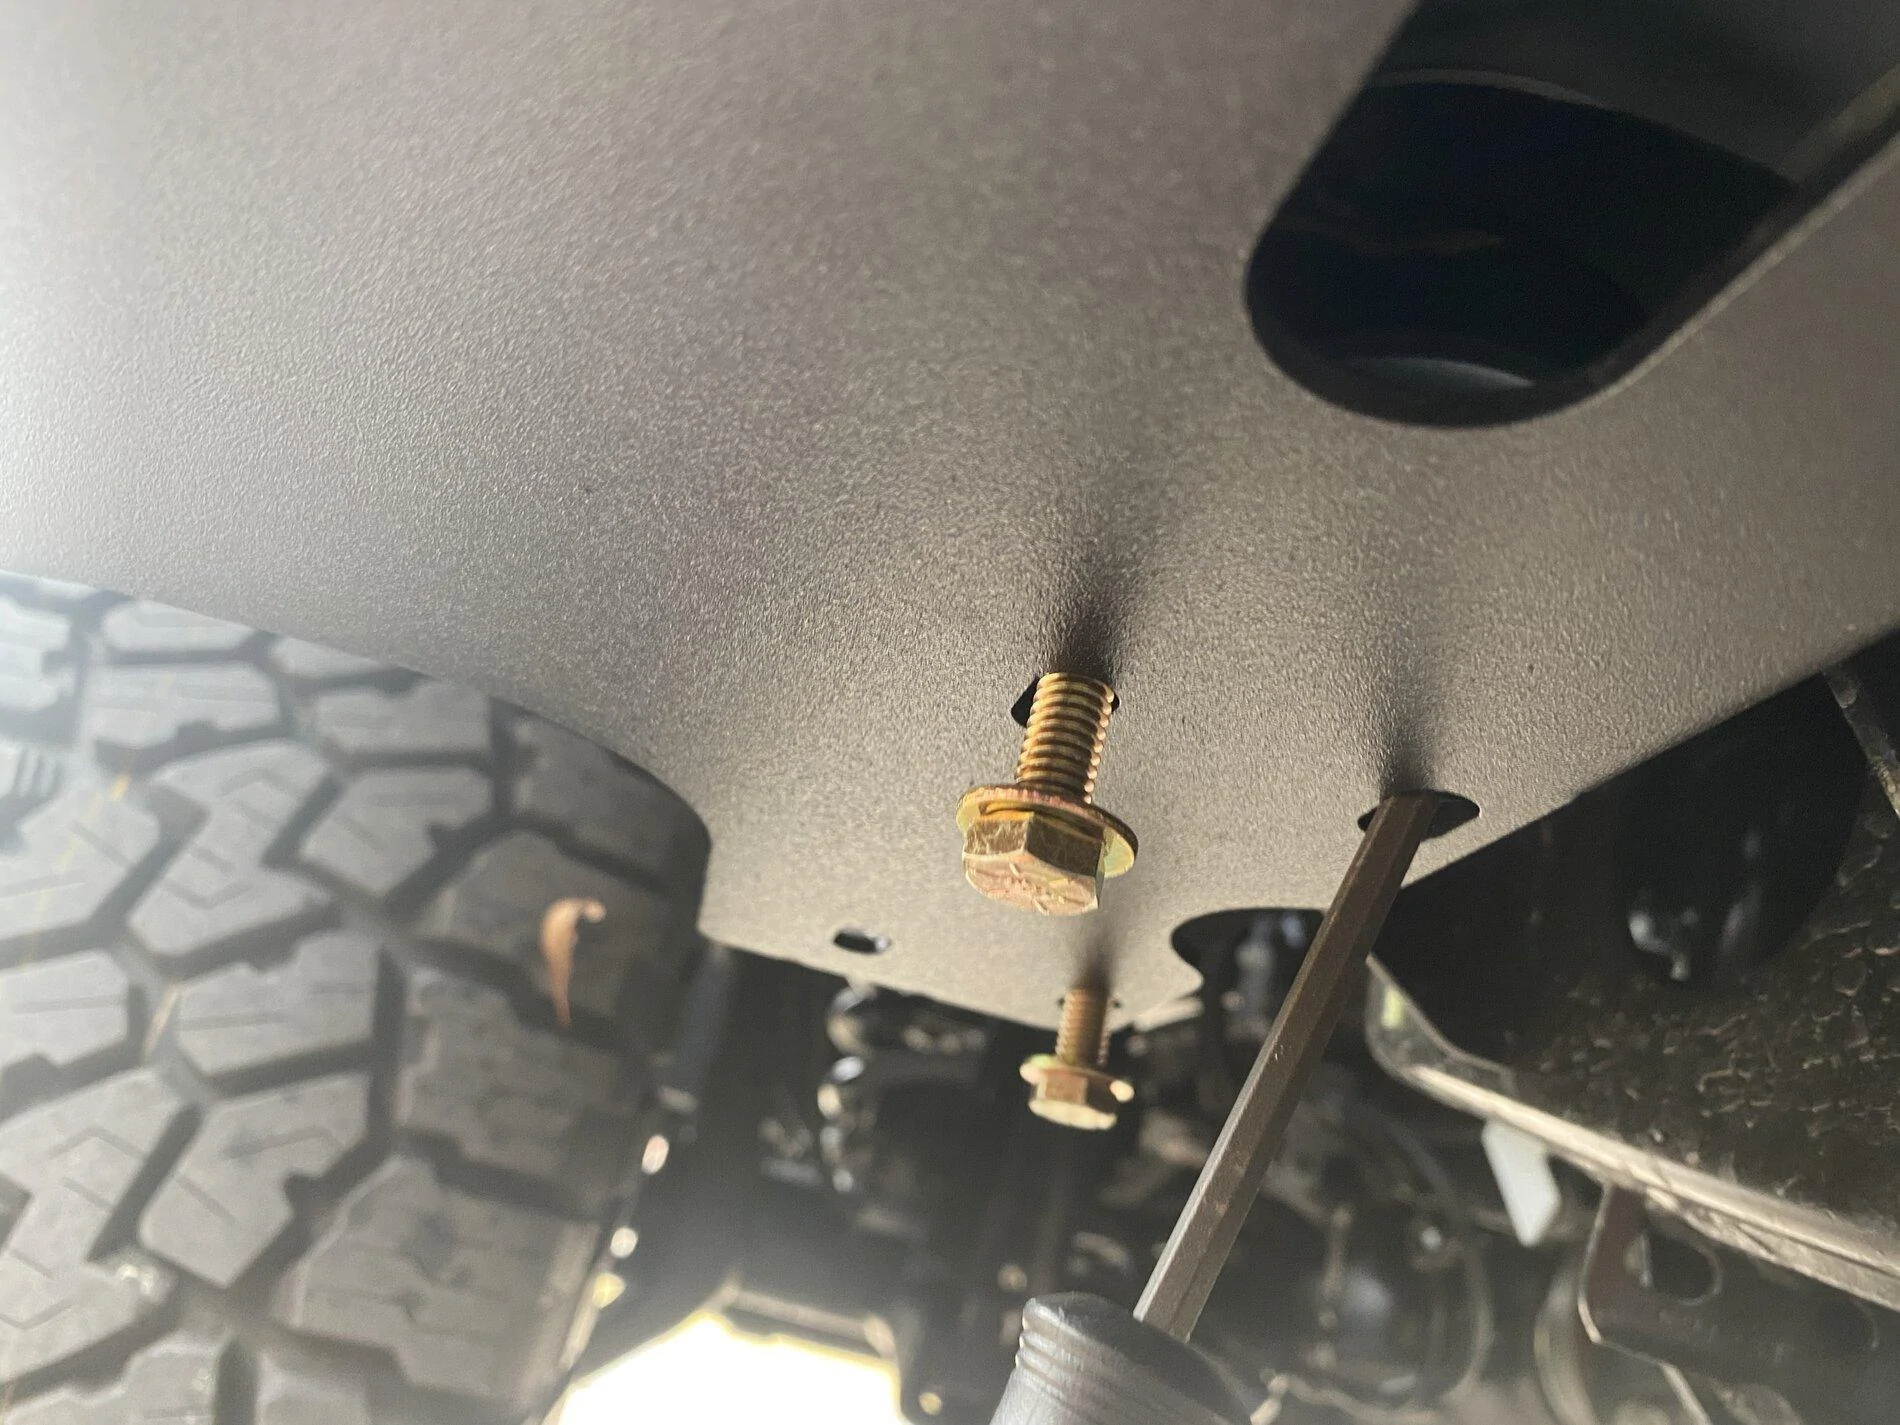
A technique I used to make sure the RSE steps were lined up with the body mount brackets was to put a screwdriver in one of the holes to move the bracket around. Again, I used jack stands to help get the steps close to the truck for install.
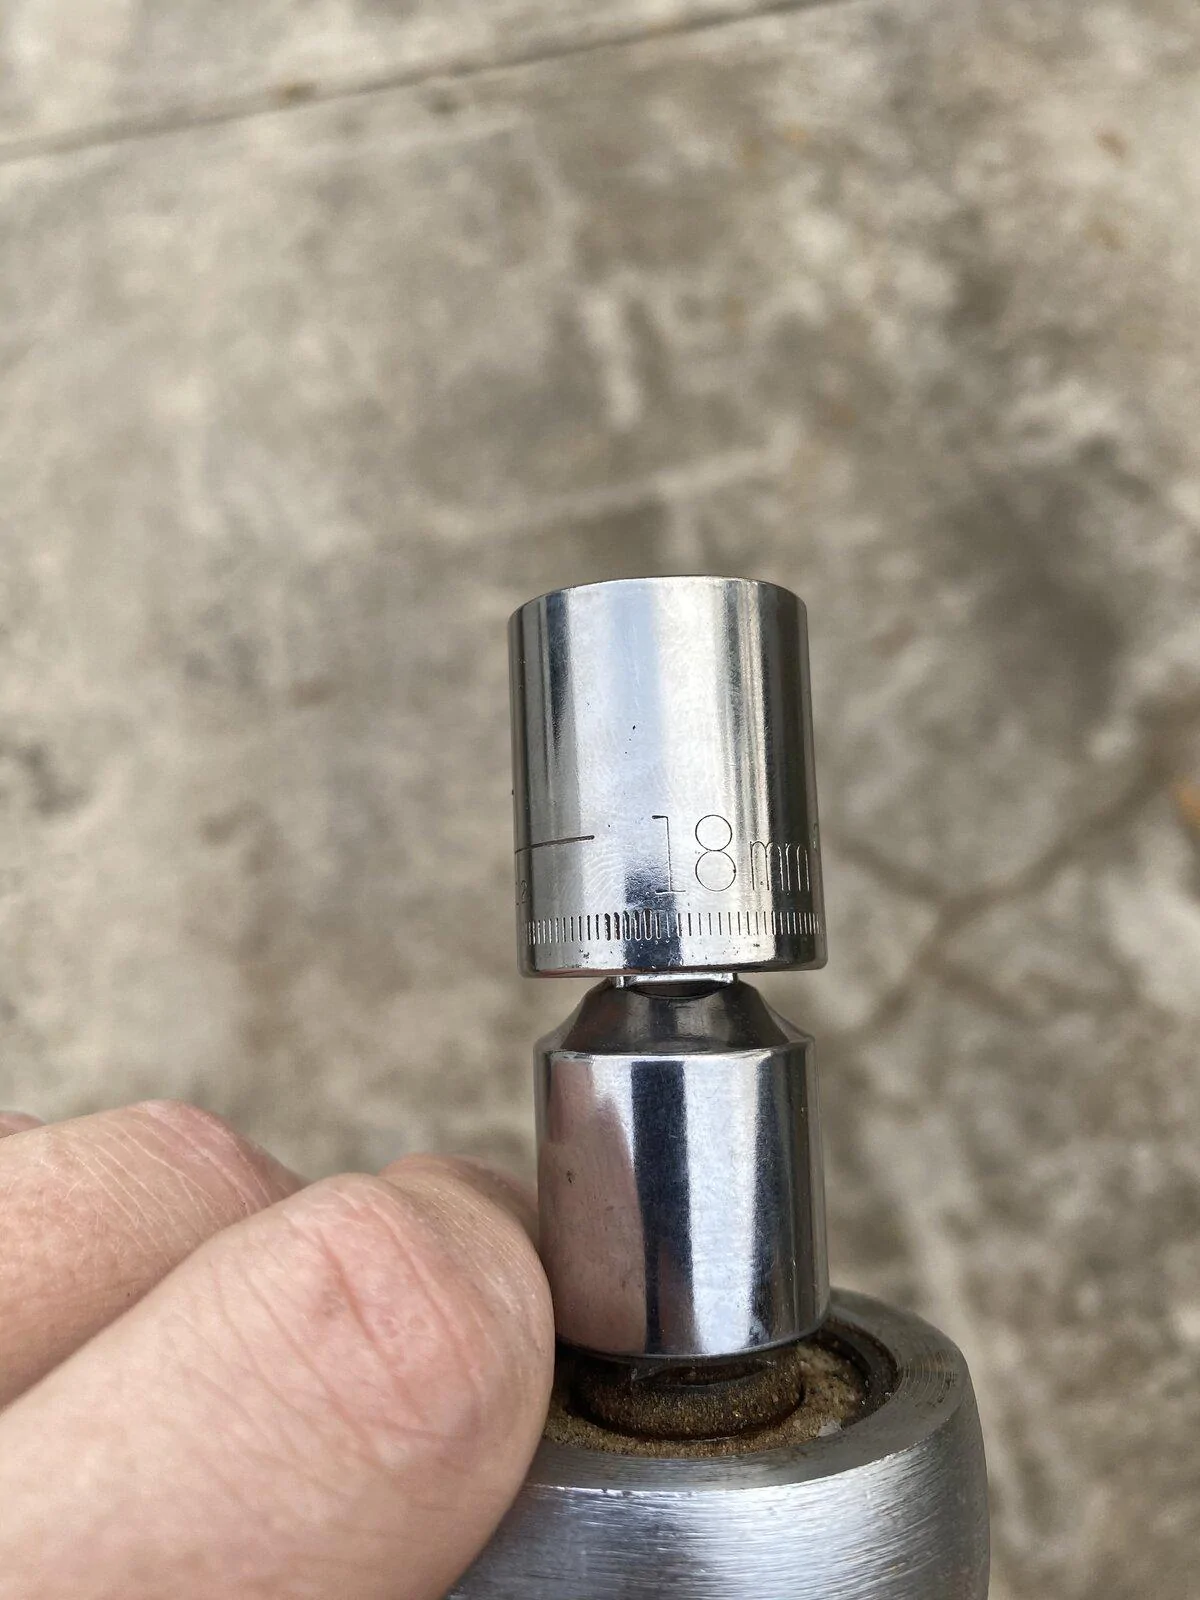
Be aware that when you're loosening up those body bolts (the instructions don't tell you, but I think I used a 18mm socket) - per the instructions - you may have one or more that are "stuck" and will skip when you try to turn them. It seems that if you reverse your direction for a quarter of a turn, it will resolve it. YMMV. On my truck, the body bolt was stuck and wasn't installed fully flush with the frame mount from the factory. So, the dealership is going to fix that under warranty.
Moving on to the wiring.
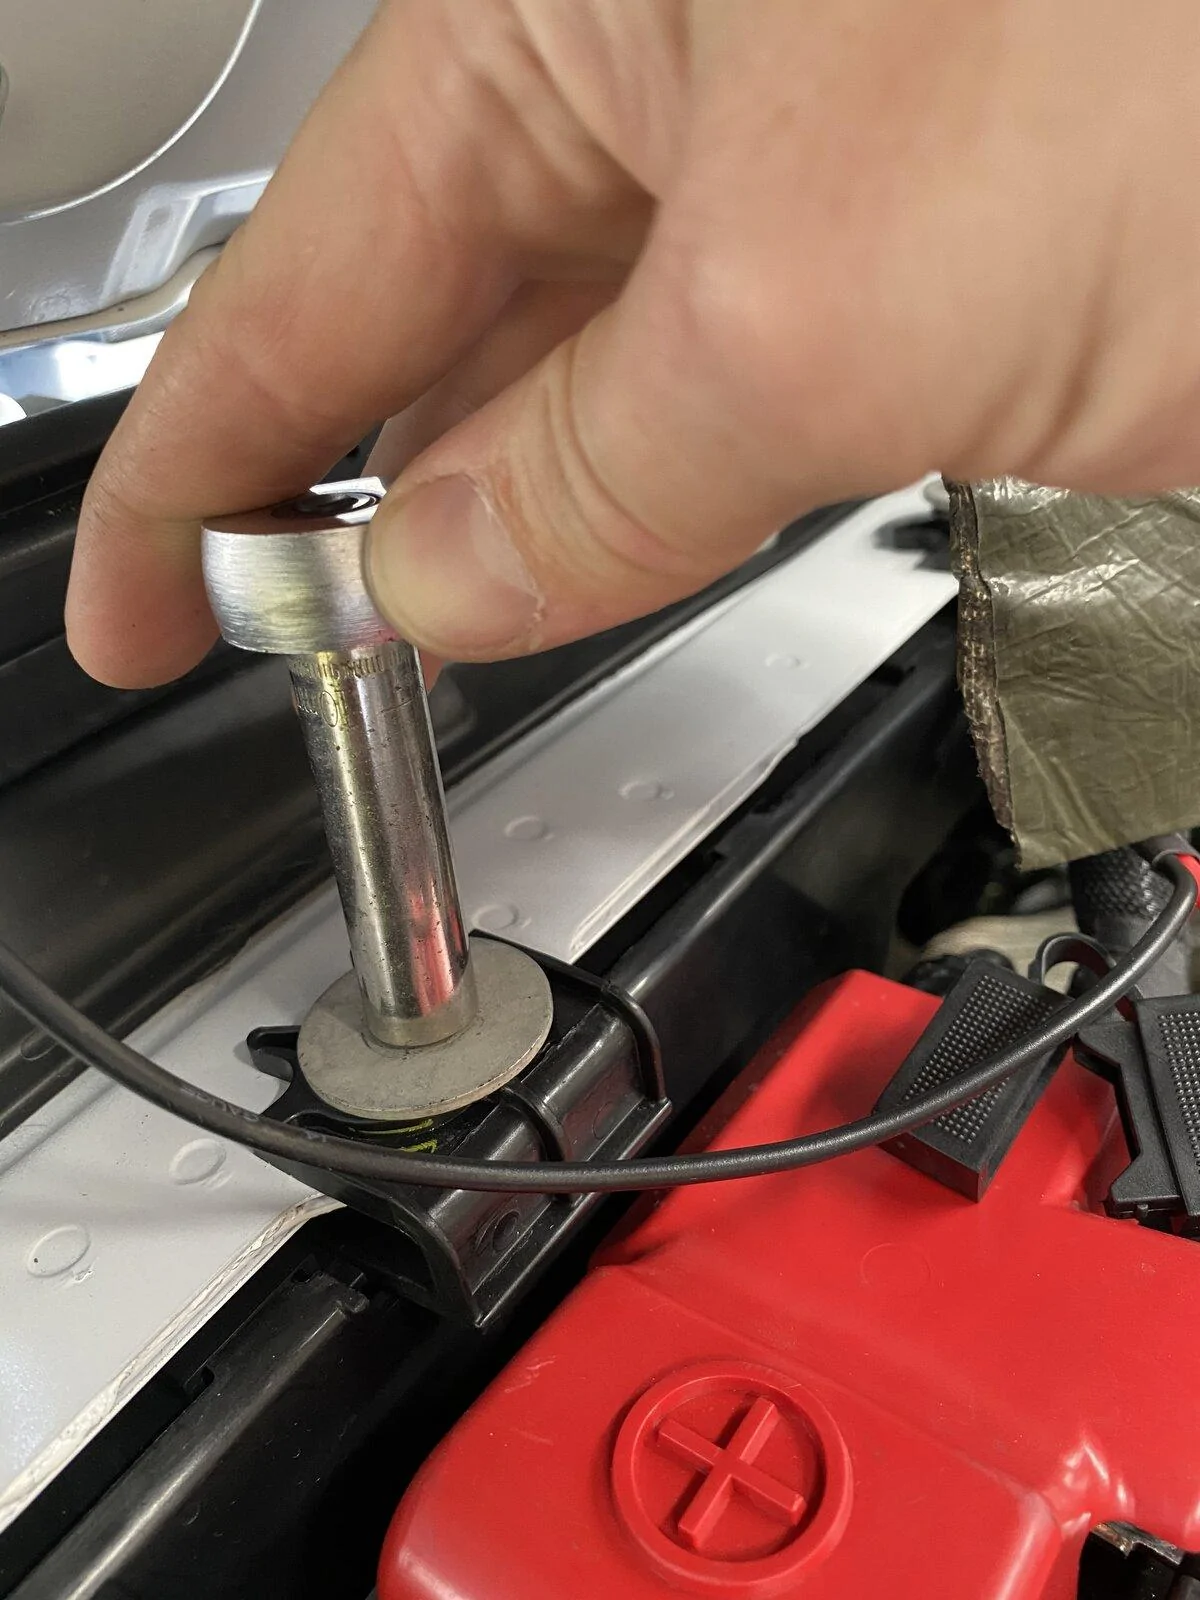
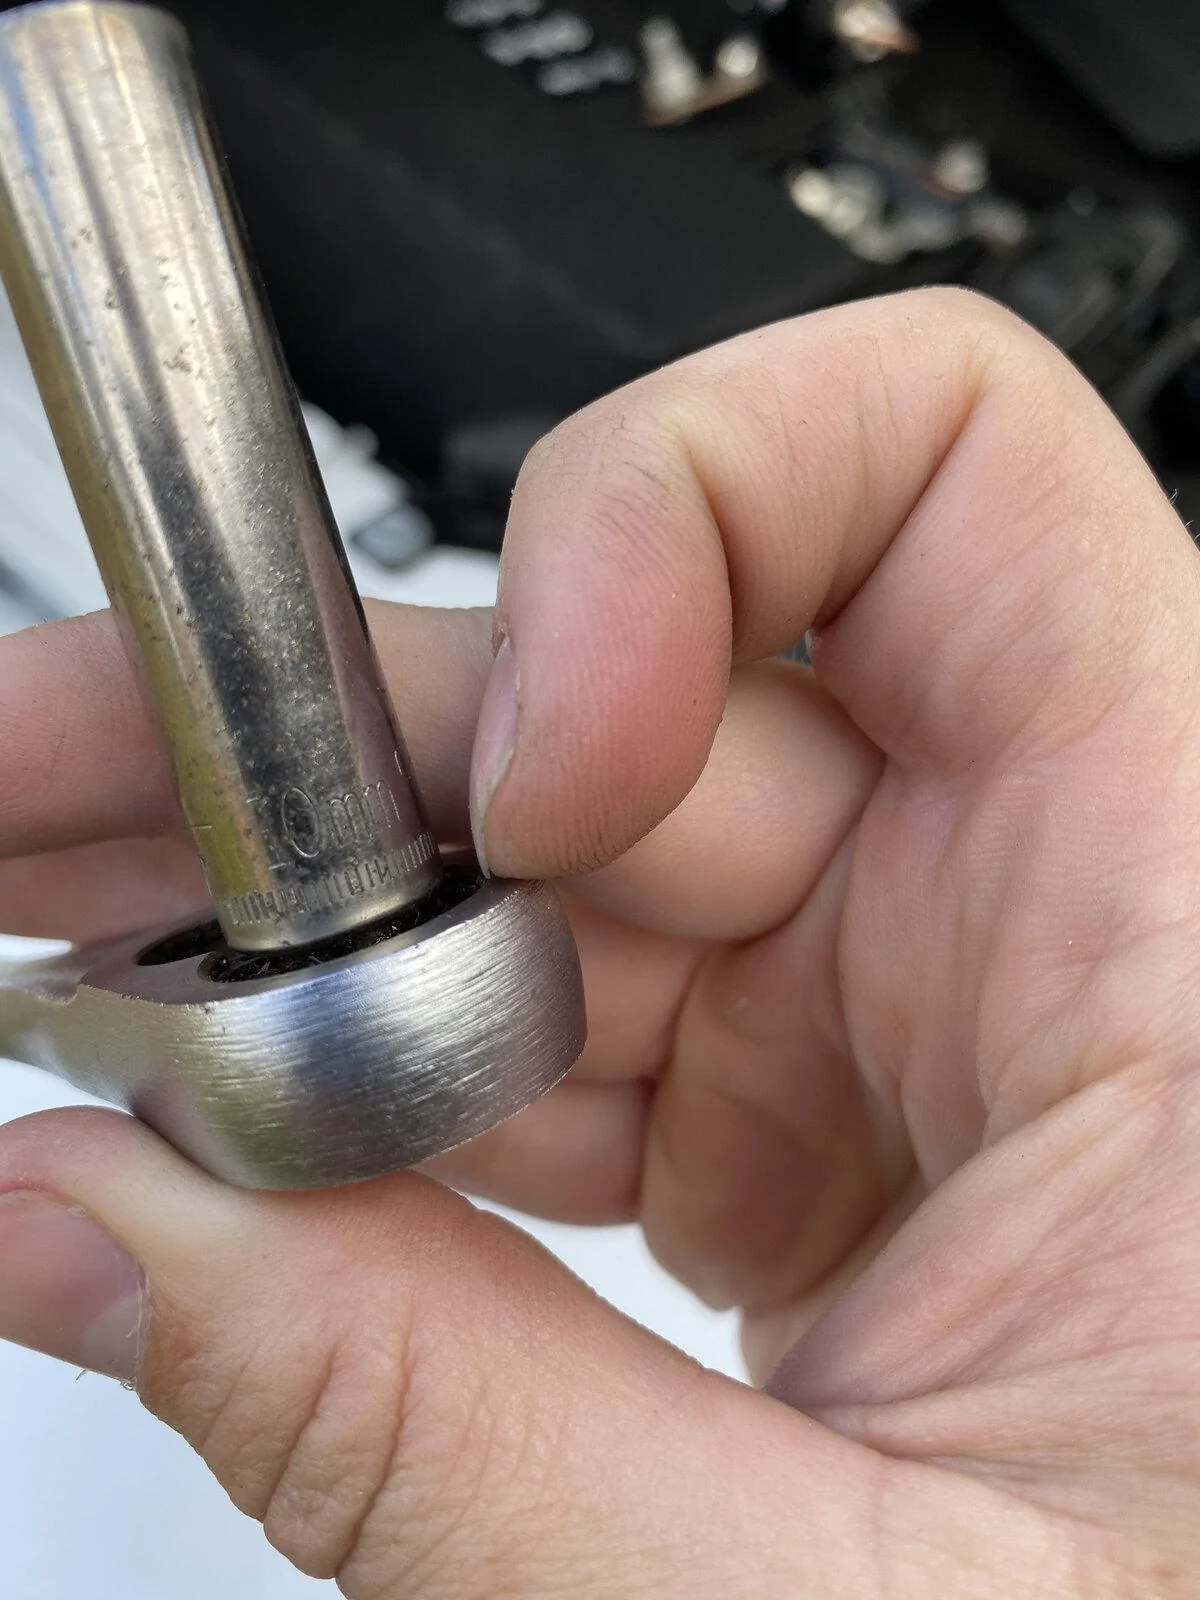
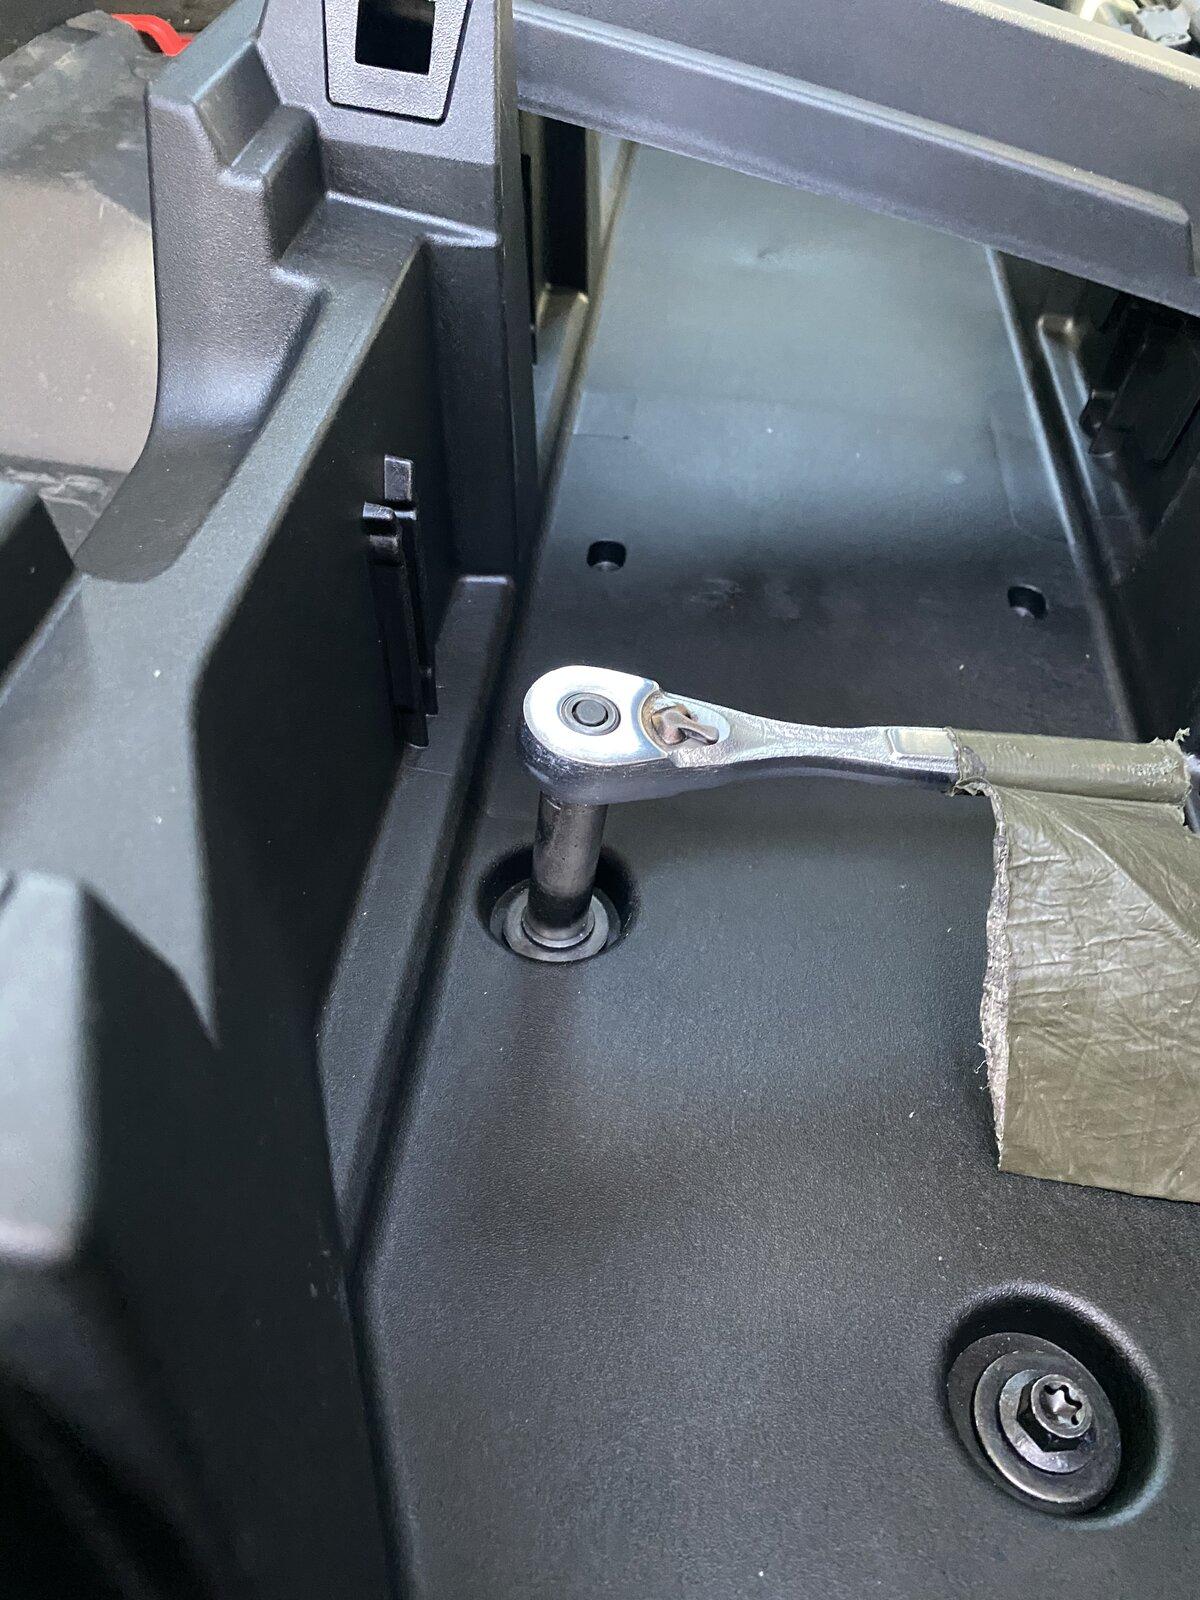
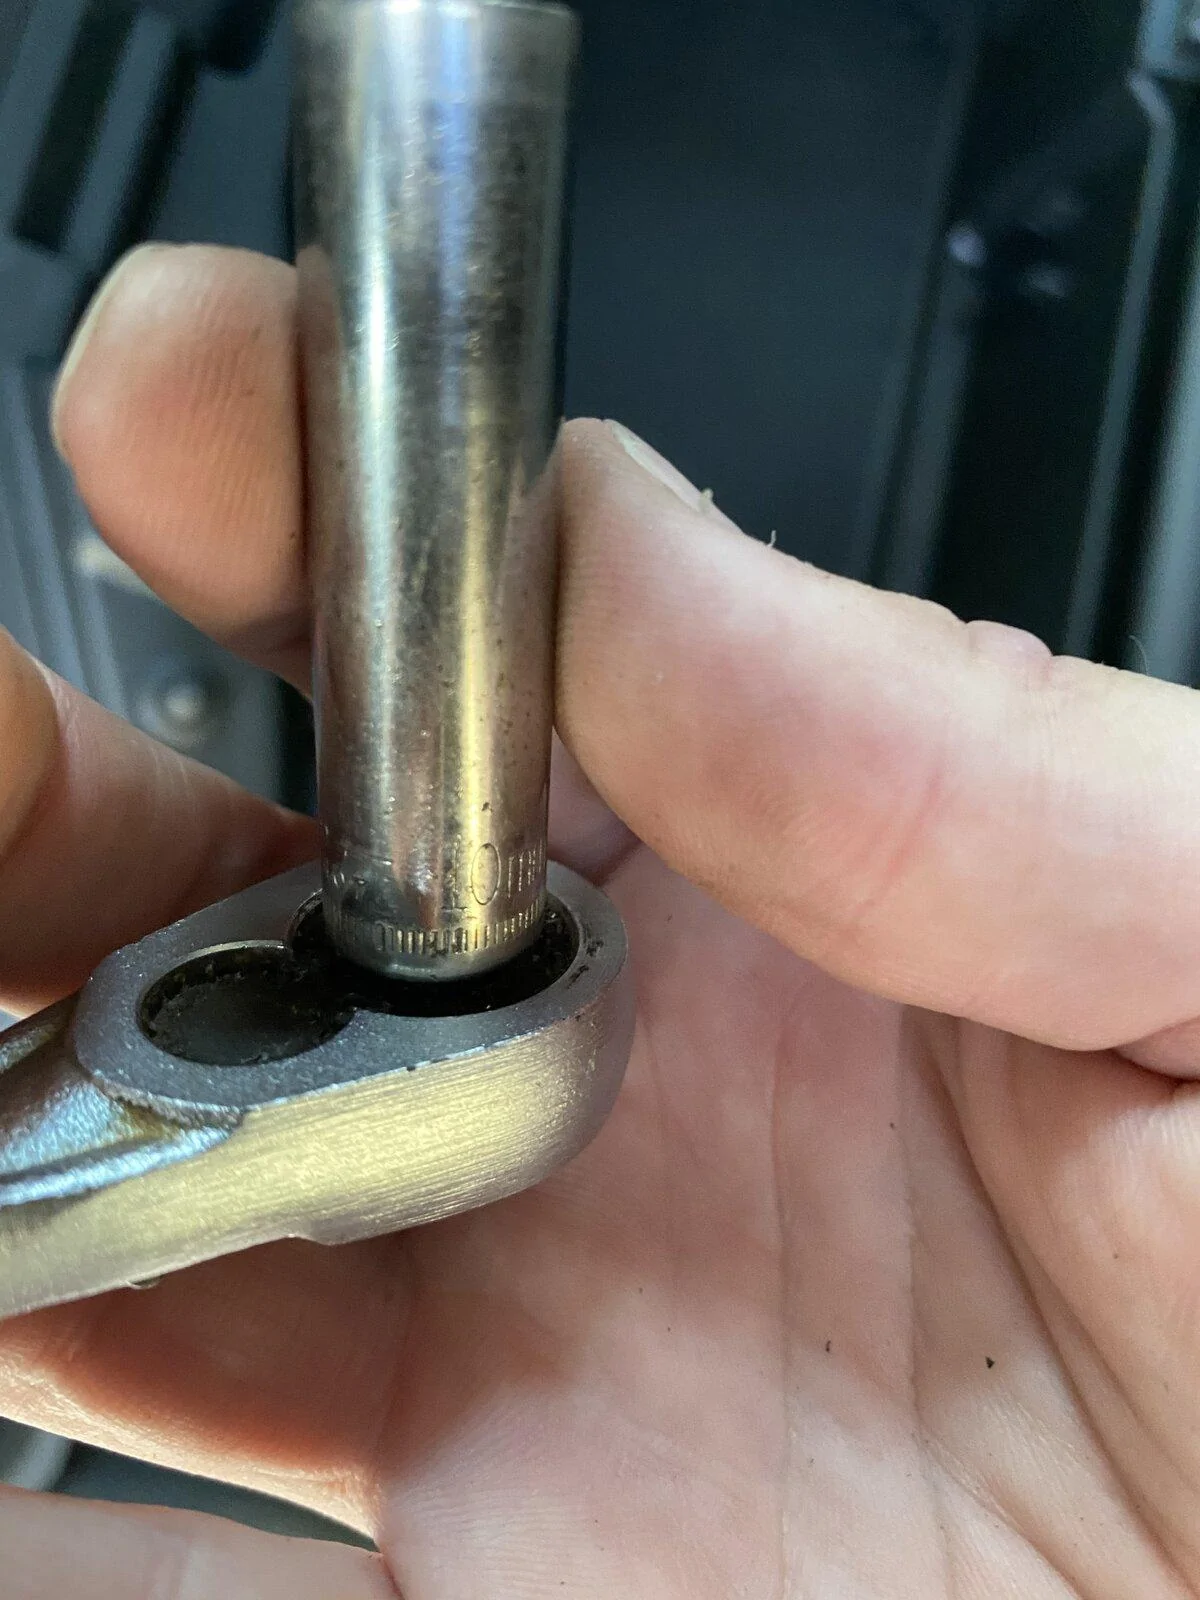
The instructions say to route the wiring along the back of the engine compartment and to loosen the bolts, but don't say what size socket... they're 10mm, and so are the bolts inside the storage box under the seat if you have them.
Getting the wiring into/under the interior body panels to install the door open sensors was a bit of a pain, and I recommend some trim tools to help.
The rest of it was fairly self explanatory, until I think the last step when it says to re-install two of the pinch seam bolts (per side), but only shows a photo of one of the bolts. To access the remaining hole, you'll need to activate the steps to drop them down. With the steps down, you should be able to see the remaining pinch seam hole and install the remaining bolts.
The lights that integrate into the steps are an option, and there aren't any installation instructions that came with my kit. I looked online to find a YouTube video, and just sort of eyeballed it. It all looks and works great.
Another member here said that he thought the RSE steps were really stout, but that it makes the JT look like a boat. I agree that the RSE steps are stout, but I LIKE the look, and it gives me a platform for me to step on to reach the top of the truck when I'm cleaning it. If/when I get a roof rack, I'm sure those platforms will be useful then as well.
The steps work as advertised, and they're exactly what I expected and need. My only complaint is very minor: The steps are very noisy. As the steps reach their limits, and when they retract fully, it makes a sound like someone is hitting the rails with a hammer. I guess this is normal, and I don't think it's a problem. It's just a little disconcerting the first few times you hear it.


Here's my first build thread... it's on the Rockslide Engineering steps install. I'm going to write my notes out first, then add the photos.
The first thing I did, was lay out all of the parts to make sure I had everything the instructions said I should have. In fact, I did not. I had way too many of the yellow zinc washers and not enough of the stainless washers. Strangely, they were the same size, and if you add them all up I had the total number of washers correct. I'm hoping down the road it doesn't matter that I had to use some of the zinc washers in place of the stainless.
With the number of hardware provided, I found it easiest to group them into lots of 4.
I used jack stands to help me with the removal of the original Rubicon rock rails. If I remember correctly, the instructions don't tell you what size sockets to use to remove the rock rails. you'll need a 10mm and a 1/2" socket.
The instructions say to put the lower rocker panel protection on about 1/2" below the "break." I think I eyeballed it with my thumb.
A technique I used to make sure the RSE steps were lined up with the body mount brackets was to put a screwdriver in one of the holes to move the bracket around. Again, I used jack stands to help get the steps close to the truck for install.
Be aware that when you're loosening up those body bolts (the instructions don't tell you, but I think I used a 18mm socket) - per the instructions - you may have one or more that are "stuck" and will skip when you try to turn them. It seems that if you reverse your direction for a quarter of a turn, it will resolve it. YMMV. On my truck, the body bolt was stuck and wasn't installed fully flush with the frame mount from the factory. So, the dealership is going to fix that under warranty.
Moving on to the wiring.
The instructions say to route the wiring along the back of the engine compartment and to loosen the bolts, but don't say what size socket... they're 10mm, and so are the bolts inside the storage box under the seat if you have them.
Getting the wiring into/under the interior body panels to install the door open sensors was a bit of a pain, and I recommend some trim tools to help.
The rest of it was fairly self explanatory, until I think the last step when it says to re-install two of the pinch seam bolts (per side), but only shows a photo of one of the bolts. To access the remaining hole, you'll need to activate the steps to drop them down. With the steps down, you should be able to see the remaining pinch seam hole and install the remaining bolts.
The lights that integrate into the steps are an option, and there aren't any installation instructions that came with my kit. I looked online to find a YouTube video, and just sort of eyeballed it. It all looks and works great.
Another member here said that he thought the RSE steps were really stout, but that it makes the JT look like a boat. I agree that the RSE steps are stout, but I LIKE the look, and it gives me a platform for me to step on to reach the top of the truck when I'm cleaning it. If/when I get a roof rack, I'm sure those platforms will be useful then as well.
The steps work as advertised, and they're exactly what I expected and need. My only complaint is very minor: The steps are very noisy. As the steps reach their limits, and when they retract fully, it makes a sound like someone is hitting the rails with a hammer. I guess this is normal, and I don't think it's a problem. It's just a little disconcerting the first few times you hear it.
Sponsored