AKGerman
Well-Known Member
- First Name
- Aaron
- Joined
- Sep 28, 2020
- Threads
- 1
- Messages
- 56
- Reaction score
- 39
- Location
- Boulder CO
- Vehicle(s)
- Jeep Gladiator Rubicon
- Occupation
- Gas and ULSD consultant
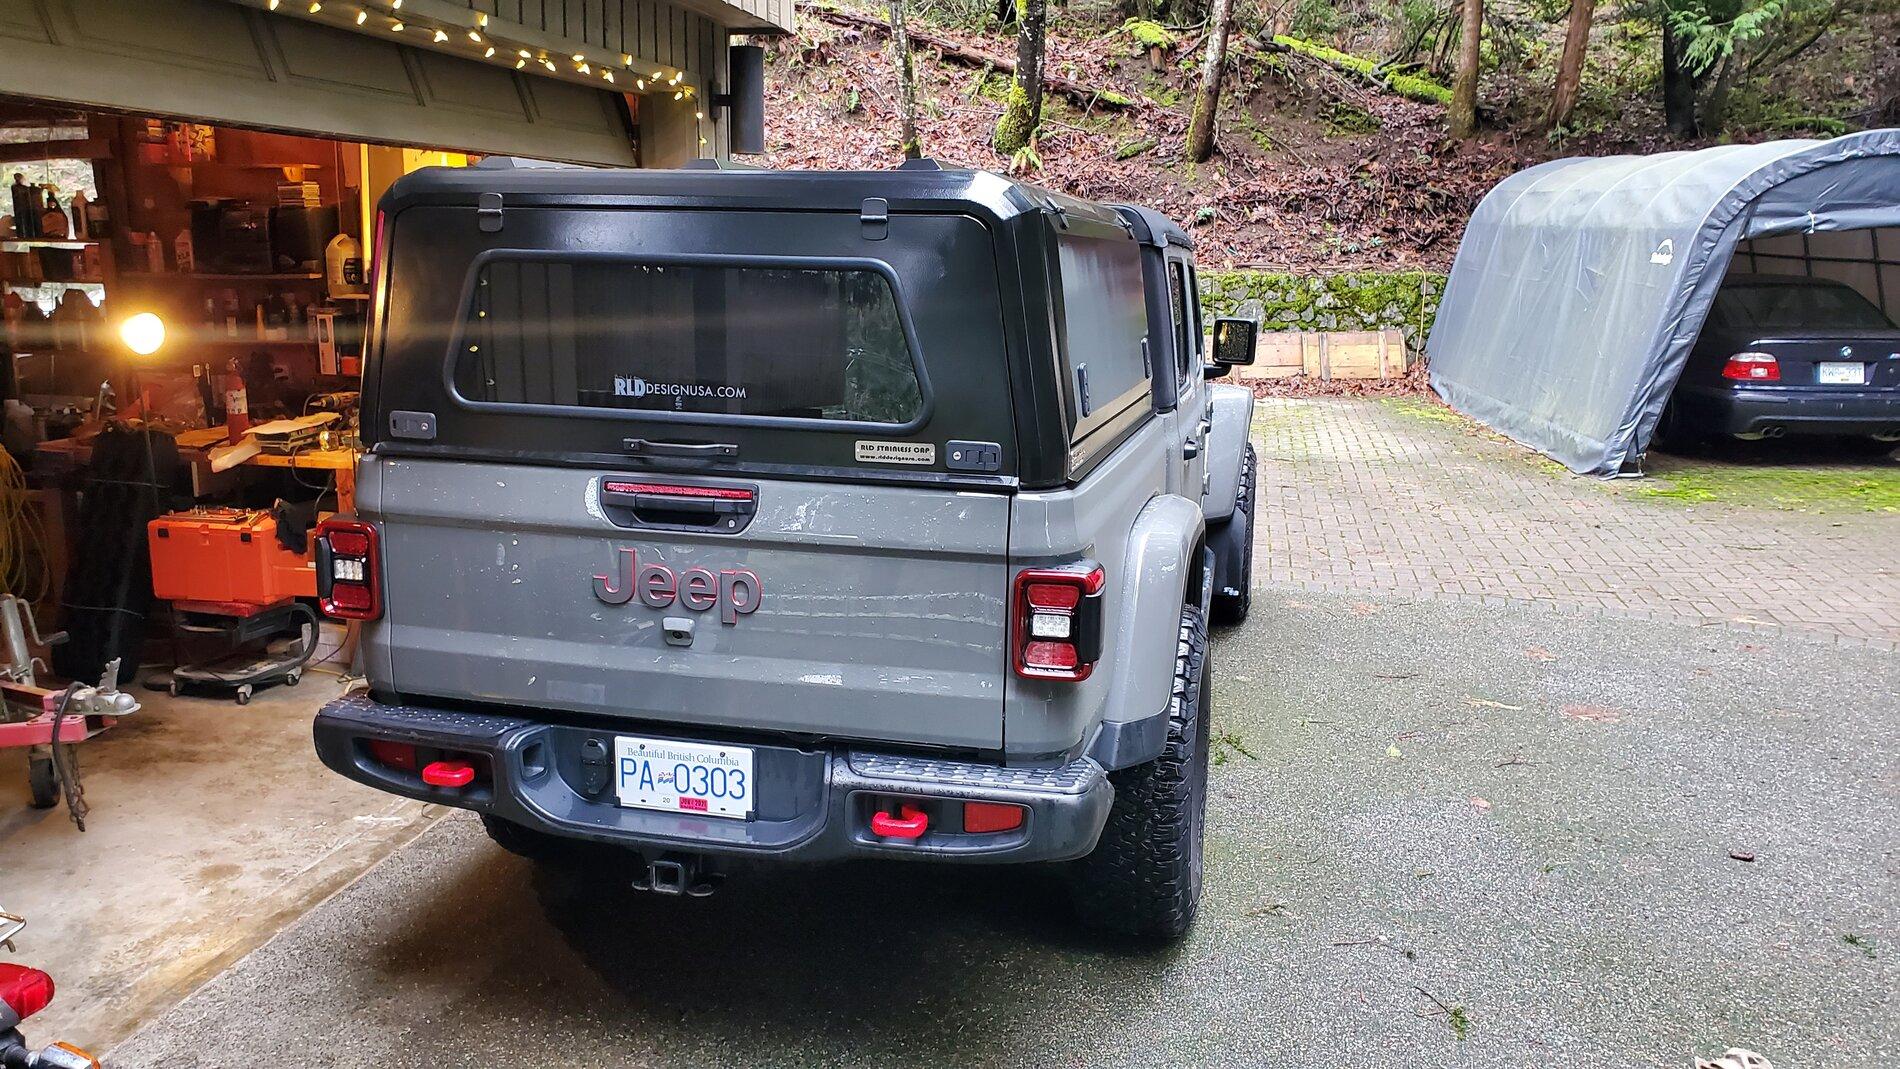
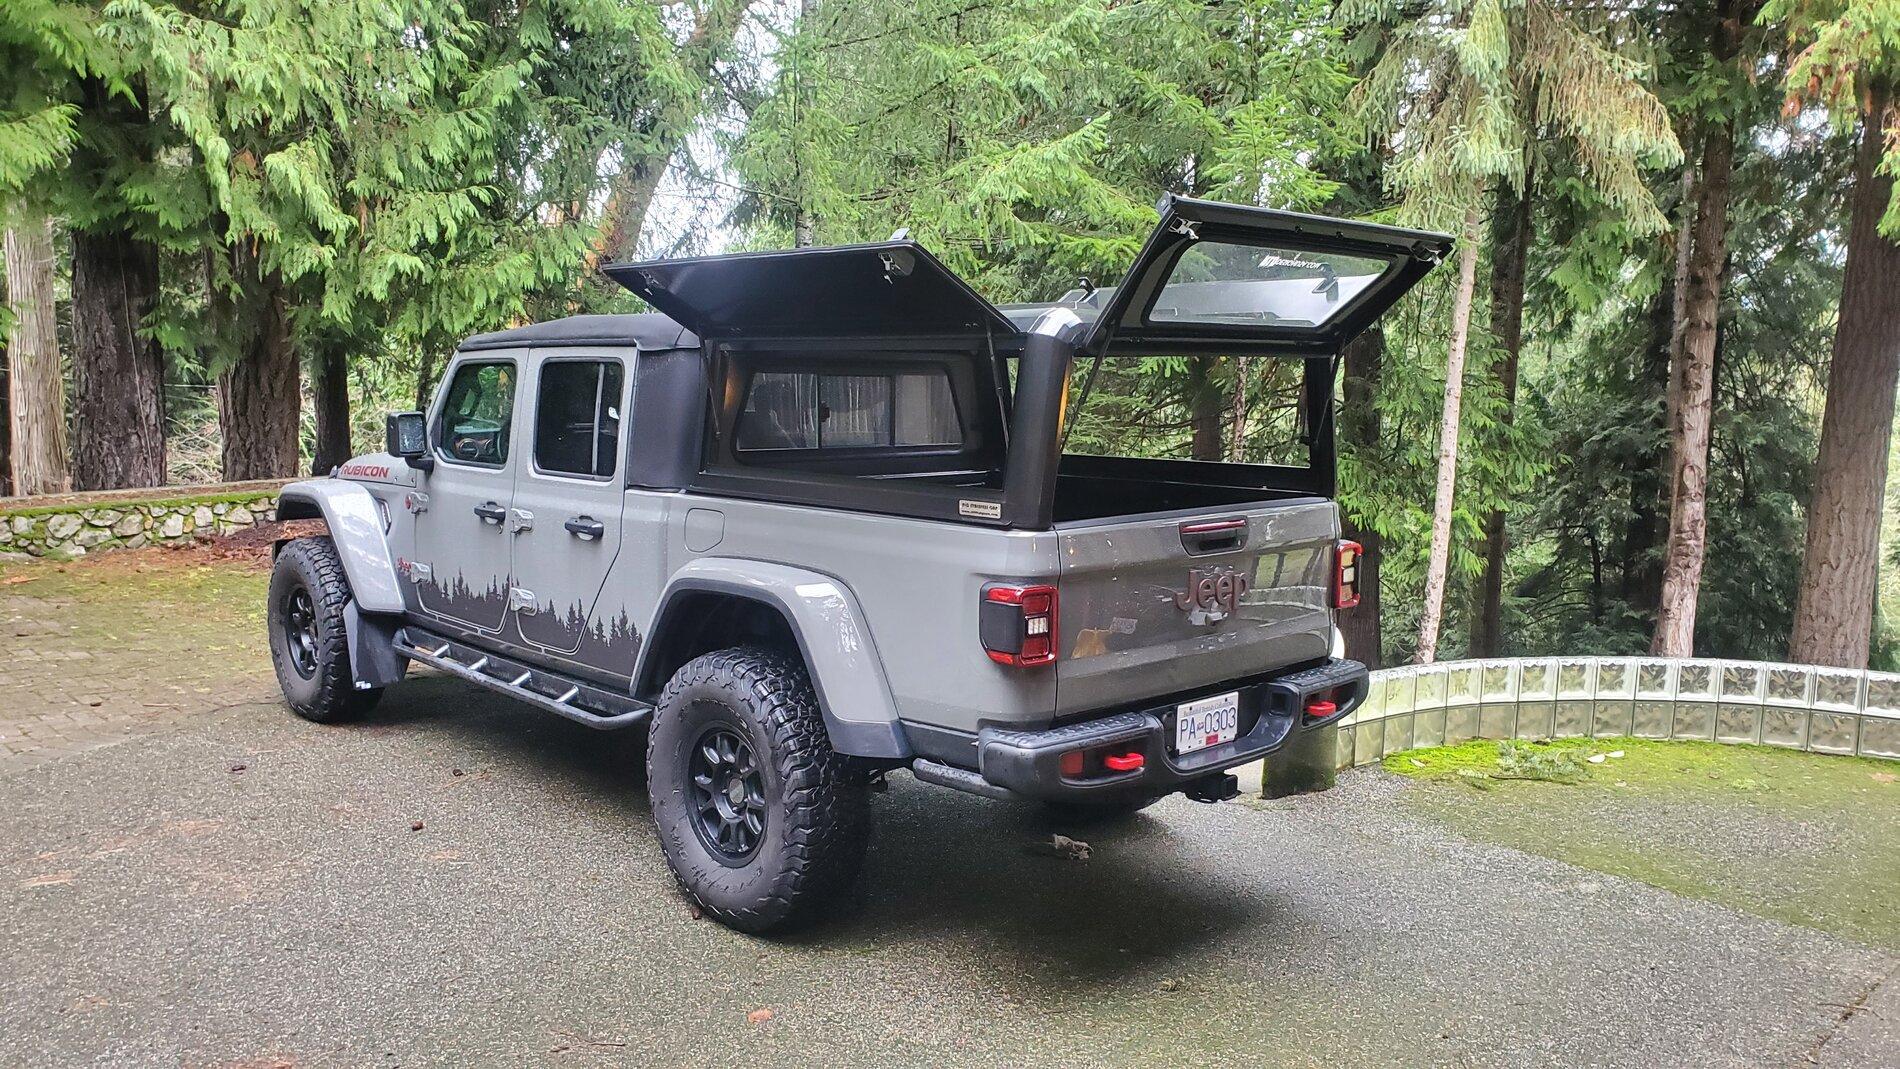
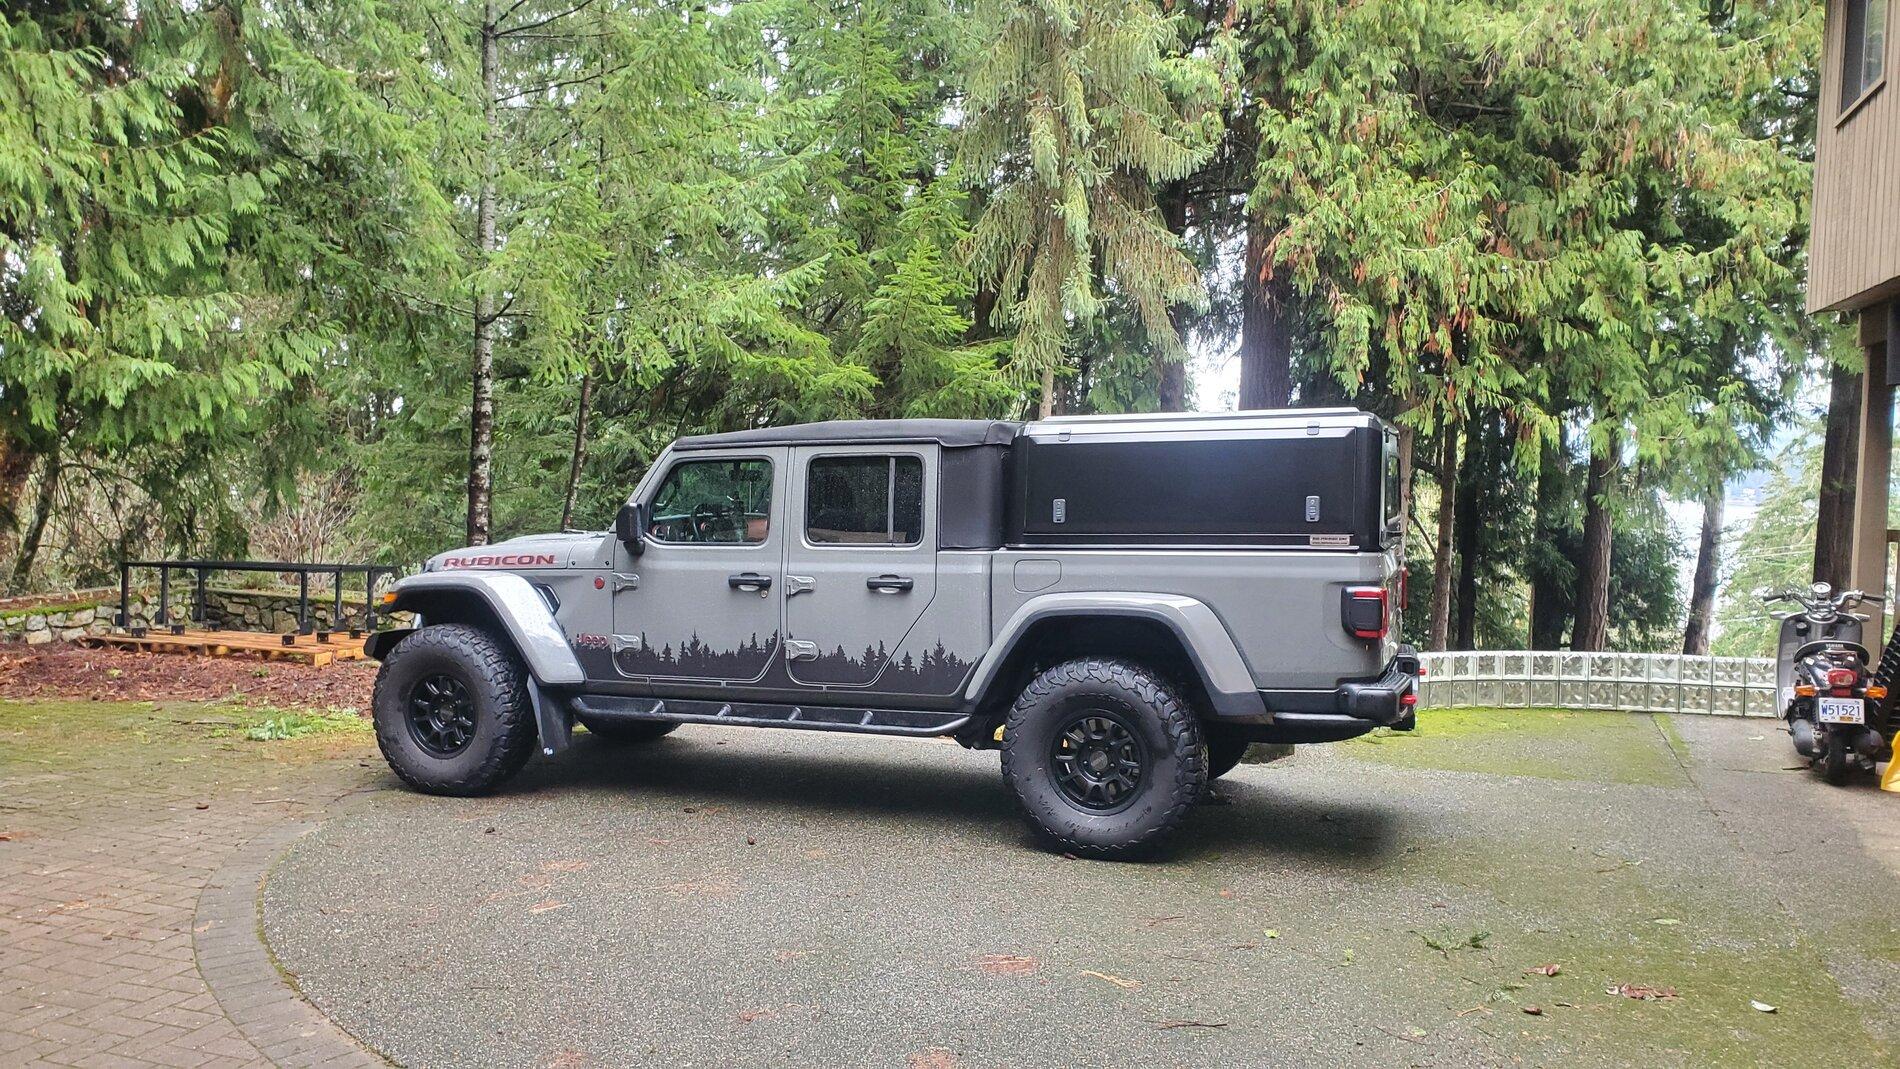
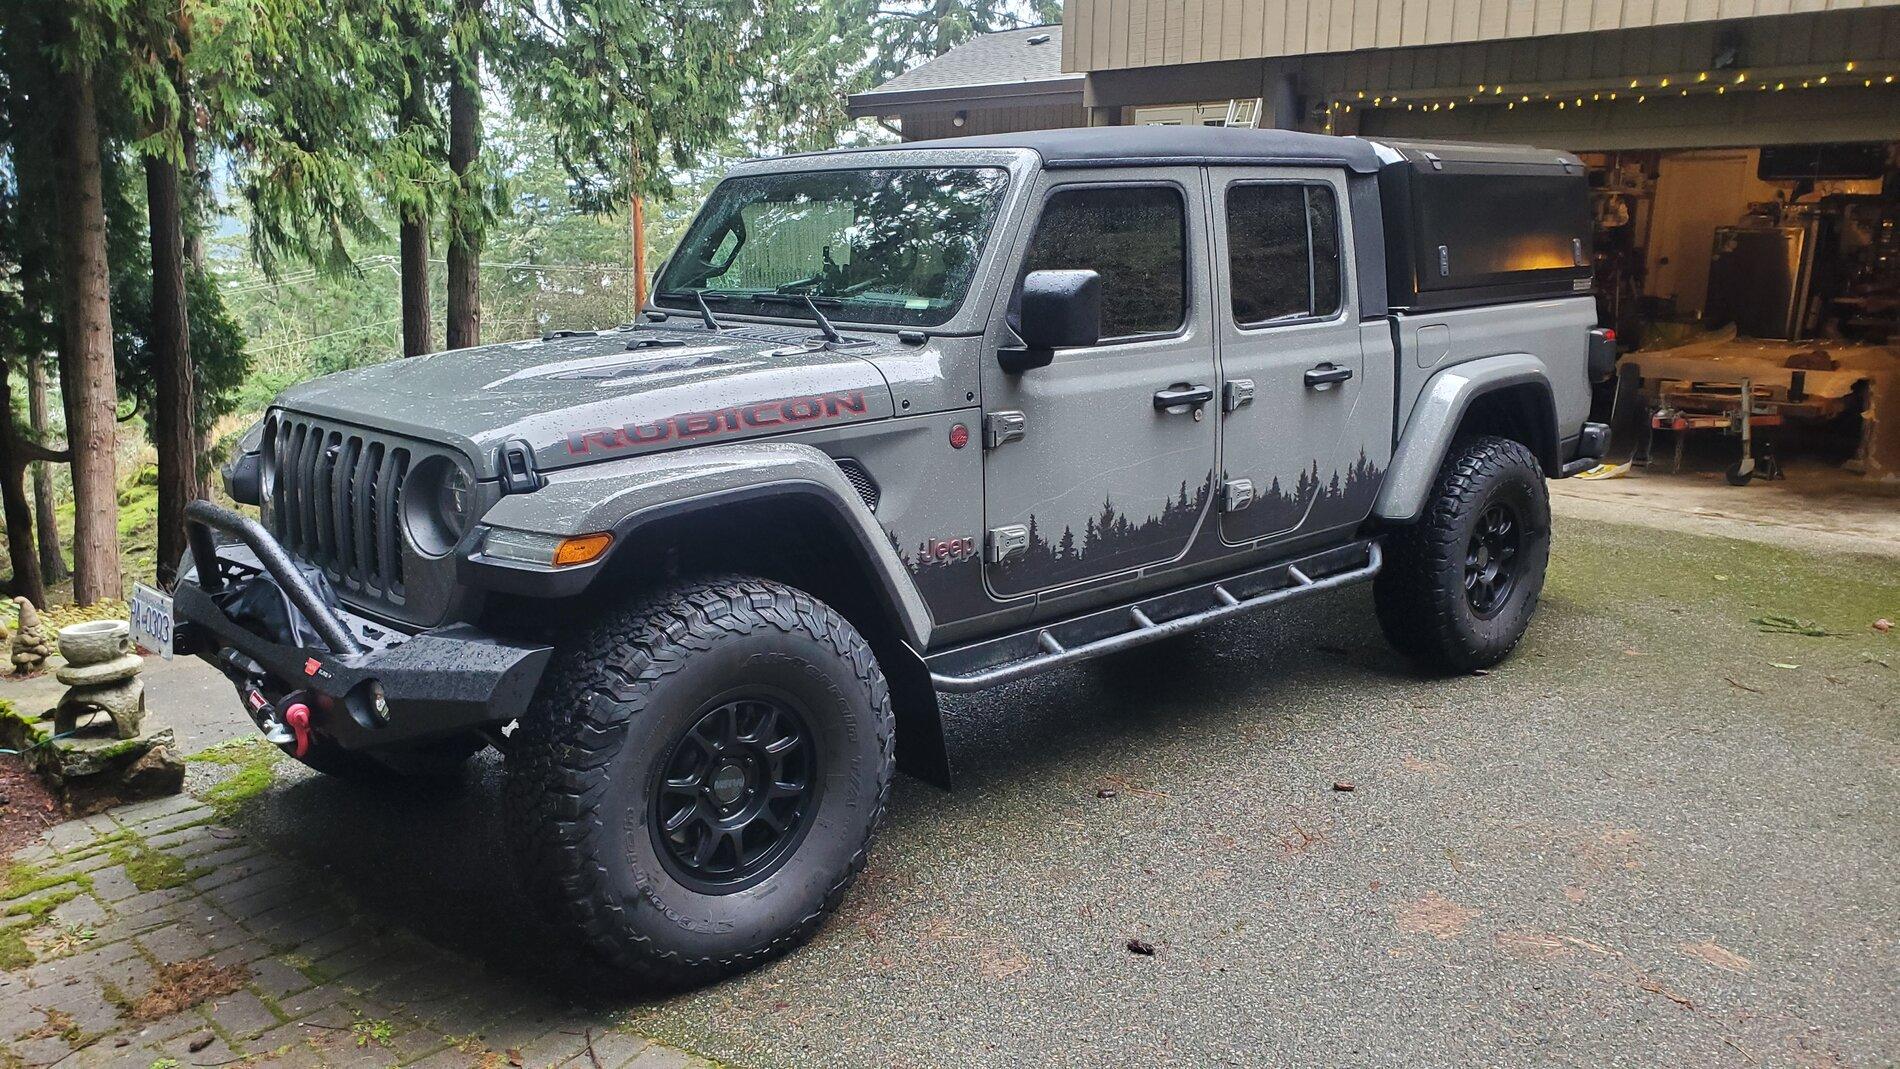
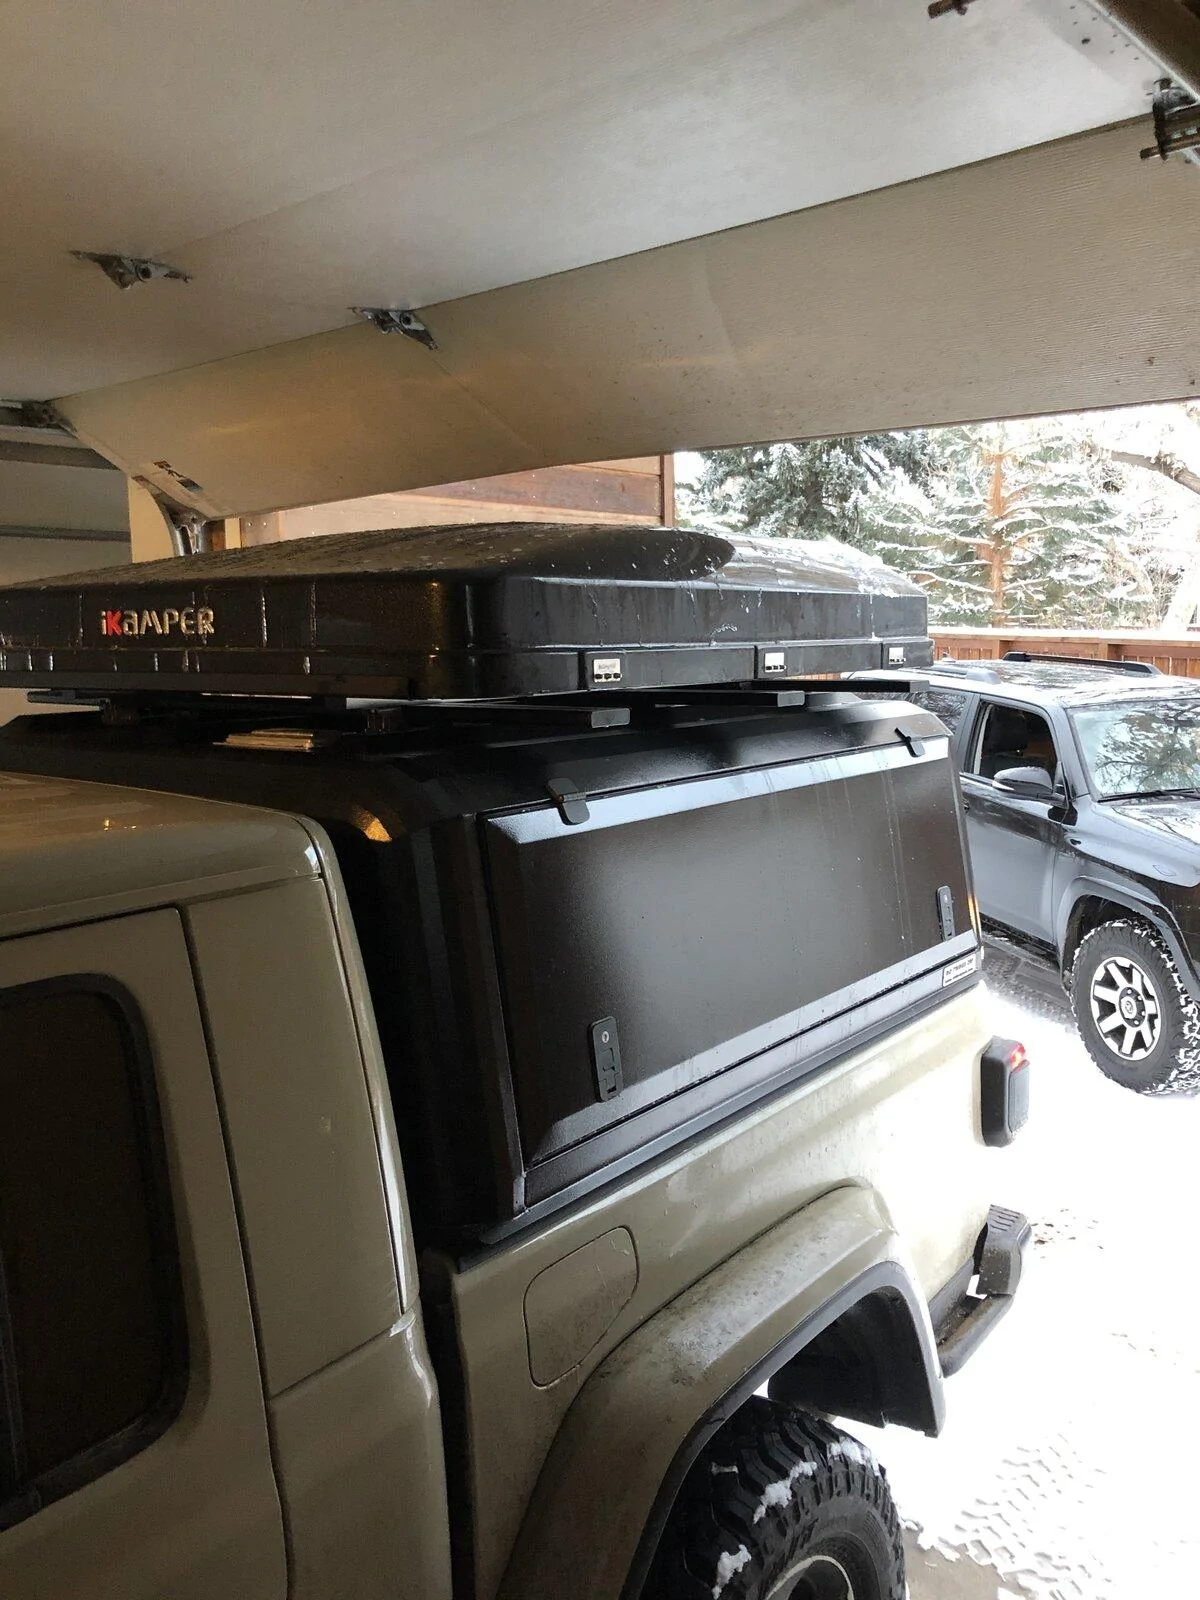
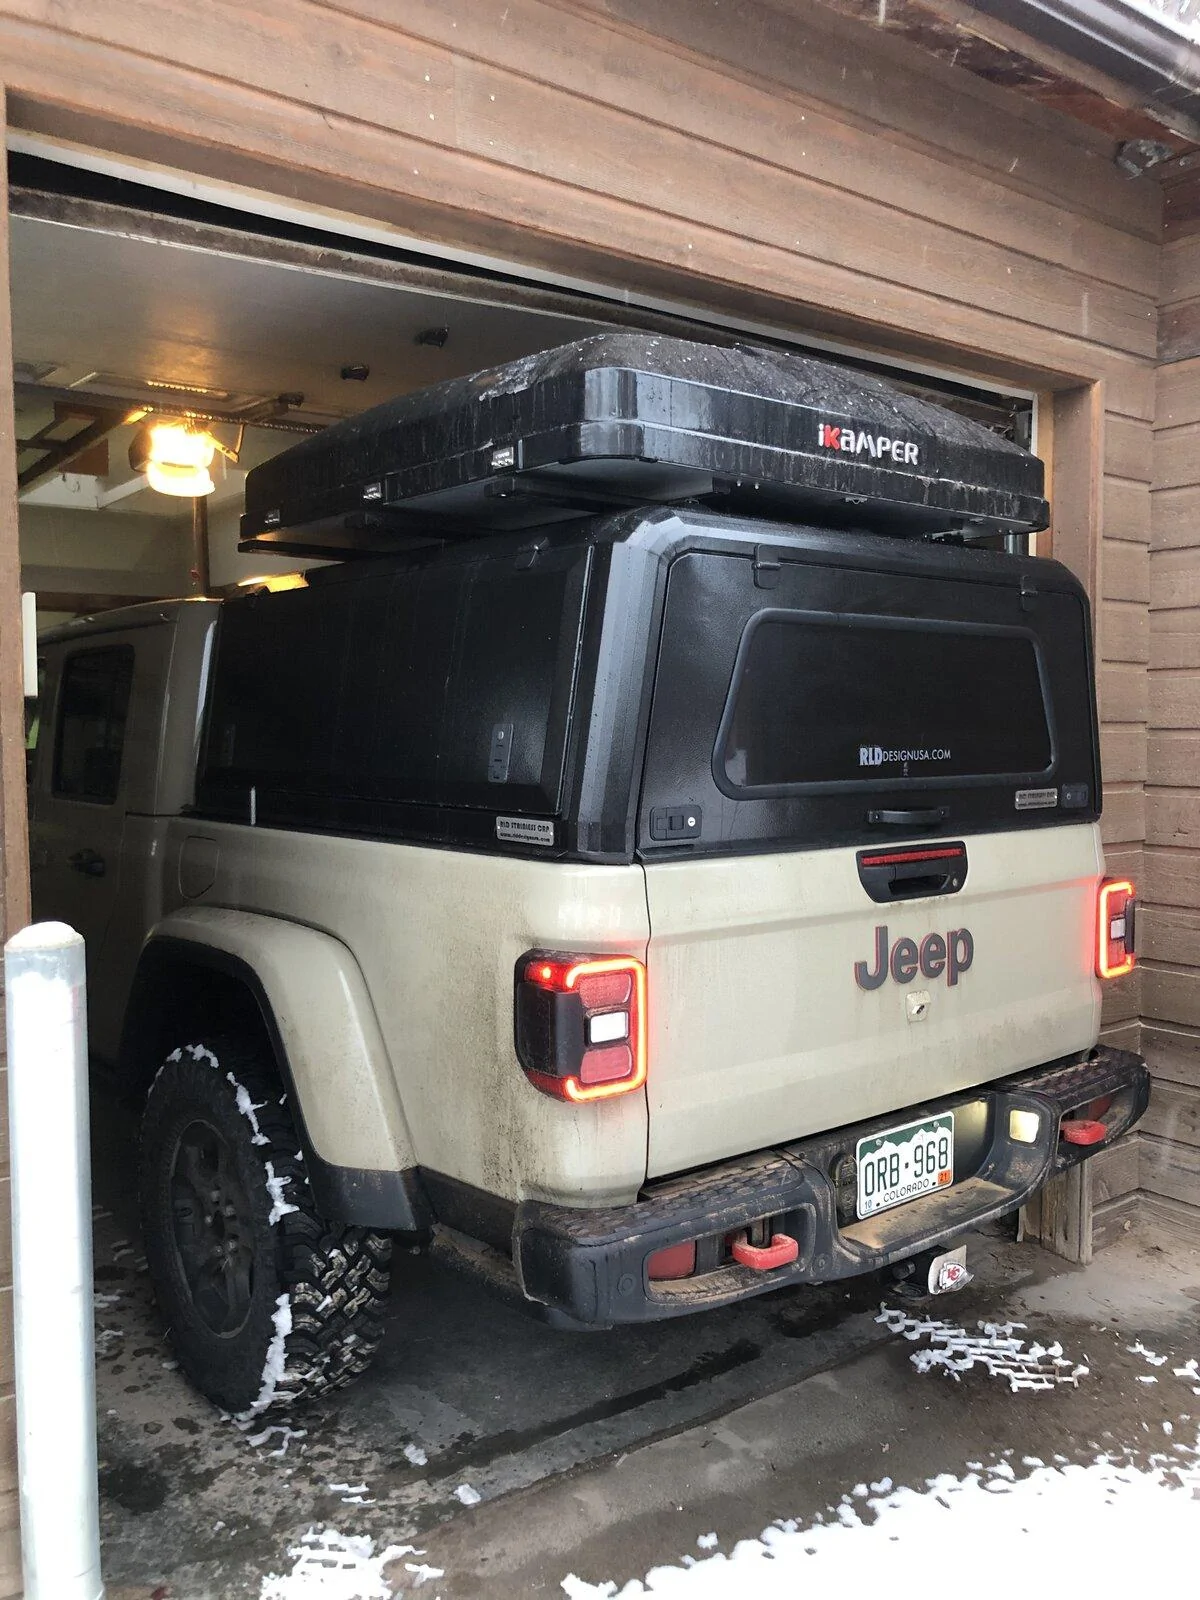
All assembled. I’m still stock and have 91” of garage door space.


Sponsored