
Sponsored
Supazuk's journey to the Dark side build.... The "DeceptiCON"

Bjeepz
Well-Known Member
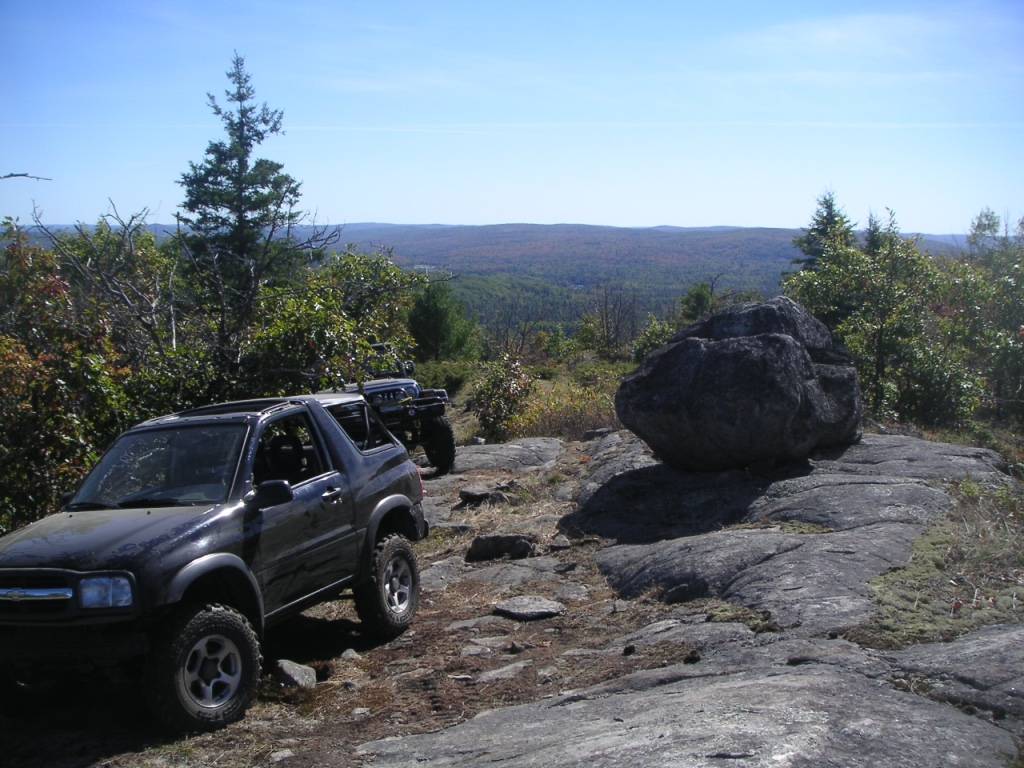
The 2003 Tracker ZR2 on 31x9.5 TSL Swampers lol, such a fun time, that thing took a beating! Ran the standard 2inch body lift and 2.5 inch suspension lift.I also have a Stockish 87 I'm doing a rebuild had a couple Track/kicks too
you can see the 87 here aka Stich


Minty JL
Well-Known Member
- First Name
- Jeremy
- Joined
- May 15, 2019
- Threads
- 25
- Messages
- 4,803
- Reaction score
- 7,634
- Location
- Ft Meade, MD - AOR
- Vehicle(s)
- 23 JTM - 19 JLUR - 22 Compass LTD - 04 355 ZQ8
- Occupation
- USA(R), DoD - Dirty Contractor
True but since my promotion back in March .......I've been grinding which this position is a feeder for the promotion next year.........so I have been balls to the wall. I need to find a way to fund my 60s and LS swap lolGet to it, nobody is paying you to sit down !
OP
OP

Supazuk
Well-Known Member
- Thread starter
- #20
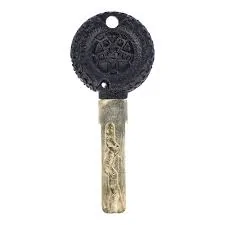
I ordered a Threedom mini key holder since I now had a dead key FOB (When i got the replacement FOB with Mopar key insurance and they let me keep the dead key that Died in the washer)
It came in on Saturday, not too hard to do just push out the roll pin and pulled the key out ( needed plyers I think it might also be glued) then I put the into the holder pressed in the pin.
Now the key fob had to come apart and has 4 T-6 screws .. of course I could not find one, and it gave me an excuse to go to the local Hobo Frieght!!! $300 later ... I came home Unscrewed the FOB, picked out the chip, and pushed in the Key pocket. I did not like that it was just an easy push in no means of retention so I added some black great stuff RTV. Now I have a spare key to unlock doors and the locks in the trcuk aswell as start it by pushing the key handle to the start button!
looks like this:

It came in on Saturday, not too hard to do just push out the roll pin and pulled the key out ( needed plyers I think it might also be glued) then I put the into the holder pressed in the pin.
Now the key fob had to come apart and has 4 T-6 screws .. of course I could not find one, and it gave me an excuse to go to the local Hobo Frieght!!! $300 later ... I came home Unscrewed the FOB, picked out the chip, and pushed in the Key pocket. I did not like that it was just an easy push in no means of retention so I added some black great stuff RTV. Now I have a spare key to unlock doors and the locks in the trcuk aswell as start it by pushing the key handle to the start button!
looks like this:
Last edited:
Sponsored
OP
OP
Supazuk
Well-Known Member
- Thread starter
- #22
so it was bottoming out over every pot hole so...
yesterday I pulled the stock bumps and teraflex bump stock extensions and added Teraflex bump stops
also I found that the drag link was worn and I had ordered the Tera flex HD Drag link ( I swear I was gonna not be a teraflex fan boy and get more stickers for my tool box ... oppps) my 13 year old son helped me get the steering wheel straight, he nailed it also checked the steering box bolts and they needed a few ugga uggas ... it rides smooth and straight now
yesterday I pulled the stock bumps and teraflex bump stock extensions and added Teraflex bump stops
also I found that the drag link was worn and I had ordered the Tera flex HD Drag link ( I swear I was gonna not be a teraflex fan boy and get more stickers for my tool box ... oppps) my 13 year old son helped me get the steering wheel straight, he nailed it also checked the steering box bolts and they needed a few ugga uggas ... it rides smooth and straight now
Last edited:
OP
OP
Supazuk
Well-Known Member
- Thread starter
- #23
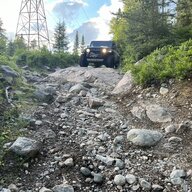
Took it on some Class IV roads over the weekend, Just a impromptu afternoon adventure. the roads were not anything wild, maybe one technical section but just a good old Dirt road adventure. I got to see some old cemetery's and cellar holes always interesting.
OP
OP
Supazuk
Well-Known Member
- Thread starter
- #24
been slacking off
May is my birth month so in NH they take all your spare money in the form of registration and inspection ... JT just got tires and lift so were were good to go....
Spent some time on the Mini as promised for my wife I did a scorpion cat back $1500, used hood with strip kit and did some Bimmer codes to rid the seat belt ding when something is on the passenger seat
then there is 11 toyota camry needed exhaust and other stuff so my 16 year old can learn to crash it till he buys his own ....
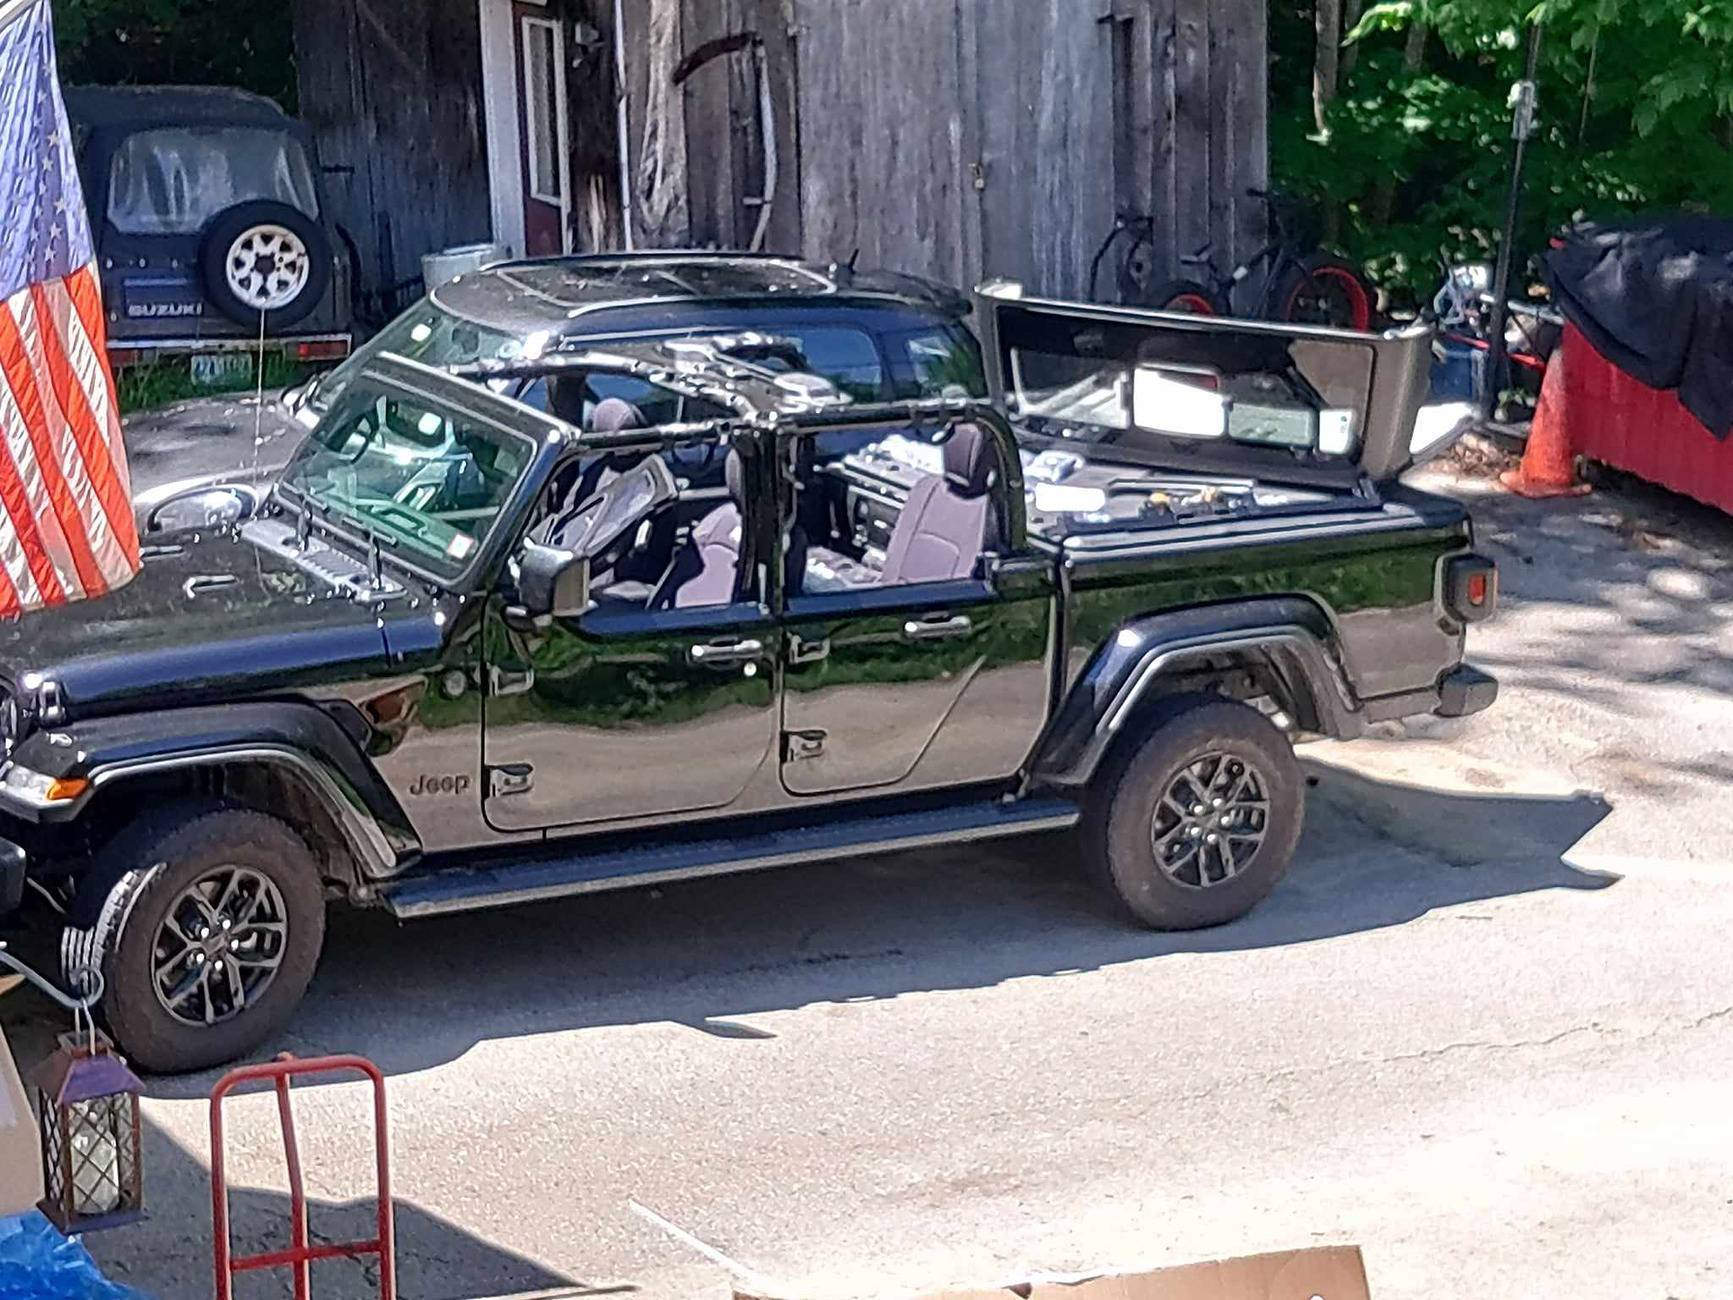
I did mount my Off Road concepts Door hanger in my basement ... so i can seasonal swap out doors
also think of making something for the shed so i can just hang the half in the summer
May is my birth month so in NH they take all your spare money in the form of registration and inspection ... JT just got tires and lift so were were good to go....
Spent some time on the Mini as promised for my wife I did a scorpion cat back $1500, used hood with strip kit and did some Bimmer codes to rid the seat belt ding when something is on the passenger seat
then there is 11 toyota camry needed exhaust and other stuff so my 16 year old can learn to crash it till he buys his own ....
I did mount my Off Road concepts Door hanger in my basement ... so i can seasonal swap out doors
also think of making something for the shed so i can just hang the half in the summer
Last edited:
Minty JL
Well-Known Member
- First Name
- Jeremy
- Joined
- May 15, 2019
- Threads
- 25
- Messages
- 4,803
- Reaction score
- 7,634
- Location
- Ft Meade, MD - AOR
- Vehicle(s)
- 23 JTM - 19 JLUR - 22 Compass LTD - 04 355 ZQ8
- Occupation
- USA(R), DoD - Dirty Contractor
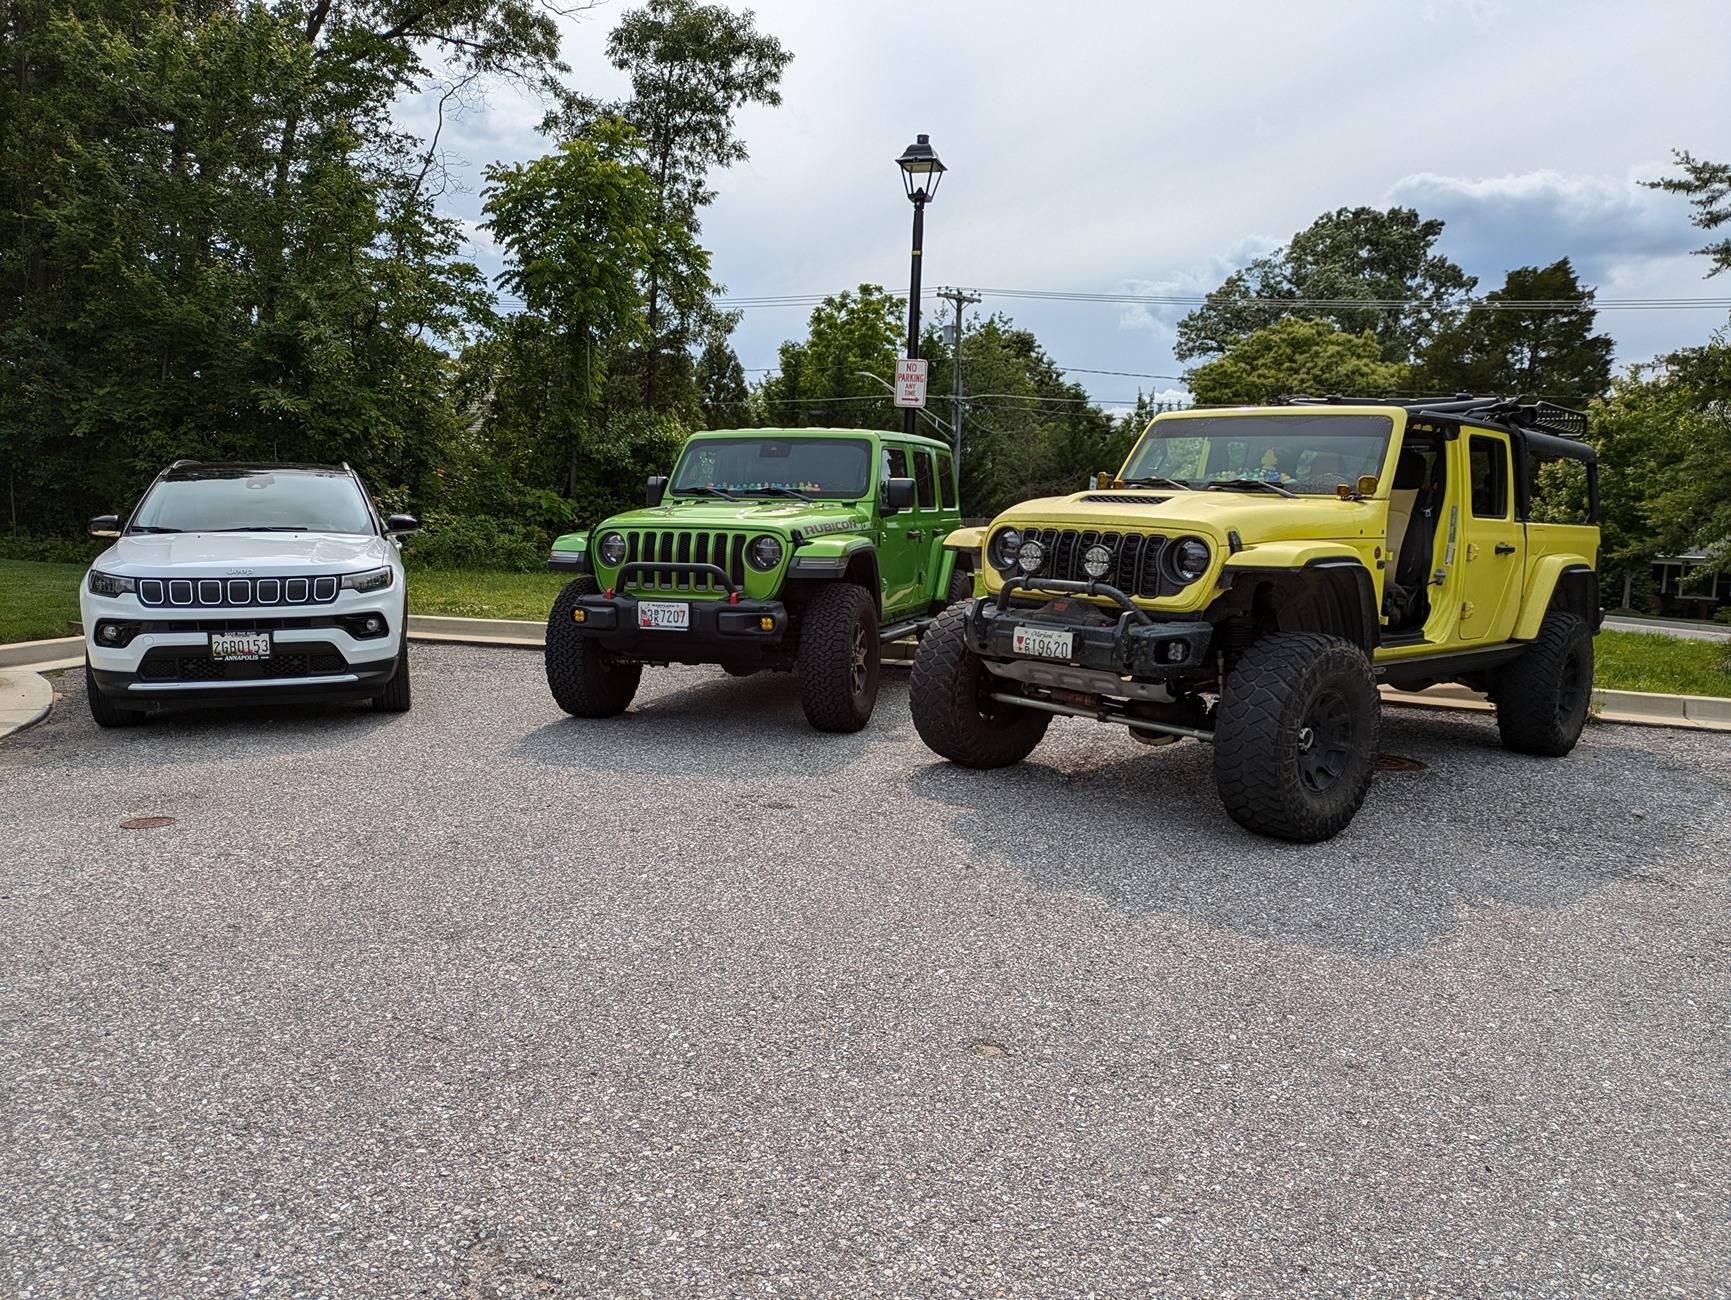
Sounds familiar with a new or soon to be new driver. Got a ridiculous cash out offer on our 23 XC90.......so we got another Jeep for our son.......since my wife and I were not handing over the keys to our Jeeps lol

Sponsored
OP
OP
Supazuk
Well-Known Member
- Thread starter
- #26
Been waiting for a weekend without rain (13 straight weeks!!) Sunday was wash the truck and swap out the now clean full doors for the dusty half doors (washed them yesterday)
Hanging the doors on the Off road concept hanger was awkward (I may have put the mount too high on the wall but I wanted to maximize space. I don't like how much it flexes side to side, I may have to add some rigidity in the fall. after Up I put my door bags over them
Since I already put proximity handles and a harness in my drivers full door and I really enjoy not taking my Giant fob out to open doors, and I got spoiled with my mini having this feature (I know, first world problems) I was not going with out them in my half doors
So months ago, in prep for the summer swap out, searched and bought 2 add on Proximity harnesses on Flee bay (https://www.ebay.com/itm/235664966204)
I wwas gonna try to Cheap out and find used handles and caps but people want stupid money for them and the jungle site does too ... I just decided to stay loyal and bought from Benny @allmoparparts.com since their prices can't be beat for factory parts
The ebay harness instructions had the red and black wires reversed for pins 15 and 16 (they did not use factory colors and I was okay with that) Otherwise It so much easier than doing the full harness Granted, they are half doors so no window regulator to deal with.
I did not have to totally remove the door card. I undid the screws, pulled it out at the bottom of the card so I could reach my hand in and get to the harness. I removed the factory cloth tape and fished the add on harness through door jam loom. I used new cloth tape and some zip ties to clean it all up.
I'm gonna order up another add on harness so I can do my passenger full door its just so much easier
Hanging the doors on the Off road concept hanger was awkward (I may have put the mount too high on the wall but I wanted to maximize space. I don't like how much it flexes side to side, I may have to add some rigidity in the fall. after Up I put my door bags over them
Since I already put proximity handles and a harness in my drivers full door and I really enjoy not taking my Giant fob out to open doors, and I got spoiled with my mini having this feature (I know, first world problems) I was not going with out them in my half doors
So months ago, in prep for the summer swap out, searched and bought 2 add on Proximity harnesses on Flee bay (https://www.ebay.com/itm/235664966204)
I wwas gonna try to Cheap out and find used handles and caps but people want stupid money for them and the jungle site does too ... I just decided to stay loyal and bought from Benny @allmoparparts.com since their prices can't be beat for factory parts
The ebay harness instructions had the red and black wires reversed for pins 15 and 16 (they did not use factory colors and I was okay with that) Otherwise It so much easier than doing the full harness Granted, they are half doors so no window regulator to deal with.
I did not have to totally remove the door card. I undid the screws, pulled it out at the bottom of the card so I could reach my hand in and get to the harness. I removed the factory cloth tape and fished the add on harness through door jam loom. I used new cloth tape and some zip ties to clean it all up.
I'm gonna order up another add on harness so I can do my passenger full door its just so much easier
OP
OP
Supazuk
Well-Known Member
- Thread starter
- #27
so I thought it was my soft top making most of the noise, until this year I put the half doors on with the hard top, gaps noisy and leak.
I came across a post on the JL site about gaps and half doors so watched the video and....
This is the moment, I realized I did the most "Dad thing" ever.
l never read the included, 8 page double sided with photos, instructions. nor watched the QR code linked mopar video! ( ) those got tossed it in the in the owners manual bag. That meant that I never adjusted the 1/2 door hinges, soft upper mounts, or put in the foam shims.... I just un-boxed and sent them. (measure once curse twice)
So I did the adjustments.
Wow they shut nice now pass the garden hose test ...
When I swap the hard for soft top I'm gonna reread those instructions ........lesson learned, I guess its time to start mowing the lawn in white New balances
I came across a post on the JL site about gaps and half doors so watched the video and....
This is the moment, I realized I did the most "Dad thing" ever.
l never read the included, 8 page double sided with photos, instructions. nor watched the QR code linked mopar video! ( ) those got tossed it in the in the owners manual bag. That meant that I never adjusted the 1/2 door hinges, soft upper mounts, or put in the foam shims.... I just un-boxed and sent them. (measure once curse twice)
So I did the adjustments.
Wow they shut nice now pass the garden hose test ...
When I swap the hard for soft top I'm gonna reread those instructions ........lesson learned, I guess its time to start mowing the lawn in white New balances
OP
OP
Supazuk
Well-Known Member
- Thread starter
- #28
so the lunch box locker is here but the ruff stuff covers are not so waiting on install... however finally got a day off with no rain so I put the soft top back on, the rugged ridge top header panel sucks it is loud and the latches suck .... I bought a ebay factory header panel with latches so i'm gonna mess with it
OP
OP
Supazuk
Well-Known Member
- Thread starter
- #29
after a weekend thrash the Front M210 axle is now locked with a TORQ Locker TL-21032 for Jeep Gladiator & Wrangler Front M210 Axle It is a typical Lunch Box style auto locker However It was a little more involved then I thought when ordering (the M210's center pin is held but a roll pin in a blind hole under the ring gear requiring the removal of the carrier unlike dana's and GM's in the past and more like toyotas) supplemental instruction
https://torqmasters.com/wp-content/uploads/2024/02/TL-21032-Supplement-JT-Front.pdf
-First you must remove the carrier from the axle so that means you are removing brakes wheel bearing and axles (don't forget to remove the wheel sensor) I could have left the Rotors on the Wheel bearings but i wanted to do some preventative maintenance Never seize on mating surfaces of bearings and rotors grease on slides
-Then the half shaft has to come out so the FAD had to be removed, The Locker comes with a u shaped tool to remove the clip on the shaft, but that was useless and just used two large screw drivers then slid the shaft out
-Now removing the carrier, mine was super tight I tried the slight pull with a pry, nope 13mm on the ring gear bolt and turn the pinion, not today .. I ended up using the old run a rag between the ring and pinion and walked the carrier out
- Next placed everything noting spacers and caps on each side (both are differant sizes yeah dana for making something easier)on a clean piece of card board on my work bench cleaned it marked the carrier and ring gear alignment (one punch at 6 o'clock and 2 dots at 12o'clock then white paint marker to high light) removed gear layed out bolts
** at this point it gets very different ** the center pin is held in by a roll pin in a blind hole
no screw and no pin you can just tap out, you have to carry (see what I did ) it over to the Press. I used a socket and press the center pin out shearing the roll pin,
now that the pin is out remove the spider, side gears and thrust washers. I put the spider gears in the locker box (never know)
you use a punch to remove the roll pin form the carrier on one side and a pick to get whats in the blind side. Wrap the center Pin and put in vice to clean the roll pin there ....
-Now its time to install the locker might be better here: https://torqmasters.com/wp-content/uploads/2023/03/2022-TORQ-Locker-Standard-Install-Manual.pdf
But this is my take
I put a light coat of molly grease on thrust washers, center pin, gear faces and the splines.
- Put the thrust washers on the side gears
-install the ring side, side gears first
- then the first cam gear.
-Now second side gear holding it up wuth you finger in the axle shaft hole while you slide the second cam gear into the carrier .. it only fits one way
-now I used 2 allen keys as spaces so i could seperate the cam gears to push the center pin in (it will be tight use a ruber mallet) be sure to watch the alignment of the roll pin holes

to be continued......
https://torqmasters.com/wp-content/uploads/2024/02/TL-21032-Supplement-JT-Front.pdf
-First you must remove the carrier from the axle so that means you are removing brakes wheel bearing and axles (don't forget to remove the wheel sensor) I could have left the Rotors on the Wheel bearings but i wanted to do some preventative maintenance Never seize on mating surfaces of bearings and rotors grease on slides
-Then the half shaft has to come out so the FAD had to be removed, The Locker comes with a u shaped tool to remove the clip on the shaft, but that was useless and just used two large screw drivers then slid the shaft out
-Now removing the carrier, mine was super tight I tried the slight pull with a pry, nope 13mm on the ring gear bolt and turn the pinion, not today .. I ended up using the old run a rag between the ring and pinion and walked the carrier out
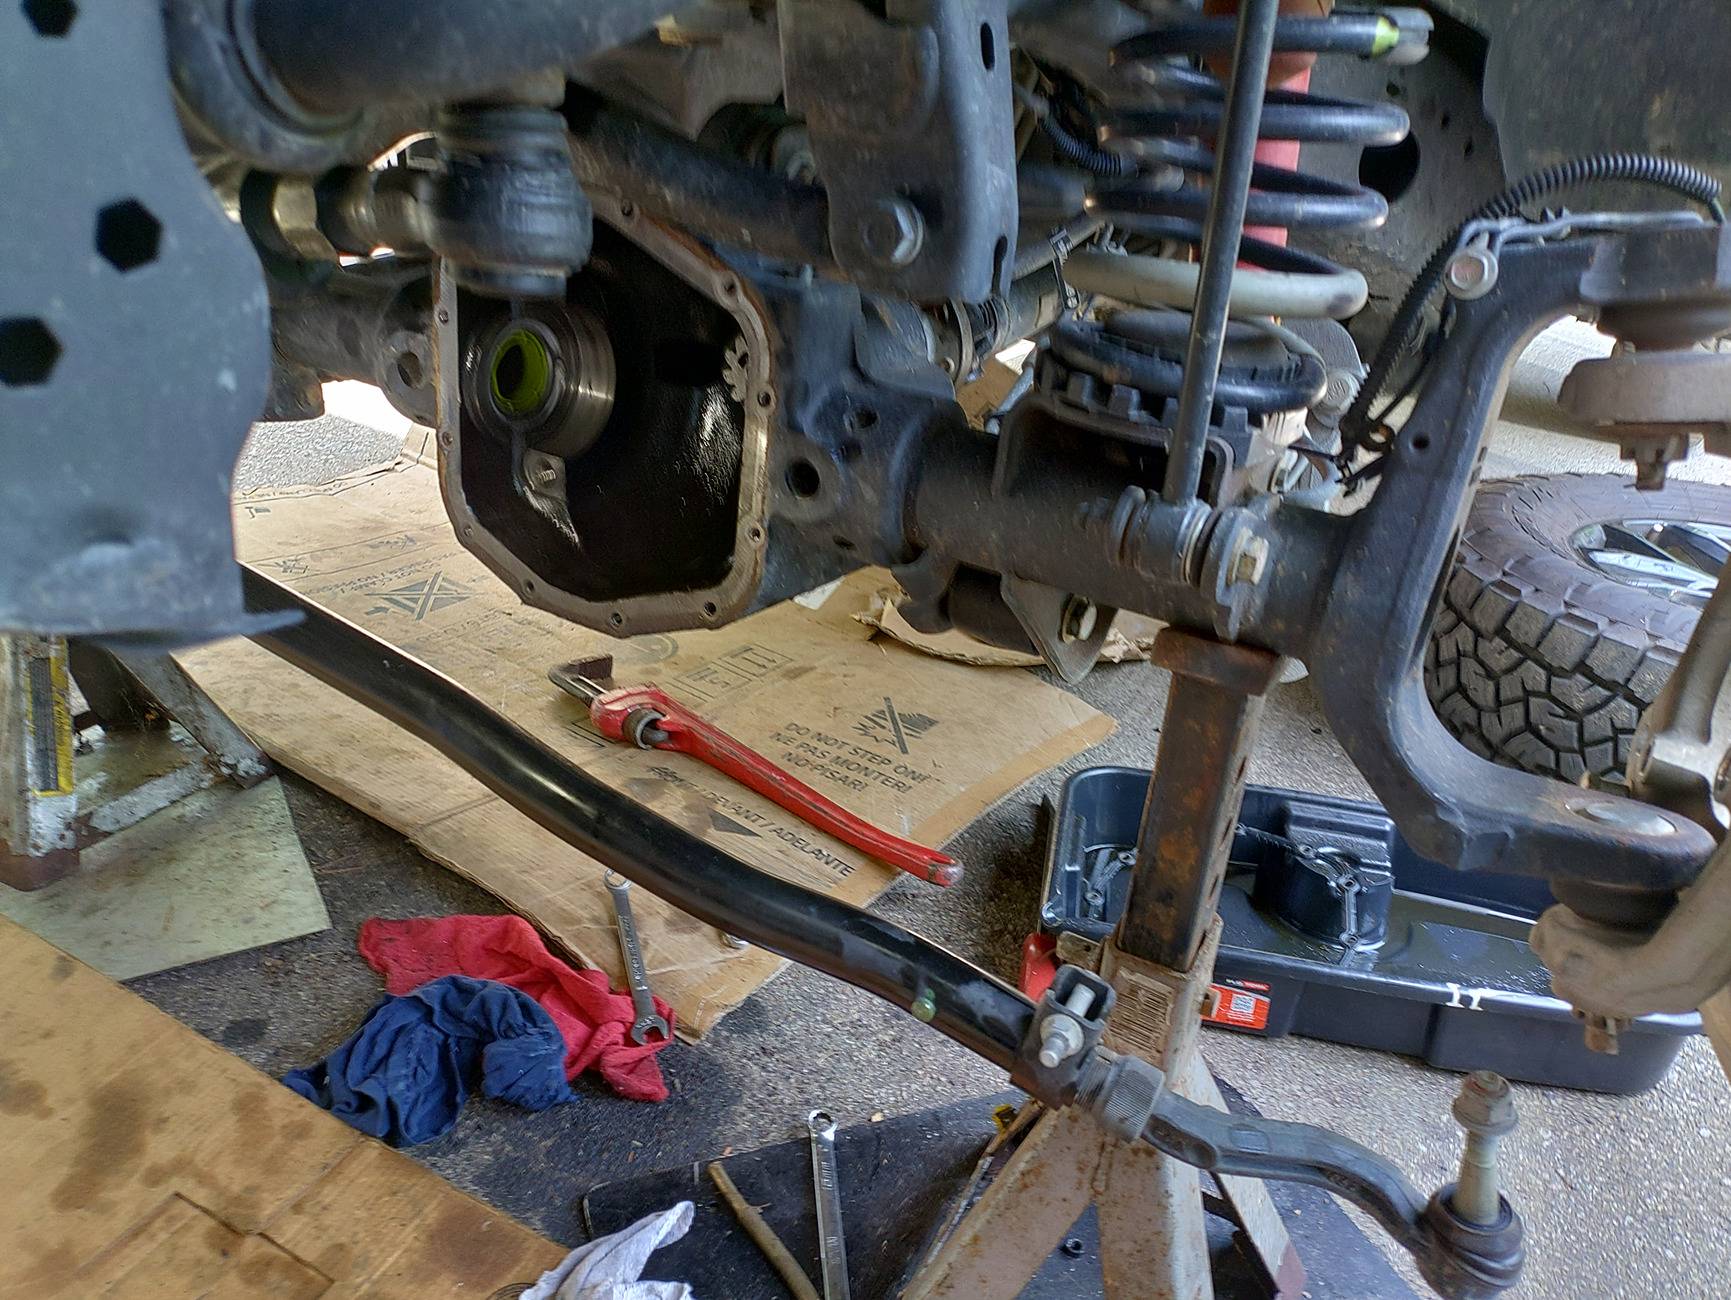
- Next placed everything noting spacers and caps on each side (both are differant sizes yeah dana for making something easier)on a clean piece of card board on my work bench cleaned it marked the carrier and ring gear alignment (one punch at 6 o'clock and 2 dots at 12o'clock then white paint marker to high light) removed gear layed out bolts
** at this point it gets very different ** the center pin is held in by a roll pin in a blind hole
no screw and no pin you can just tap out, you have to carry (see what I did ) it over to the Press. I used a socket and press the center pin out shearing the roll pin,
now that the pin is out remove the spider, side gears and thrust washers. I put the spider gears in the locker box (never know)
you use a punch to remove the roll pin form the carrier on one side and a pick to get whats in the blind side. Wrap the center Pin and put in vice to clean the roll pin there ....
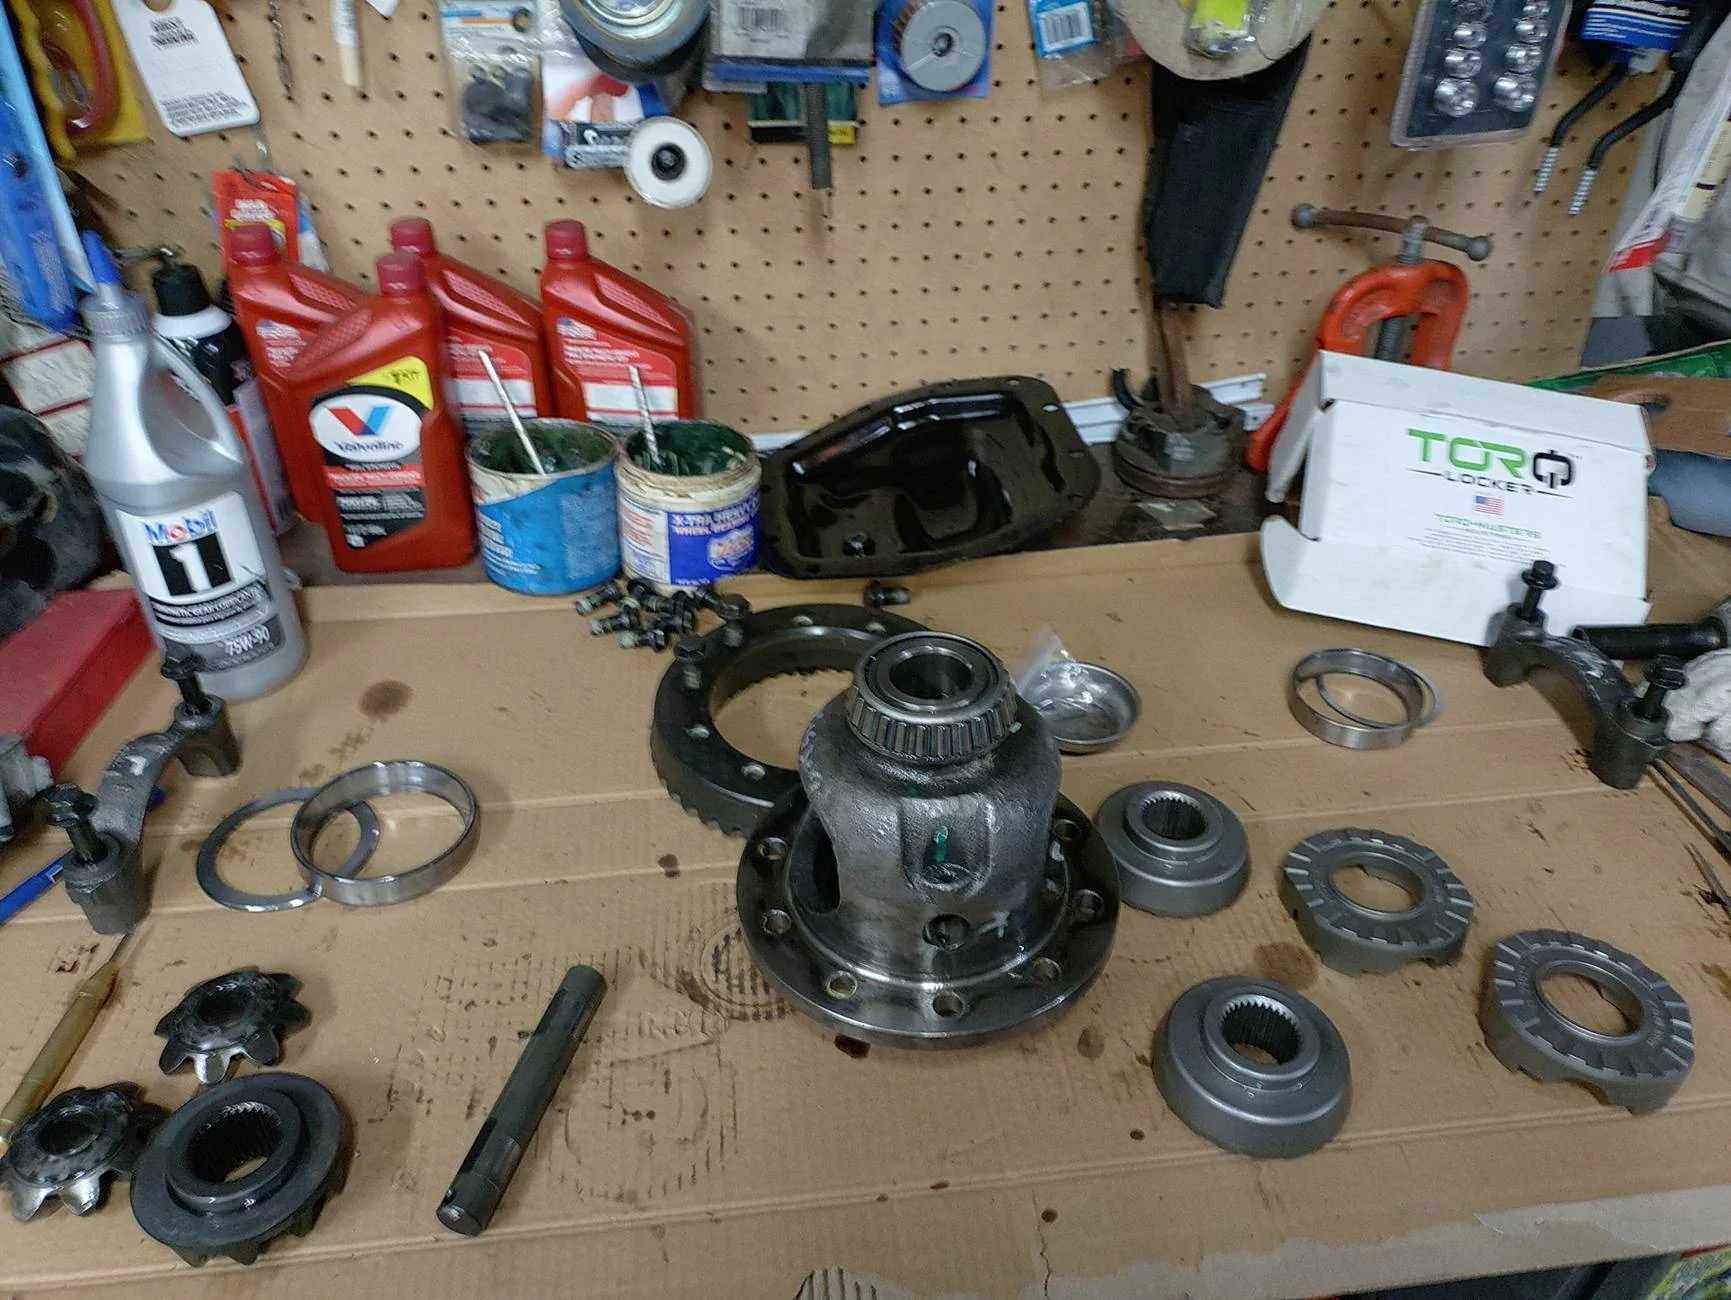
-Now its time to install the locker might be better here: https://torqmasters.com/wp-content/uploads/2023/03/2022-TORQ-Locker-Standard-Install-Manual.pdf
But this is my take
I put a light coat of molly grease on thrust washers, center pin, gear faces and the splines.
- Put the thrust washers on the side gears
-install the ring side, side gears first
- then the first cam gear.
-Now second side gear holding it up wuth you finger in the axle shaft hole while you slide the second cam gear into the carrier .. it only fits one way
-now I used 2 allen keys as spaces so i could seperate the cam gears to push the center pin in (it will be tight use a ruber mallet) be sure to watch the alignment of the roll pin holes
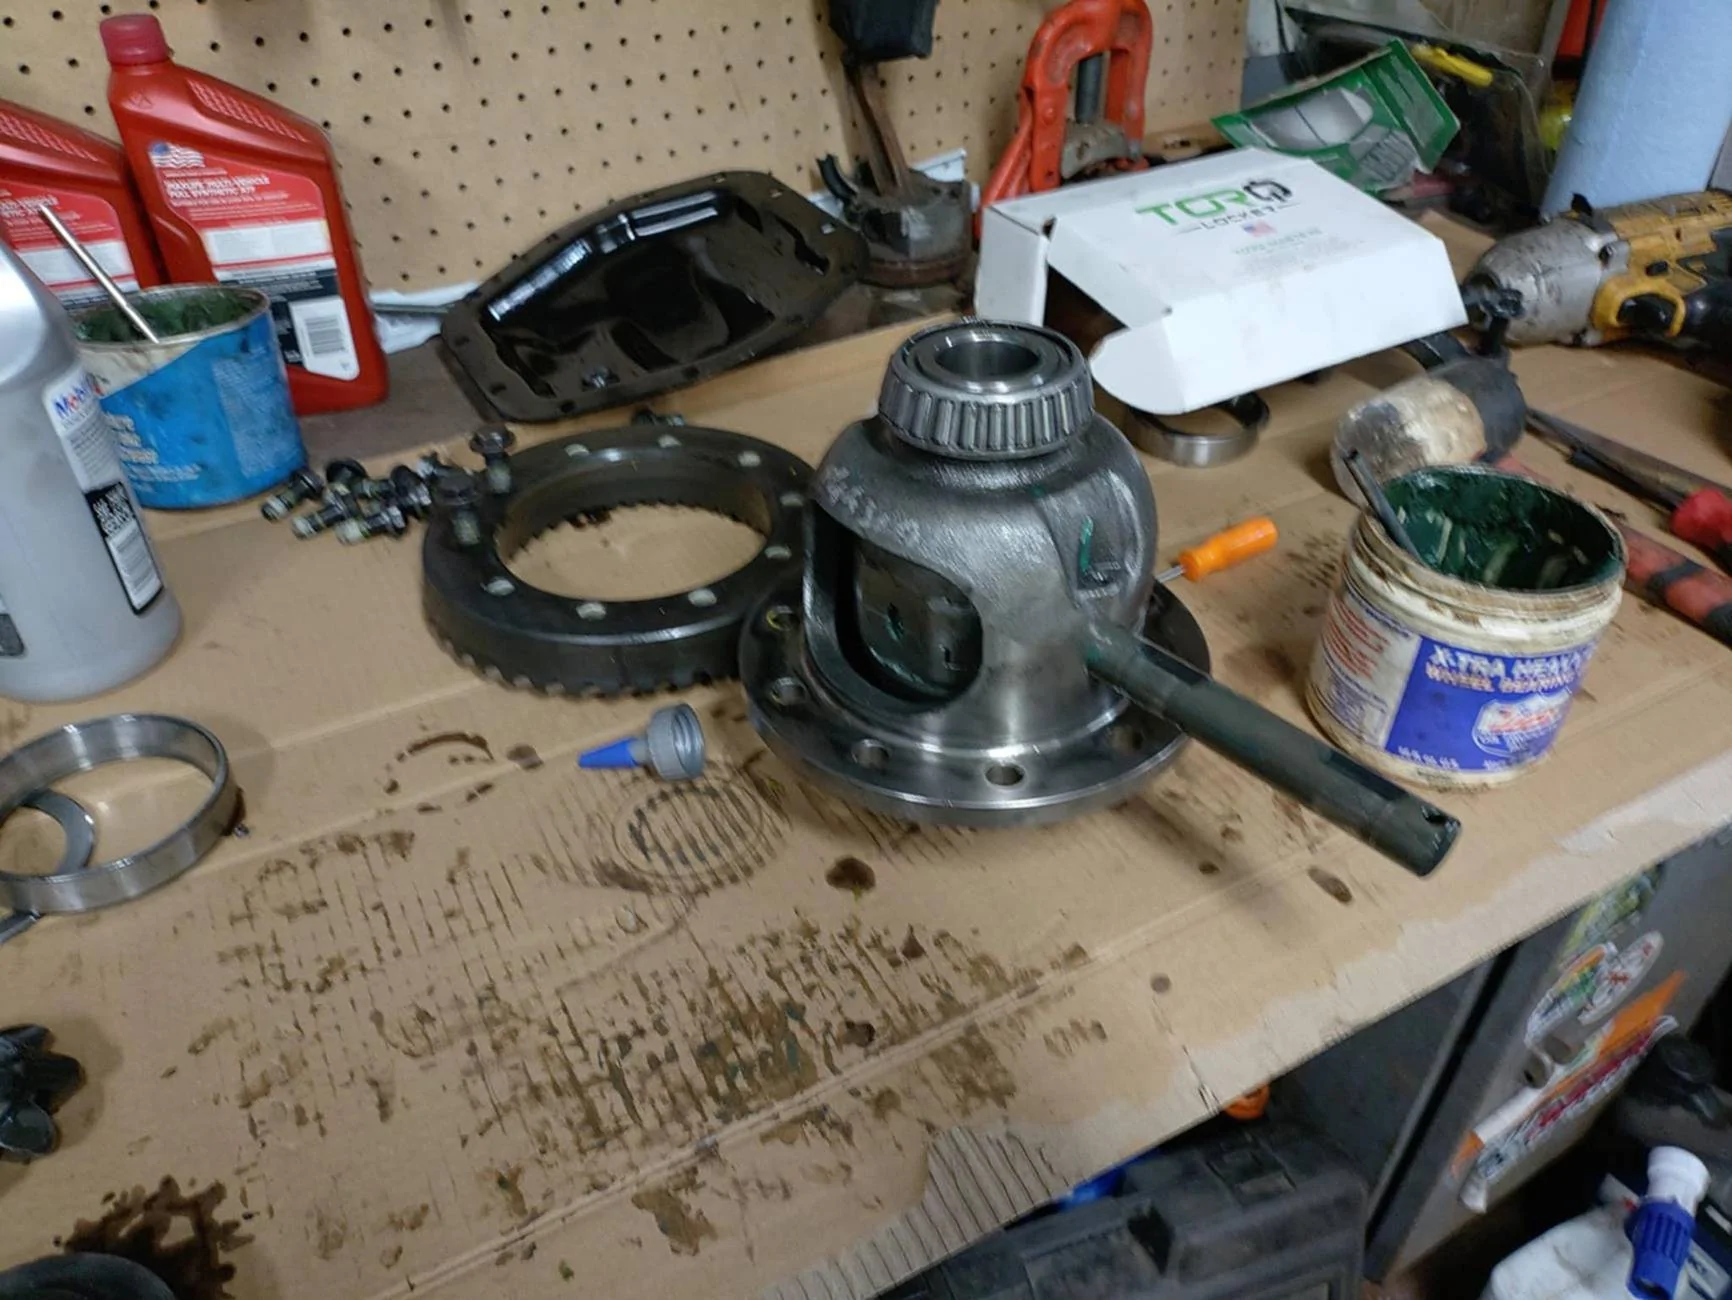
to be continued......


