WILDHOBO
Well-Known Member
Why not? When my rear is ready, come do it with me.Now just some gentle break in time. Looks great. That's on my list of stuff to learn, but probably never will.
Sponsored

Why not? When my rear is ready, come do it with me.Now just some gentle break in time. Looks great. That's on my list of stuff to learn, but probably never will.
More difficult than an engine rebuild I did once. Successfully I might add. But not more complicated. Just not easy. But I’ll absolutely do my own from now on. But I’ll get help for the next one again. But less help for round 2.Me too, my skills aren't that advancedI usually just bring it to my friend's shop and pay him do it.
I'll have to coordinate with Google Earth for the satellite snapshot for that one. Really, it's more of time, tools, and available work area, plus balancing a trip out, and not getting divorced because all my vacation time is spent with the Jeep crew.Why not? When my rear is ready, come do it with me.


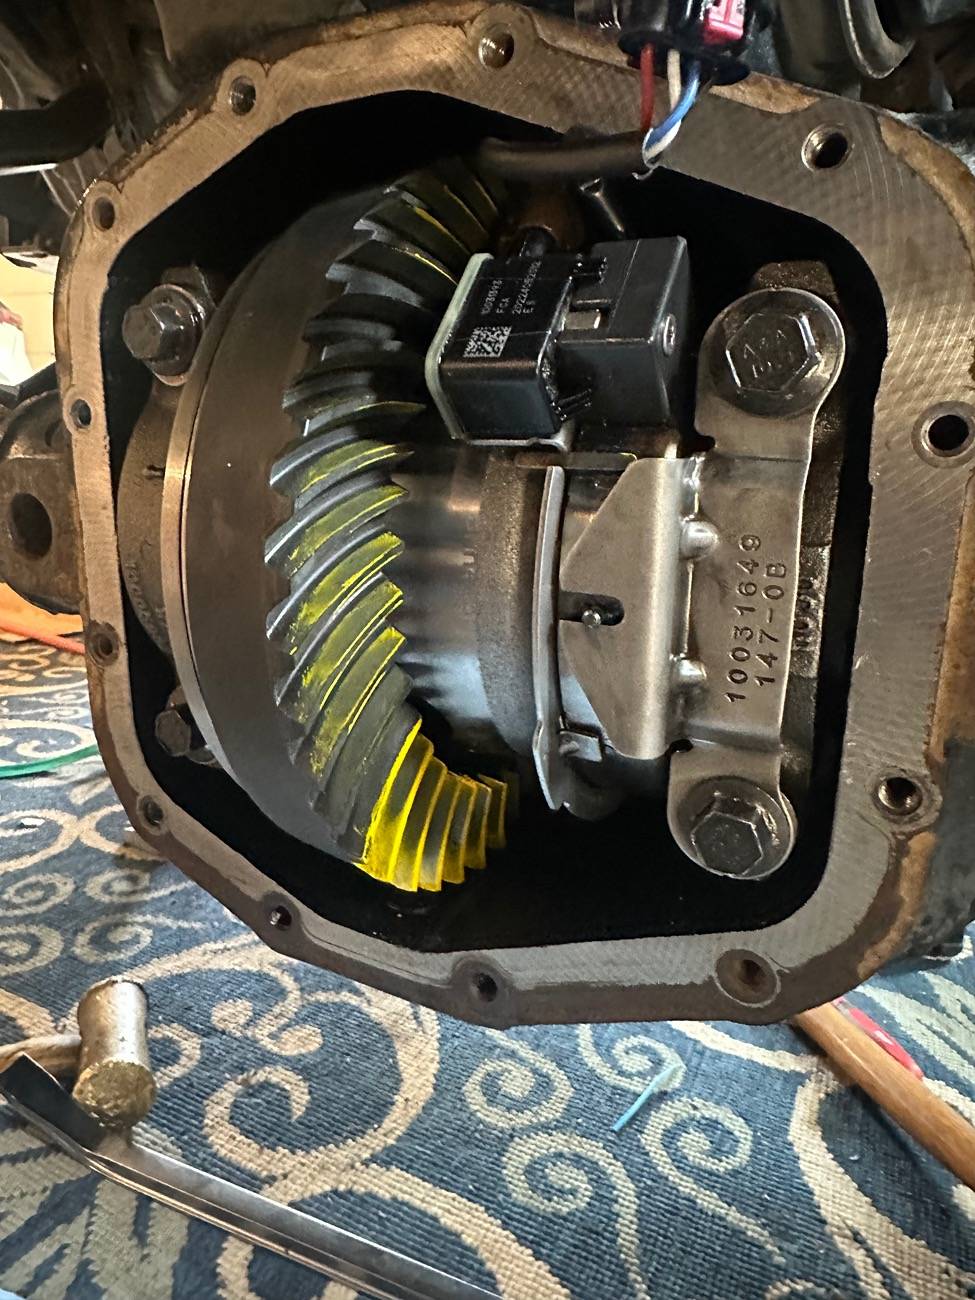
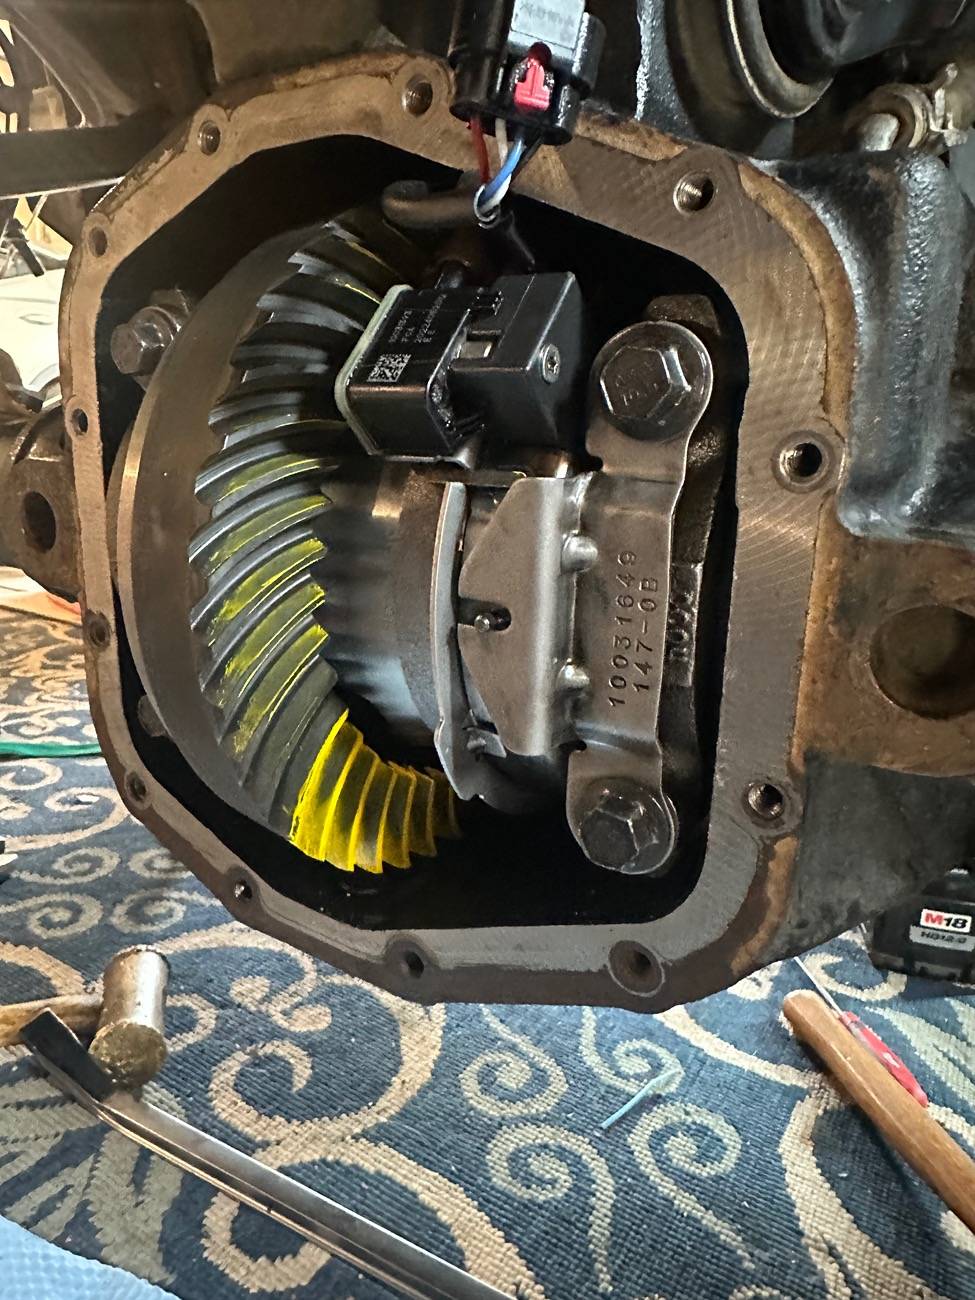
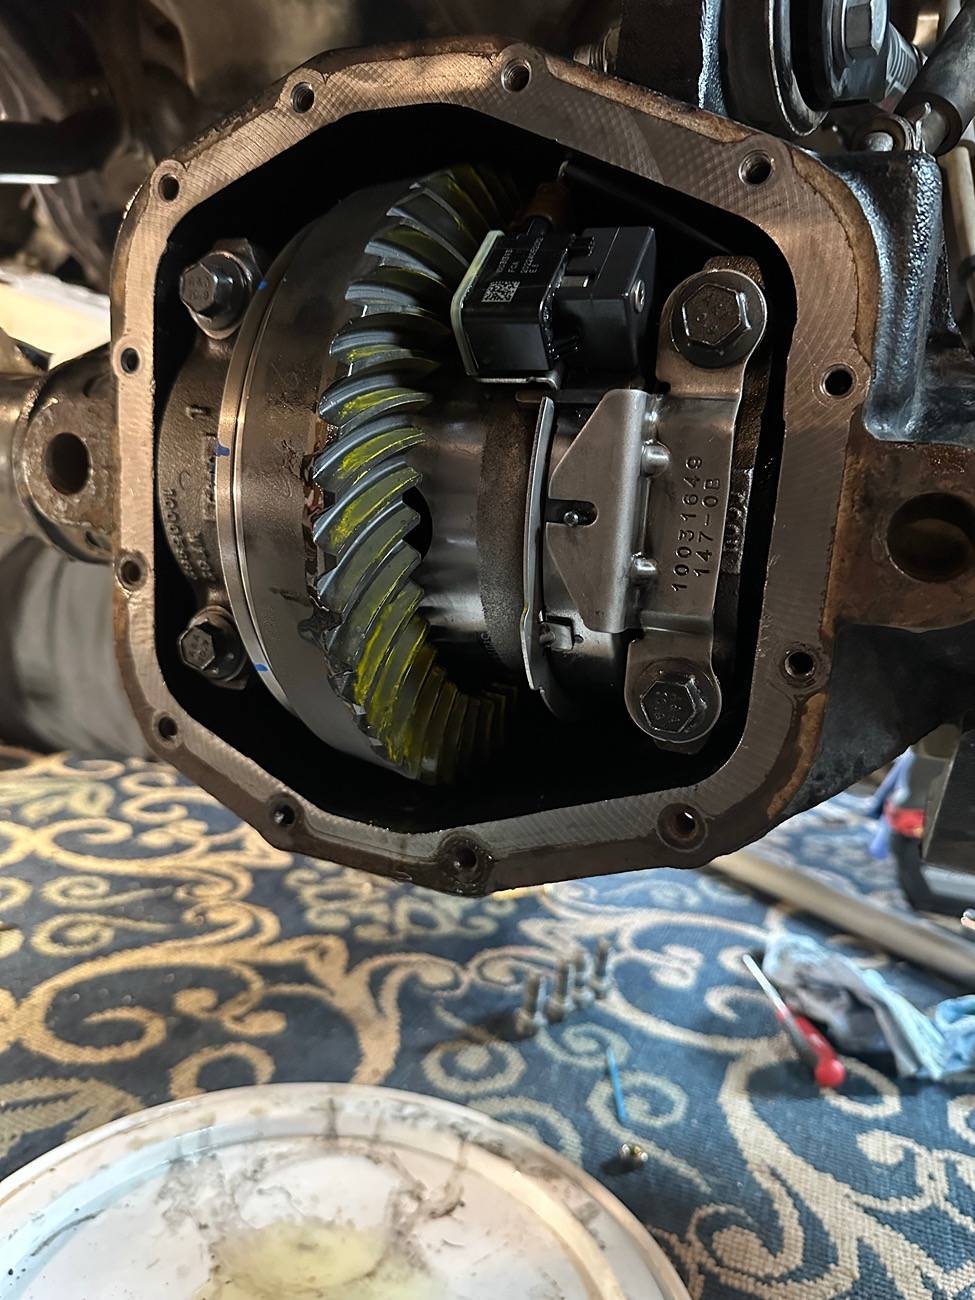
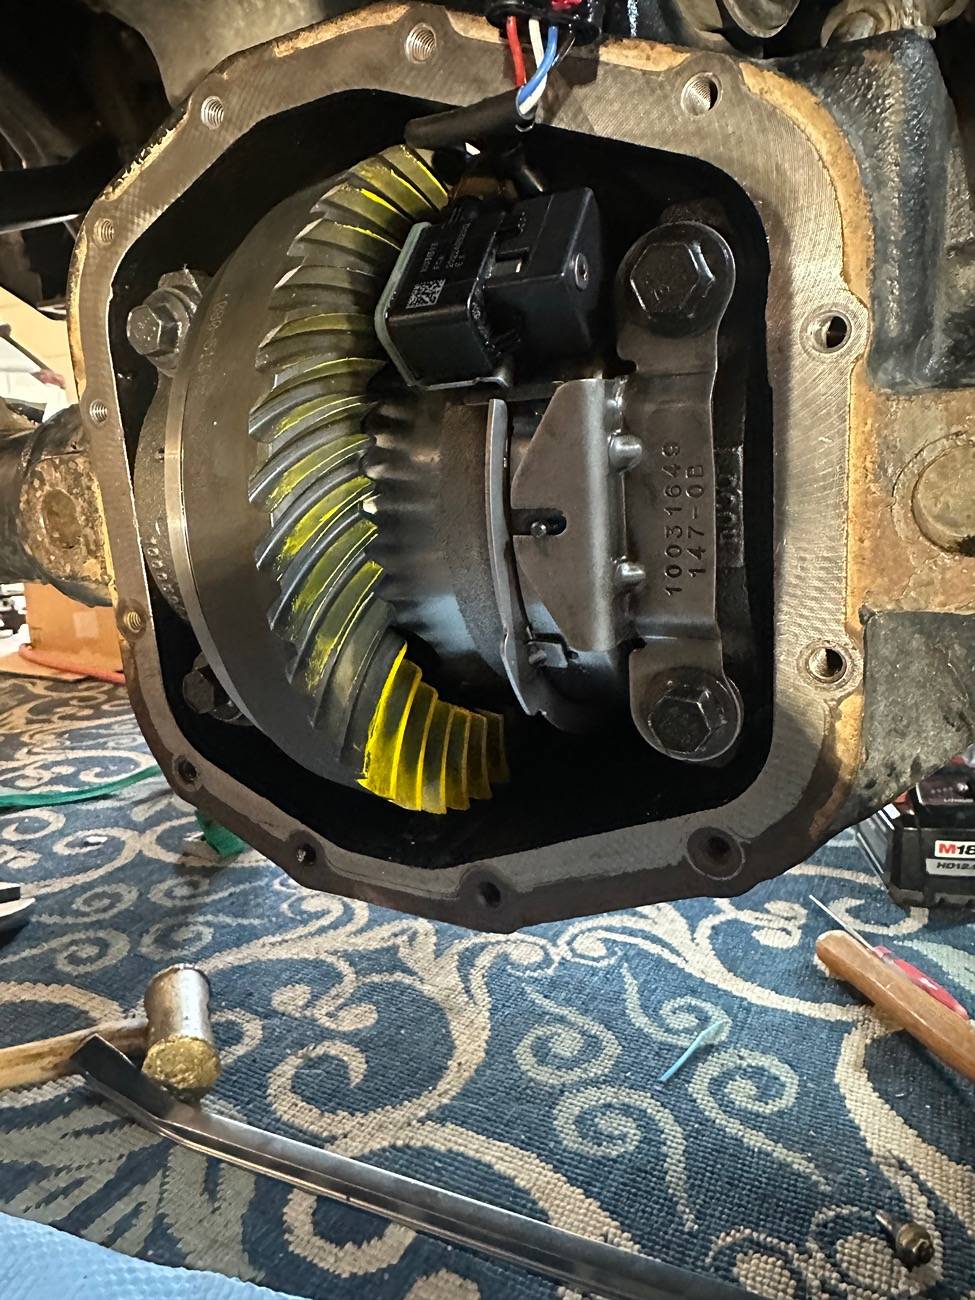
Just wondering, did the "expert" who help you with this use a set of "setup bearings" for the pinion when setting up depth and backlash?And it’s regeared. It was an amazing learning experience. The expert who helped me was unbelievably patient and cool through the process. I won’t say I wouldn’t make mistakes, but I’d go after it next time. The process did not steer me away from wanting to do it again. If anything it made me want to do it again. I learned so much about how to get a good pattern, but more importantly why a good pattern was good. I bought a digital dial indicator and micrometer and got to use them for the setup. They worked perfectly and it was cool to see the right way to setup the dial indicator to check backlash. Backlash and rolling torque on the pinion were perfect, per revolution’s specs. These are double hobbed gears, so stronger than the ones that went in in January 2022.
The very likely reason for the failure was that the pinion was set too deep in 2022. It’s amazing to know how many crazy trails I’ve done, and how many tens of thousands of miles, on gears that weren’t perfectly setup. It makes you realize how strong these things are.
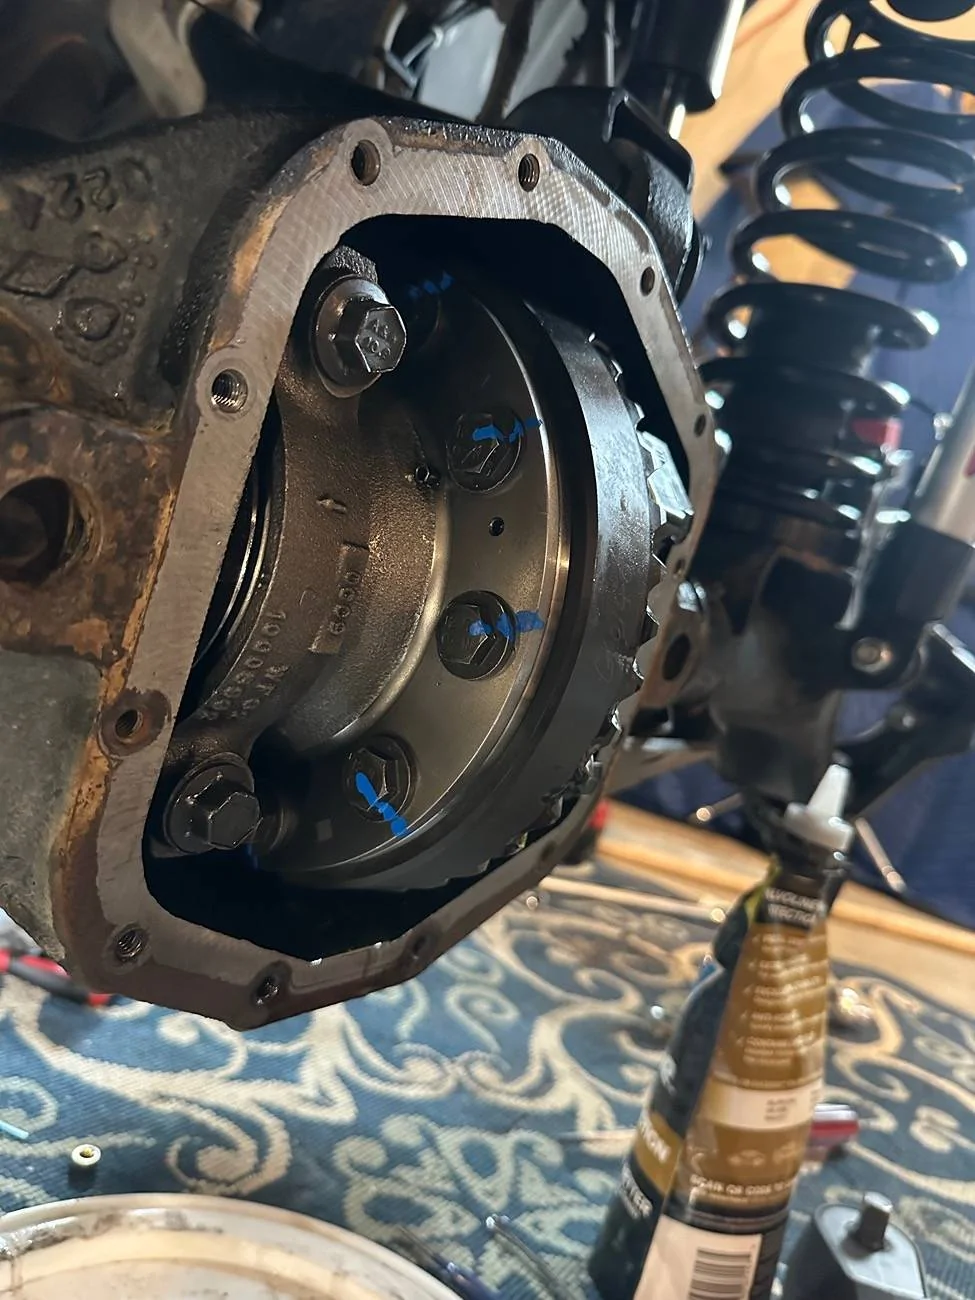
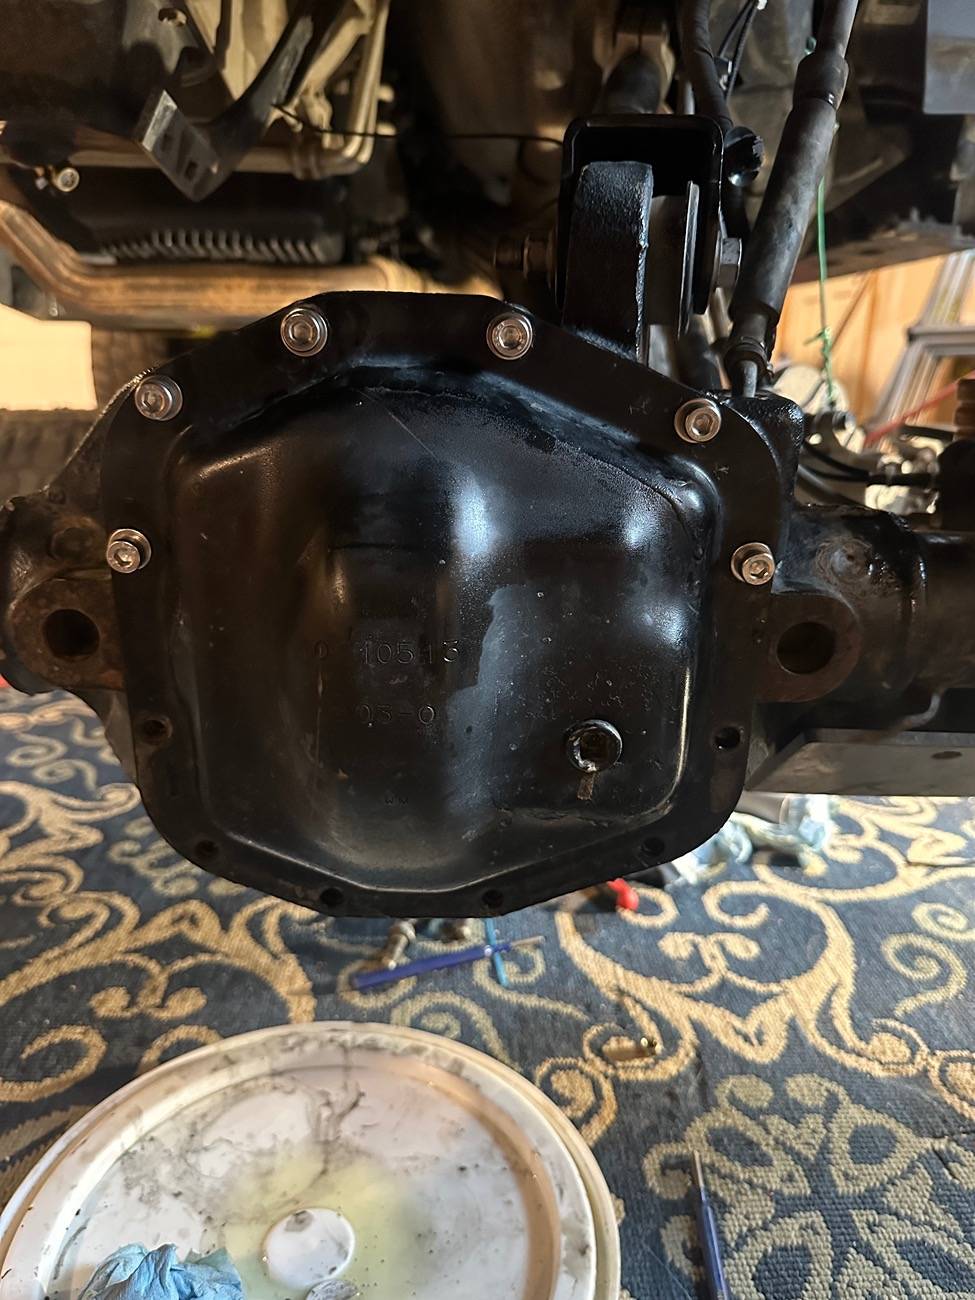
The cover is on, but I’m leaving it without fluid until tomorrow to let the rtv insurance on the pinion seal to set. Axles are back in, and I still need to do the brakes on the driver side, but that’s no big deal. Then it’ll just be to reattach the tie rod and steering stabilizer, fill the fluid, and start the 500 mile break in.

New bearings were used for setup, with the old pinion nut, and no seal or crush sleeve. That’s for the outer bearing. Inner was also new. But no issue there as it was pressed onto the pinion.Just wondering, did the "expert" who help you with this use a set of "setup bearings" for the pinion when setting up depth and backlash?

I think he's asking because to set pinion depth (at least on OTHER differentials) you use shims between the rear bearing cup and the housing. If the depth is incorrect, you remove a special cup and change shims and put that loose fitting cup back in and check depth again.New bearings were used for setup, with the old pinion nut, and no seal or crush sleeve. That’s for the outer bearing. Inner was also new. But no issue there as it was pressed onto the pinion.
Got it. In this case, the inner pinion race is installed with shims, based on an initial estimate of what is needed. He was really good at looking at the old gears to tell why it likely happened, so we made an initial educated guess. It appeared from the failure that the previous pinion was set too deep, so we started at 15 thousandths less, and we got lucky with a good pattern. There were two tries at carrier shims before backlash was right however. After we were both happy with the pattern for both the drive and coast sides of the carrier, it all came back out, and the pinion was installed with the crush sleeve and seal, and the new nut. My vise wouldn’t hold the pinion for final torque of the carrier bolts, so we took those to 150 while it was in the housing.I think he's asking because to set pinion depth (at least on OTHER differentials) you use shims between the rear bearing cup and the housing. If the depth is incorrect, you remove a special cup and change shims and put that loose fitting cup back in and check depth again.
I always turned down cups so I could lift them back out, get the shims correct and then drive in the new cup in place of the test cup.
I always used the new bearings on the pinion, new cup on the front or outer position, but a test cup that wasn't a press fit into the housing to set the correct amount of shims.
I THINK that's what he's talking about.
For AMC 15 and 20 models, there is a tool that fit into the carrier position and measured the pinion depth.
For the carrier, I used the new cups and cones as those cups aren't a press fit into the housing. Shims went next to the cup on the outboard side of the cup.
So if I am reading correctly, you got it right on the inside pinion shims under the race and did not need to knock the race back out to adjust?Got it. In this case, the inner pinion race is installed with shims, based on an initial estimate of what is needed. He was really good at looking at the old gears to tell why it likely happened, so we made an initial educated guess. It appeared from the failure that the previous pinion was set too deep, so we started at 15 thousandths less, and we got lucky with a good pattern. There were two tries at carrier shims before backlash was right however. After we were both happy with the pattern for both the drive and coast sides of the carrier, it all came back out, and the pinion was installed with the crush sleeve and seal, and the new nut. My vise wouldn’t hold the pinion for final torque of the carrier bolts, so we took those to 150 while it was in the housing.
Specs for the gears came from revolution. Specs for the bearing caps and pinion preload came from Dana for the housing, but specifically for 5.13 gears.
To be honest, it was a ton of information over two days. It was actually helpful to type this. I feel like I need to do another one to have it stick, so to speak.
Careful with ss hardware, it has a tendency to seize if you go in dry and /or use a impact on it.And just for fun I’m switching out all diff cover bolts for stainless the lower 6 are missing since I didn’t feel like putting the diff skid on. I’m tired.
The carrier shims were much more difficult. I didn’t have a case spreader, and we ended up having to go borrow one, alone with a bearing shim Tool to tap them into place. We settled on .070 with two 30’s sandwiching a ten. On round one we attempted .045, but it wasn’t enough.So if I am reading correctly, you got it right on the inside pinion shims under the race and did not need to knock the race back out to adjust?
As to the carrier, was a case spreader tool used or did that come out relatively easy for the carrier bearing shims?
Reason for the 20 questions is that I have been prepping to do a gear set change myself and new territory for me also. Been slowly gather all the stuff but seems a bit daunting I will admit.
Forgot to answer the pinion shim question. Yes. Using his experience, he guessed correctly the first time and we never removed the pinion races after the initial install of them.So if I am reading correctly, you got it right on the inside pinion shims under the race and did not need to knock the race back out to adjust?
As to the carrier, was a case spreader tool used or did that come out relatively easy for the carrier bearing shims?
Reason for the 20 questions is that I have been prepping to do a gear set change myself and new territory for me also. Been slowly gather all the stuff but seems a bit daunting I will admit.
I would never use an impact on stainless, and I’d never use stainless in an area that required high torque. Stainless to aluminum is risky, but stainless into cast iron is typically fine. These are low torque, so I’m using common sense tightness with hand tools only, but a star pattern for an even seal. I can’t use the factory torque specs as they take into account the fastener type. And I’m changing that.Careful with ss hardware, it has a tendency to seize if you go in dry and /or use a impact on it.
Well Daniel there is SECOND diff. you can do on your truck, almost think you should with what you found on your rear, it will always be in the back of your mind that you did everything but the one diff., I have a sense on how your twisted, demented mind works , just do it!…..JackGot it. In this case, the inner pinion race is installed with shims, based on an initial estimate of what is needed. He was really good at looking at the old gears to tell why it likely happened, so we made an initial educated guess. It appeared from the failure that the previous pinion was set too deep, so we started at 15 thousandths less, and we got lucky with a good pattern. There were two tries at carrier shims before backlash was right however. After we were both happy with the pattern for both the drive and coast sides of the carrier, it all came back out, and the pinion was installed with the crush sleeve and seal, and the new nut. My vise wouldn’t hold the pinion for final torque of the carrier bolts, so we took those to 150 while it was in the housing.
Specs for the gears came from revolution. Specs for the bearing caps and pinion preload came from Dana for the housing, but specifically for 5.13 gears.
To be honest, it was a ton of information over two days. It was actually helpful to type this. I feel like I need to do another one to have it stick, so to speak.
Thanks. Sounds like I need to get a bearing shim tool. The rest of the stuff I already have or on order.The carrier shims were much more difficult. I didn’t have a case spreader, and we ended up having to go borrow one, alone with a bearing shim Tool to tap them into place. We settled on .070 with two 30’s sandwiching a ten. On round one we attempted .045, but it wasn’t enough.
I thought o had all the tools, but did not have a spreader, which I’ll buy before the next one without a doubt. A race installer is absolutely necessary and I didn’t know that. And I’d get a shim installer. The case spreader made it night and day. So other than normal stuff and patience, you’ll need a bearing puller, dial indicator, micrometer, inch pound or newton meter dial 1/4” torque wrench with 1/4 to 1/2 adapter, 32mm socket, race installer, big long drift punch to remove old pinion races, spreader, and I think that’s it. I’m skipping the stuff you probably already have to even get it broken down to that point. I bought the bearing puller from revolution. The guy that helped me said it was nicer than the ragged one at their shop, and he’s not ordering that one after seeing how well it went.
I would, but that one was very recently redone. The gears were fine on the rear, but I had bearings wearing out. It has all new bearings, shims, and seals as of maybe 5k miles ago. But eventually something will happen…Well Daniel there is SECOND diff. you can do on your truck, almost think you should with what you found on your rear, it will always be in the back of your mind that you did everything but the one diff., I have a sense on how your twisted, demented mind works , just do it!…..Jack