Viper501
Well-Known Member
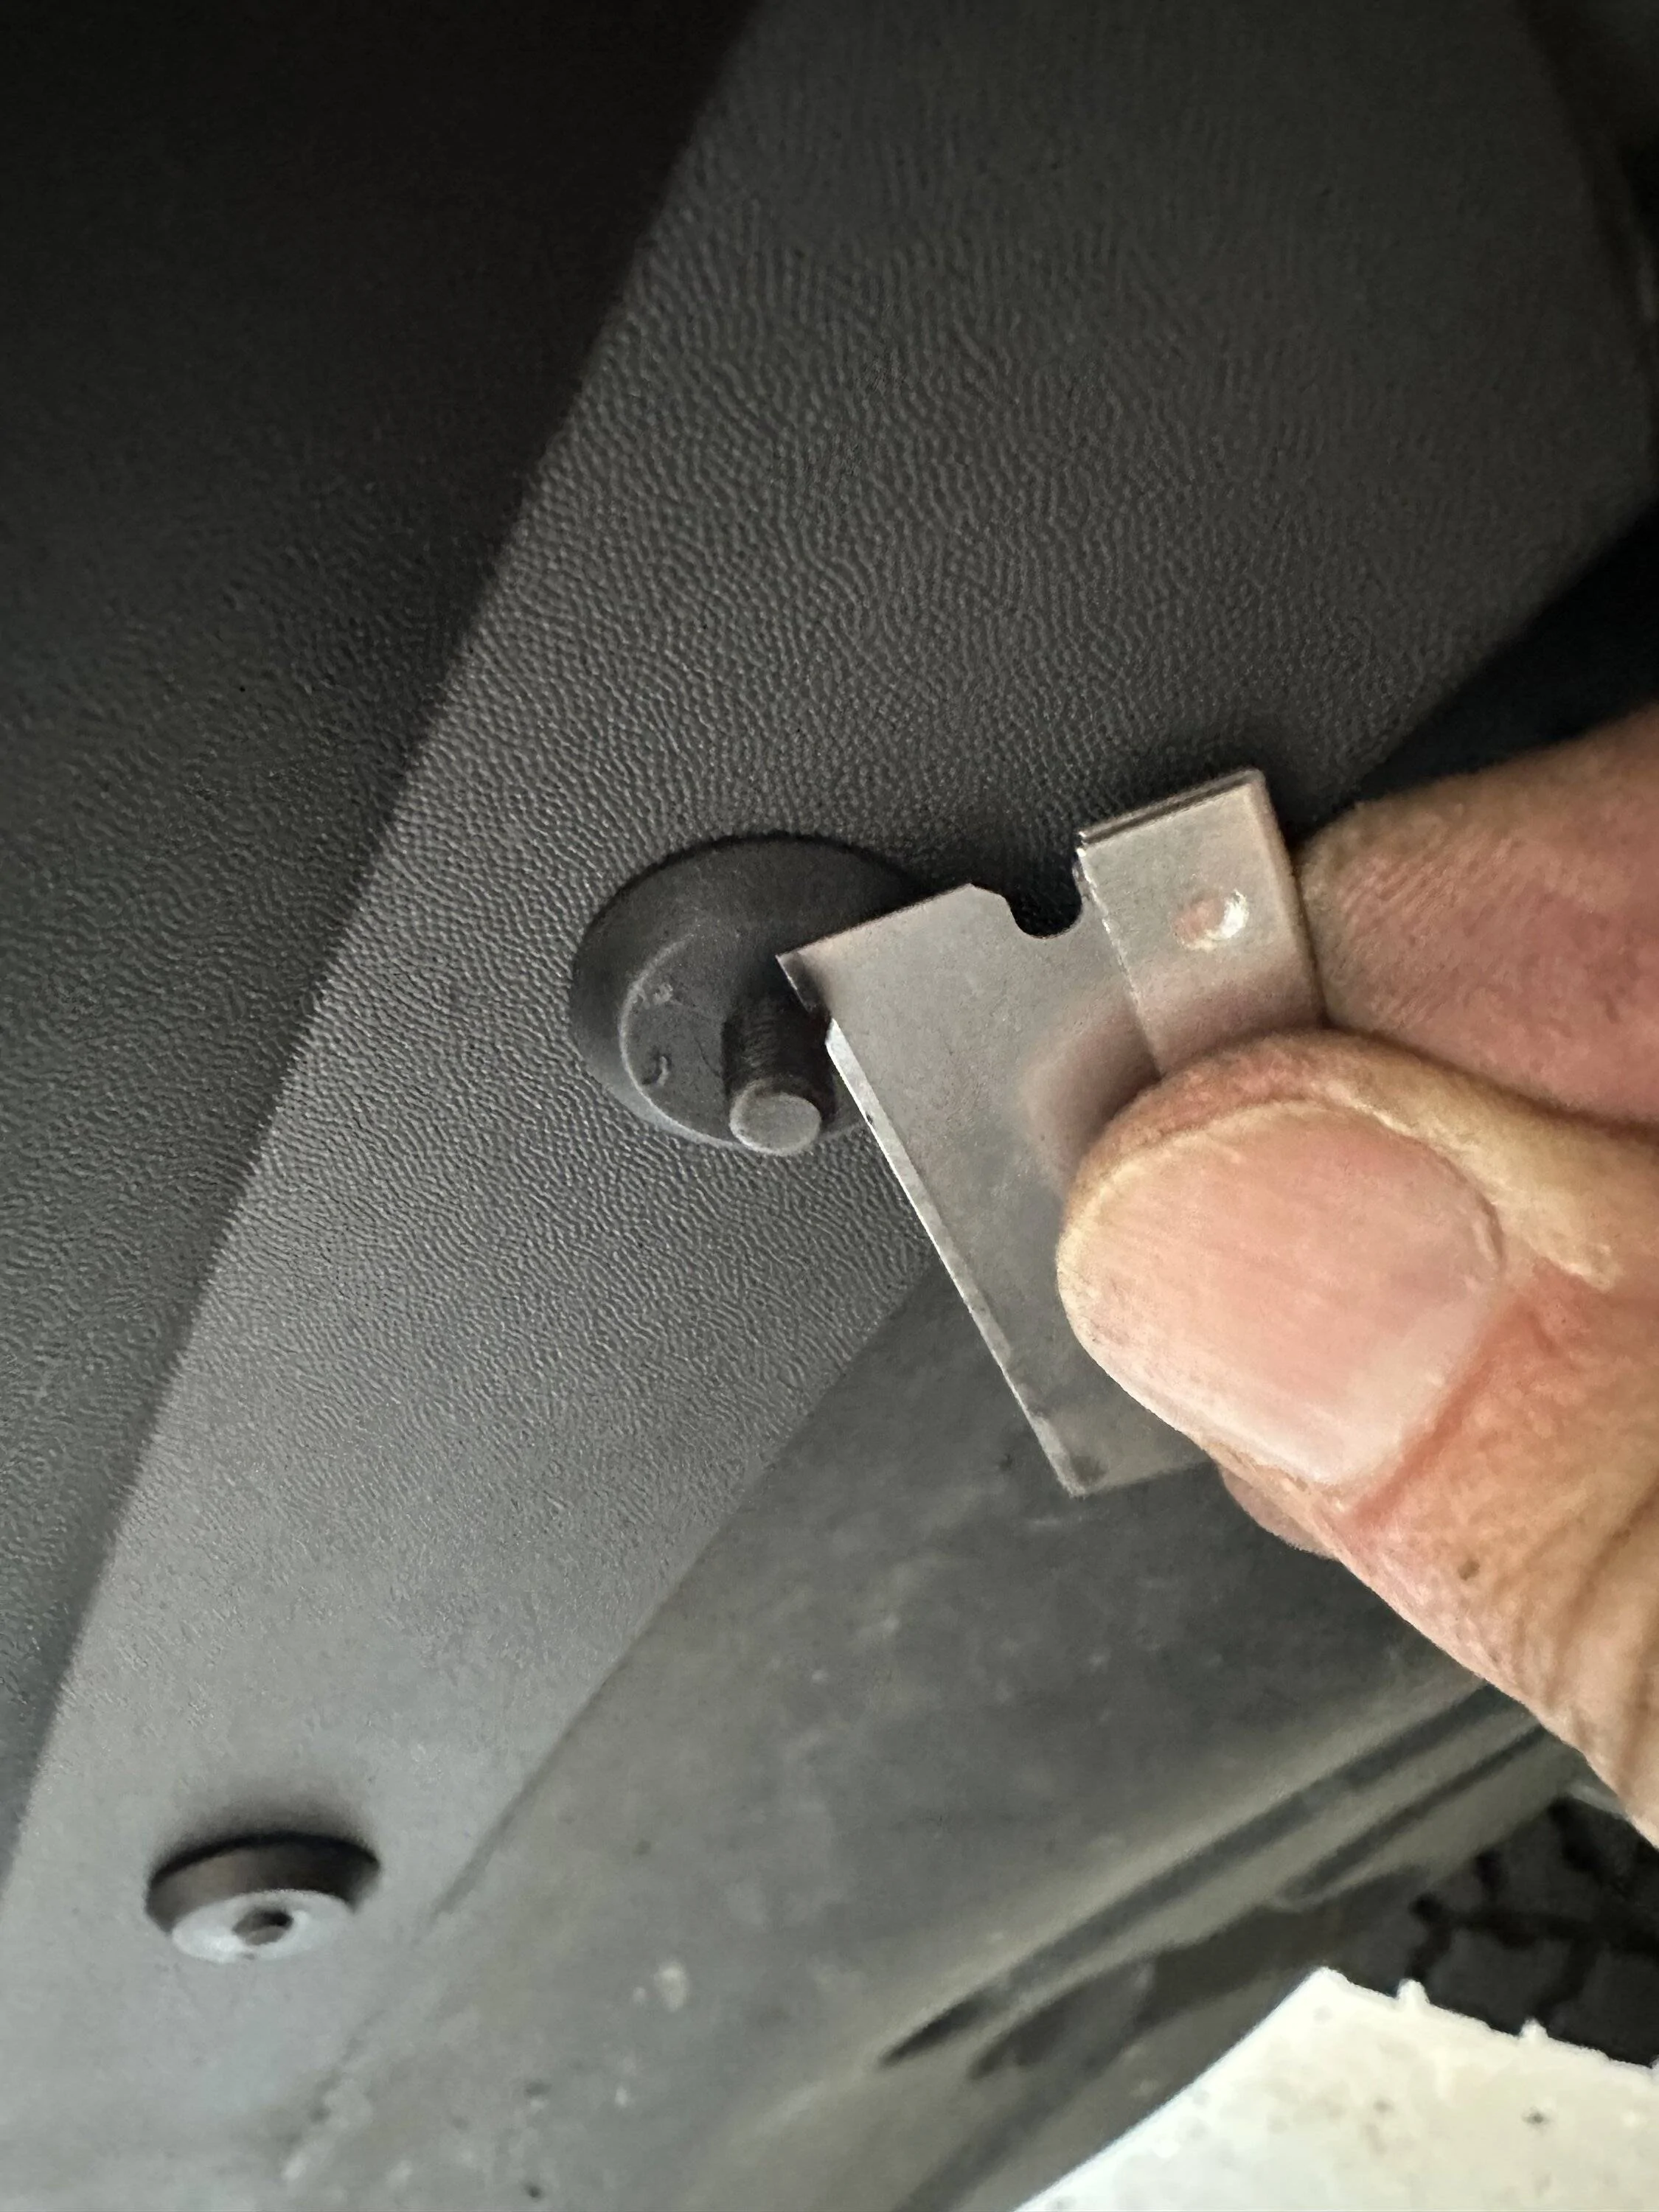
The fronts went on just fine as expected. The only thing that bothered me was the rivet pins did not snap off flush with the base. I tried using a pair of dykes to snip them off but they were too far from the base to make a clean cut. I ended up using a razor blade and some gentle pressure to slice the remainder off flush.

This was actually the last step after I got all of the new rivets on front and back installed.
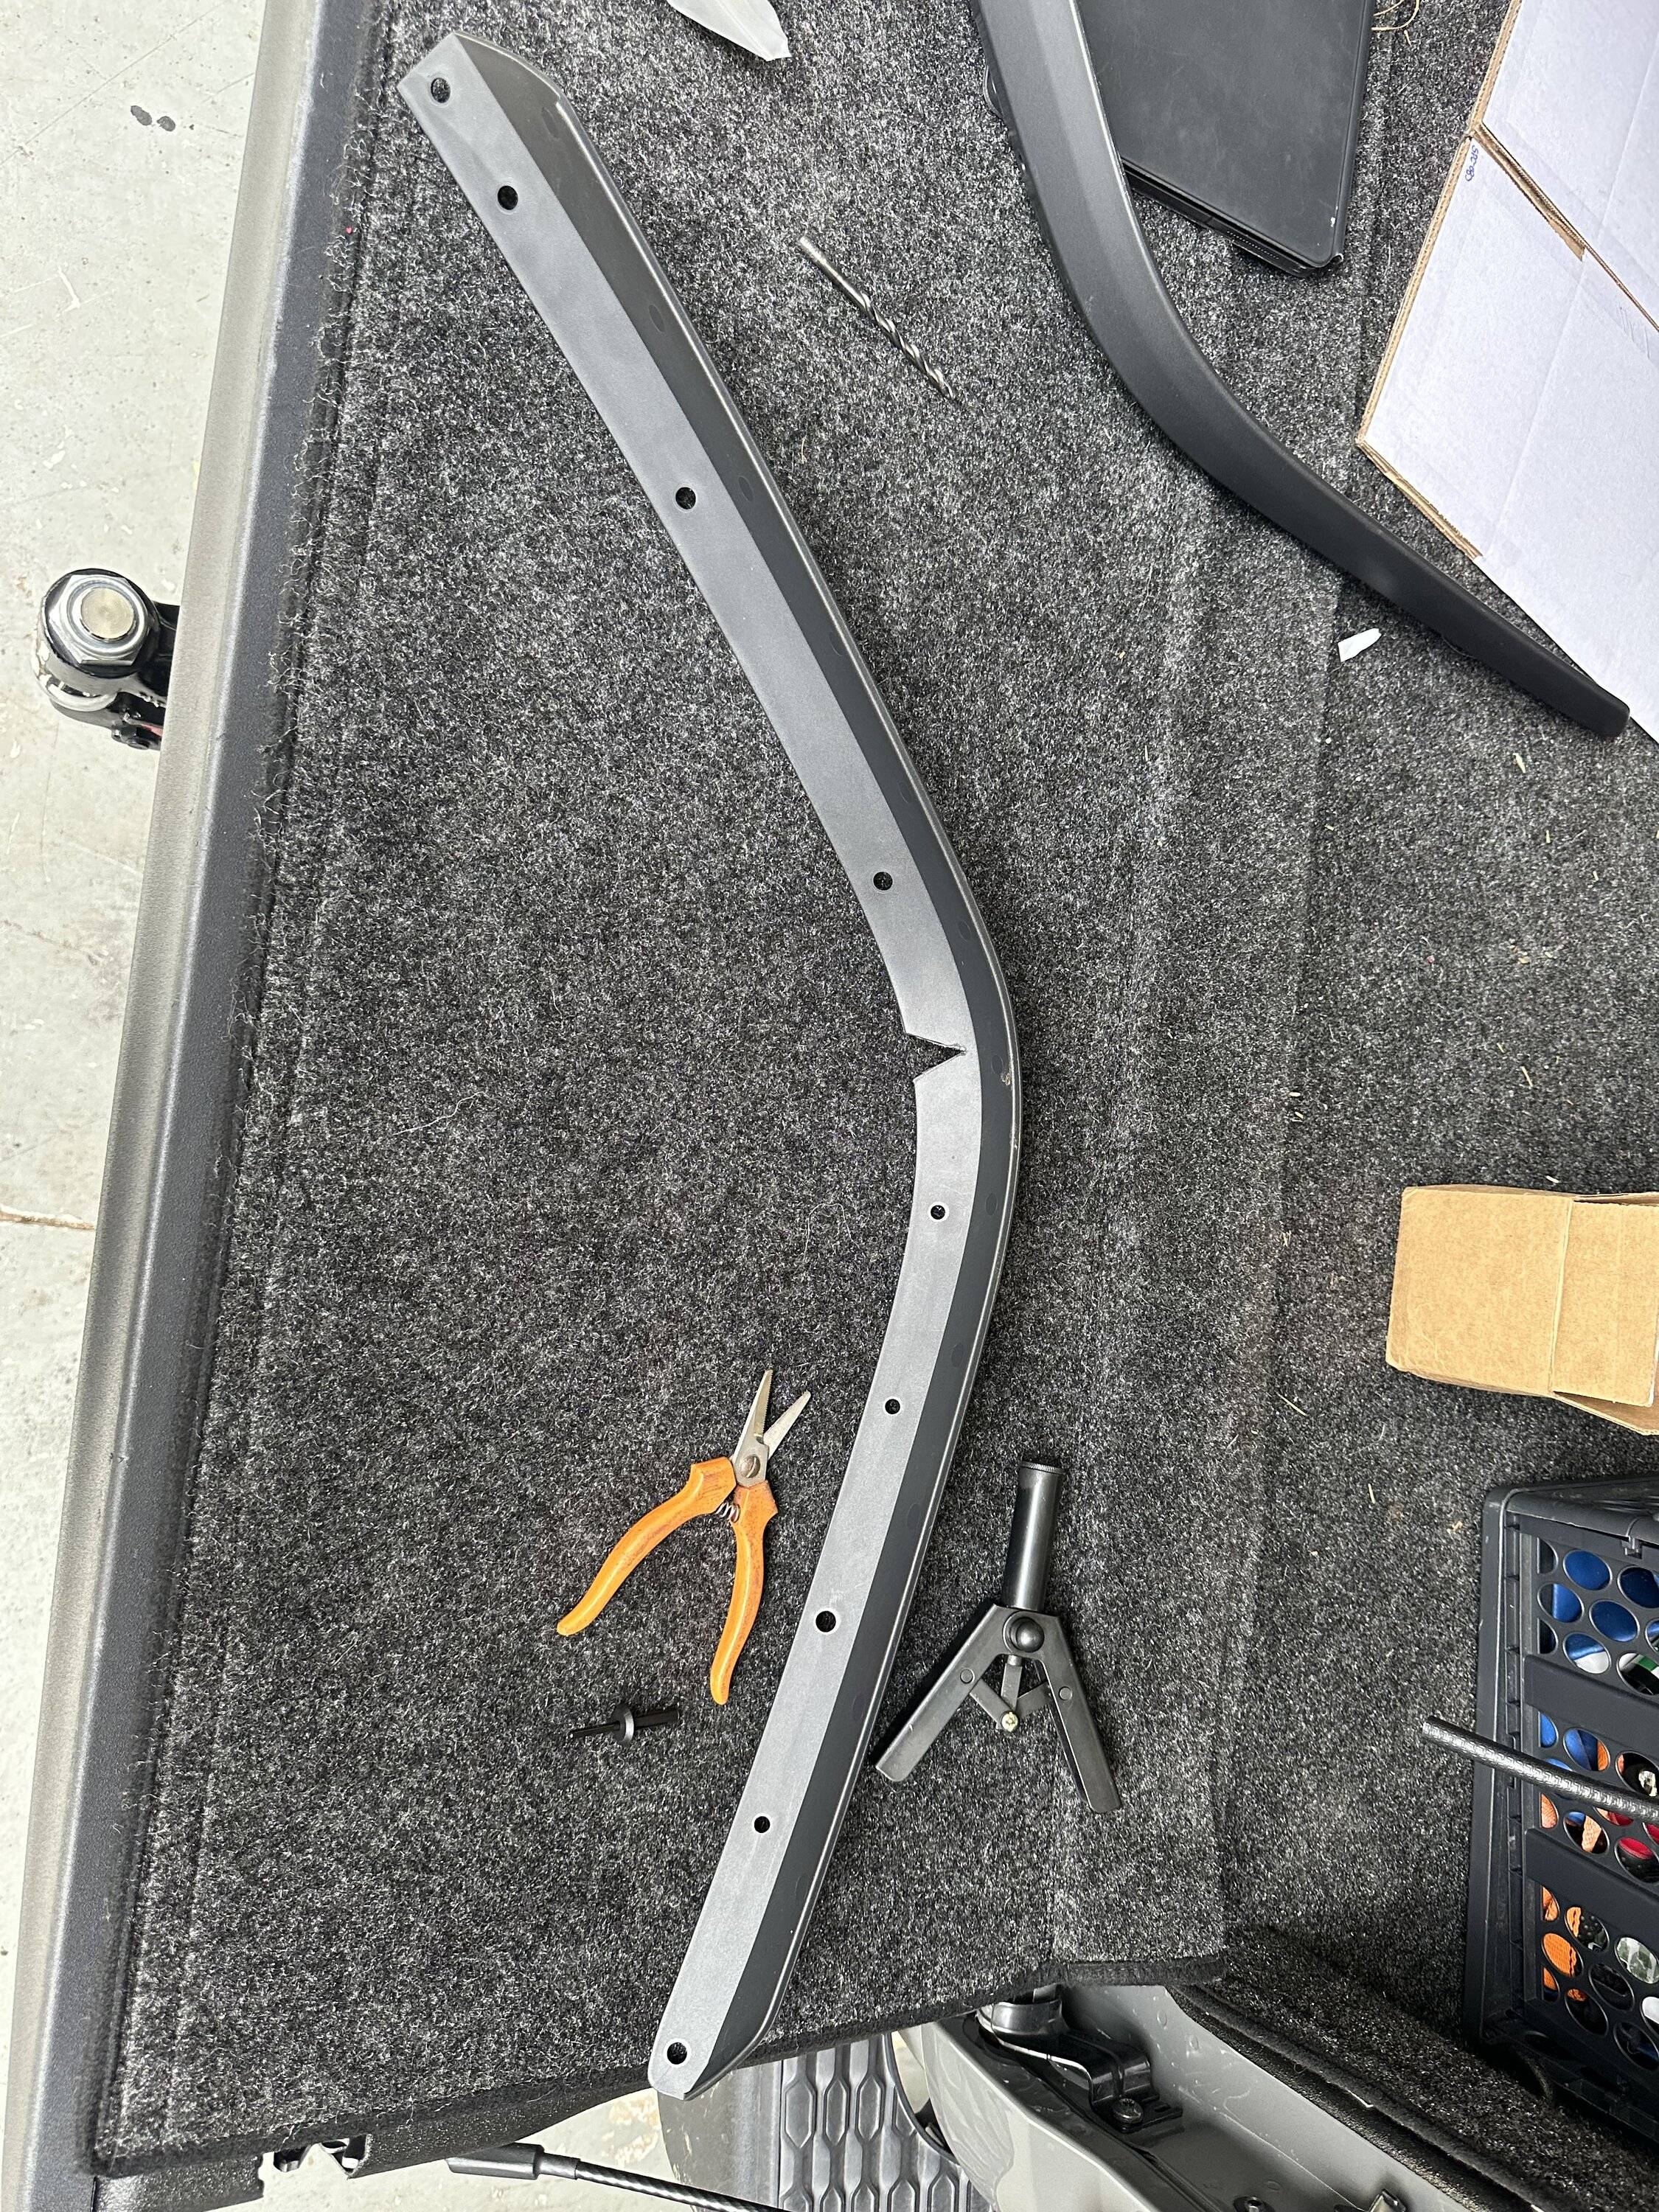
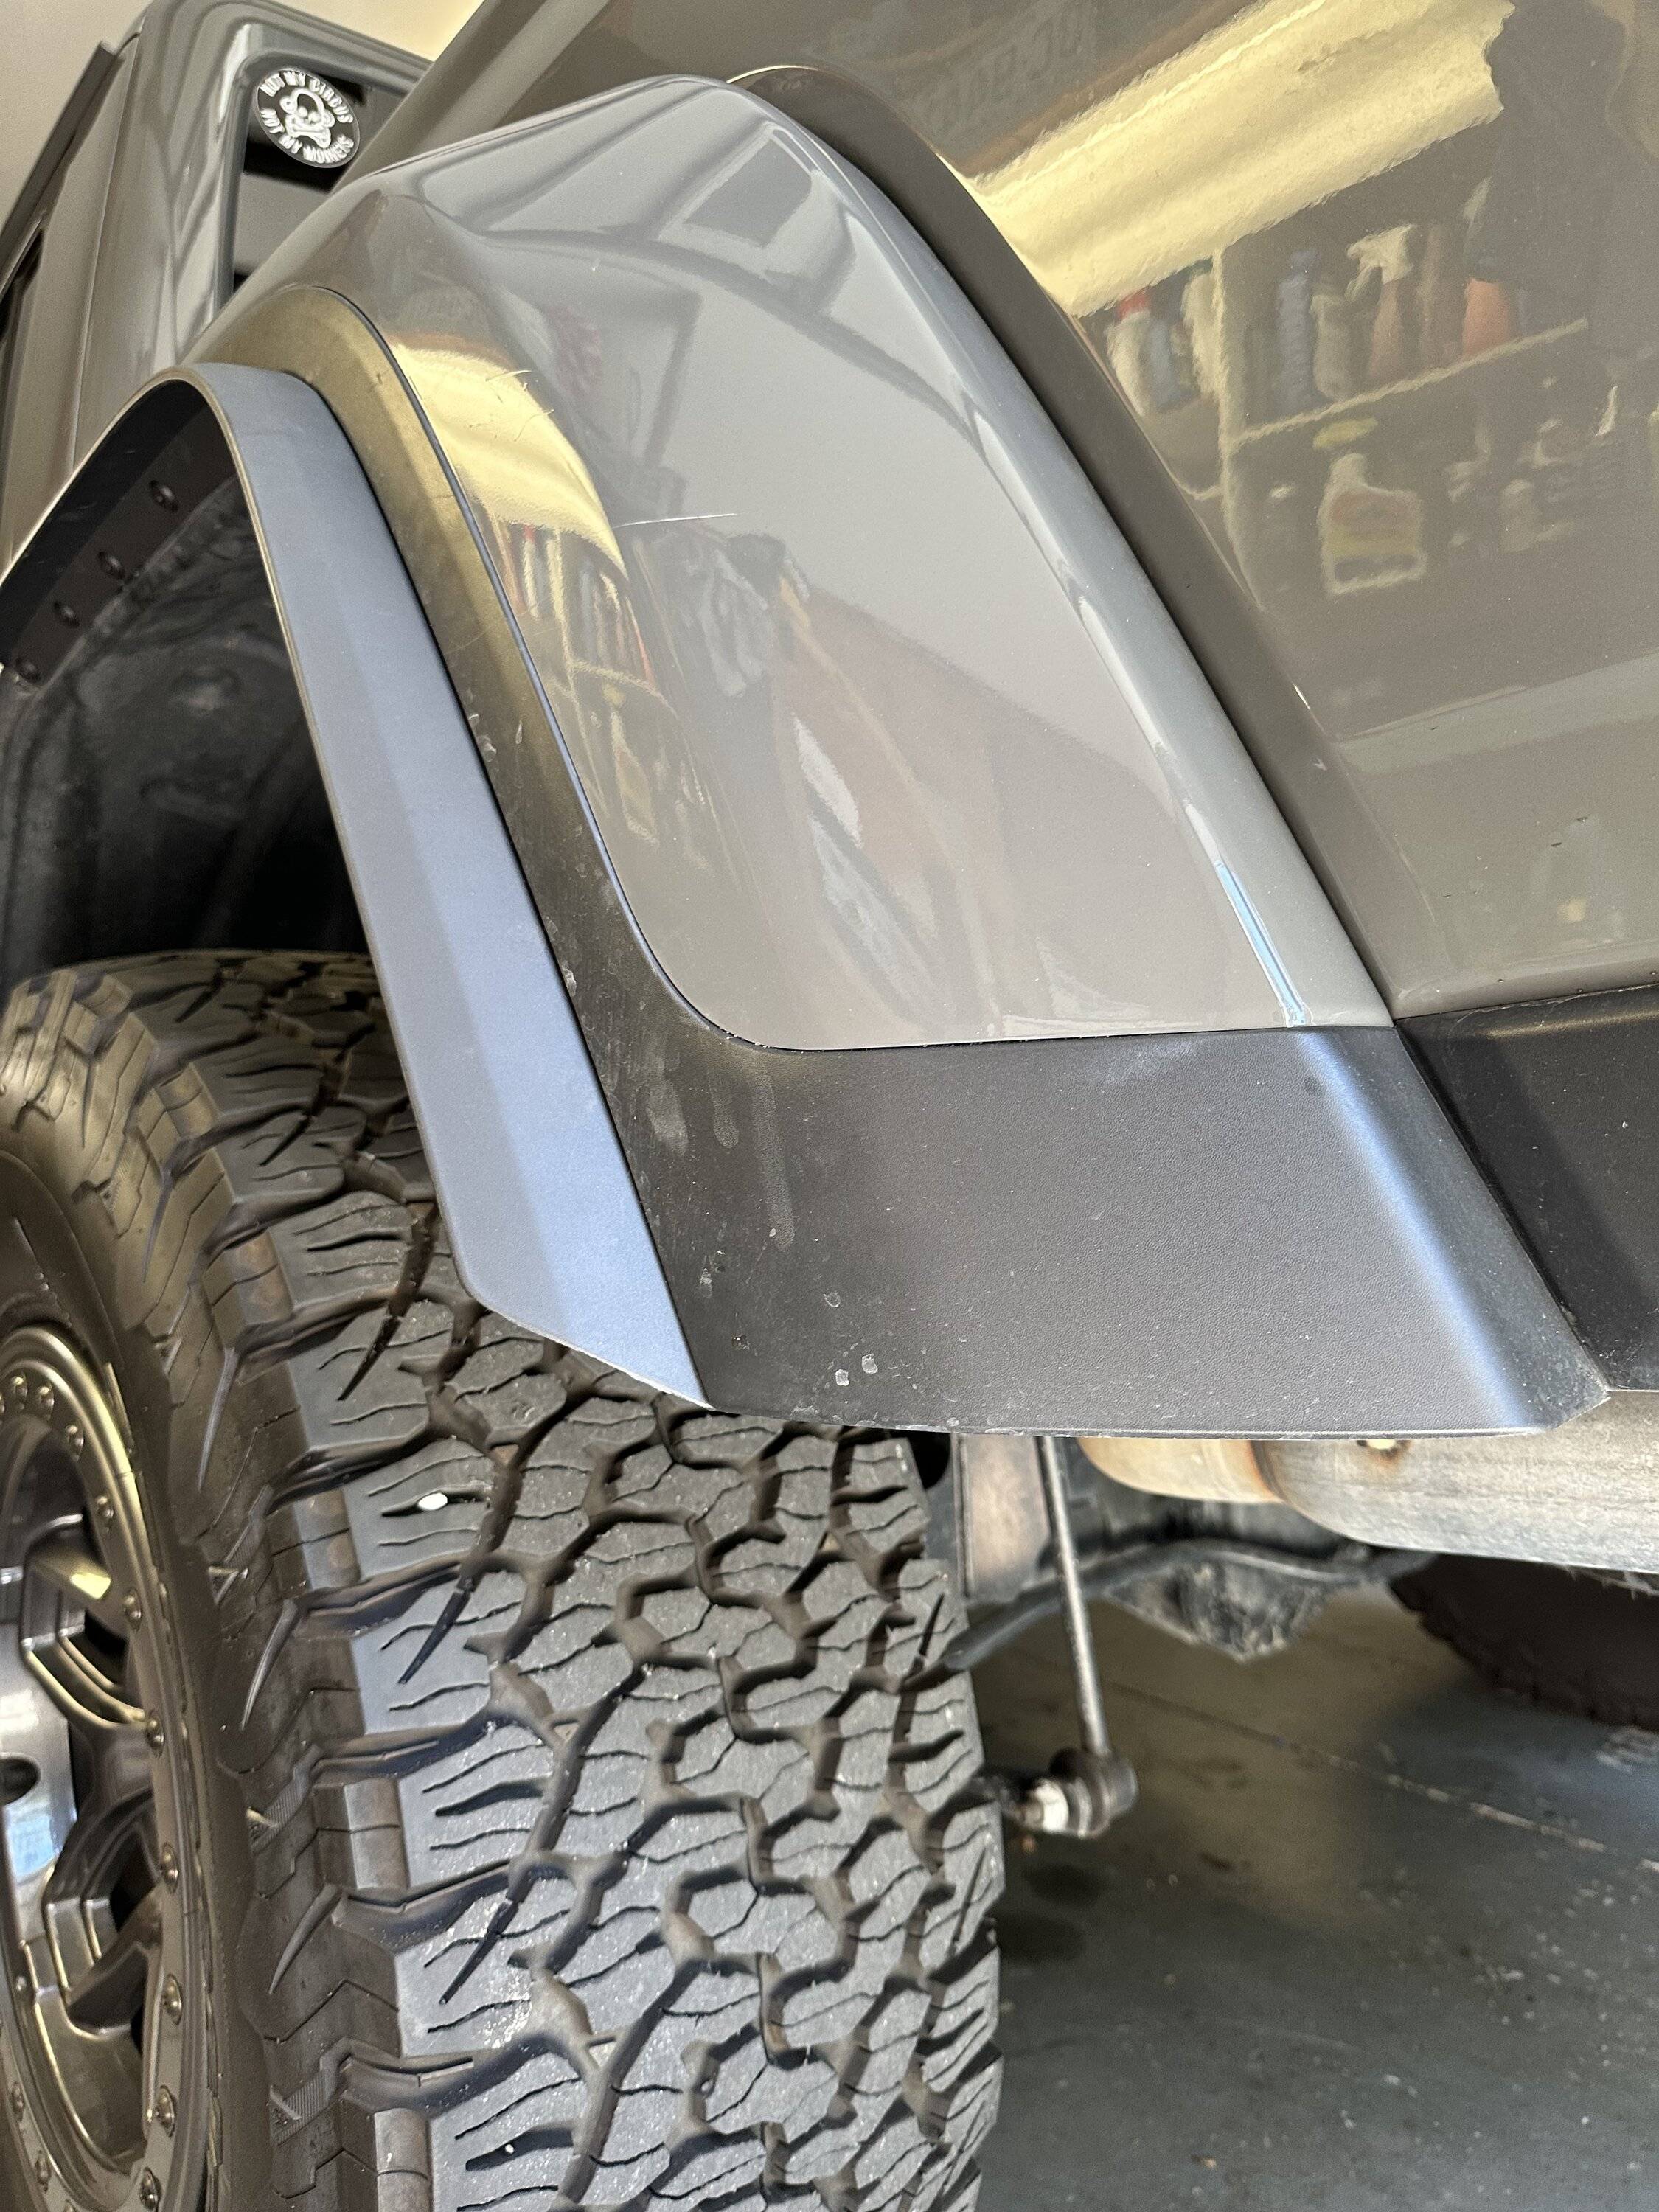
The rear pieces were a little bit of a challenge just because the photos I have seen did not clearly show where the relief cuts were placed. I did some dry fitting after removing the existing rivets and eventually had a pretty good idea where to make the cuts. I experimented a little on how many cuts and how wide / deep they needed to be made. I used a small set of shears to make the cuts staying a little ways from the corner to keep from making a white spot on the exposed portion of the plastic.
One cut was not nearly enough so I kept cutting and checking.
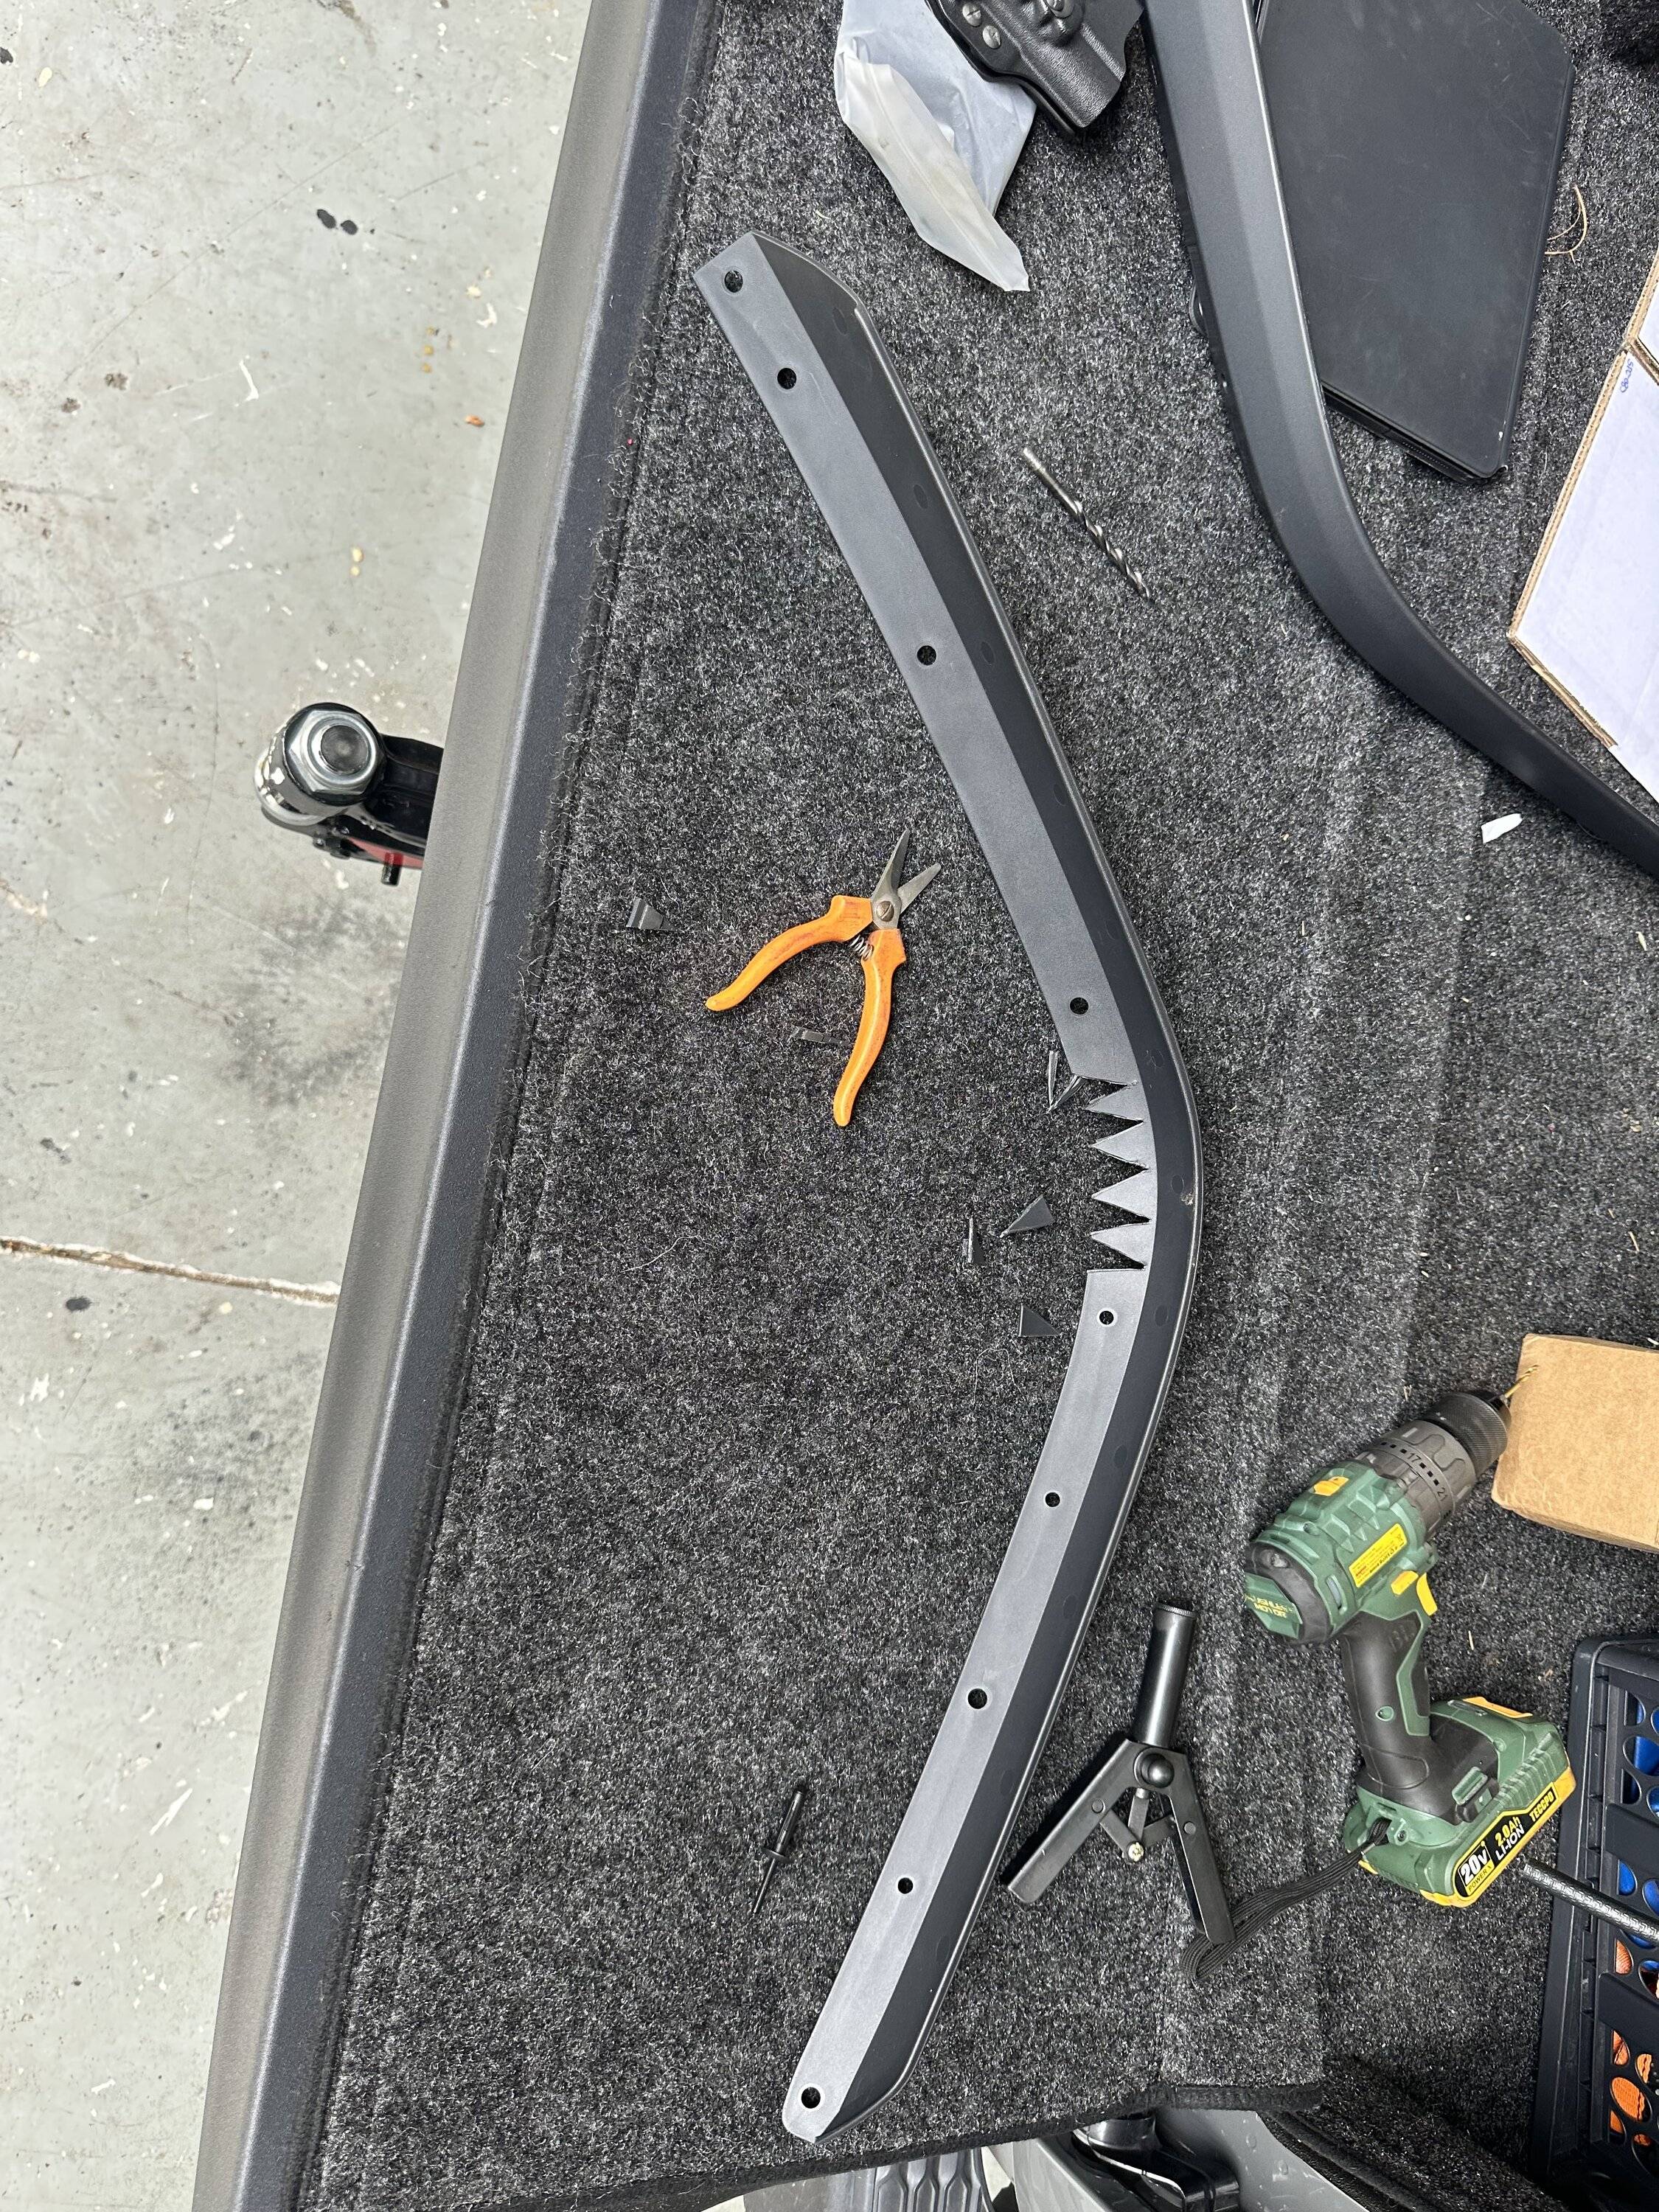
This is basically the way I ended the relief cuts. Both sides were about the same though they obviously look slightly different.
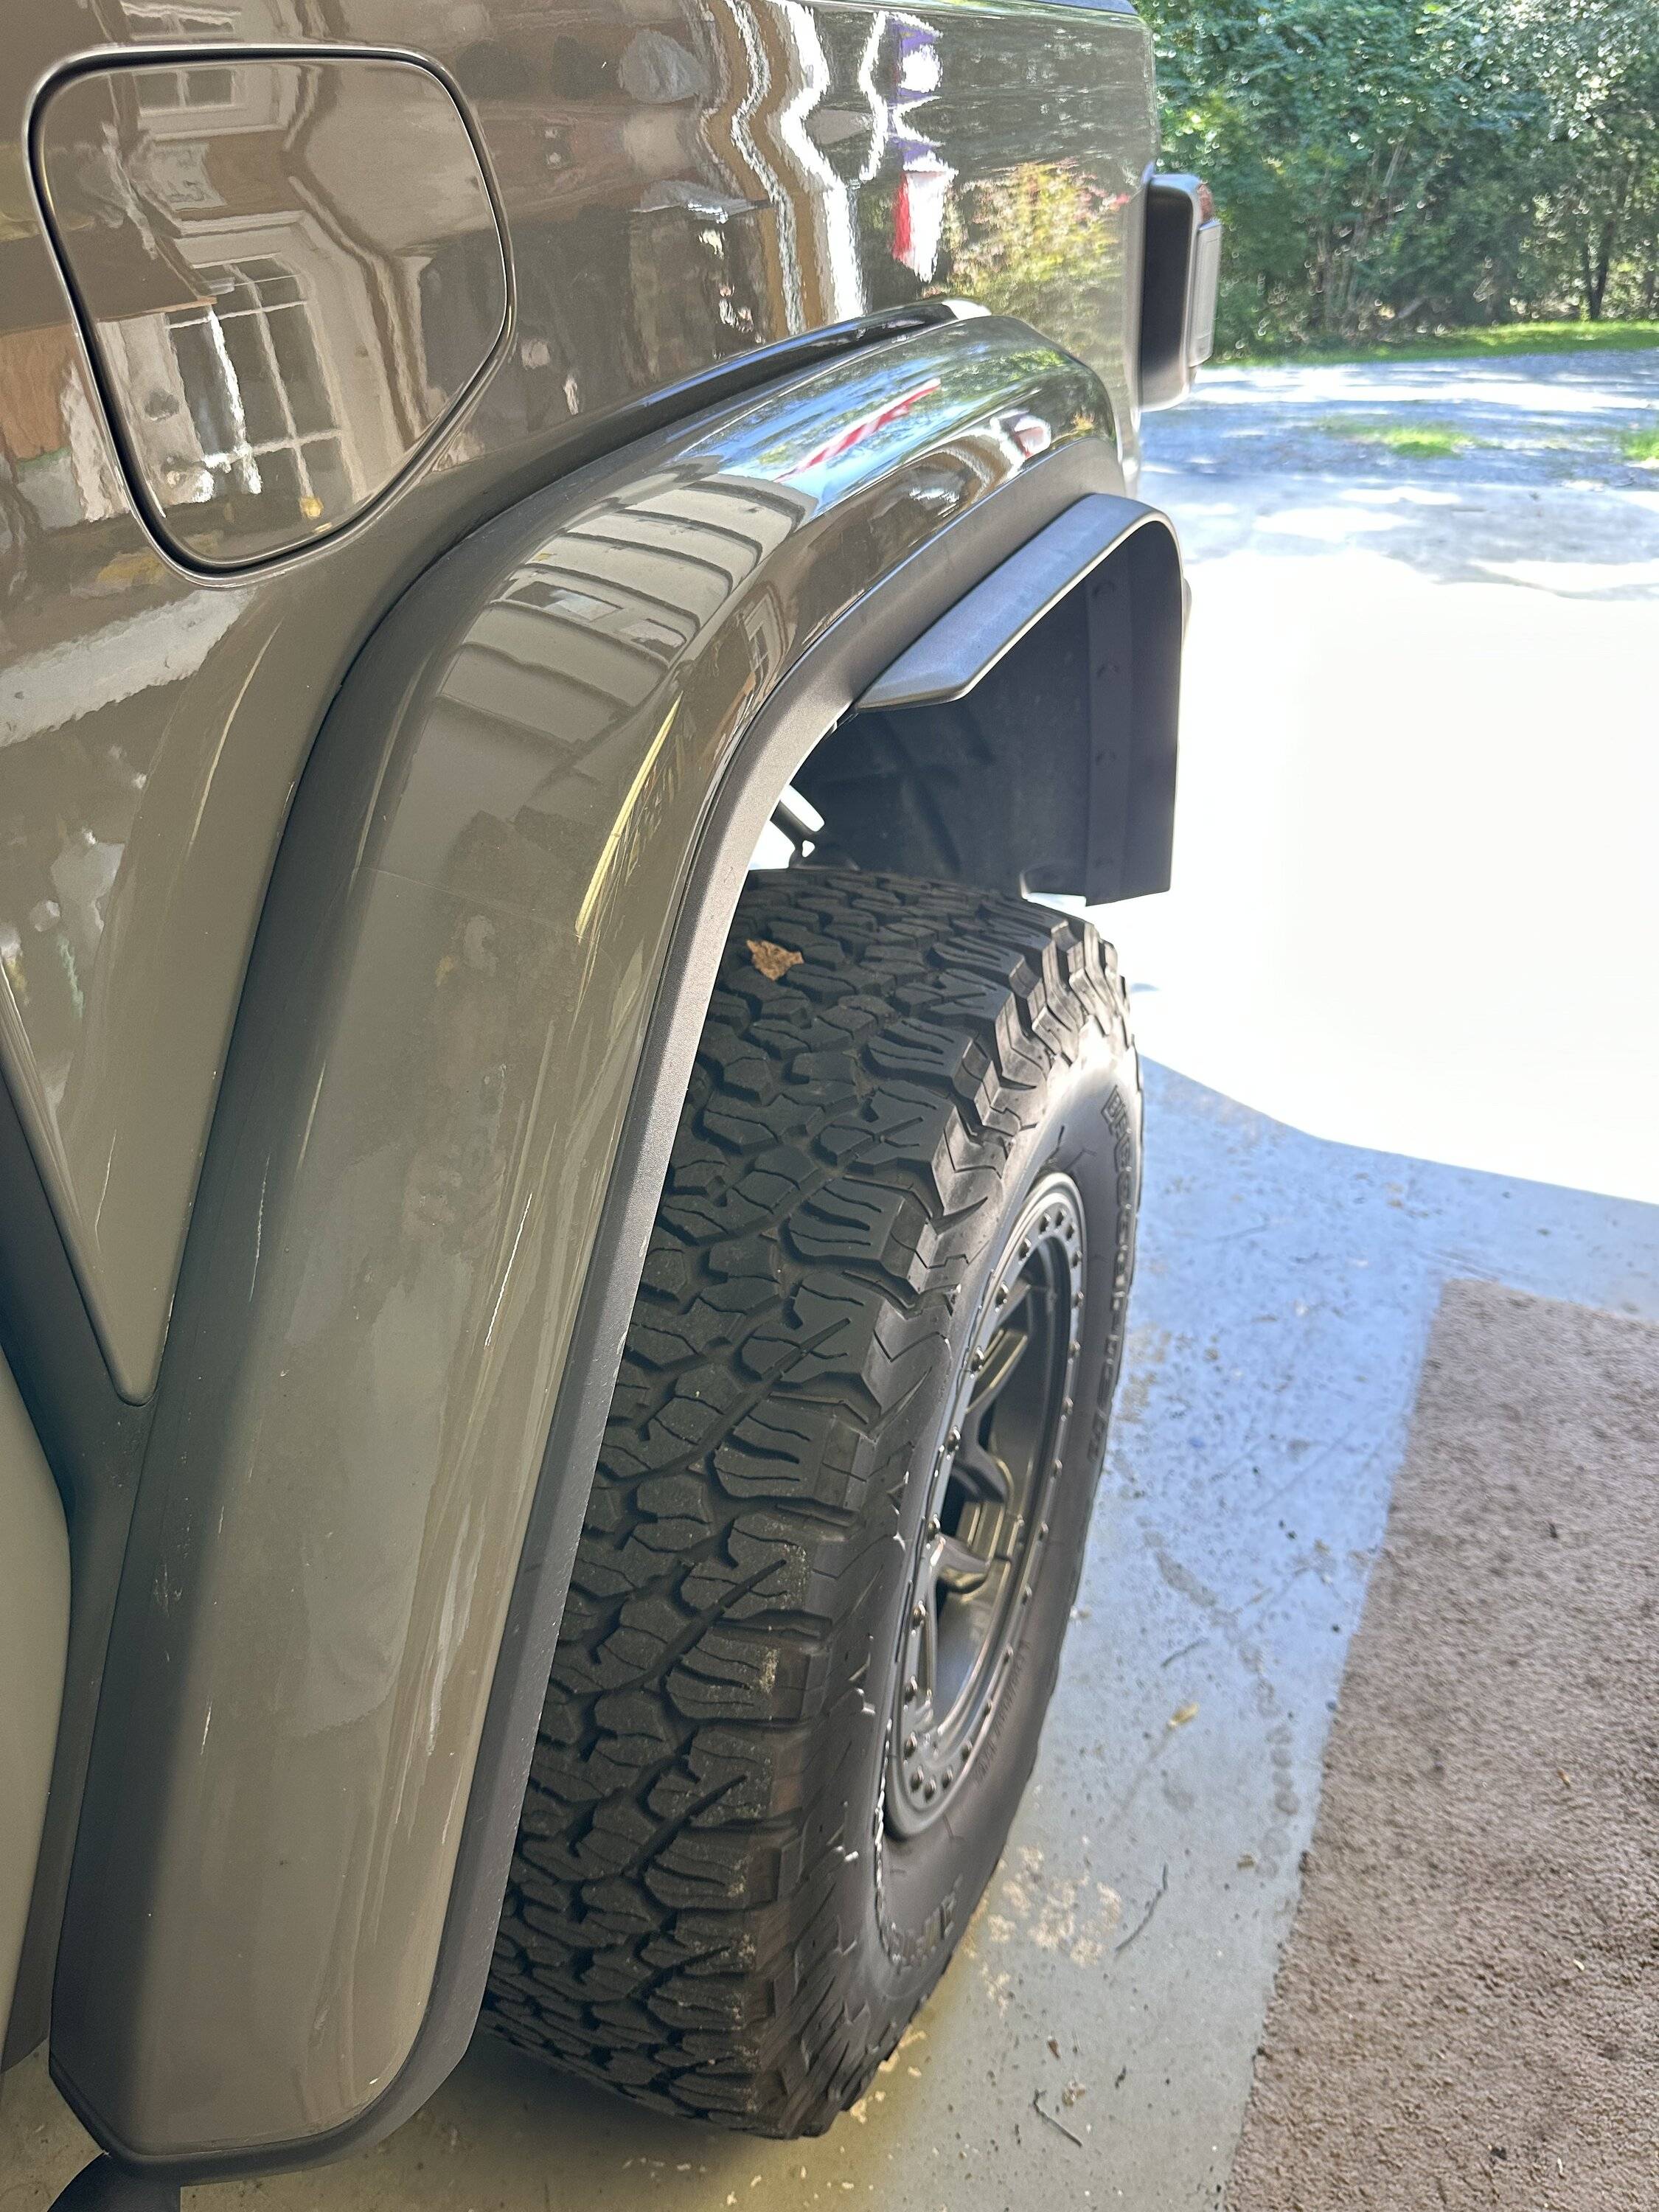
In fitting them on the rear I started at the bottom and worked my way around the radius toward the front of the truck. It is important to note that the factory rivets also hold onto the inner fender liner. When you drill new holes, which will be necessary since the front extensions do not match the rear, make sure you ensure the fender liner gets a corresponding hole. This way all three pieces get sandwiched together by the rivet. There is also a larger plastic support piece at the bottom that you will want to tie into with the rivets to stabilize the fender itself.
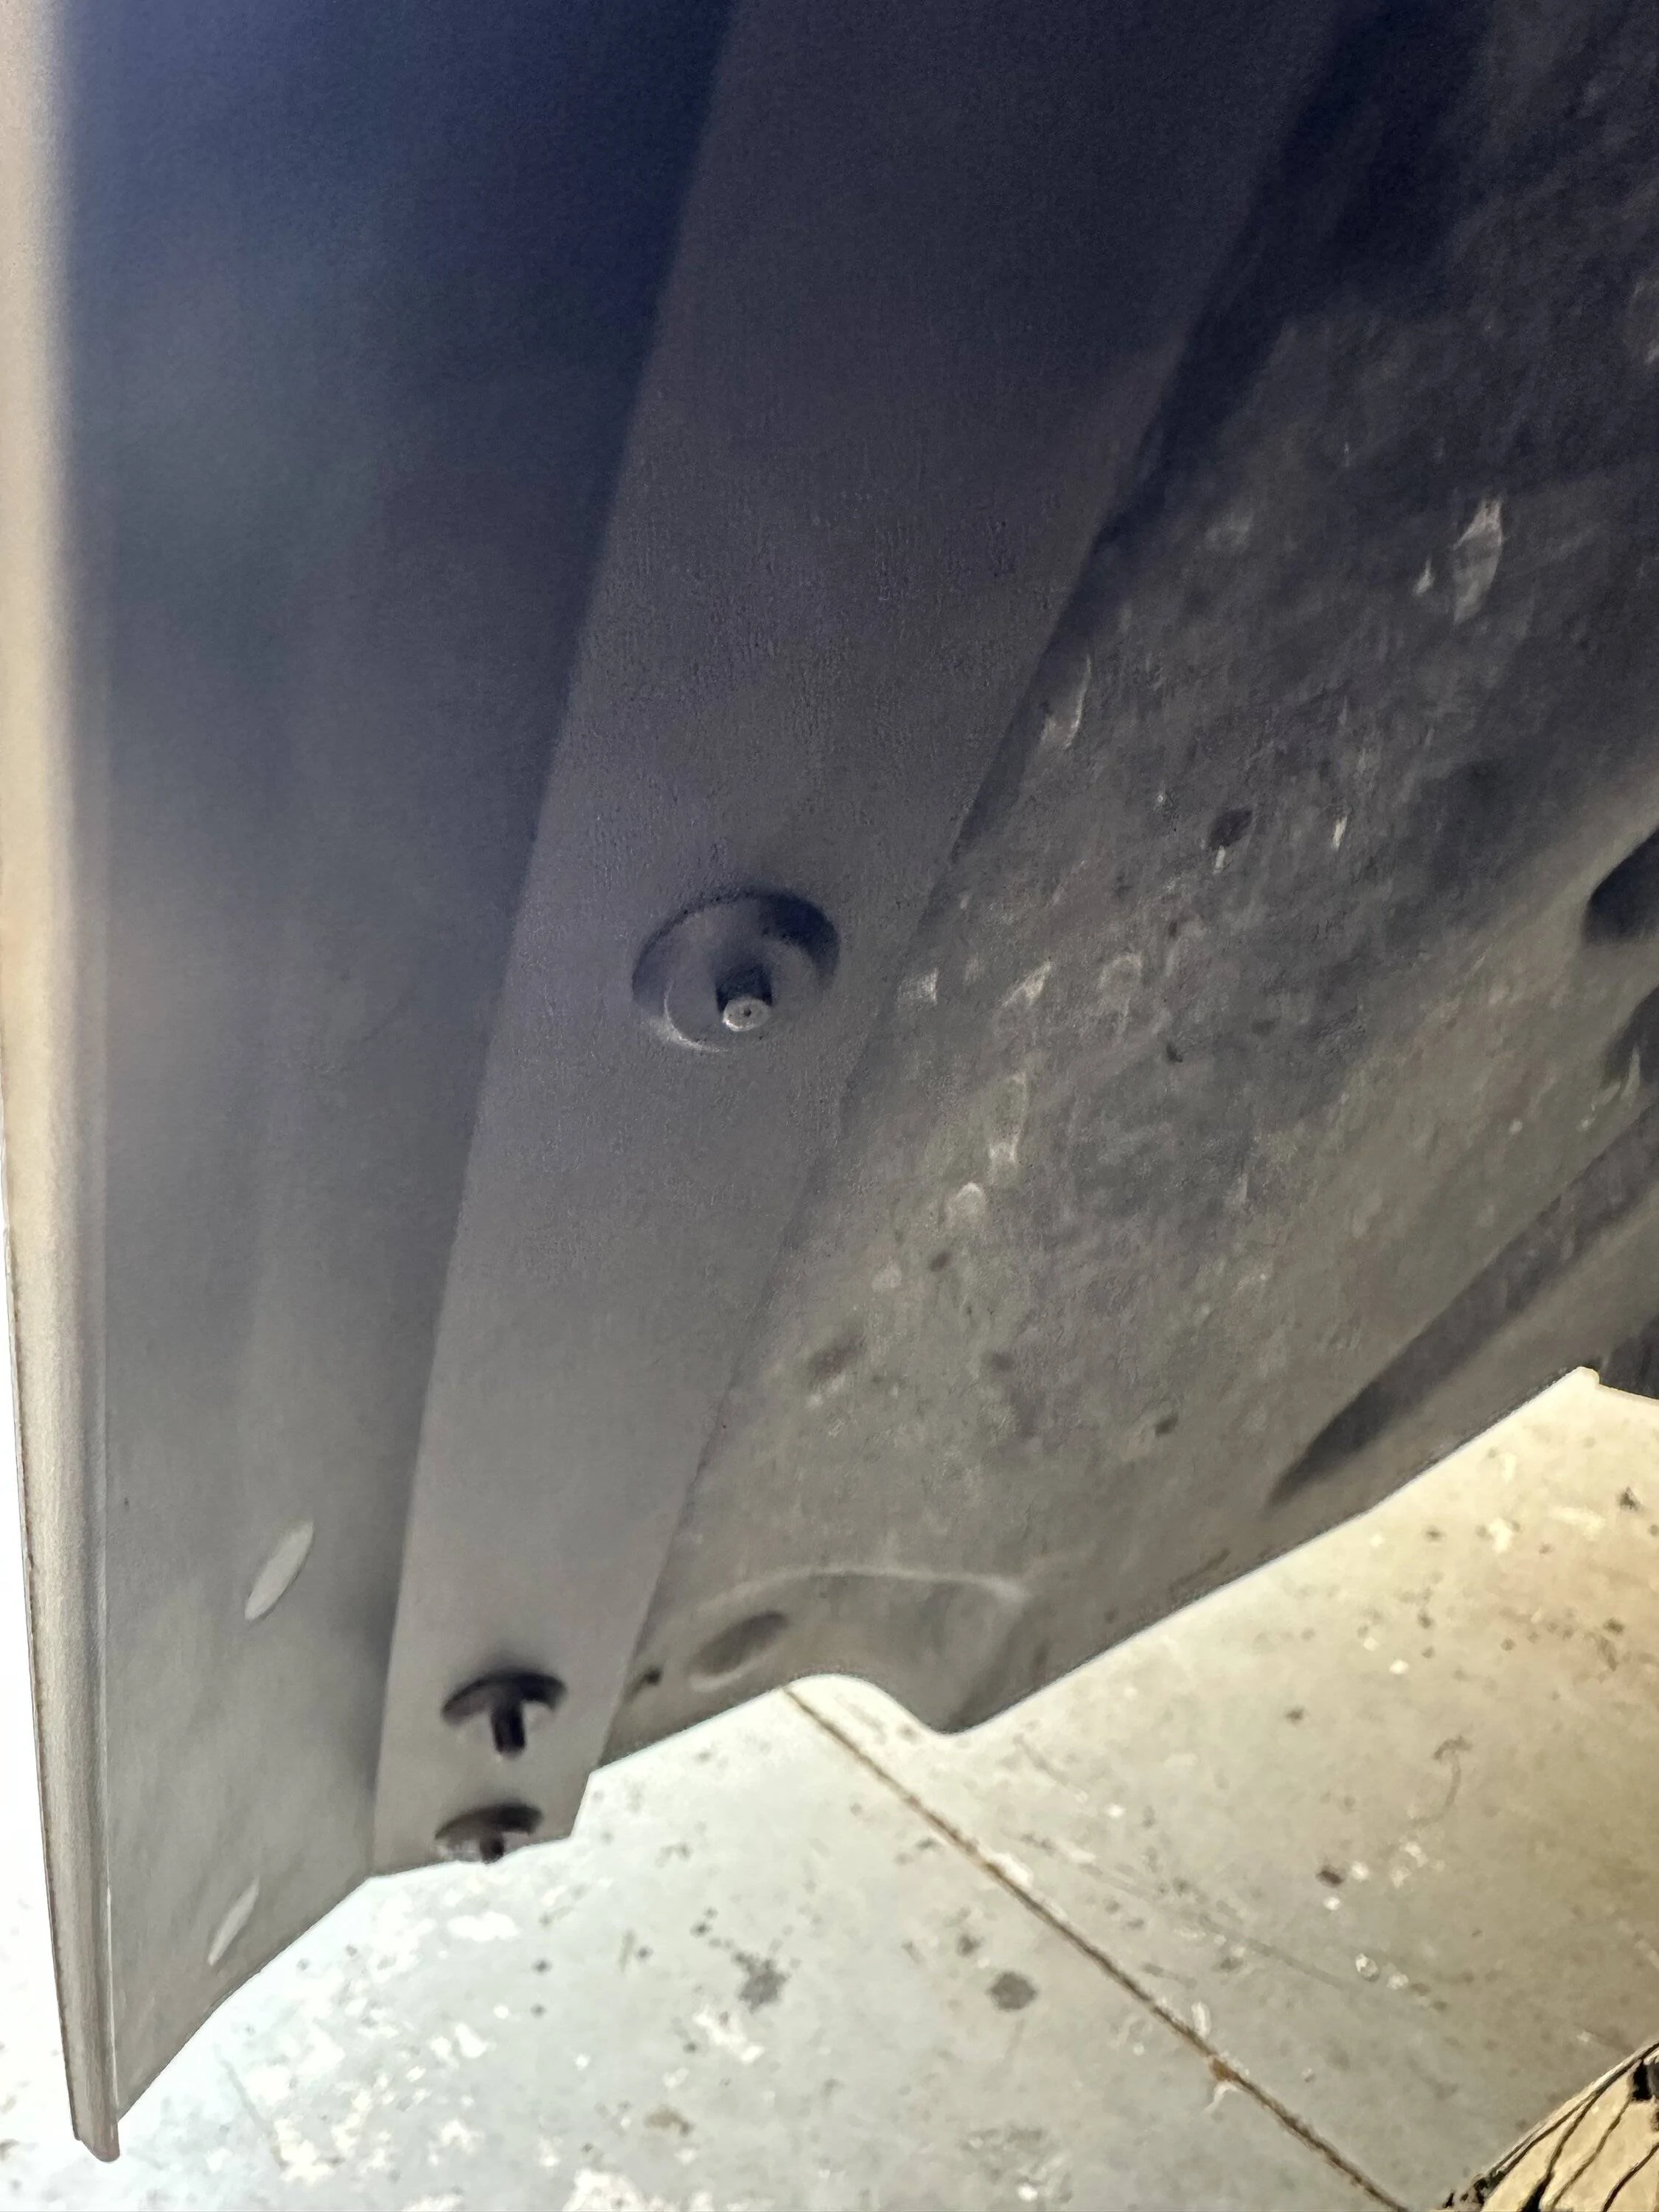
In installing the rears I noticed that I need another rivet placed between two existing holes on the extensions. I used the same drive to drill through all three layers and tightened up the small gap that was forming.
Sorry that image is a little dark but it should give you an idea of the placement. I did it on both driver and passenger side.
A set of Cleco fasteners would have been really handy in this process to hold the extension while working on drilling and fitting the next one.
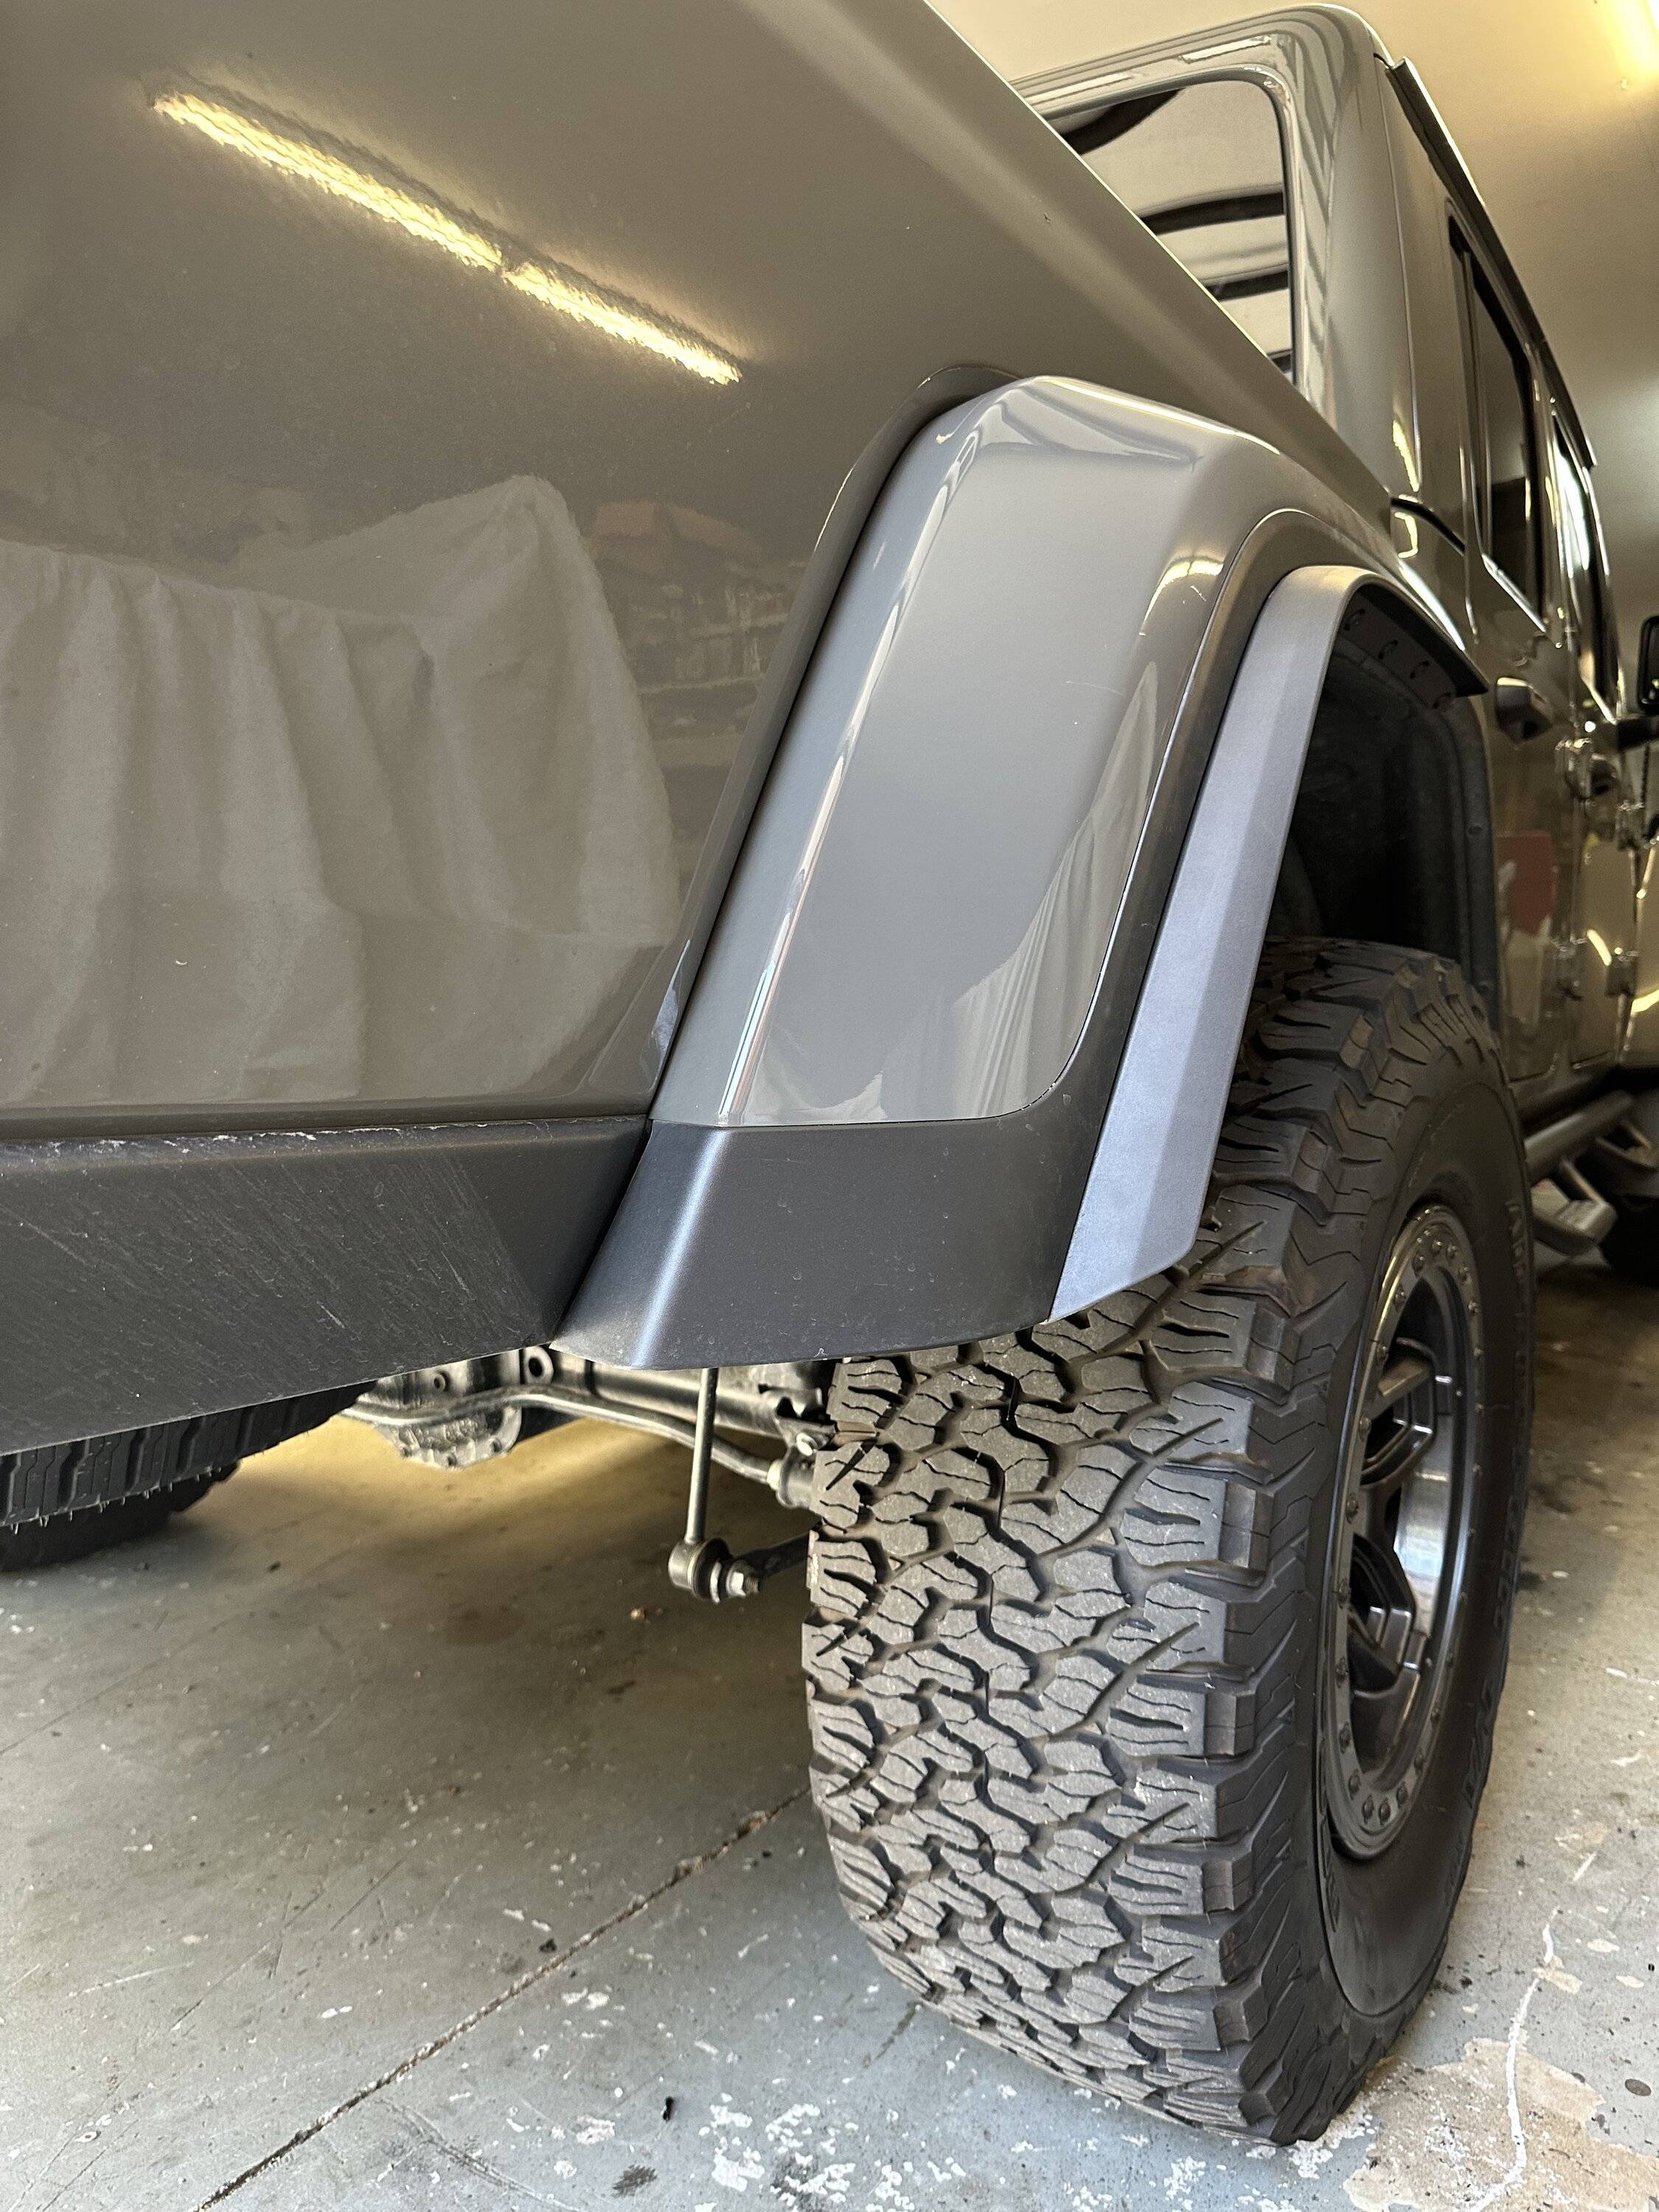
After all was said and done it turned out pretty well in my opinion.
This was actually the last step after I got all of the new rivets on front and back installed.
The rear pieces were a little bit of a challenge just because the photos I have seen did not clearly show where the relief cuts were placed. I did some dry fitting after removing the existing rivets and eventually had a pretty good idea where to make the cuts. I experimented a little on how many cuts and how wide / deep they needed to be made. I used a small set of shears to make the cuts staying a little ways from the corner to keep from making a white spot on the exposed portion of the plastic.
One cut was not nearly enough so I kept cutting and checking.
This is basically the way I ended the relief cuts. Both sides were about the same though they obviously look slightly different.
In fitting them on the rear I started at the bottom and worked my way around the radius toward the front of the truck. It is important to note that the factory rivets also hold onto the inner fender liner. When you drill new holes, which will be necessary since the front extensions do not match the rear, make sure you ensure the fender liner gets a corresponding hole. This way all three pieces get sandwiched together by the rivet. There is also a larger plastic support piece at the bottom that you will want to tie into with the rivets to stabilize the fender itself.
In installing the rears I noticed that I need another rivet placed between two existing holes on the extensions. I used the same drive to drill through all three layers and tightened up the small gap that was forming.
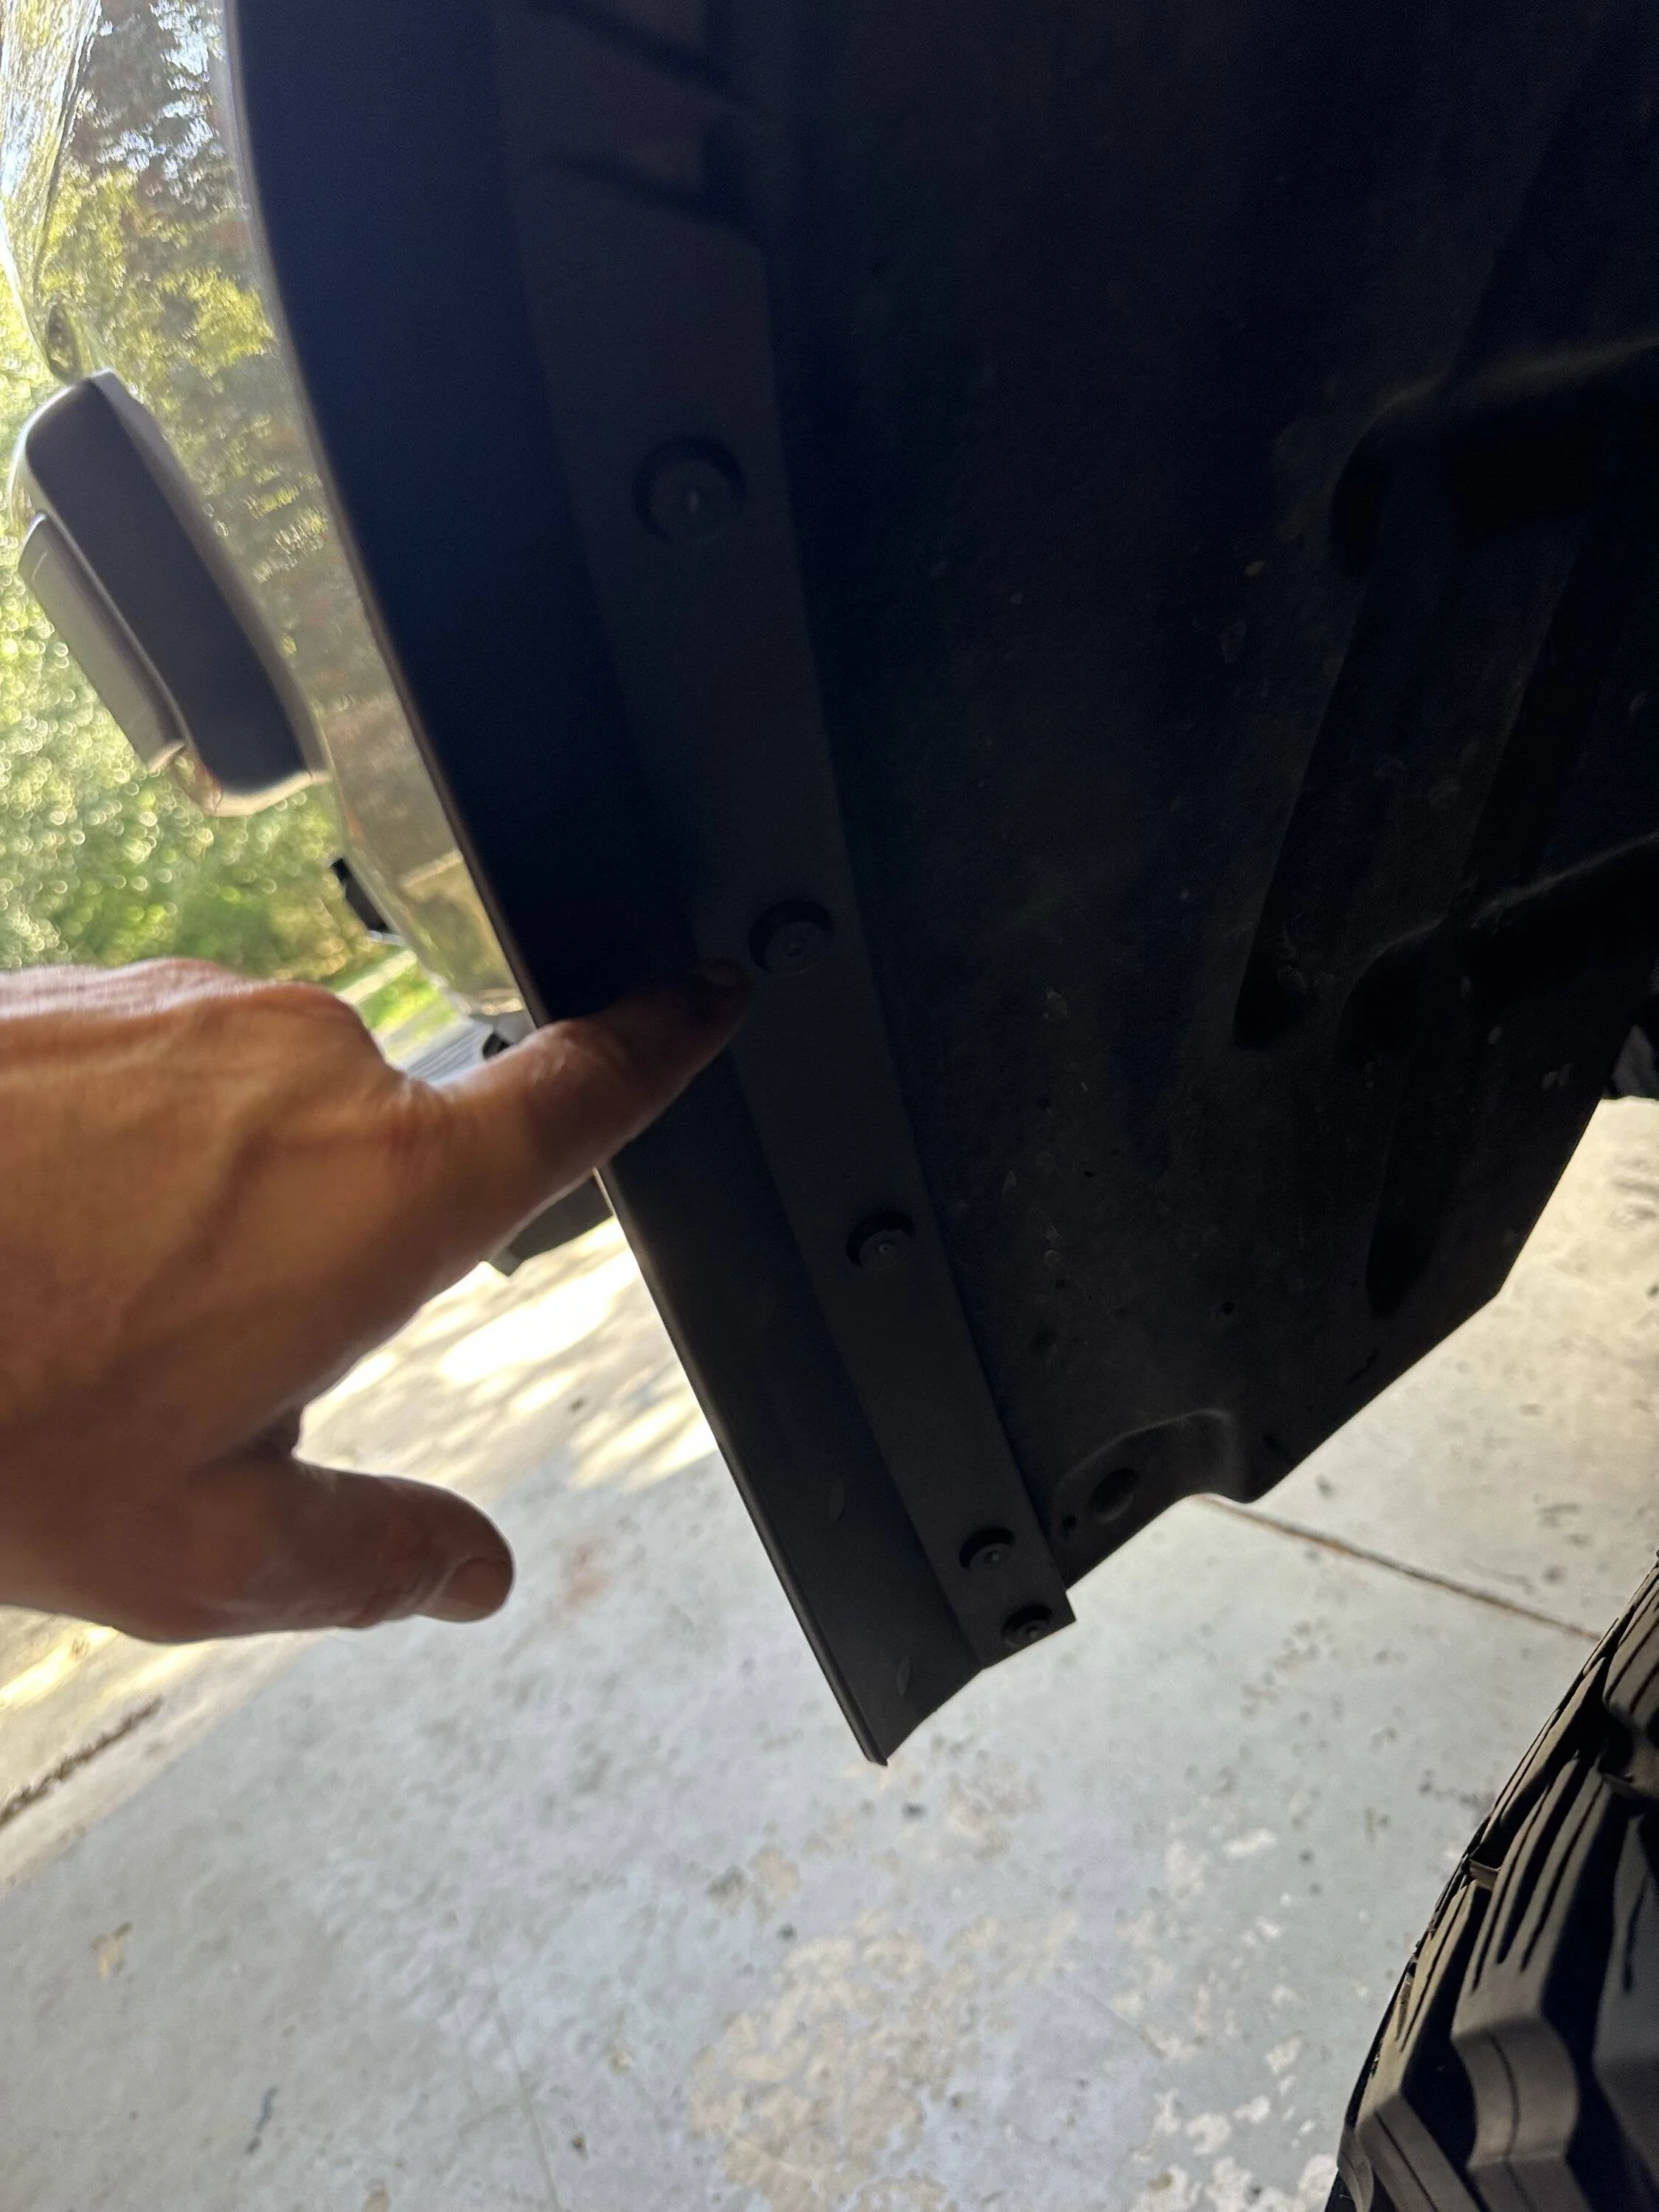
Sorry that image is a little dark but it should give you an idea of the placement. I did it on both driver and passenger side.
A set of Cleco fasteners would have been really handy in this process to hold the extension while working on drilling and fitting the next one.
After all was said and done it turned out pretty well in my opinion.

Sponsored