ShadowsPapa
Well-Known Member
- First Name
- Bill
- Joined
- Oct 12, 2019
- Threads
- 247
- Messages
- 40,514
- Reaction score
- 54,043
- Location
- Runnells, Iowa
- Vehicle(s)
- '25 JTMX, '23 JLU 4xe, '82 SX4, '73 Javelin
- Occupation
- Retired auto mechanic, frmr gov't ntwrk security admin
- Vehicle Showcase
- 3
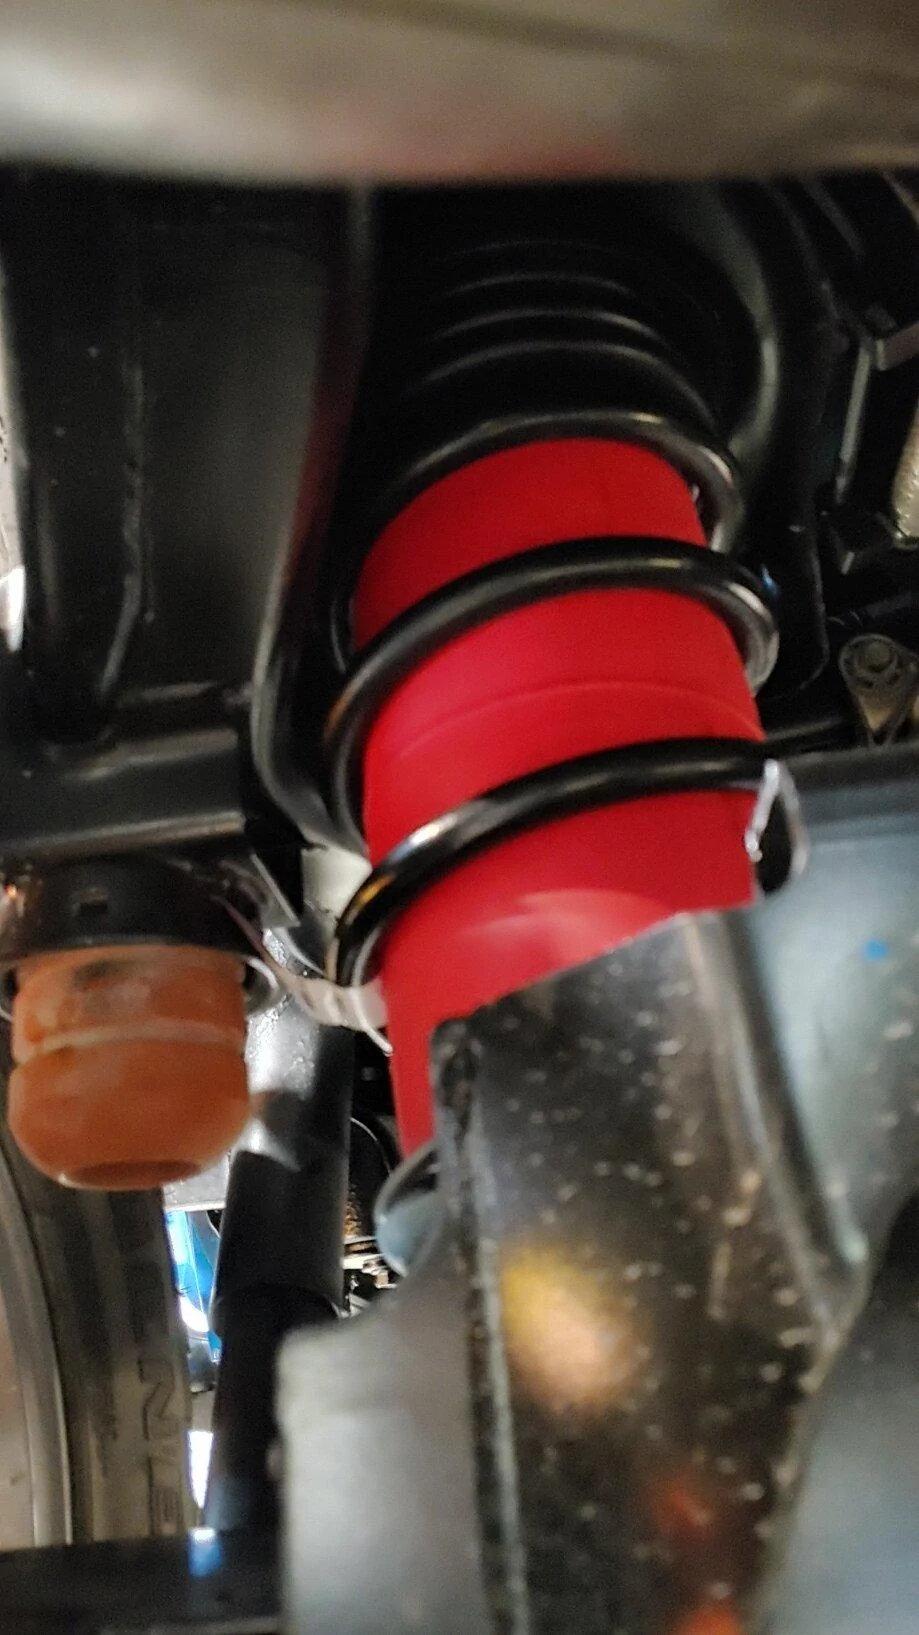
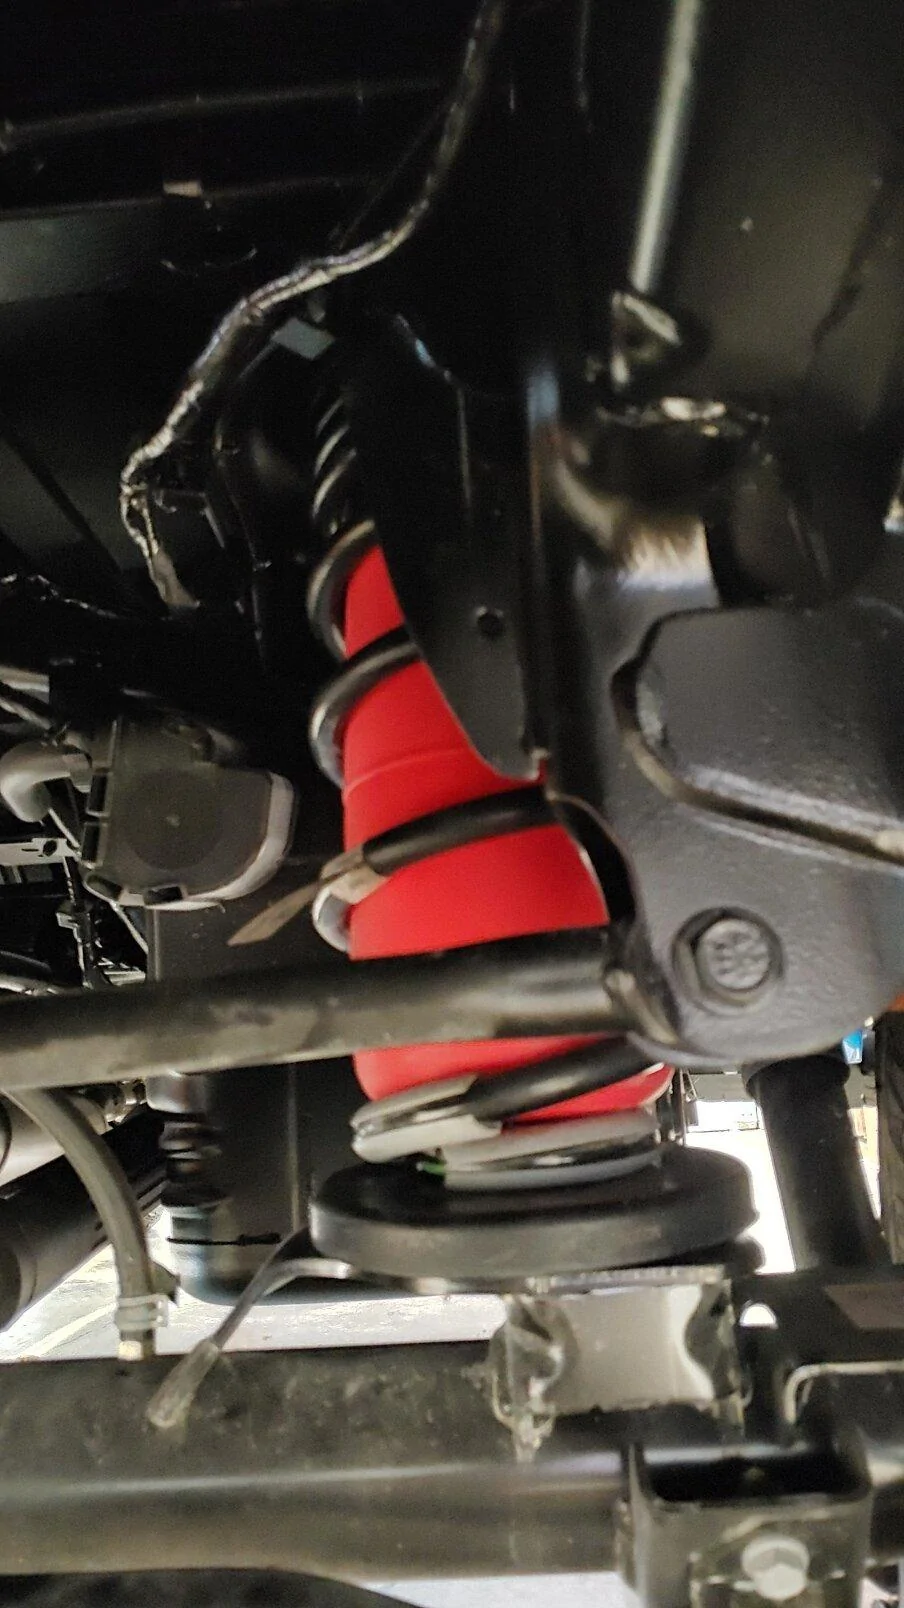
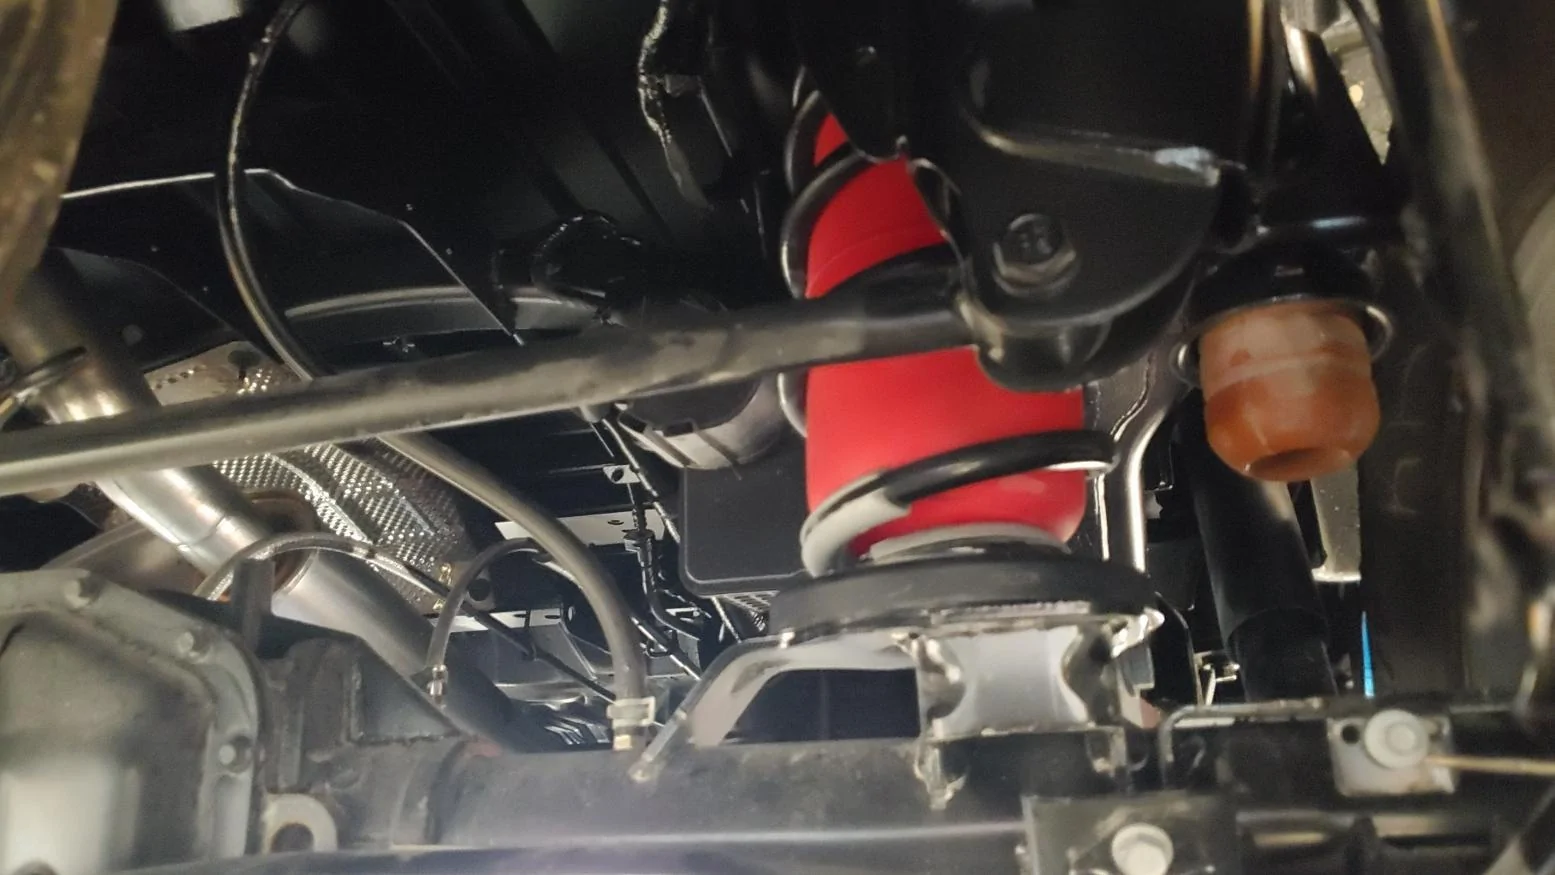
I remembered that I had an air lift compressor from a 1981 Concord wagon stashed in my shelves of car parts. It was made to keep the car at a specific level using air shocks. Put weight in the back and it moved a lever triggering the compressor mounted under the hood until it got the car level again. Towing - same thing, take the trailer off, air was released.
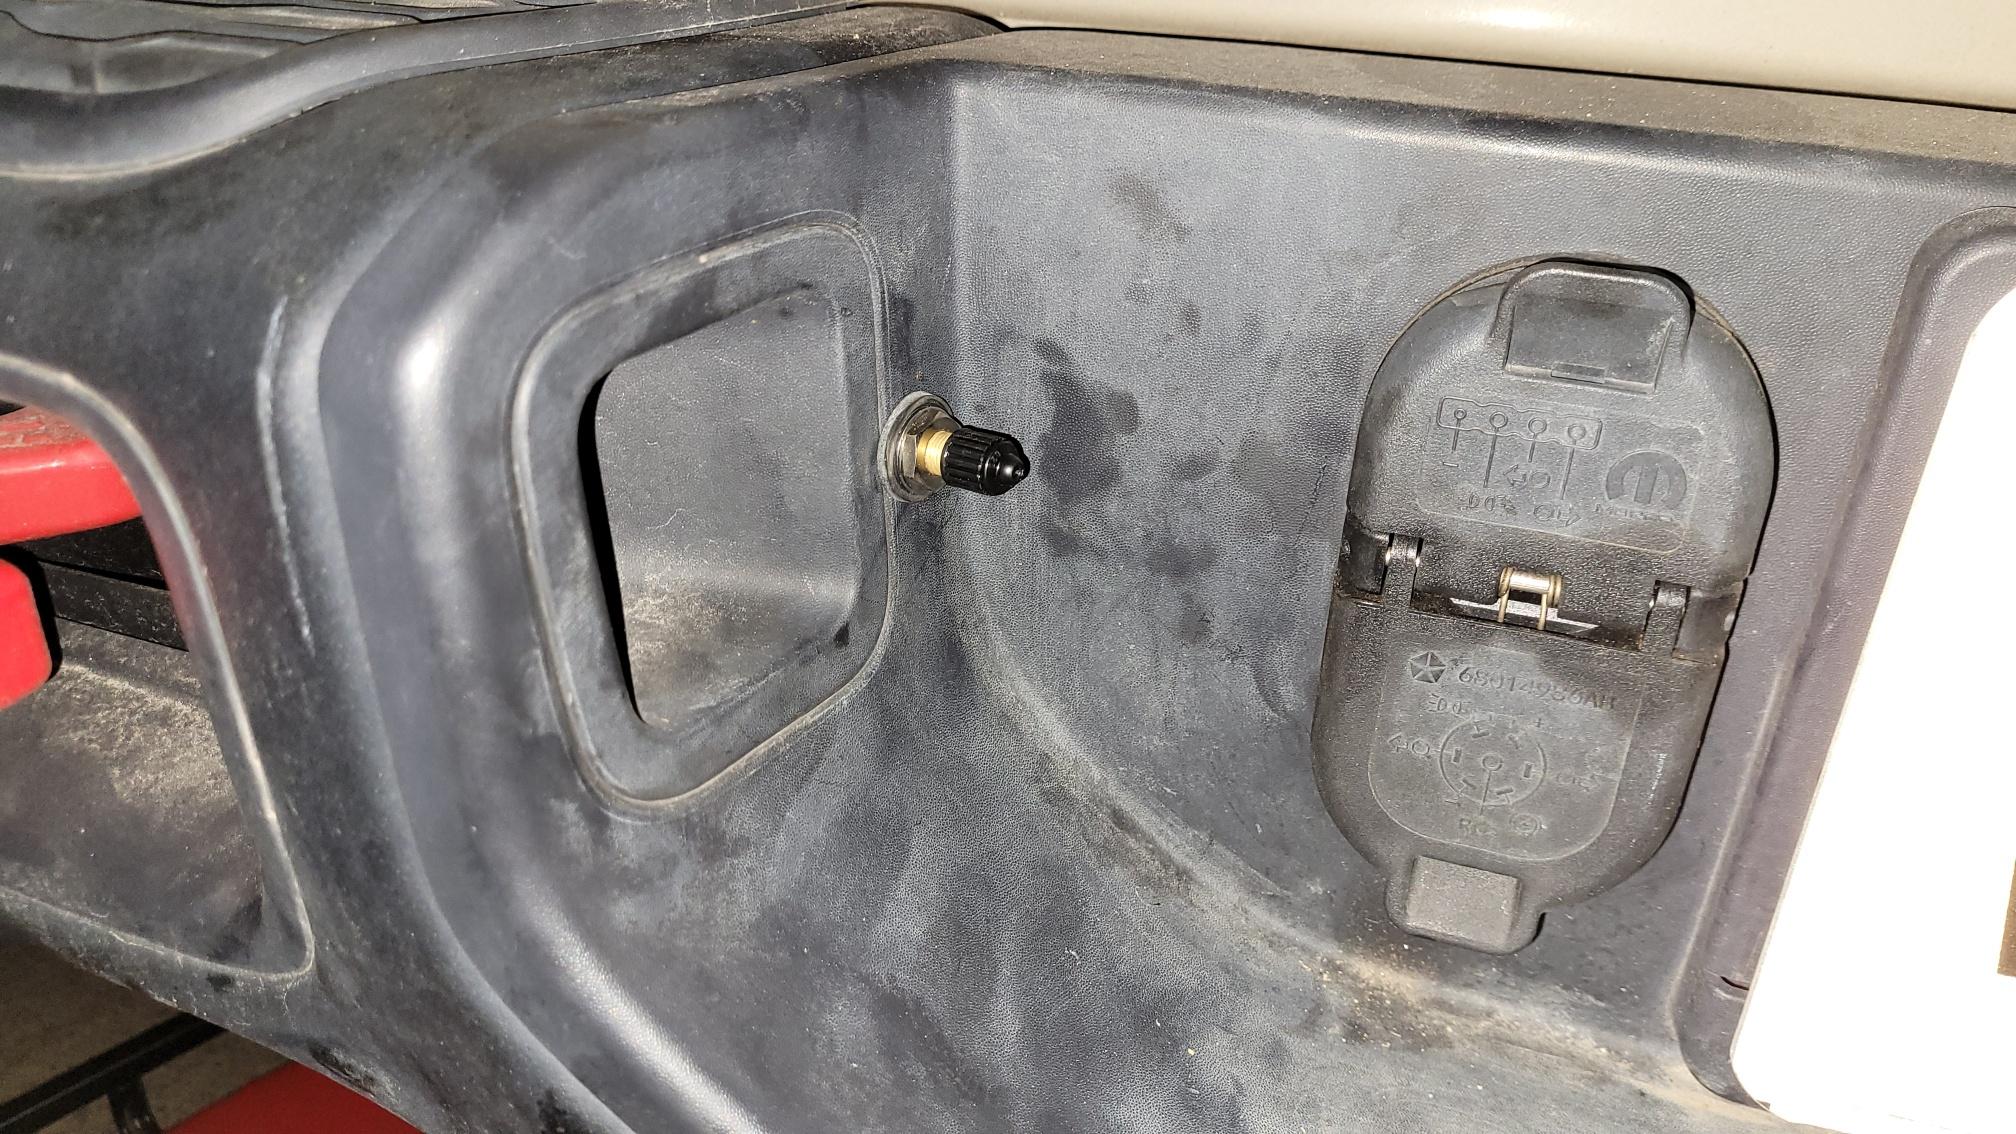
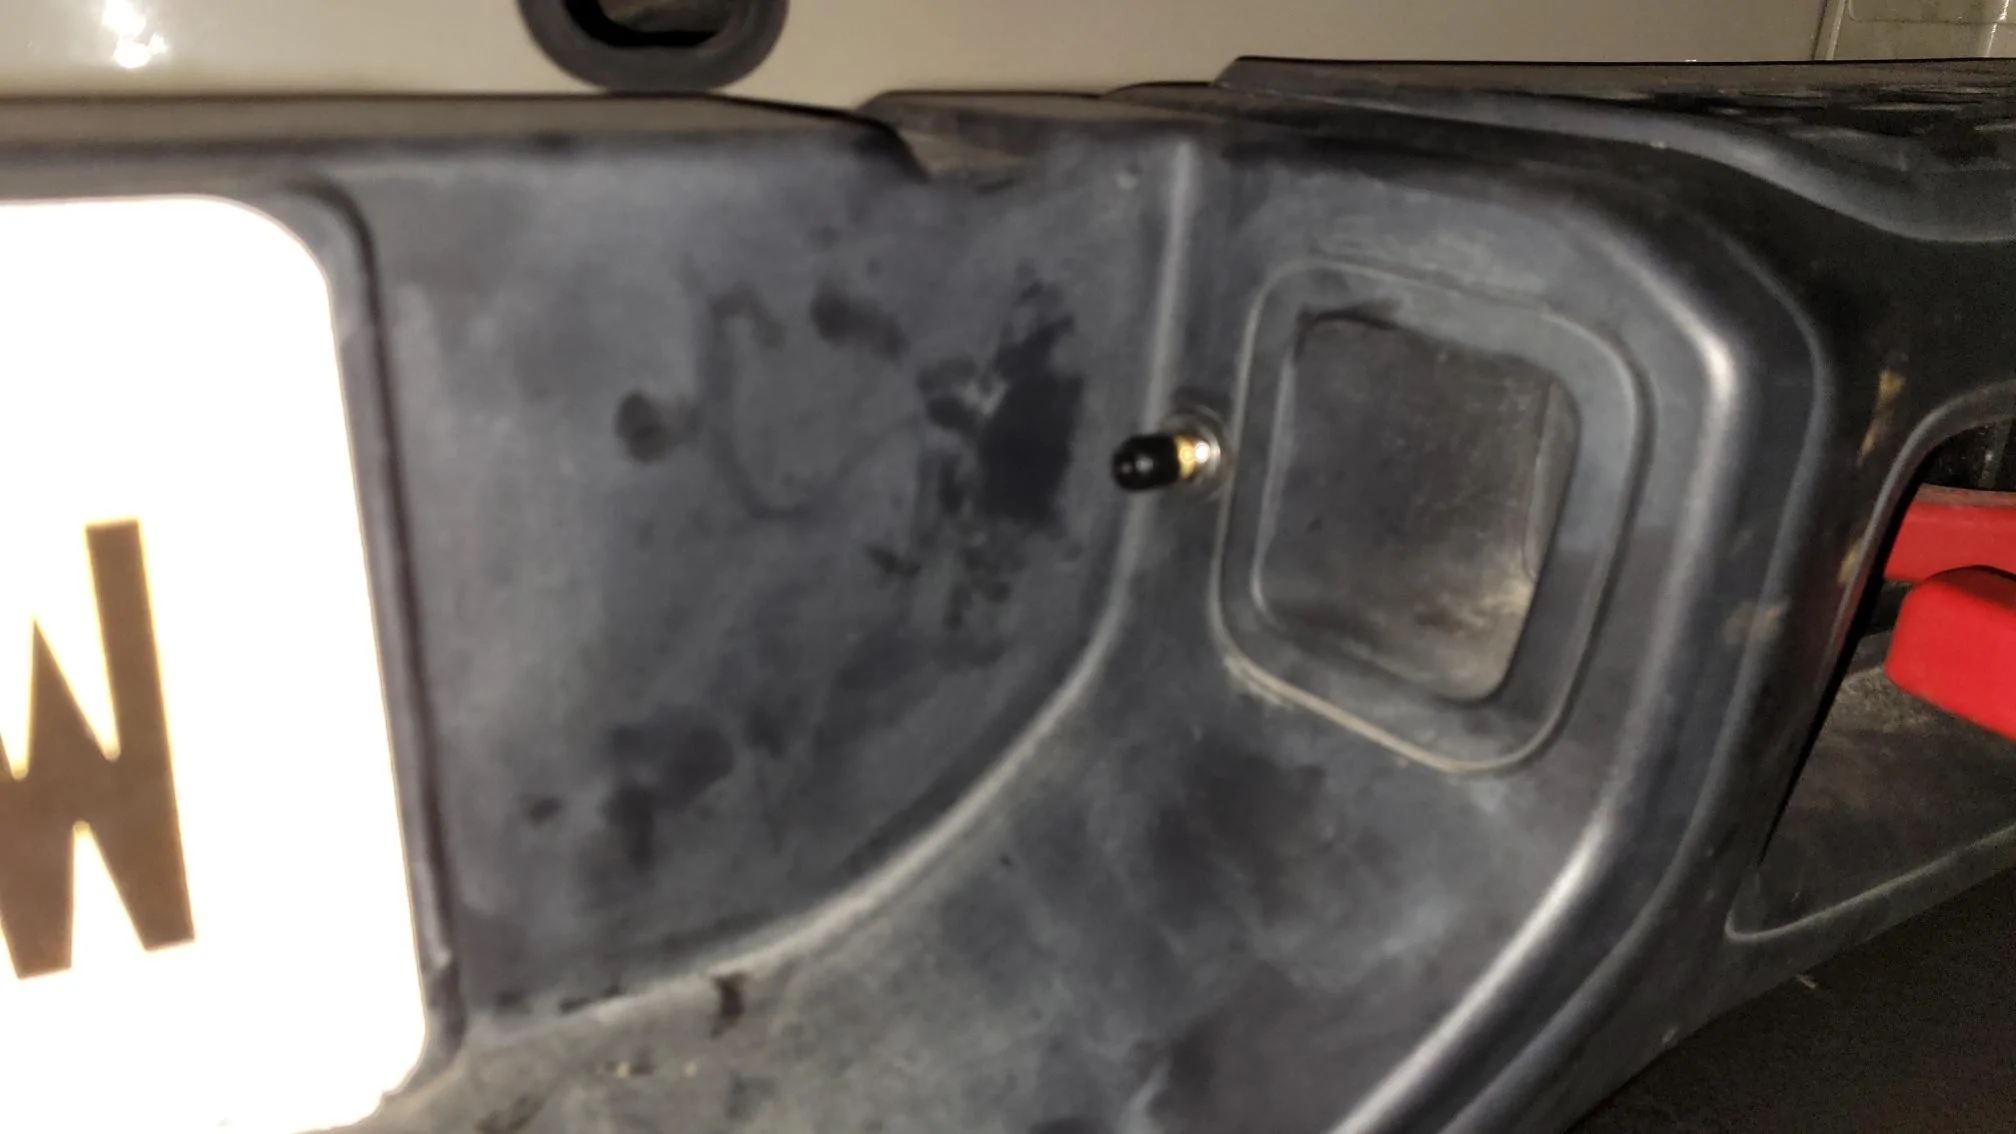
It's in rough shape - the wiring and hose is old and that lever piece is really rusty (just the sort of stuff I restore for other people LOL) but if the compressor works, I wonder about mounting it somewhere, even in a board or plate and powering it from either an aux switch, or if making it portable, from the 12v at the trailer connector.
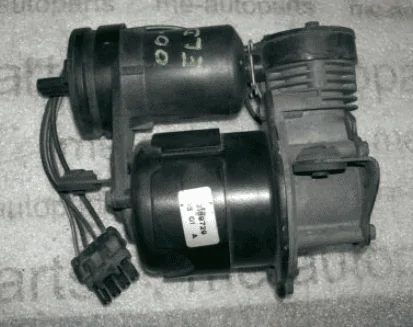
It's similar to this but made to mount under the hood of a Concord or Eagle wagon and was a factory option -

It's in rough shape - the wiring and hose is old and that lever piece is really rusty (just the sort of stuff I restore for other people LOL) but if the compressor works, I wonder about mounting it somewhere, even in a board or plate and powering it from either an aux switch, or if making it portable, from the 12v at the trailer connector.
It's similar to this but made to mount under the hood of a Concord or Eagle wagon and was a factory option -
Sponsored
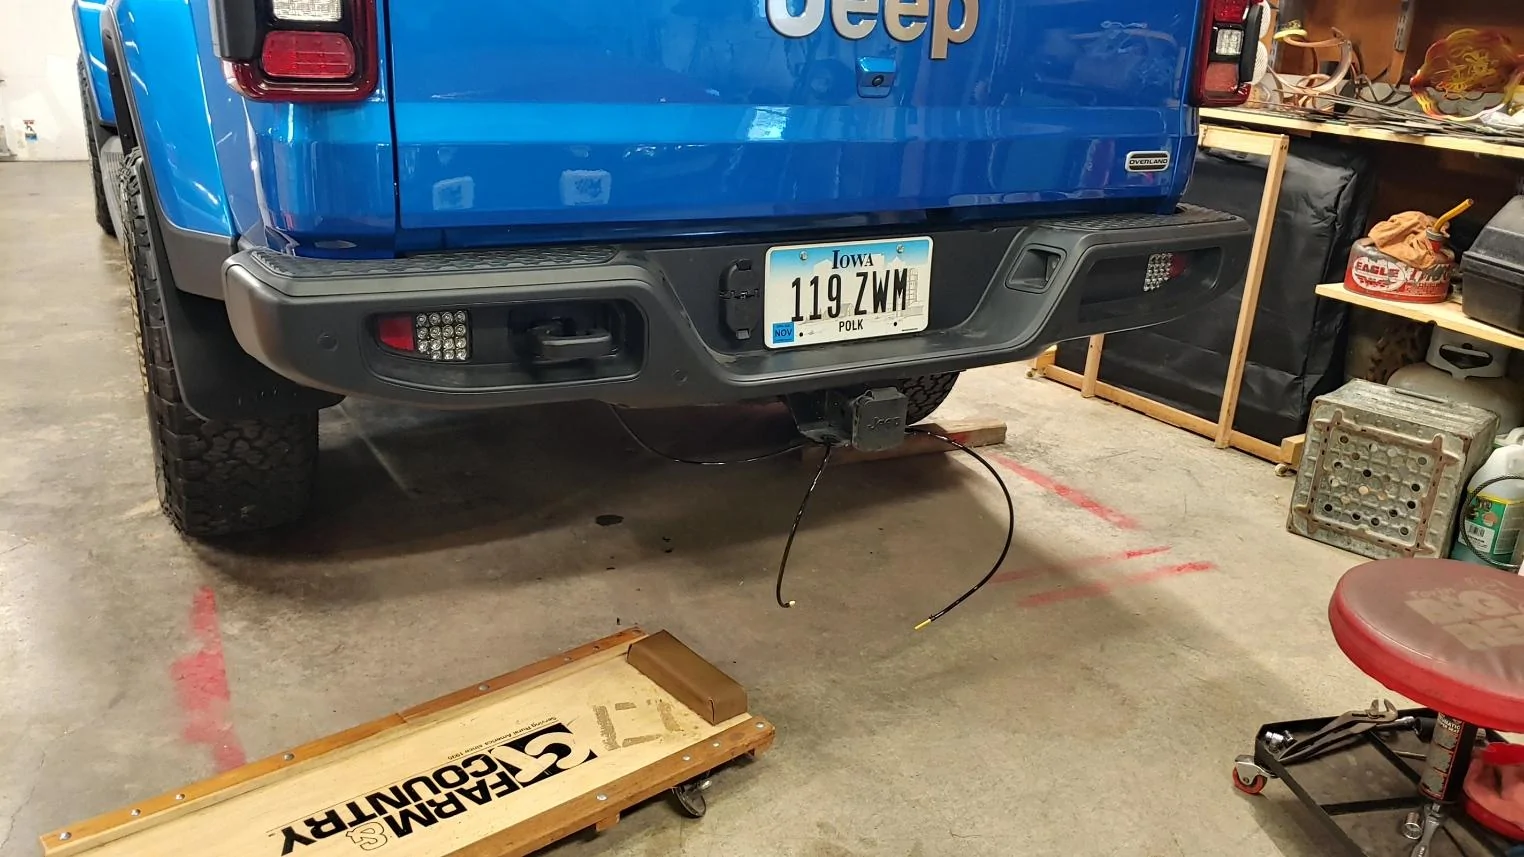
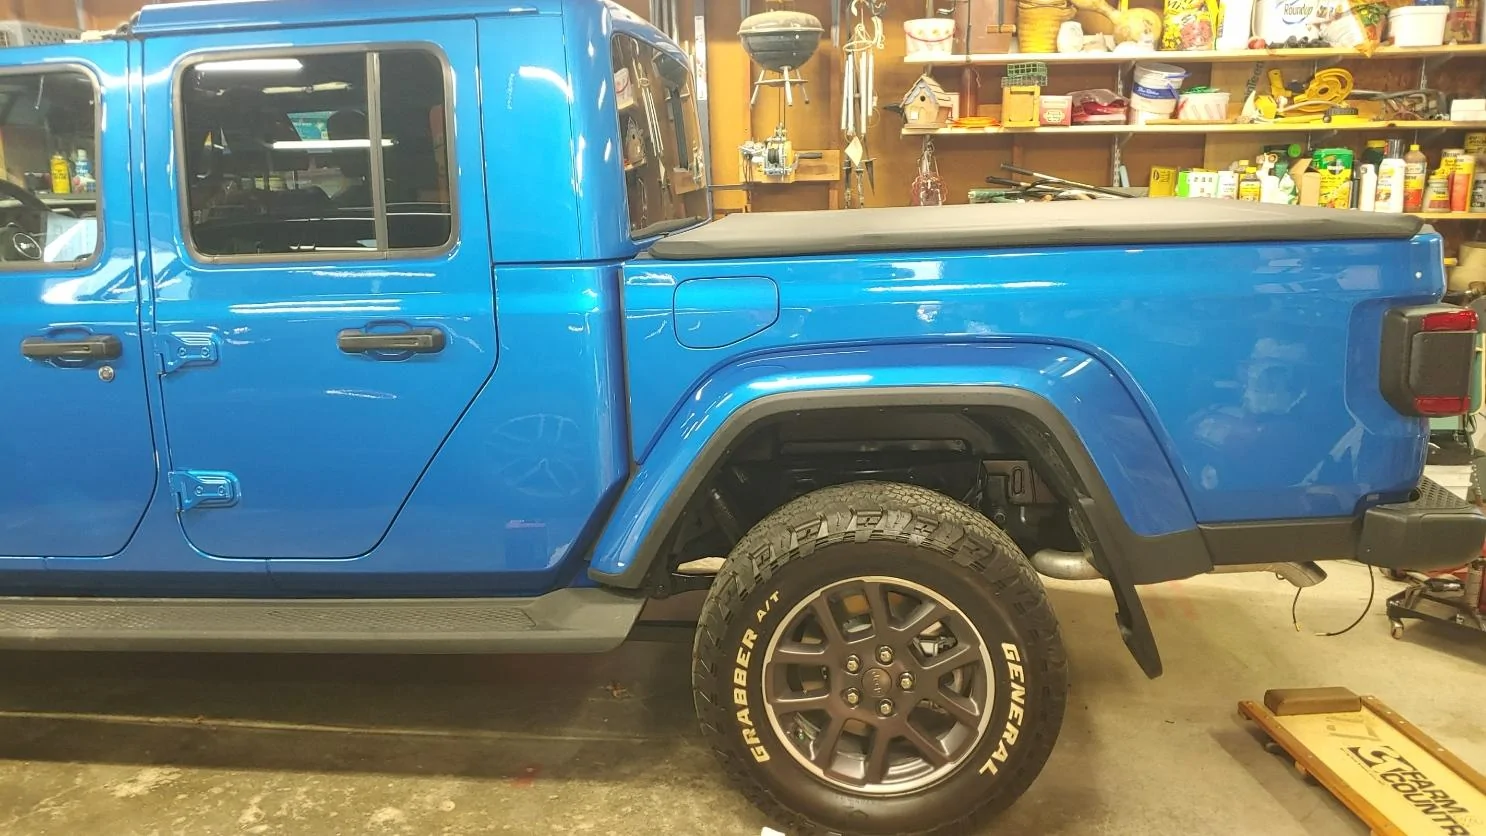
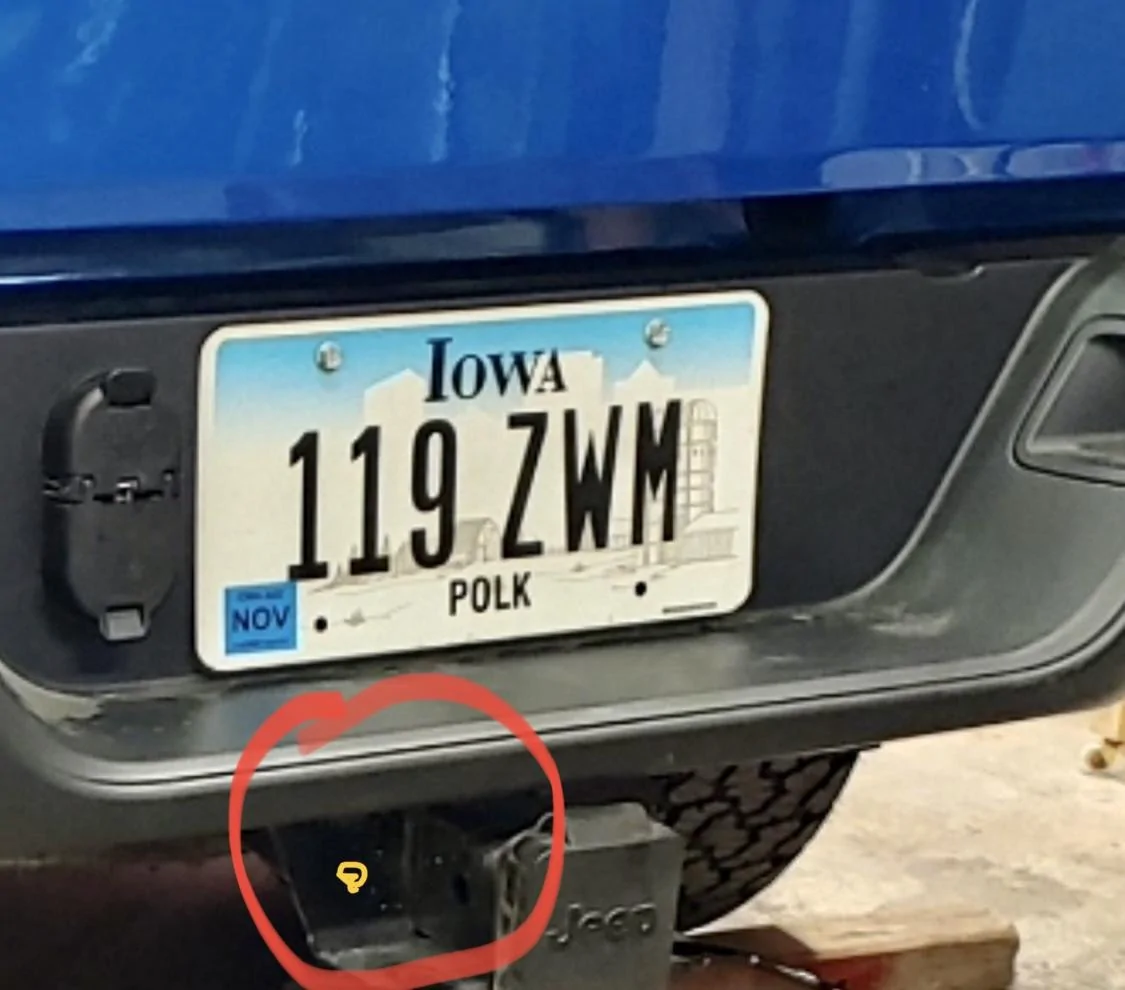
") I figure your probably going to run some 12v power to back of your truck too?? If not a Anderson connector? Handy for a portable winch in receiver hitch or winch on car hauler.
I figure your probably going to run some 12v power to back of your truck too?? If not a Anderson connector? Handy for a portable winch in receiver hitch or winch on car hauler.