0duksgvn
Active Member
- Thread starter
- #1
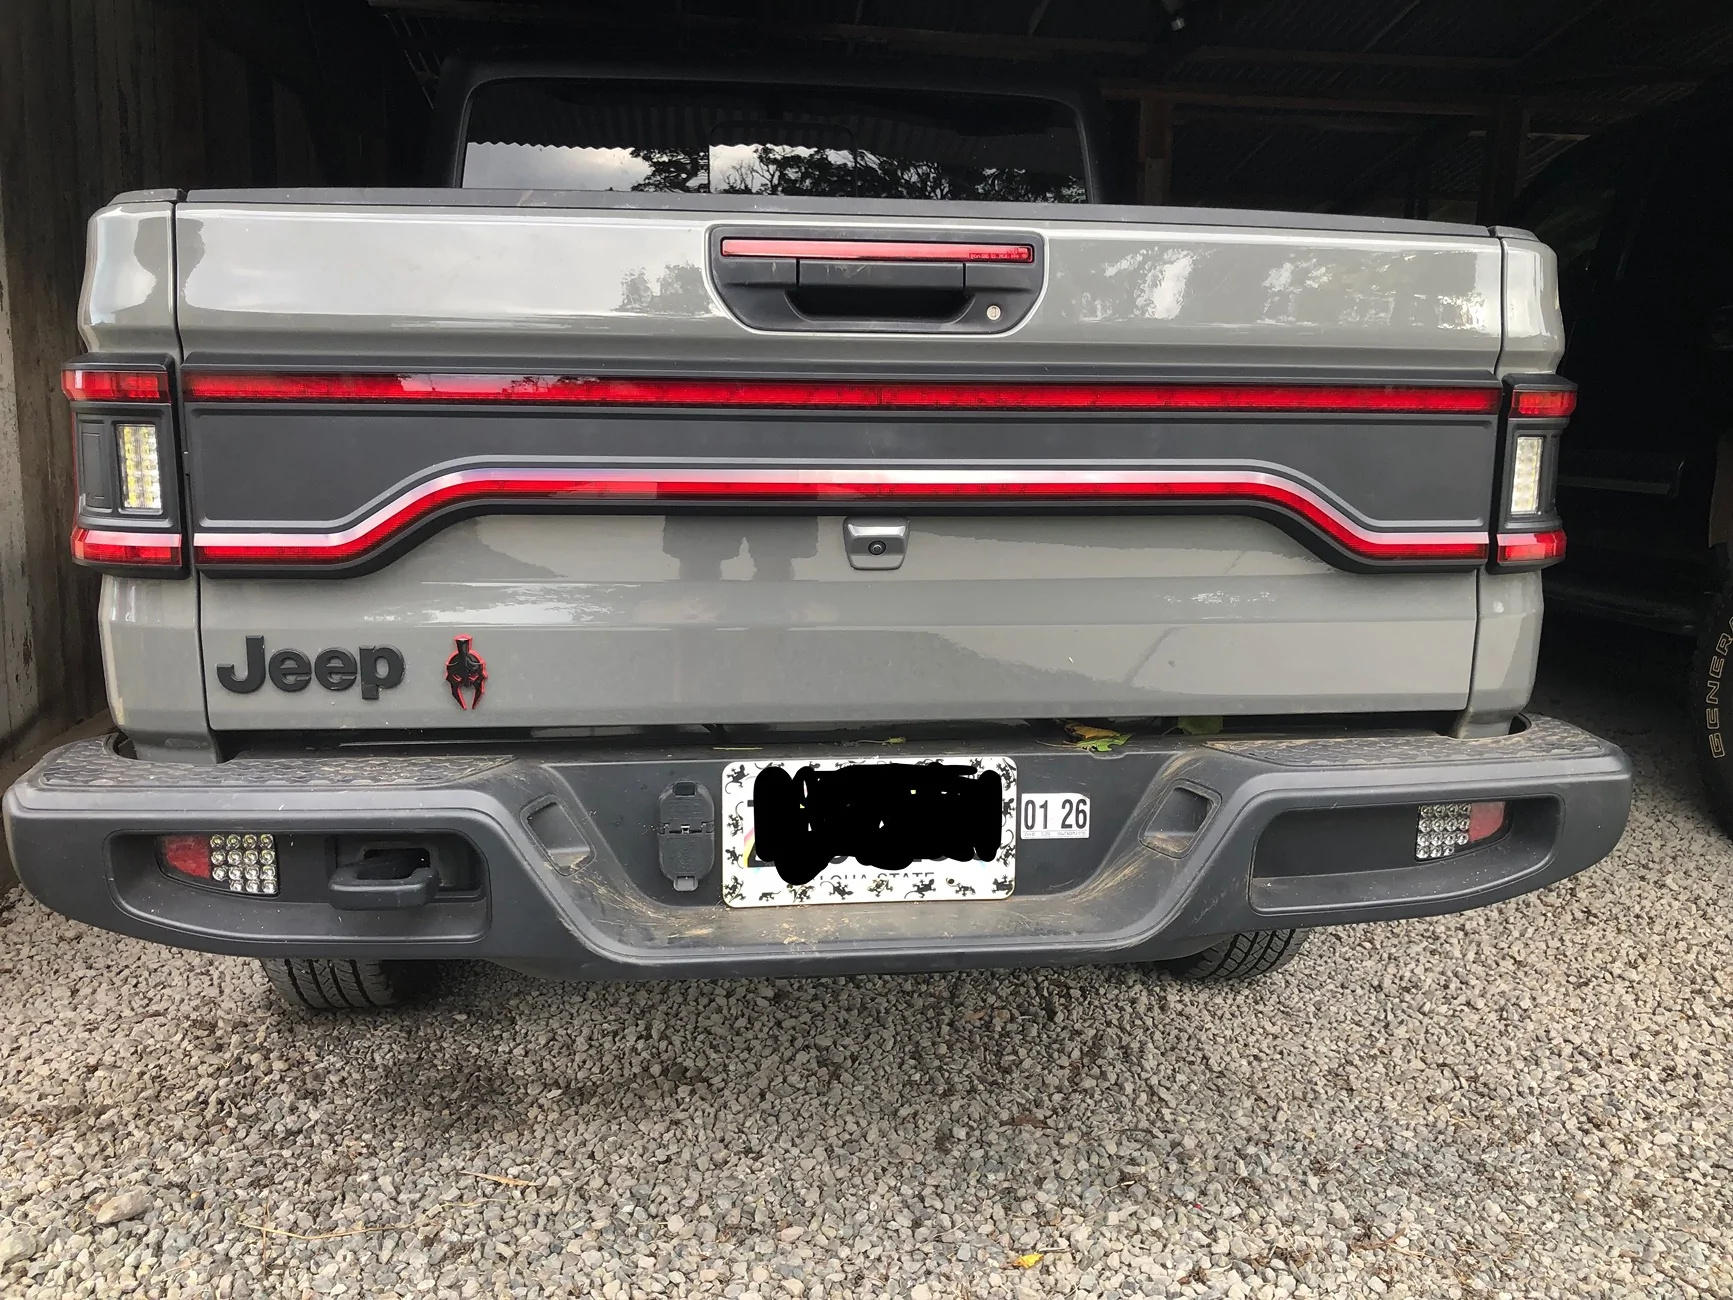
Alot of people have inquired about what I have done to my Oracle Lighting JT flush mount taillights. Some people have expressed concerns about these taillights and others reading about issues with them, ultimately leaving them hesitant and purchasing them, even though they really like them. We have been using this method for over 3yrs now and have not had any issues. So this is my soft tutorial on what I did.
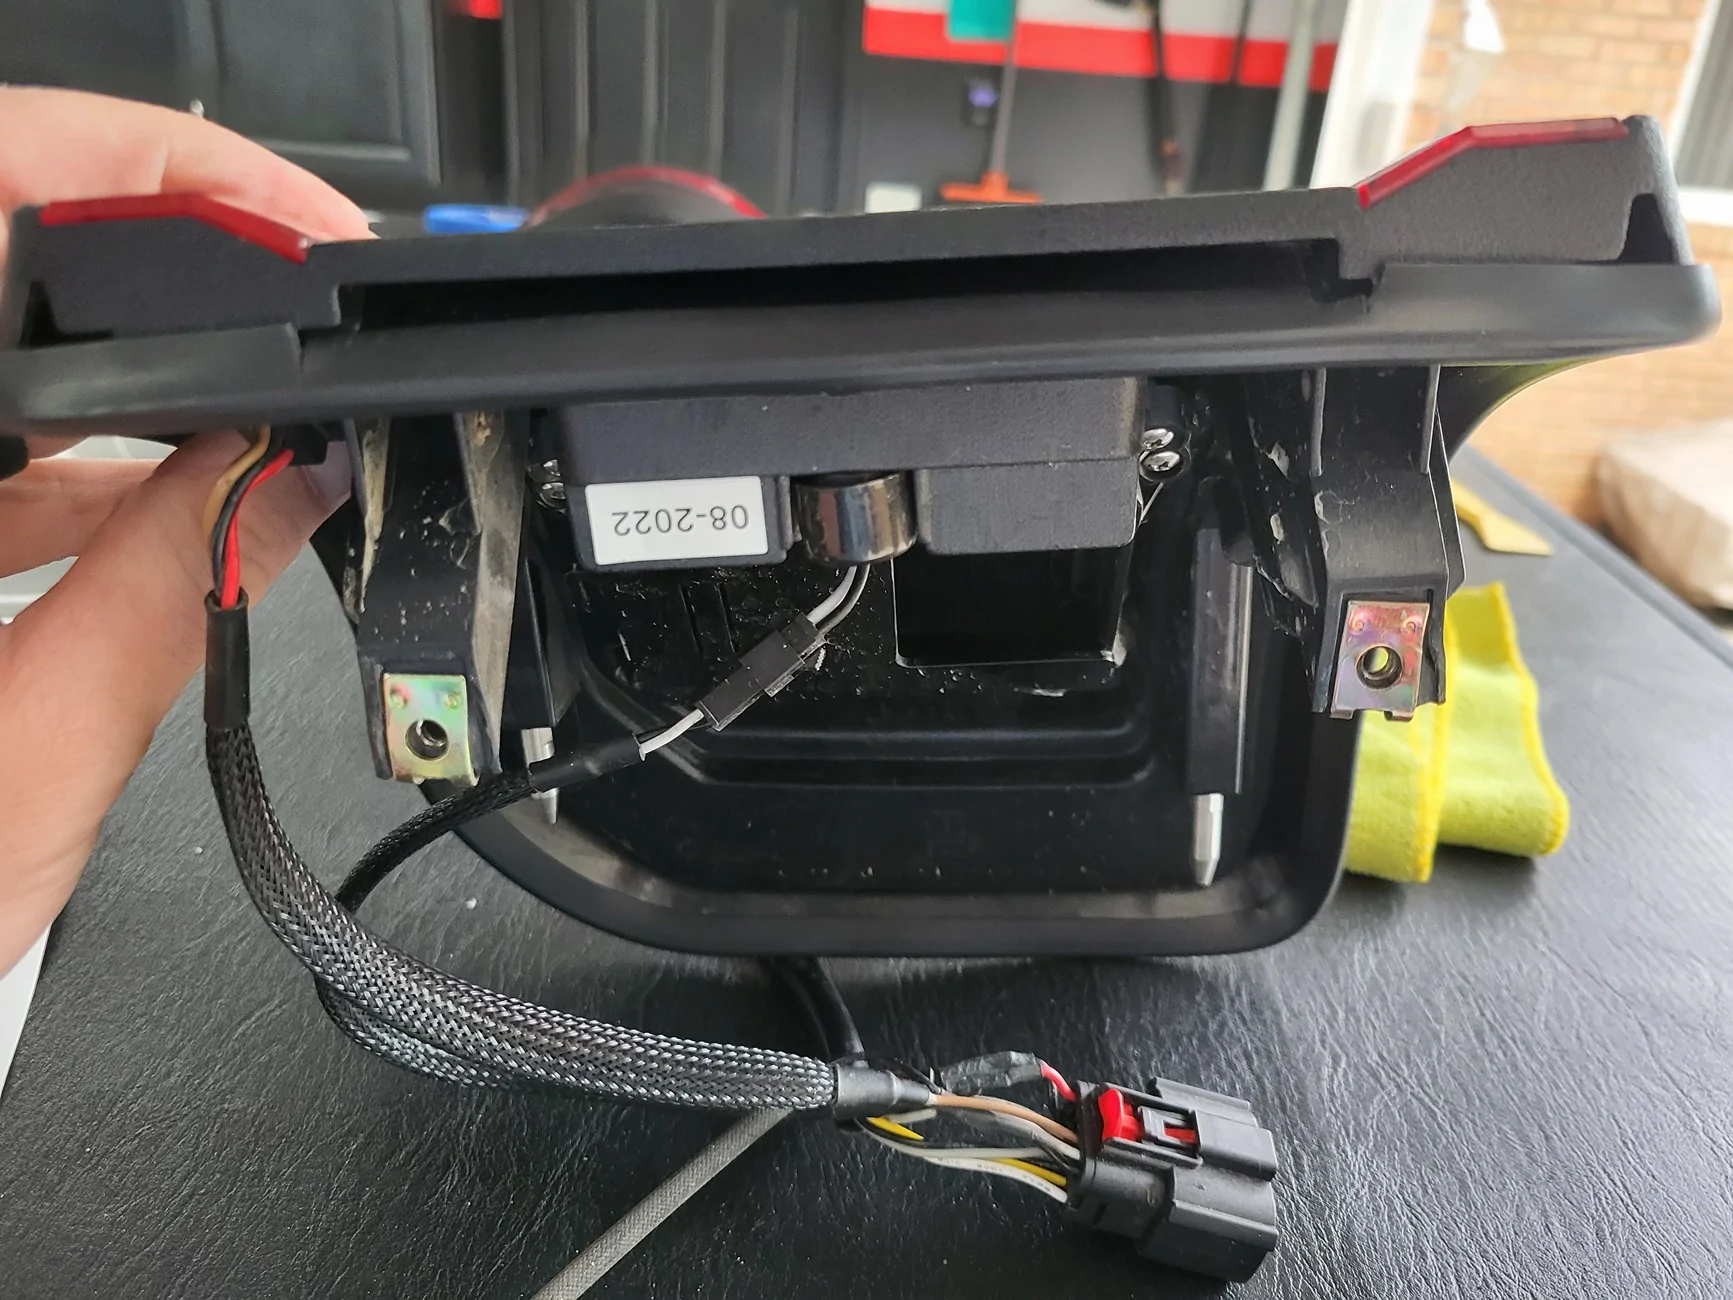
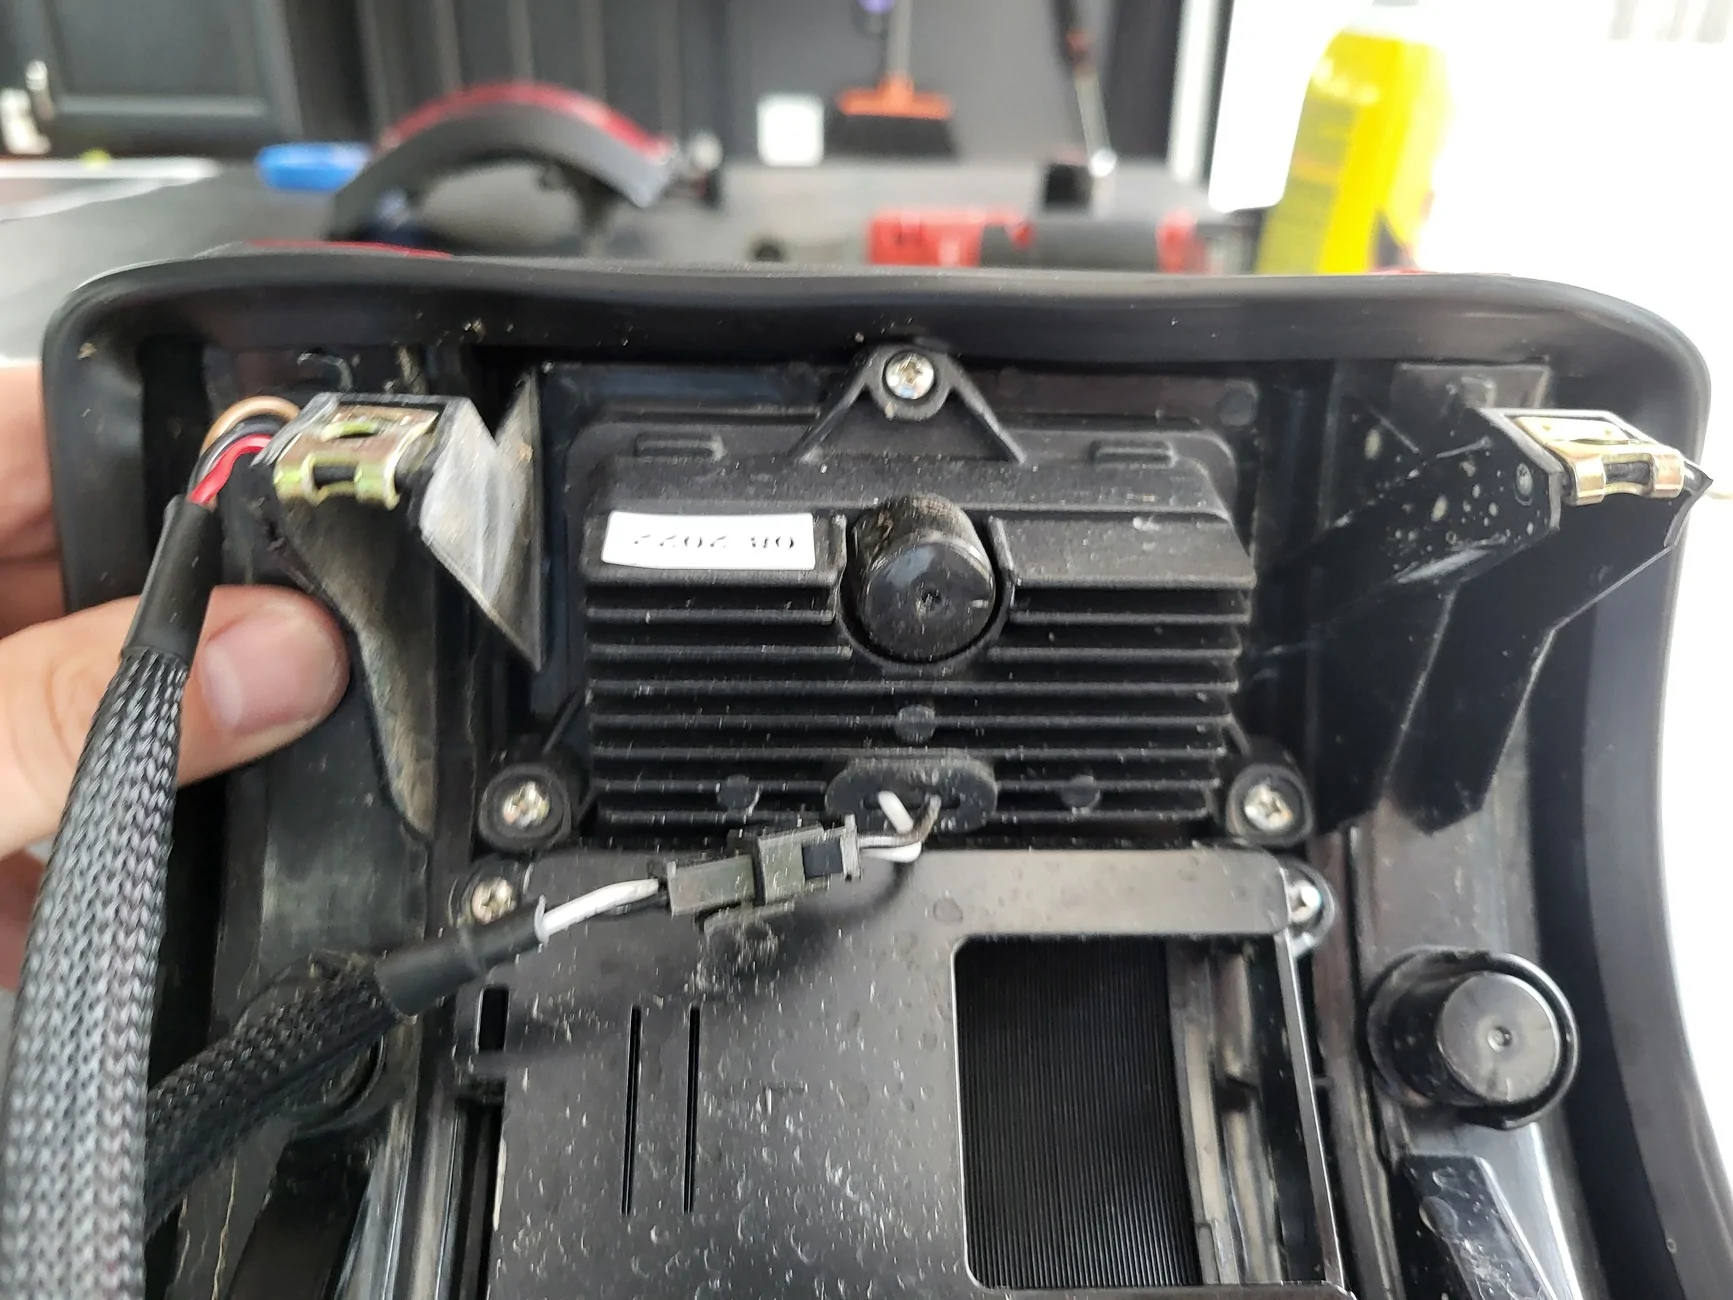
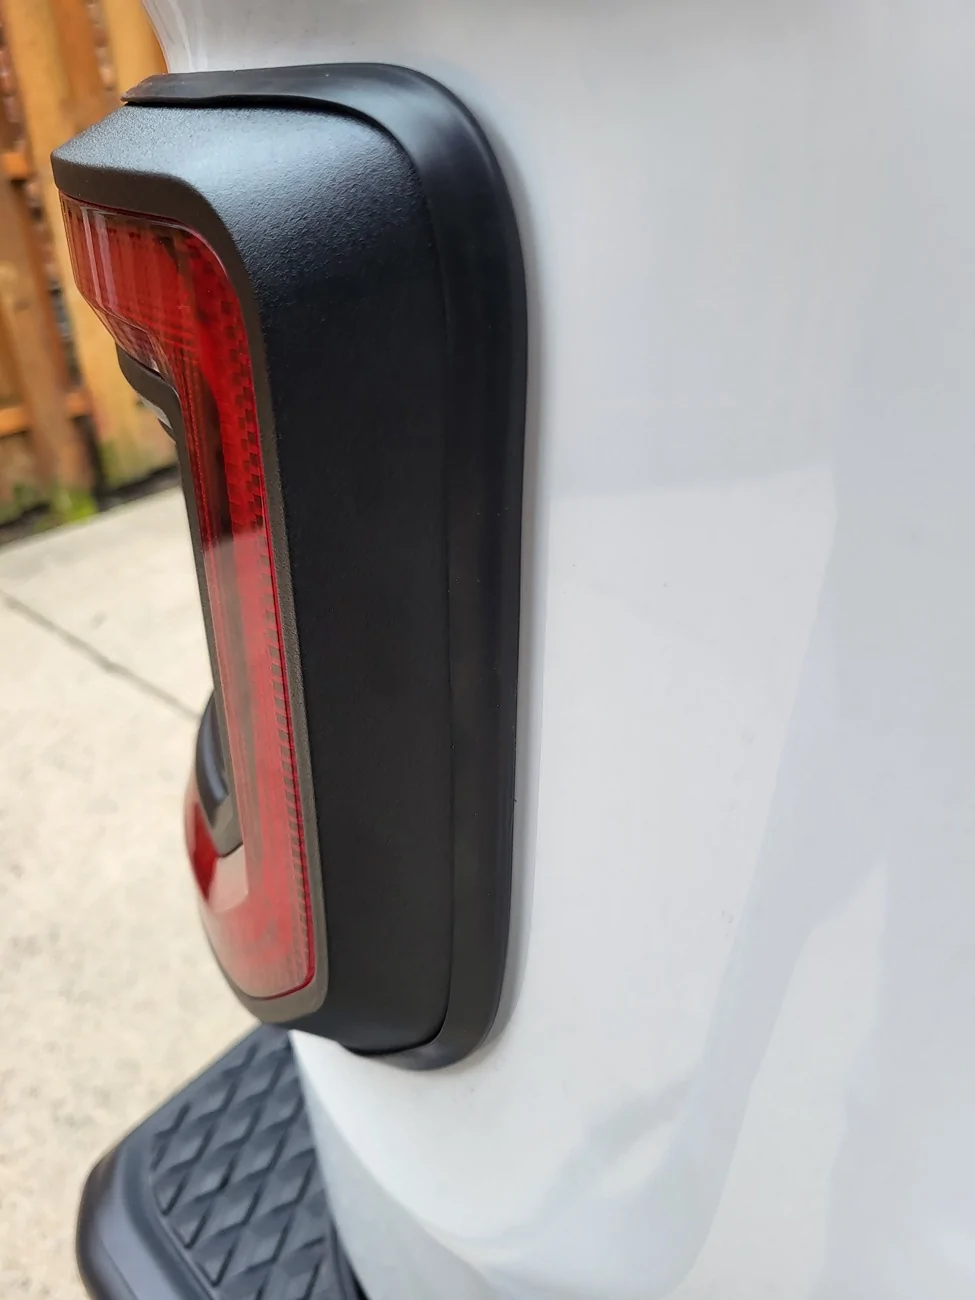
These taillights have a small gap around the mating surface between the taillight and the body of the bed, this will help seal up that gap, preventing moisture and debris from getting behing the light to the electonics behind the light.
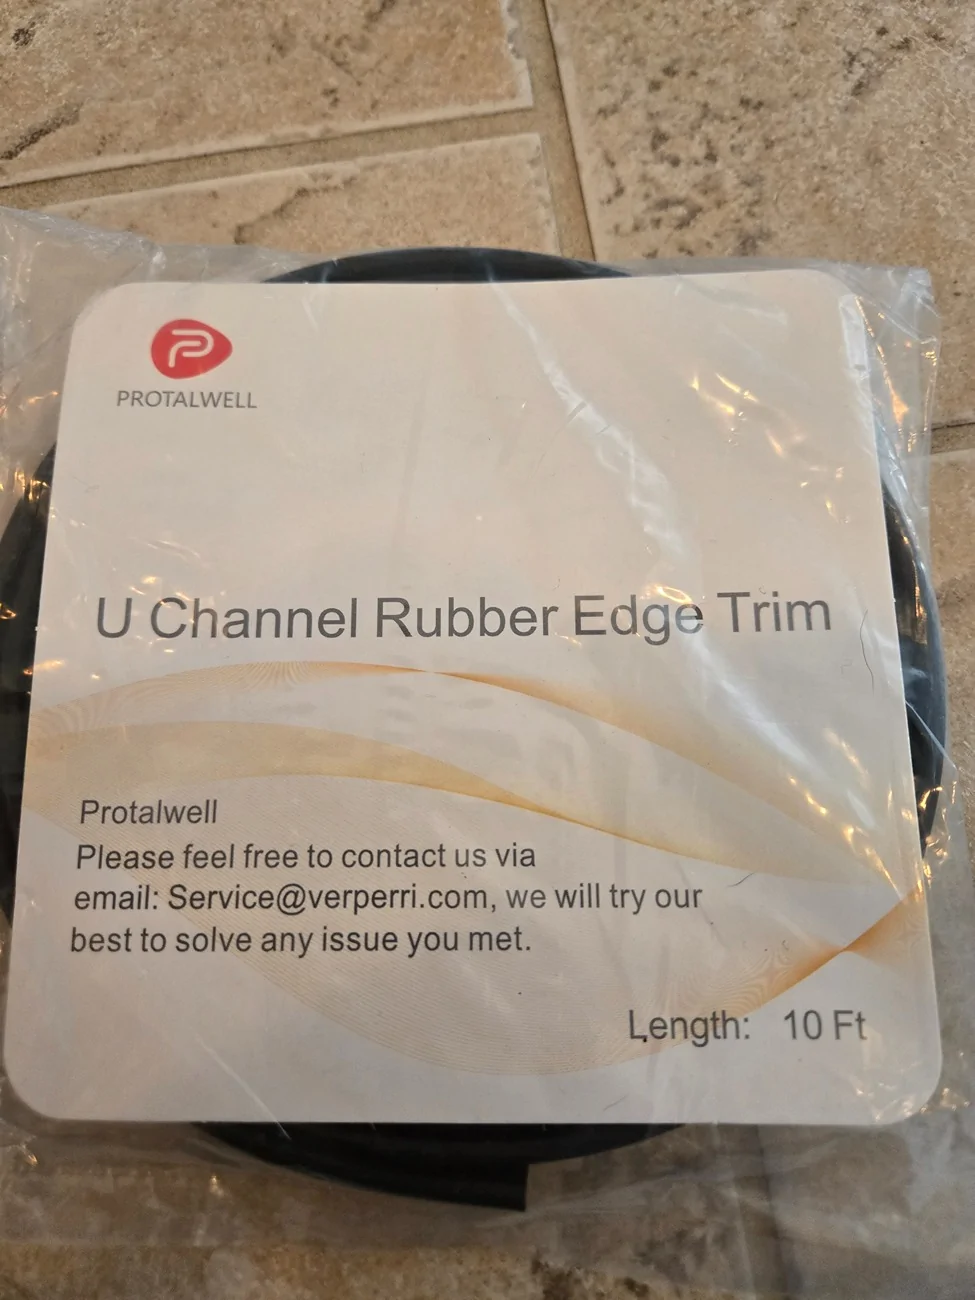
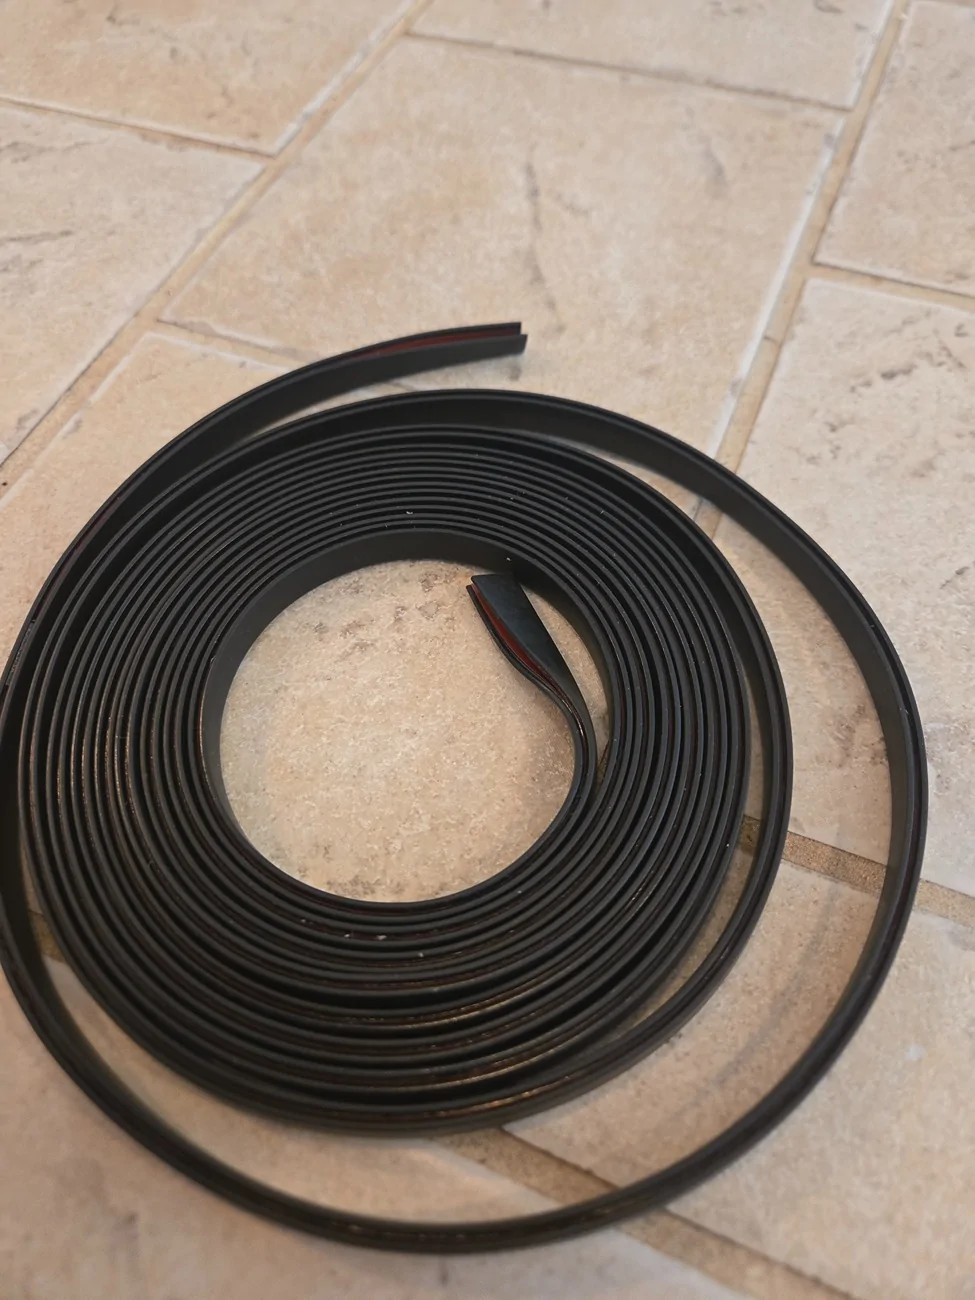
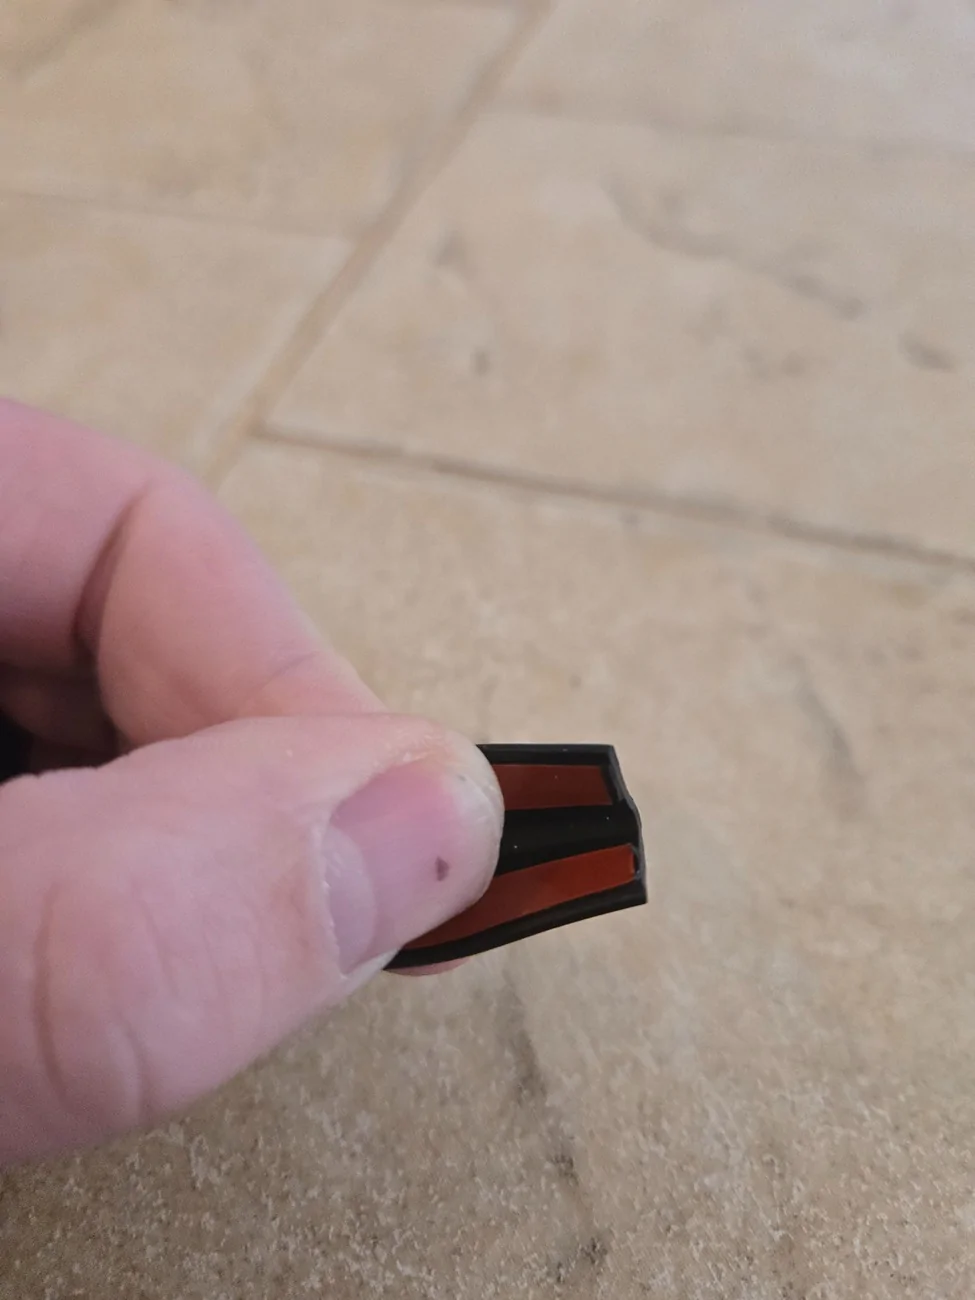
I bought this rubber trim from Amazon.
Edge Trim, 1/16" Rubber Edge... https://www.amazon.com/dp/B0D12DW5KR?ref=ppx_pop_mob_ap_share
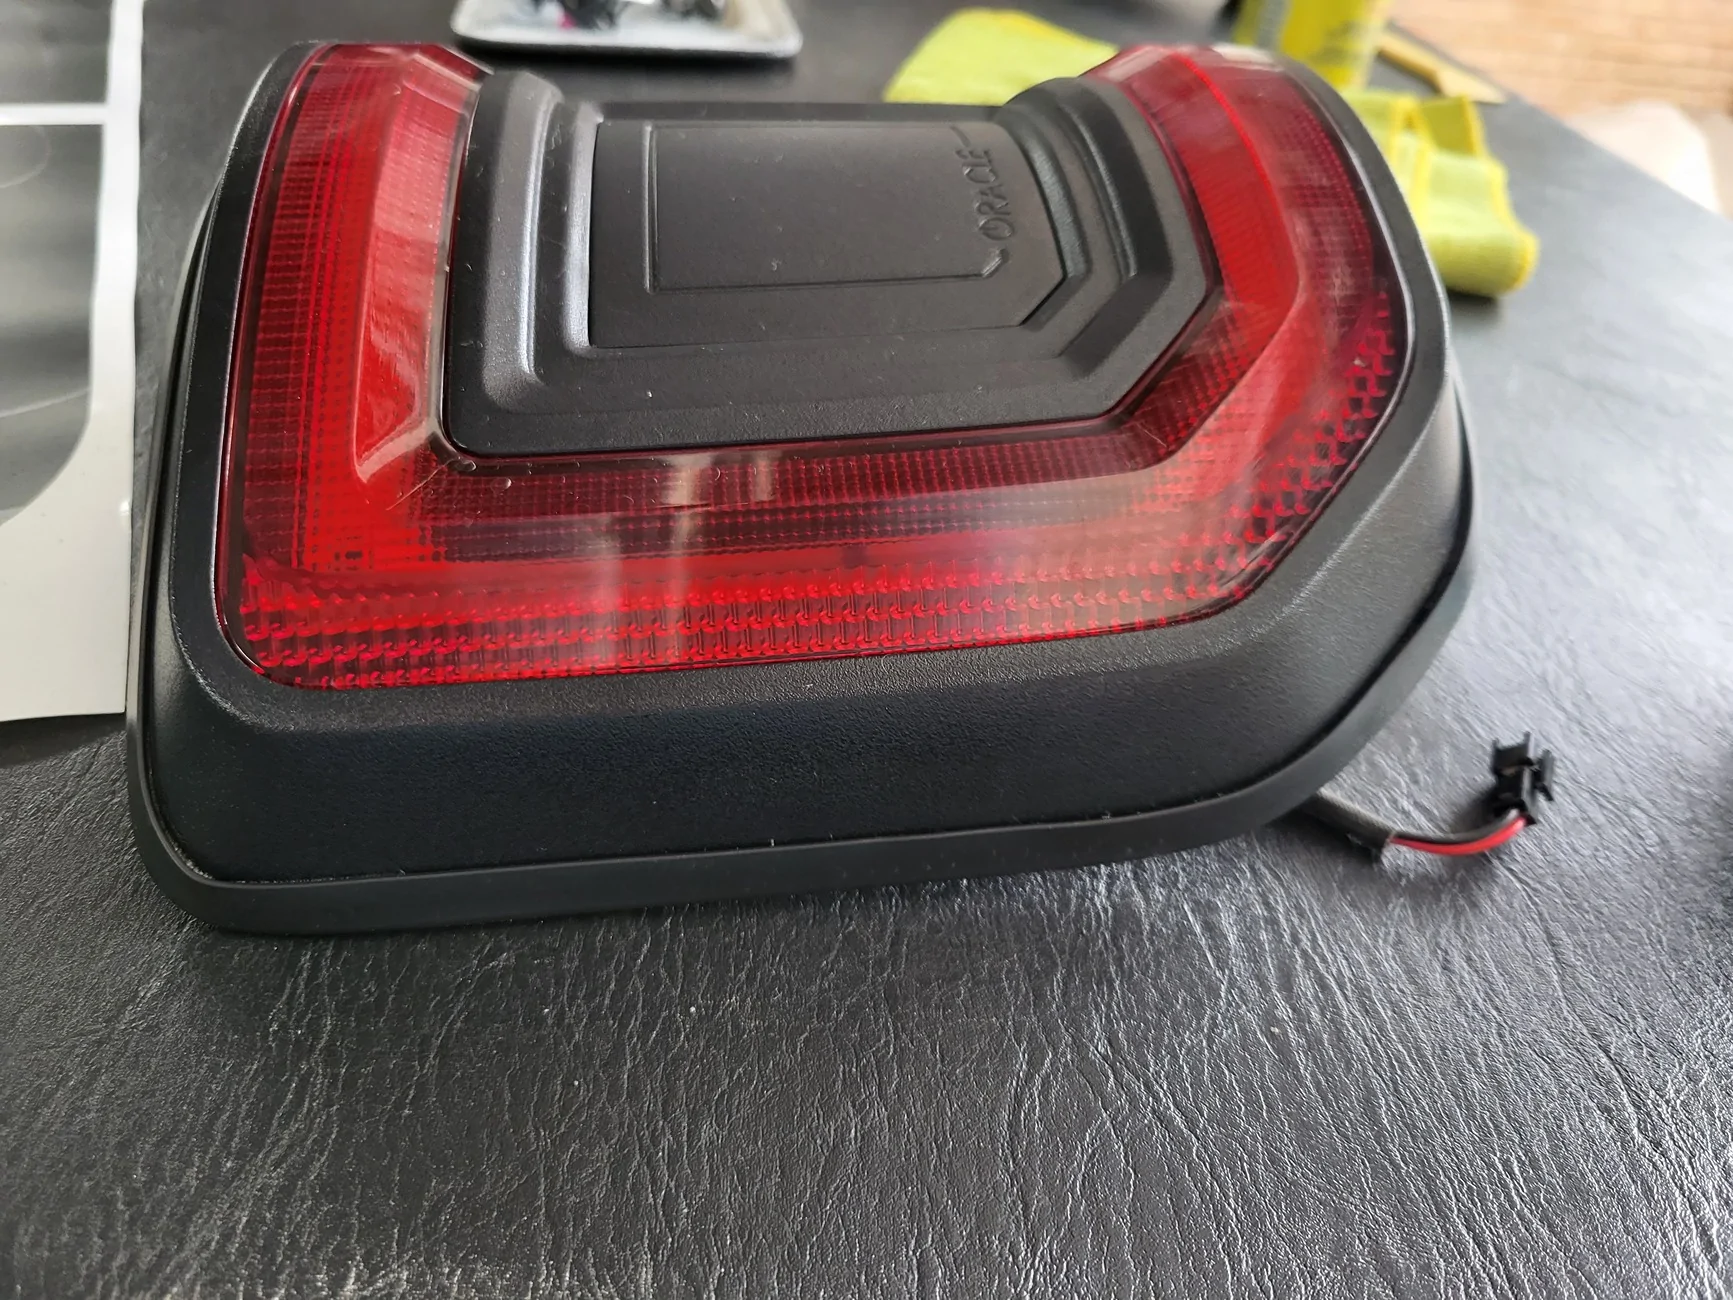
Clean the edges of the lights with some rubbing alcohol to give it clean surface for the adhesive on the trim to stick to.
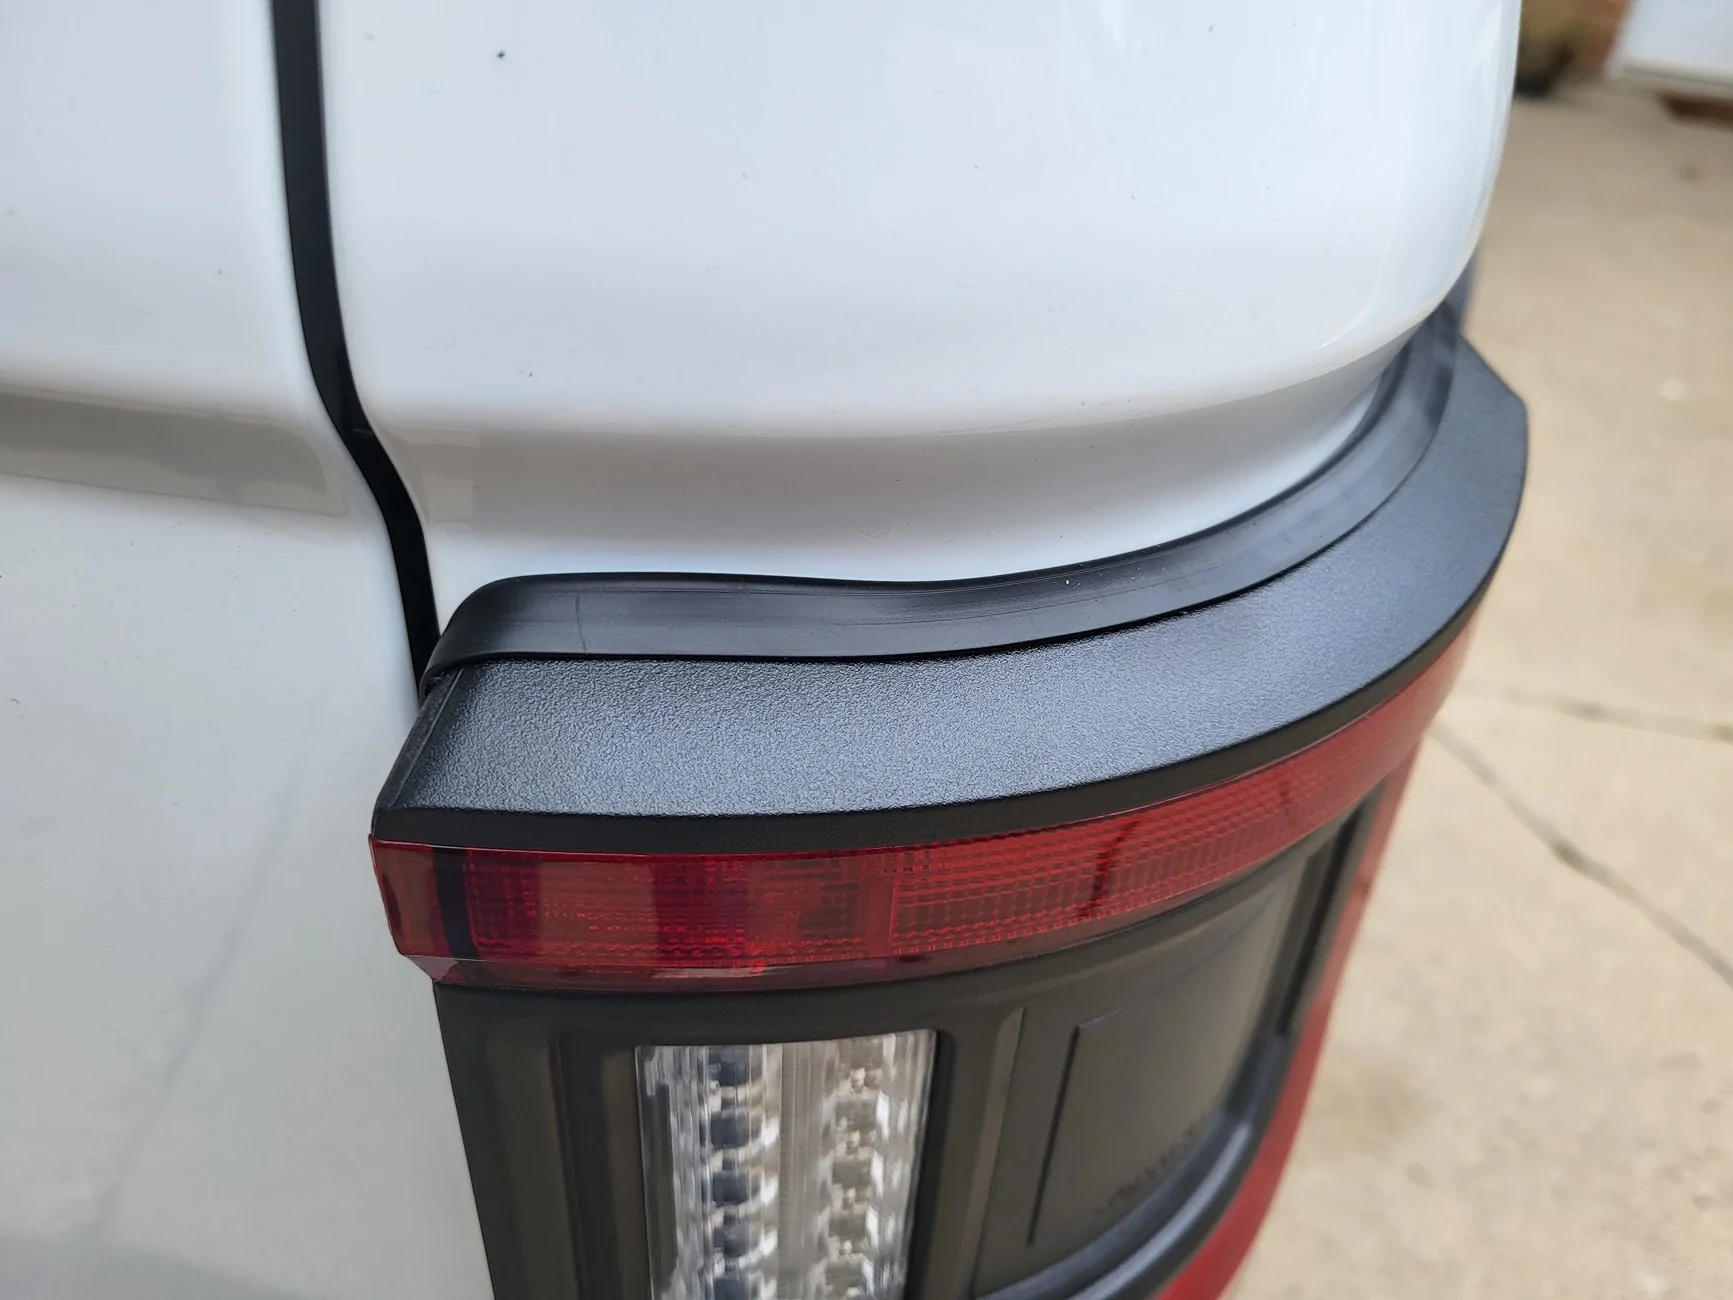
I start and end on the bottom of the taillight (to help with water run off and because it obviously looks better).
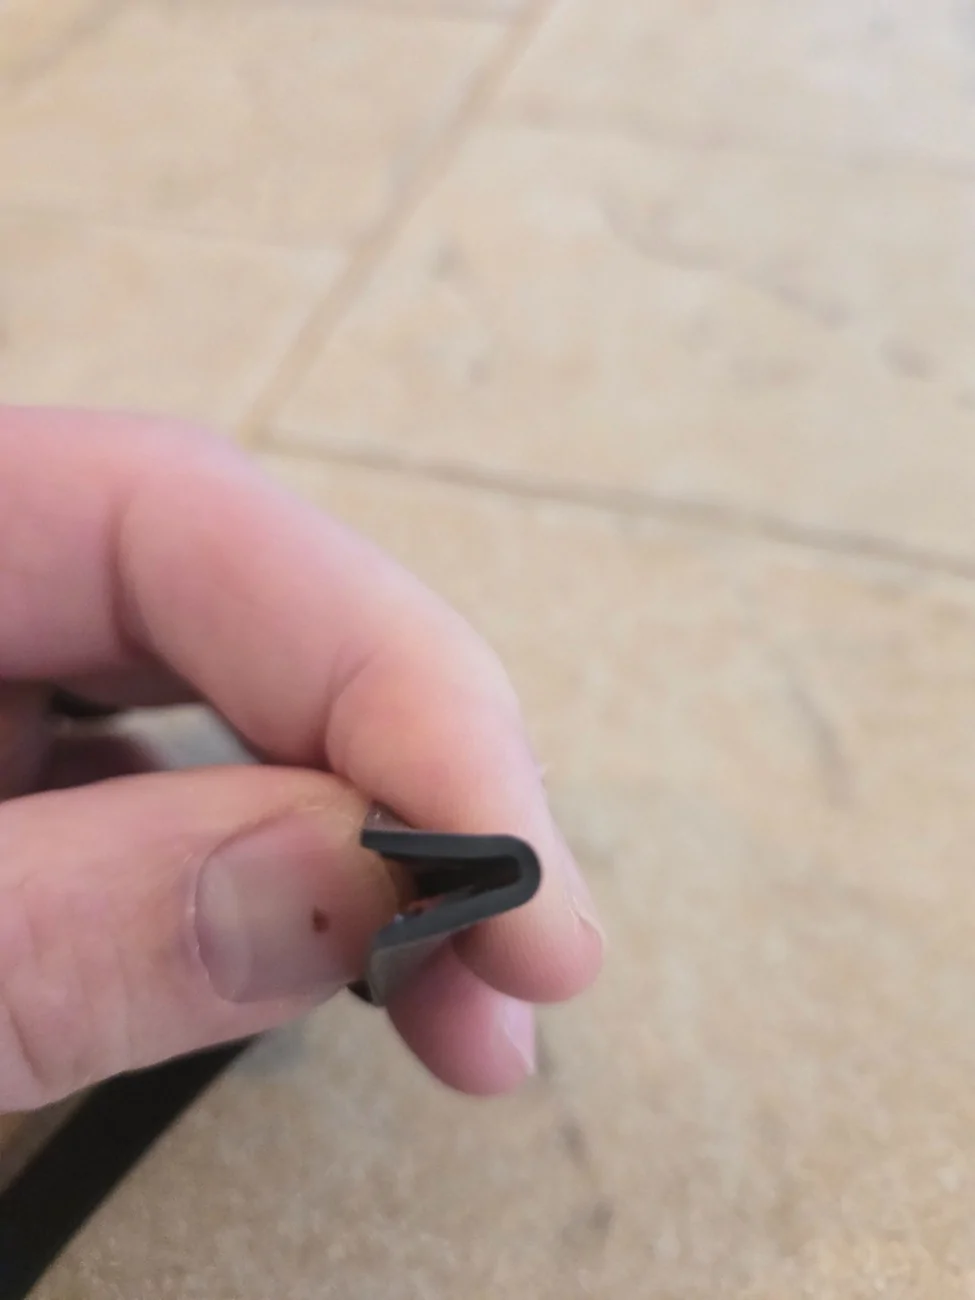
Apply the rubber trim along the edge of the light, removing the red tape covering as you move along, pushing down and pinching the trim as you go.
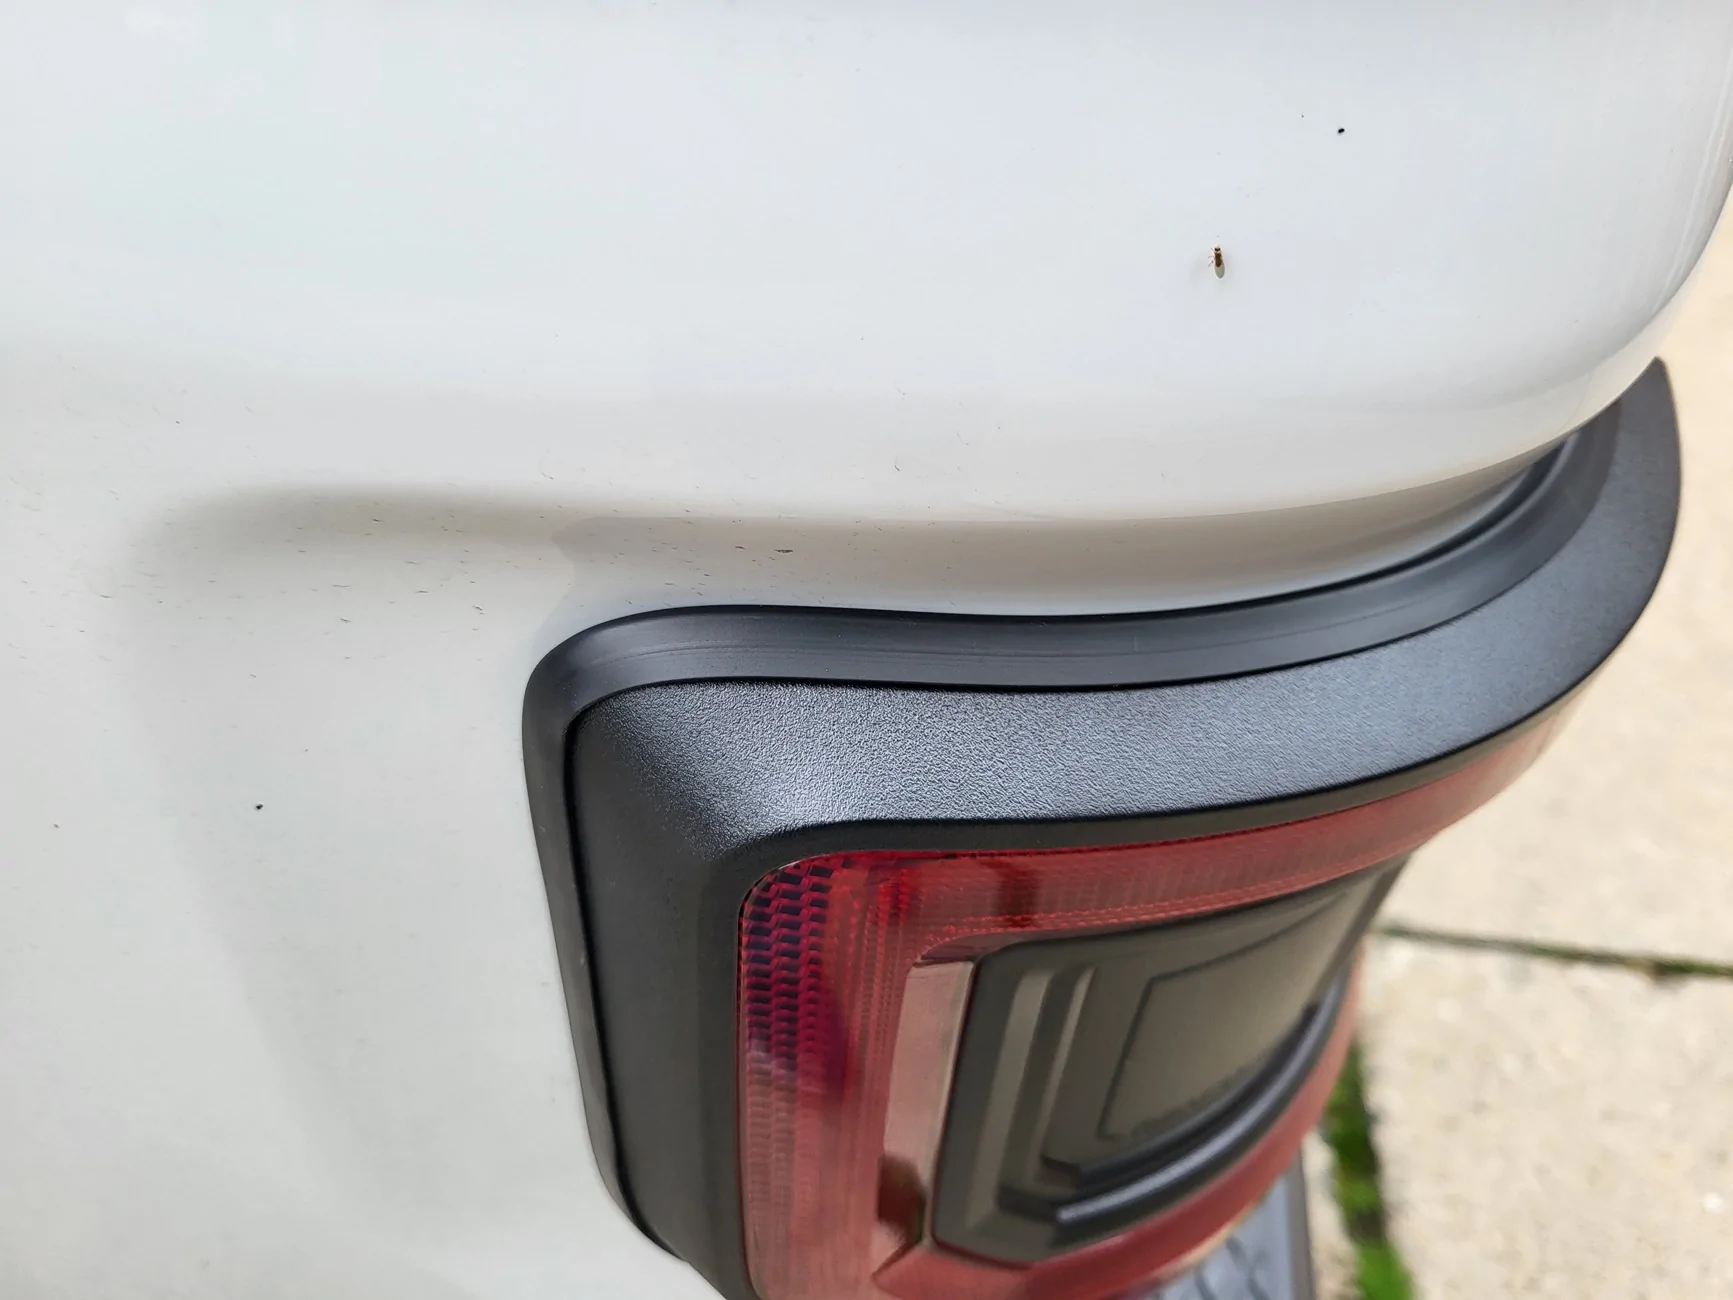
As you get to the side of the light, push the rubber trim to let it shape into the contours of the light (you can also make a small snip into the trim to let it fit to your liking.) Continue wrapping the trim around the edge of the light until you reach your start point, and make your cut of the trim. Go back over your trim from start to finish, pushing down on the top so that the trim is fully pushed down on the edge of the light, and pinch the sides so that all the adhesive is fully seated onto the light.
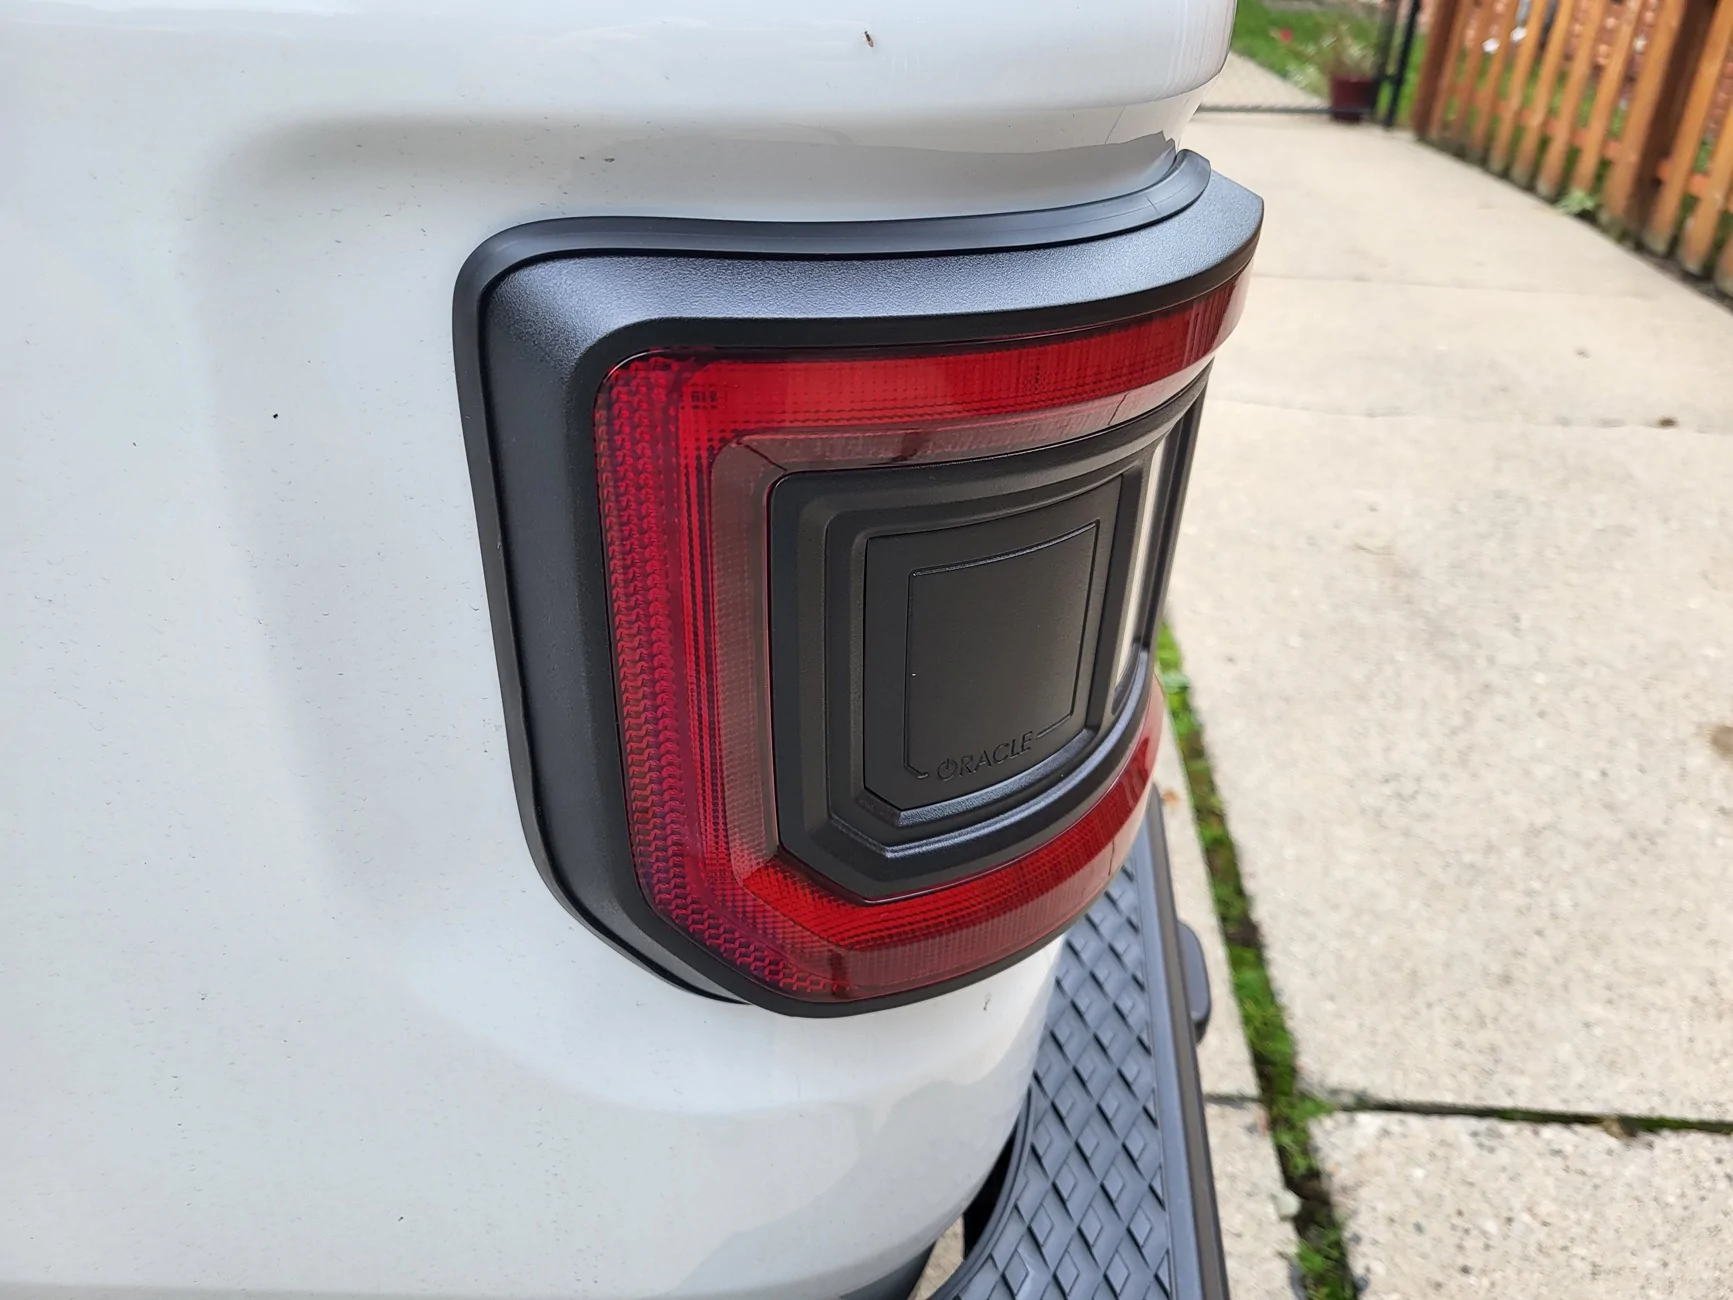
Now you can install your lights like normal (DO NOT OVERTIGHTEN the 2 screws on the side).
Hopefully this will help those that already have these lights or for those that have been on the fence about getting them. Also, dont forget to use my code "0duksgvn" for 10% off your puchase.
https://www.oraclelights.com/?ref=0DUKSGVN


These taillights have a small gap around the mating surface between the taillight and the body of the bed, this will help seal up that gap, preventing moisture and debris from getting behing the light to the electonics behind the light.
I bought this rubber trim from Amazon.
Edge Trim, 1/16" Rubber Edge... https://www.amazon.com/dp/B0D12DW5KR?ref=ppx_pop_mob_ap_share
Clean the edges of the lights with some rubbing alcohol to give it clean surface for the adhesive on the trim to stick to.
I start and end on the bottom of the taillight (to help with water run off and because it obviously looks better).
Apply the rubber trim along the edge of the light, removing the red tape covering as you move along, pushing down and pinching the trim as you go.
As you get to the side of the light, push the rubber trim to let it shape into the contours of the light (you can also make a small snip into the trim to let it fit to your liking.) Continue wrapping the trim around the edge of the light until you reach your start point, and make your cut of the trim. Go back over your trim from start to finish, pushing down on the top so that the trim is fully pushed down on the edge of the light, and pinch the sides so that all the adhesive is fully seated onto the light.
Now you can install your lights like normal (DO NOT OVERTIGHTEN the 2 screws on the side).
Hopefully this will help those that already have these lights or for those that have been on the fence about getting them. Also, dont forget to use my code "0duksgvn" for 10% off your puchase.
https://www.oraclelights.com/?ref=0DUKSGVN

Sponsored
Last edited:
 ), but imo, it helps it work better, last longer and looks better. I, myself cant change how they work or make them less expensive. Just doing and sharing what has worked for us, easy and cheap!
 . But hopefully one day they'll realize this and come out with a new revision, (and hopefully lower the price too). But for now, just workin with what I have.