MAustin
Well-Known Member
- First Name
- Michael
- Joined
- Jan 1, 2018
- Threads
- 4
- Messages
- 88
- Reaction score
- 184
- Location
- Fort Benning, GA
- Vehicle(s)
- 2020 JTR
- Build Thread
- Link
- Occupation
- Underwater basket weaver
- Thread starter
- #1
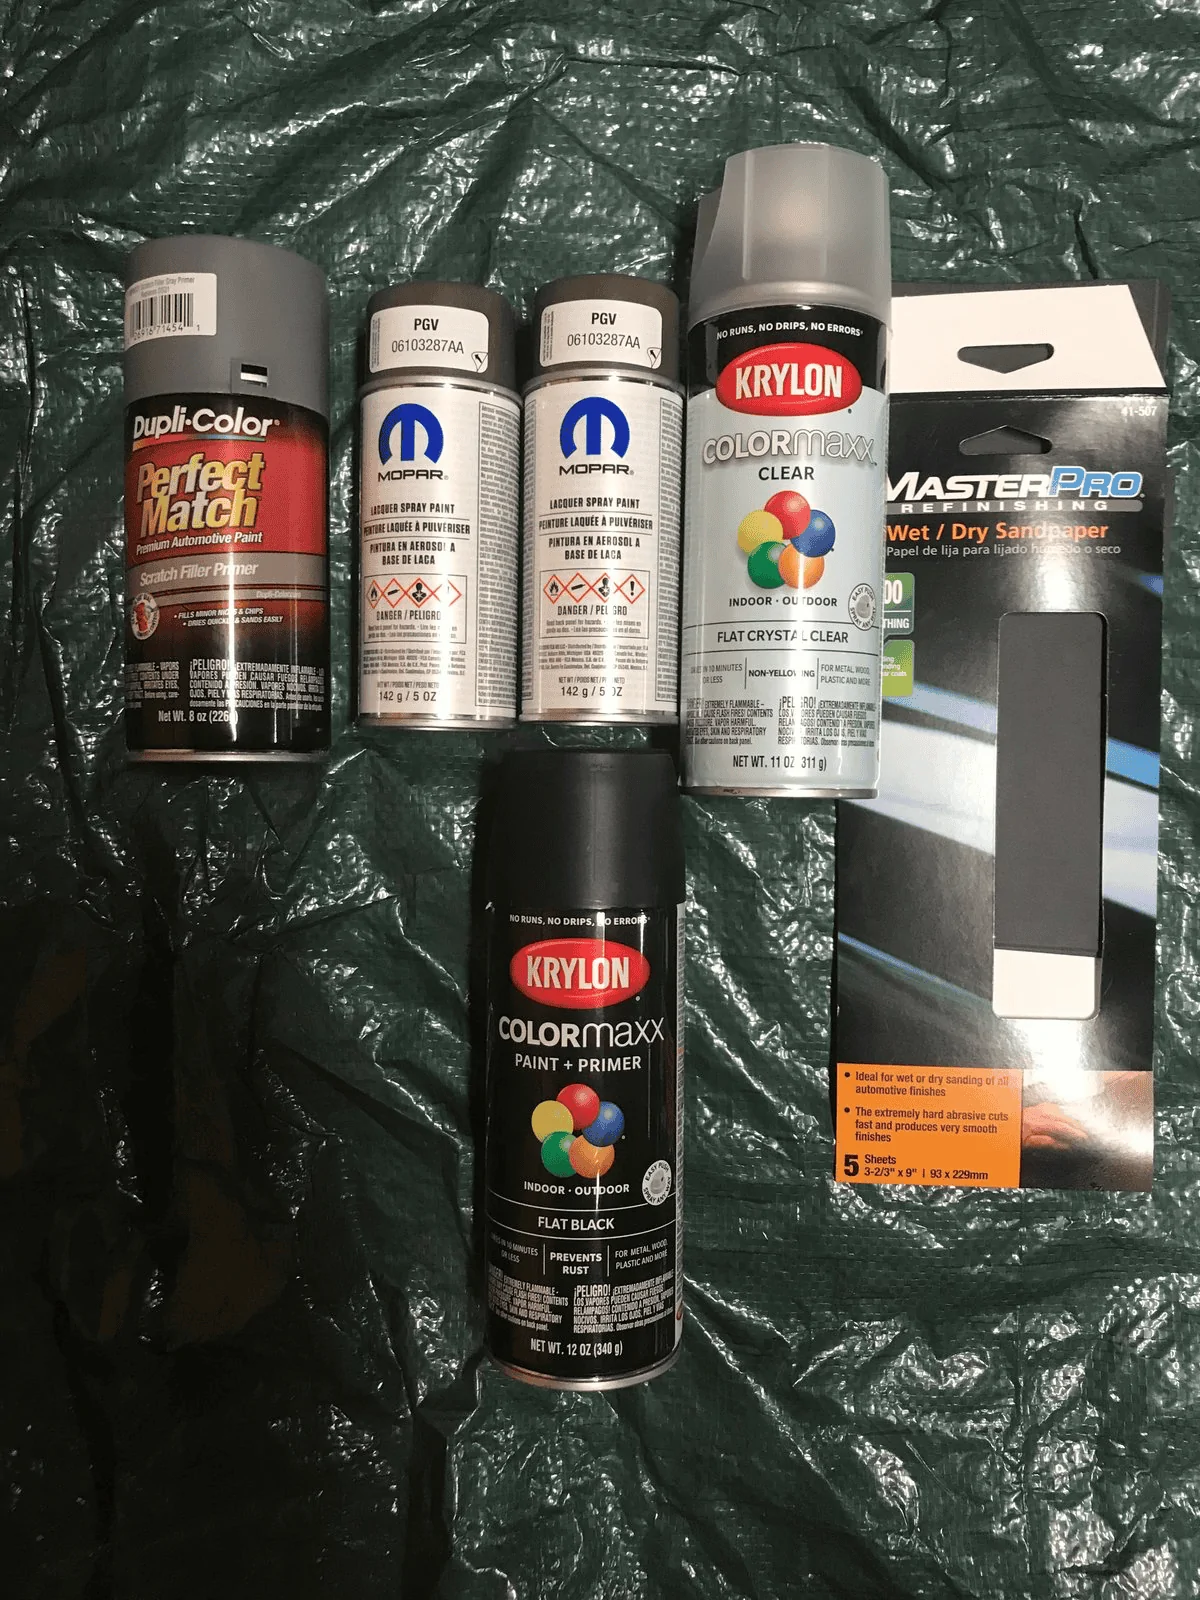
I decided to paint the dash and steering wheel bezel to match the body of my Gladiator. There’s several really good videos and instructions on how to remove the dash, but not much for the steering wheel. I had a guy over in the JL forum give me a rough idea, but I figured I’d share a slightly more detailed write up. Disclaimer: I don’t remember what size each of the individual torx screws are, but they’re all either a 10, 15, or 20.
1. disconnect the battery and let sit for 30 minutes (since you’ll be playing with the airbag)
2. On the back of the steering wheel there is a small access panel on each side. Pop them open with a thin flathead and remove the 10mm bolt from each side.

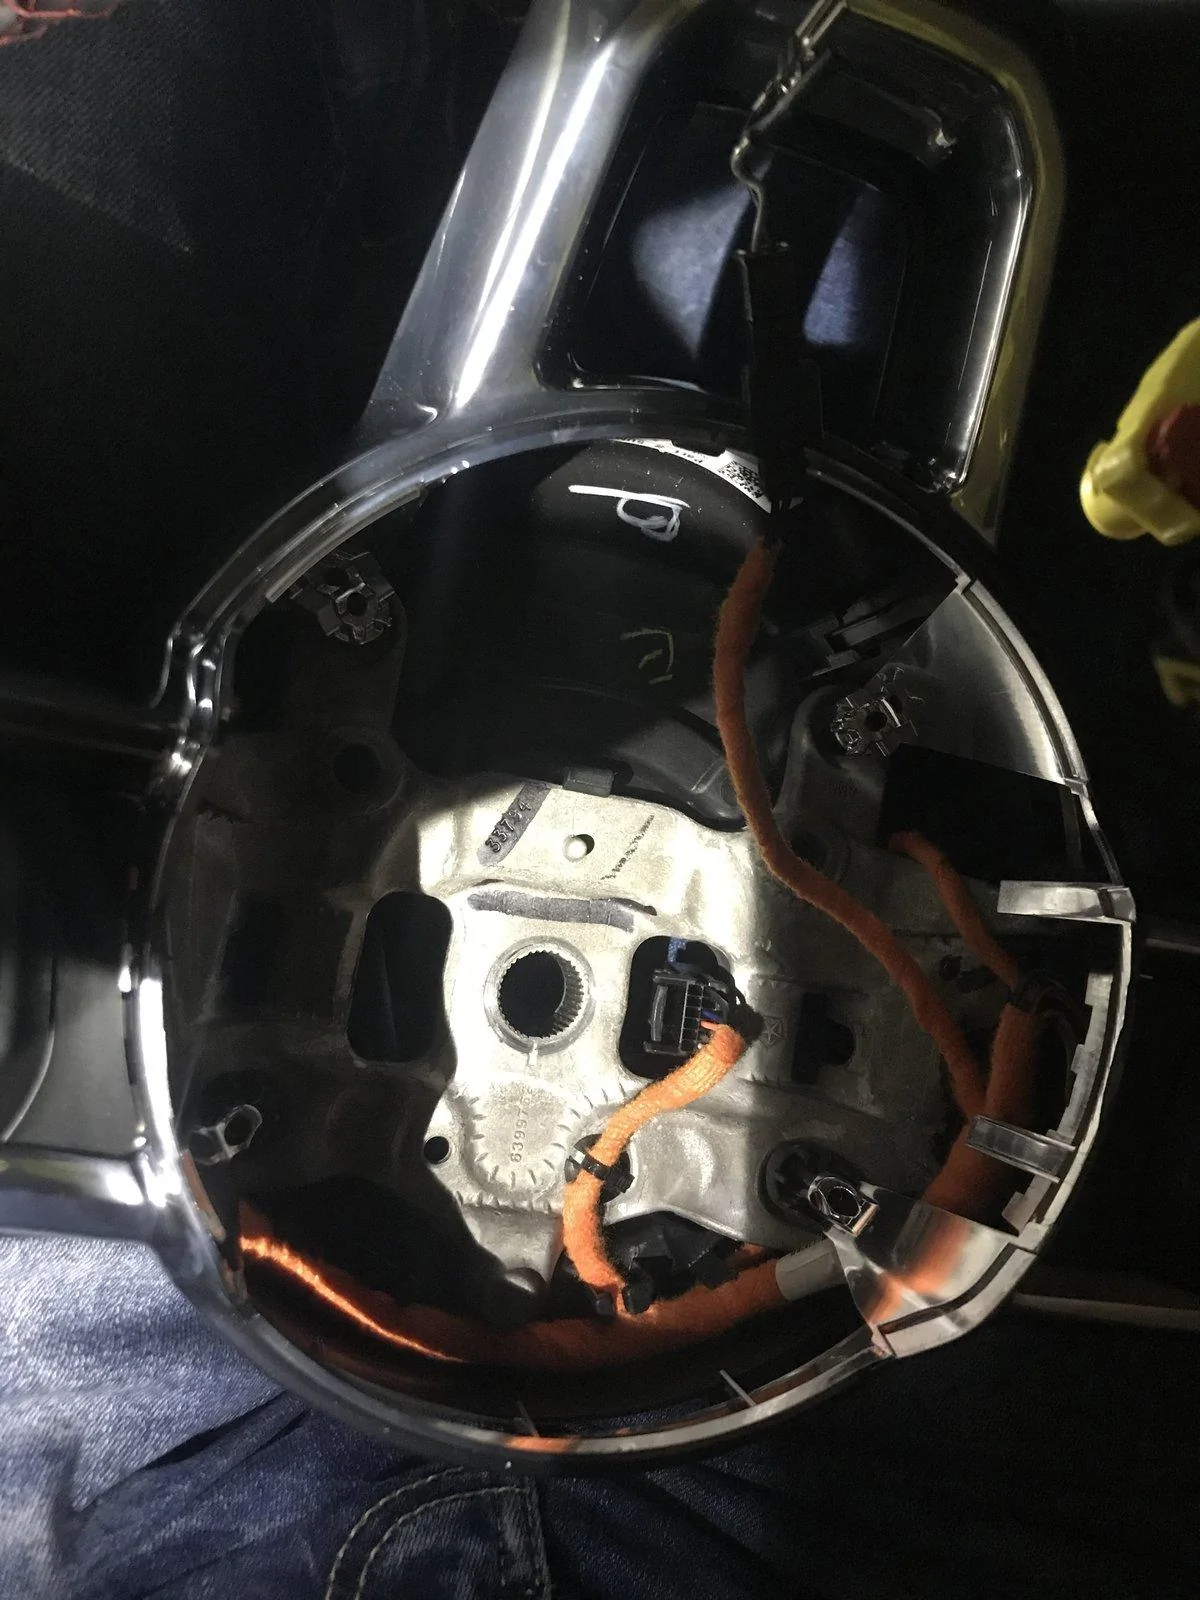
3. Pull the horn/airbag away from the steering wheel. There are four plugs that need to be unplugged. The three center ones with yellow sheaths are color coded at the connection so you know where they go during reassembly. Use a flat head to pop the red piece up and remove. The other wire has two connectors that slide onto blades (can’t remember what these are called. I’m not an electrician by any means). Don’t try to figure out the actual plug on that one. You’ll just get frustrated and break it like I did. Pay attention to how the wires are run for reassembly. It’s a tight fit. Place the airbag aside.
4. In the center of the wheel is a nut holding the steering wheel on. It should be a 24mm. Before you loosen it, disconnect the plug with the orange sheath that’s to the left of the nut. Once the nut is removed, give the steering wheel a sharp tug and it’ll come off. There’s a notch on the steering wheel and on the bolt for alignment when you reassemble. Again, note the placement of the wires before you move to the next step.
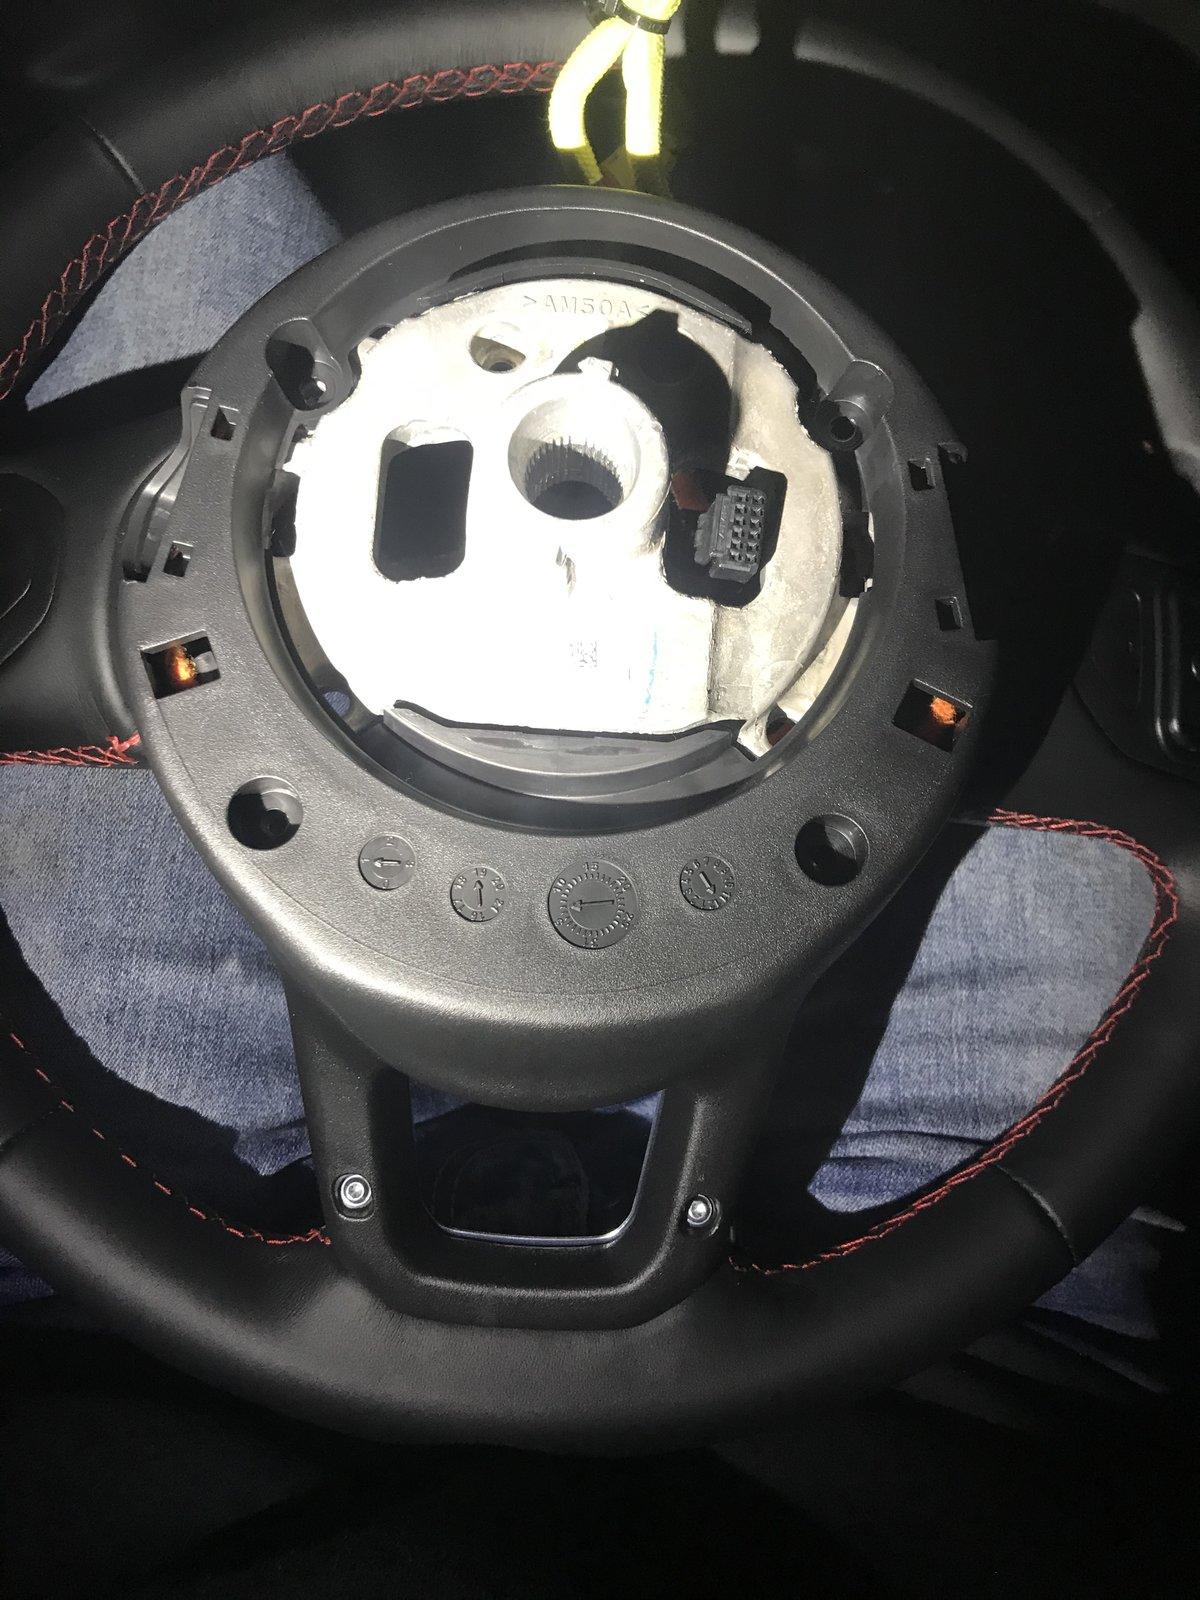
5. On the back side of the steering wheel are eight torx screws. They’re all either 10, 15, or 20. Remove all of these. The four black ones are located around the center. Two small silver ones are on the bottom. The final two black ones are beside the radio controls under access panels similar to step one. Once removed, the steering wheel bezel will come out with the cruise control/voice control buttons still attached.
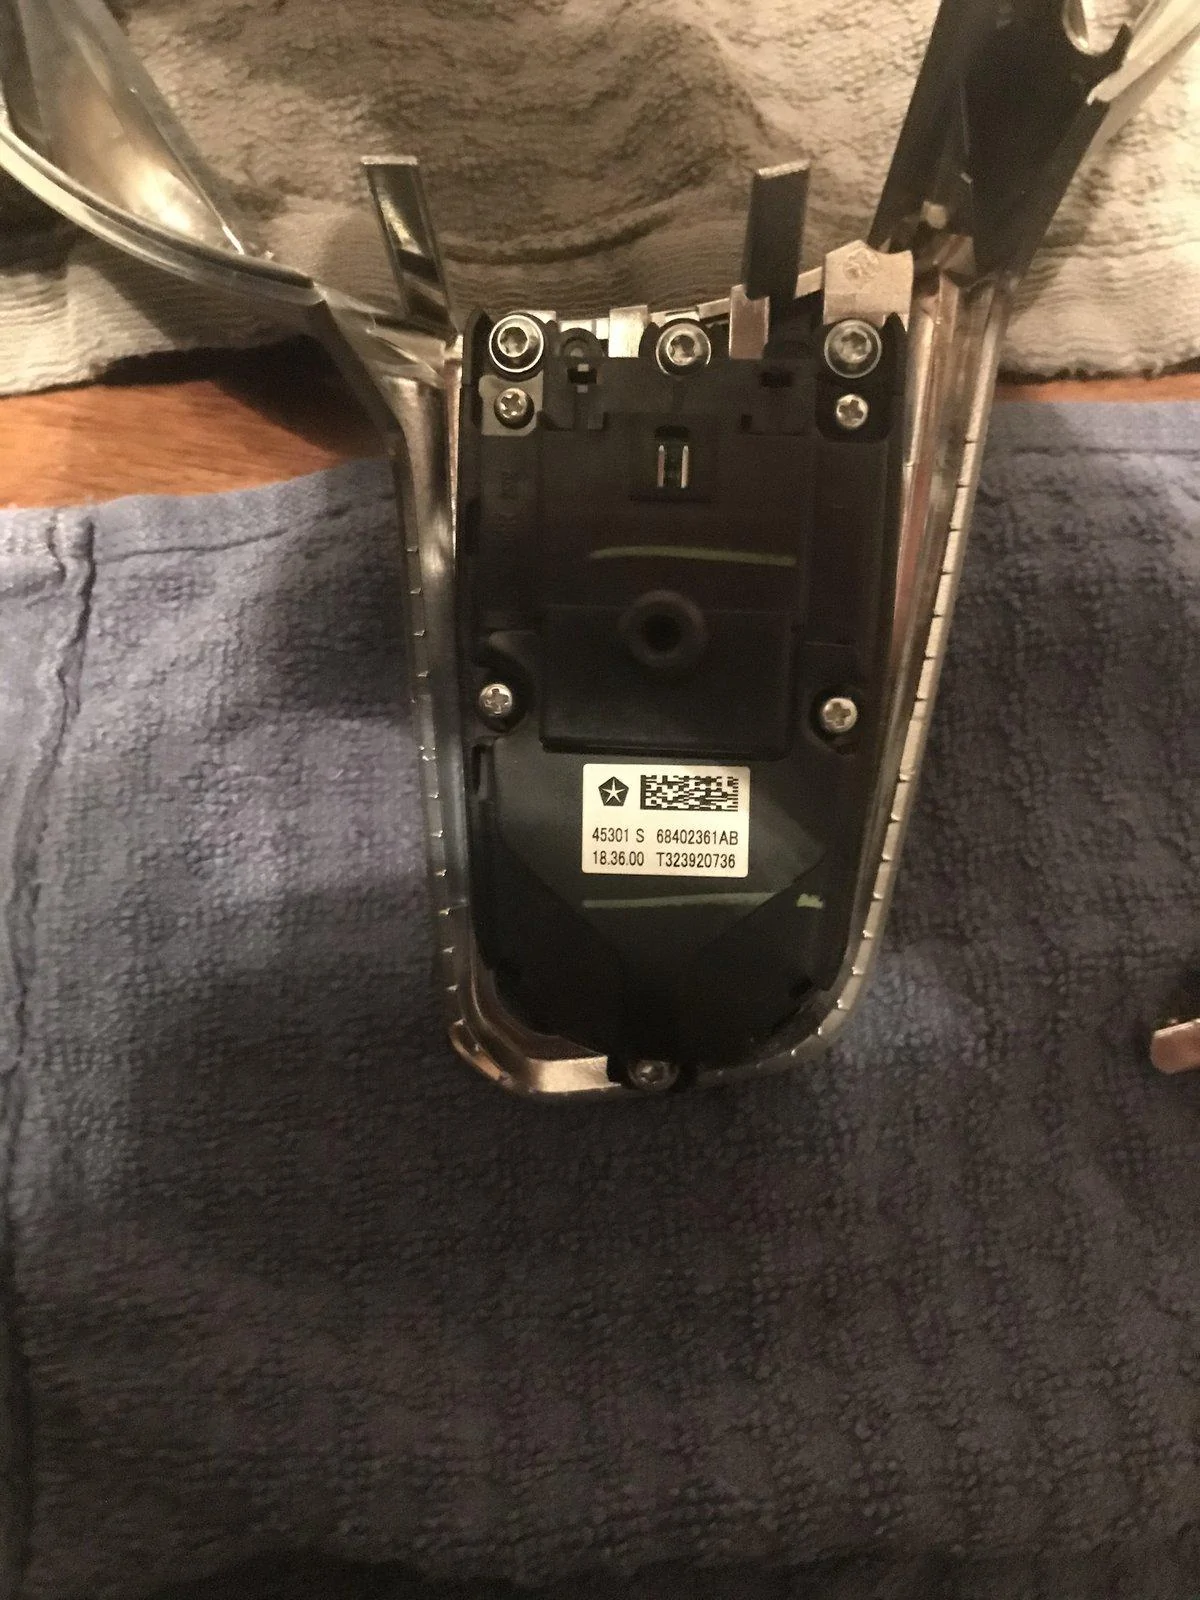
6. On each side behind the controls are four small torx screws, three closer to the center of the wheel and one on the edge (I think all size 10). Remove these. Once removed, the controls can be pulled out. There is a little spacer on each side that might give you some trouble, but they just pull out once the controls are removed.
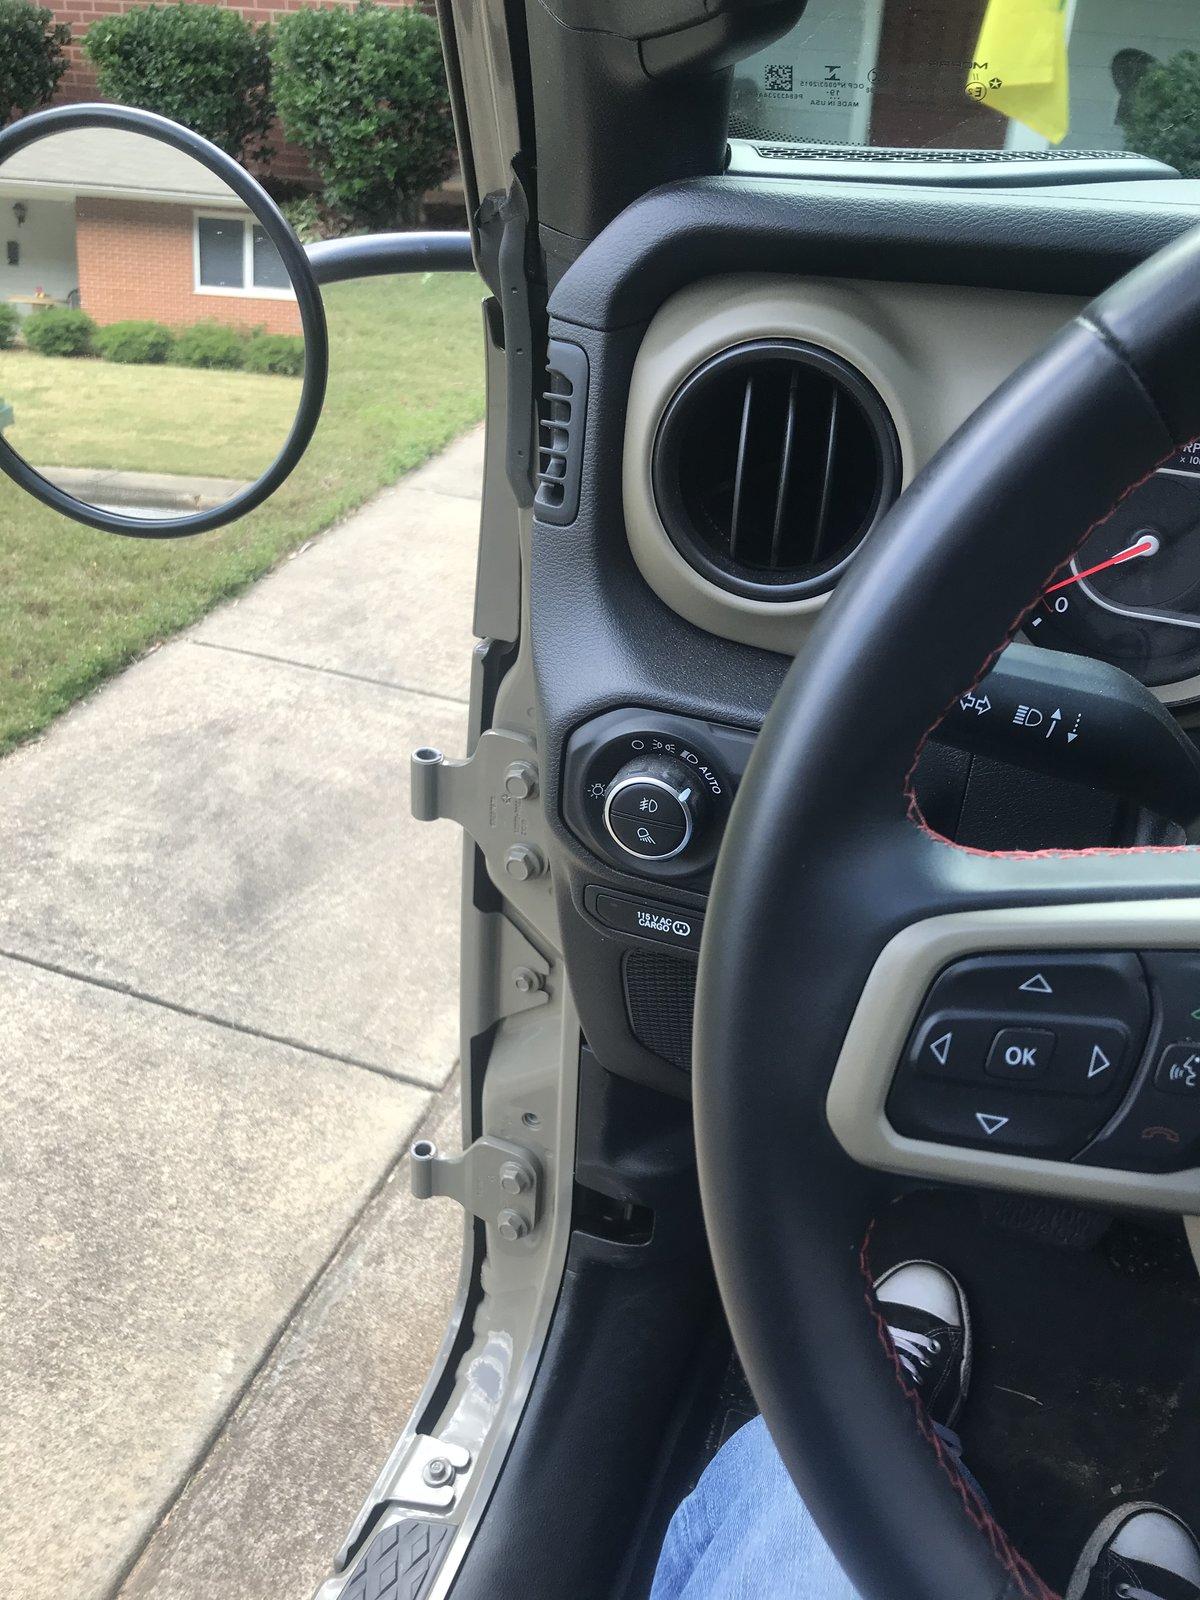
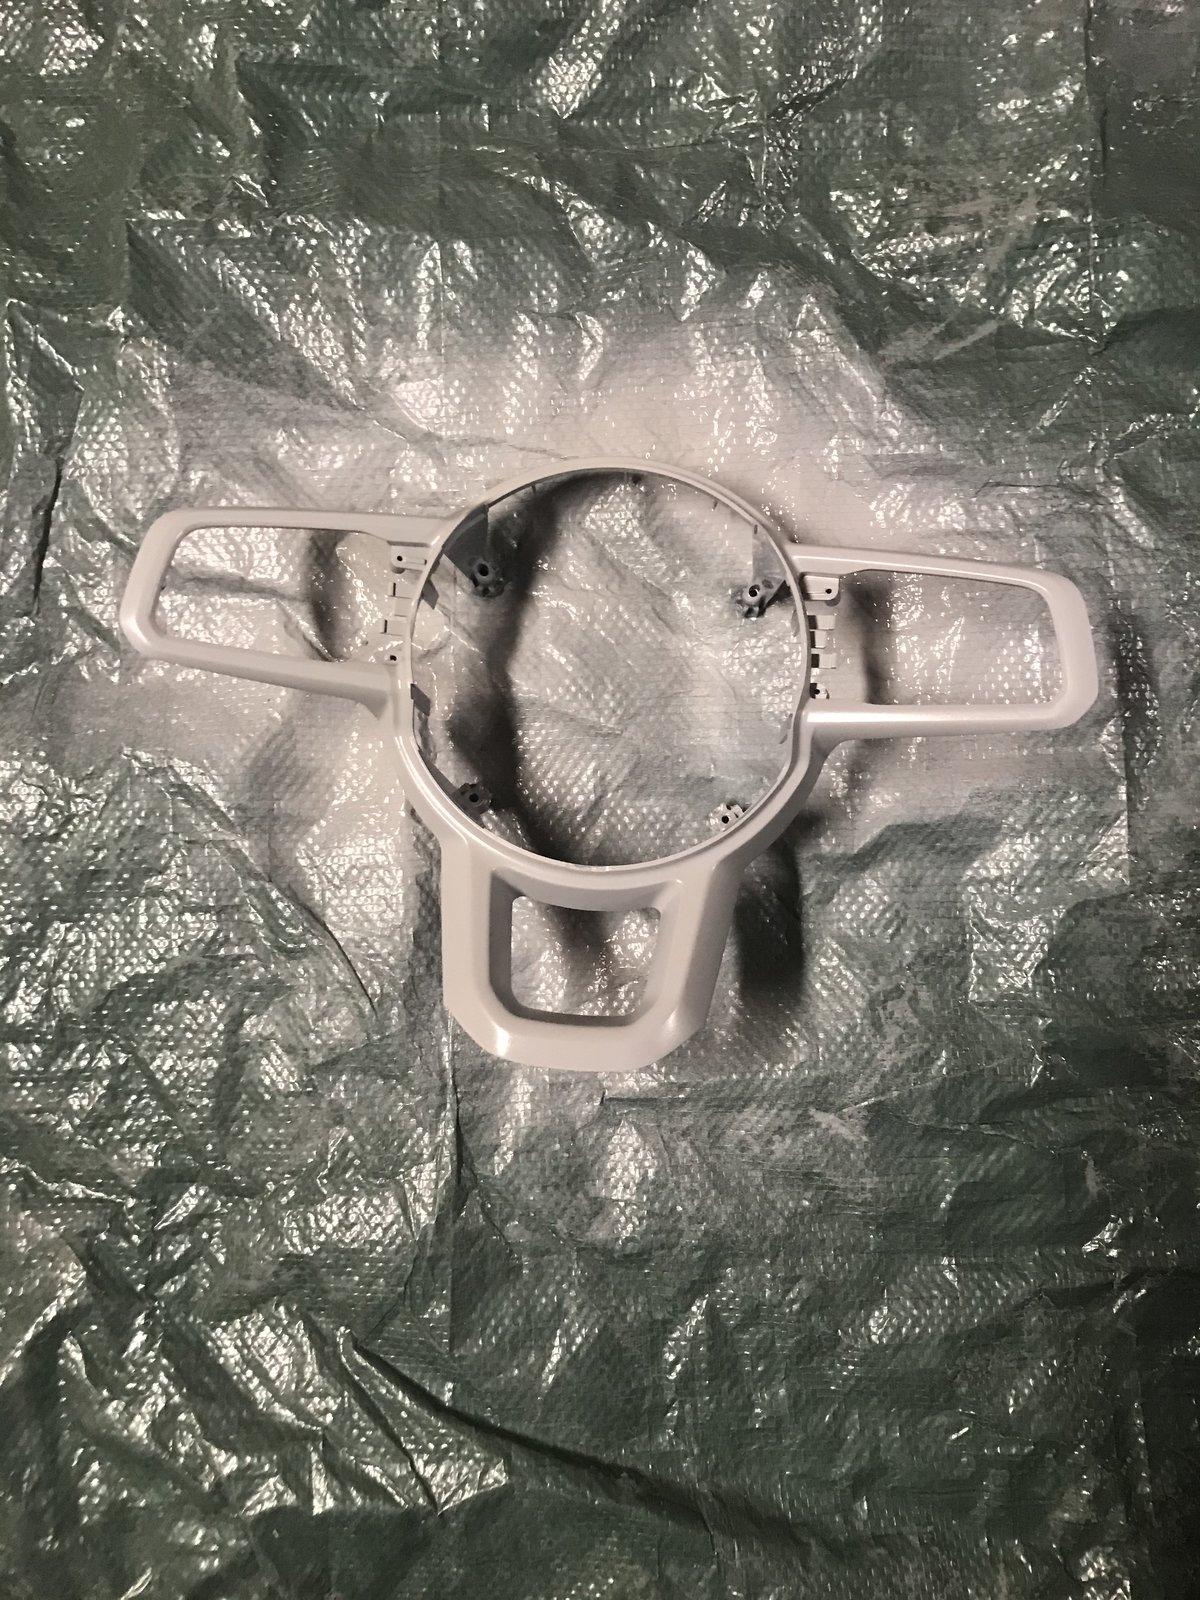
The bezel by itself will look like this.
When reassembling, make sure all the wires are in the right spot before you start tightening things. You’ve got to tighten the torx screws a lot to get the bezel to seat all the way back into the steering wheel. The nut that holds the steering wheel on had red paint at the top on mine. I tightened it until the paint was back on top. When putting the horn/airbag back on, don’t tighten the bolts too much or your horn will stay on.
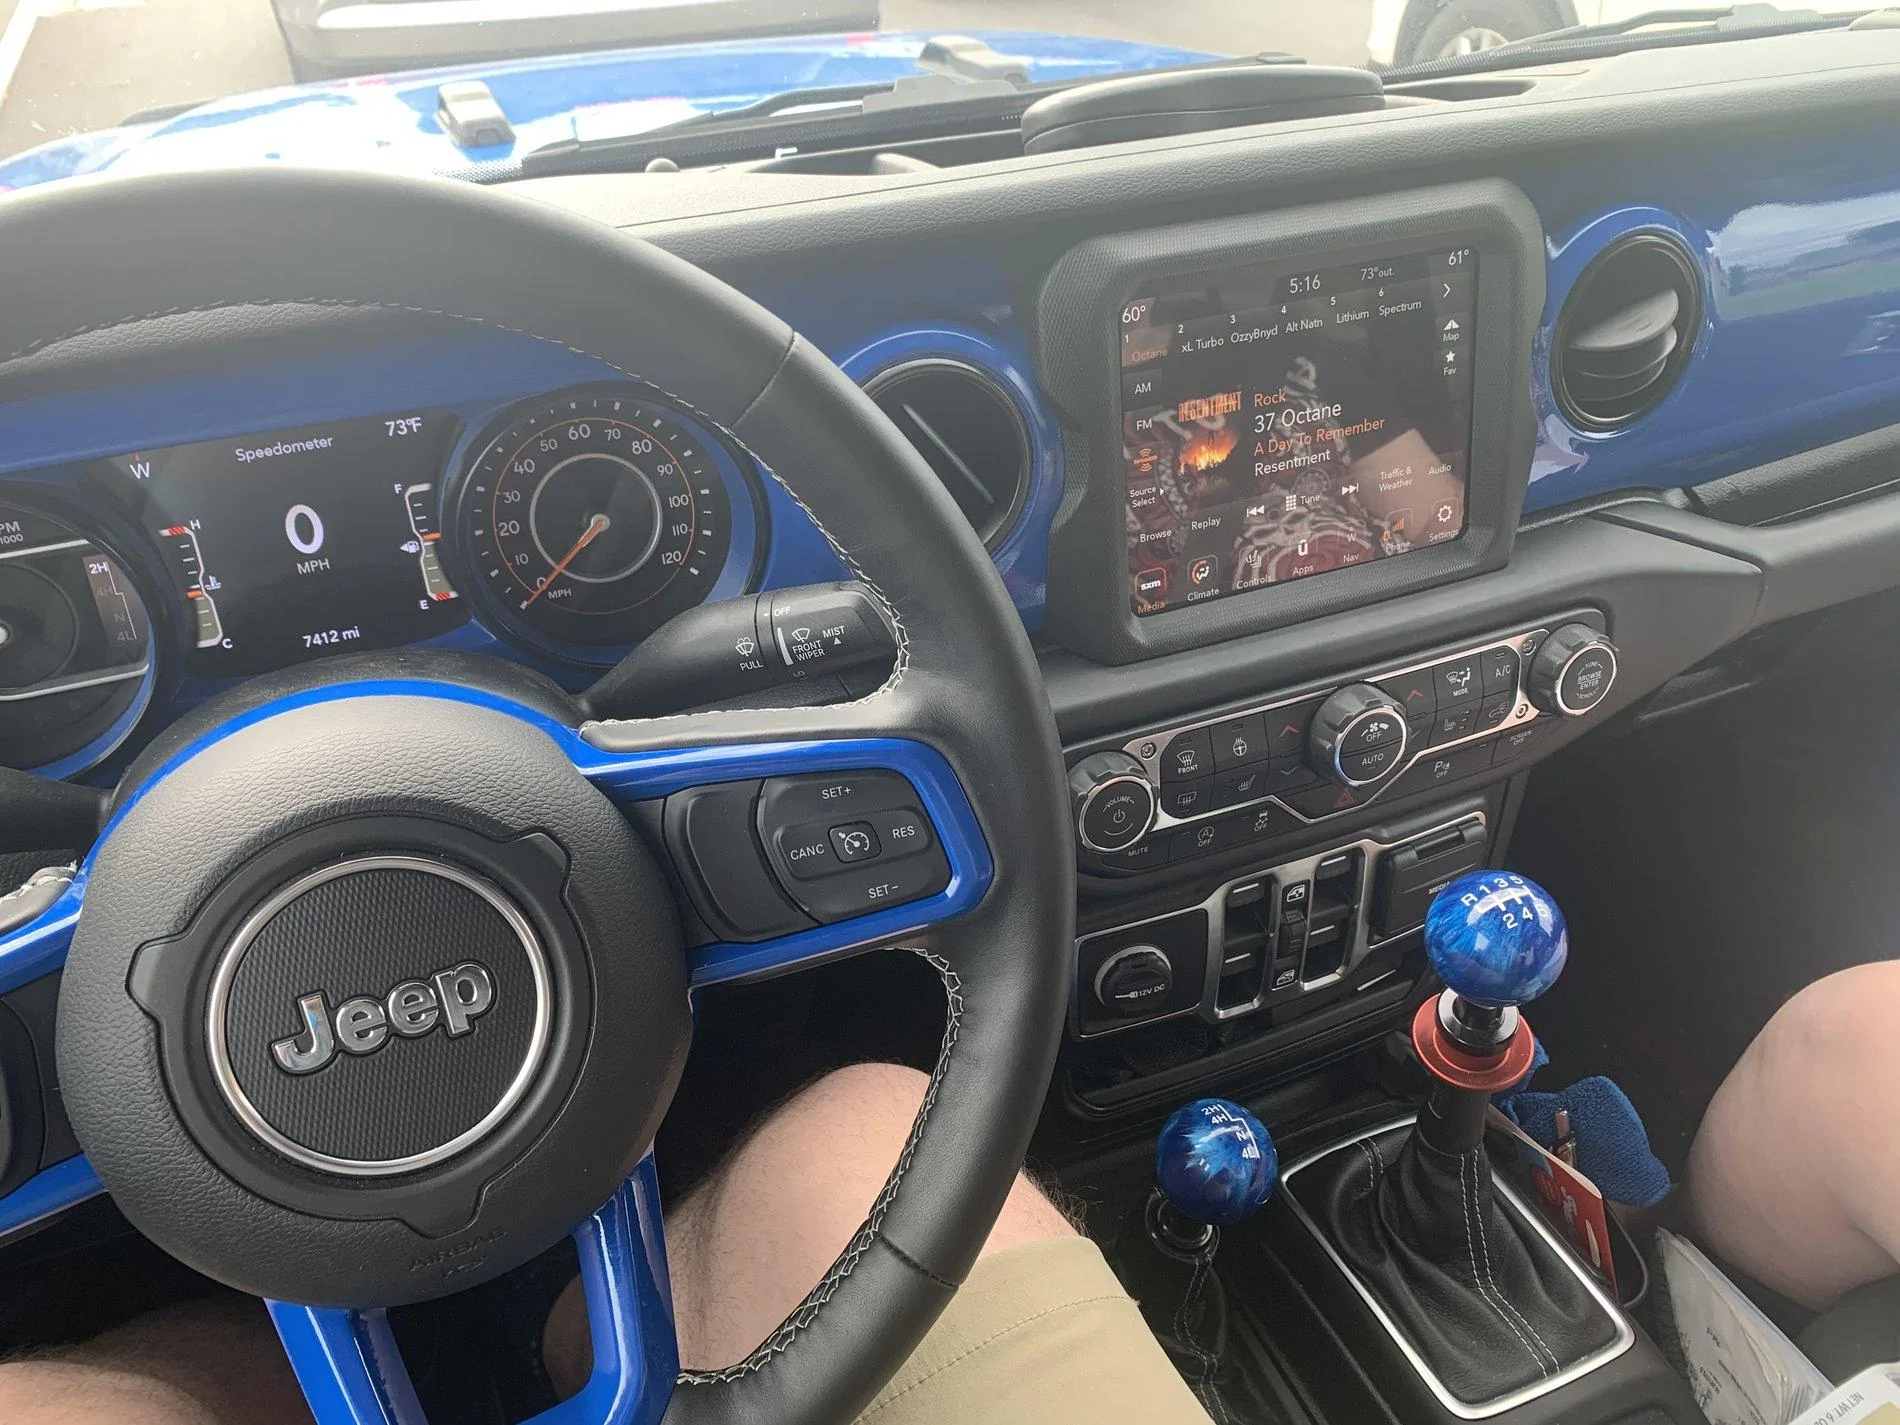
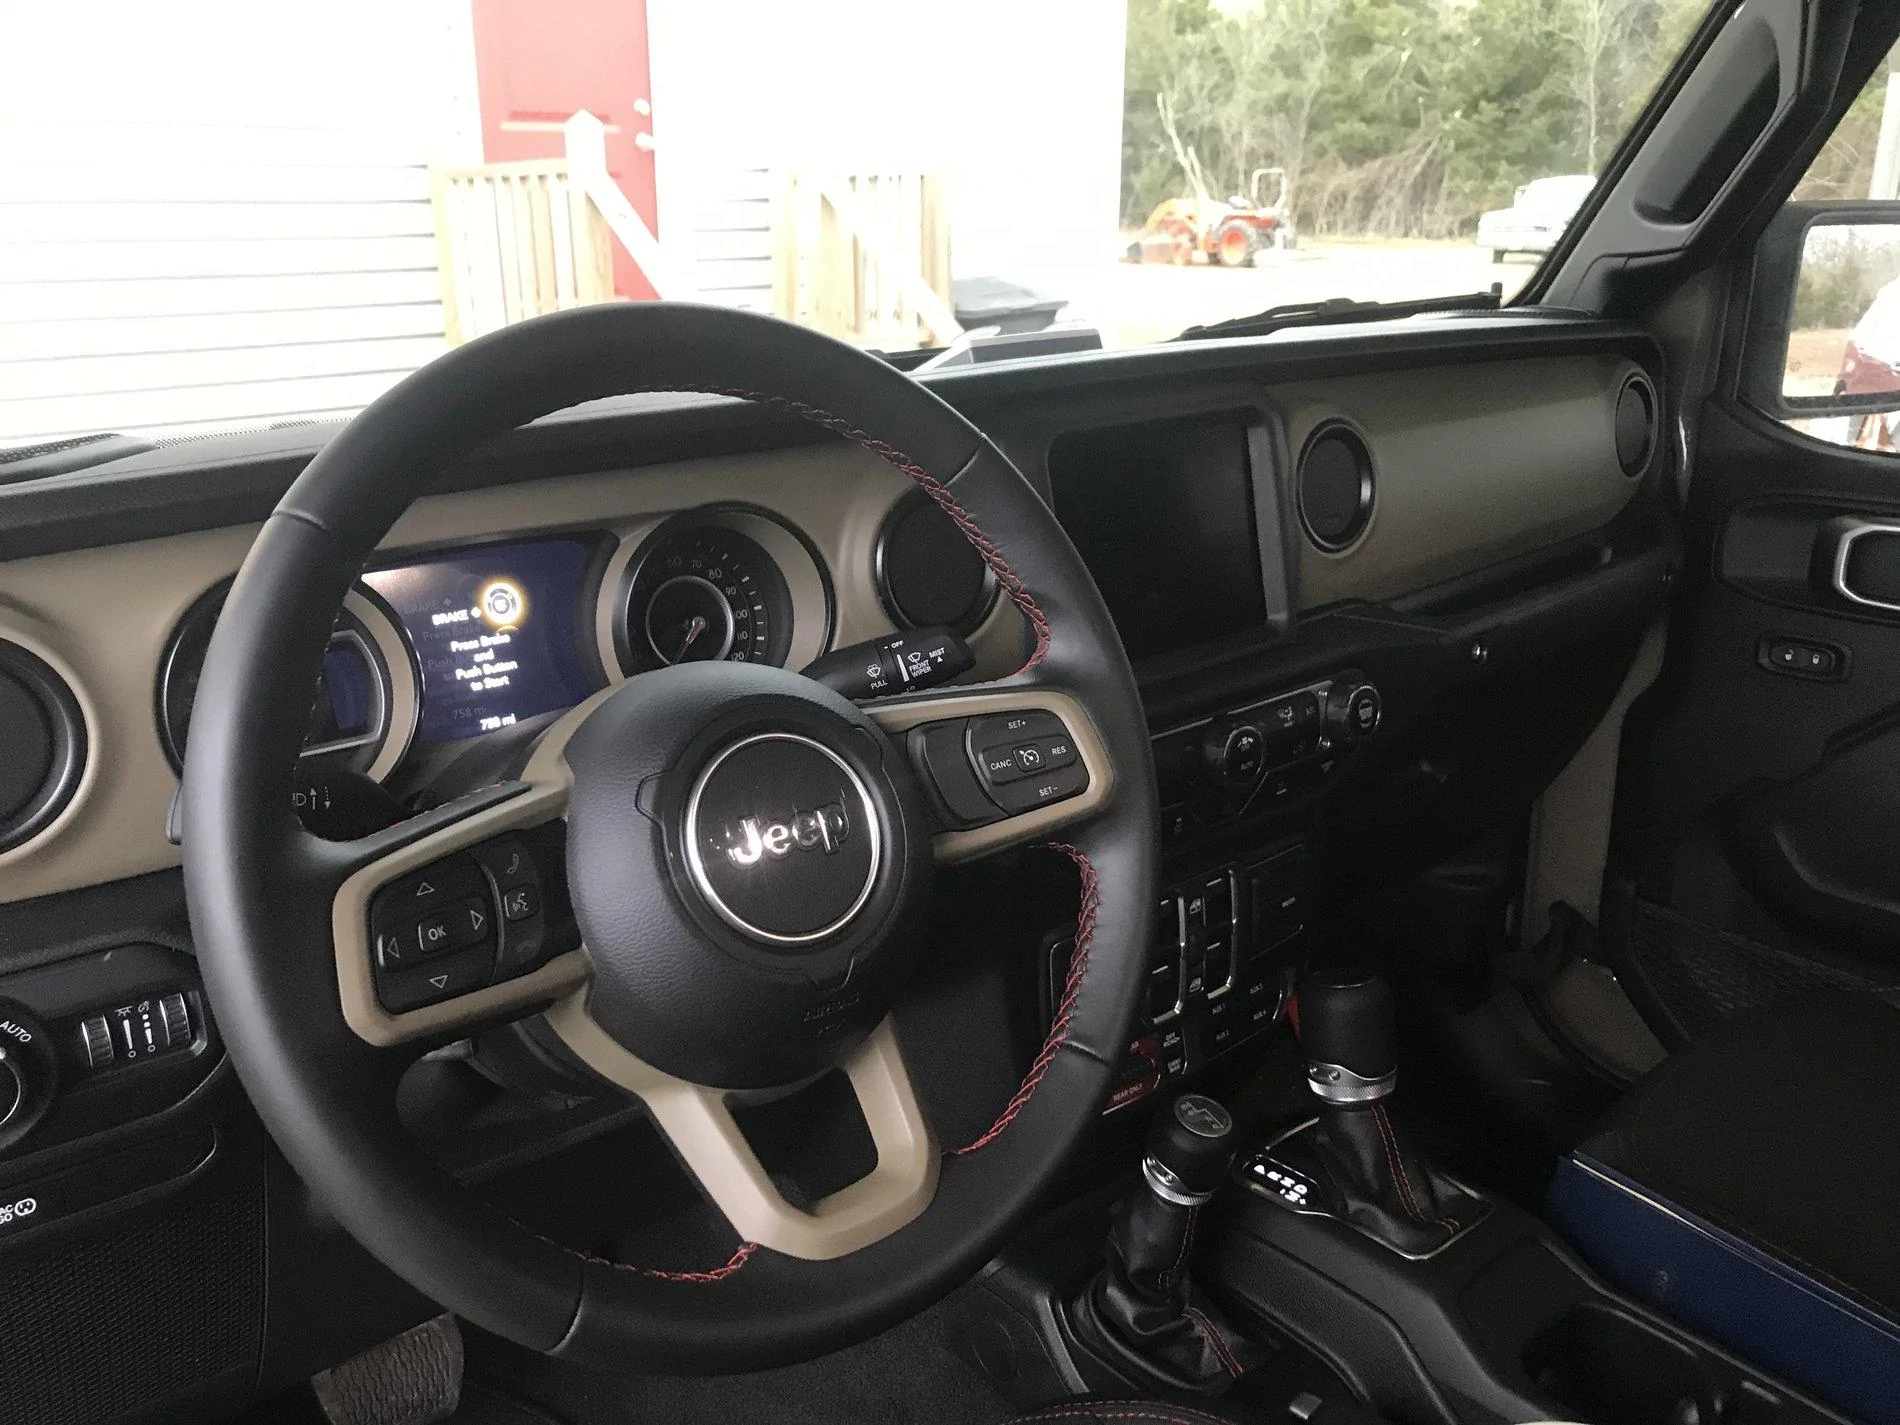
This was my final result:

1. disconnect the battery and let sit for 30 minutes (since you’ll be playing with the airbag)
2. On the back of the steering wheel there is a small access panel on each side. Pop them open with a thin flathead and remove the 10mm bolt from each side.

3. Pull the horn/airbag away from the steering wheel. There are four plugs that need to be unplugged. The three center ones with yellow sheaths are color coded at the connection so you know where they go during reassembly. Use a flat head to pop the red piece up and remove. The other wire has two connectors that slide onto blades (can’t remember what these are called. I’m not an electrician by any means). Don’t try to figure out the actual plug on that one. You’ll just get frustrated and break it like I did. Pay attention to how the wires are run for reassembly. It’s a tight fit. Place the airbag aside.
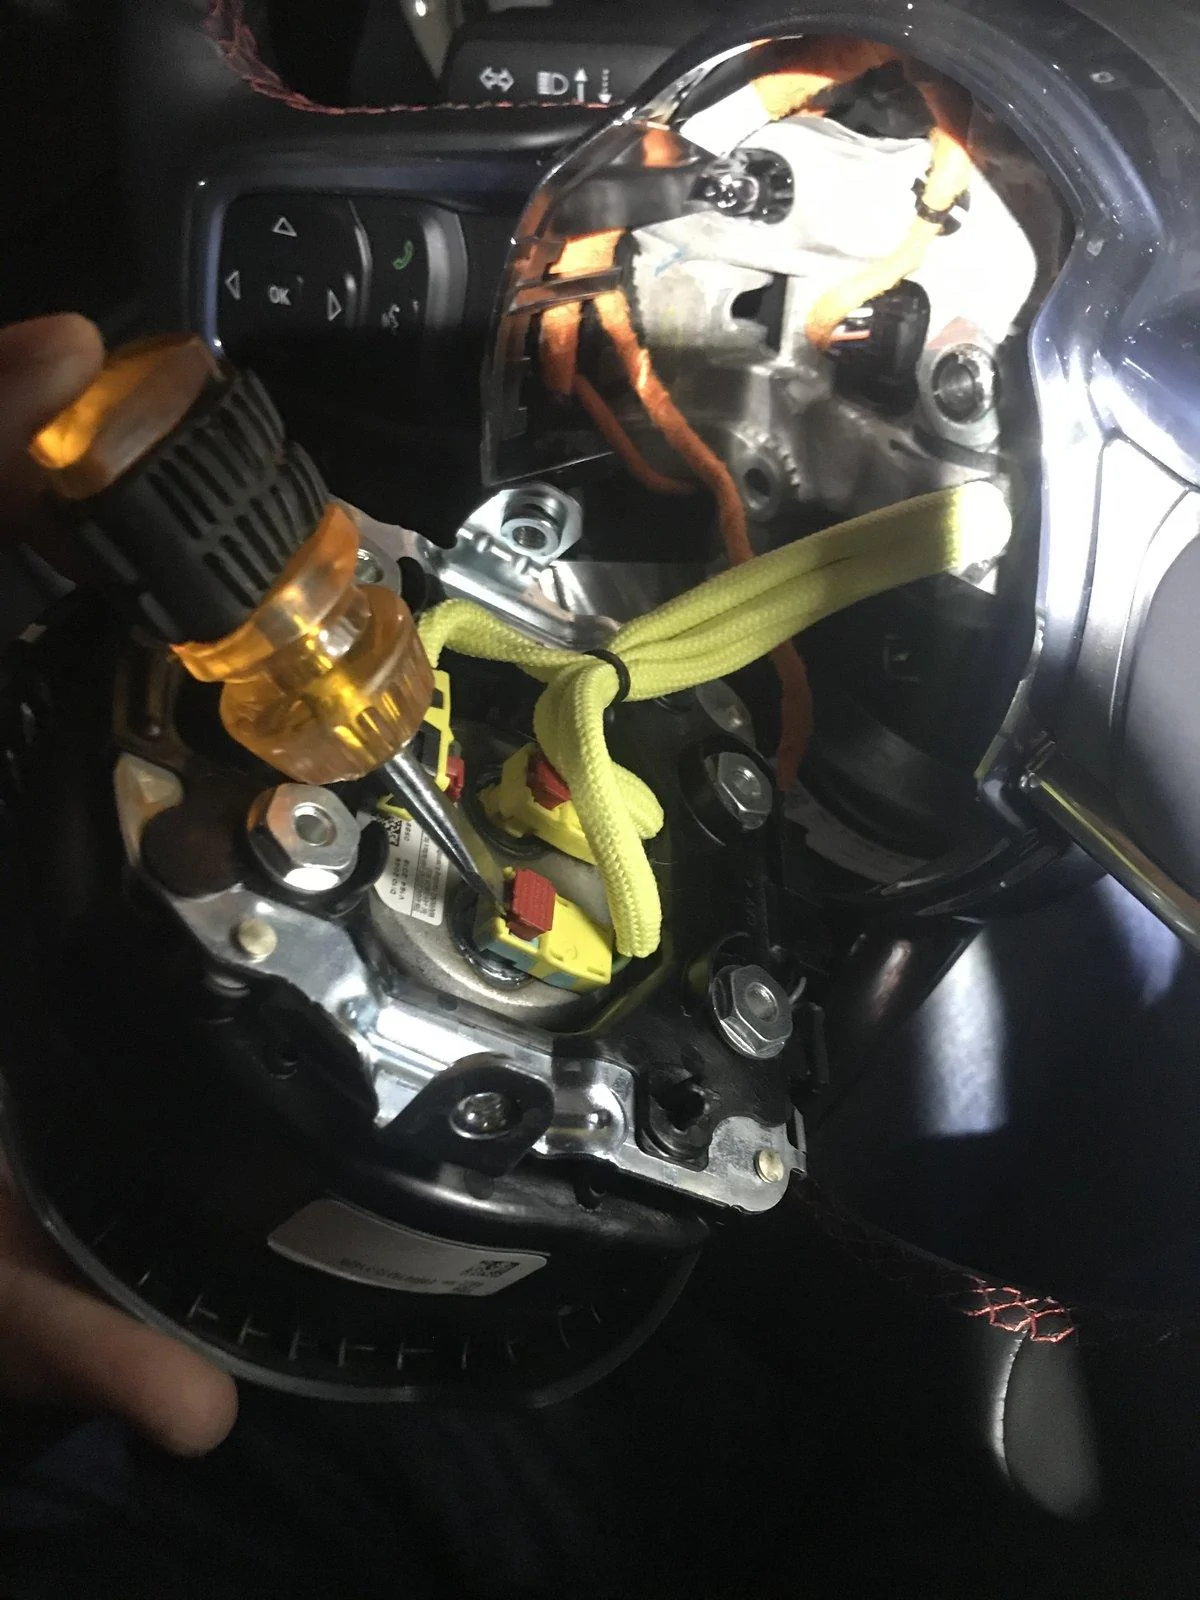
4. In the center of the wheel is a nut holding the steering wheel on. It should be a 24mm. Before you loosen it, disconnect the plug with the orange sheath that’s to the left of the nut. Once the nut is removed, give the steering wheel a sharp tug and it’ll come off. There’s a notch on the steering wheel and on the bolt for alignment when you reassemble. Again, note the placement of the wires before you move to the next step.
5. On the back side of the steering wheel are eight torx screws. They’re all either 10, 15, or 20. Remove all of these. The four black ones are located around the center. Two small silver ones are on the bottom. The final two black ones are beside the radio controls under access panels similar to step one. Once removed, the steering wheel bezel will come out with the cruise control/voice control buttons still attached.
6. On each side behind the controls are four small torx screws, three closer to the center of the wheel and one on the edge (I think all size 10). Remove these. Once removed, the controls can be pulled out. There is a little spacer on each side that might give you some trouble, but they just pull out once the controls are removed.
The bezel by itself will look like this.
When reassembling, make sure all the wires are in the right spot before you start tightening things. You’ve got to tighten the torx screws a lot to get the bezel to seat all the way back into the steering wheel. The nut that holds the steering wheel on had red paint at the top on mine. I tightened it until the paint was back on top. When putting the horn/airbag back on, don’t tighten the bolts too much or your horn will stay on.
This was my final result:
Sponsored