hjdca
Well-Known Member
- Joined
- Oct 27, 2019
- Threads
- 9
- Messages
- 1,733
- Reaction score
- 2,494
- Location
- Southern California Mountains
- Vehicle(s)
- Jeep Gladiator Rubicon manual Sting Gray
- Build Thread
- Link
- Thread starter
- #1
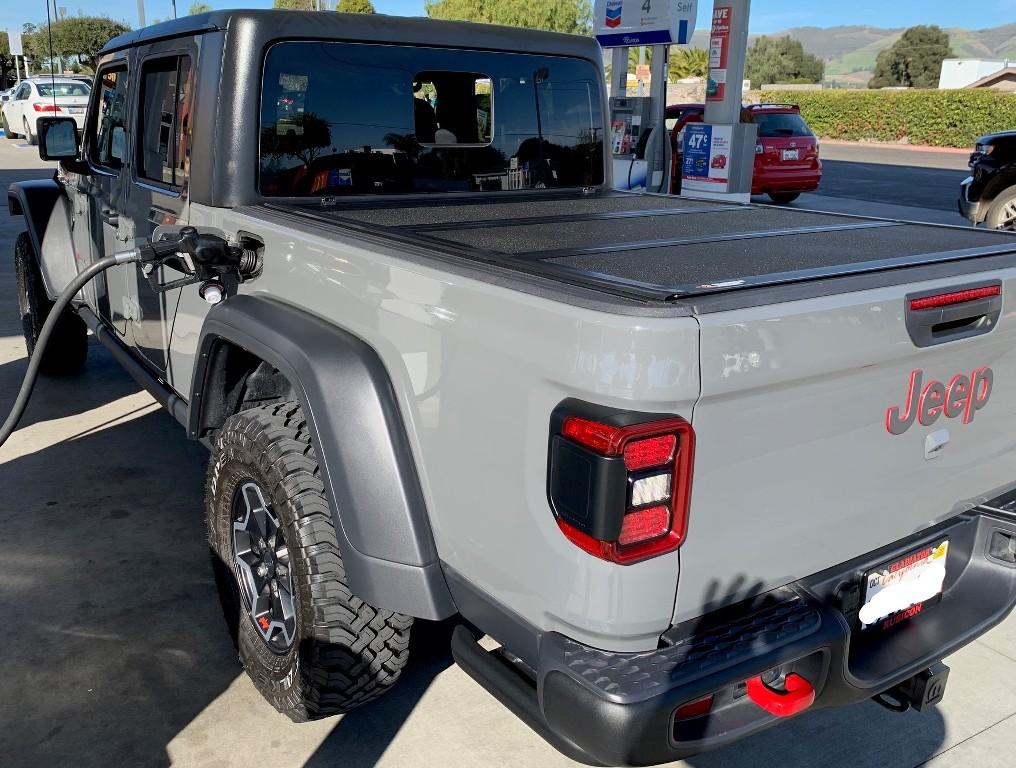
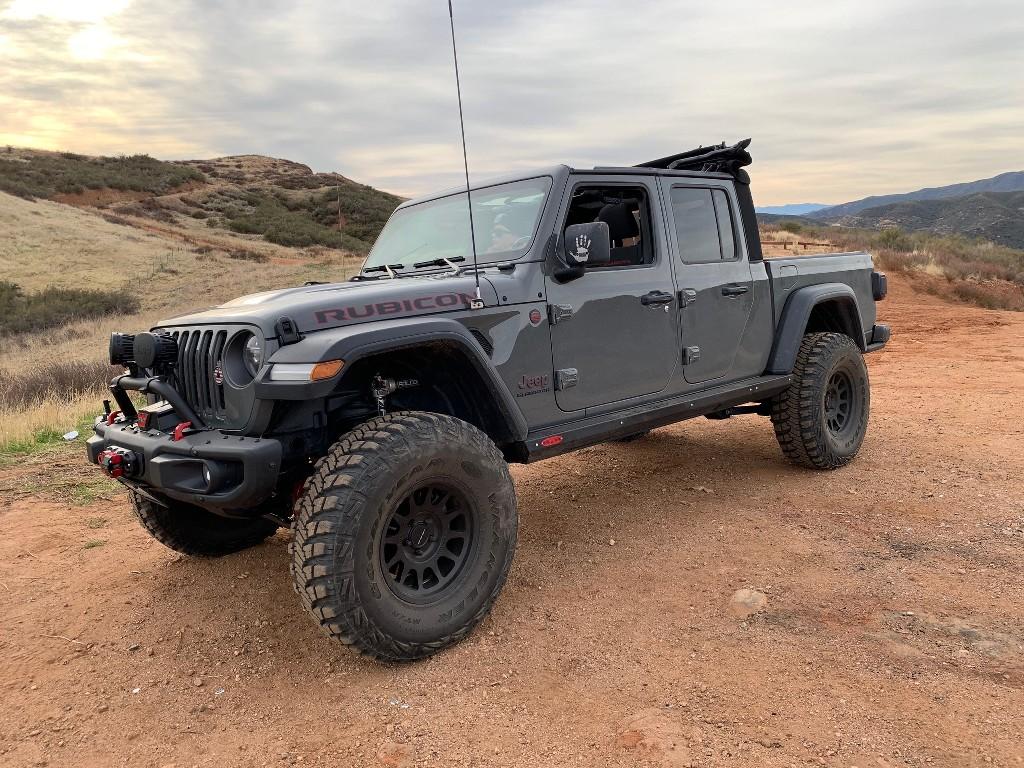
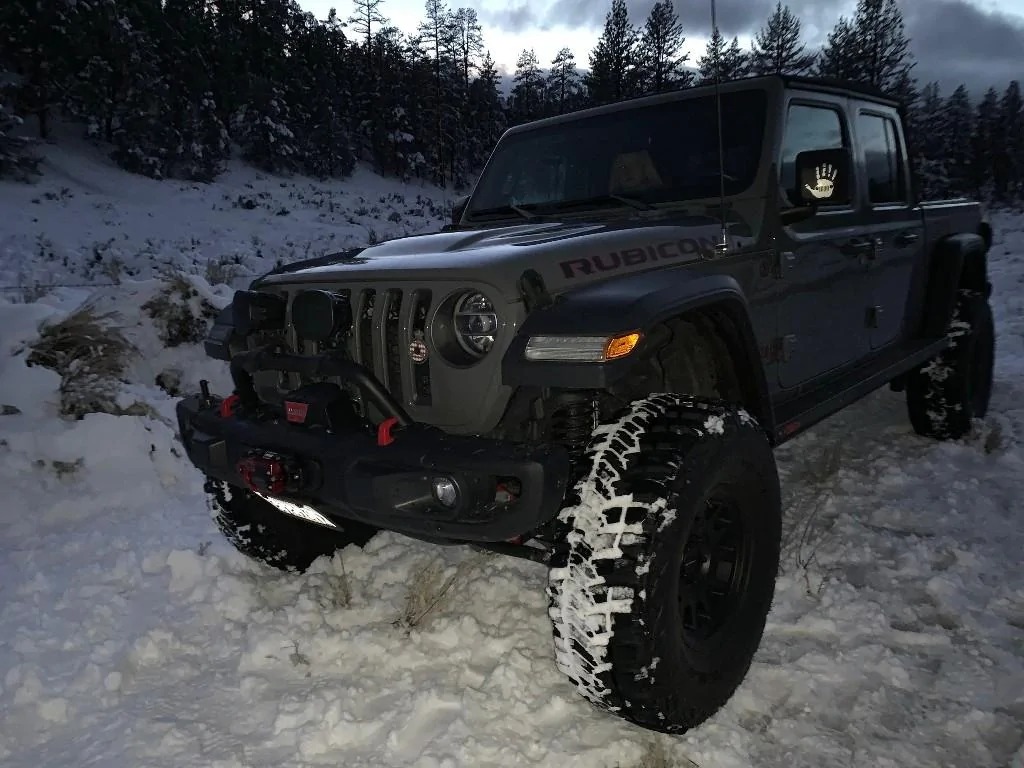
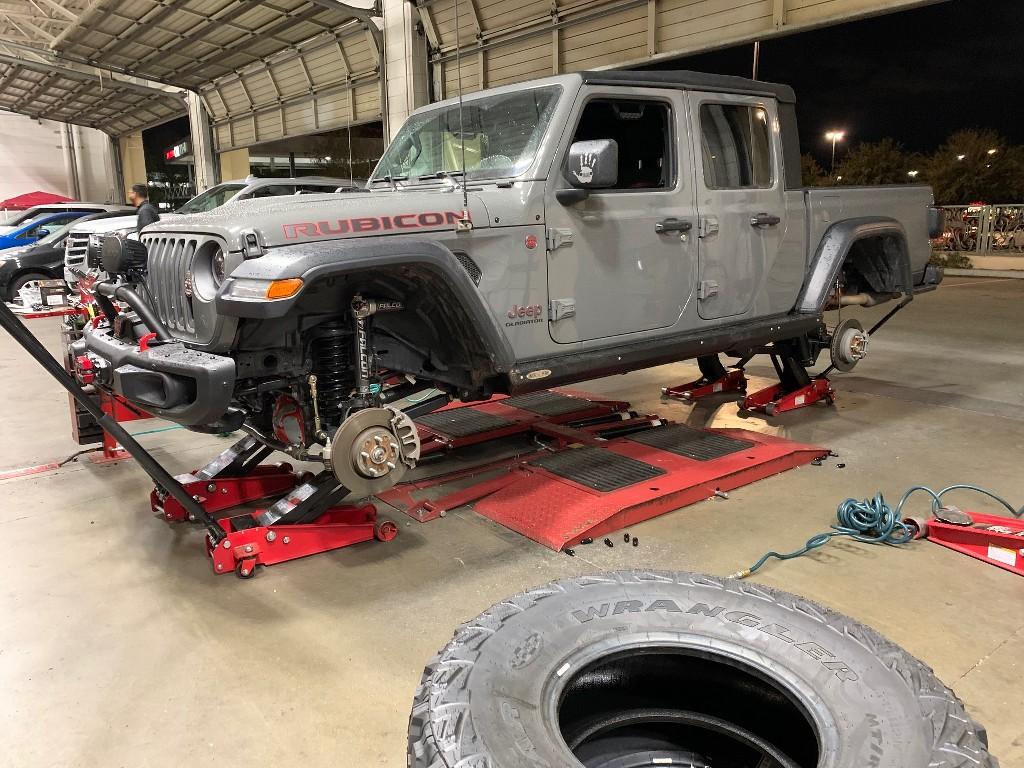
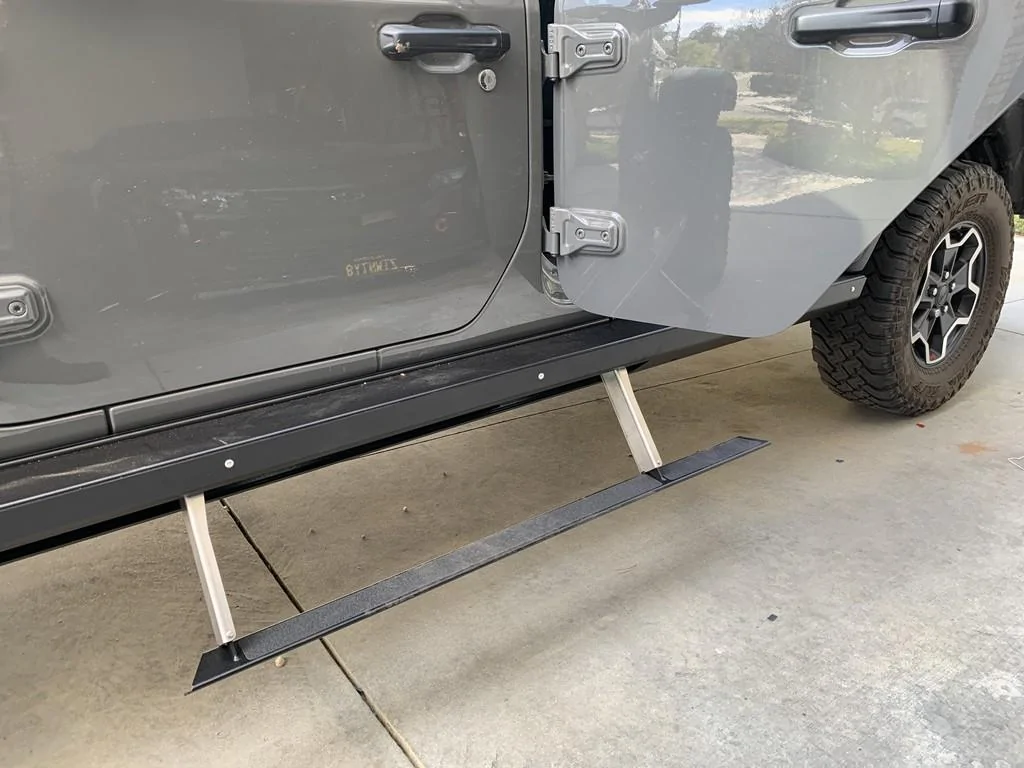
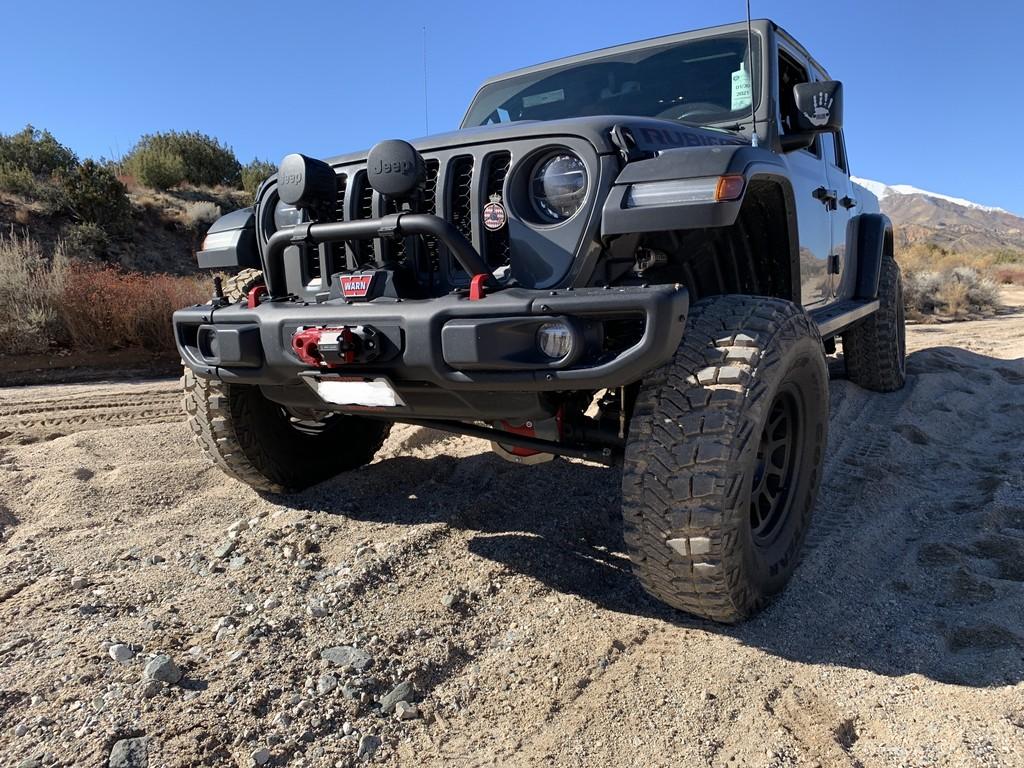
I finally got most of my build done. Most of the parts I ordered on Black Friday, and they started arriving in Jan... I finished all the installations and I am super happy with the results. Right now for the street, I am running the Falcons on the lowest SP2 setting and 2.3 on the front adjust knob and 2.1 on the rear adjust knob. I am loving the lift kit and shocks. RSE Steps make life so easy. One step and you are on the RSE platform, shuffle over to the back and side step to the rear tire, up and over and you are in the bed, easy peasy.
Here is a list of improvements and the time it took me to do the work:
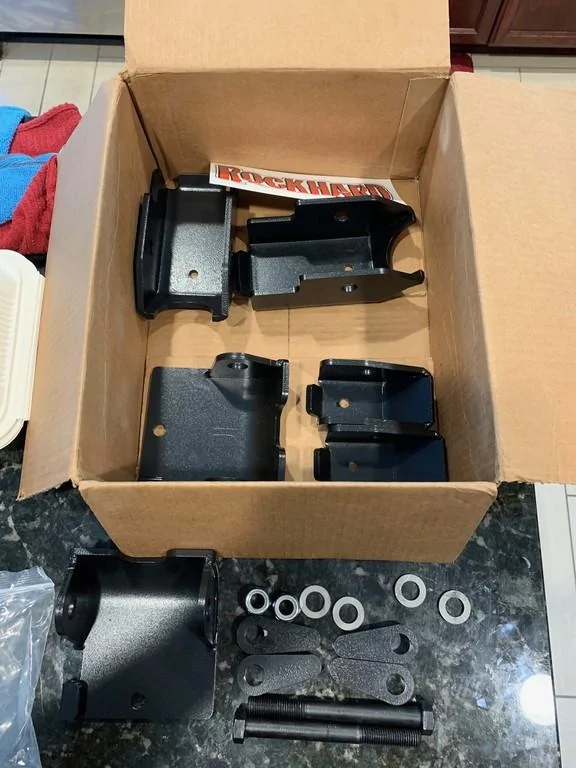
1. Clayton 3.5" Overland Plus lift kit - 2.5 long days labor
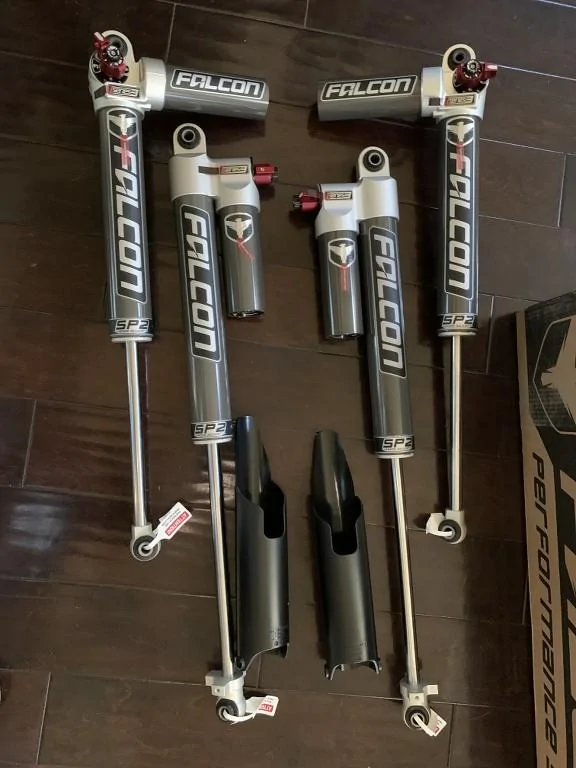
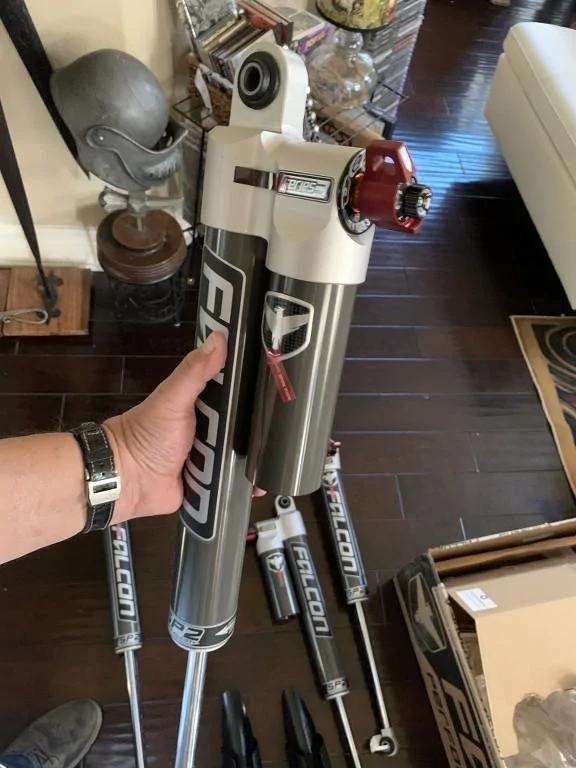
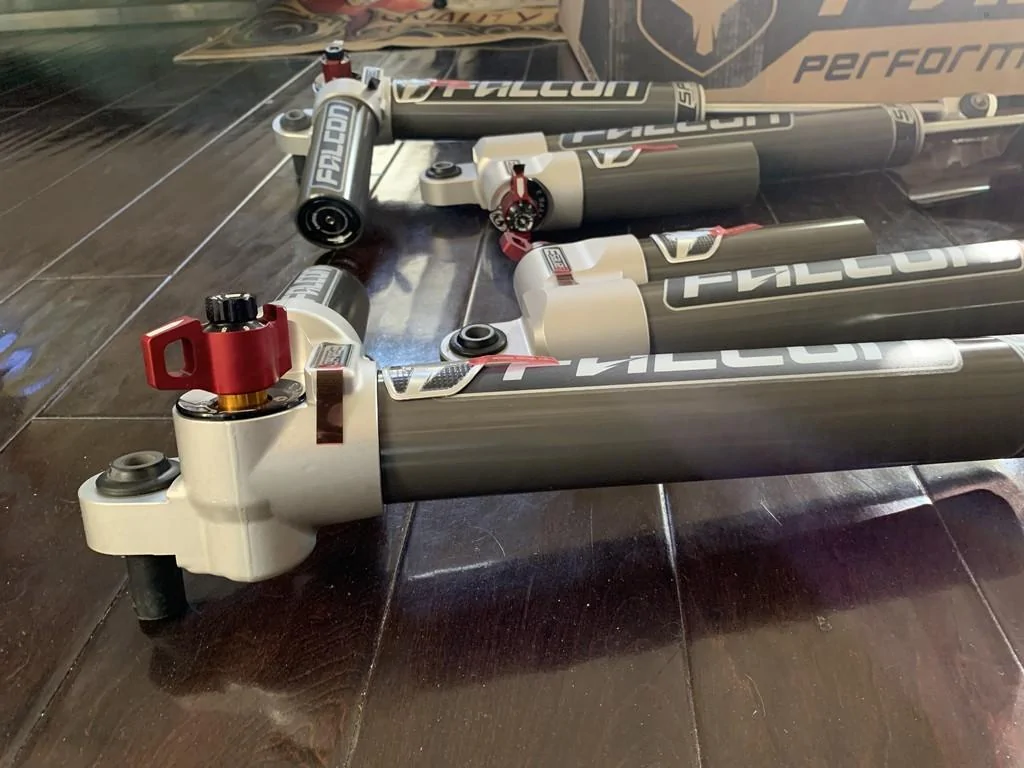
2. Falcon SP2 3.3 Adjustable shocks - part of the 2.5 days labor above
3. Rock Slide Engineering Steps and Armor - 3 days labor, 1 day for each side, 1 day for Electrical
4. Warn Winch Plate - 1 day labor
5. Warn 10s Zeon Platinum - part of 1 day above
6. Warn winch Power isolator - 1/2 day labor
7. Factory 55 Ultra Hook and Black powder coated rope guard
8. Rusty's front Spring Isolators.
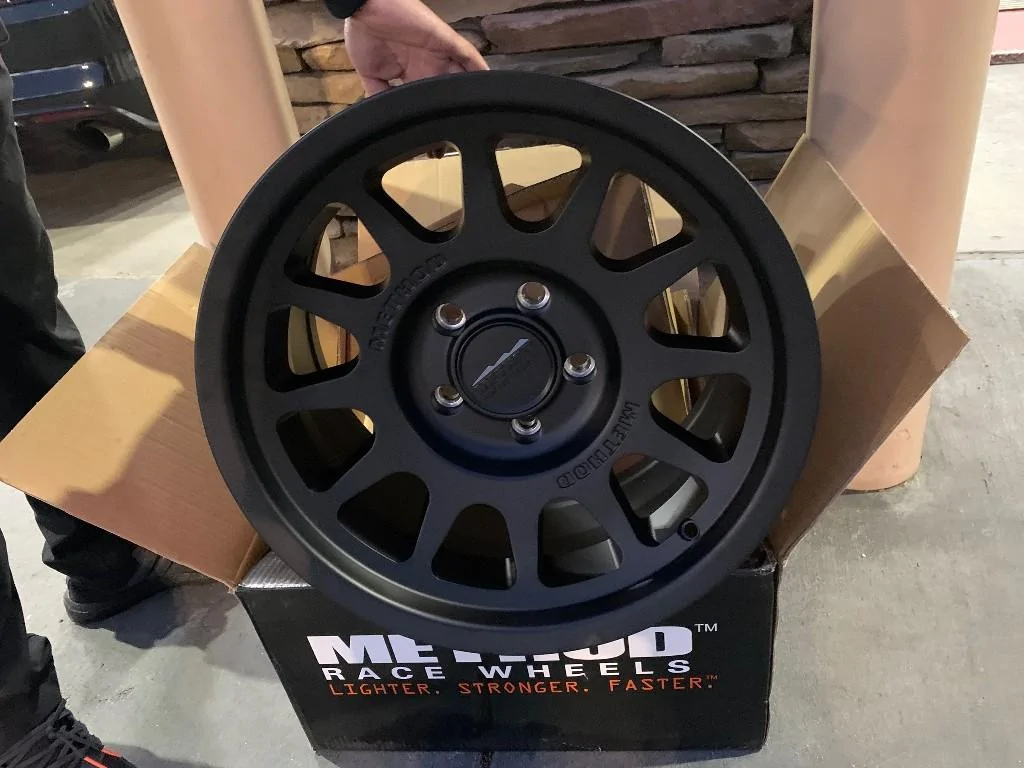
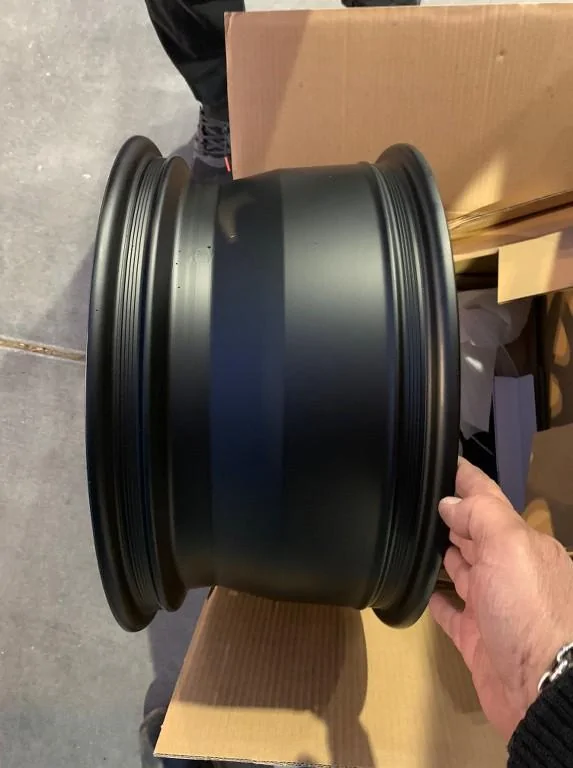
9. 5 Newly Released Method 703 "Bead Grip" Wheels
10. 4 Goodyear 37x12.5x17 Kevlar Tires
11. 1 Patagonia 37x12.5x17 Spare tire
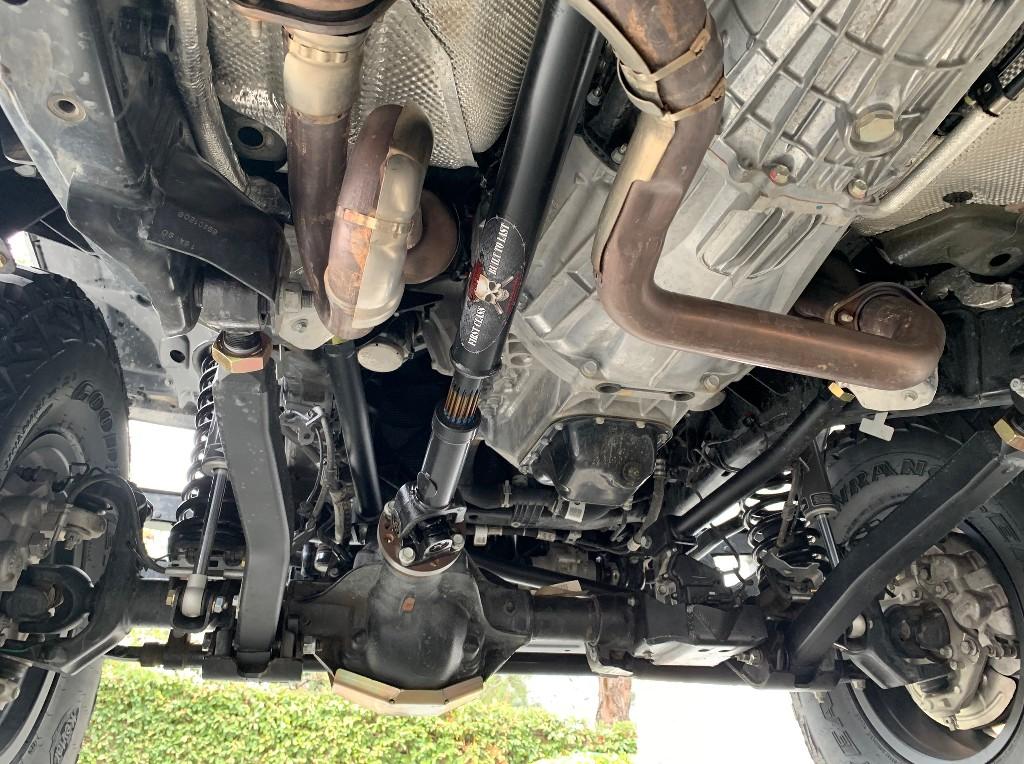
12. New Adam front Driveshaft - will be installed on Friday - DONE -
13. Maximus 3 Warn Winch Zeon Filler plates
14. Maximus 3 OEM bumper license plate mount
15. Rock Jock rear driveshaft carrier spacer
15. Dana 5:13 Gears - being installed this Friday - DONE -
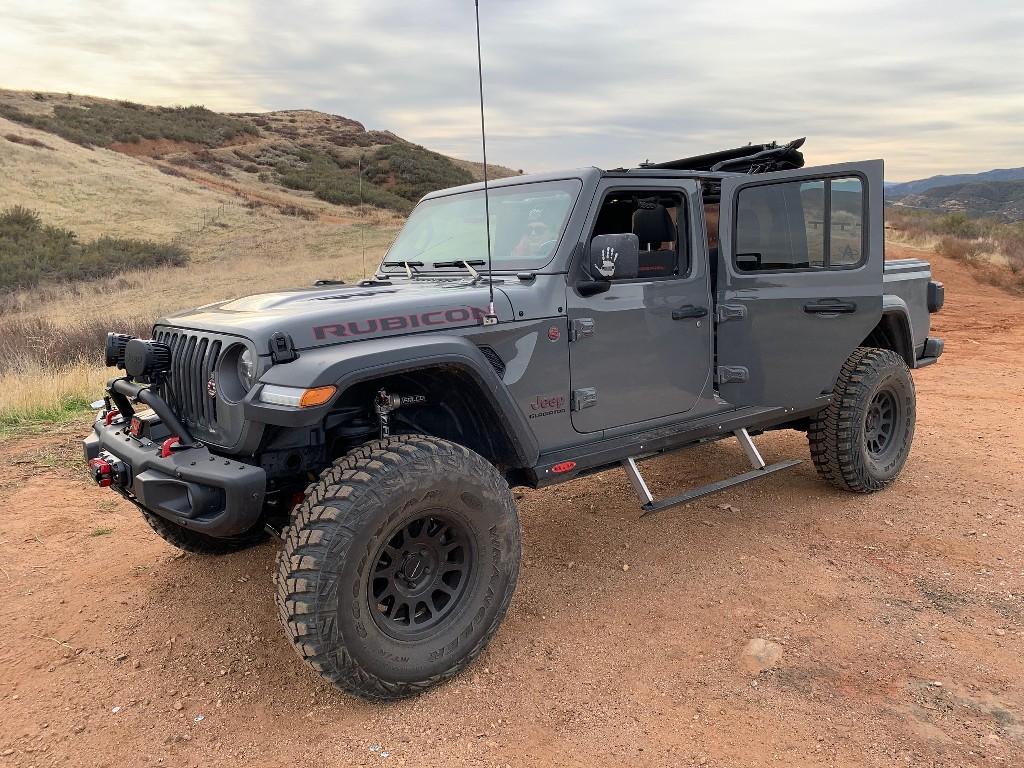
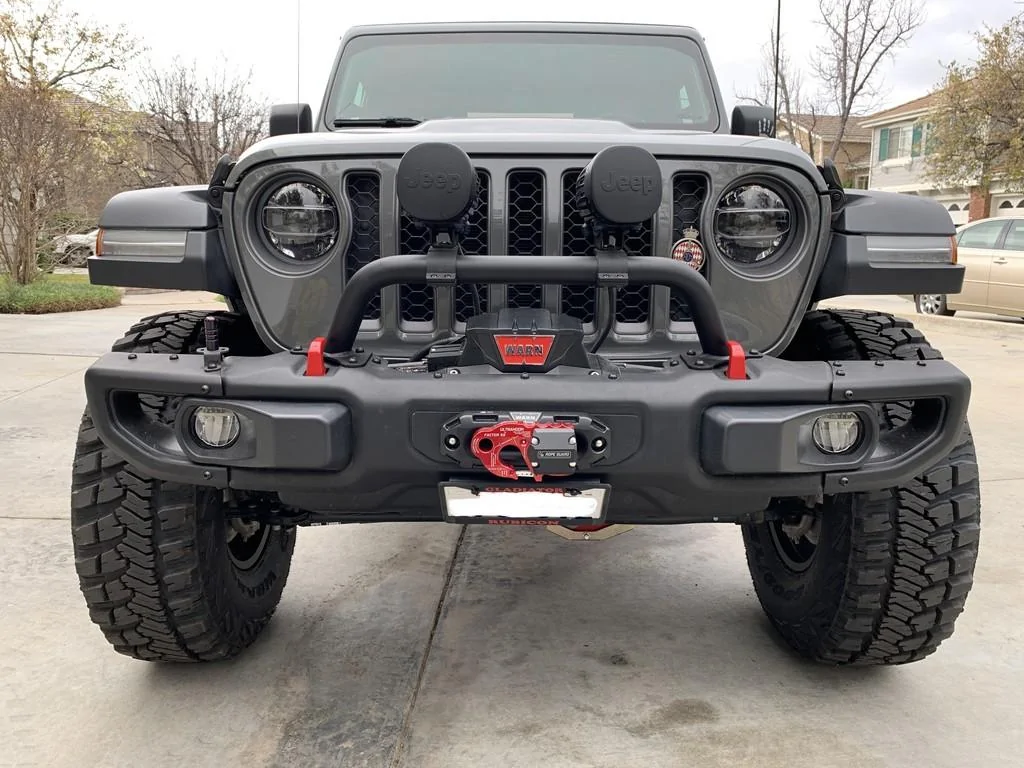
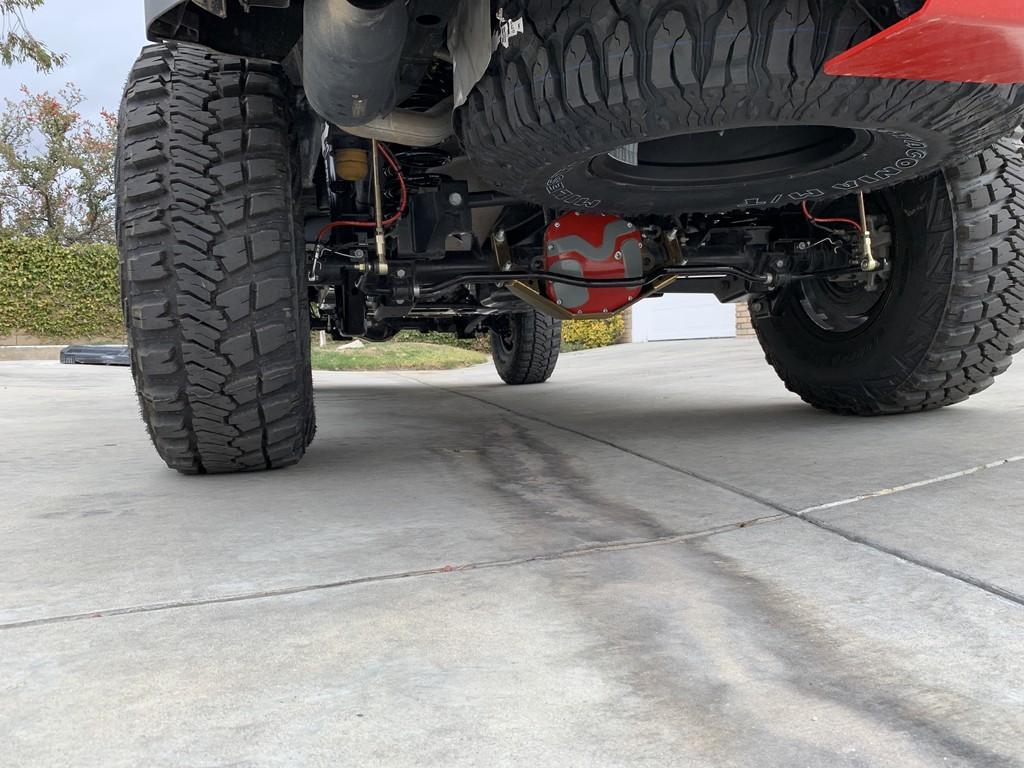
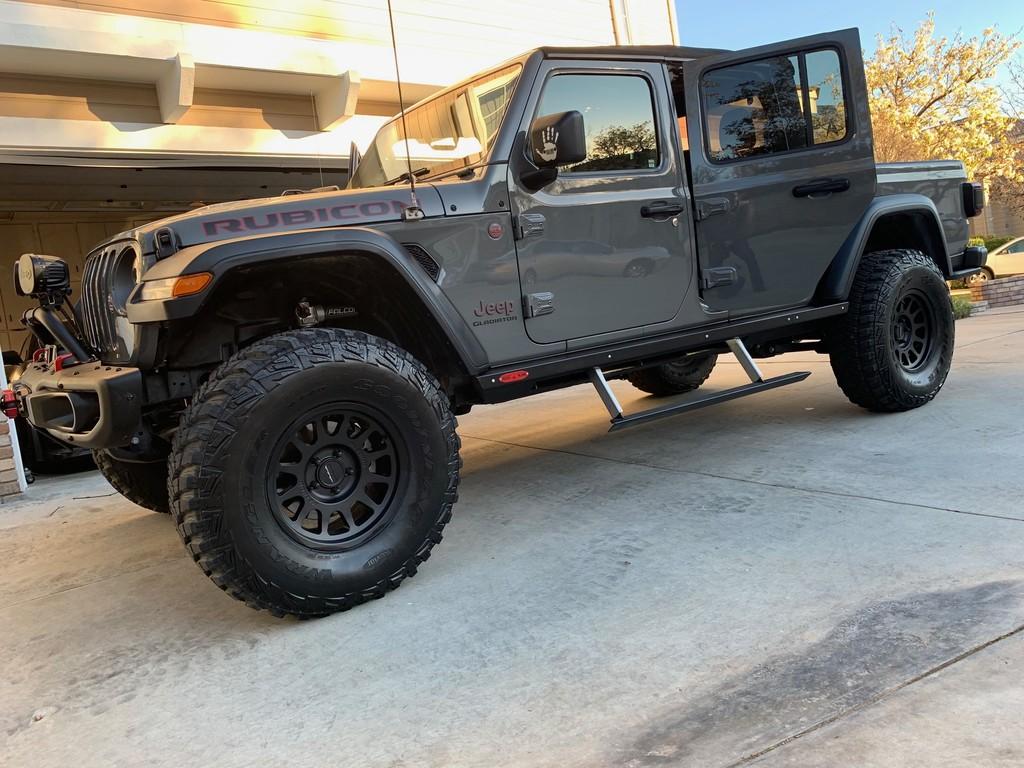
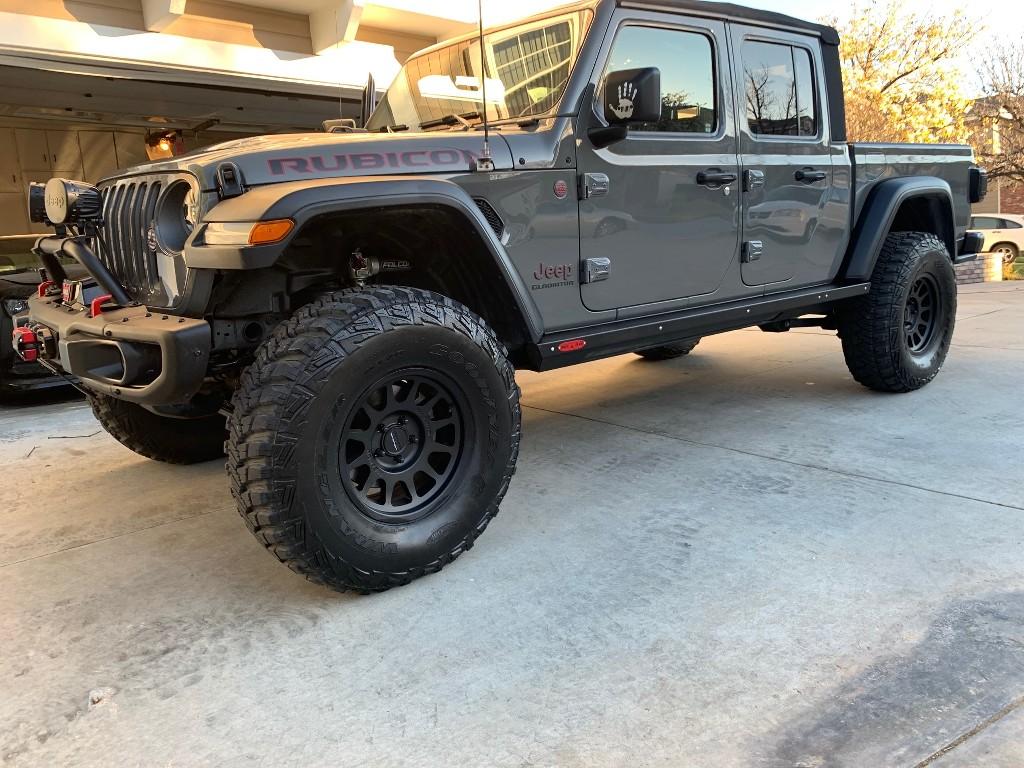
Here is the final results:

Factor 55 Ultrahook. I had the rope guard powder coated black. Getting those rivets pounded into the Ultra hook took some serious swinging of my copper hammer and punch.
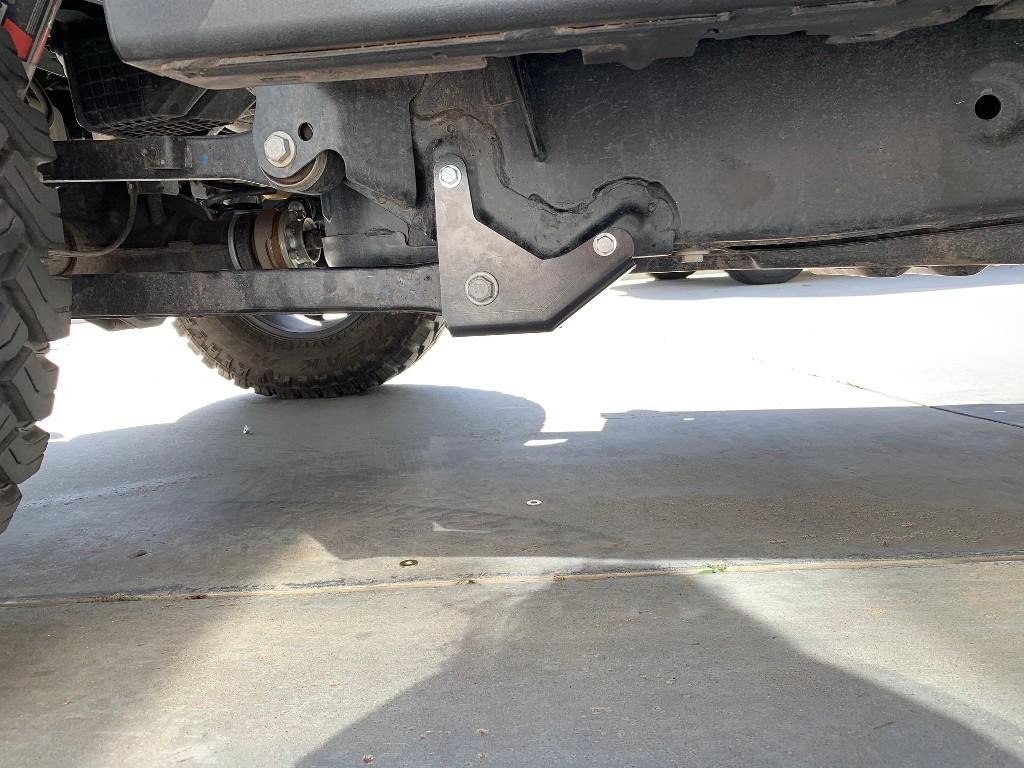
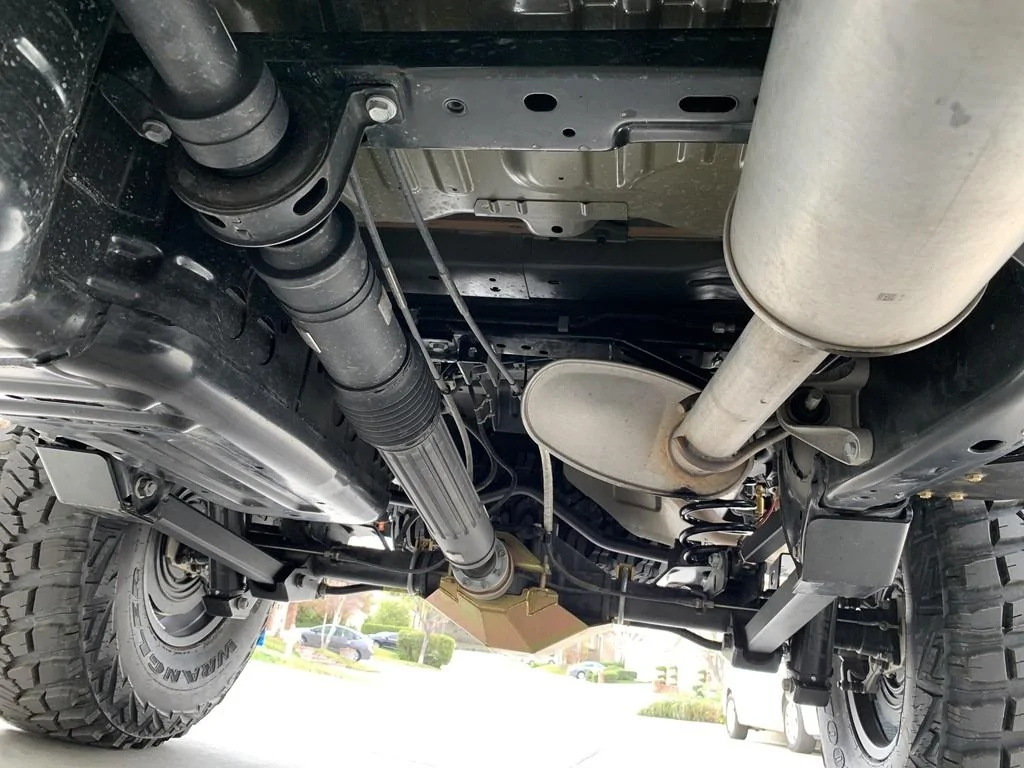
Beefy Clayton Control arms with skids:
Update: Shout out to Rebel Off-Road, made the long trek there to get my Dana 5:13s installed with my front Adam's Driveshaft. Two guys were on the install front and back and it was done fast. Lockers and everything works perfect. Super painless ! I took the truck up to the Snow in Frazier Park and it feels like it is Supercharged. I ran it in 4WD and there is no vibration. Everything feels tight and OEM like. Plenty of power now, even in high altitude.

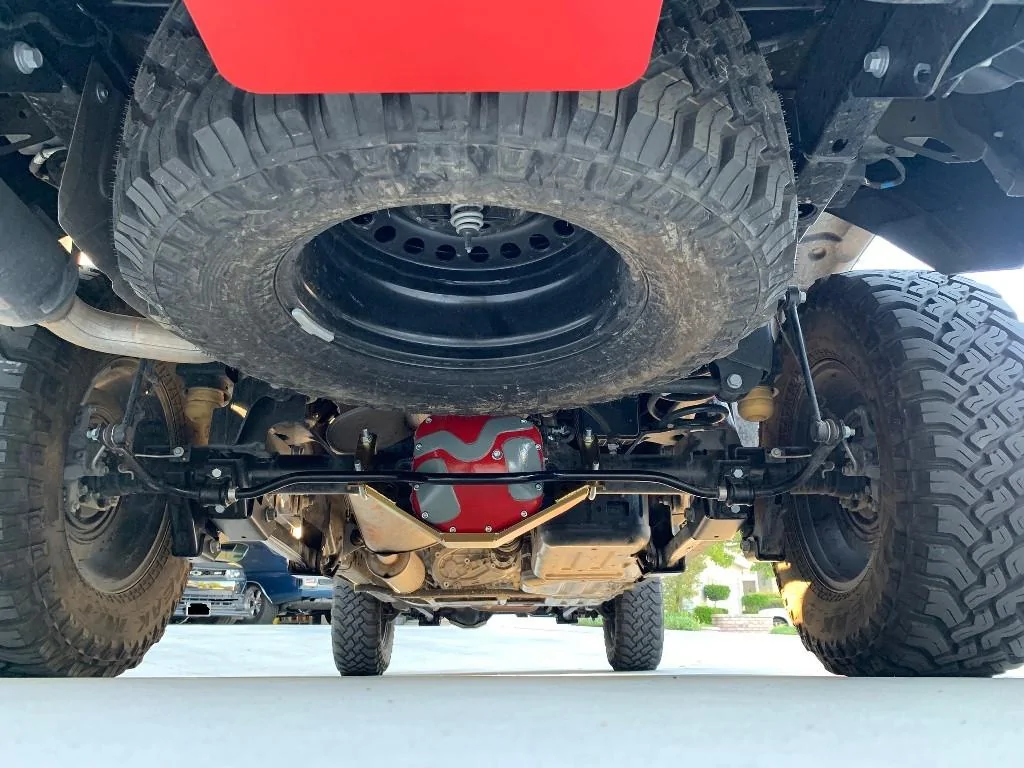
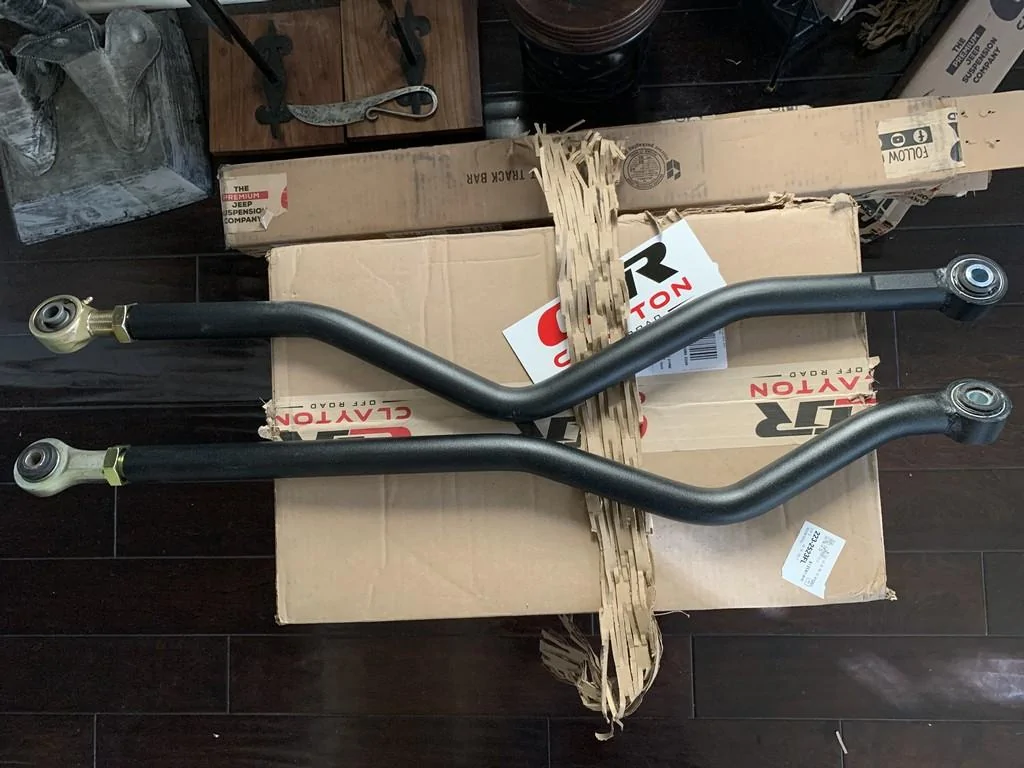
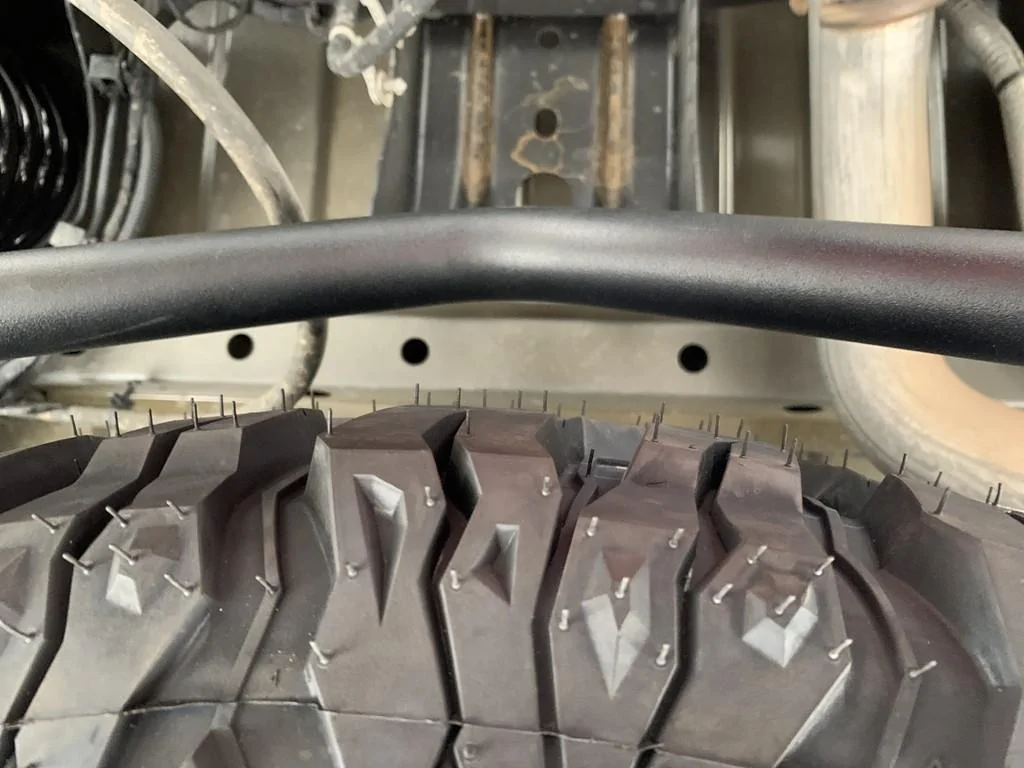
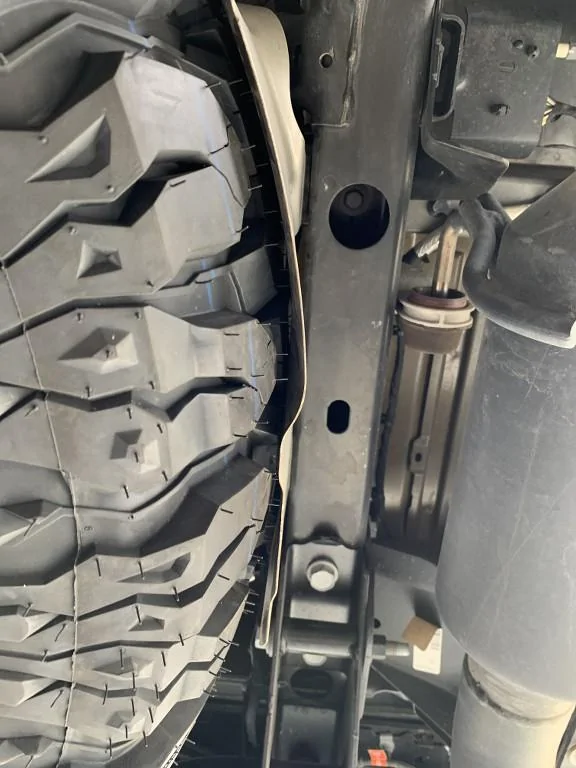
Clayton bent rear track bar to support 37 inch tires. I still could not fit the Goodyear MTR Kevlar because it would not clear the Frame rails. It cleared the Clayton Track bar no problem, but the Frame rails and exhaust shield are still a problem. I ended up with a 37 inch Patagonia with 10 lbs of air that I squeezed between the frame rails and cinched down the tire tight. The spare tire is sitting flat against the bed.

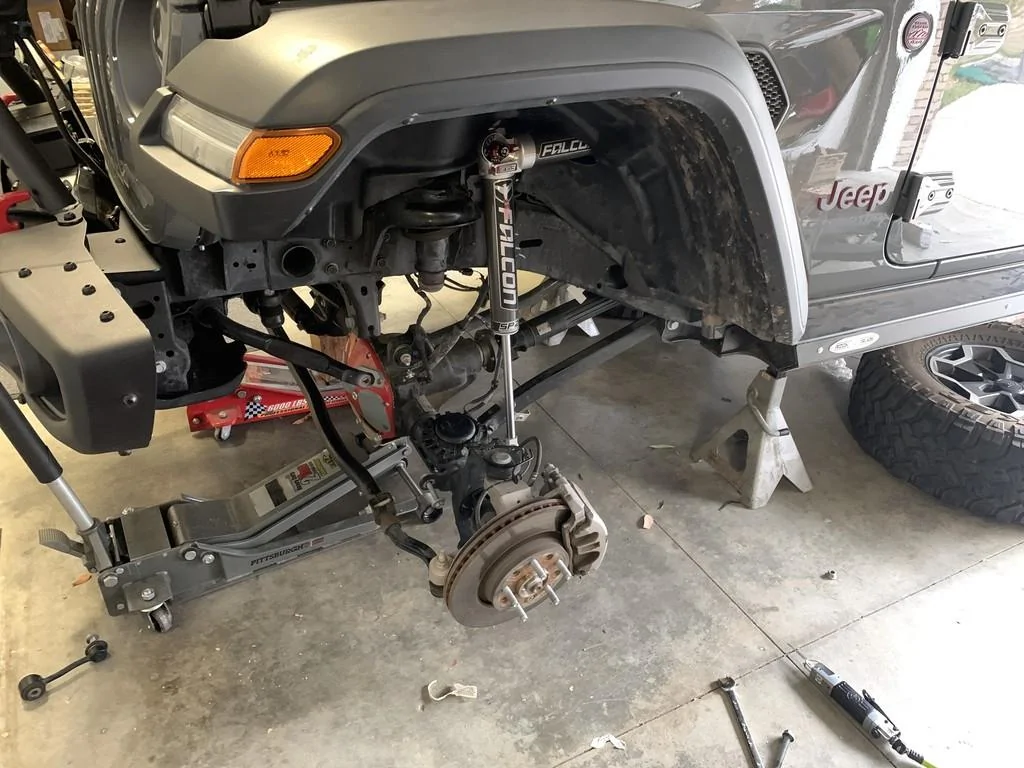
Here is some pictures of the 3.5" Clayton lift kit install.
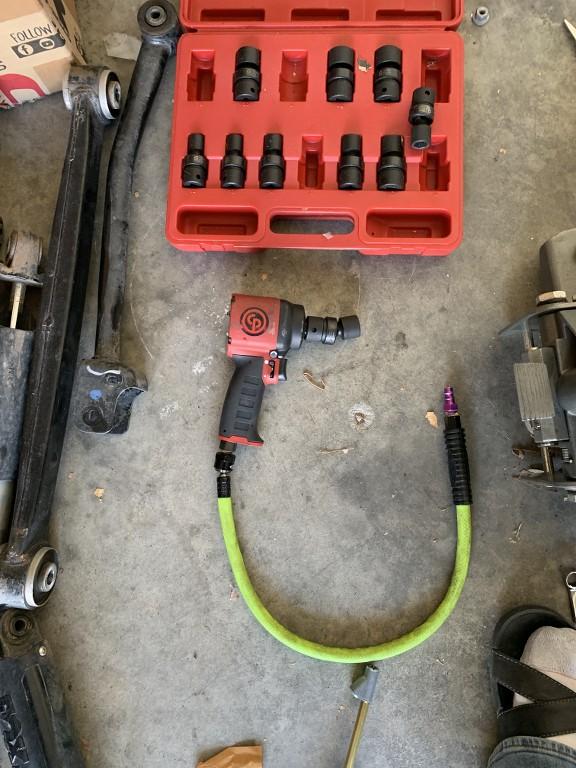
This small 1/2 inch impact with the impact swivels was the most important tool for the lift installation. I was able to use it on all the control arm bolts and shocks. My normal size impact will not fit in many spots.
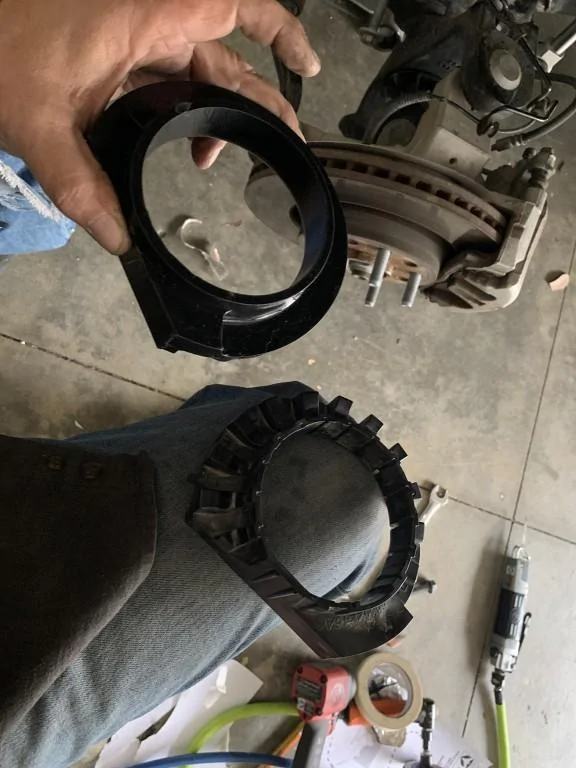
I went with Rusty's isolators instead of the stock ones which seemed compressed already and not very substantial for the new Clayton Springs.
Some pics of the Clayton Lift kit installation:
Old Vacula gets the super bleeding done fast.
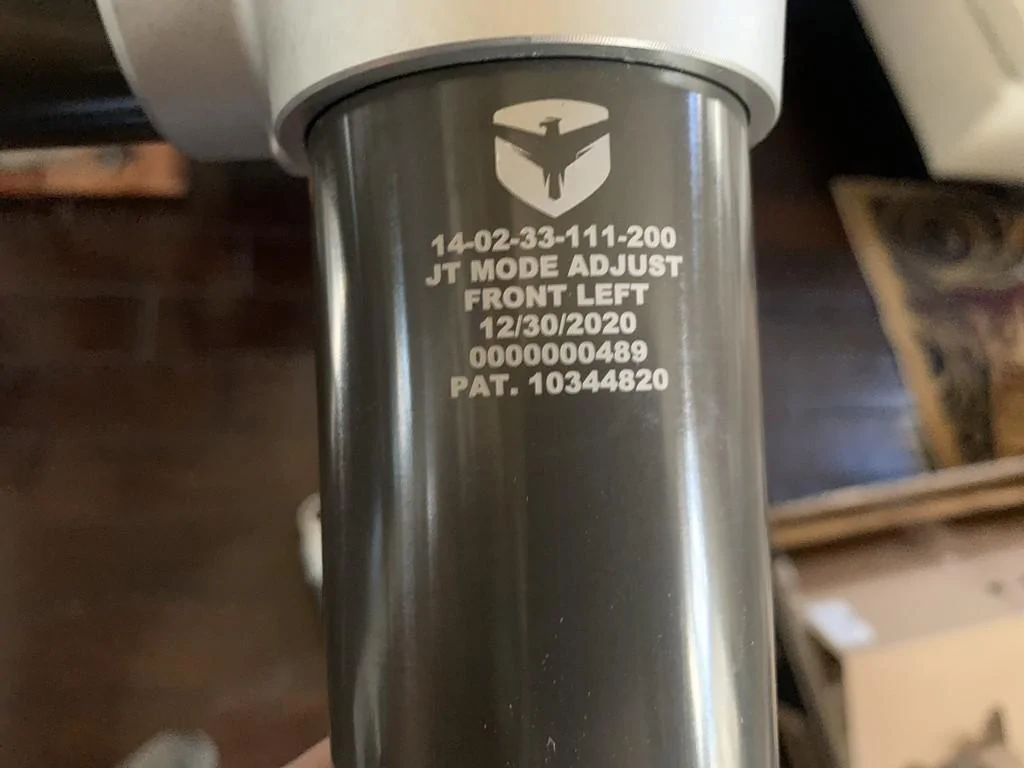
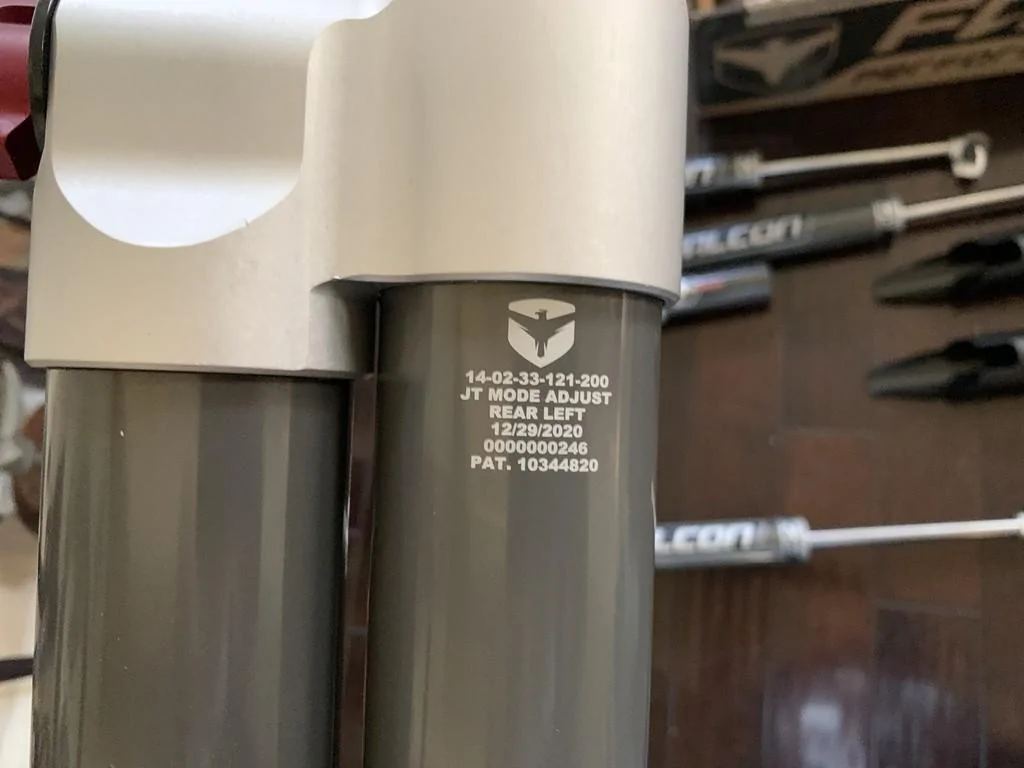
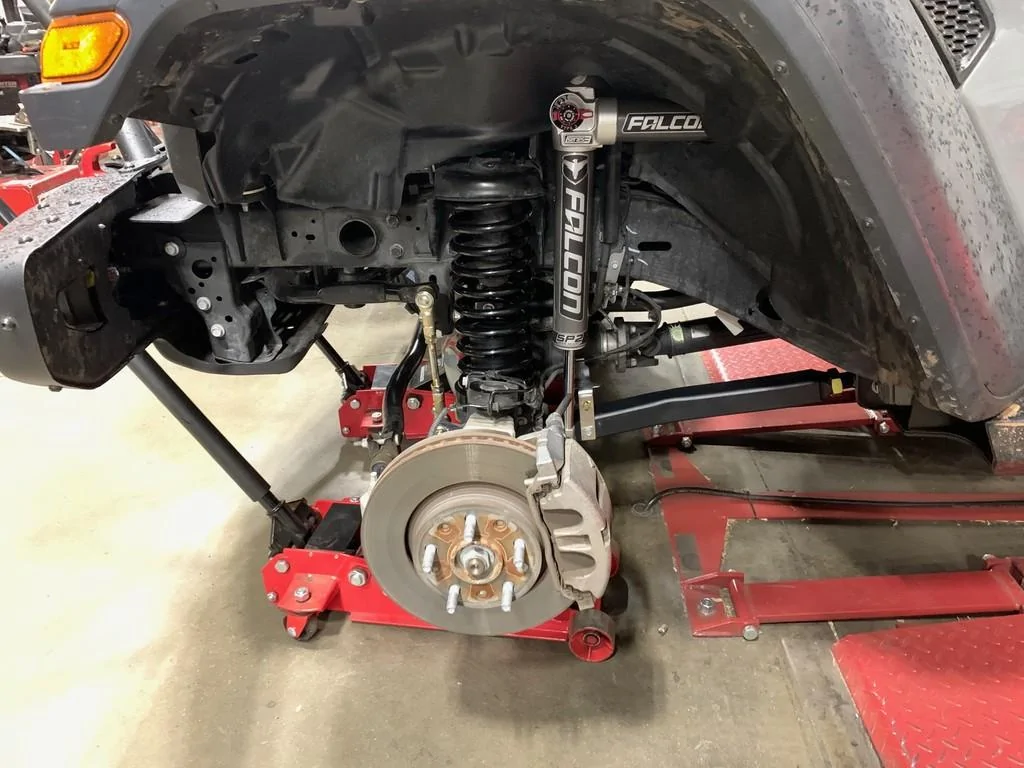
Falcon SP2 3.3 Shocks
Tires and Rims - from Discount Tire (Doug, Dan) on this forum - America's Tire - shout out to Manny
Method 703 "Bead Grip" Rims

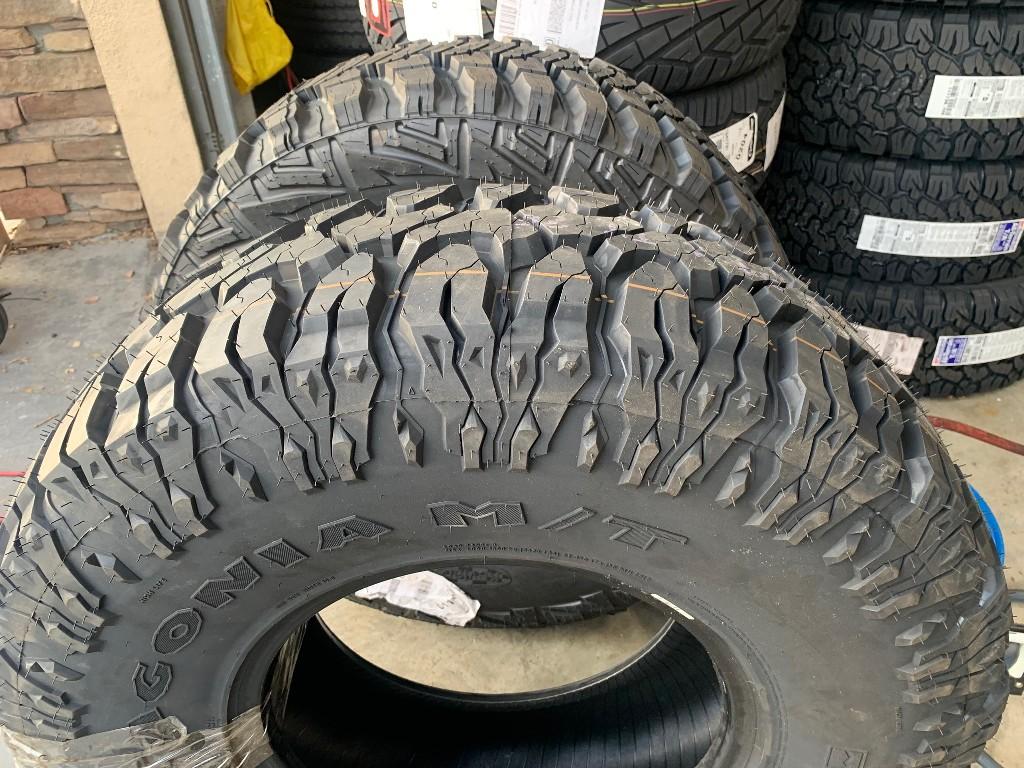
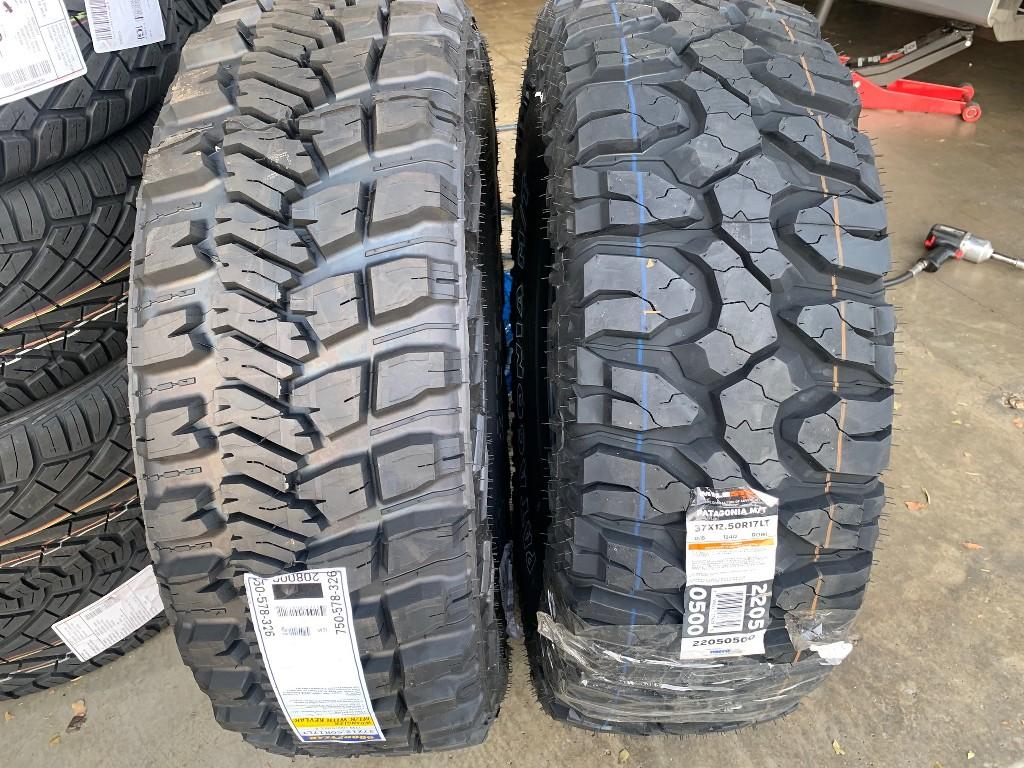
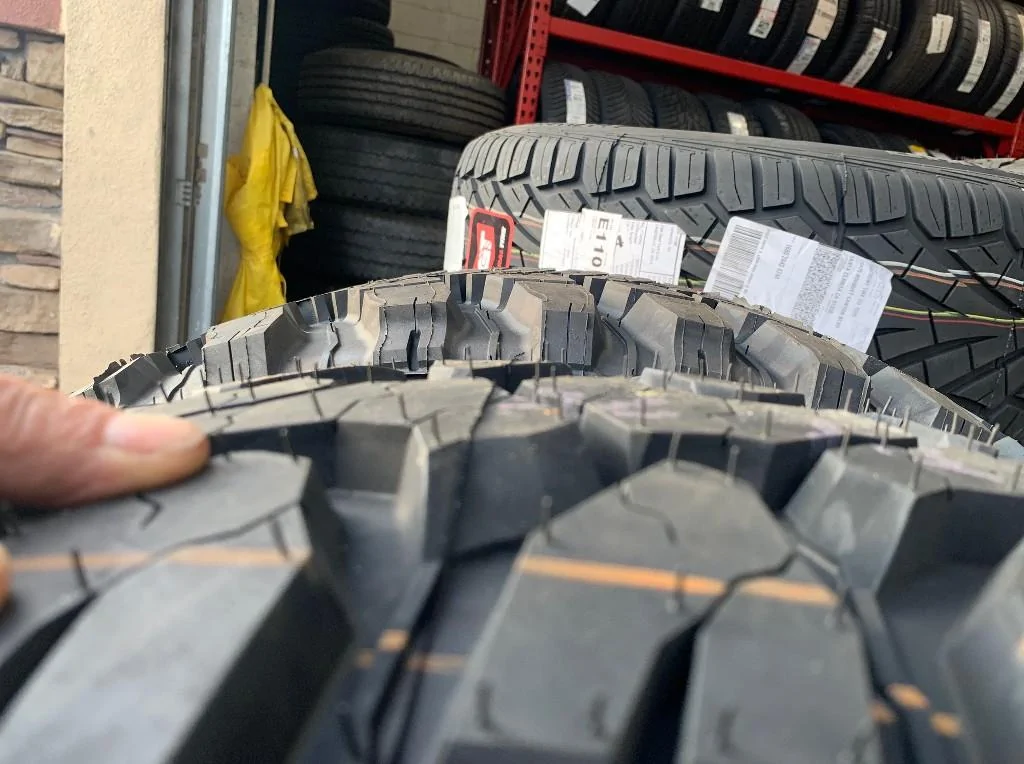
Goodyear Kevlar MTRs 37s compared to Patagonia MTRs 37s. The Goodyear's are huge ! Real 37s.
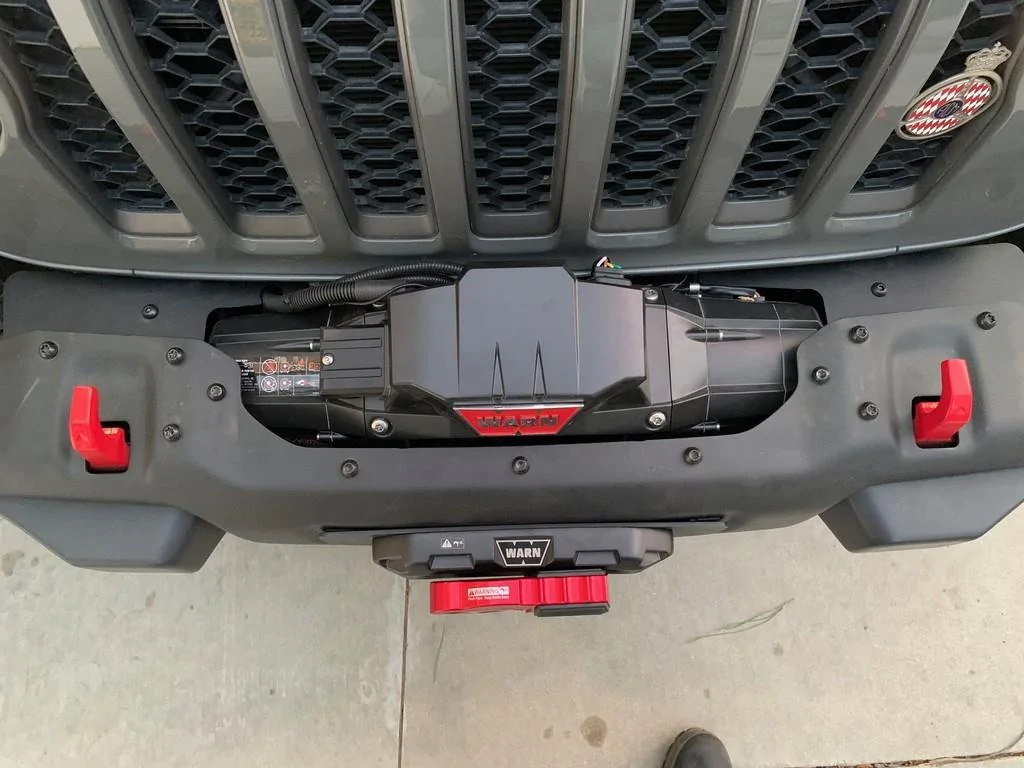
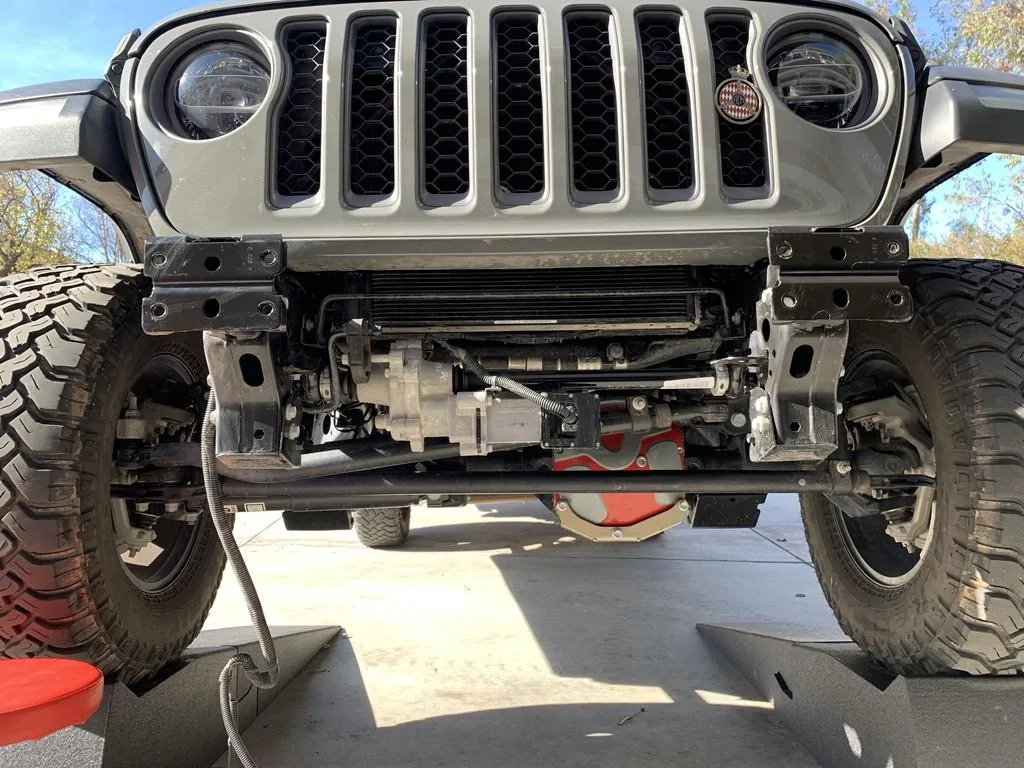
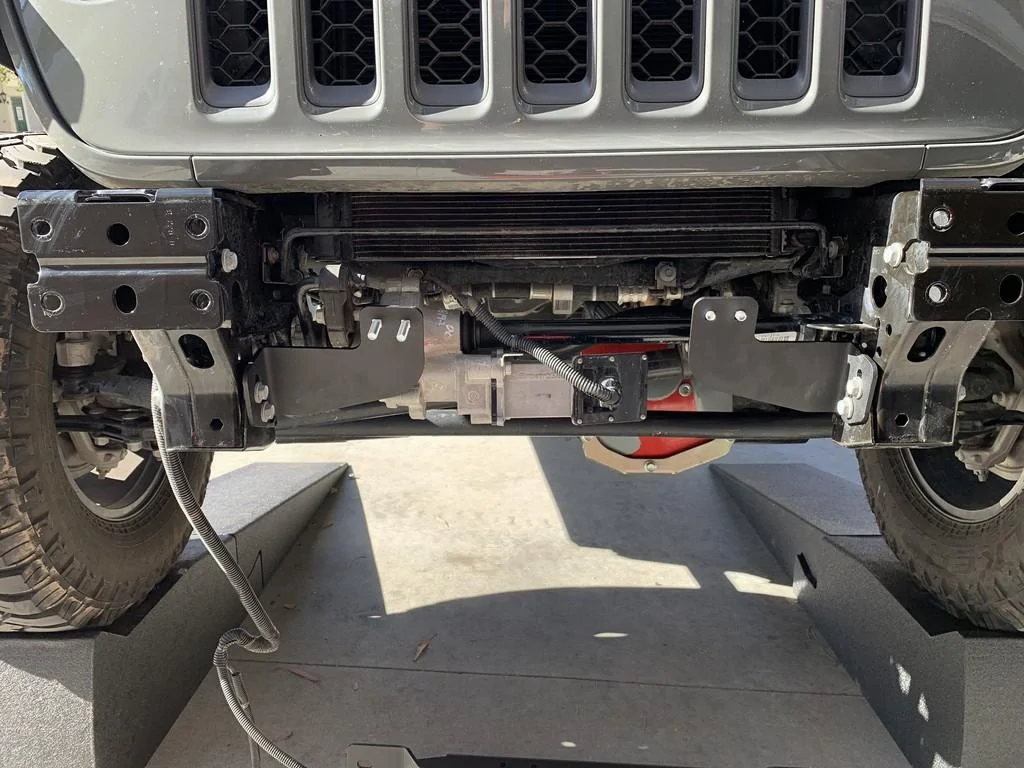
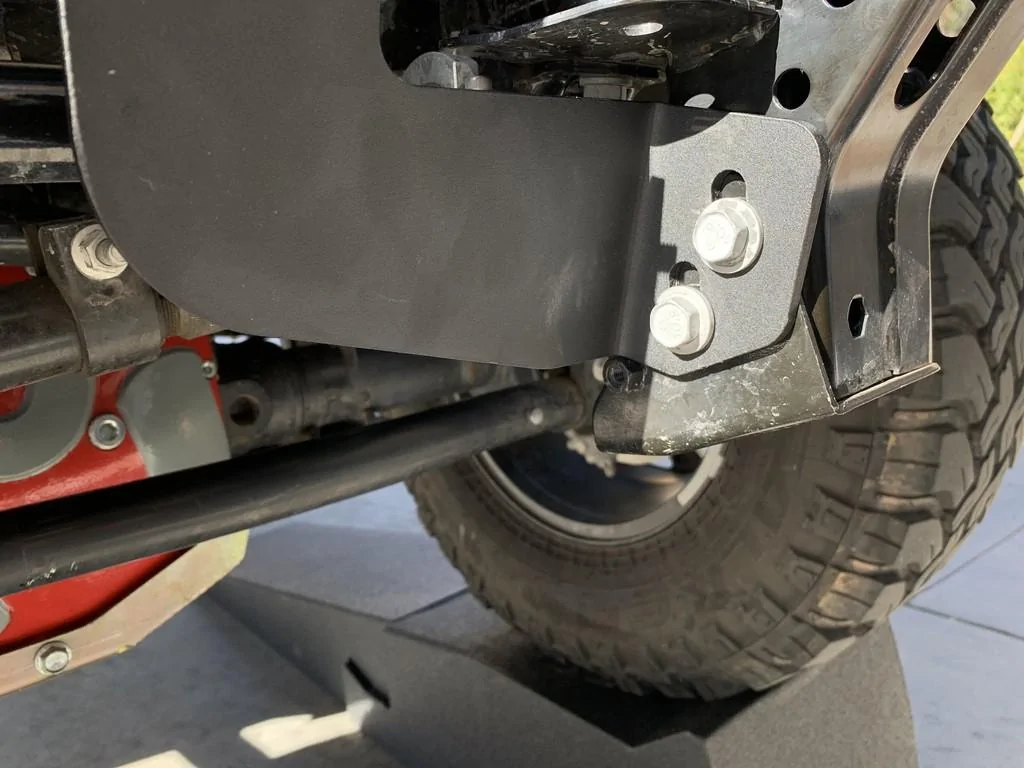
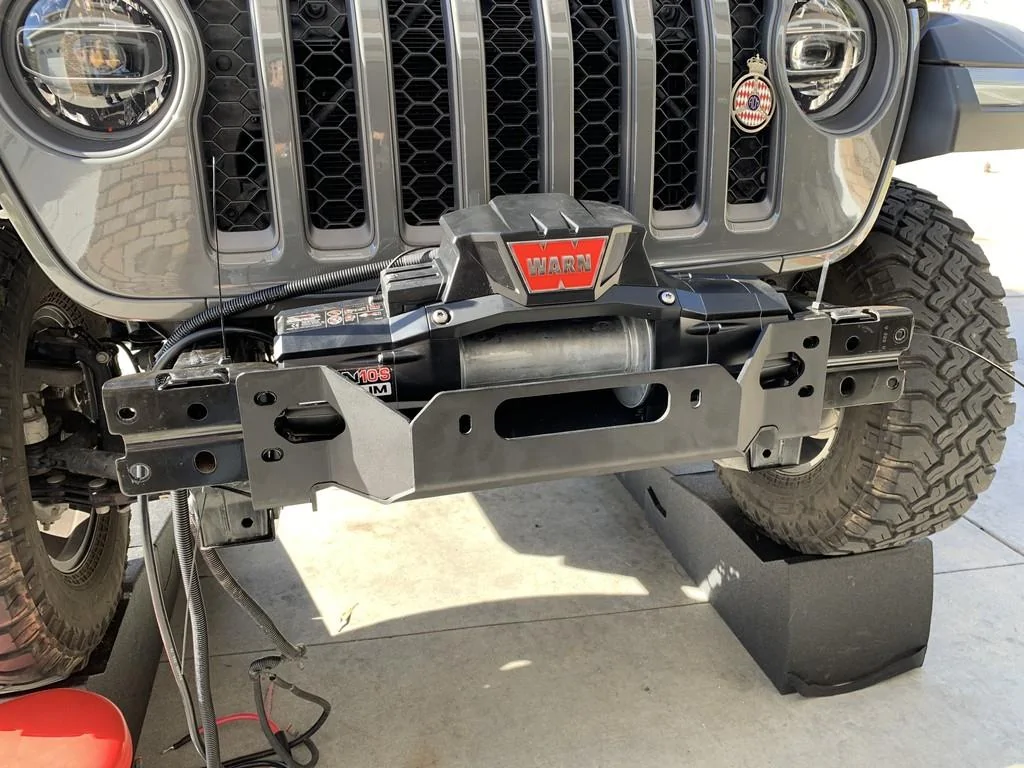
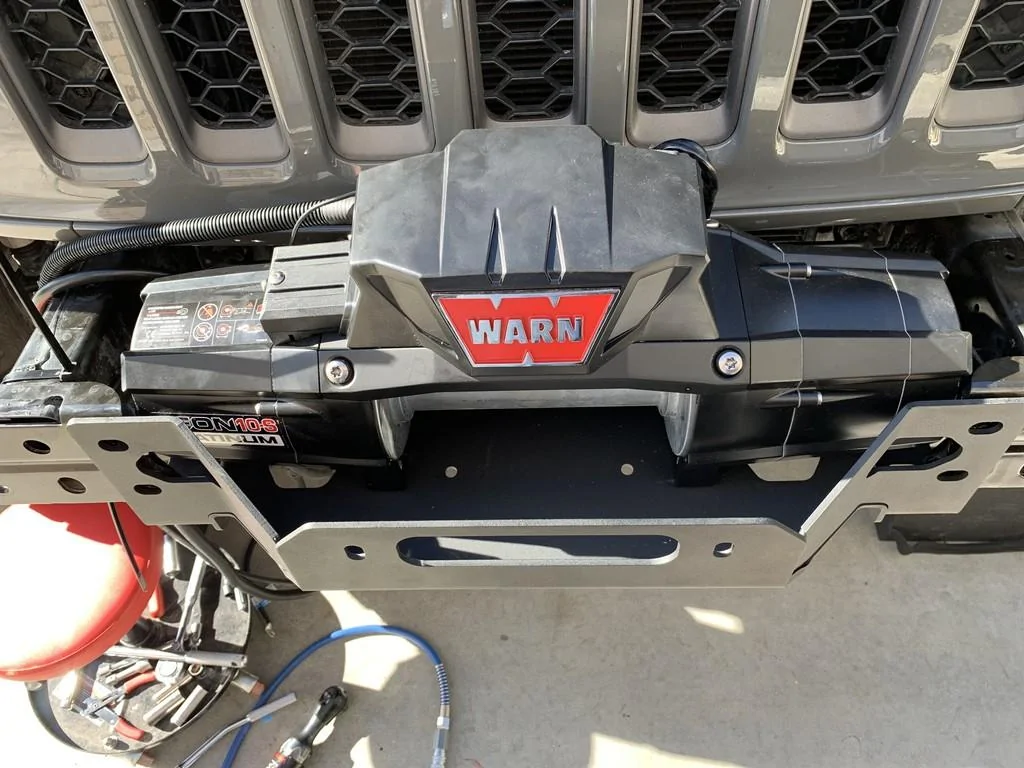
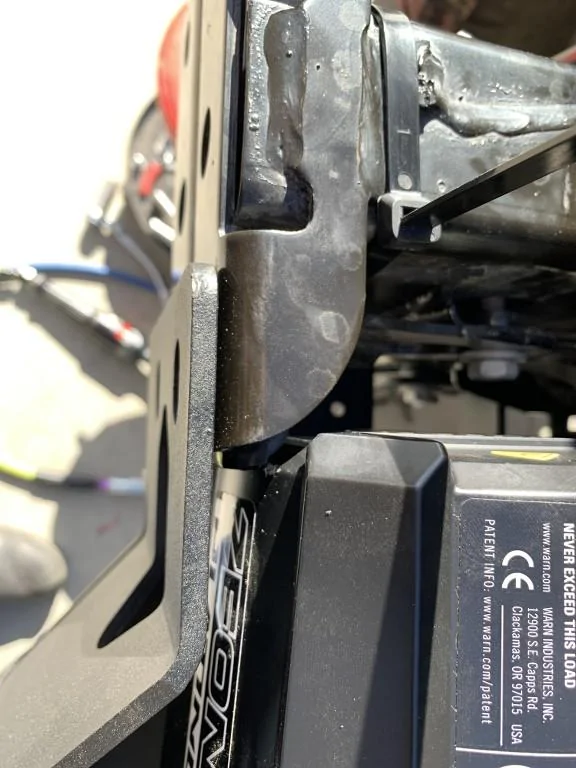
Warn 10s Zeon Platinum installation with Warn winch plate and Maximus 3 filler plates for the Zeon.
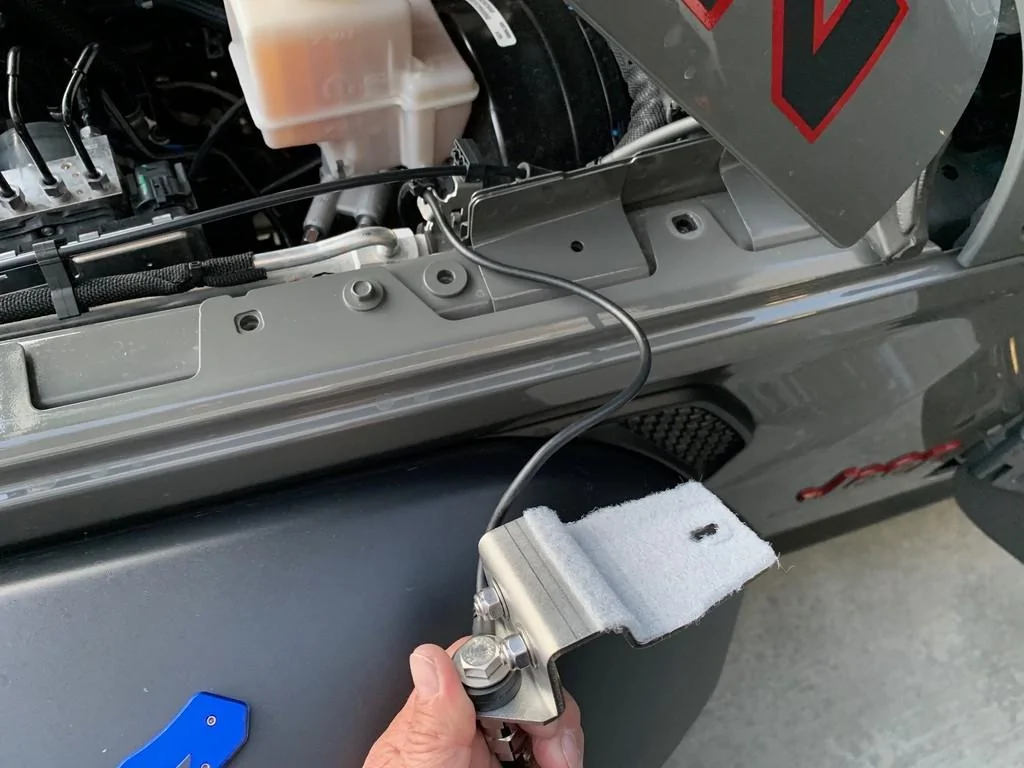
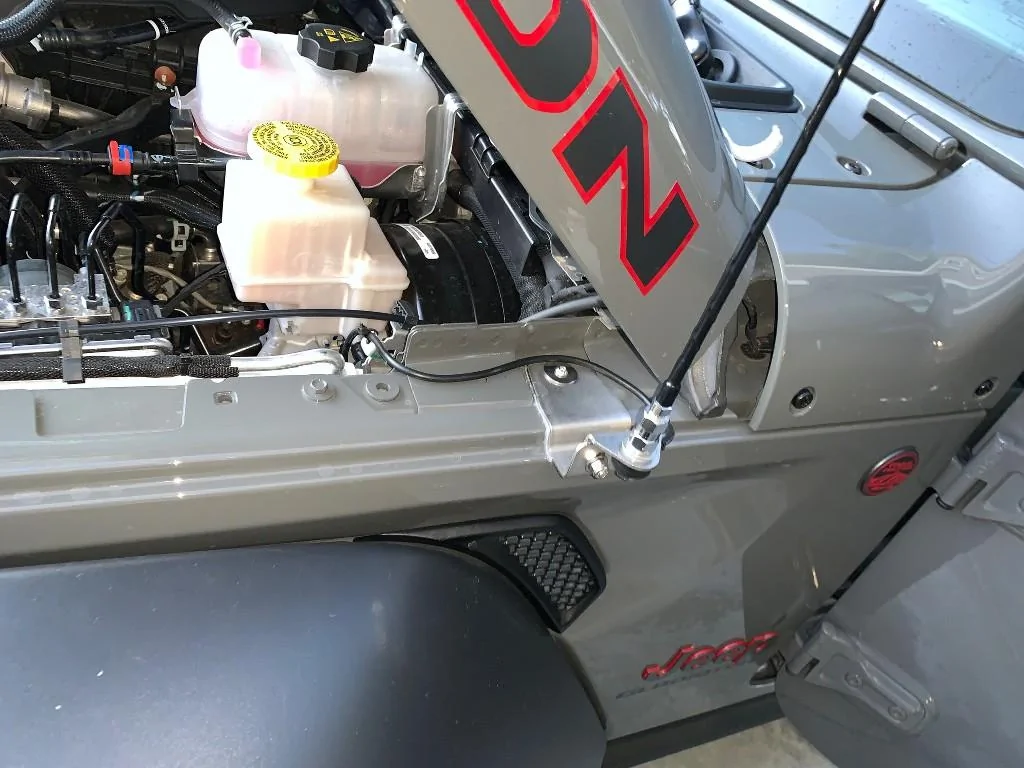
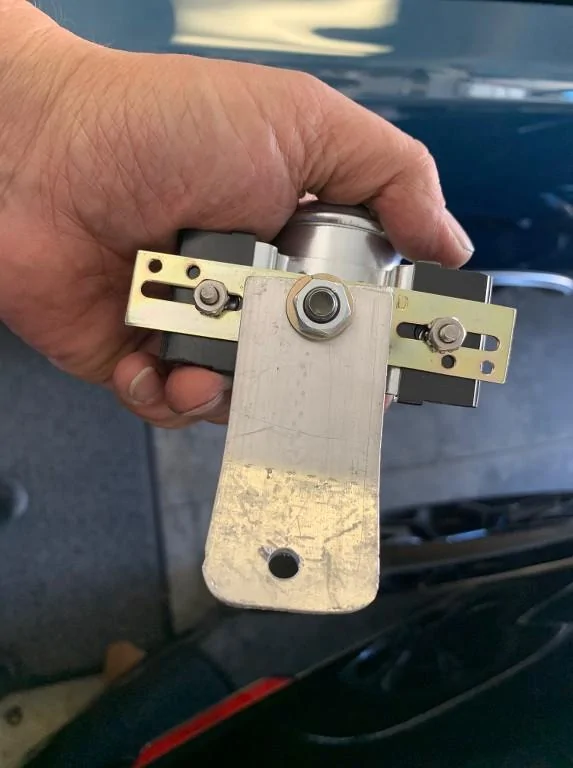
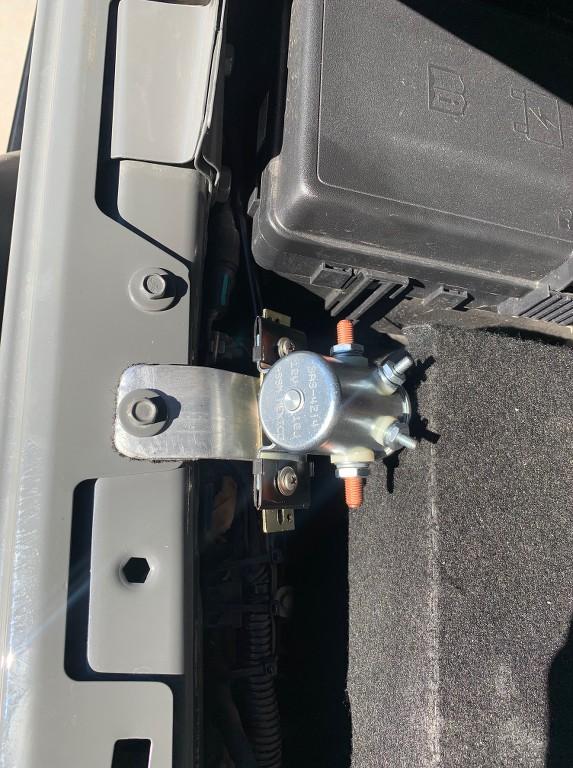
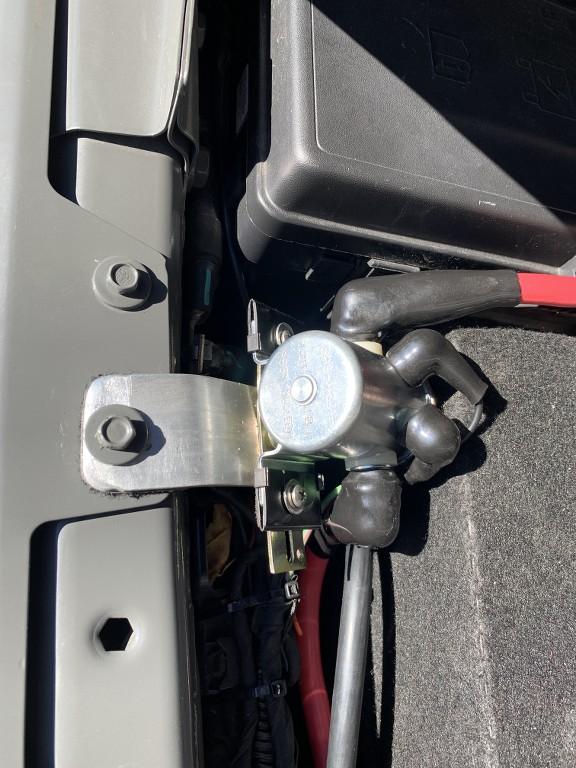
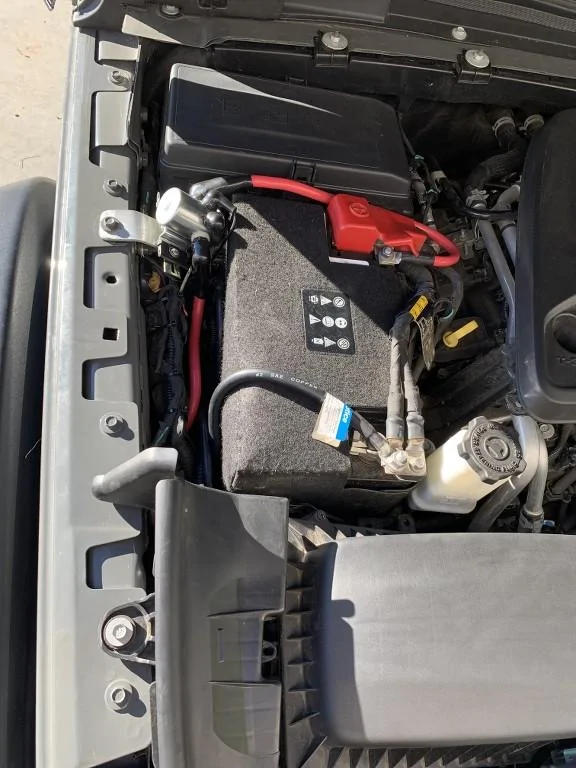
Warn Power Isolator Installation:
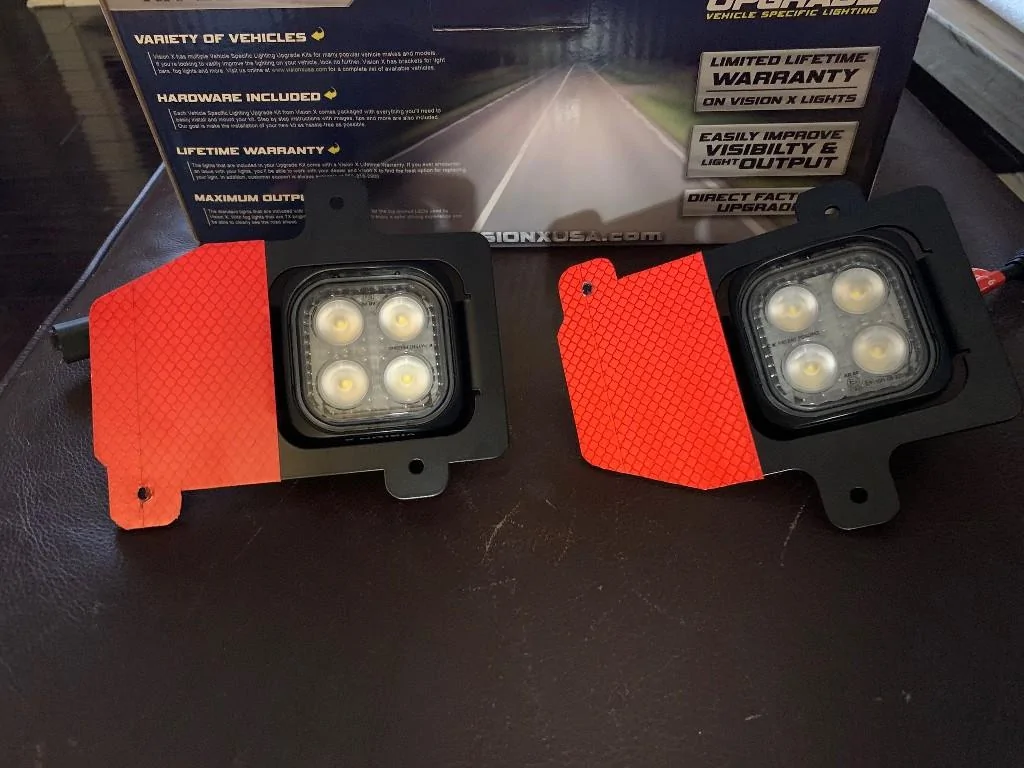
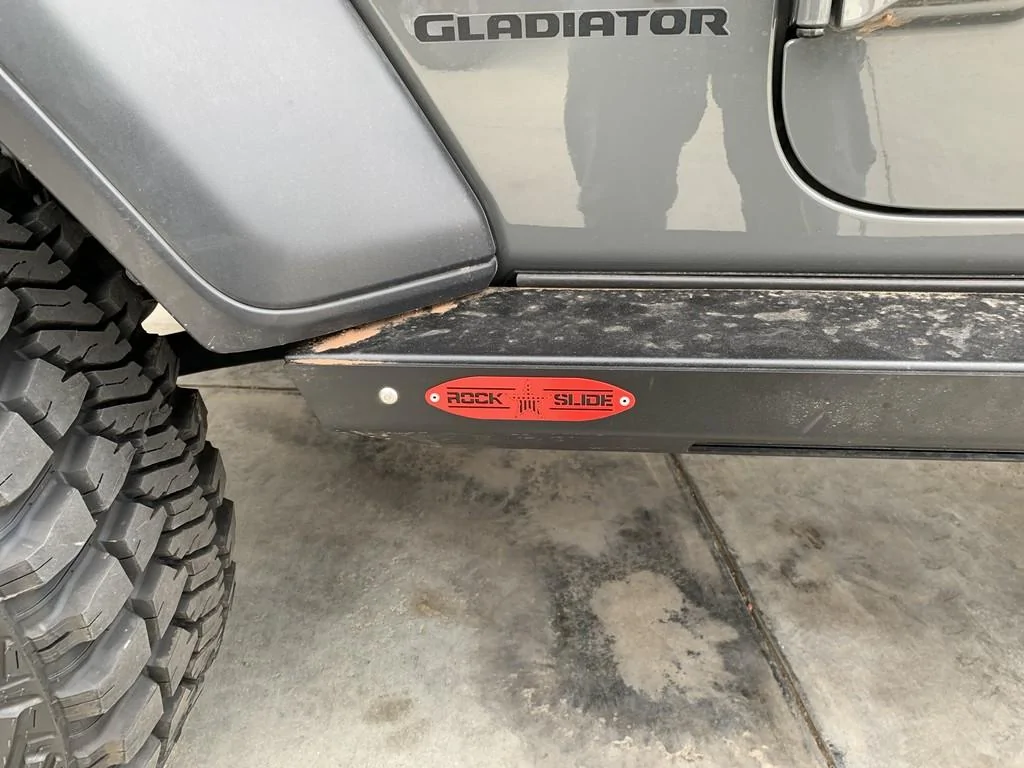
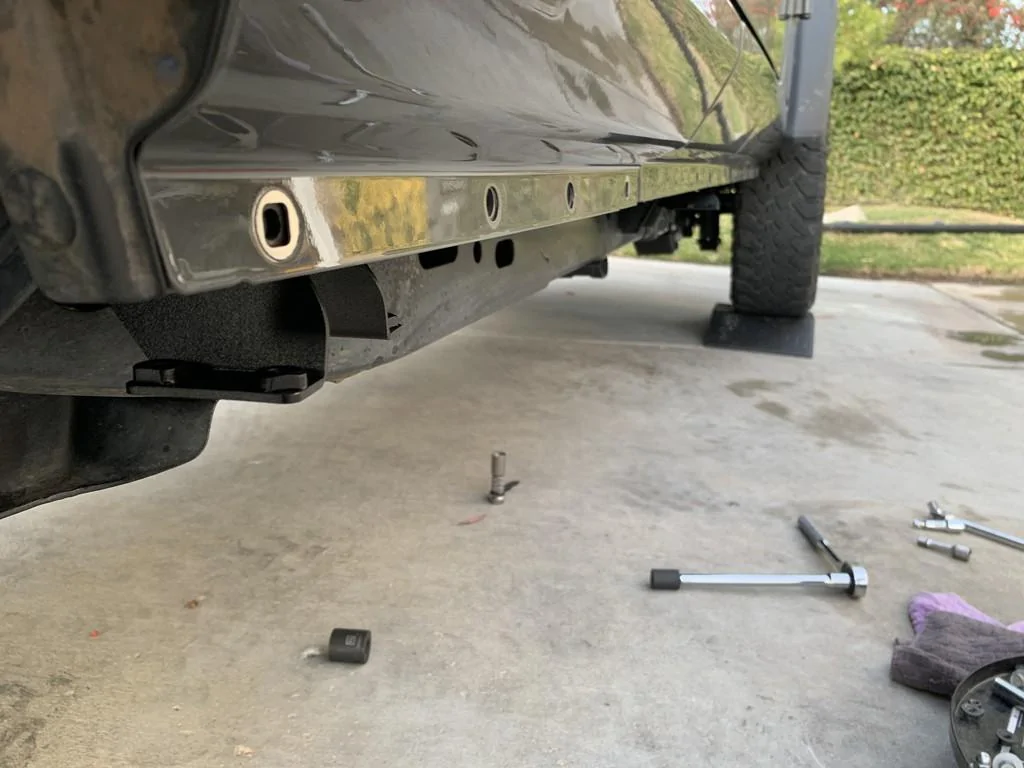
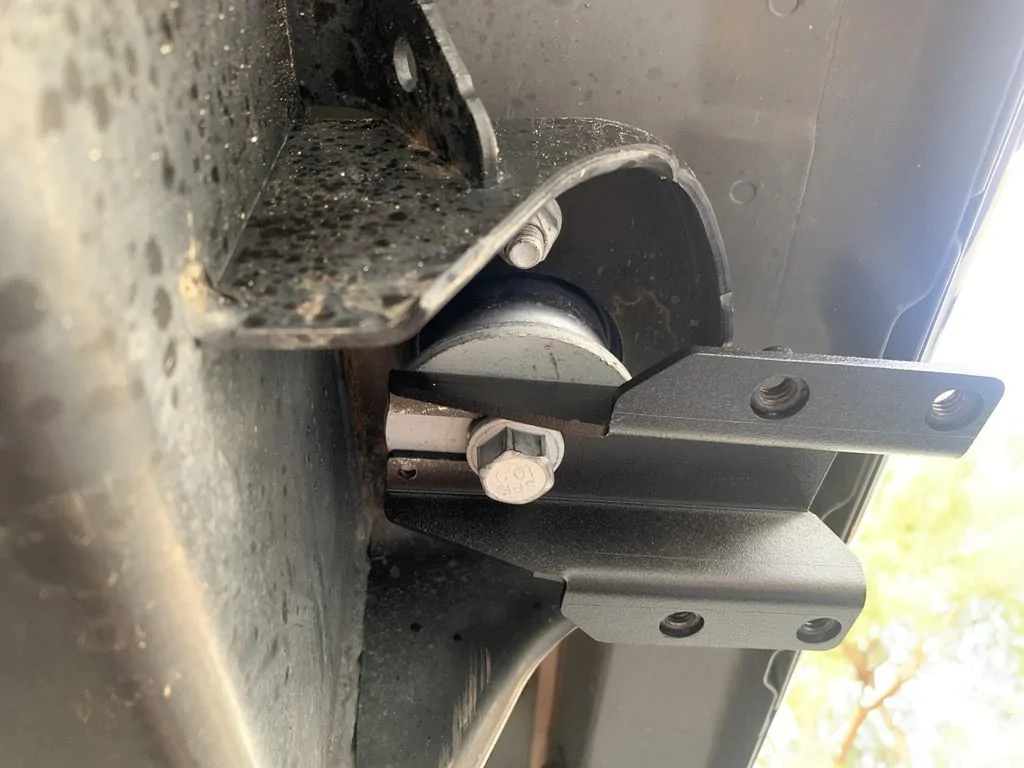
RSE Steps with Armor Installation:
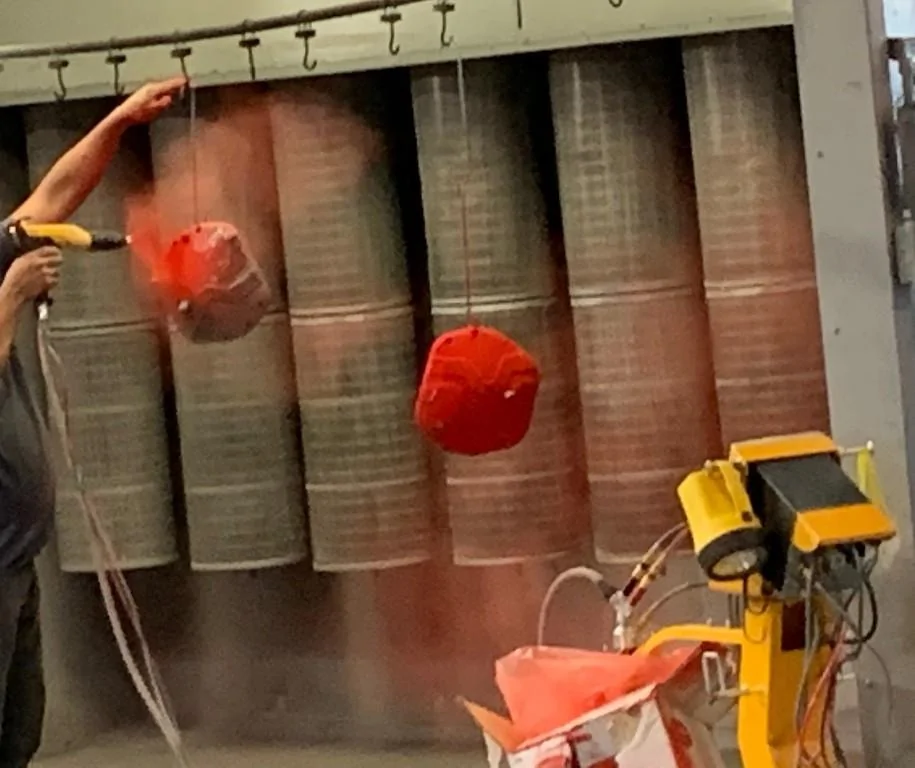
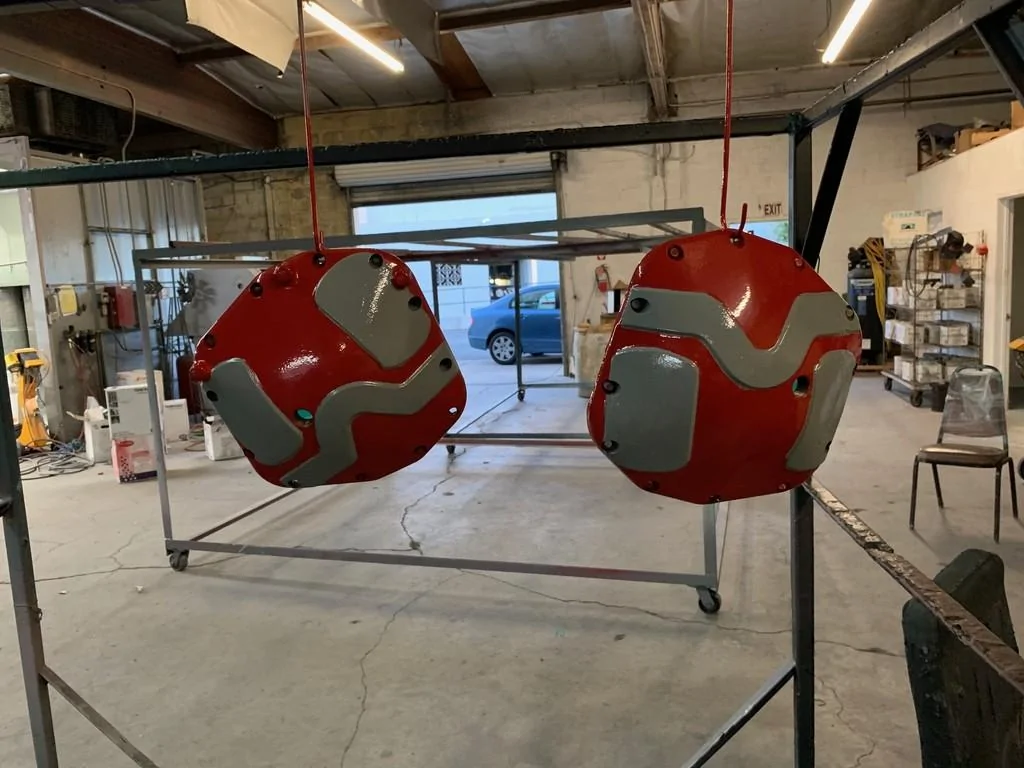
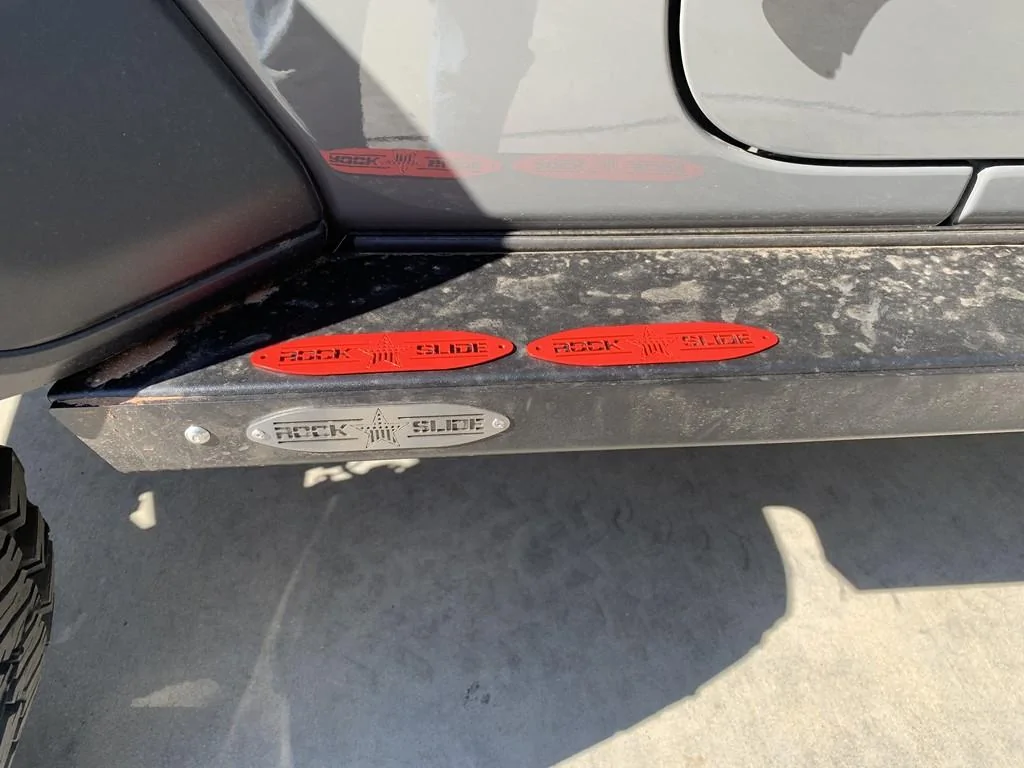
RSE badges I had powder coated Red to match the red Accents. Thanks to the Quadratec video which gave me the idea.
Here is a list of improvements and the time it took me to do the work:
1. Clayton 3.5" Overland Plus lift kit - 2.5 long days labor
2. Falcon SP2 3.3 Adjustable shocks - part of the 2.5 days labor above
3. Rock Slide Engineering Steps and Armor - 3 days labor, 1 day for each side, 1 day for Electrical
4. Warn Winch Plate - 1 day labor
5. Warn 10s Zeon Platinum - part of 1 day above
6. Warn winch Power isolator - 1/2 day labor
7. Factory 55 Ultra Hook and Black powder coated rope guard
8. Rusty's front Spring Isolators.
9. 5 Newly Released Method 703 "Bead Grip" Wheels
10. 4 Goodyear 37x12.5x17 Kevlar Tires
11. 1 Patagonia 37x12.5x17 Spare tire
12. New Adam front Driveshaft - will be installed on Friday - DONE -
13. Maximus 3 Warn Winch Zeon Filler plates
14. Maximus 3 OEM bumper license plate mount
15. Rock Jock rear driveshaft carrier spacer
15. Dana 5:13 Gears - being installed this Friday - DONE -
Here is the final results:
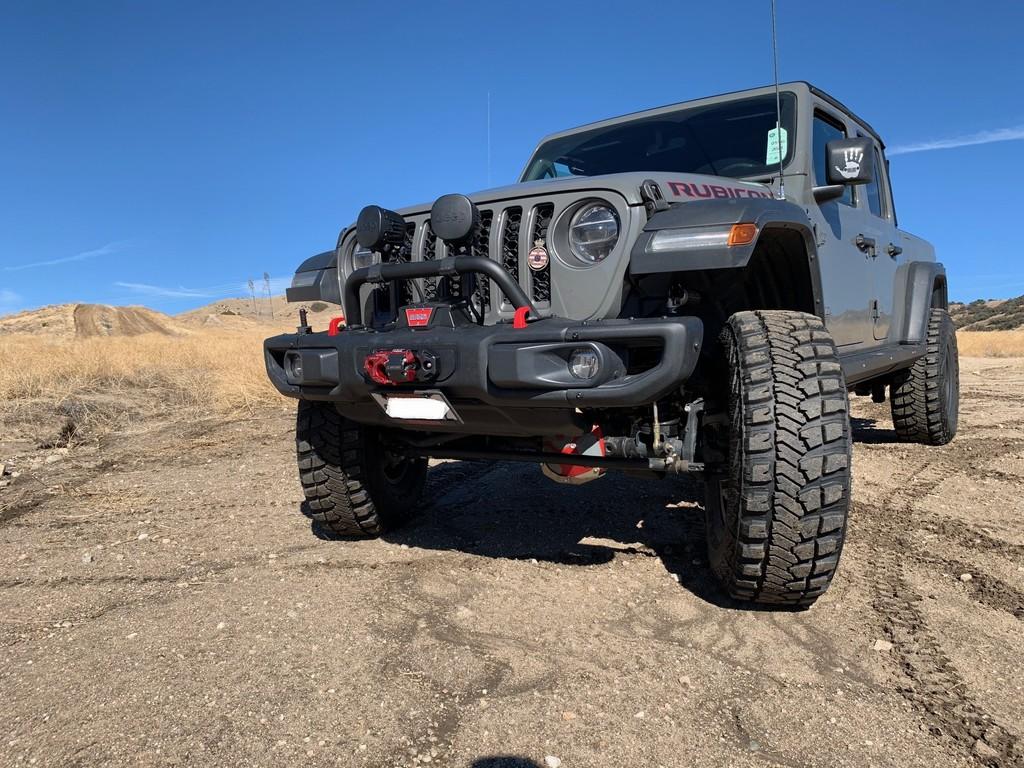
Factor 55 Ultrahook. I had the rope guard powder coated black. Getting those rivets pounded into the Ultra hook took some serious swinging of my copper hammer and punch.
Beefy Clayton Control arms with skids:
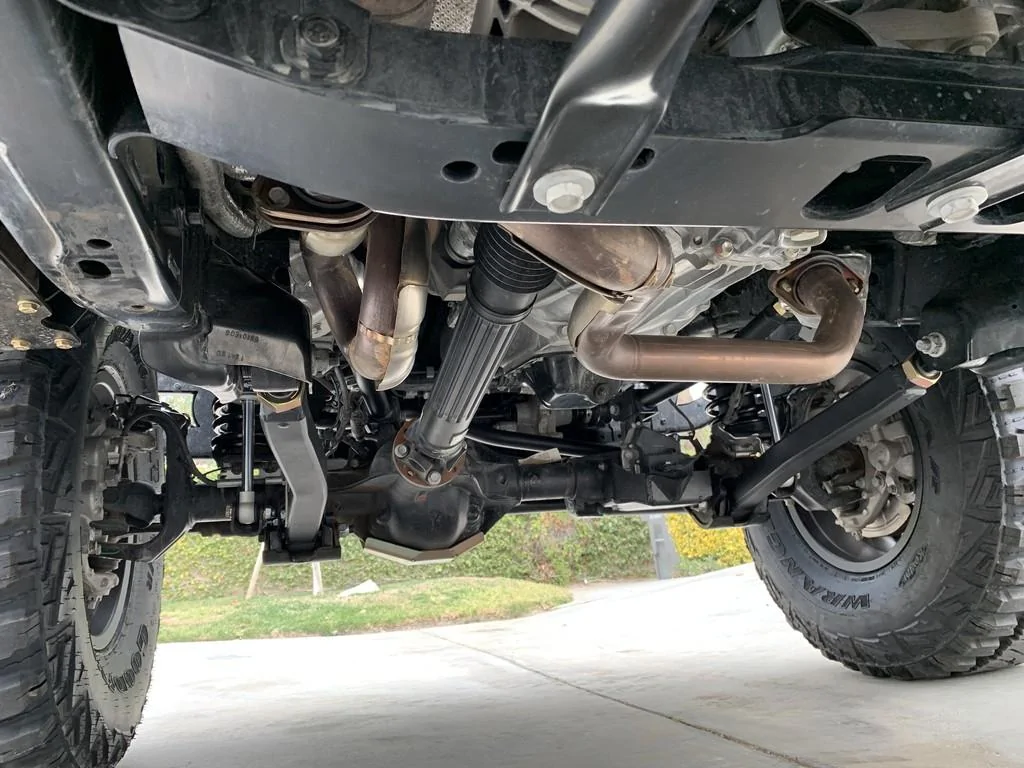
Update: Shout out to Rebel Off-Road, made the long trek there to get my Dana 5:13s installed with my front Adam's Driveshaft. Two guys were on the install front and back and it was done fast. Lockers and everything works perfect. Super painless ! I took the truck up to the Snow in Frazier Park and it feels like it is Supercharged. I ran it in 4WD and there is no vibration. Everything feels tight and OEM like. Plenty of power now, even in high altitude.
Clayton bent rear track bar to support 37 inch tires. I still could not fit the Goodyear MTR Kevlar because it would not clear the Frame rails. It cleared the Clayton Track bar no problem, but the Frame rails and exhaust shield are still a problem. I ended up with a 37 inch Patagonia with 10 lbs of air that I squeezed between the frame rails and cinched down the tire tight. The spare tire is sitting flat against the bed.
Here is some pictures of the 3.5" Clayton lift kit install.
This small 1/2 inch impact with the impact swivels was the most important tool for the lift installation. I was able to use it on all the control arm bolts and shocks. My normal size impact will not fit in many spots.
I went with Rusty's isolators instead of the stock ones which seemed compressed already and not very substantial for the new Clayton Springs.
Some pics of the Clayton Lift kit installation:


Old Vacula gets the super bleeding done fast.

Falcon SP2 3.3 Shocks
Tires and Rims - from Discount Tire (Doug, Dan) on this forum - America's Tire - shout out to Manny
Method 703 "Bead Grip" Rims

Goodyear Kevlar MTRs 37s compared to Patagonia MTRs 37s. The Goodyear's are huge ! Real 37s.
Warn 10s Zeon Platinum installation with Warn winch plate and Maximus 3 filler plates for the Zeon.
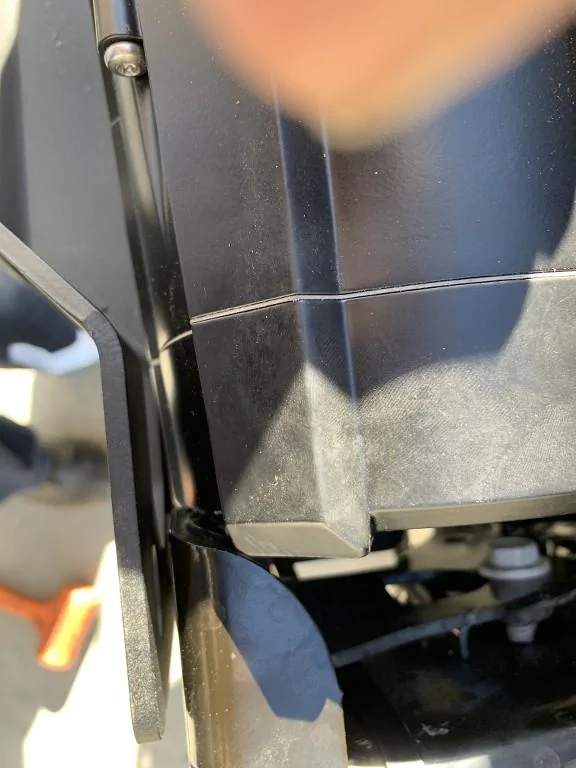


Warn Power Isolator Installation:
RSE Steps with Armor Installation:

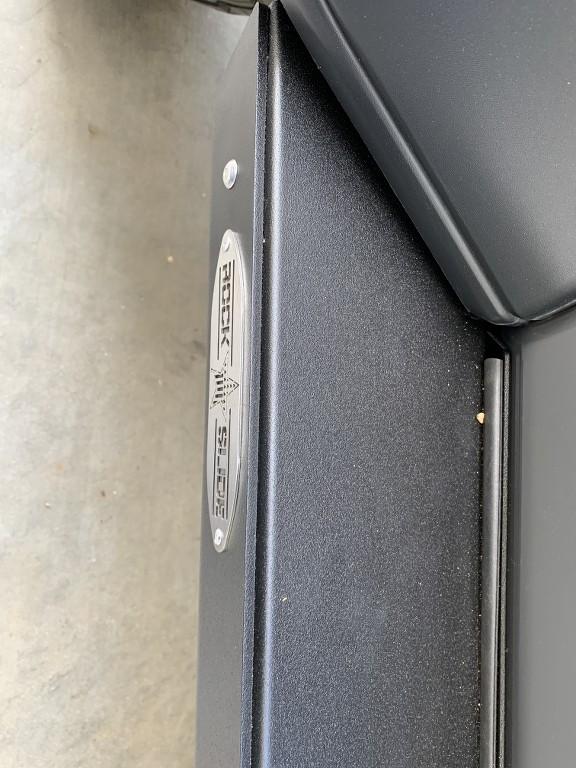
RSE badges I had powder coated Red to match the red Accents. Thanks to the Quadratec video which gave me the idea.
Sponsored
Last edited: