Sponsored

What mod would you chose?

foxman350

Well-Known Member
First Name
Ronald
Joined
Jan 25, 2021
Threads
23
Messages
152
Reaction score
211
Location
Anchorage, AK
Vehicle(s)
2020 Gladiator Rubicon
Yep...I'd go for the bumper. You get the winch capable, plus any impact would be less damaging to your ride.

Putting plastic bumpers on one of these is ridiculous to begin with.
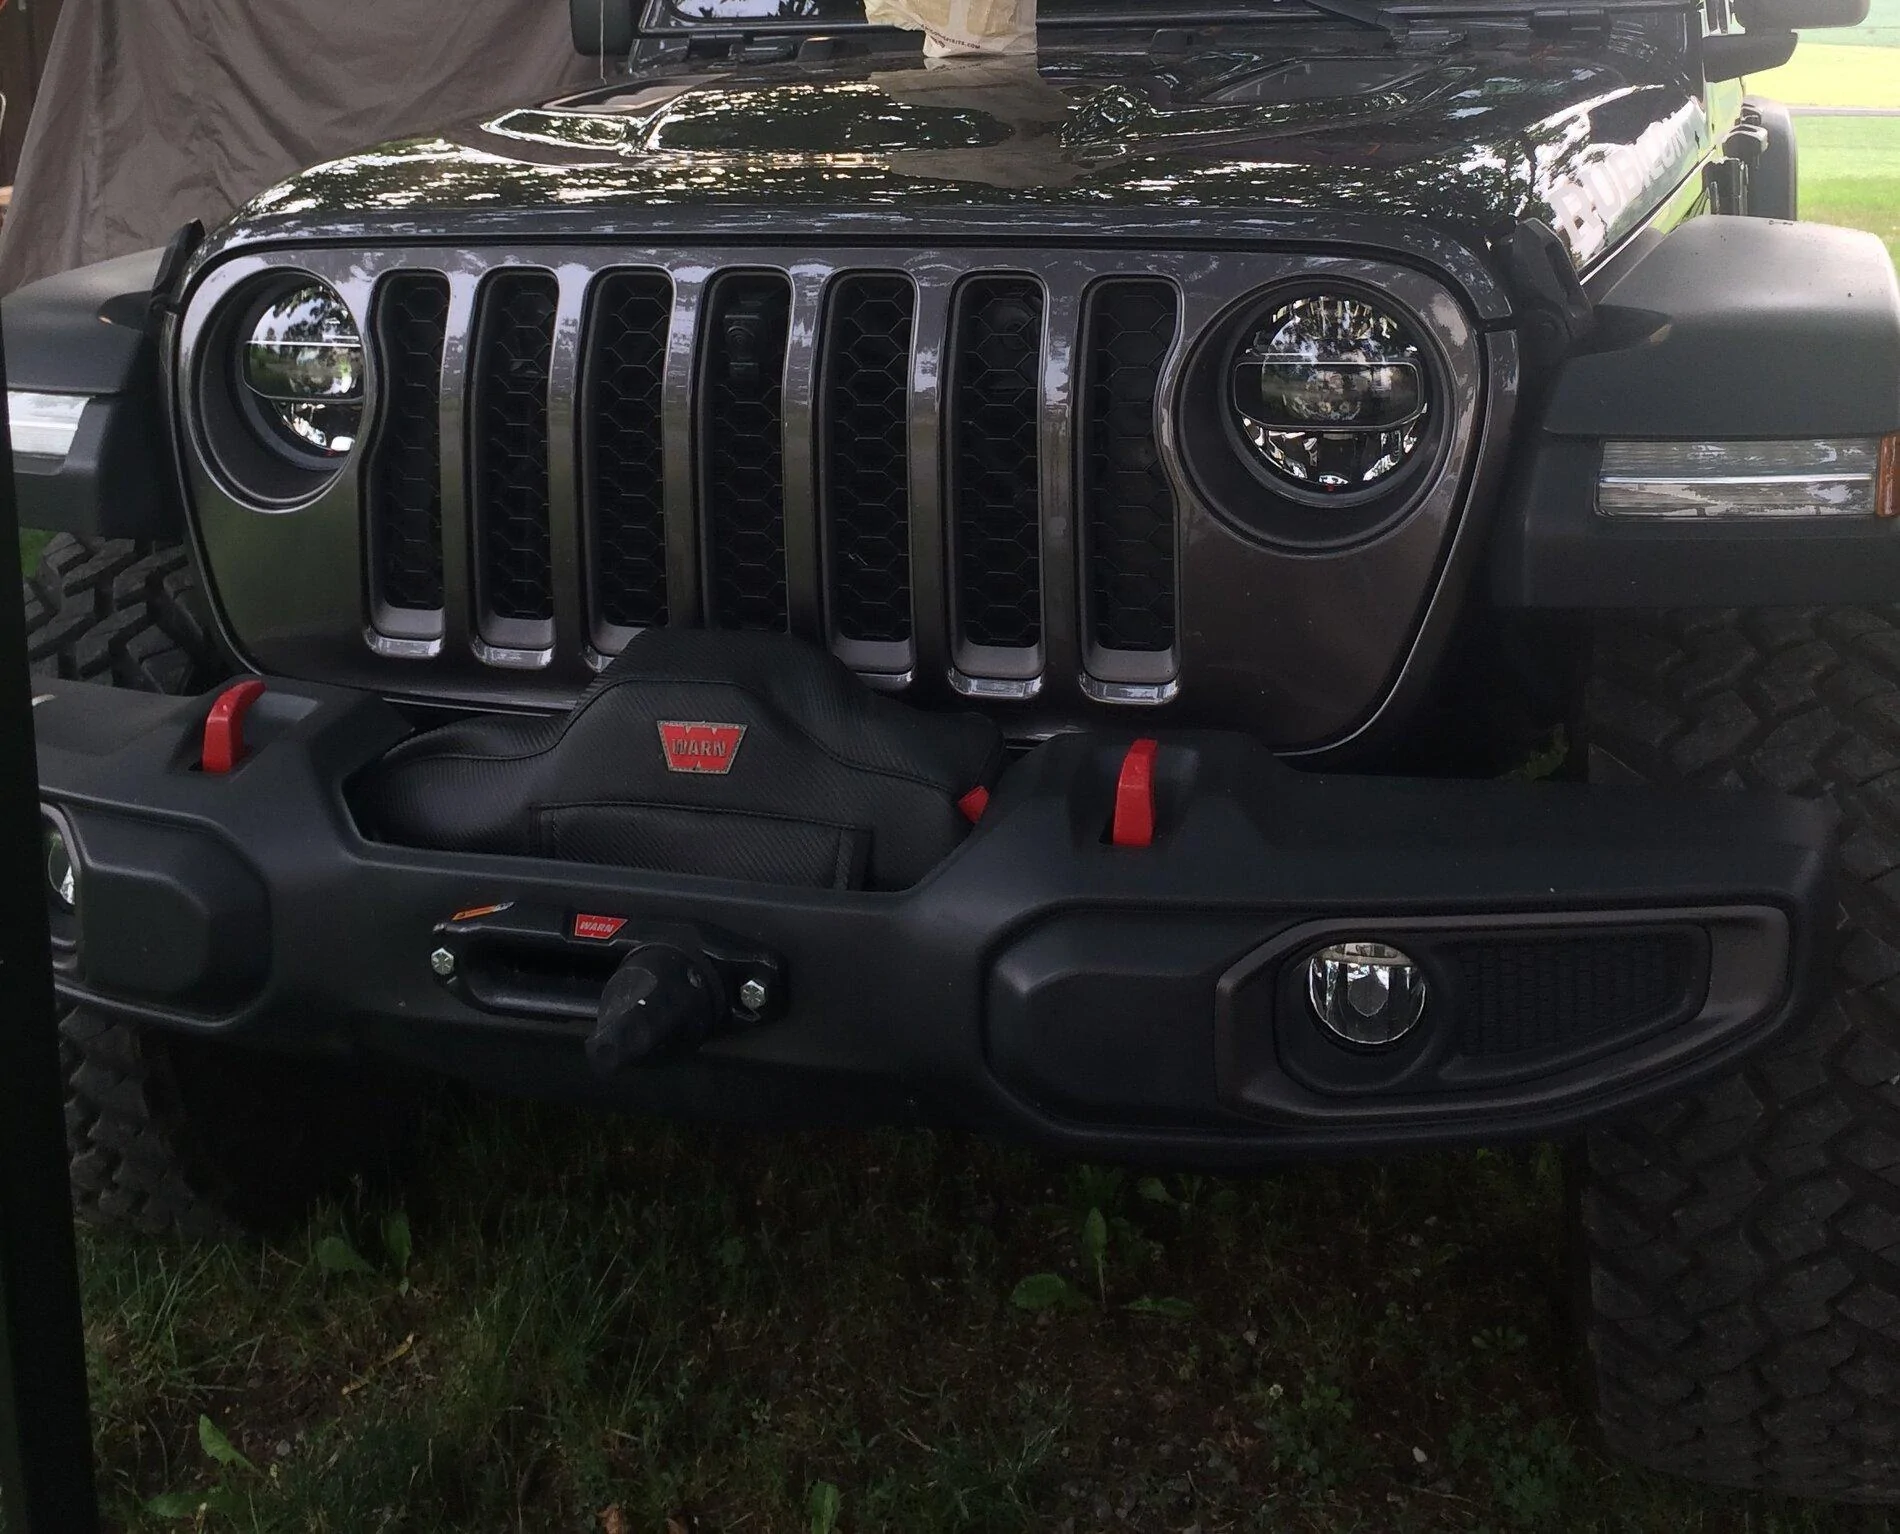
They put plastic bumpers on cause they know your gonna switch it out anyways!
Sponsored

 
OP
OP
calicorks

calicorks

Well-Known Member
First Name
Courtney
Joined
Jun 1, 2019
Threads
40
Messages
381
Reaction score
306
Location
Las Vegas
Vehicle(s)
Boss 302
I wanted the steel bumper when I purchased it, yet due to supply I could not find one that already had it installed. ?‍♀
When I saw the ugly plastic I thought, that needs to go ASAP.
 

Trickster

Well-Known Member
First Name
Rick
Joined
Mar 17, 2019
Threads
21
Messages
766
Reaction score
880
Location
Alberta Canada
Vehicle(s)
21 JT HA, 22 Volvo V60 CC, 76 Fiat 124,
Occupation
Heavy equipment operator
Hey I’m having a hard time deciding. What would you pick? I have the ugly plastic bumper. I am thinking of either a new bumper and winch, OR a full Molle set for the bed.

I do use my rig off-road and think the winch would be most useful, however the Molle would be used more often and is a bit cheaper.
Help me pick!
Think of it this way, when your off-road and get stuck, will the Molle do you any good?
Will you be cursing that you didn’t get the bumper and winch?
Just saying.
 

Troybilt

Well-Known Member
First Name
Troy
Joined
Jun 1, 2016
Threads
73
Messages
2,115
Reaction score
3,648
Location
Ohio
Website
troynemitz.smugmug.com
Vehicle(s)
2020 JTR
Occupation
Parks Operations
Winch, mount plate and modify the plastic bumper. Saves $. Also, I did catch my bumper on a tree while dodging a boulder on a trail, plastic bumper bent and sprung mostly back. If it were the steel one, it would have been bad. If it were a stubby, wouldn't have hit at all.
winch.jpg
I did this to my JK factory bumper. From the picture it looks like you knocked it out of the park on this one. Very well done.
 

Sponsored

Gvsukids

Well-Known Member
First Name
Justin
Joined
Mar 7, 2020
Threads
26
Messages
7,267
Reaction score
6,901
Location
Grand Rapids
Website
www.youtube.com
Vehicle(s)
2020 Gladiator Sport S Max Tow
Occupation
Delivery Driver

Free2roam

Well-Known Member
First Name
Robert
Joined
Mar 1, 2021
Threads
30
Messages
5,449
Reaction score
11,609
Location
89521
Vehicle(s)
Gladiator
Occupation
Fabricator by trade/ Maintenance Mechanic
I ended up getting the Molle panels first. It mounts my Hi Lift jack shovel etc. Cheaper option for me. But now I have the Warn Evo 10k S winch. Had to save up for that. Which is the reason I went that route. Just need to save for the rock hard aluminum bumper.
 
OP
OP
calicorks

calicorks

Well-Known Member
First Name
Courtney
Joined
Jun 1, 2019
Threads
40
Messages
381
Reaction score
306
Location
Las Vegas
Vehicle(s)
Boss 302
I ended up getting the Molle panels first. It mounts my Hi Lift jack shovel etc. Cheaper option for me. But now I have the Warn Evo 10k S winch. Had to save up for that. Which is the reason I went that route. Just need to save for the rock hard aluminum bumper.
This stuff isn’t cheap!
 

AmishMike

Well-Known Member
First Name
Michael
Joined
Jul 29, 2020
Threads
64
Messages
1,821
Reaction score
4,229
Location
Central Pa
Vehicle(s)
2020 Rubicon, 56 Coronet, 65 Dune Buggy,
Occupation
Whipping boy
Can you go step by step how to modify the bumper?????
Step by step, not really- I didn't take pictures.
It was a fairly easy removal, remove skid plate first then bumper assembly.
I installed a Warn winch plate because it has the support for the fairlead which you need with the plastic bumper. Do not tighten mount plate yet. Use a floor jack etc. to support winch mount, even marking position when square. Place winch on plate, route wires etc. and tighten winch to plate. Then tighten plate to frame.
With the bumper apart on the floor, cut the center section out of the beam leaving only what will mount to the frame ends. Since the winch is mounted, you have a reference. Please paint the cut ends of the beam. Also beware of sharp edges that you have created.
For the actual bumper cover, I used masking tape to make my lines and followed the recess in the bumper. This replicates the panel in the steel bumper. I cut with a cutoff wheel and molten plastic flying but a hack-saw would work just fine. Finished the edge and internal corners with a file then ran some 180 grit along it. Nope, it's not perfect but decent.
Keep in mind that the mount does push on the bumper cover and it is not perfect. With the bumper in place, I pushed on the cover to reveal the holes for the bolts on the fairlead. I drilled a small hole first so that I could adjust as needed then the correct size for the bolts. Place fairlead in place and trace the hole for the cable to pass through. The hole in the mount is much larger than the plate so I just used a utility knife to open it up, being mindful to not have the bumper smaller than the guide. Even just plastic can be sharp at the wrong times.

In retrospect, I should have left more material in the corners of the cover to hide the winch a little better.
I chose a Warn VR EVO 12S for many reasons. First by watching/timing sales I bought it for nearly the same price as an off brand. ($530 from Northern Tool.) Synthetic line was must, I have seen the damage caused by steel cables and chains when they break; the bonus is the weight savings. Estimates are about 20 lbs for the line and another 10 for the fairlead. The downside is UV vulnerable, so I bought a cover for the winch and an abrasion sheath for the line which you need anyways. Add some soft shackles and you just saved 20-30 lbs. over conventional equipment.
Sponsored


Top