Volt0
Well-Known Member
- Thread starter
- #1
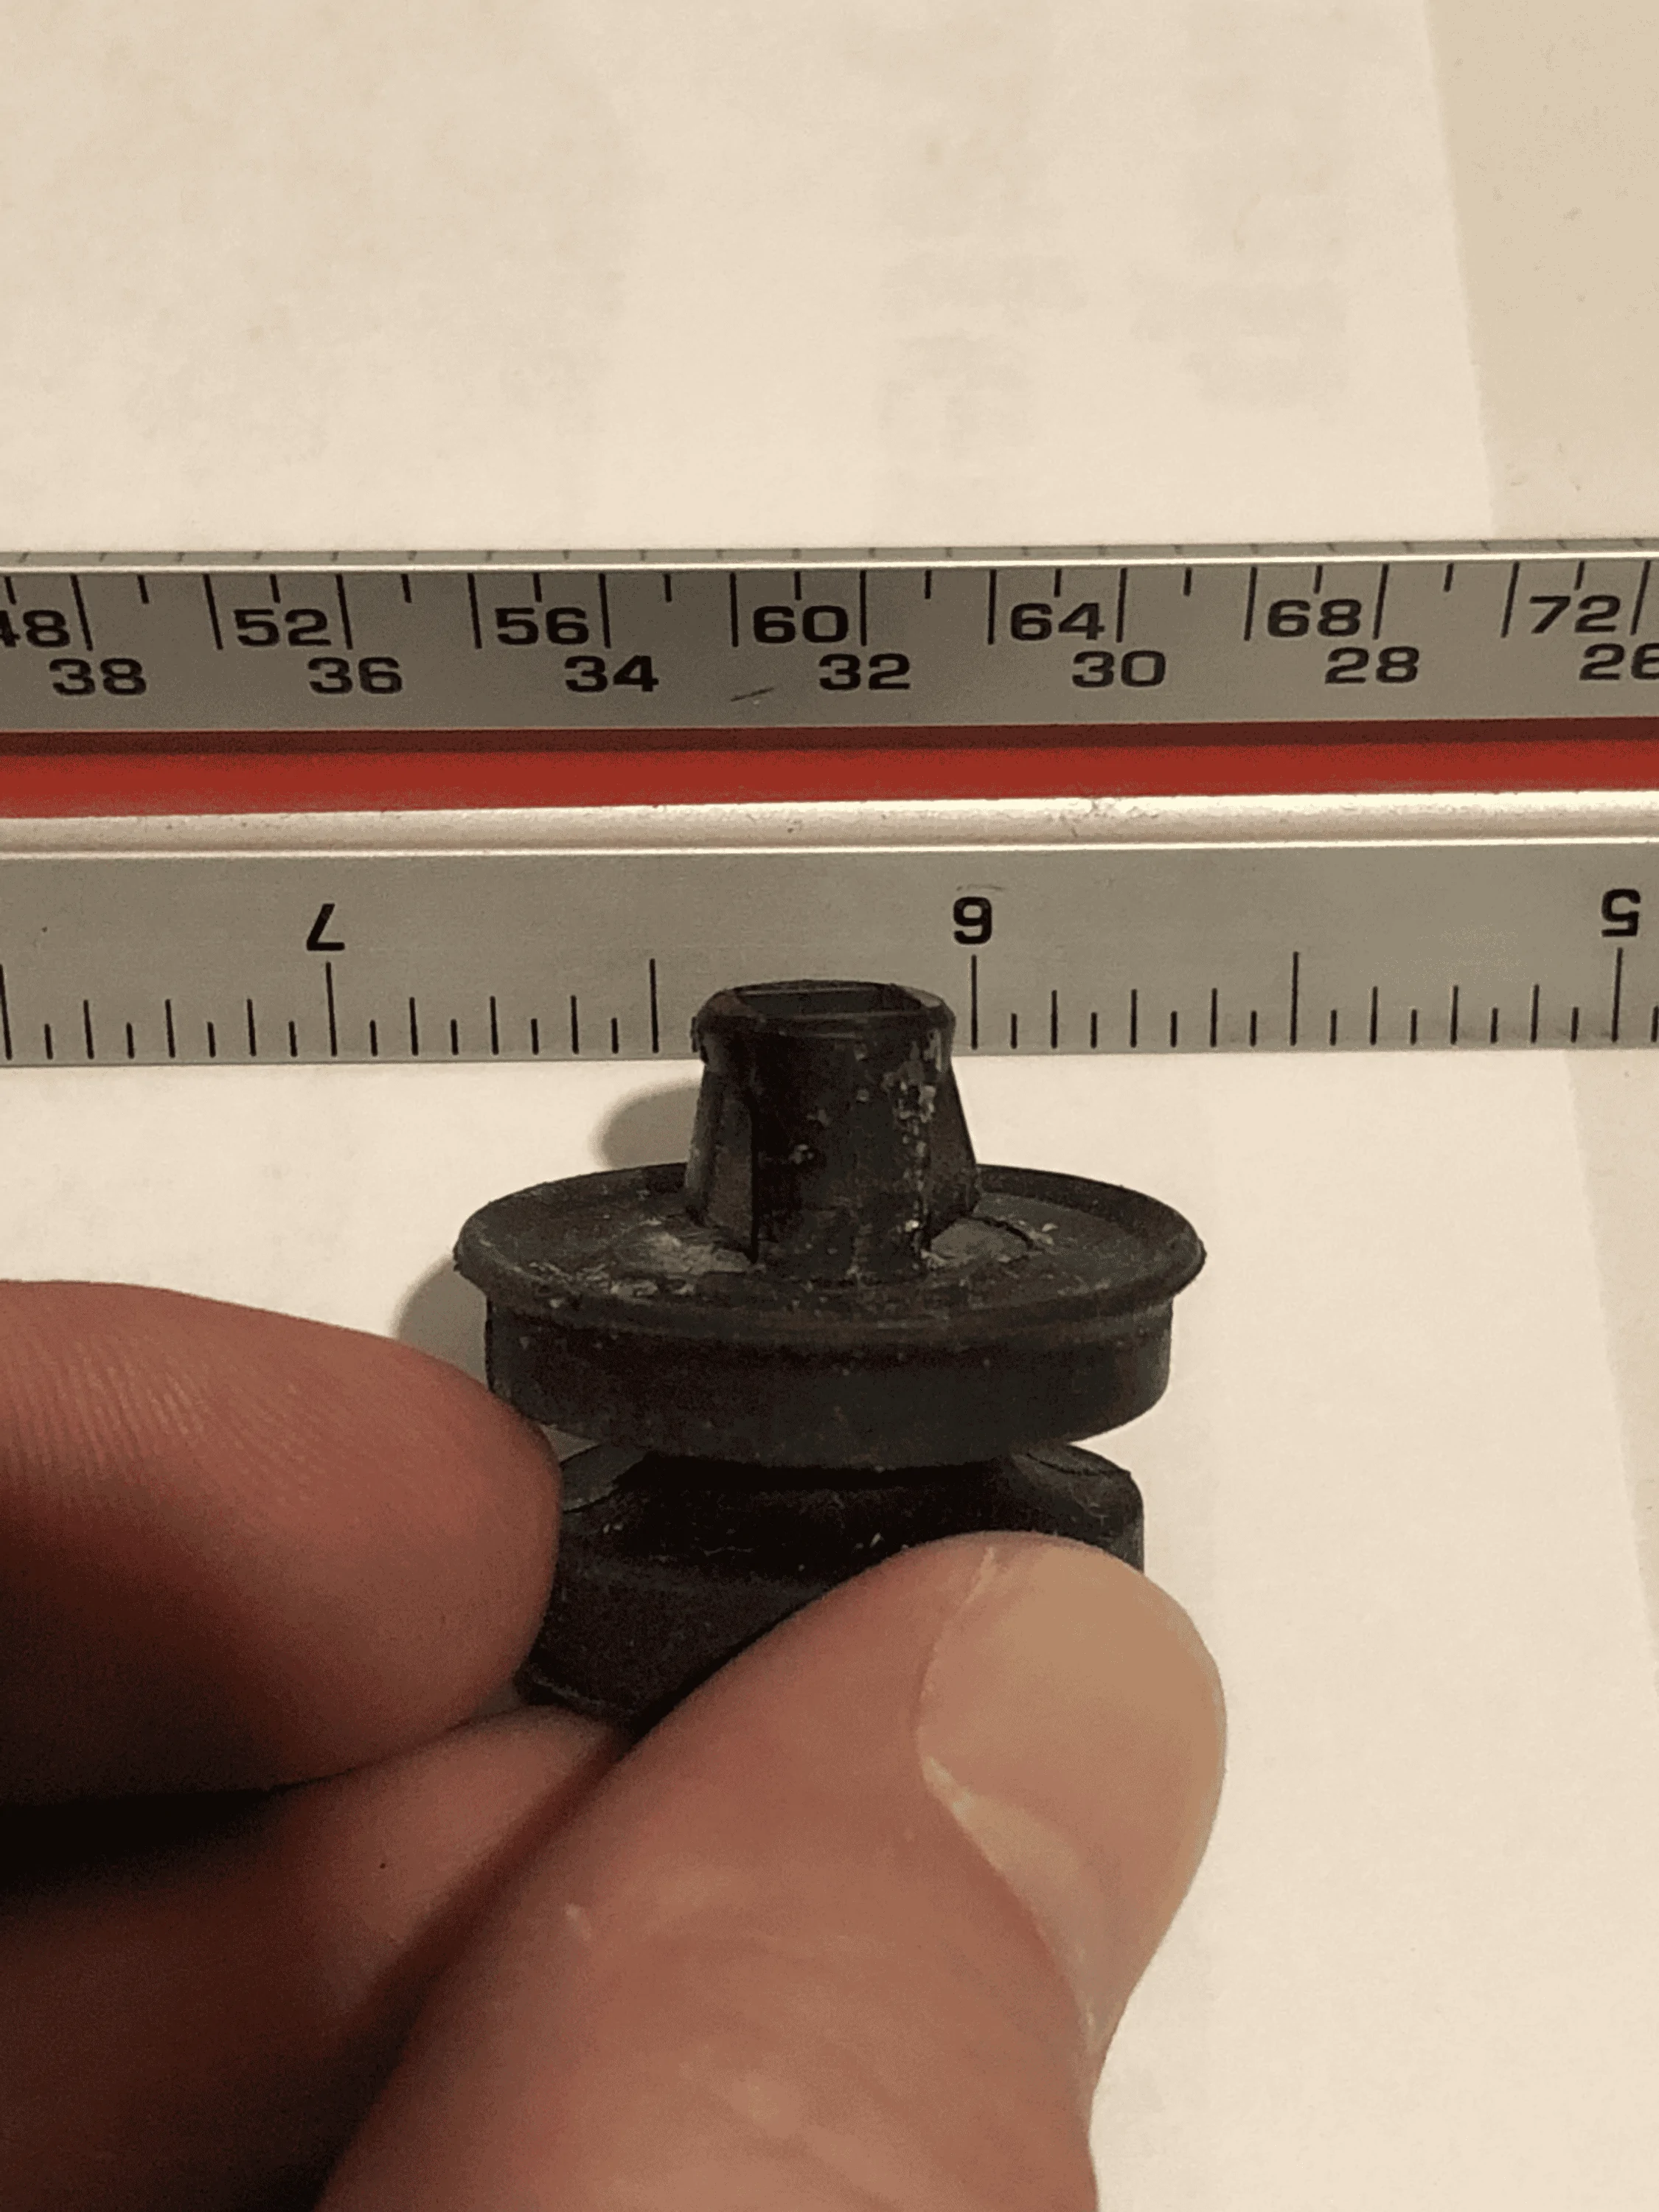
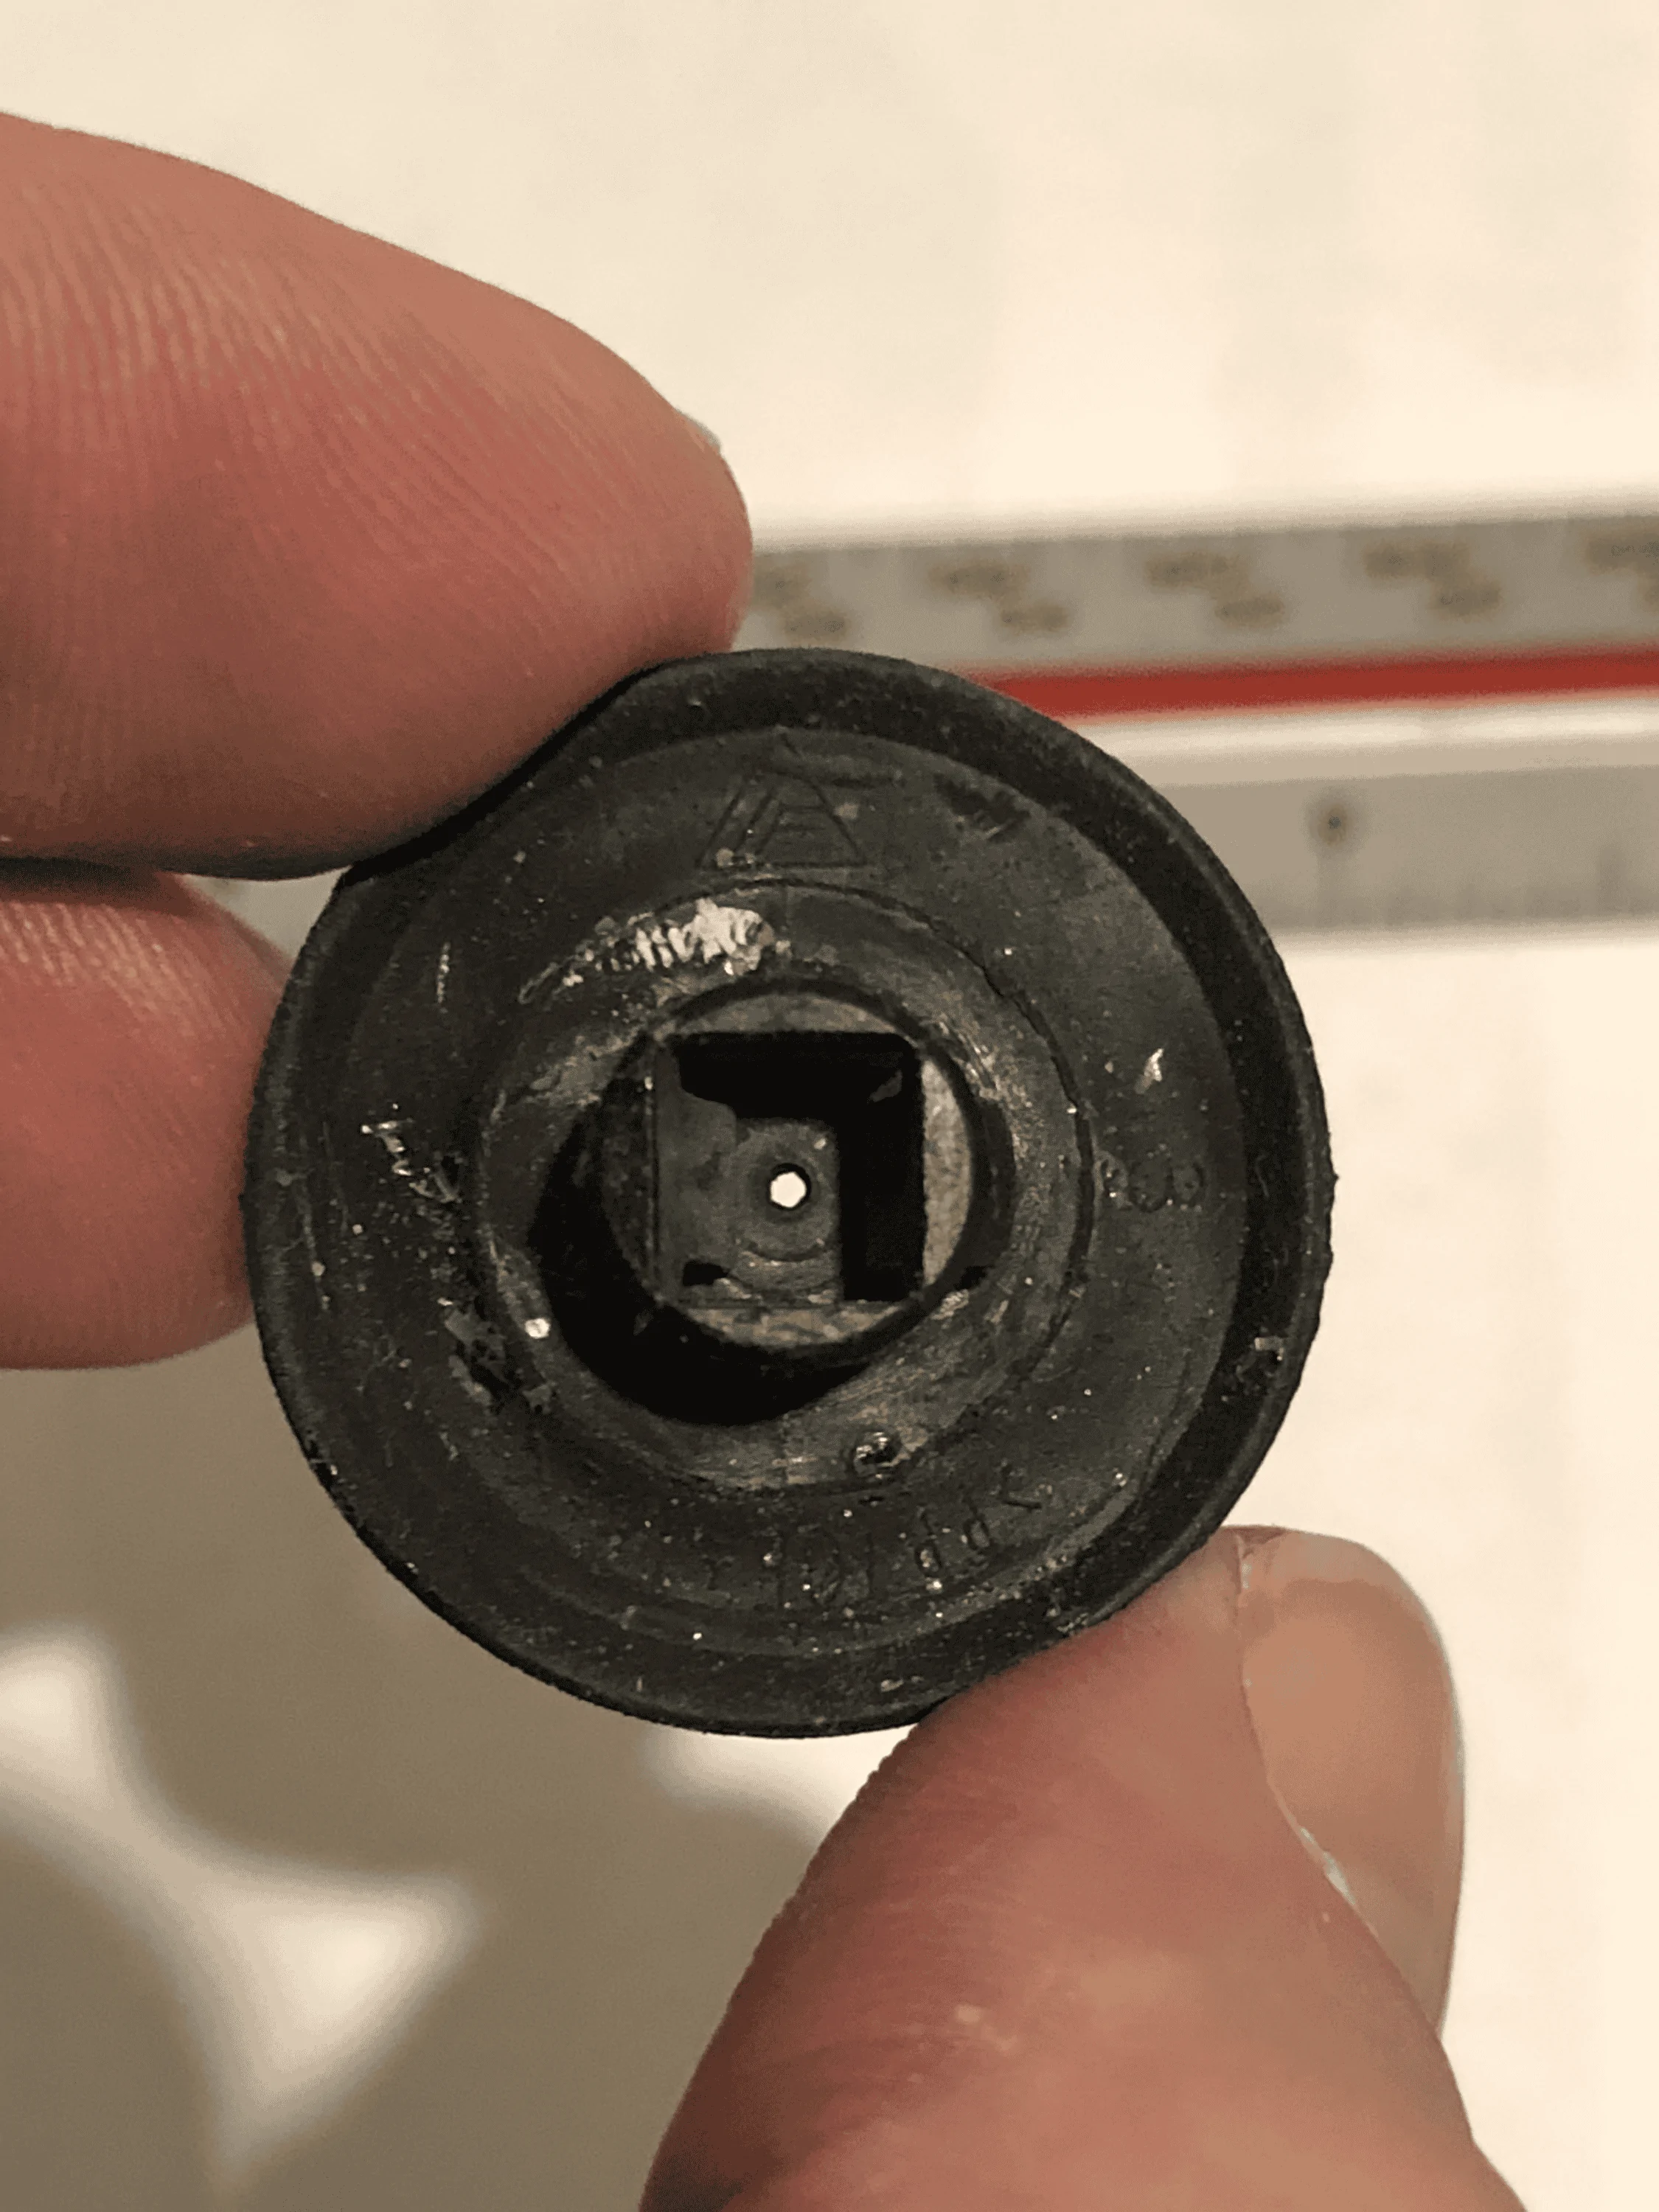
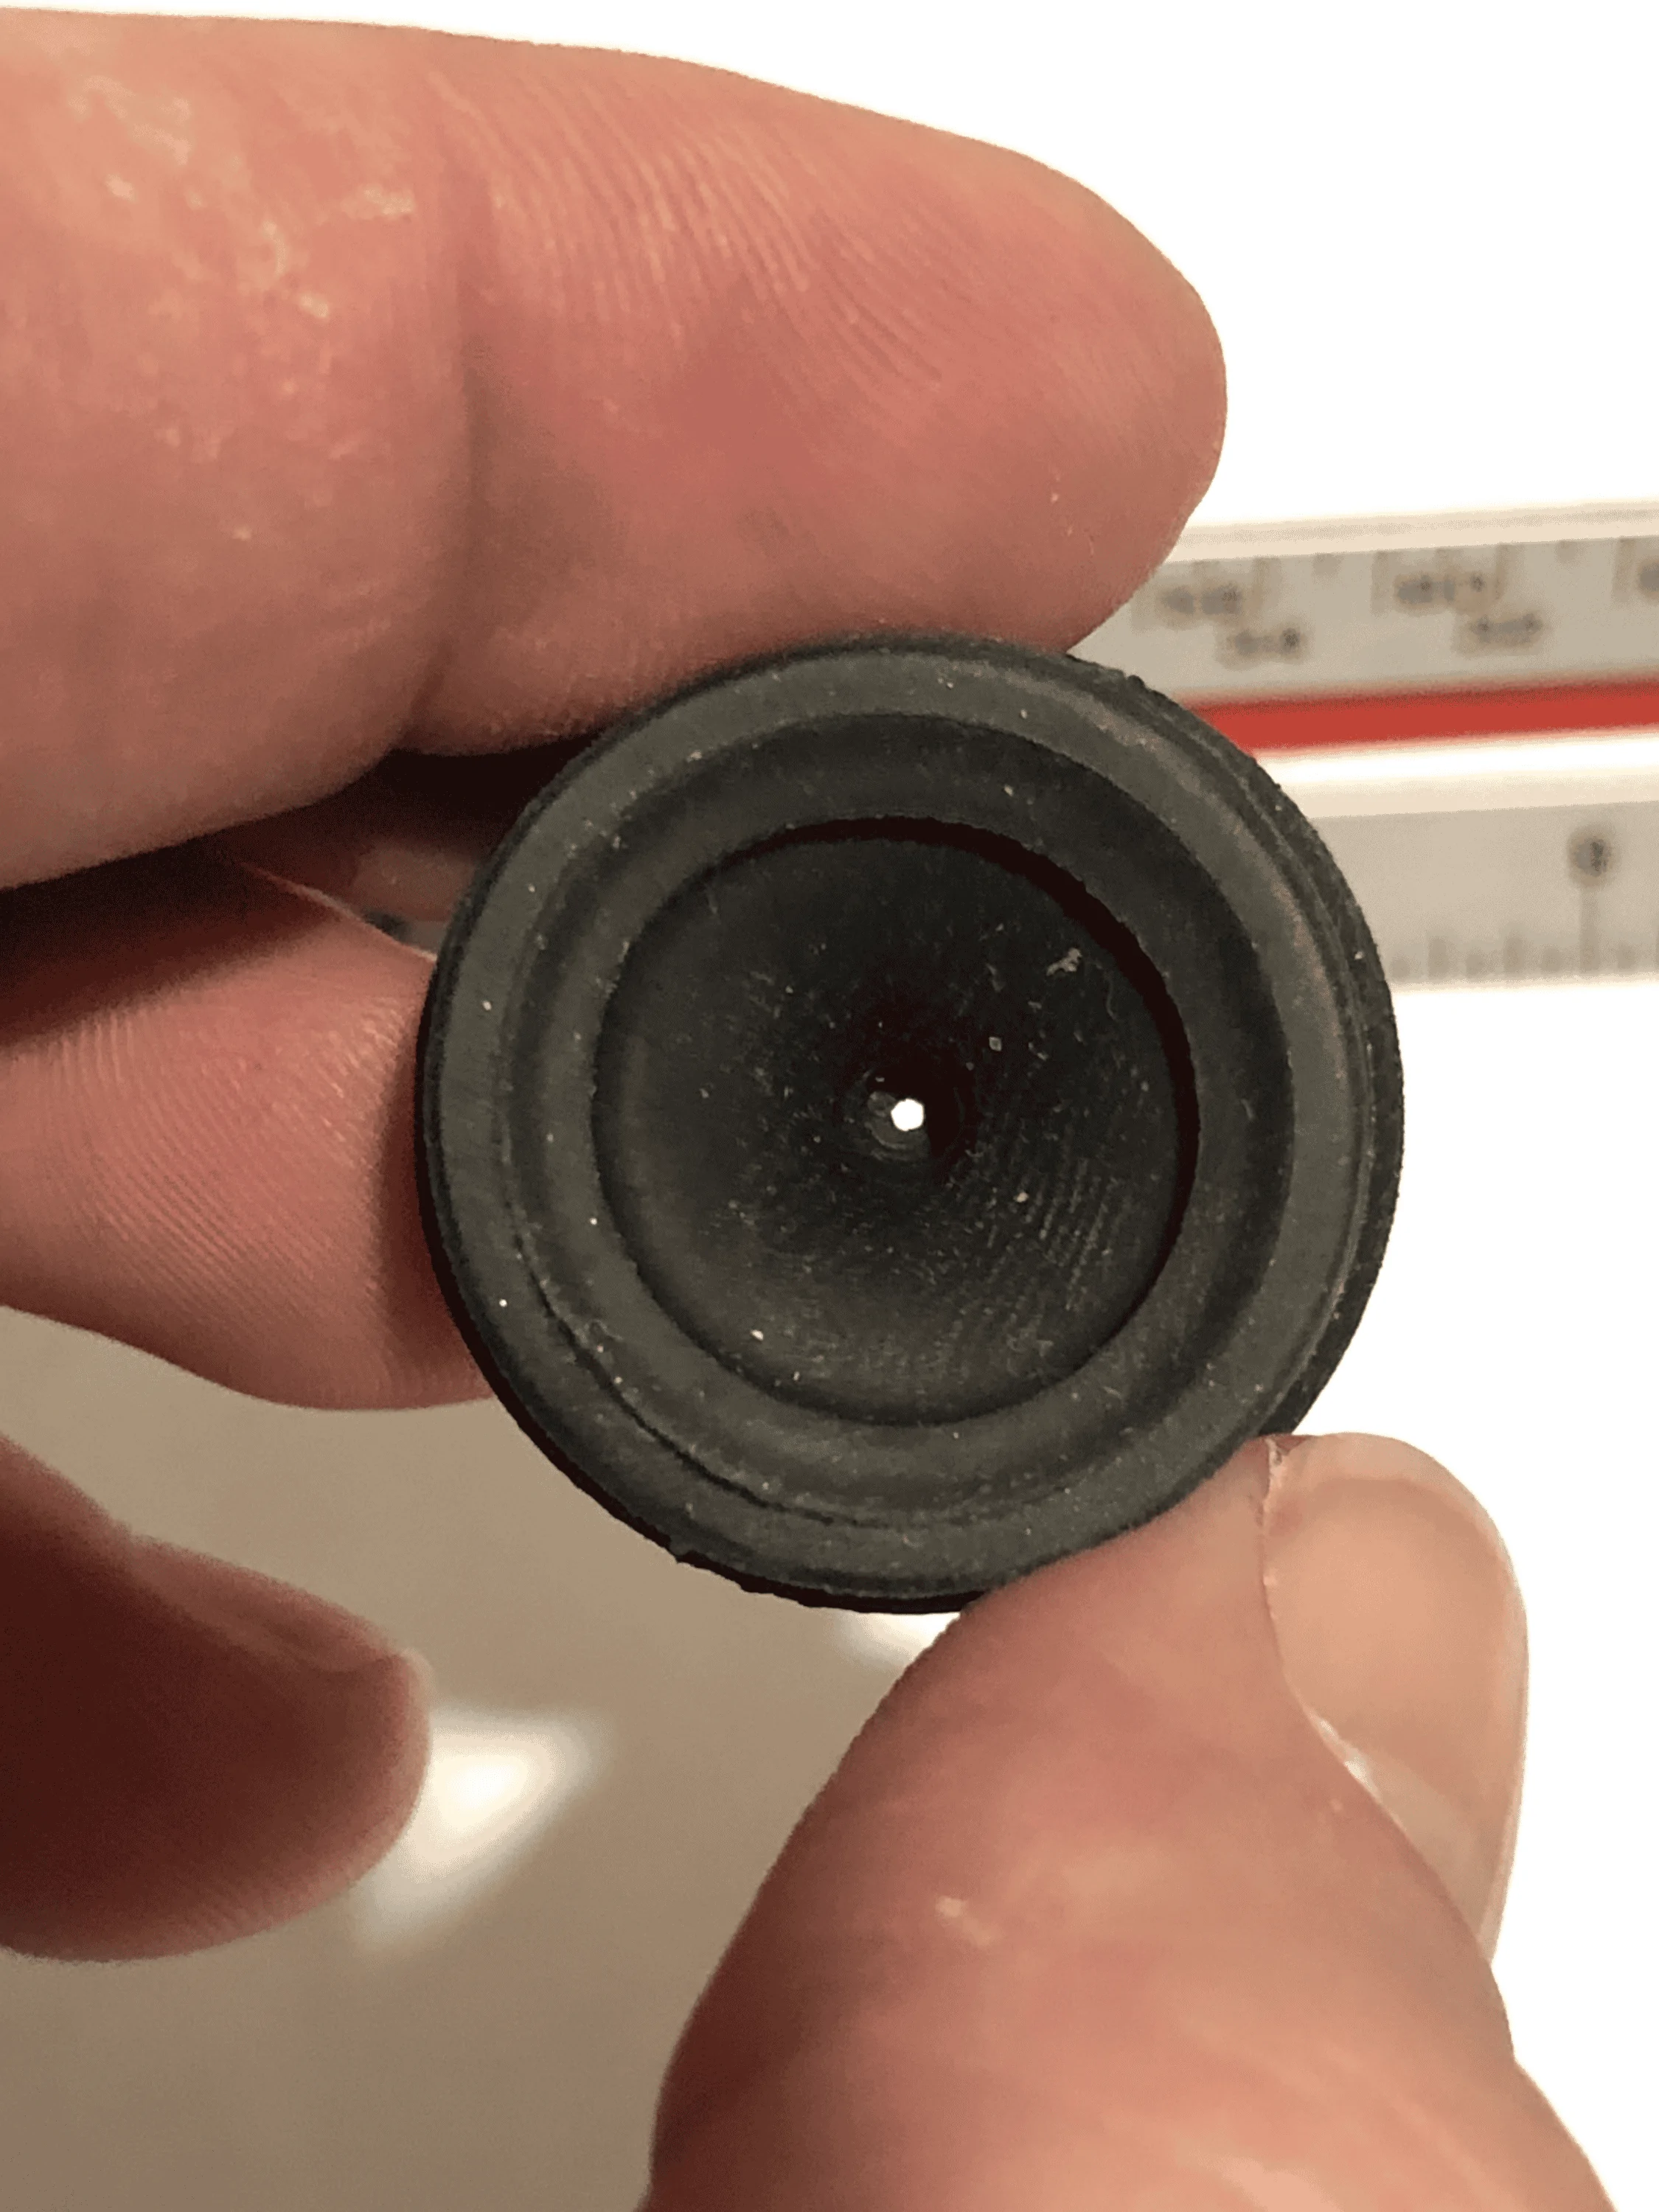
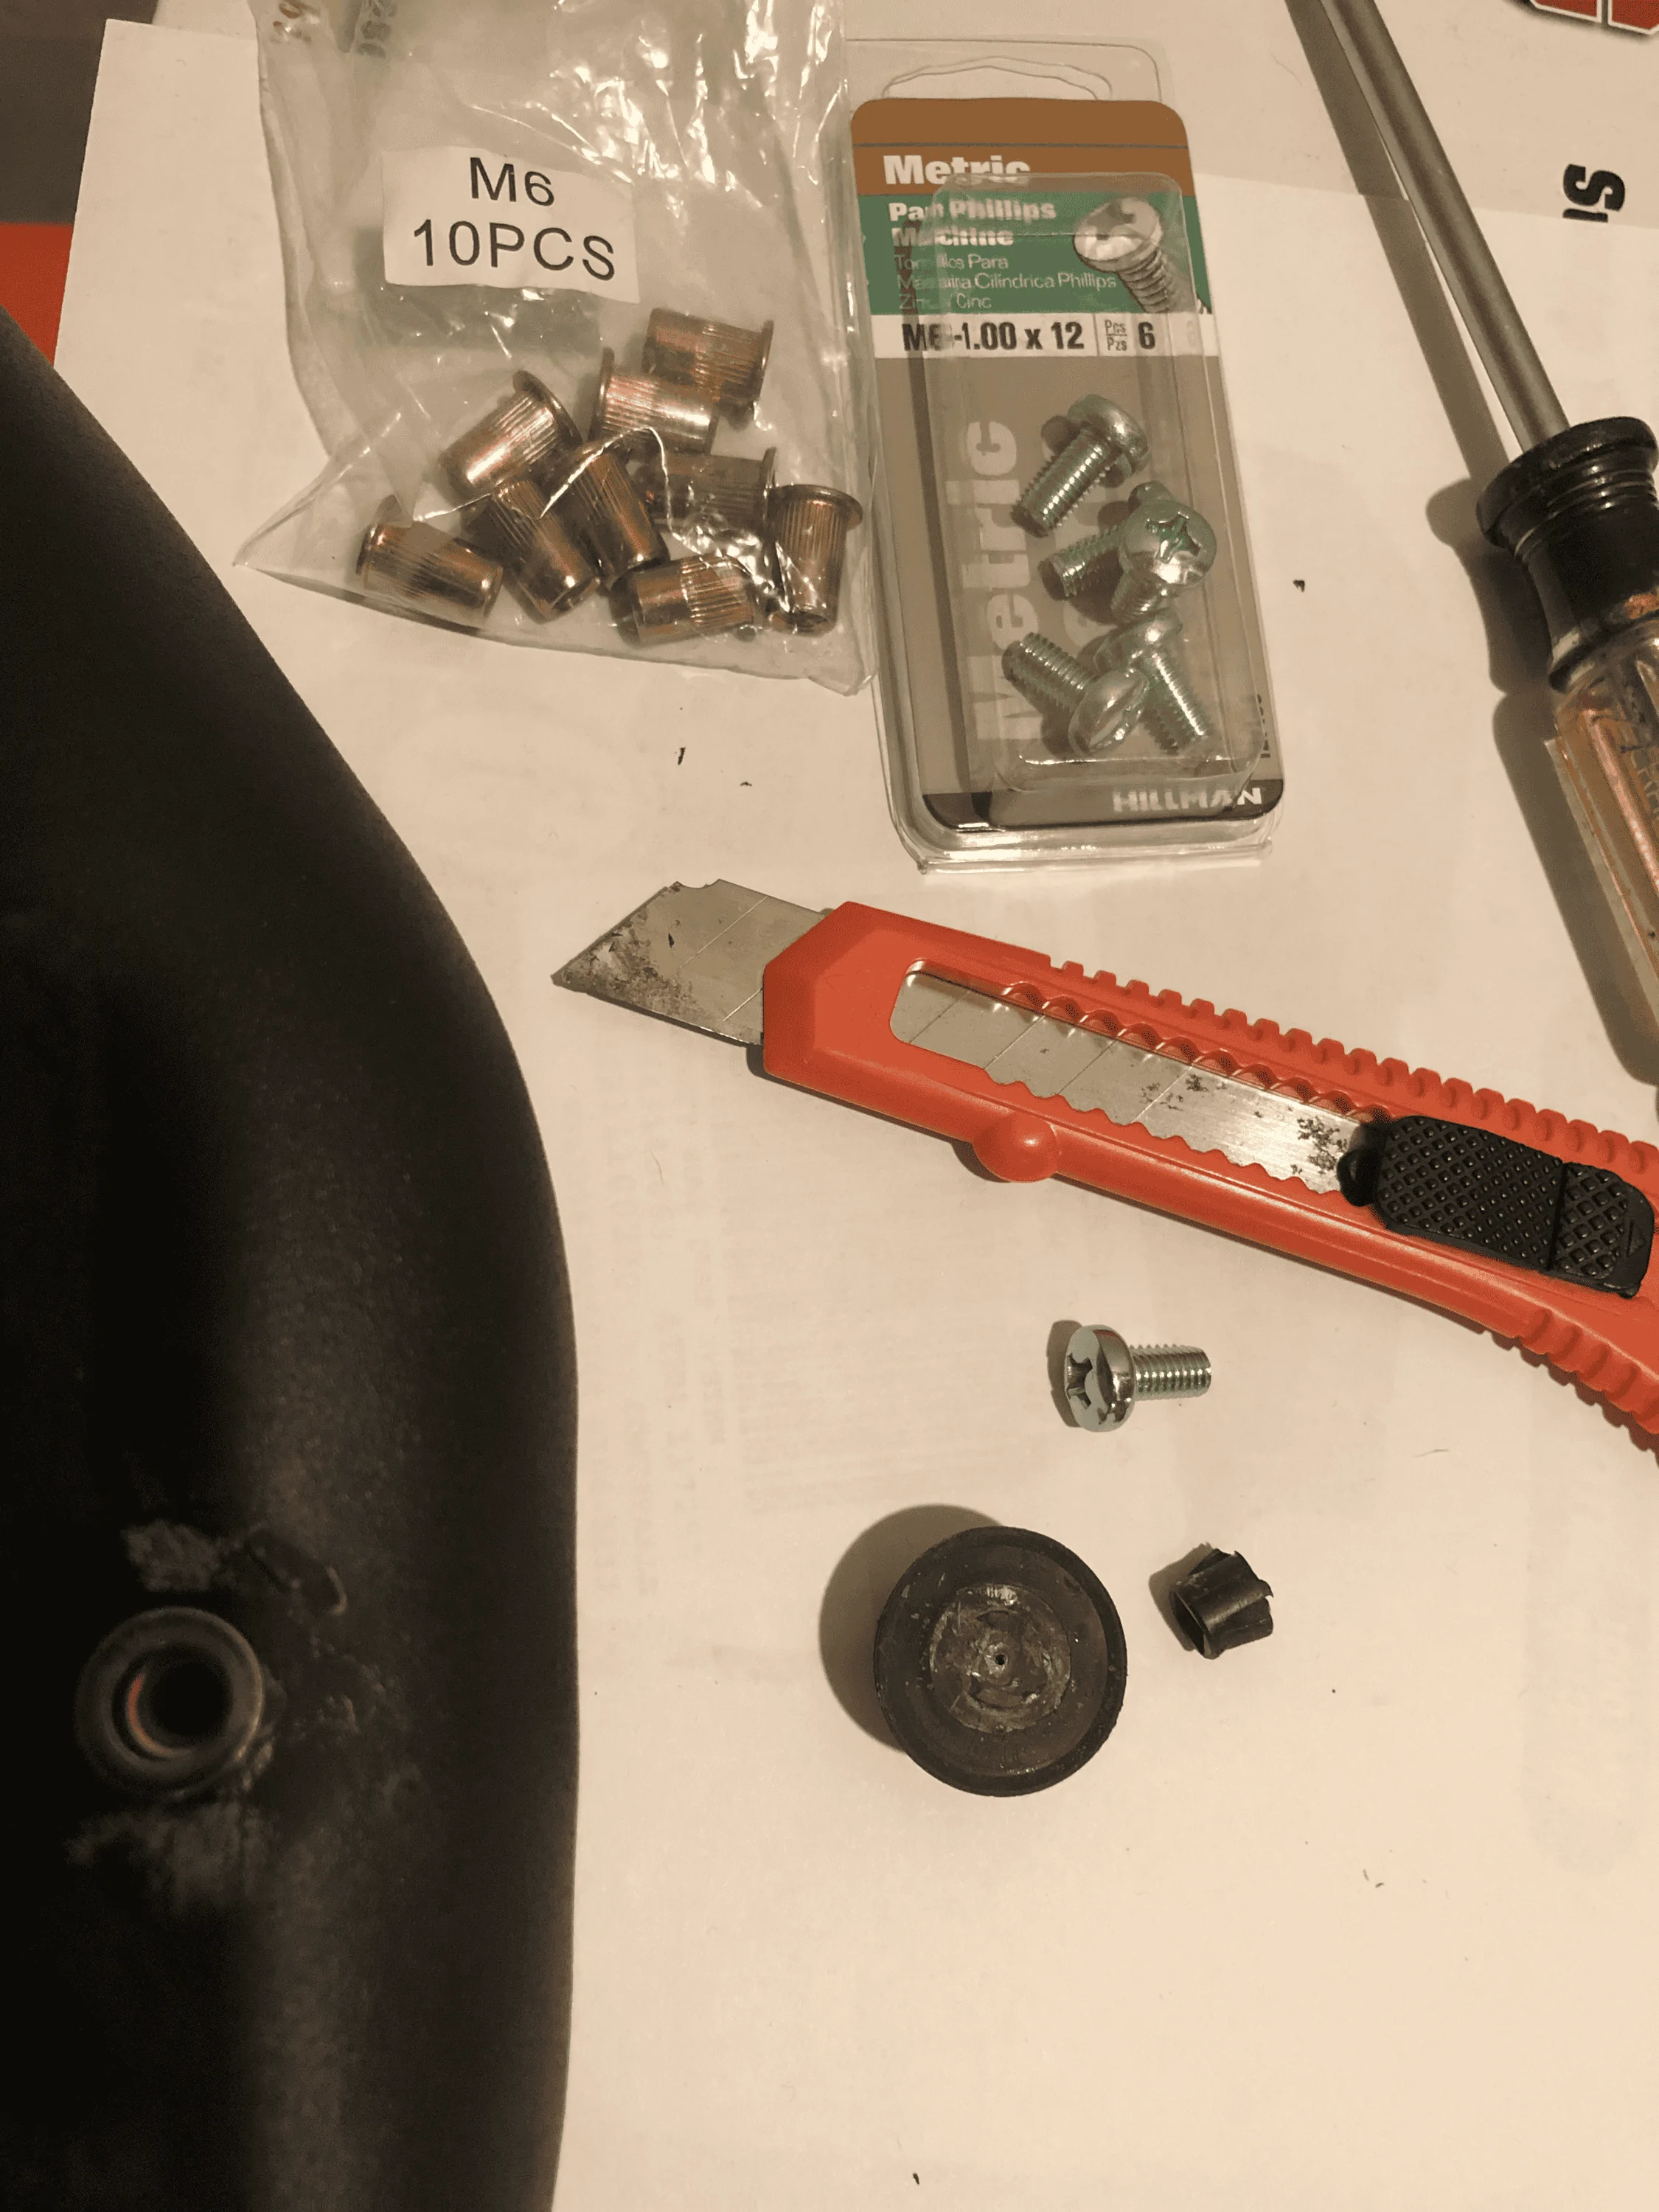
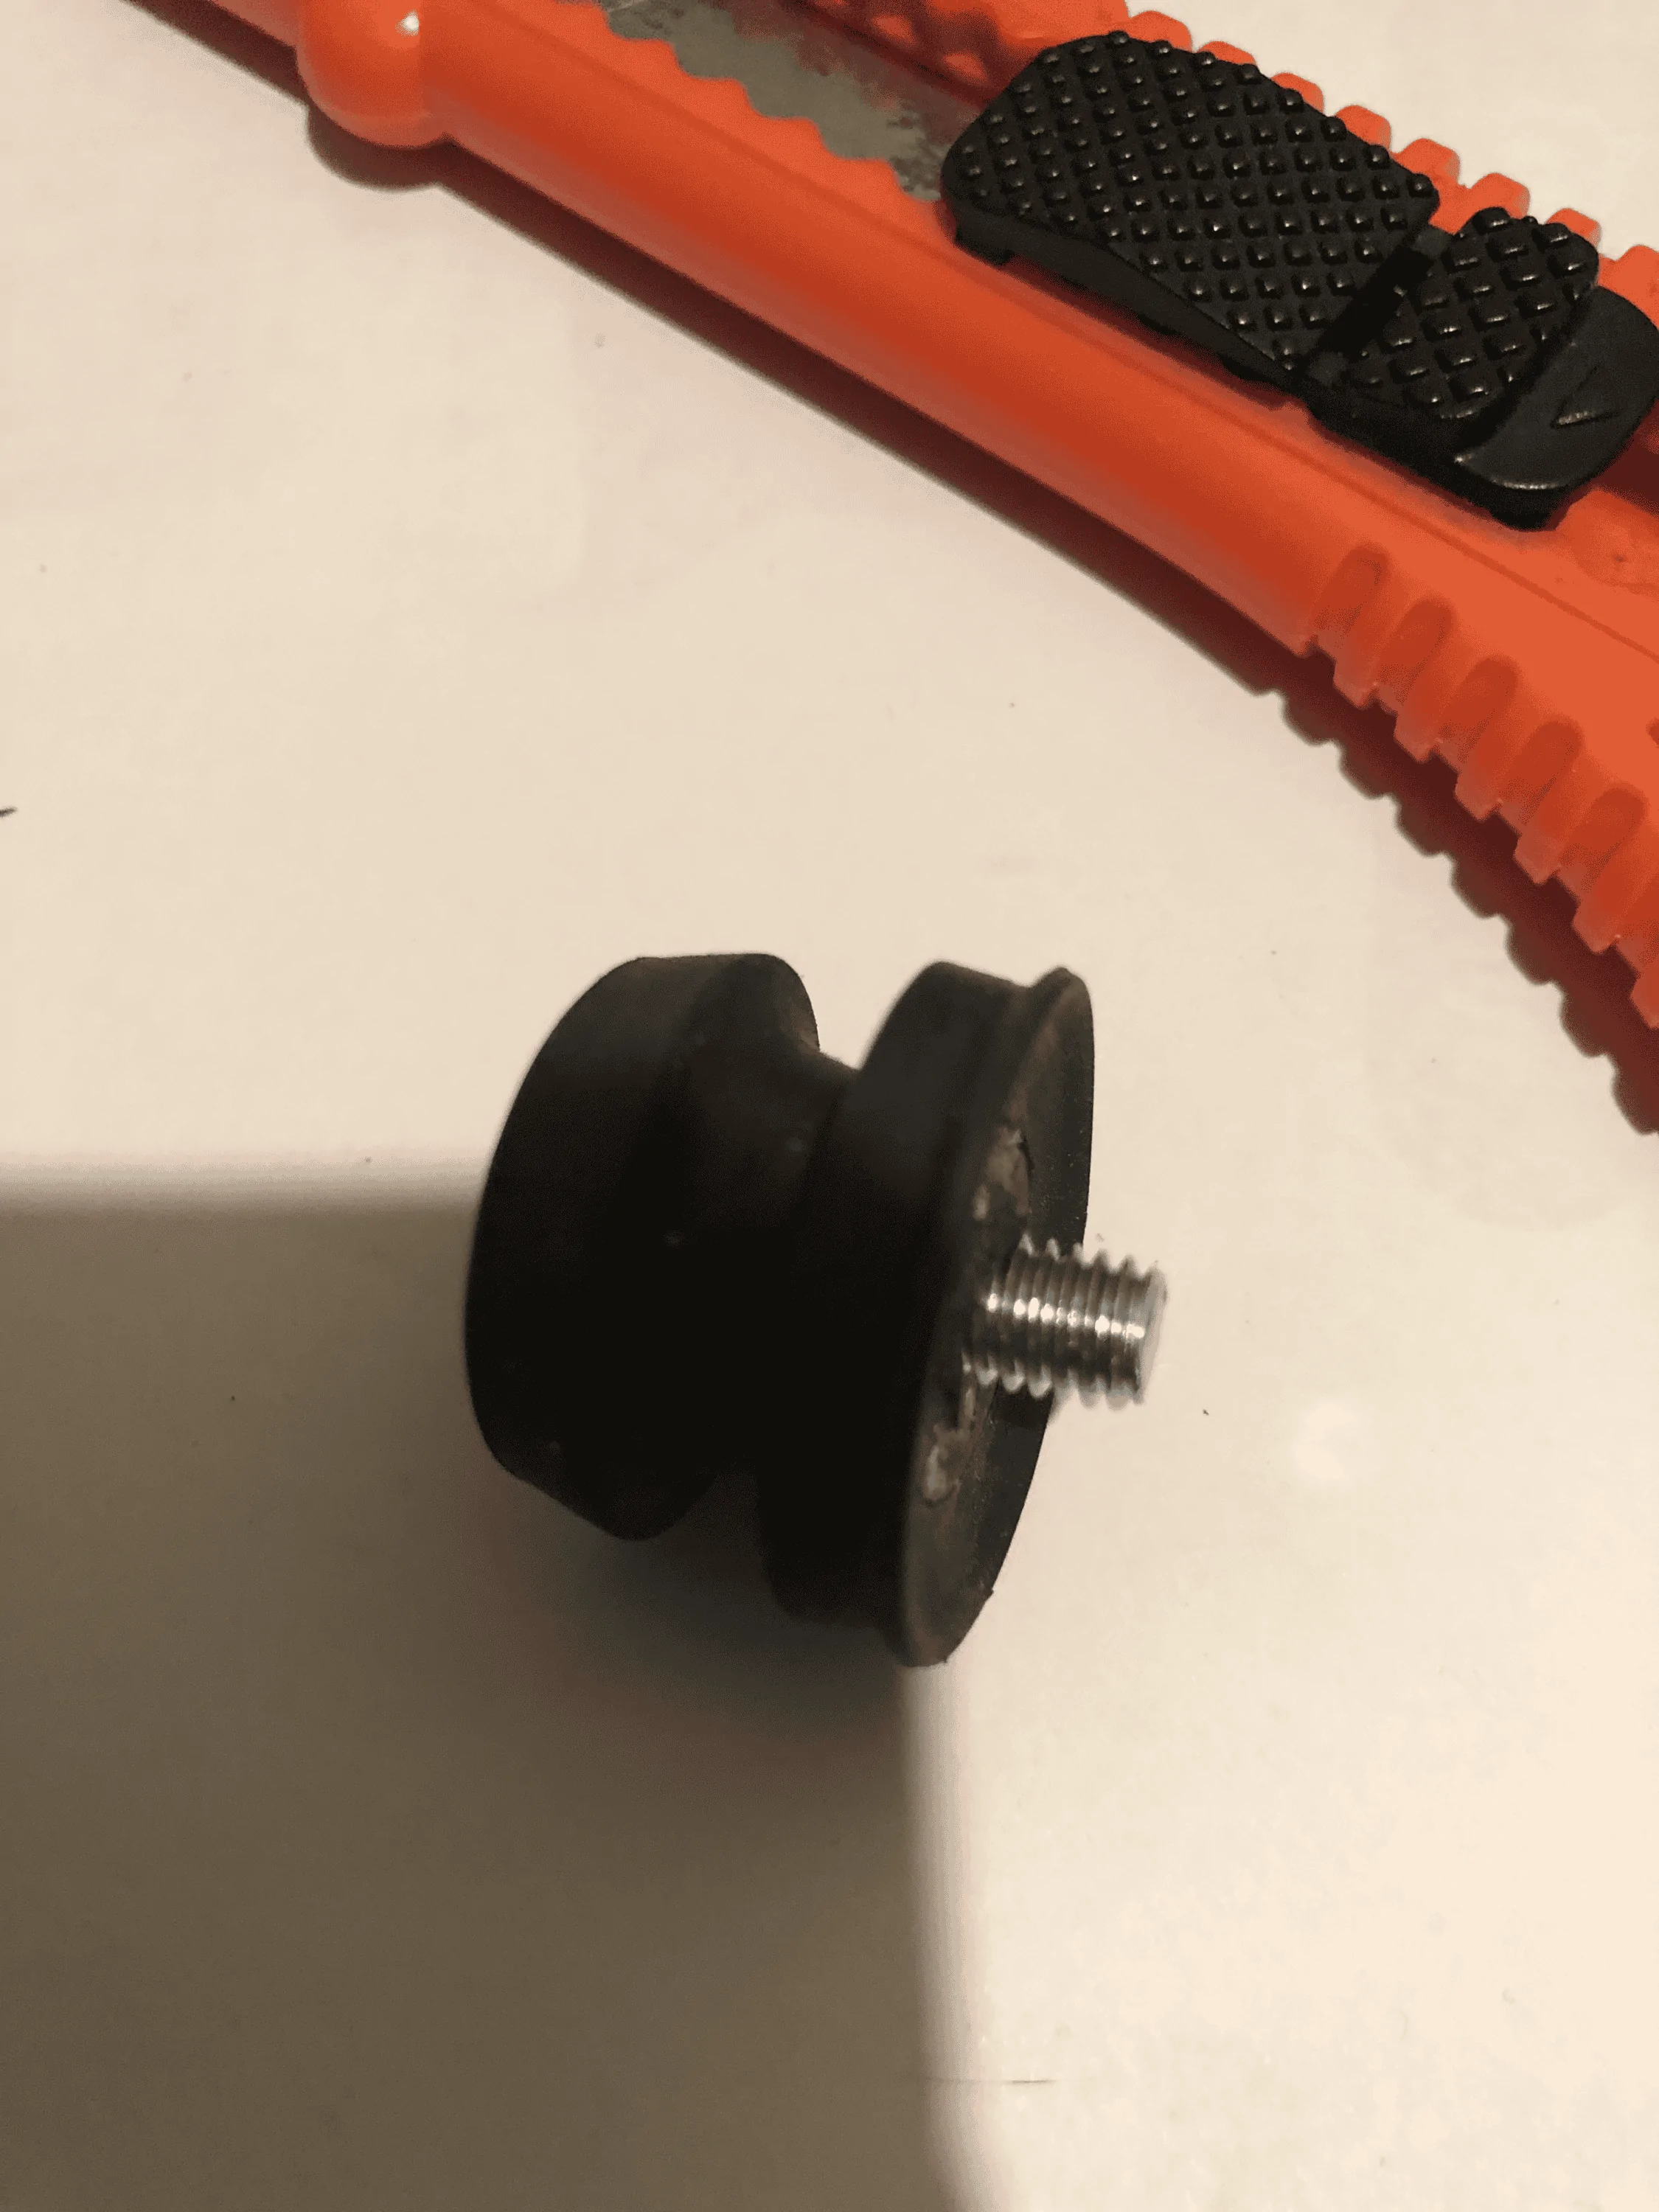
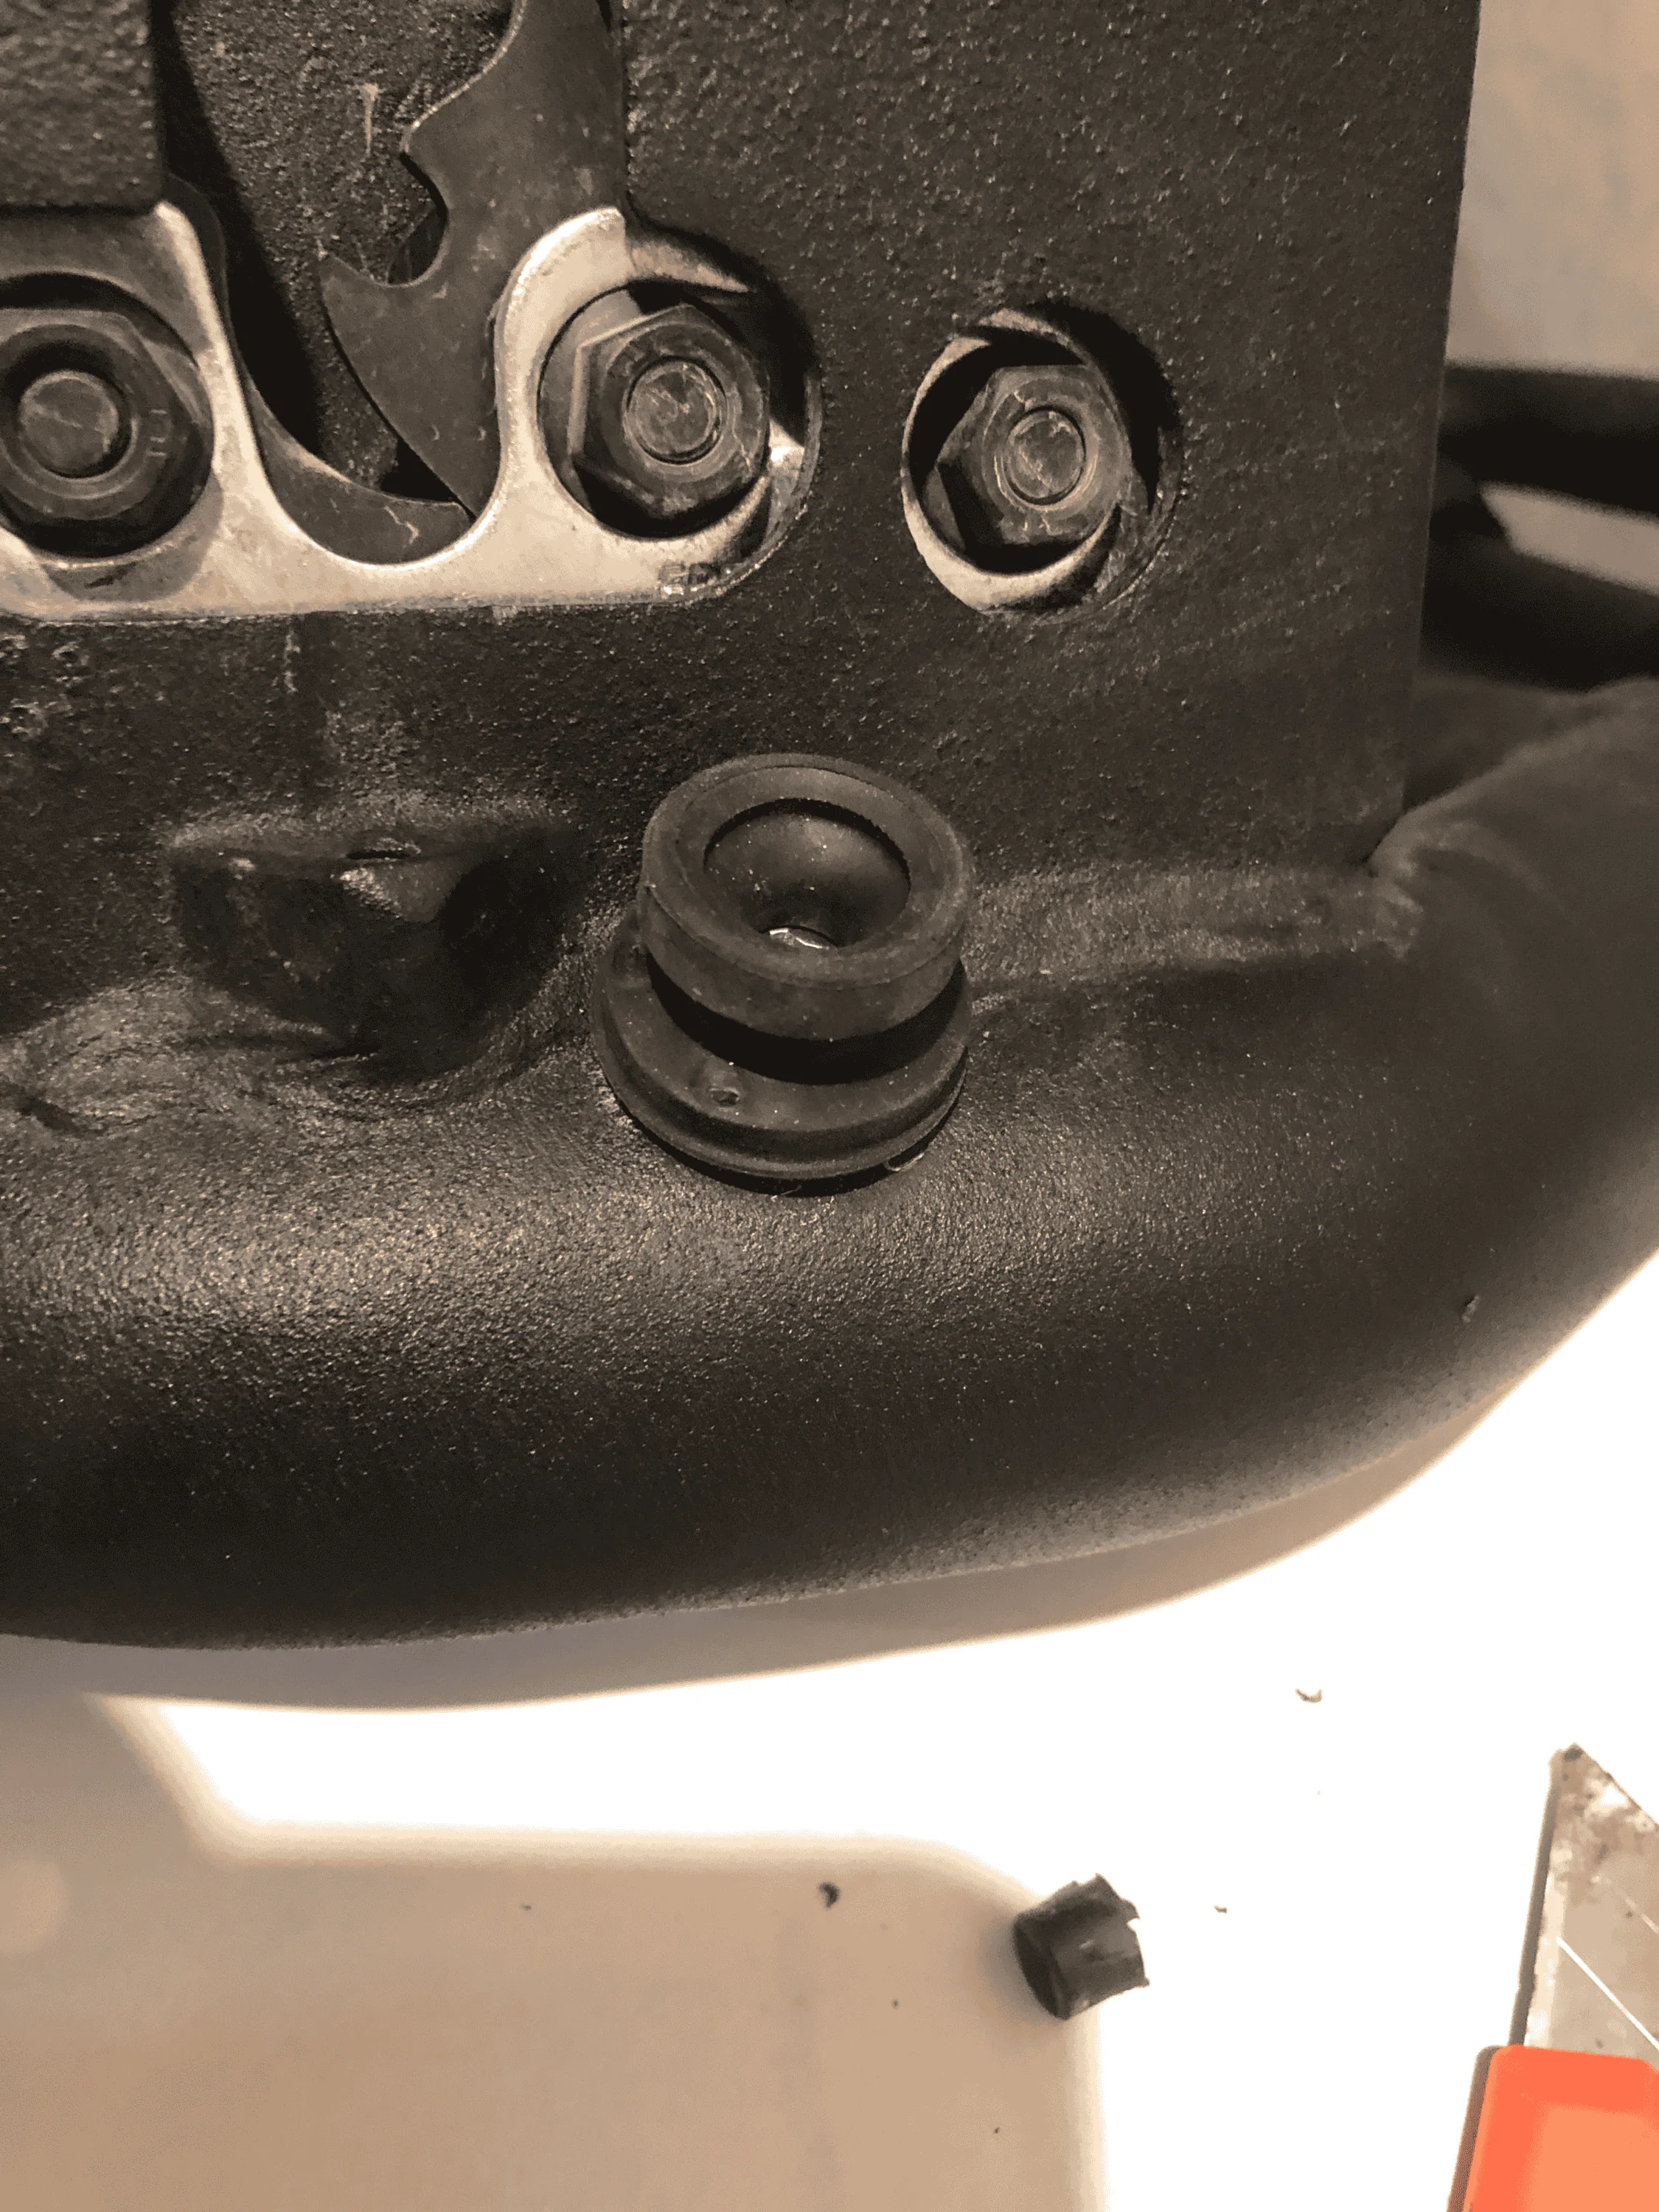
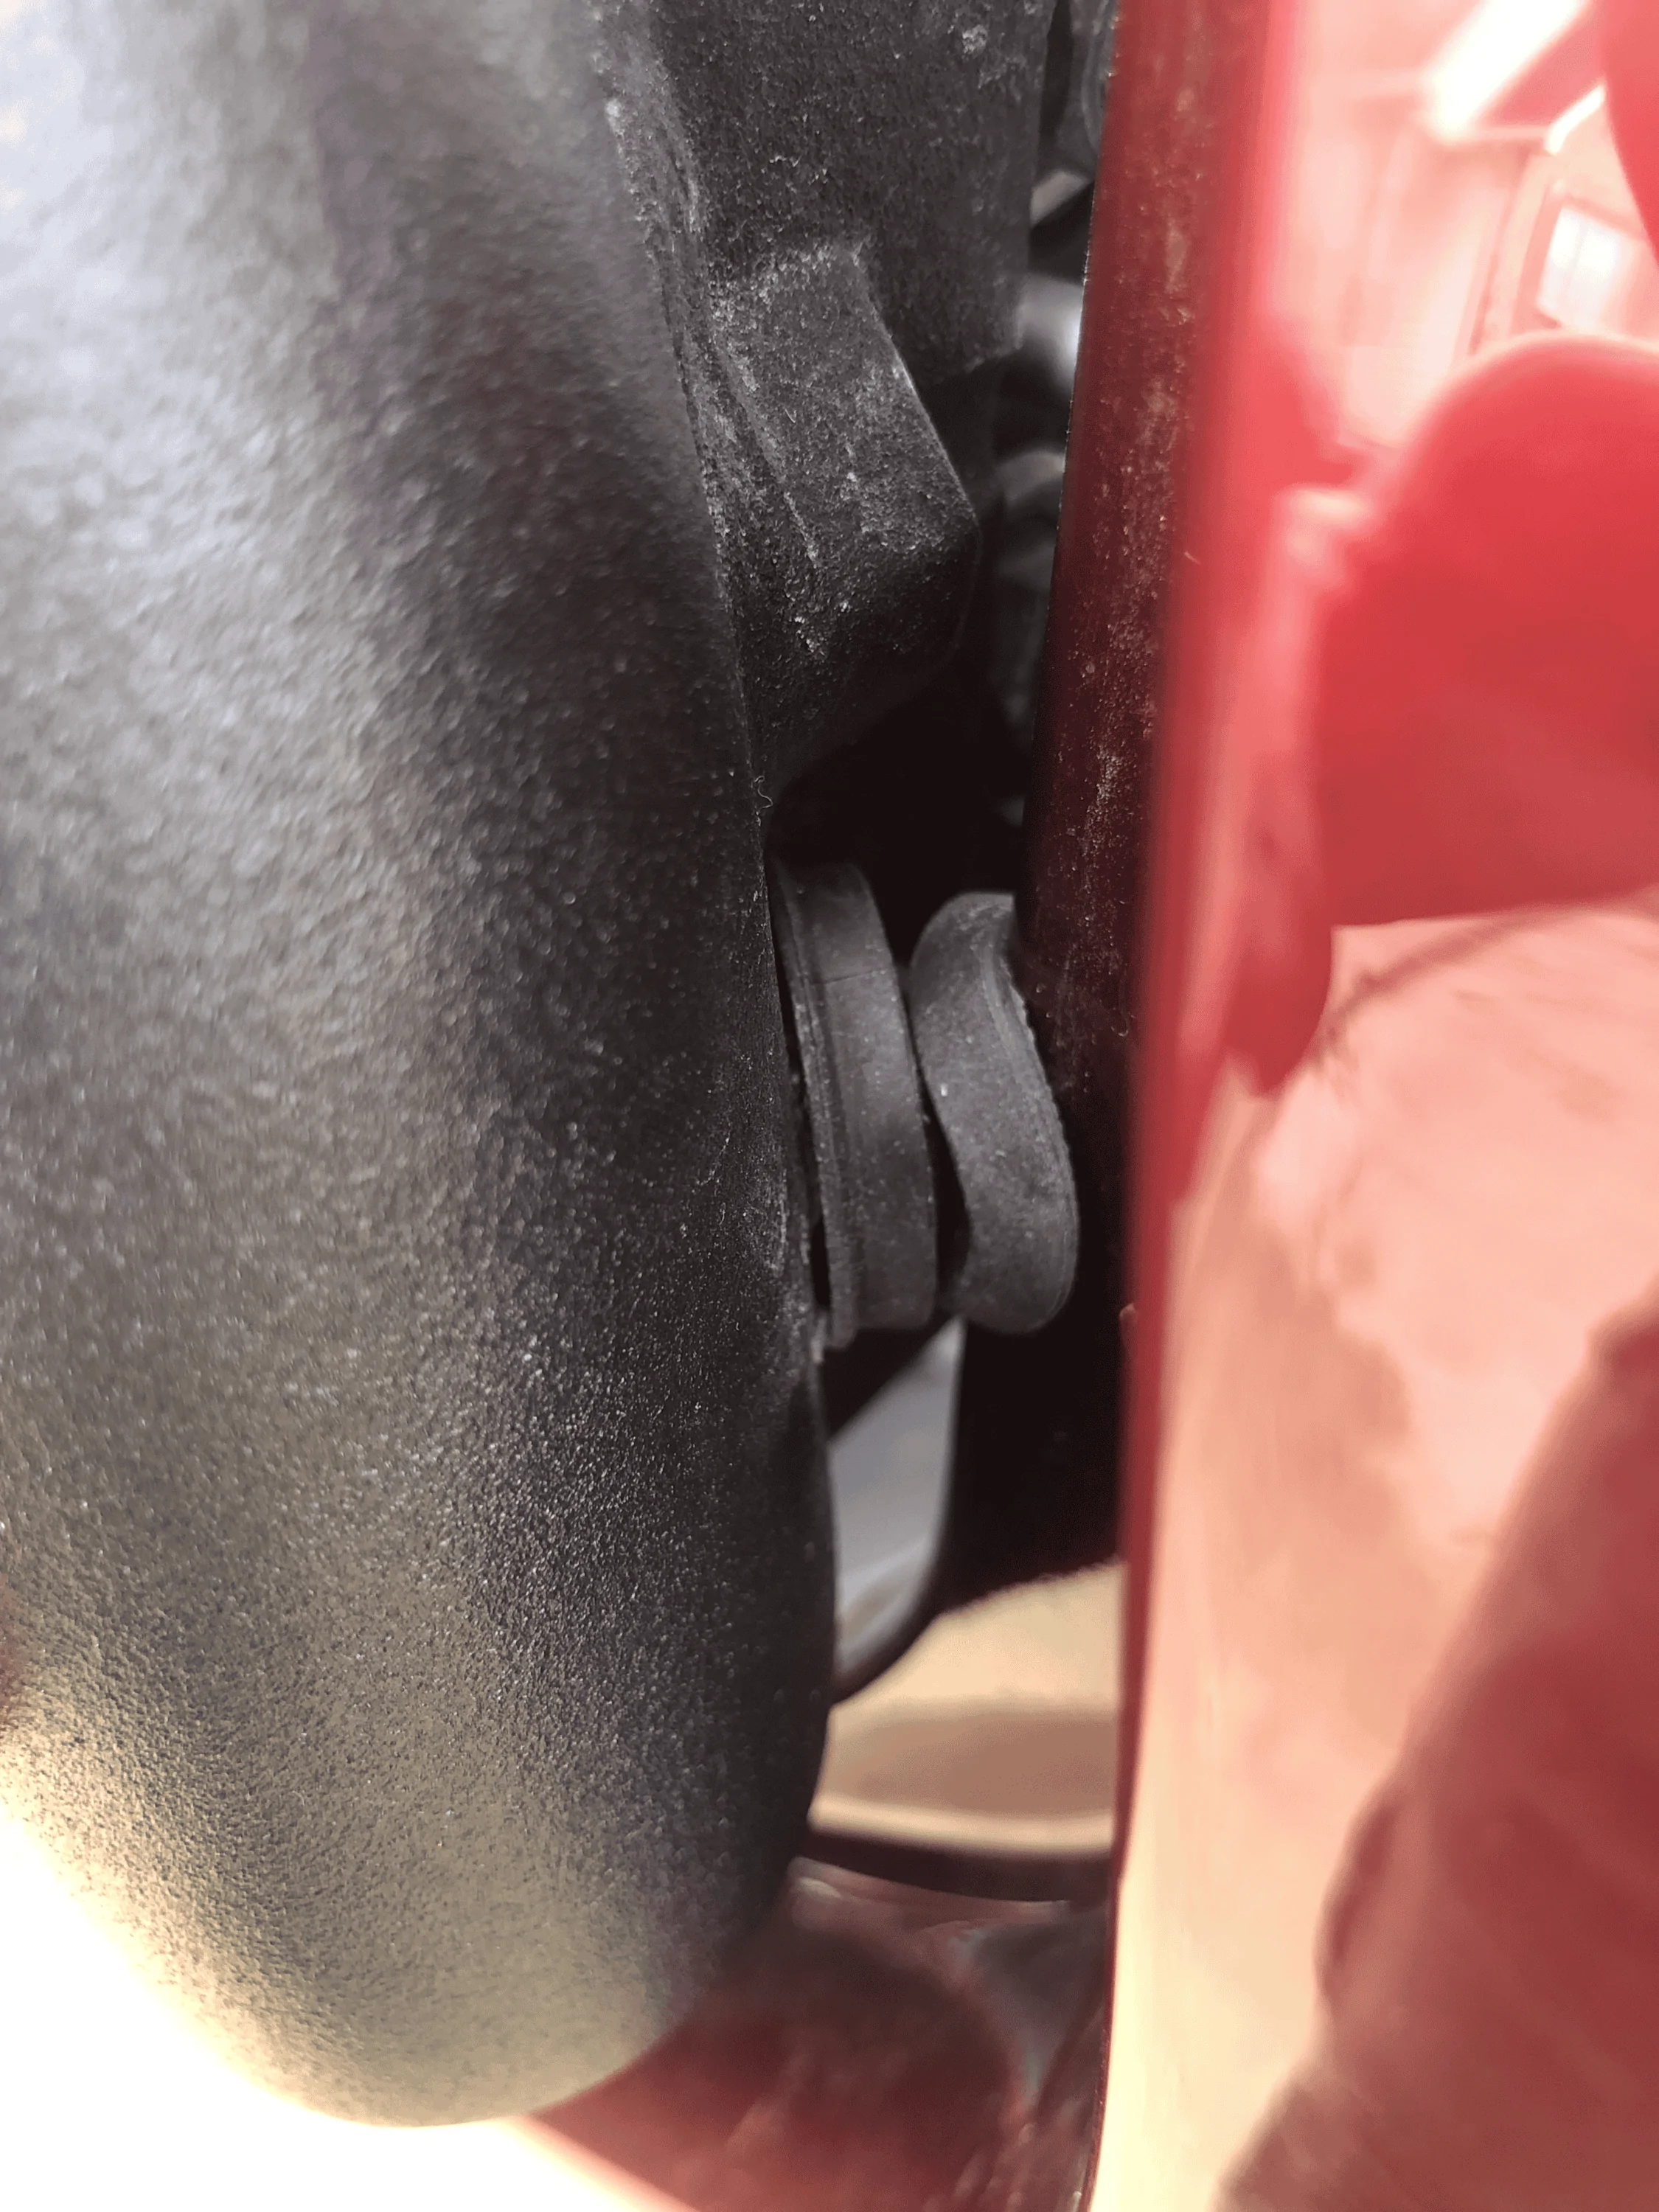
I've really enjoyed my Mopar Tube Doors on the JTM, but have struggled with a good solution for the rubber bumper that came with one of the rear doors. It was already off the door while in the packaging, and looked like someone had let a 3yr old try to super glue it back together. I really like the Mopar tube doors because they stick out from the truck, and they look really beefy, and would love to get this door to stop rattling while driving.
The metal where this rubber bumper sits, is really thin, and looks too thin to try to thread-and-bolt ( yes, there's a hole there in that spot of the door ).
Does someone, more creative than myself, have a good idea on what I can do, to either piece this together or to at least stop the rattle ( w/out scratching paint )?
For reference, here's video of the rubber bumper that I'm referring to ( starting at 3:05 ).
Sponsored