OP
OP
chorky
Well-Known Member
- First Name
- Chad
- Joined
- Feb 26, 2022
- Threads
- 175
- Messages
- 3,466
- Reaction score
- 3,801
- Location
- Montana
- Website
- www.youtube.com
- Vehicle(s)
- '22JTR, '06 LJ, '06 TJ GE
- Build Thread
- Link
- Occupation
- GIS Specialist
- Thread starter
- #286
Original fridge post # 34, follow up in post 48Hey Chad--
I'm edging closer to getting a JTM, could happen within a week or so if everything lines up.
I'm debating the fridge in the bed vs the cabin and thinking I would do 40% delete but higher platform to go over the cubby and throw the fridge on there like you have. You did that, right? Anyway, whats the dimensions of your fridge? Looking seriously at the Kick/Ass 75L. Thanks!
Full seat delete post # 153
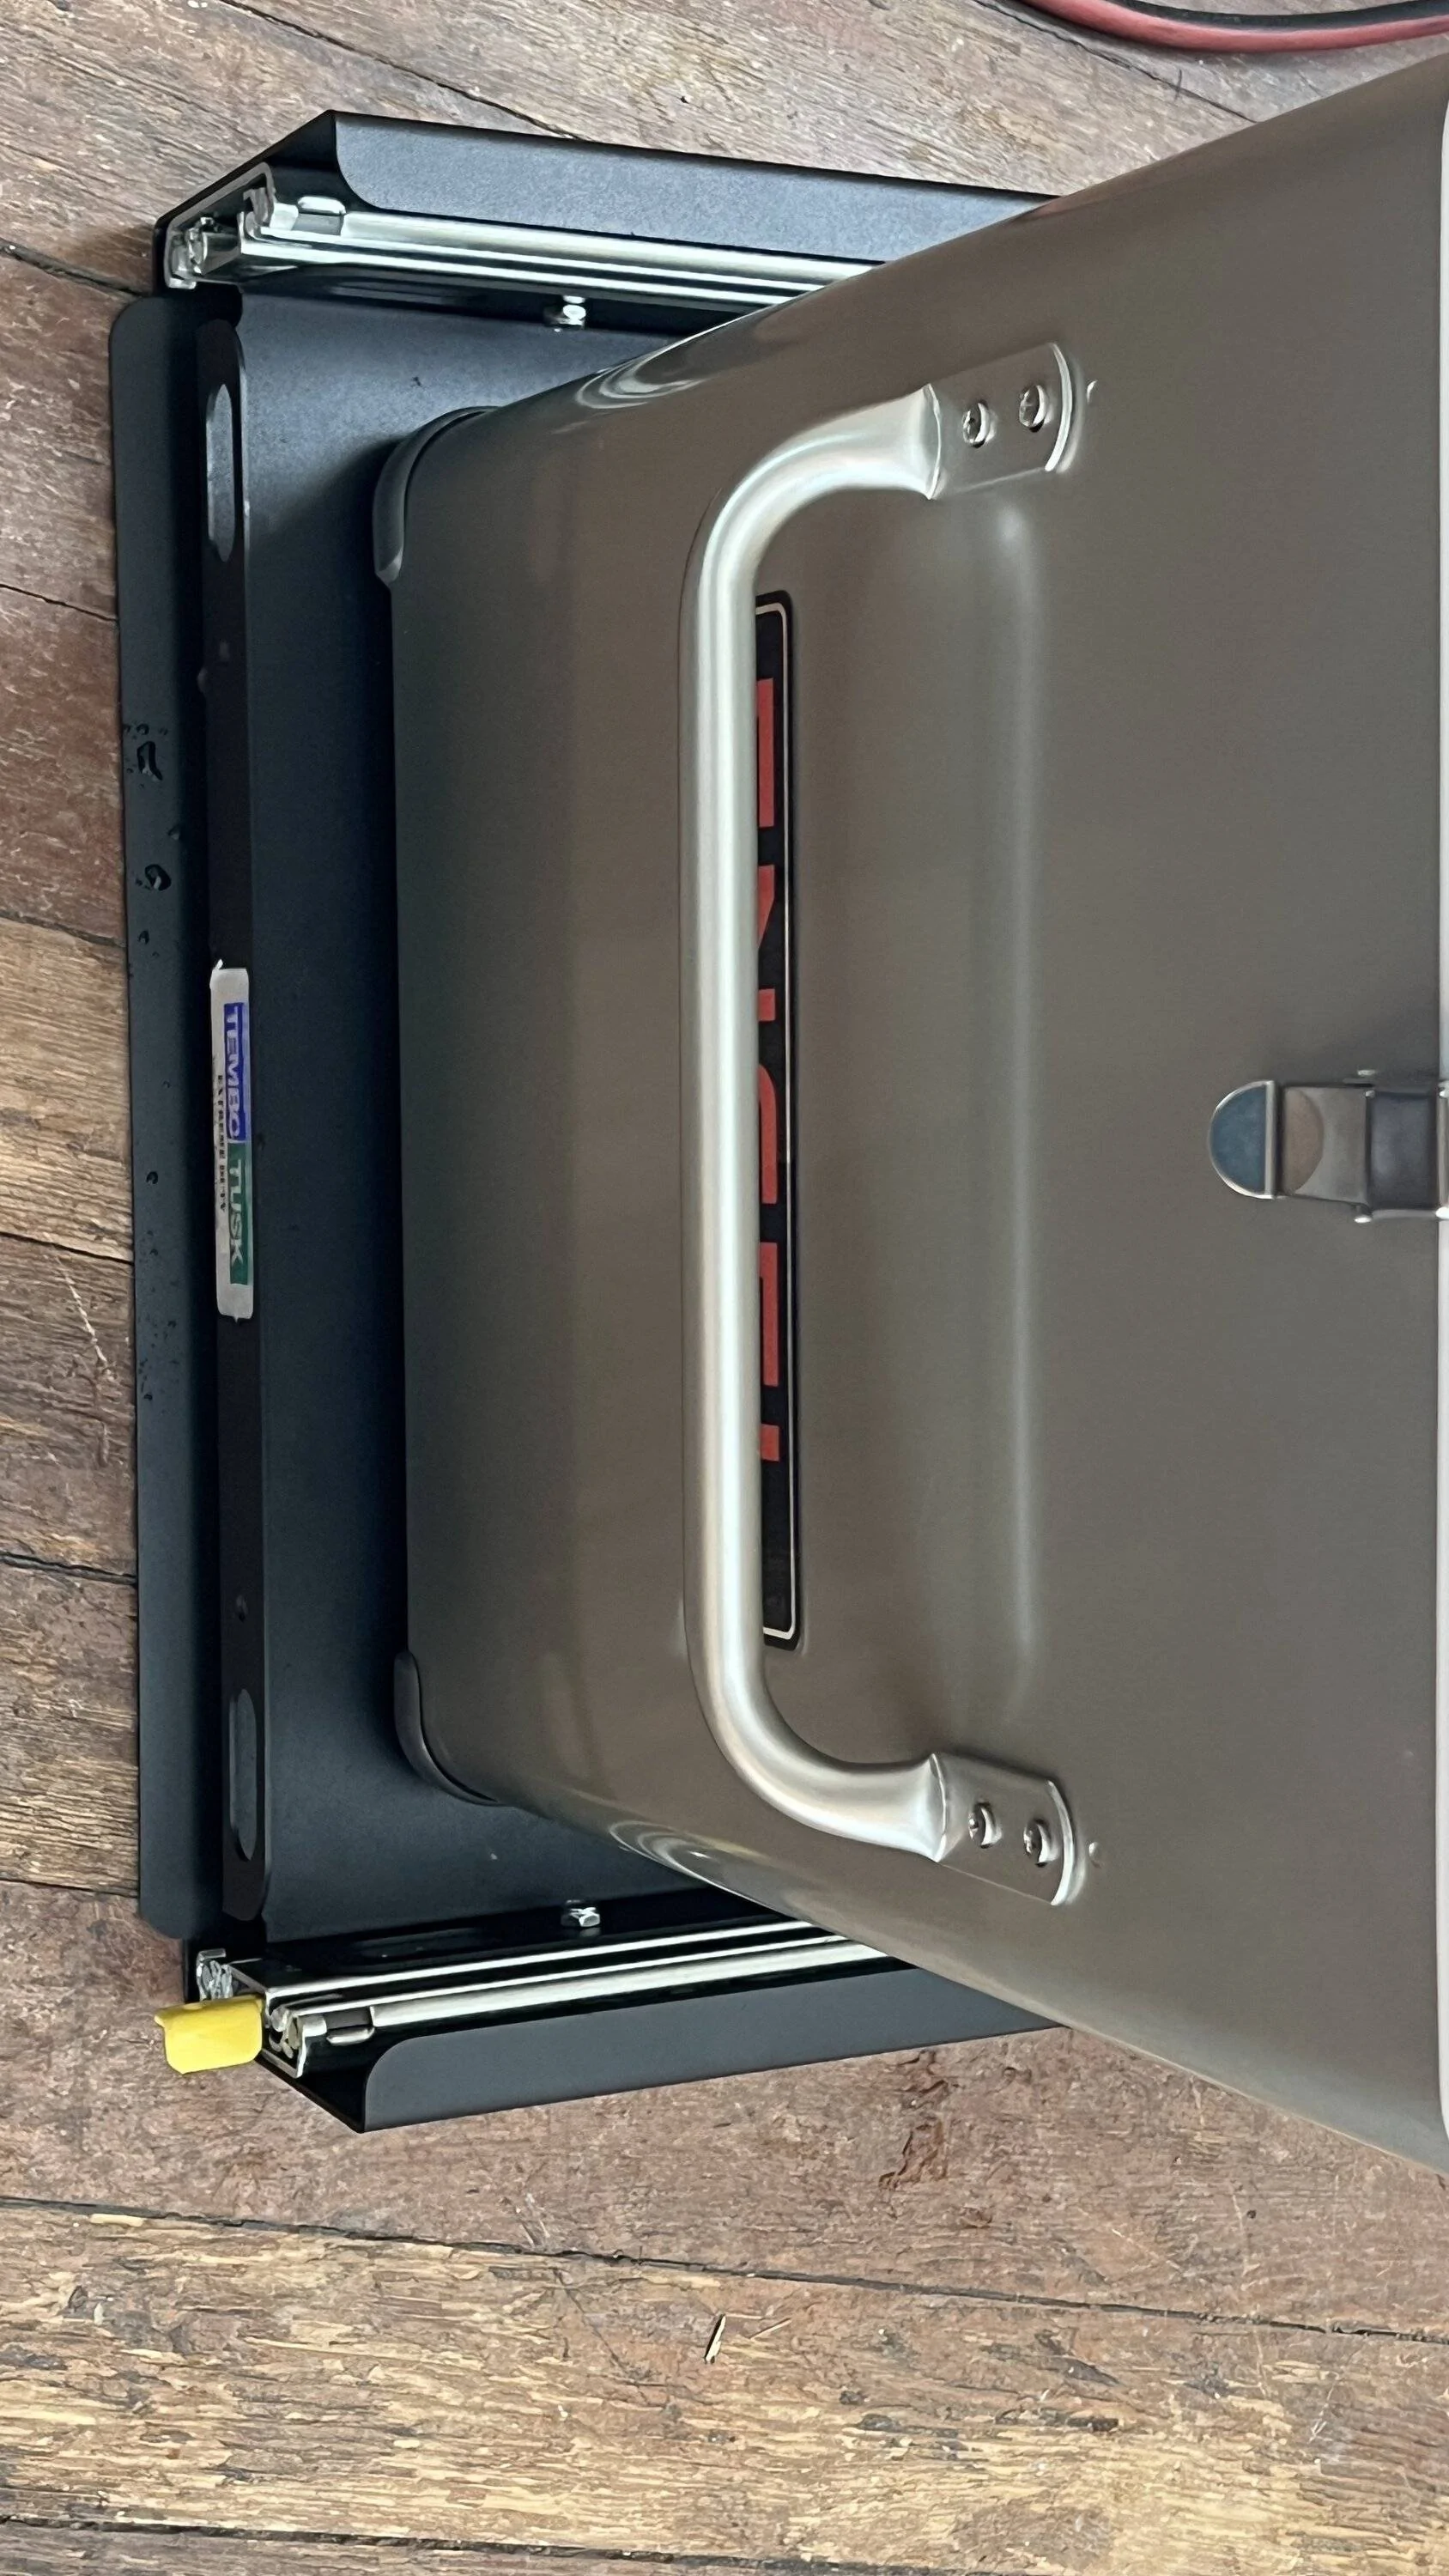
Yeah it is a tough choice there. Personally I had zero desire to have a fridge in the cab. The cab gets hot in the summer sun even with windows open. Way hotter than the canopy, which just means more energy usage. I also do most my cooking somewhat near the fridge and I didnt' want to have to constantly be opening the door. And now with my new plans in the near future, having the fridge in the back seat area would be a serious hamper (time will reveal). The fridge I have is Engle 45 Combi. It's fantastic. Lowest power draw of any fridge I have researched, reliable, and of course been around for forever. They still use the same rotary compressor and I believe they are now the only company that does, which has less moving parts than a standard compressor and is quieter. At least those are my observations compared to my snow master (but it is a 65L). But there are a lot of really good options and some of the cheapie ones have proven themselves to be pretty darn reliable. It sits on a tembo tusk slide, which is about 2'ish inches larger on all sides than the fridge. Going back I would have made my own - it's super expensive for a simple slide. I would also recommend doing a base plate in the bed to avoid drilling a dozen or so holes in the bed like I did. It's sealed up fine and rust protected but still has the option for future rust, and resale wouldn't be nearly as good with a swim cheese bed. For me it fits perfectly in the bed and is not overly large. And it does not go past the bed centerline which is really nice. But if you have a family, it honestly would probably be a tad small and you might want to size up one or two. I'm single so there is that. https://engelcoolers.com/collections/powered-fridge-freezers/products/45-combi-portable-car-fridge
As for the rear seat delete. Yes I did it myself. I couldn't justify the cost of goose gear for what you get. It's neat and all but I will never understand why people want the platform to be so low to the floor. It seems pretty useless to me. I made mine so it sits on the lip of the little cubby on the drivers side, and then sits on the lip just in front of the sub on the passenger side - so probably similar to what you are considering. It is the perfect height IMO. Plenty of storage under neath for boots, tools, random crap you dont know where to put, fly rod and gear, emergency TP, some spare parts, and general things like rags and window cleaner. I am planning on relocating my tools to under the platform on the passenger side and also installing the chargers for the ugh-duga, chainsaw, and a few other things, so they can be always ready and hard mounted. Can't do that very easily with a super low platform like the goose gear. And, it still leaves some height left where a person could build a secondary shelf if desired and still not obstruct views. The wood is just standard birch, so not the nice baltic stuff. But I will be modifying it sometime soon and covering it with a carpet of some sort. I made a H brace underneath and used a combination of wood glue and screws. So far, zero noise, zero movement, it has been trouble free, quiet, and has L-track so I can secure all my stuff in the back for a rattle/noise free drive even on super bouncy roads.
I quoted my posts below if you wanted to read them.
Well I continued work on a couple more items today.
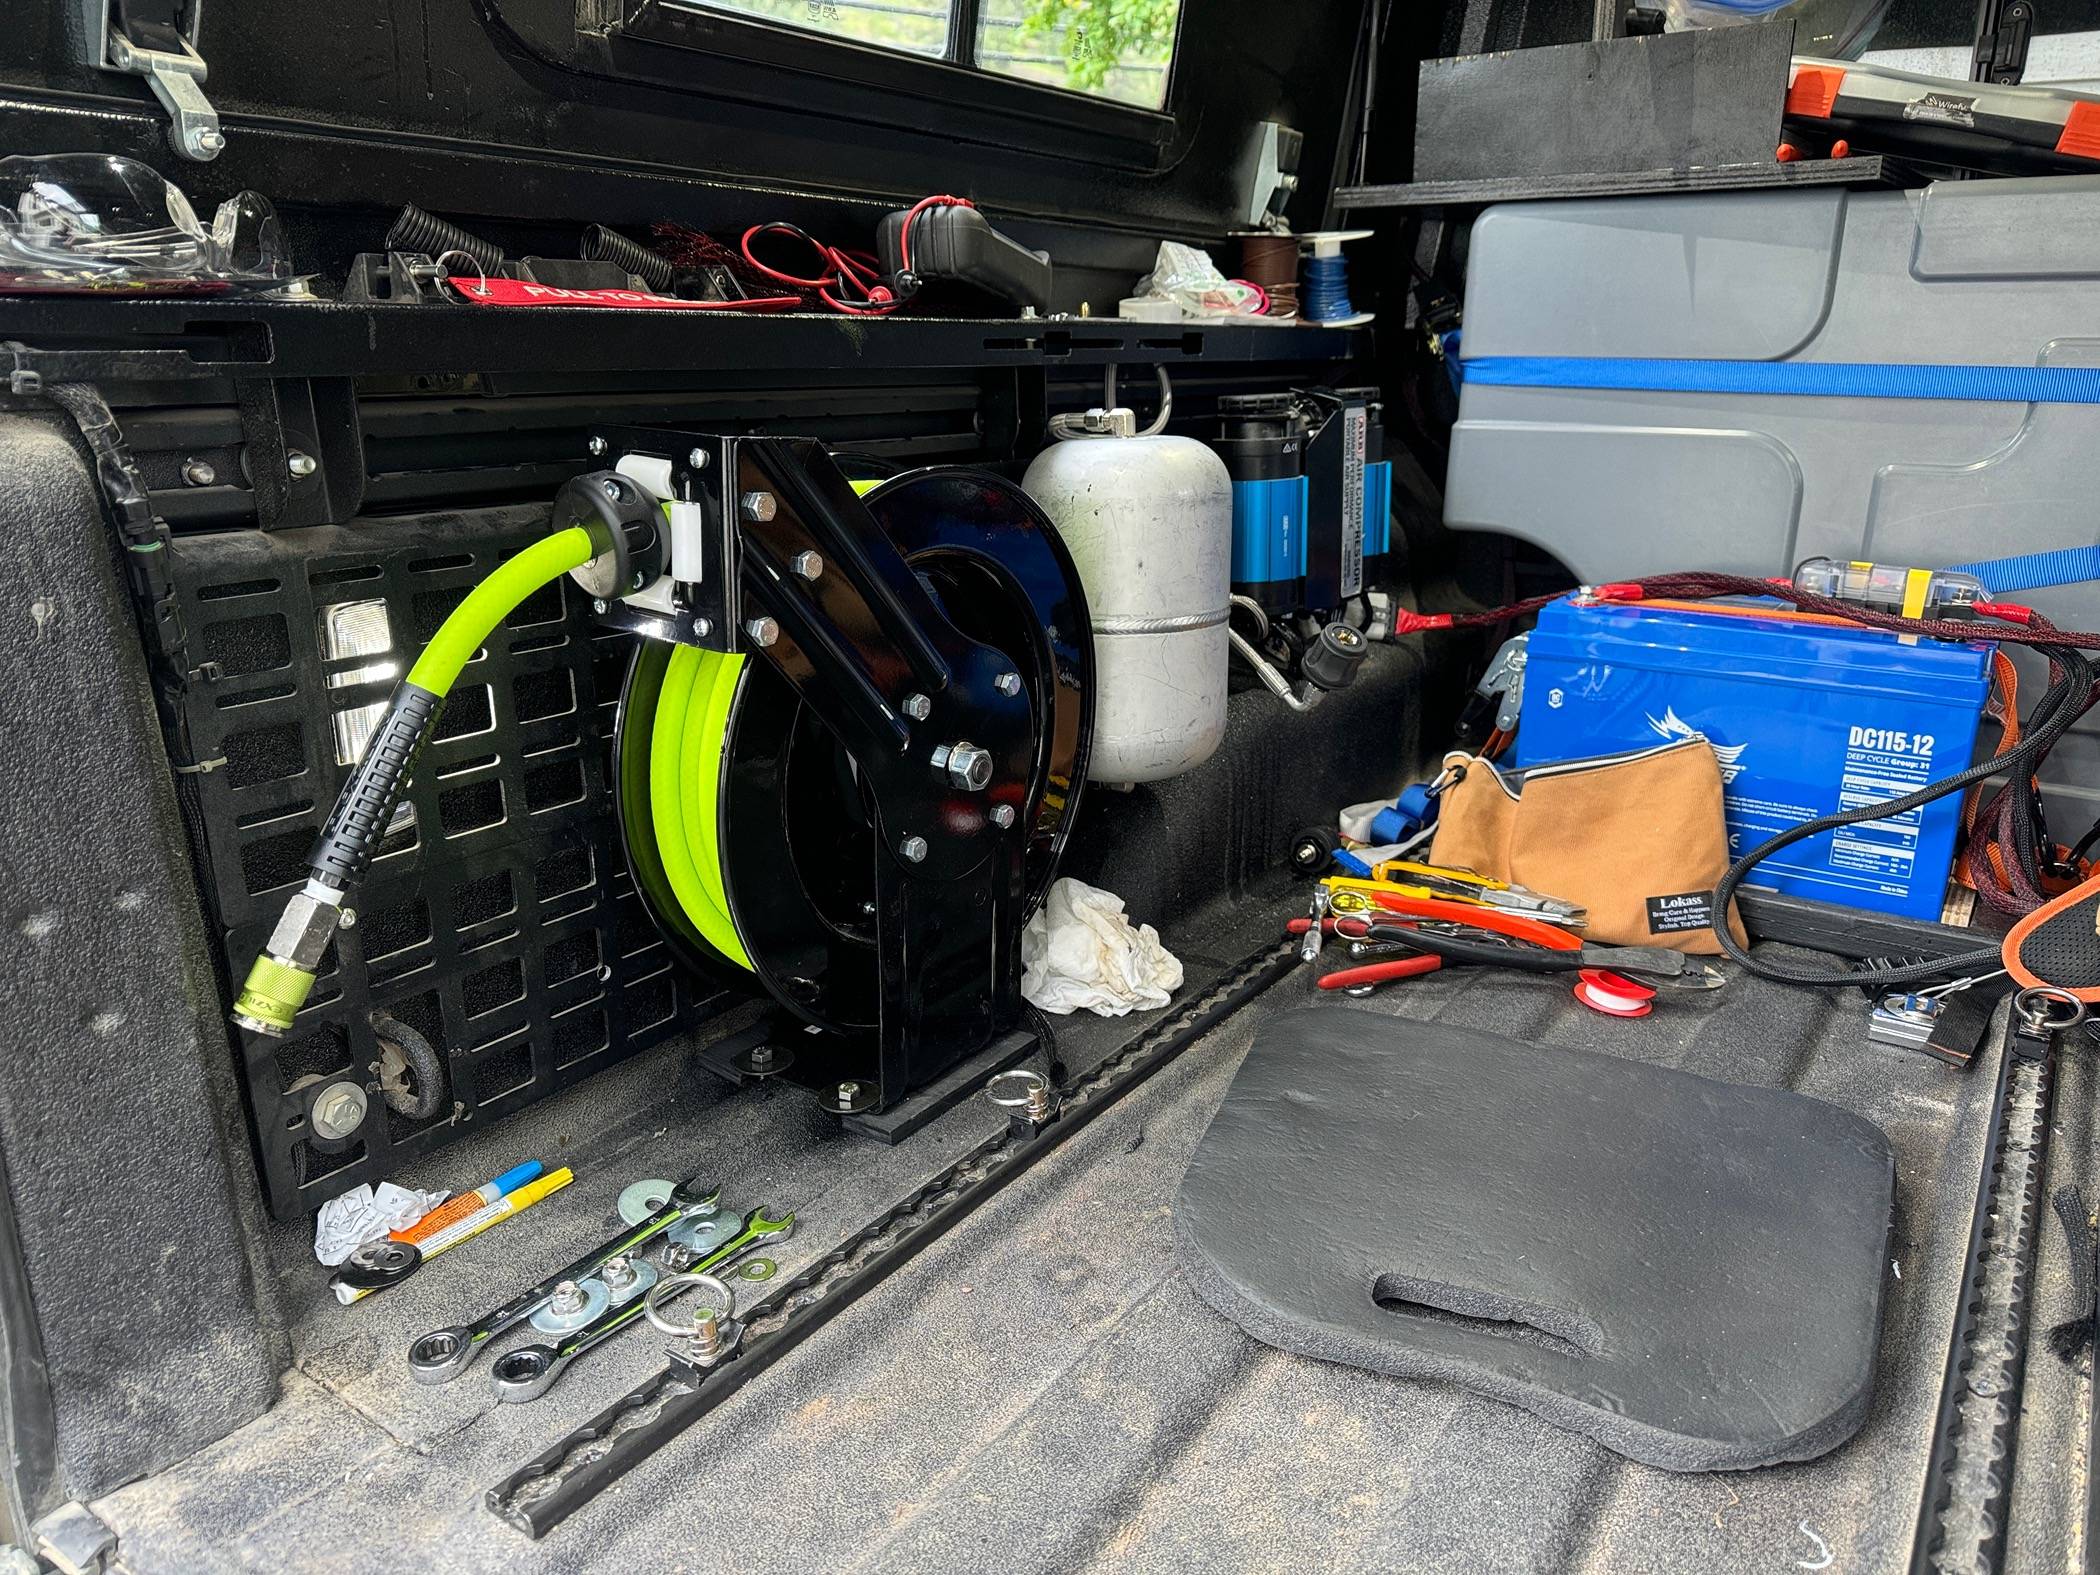
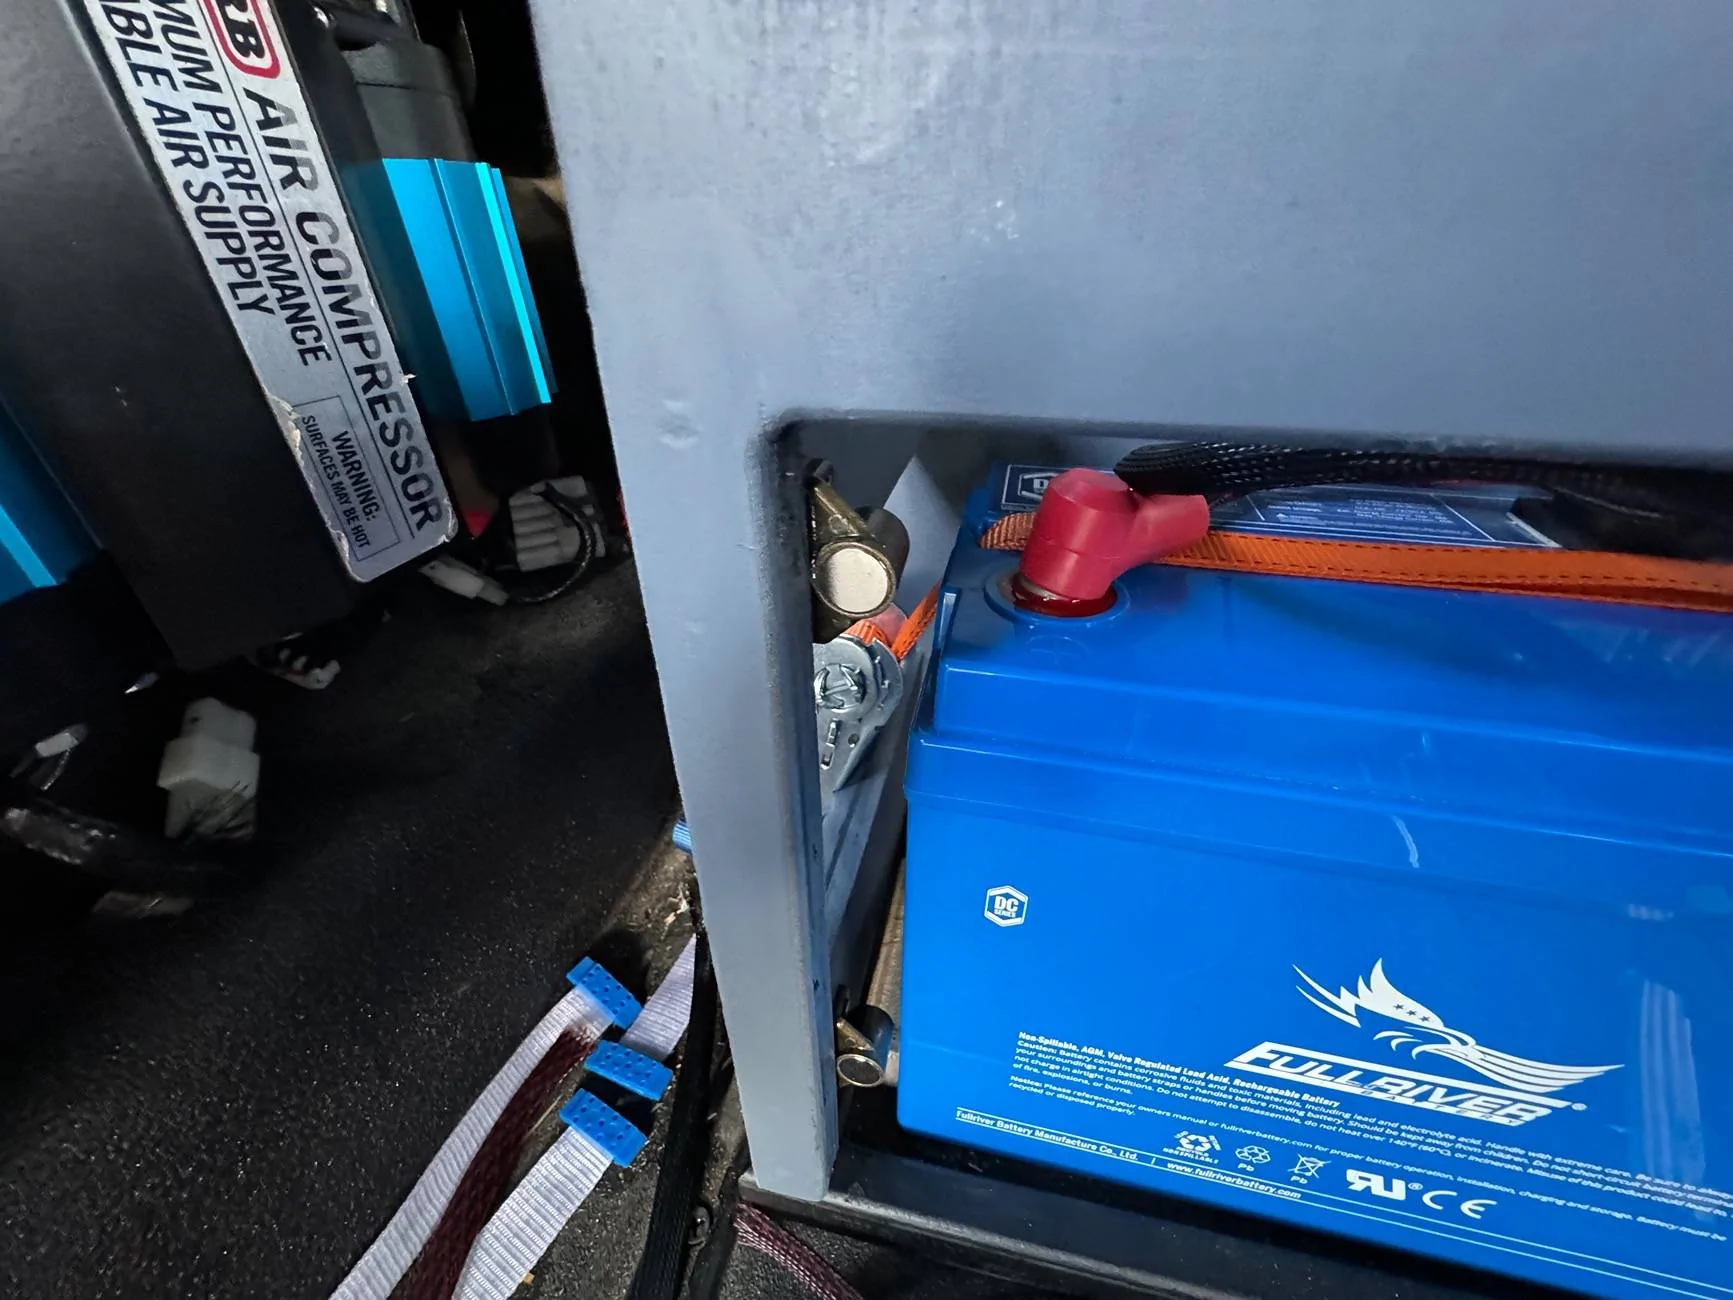
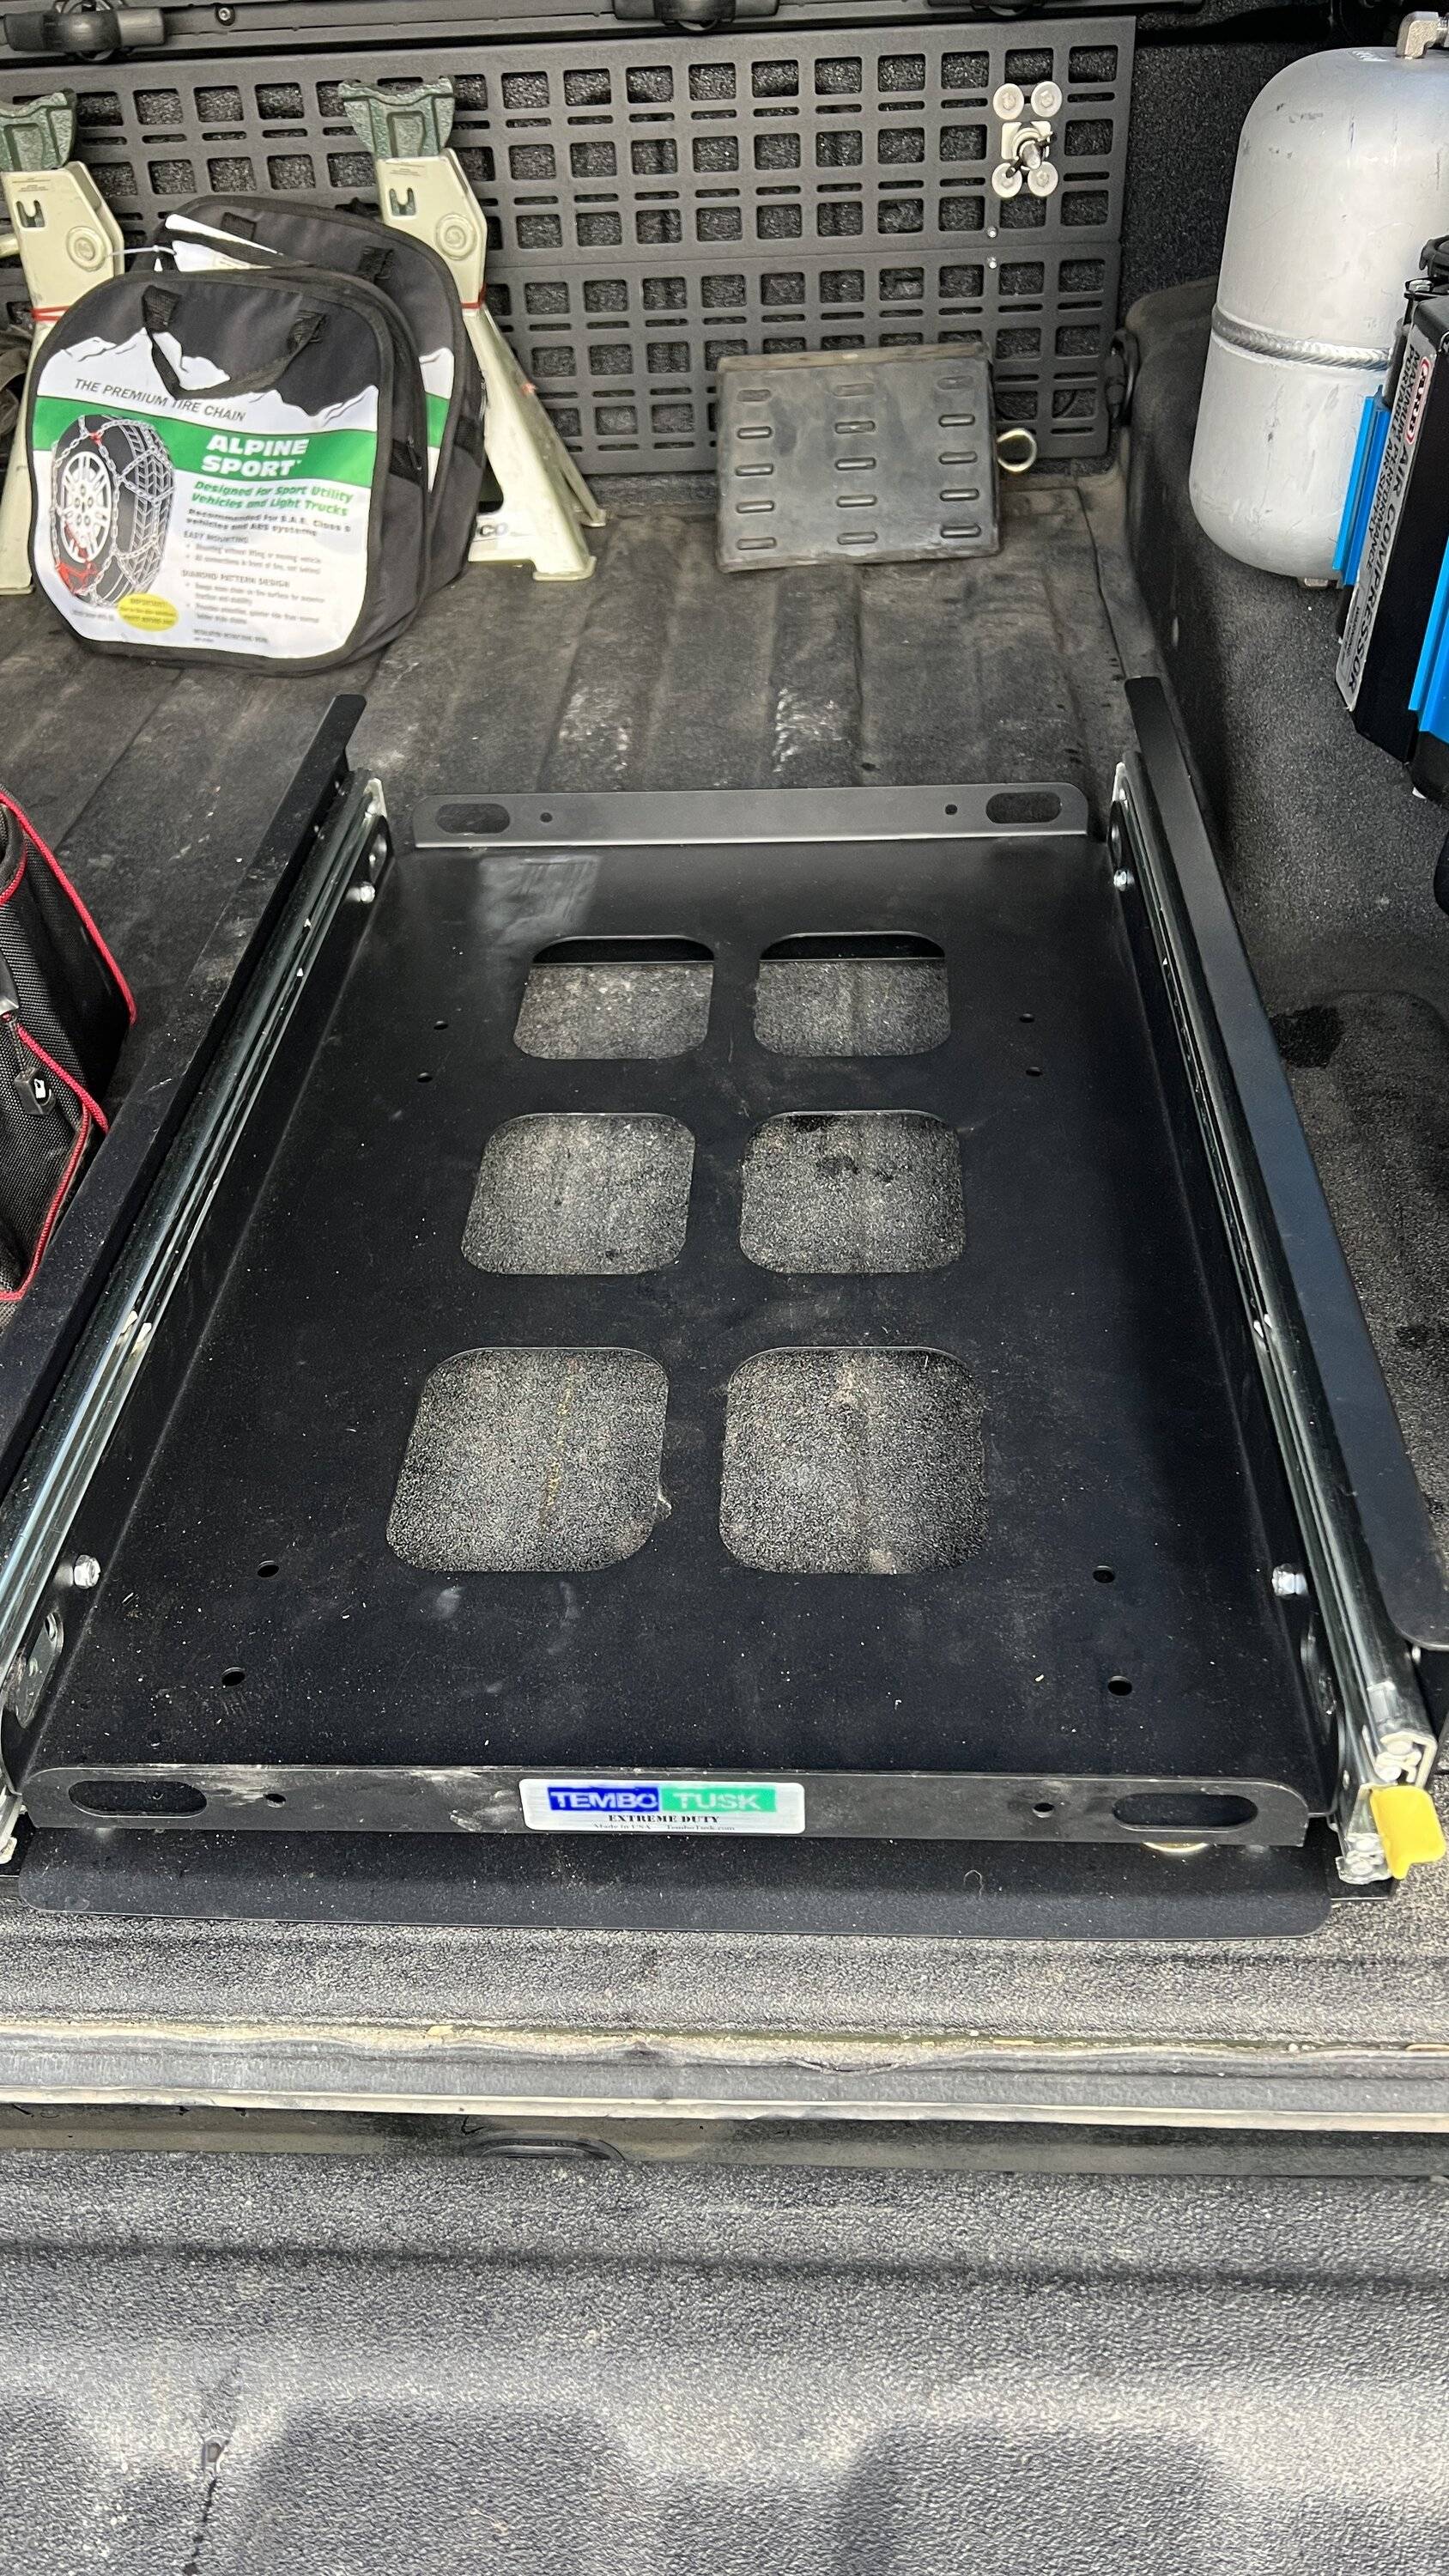
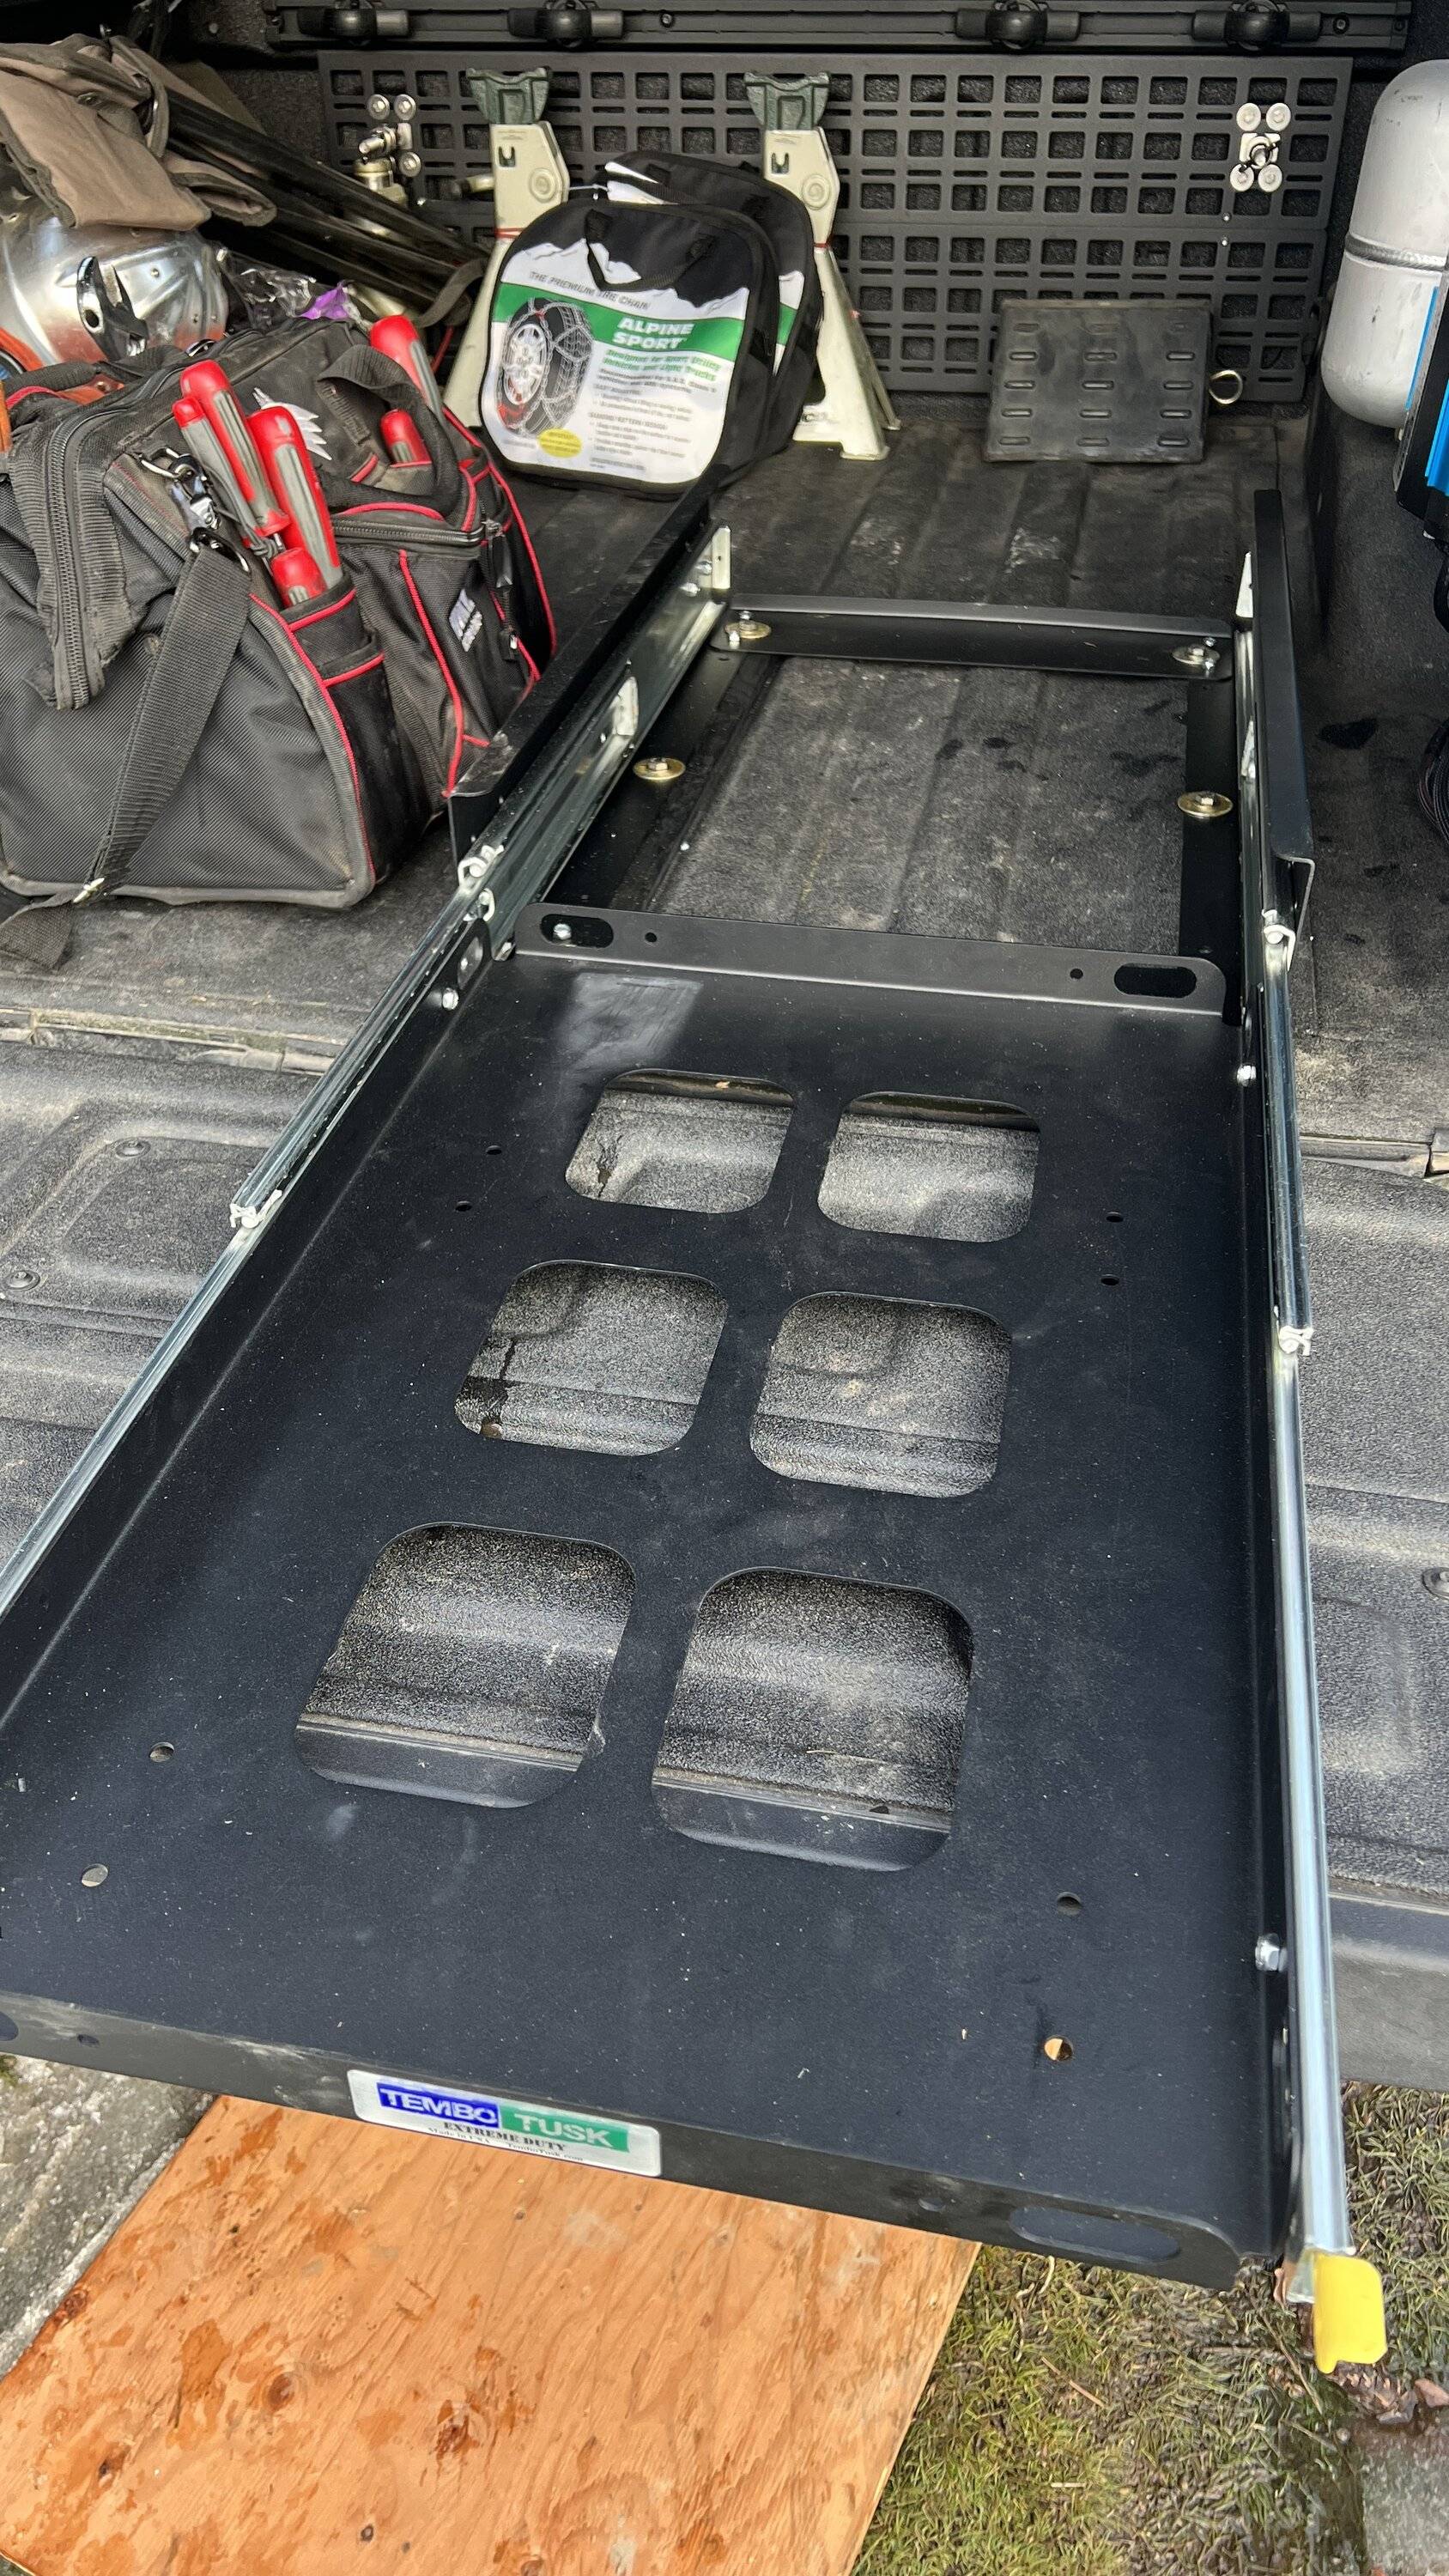
After really thinking of how to secure the fridge slide to the bed, I finally decided to just drill holes. After all, summer is coming quick and I need to get going on some projects. I had though about making some brackets and slides myself using extruded aluminum to have a lower profile and narrower slide (this one is probably 6-8 inches total wider than the fridge :-( ), but looking at extruded alum options, their slides are SUPER expensive... And I already had this one, so figured to just make it work.

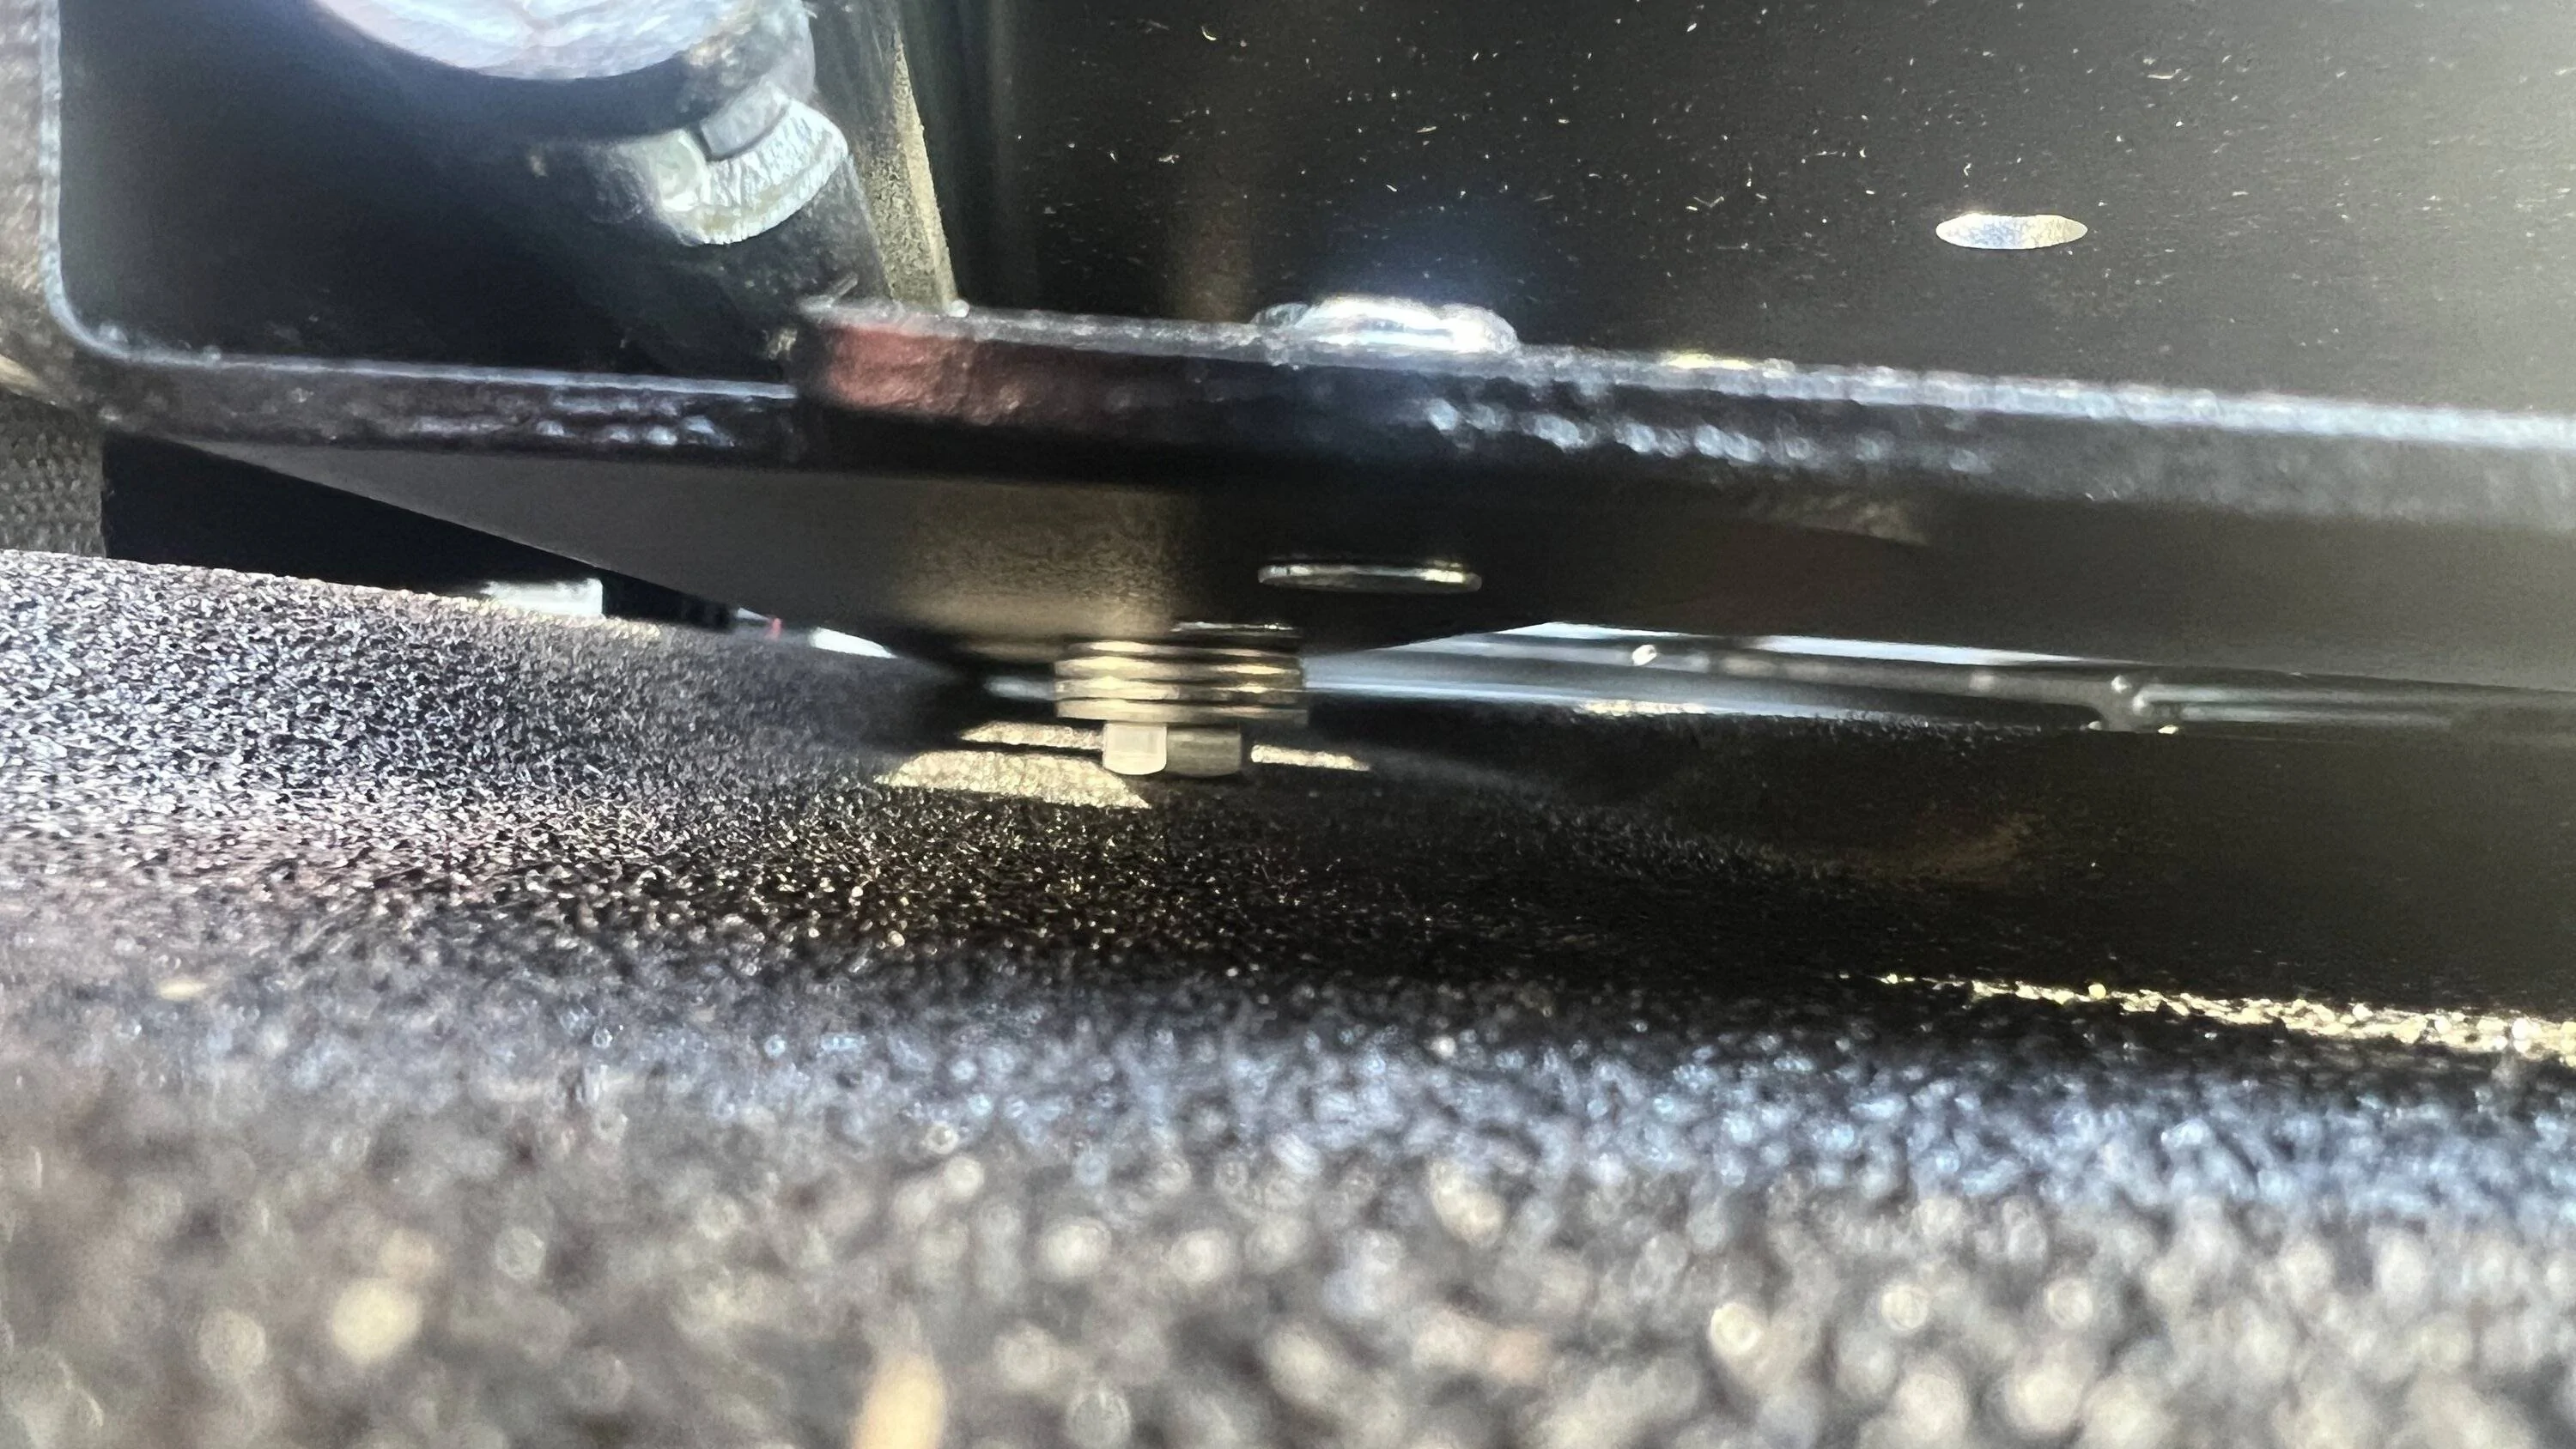
Before drilling any holes I wanted to test fit it. I was surprised to see that the width of the slide unfortunately did not match very nicely with the ridges in the bed. So I used a bolt head and a bunch of washers to figure out what amount of height I needed. It was about 1/2 an inch or so.

After thinking of the best way to deal with this, I ended up opting to just cut a slice of 3/4" plywood I had, paint it really well, and drill corresponding holes. No doubt it will have to be replaced in time, but short of having a sheet of 1/2" thick steel, which would be heavy and expensive, this is the next best thing.
After drilling holes, I took time to clean and paint them to help ward off any oxidizing and rust. Hopefully I am successful in this!!! Time will tell I guess. After letting it cure for a couple of days with the temps being so cold it was time to put things in place. I was hoping another package would arrive home first so I could finish another project, but I am crossing my fingers I can still access needed areas despite the slide being bolted in place - otherwise it will have to come out again.
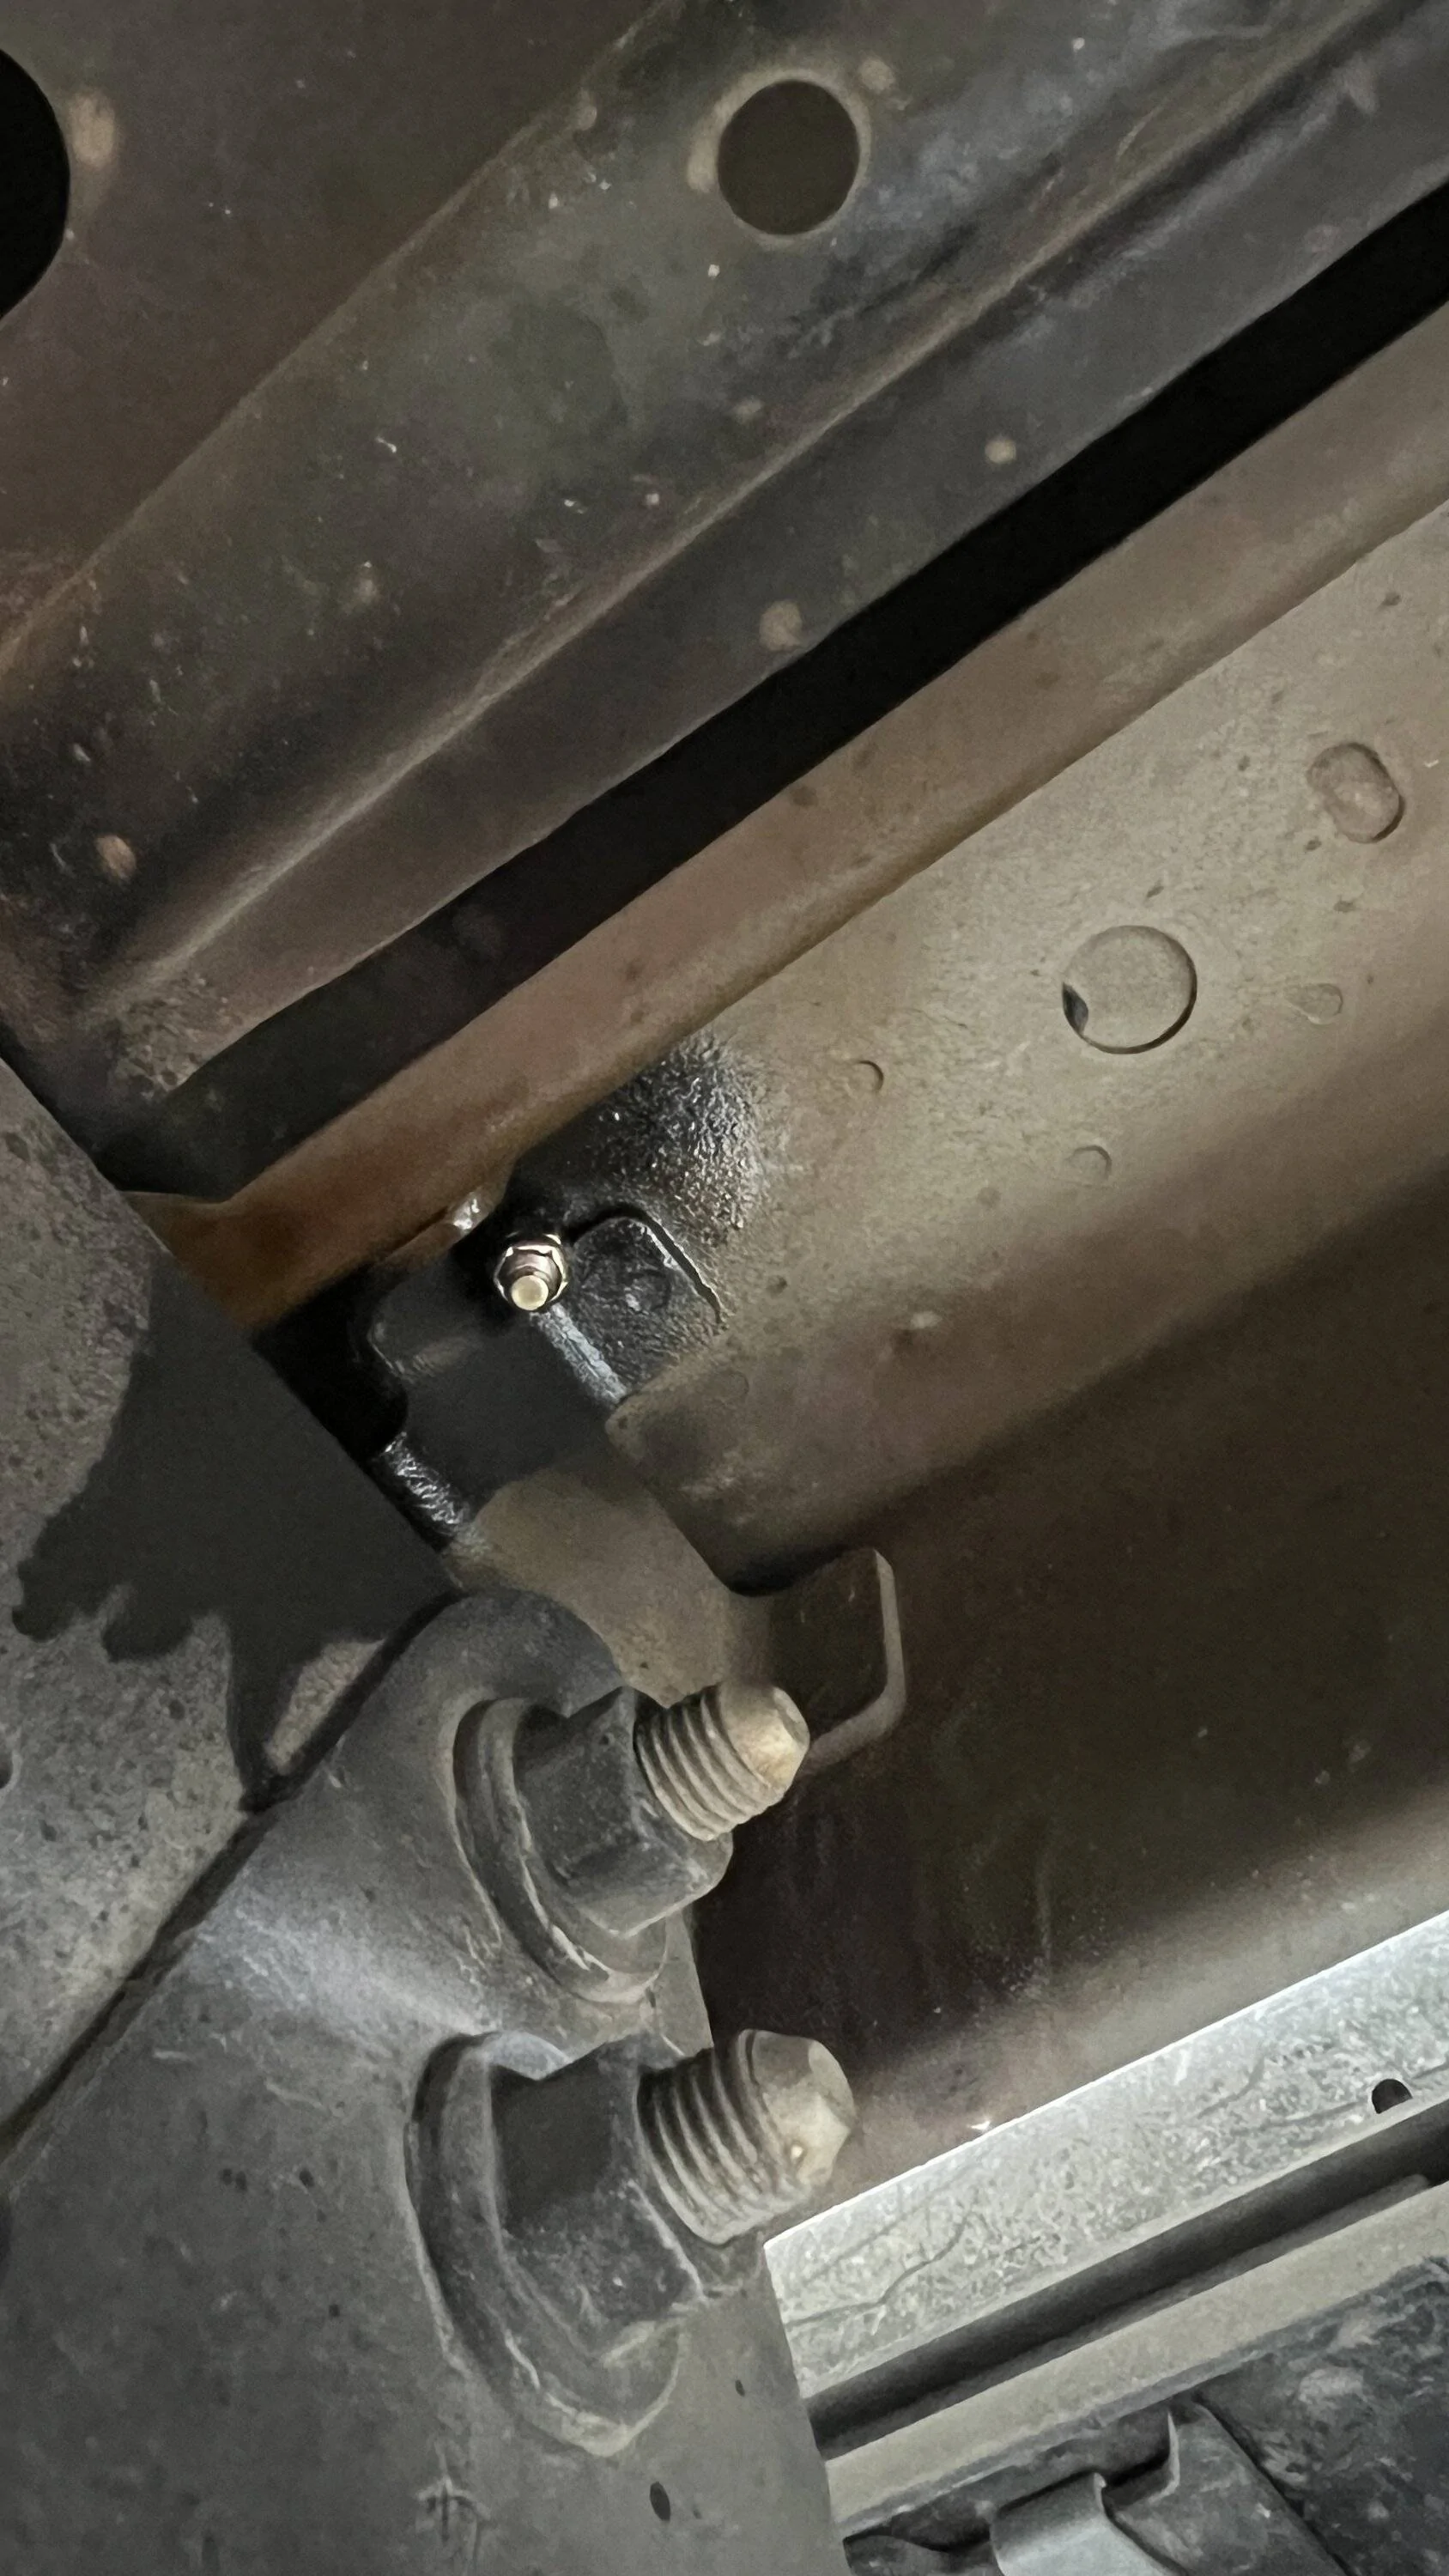
I added in 2 more holes in the slide itself so that there would be 6 points of contact instead of just 4. The sheet metal the bed is made of is SUPER thin - surprisingly thin. I dont like that at all really. So I opted for a double washer setup - only because I couldn't find a large washer with a small enough hole for the bolts I had. Also using mostly all stainless hardware. Sadly, the large washers are zinc plated because that's all I could find - so I coated them twice with Amsoil HD Metal Protect.
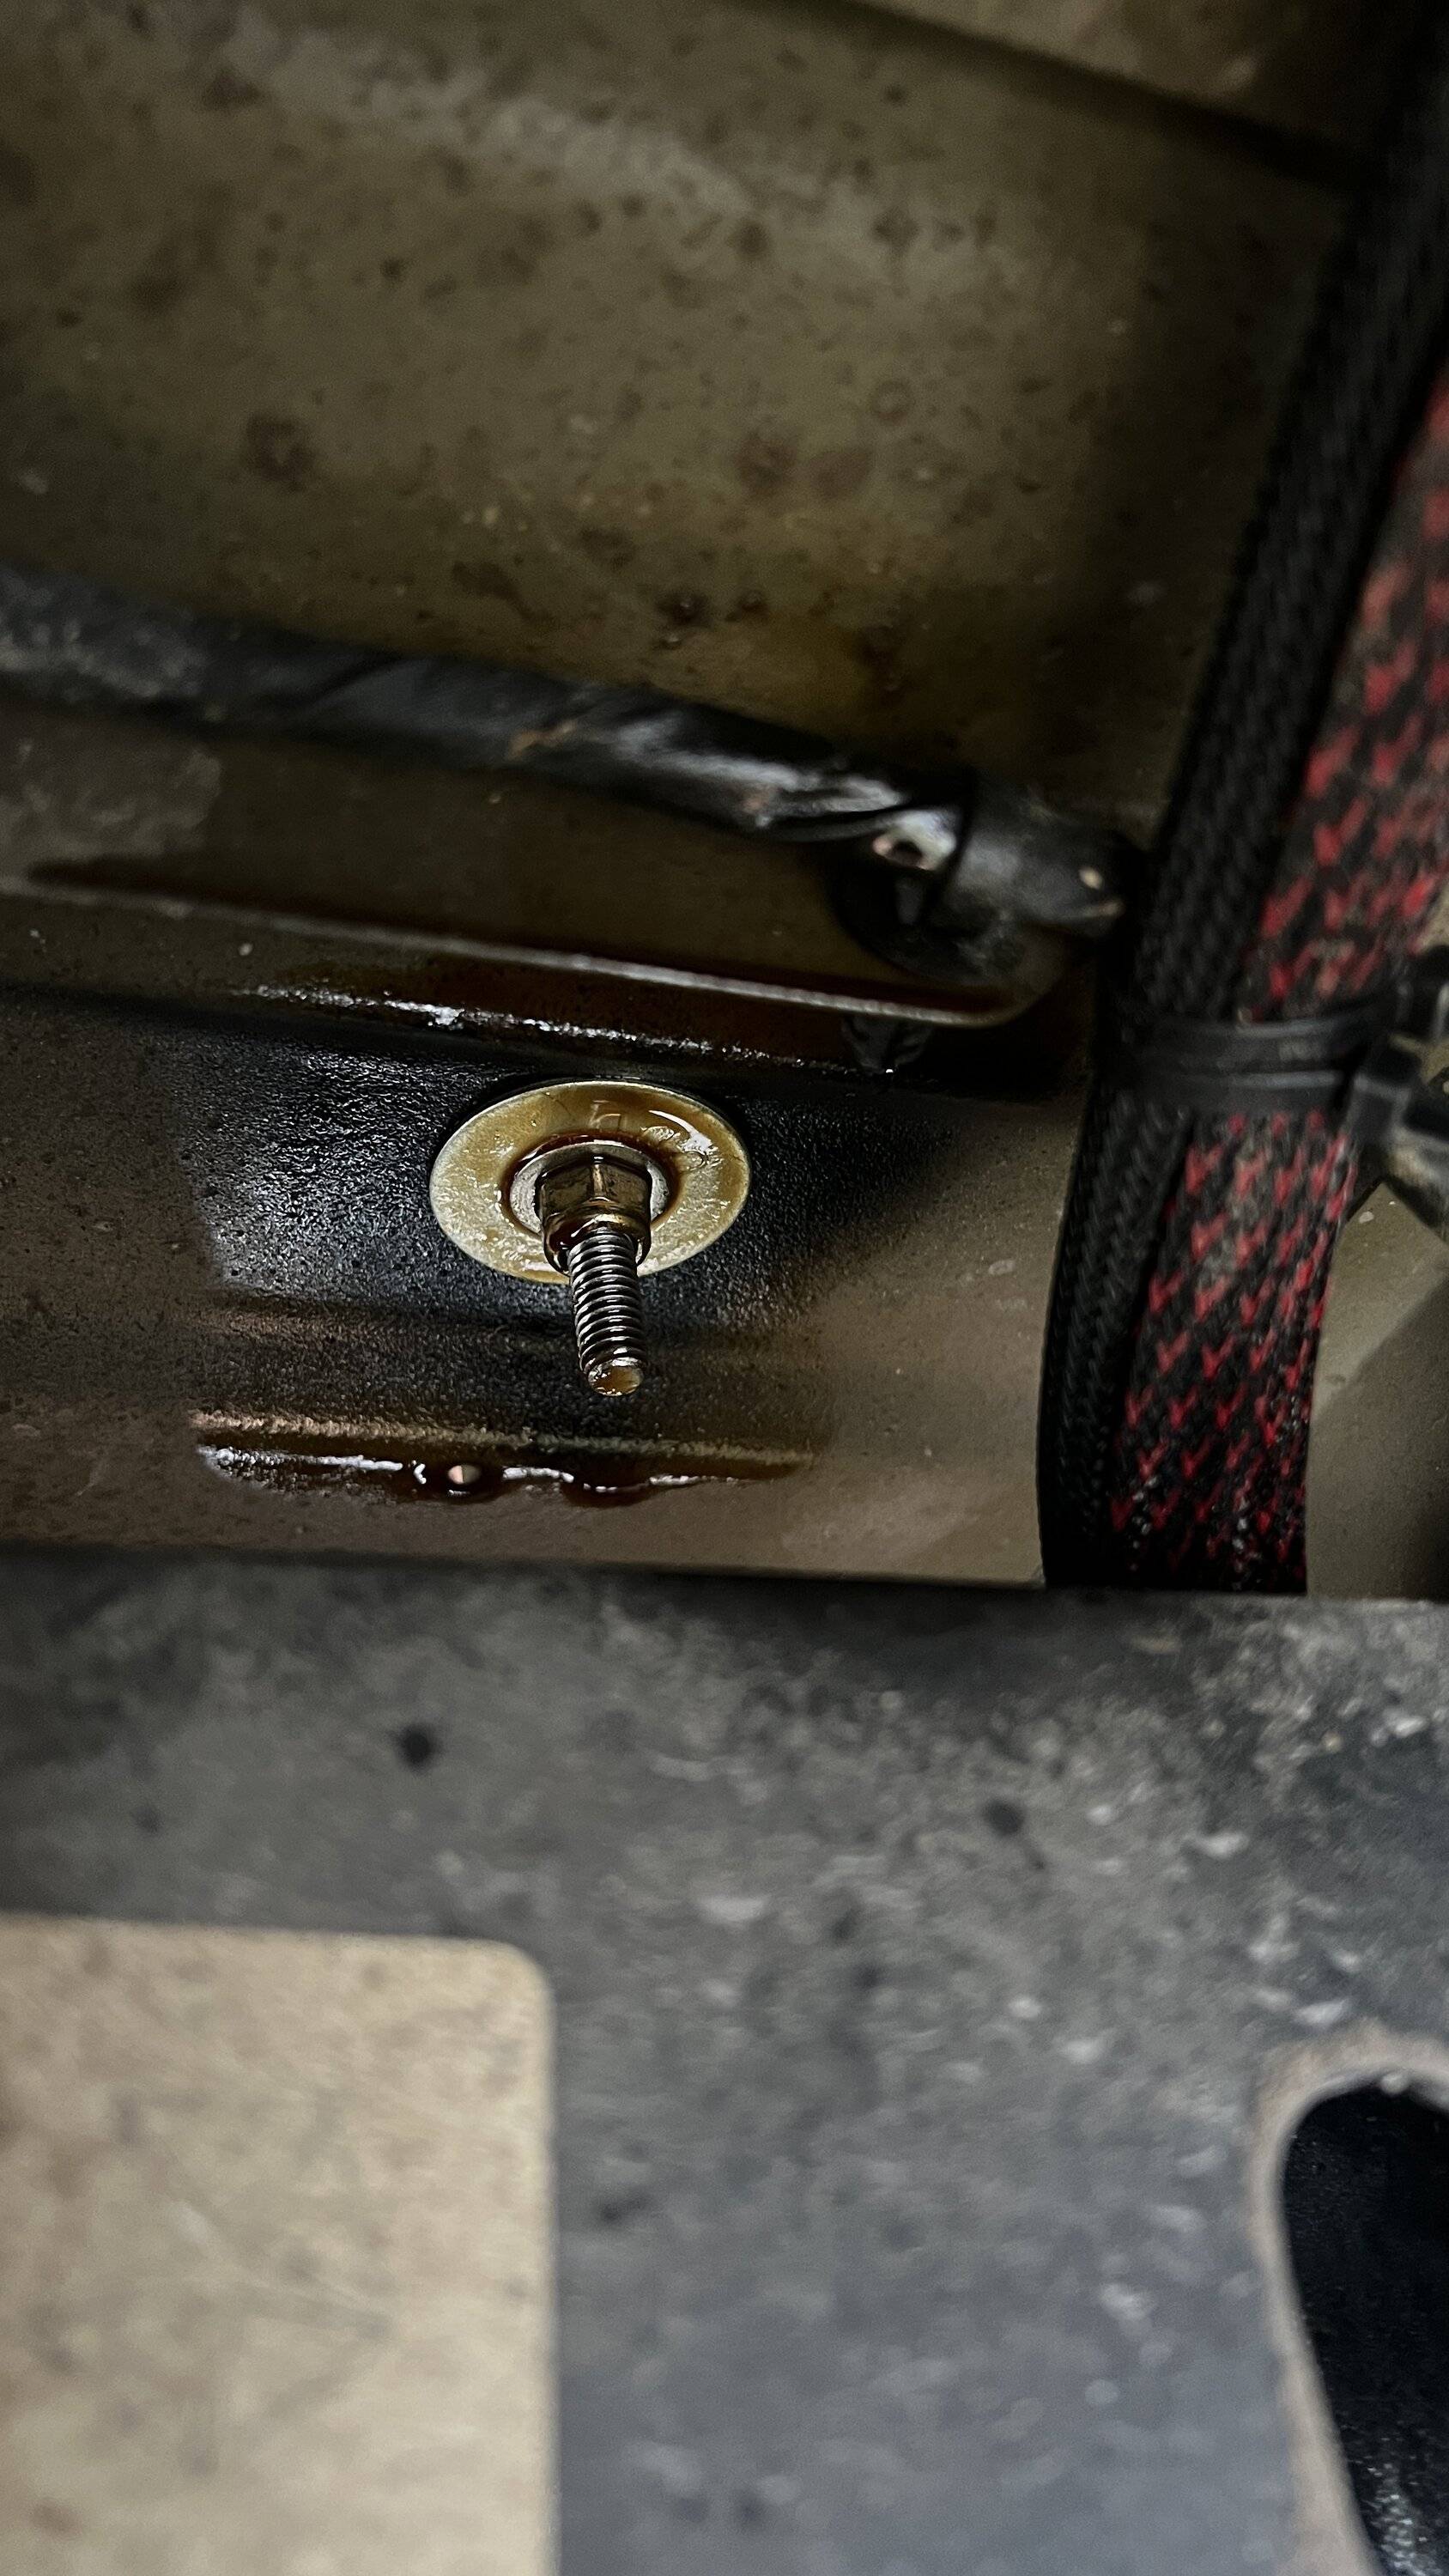
One problem I did create, was one hole was in a not so good location. Fortunately I did not mess up any spot welds. But it did prevent me from being able to use a washer. However, since there are 6 bolts - and it's not carrying a crazy ton of weight, I am hoping it will be ok. At least this portion is through some thicker steel whereas the the other 4 bolts are just the thin piece of sheet metal.
But, it turned out ok. The slide ended up bending just a tad bent from being under load of the bolts, enough so that it doesn't slide super smooth. But I'm sure extra weight of the fridge will help with that - and it is far more important that it be secured to the bed well than to have it loose for a good slide. In hindsight - I should have built my own slide after seeing some of the super awesome options that extruded aluminum offers - but maybe in the future. For now, this will work just fine.


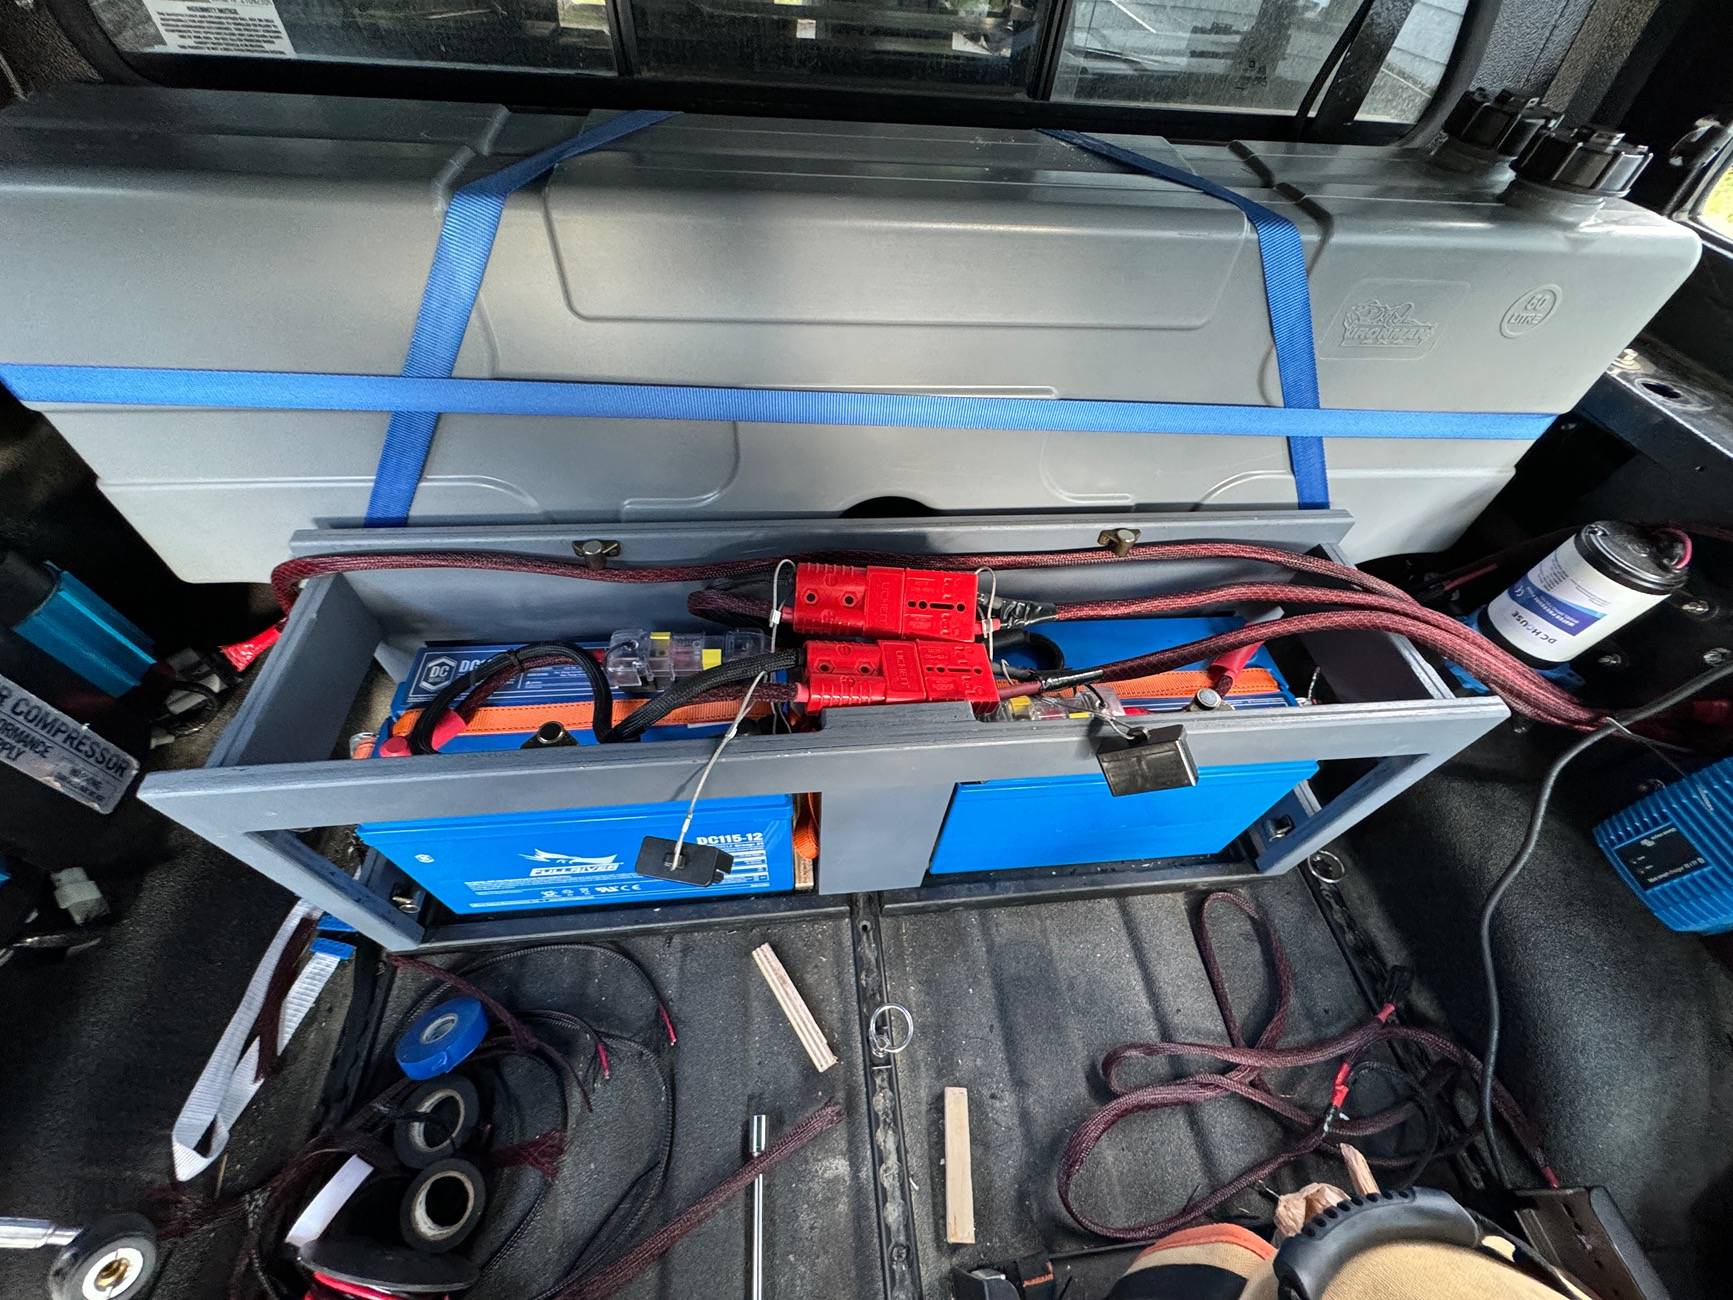
After a few camping trips already this year and a 8 day trip coming soon I decided to change up some storage options in the cab.
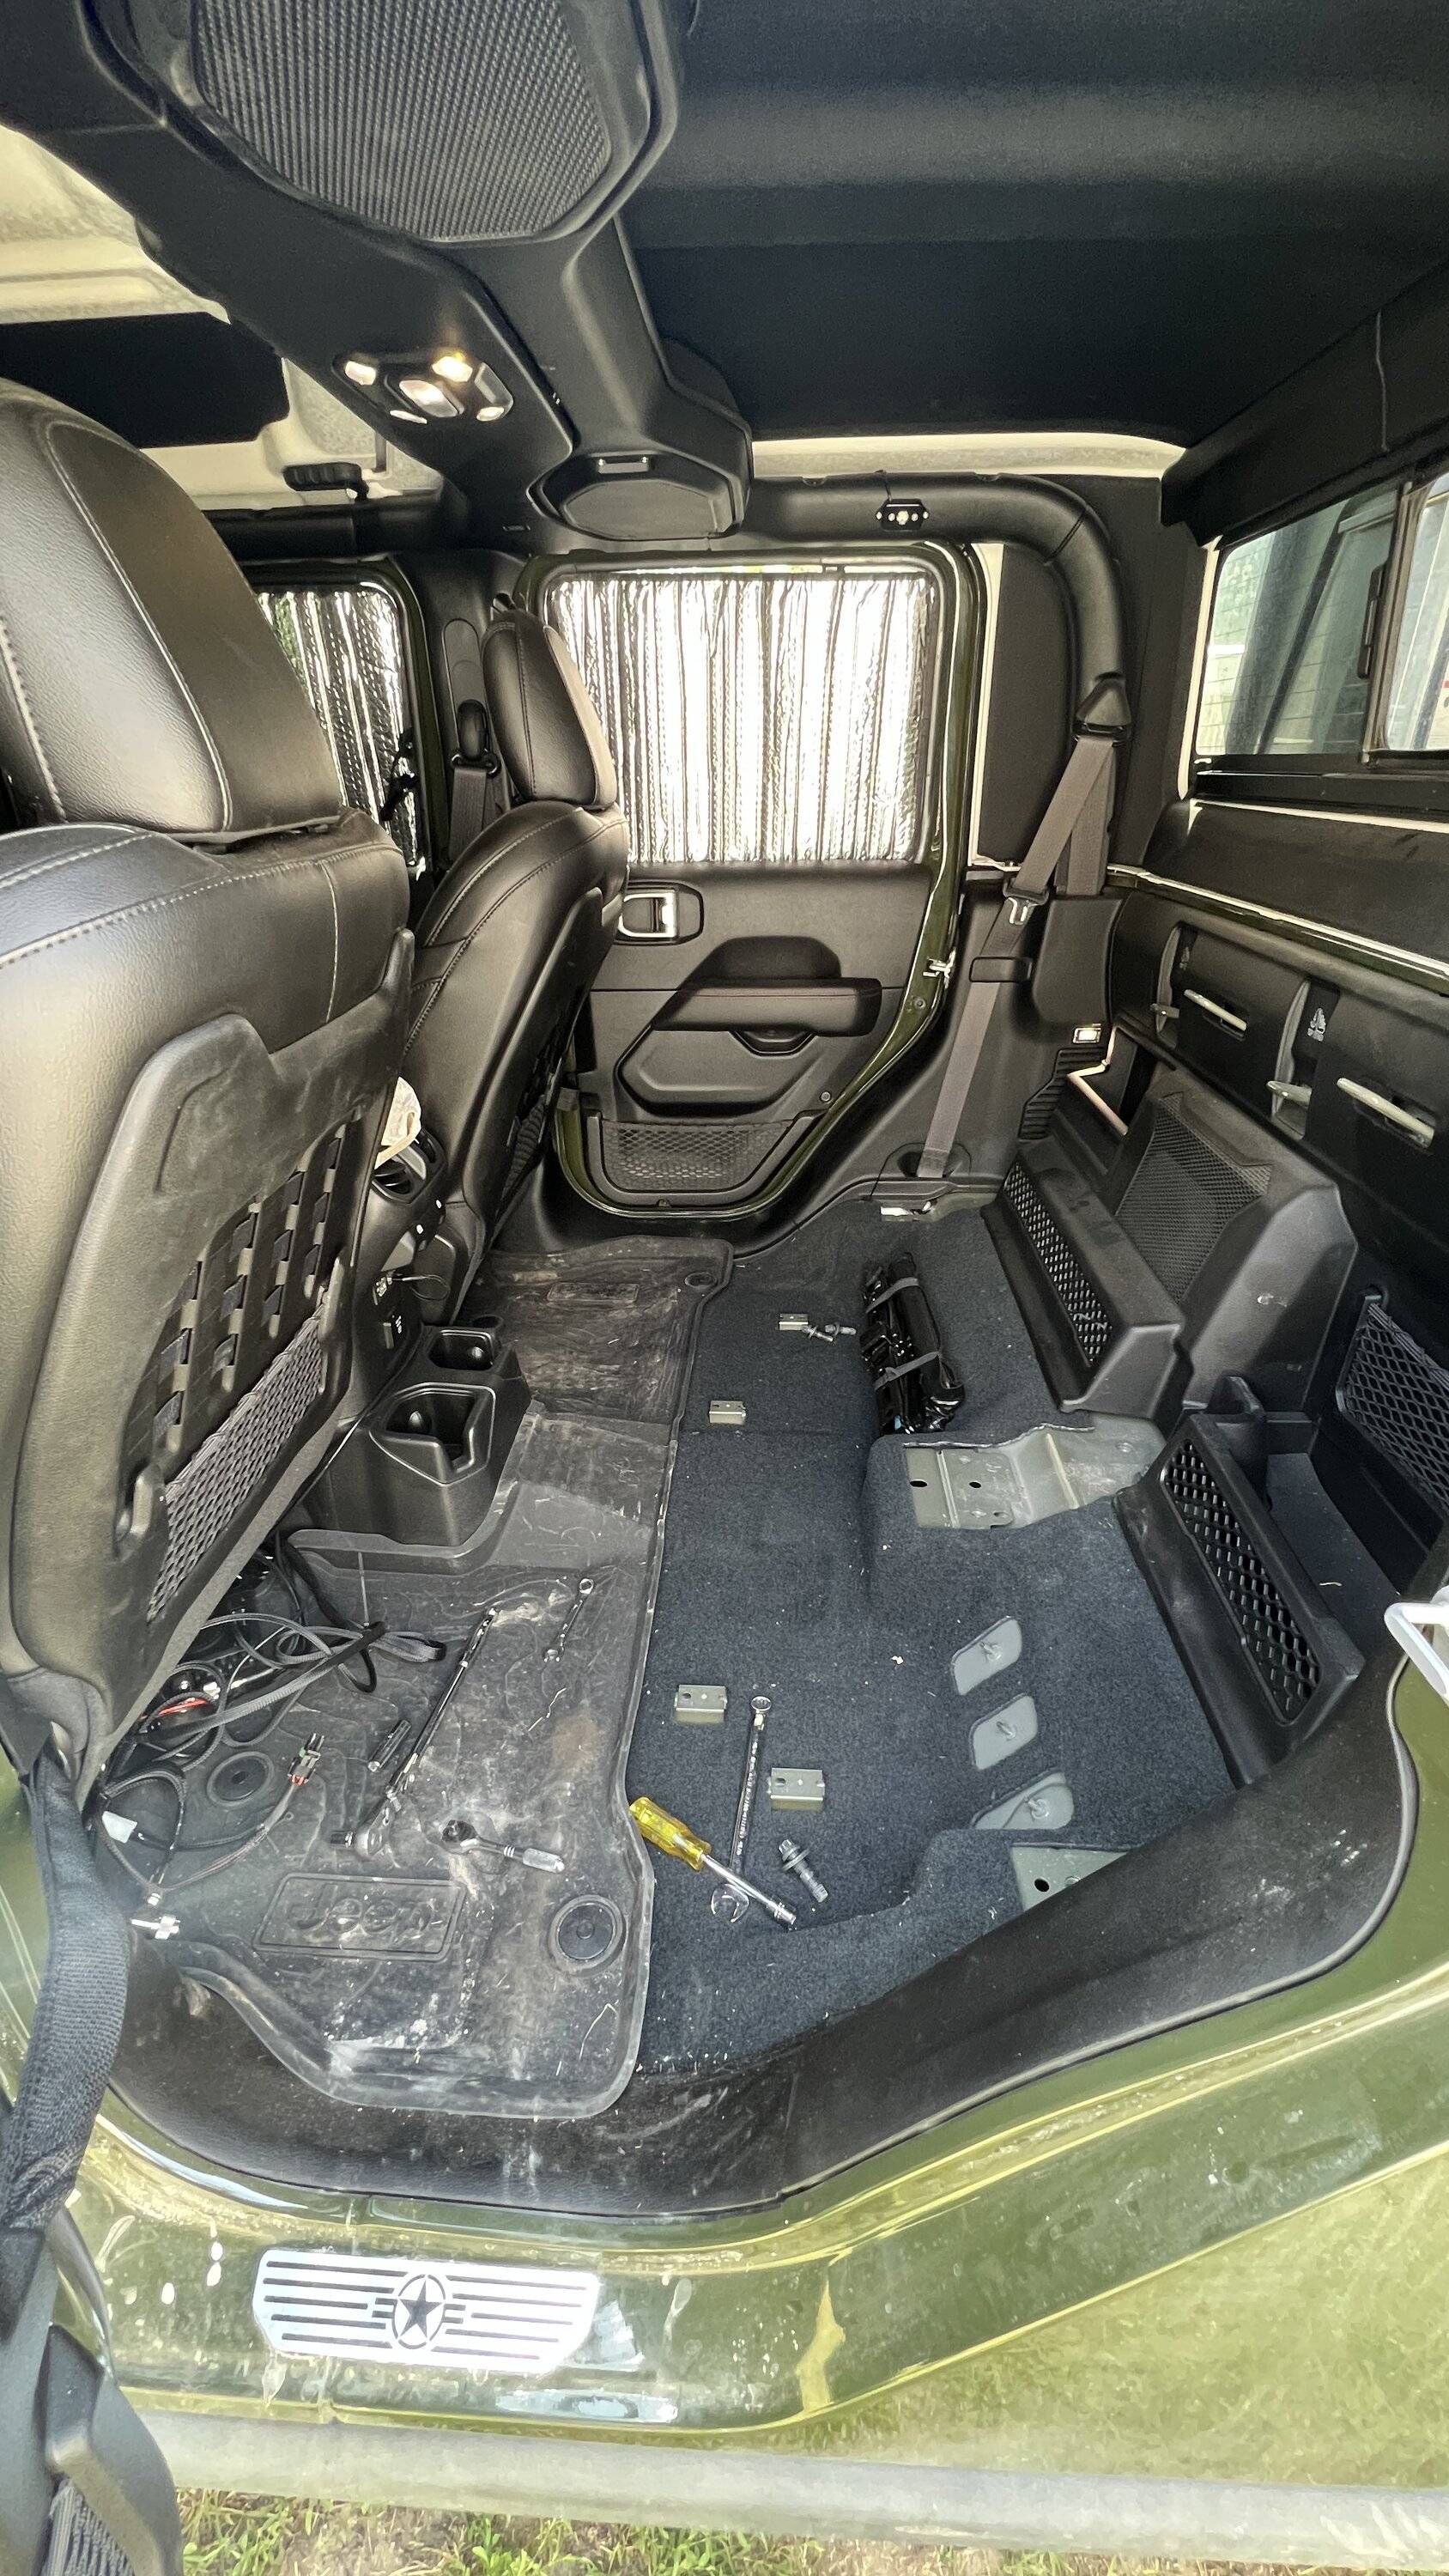
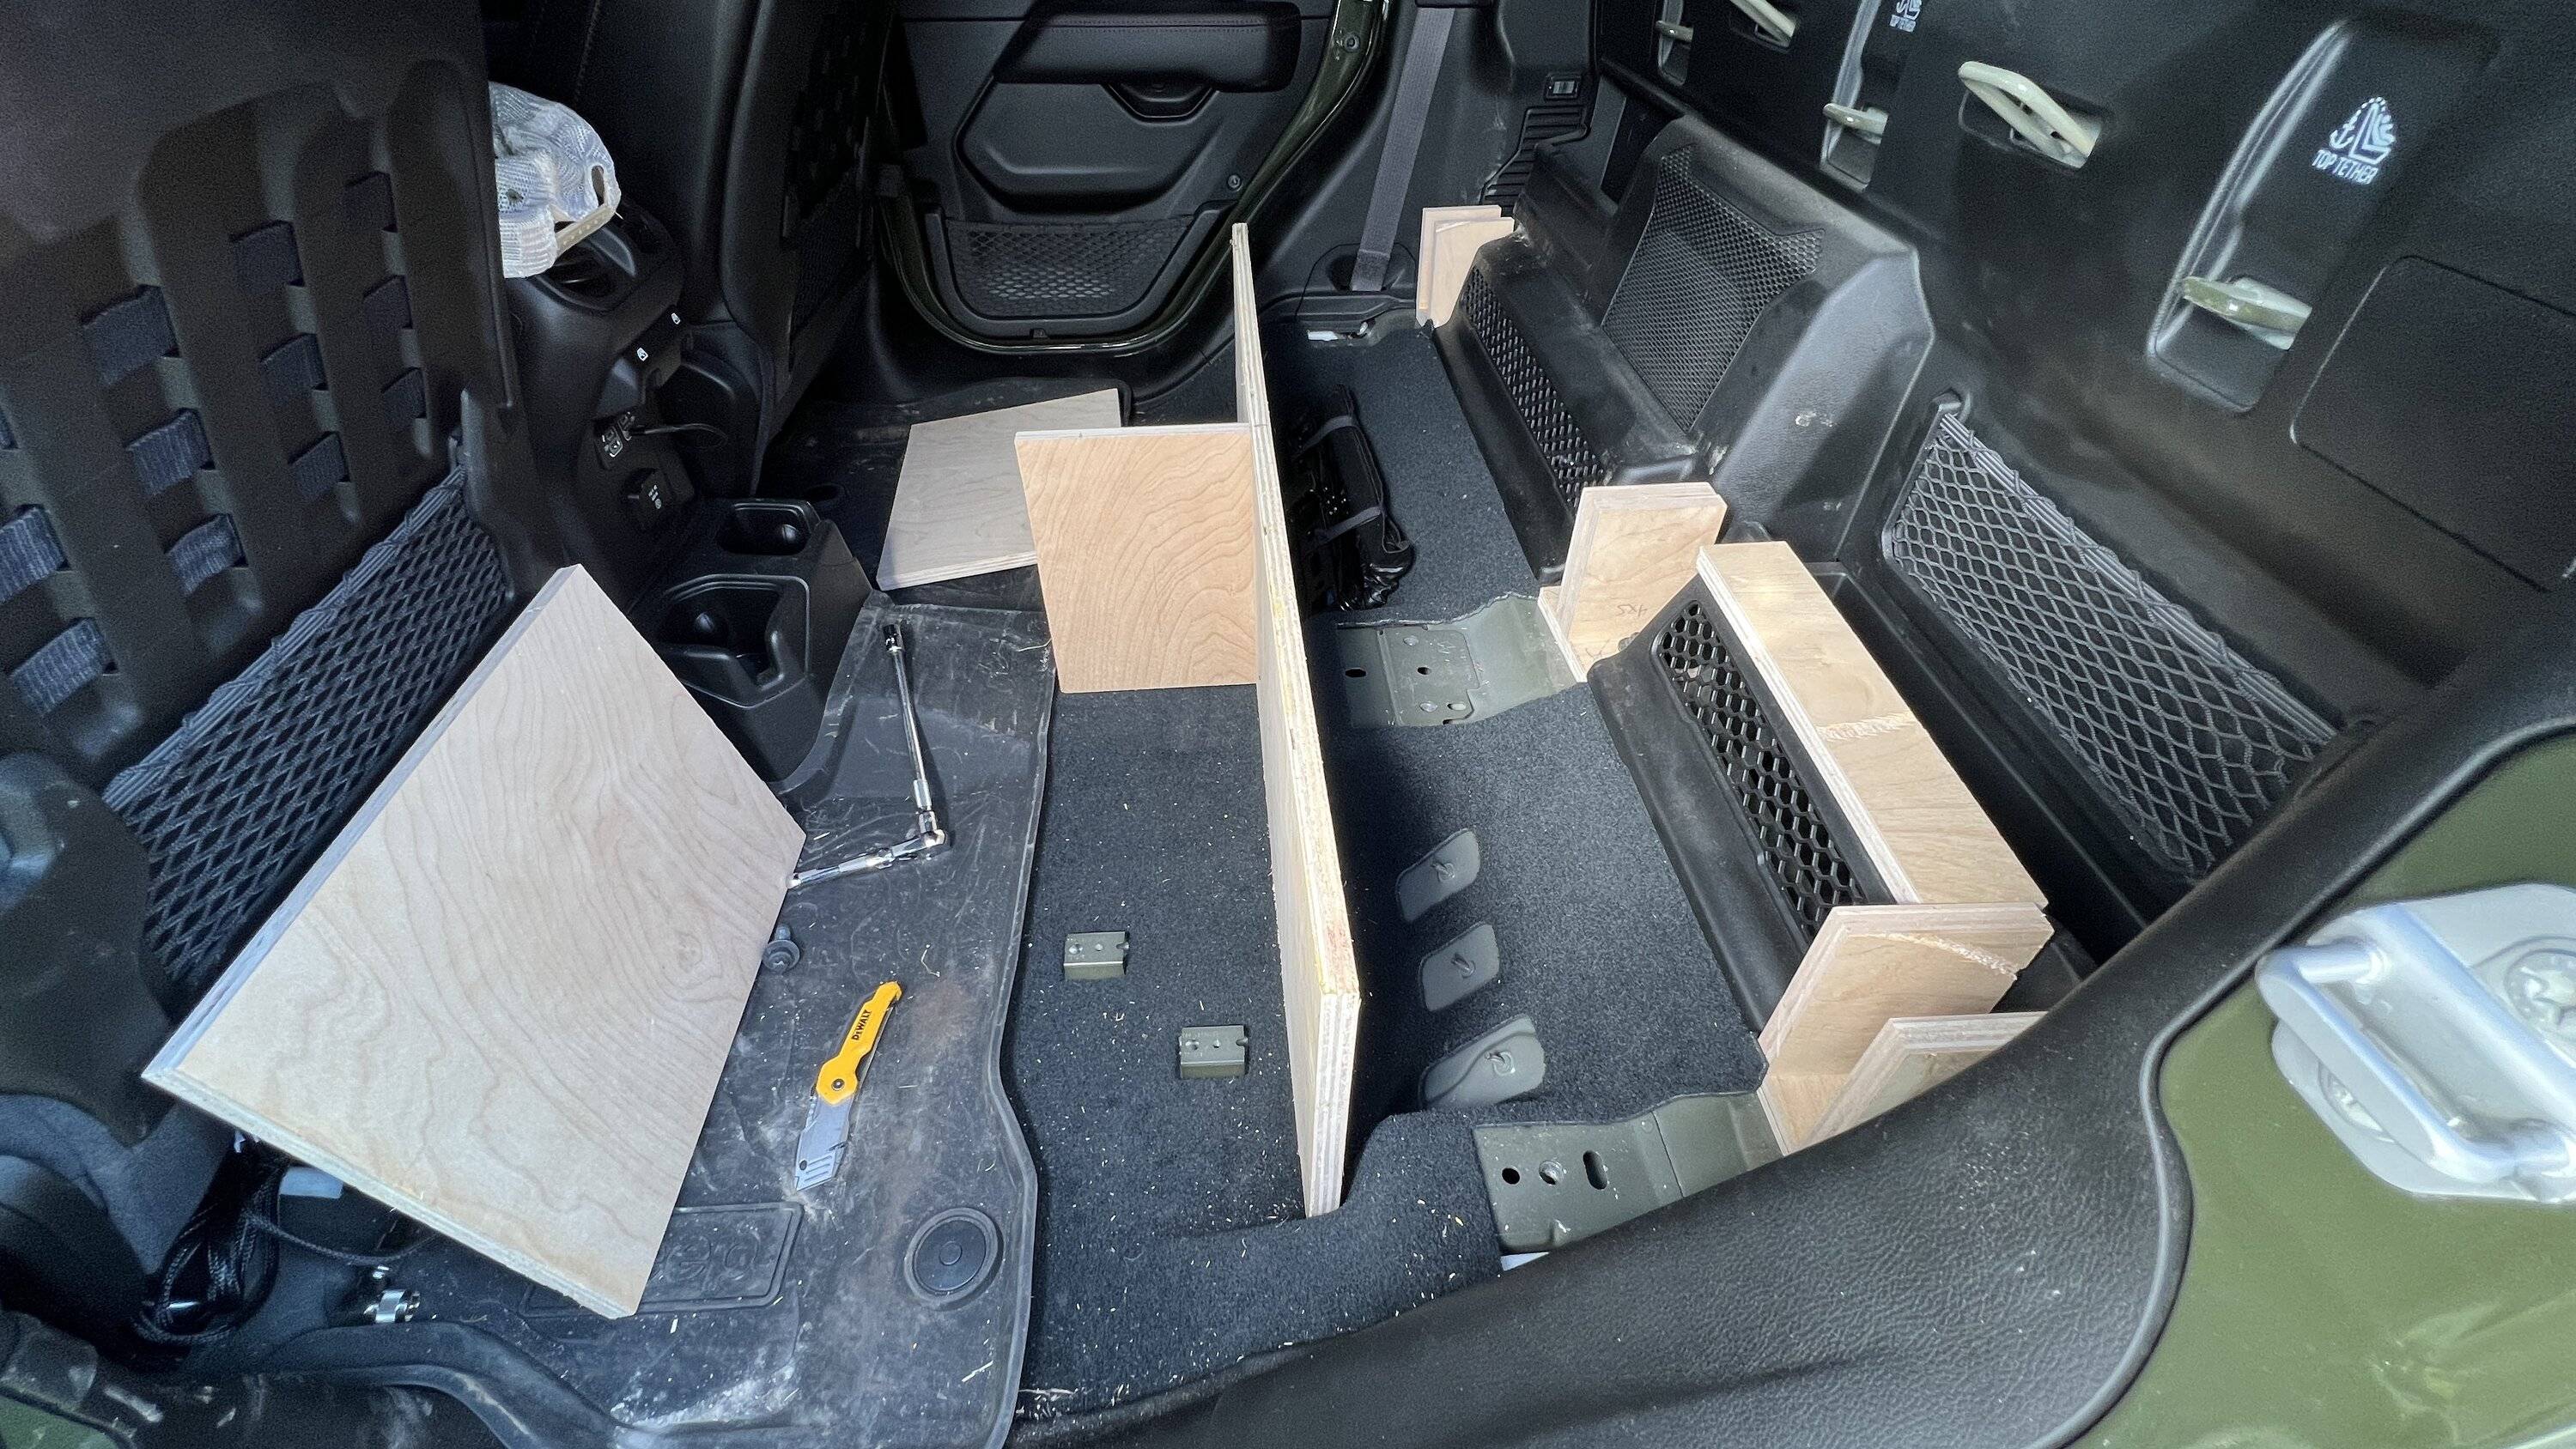
If you recall in post # 35 & 39, I previously installed a home made 40% seat delete. At the time I didnt want to commit to a full delete thinking I might have room for a third person. But that is very unlikely and I could really hse the space since the rear seats take up a lot of space.
So, out the went. Along with the center divider
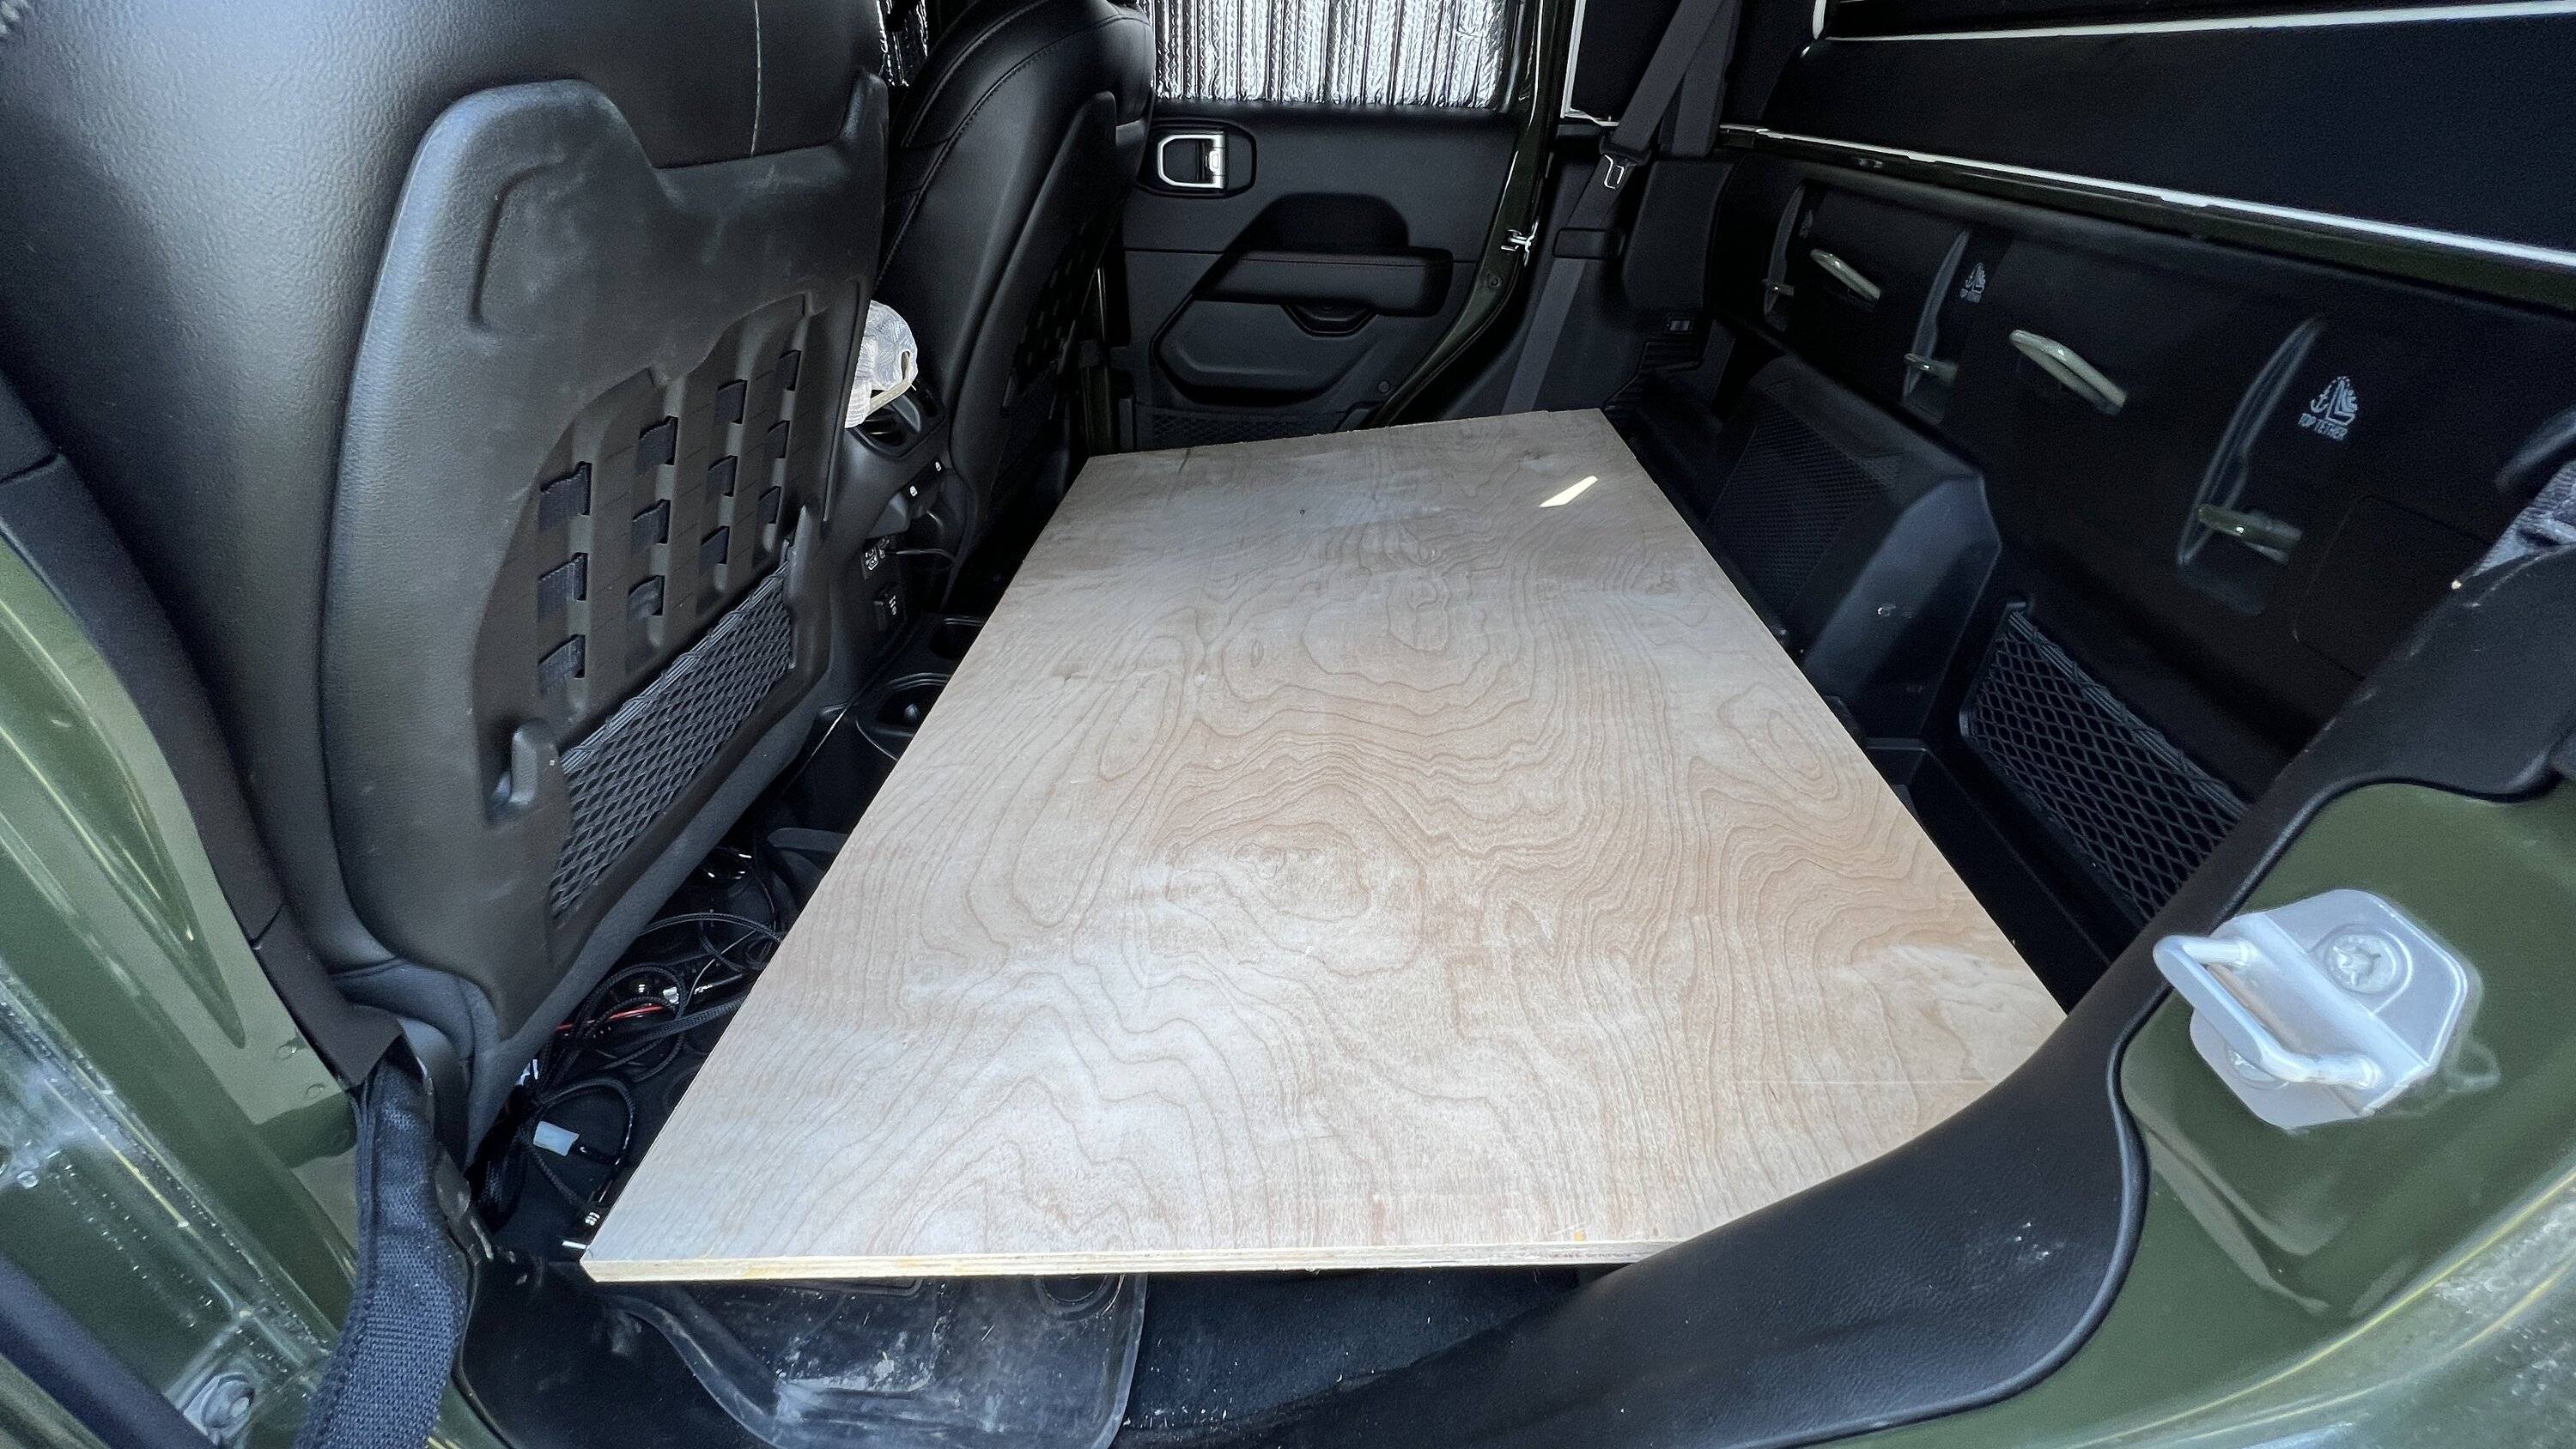
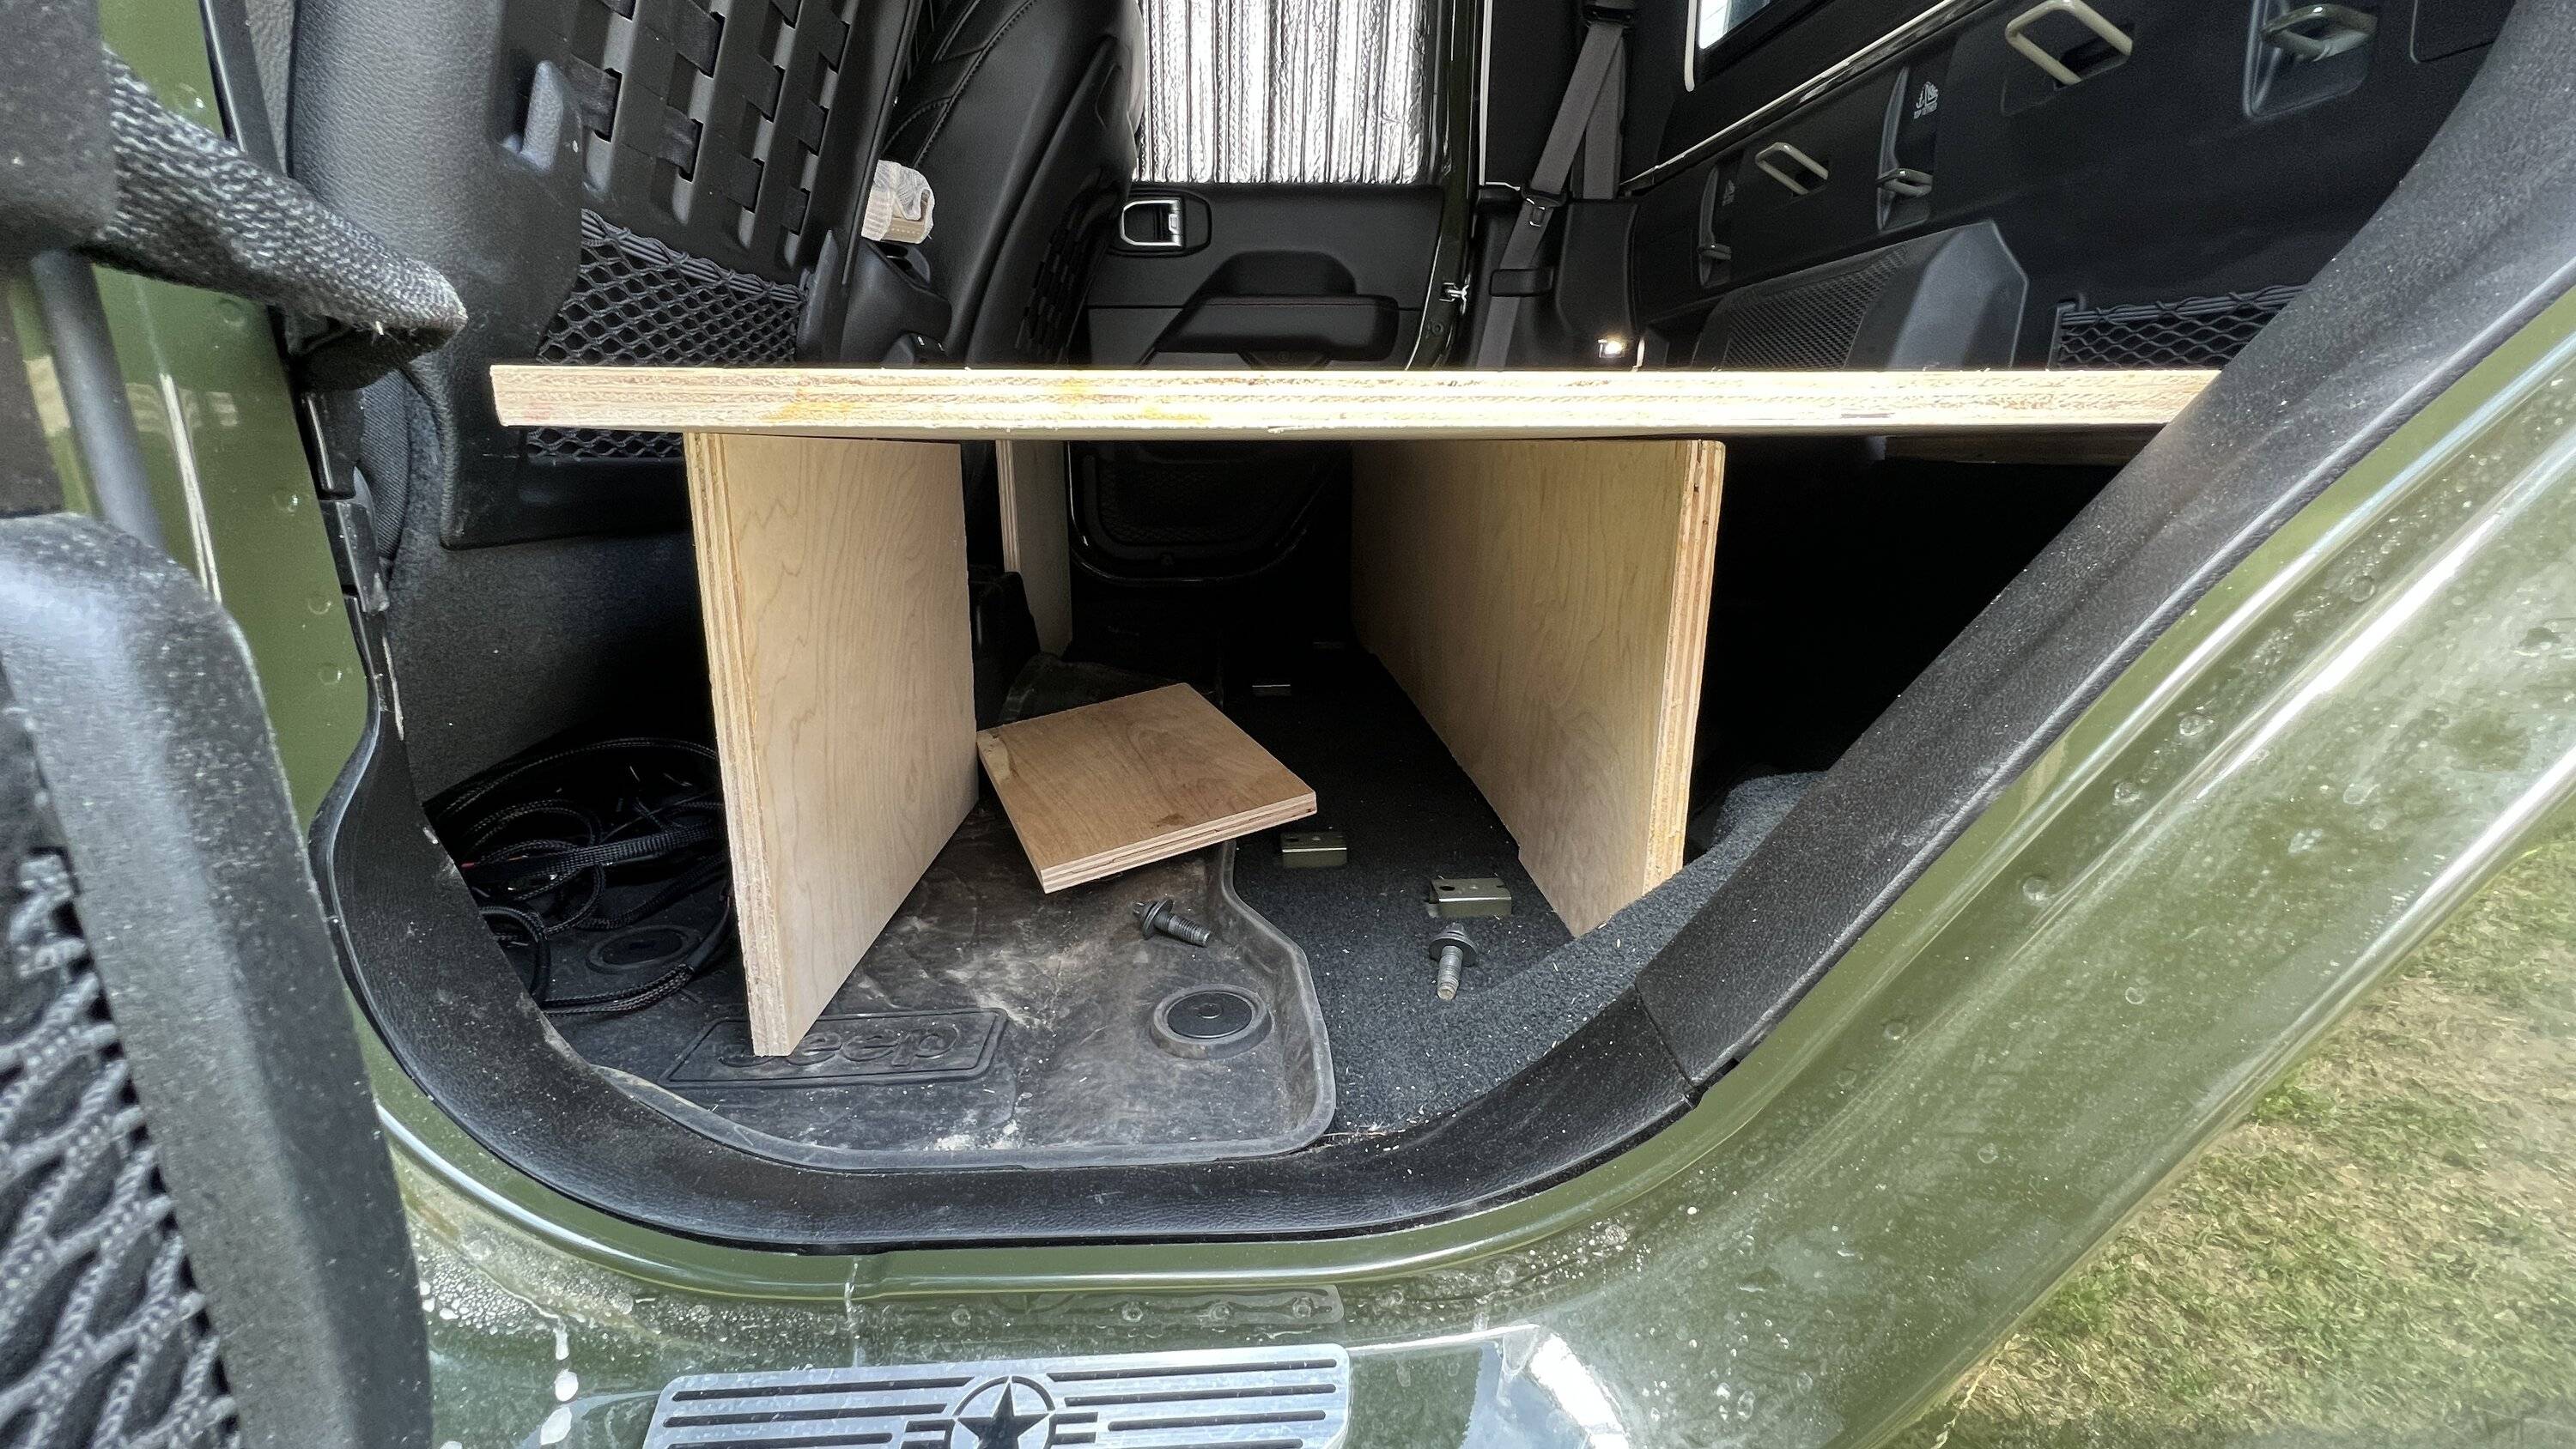
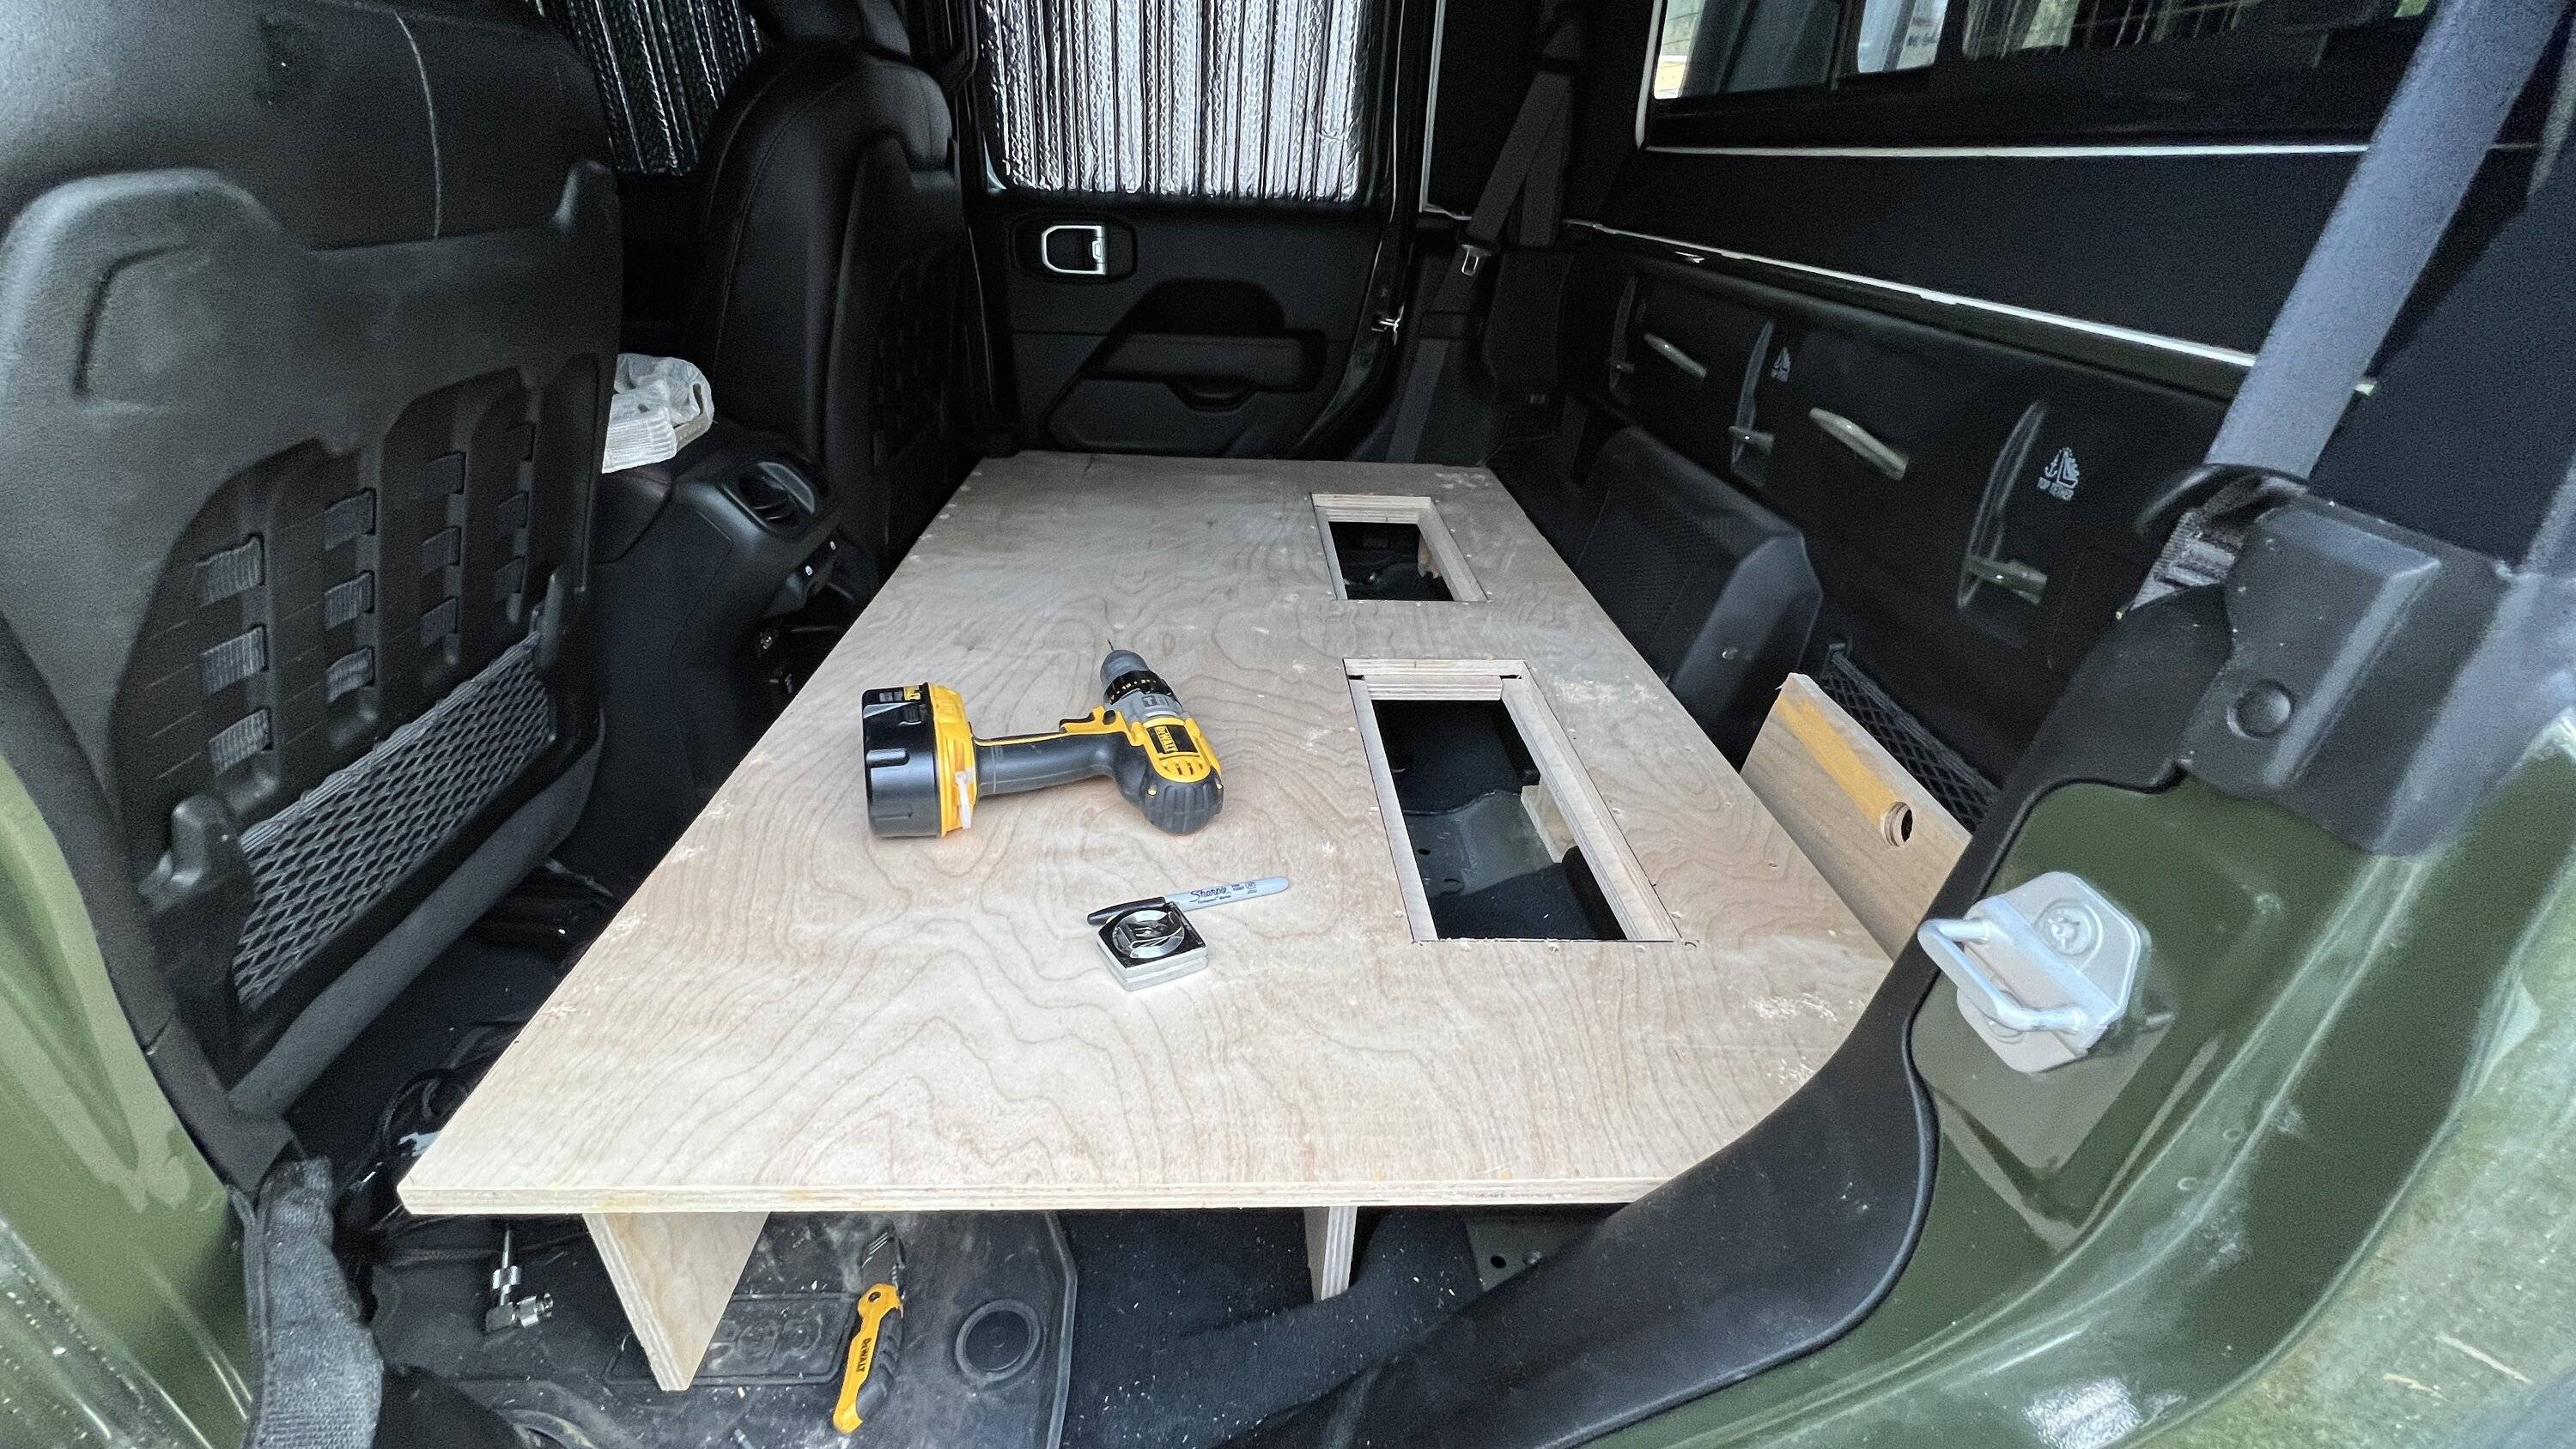
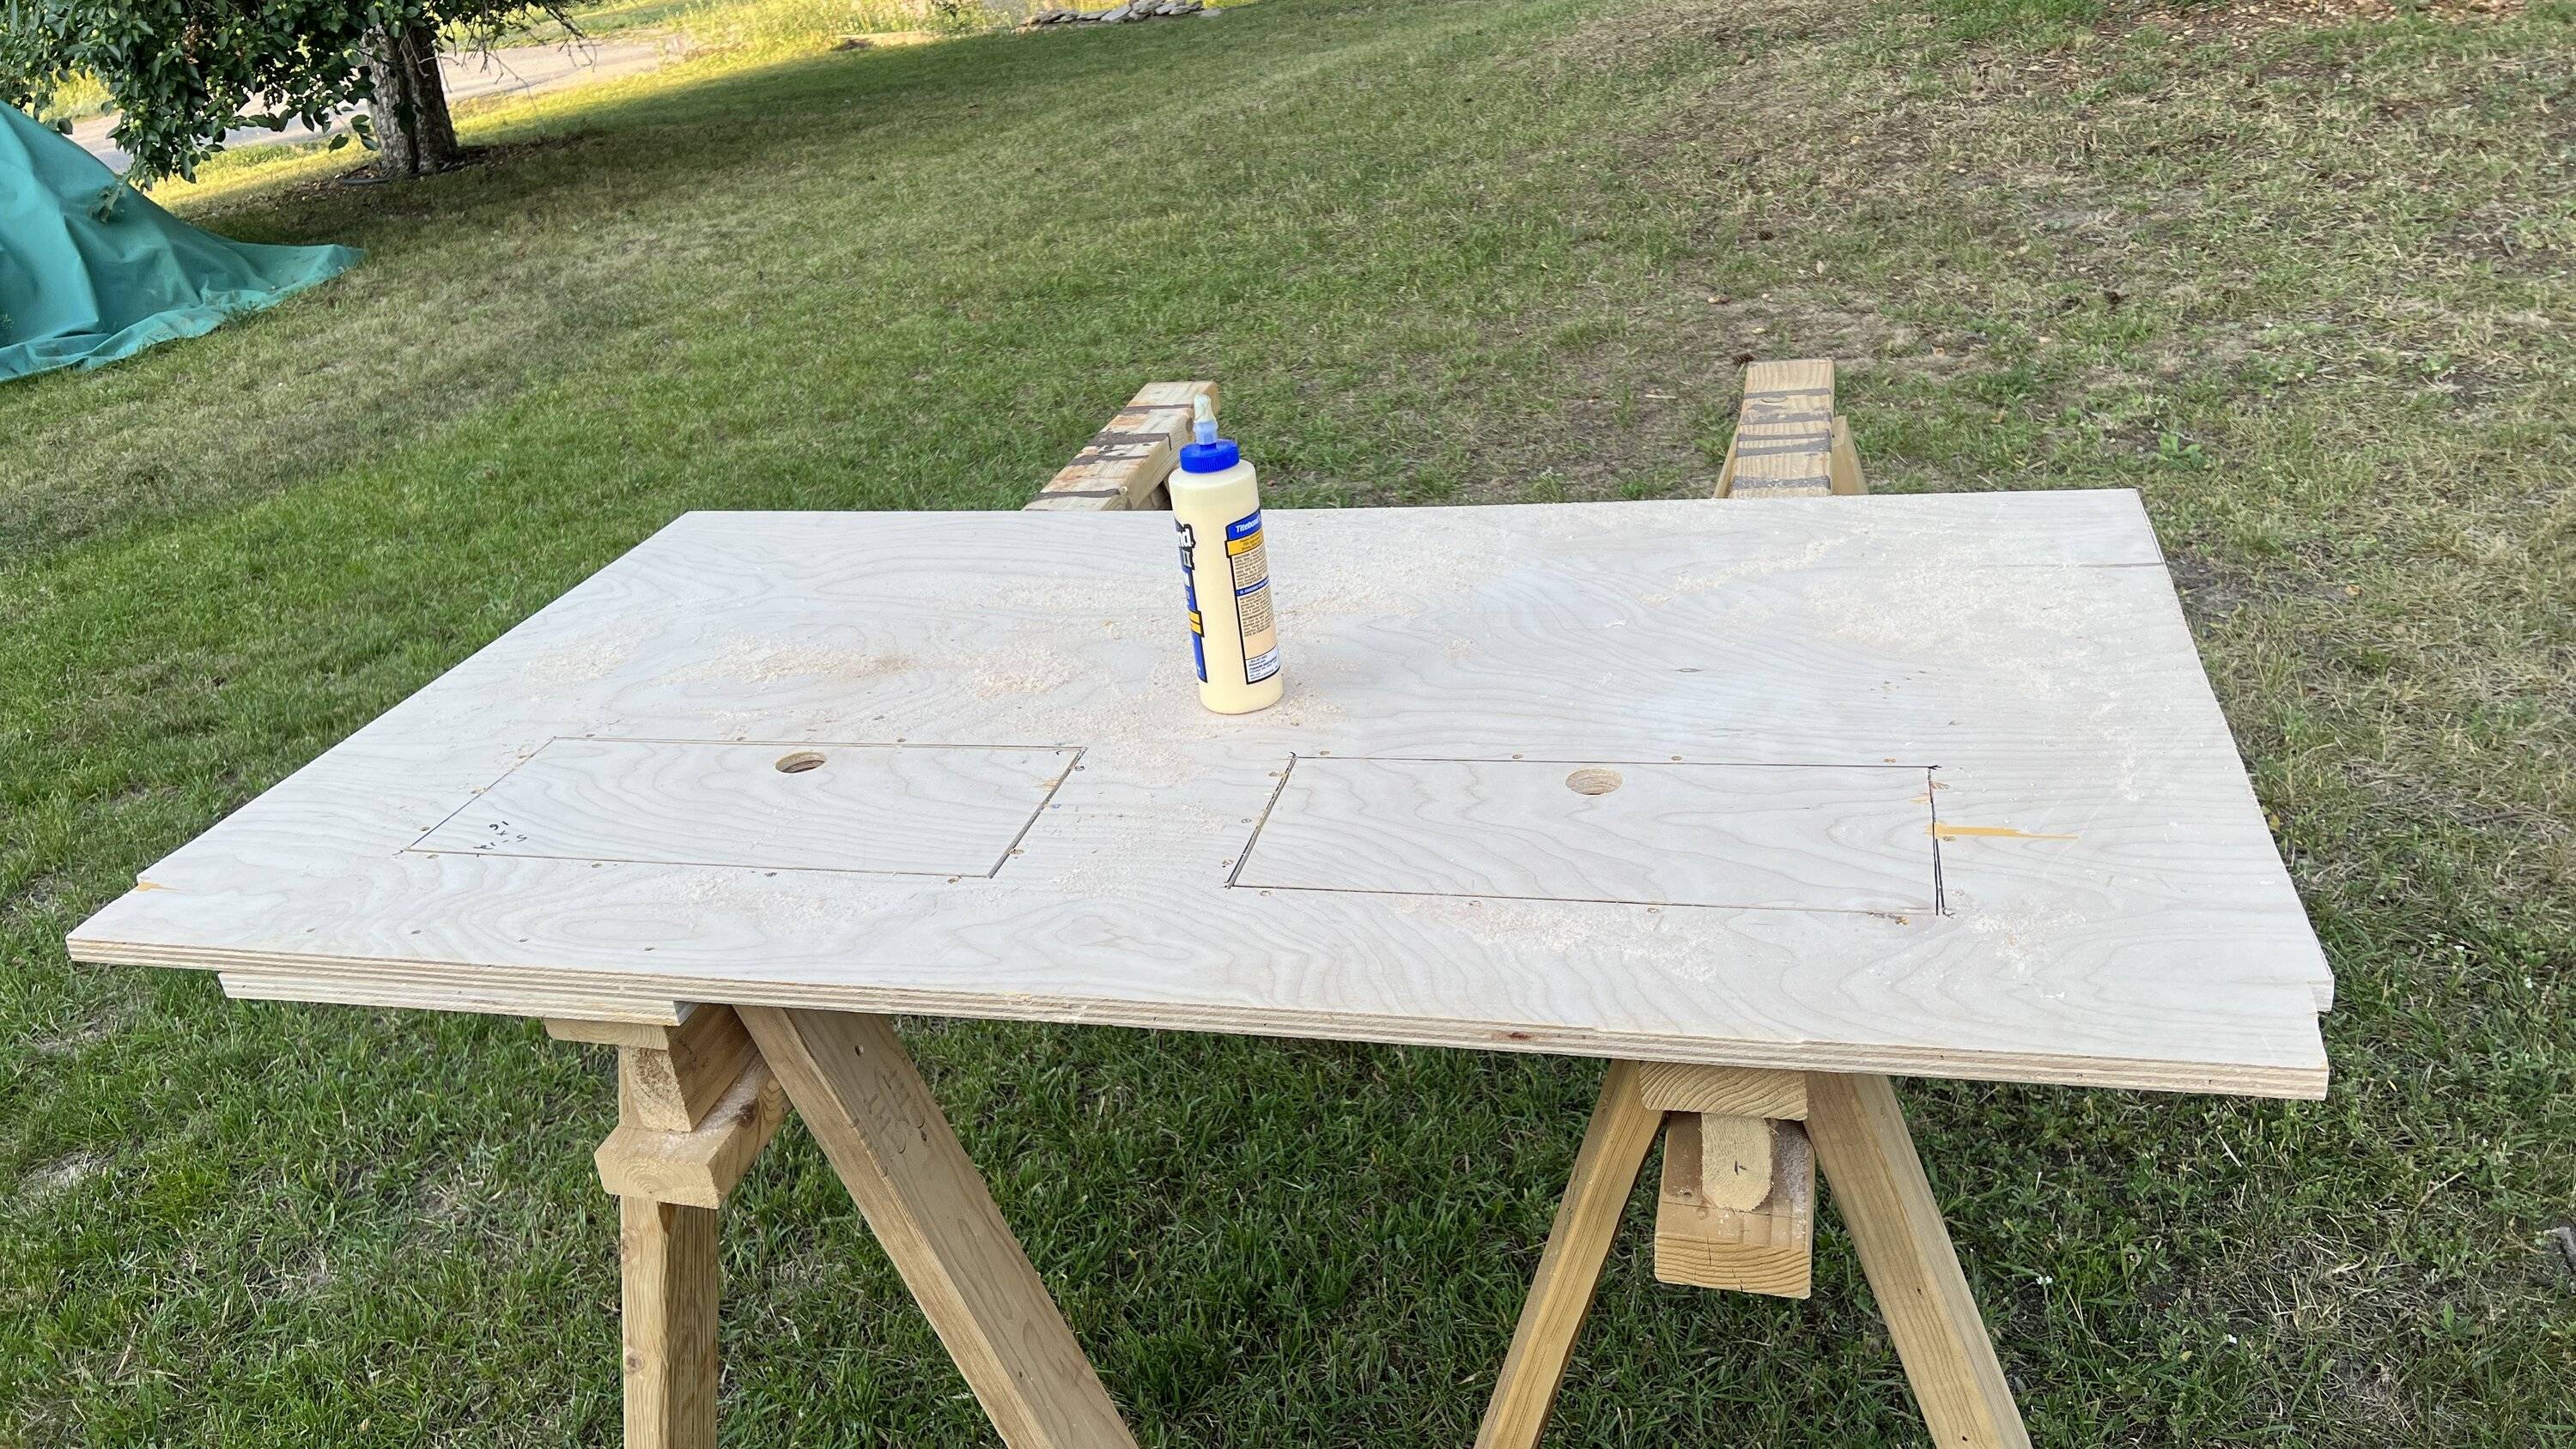
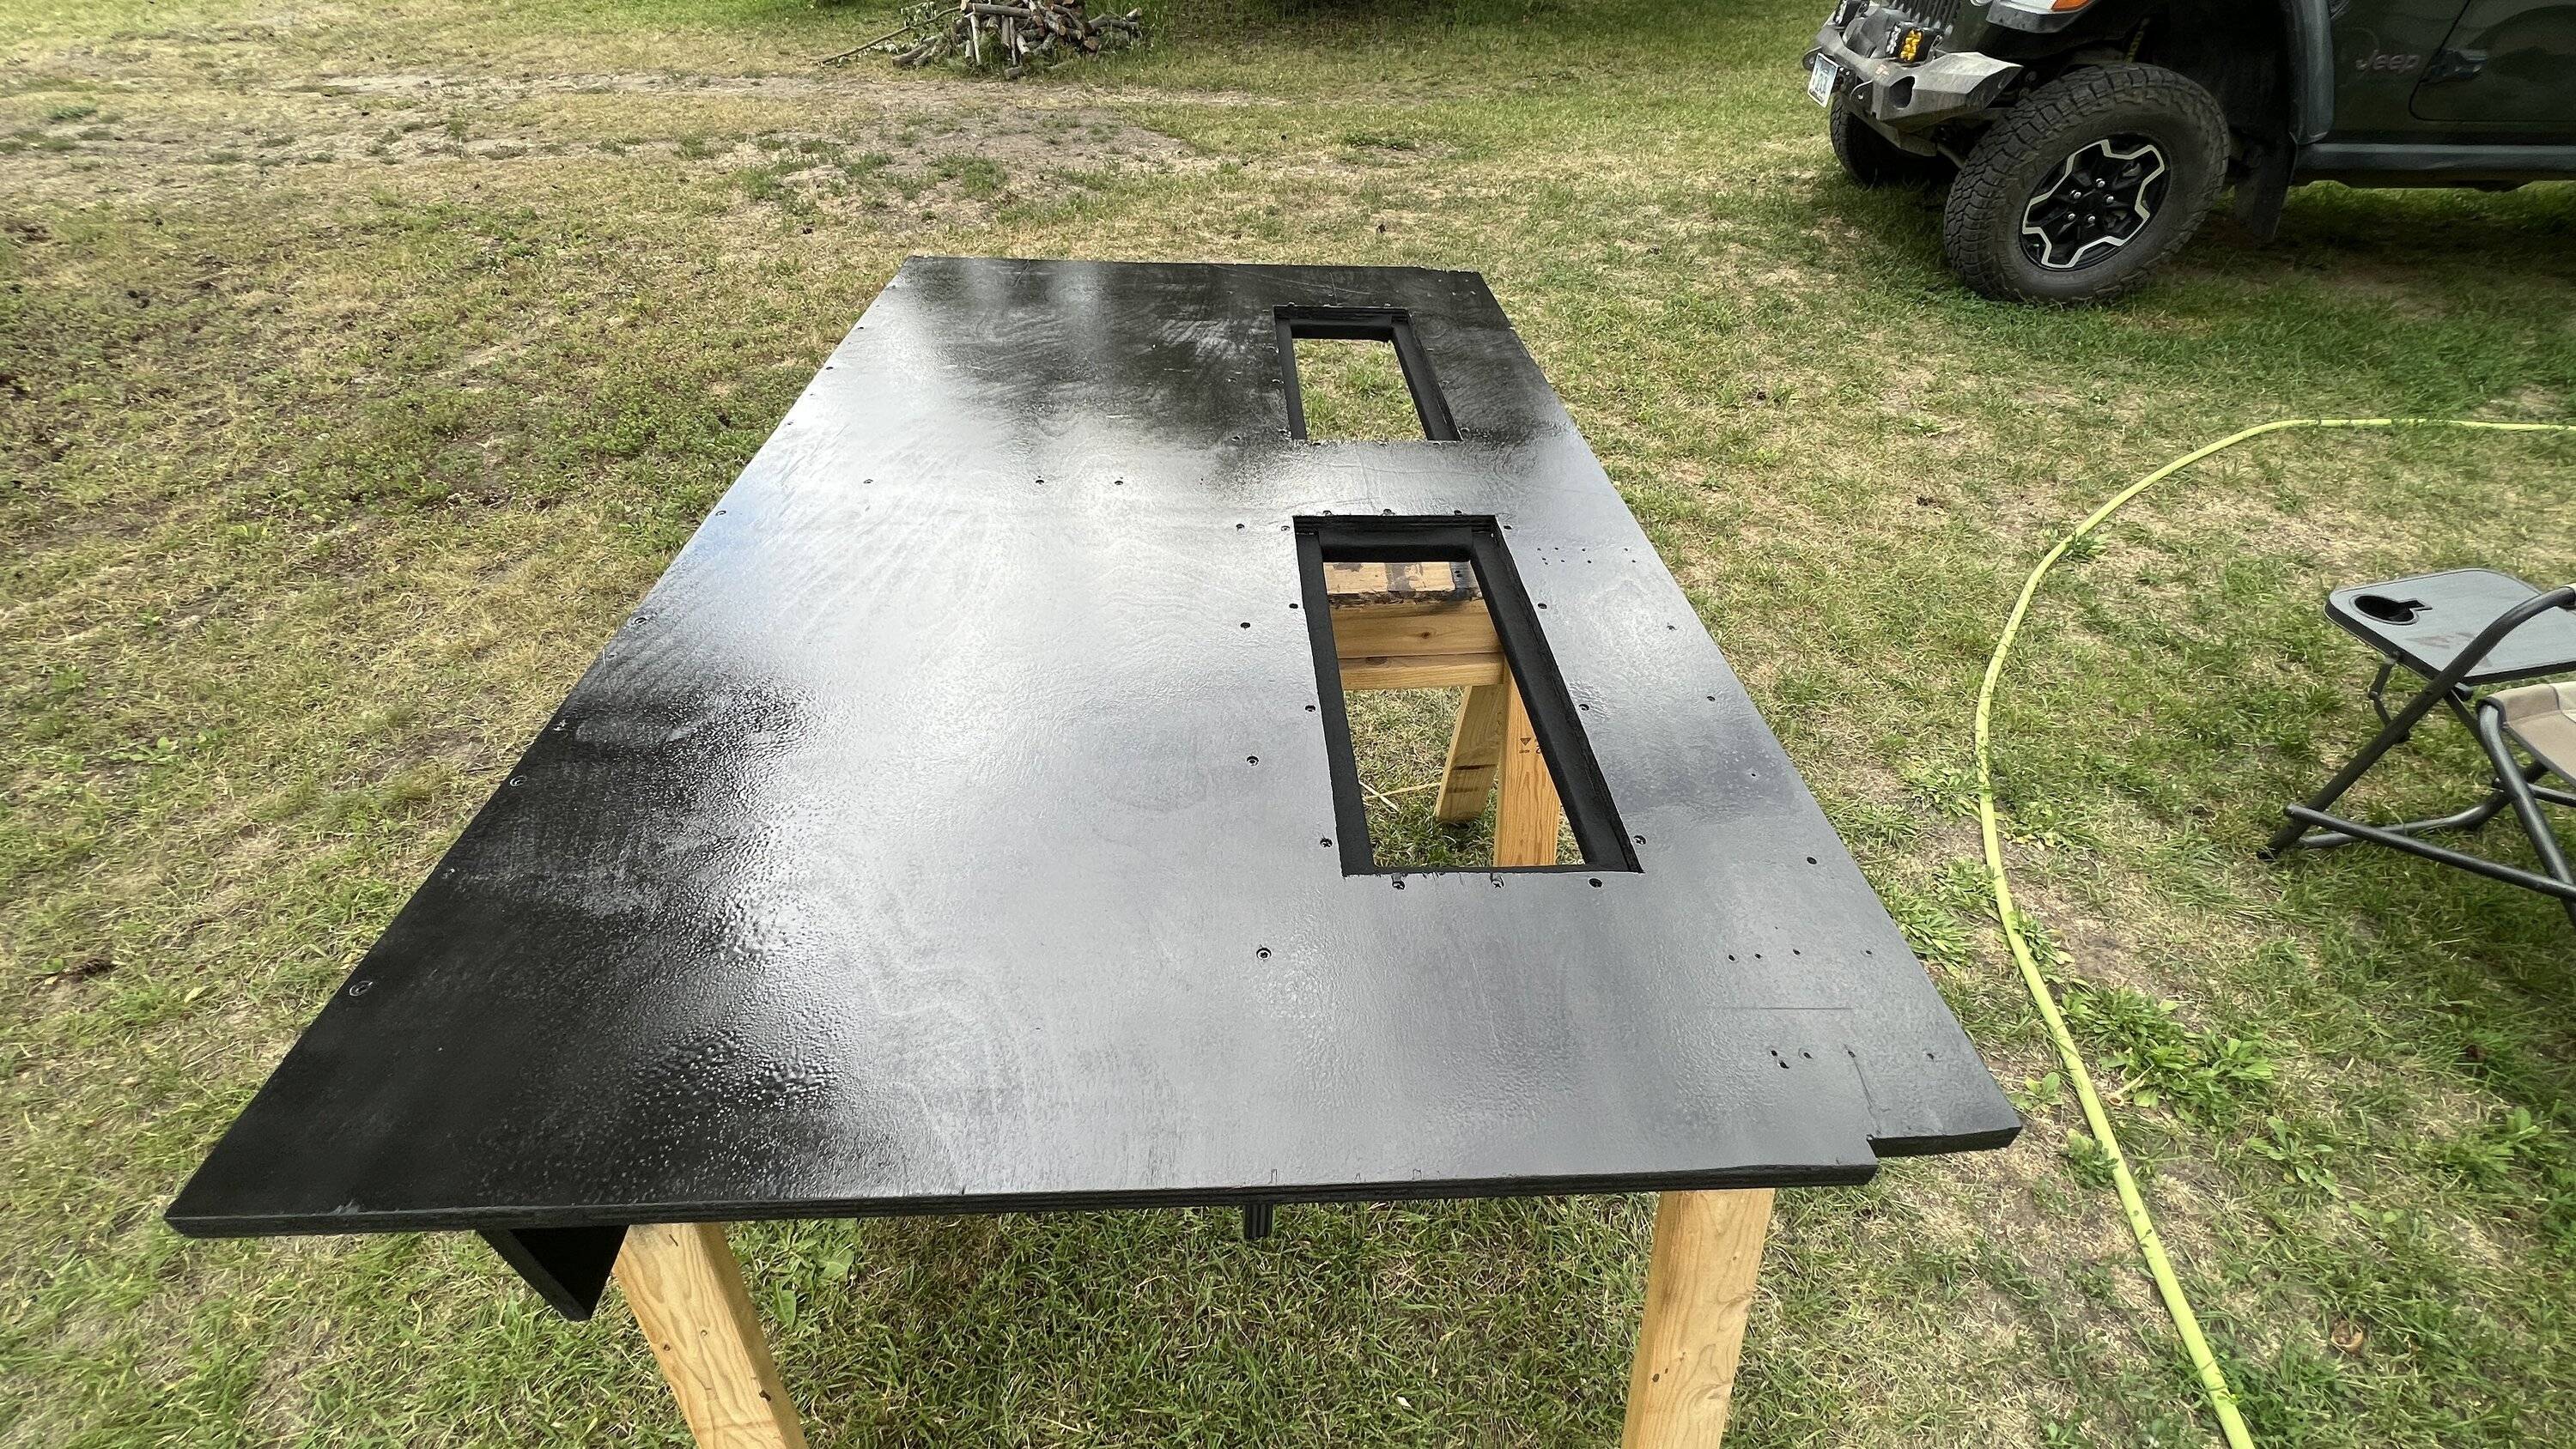
I really wanted a simple system that I could finish this weekend as I have a fee more things arriving that must go on before thursday night. So taking some measurements I cut a plain flat piece And went for a test fit.
Making a couple temporary front panels I wanted to level it out.
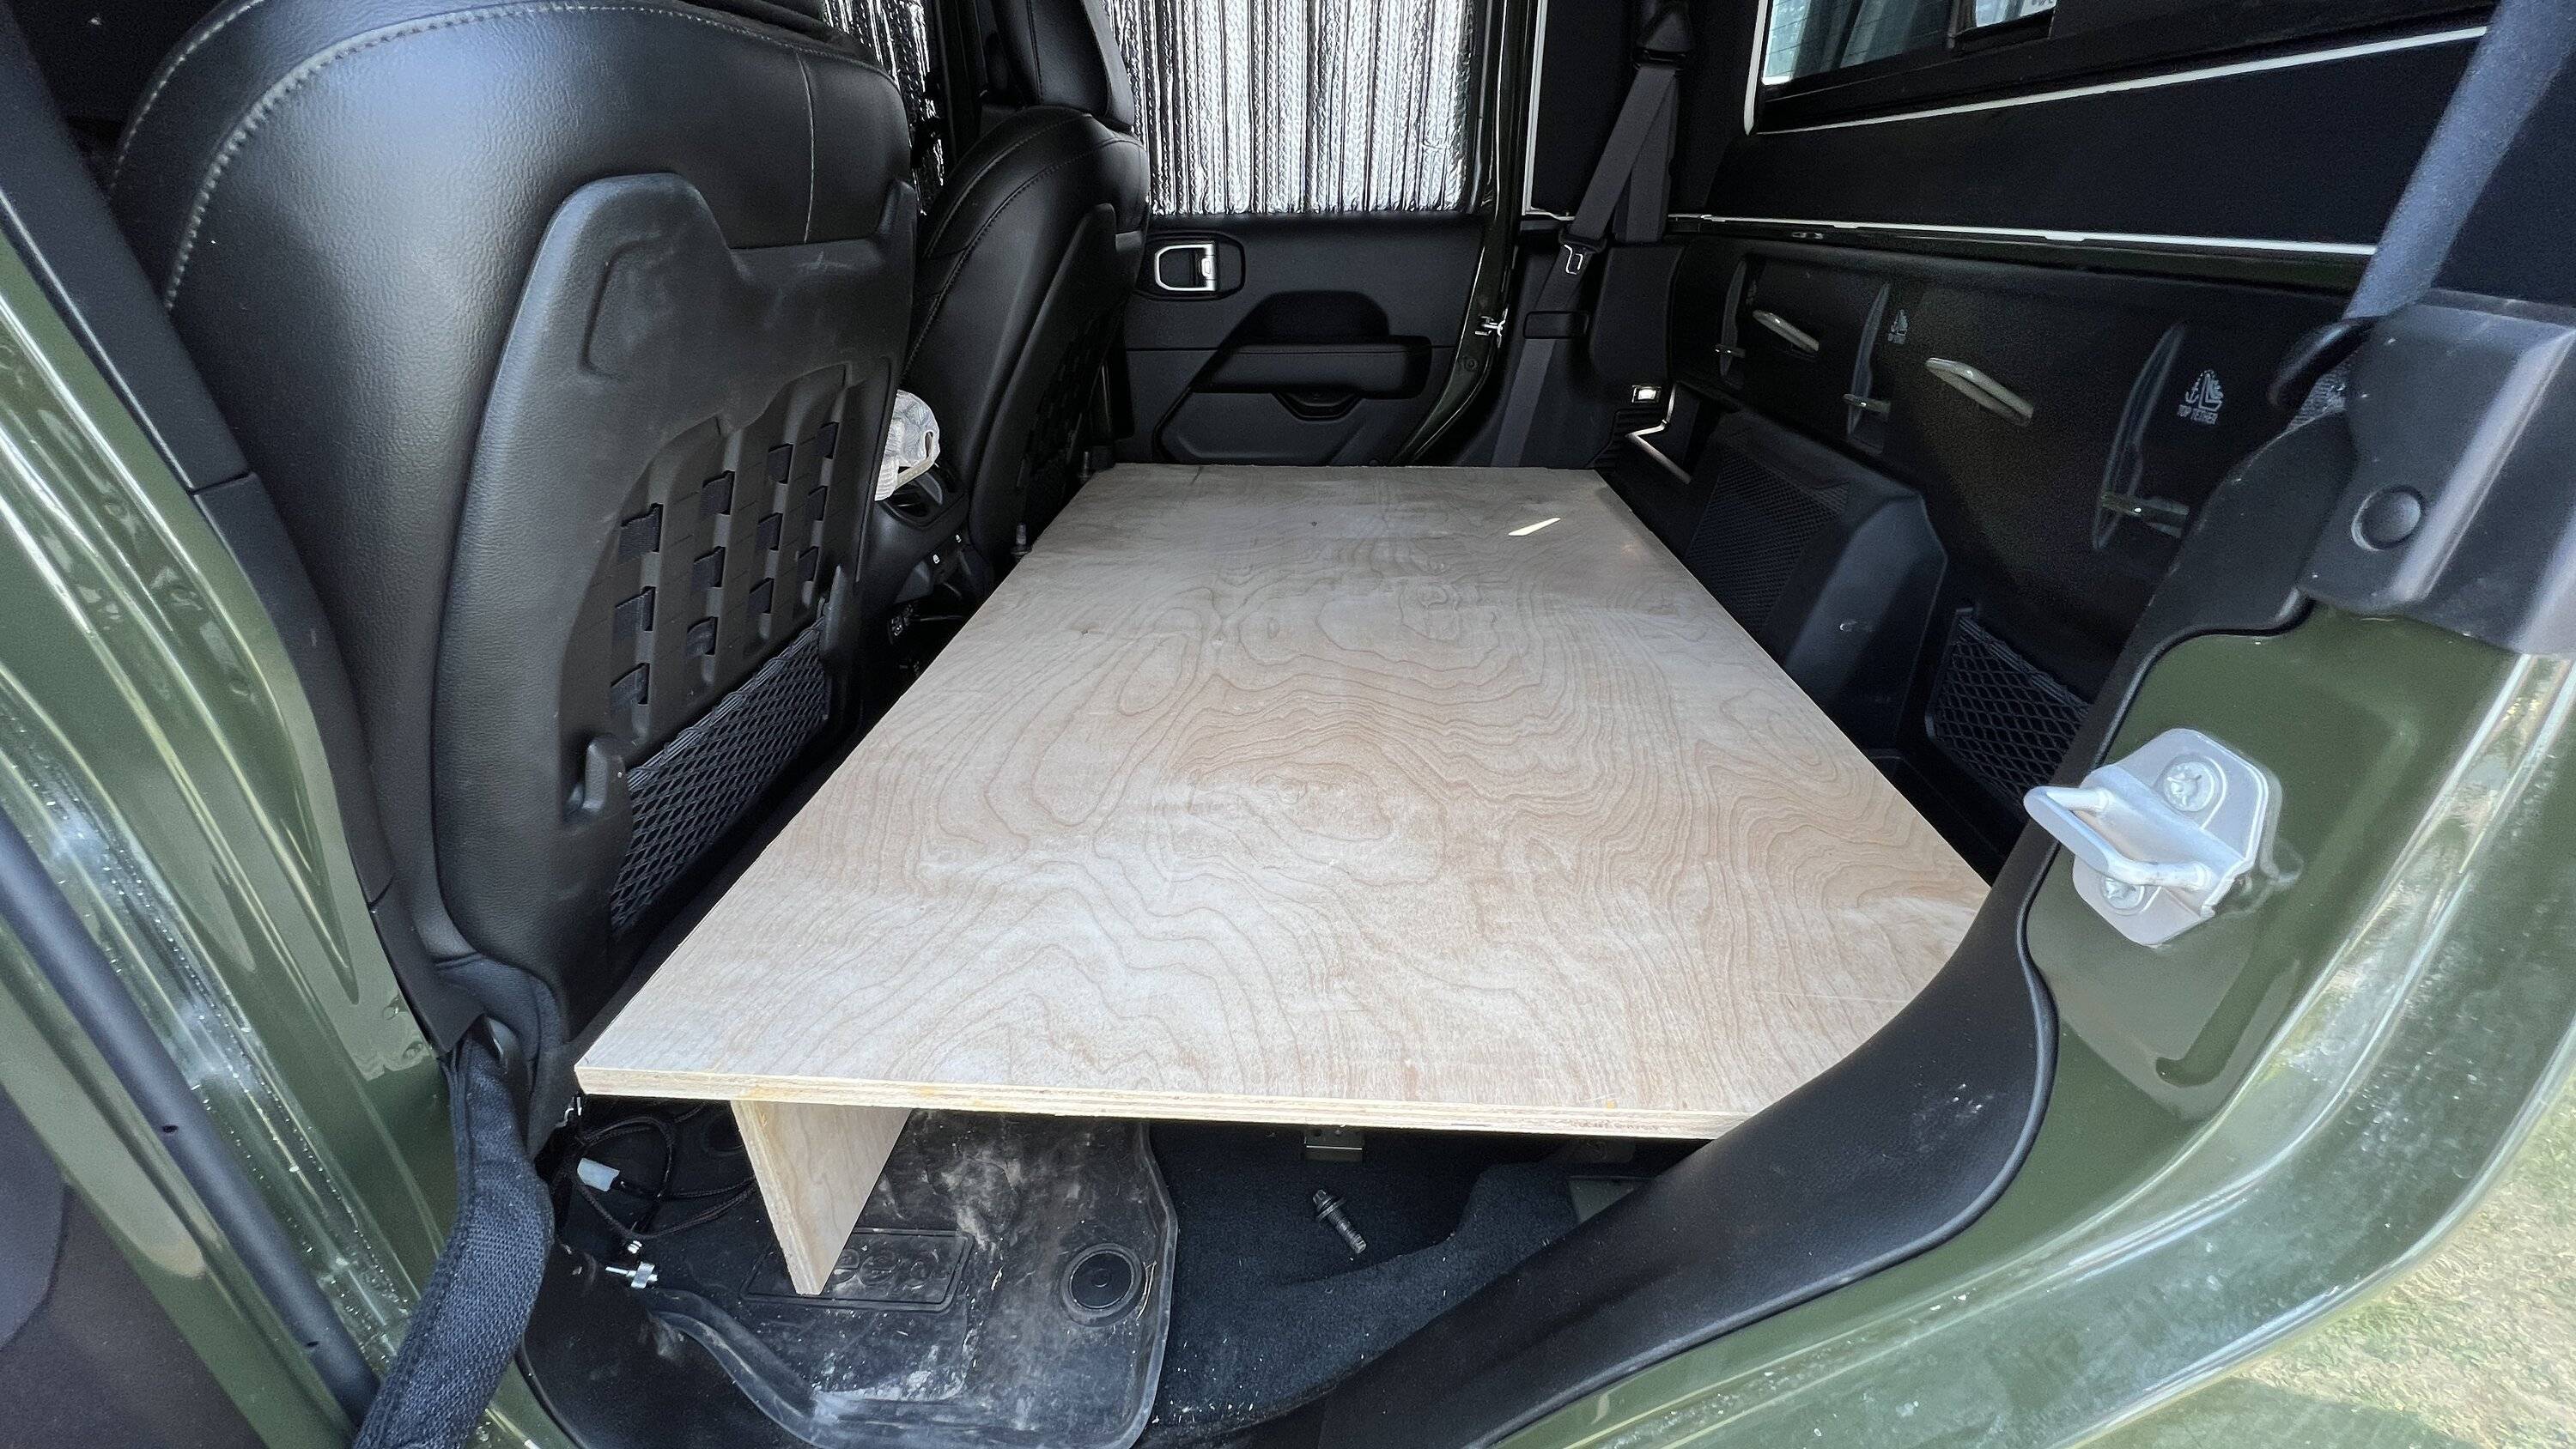
It is a perfect fit. So far. I wanted a taller platform to retain a good amount of storage underneath. I really despise having to move things around to grab something, and the floor based panels require you to pack all your stuff on top of itself - which IMO is a terrible design. This should work well
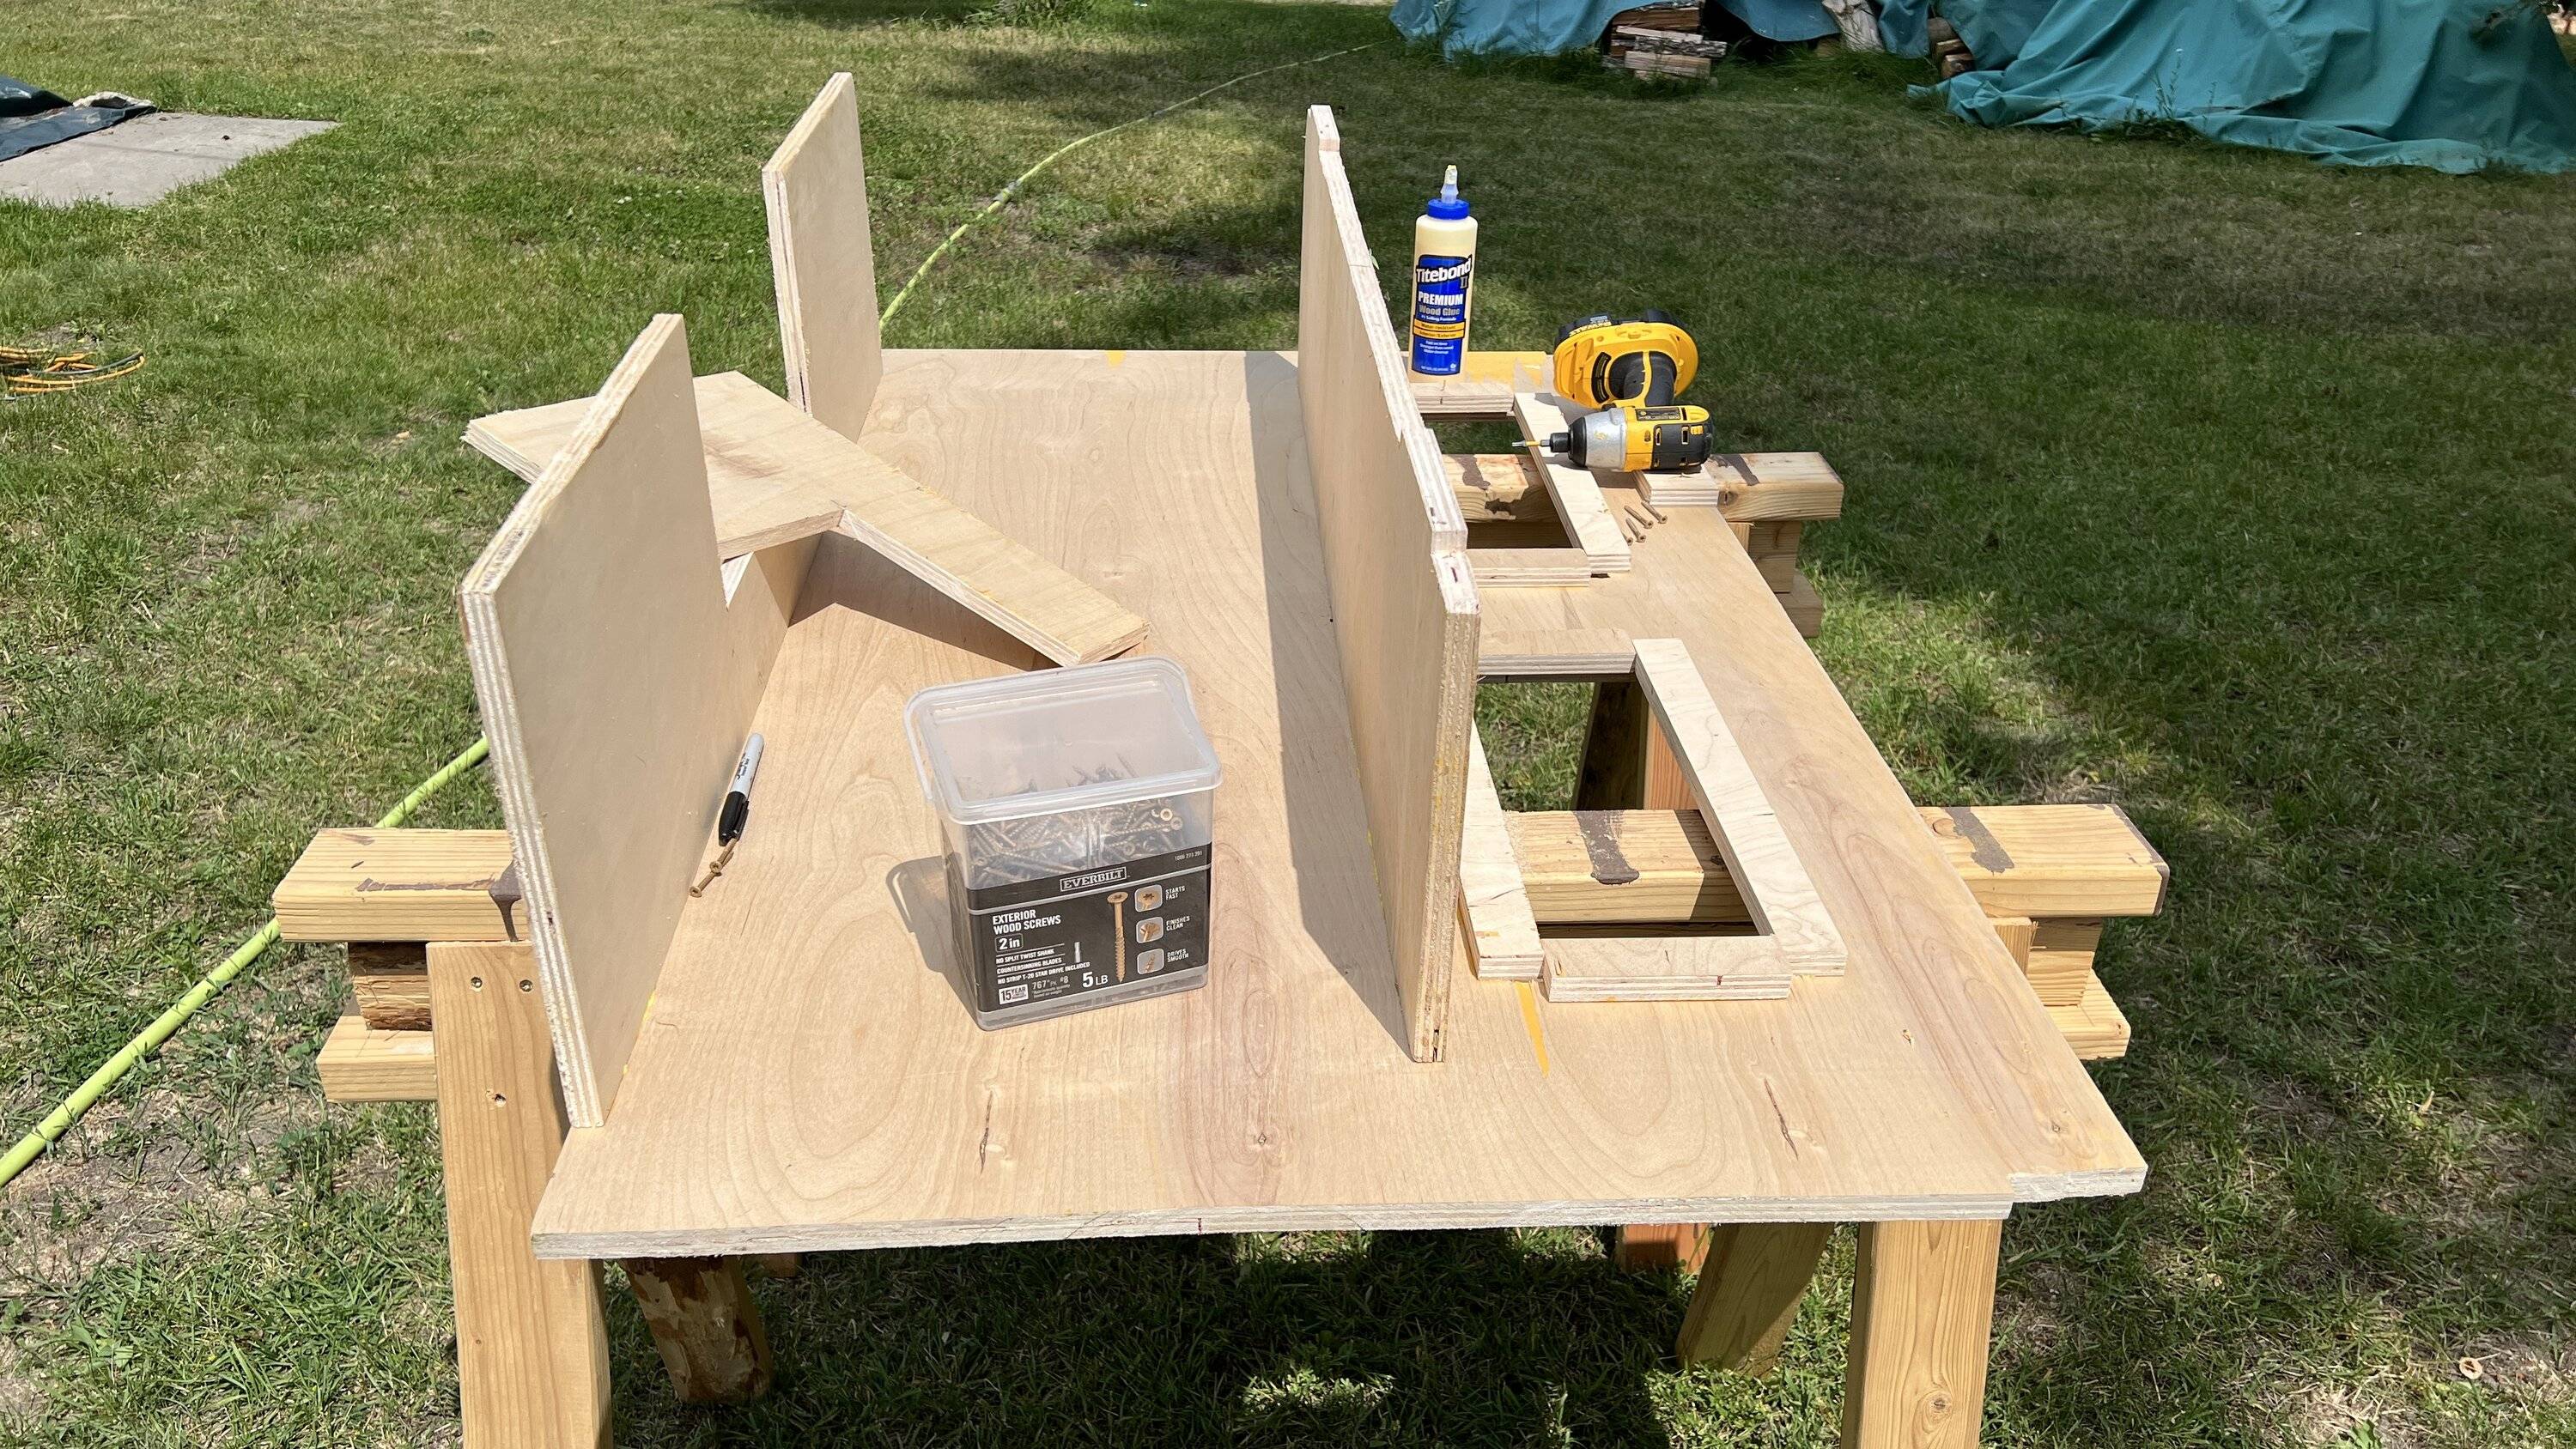
Thinking it would be good to have another support, I cut a center section
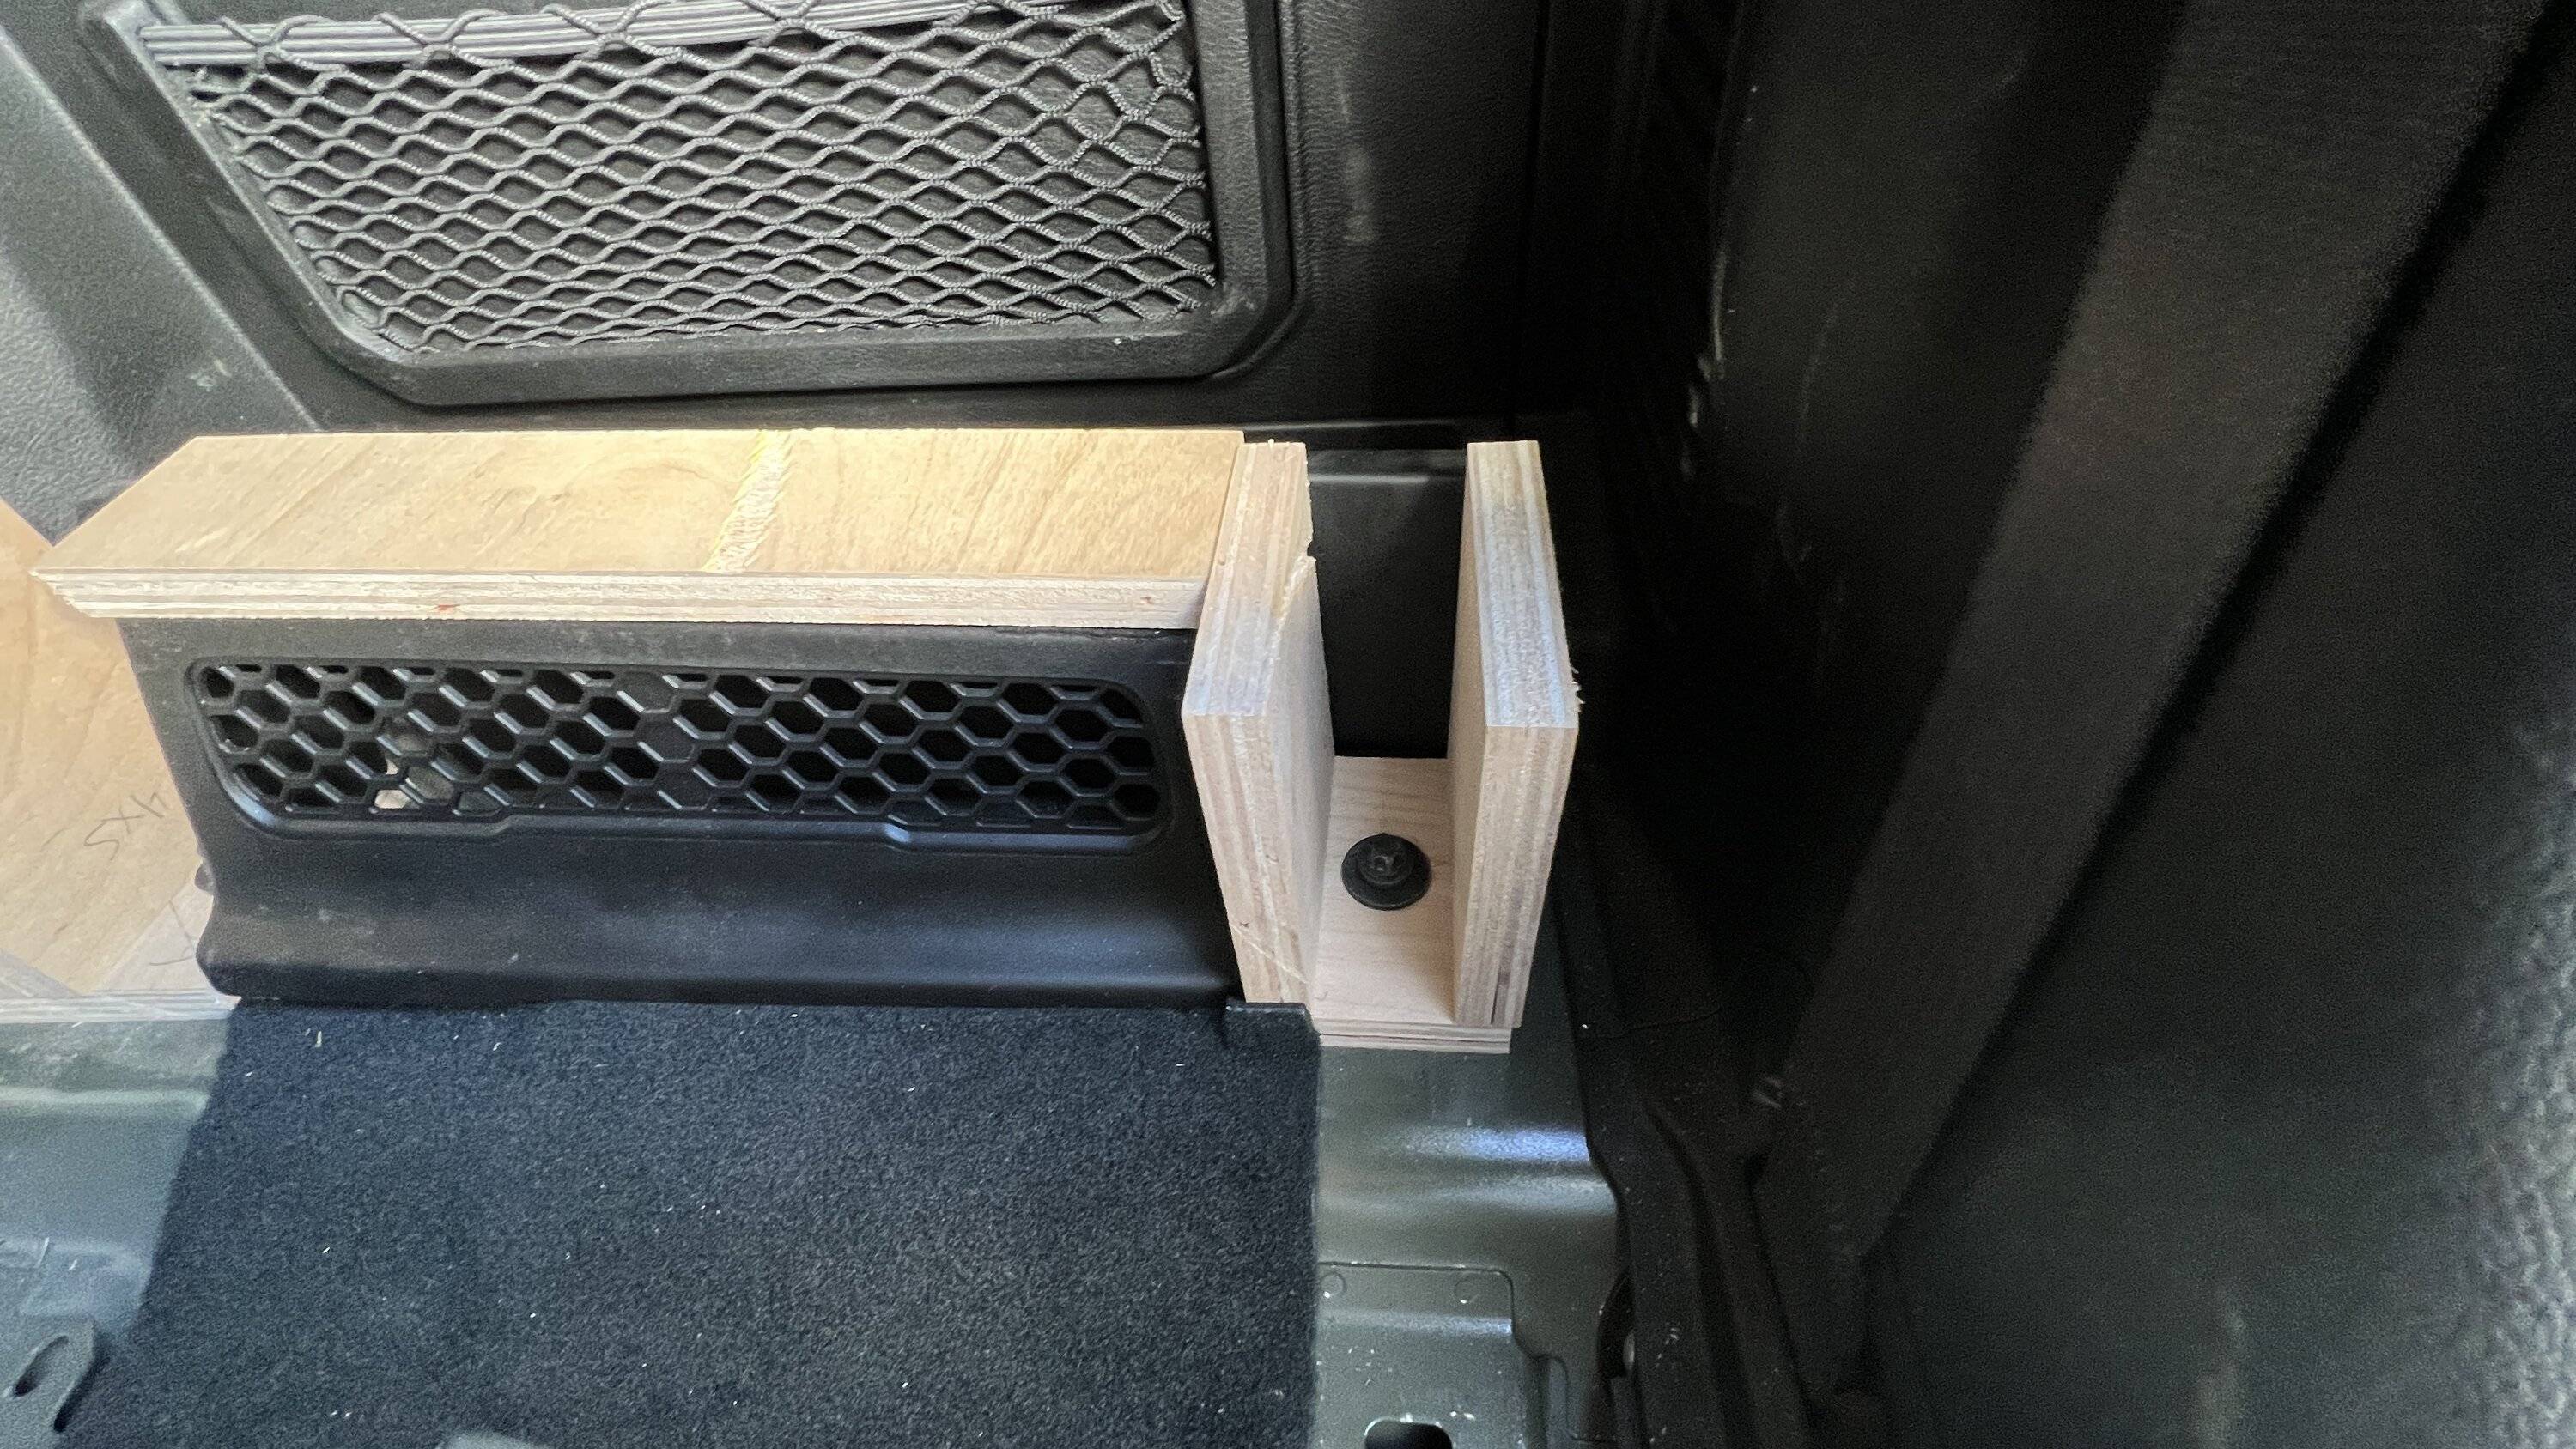
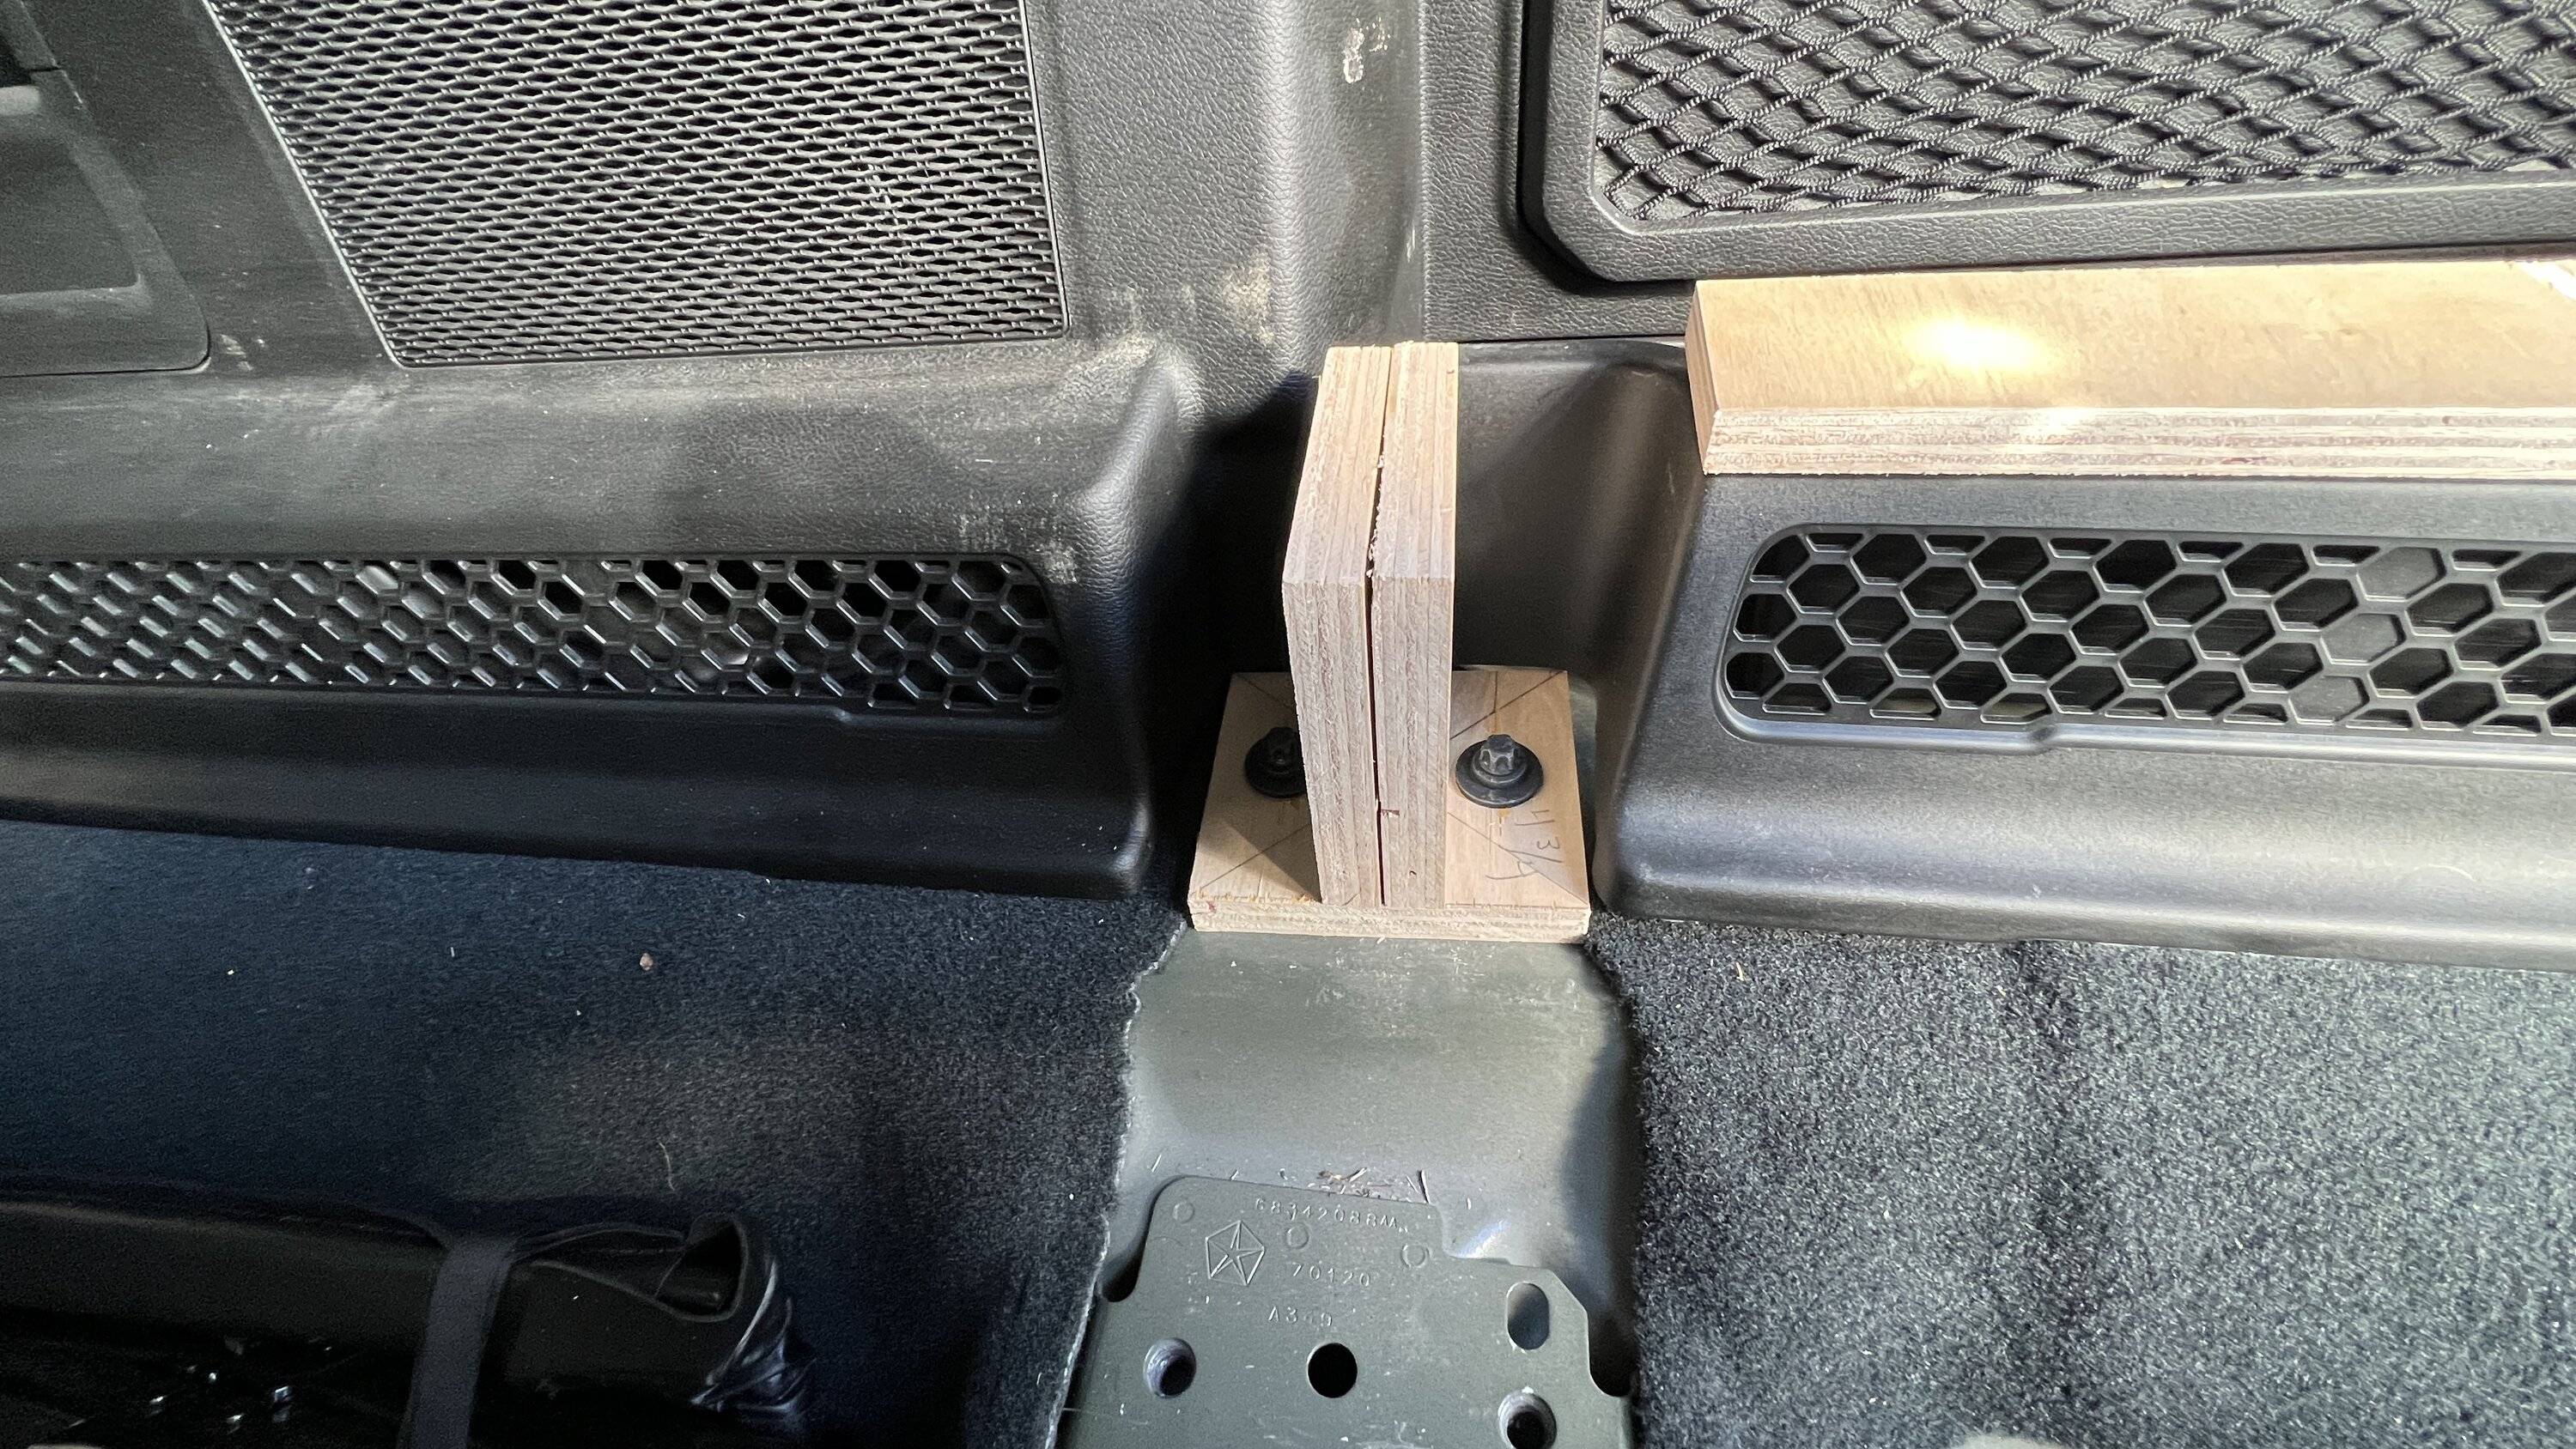
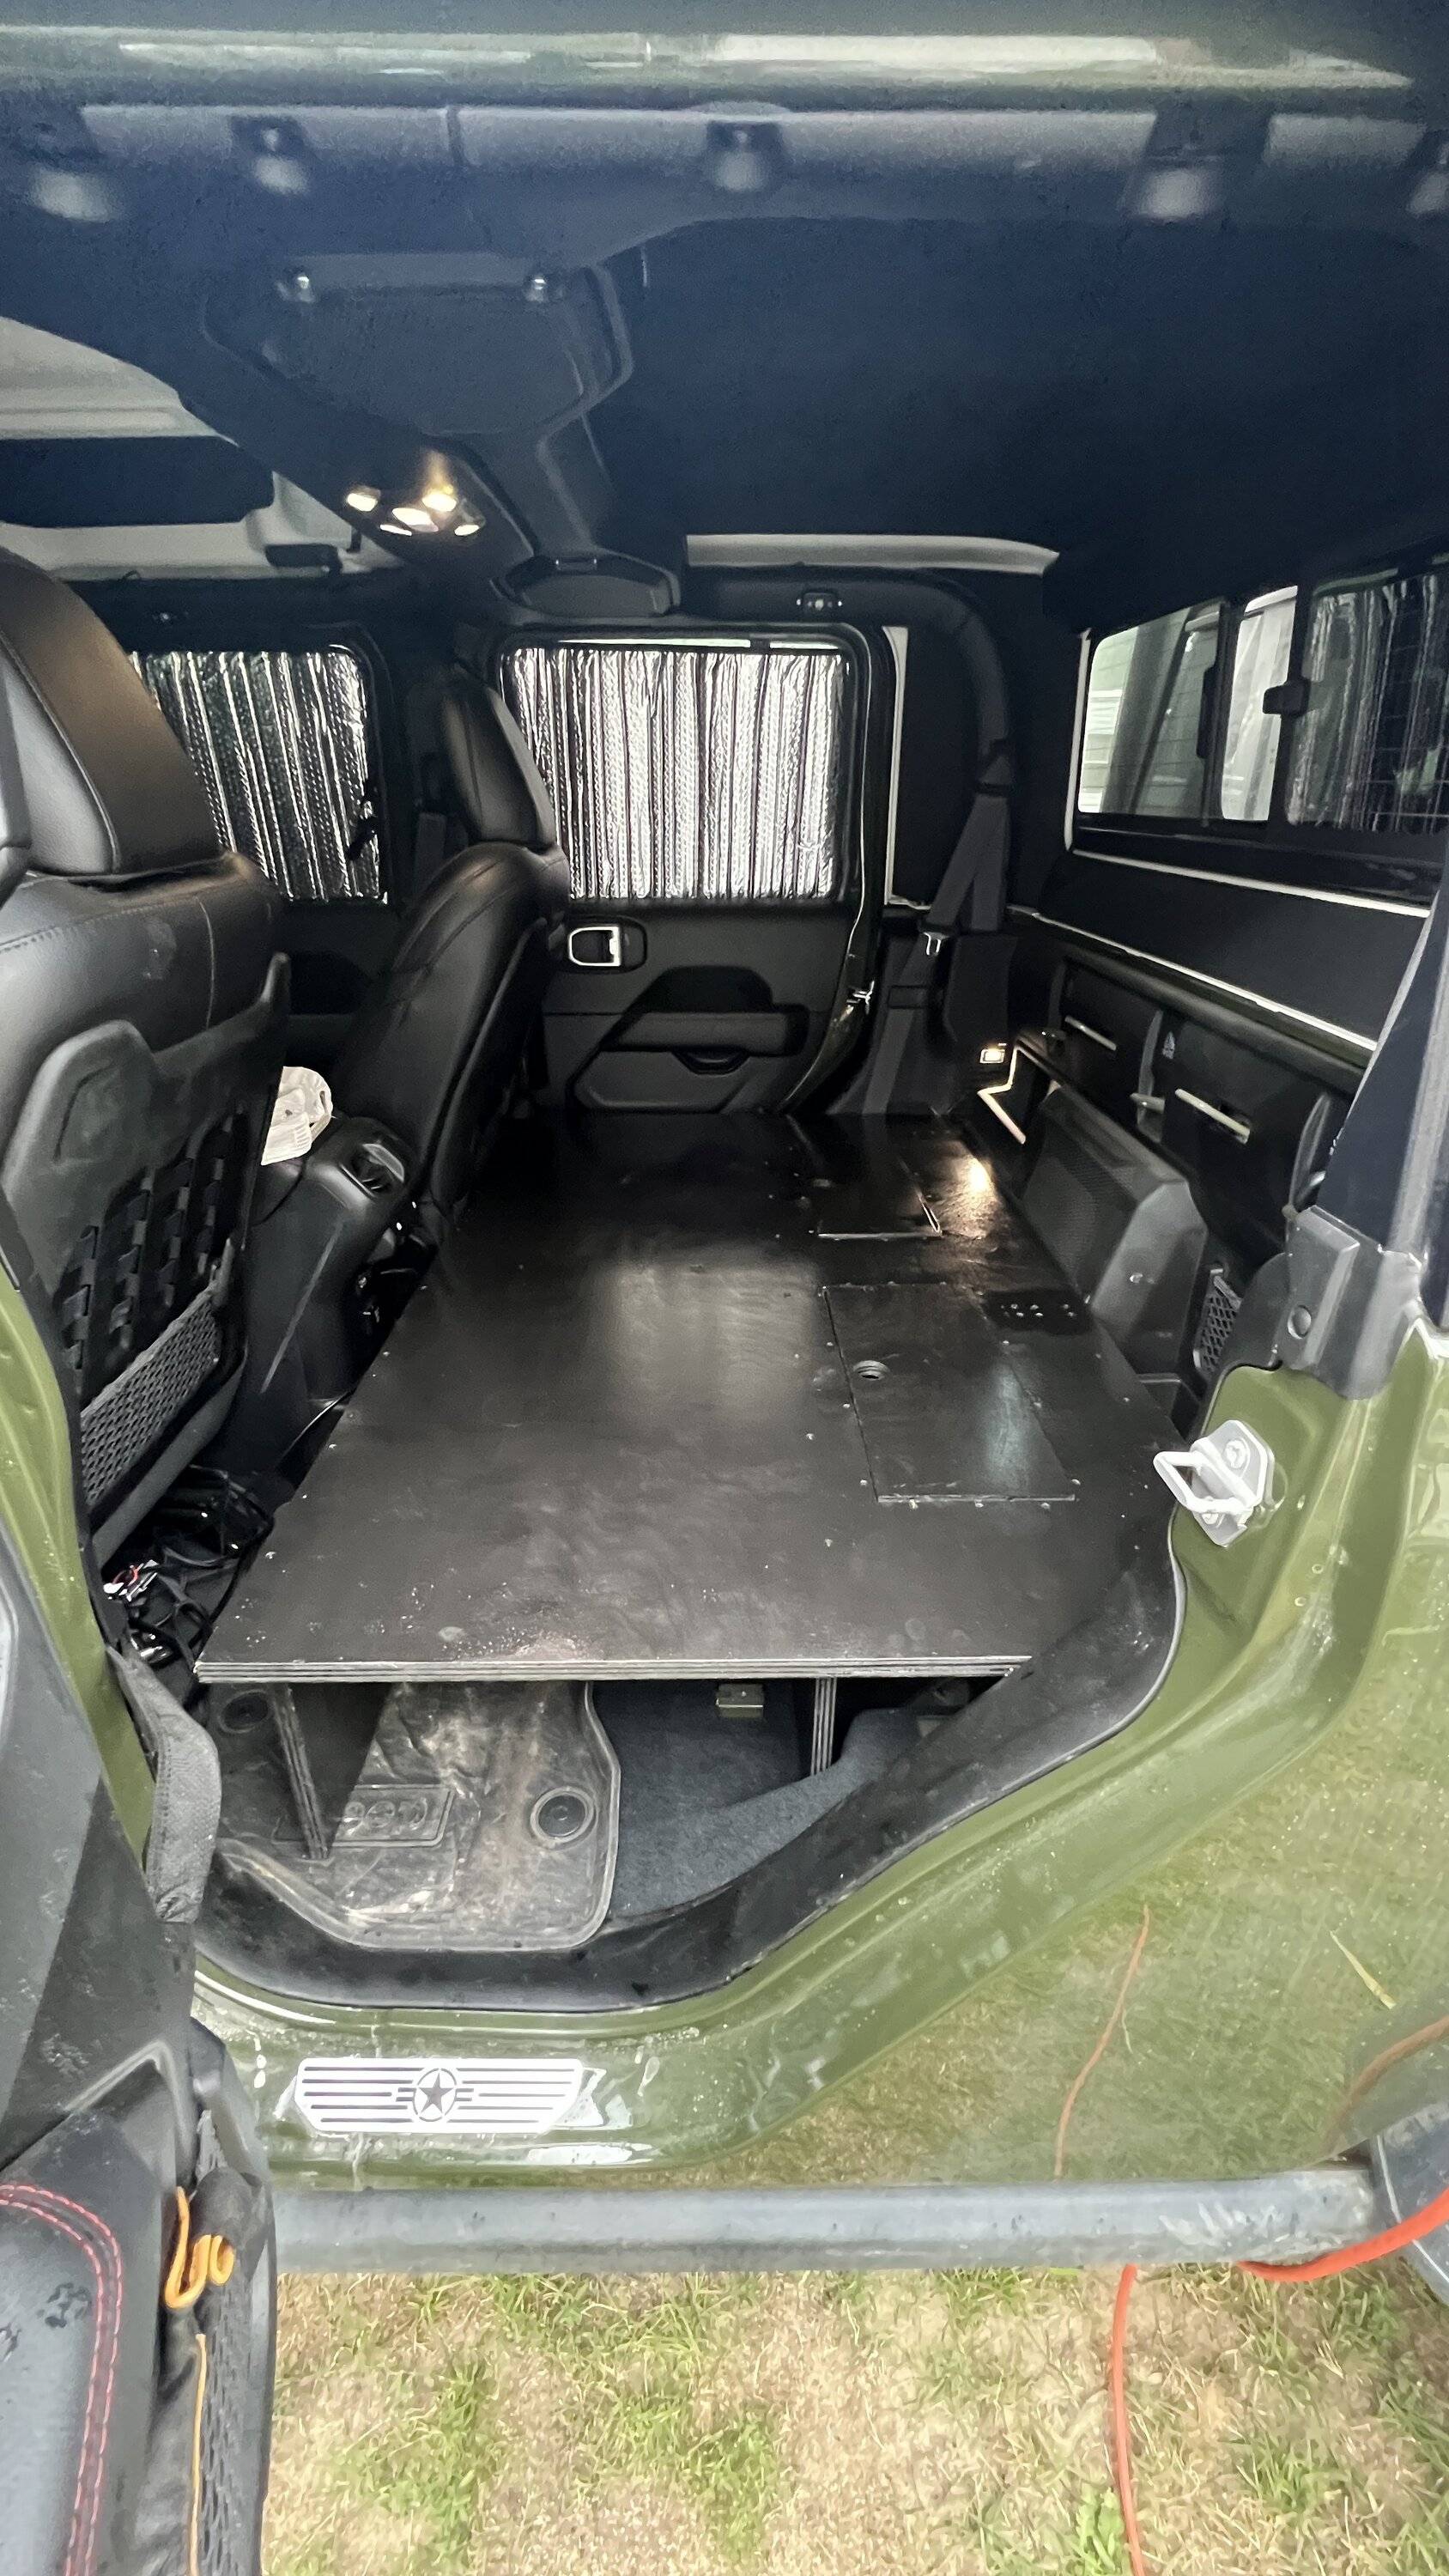
I was using 3/4” birch. Which is all the local store had and it turned out to work great. Initially I wanted 1/2” but now that it is together I would have had integrity issues with only 1/2”. At the rear it was resting on the plastic panels. But I wanted to find a way to secure it to the truck unlike the 40% panel I had before. So I made some quick brackets that bolt to the body, and the top could be screwed into. I also needed a 3/4” spacer for the frivers side as this plastic panel is just under a inch shorter than what is on the passenger side
Next I cut out some access panels, and glued and screwed support brackets for the panels. I only wanted access for the rear portion that would be covered by the center support as the open sides allows plenty of access to the main cubbies.
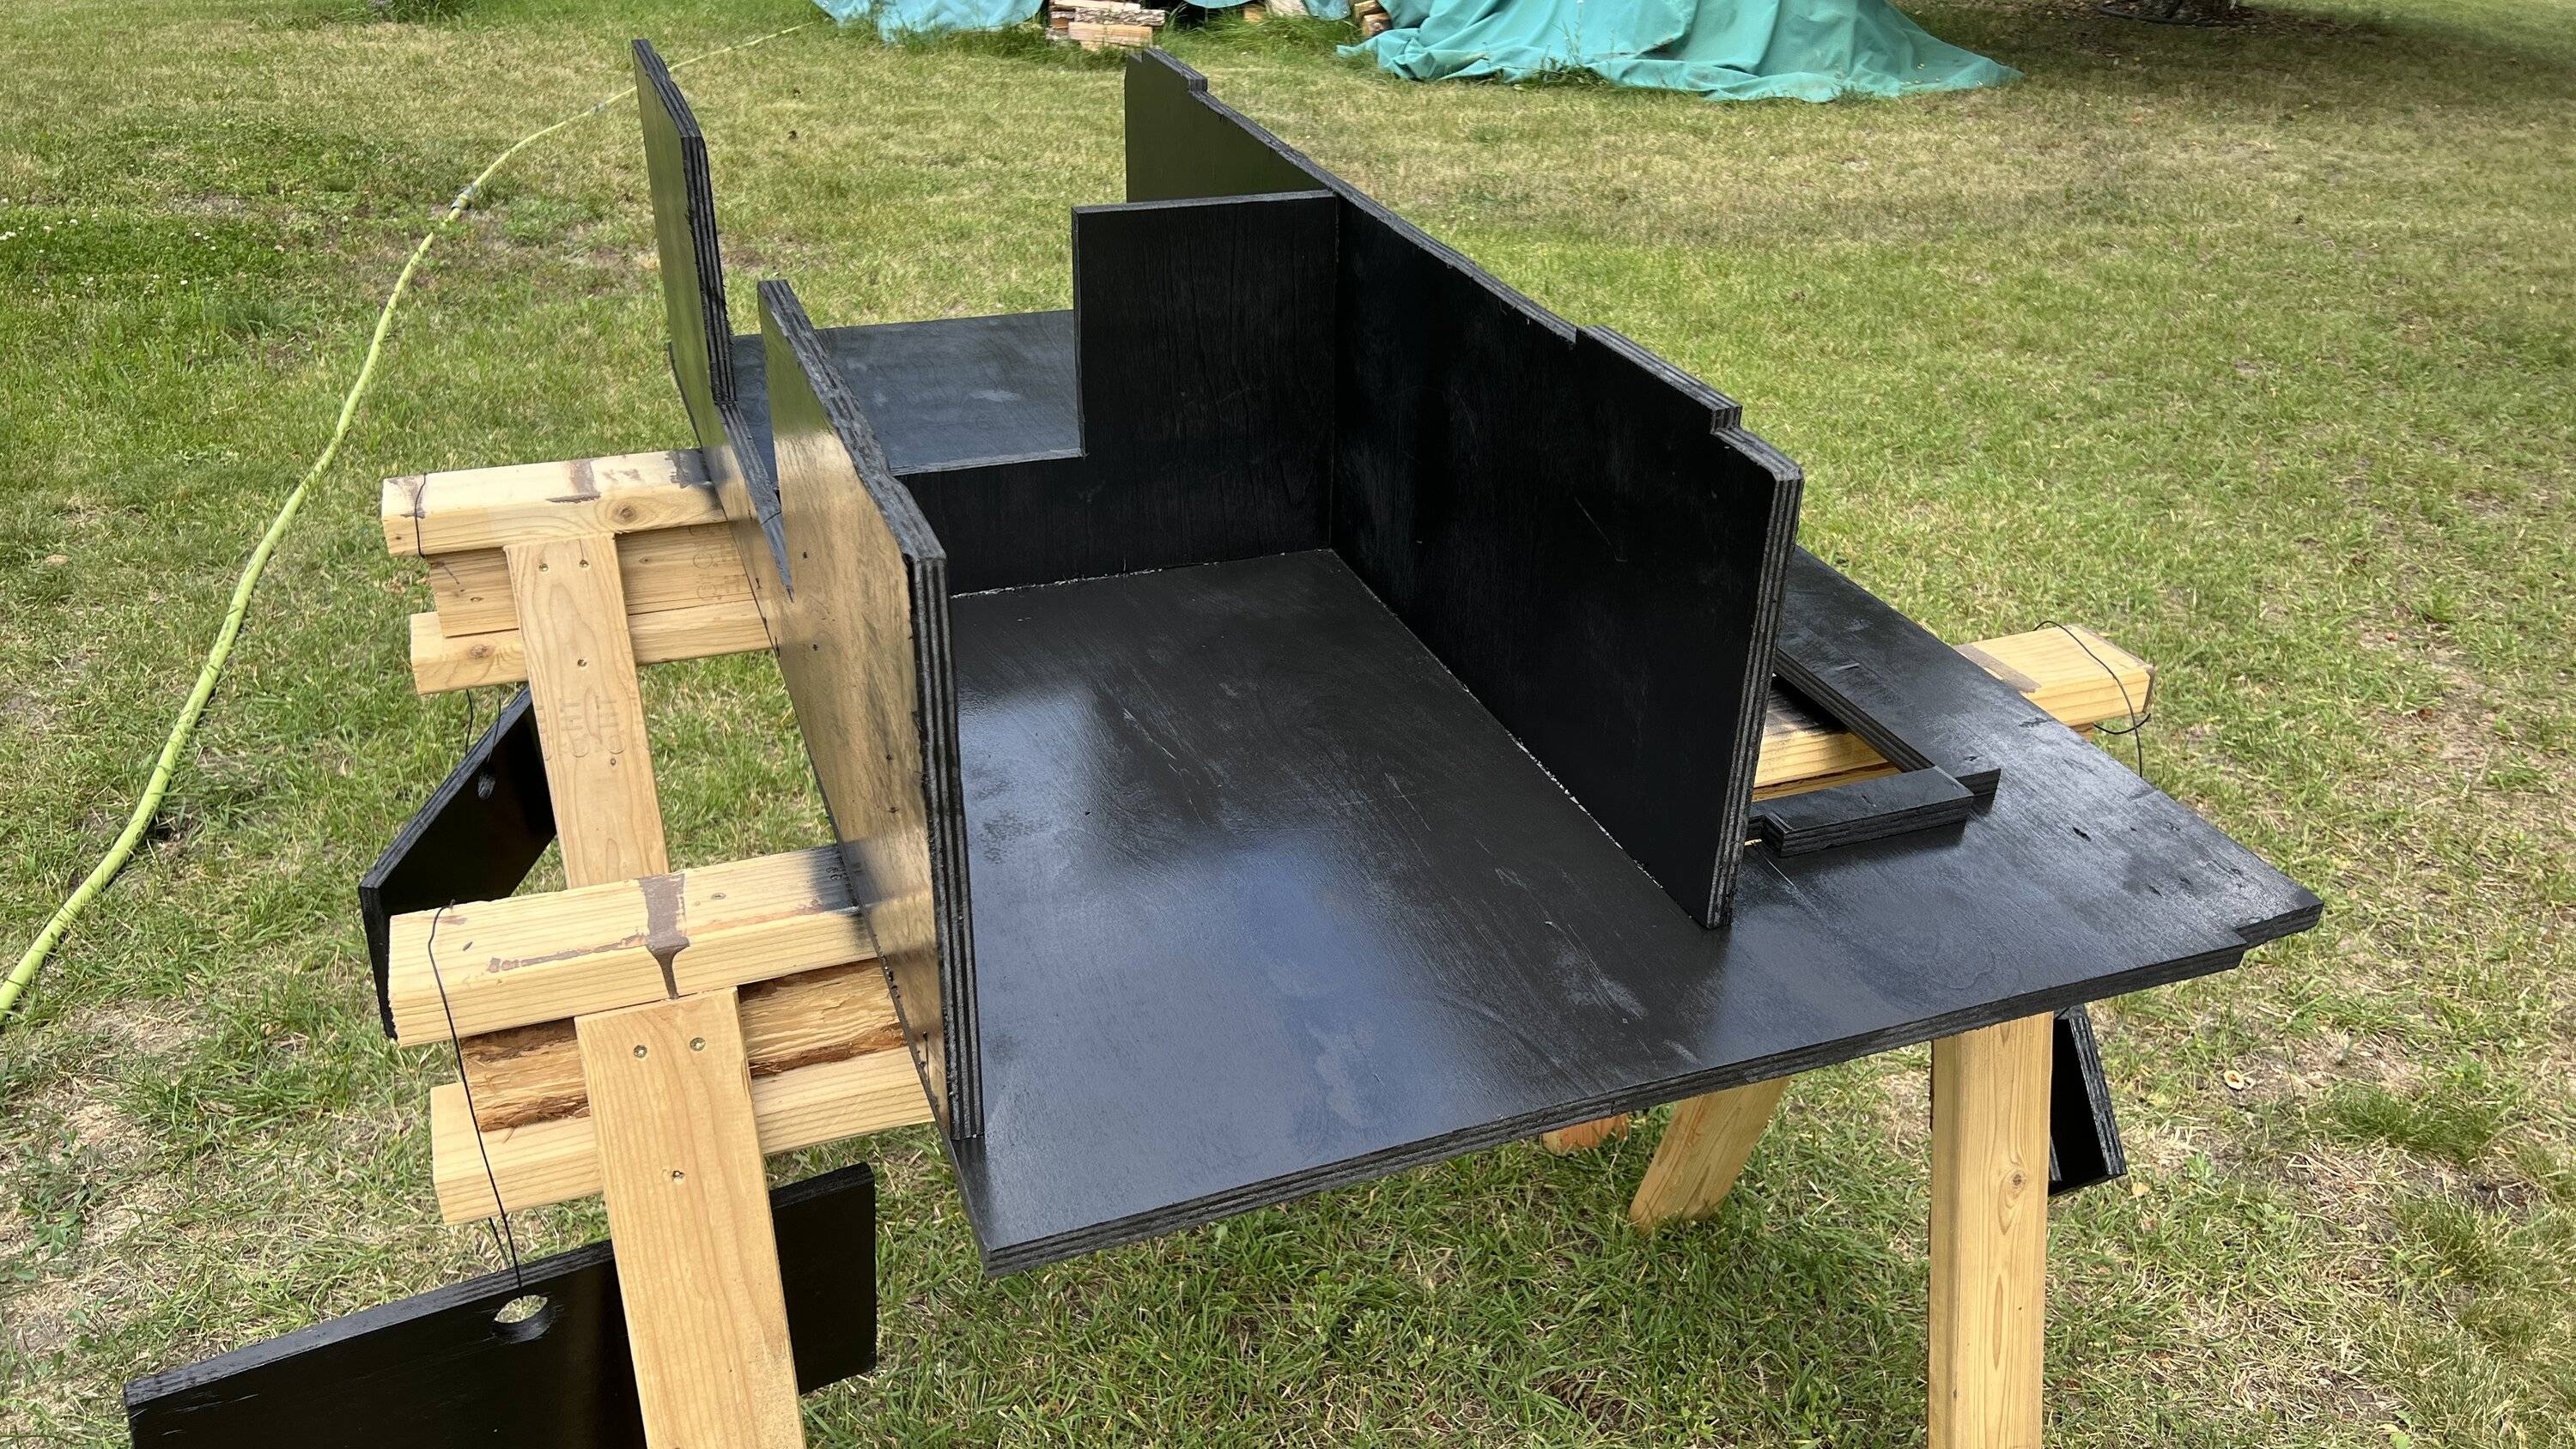
Nest was more gluing and screwing of the support panels. I opted to make a hald center support as well so the panels are structurally sound. Even though the whole system would be screwed down I didnt want the supports to have any wiggle room and risk buckling and failure.
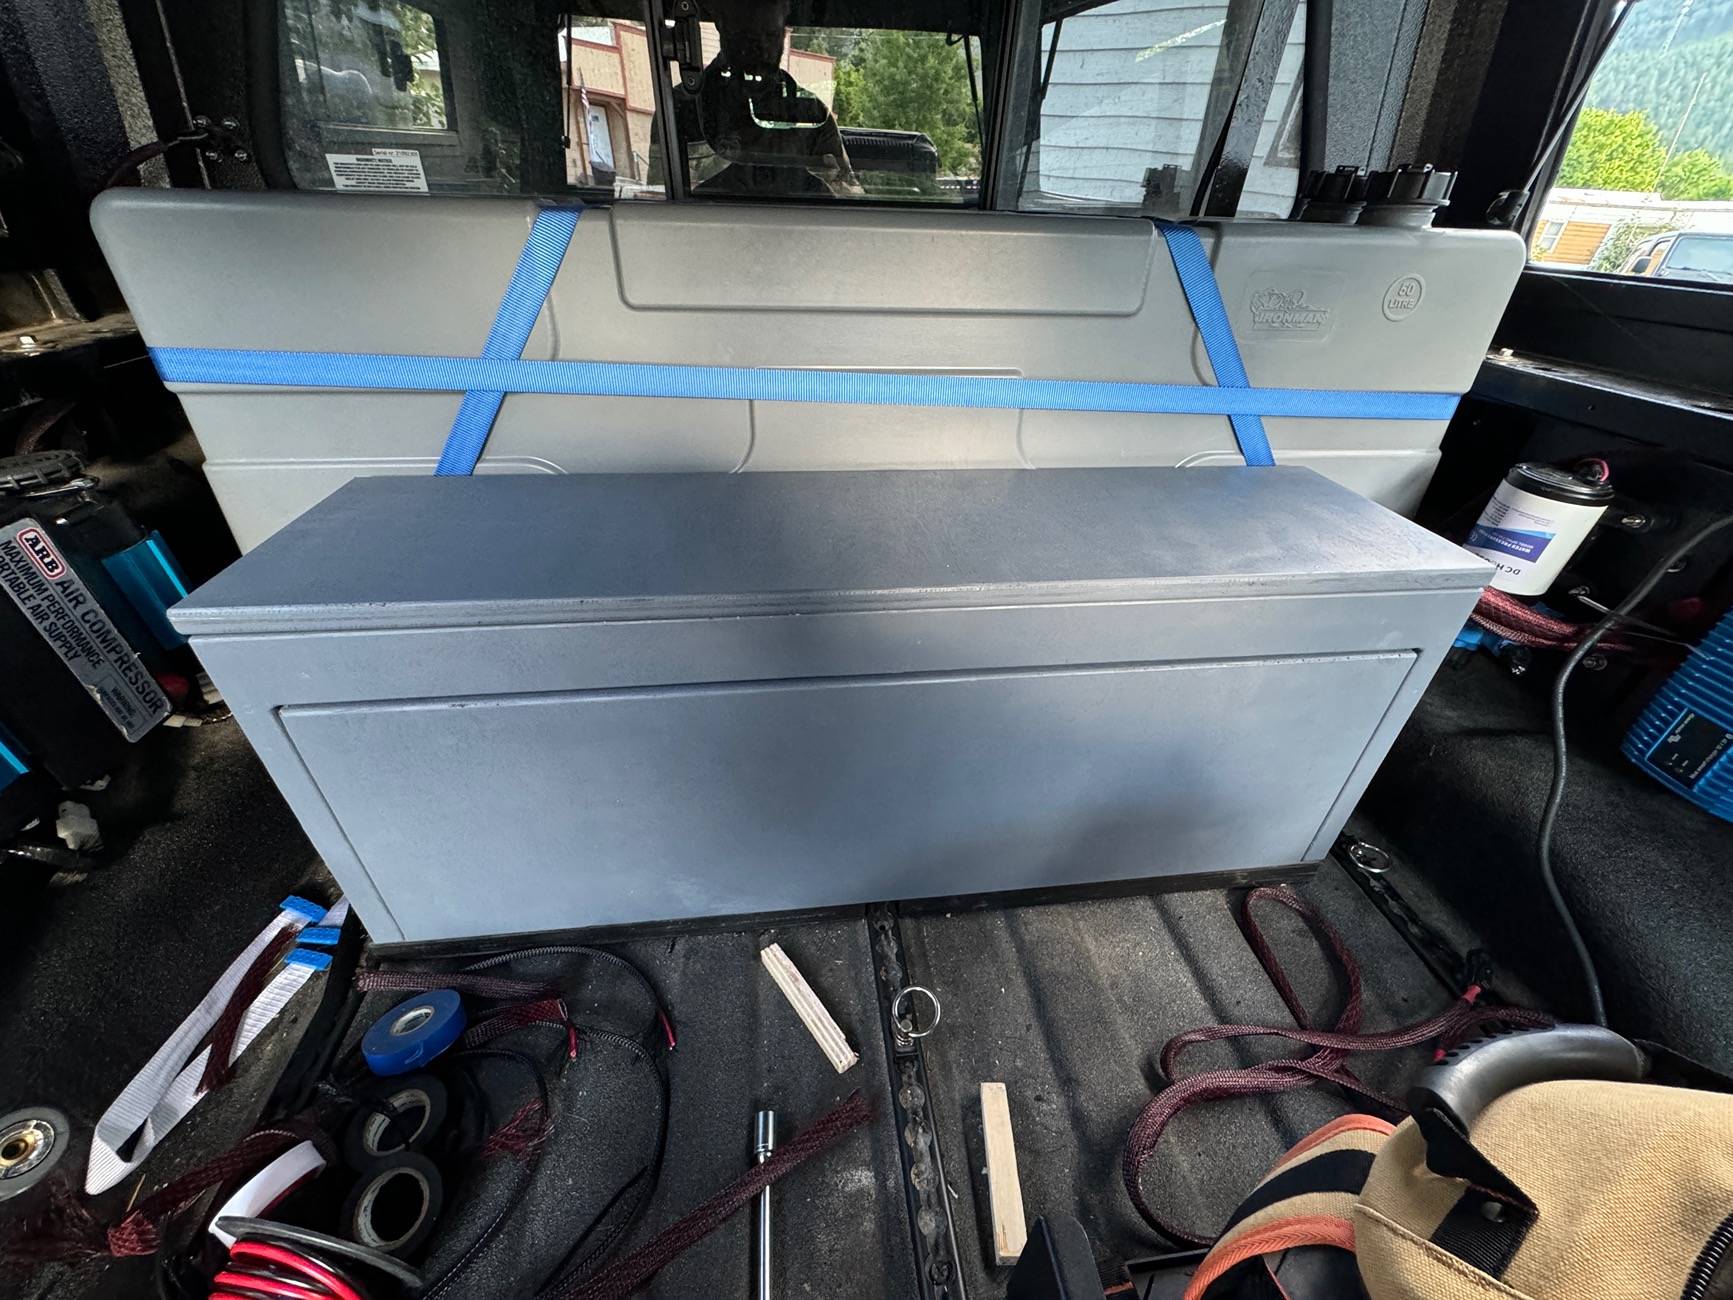
Finally it was time for 3-4 coats of paint before a crazy rain storm dumped half an inch of water!
So in it goes. I am very pleased with how this turned out especially for being done in a day and a half. It is very sturdy, has opened up quite a lot of storage space and is secured well. In the future I probably will add some L-track but for now it will do. It also gave me a spot to mount the CB and GMRS so theyre not just sitting on the floor anymore.

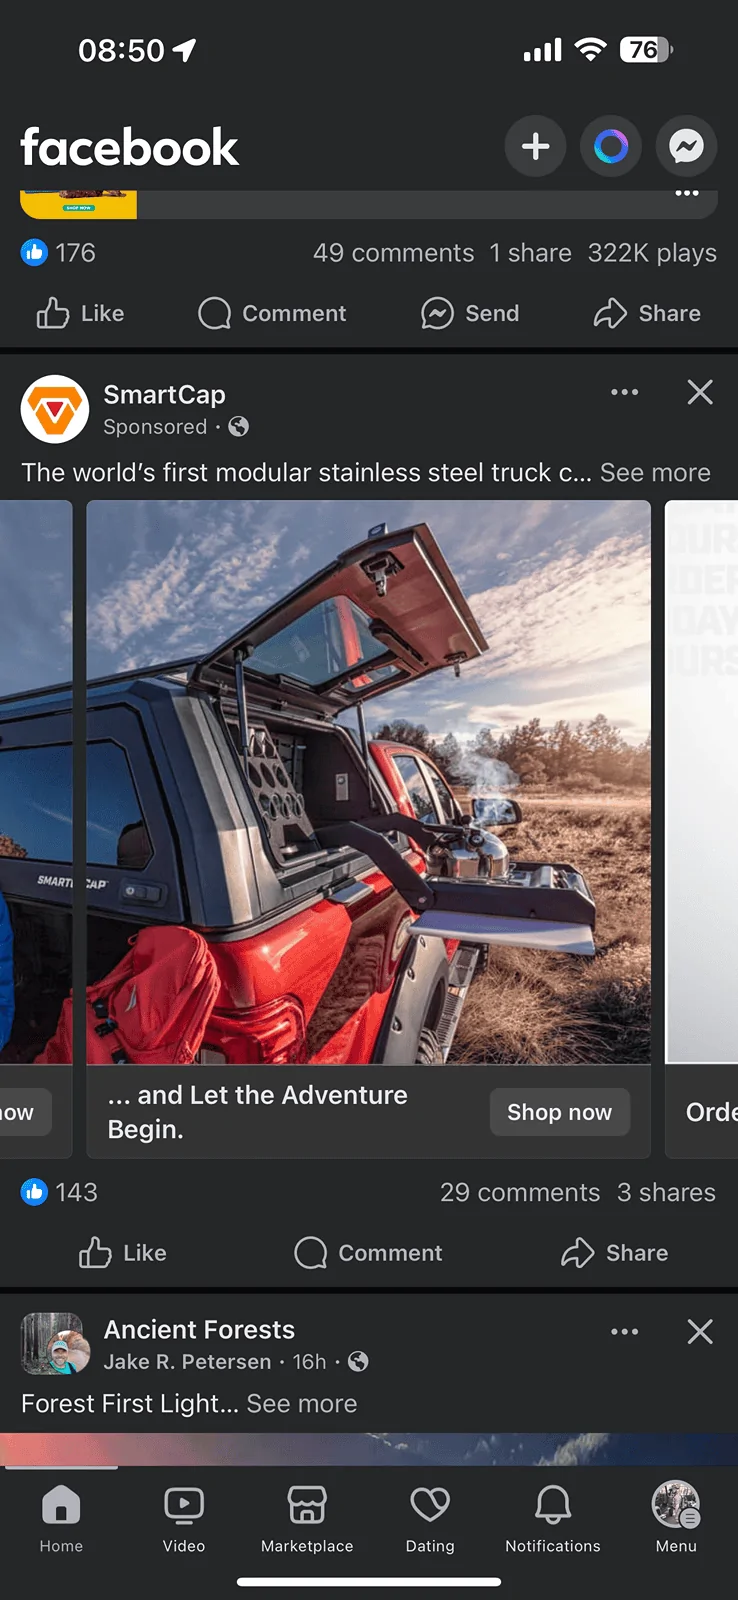
Sponsored