BuiltRight
Well-Known Member
- Thread starter
- #76
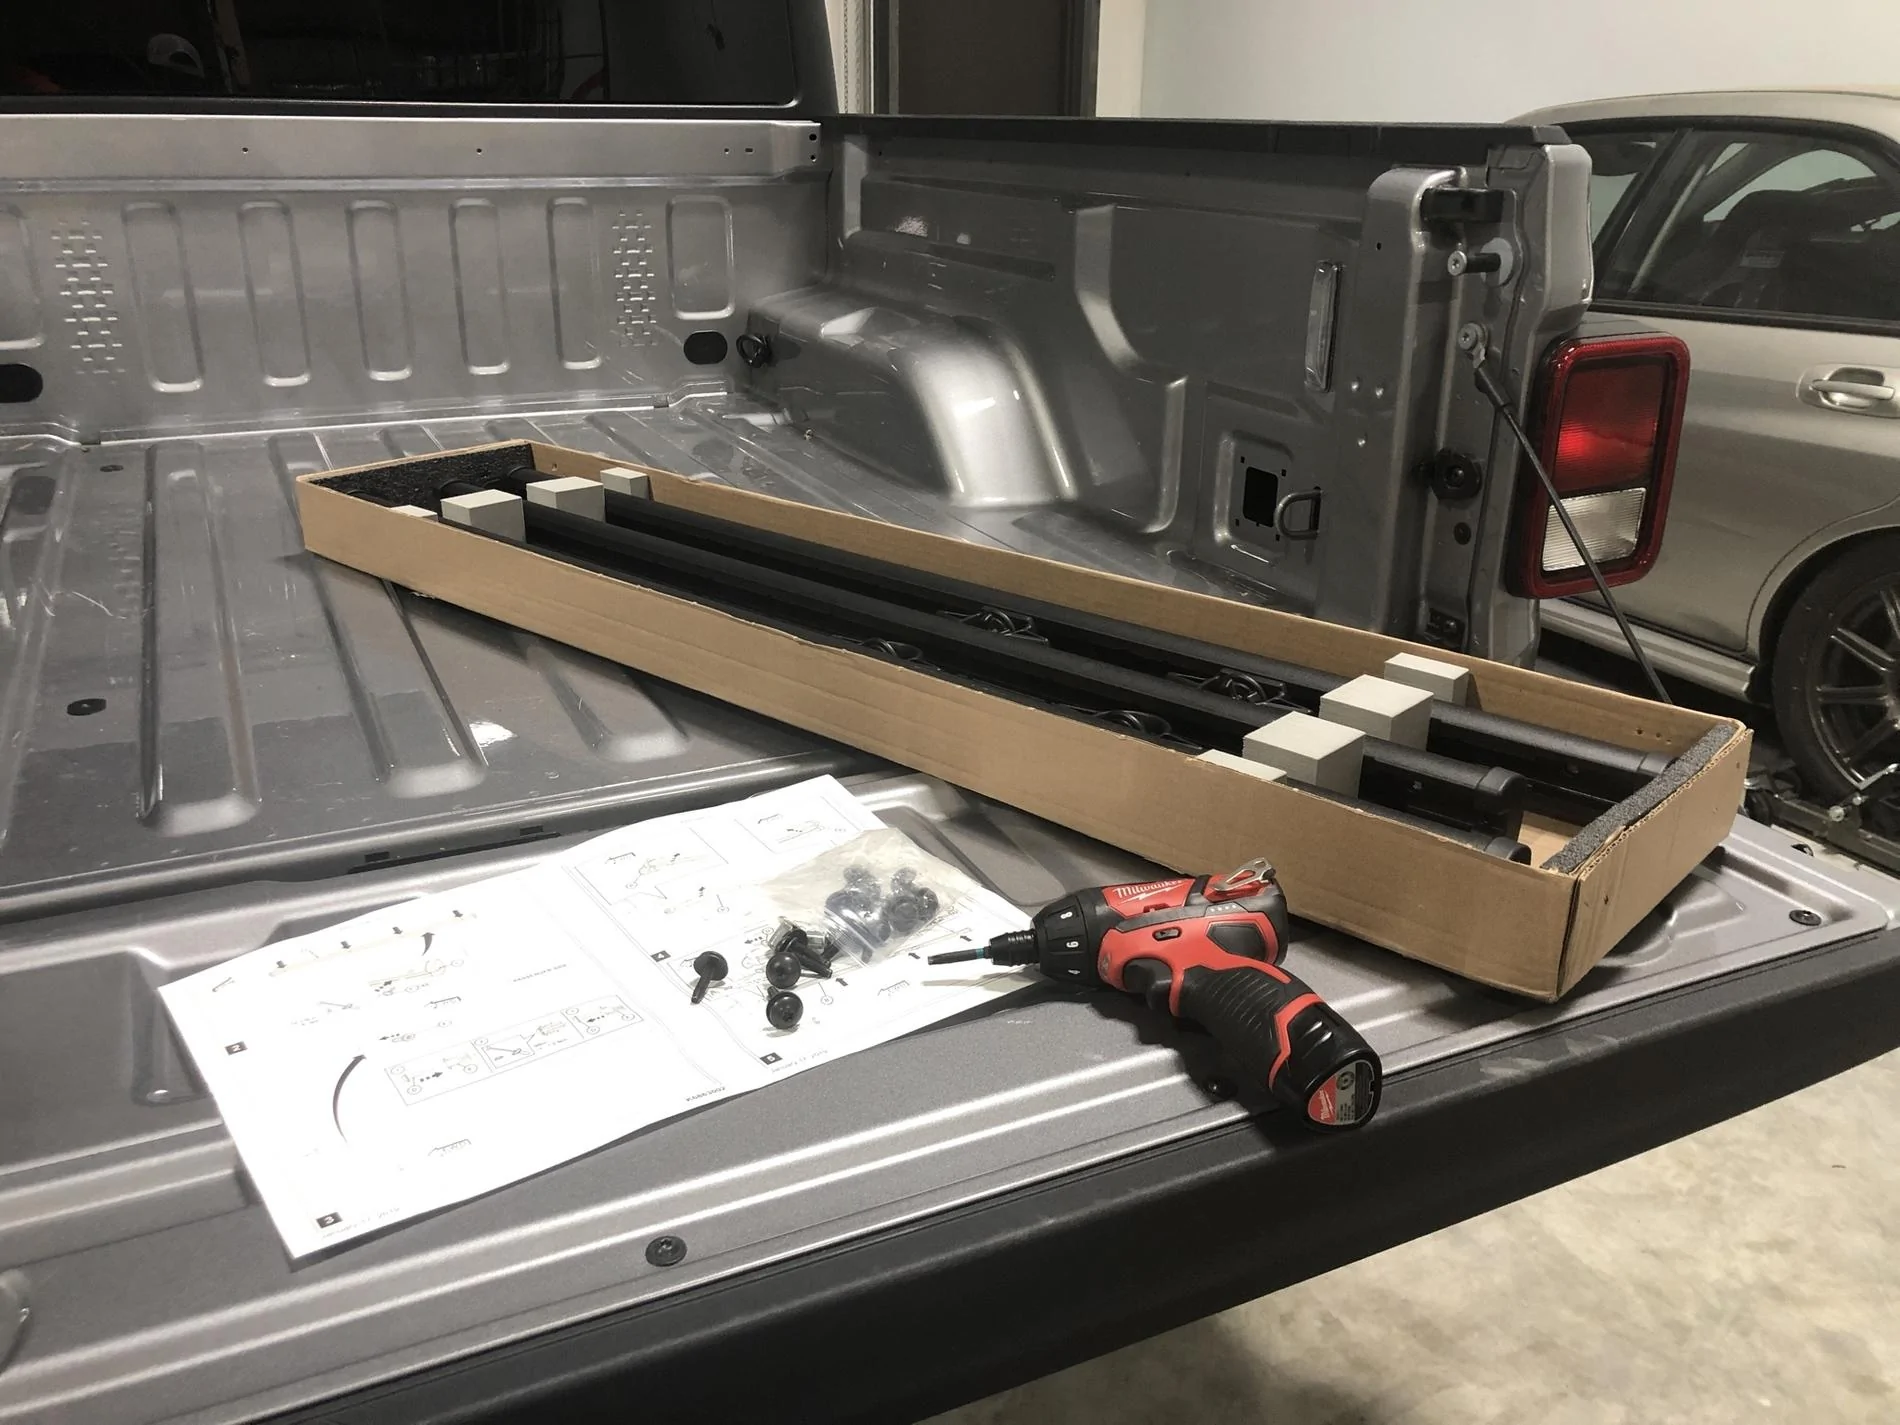
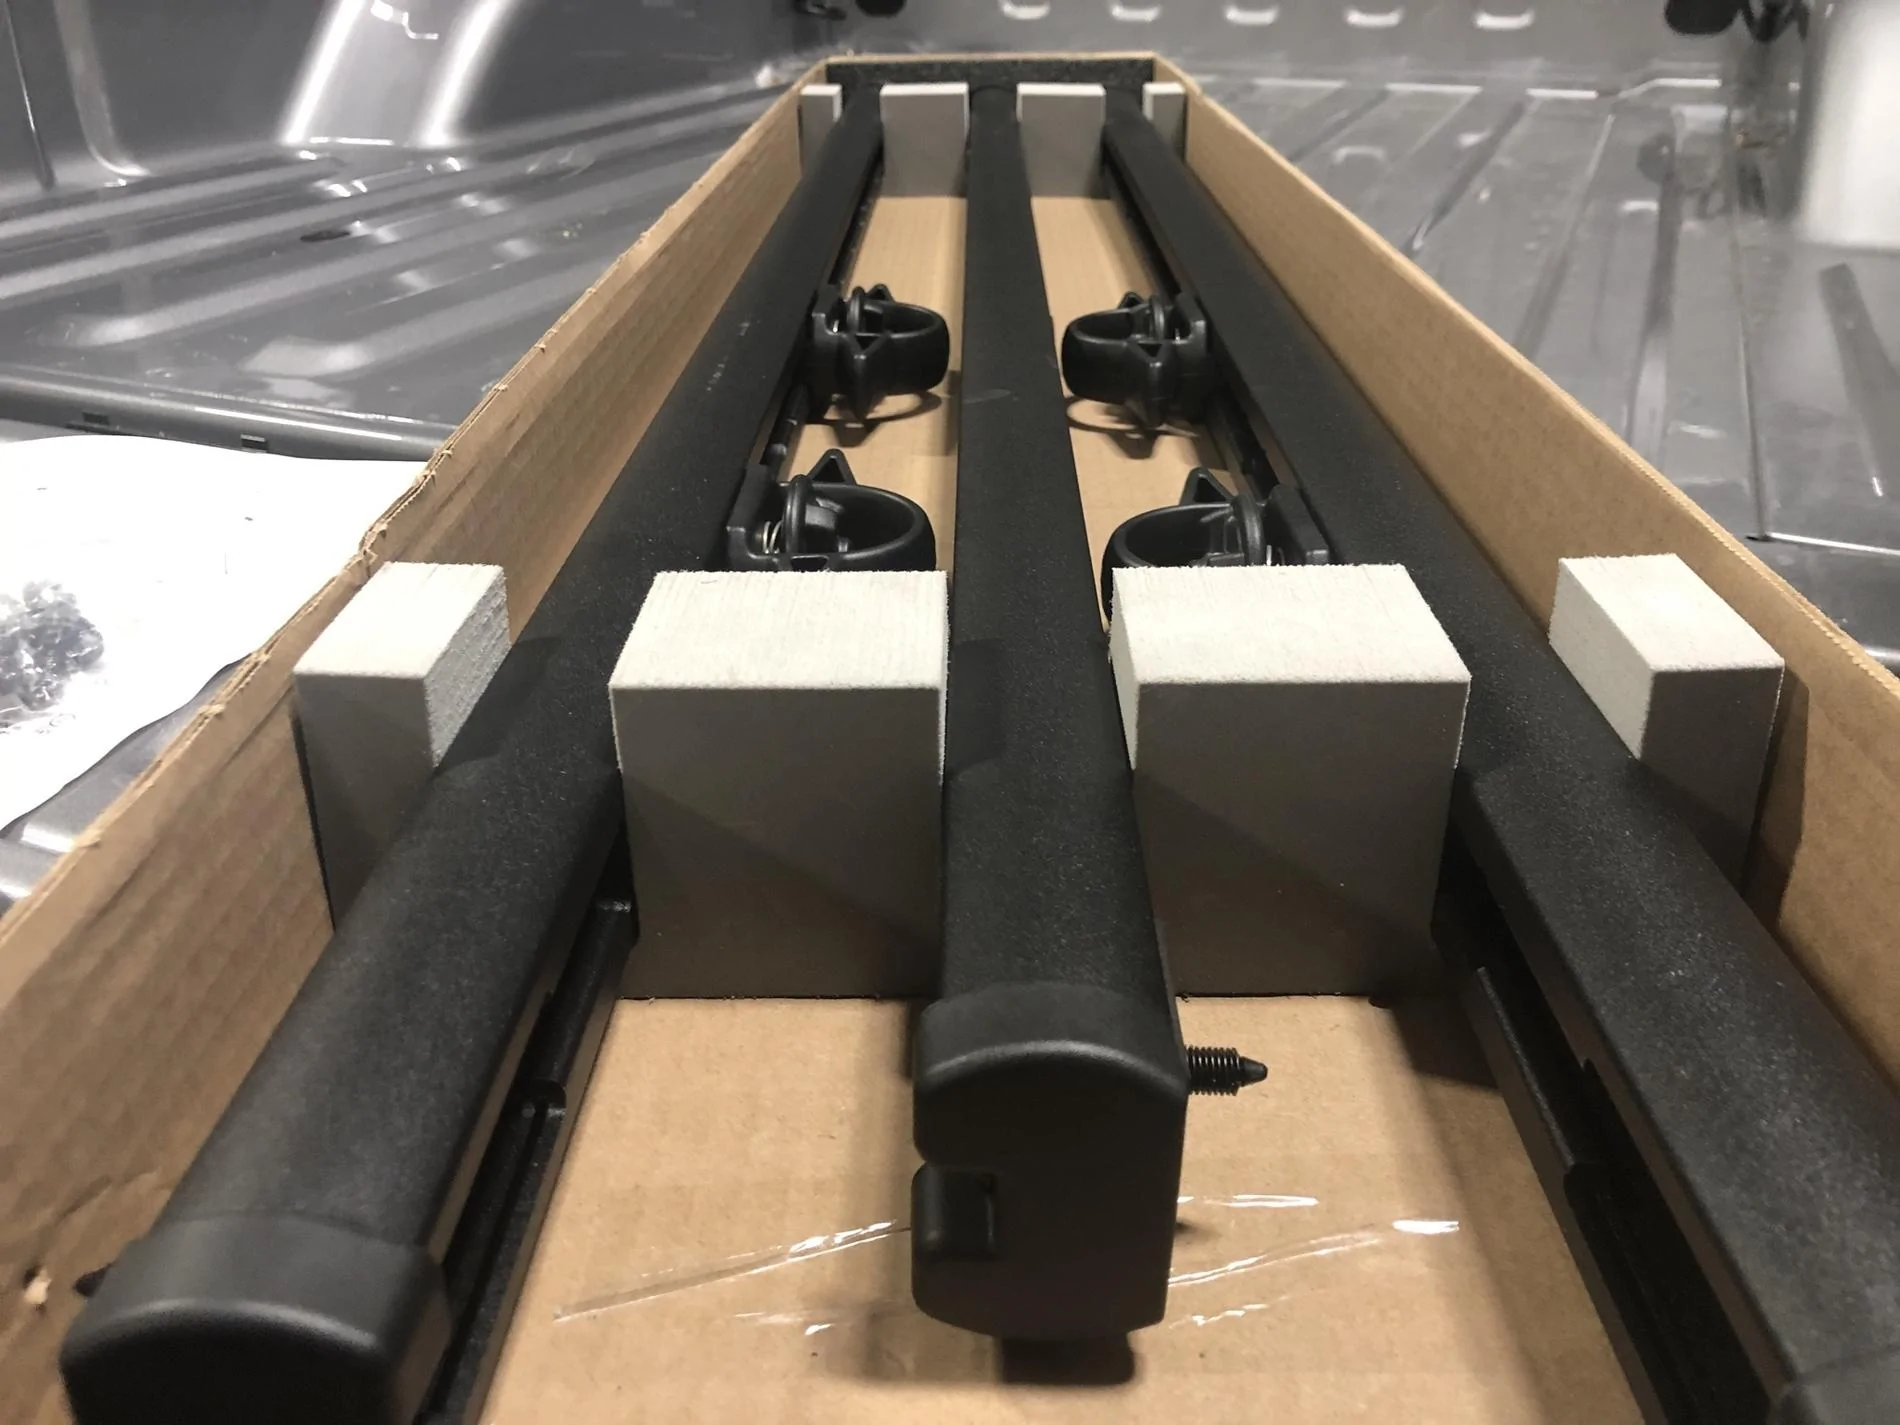
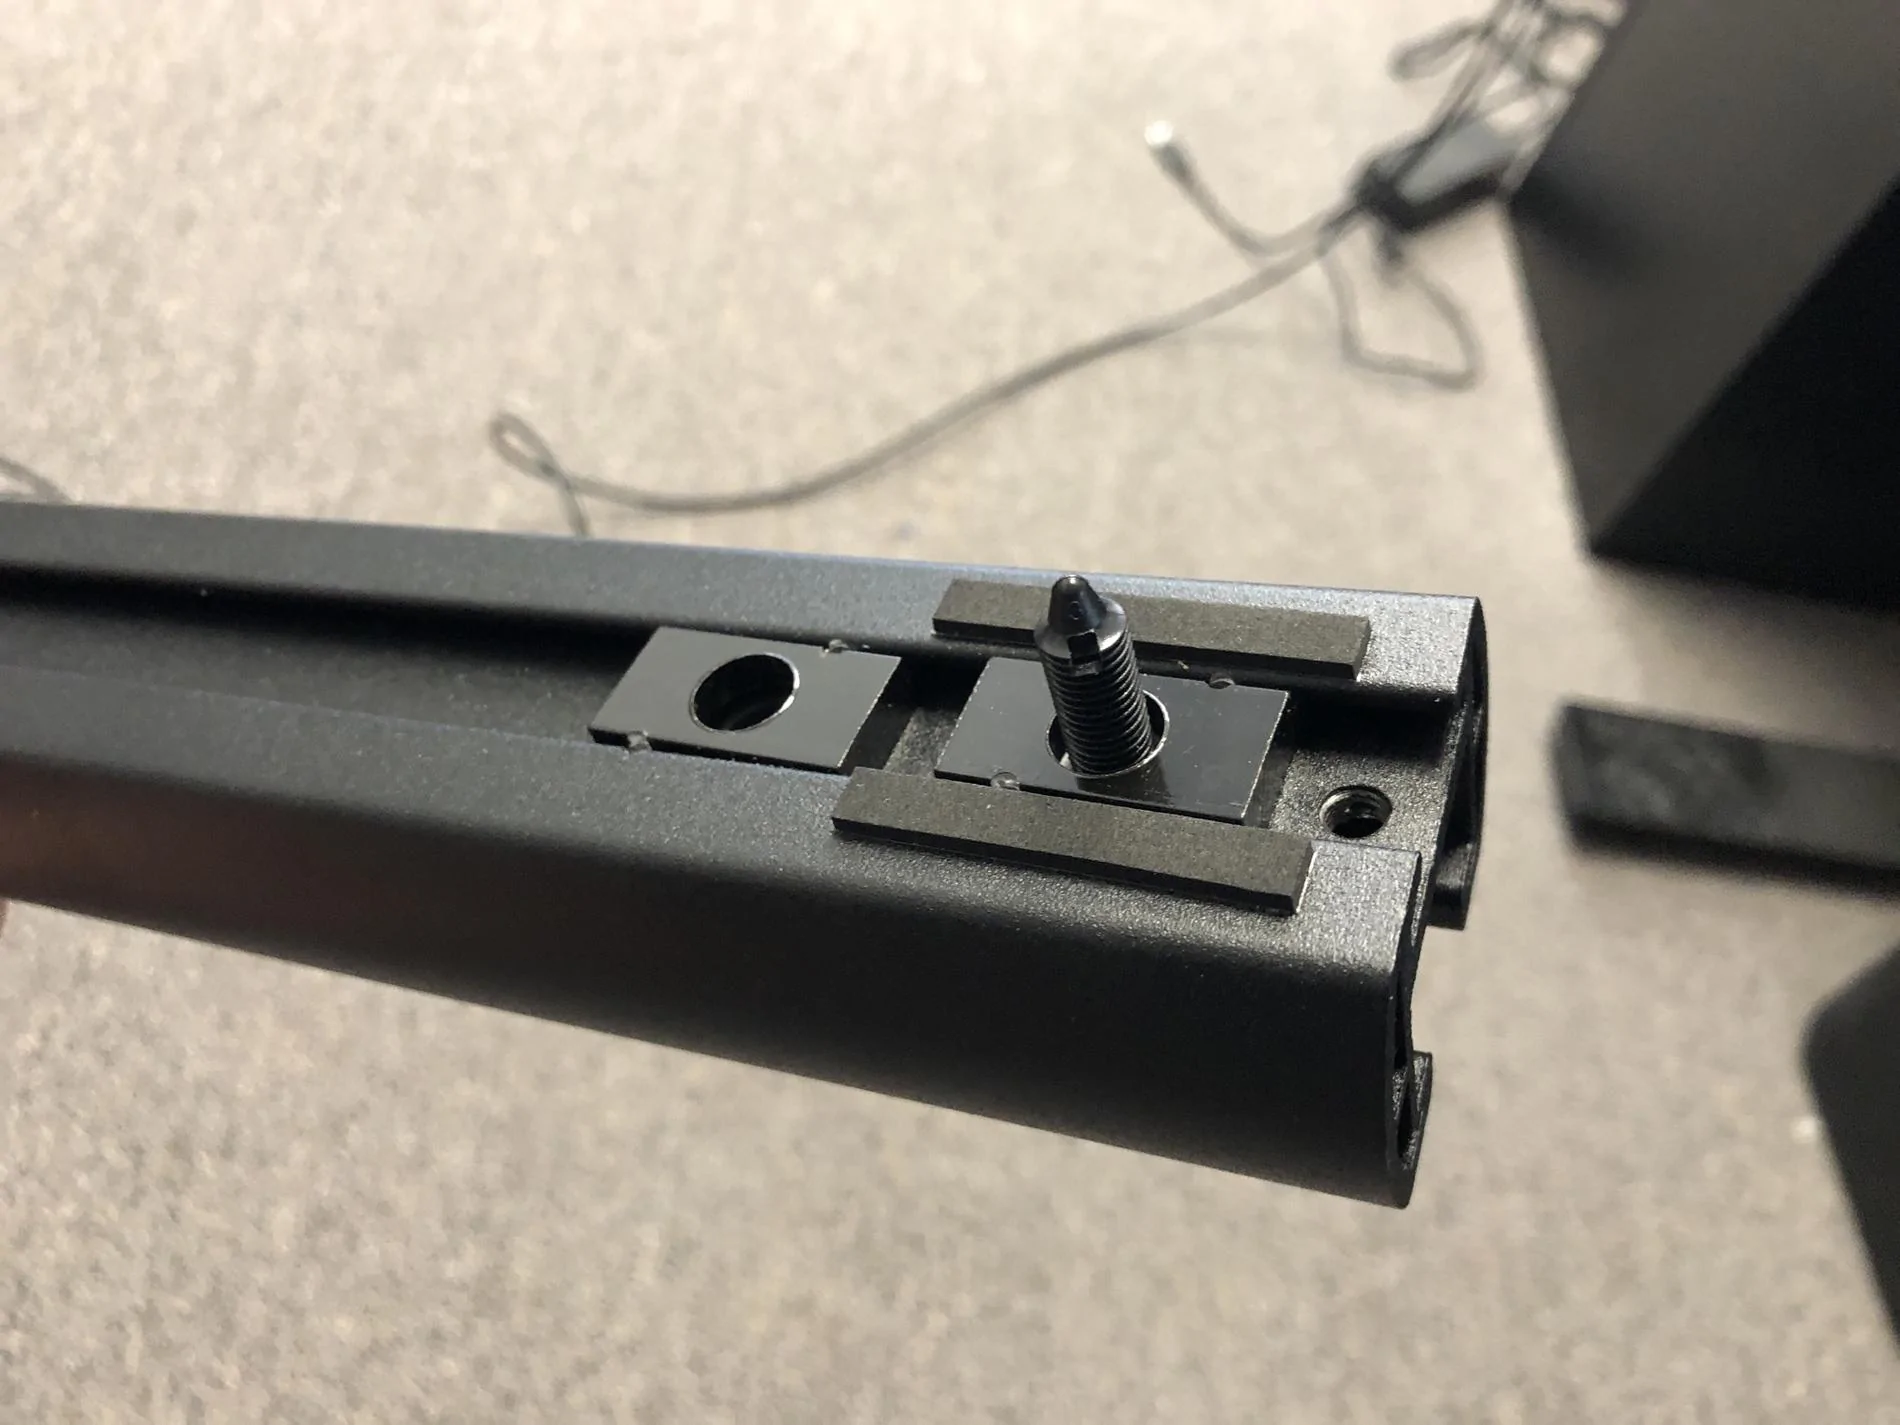
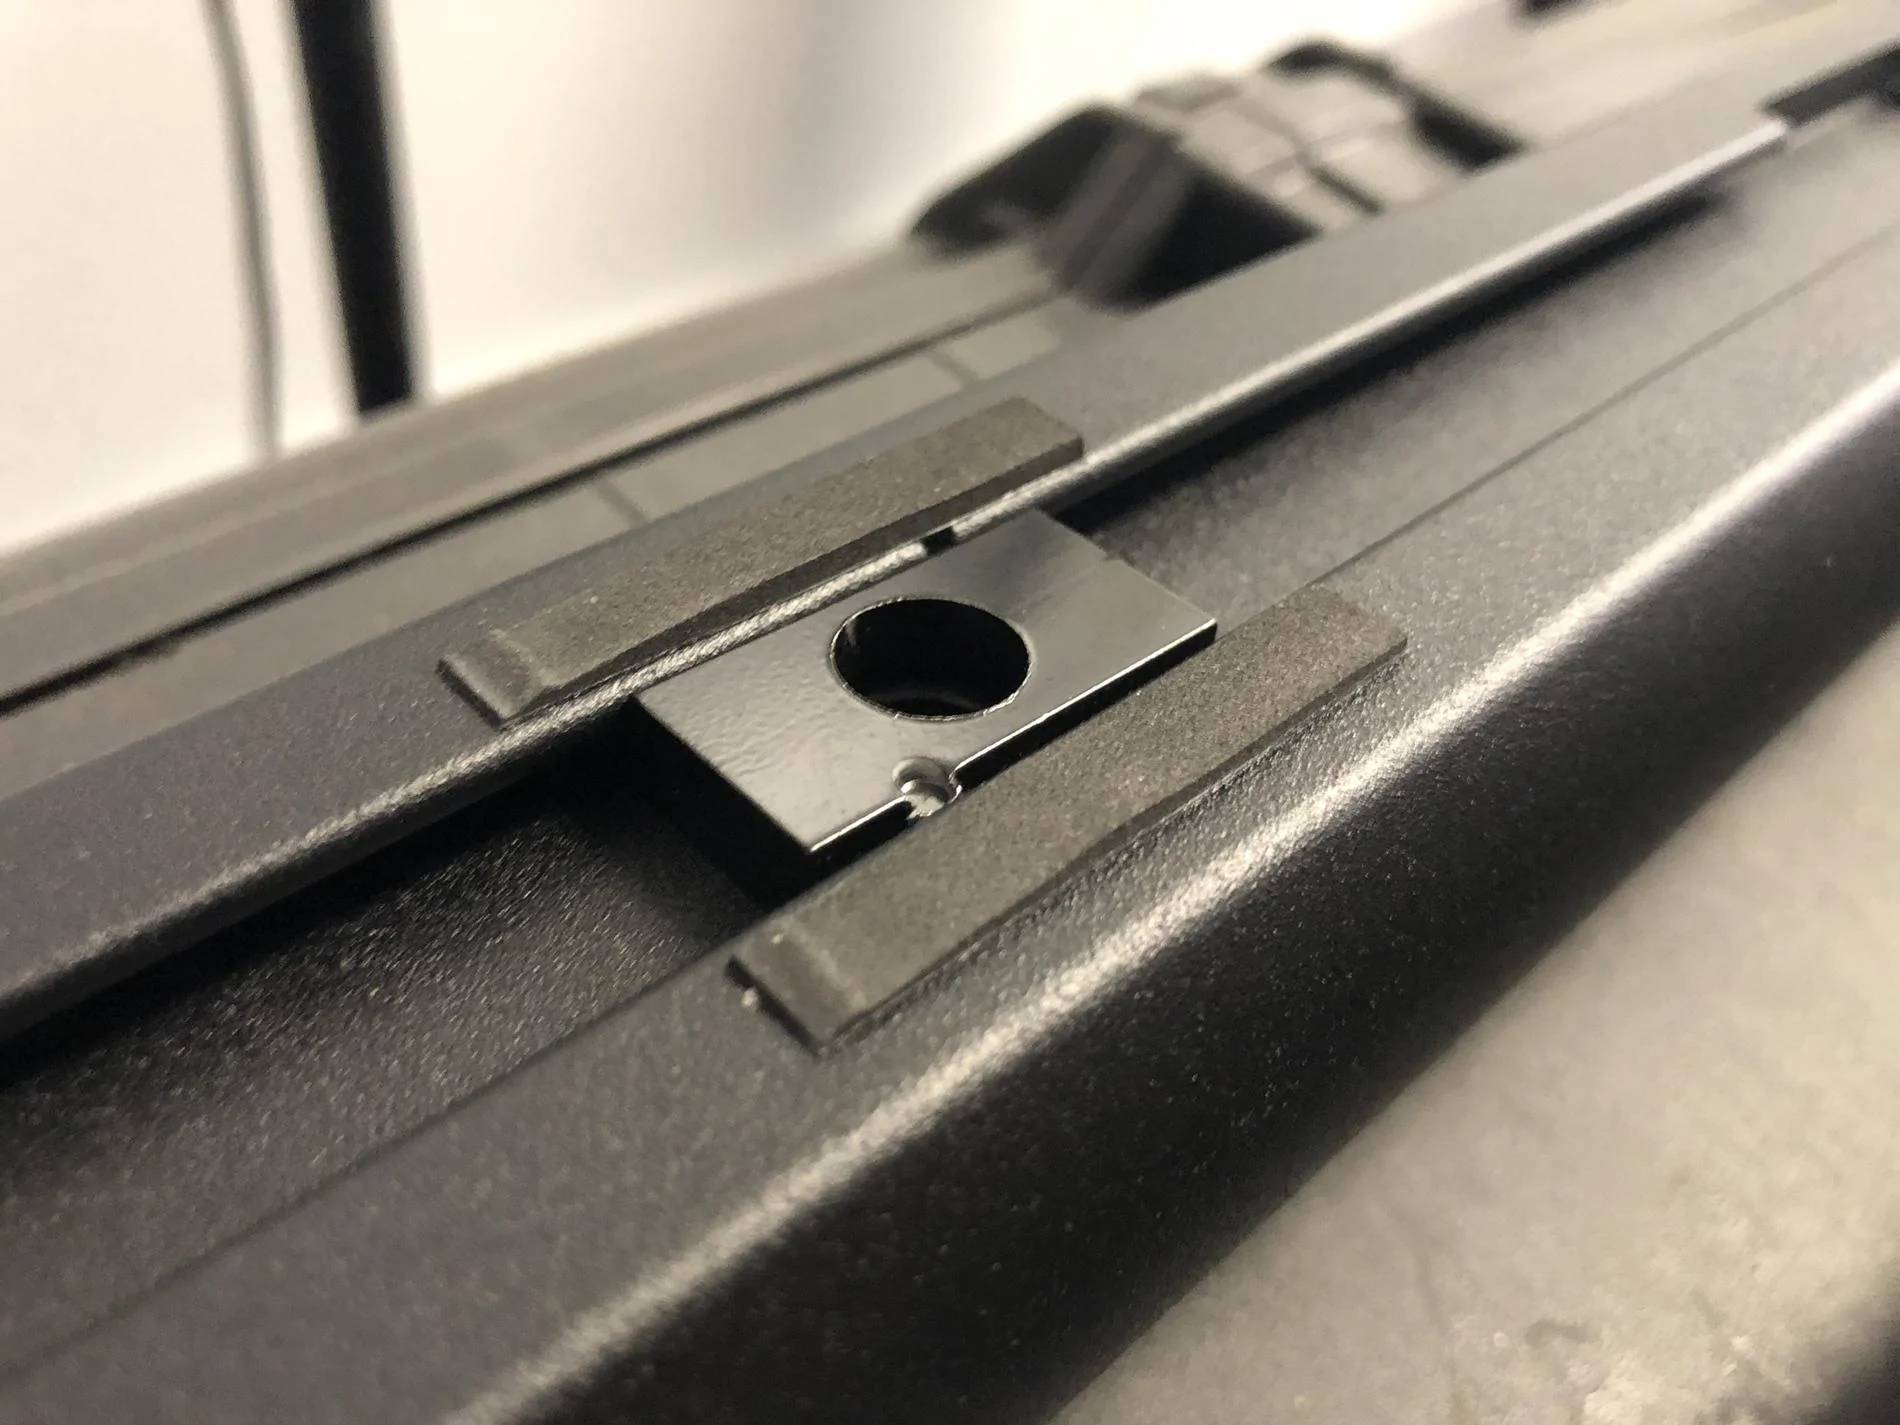
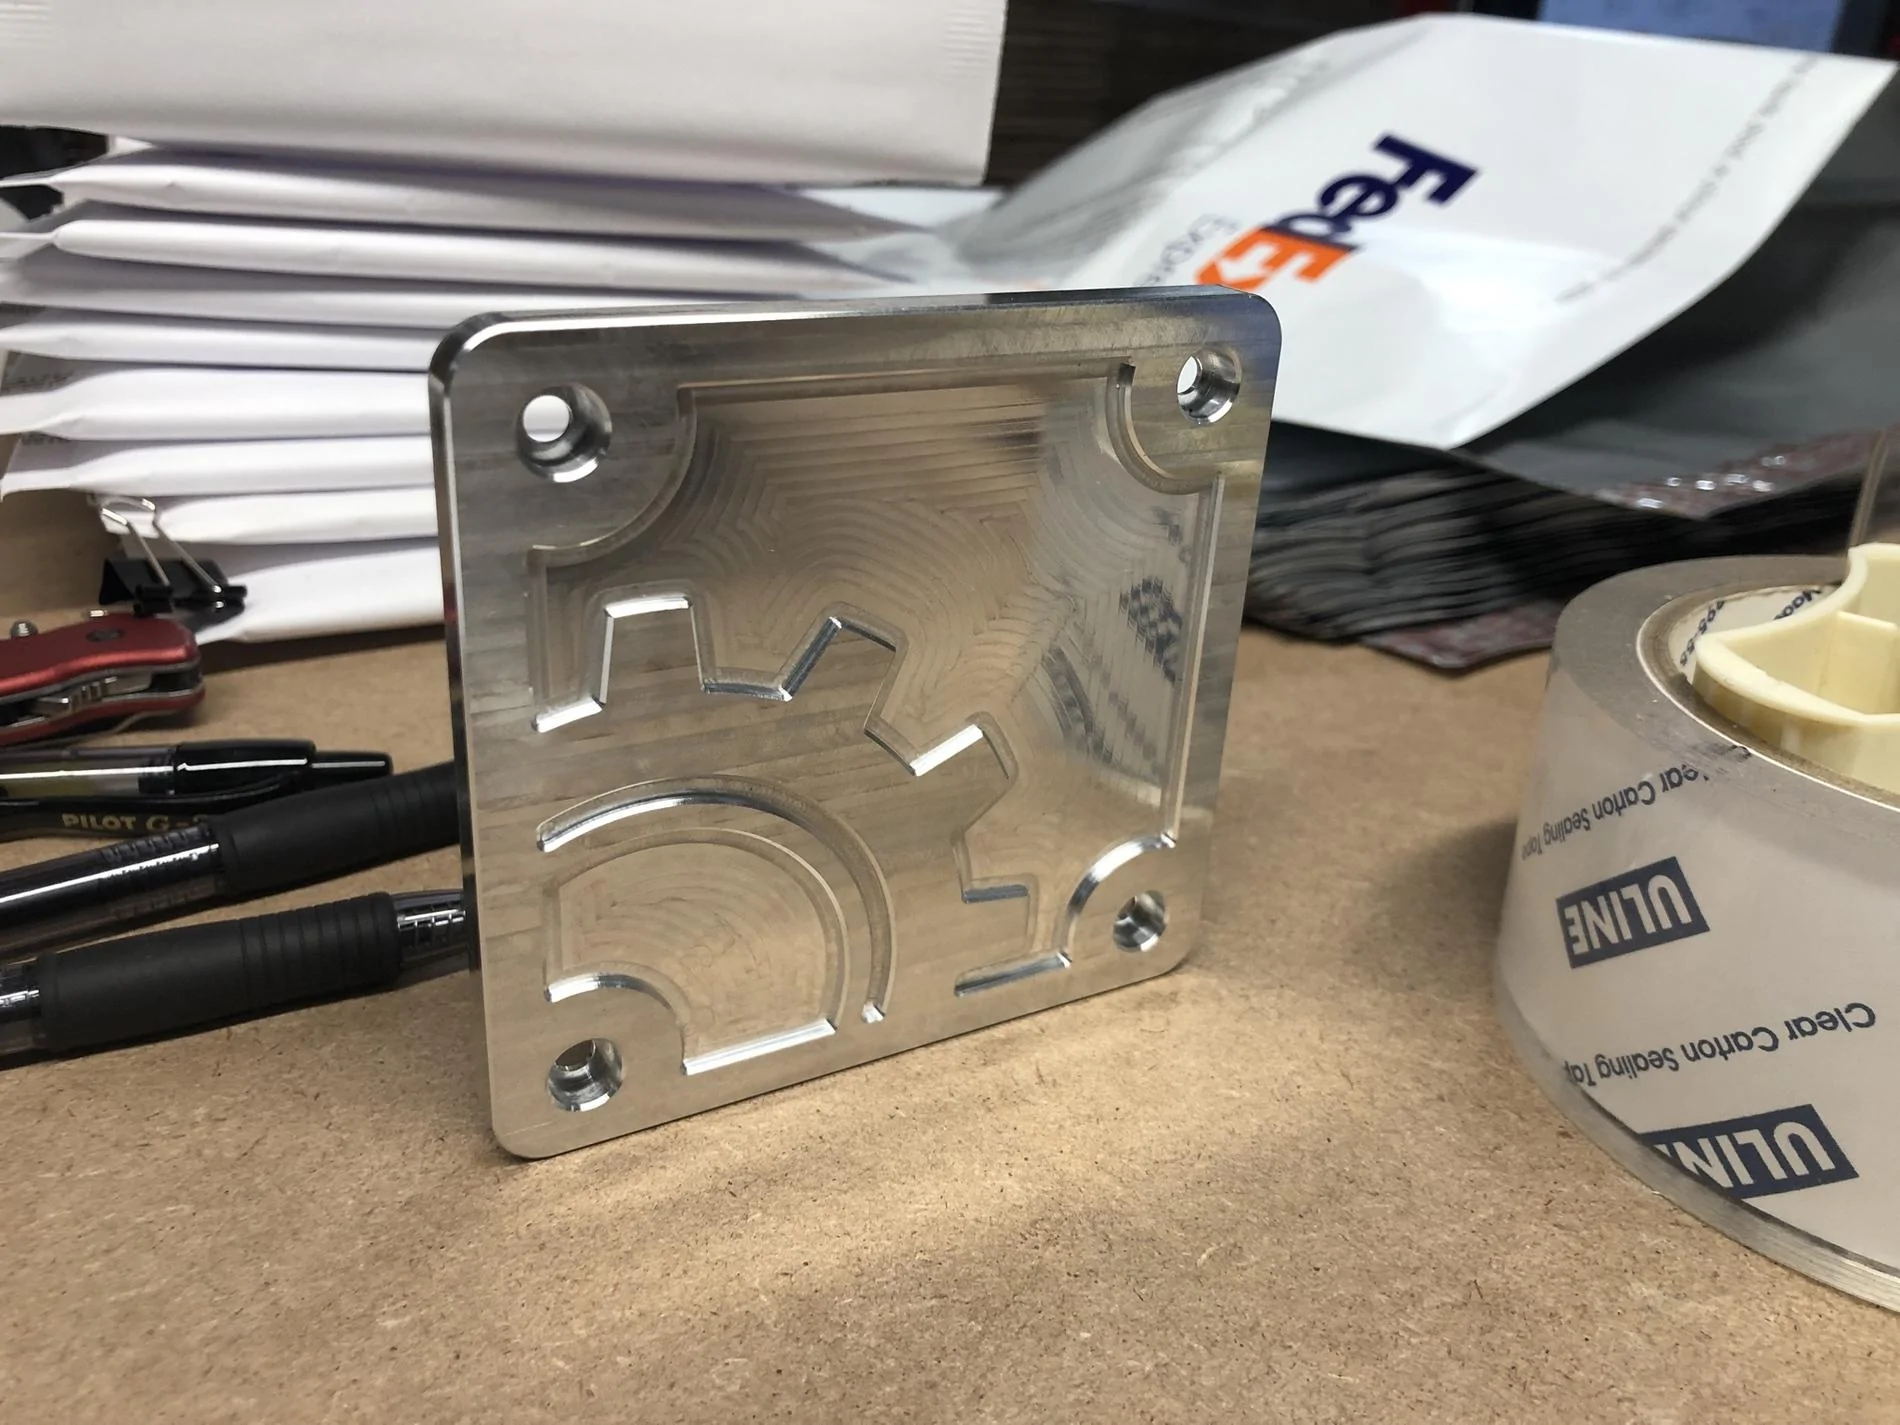
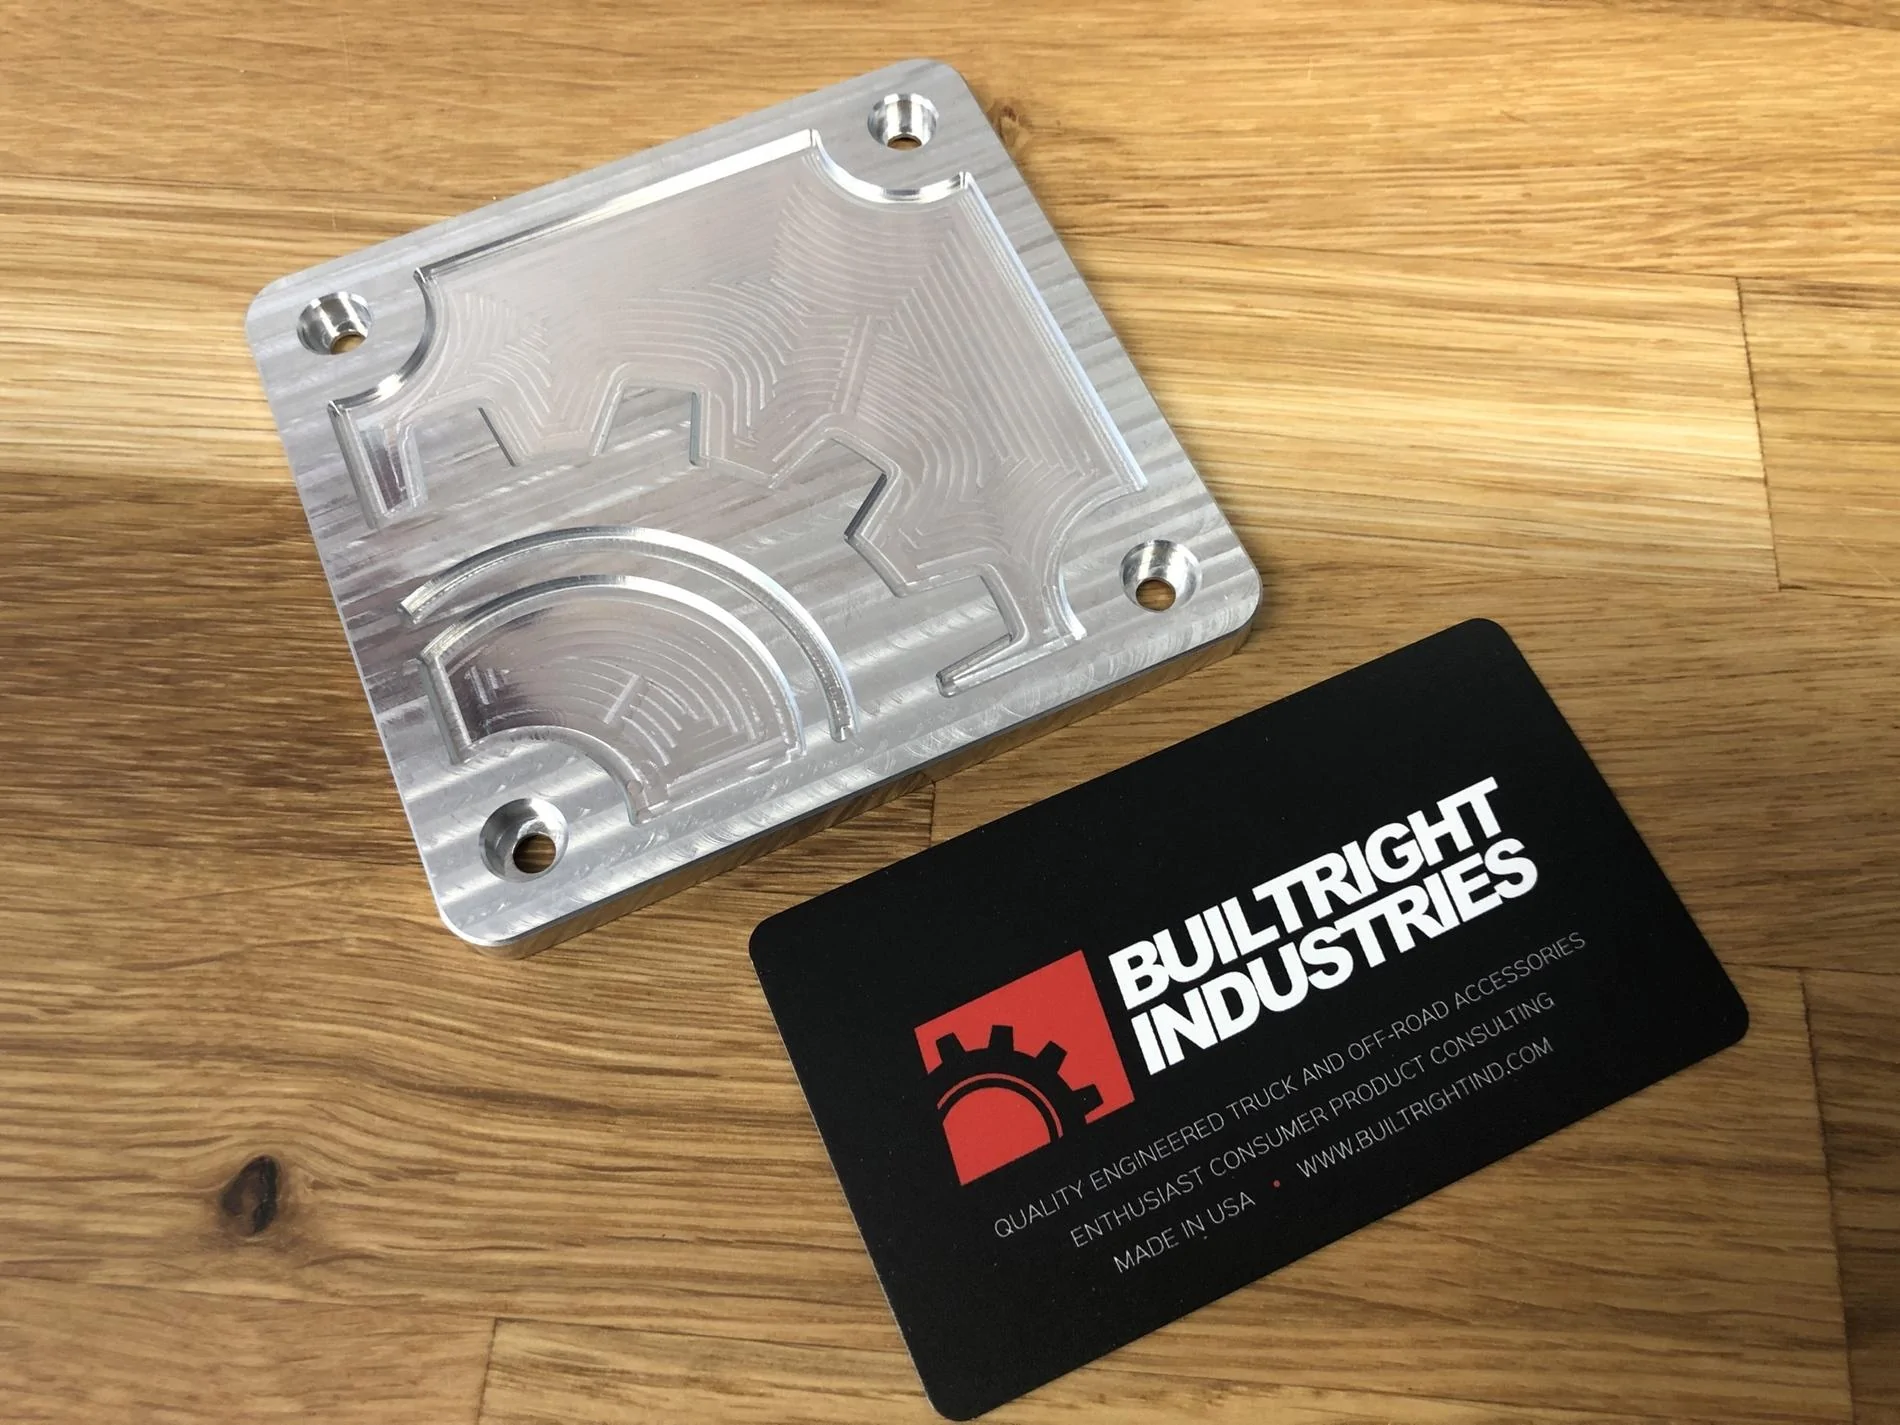
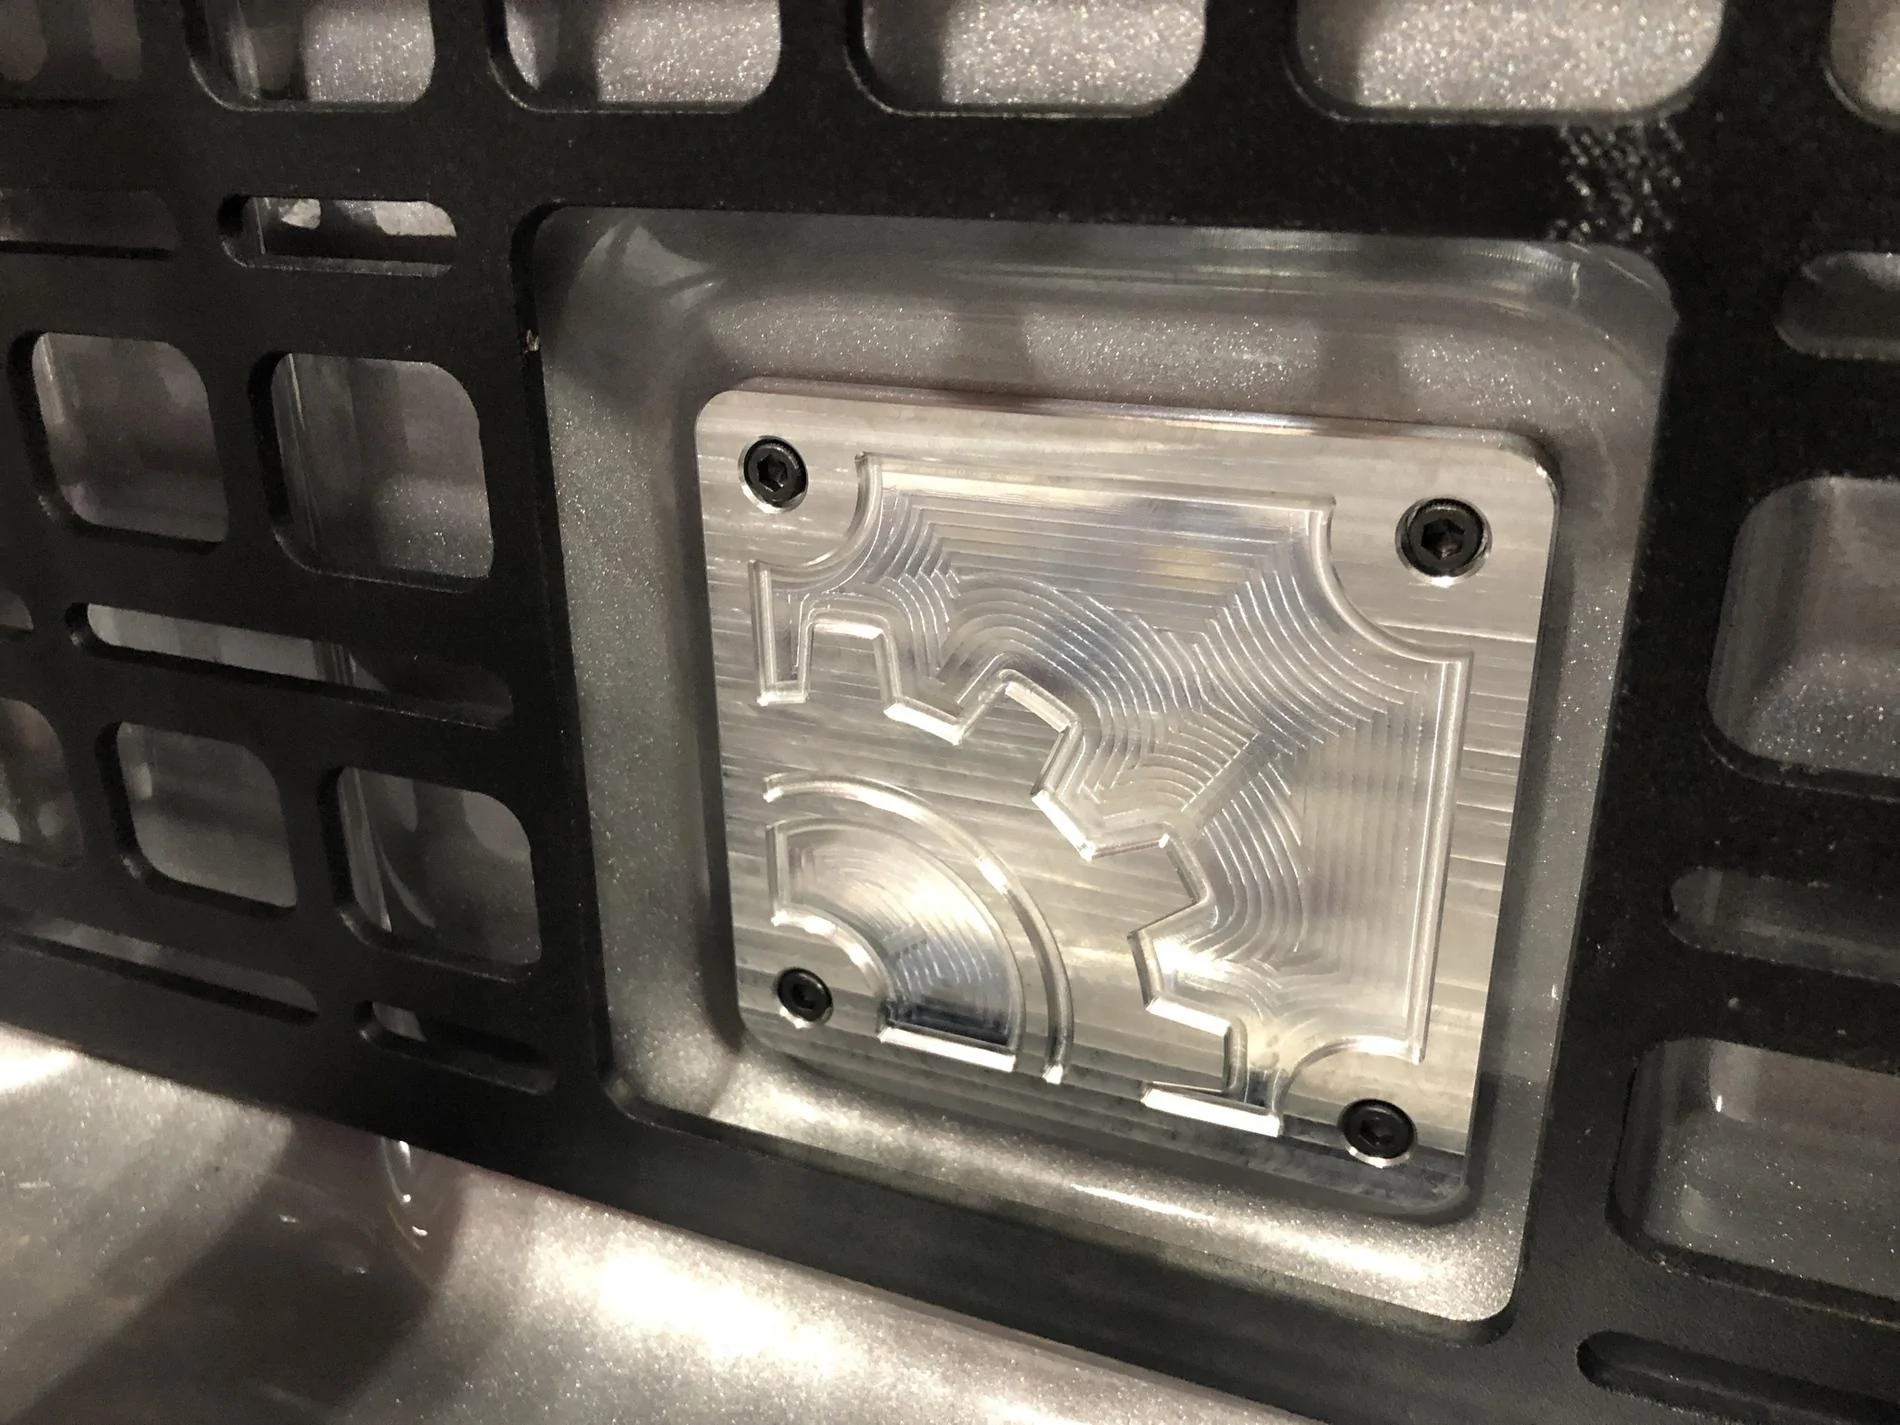
Wellllll I'm itching to pull the trigger on this, so that's all the encouragement I need haha. Will run a prototype next week!
Sponsored
Alright, so I finally got the Trail Rail kit that I pre-ordered a while back and had some time to strip all of the gear out of my bed and install them.
Initial impressions are that I always like receiving something that's packaged well and this fits the bill. No bells and whistles, but the pre-cut foam inserts did their job well. Removing one of the rails led to another surprise - these things are beefy! I was relieve to see this, as I'm hoping to mount my low-rise bed rack directly to the rail for reasons both obvious and not (I'll address that in a different post). The kit includes three rails and all necessary hardware. Tools necessary were a T30 torx socket, a torque wrench and a wrench and socket to fit the makeshift nutsert tool I'm about to show you.
Loved that they used a small amount of foam to protect the paint surface during installation. They also have push clips permanently installed, which as far as I can tell serve only to help initial positioning and single-handed installation, which turned out to be really nice.
And a look into the end of the aluminum extrusion with an end cap removed. Nothing much to see.
Installation
The first step in the installation (well, I suppose you could install the front rail first, but that's boring) is to install the nutsert that Mopar includes in the kit on each side. This fills the hexagonal cutout in the pillar at the rear of the bed, near the tailgate. I don't understand why they didn't just install a threaded insert from the factory like the other holes, but whatever.
This thing sorta sucks. The nutsert that they include is cleverly hexagonal as well and fits snuggly into the cutout in the truck.
That's where the fun stops. Instructions say to use one of the included fasteners to install the nutsert. Basically, you tighten it down, it bunches up the sleeve and locks the nutsert into place (see illustration). That's great, if the nutsert doesn't just deform and spin inside of it's hexagonal cutout. Womp womp. Now the nutsert is stuck in place but also spinning and useless.
Luckily, I've had some experience with these things and know that they don't need to be hexagonally shaped to work. In fact, most are round. The idea is to keep the insert from spinning and 'pull' the threaded portion back out towards you, sandwhiching the panel. We can accomplish this with a nut, bolt and washer in the configuration below. This is M6x1.0 hardware.
With the bolt threaded all the way into the insert, we push the insert into place (or install in place, if you get stuck like me). Next, use a socket to hold the end of the bolt and keep it and the insert from spinning in place. Then, tighten the nut against the insert and keep going. This should require firm force, but nothing near your body weight. as you tighten the nut down, the bolt will be pulled towards you, along with the threaded portion of the insert. This creates the sandwhich we need. When the effort required increased, I called it good.
With that, we can proceed with the rest of the very simple installation. Each rail has four T30 torx fasteners and the instructions call for a Torque in the neighborhood of 10NM. This is pretty important, I've found, as they rails are meant to hold a pretty decent weight. Under torquing can mean that the rail isn't transferring the load into the bedside wall as intended. Too much torque and you might over-stretch the fastener, causing or initiating early failure. Anyway, if you have a torque wrench, use it. if not, use this as an excuse to buy one.
That's all for now!
Matt
Hey, I was able to find the instructions but was disappointed to find that they don't list individual part numbers. Sorry!if you still have the instructions could you possibly give me the part number for the silver hexagonal inserts that need to be placed in the bed? Im looking at potentially buying a take off rail system and it doesnt come with them.
Thanks! The fella selling the rails actually found the exact bolt on amazon for me. I have them in and love them. Thanks for looking though!Hey, I was able to find the instructions but was disappointed to find that they don't list individual part numbers. Sorry!
Matt
I’ll take one in red. When are the Mille panels coming out?Ok I know it's been a while, but i had this idea a while back and fit's finally real! If I can get like ten hand-raisers that are interested at the $39 price point, I'll make a run of them. I'm thinking of offering them in clear anodizing, black anodizing and red anodizing. Bed bling!
Matt
I'd like oneOk I know it's been a while, but i had this idea a while back and fit's finally real! If I can get like ten hand-raisers that are interested at the $39 price point, I'll make a run of them. I'm thinking of offering them in clear anodizing, black anodizing and red anodizing. Bed bling!
Matt
count me in too, not sure on black or red yet.Ok I know it's been a while, but i had this idea a while back and fit's finally real! If I can get like ten hand-raisers that are interested at the $39 price point, I'll make a run of them. I'm thinking of offering them in clear anodizing, black anodizing and red anodizing. Bed bling!
Matt
/\ this. Or would traditional mount work better?Which quick fist would you recommend for securing a high lift to one of the side panels? Do you need the riser mounts on them?
This is only for people without power there right? Or is this for people with Launch Editions too?count me in too, not sure on black or red yet.
the plate replaces the rubber cover for NON-bed power people. Basically anybody that didn't get the trail rail system. Its totally aesthetic, but looks damn cool.This is only for people without power there right? Or is this for people with Launch Editions too?
Ok I know it's been a while, but i had this idea a while back and fit's finally real! If I can get like ten hand-raisers that are interested at the $39 price point, I'll make a run of them. I'm thinking of offering them in clear anodizing, black anodizing and red anodizing. Bed bling!
Matt