Sponsored
OP
OP
chorky

chorky

Well-Known Member
First Name
Chad
Joined
Feb 26, 2022
Threads
175
Messages
3,466
Reaction score
3,801
Location
Montana
Website
www.youtube.com
Vehicle(s)
'22JTR, '06 LJ, '06 TJ GE
Build Thread
Link
Occupation
GIS Specialist
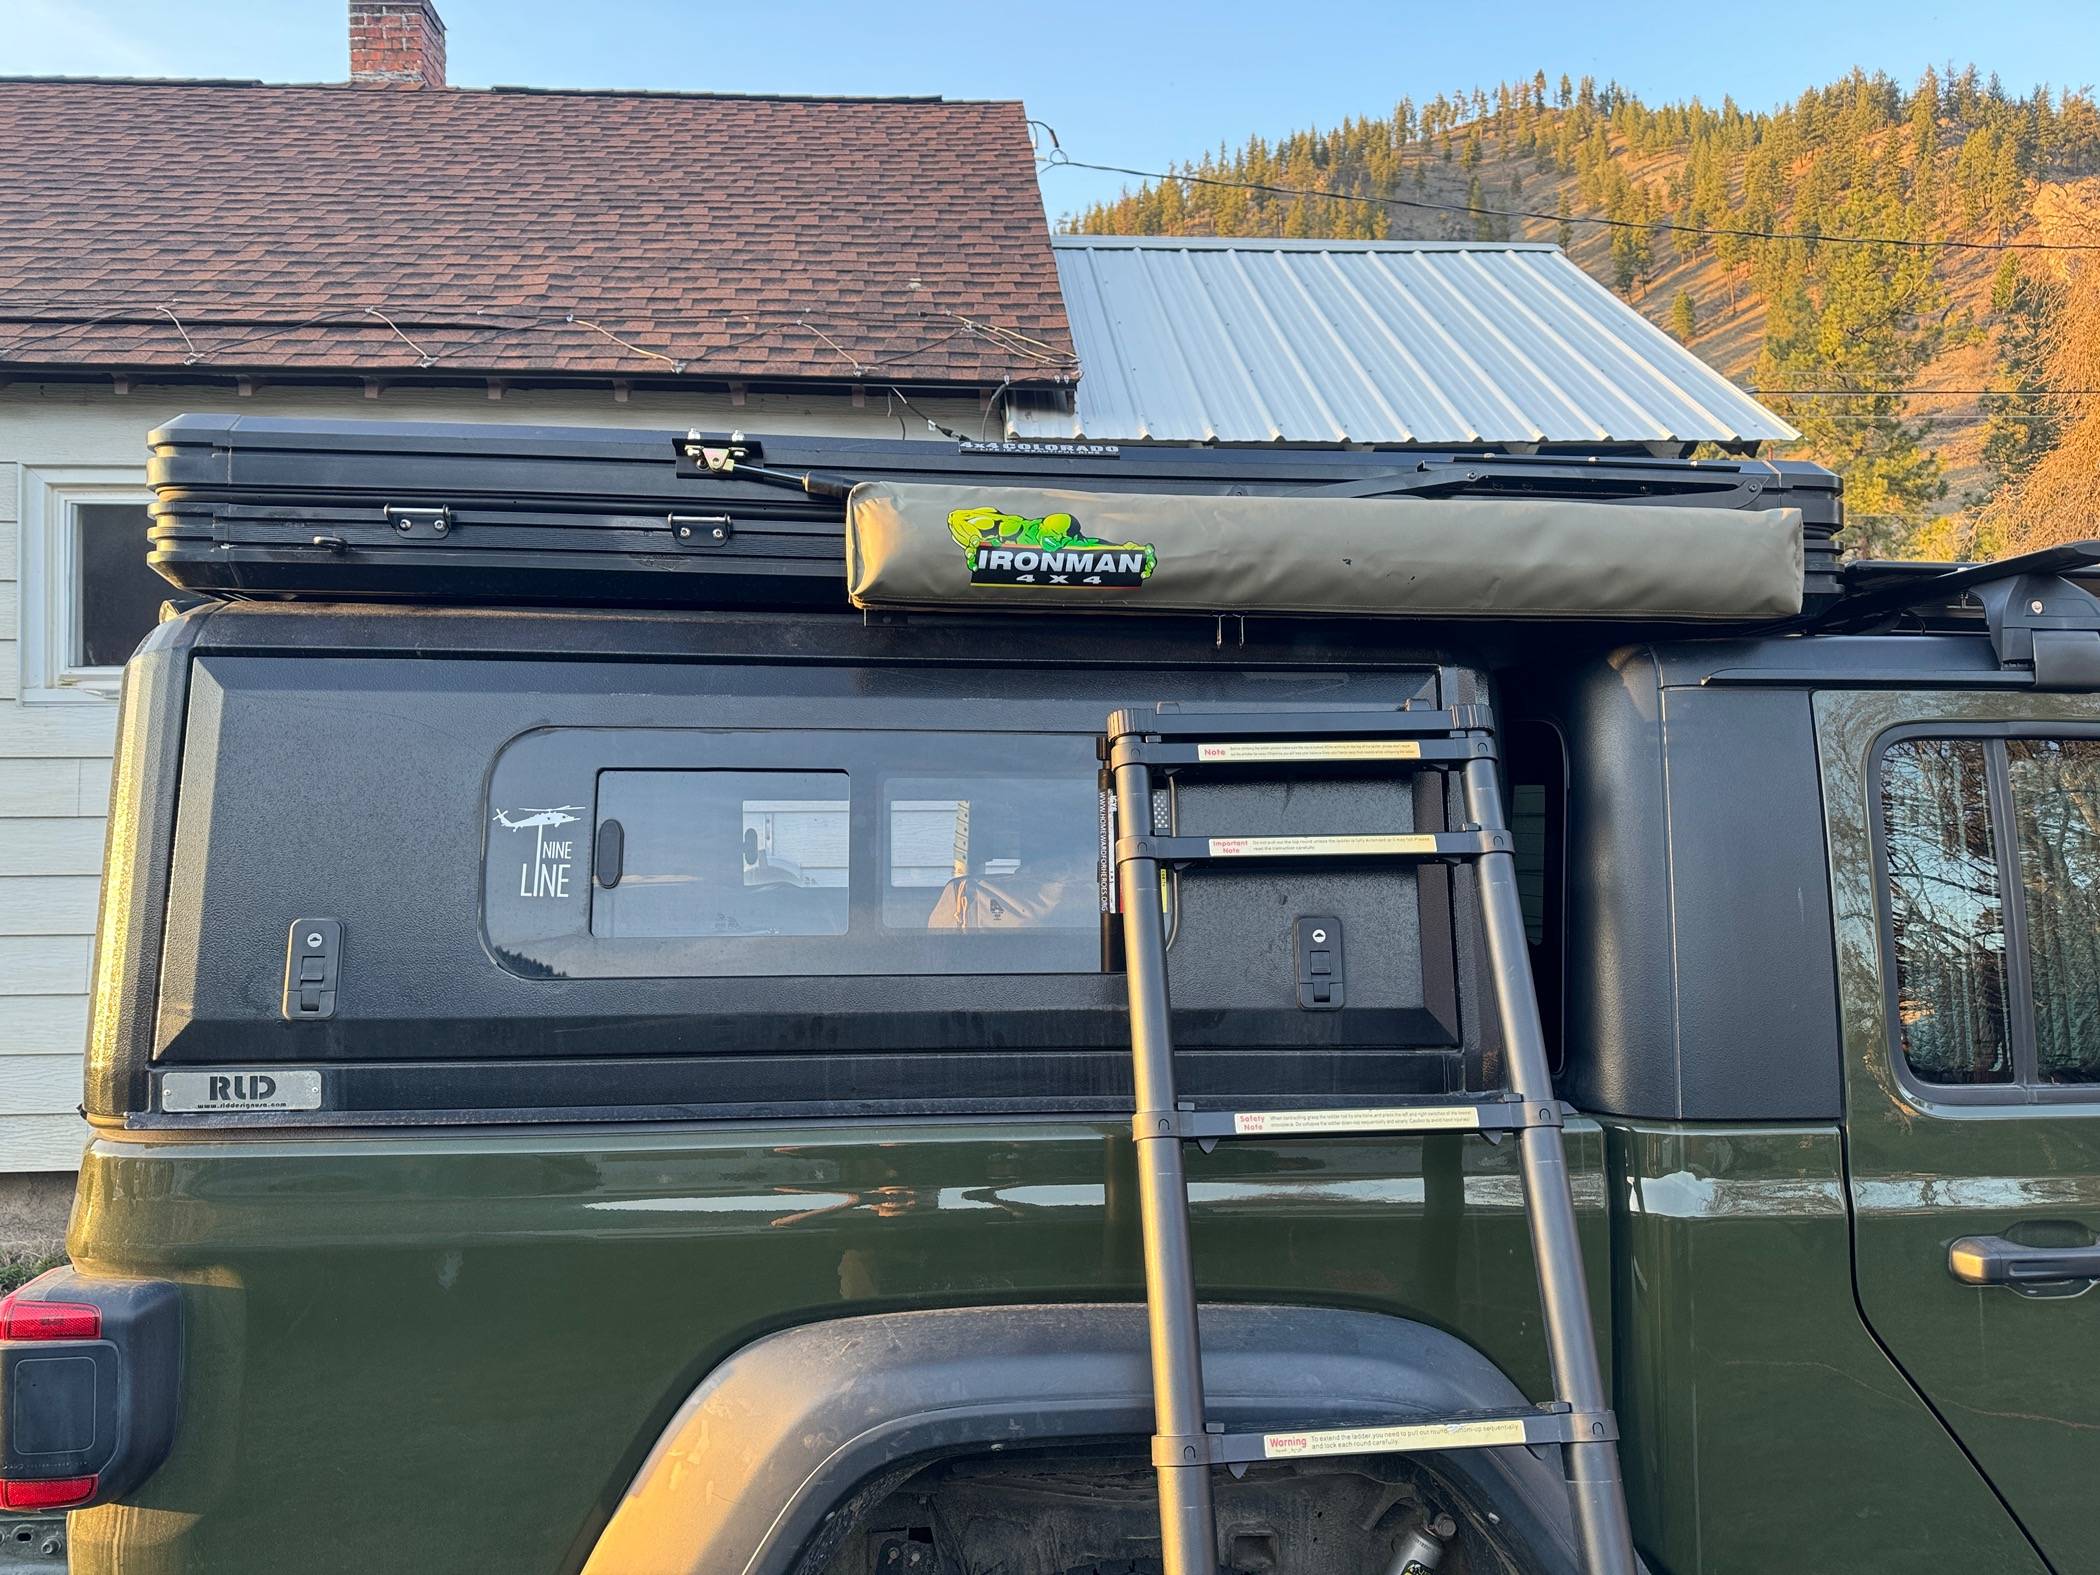
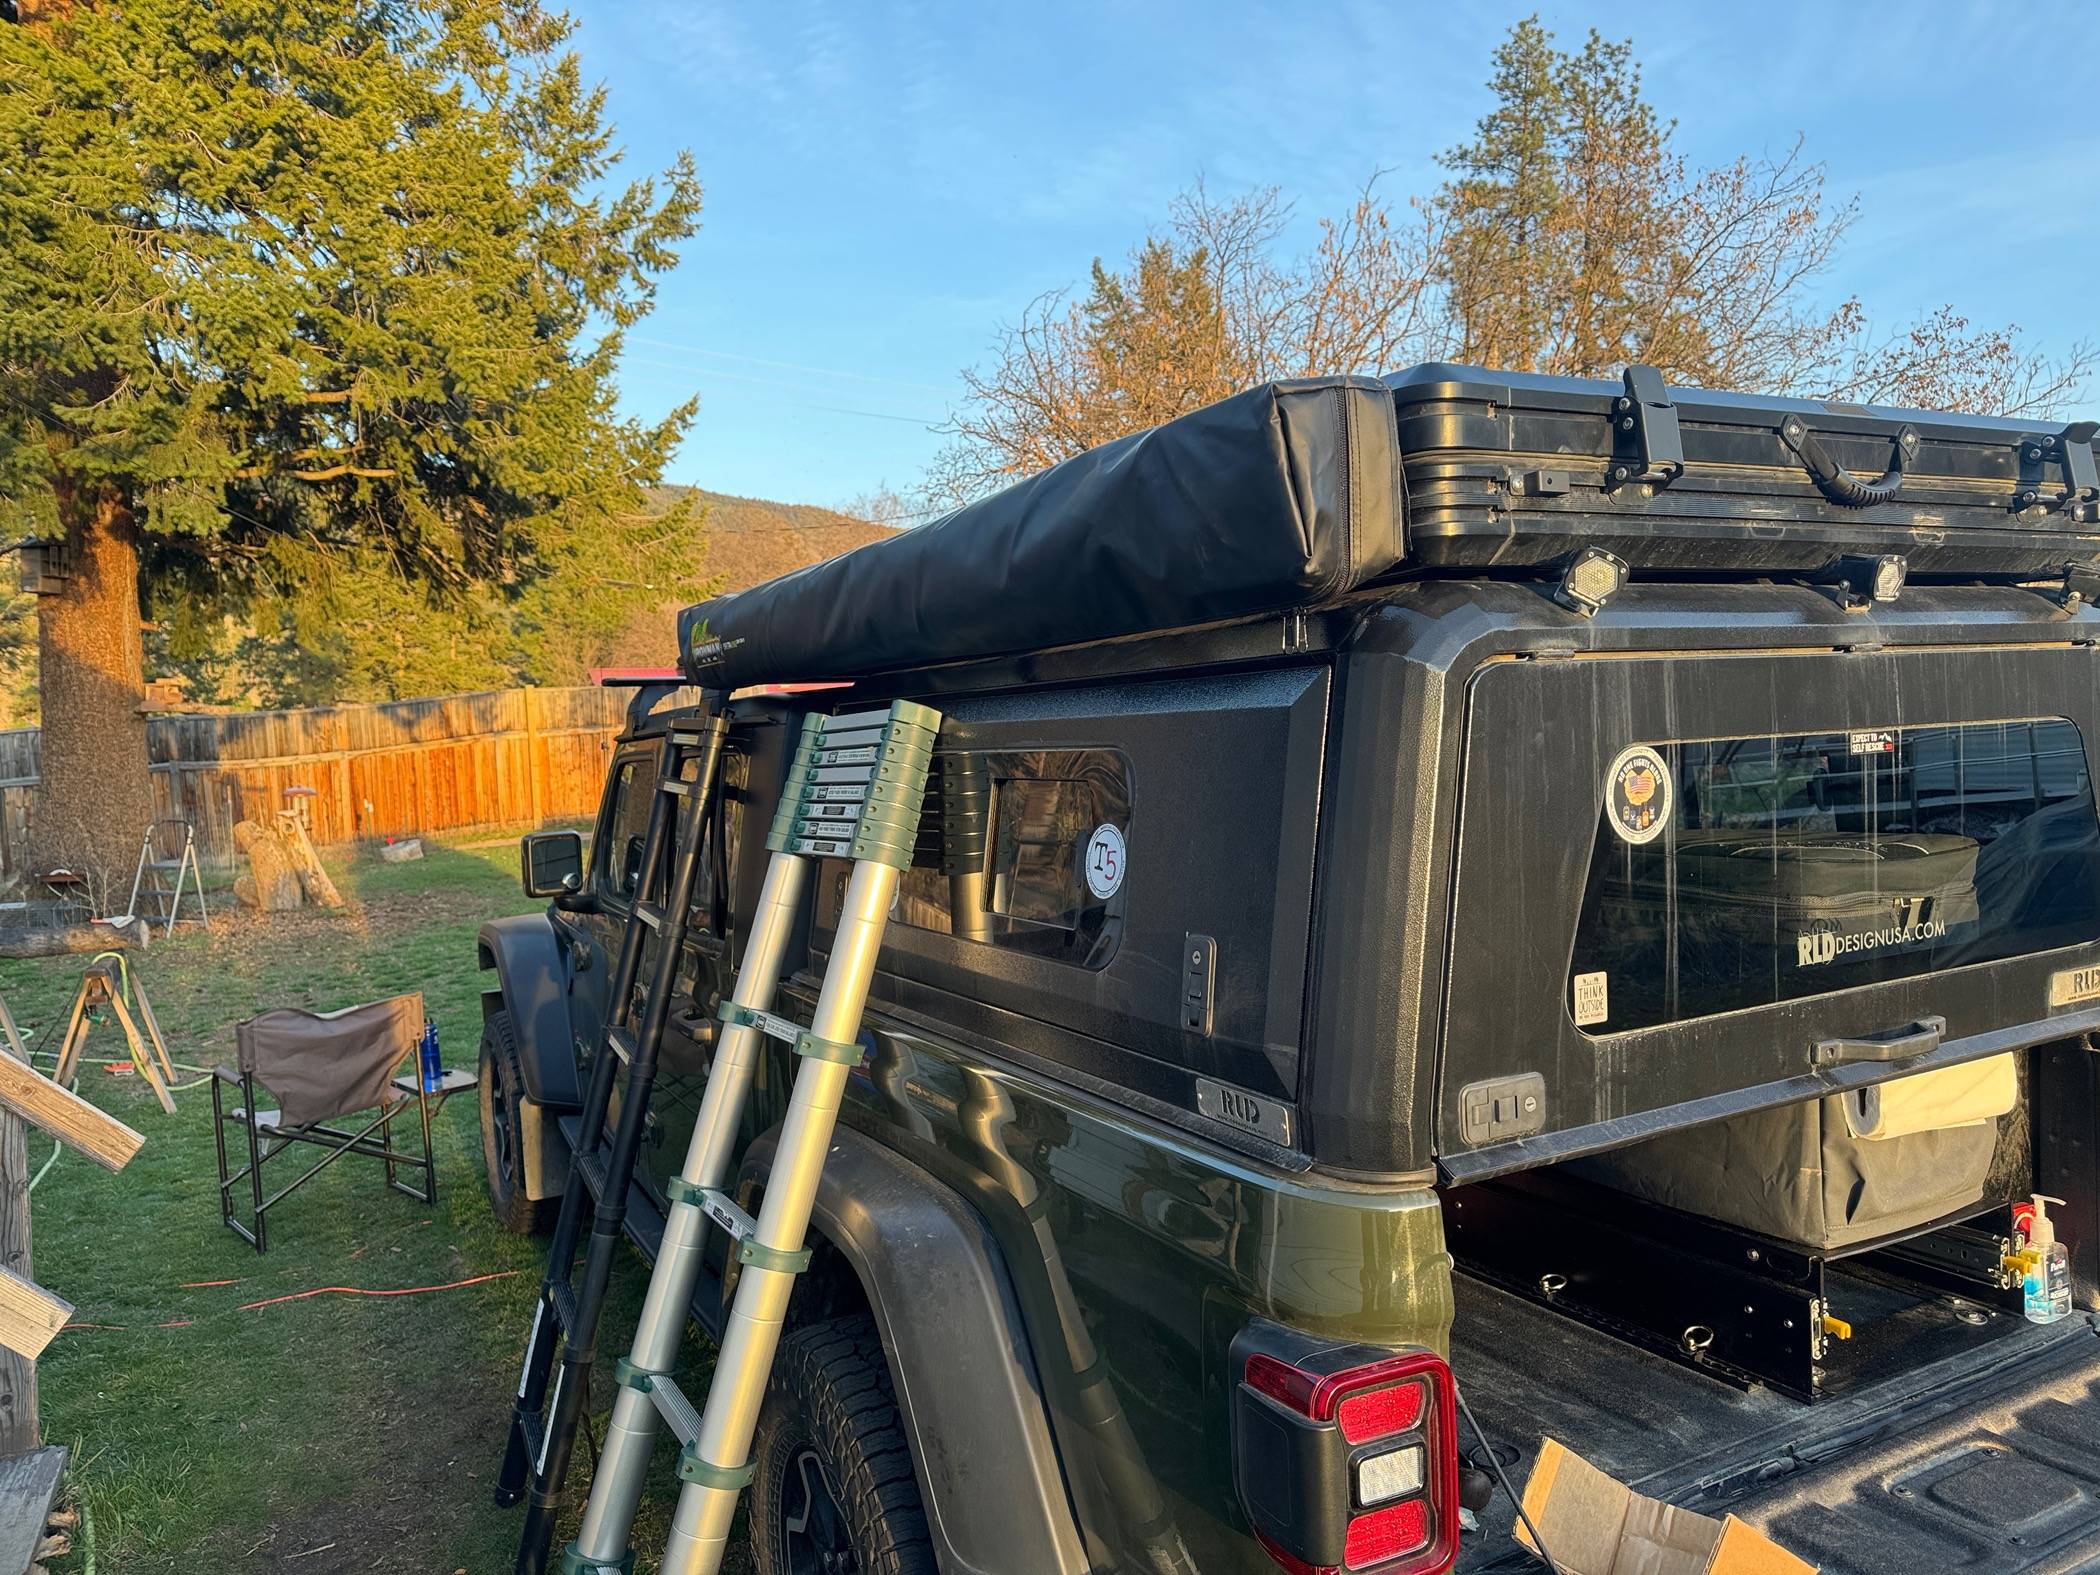
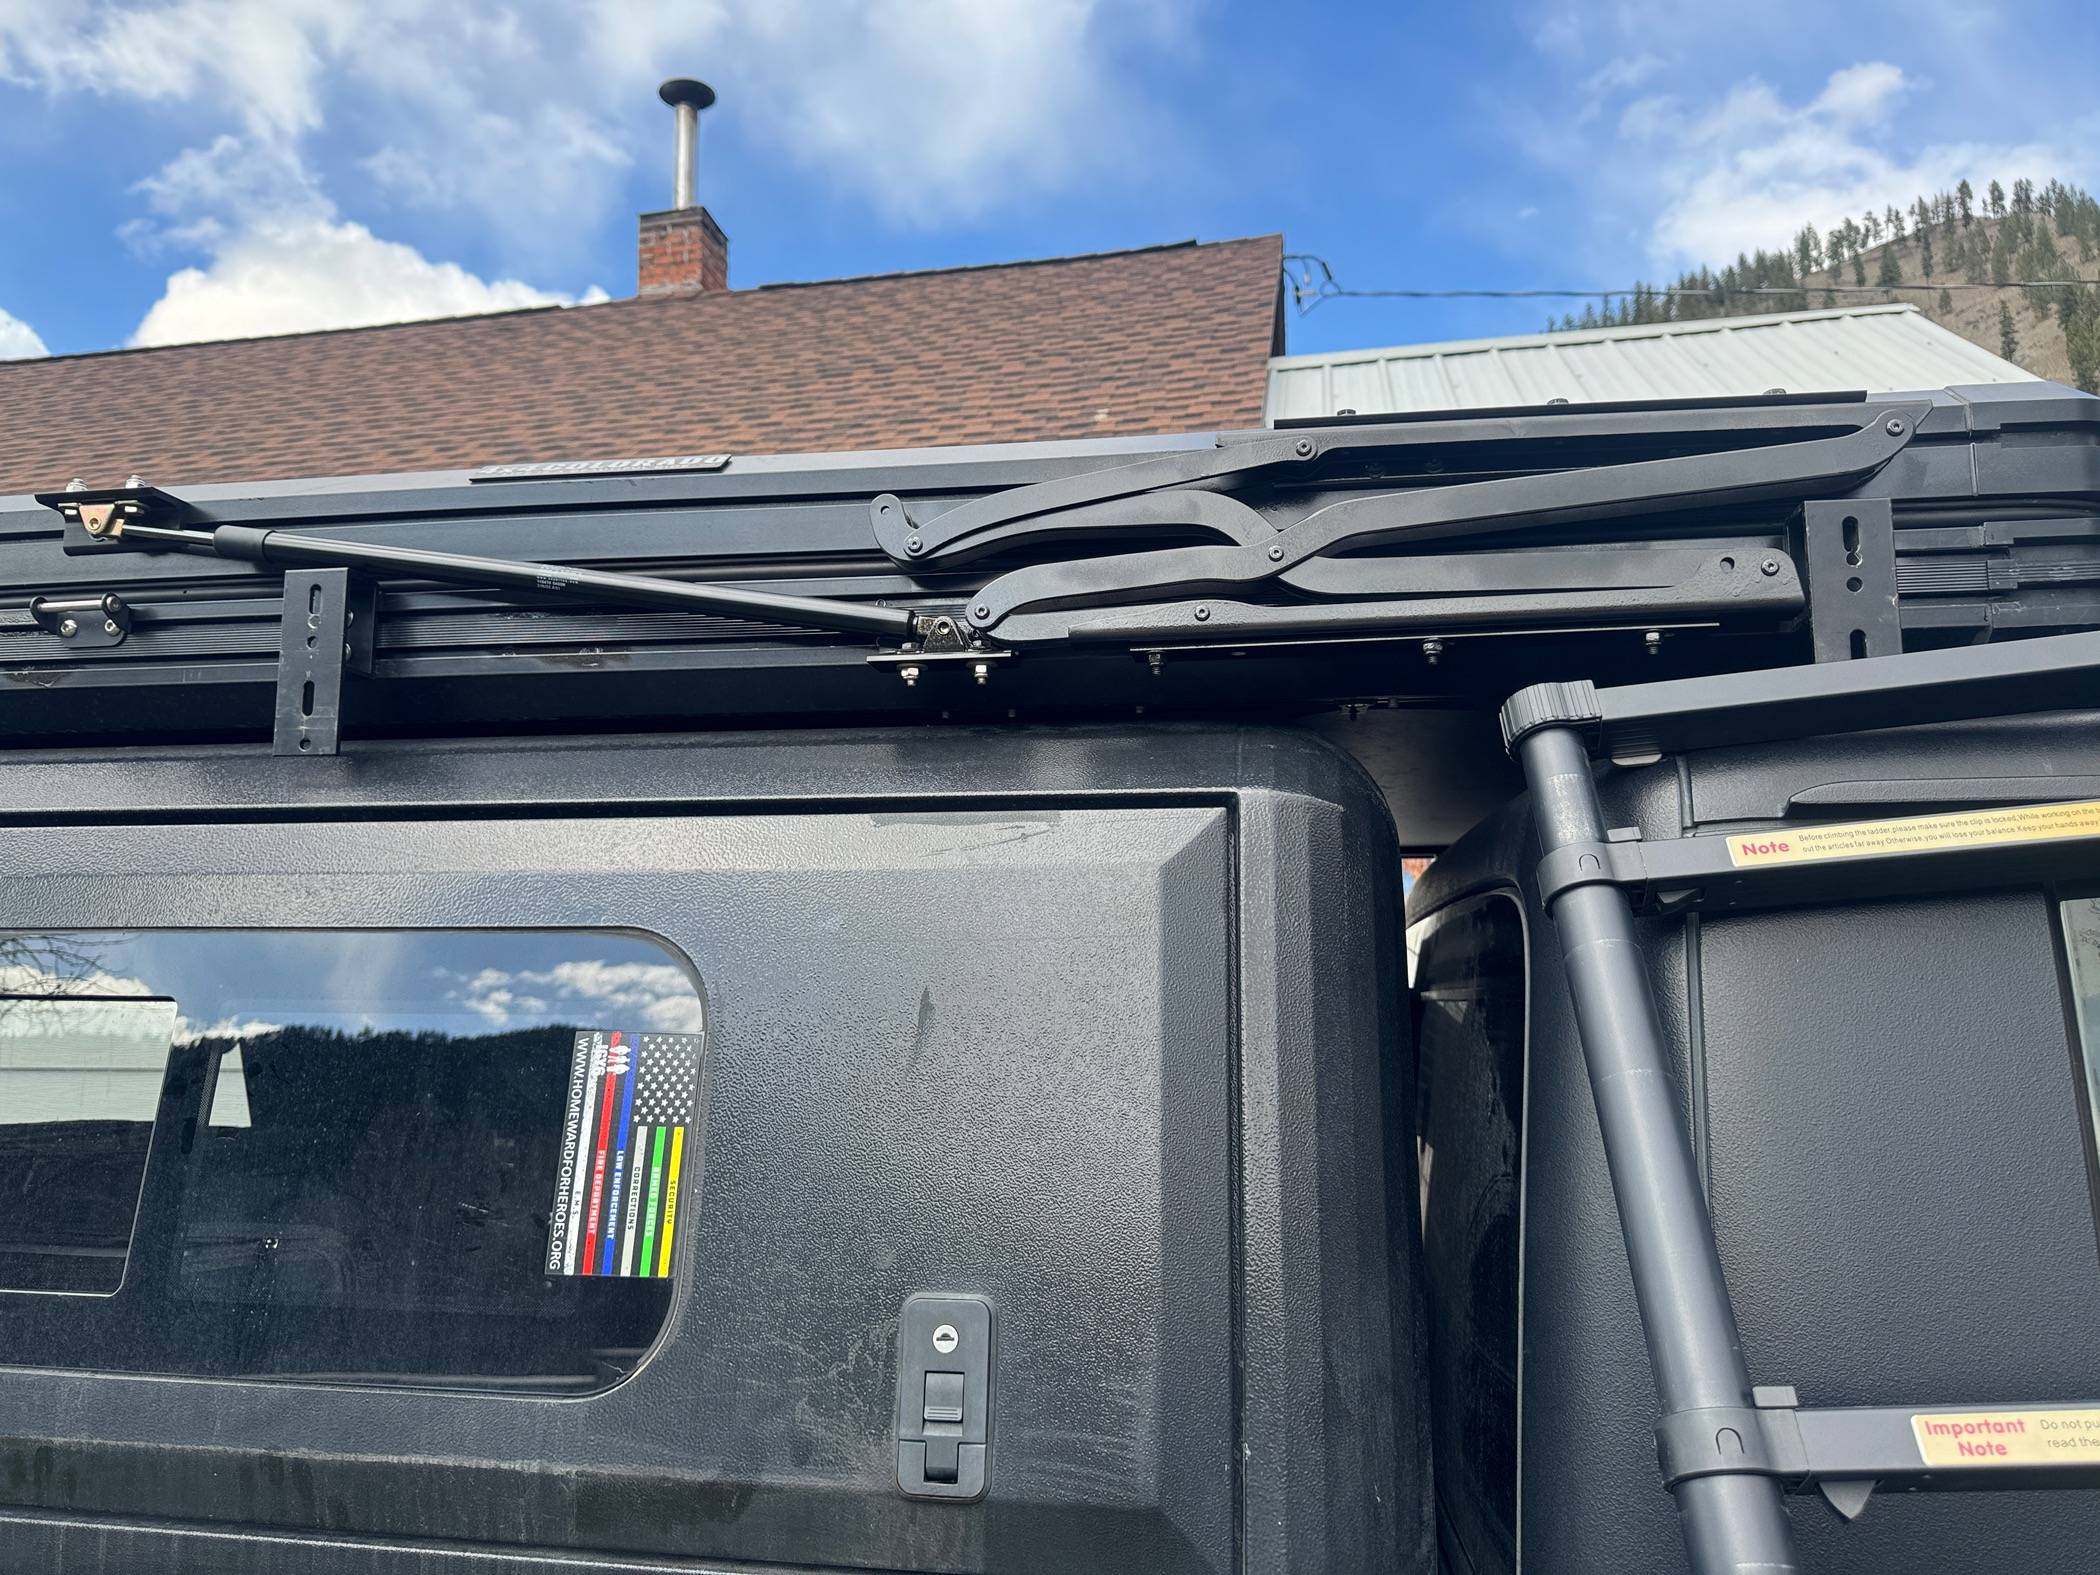
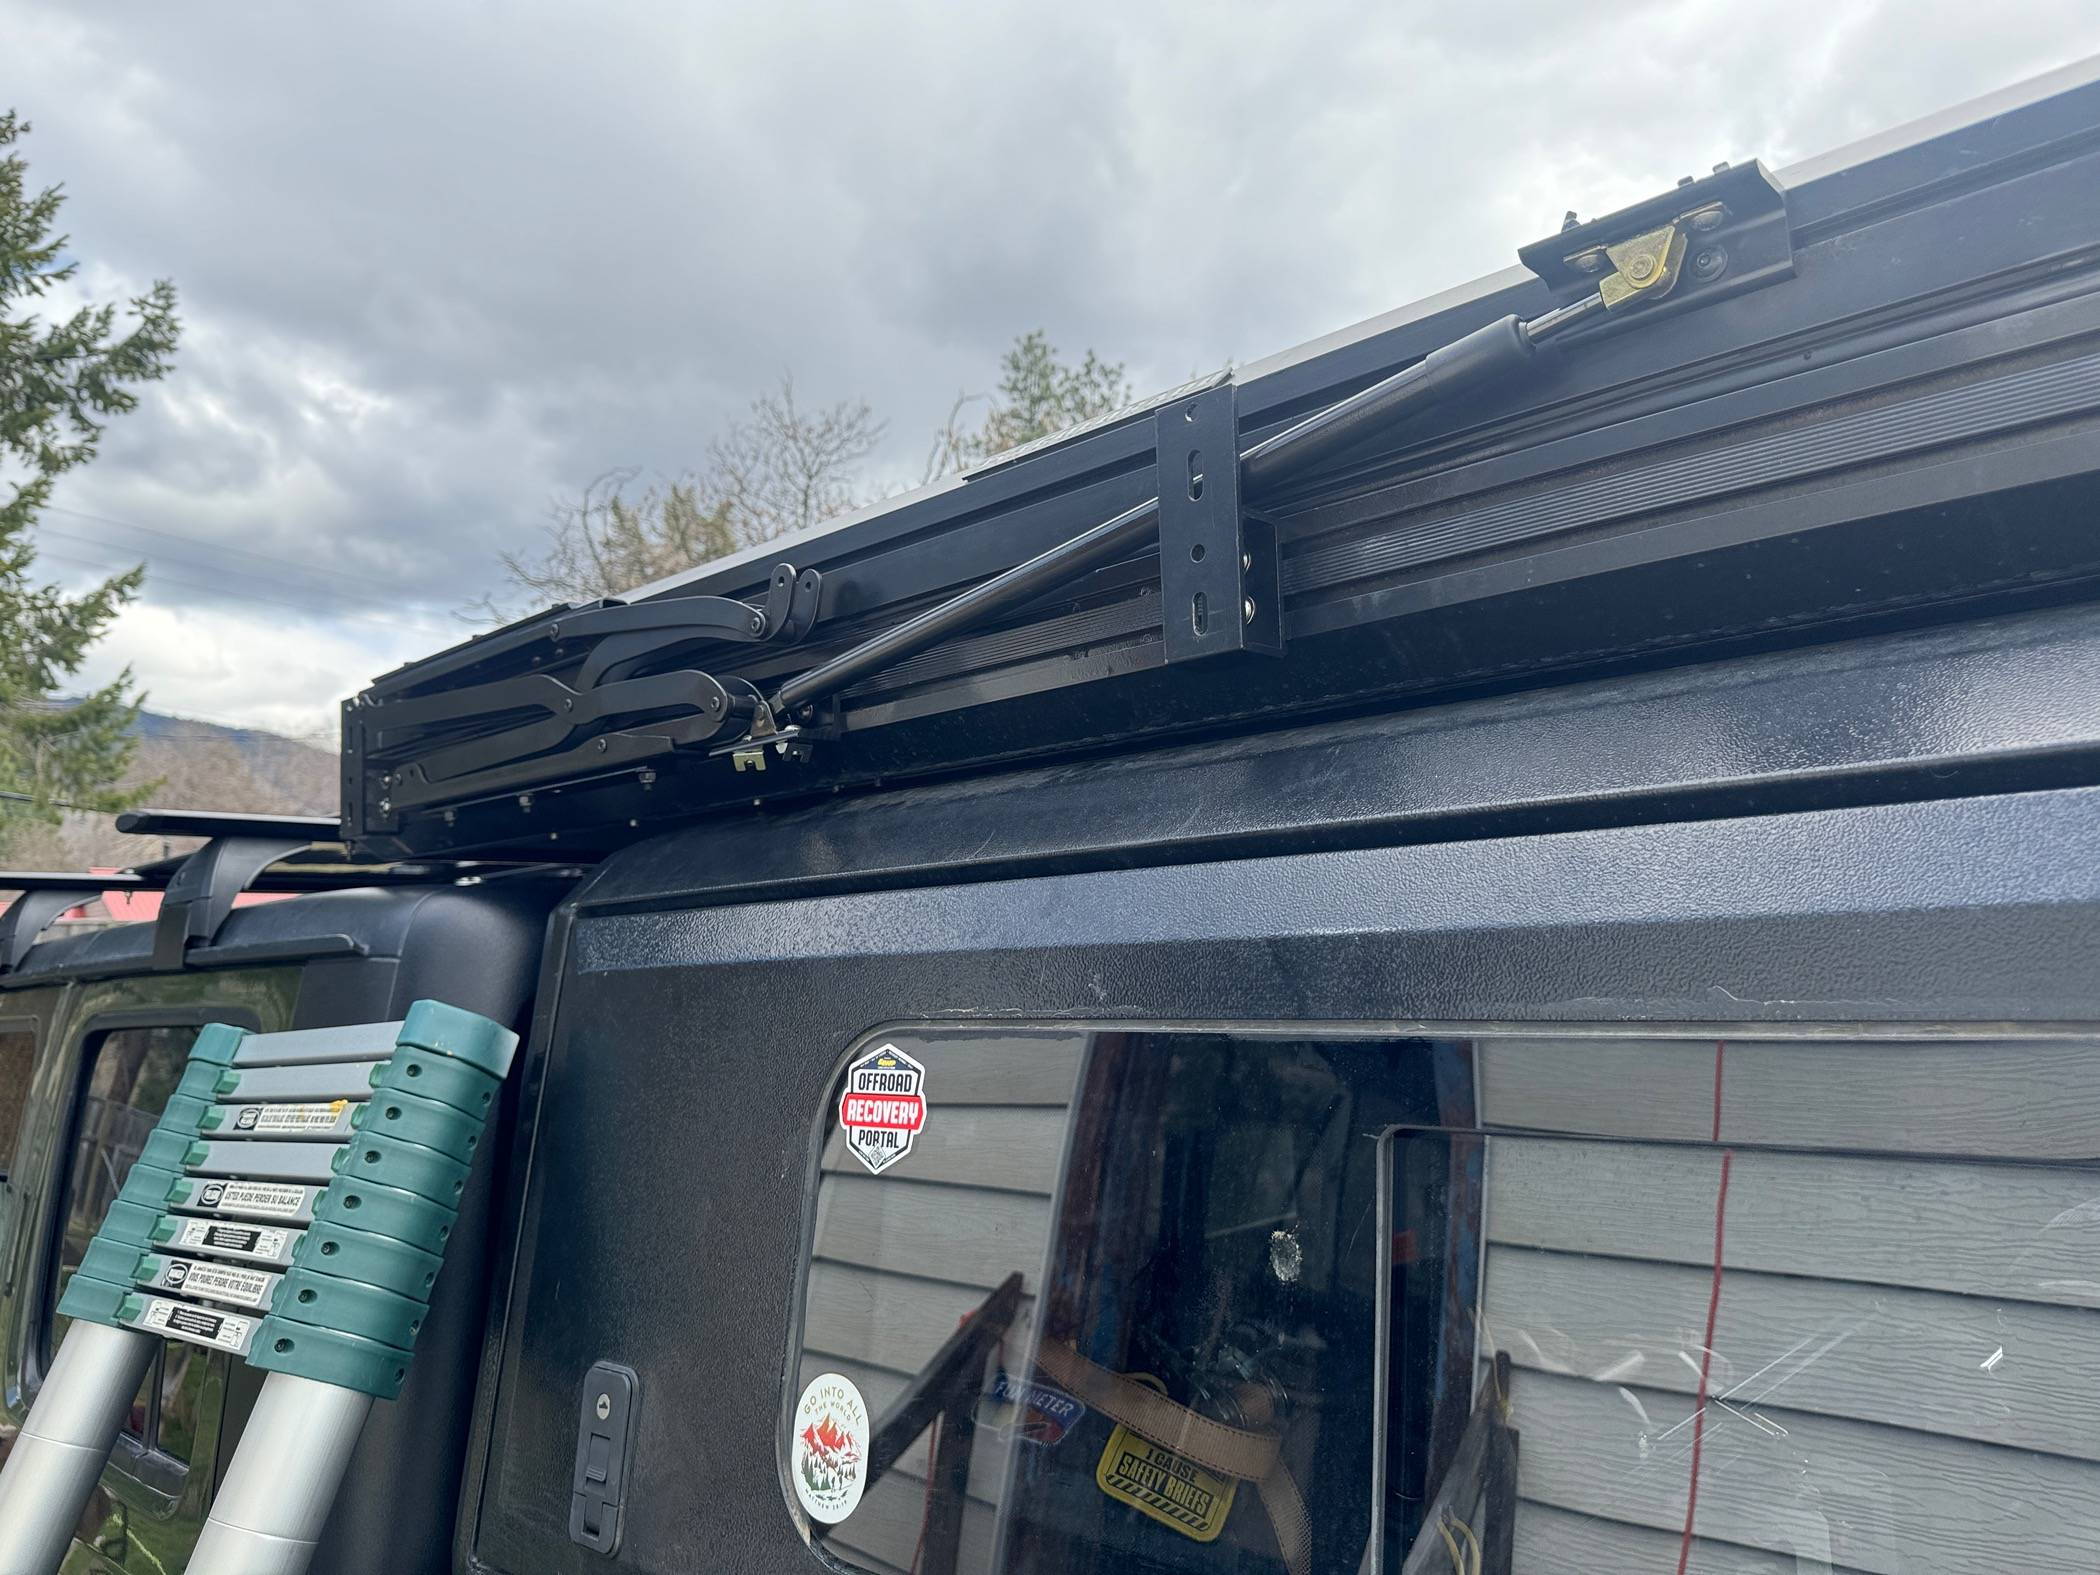
Over the last few weeks I have been working on a couple projects that have required a little more than the usual figuring and parts modifications. Though I really like this tent a lot, there is one aspect that has always bothered me. The hinges and struts. They just make closing the tent a big chore and it's not at all easy. What should be a 2 minute job is more like 15-20, defeating the purpose of a RTT as a whole. Since last year I had the idea of putting the hardware on the external side of the tent rather than internal. Knowing there is risk here with components rusting, hopefully it will last at least a solid few years or longer before becoming a problem.
Jeep Gladiator Destination Unknown - 2022 JTR journal IMG_4122.JPG


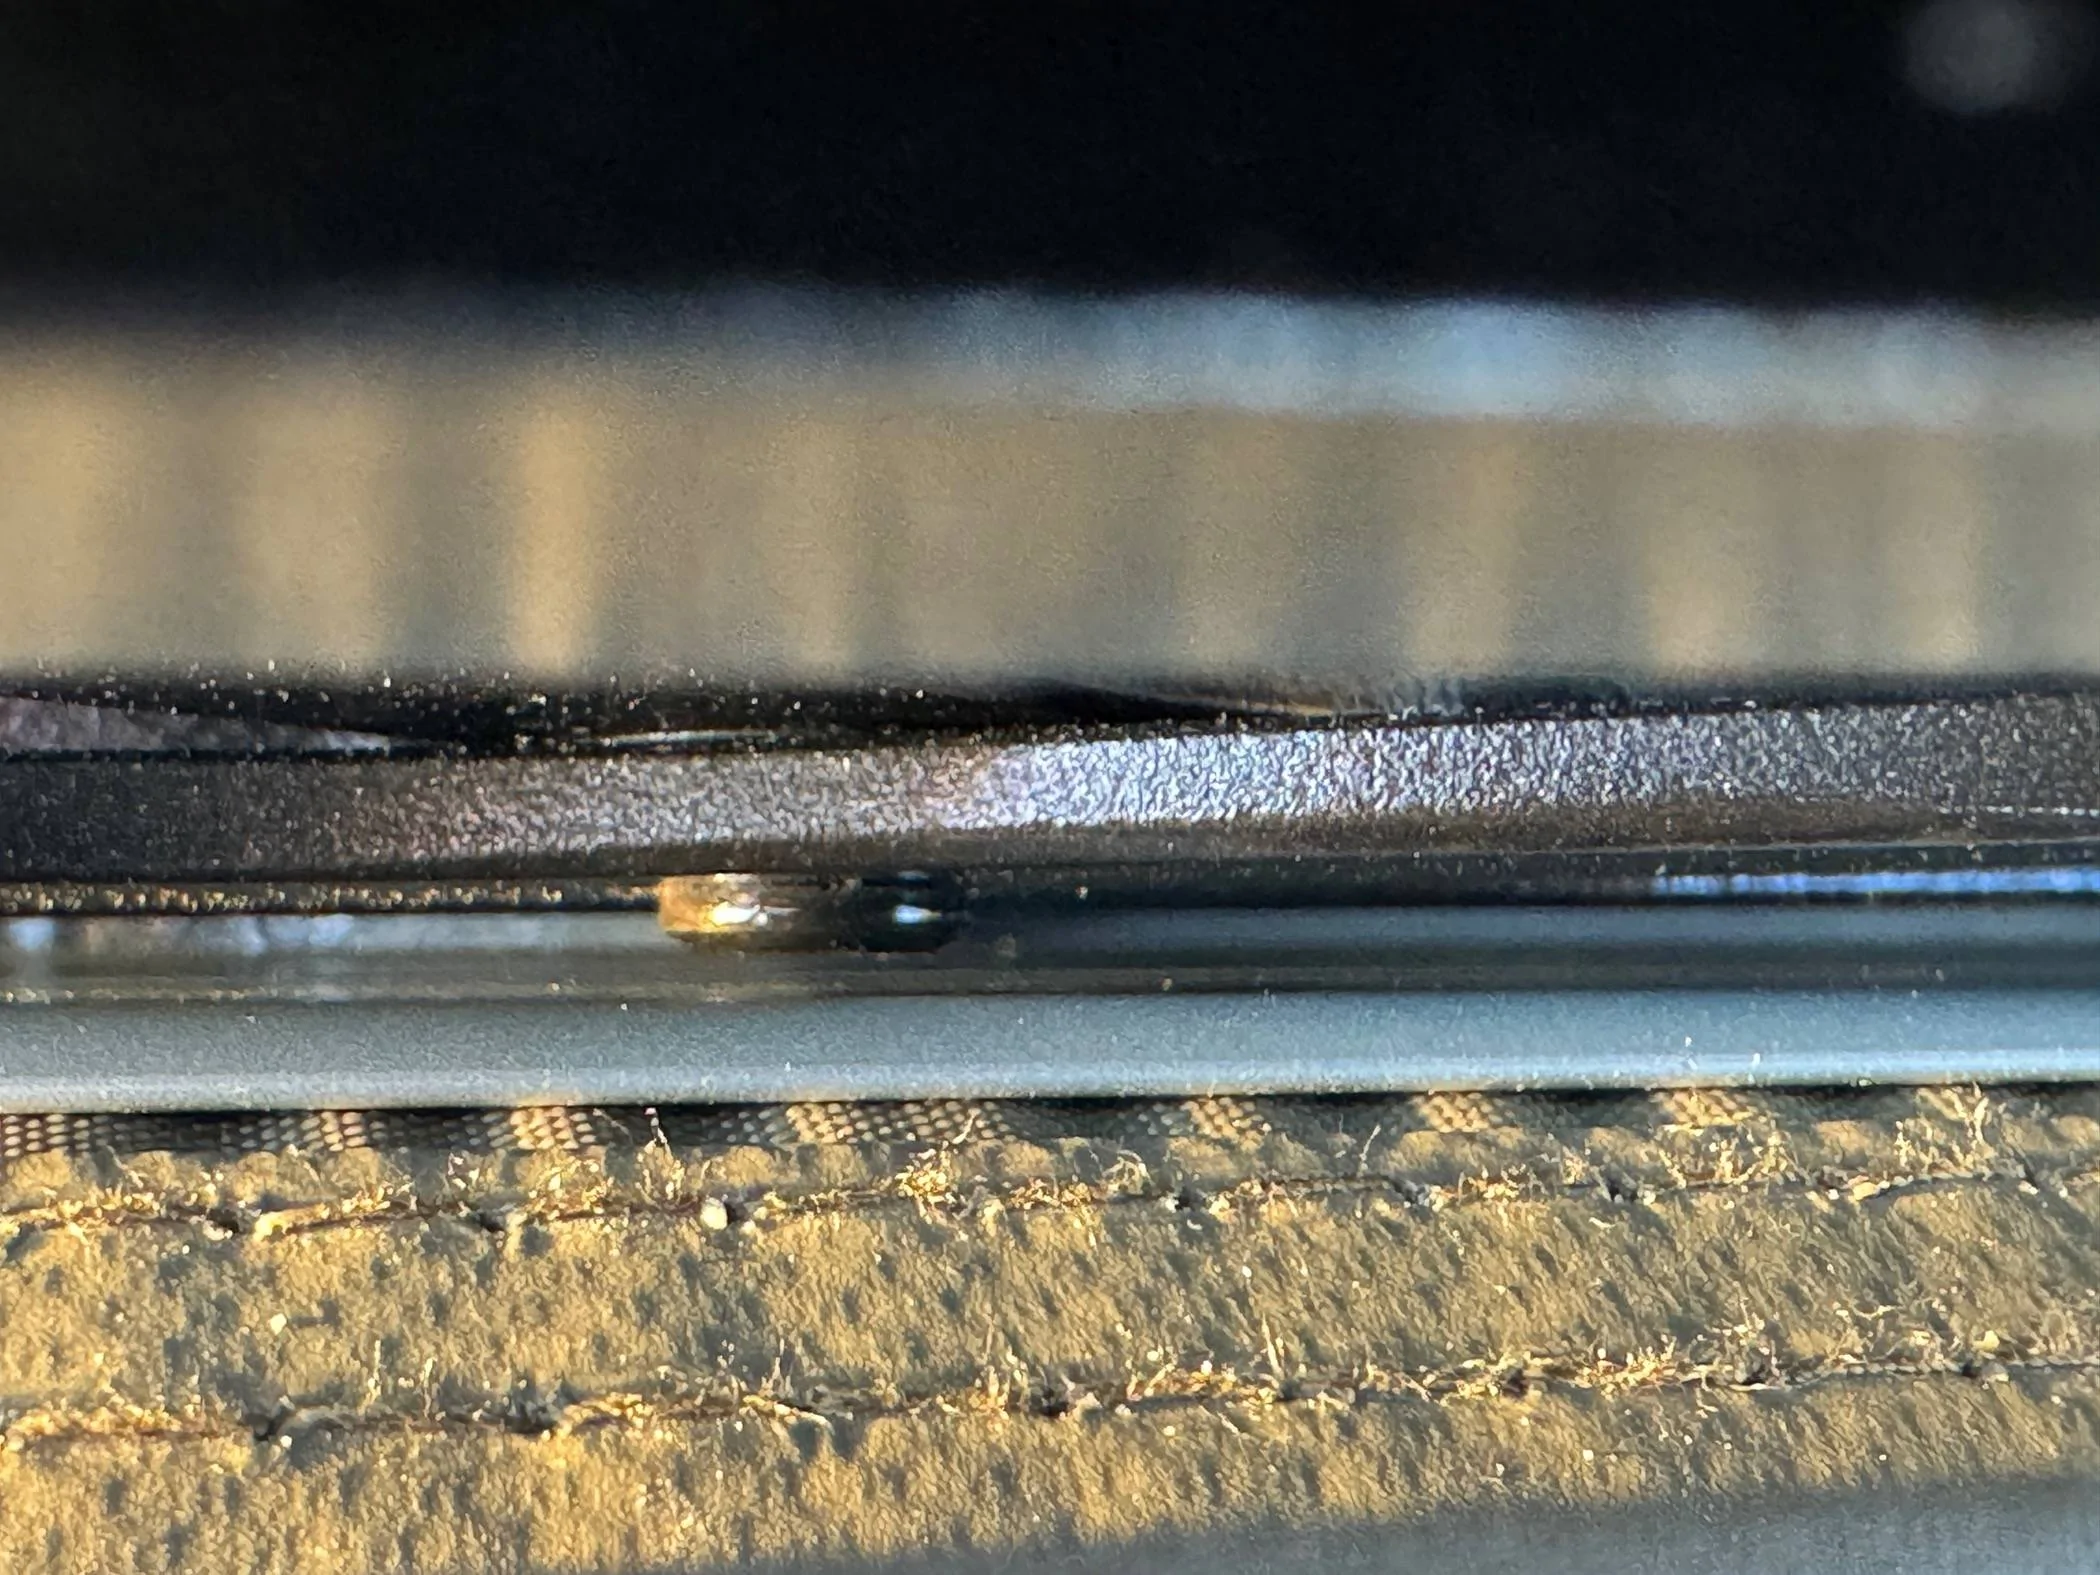
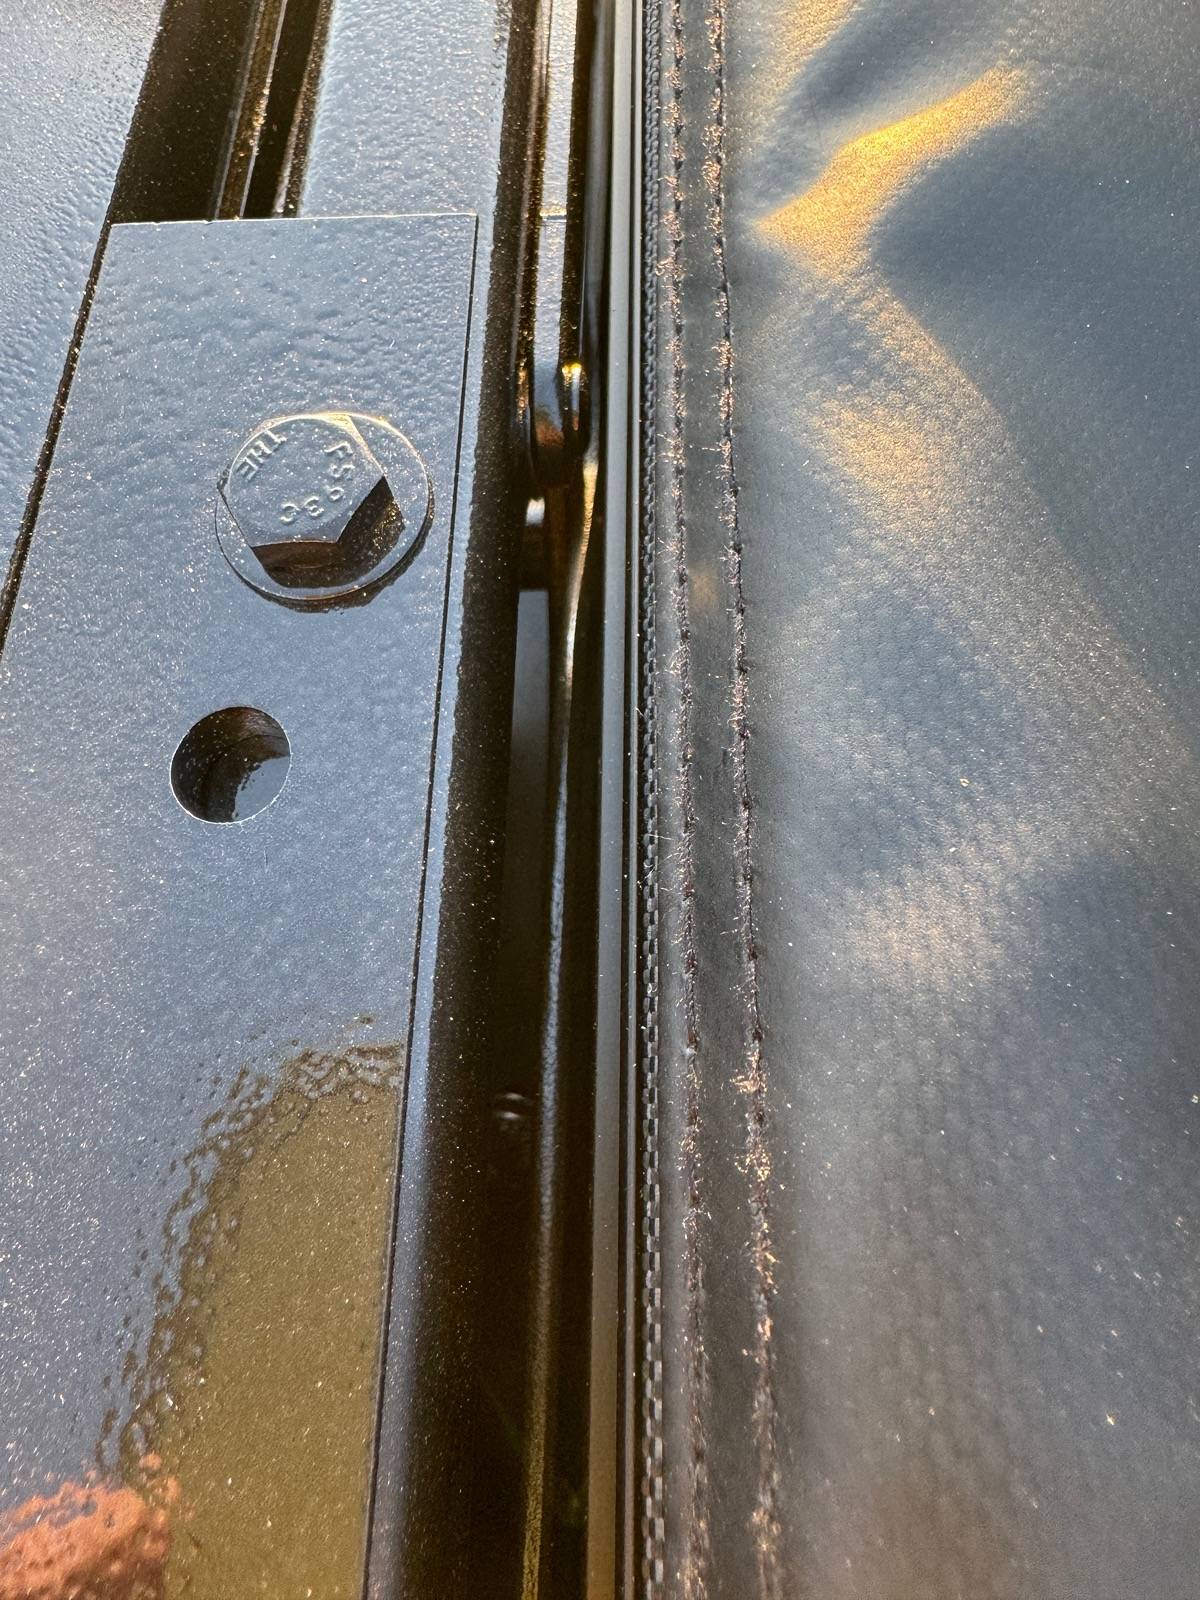
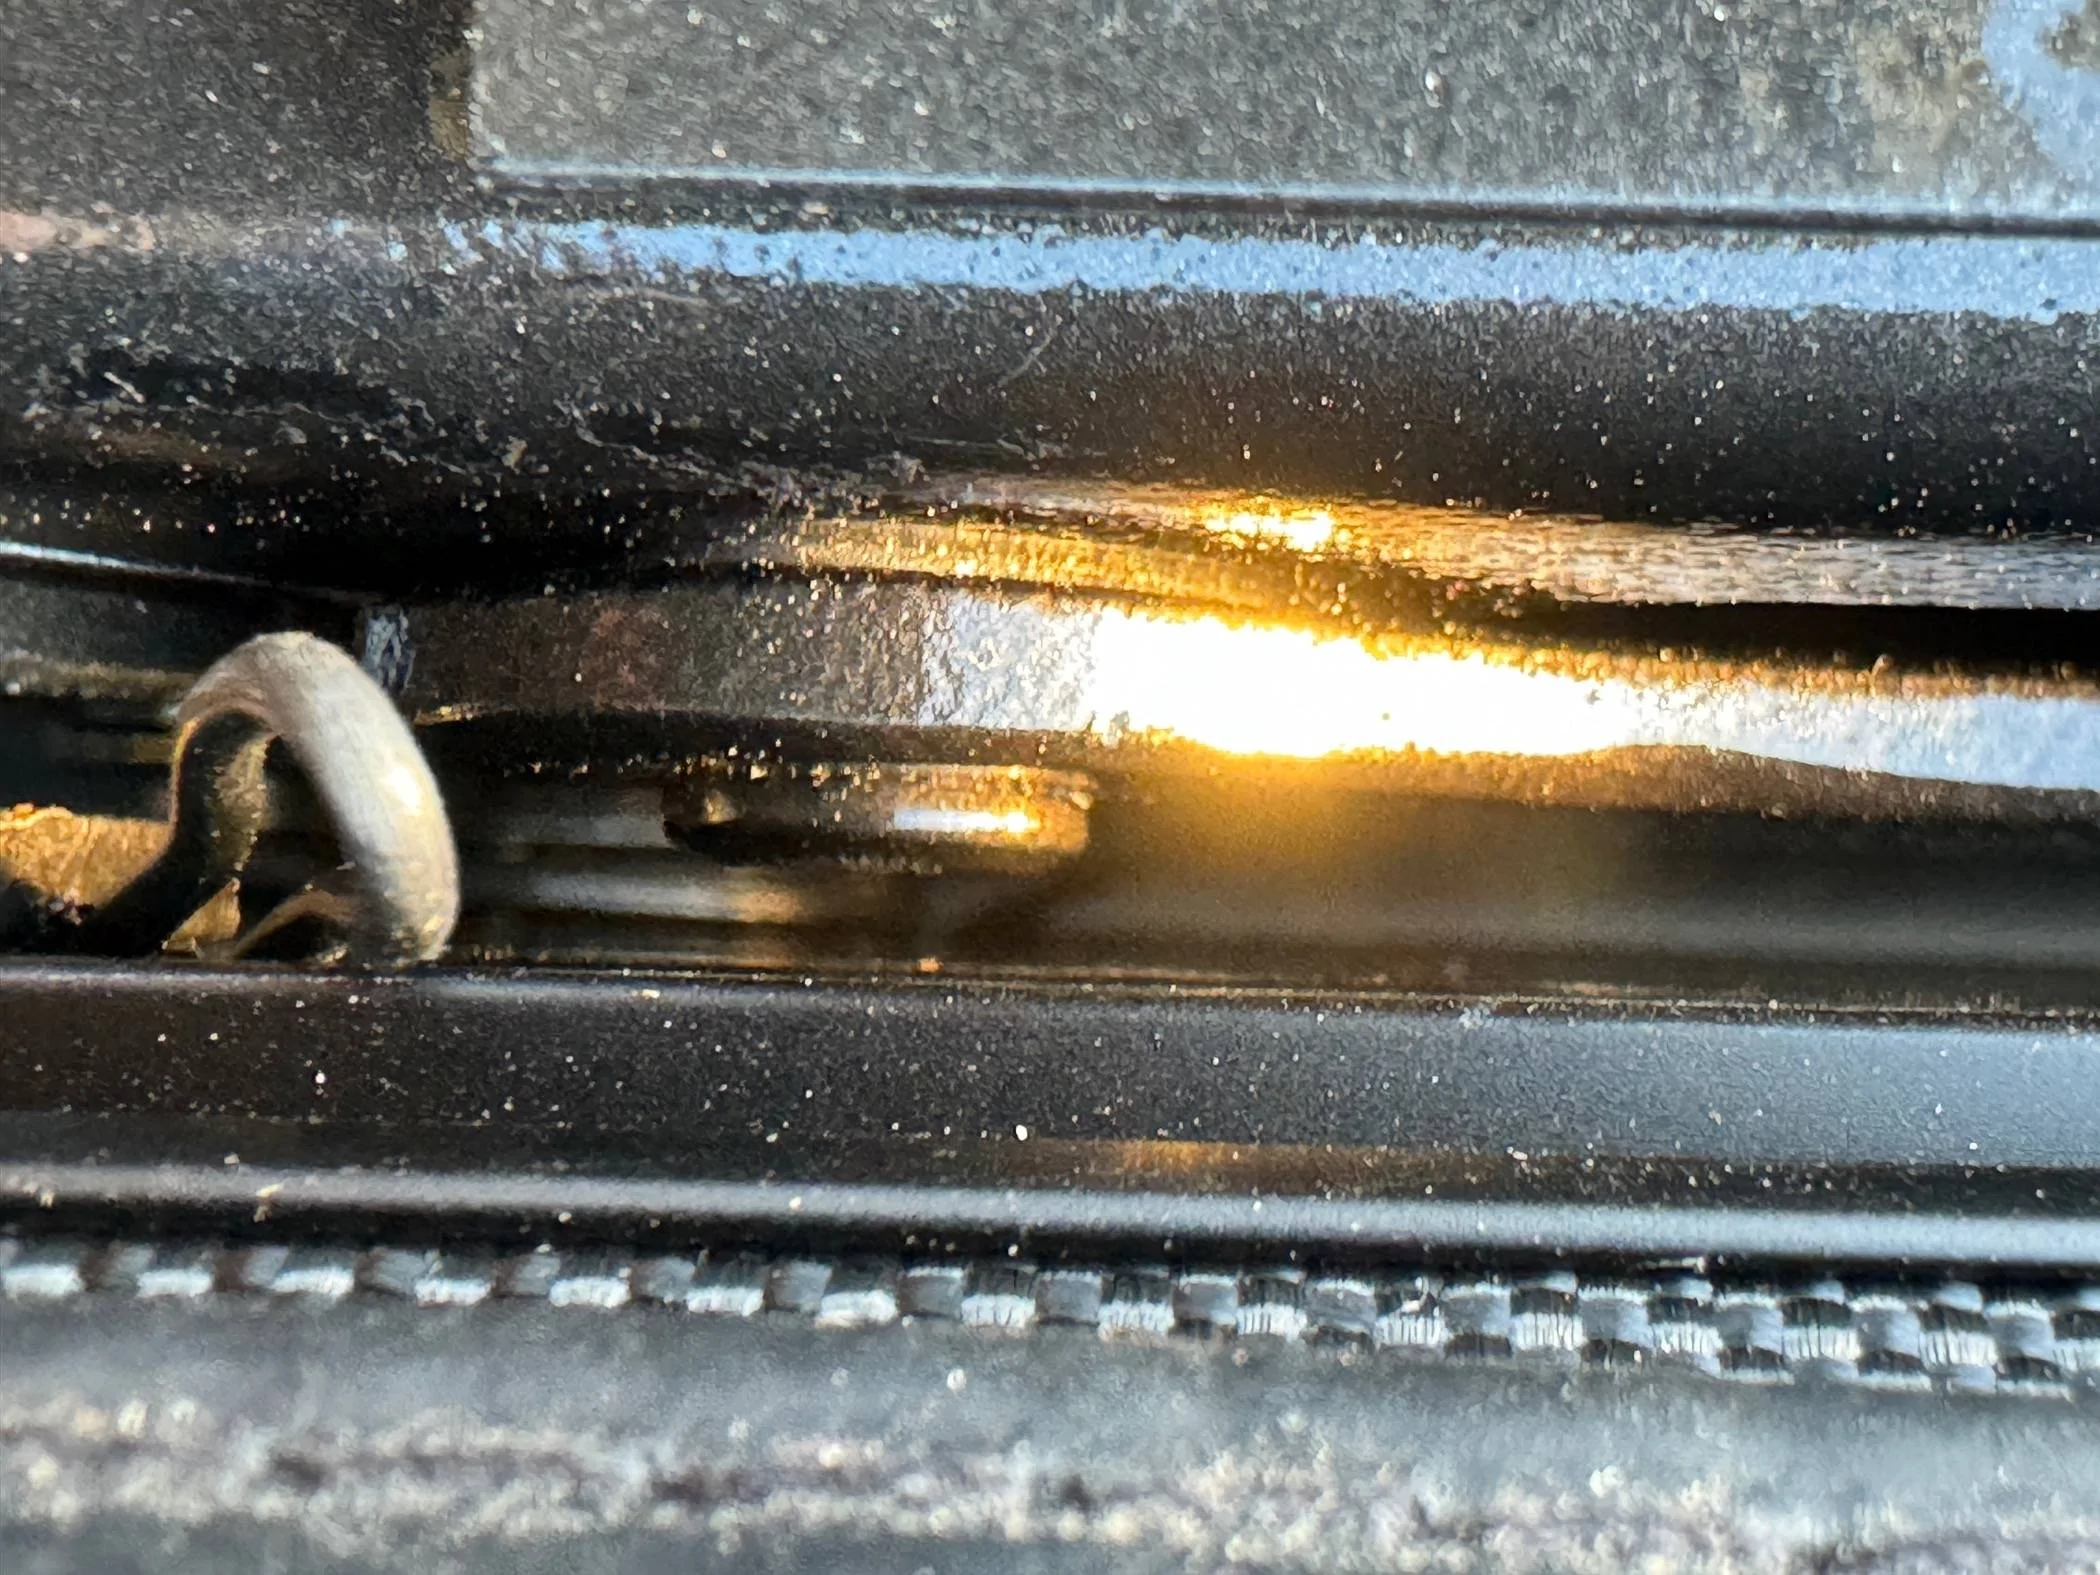
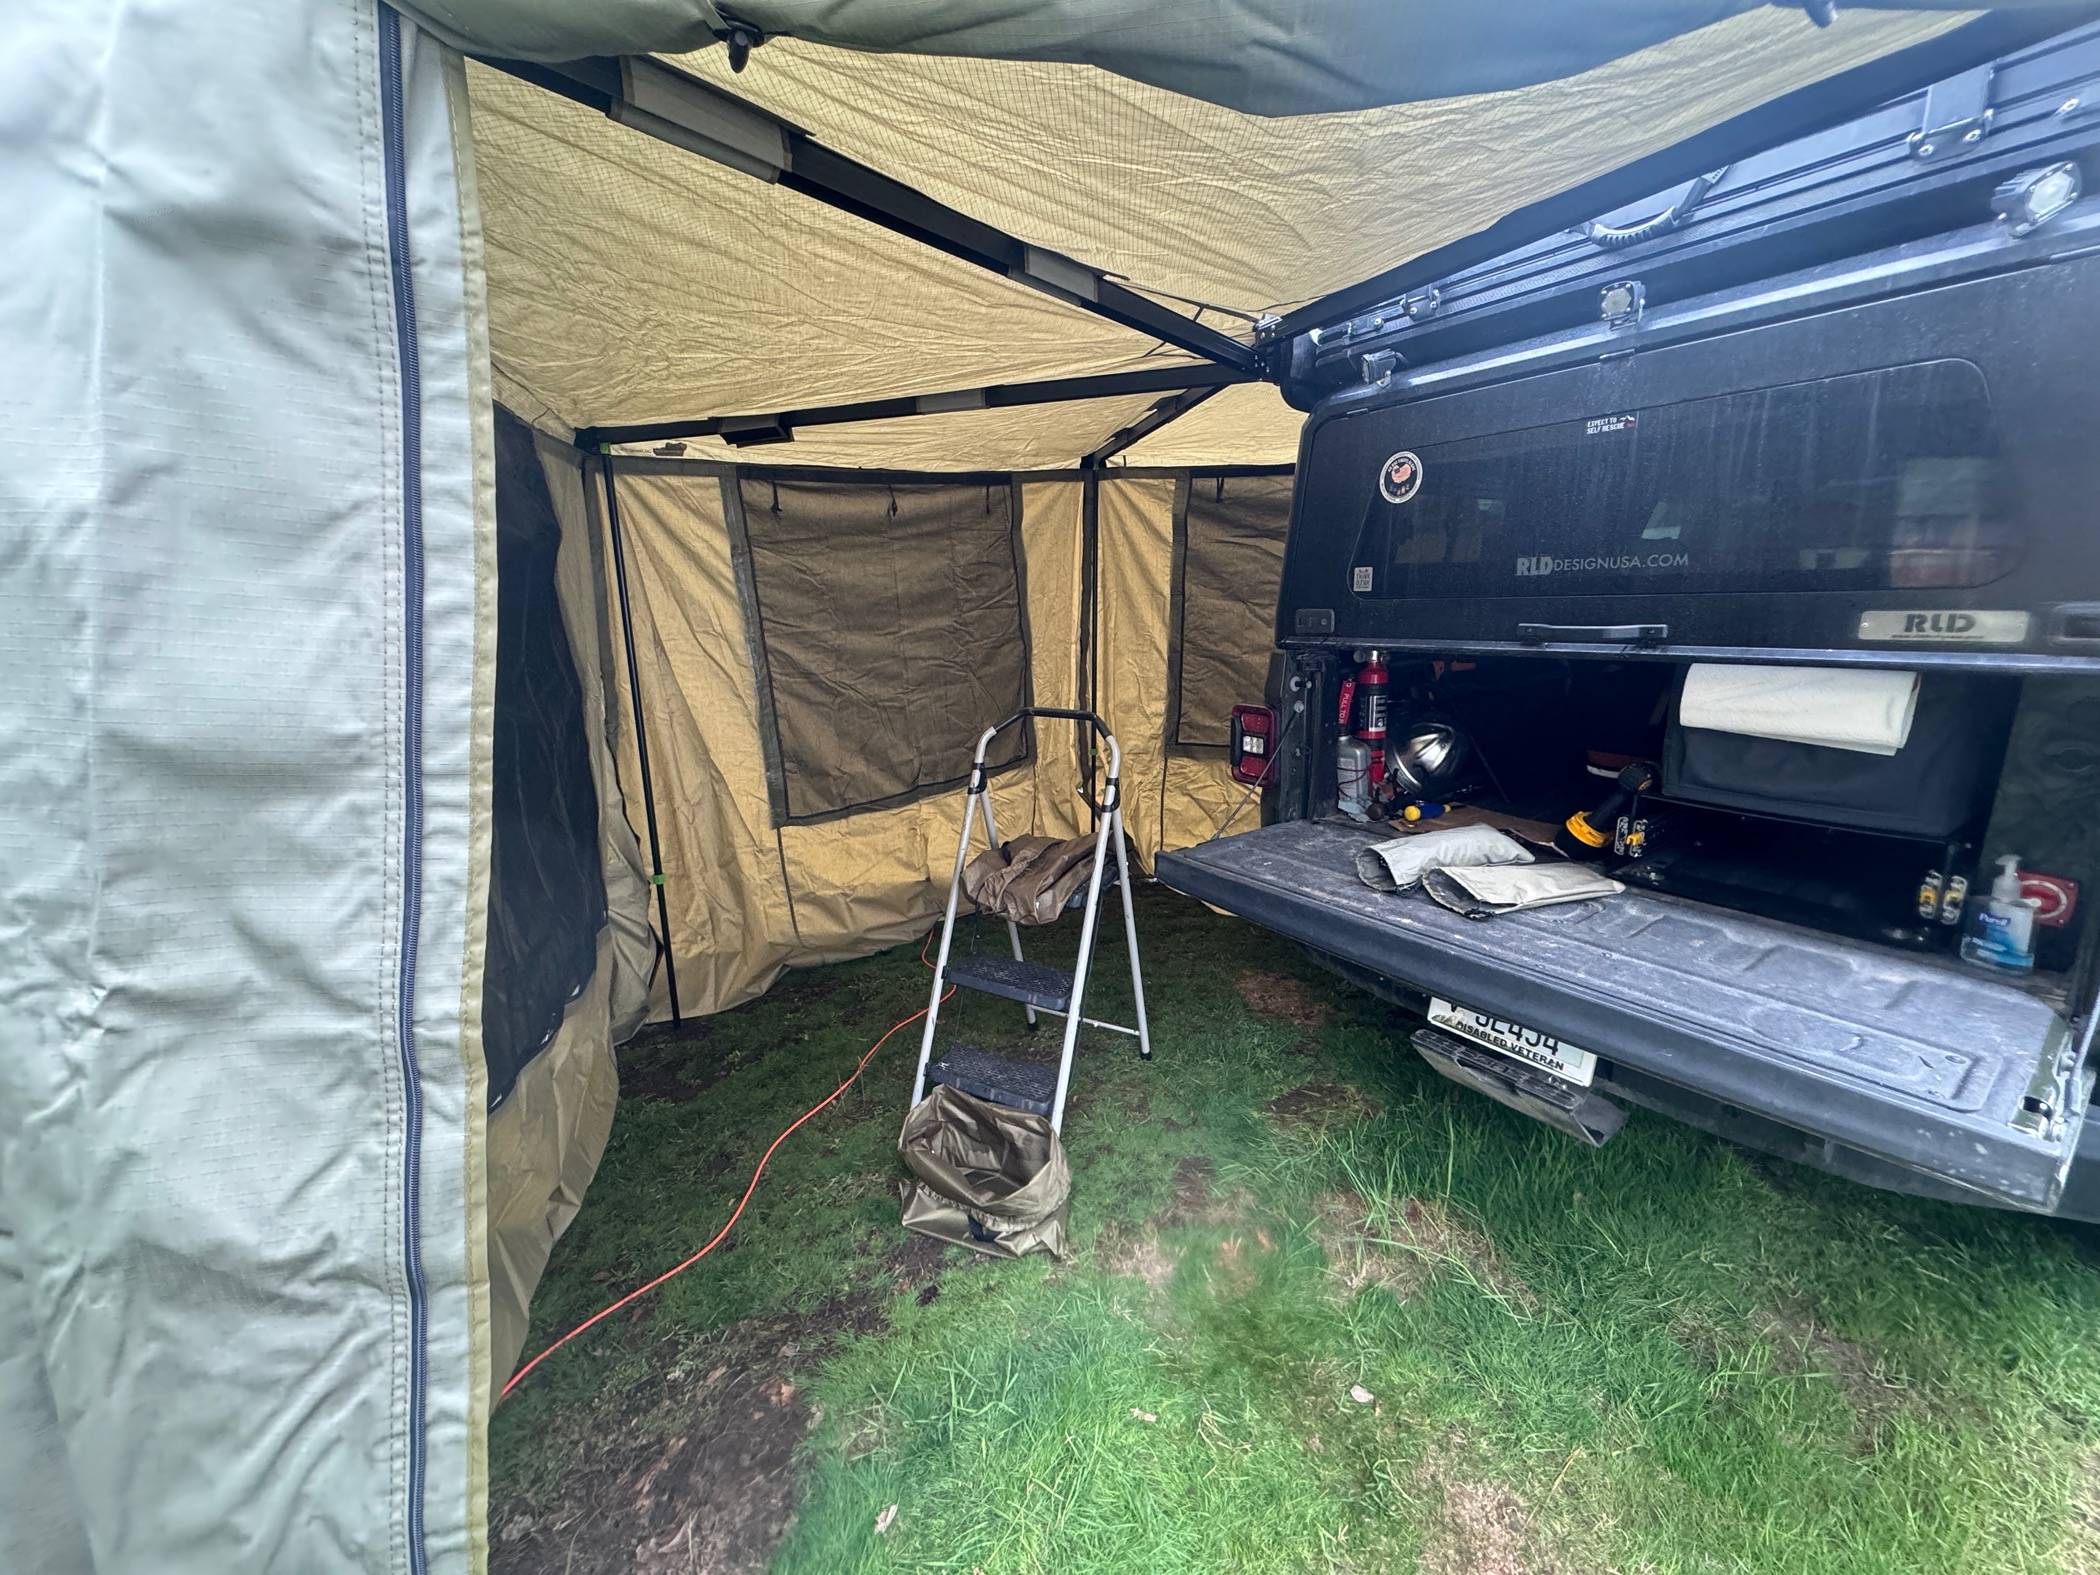
So I ordered some 1.5x1.5" aluminum angle from 8020 and got to drilling. After some finessing and a few mistakes, the brackets, hinges and struts were on the exterior. This was no easy task. But, at first test, and after breaking a strut, opening and closing is literally seconds. With nothing interrupting the bunnies from pulling the fabric inward, it is the ultra quick setup and takedown I was looking for from the start.
Jeep Gladiator Destination Unknown - 2022 JTR journal IMG_4121.JPG


It is definitely a tight fit. I had to mount the hinges and angle alum differently than initially desired due to clearances and operation of the hinge itself. But the tent even closes and seals better now as well interestingly enough. This will make for much more enjoyable trips.
Sponsored

 
OP
OP
chorky

chorky

Well-Known Member
First Name
Chad
Joined
Feb 26, 2022
Threads
175
Messages
3,466
Reaction score
3,801
Location
Montana
Website
www.youtube.com
Vehicle(s)
'22JTR, '06 LJ, '06 TJ GE
Build Thread
Link
Occupation
GIS Specialist
Now that the hinge and struts were mounted on the outside, the replacement awning and shower cube can go on. If you recall, I realized half way trough last year that I needed the awning to be on the driver side instead of the passenger with how my hot water setup is. Which is ok, as I can gift the passenger side awning to someone on the veteran/first responder trek this summer.

First to go on was the shower cube. I did have to find and modify some bolts. It is astonishing to me that nobody who makes any awning even knows the bolts that are supplied with their kits. I had some hot conversations with Ironman4x4 and their total incompetence in knowing what they are selling. They even told me that in order to get new or replacement bolts, they would have to just send me an entire awning. Bolts cannot be obtained separately. The only reason I purchased form them again is their product is lighter than any other I have looked at, and it is cheaper with the crazy sale they had over Christmas. So for the bolts, I had to get longer ones as the bolts included with the kit were not long enough to allow for a spacer/standoff. Due to the hinges being mounted differently than initially desired, I had to find a way to push the awnings out a little more than 1/2 an inch. So washers came to the rescue. I found some SS bolts at the local Ace and was able to grind them down on opposing sides so that they would fit in the T slot of the aluminum. And on went the shower cube.
Jeep Gladiator Destination Unknown - 2022 JTR journal IMG_4135.JPG


Clearances are tight, but nothing is touching.
Jeep Gladiator Destination Unknown - 2022 JTR journal IMG_4134


The awning was a different story. The bolts were too small and too short. Finding a longer bolt was the easy part. Finding a bolt with the right head size and thickness without a large diameter shaft was impossible. I probably could have used my micrometer and found something on Amazon but with dad visiting I had the extra hands to get it mounted now. The next largest bolt for the appropriate head size would be way too thick, and the thread diameter too large to reasonably drill through the brackets. So, I opted for a MacGuyver method. I took the SS bolts I had, which were small enough that the head would fully spin inside the T slot, and I shoved 2 pieces of bayline wire under the bolt head so it would act as a sort of wedge allowing me to tighten the nylok nuts without the bolt head spinning. Of course, this is risky as the wire is steel, untreated, and will probably rust fast. But I really don't have any other option unless someone here happens to know exactly where to get the right sized bolts. Anyway, it went on, and I was able to snug up the bolts without incident. Getting them off again in the future in a few years could be a whole different story. But for now, it is solid. Instead of the standard 2 brackets, I used 3 even though this awning is only 41 pounds.
Jeep Gladiator Destination Unknown - 2022 JTR journal IMG_4132.JPG


Again, it's a tight fit, but nothing touches.
Jeep Gladiator Destination Unknown - 2022 JTR journal IMG_4133


And the cool thing is with these in place, nobody will ever know the hardware for the tent is on the outside unless deployed. This will also help protect the hinges and struts as well.
Jeep Gladiator Destination Unknown - 2022 JTR journal IMG_4136.JPG
 

Turnswrench

Well-Known Member
First Name
Bowman
Joined
Mar 10, 2023
Threads
1
Messages
422
Reaction score
1,067
Location
Palmer, AK 99645, USA
Vehicle(s)
2021 80th Anniversary, 2023 Rubicon
Build Thread
Link
Occupation
Start Up Strategist
Very creative! Nice work as always
 
OP
OP
chorky

chorky

Well-Known Member
First Name
Chad
Joined
Feb 26, 2022
Threads
175
Messages
3,466
Reaction score
3,801
Location
Montana
Website
www.youtube.com
Vehicle(s)
'22JTR, '06 LJ, '06 TJ GE
Build Thread
Link
Occupation
GIS Specialist
With the awning on the driver side now I took the opportunity over the weekend to do a quick setup. Since I ordered the second awning for the left side, I got with it 2 more sides.

Jeep Gladiator Destination Unknown - 2022 JTR journal IMG_4220.JPG


Apparently this was the only photo I took...hmm. Well anyway here the door is open and you can see inside the enclosed area. I did not pull the walls out and secure them to the ground like you would in a wind storm. And the door would probably go on one of the other sections. But I can say even with the very slight wind pushing temps outside from 45 to 35, just having this up made a pretty big difference! I think with a little fire inside, one could easily camp in some cold temps and still stay fairly warm. More than likely though would the use of this be during wind, sideways rain/snow, or a dust storm. It also still leaves plenty of room open for cooking and friends, if any ever were to join.
 
OP
OP
chorky

chorky

Well-Known Member
First Name
Chad
Joined
Feb 26, 2022
Threads
175
Messages
3,466
Reaction score
3,801
Location
Montana
Website
www.youtube.com
Vehicle(s)
'22JTR, '06 LJ, '06 TJ GE
Build Thread
Link
Occupation
GIS Specialist
A new product arrived today. Thanks to @cug for pointing it out. Since last year working with the poop bucket (https://www.amazon.com/Reliance-Pro...&sprefix=reliance+toilet+bucke,aps,175&sr=8-4) something had to change. It was ok for what it was, and I knew before purchasing that it is not optimal to mix poo and urine. But it was cheap and I wanted to give it a try. There were a few camp trips where I didnt have a great opportunity to throw away the poo bags, and stupid me didn't bring along biodegradable bags to bury. After day 4 of a 8 day trip, it was getting rank. Even tying up the bags in two of those thick black trash bag's didt work. Even worse was the poo was starting to biodegrade, creating heat, and thus creating condensation inside the bucket - gross.....

But I didn't want to spring for a full on composting toilet, and I didnt have nor want a fully permanent mounted solution for now. So, by recommendation, this seemed a valid solution (https://www.amazon.com/gp/product/B0BZDVJFXL/ref=ppx_yo_dt_b_asin_title_o05_s00?ie=UTF8&th=1). It is more expensive than what I wanted to sped for a 'composting' toilet, but it is cheaper than several other options.

It does seem quite nice actually. Of course the plastic seems brittle and weak like most plastic boxes but its not like it will see any real force.
Jeep Gladiator Destination Unknown - 2022 JTR journal IMG_4360.JPG


The version I ordered came with two bags of some type of hemp fiber, a whole lot of poop bags, but most importantly, the bottom tray. I didn't really care about the hemp product - cat litter works just fine. But the bottom tray is what was desired. It is about 4-5" tall, so it puts the seat up higher. I am pretty short, so even for me this extra height is perfect and allows my knees to be at a perfect 90 degree angle when sitting.
Jeep Gladiator Destination Unknown - 2022 JTR journal IMG_4357.JPG


It is a little interesting to me that the poo container is pretty darn small, while the pee container is massive. It seems disproportionate. But I do like how it is nice and secure. It comes with two different tops for the pee container, and a third plug - that I suppose you could use if you did not cap off the pee container before driving? I think it makes more sense to just empty it before going anywhere.
Jeep Gladiator Destination Unknown - 2022 JTR journal IMG_4358


I also personally find it a little interesting how small the poo opening is. One must be careful to not have the runs or a long snaked log or some cleanup will be needed. I expect this will happen anyway, which is kinda gross, but not as gross as burning $#!& in a barrel of diesel and gas.....Or squatting with explosive diarrhea with a wider effective range than a frag grenade - at least it is contained this way.
Jeep Gladiator Destination Unknown - 2022 JTR journal IMG_4359


But overall I am excited for this. Yeah poo is gross. But we all do it, everyone poops even with a colonoscopy bag.... If this can help cut down on the smells for a week long trip, it is well worth it. My only concern is how easy it seems it will be to get poo all over the black plastic surrounding the little bucket. I think they should have made the poo container about 5 inches taller with less of a wall of the black toilet seat area so that the inevitable wiping and cleaning of the 'seat' wouldn't be such an issue - maybe I can find something and cut out that plastic backing. My intestines are an absolute wreck, so hopefully this will make a big positive difference and make the longer term camping situations less $#!&&%.
 

Sponsored

OP
OP
chorky

chorky

Well-Known Member
First Name
Chad
Joined
Feb 26, 2022
Threads
175
Messages
3,466
Reaction score
3,801
Location
Montana
Website
www.youtube.com
Vehicle(s)
'22JTR, '06 LJ, '06 TJ GE
Build Thread
Link
Occupation
GIS Specialist
While I am still waiting on some things for the JT I opted to start rust prevention work on the LJ today.
Jeep Gladiator Destination Unknown - 2022 JTR journal IMG_4372


Jeep Gladiator Destination Unknown - 2022 JTR journal IMG_4374

The detail shop I took it to yesterday did a fantastic job under it and cleaned things off better than I expected for a good price too.

Jeep Gladiator Destination Unknown - 2022 JTR journal IMG_4373

So I began on the rusty spots and spraying with eastwood rust converter. It does say not to spray paint, I am not sure why, but I covered a lot of it hitting the few dings here and there on the frame and the full inside of the frame as well.

Jeep Gladiator Destination Unknown - 2022 JTR journal IMG_4376

Tomorrow will continue with 2 coats of 3M cavity wax on all interior parts of the frame and body and 3-4 coats of Amsoil HD Metal Protect on the outside of the frame and entire underside of the body. I wont worry about any suspension or axle components as that will all be getting upgraded.

Jeep Gladiator Destination Unknown - 2022 JTR journal IMG_4375

I wish it were already done and good to go, it is a beautiful weekend and I hate wasting them at home on projects.

Jeep Gladiator Destination Unknown - 2022 JTR journal IMG_4377

Oh and I also reorganized all the take-off components. I am undecided on selling them or not.
 
OP
OP
chorky

chorky

Well-Known Member
First Name
Chad
Joined
Feb 26, 2022
Threads
175
Messages
3,466
Reaction score
3,801
Location
Montana
Website
www.youtube.com
Vehicle(s)
'22JTR, '06 LJ, '06 TJ GE
Build Thread
Link
Occupation
GIS Specialist
Today I took a few hours to get some security installed. The Vantrue N5 4 channel dash cam. It has a cam for out the front, behind, and into the cab from front and rear. It's pretty full coverage. One of my dislikes with other cams is they had poor interior video. This setup has nearly full coverage, so if a thief broke into the cab, their face would surely be captured. I will feel a lot more protected parking at a busy lot or trailhead with this setup.

Jeep Gladiator Destination Unknown - 2022 JTR journal IMG_4393.JPG
Jeep Gladiator Destination Unknown - 2022 JTR journal IMG_4402
Jeep Gladiator Destination Unknown - 2022 JTR journal IMG_4400.JPG
Jeep Gladiator Destination Unknown - 2022 JTR journal IMG_4401
 
OP
OP
chorky

chorky

Well-Known Member
First Name
Chad
Joined
Feb 26, 2022
Threads
175
Messages
3,466
Reaction score
3,801
Location
Montana
Website
www.youtube.com
Vehicle(s)
'22JTR, '06 LJ, '06 TJ GE
Build Thread
Link
Occupation
GIS Specialist
Finally got the second battery all wired up. Too bad it's all going to change again in a few months, but it's a good time to test it out before needing it.

Jeep Gladiator Destination Unknown - 2022 JTR journal IMG_4429.JPG


Now I have a total capacity of 230 ah, with a max usable amount of 161 ah.
 
OP
OP
chorky

chorky

Well-Known Member
First Name
Chad
Joined
Feb 26, 2022
Threads
175
Messages
3,466
Reaction score
3,801
Location
Montana
Website
www.youtube.com
Vehicle(s)
'22JTR, '06 LJ, '06 TJ GE
Build Thread
Link
Occupation
GIS Specialist
A forum member was gracious enough to send me some samples of Baltic Birch the other day. I have known about baltic birch for a long time - however I have never seen it in person. It is a special order item in my area, so I was very interested in seeing a couple small samples prior to buying any. For those who don't want to read any more, to put it simply, it is worth it.

The three pieces on the left are baltic birch samples. The larger 3/4" slice on the right is the standard stuff you can get at your local hardware store that is almost always in stock. It is easy to see the difference in this photo alone, but I took some closer inspections.
Jeep Gladiator Destination Unknown - 2022 JTR journal IMG_4434.JPG


One of the biggest differences is the size of the layers. Baltic birch is more condensed. Maybe my mind was playing tricks but it actually felt a decent amount heavier in my hand than did the 3/4 standard stuff on the right. But look close at the layers. You can see the outer layer of the baltic is much thicker - meaning you can sand it down for a very smooth surface without being concerned about getting past that first thin layer and causing a problem.
Jeep Gladiator Destination Unknown - 2022 JTR journal IMG_4435.JPG


It might be hard to see in that photo. So here is another perspective. This is a piece I had lying around the basement. It was not abused, roughed up, or treated poorly. This is the finish from the source. It's not great. You can see past the very thin top layer. Now compare that with the second photo. Sure the baltic birch is initially rougher, and the cheaper stuff is smoother, but with the baltic there is room to play and to sand very smooth without causing issues.
Jeep Gladiator Destination Unknown - 2022 JTR journal IMG_4438.JPG

Jeep Gladiator Destination Unknown - 2022 JTR journal IMG_4439.JPG


I am by no means a wood worker, but the quality difference is pretty clear.
Jeep Gladiator Destination Unknown - 2022 JTR journal IMG_4437
 
OP
OP
chorky

chorky

Well-Known Member
First Name
Chad
Joined
Feb 26, 2022
Threads
175
Messages
3,466
Reaction score
3,801
Location
Montana
Website
www.youtube.com
Vehicle(s)
'22JTR, '06 LJ, '06 TJ GE
Build Thread
Link
Occupation
GIS Specialist
Exciting things are happening. So I had to remove the cross bars that I used as a ledge for the recovery gear, and the bottom of the front 813 Fabrication Molly panel in preparation.
Jeep Gladiator Destination Unknown - 2022 JTR journal IMG_4458.JPG


I also will be relocating the entire electrical distribution system - which is going to be a real pain, but well worth it.
Jeep Gladiator Destination Unknown - 2022 JTR journal IMG_4459.JPG
 

Sponsored

OP
OP
chorky

chorky

Well-Known Member
First Name
Chad
Joined
Feb 26, 2022
Threads
175
Messages
3,466
Reaction score
3,801
Location
Montana
Website
www.youtube.com
Vehicle(s)
'22JTR, '06 LJ, '06 TJ GE
Build Thread
Link
Occupation
GIS Specialist
Doin a little test fitting.

Jeep Gladiator Destination Unknown - 2022 JTR journal IMG_4509.JPG


@Jaxmax I blame you for making me tear everything apart....again...for a 3rd time. But, also owe ya a beer. This is going to be the perfect final setup for my needs. So far all the measurements are absolutely perfect. We'll see if I will be able to use the air tank though, that's the one kinda major unknown.
 
OP
OP
chorky

chorky

Well-Known Member
First Name
Chad
Joined
Feb 26, 2022
Threads
175
Messages
3,466
Reaction score
3,801
Location
Montana
Website
www.youtube.com
Vehicle(s)
'22JTR, '06 LJ, '06 TJ GE
Build Thread
Link
Occupation
GIS Specialist
Since I'm waiting for glue to dry, spent some time drawing up a wiring diagram.

Jeep Gladiator Destination Unknown - 2022 JTR journal 1Wiring Diagram
 
OP
OP
chorky

chorky

Well-Known Member
First Name
Chad
Joined
Feb 26, 2022
Threads
175
Messages
3,466
Reaction score
3,801
Location
Montana
Website
www.youtube.com
Vehicle(s)
'22JTR, '06 LJ, '06 TJ GE
Build Thread
Link
Occupation
GIS Specialist
Before test fitting the tanks and batteries I re-located the 4 ga wires coming form the Genesis smart solenoid under the hood. It was a royal pain fishing the wires through the existing hole in the side of the bed but I did like not having to drill another hole. The wires are wrapped in the expandable sleeve and then again wrapped with the old school plastic loom This was to provide additional protection and reduce the chance of cutting through the wire to cause a short. Additionally, the two negative wires from the aux tank are here as well. So FYI for anyone else wanting to use this method this is the absolute max amount of wire that will fit through the hole. I had to fight it considerably but it is snug and not moving. The wires loop down and around the top of the frame. they are a little bit exposed under the plastic wheel well liner but short of a big stick or chains ripping through that liner they should be protected enough. And allow for minor movement of bed and chassis without wiggling the wires.

Jeep Gladiator Destination Unknown - 2022 JTR journal IMG_4513
 
OP
OP
chorky

chorky

Well-Known Member
First Name
Chad
Joined
Feb 26, 2022
Threads
175
Messages
3,466
Reaction score
3,801
Location
Montana
Website
www.youtube.com
Vehicle(s)
'22JTR, '06 LJ, '06 TJ GE
Build Thread
Link
Occupation
GIS Specialist
Lift spring swap day! For anyone wanting to review, see post # 49, 62, 65.


Sitting a little better now. I had ordered the HD springs some time ago but finally had the time to get them installed. For this I revisited J & K Customs, who does fantastic work. Come to find out, the tech doing the spring swap used to work for AEV installing all of their components for their fully built numbered vehicles. After a quick discussion of my Gladiator, the build, weights, components, use case - he said I would would have an amazing ride with the HD springs being as I am well in the weight category. He also looked over the other components I had, and the overall build and mentioned it was one of the nicer and more well thought out builds he has seen. Take it for what it's worth but it made me feel pretty darn good anyway.
Jeep Gladiator Destination Unknown - 2022 JTR journal IMG_4556.JPG


The install went smooth, no problems at all. And I can say, the ride is amazing. No more hitting bump stops on the interstate (we have some terrible terrible dips that are hazards for motorcycles). And despite what everyone might think, it is not any stiffer whatsoever. It is so smooth. Possibly next year I will upgrade the shocks, but well give the standard ones a try for another summer. I am absolutely ecstatic of the new feel and new stance. Up front height increased maybe 1/4 of an inch. The back looks to have increased 3/4's or even a full inch. But, the bed is relatively empty as I am redoing the entire bed setup. I have no doubt that when fully loaded down it will be like riding on a cloud.
Jeep Gladiator Destination Unknown - 2022 JTR journal IMG_4557.JPG


Thanks Chad to the link of your write up. Very informative.
My question is that since you and I are probably running close to the same weights would you use the heavier springs now knowing what you do? I think that once we both completely load up our trucks with water, extra fuel, food etc that the heavier springs might work better but I’m just spitballing here ?

PS regarding the rear sway bar I upgraded mine to the Hellwig one and have been very happy with the sway control, particularly with a RTT on.
Hey Eddie, tagging you here because looking back, if I knew then what I know now, I would have gone straight with the HD springs. But, in all fairness, upon initial install last year I was not in the weight category that warranted the HD springs, and I didnt know at that time that my life schedule was going to provide the opportunities to do multiple longer term trips which of course means more weight and thus being in the HD spring category. I my personal case I am still glad to have experienced the standard springs before the HD's but if I knew right off the bat I would be this heavy I would have gone with the HD's right away. They ride amazing.
 

BourbonRunner

Well-Known Member
First Name
Steve
Joined
Jul 10, 2022
Threads
16
Messages
1,429
Reaction score
2,807
Location
Baltimore
Vehicle(s)
'22 JTM, '04 E46. I hate my money and it shows.
Occupation
Foole
Hey Chad--

I'm edging closer to getting a JTM, could happen within a week or so if everything lines up.

I'm debating the fridge in the bed vs the cabin and thinking I would do 40% delete but higher platform to go over the cubby and throw the fridge on there like you have. You did that, right? Anyway, whats the dimensions of your fridge? Looking seriously at the Kick/Ass 75L. Thanks!
Sponsored


Top