rwu355
Active Member
- First Name
- Randall
- Joined
- Feb 28, 2021
- Threads
- 0
- Messages
- 26
- Reaction score
- 28
- Location
- Lower Rio Grande Valley Texas
- Vehicle(s)
- 2020 Jeep Gladiator Mojave
- Occupation
- Retired
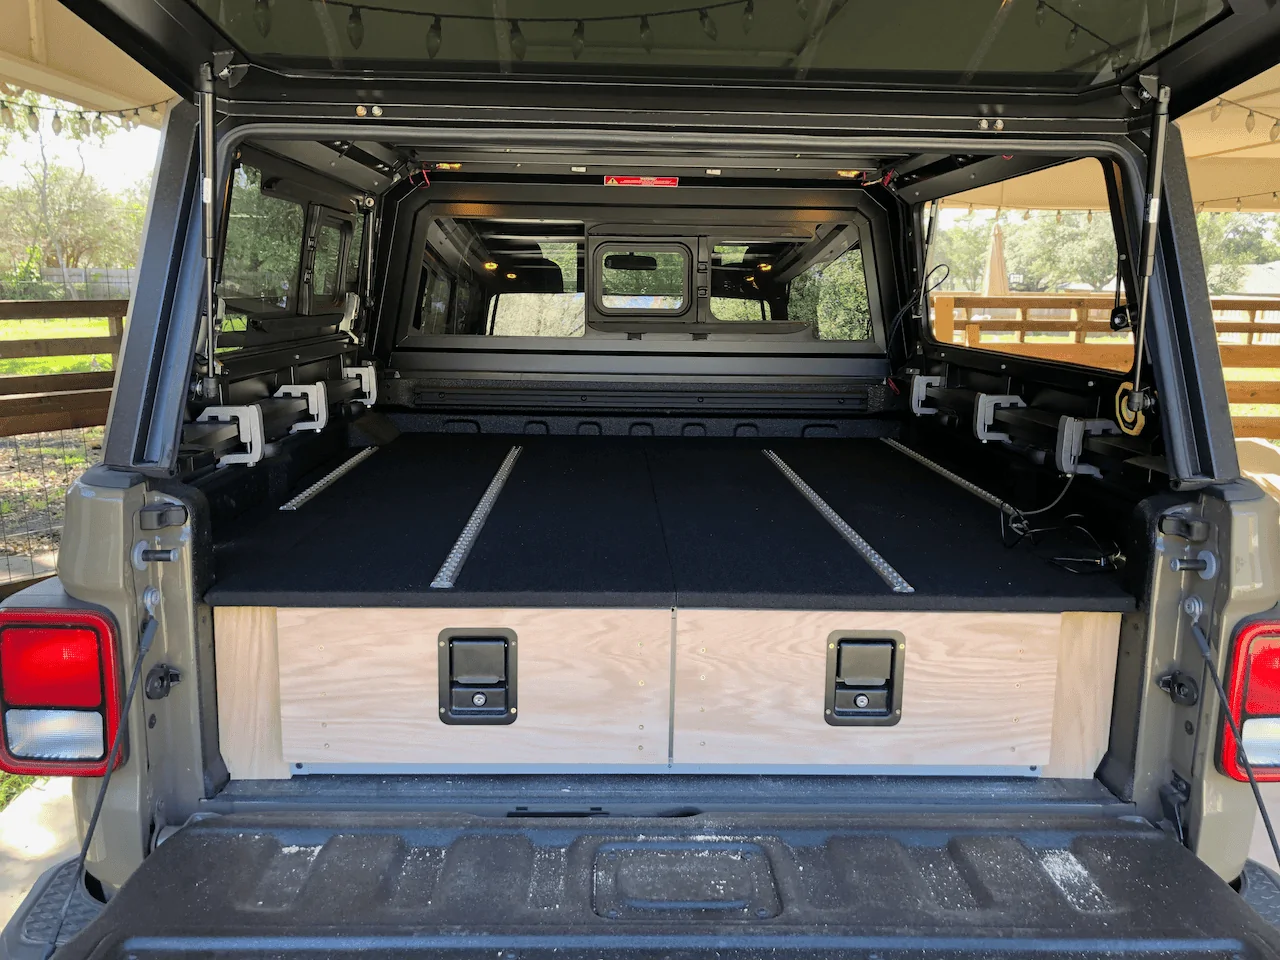
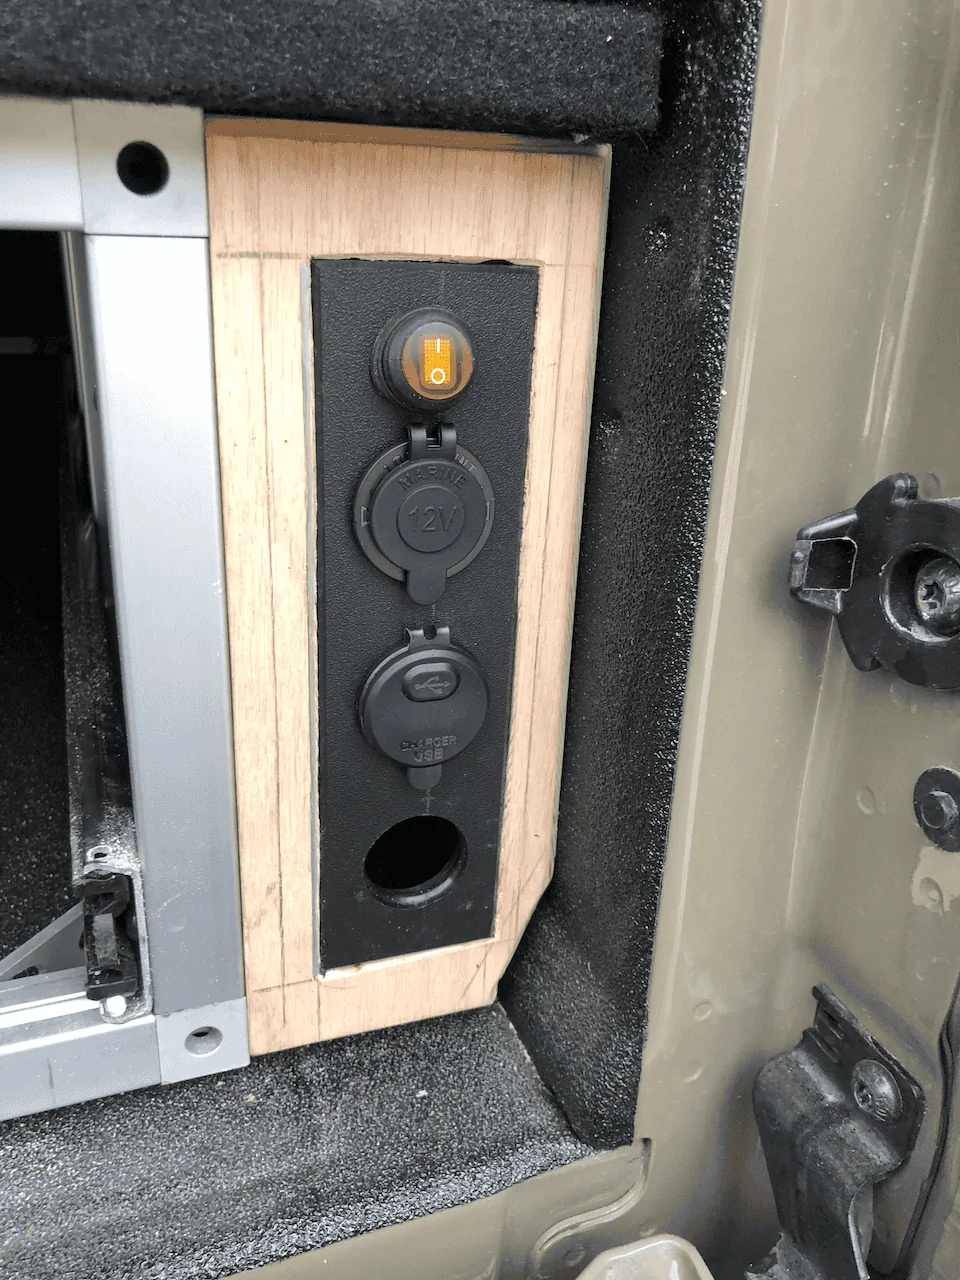
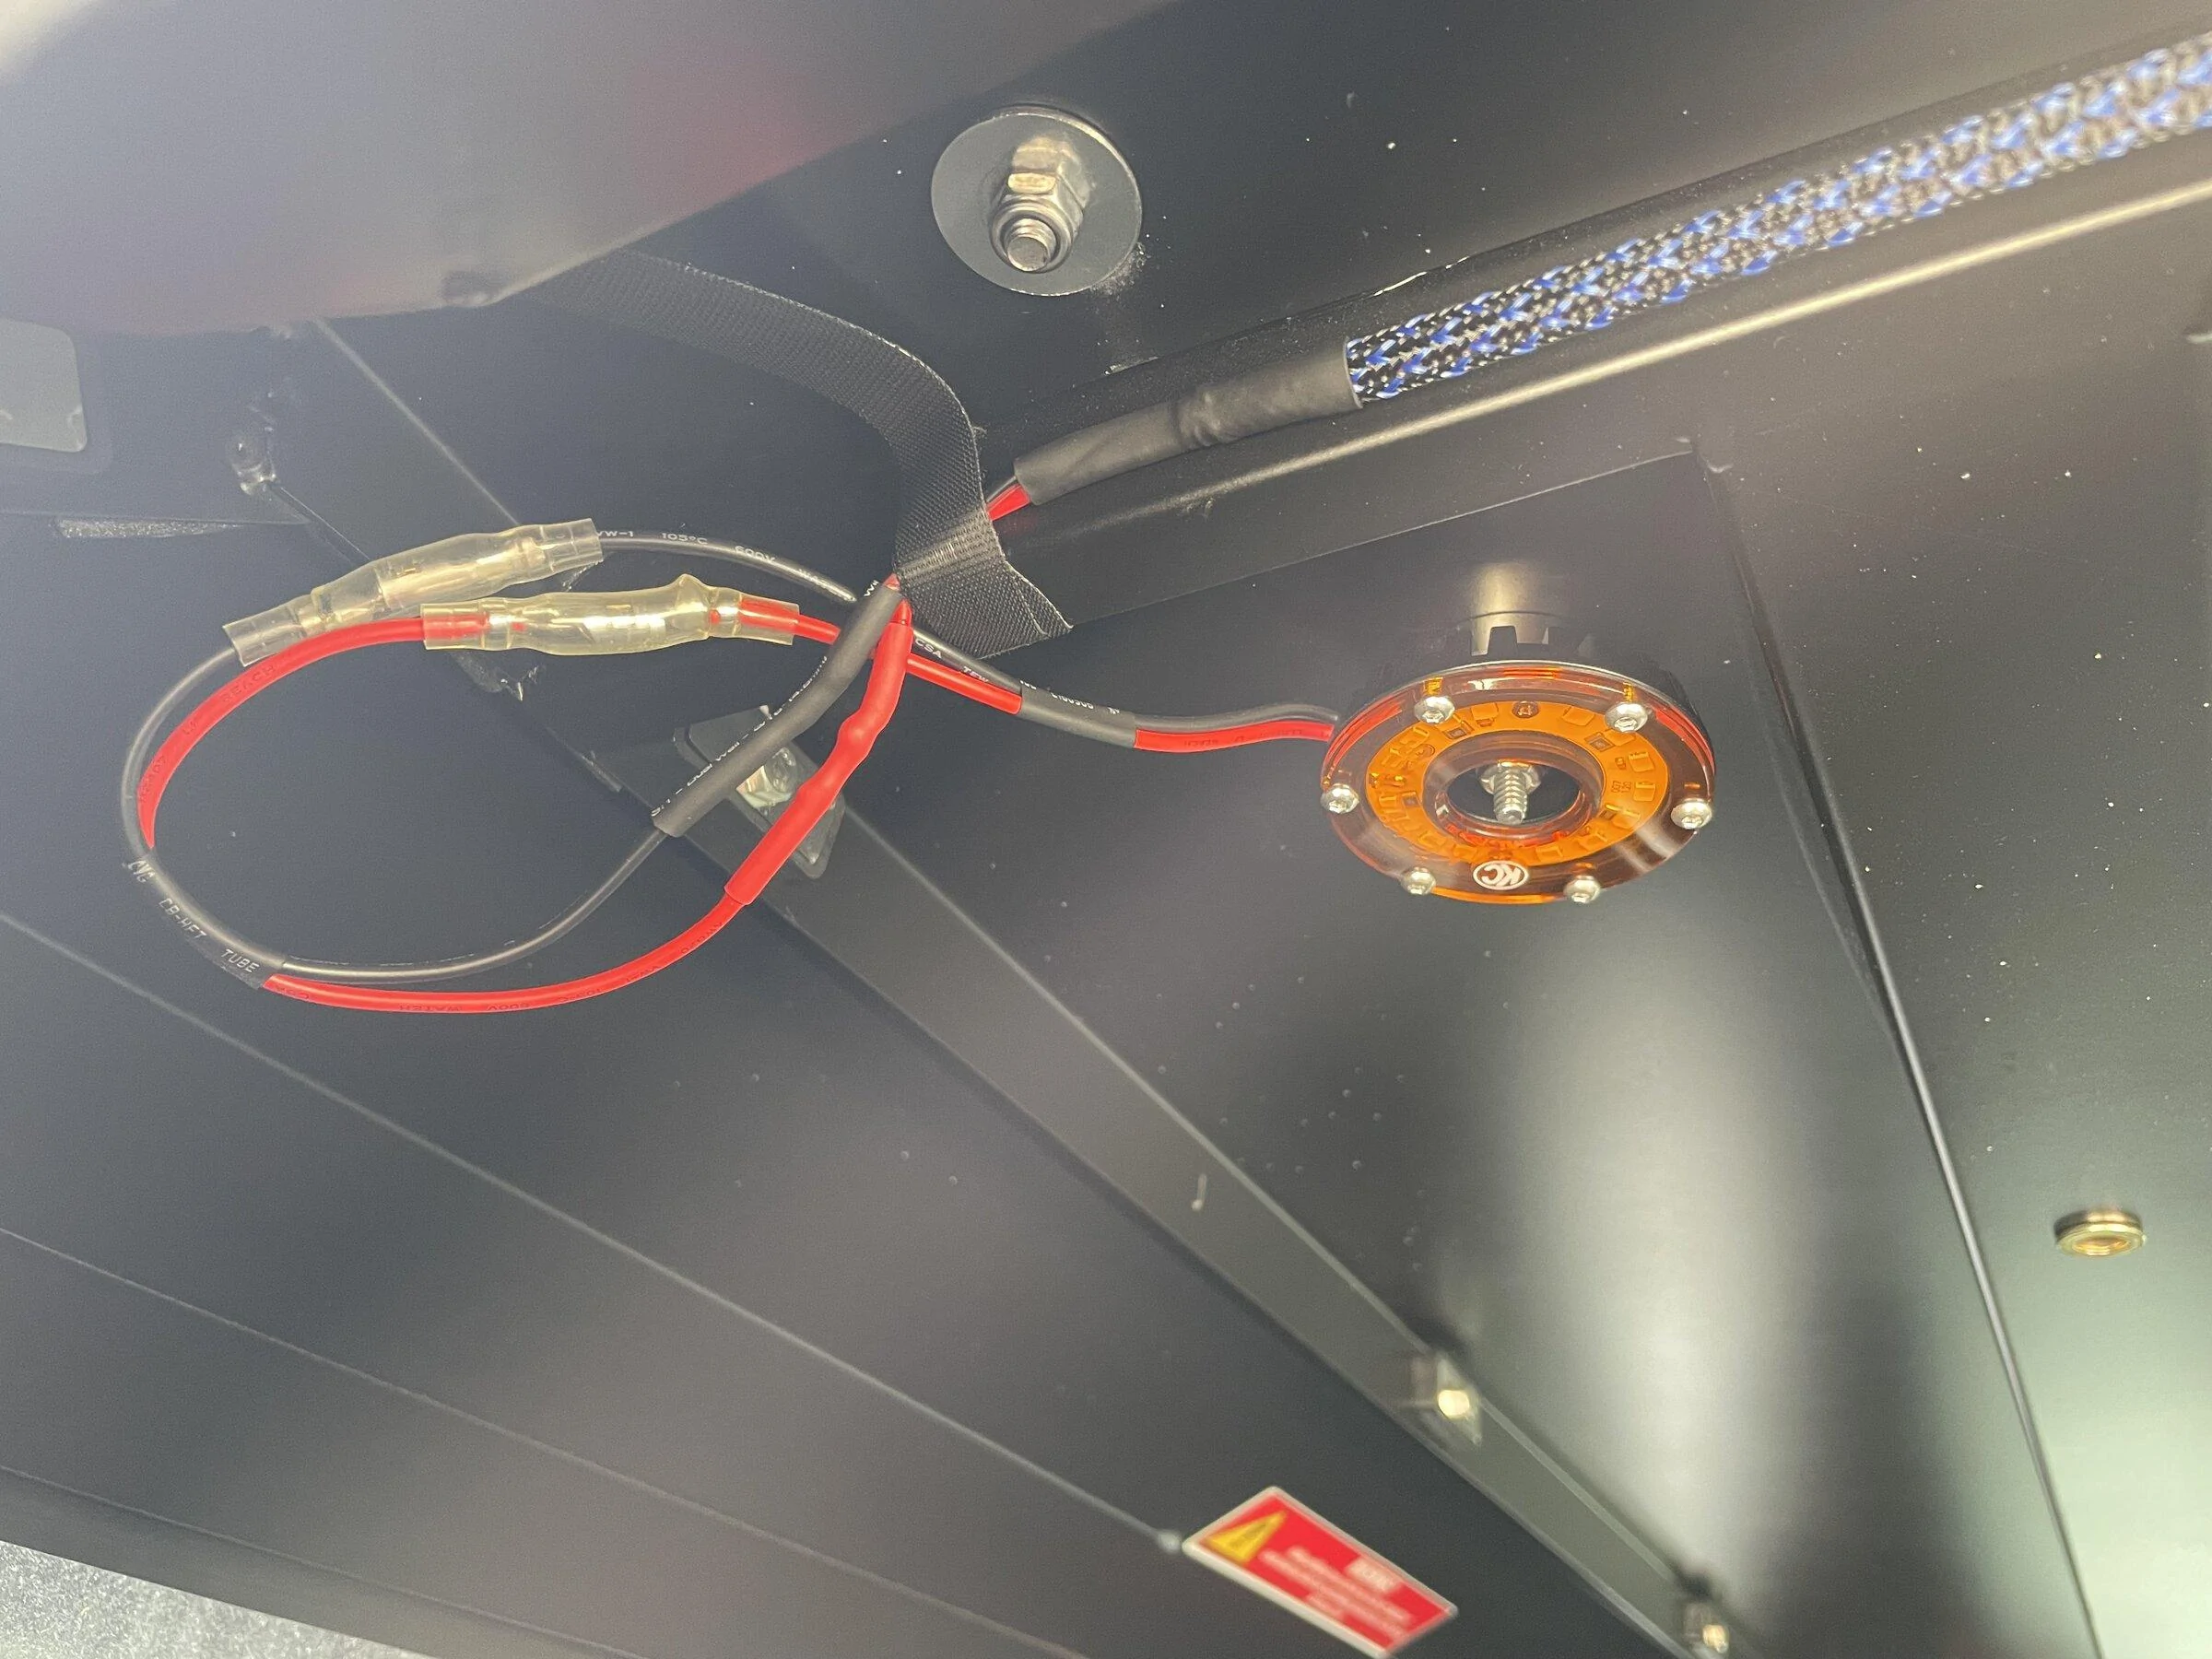
Very nicely done. I’m curious about your DIY electric set up in the bed since my truck doesn’t have a bed mounted inverter plug.
Sponsored

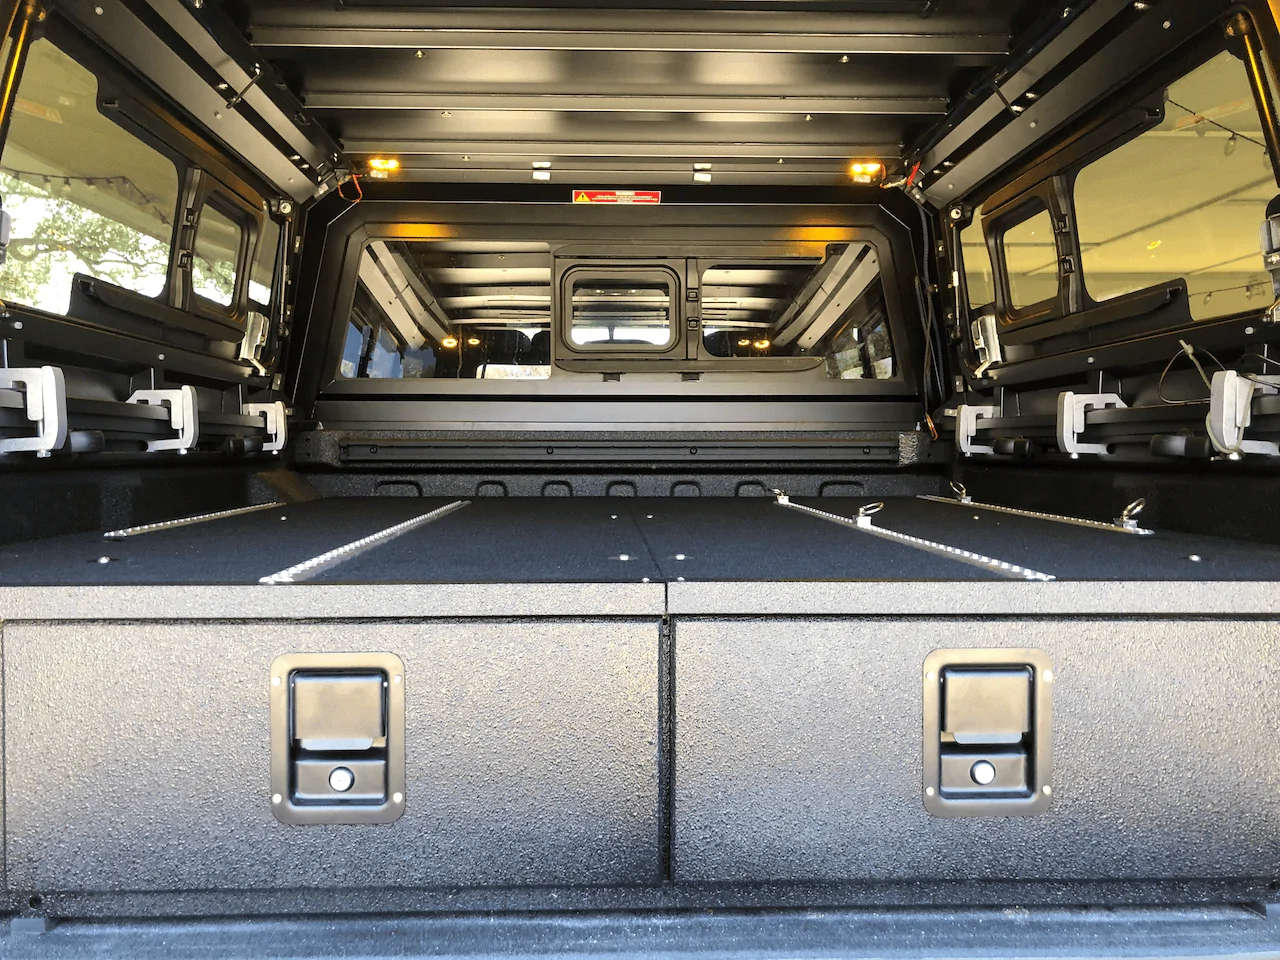
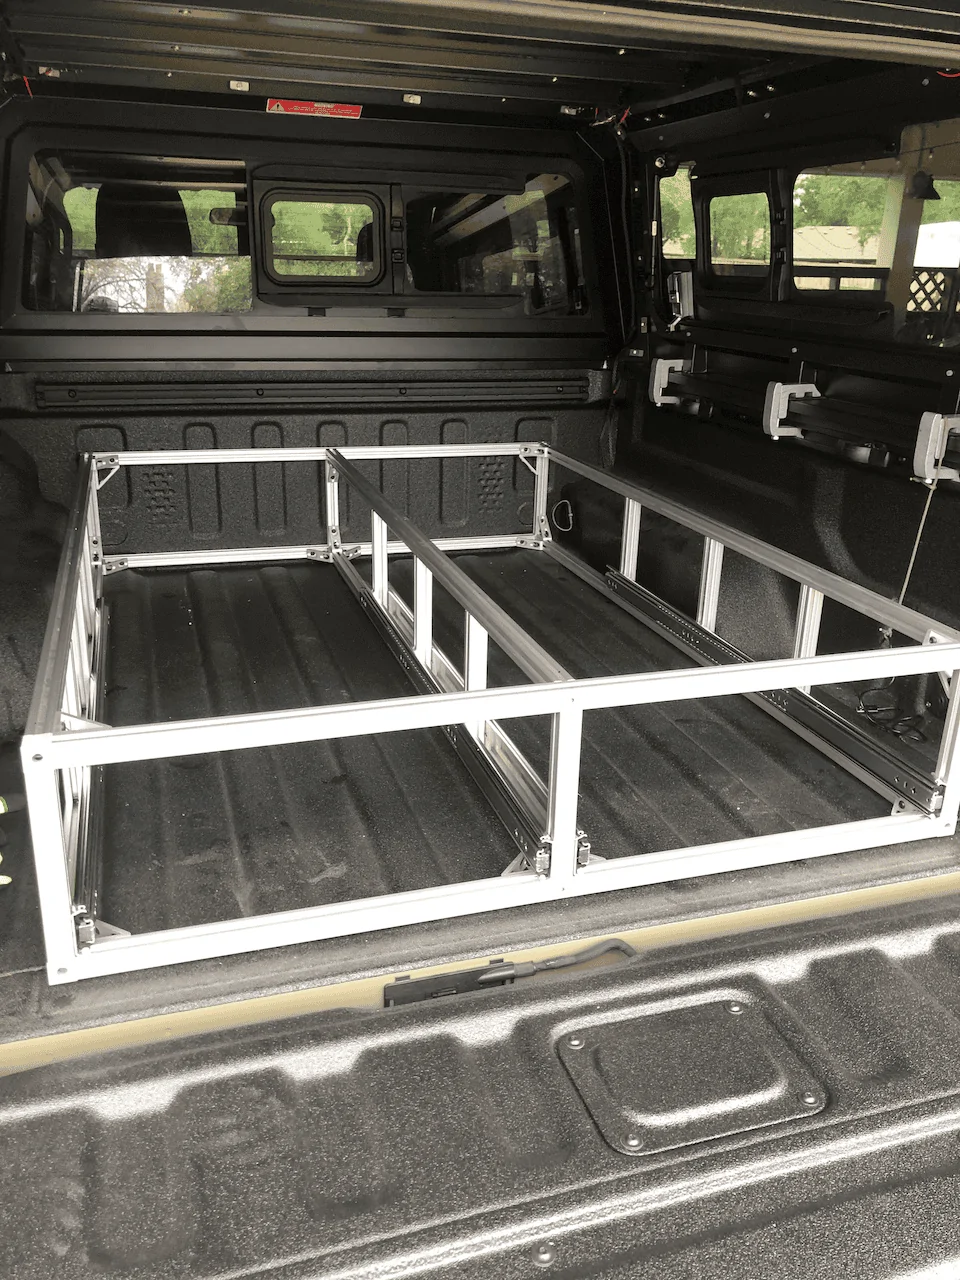
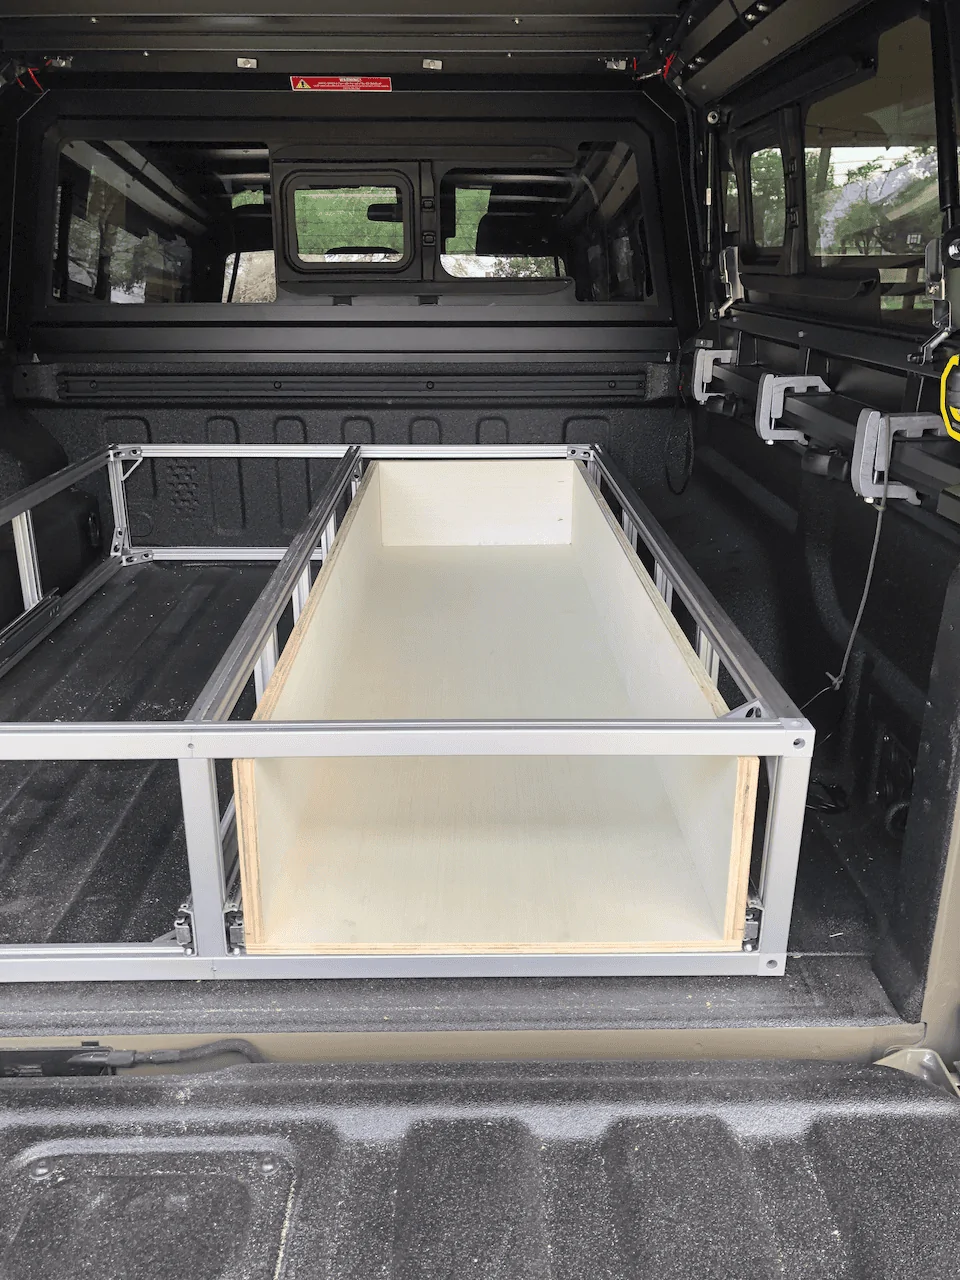
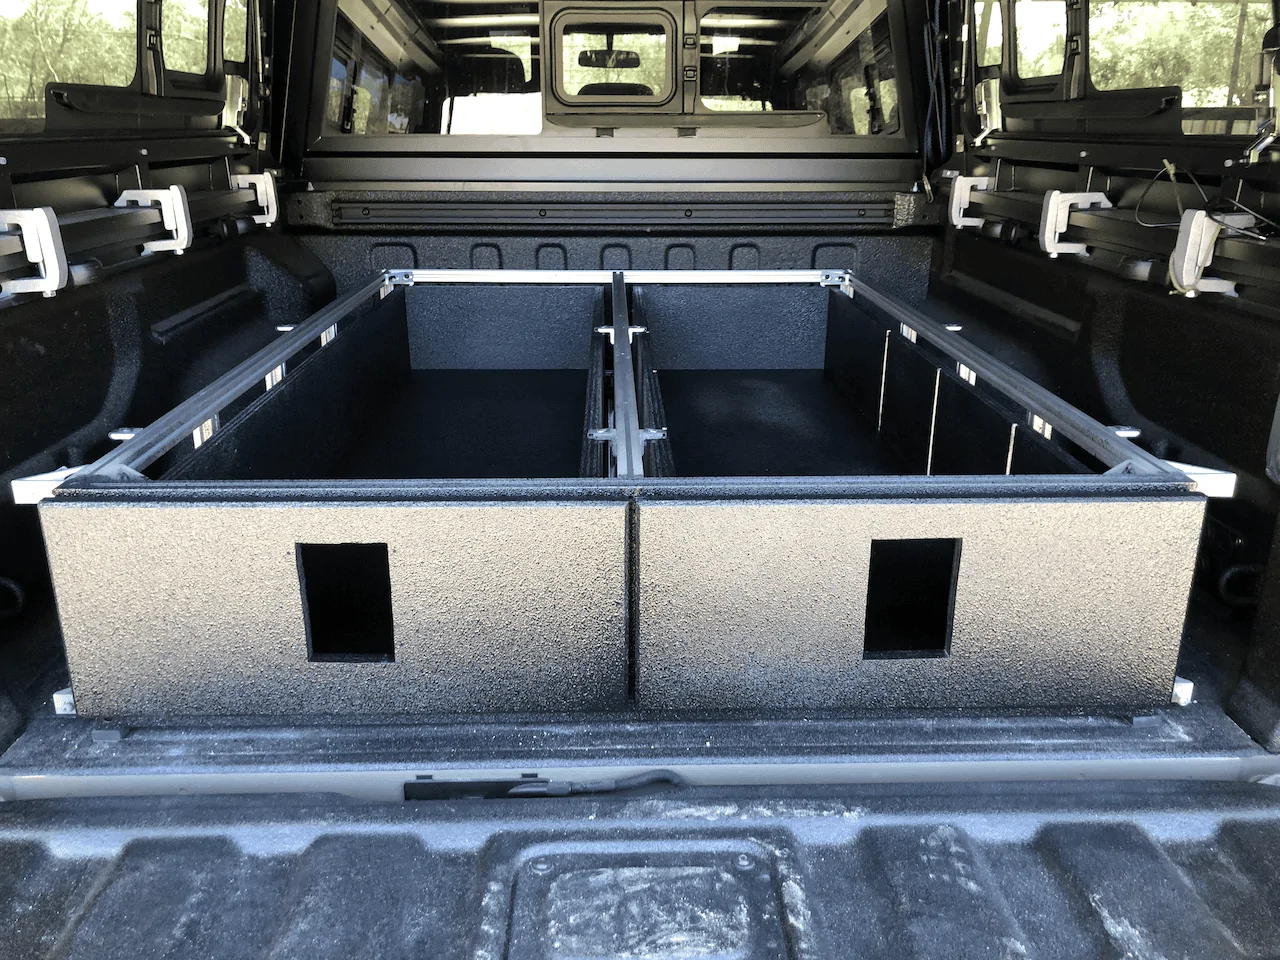
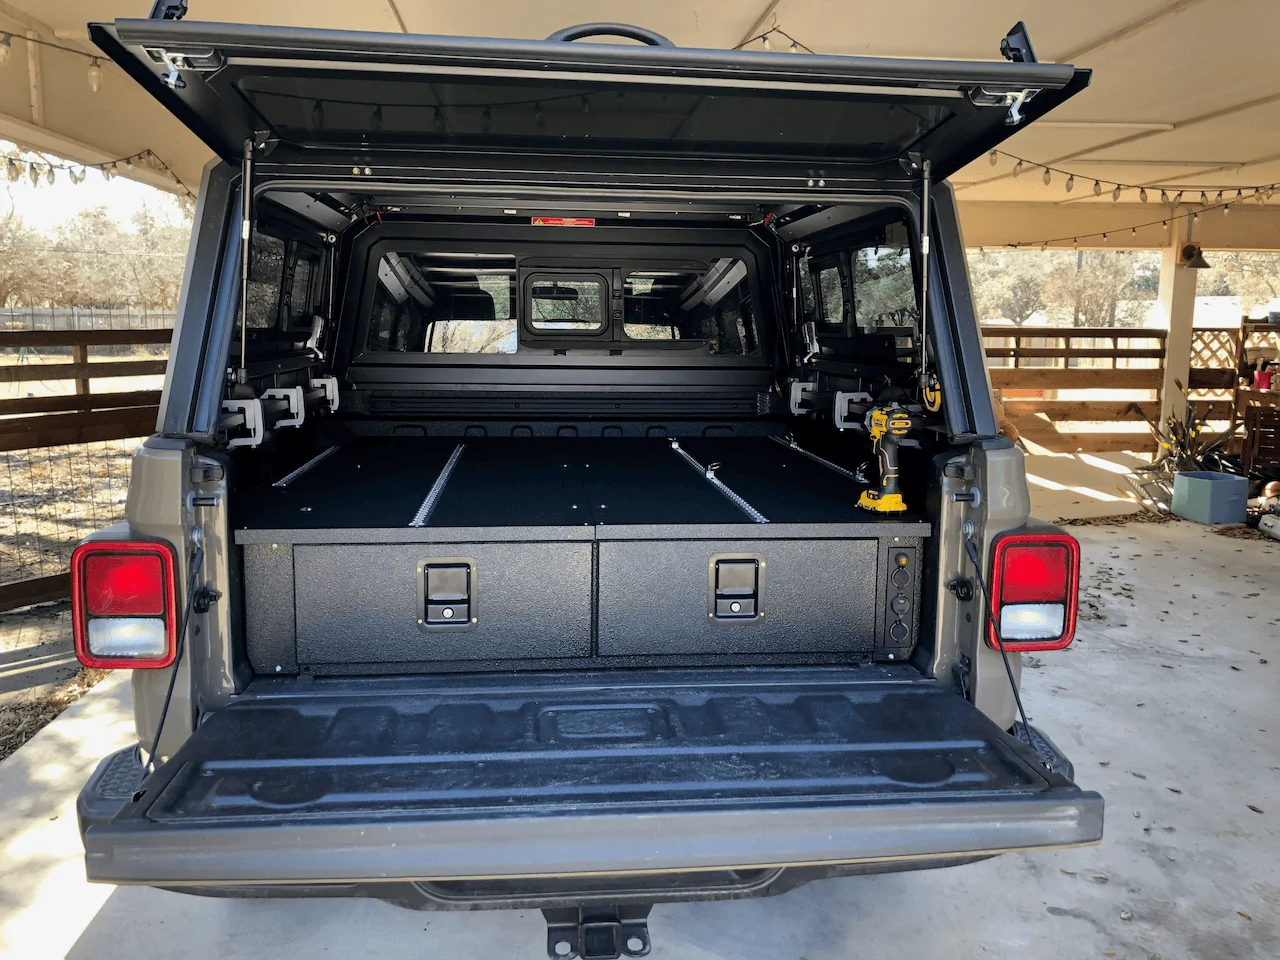
 . Two, I wanted to be able to easily remove the drawers if necessary. Three, I like to do stuff myself
 .
.