Sponsored
Retro "Embossed" Jeep Tailgate Badge Installed
- Thread starter TheRealGinjaNinja
- Start date
- Watchers 13
pixeldecals
Rock Sponsor (Level 1)
- Joined
- Apr 3, 2017
- Threads
- 0
- Messages
- 195
- Reaction score
- 355
- Location
- Chicago Area, IL
- Website
- www.pixeldecals.com
- Vehicle(s)
- 2020 Gladiator Rubicon
Thank you!!@pixeldecals that is a very nice looking product.
OP
OP
TheRealGinjaNinja
Well-Known Member
- First Name
- Aaron
- Joined
- Jul 5, 2019
- Threads
- 19
- Messages
- 399
- Reaction score
- 611
- Location
- Snoqualmie, WA
- Vehicle(s)
- 2021 Gladiator Mojave
- Thread starter
- #18
Apologies for the delay been a crazy weekend!@TheRealGinjaNinja
I think this question is for you.
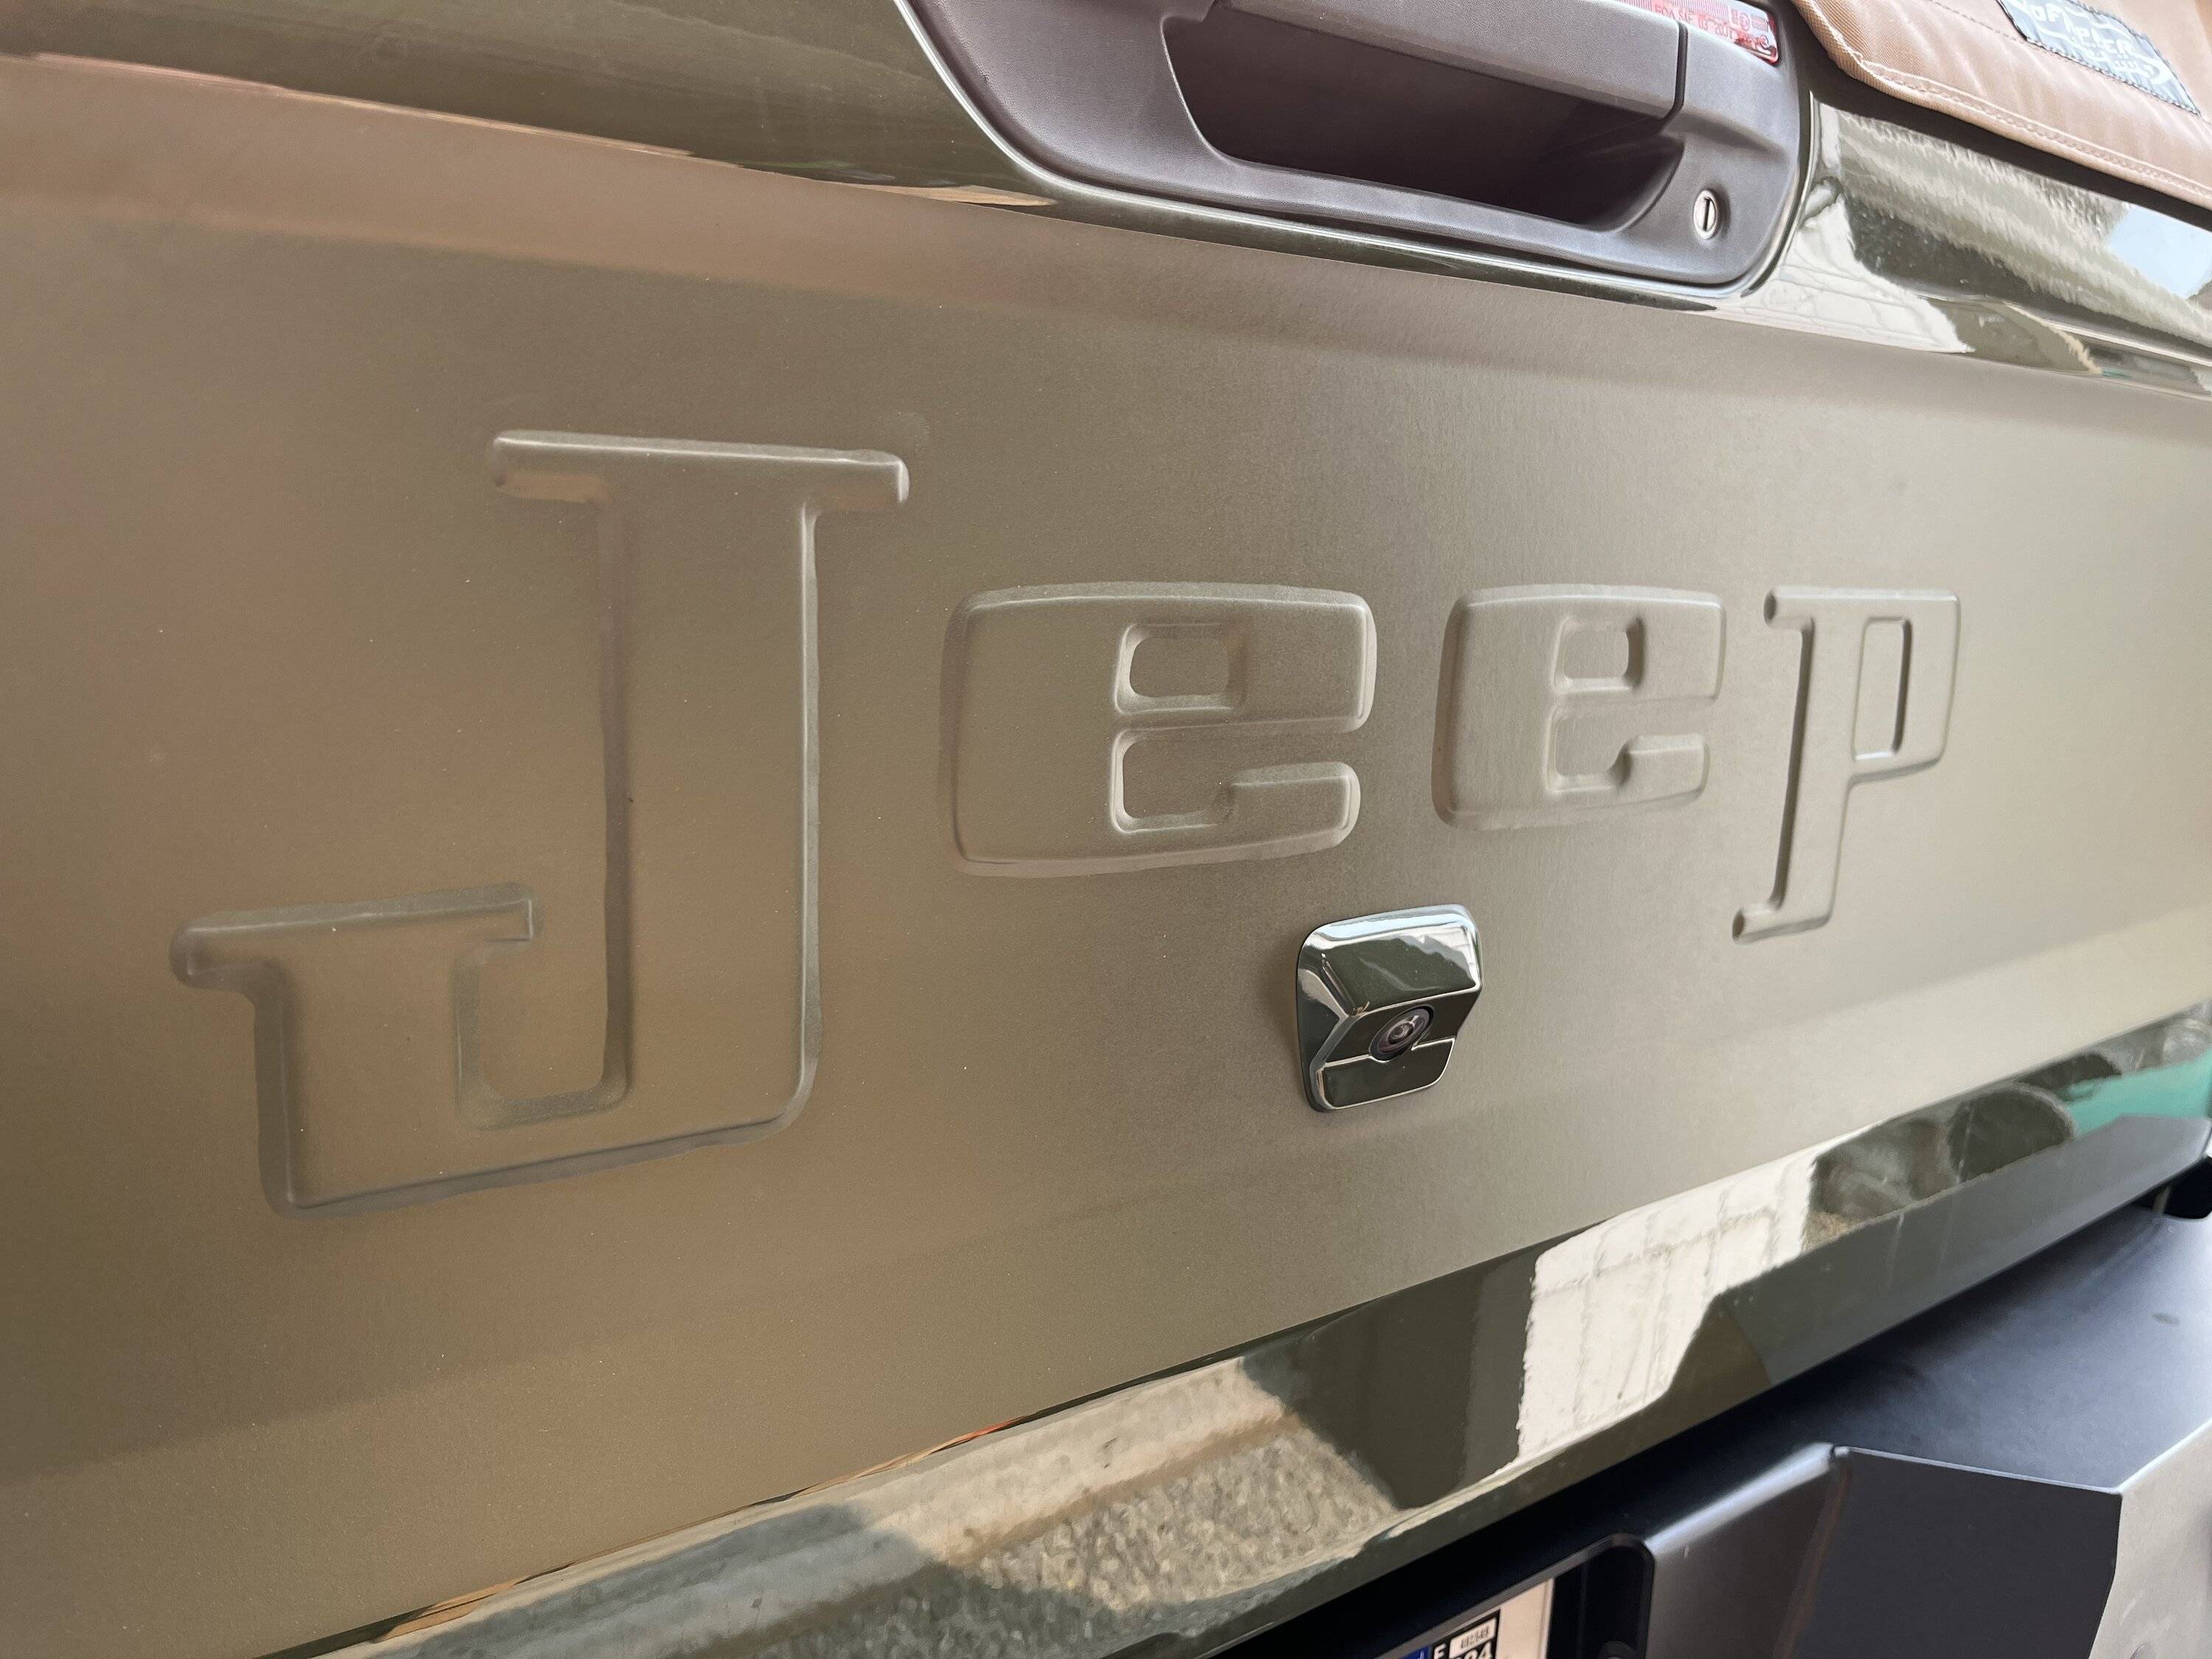
But yea, the embossed Jeep letters came from Kaos Design and they are black. The pics of the kit show a black vinyl decal overlay even though it is not part of the kit I bought: https://kaosdesignco.company.site/Gladiator-Retro-Jeep-Tailgate-Emblem-p465328035
The vinyl overlay I have is from PixelDecals in a Matte Military Green and was a custom order.
The bubbles have not come out on their own in the sun so I plan to work on it a bit today or tomorrow and hopefully get it done. This was my first time ever doing vinyl work myself lol.
Cheers
OP
OP
TheRealGinjaNinja
Well-Known Member
- First Name
- Aaron
- Joined
- Jul 5, 2019
- Threads
- 19
- Messages
- 399
- Reaction score
- 611
- Location
- Snoqualmie, WA
- Vehicle(s)
- 2021 Gladiator Mojave
- Thread starter
- #19
It is hard to see in the pics because of the angle and sun but it includes vinyl for the depressed areas around the tail lights as well.Is it just the rear tail gate or are there additional pieces to the kit ? Also, would you mind posting some pics of a side view of your JT, would love to see how your tan top looks/fits. Thanks
pixeldecals
Rock Sponsor (Level 1)
- Joined
- Apr 3, 2017
- Threads
- 0
- Messages
- 195
- Reaction score
- 355
- Location
- Chicago Area, IL
- Website
- www.pixeldecals.com
- Vehicle(s)
- 2020 Gladiator Rubicon
Sure does!It is hard to see in the pics because of the angle and sun but it includes vinyl for the depressed areas around the tail lights as well.
Sponsored
War_shiper
Member
- First Name
- Jonathan
- Joined
- Jun 7, 2020
- Threads
- 0
- Messages
- 12
- Reaction score
- 9
- Location
- Perry, Oklahoma
- Vehicle(s)
- 21 JTR 3.6, 69 J200, 20 JL 2d 2.0L, 89 XJ 4.0
- Occupation
- Driver for UPS
The plan is to get the side matching badges too, for mine.
OP
OP
TheRealGinjaNinja
Well-Known Member
- First Name
- Aaron
- Joined
- Jul 5, 2019
- Threads
- 19
- Messages
- 399
- Reaction score
- 611
- Location
- Snoqualmie, WA
- Vehicle(s)
- 2021 Gladiator Mojave
- Thread starter
- #22
Quick update - I wasn’t able to completely get the vinyl to lay down in the creases using heat and pinholes. 100% operator error. I think the key area where I messed up is I should have laid the vinyl dry over the letters as I really needed the adhesive to stick right away.
It doesn’t look bad right now and most people probably wouldn’t notice unless looking at it close. I will leave it as is and if the vinyl fails I’ll order a replacement piece.
I have already received several compliments from random people ;-)
Cheers

It doesn’t look bad right now and most people probably wouldn’t notice unless looking at it close. I will leave it as is and if the vinyl fails I’ll order a replacement piece.
I have already received several compliments from random people ;-)
Cheers
OP
OP
TheRealGinjaNinja
Well-Known Member
- First Name
- Aaron
- Joined
- Jul 5, 2019
- Threads
- 19
- Messages
- 399
- Reaction score
- 611
- Location
- Snoqualmie, WA
- Vehicle(s)
- 2021 Gladiator Mojave
- Thread starter
- #23
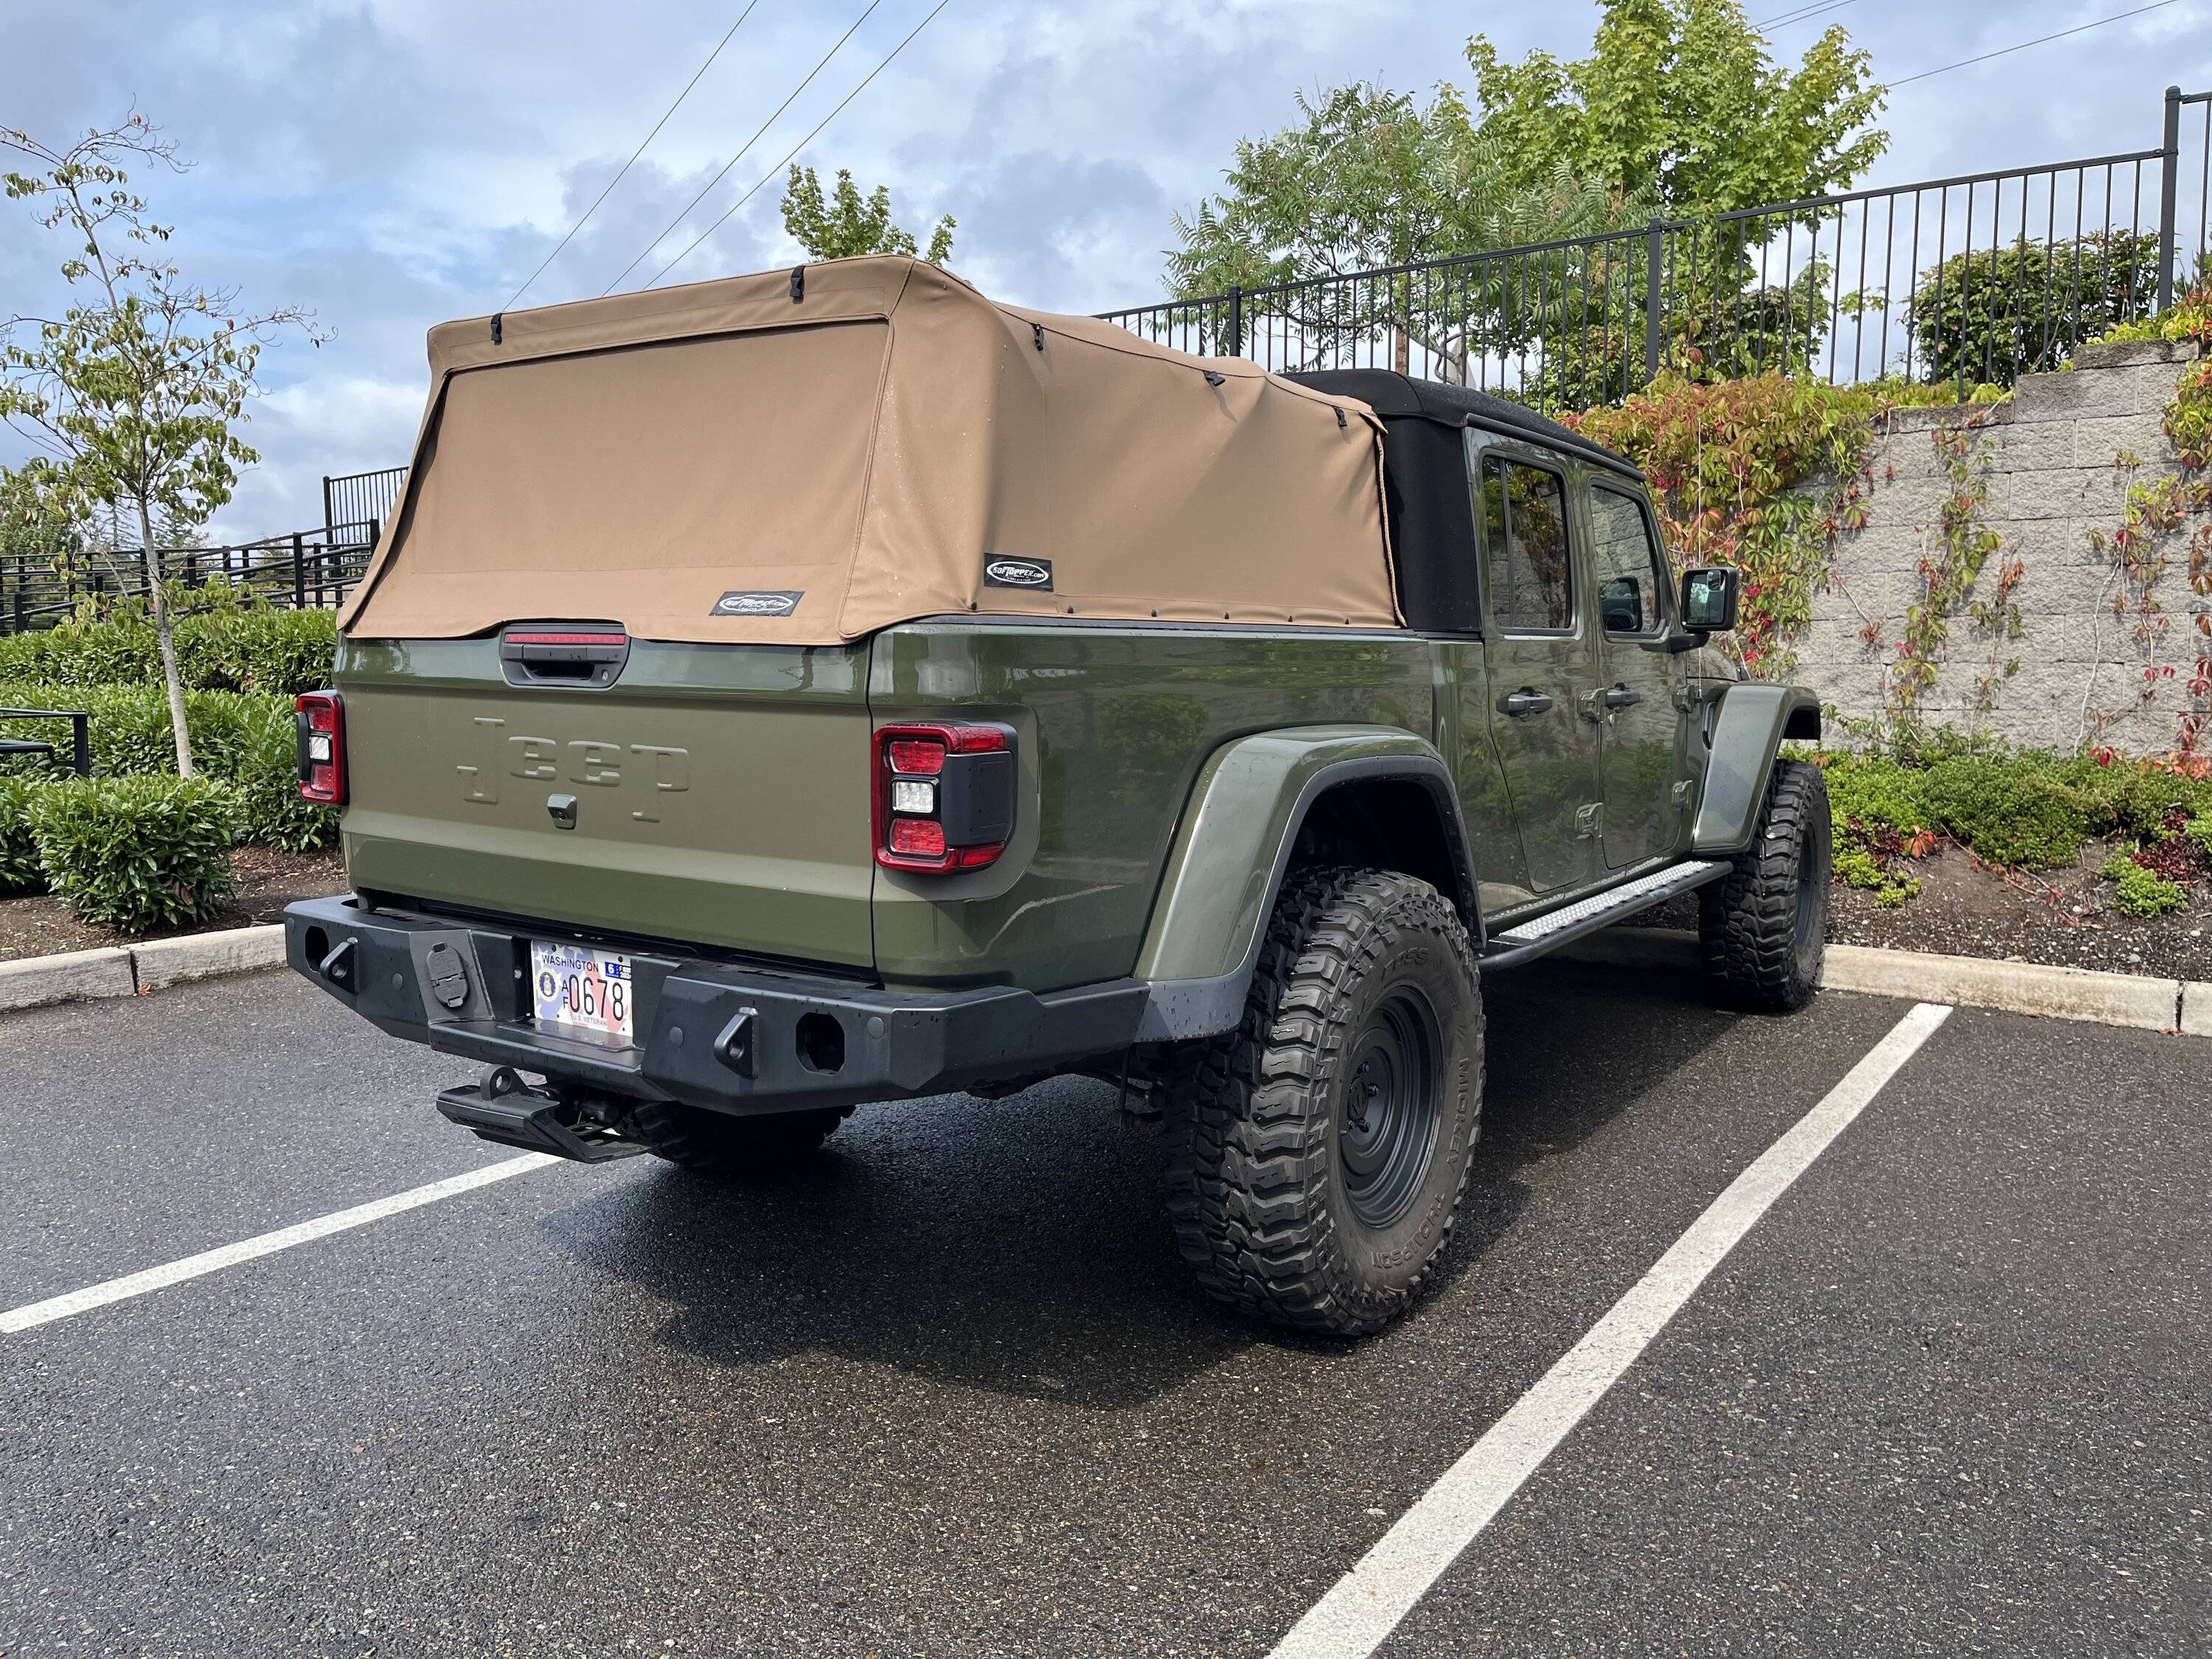
A couple of quick pics from today with the premium soft top installed as well. Love the tan Softopper!!Is it just the rear tail gate or are there additional pieces to the kit ? Also, would you mind posting some pics of a side view of your JT, would love to see how your tan top looks/fits. Thanks

OP
OP
TheRealGinjaNinja
Well-Known Member
- First Name
- Aaron
- Joined
- Jul 5, 2019
- Threads
- 19
- Messages
- 399
- Reaction score
- 611
- Location
- Snoqualmie, WA
- Vehicle(s)
- 2021 Gladiator Mojave
- Thread starter
- #25
Appreciate it thanks! I just ordered decals in the same color to replace the oem "Jeep" on the sides that I already took off as well as a matte military green decal to go on top of the hood similar to a blackout one.That looks great
Now I just need to get some new backup lights or modify the mounting bracket on my Rigid Dually's to fit the rear bumper and repaint / refinish the bumpers, sliders, and wheels. Prefer to do something other than black. I did bronze everywhere on my last Jeep (front bumper came off it) but I am leaning towards a Raptorliner / Monstaliner in the same color as these decals (I found a very close color match). Its a never ending project but thats why Jeeps are so fun ;-)
Cheers
Sponsored
SargeDiesel
Well-Known Member
Thanks, very nice.A couple of quick pics from today with the premium soft top installed as well. Love the tan Softopper!!
Gatorized
Well-Known Member
How close in color to gator is the tailgate overlay?A couple of quick pics from today with the premium soft top installed as well. Love the tan Softopper!!
That is a nice contrast to the Sarge green.
Last edited:
OP
OP
TheRealGinjaNinja
Well-Known Member
- First Name
- Aaron
- Joined
- Jul 5, 2019
- Threads
- 19
- Messages
- 399
- Reaction score
- 611
- Location
- Snoqualmie, WA
- Vehicle(s)
- 2021 Gladiator Mojave
- Thread starter
- #28
It is certainly close to the old military OD green, which does have brown tones in it but it is more green than brown. I think it could work on Gator in the opposite way...adding green toned contrast to the brownish Gator as opposed to adding some brown tones to the Sarge green. On its own it may not look the best but if you pull it together with some other items it could work.How close in color to gator is the tailgate overlay?
That is a nice contrast to the Sarge green.
You might want to request some samples of colors (which is what I did) that are closer to Gator that are also matte and see what you like. Don from PixelDecals can hook you up.
Cheers
Rockabillyroy
Well-Known Member
Not sure if it's too late, but you might try a hair dryer or a heat gun on low, warm up the vinyl around the letters, use the plastic vinyl tool that kind of looks like an exacto knife and really press in those creases.Quick update - I wasn’t able to completely get the vinyl to lay down in the creases using heat and pinholes. 100% operator error. I think the key area where I messed up is I should have laid the vinyl dry over the letters as I really needed the adhesive to stick right away.
It doesn’t look bad right now and most people probably wouldn’t notice unless looking at it close. I will leave it as is and if the vinyl fails I’ll order a replacement piece.
I have already received several compliments from random people ;-)
Cheers
With the right amount of heat, vinyl becomes very pliable.
OP
OP
TheRealGinjaNinja
Well-Known Member
- First Name
- Aaron
- Joined
- Jul 5, 2019
- Threads
- 19
- Messages
- 399
- Reaction score
- 611
- Location
- Snoqualmie, WA
- Vehicle(s)
- 2021 Gladiator Mojave
- Thread starter
- #30
Yea that is exactly what I attempted several times. I had a heat gun, foam roller, tiny pin to poke holes, and the plastic vinyl tool to really press into the creases. After researching a bit more it really came down to me making two mistakes:Not sure if it's too late, but you might try a hair dryer or a heat gun on low, warm up the vinyl around the letters, use the plastic vinyl tool that kind of looks like an exacto knife and really press in those creases.
With the right amount of heat, vinyl becomes very pliable.
1. I used soapy water everywhere to lay down the decal. I should have just used soapy water on the areas not near the letters, or just laid it dry. Again, this was my first time doing a large decal and was a bit unsure.
2. I could of done a better job of stretching the vinyl into the creases as I was laying it down. I'd suggest starting from one side and slowly unroll or do it in sections instead of taking all of the backing off at once. Get the air out and conforming the vinyl to the creases using a foam roller as you lay it down.This would have been easier to do if I did not use soapy water because the decal kept moving around.
Cheers
Sponsored