Duke56
Well-Known Member
- First Name
- Bob
- Joined
- Oct 20, 2019
- Threads
- 5
- Messages
- 239
- Reaction score
- 148
- Location
- Lapeer, Michigan
- Vehicle(s)
- 2020 Gladiator Rubicon. Granite Crystal. Black Freedom Top & Fenders. Rock Krawler 3” Pro-X No limits Lift,
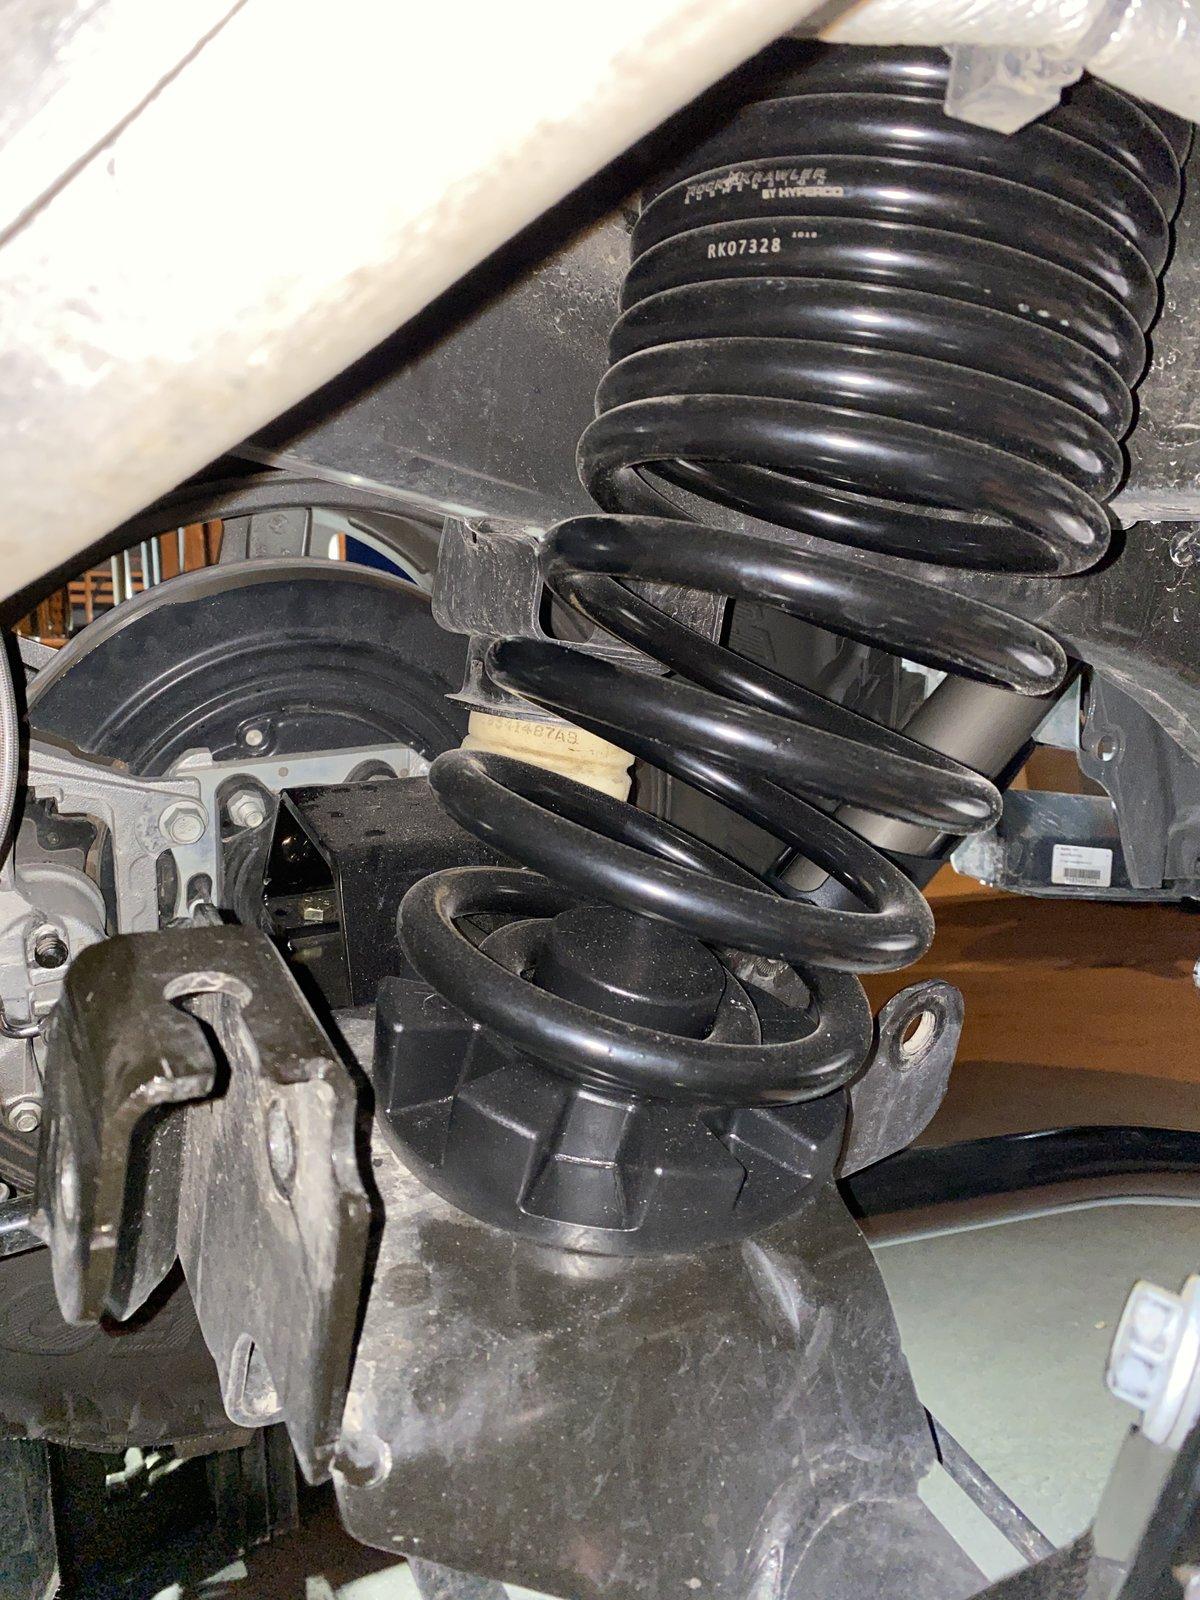
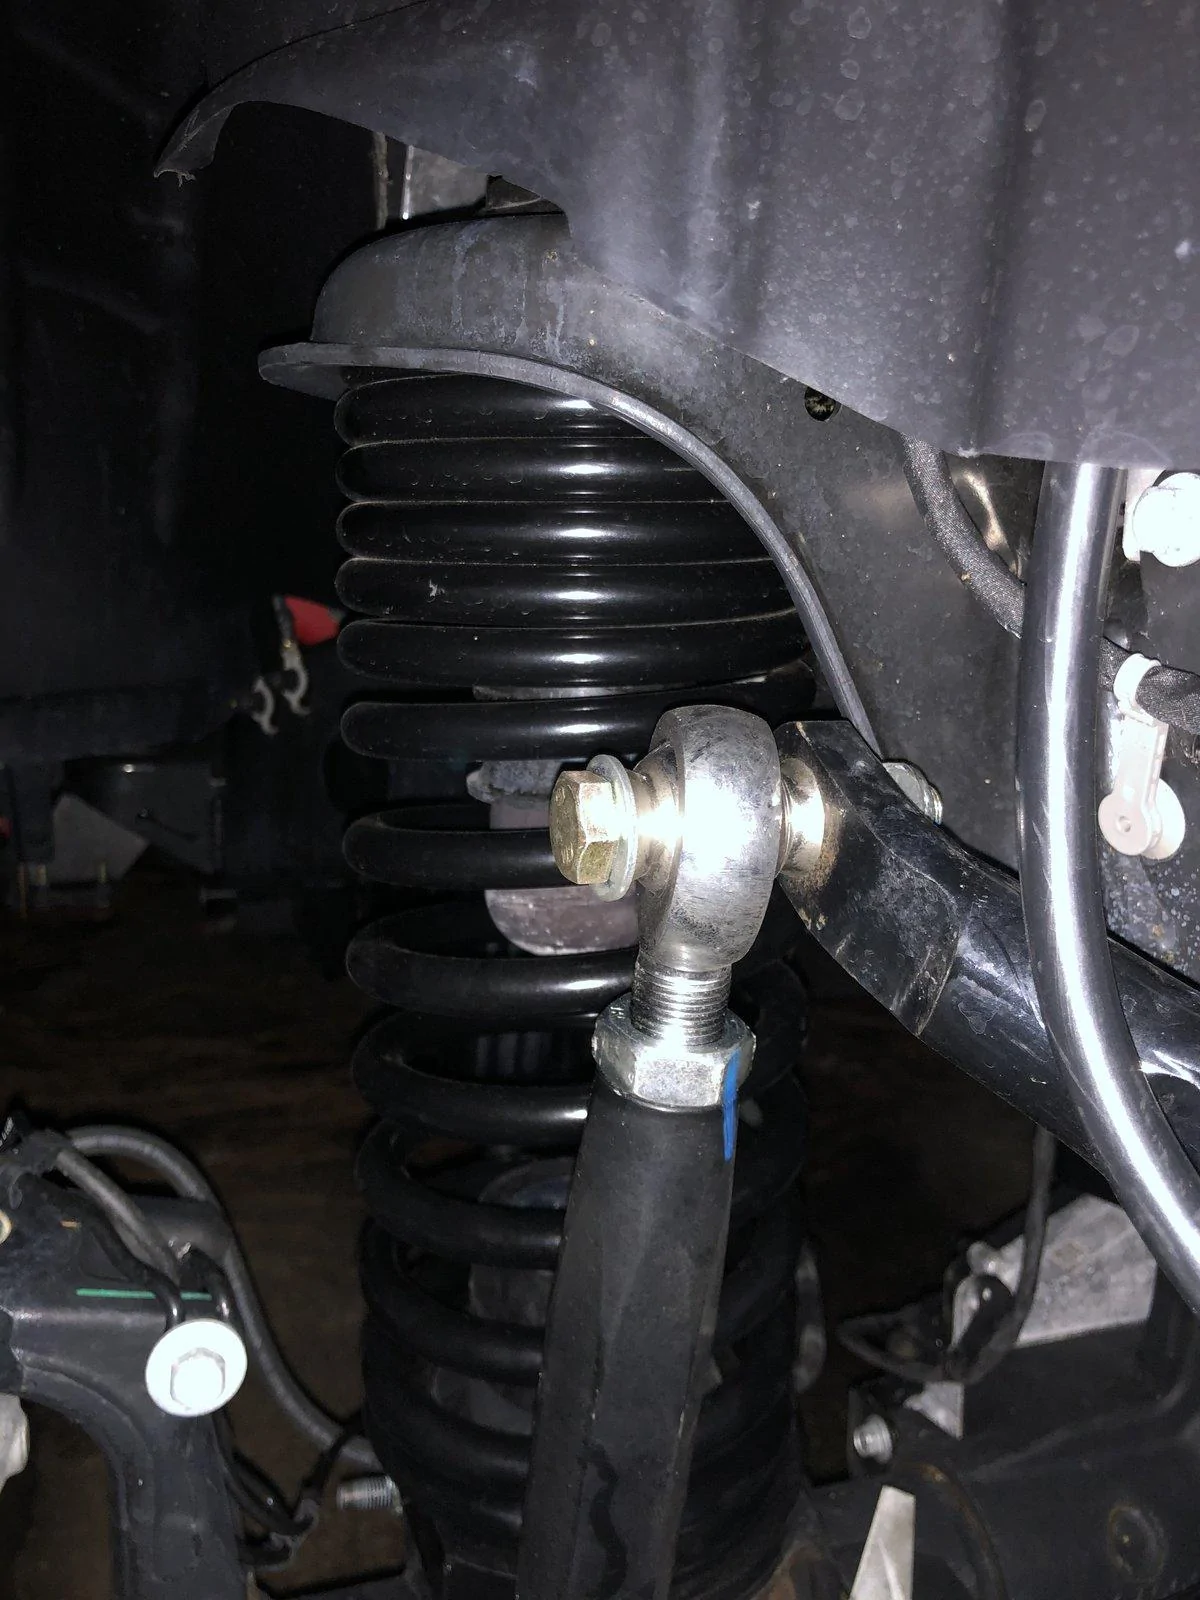
Excellent tips! And Thank You!Some helpful hints: Once you get the rear LCA`s set there is no room to get red Loctite on the threads, what i did was set the measurement then back up the Krawler Joint four full turns run the jam nut against the the LCA then apply red Lotite on the exposed threads, back out the jam nuts then run in the Krawler Joints the four full turns in to the original measurement. Now torque the jam nut the best you can with a crowfoot and torque wrench. Use red Loctite 277 it`s for larger nuts and bolts.
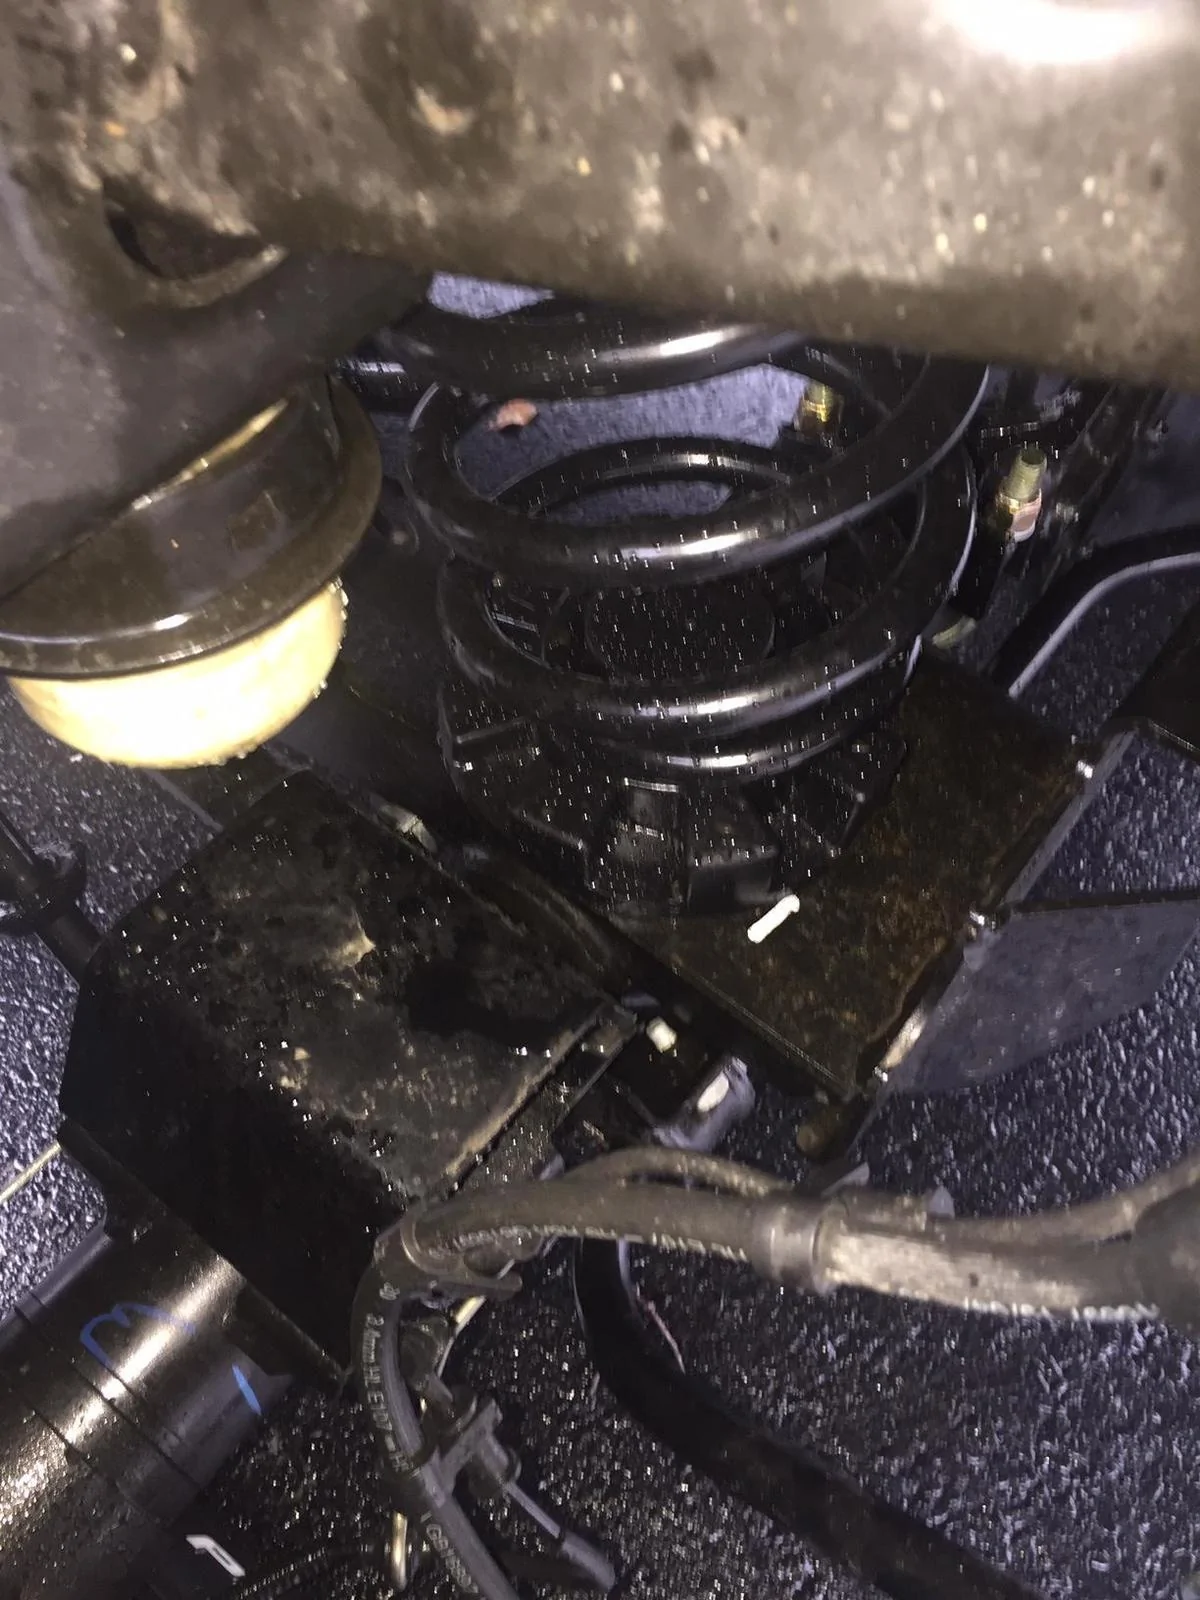
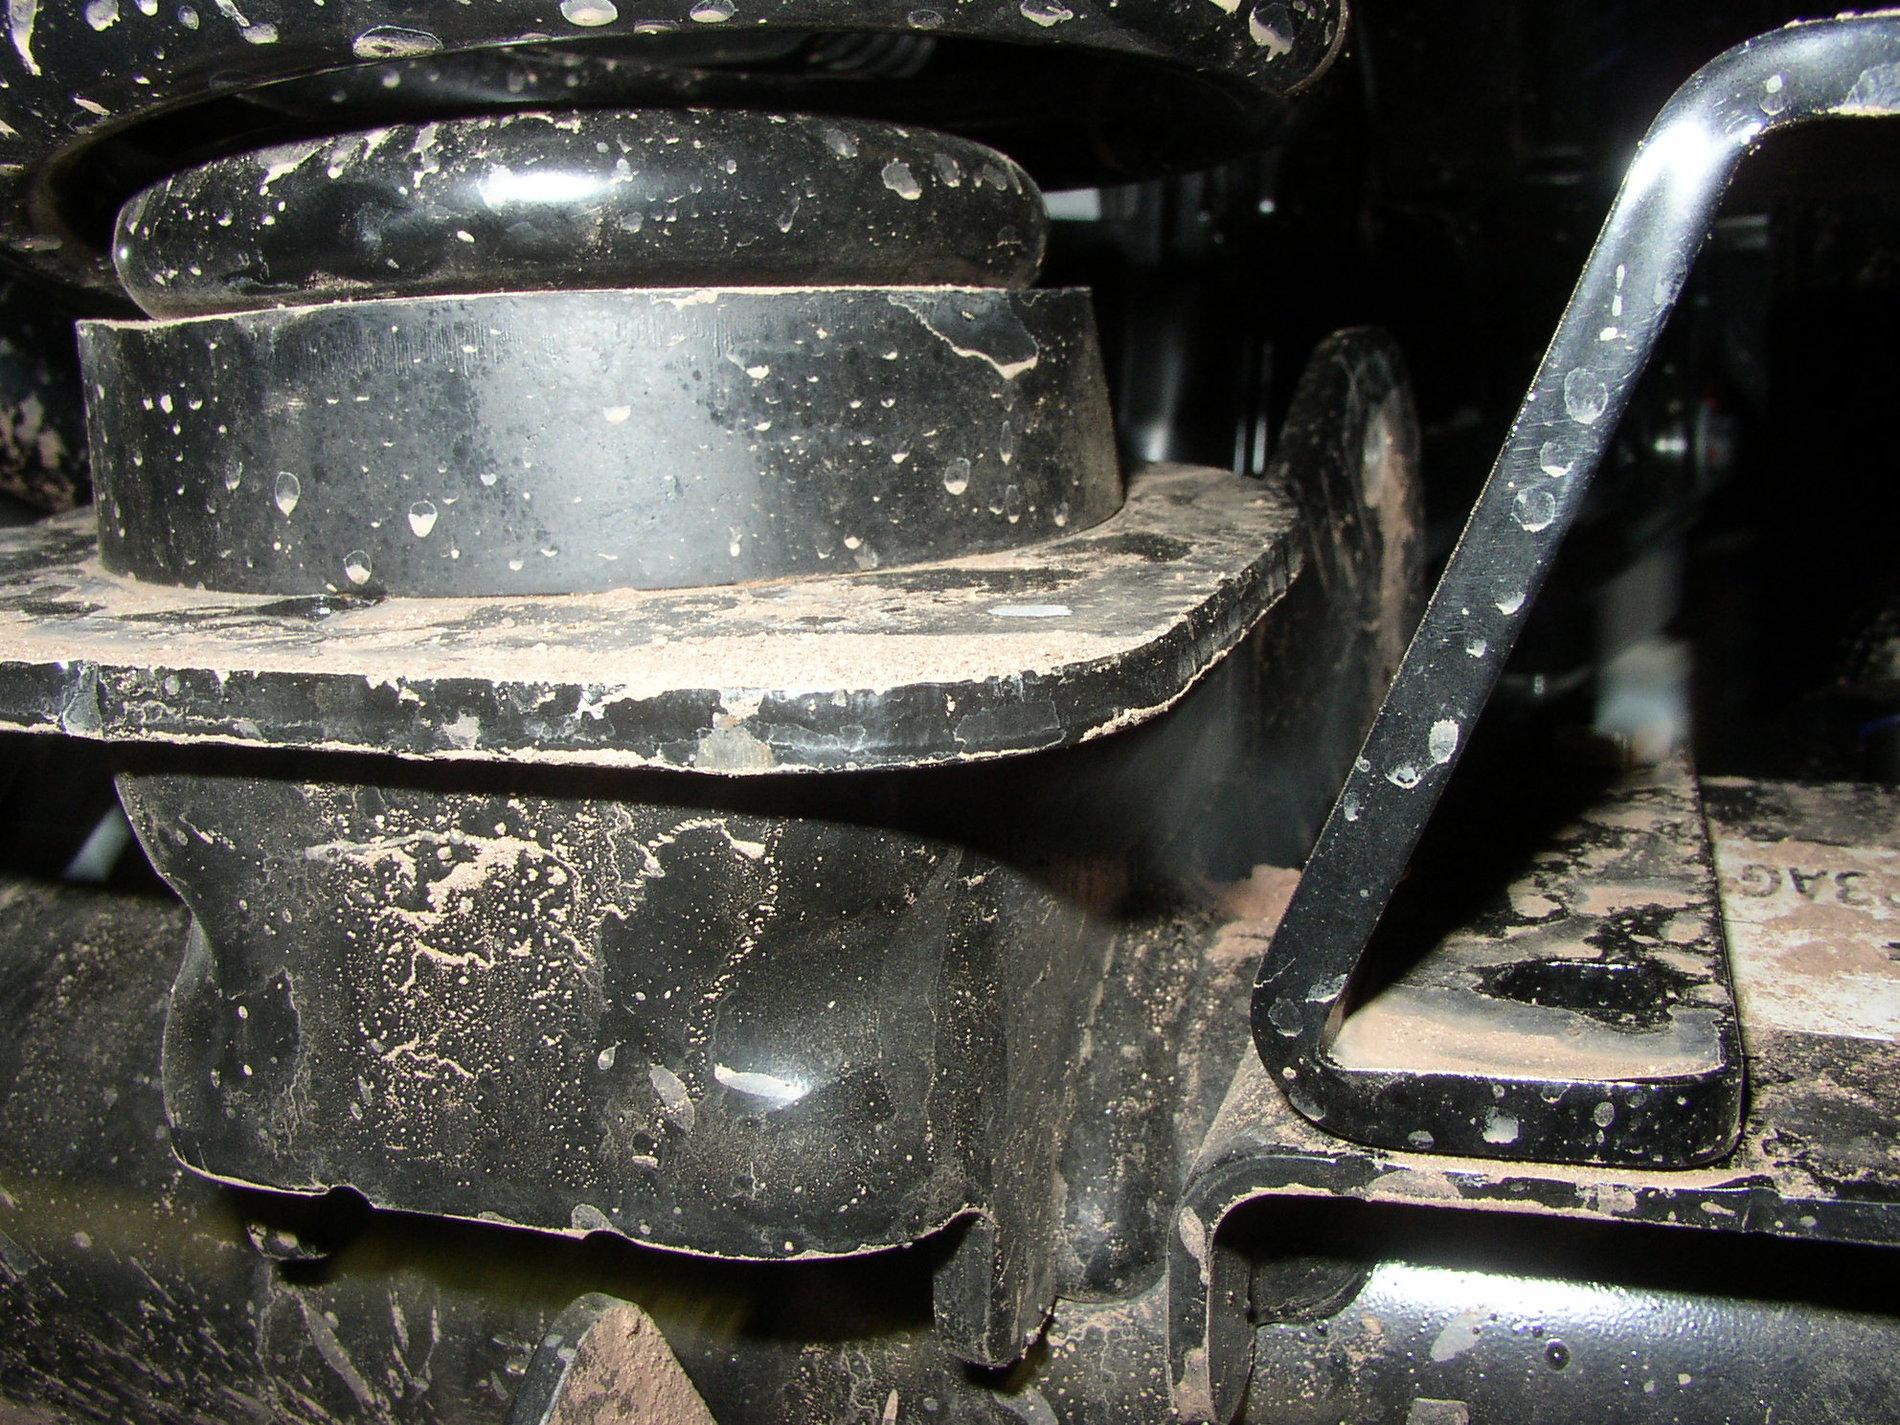
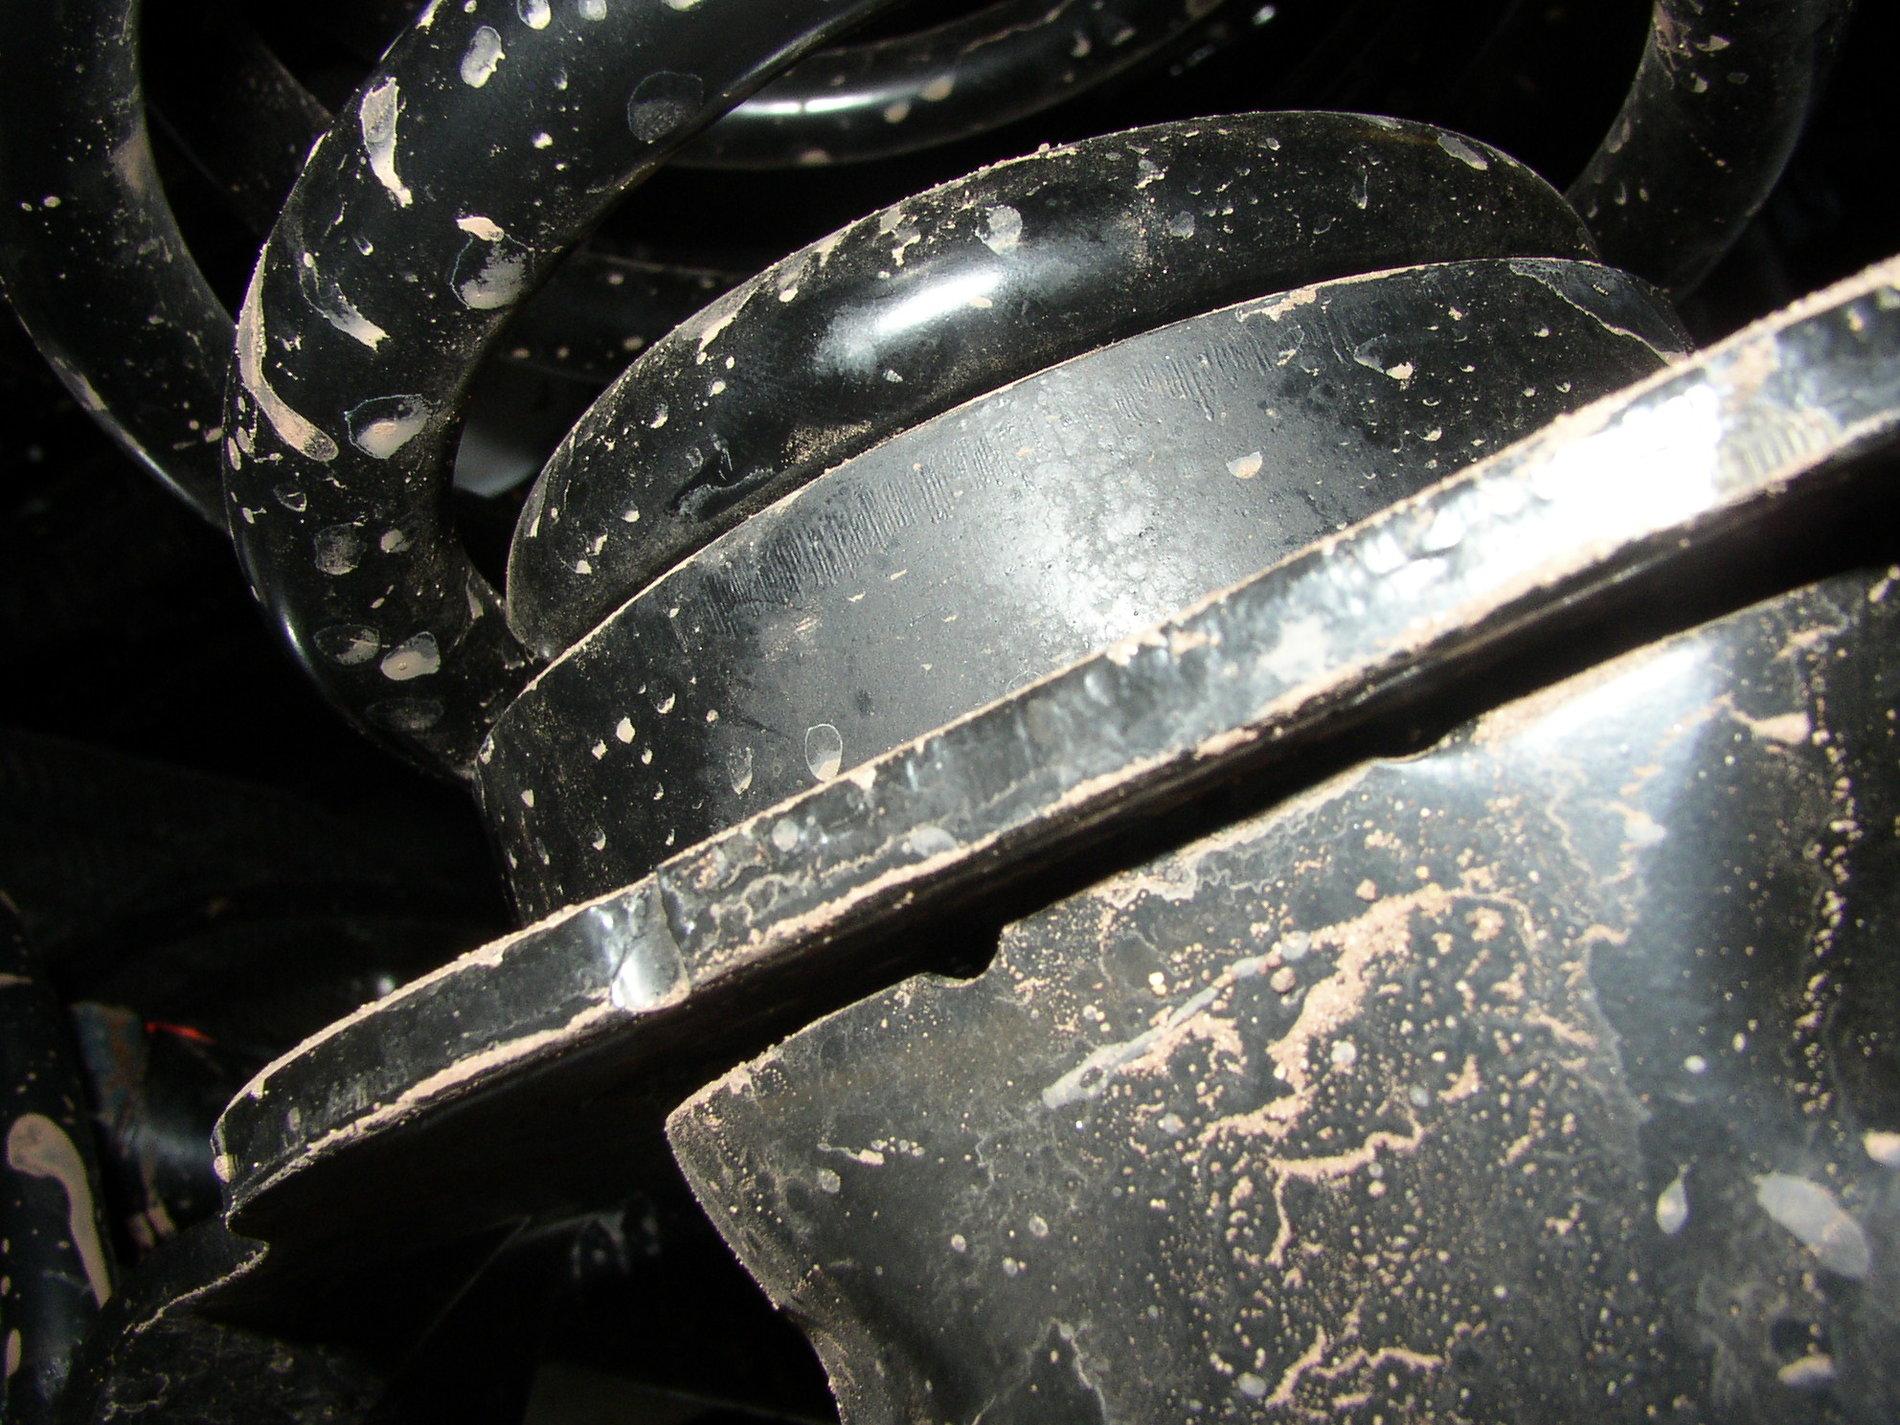
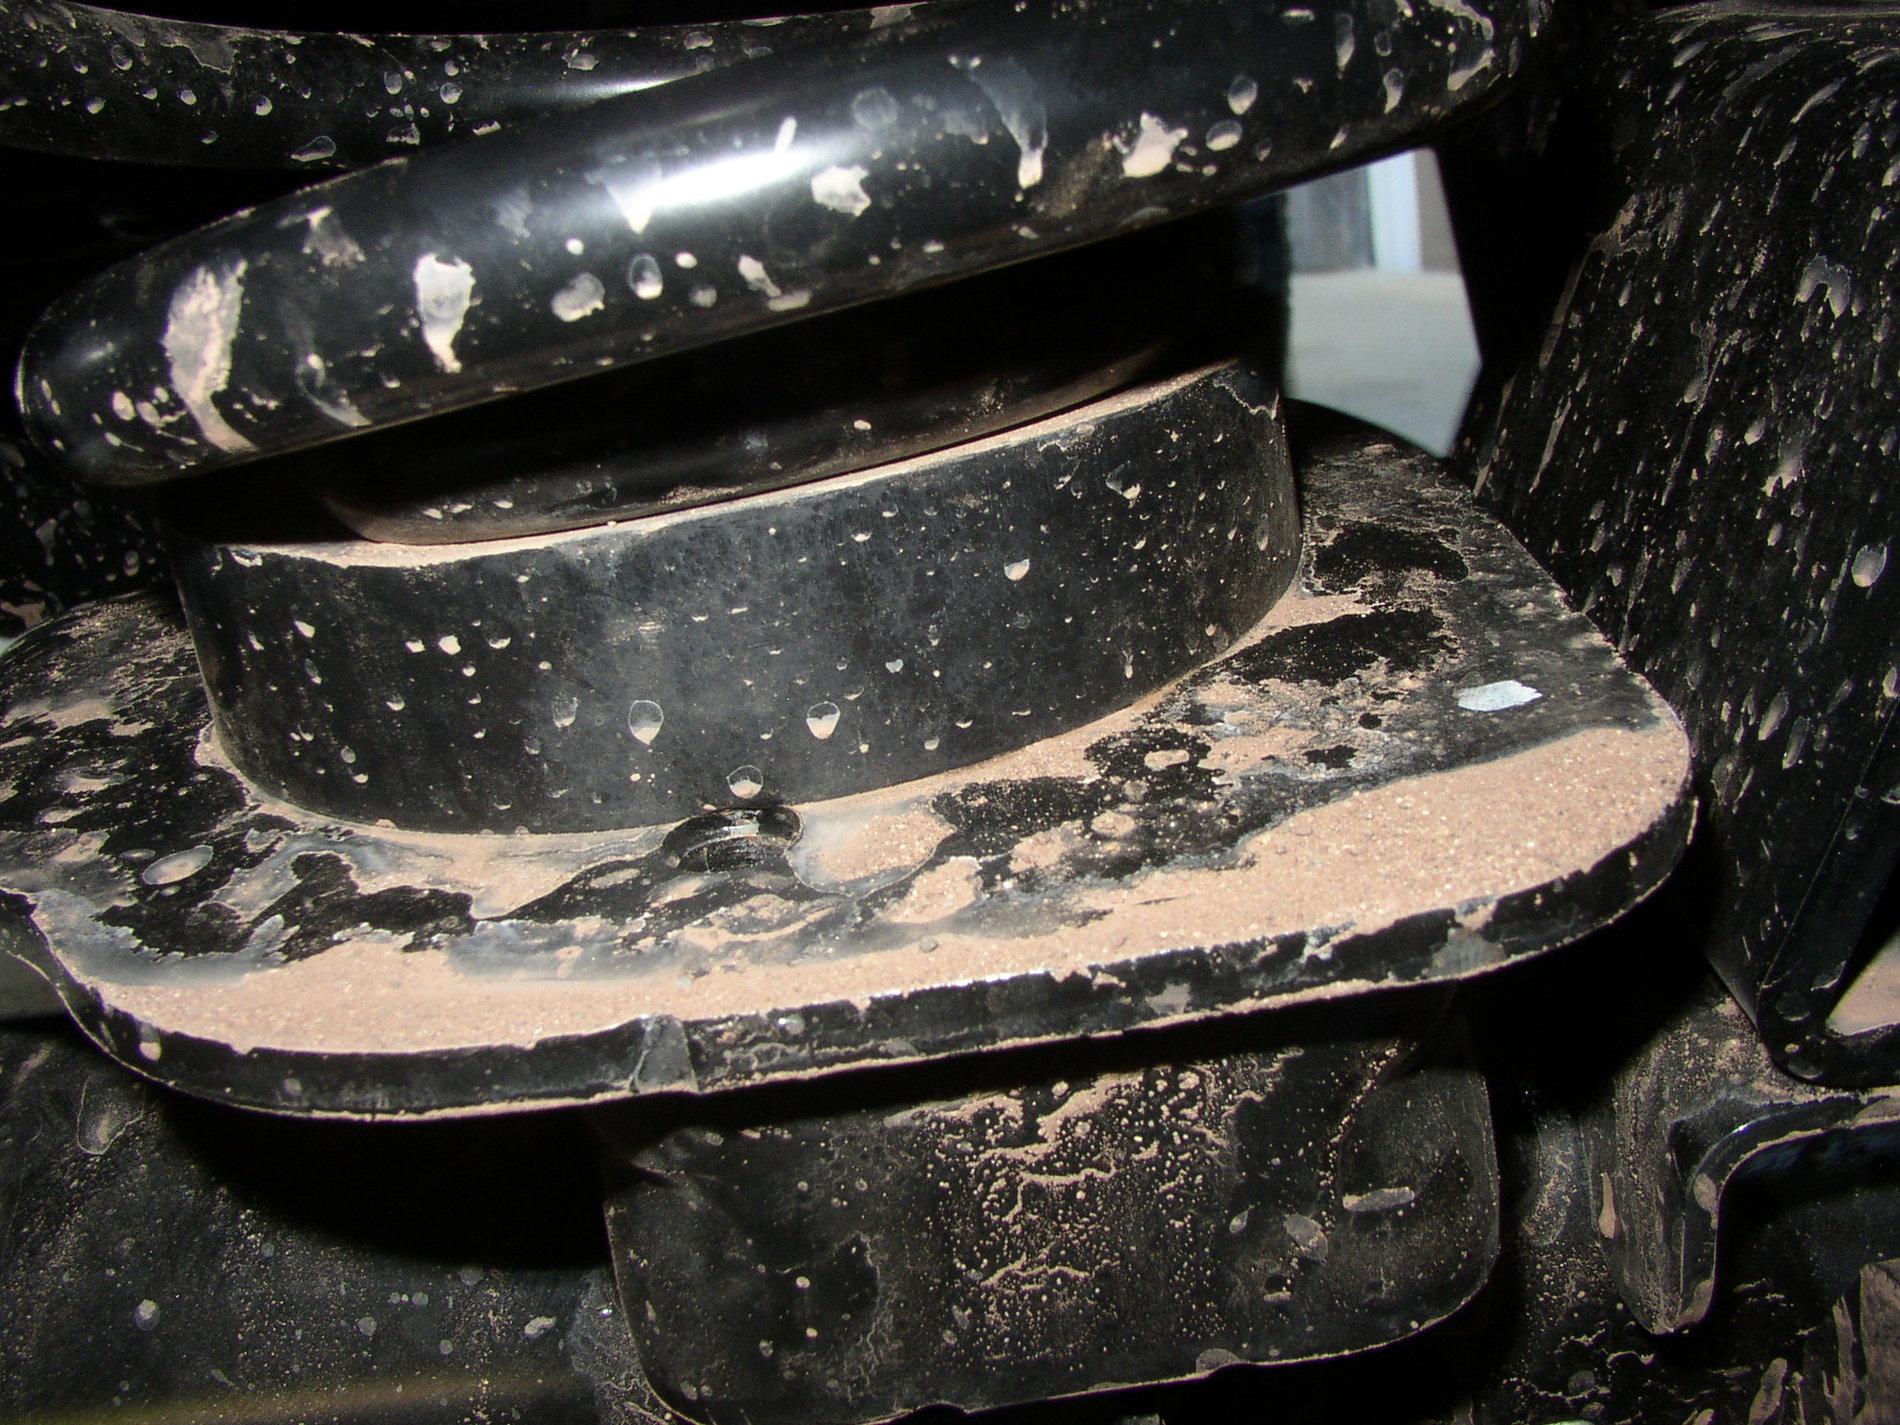
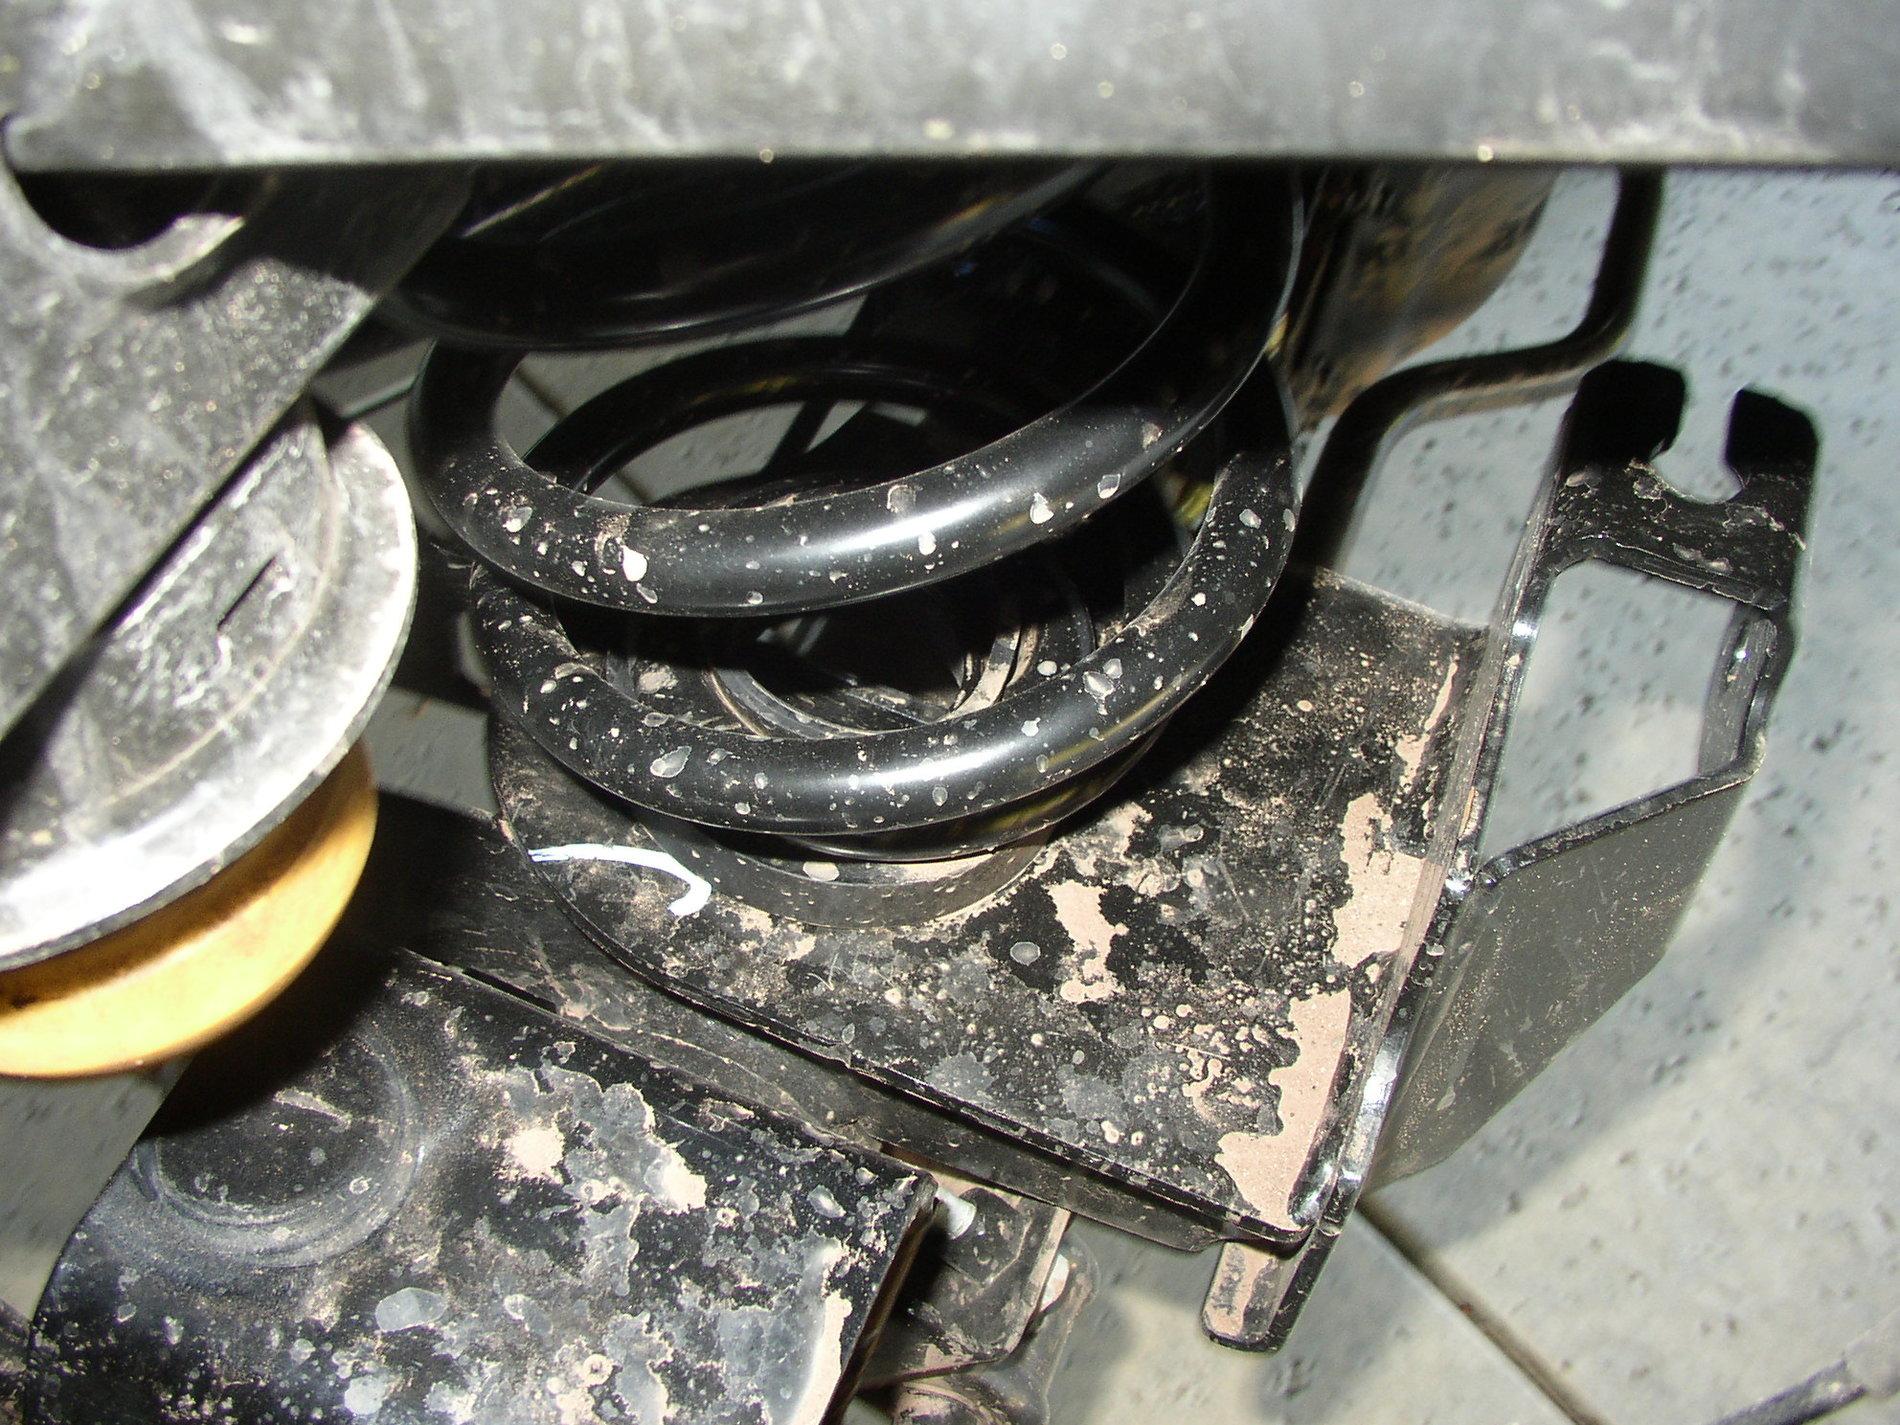
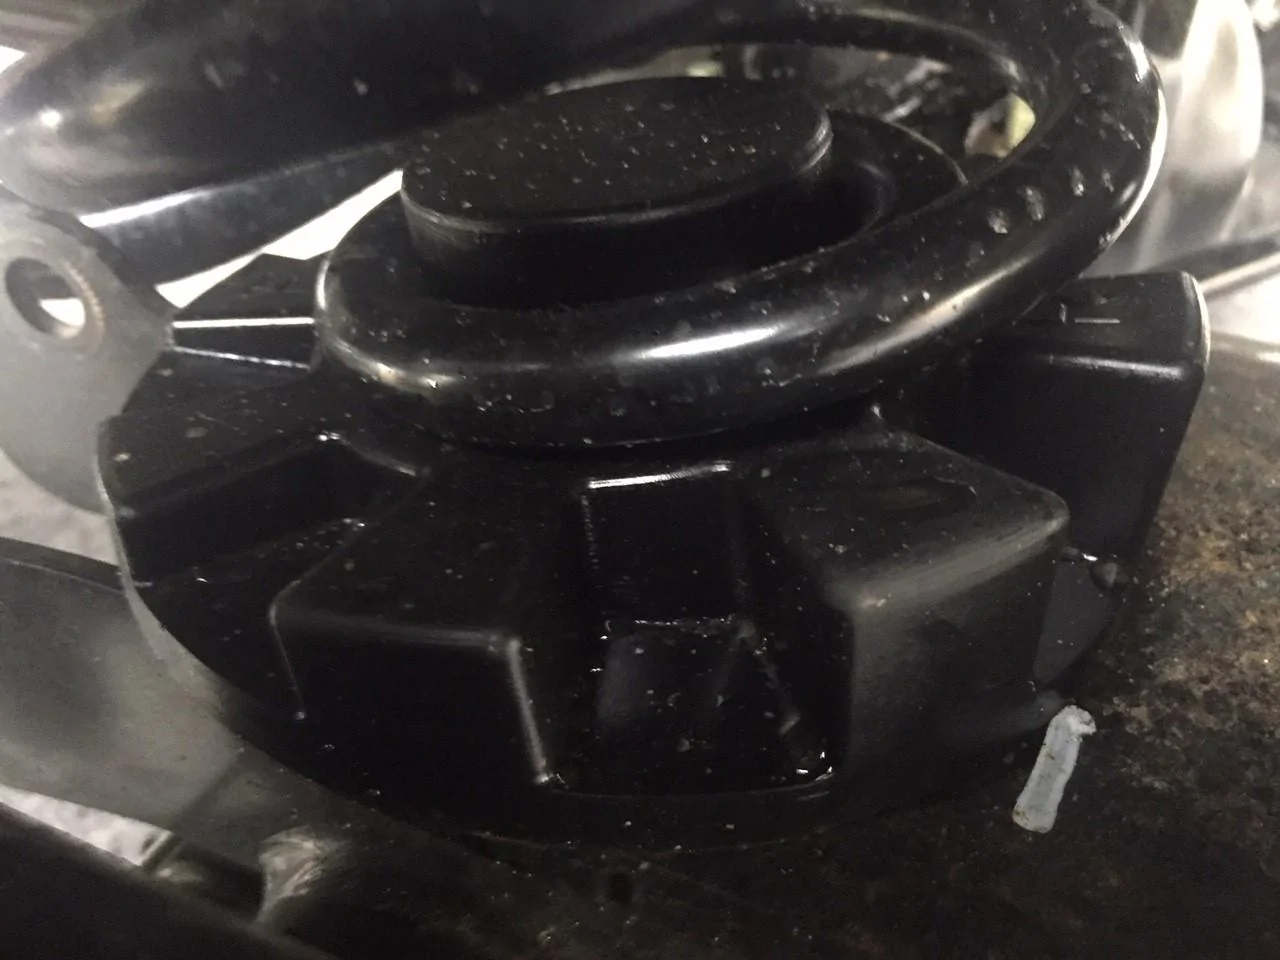
Next installing the rear cradle: Start with a drill bit a couple sizes smaller than the one provided by RK then work your way up to the RK drill bit, this will prevent any binding of drill bits and possible breaking of a drill bit. Drill down until the drill bit bottoms then use compressed air to clean holes. Tap holes slowly and straight using WD-40, a couple turns in then a couple of turns out do this until the tap bottoms, remove tap and clean the holes with compressed air then run the tap in again until it bottoms and clean holes. Once you install the cradle make sure the bolts compress against the lock washers, the front bolt on the drivers side would not compress against the lock washer it would get tight but was not compressing the lock washer fully, i took everything apart and measured the hole depths and that hole was not as deep as the rest, the casting on my axle in that hole was different than the others so i bought a bolt that was a 1/4" shorter. Your casting could be ok i`m just making you aware of a possible issue.
My only worry with tapping the holes in the rear diff case are accessing the bosses from the top.
I found a YouTube video showing how they did it but can’t find it again.
It showed using a Milwaukee cordless ratchet wrench to run the tap in, which I have one, and will go up to 55 ft lbs so should help with tapping.
I use thread cutting oil for drilling and tapping holes rather than WD40. I’ve drilled and tapped lots of holes in my day so no fears there.
I’ve also threaded rifle barrels for flash suppressors where getting threads straight and true are super critical.
Sponsored