Duke56
Well-Known Member
- First Name
- Bob
- Joined
- Oct 20, 2019
- Threads
- 5
- Messages
- 239
- Reaction score
- 148
- Location
- Lapeer, Michigan
- Vehicle(s)
- 2020 Gladiator Rubicon. Granite Crystal. Black Freedom Top & Fenders. Rock Krawler 3” Pro-X No limits Lift,
If we are supposed to use Red Loctite on the jam nuts then how are we supposed to get an alignment afterwards?
That doesn’t make adjusting too easy.
That mechanic might be inventing some new curse words I would think.
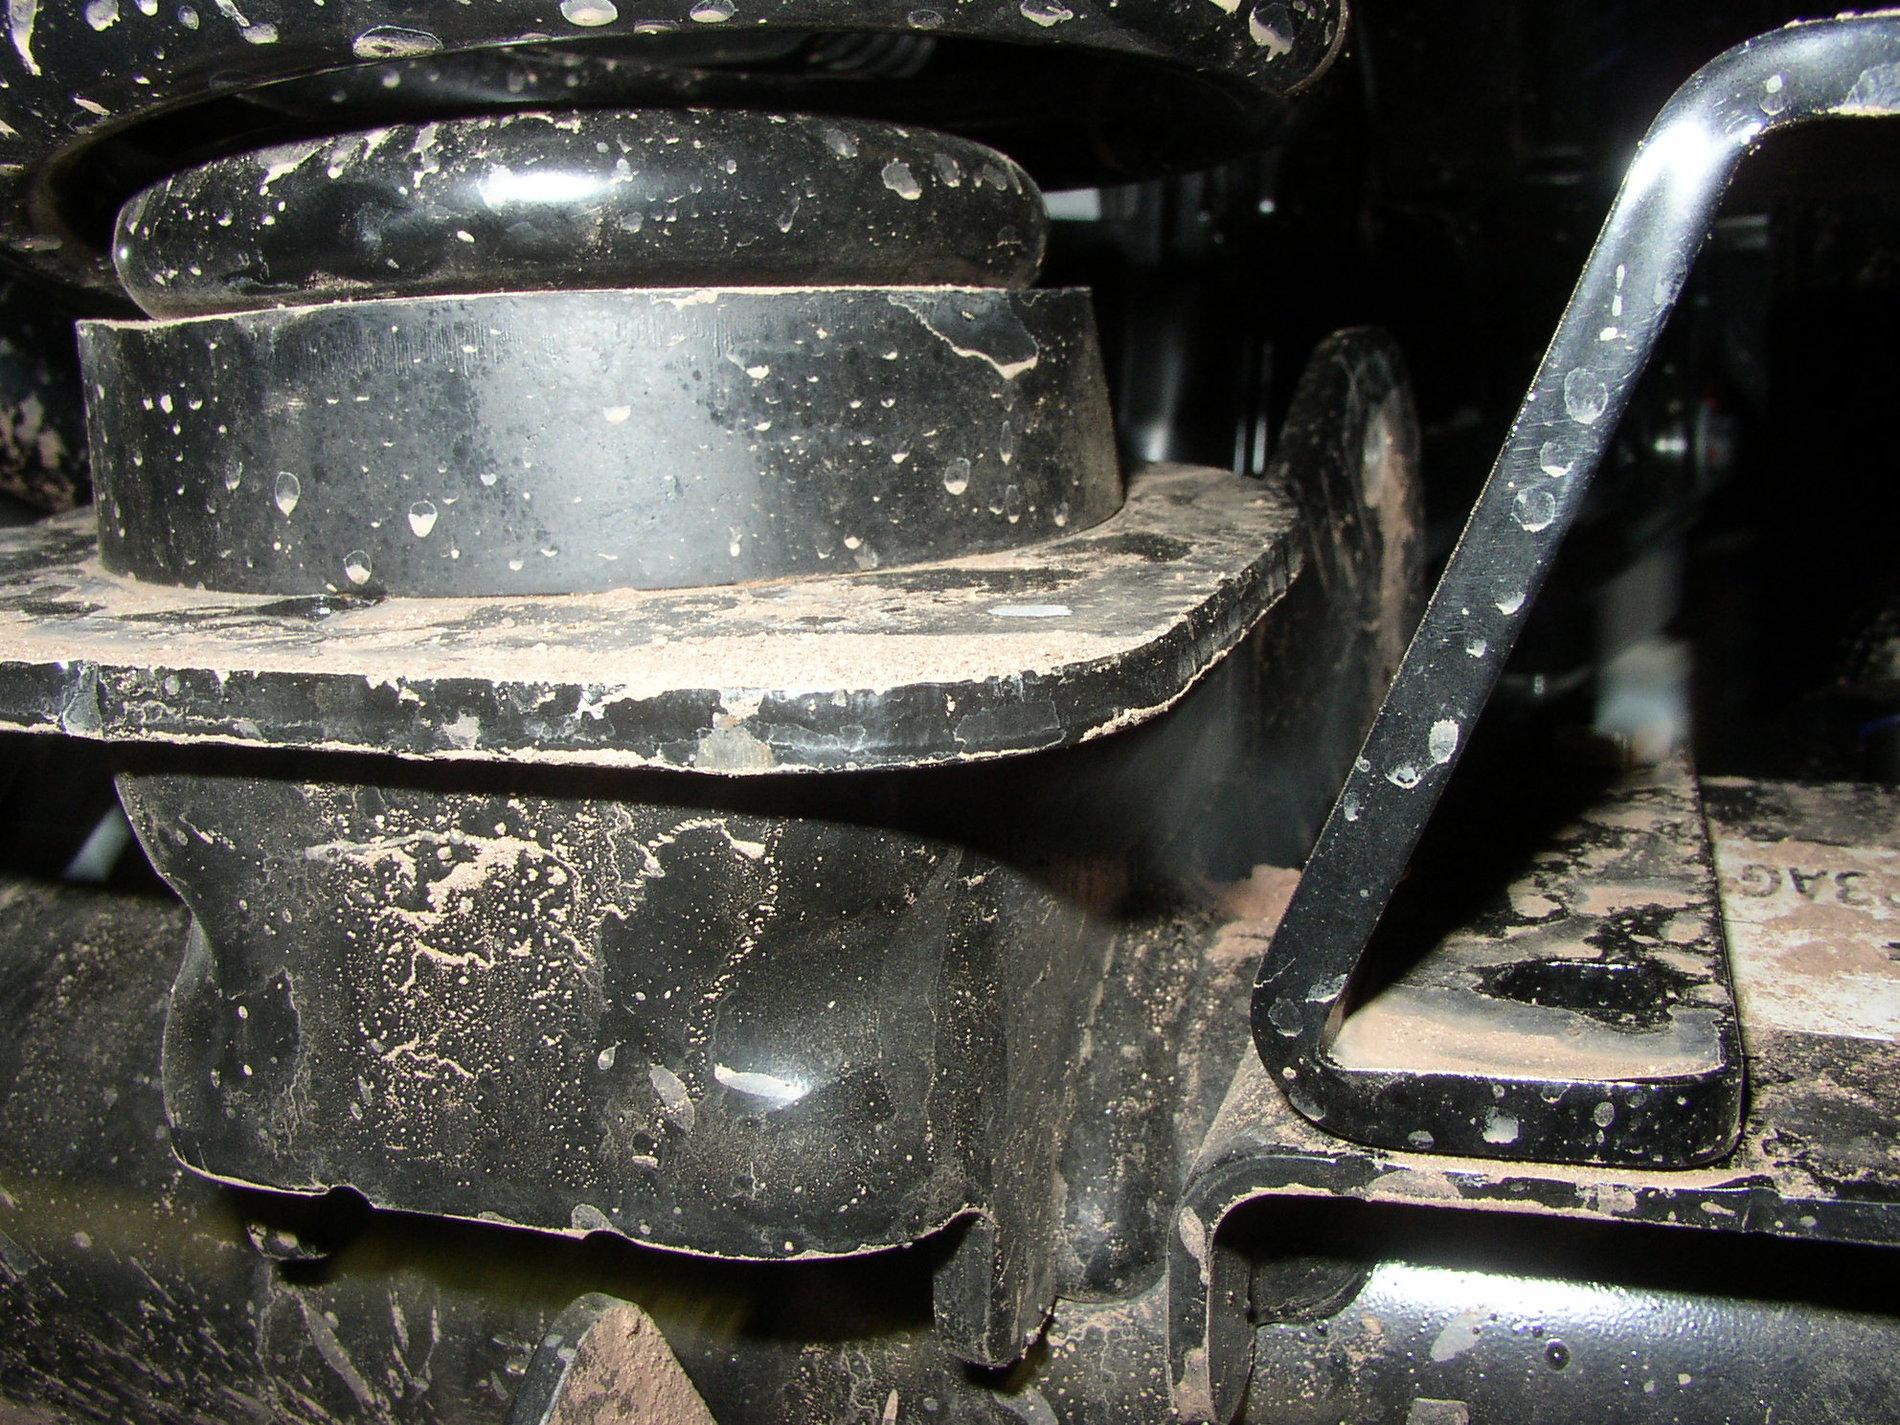
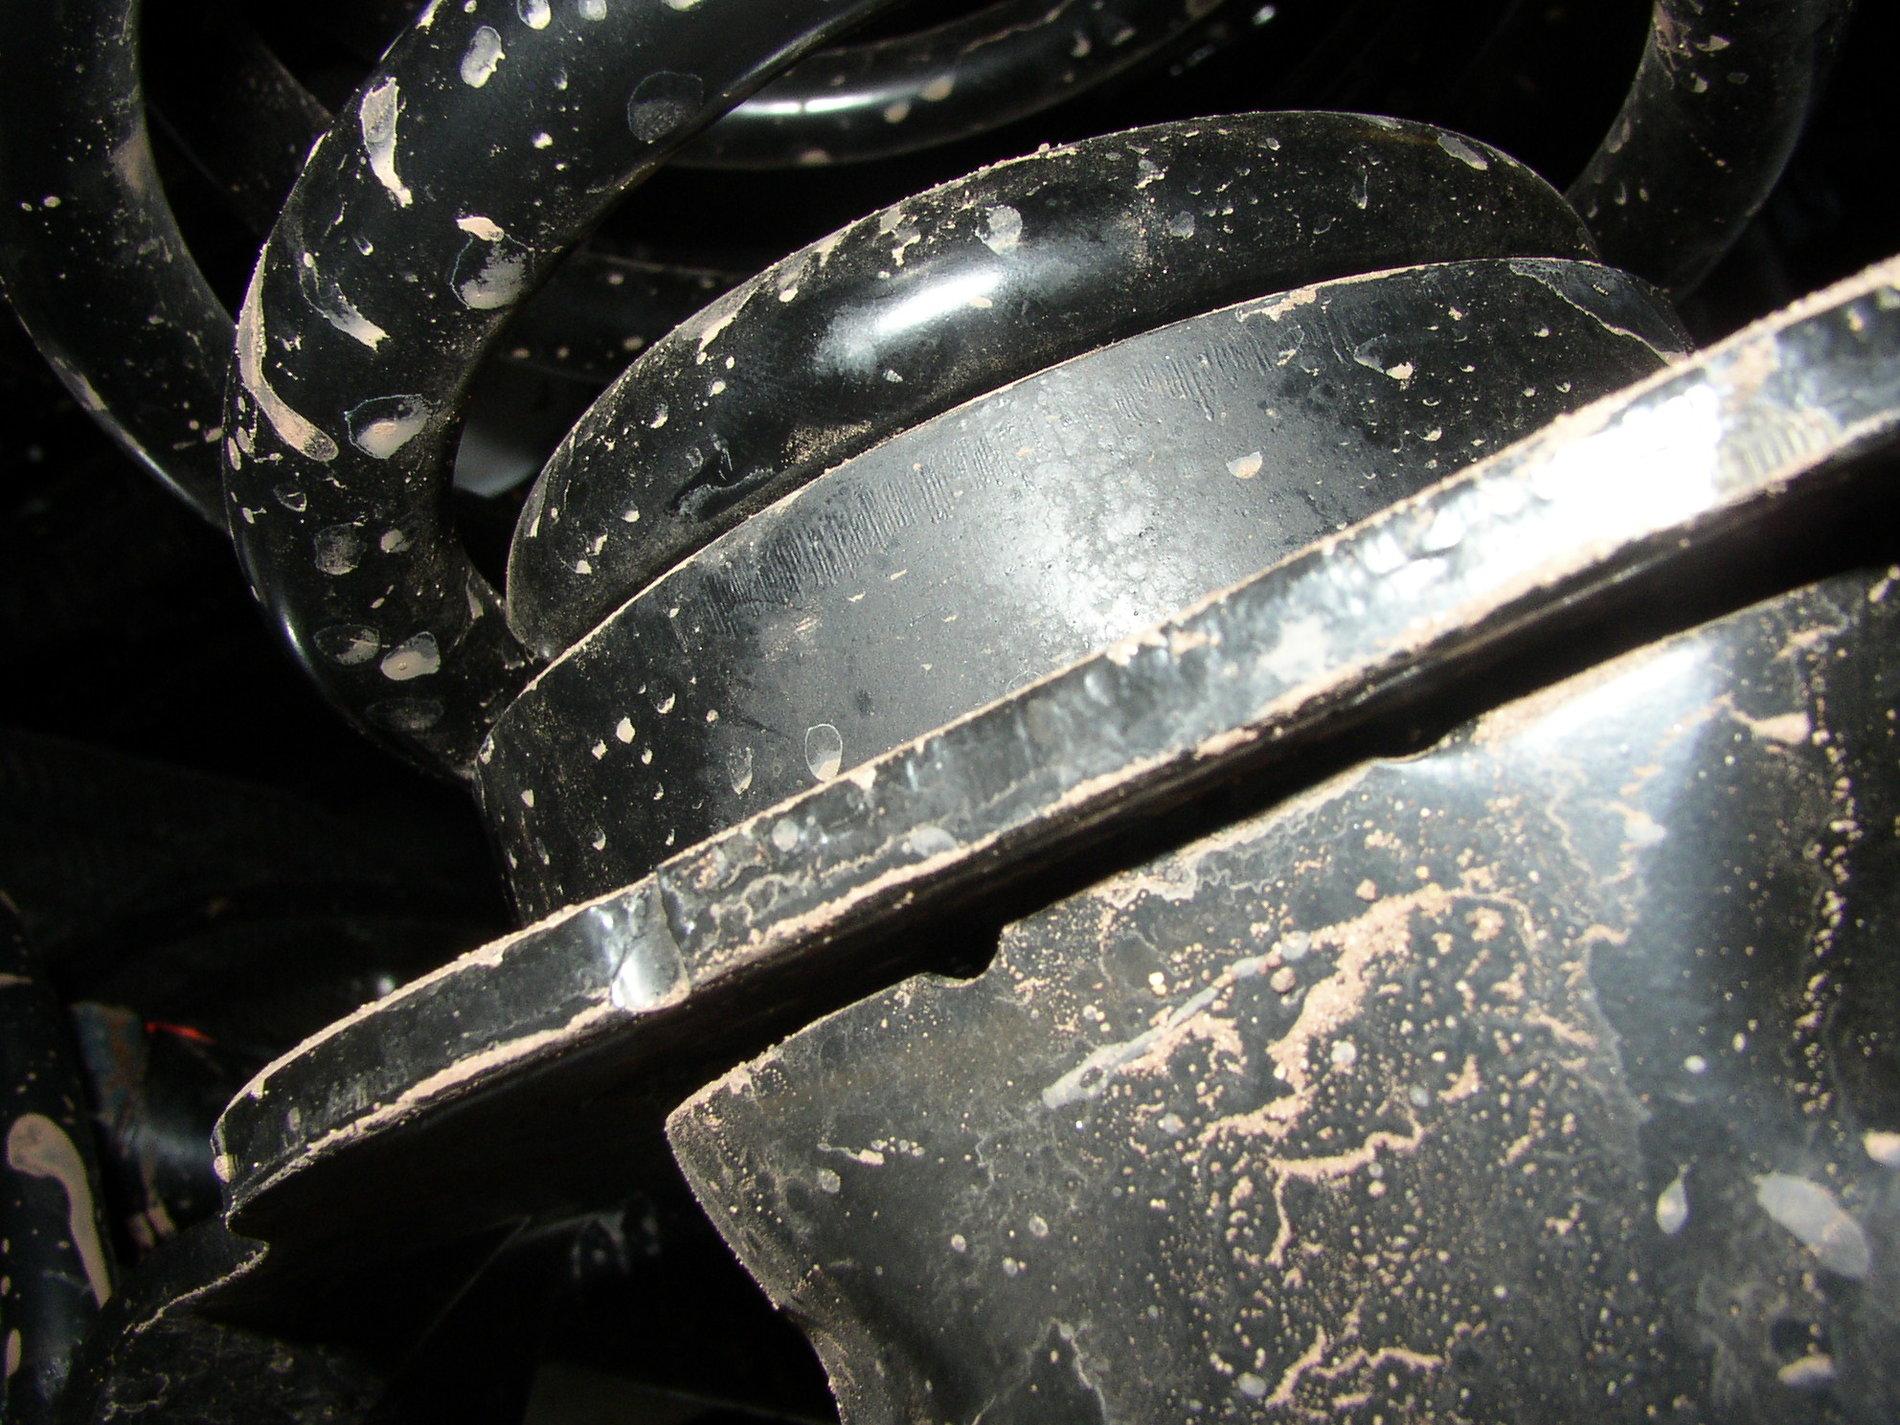
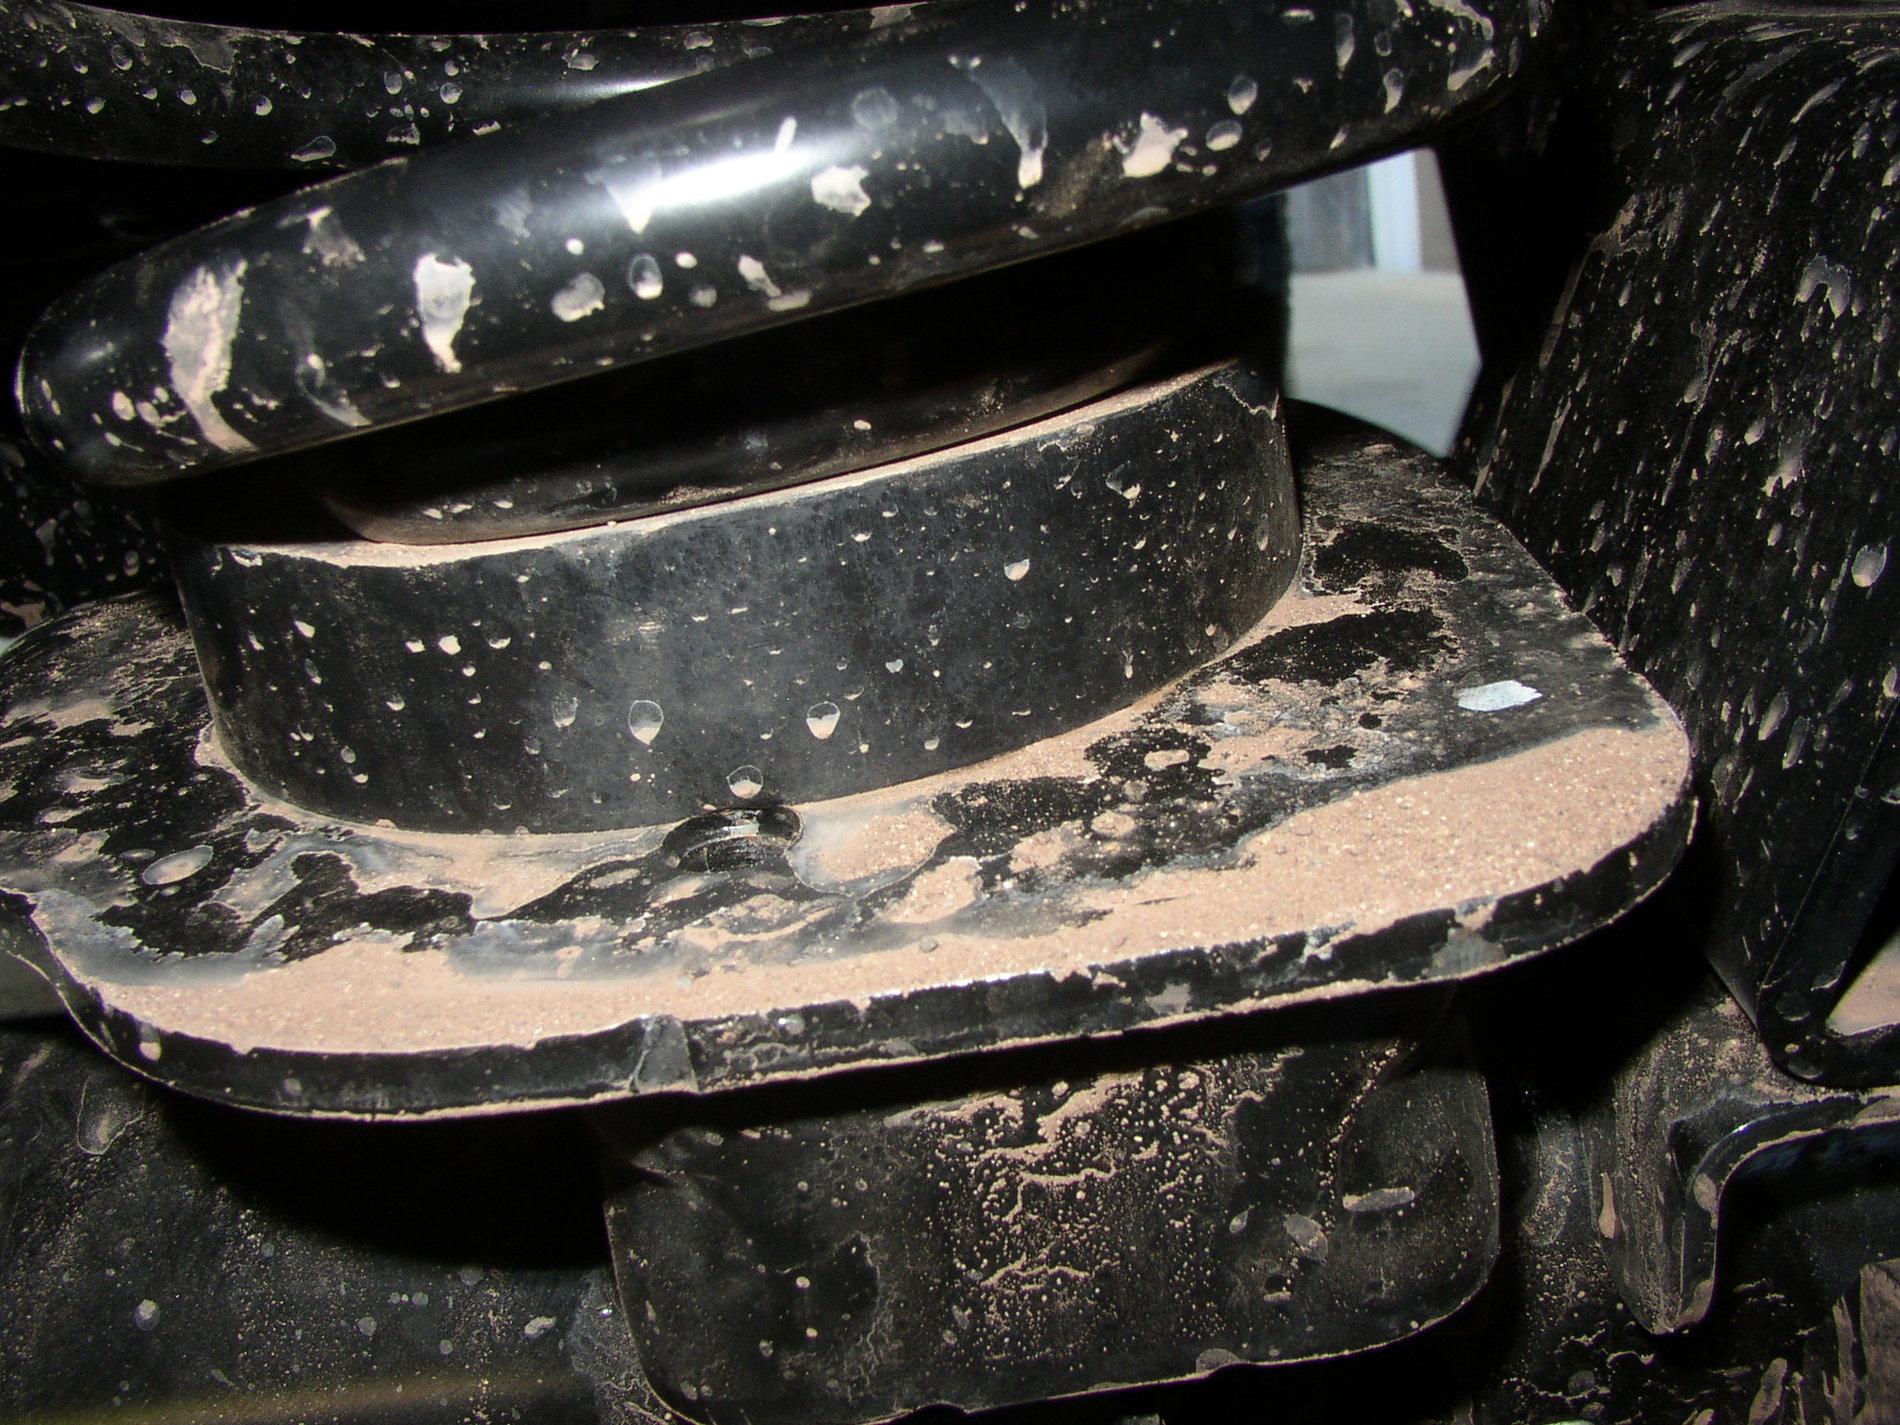
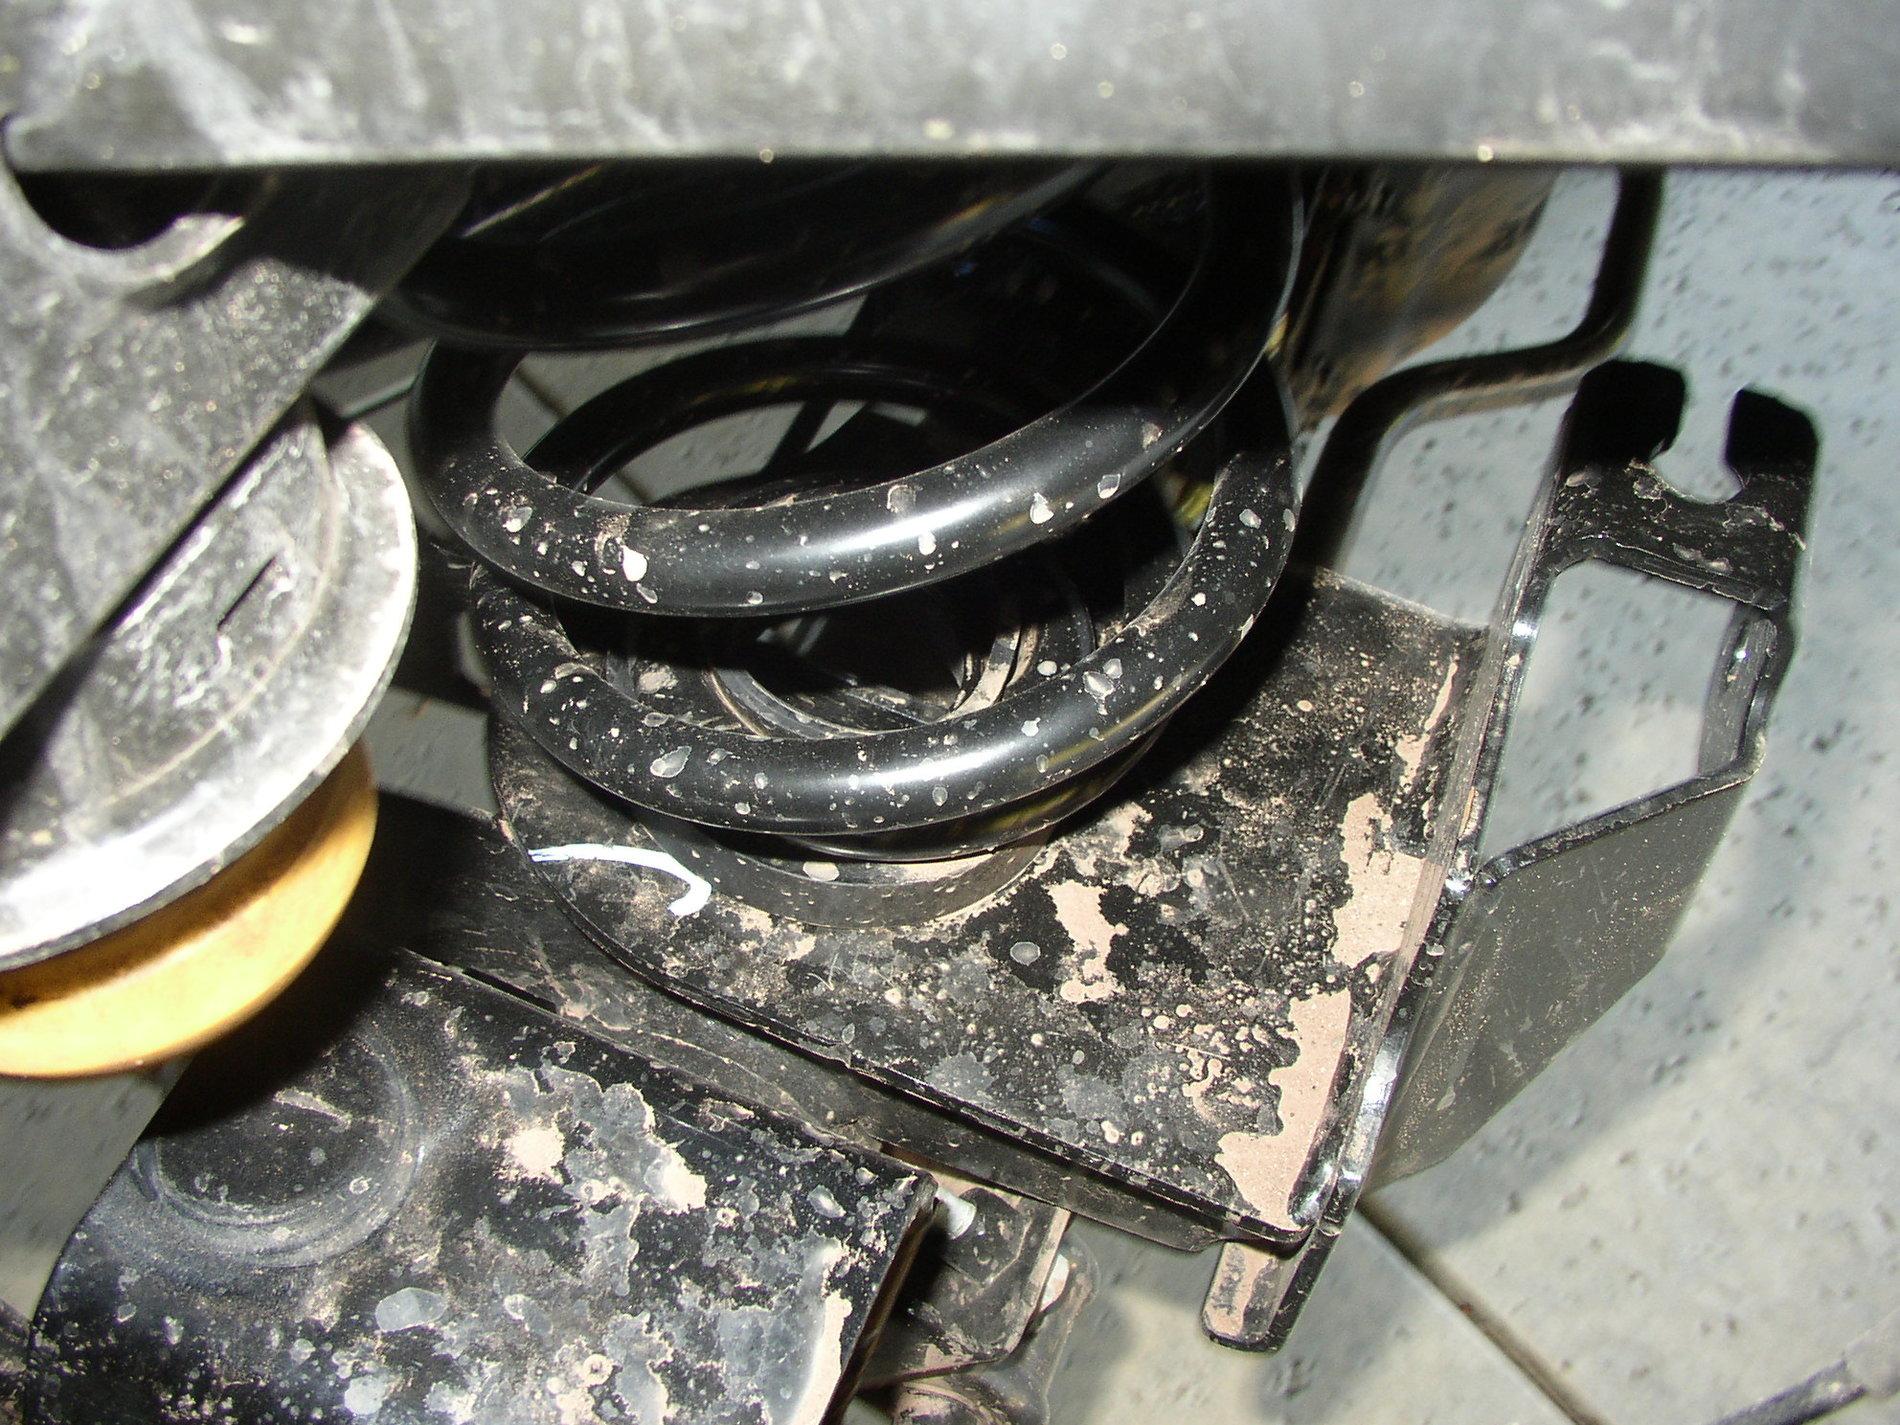
My front control arms showed up today and I was setting them to the recommended start lengths when that though crossed my mind.
Could we use NO Loctite until we get an alignment or just Blue until then?
Once at the shop getting the alignment done ask the mechanic to use the red?
That doesn’t make adjusting too easy.
That mechanic might be inventing some new curse words I would think.
My front control arms showed up today and I was setting them to the recommended start lengths when that though crossed my mind.
Could we use NO Loctite until we get an alignment or just Blue until then?
Once at the shop getting the alignment done ask the mechanic to use the red?
Sponsored
Last edited:

 Was already planning that upgrade from another company but now at least I can stay RK all around