JoeJeep74
Well-Known Member
- First Name
- Joe
- Joined
- Sep 10, 2020
- Threads
- 2
- Messages
- 95
- Reaction score
- 151
- Location
- Grand Rapids, Mi
- Vehicle(s)
- 2015 Willys 2dr
- Occupation
- Service Advisor
- Thread starter
- #1
I appreciate what others have posted on this mod, here is how I did this today.
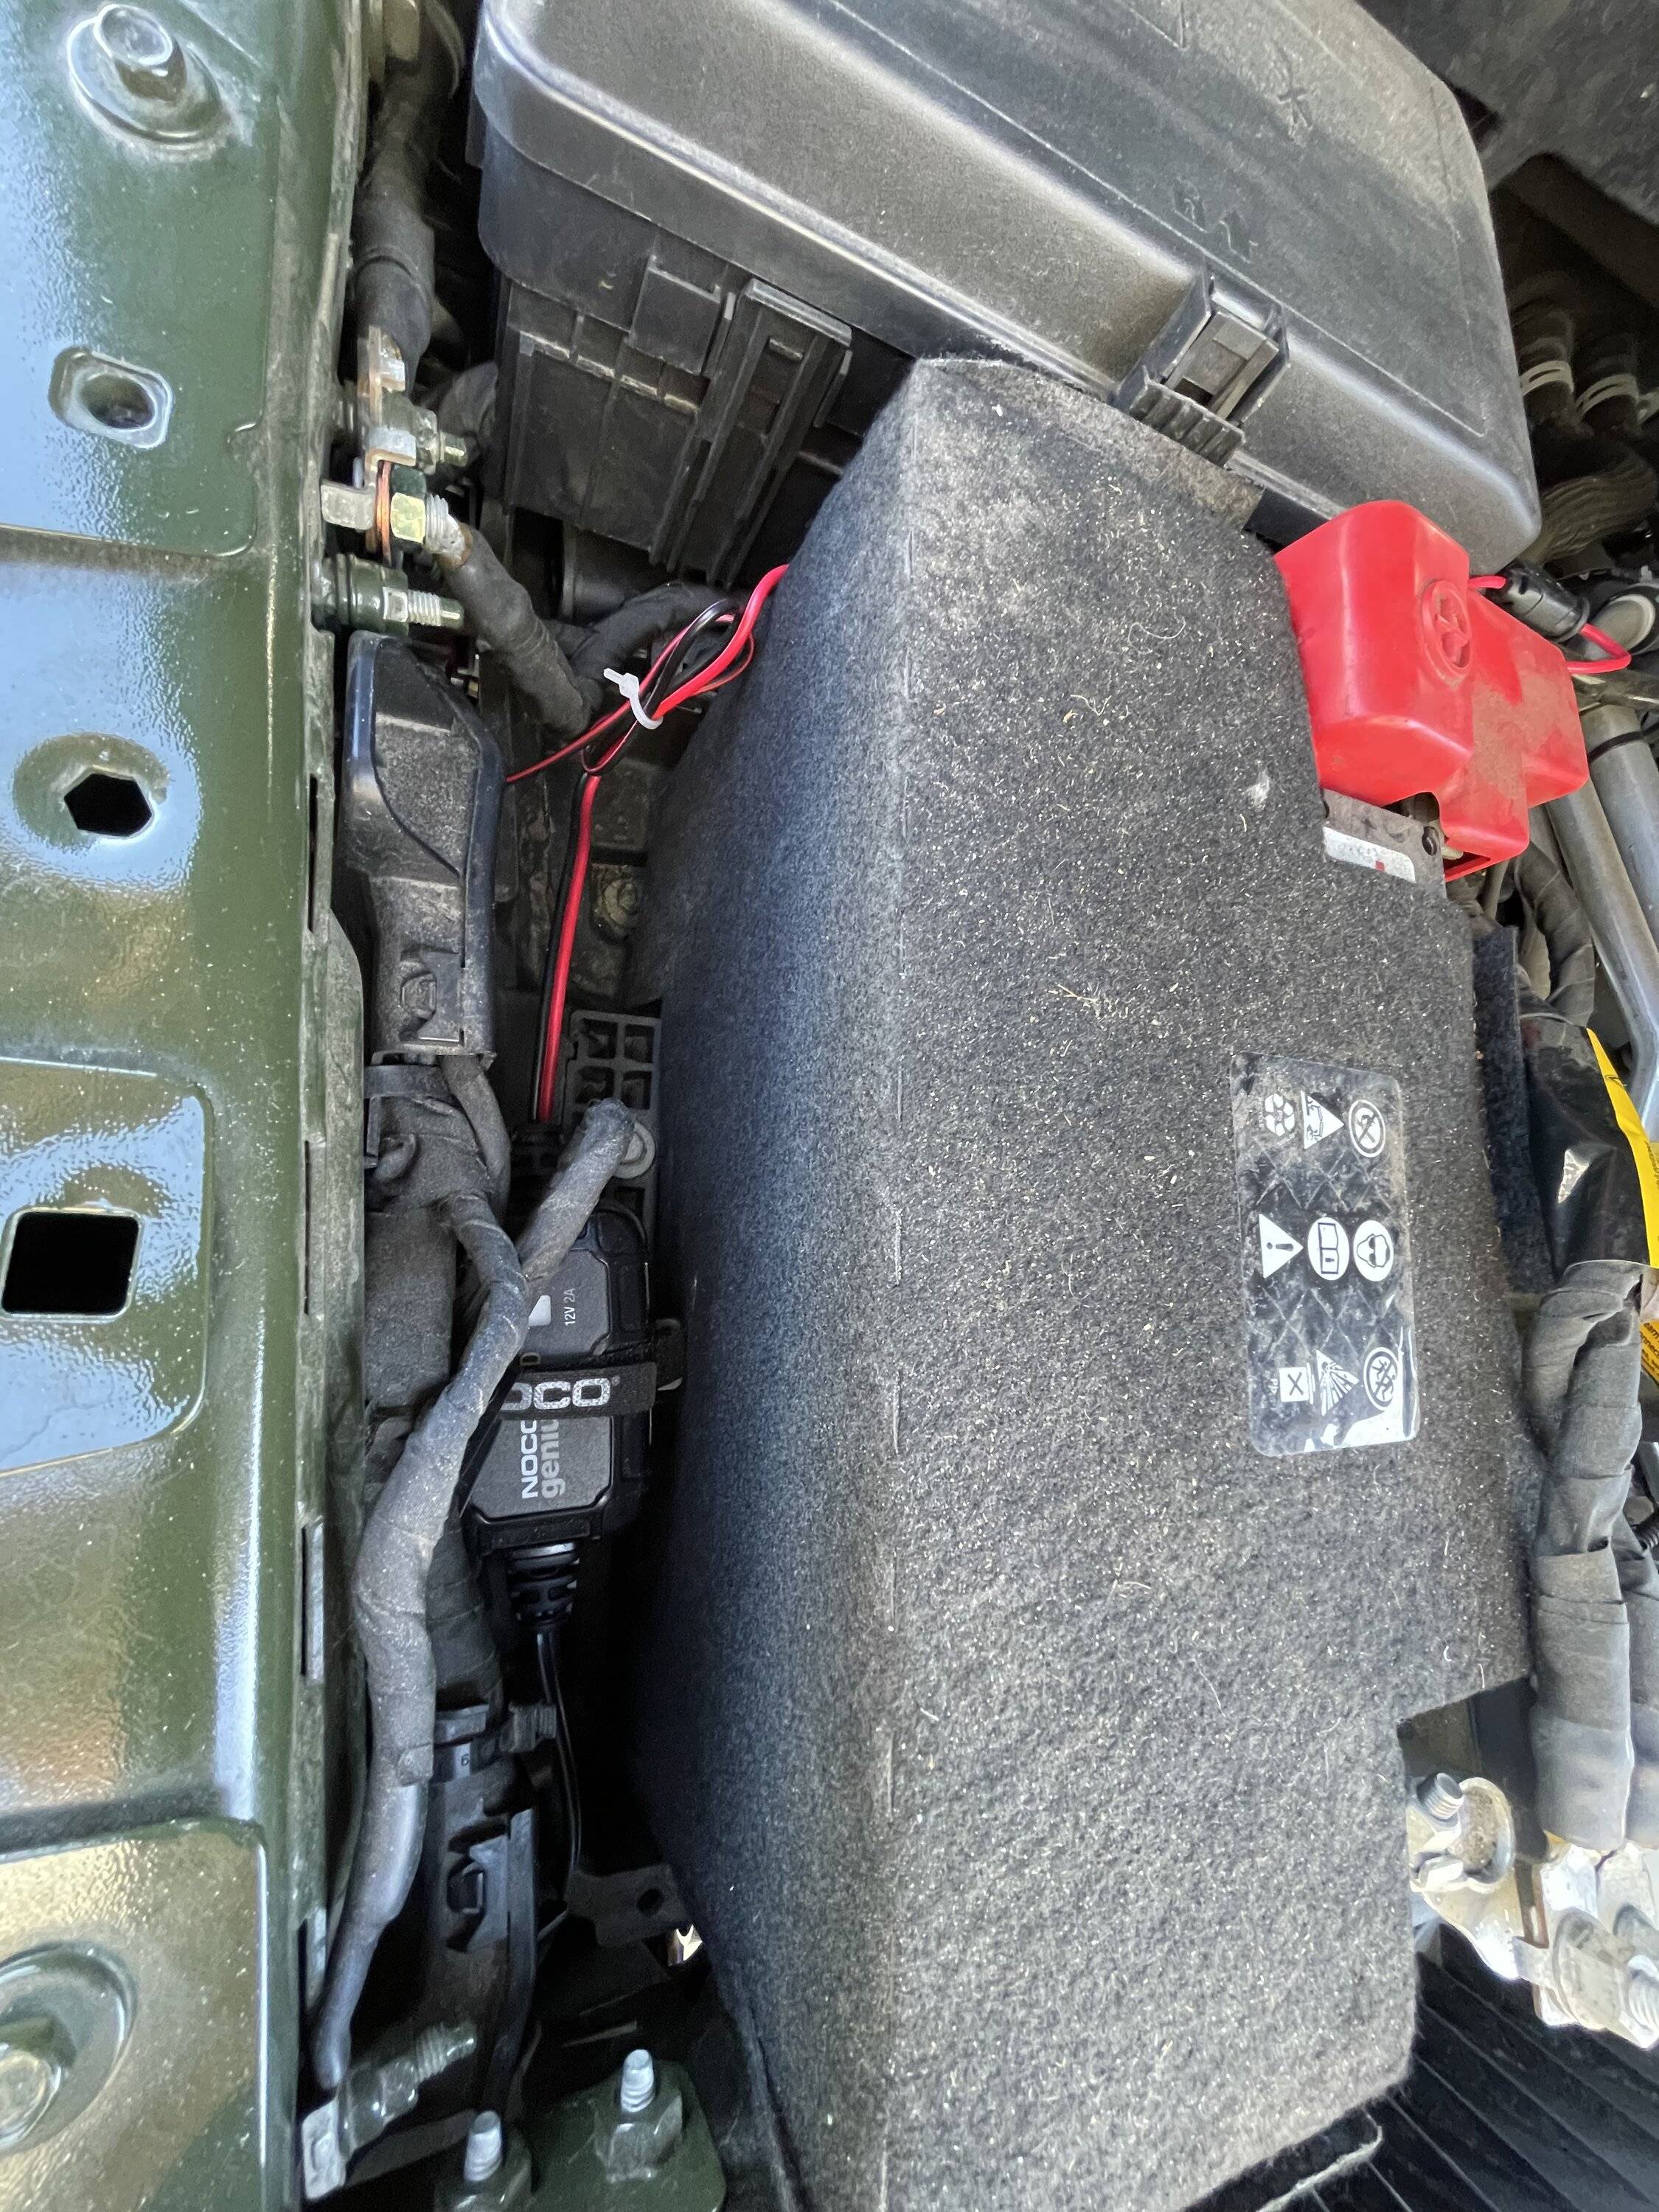
1. Snap Noco Genius 2 D into mounting bracket. Lay alongside battery, secure in place with zip tie under Velcro strap.
2. Remove air filter housing.
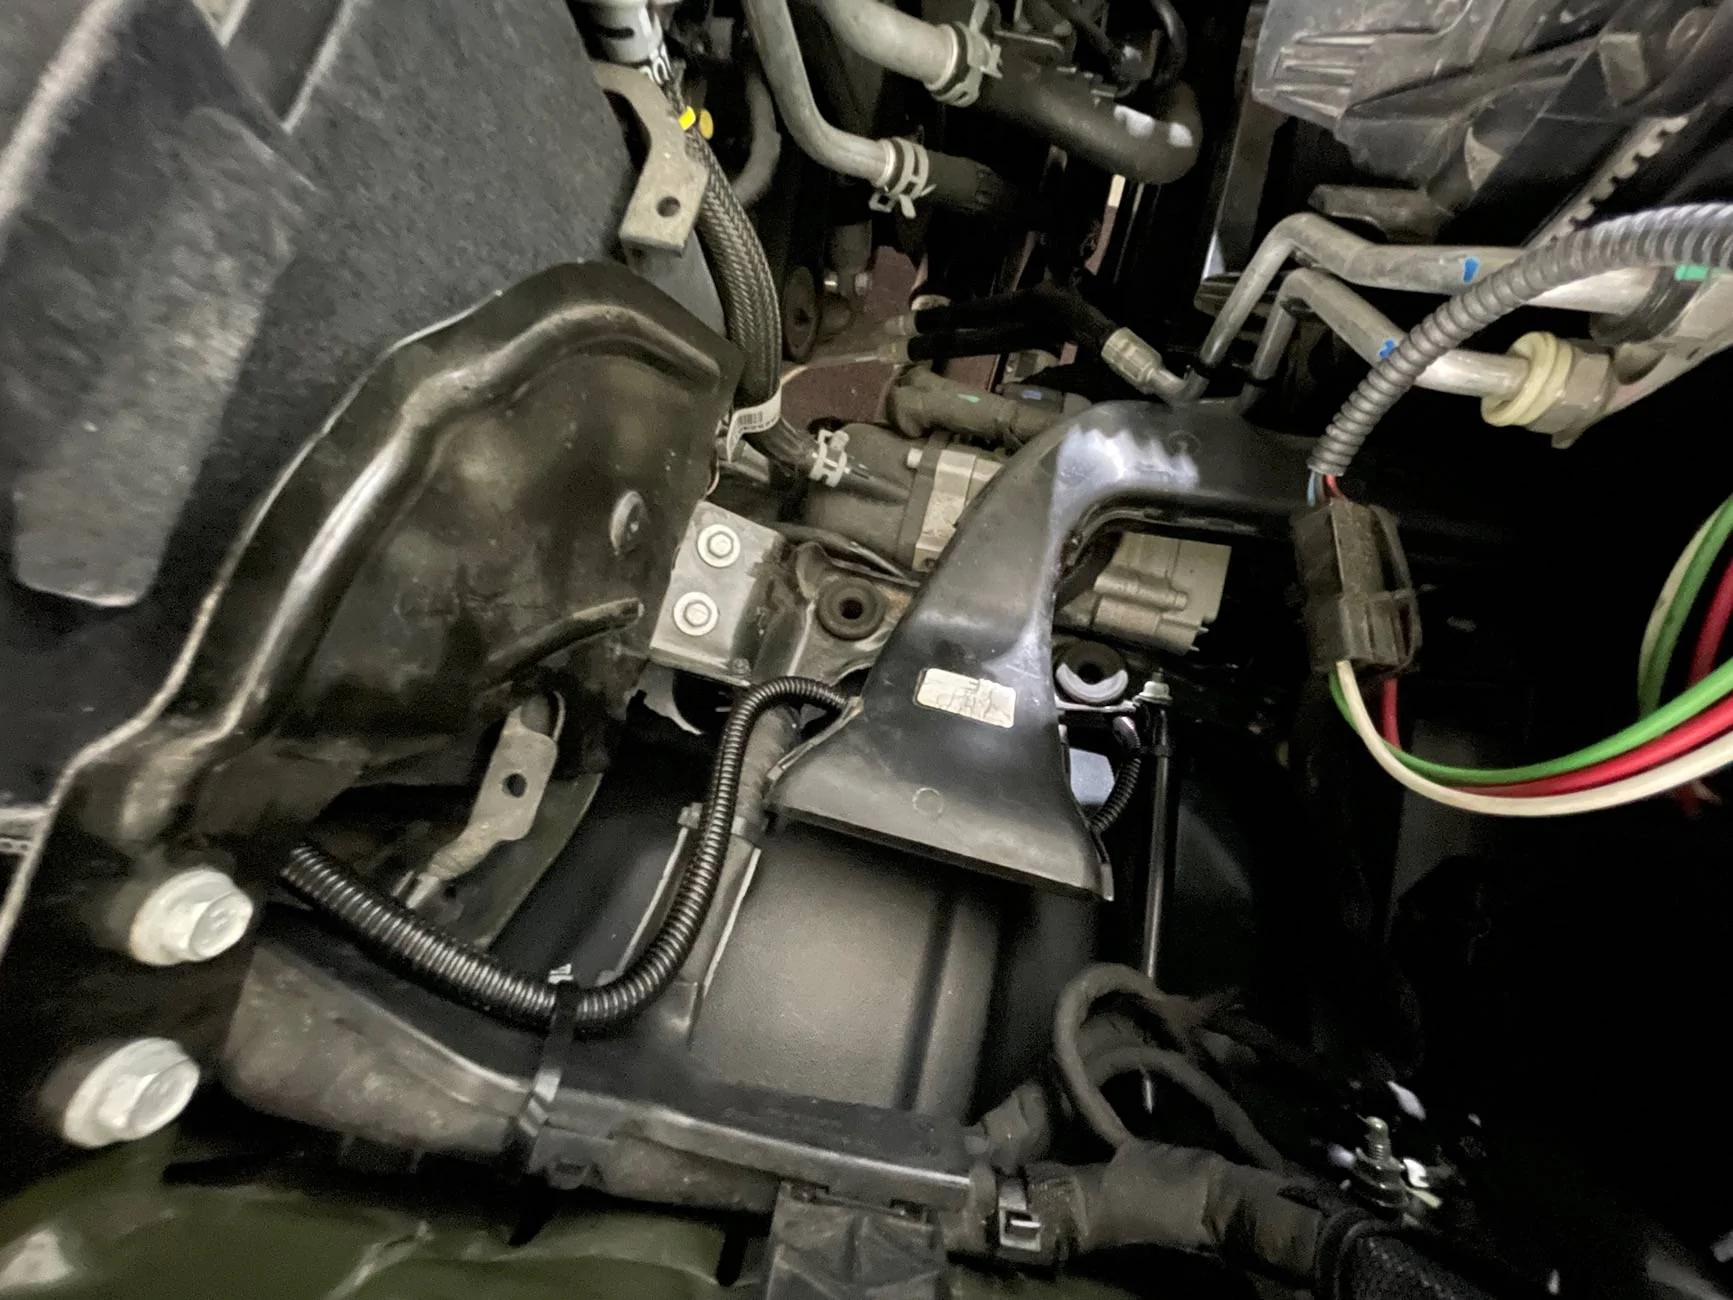
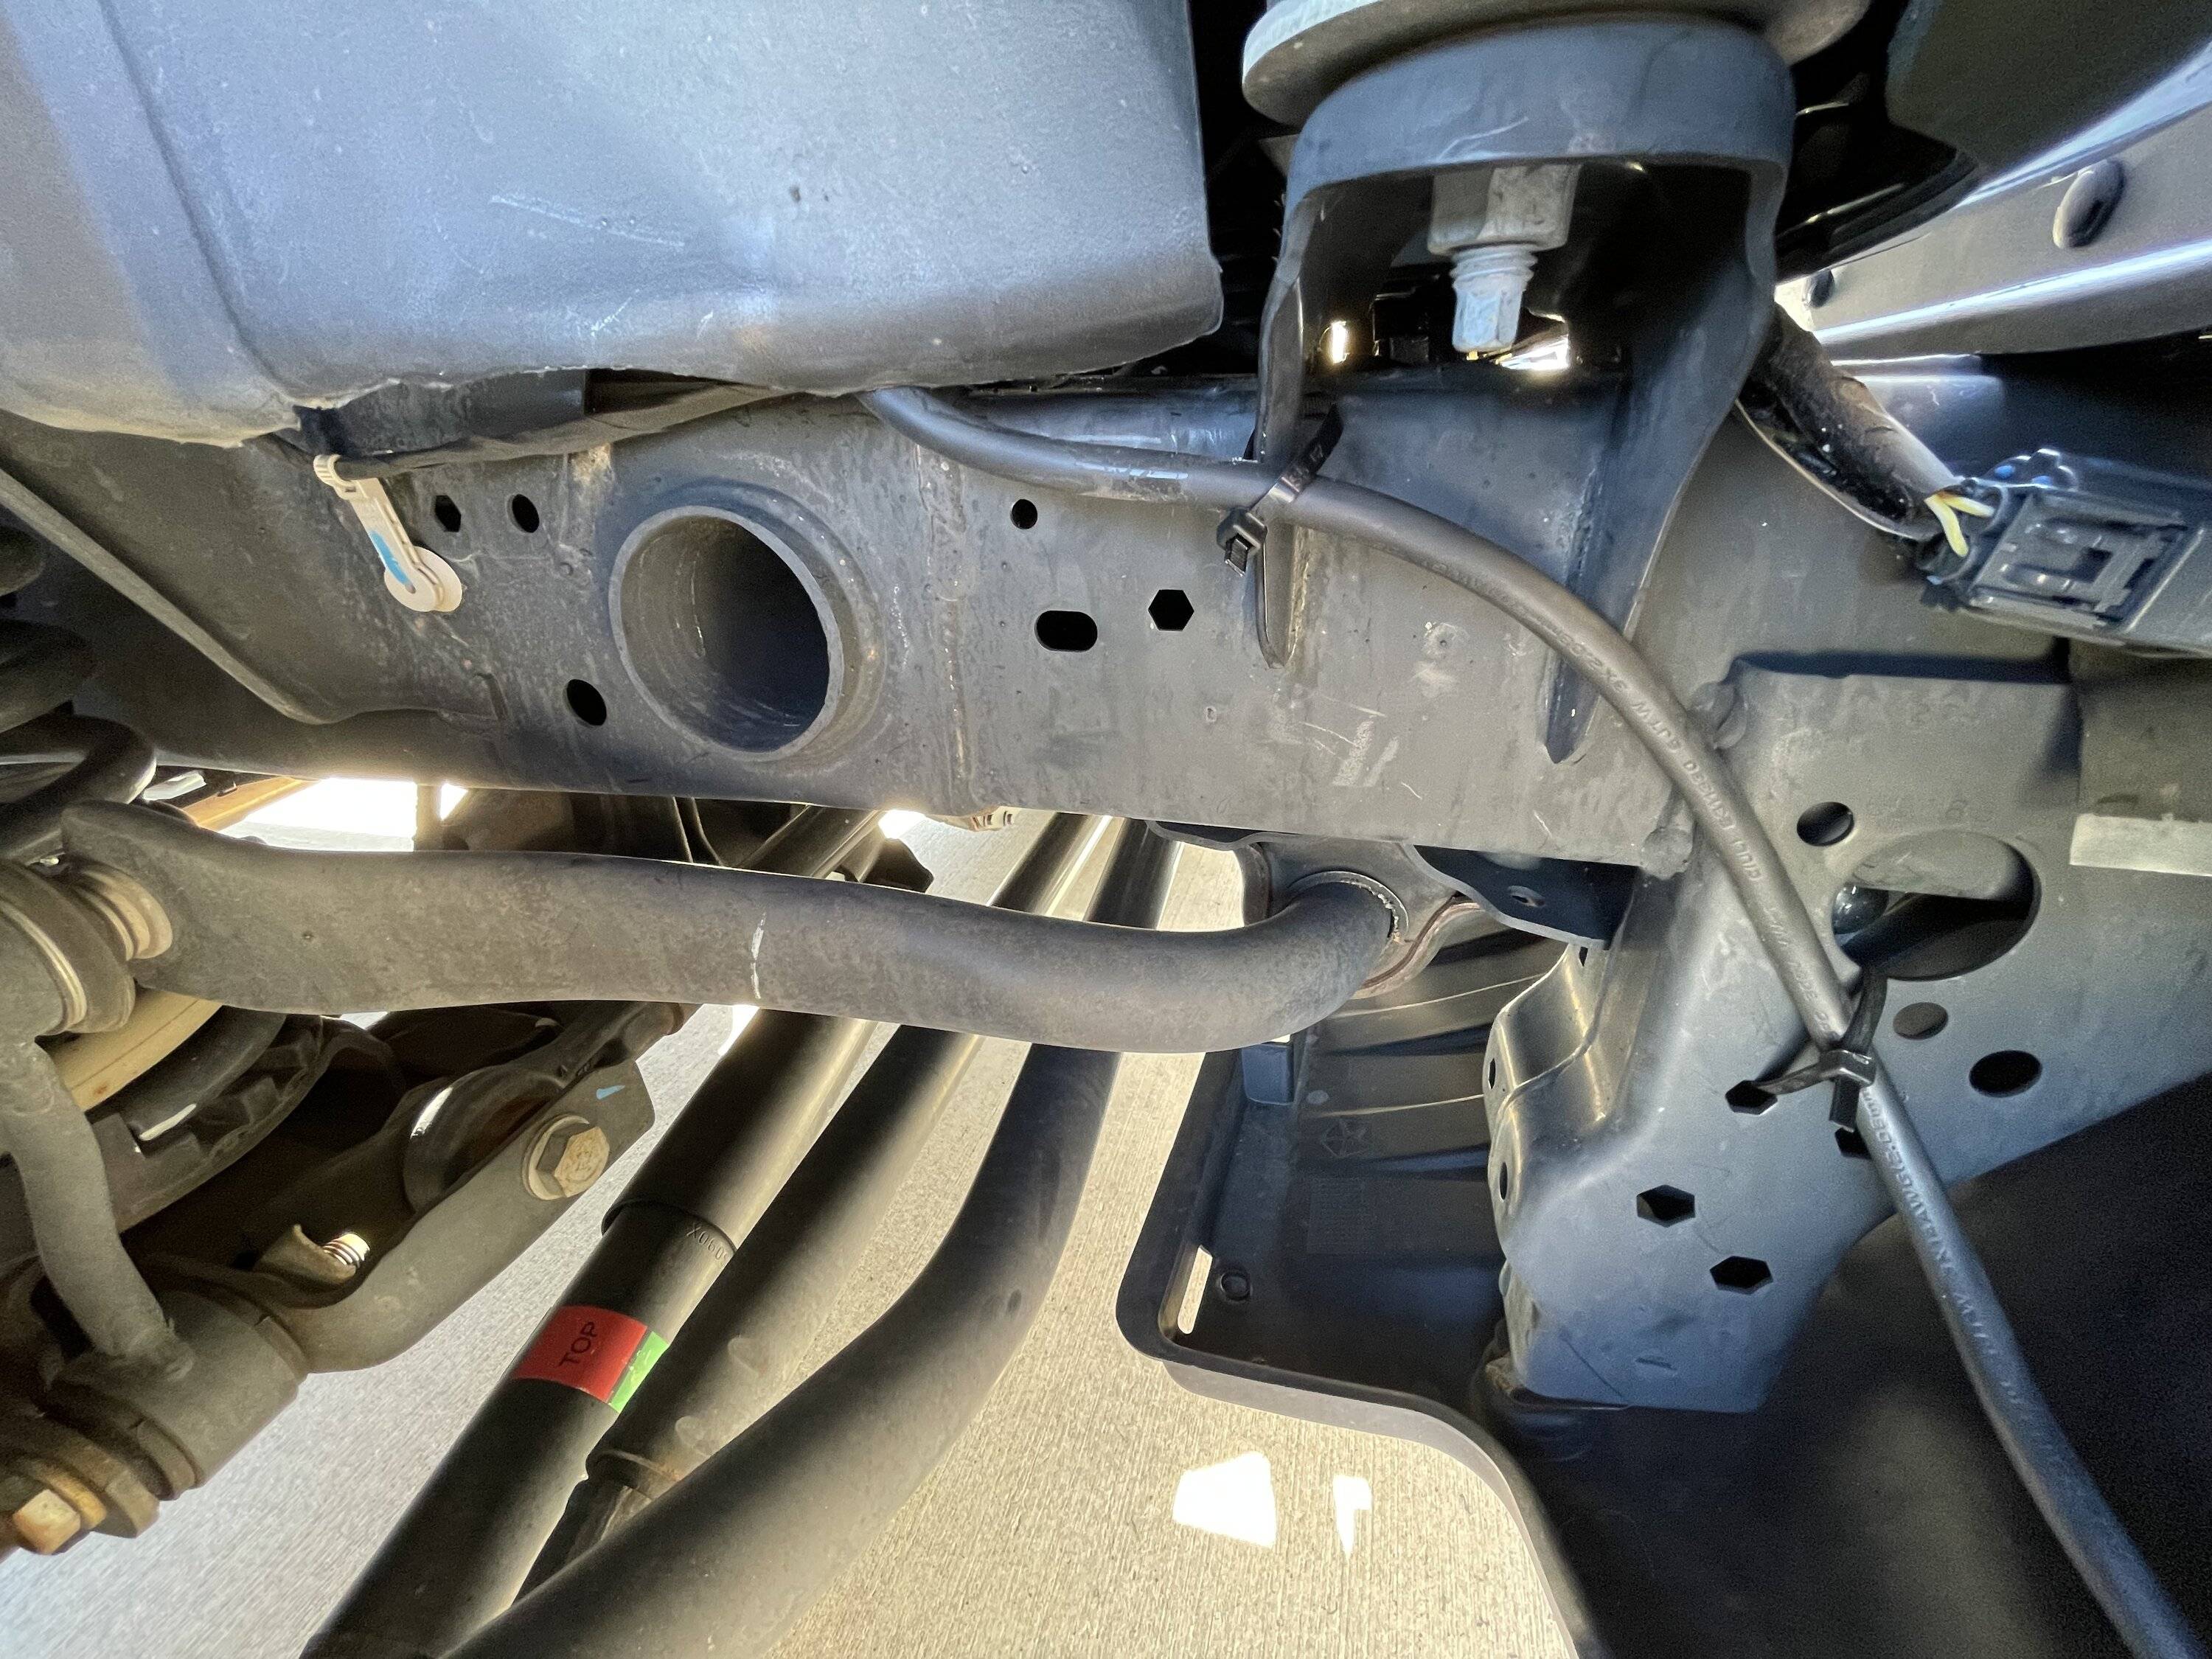
3. Run electric wire under air filter housing , inside of plastic inner wheel well liner and forward towards bumper.
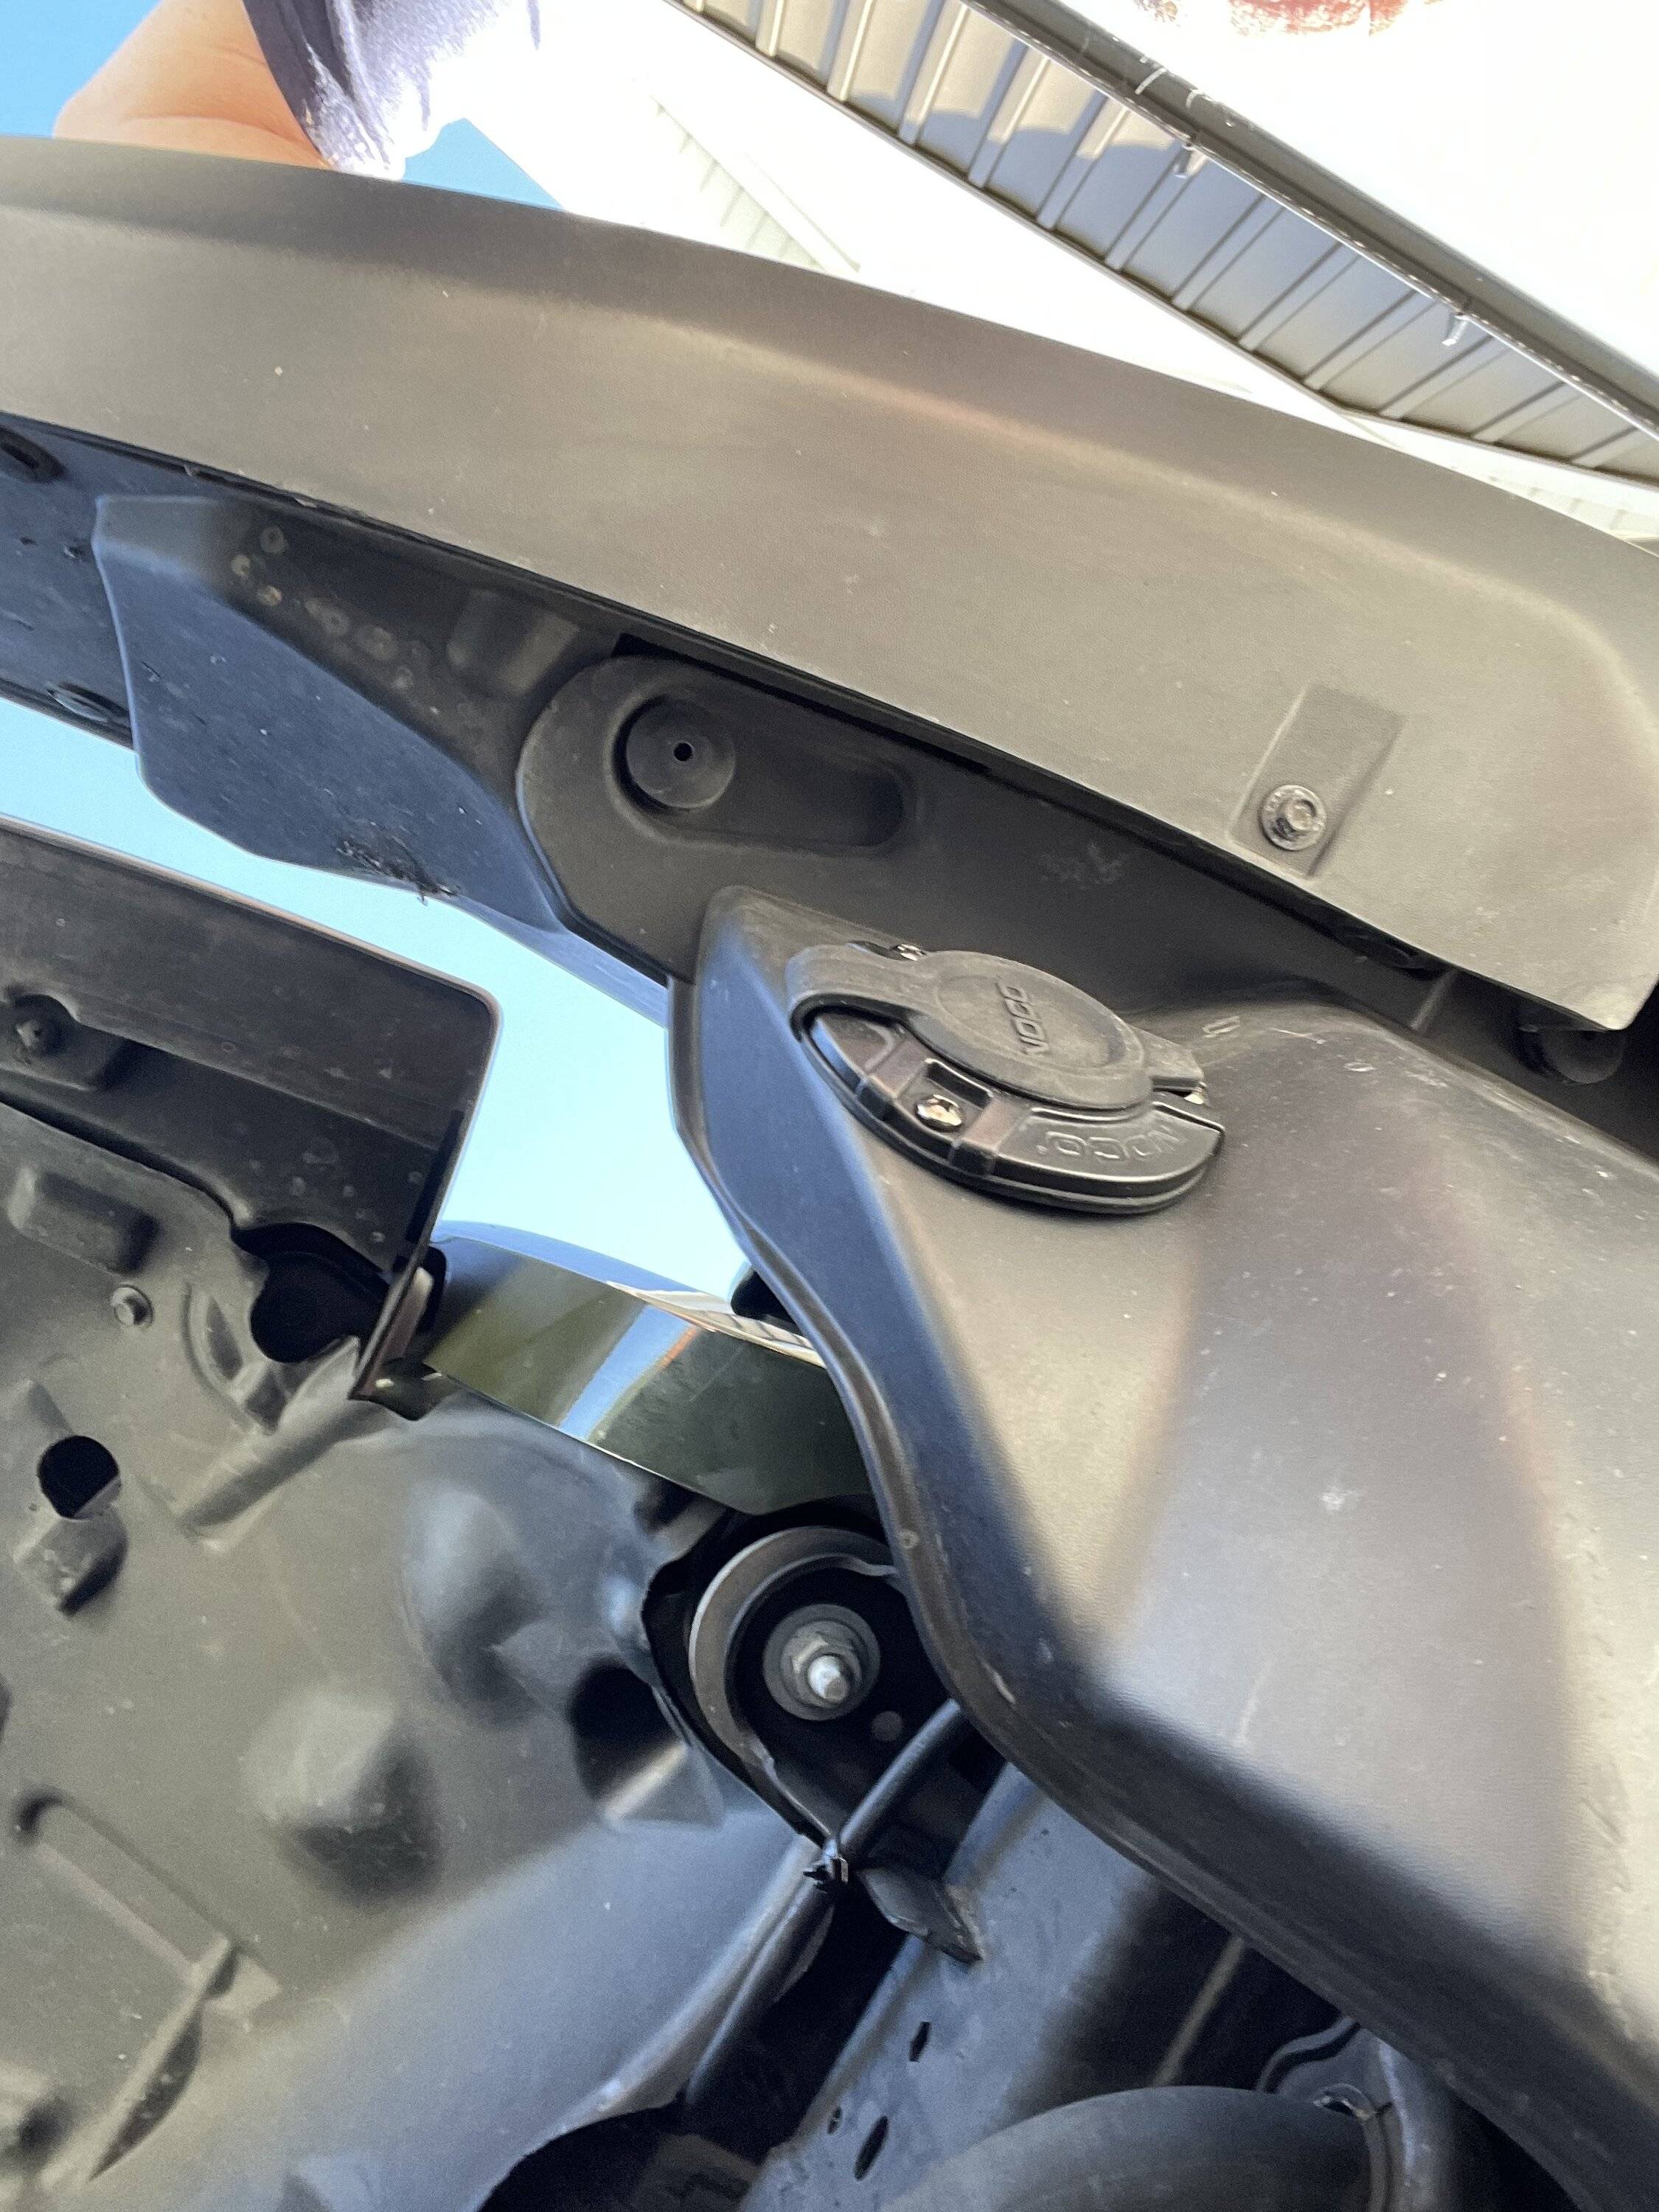
4. Drill 2” hole in plastic lower air deflector/skid plate. (2021 Sport S)
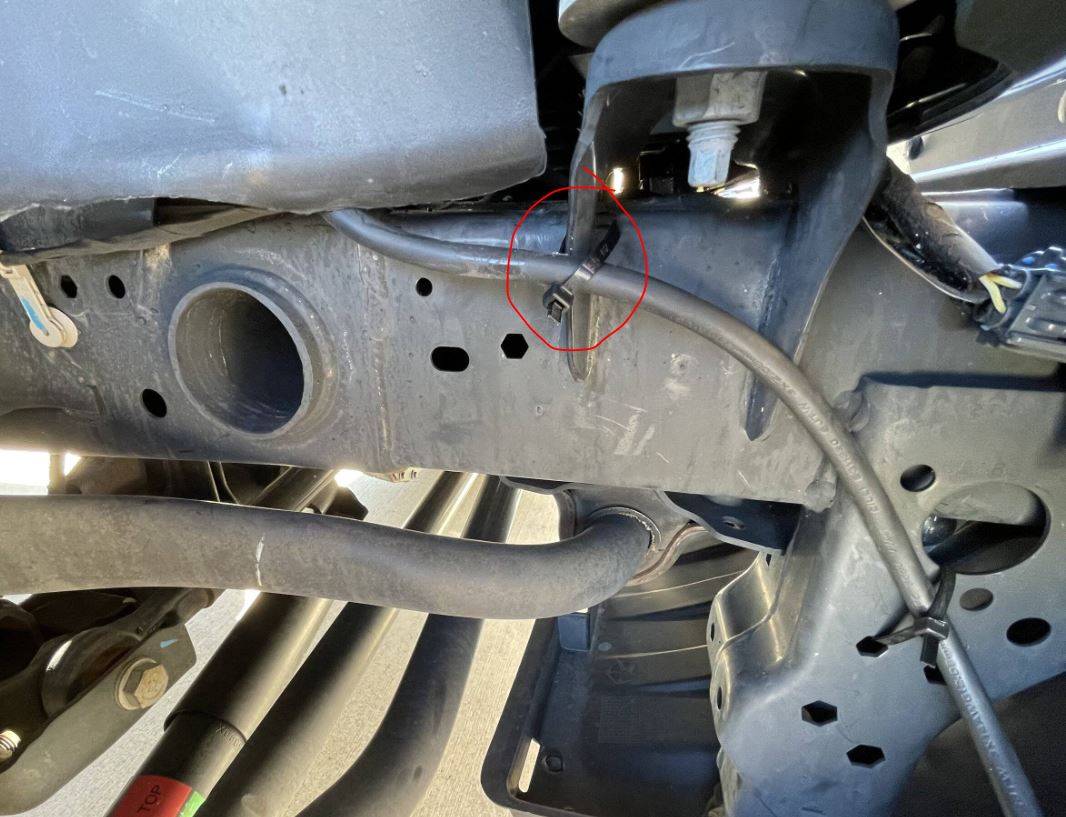
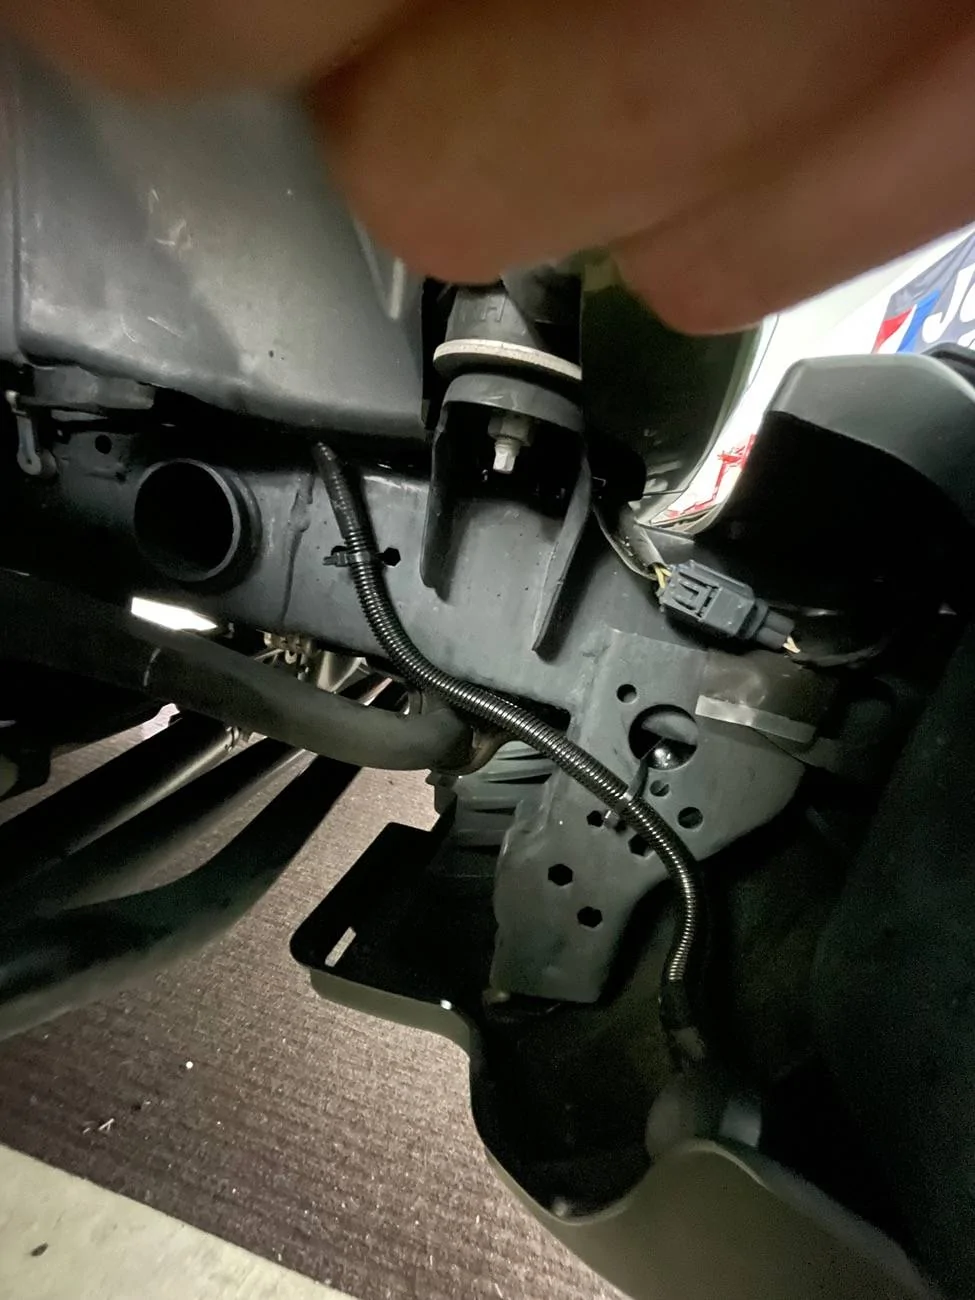
5. Install Noco GCP 1 port plug. Run plug wire back alongside frame well and up to meet maintainer plug. Secure wires with zip ties as needed. Plug cords together, wrap electrical tape around connection.
6. Reinstall air filter housing.
7. Attach red charging wire to battery positive terminal.
8. Attach black charging wire to either battery negative terminal or ground post on inside of fender with 8 mm nut and wave washer. ( my choice)
The only extra parts you supply are a 8 mm nut and washer, some zip ties and a bit of electrical tape.
My lack of computer skills prohibit me from linking to products. I have attached 3 pictures to help visualize what I did. If I wasn’t backing out of garage I probably would have hooked a maintainer up through the 7 wire trailer plug.
That’s my simple install .


1. Snap Noco Genius 2 D into mounting bracket. Lay alongside battery, secure in place with zip tie under Velcro strap.
2. Remove air filter housing.
3. Run electric wire under air filter housing , inside of plastic inner wheel well liner and forward towards bumper.
4. Drill 2” hole in plastic lower air deflector/skid plate. (2021 Sport S)
5. Install Noco GCP 1 port plug. Run plug wire back alongside frame well and up to meet maintainer plug. Secure wires with zip ties as needed. Plug cords together, wrap electrical tape around connection.
6. Reinstall air filter housing.
7. Attach red charging wire to battery positive terminal.
8. Attach black charging wire to either battery negative terminal or ground post on inside of fender with 8 mm nut and wave washer. ( my choice)
The only extra parts you supply are a 8 mm nut and washer, some zip ties and a bit of electrical tape.
My lack of computer skills prohibit me from linking to products. I have attached 3 pictures to help visualize what I did. If I wasn’t backing out of garage I probably would have hooked a maintainer up through the 7 wire trailer plug.
That’s my simple install .
Sponsored