JLMOPARMAN
Well-Known Member
- First Name
- JAson
- Joined
- Nov 3, 2017
- Threads
- 5
- Messages
- 74
- Reaction score
- 351
- Location
- Lincoln, NE
- Vehicle(s)
- 2016 JLU Rubicon
- Thread starter
- #1
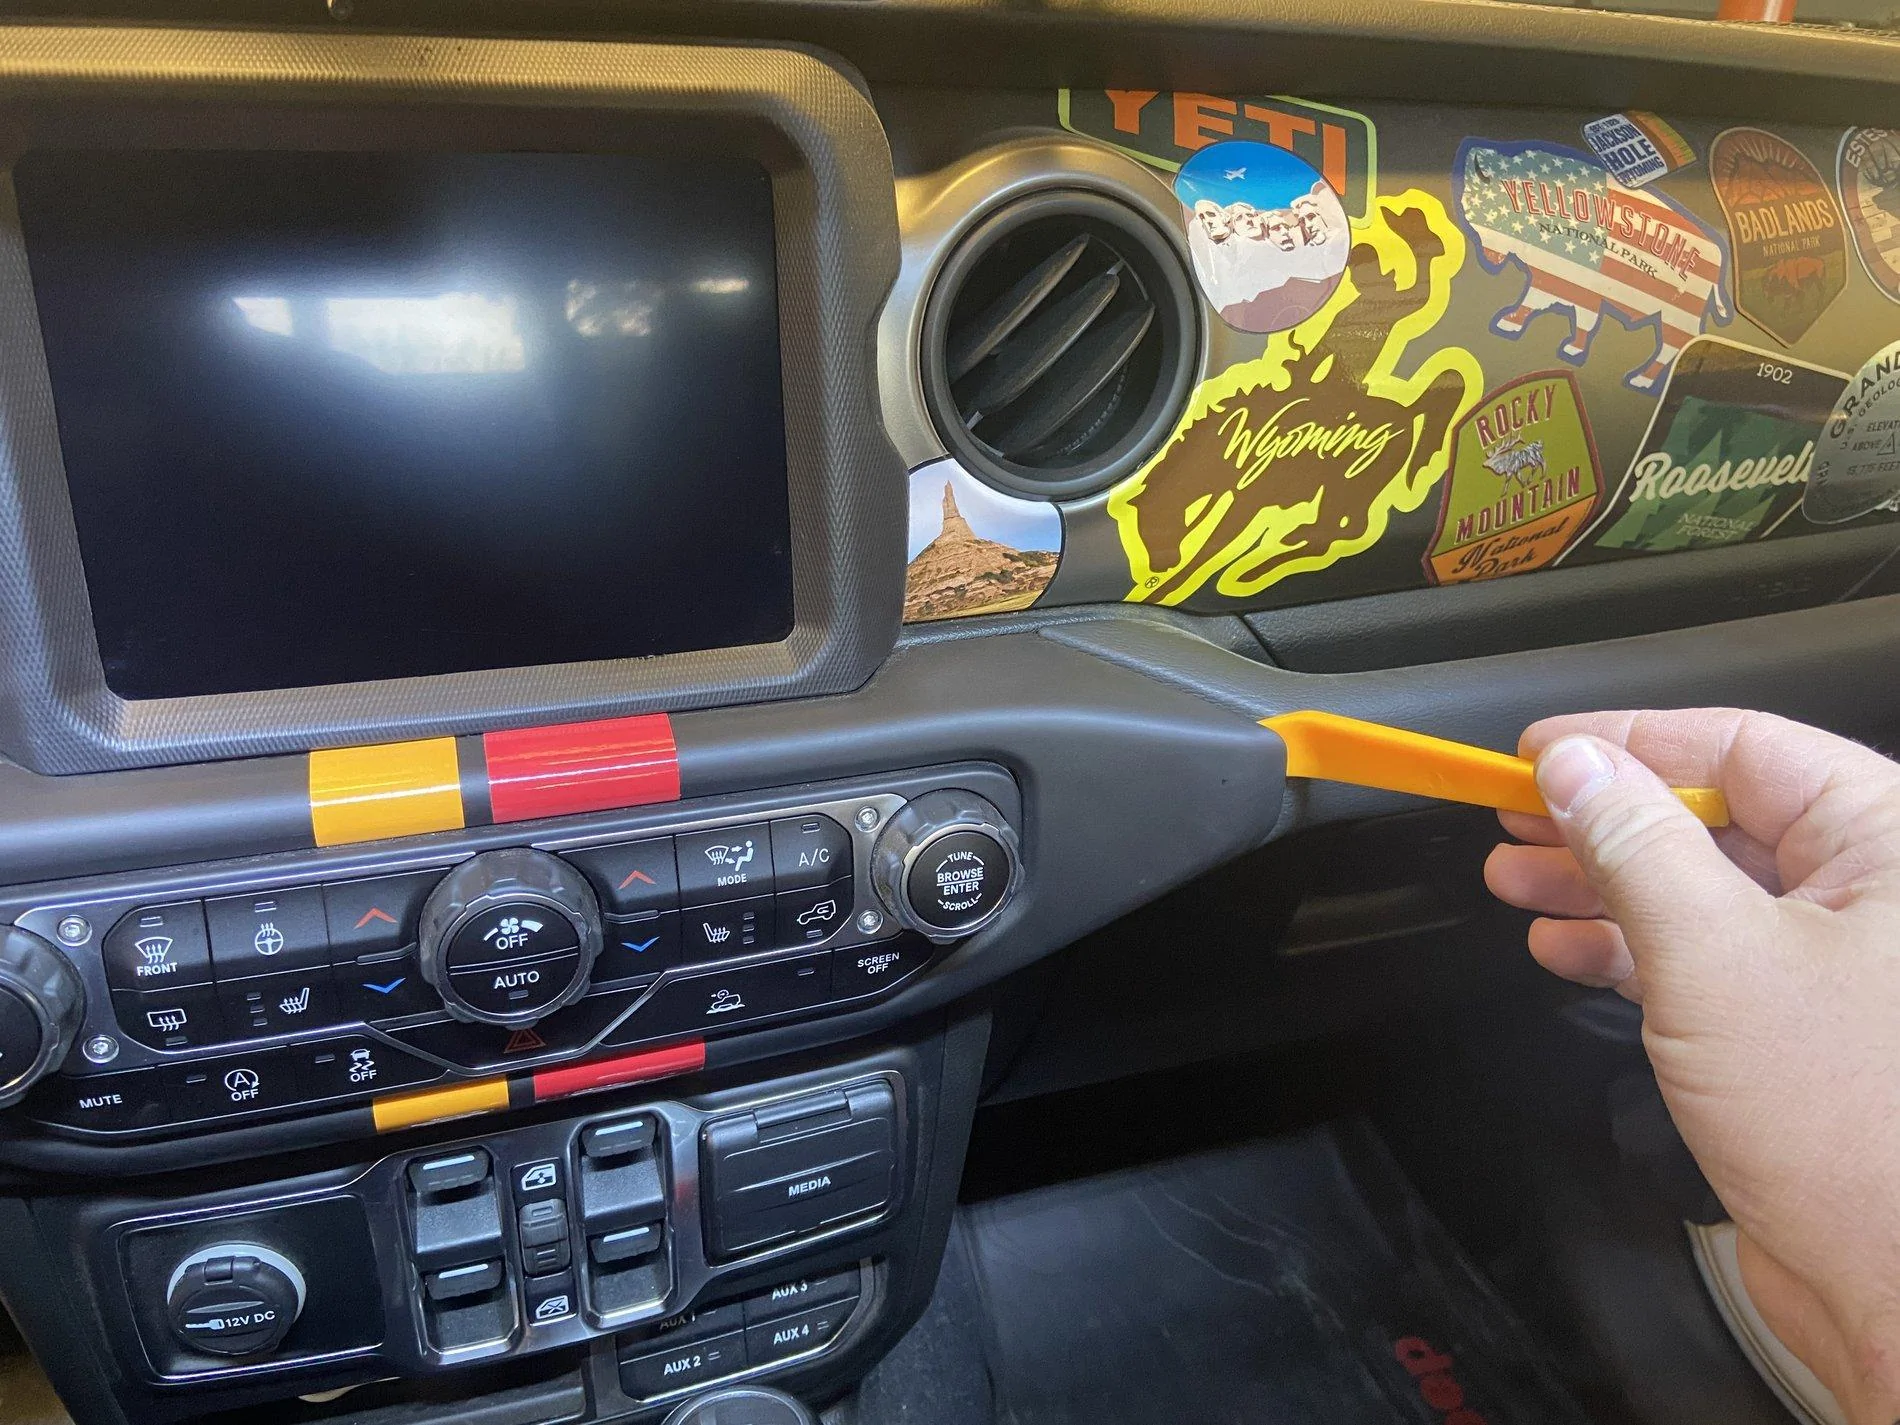
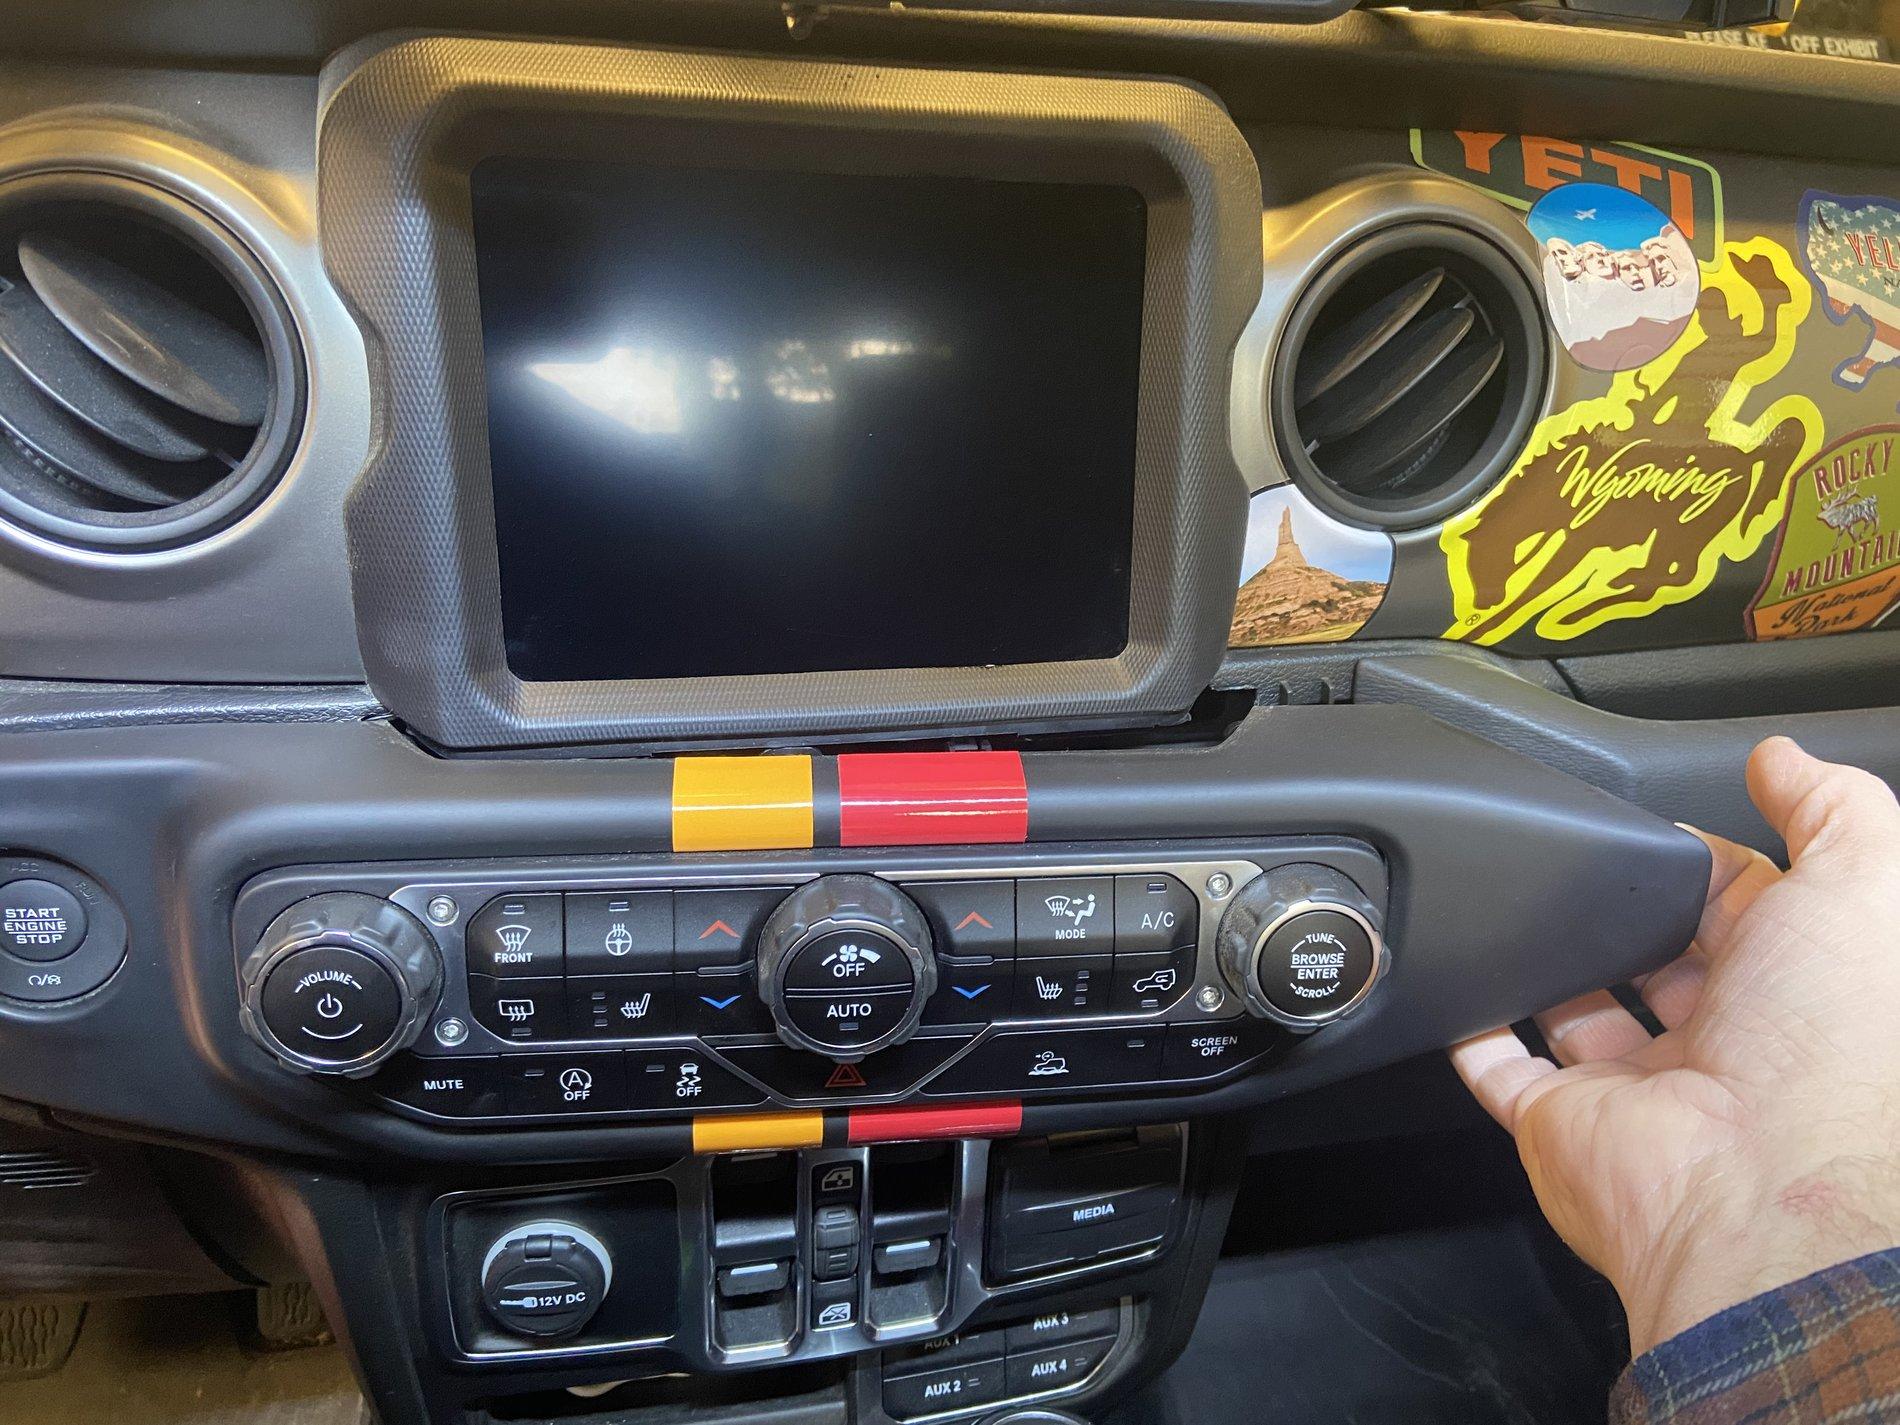
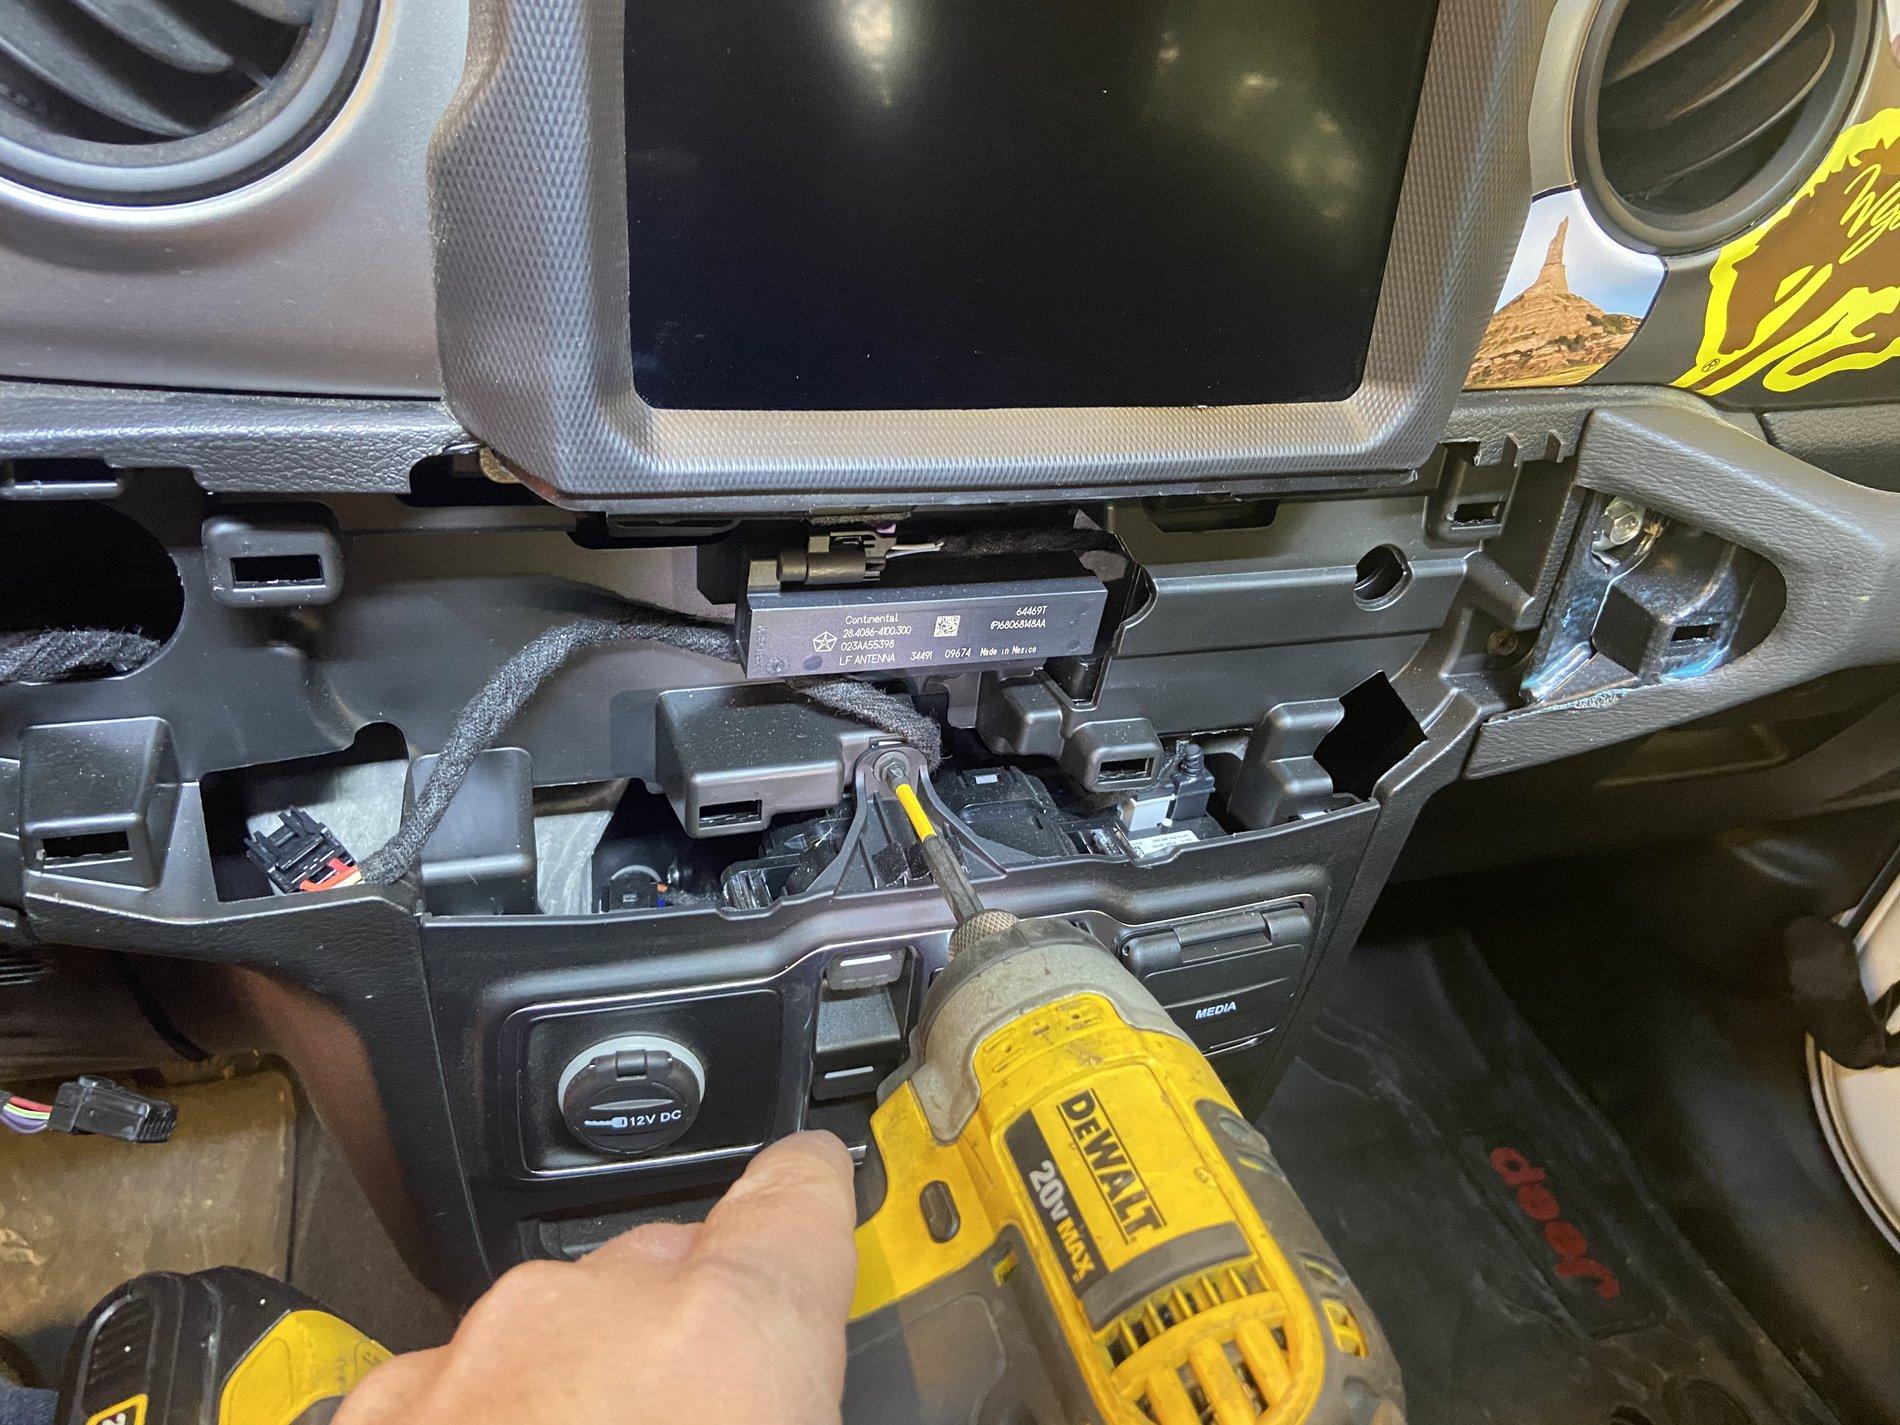
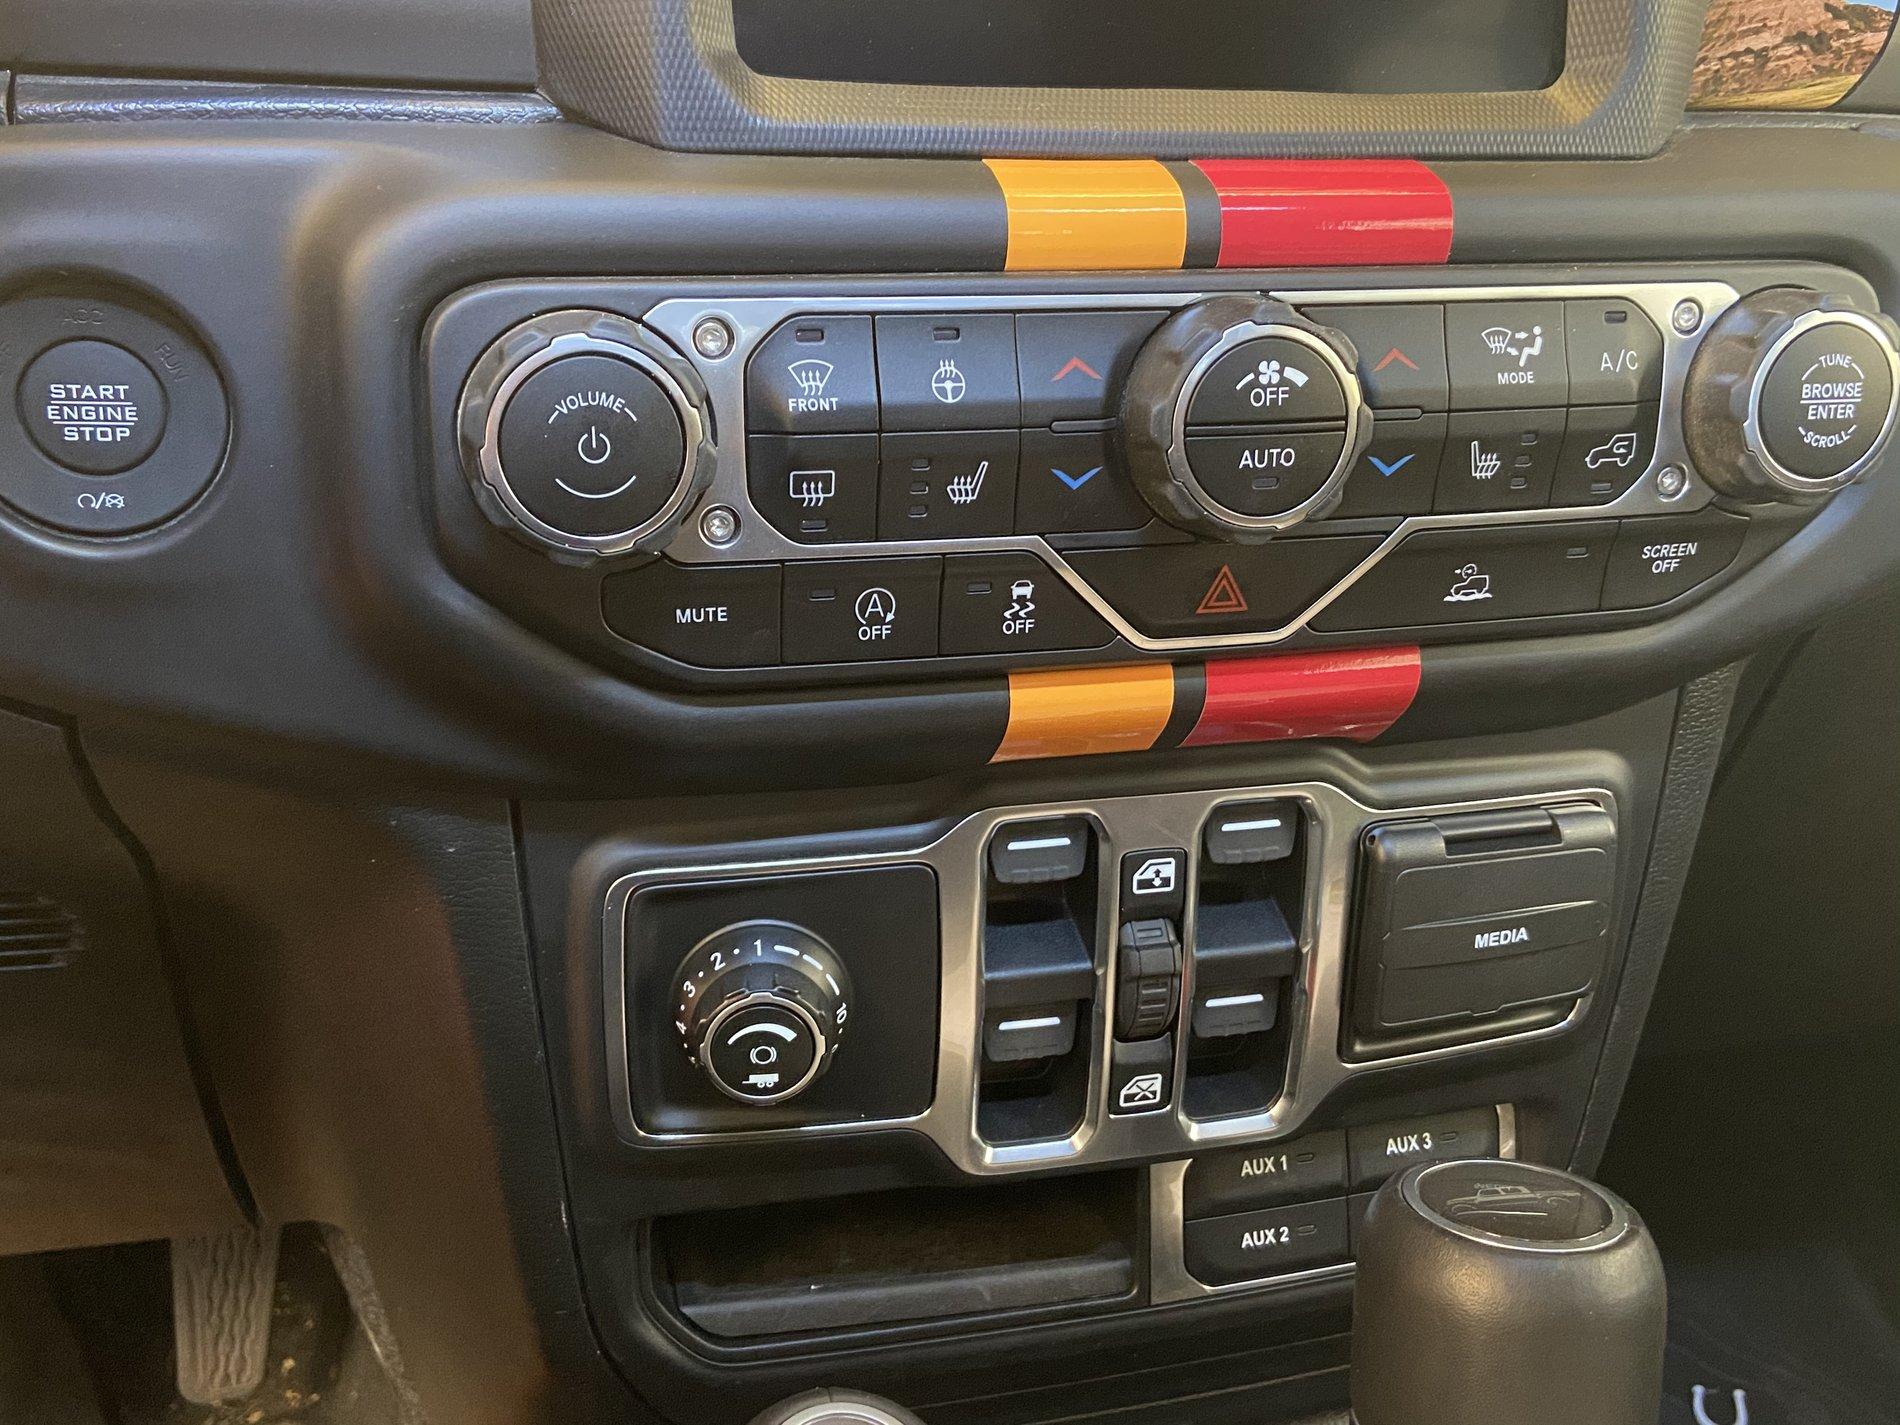
Start by using a trim stick an pull away the HVAC controls.
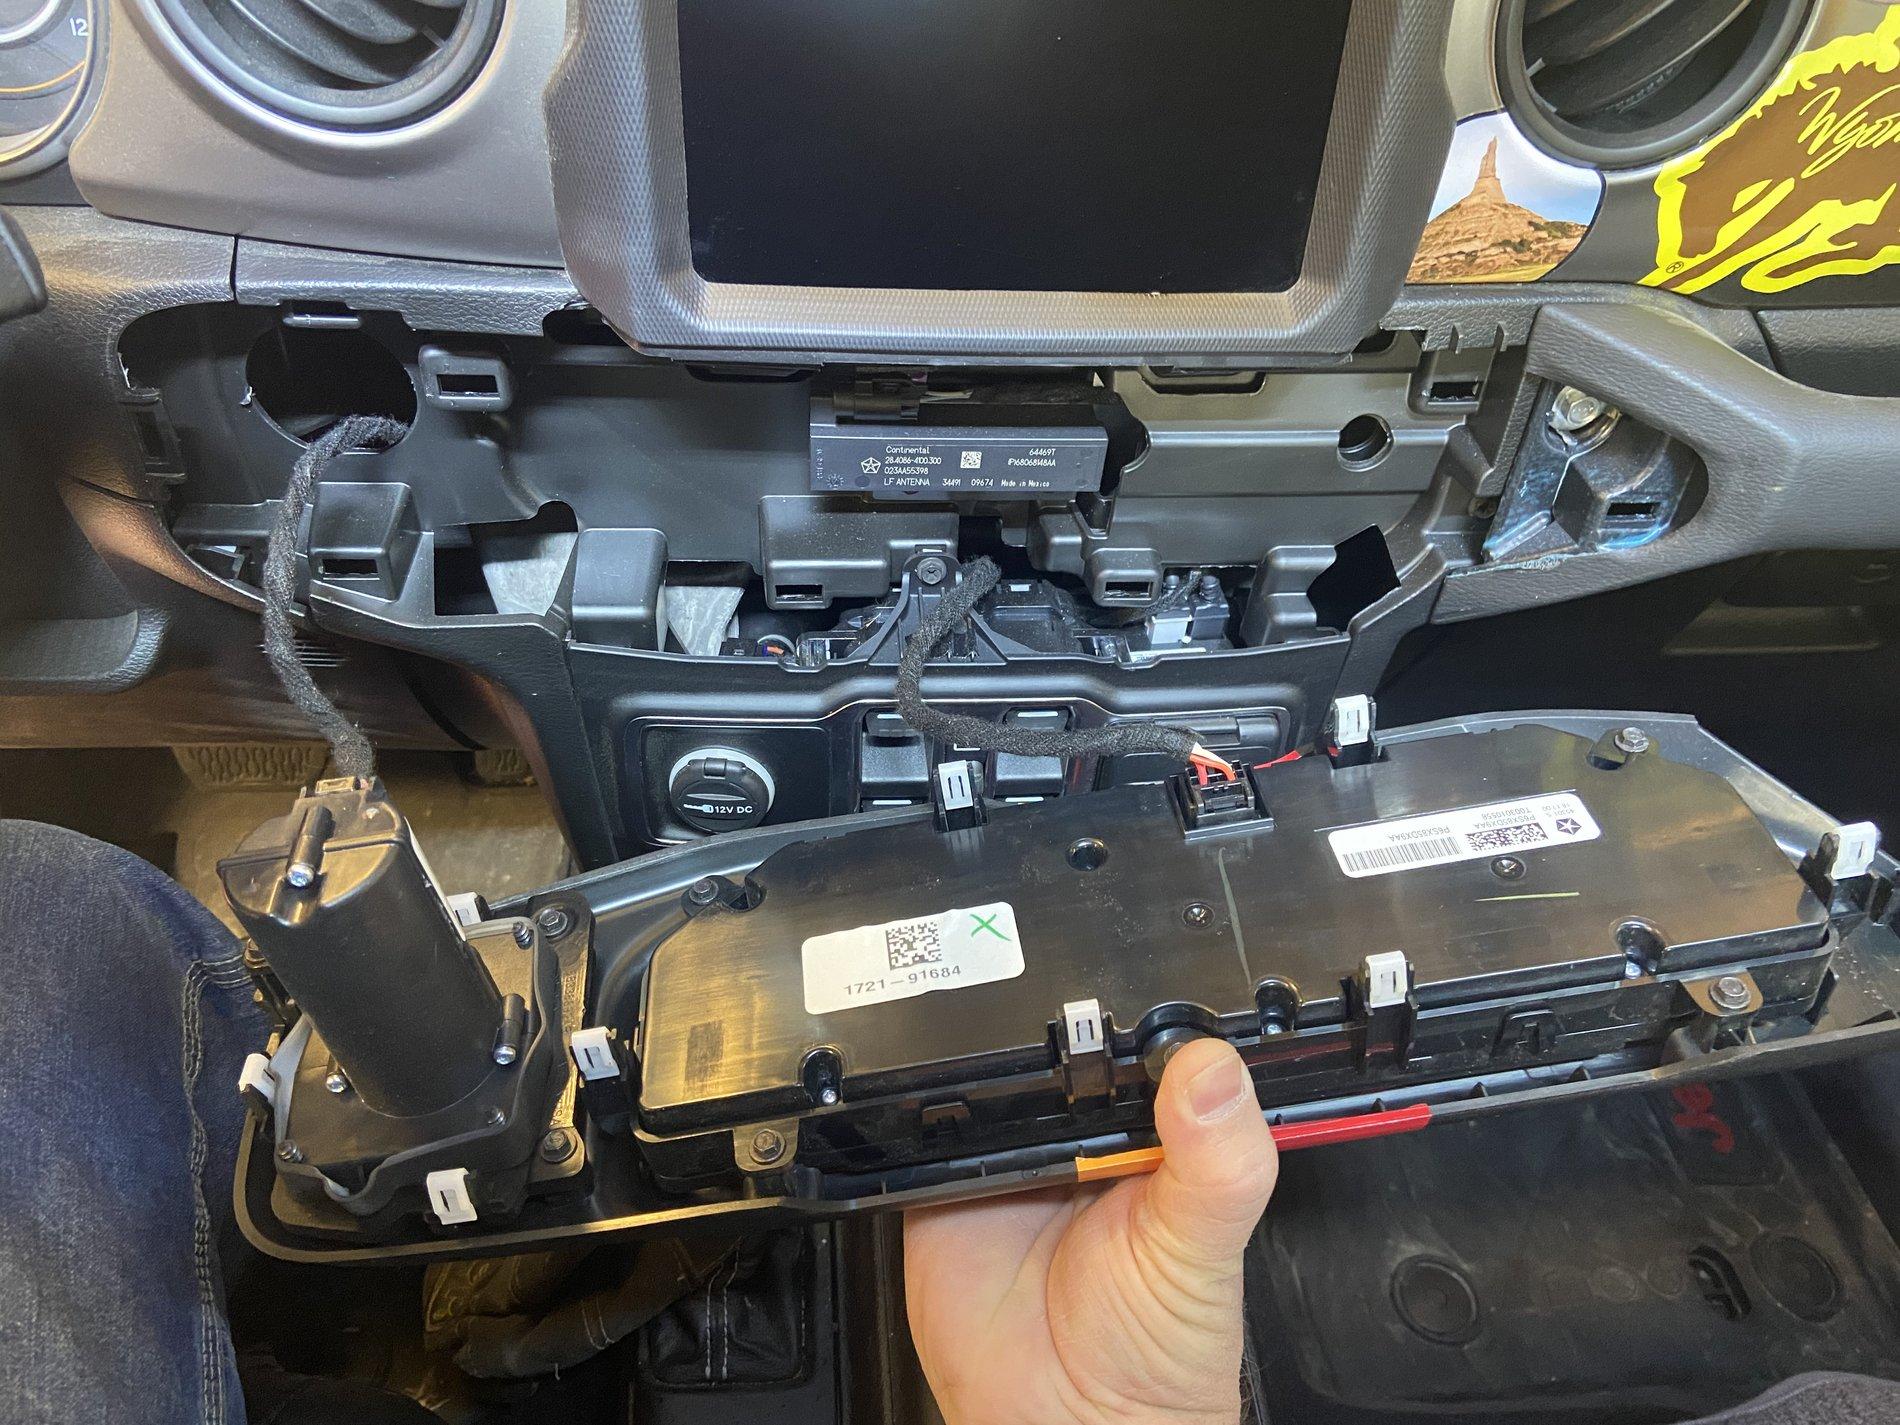
 Remove the connectors and set aside.
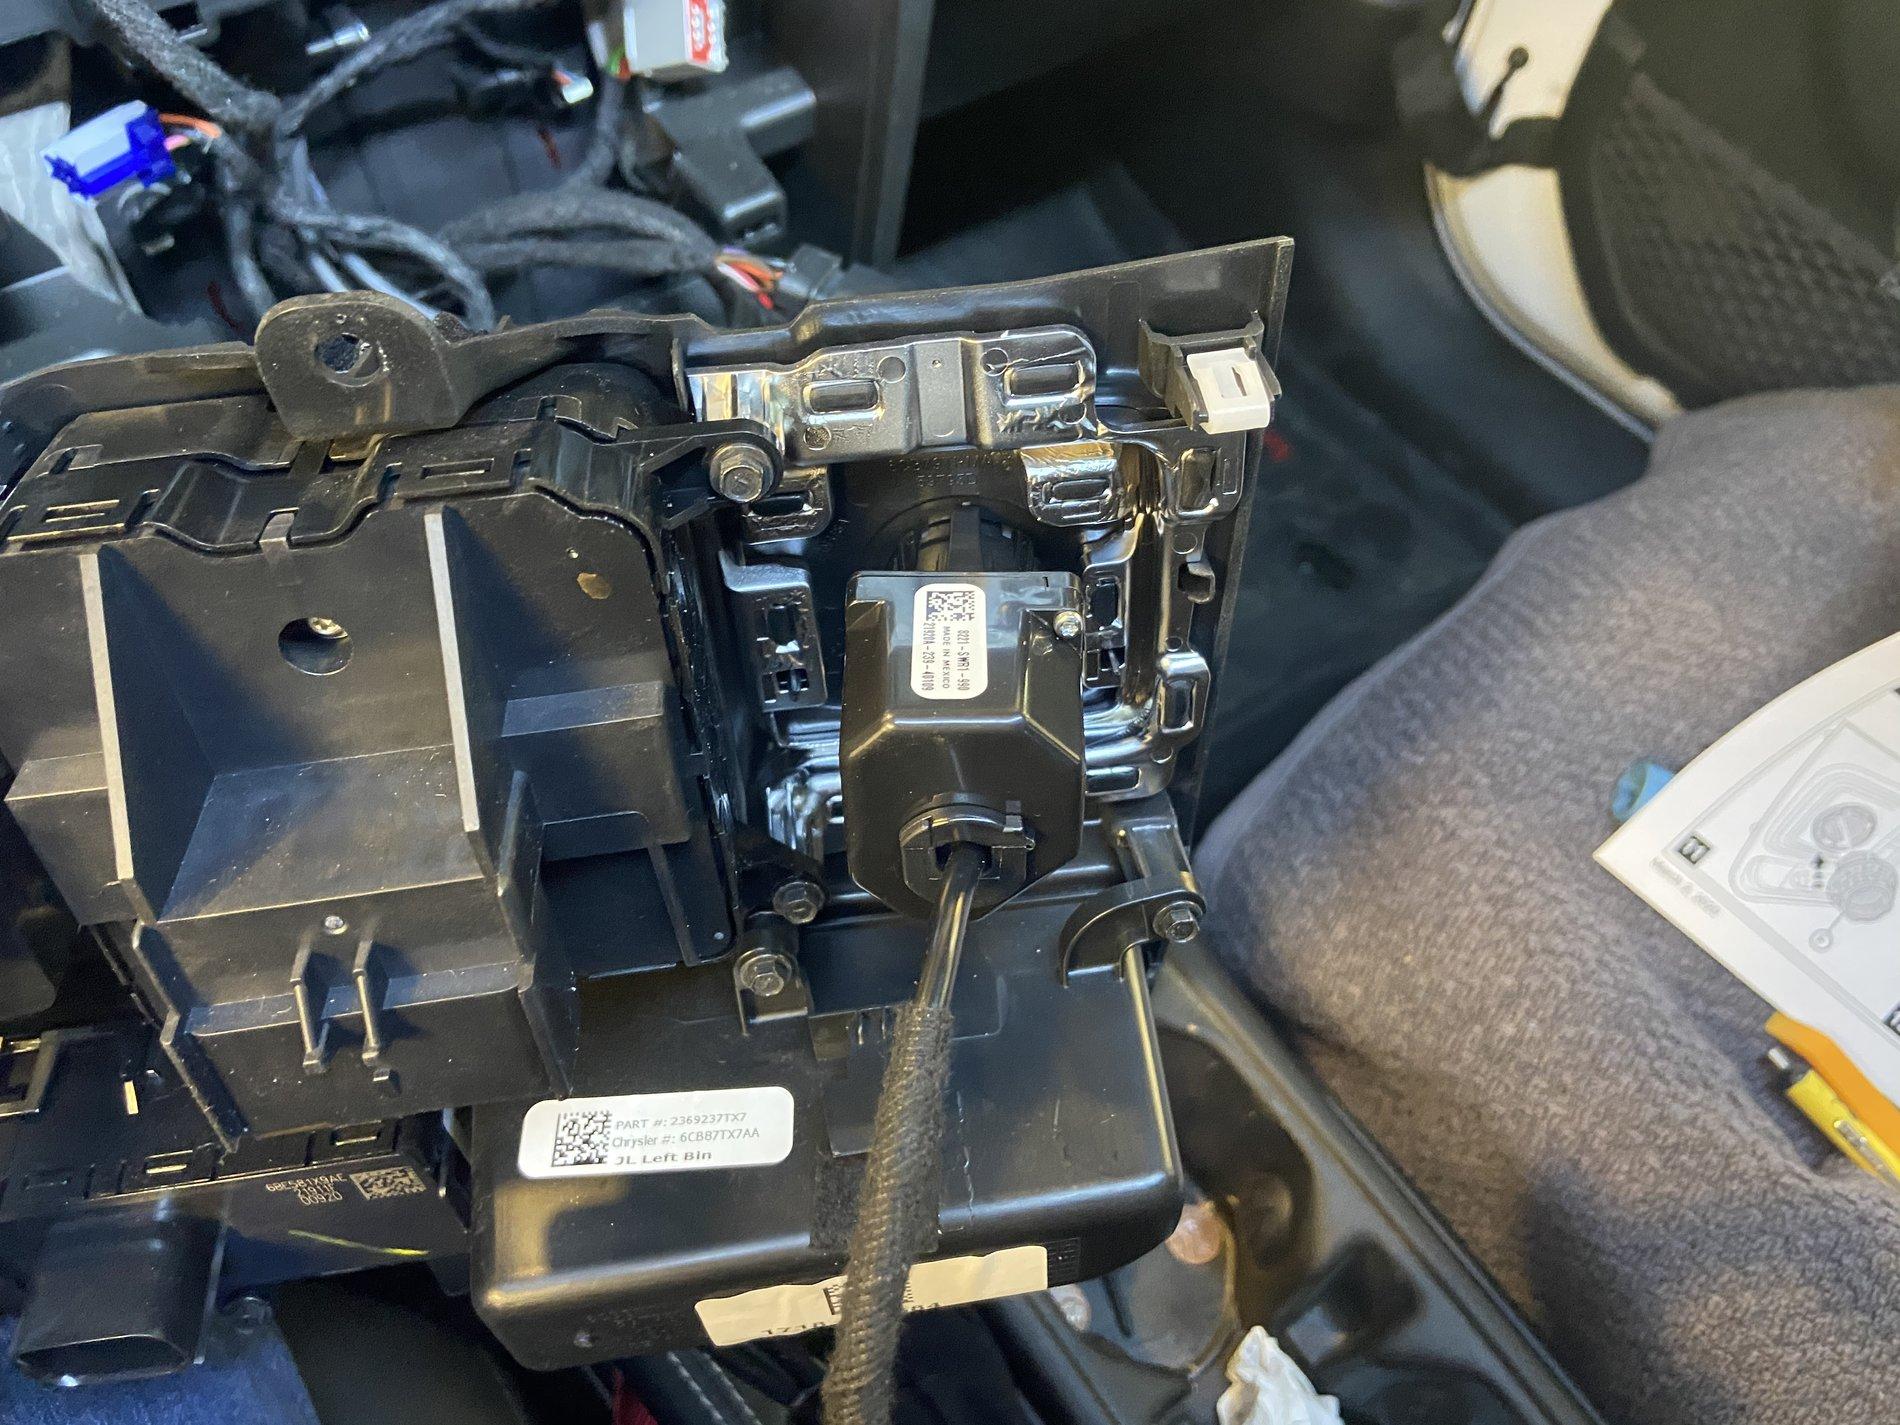
Remove the screw from the lower controls.
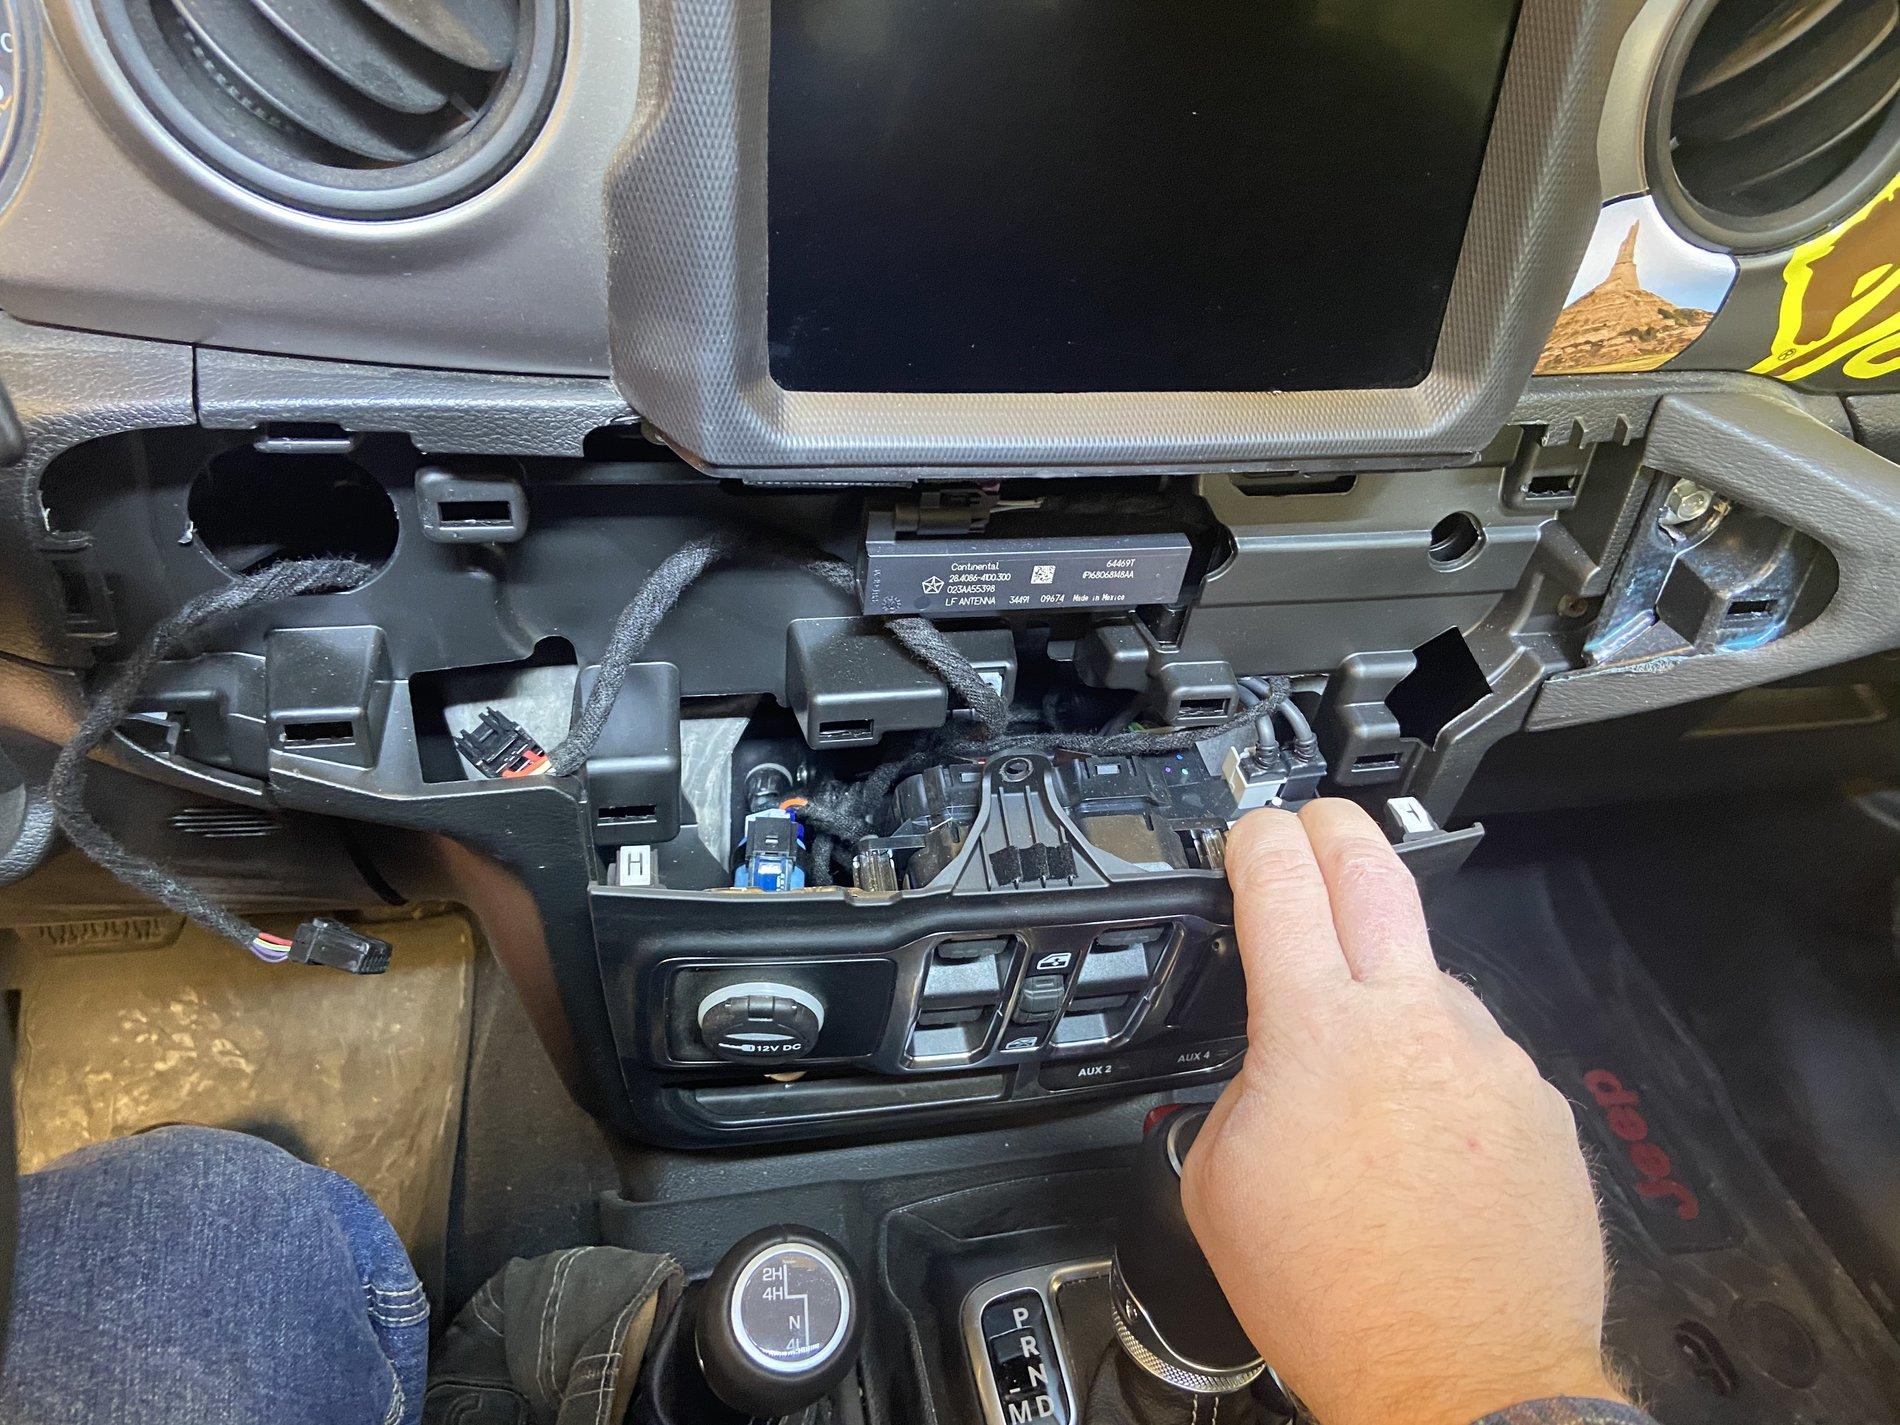
With 2 hands pull towards you.
Remove the connectors from the lower controls and pull it out of the dash.

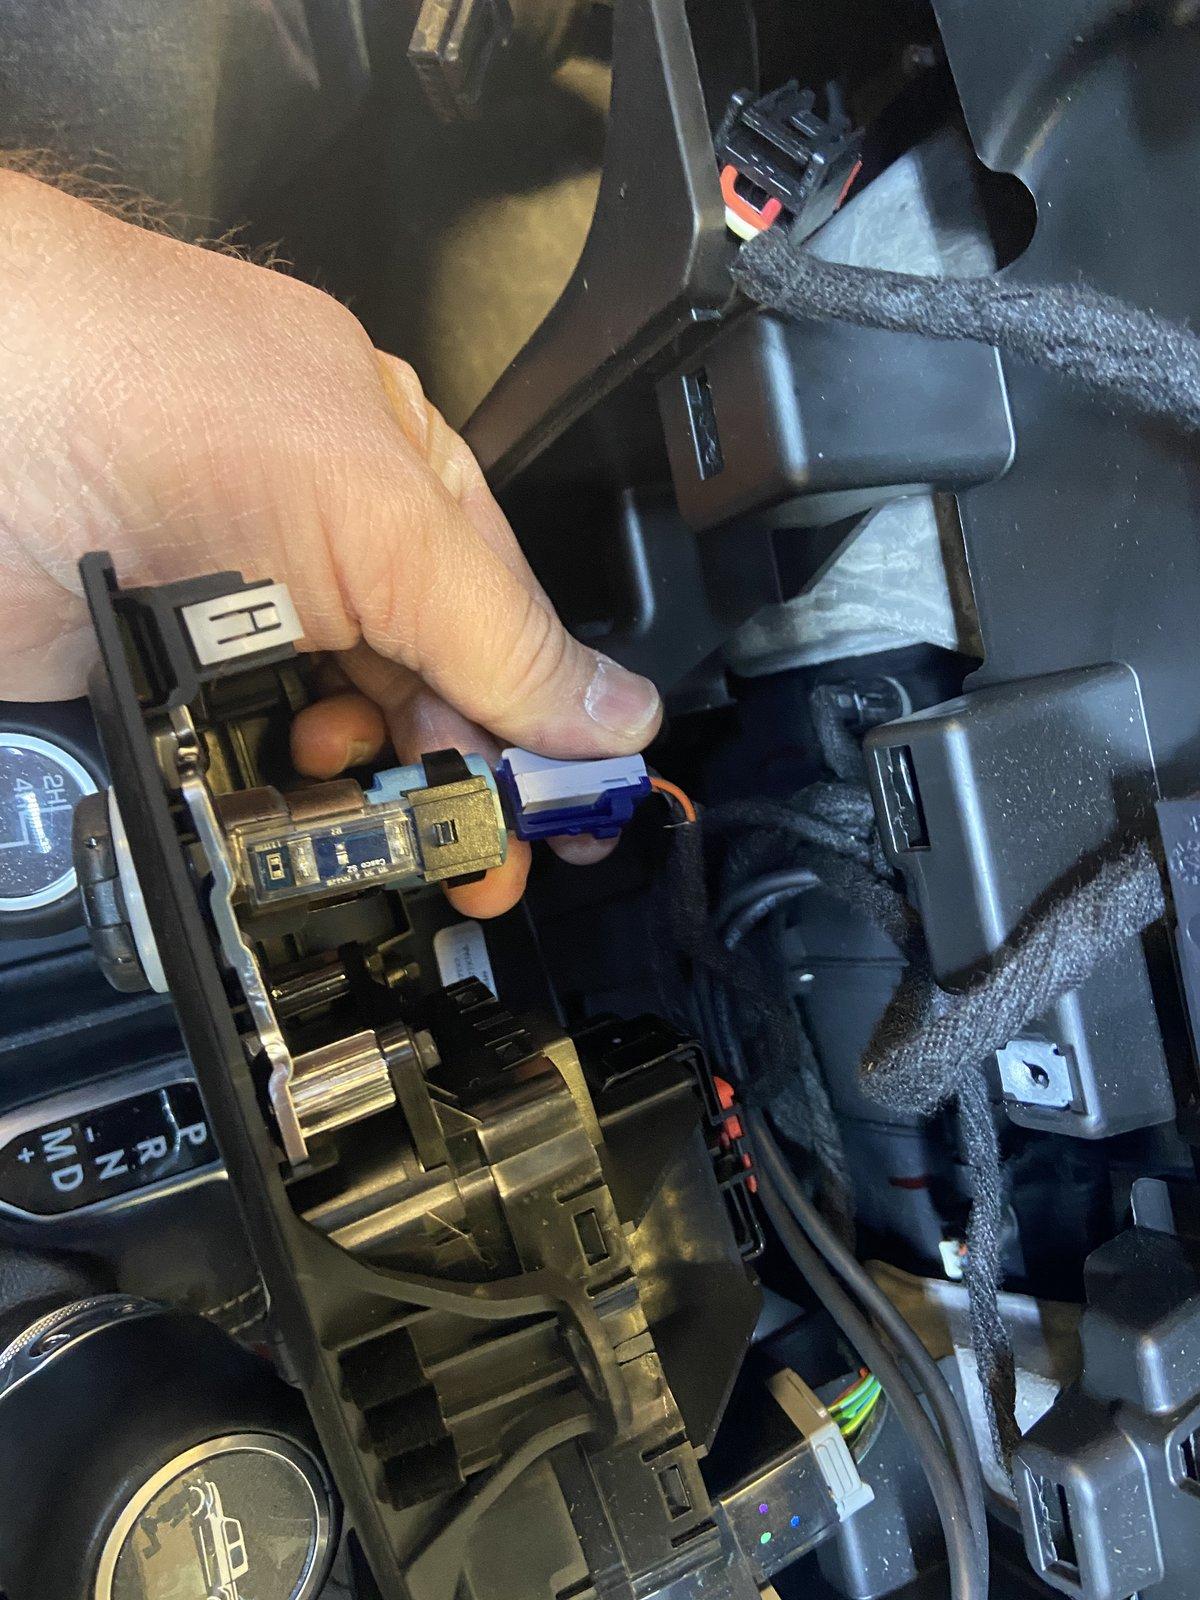
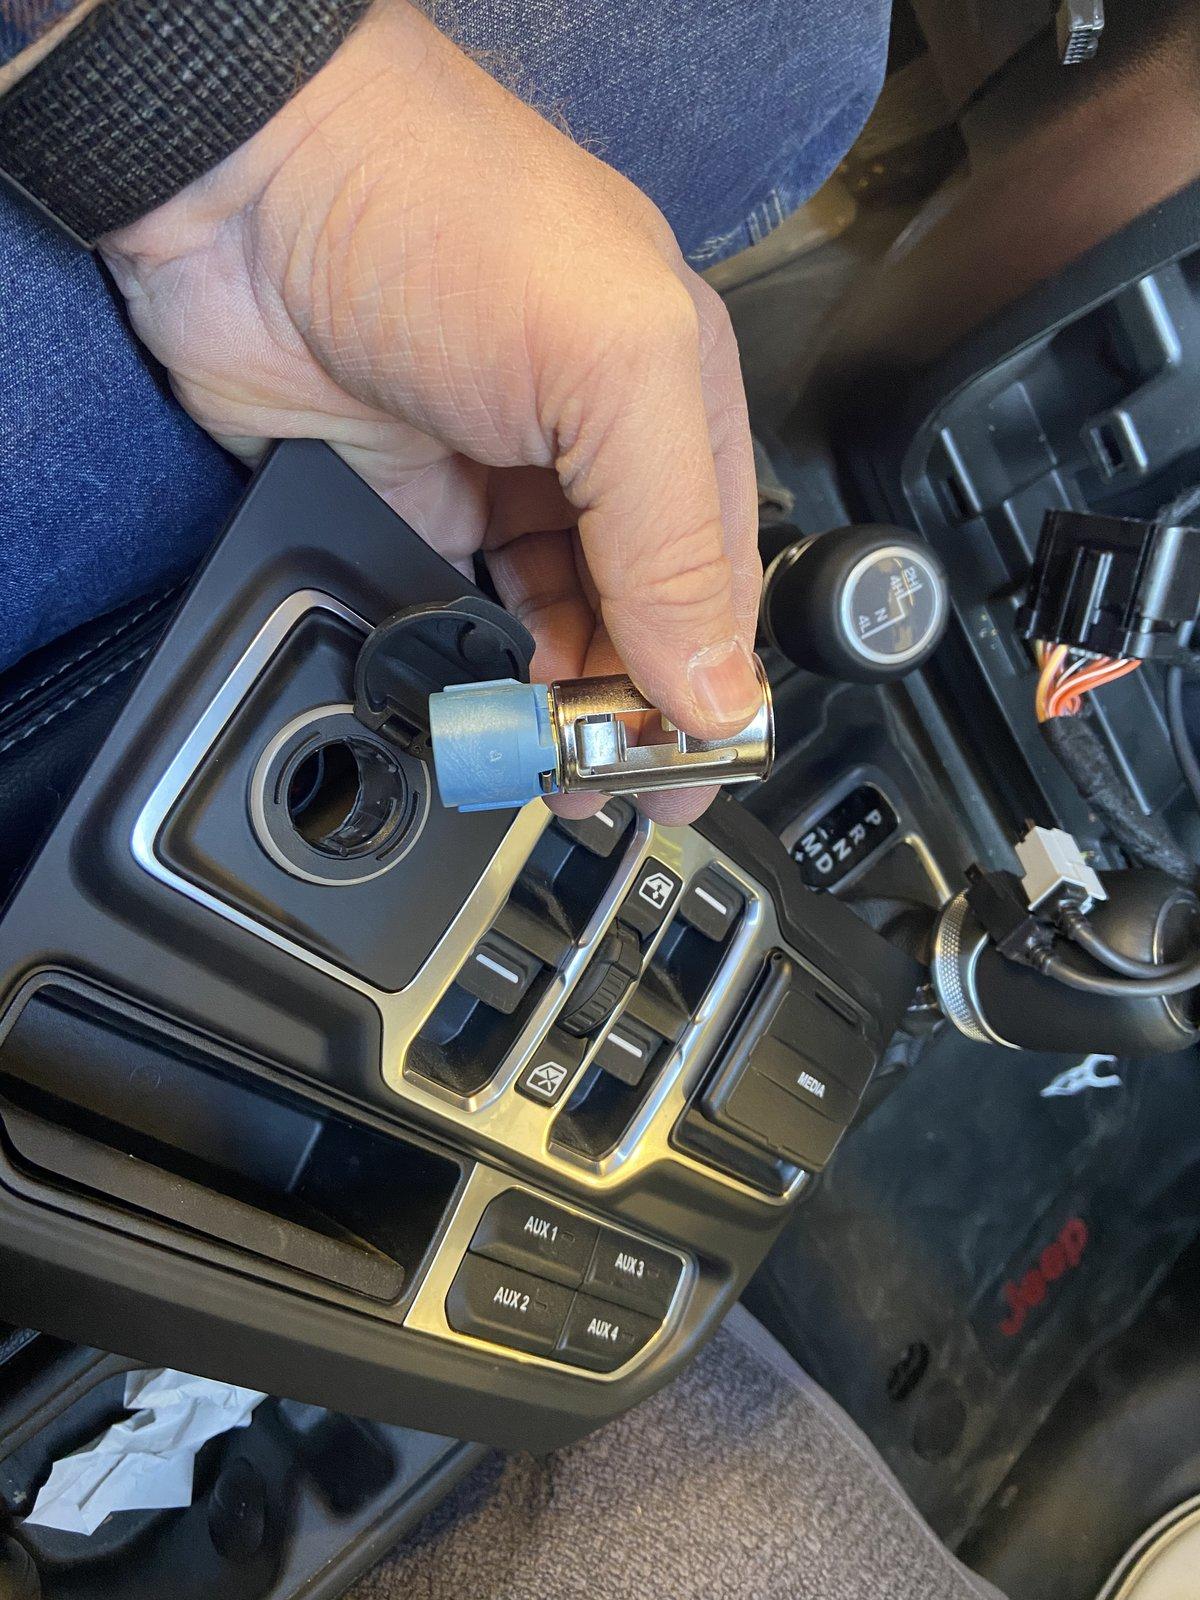
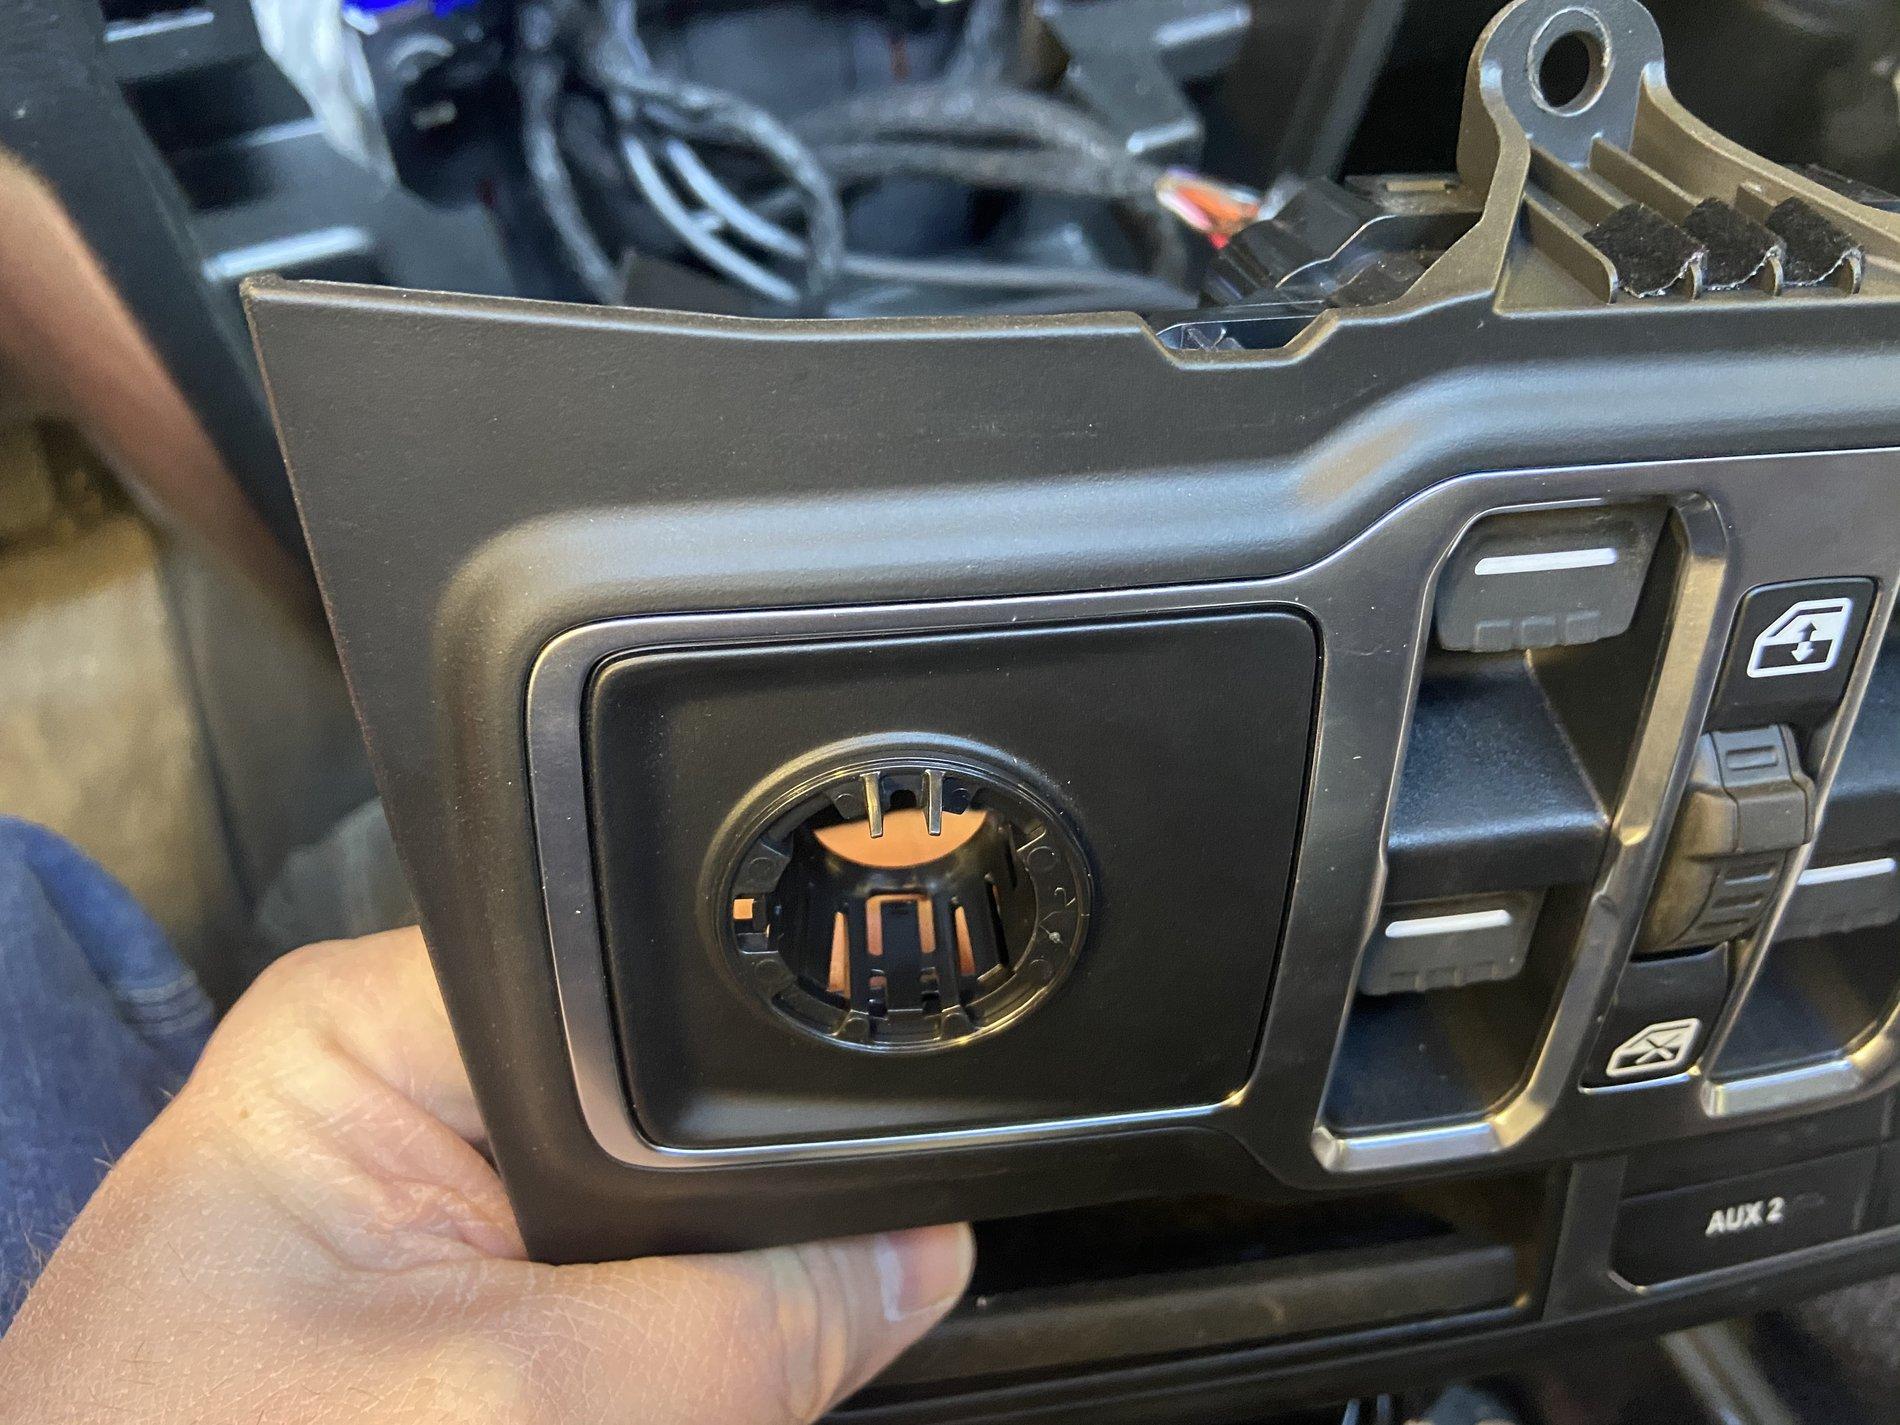
Remove the 12V outlet from its housing. This is in there tight!!
Remove the 12V housing from the lower panel.
Install the retainer ring to the lower panel.
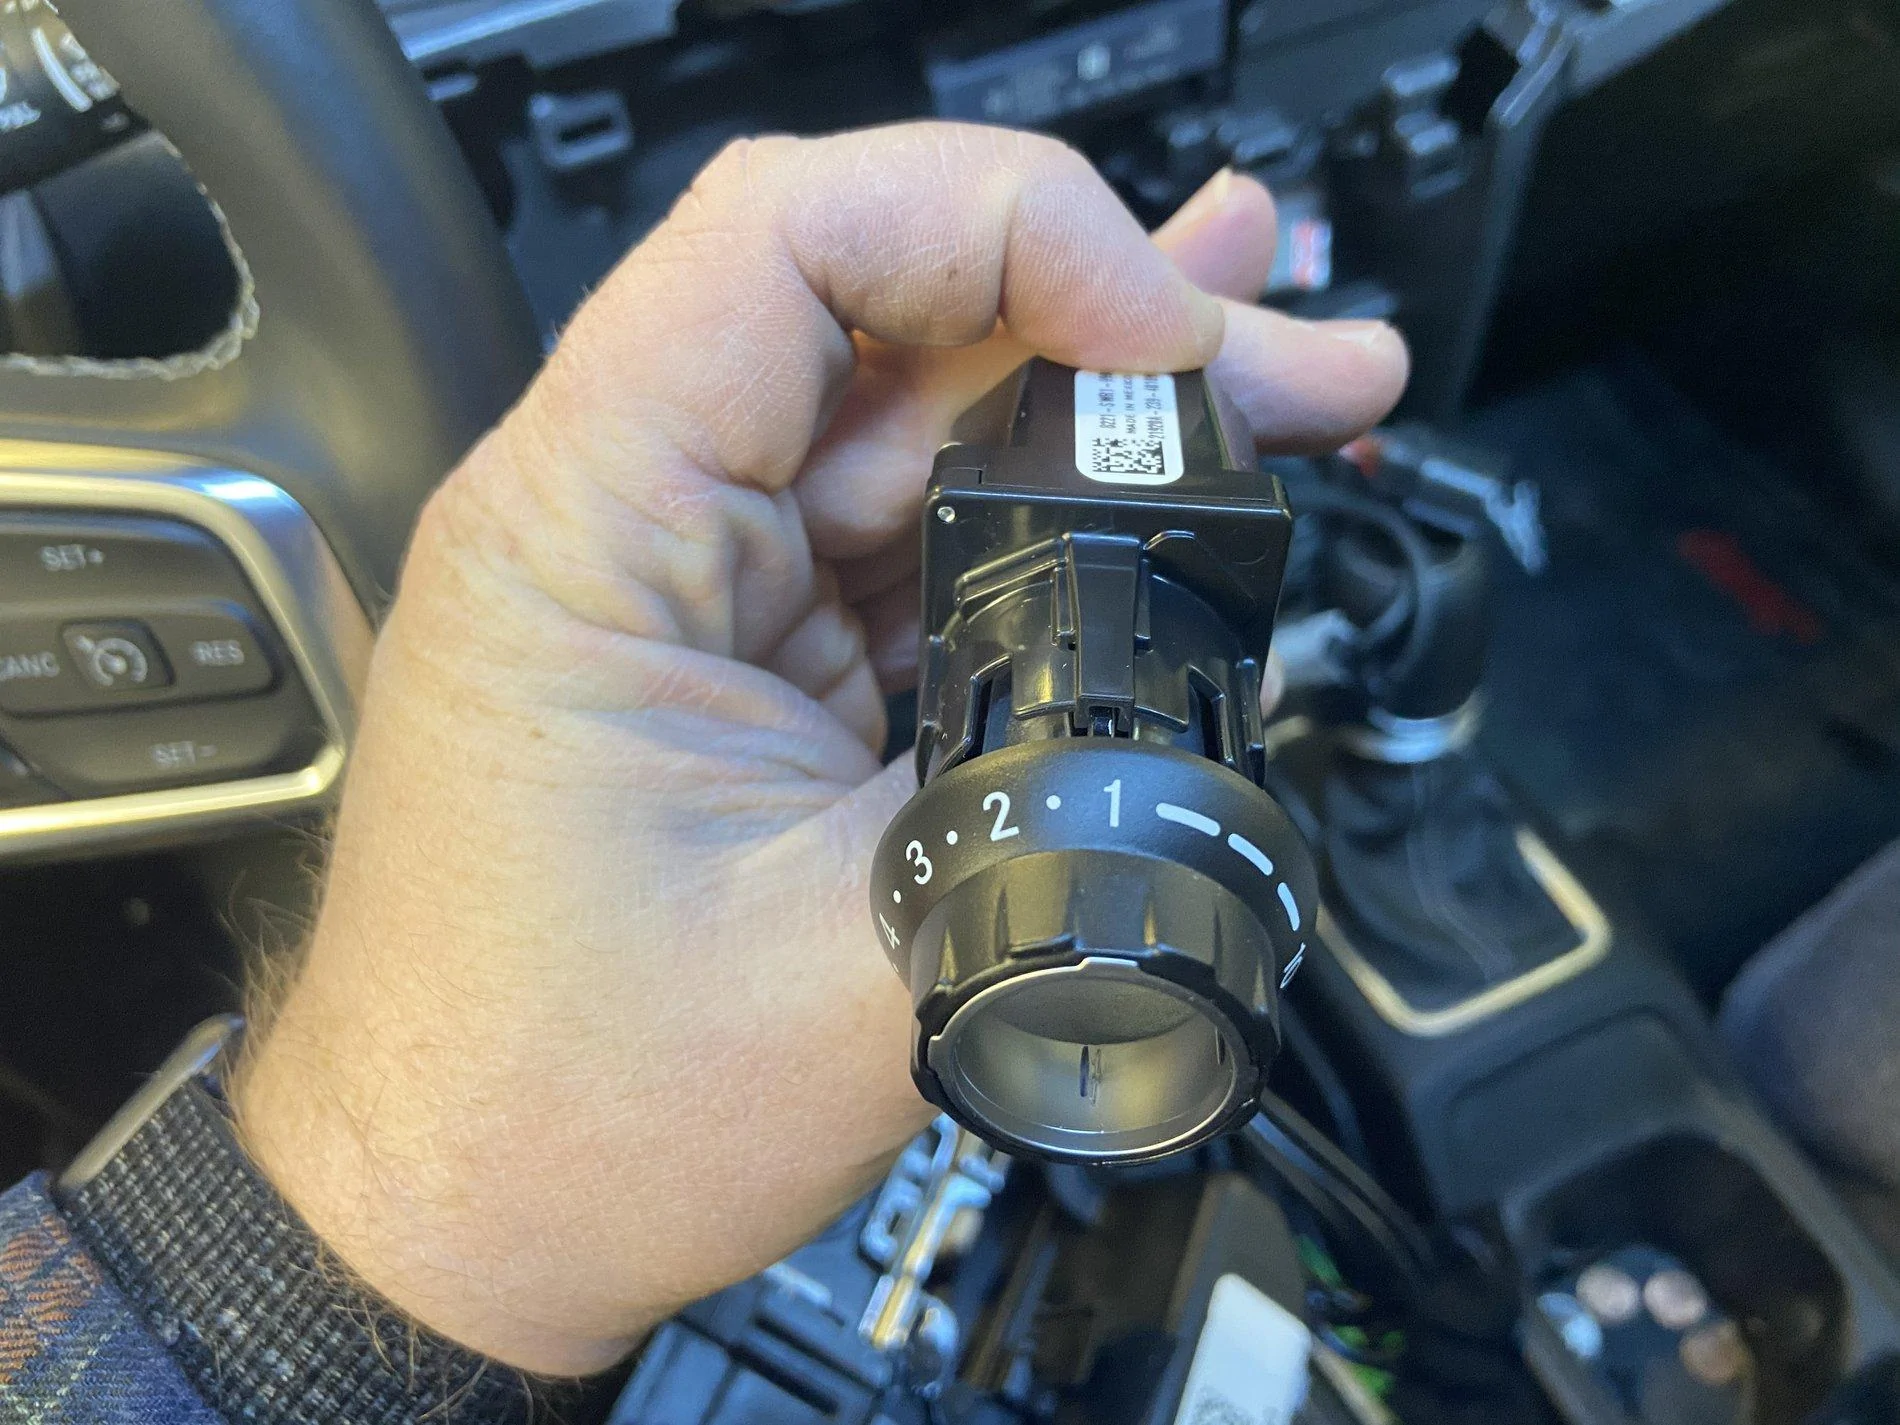
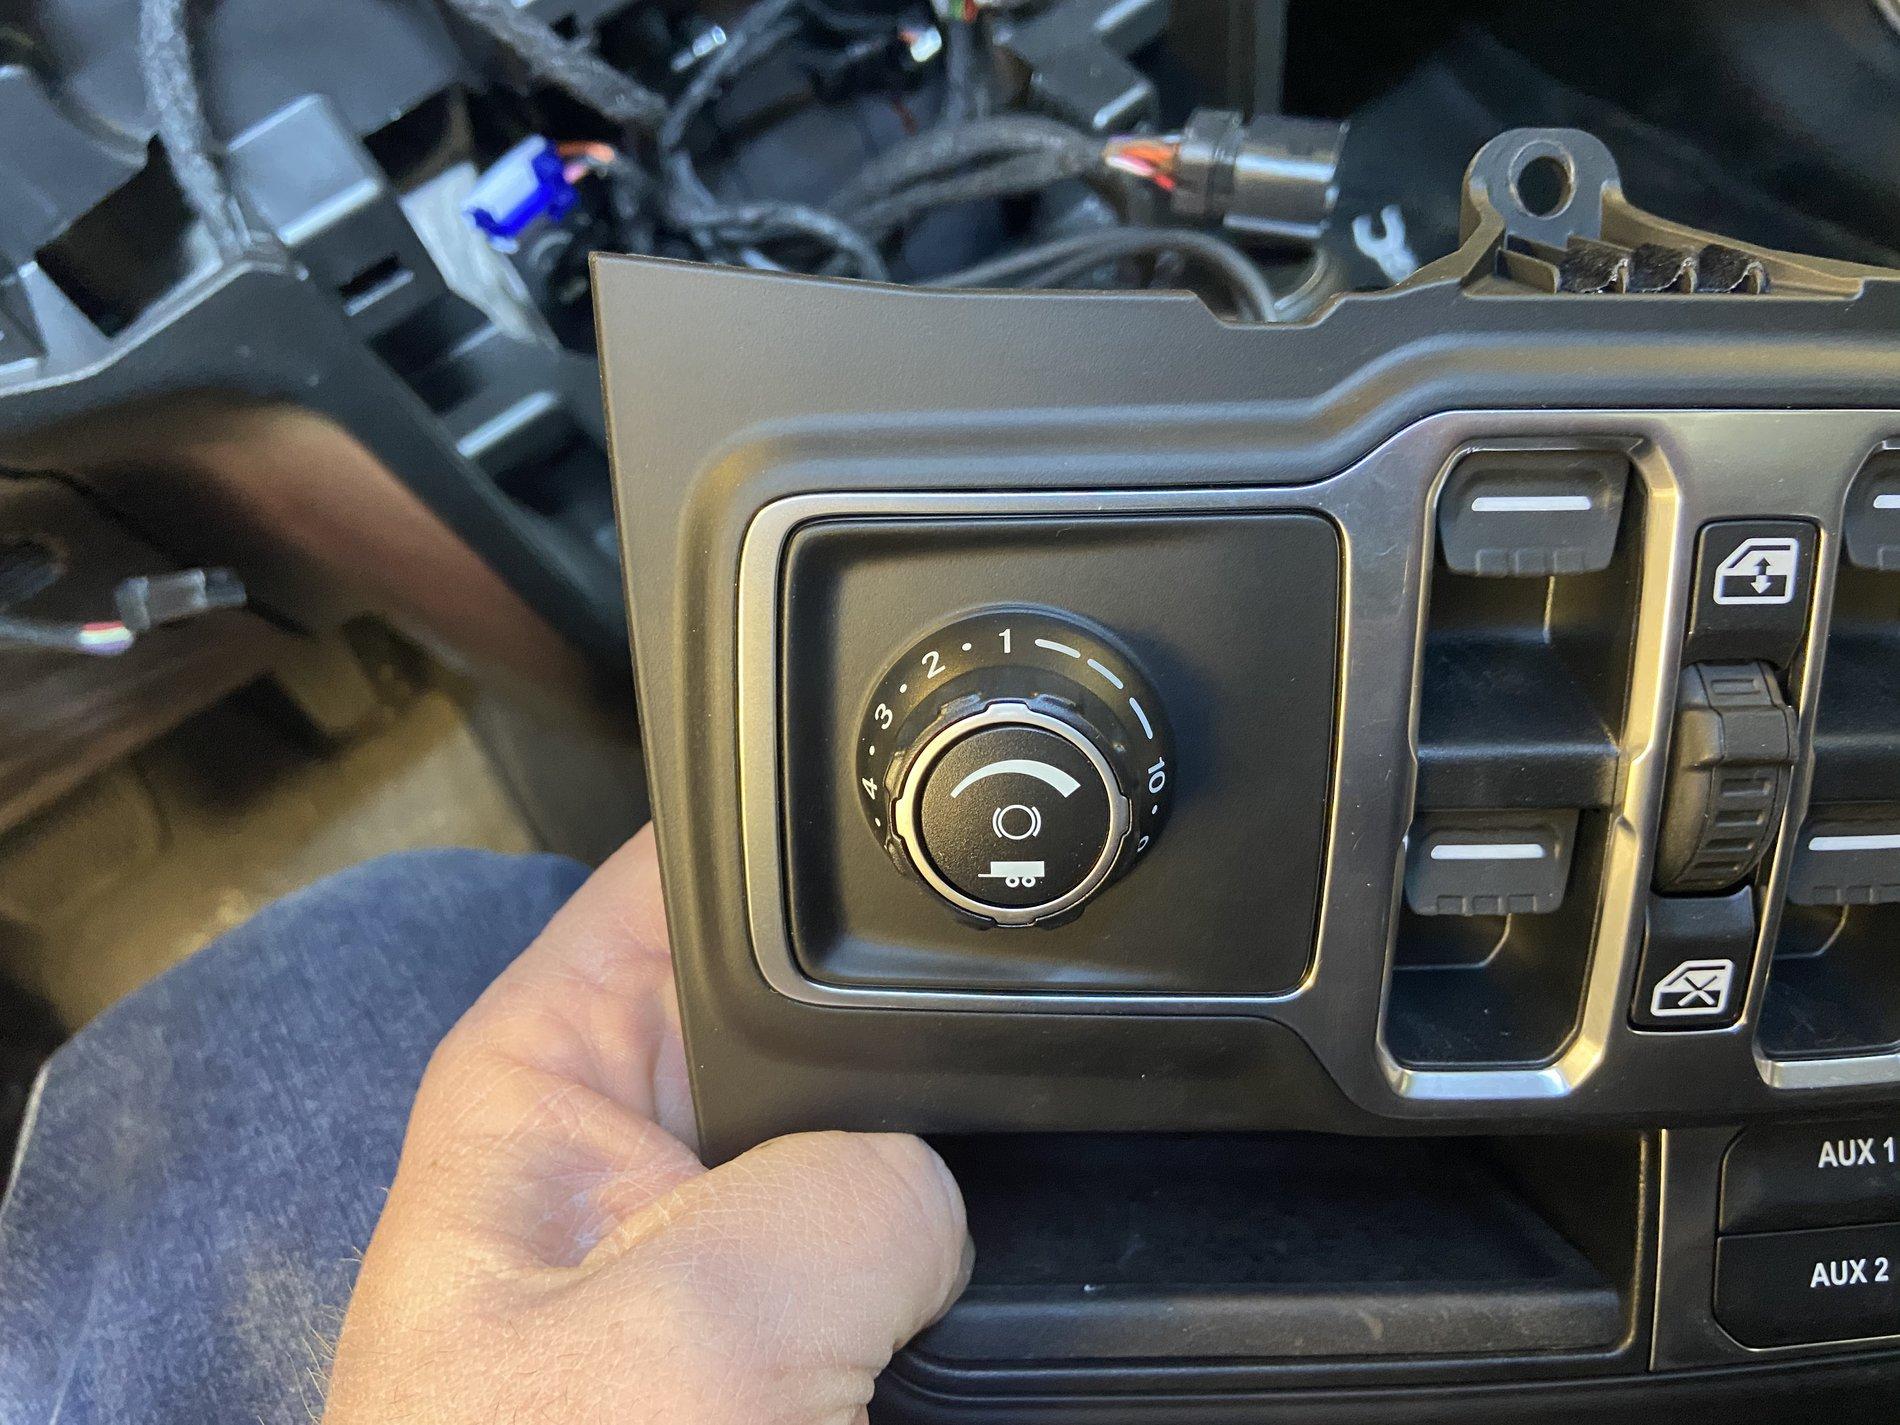
BEFORE installing the switch, take the gain knob and without snapping it together make sure the switch is oriented to the “1” position at twelve o’clock.
Snap the gain knob into place with the “1” in the twelve o’clock position.
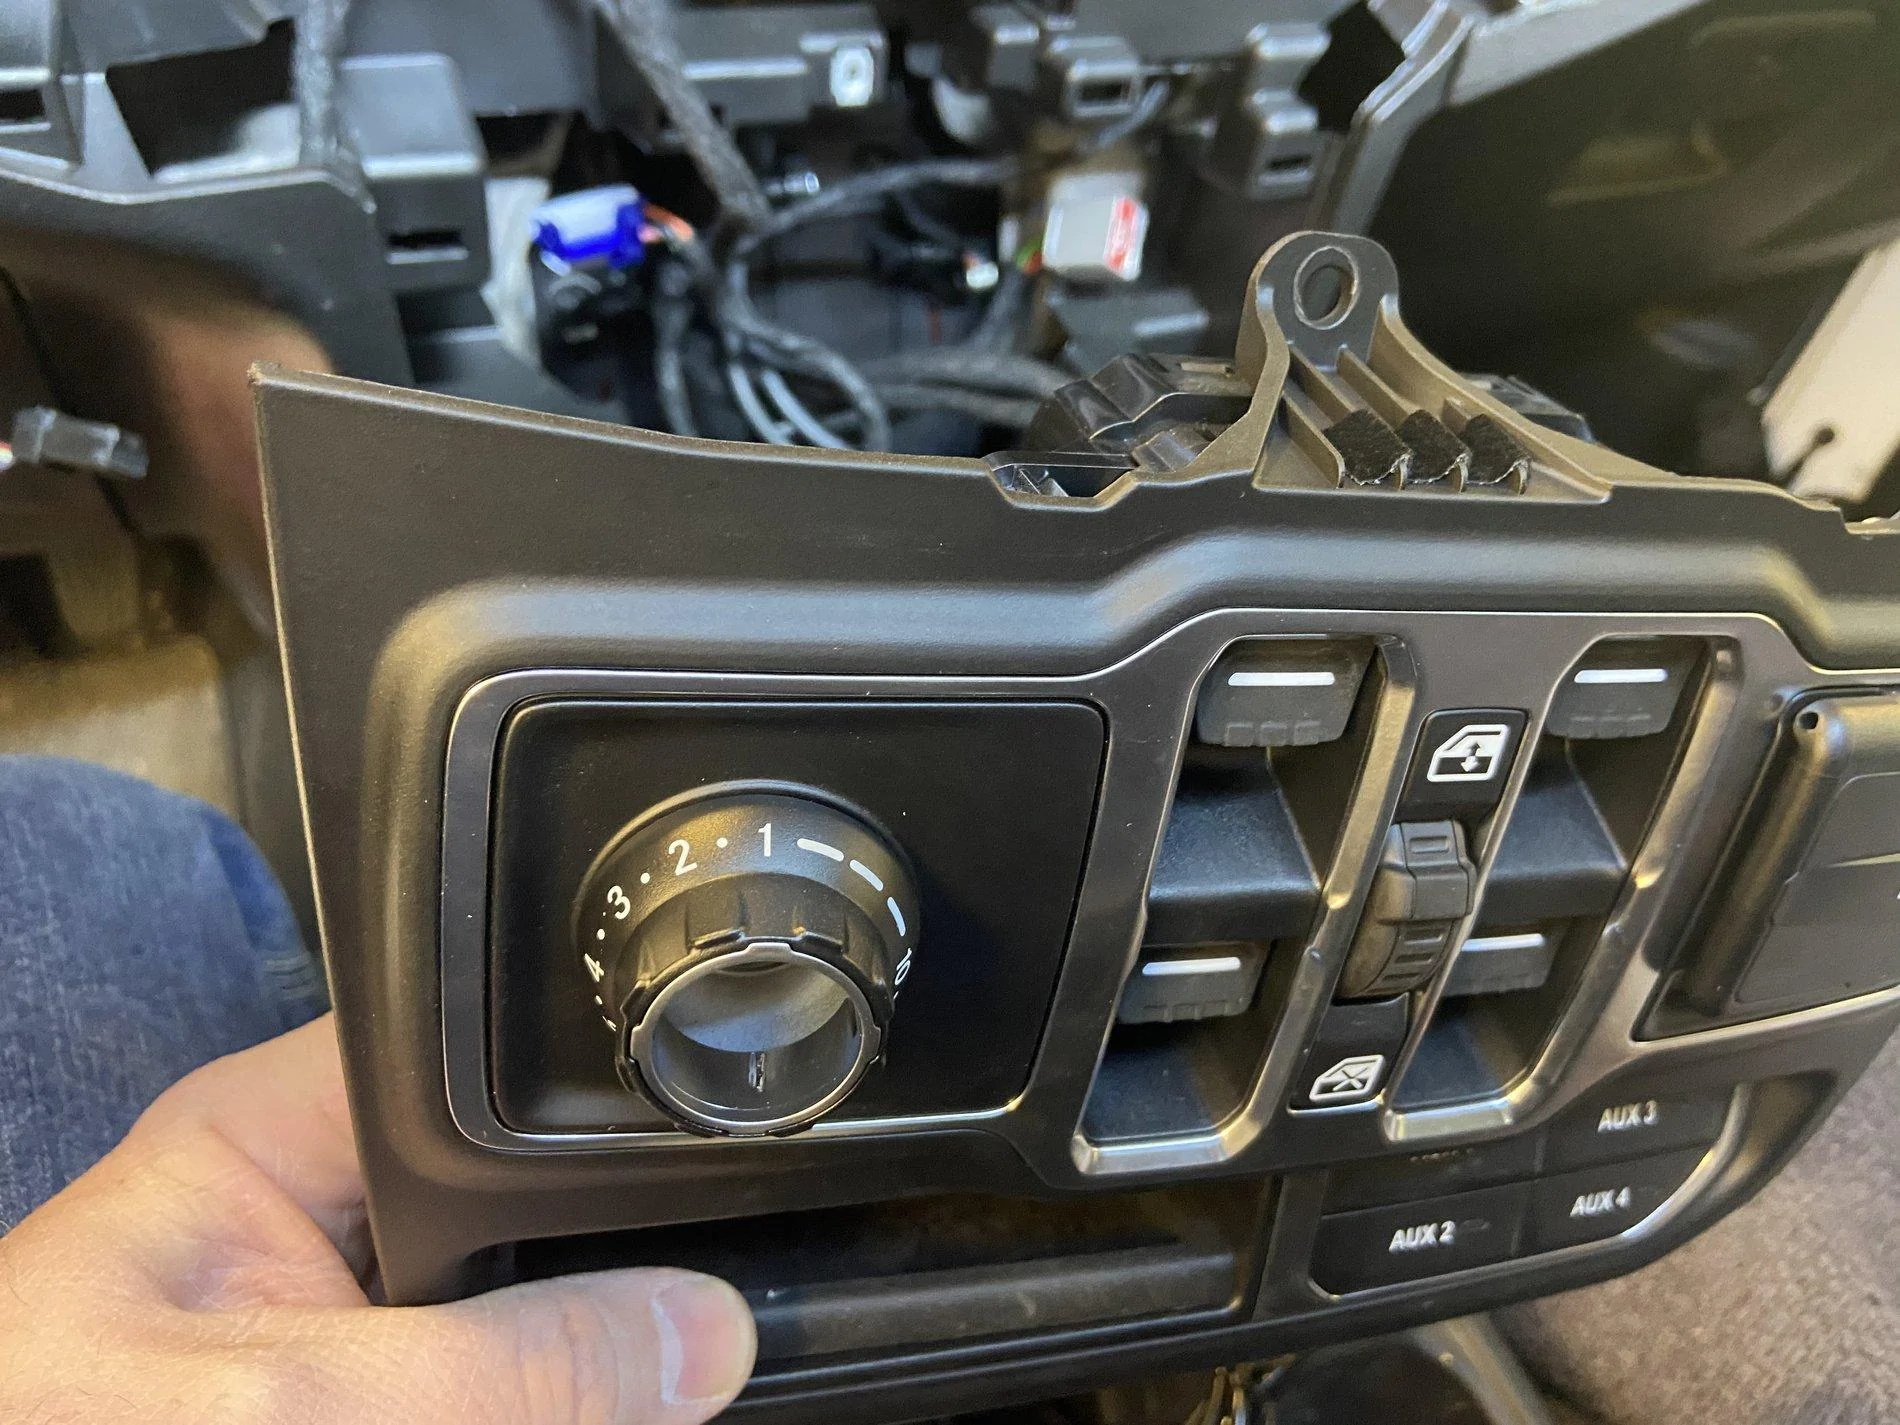
Gently snap the switch into place.
Snap the brake switch into place
Feed the wire through the opening and reassemble the lower panel.
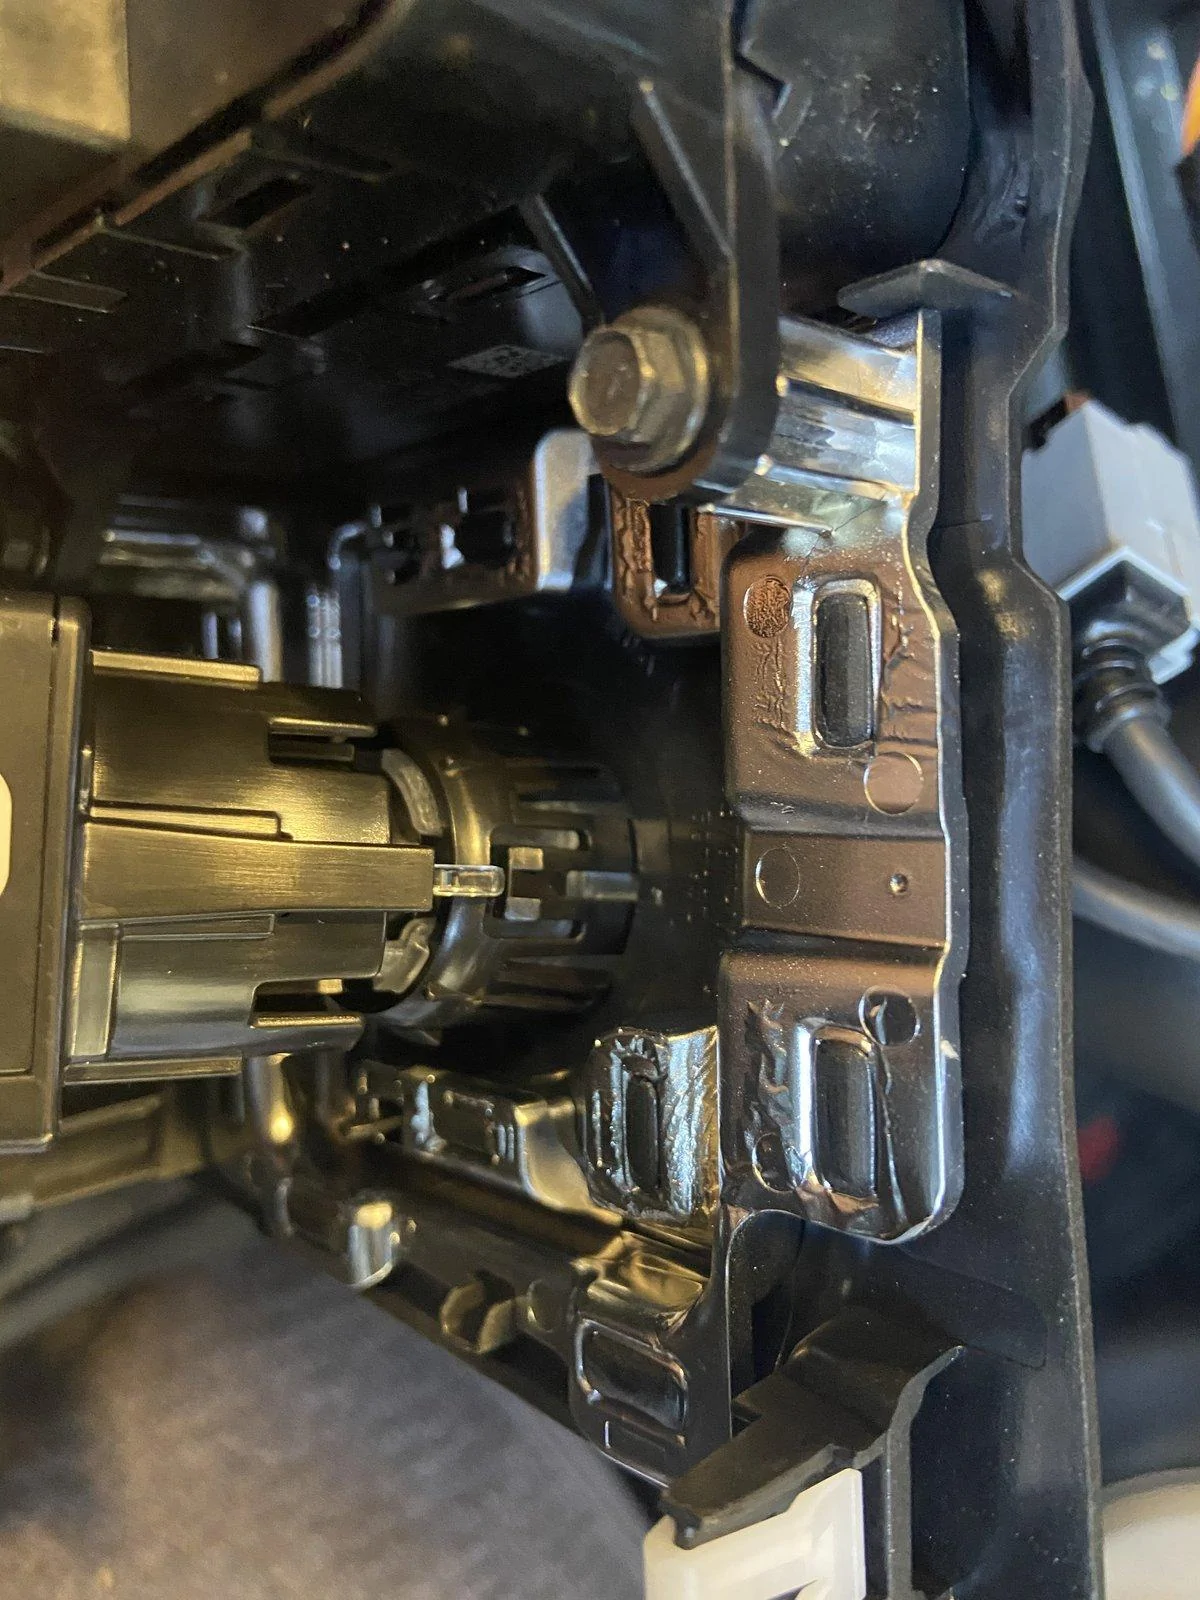
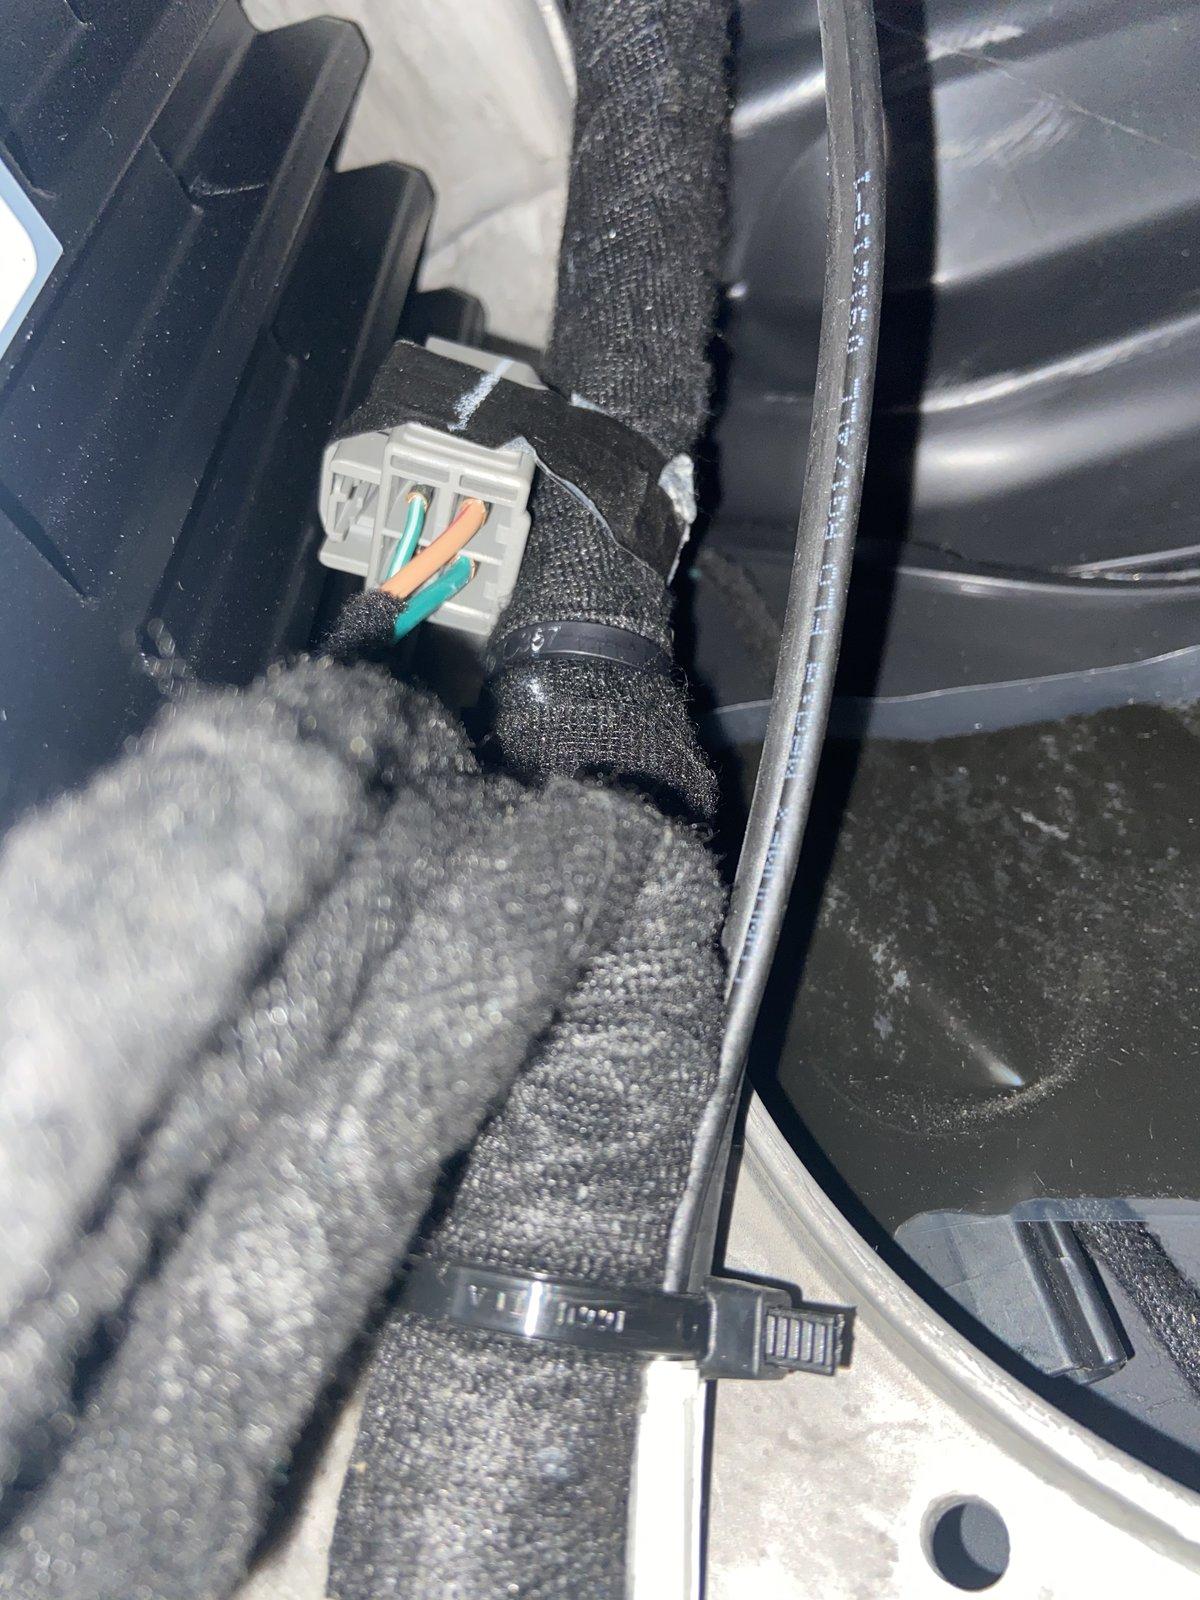
Find the tapped back connector and plug it into the supplied harness.
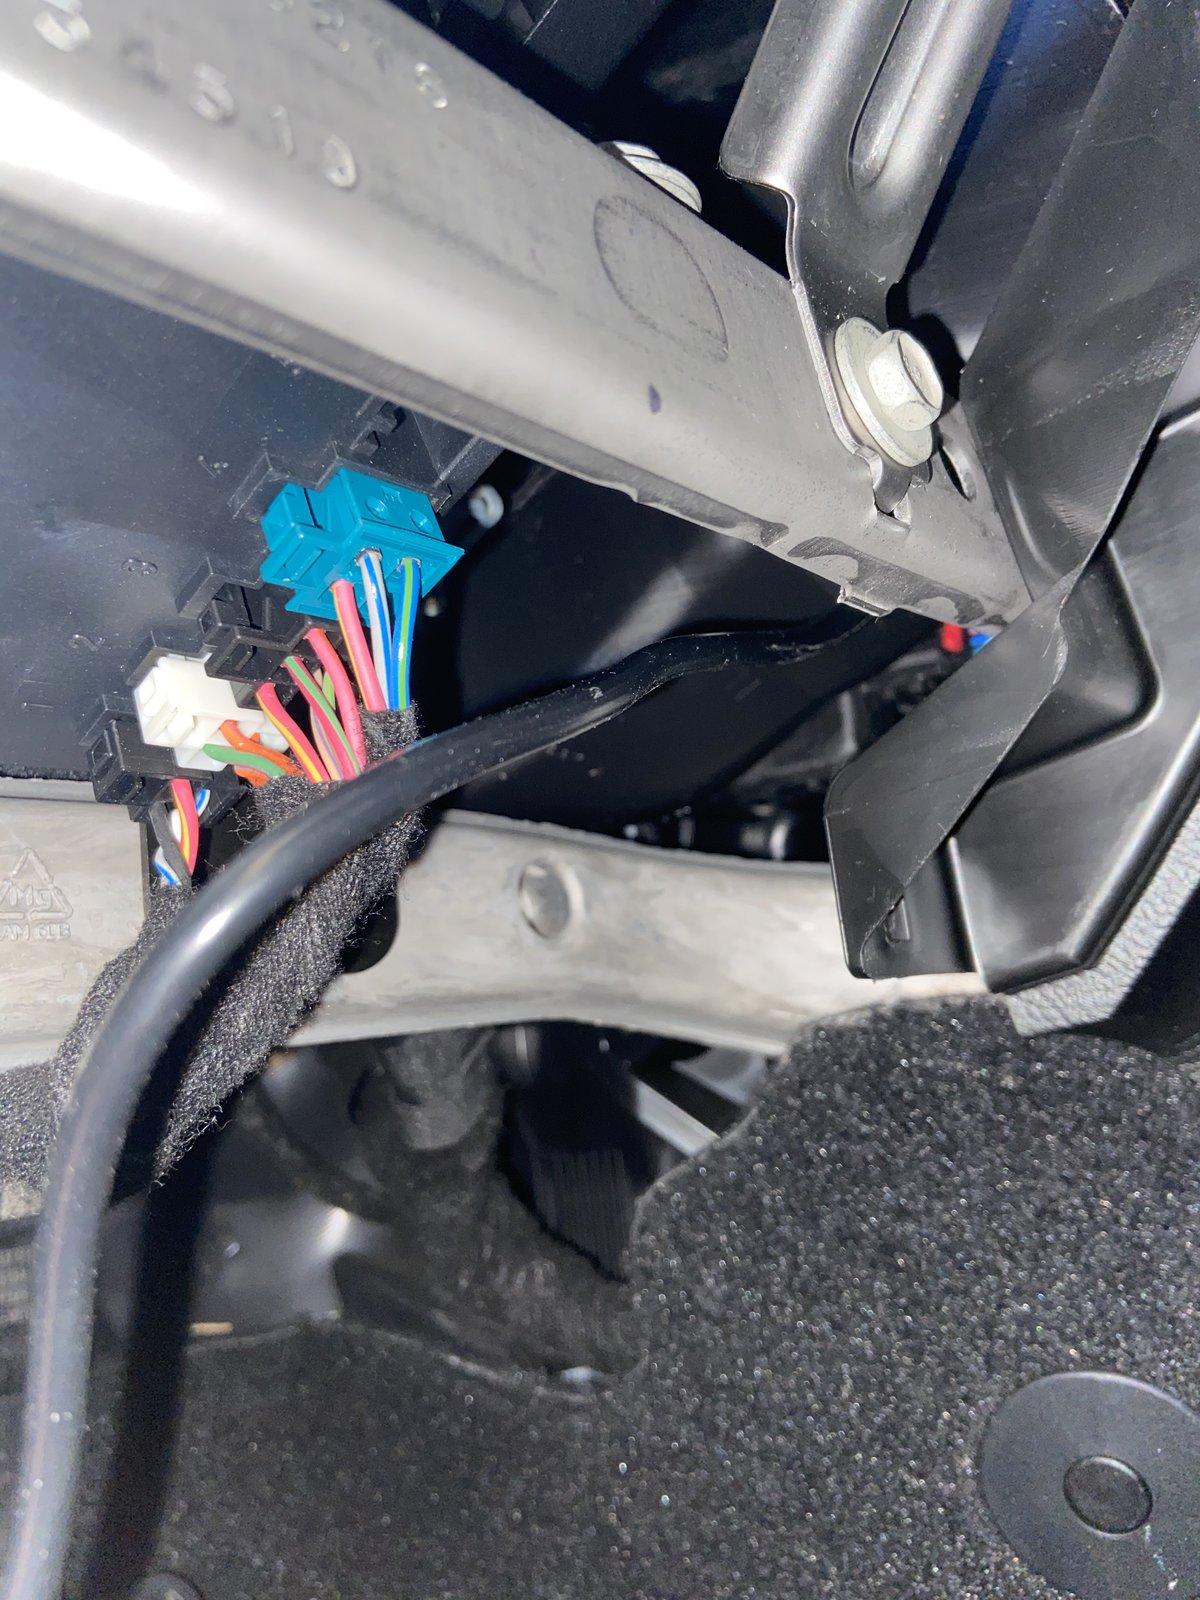
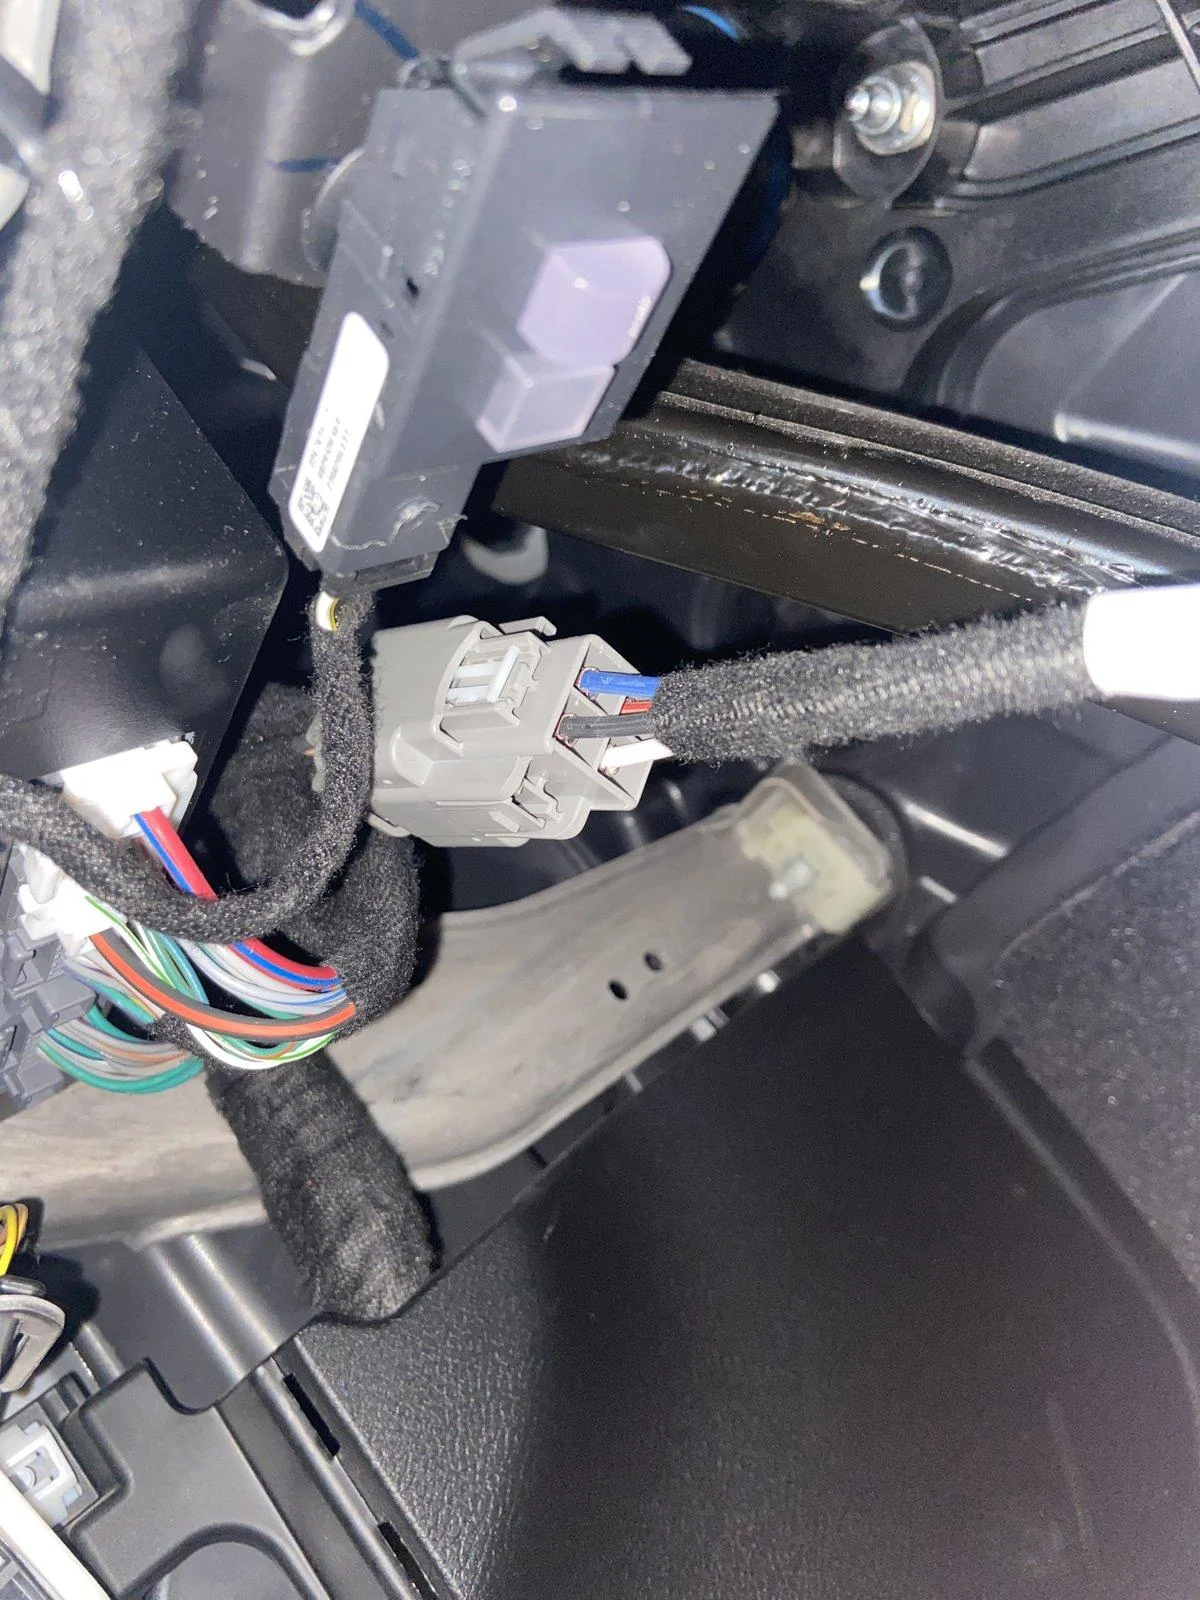
The next part is hard to explain. There is a harness that must have its Christmas tree retainer pulled out of the dash support, exposing one of the holes for the controller bracket upper stud.
The nuts were a little fiddly to get tight. I used a 1/4” ratchet with a short extension, no big deal with a little patience.
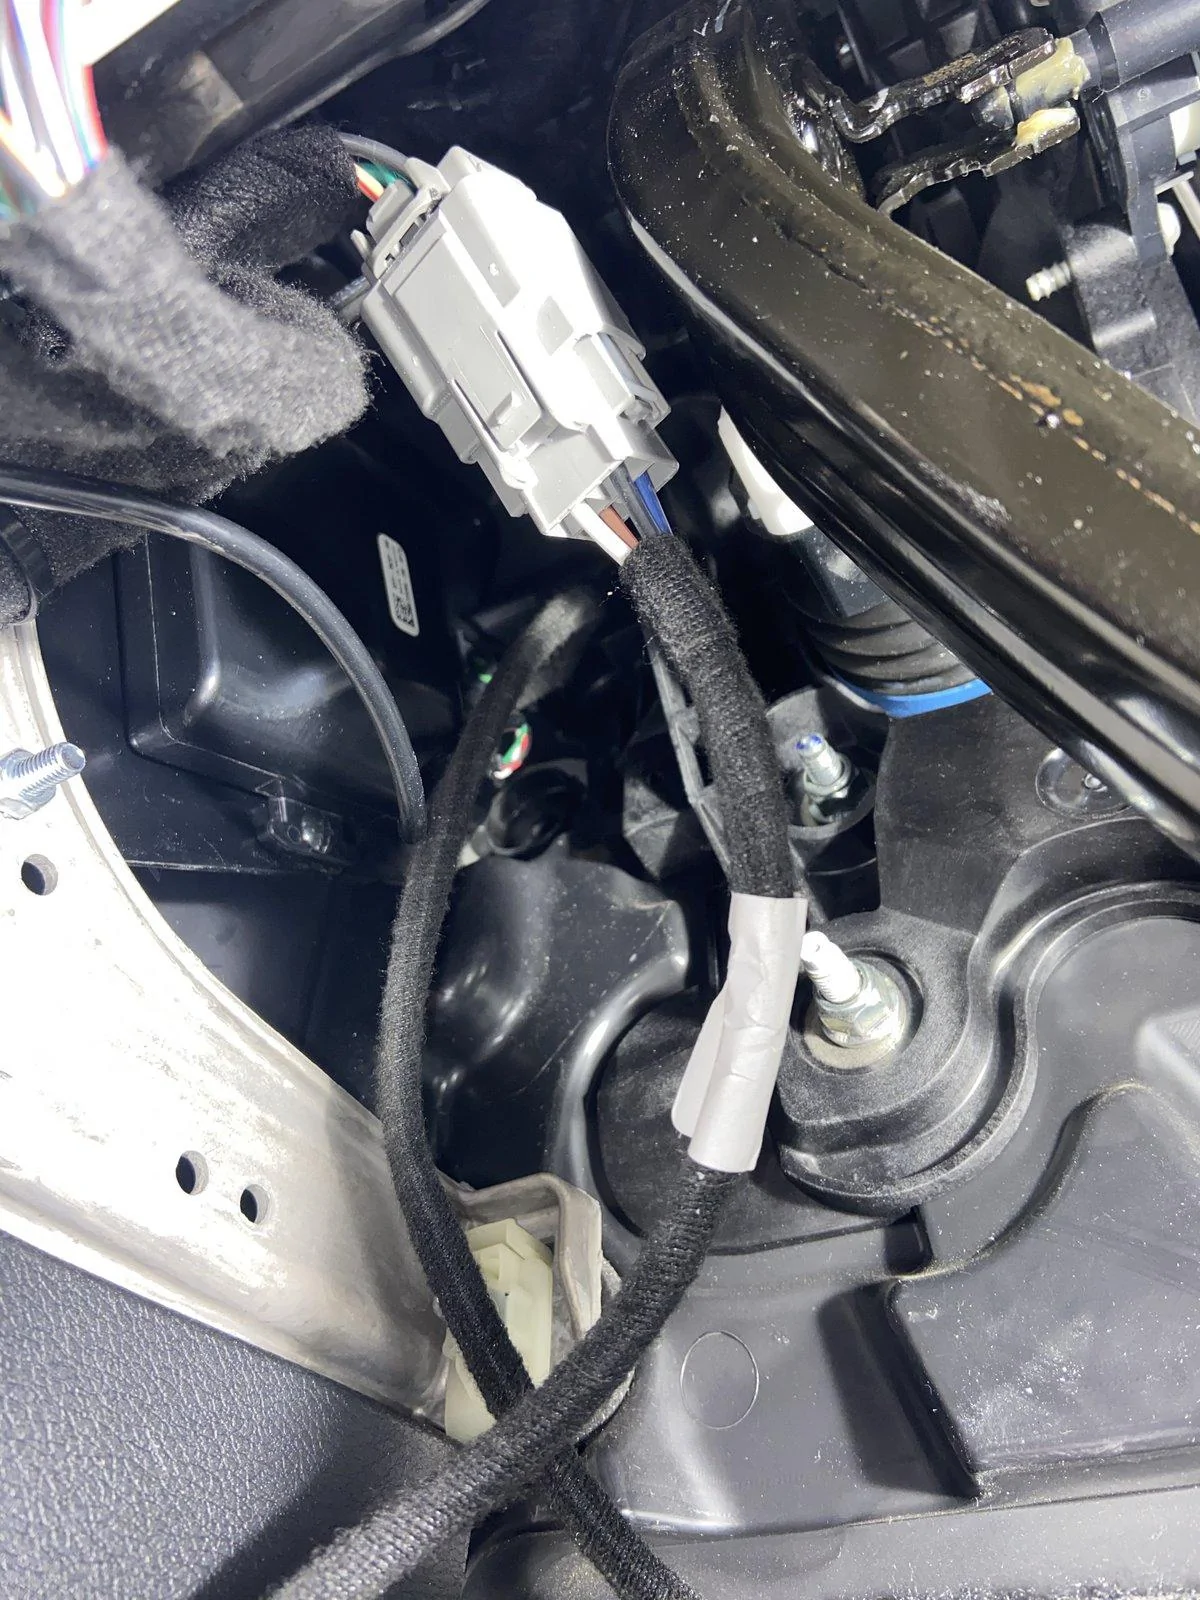
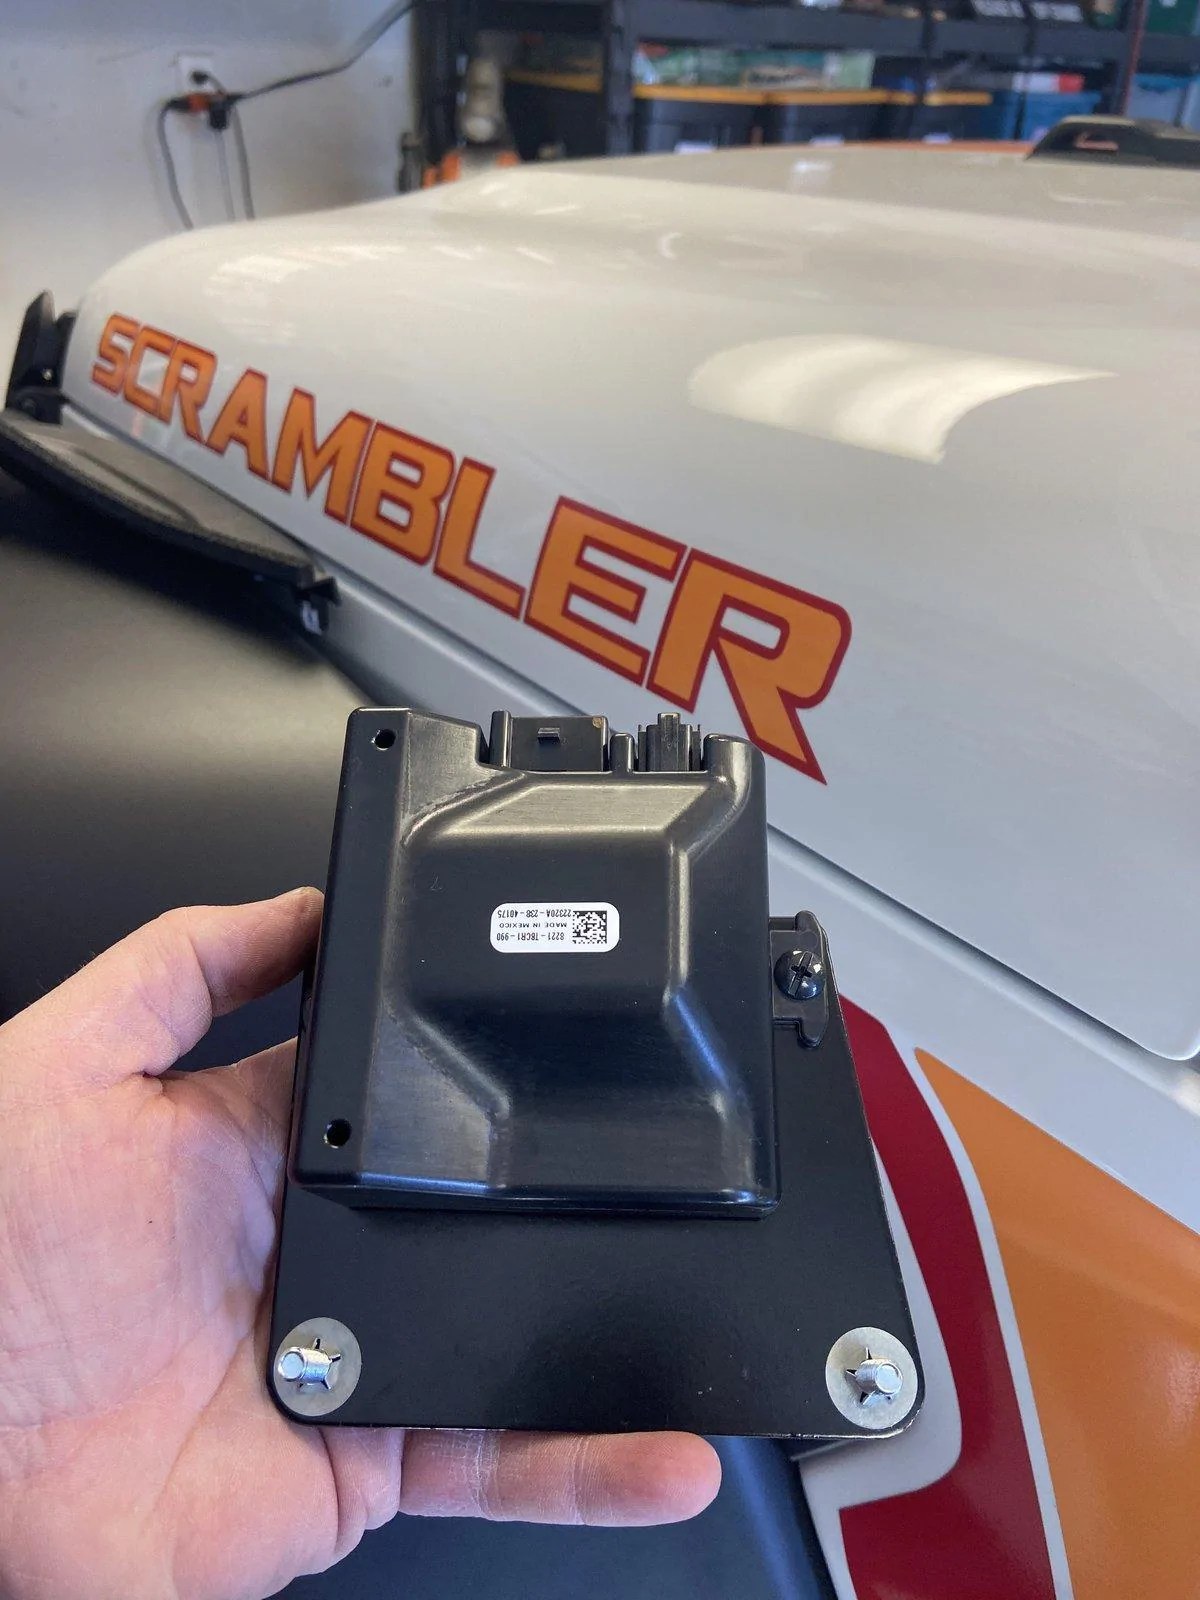
My controller module did come bolted on 180* from what the instructions said. I left it that way and will report back if it gives me any issues.
Attach the two wires, zip tie everything in place. Reinstall the HVAC controls and your all finished up. Took about an hour and a half.
Remove the screw from the lower controls.
With 2 hands pull towards you.
Remove the connectors from the lower controls and pull it out of the dash.
Remove the 12V outlet from its housing. This is in there tight!!
Remove the 12V housing from the lower panel.

Install the retainer ring to the lower panel.
BEFORE installing the switch, take the gain knob and without snapping it together make sure the switch is oriented to the “1” position at twelve o’clock.
Snap the gain knob into place with the “1” in the twelve o’clock position.
Gently snap the switch into place.
Snap the brake switch into place

Feed the wire through the opening and reassemble the lower panel.
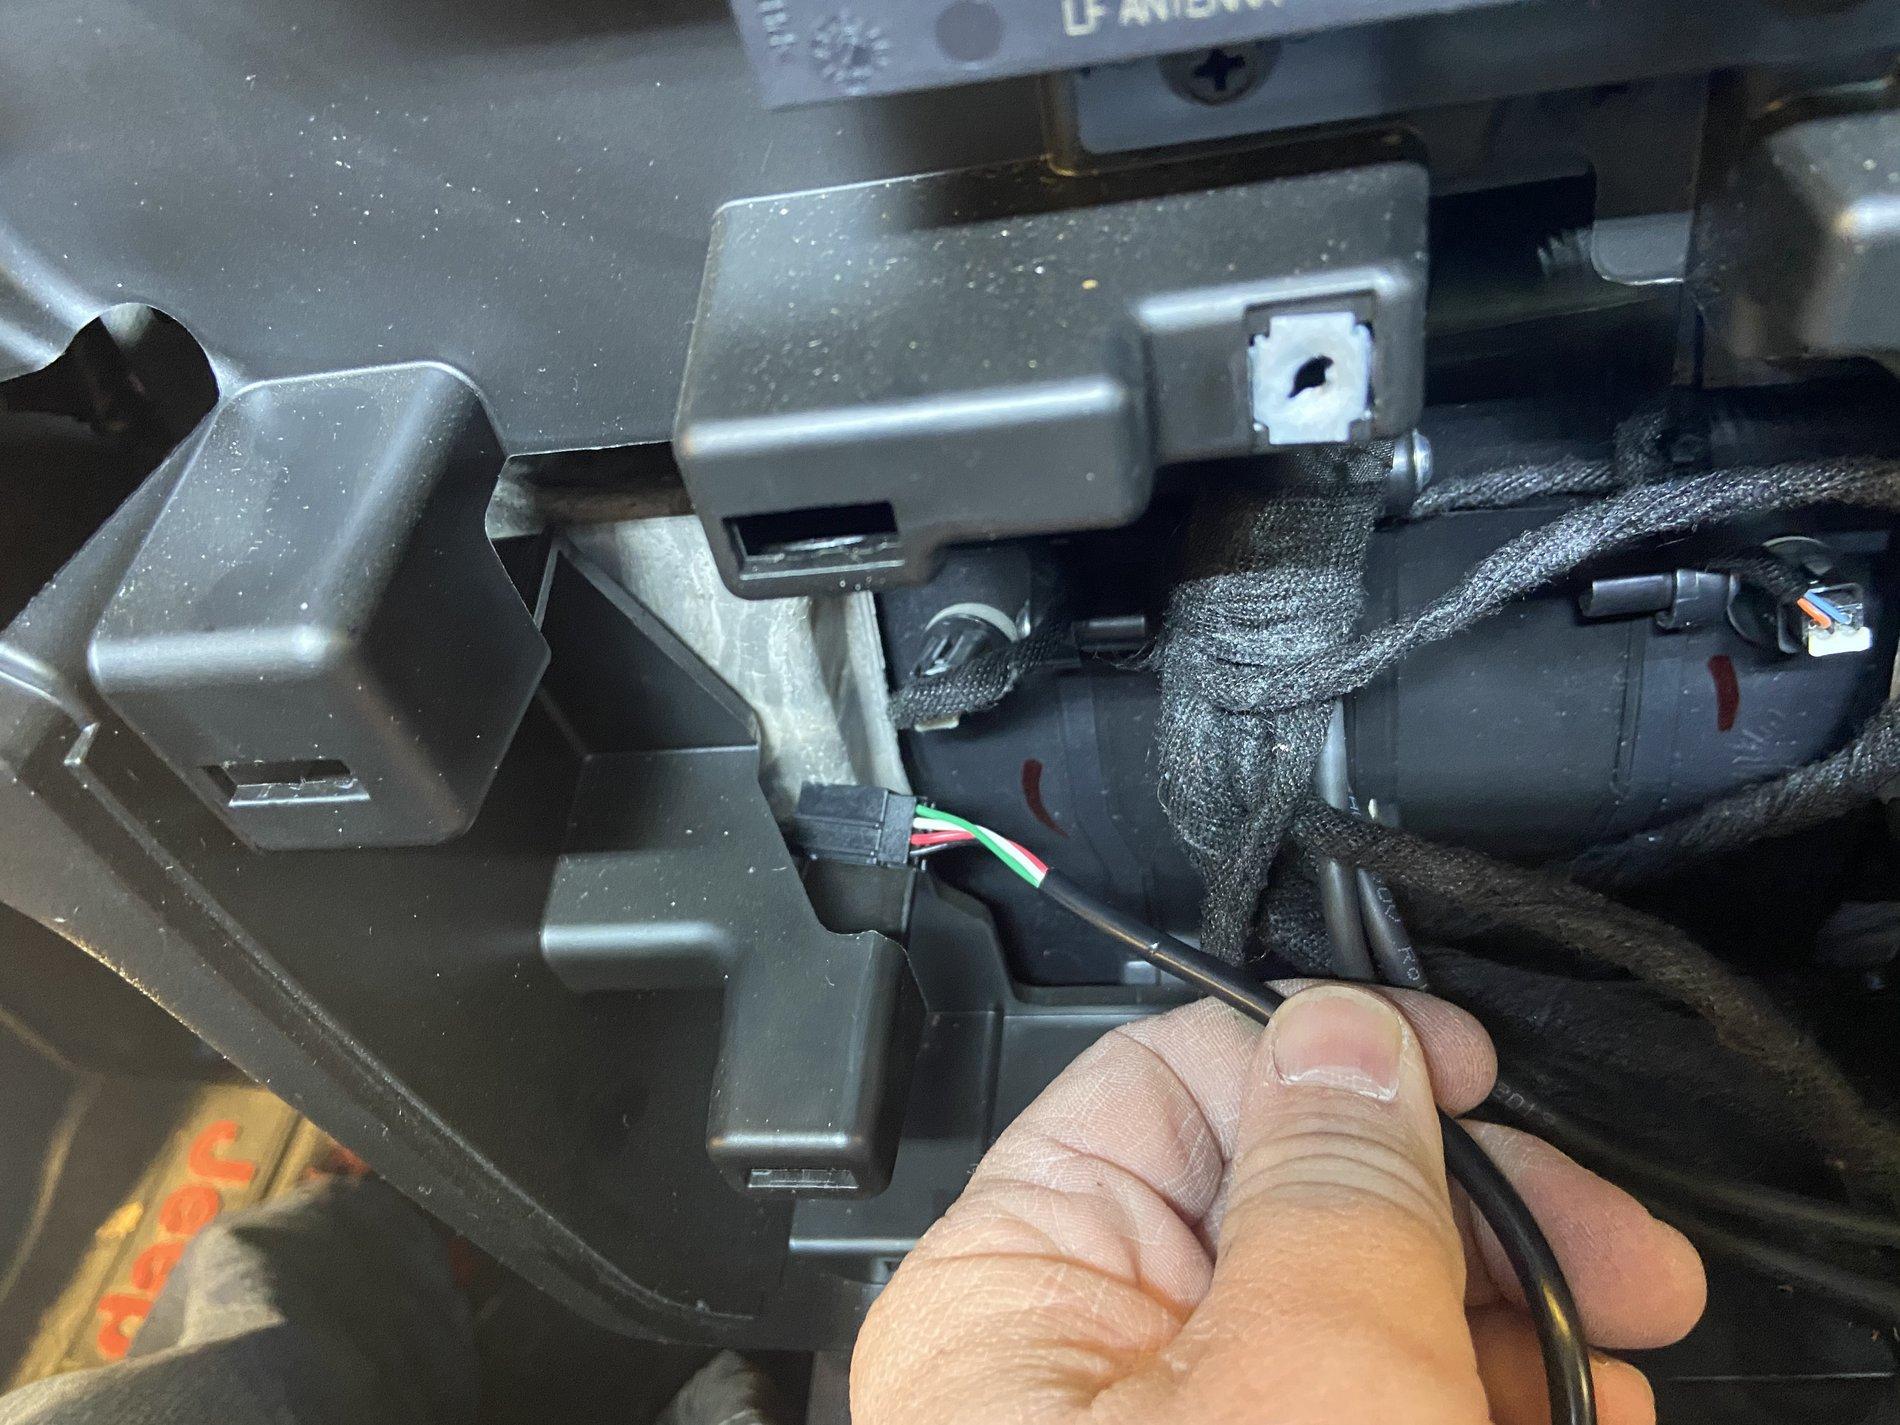
Find the tapped back connector and plug it into the supplied harness.
The next part is hard to explain. There is a harness that must have its Christmas tree retainer pulled out of the dash support, exposing one of the holes for the controller bracket upper stud.
The nuts were a little fiddly to get tight. I used a 1/4” ratchet with a short extension, no big deal with a little patience.
My controller module did come bolted on 180* from what the instructions said. I left it that way and will report back if it gives me any issues.
Attach the two wires, zip tie everything in place. Reinstall the HVAC controls and your all finished up. Took about an hour and a half.
Sponsored