WILDHOBO
Well-Known Member
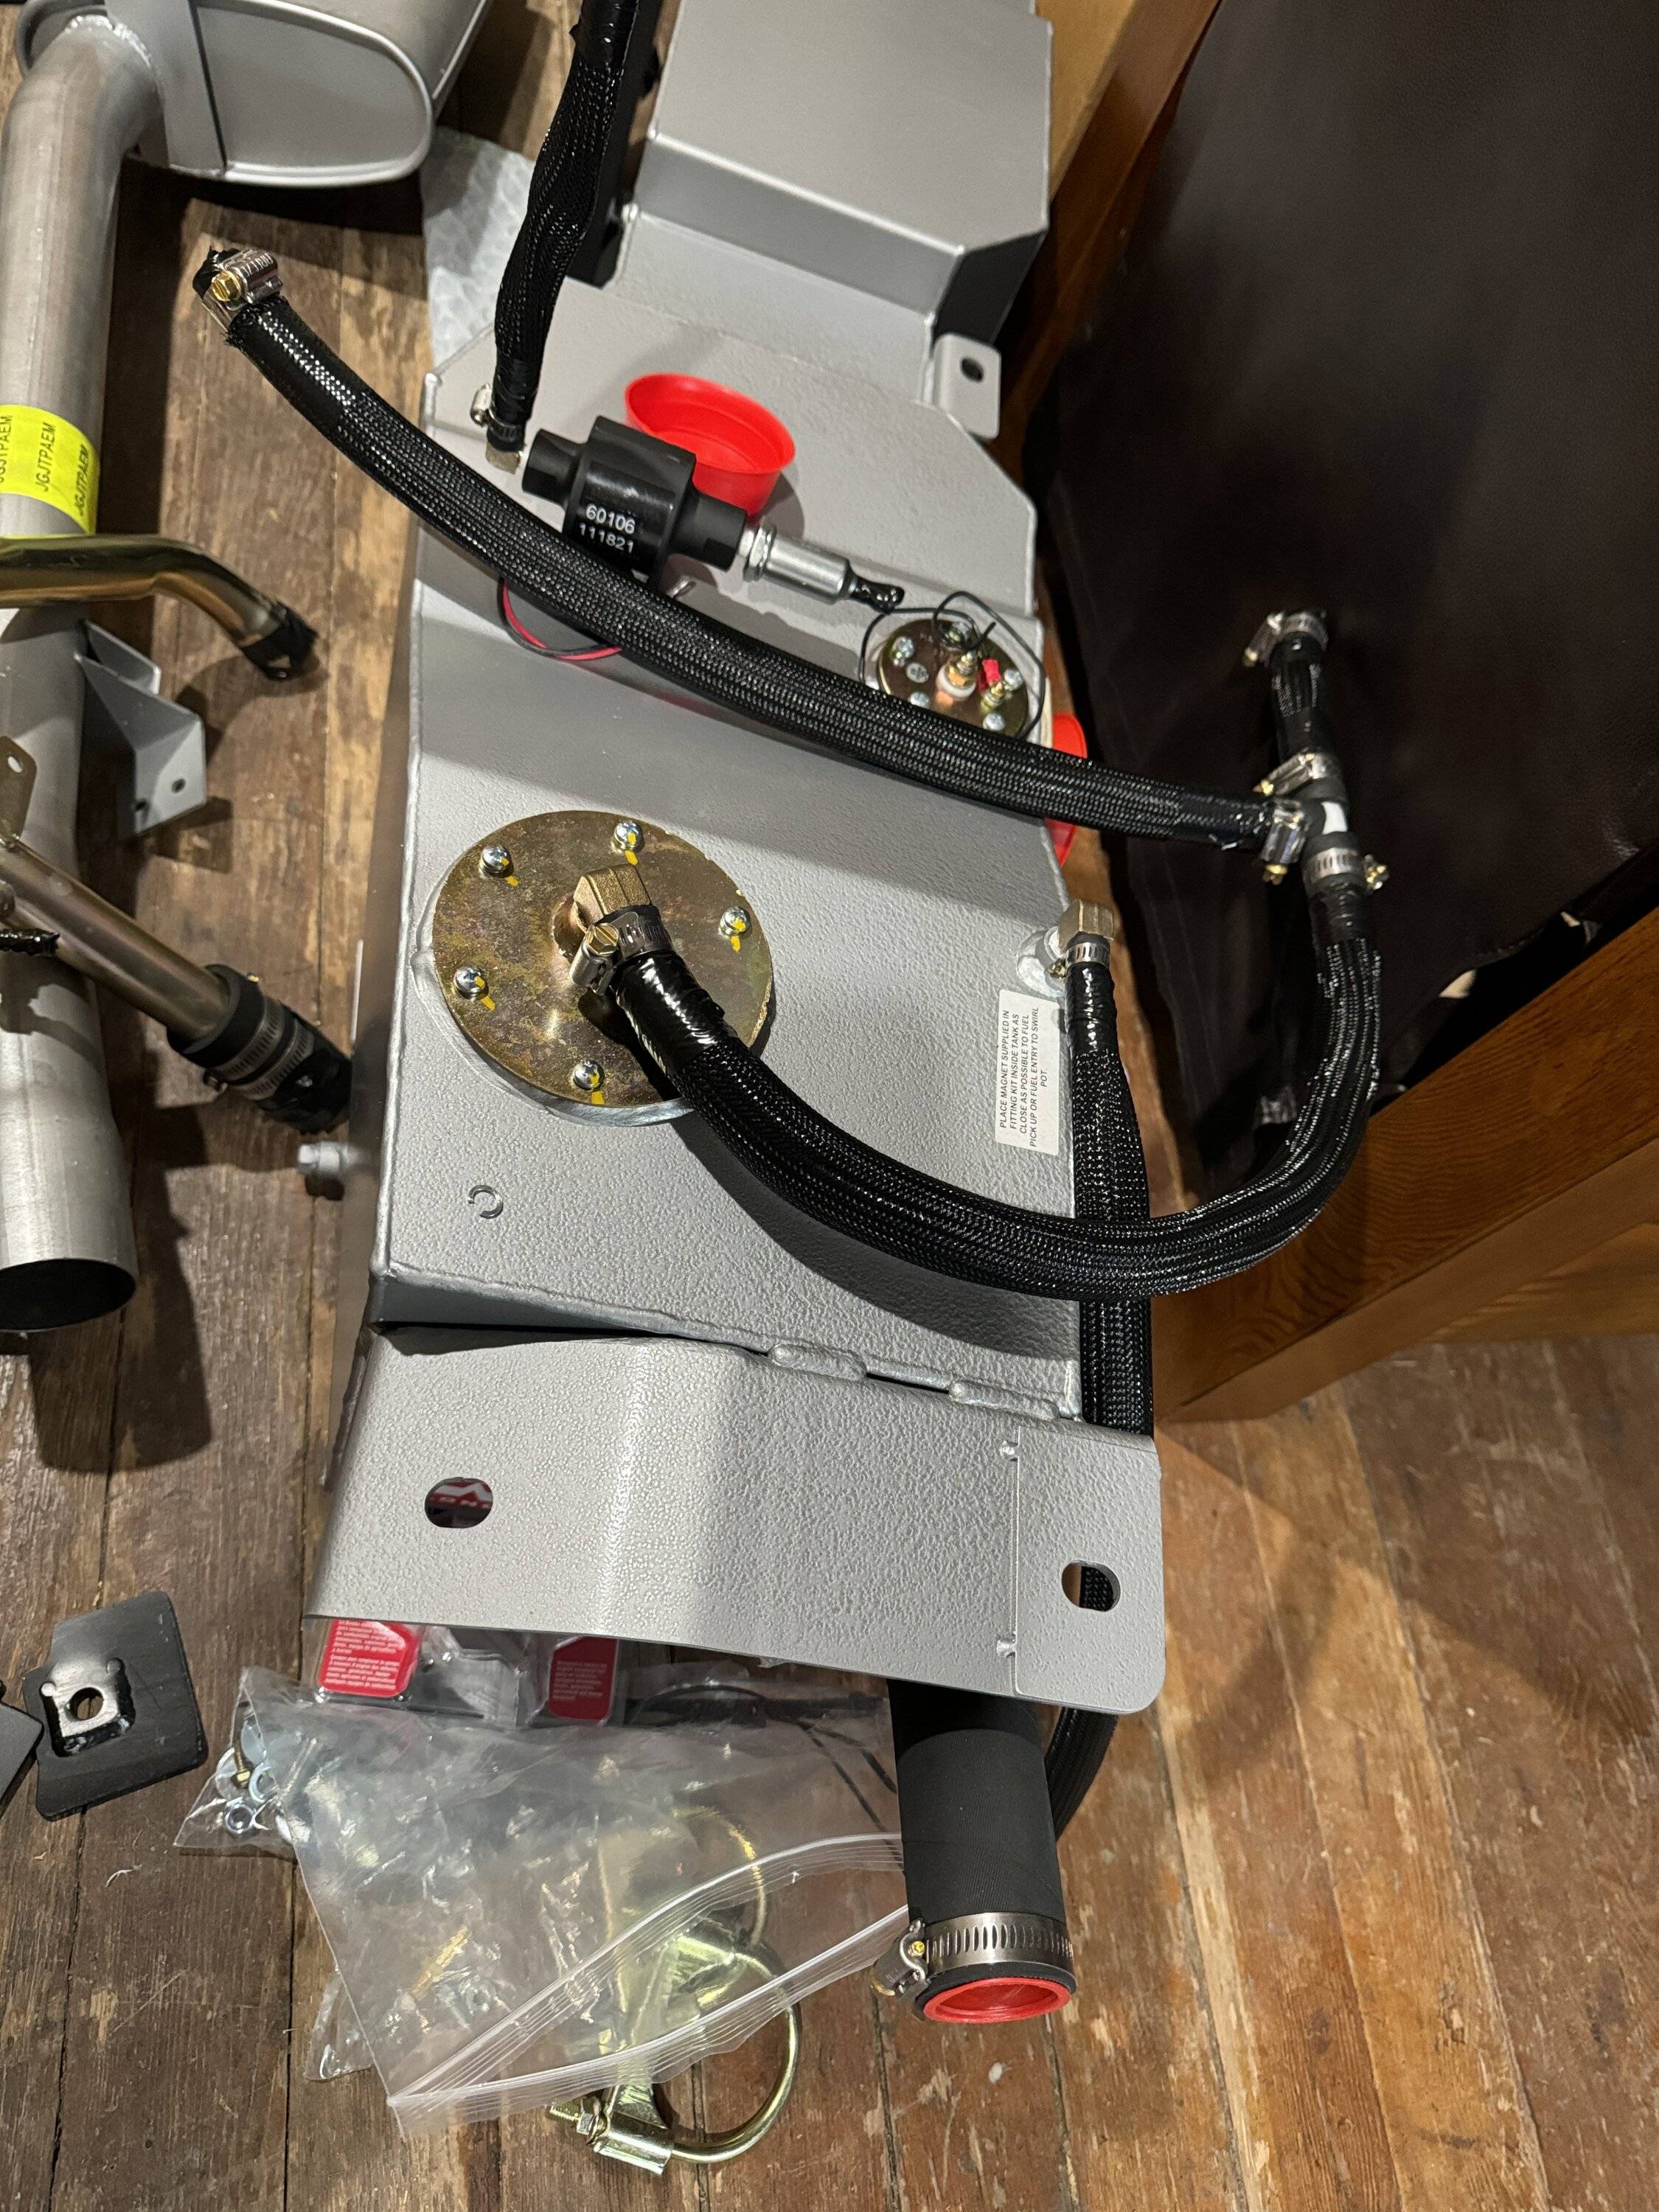
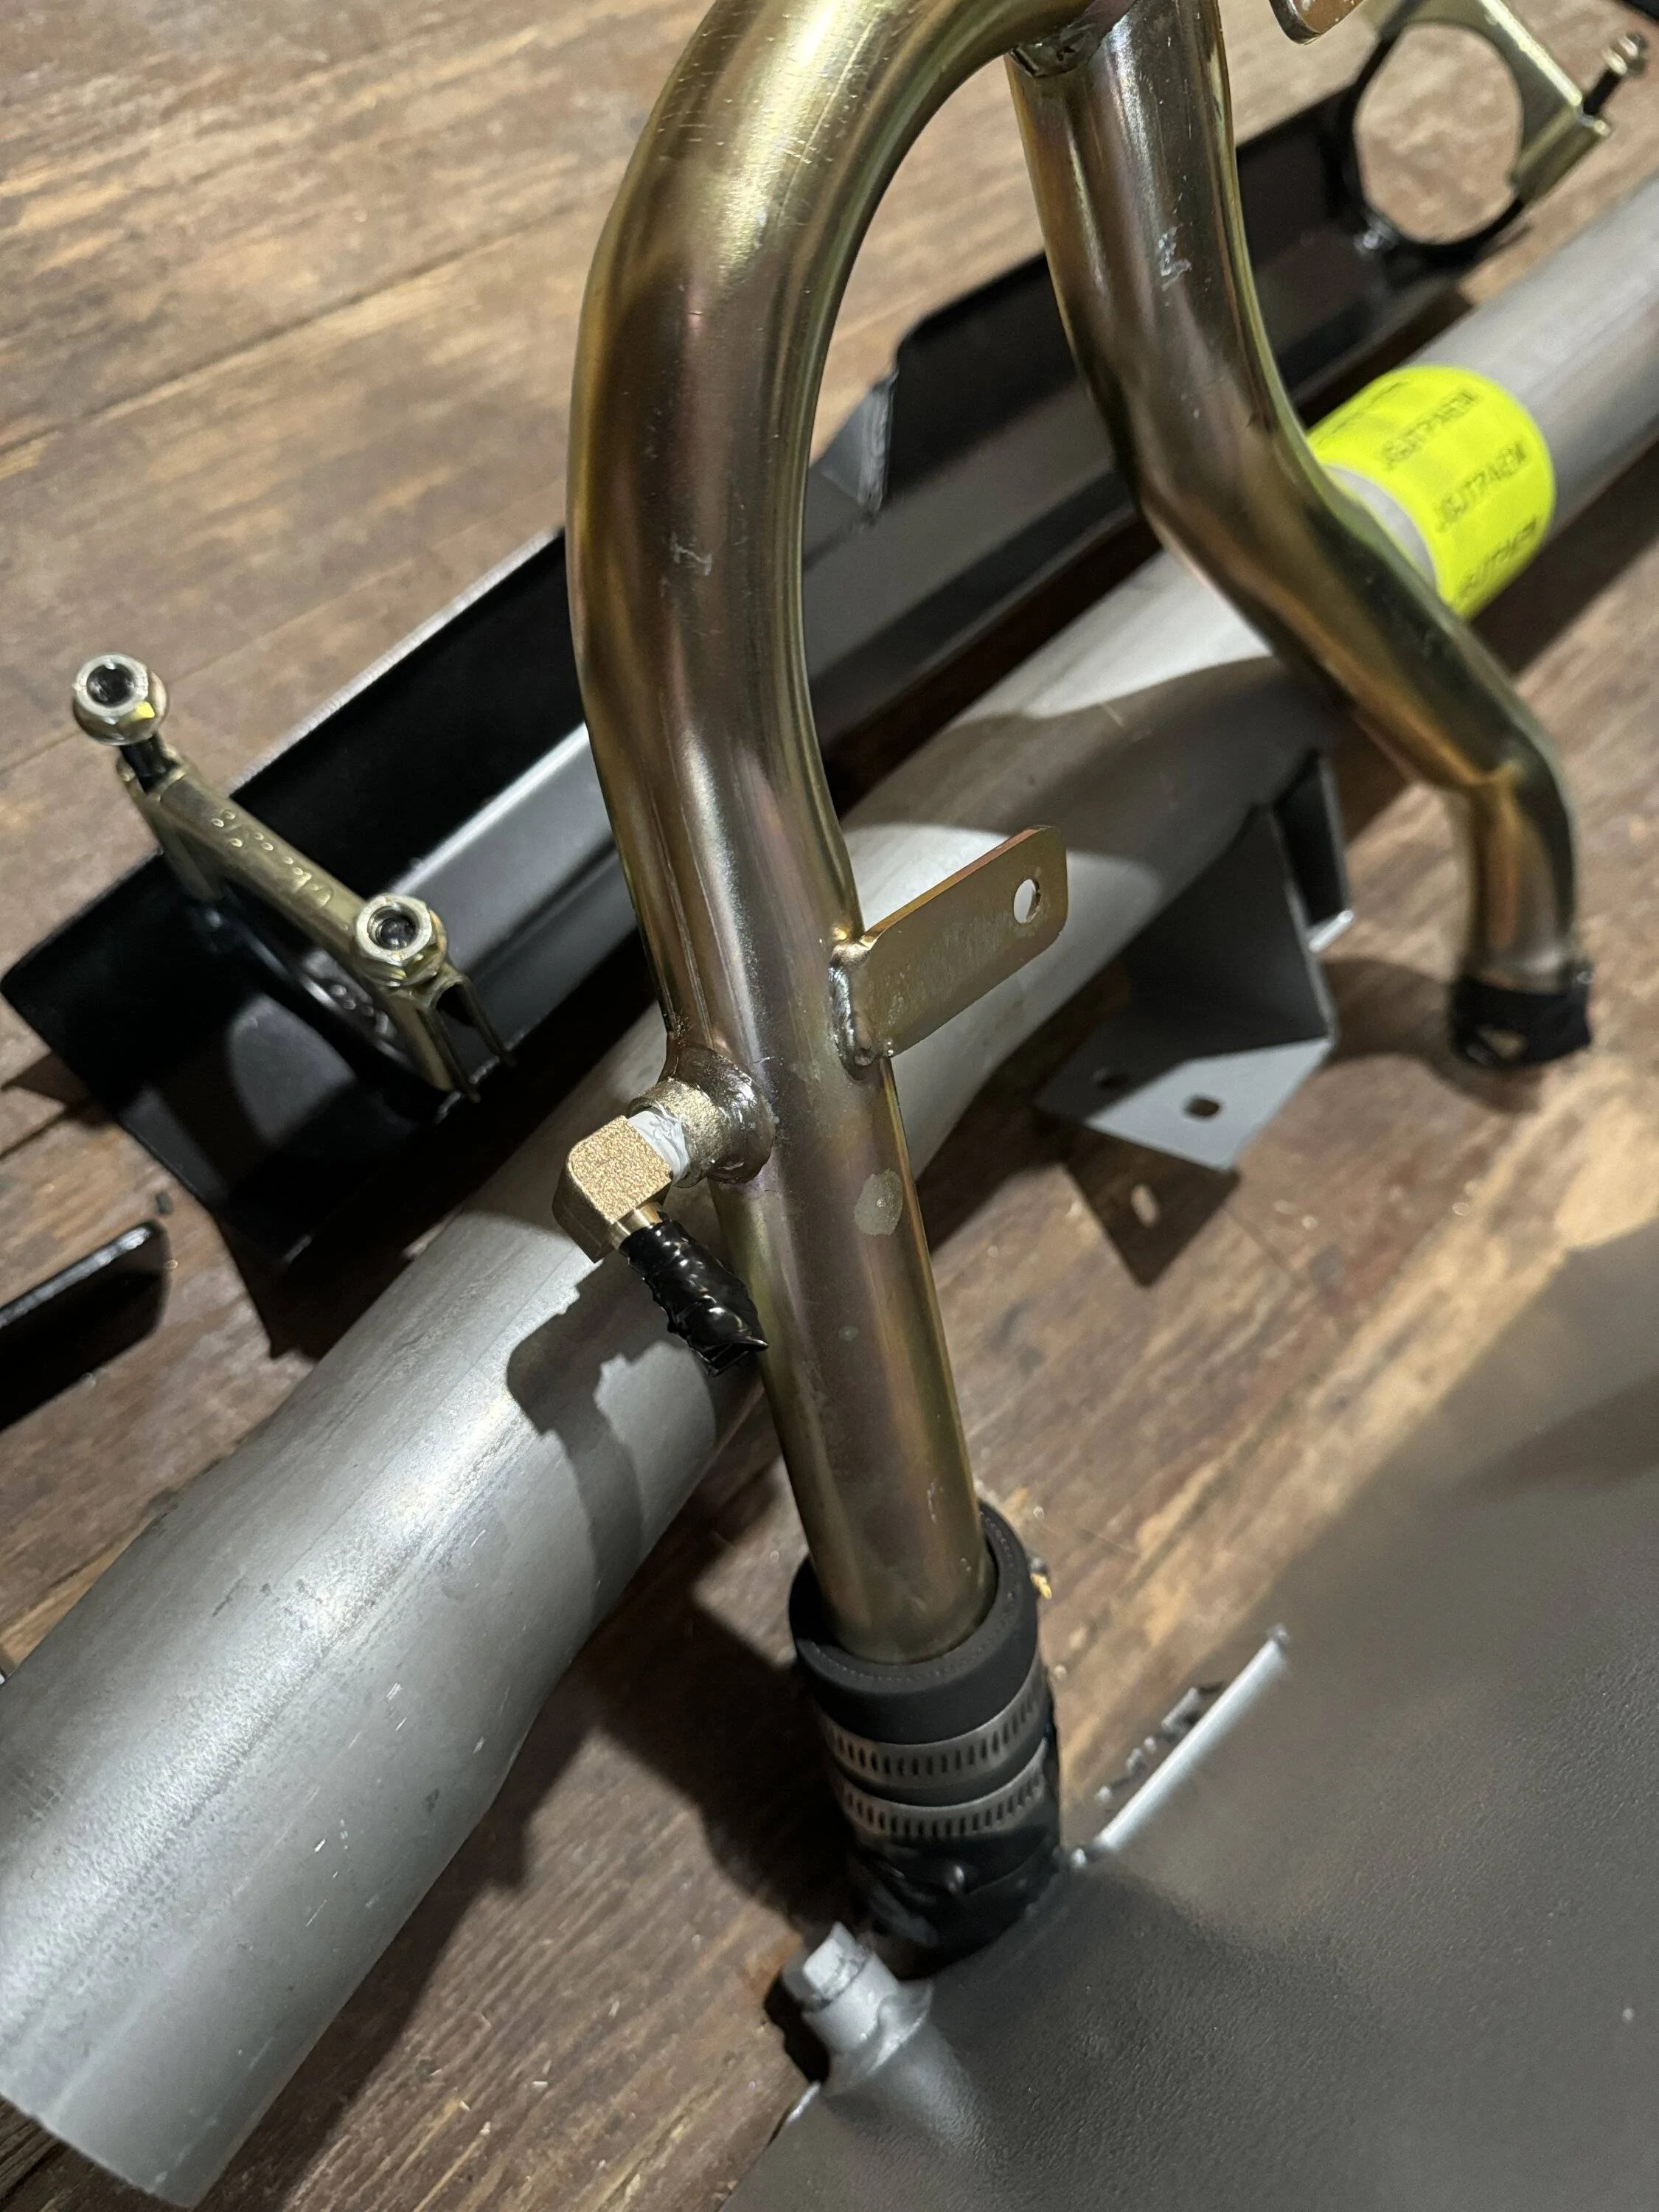
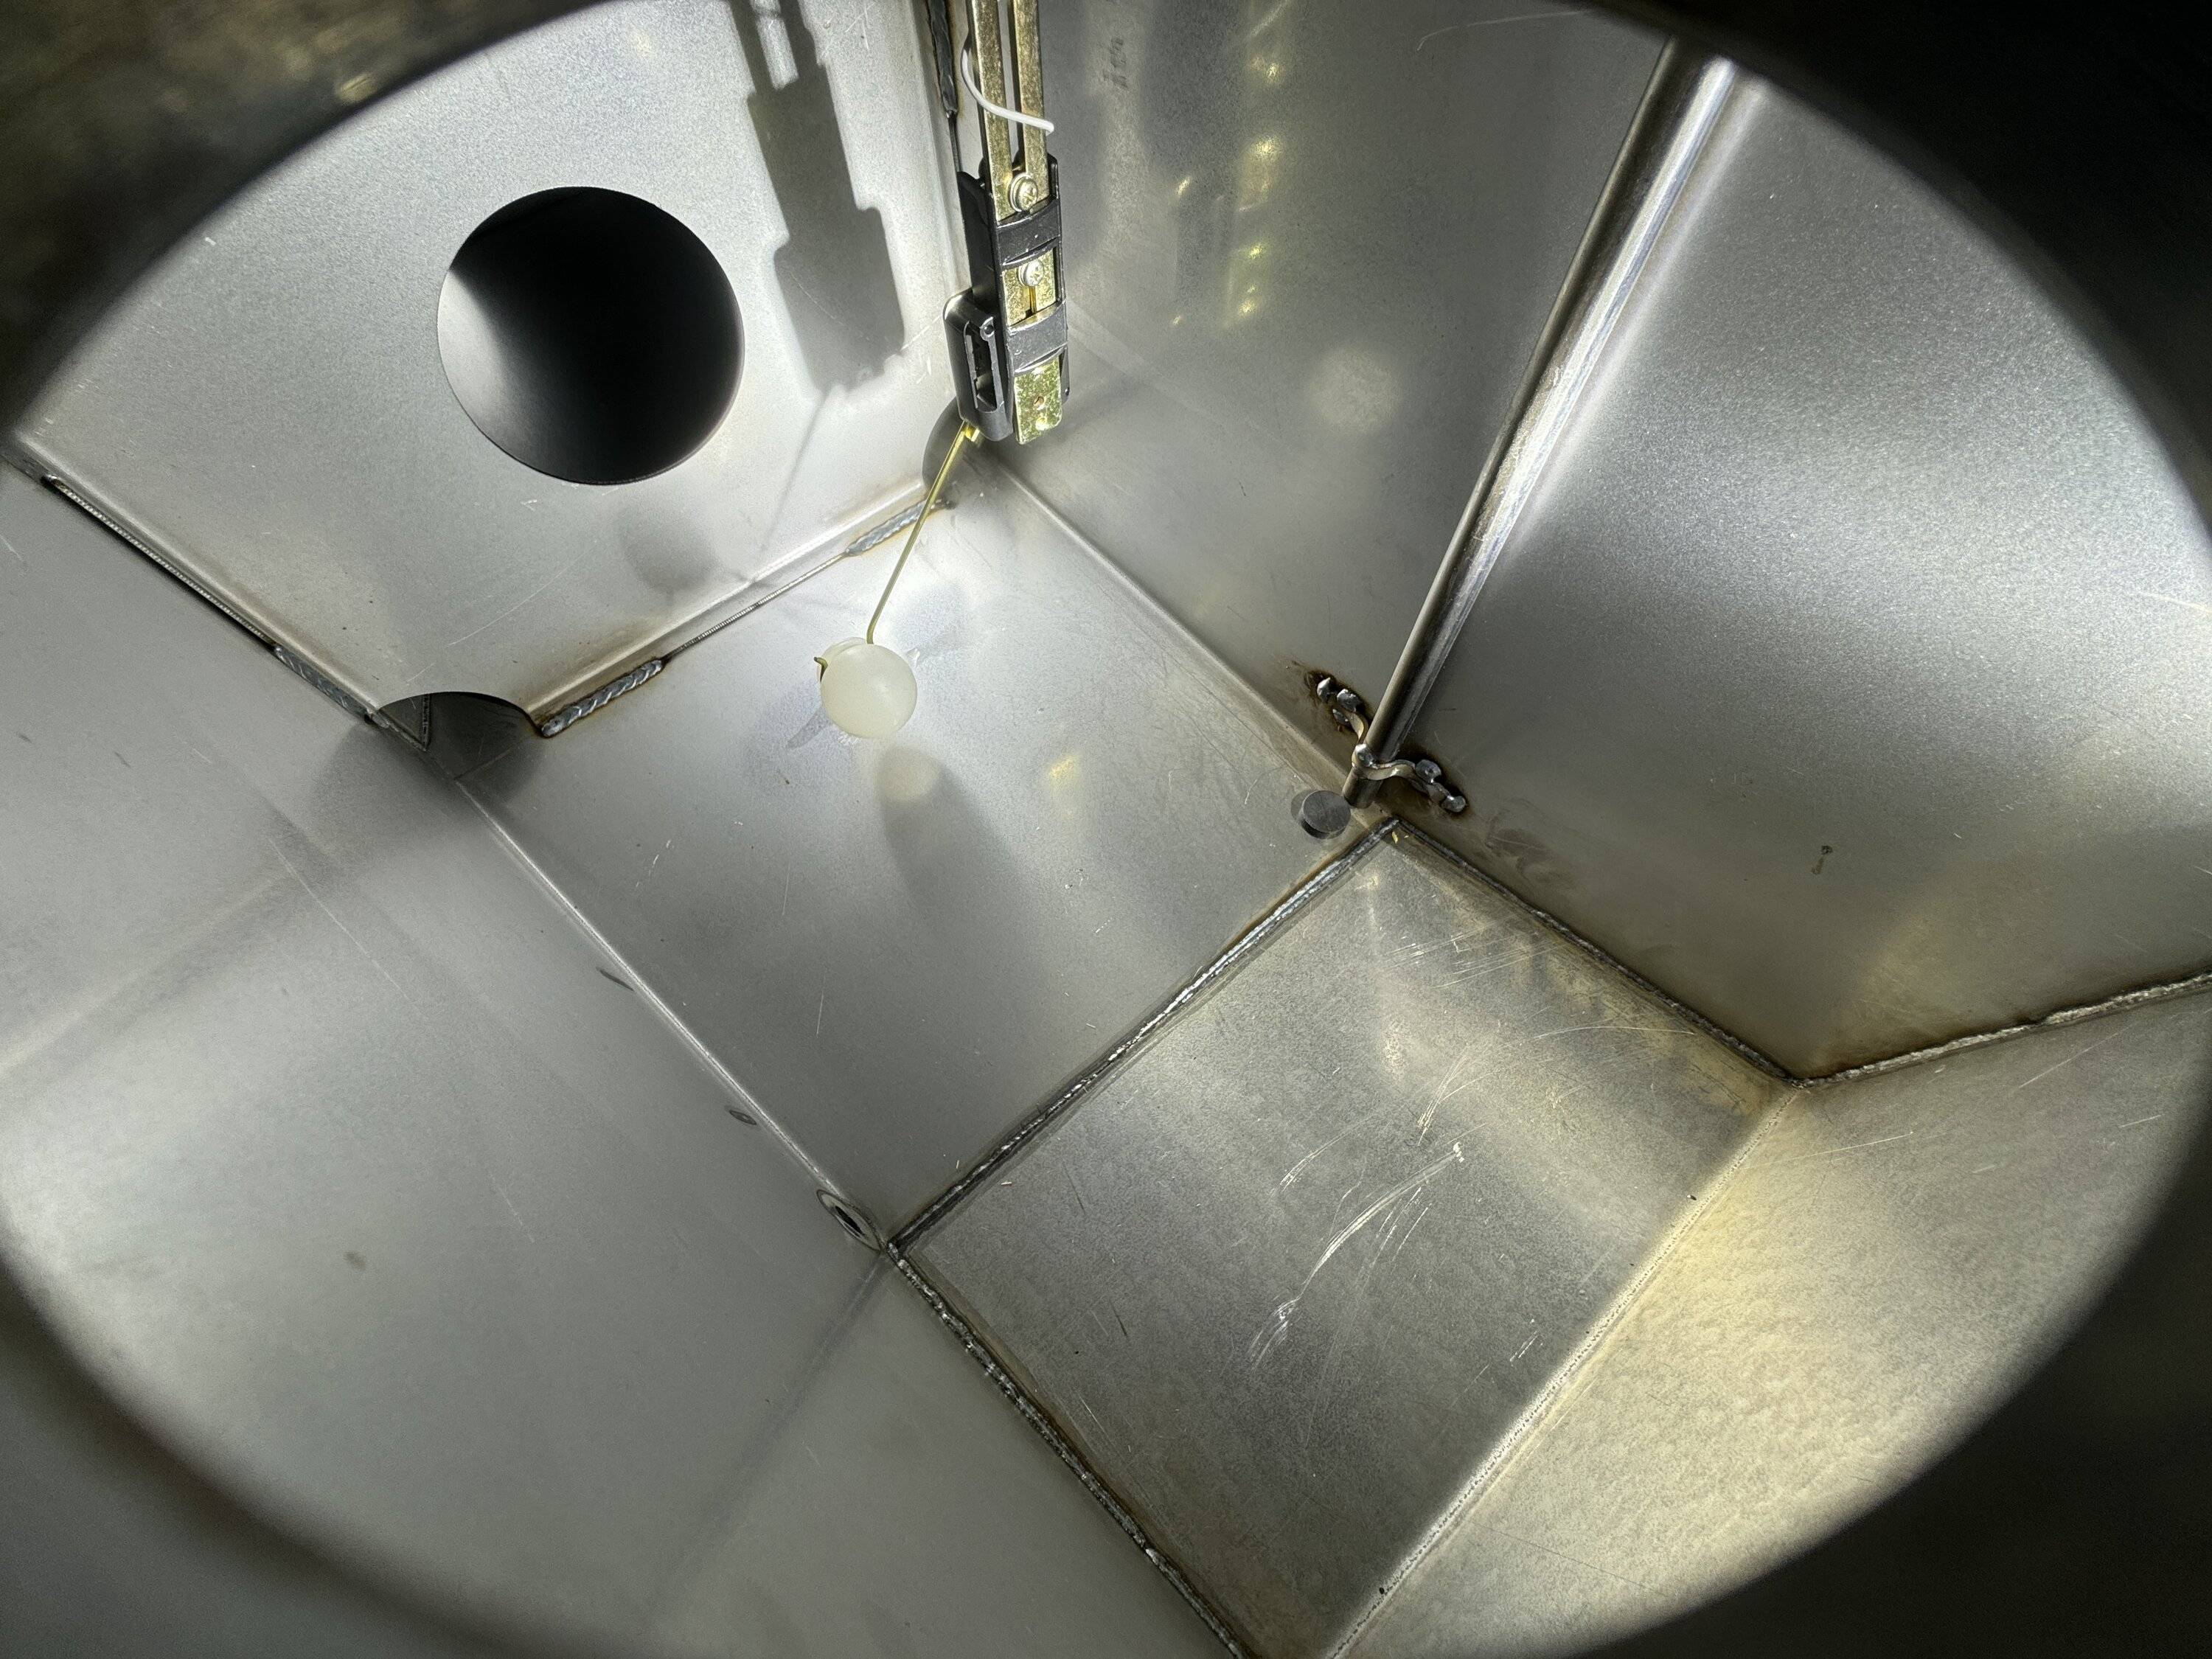
Can I ask about the fill method? Does it passively fill after the main tank is full, or does it have its own fill neck somewhere?The first task to accomplish is important, so it get's it's own post. Be sure to put the magnet next to the pickup. Fortunately I have not had the amount of metal shavings, that are seen anyway, as others have experienced. But this is a critical step. After the fact I thought of the idea to split the magnet into two so there would be a capture point on both sides of the pickup - but hopefully this will be sufficient.

And whatever you do, do NOT drop your long flat tip screwdriver down the hole!
Sponsored