4xjeepr
Well-Known Member
- First Name
- DON
- Joined
- Aug 30, 2020
- Threads
- 13
- Messages
- 887
- Reaction score
- 1,394
- Location
- Thomasville, NC
- Vehicle(s)
- 20 Gladiator Sport, 06 Wrangler Unlimited Rubicon, 95 Wrangler Rio Grande
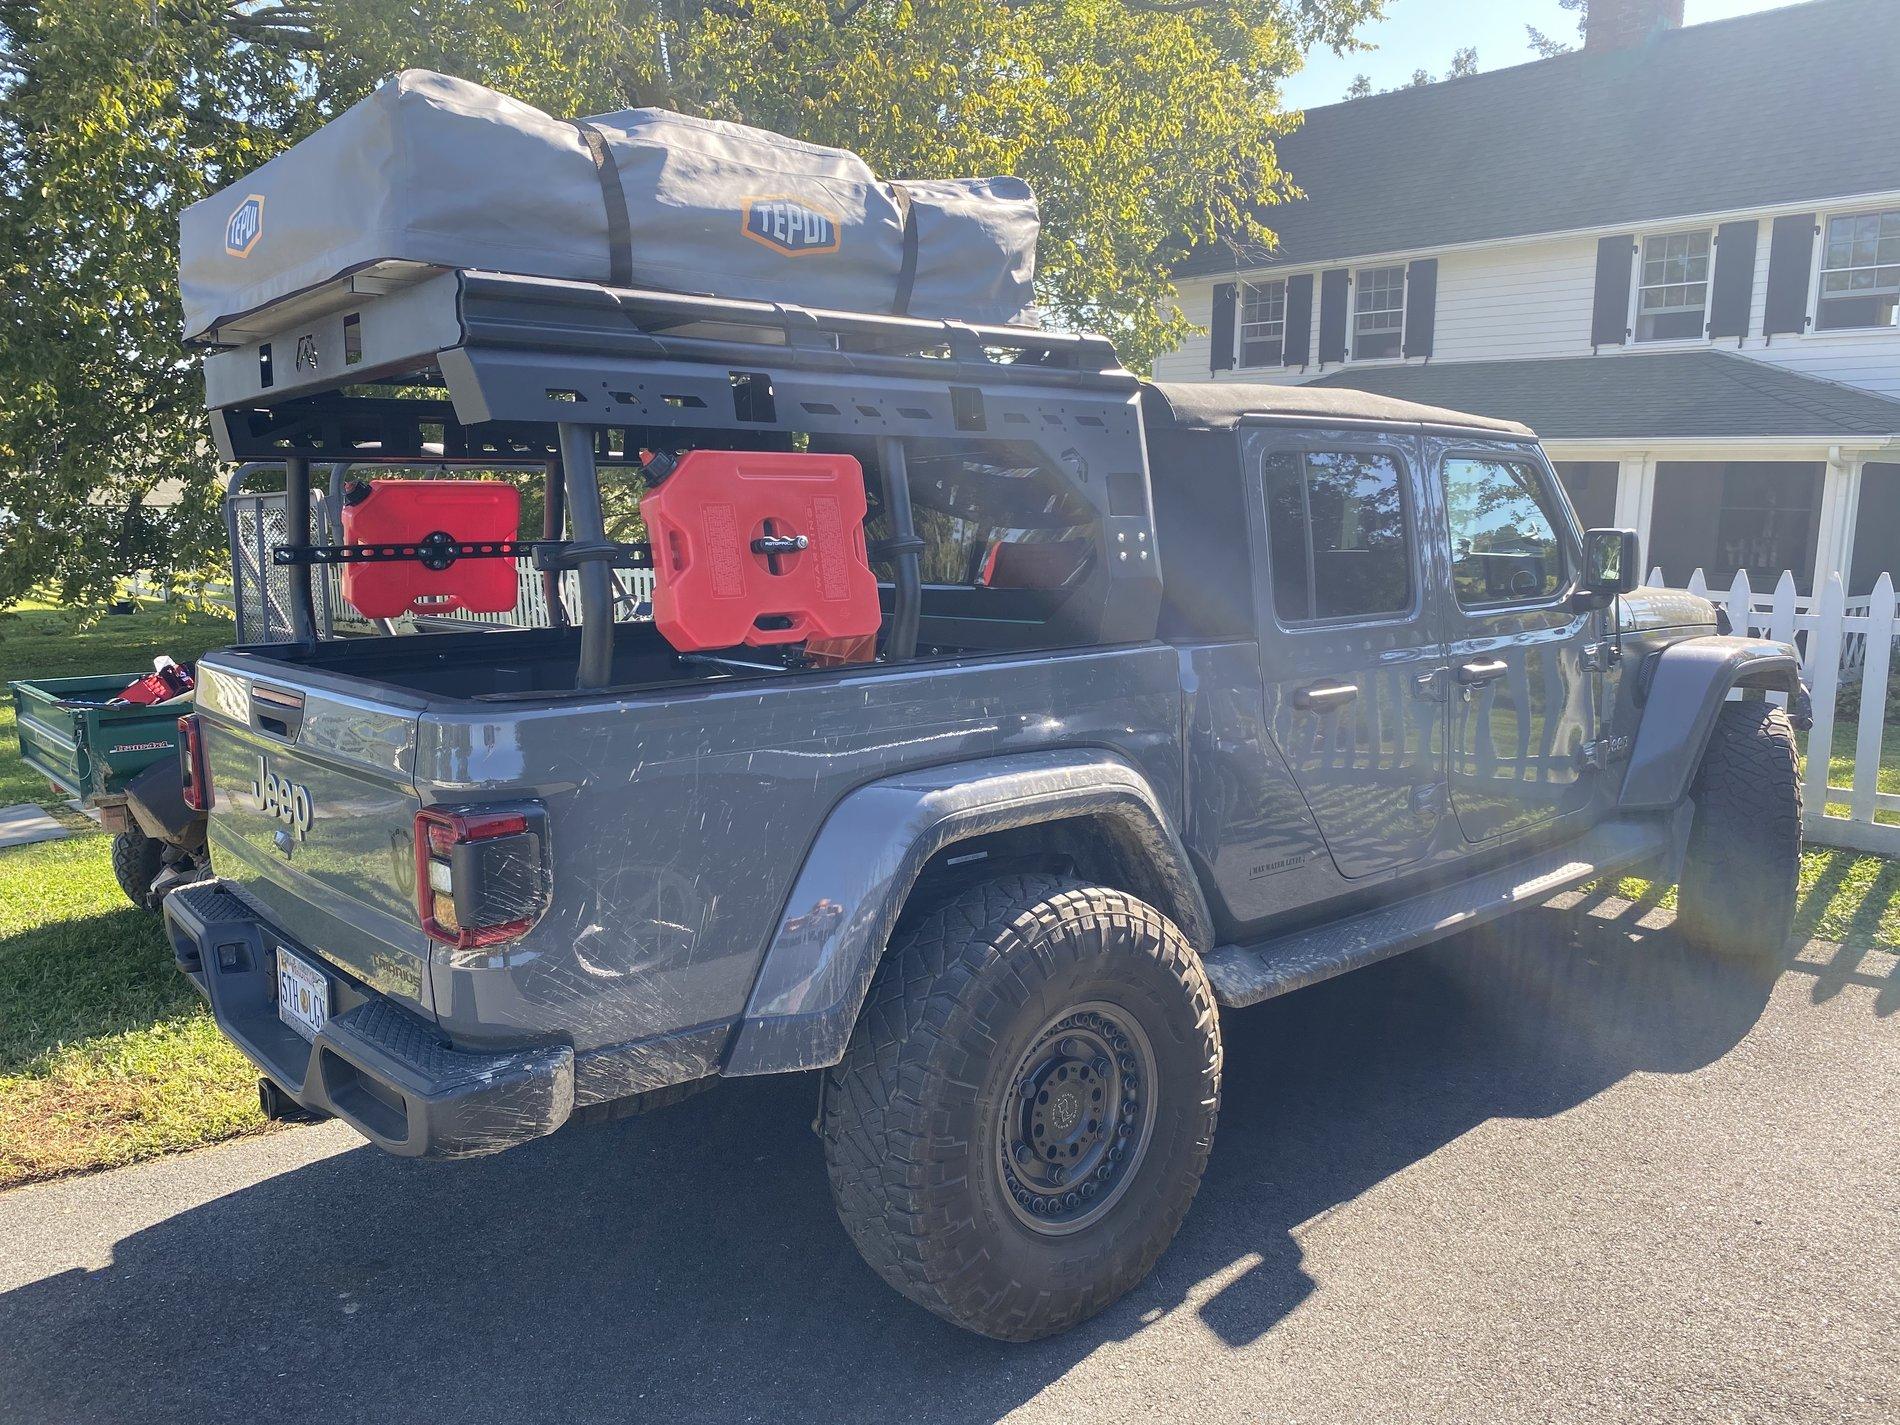
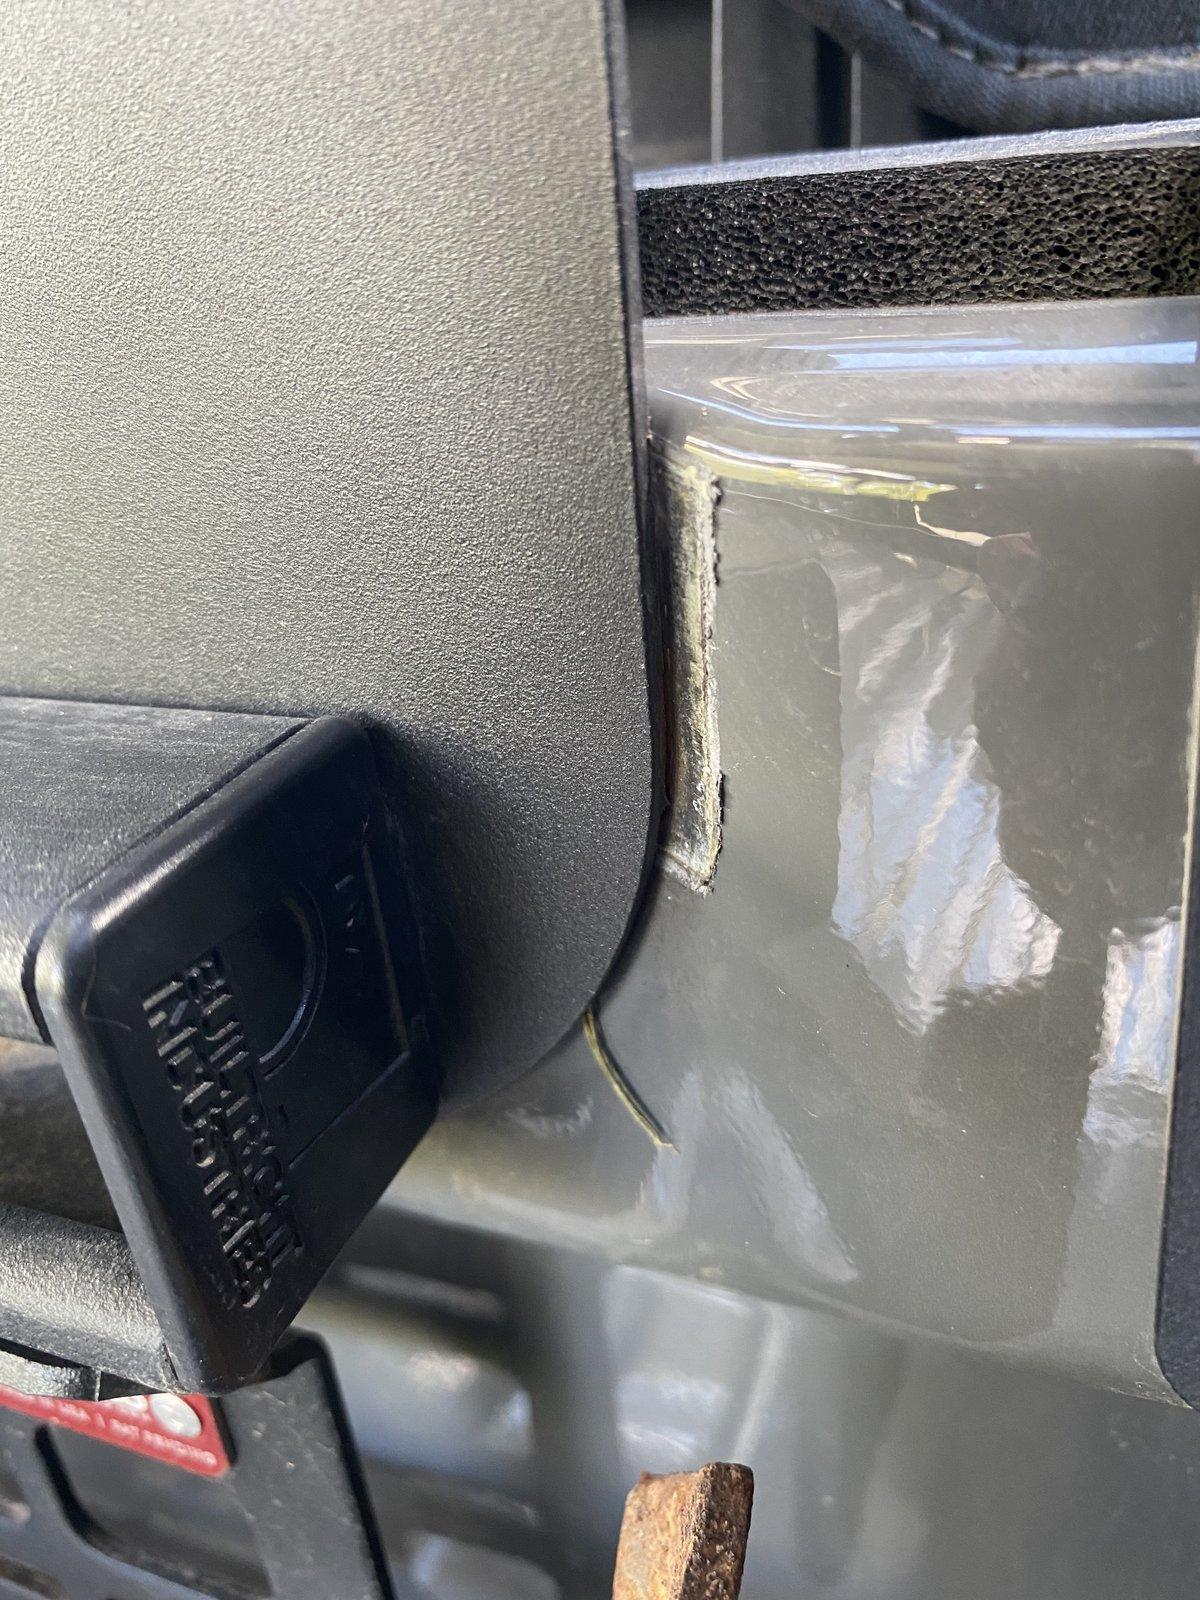
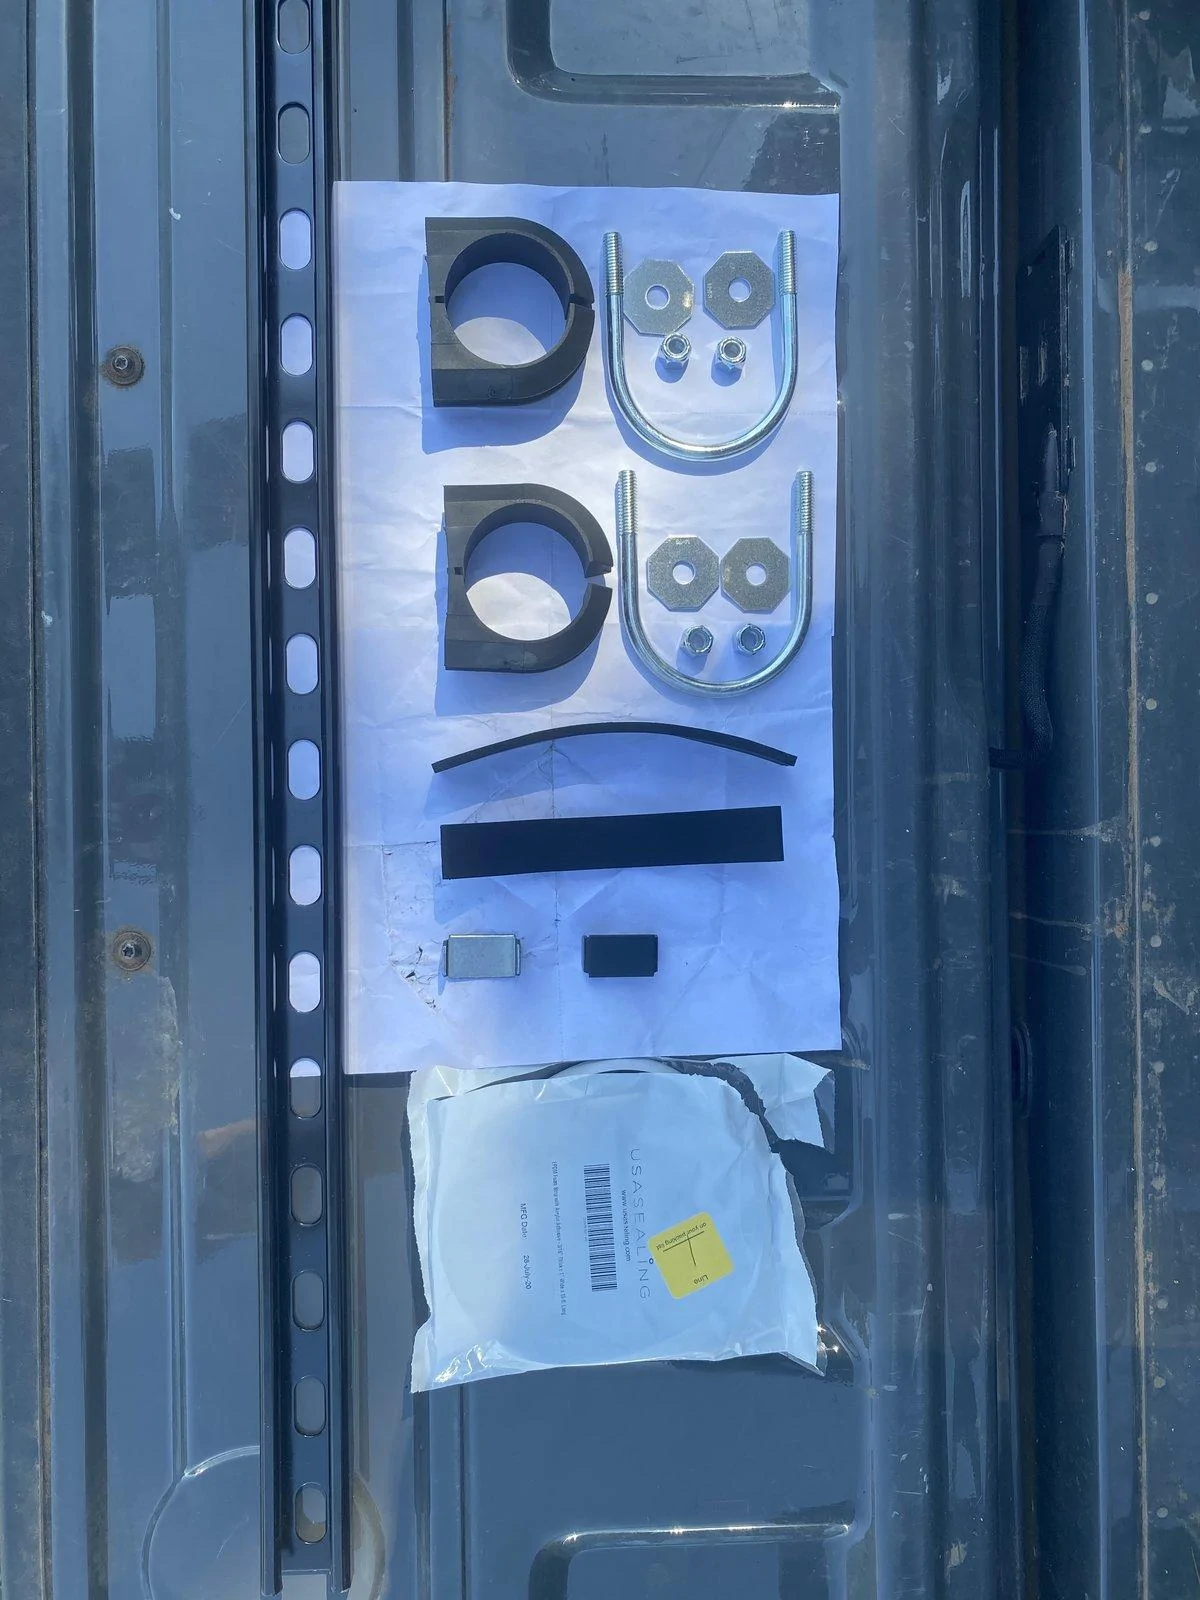
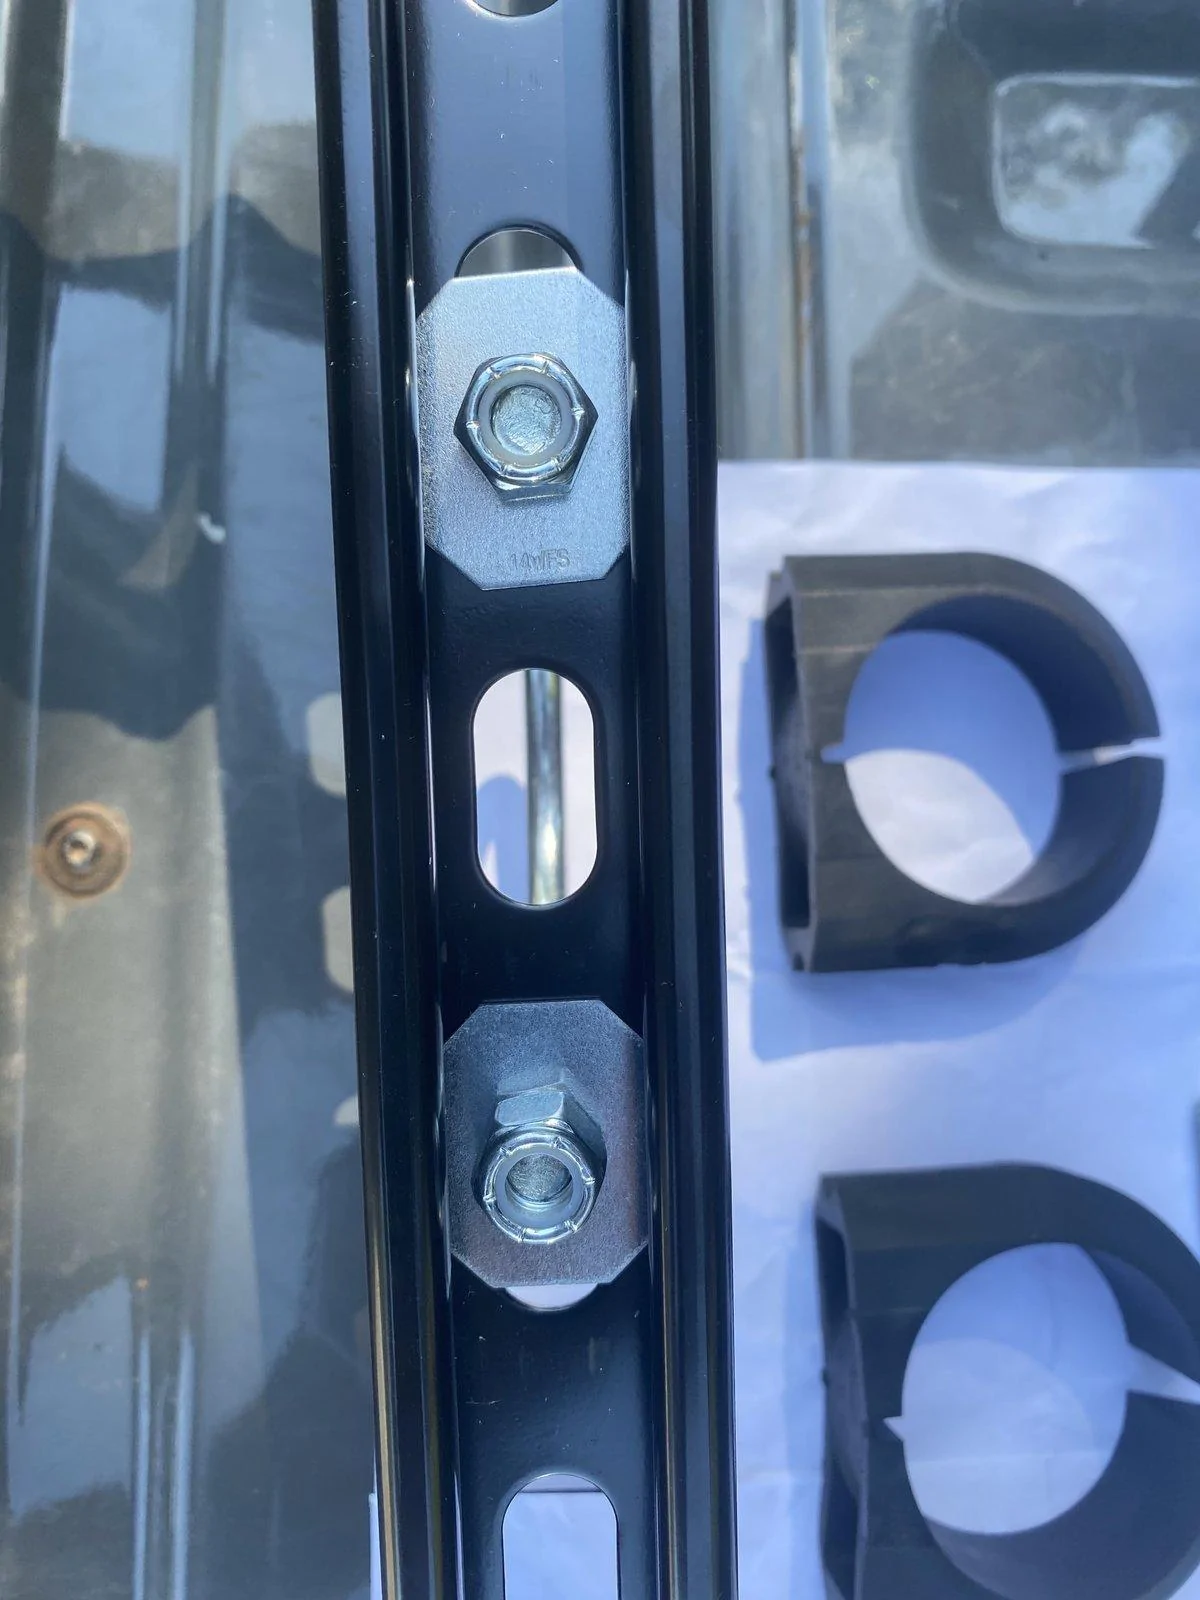
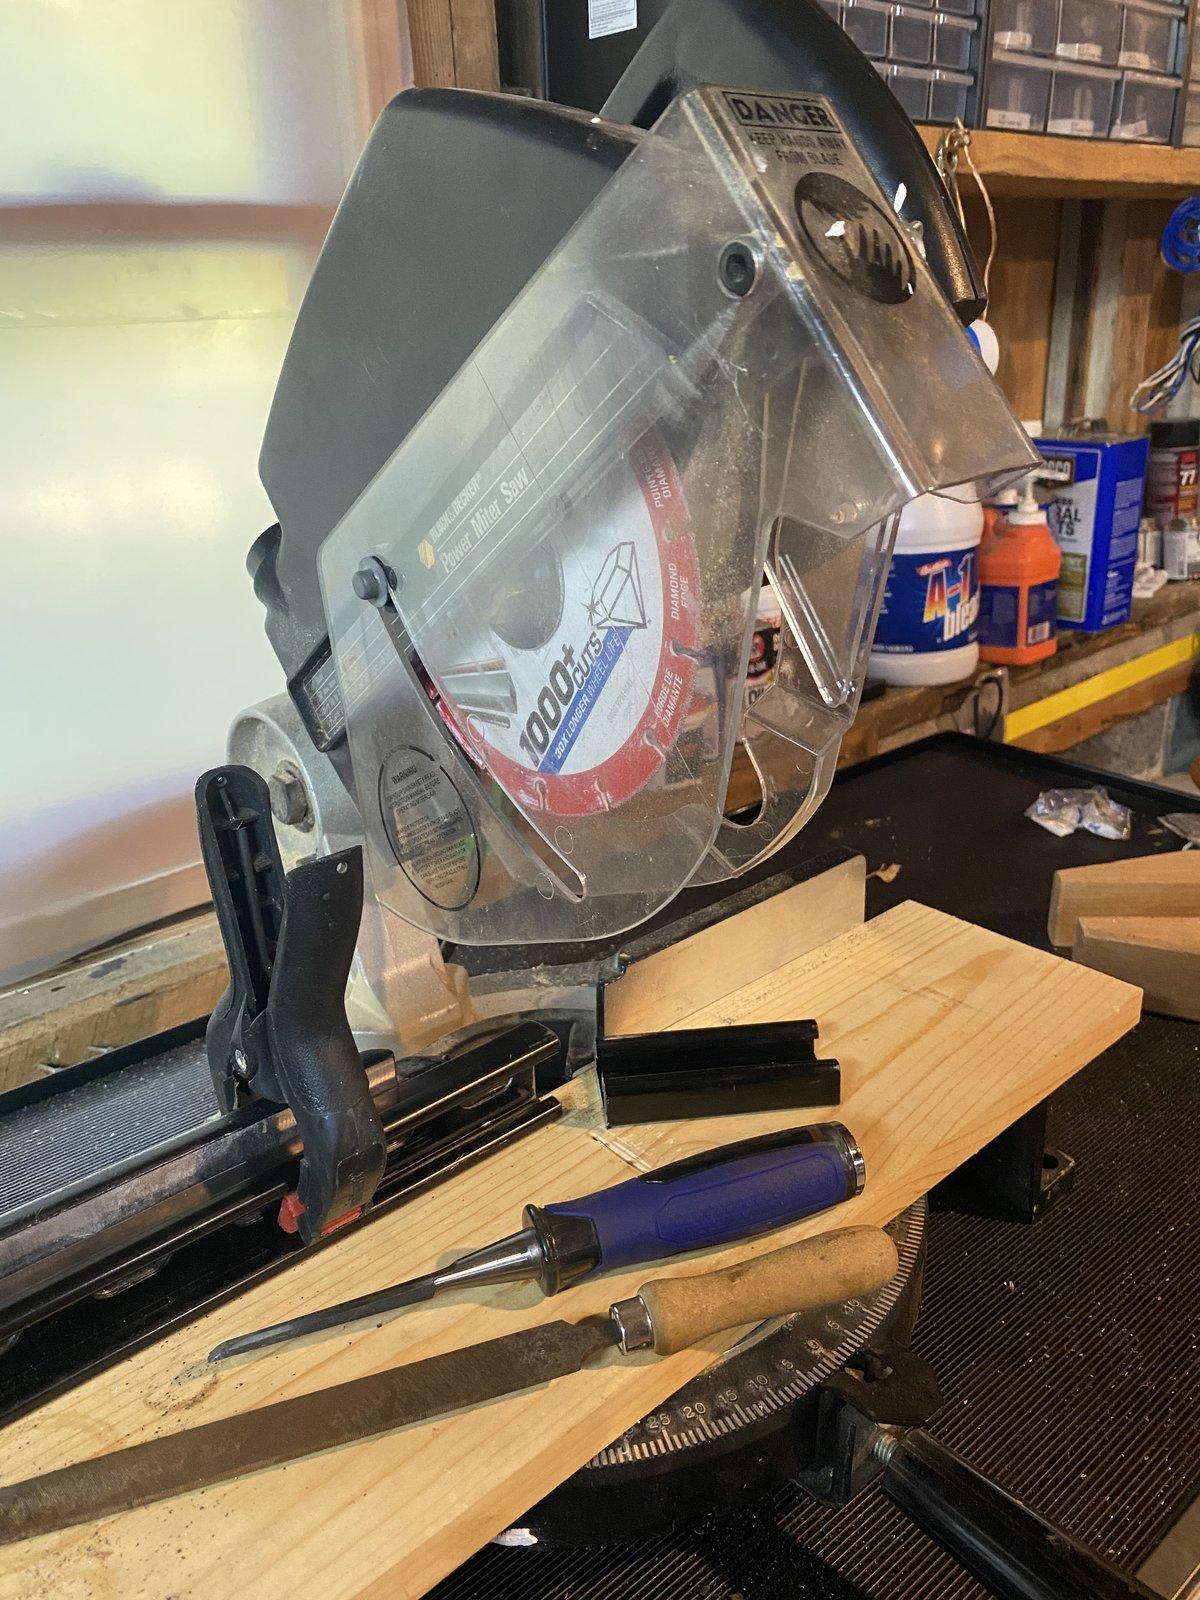
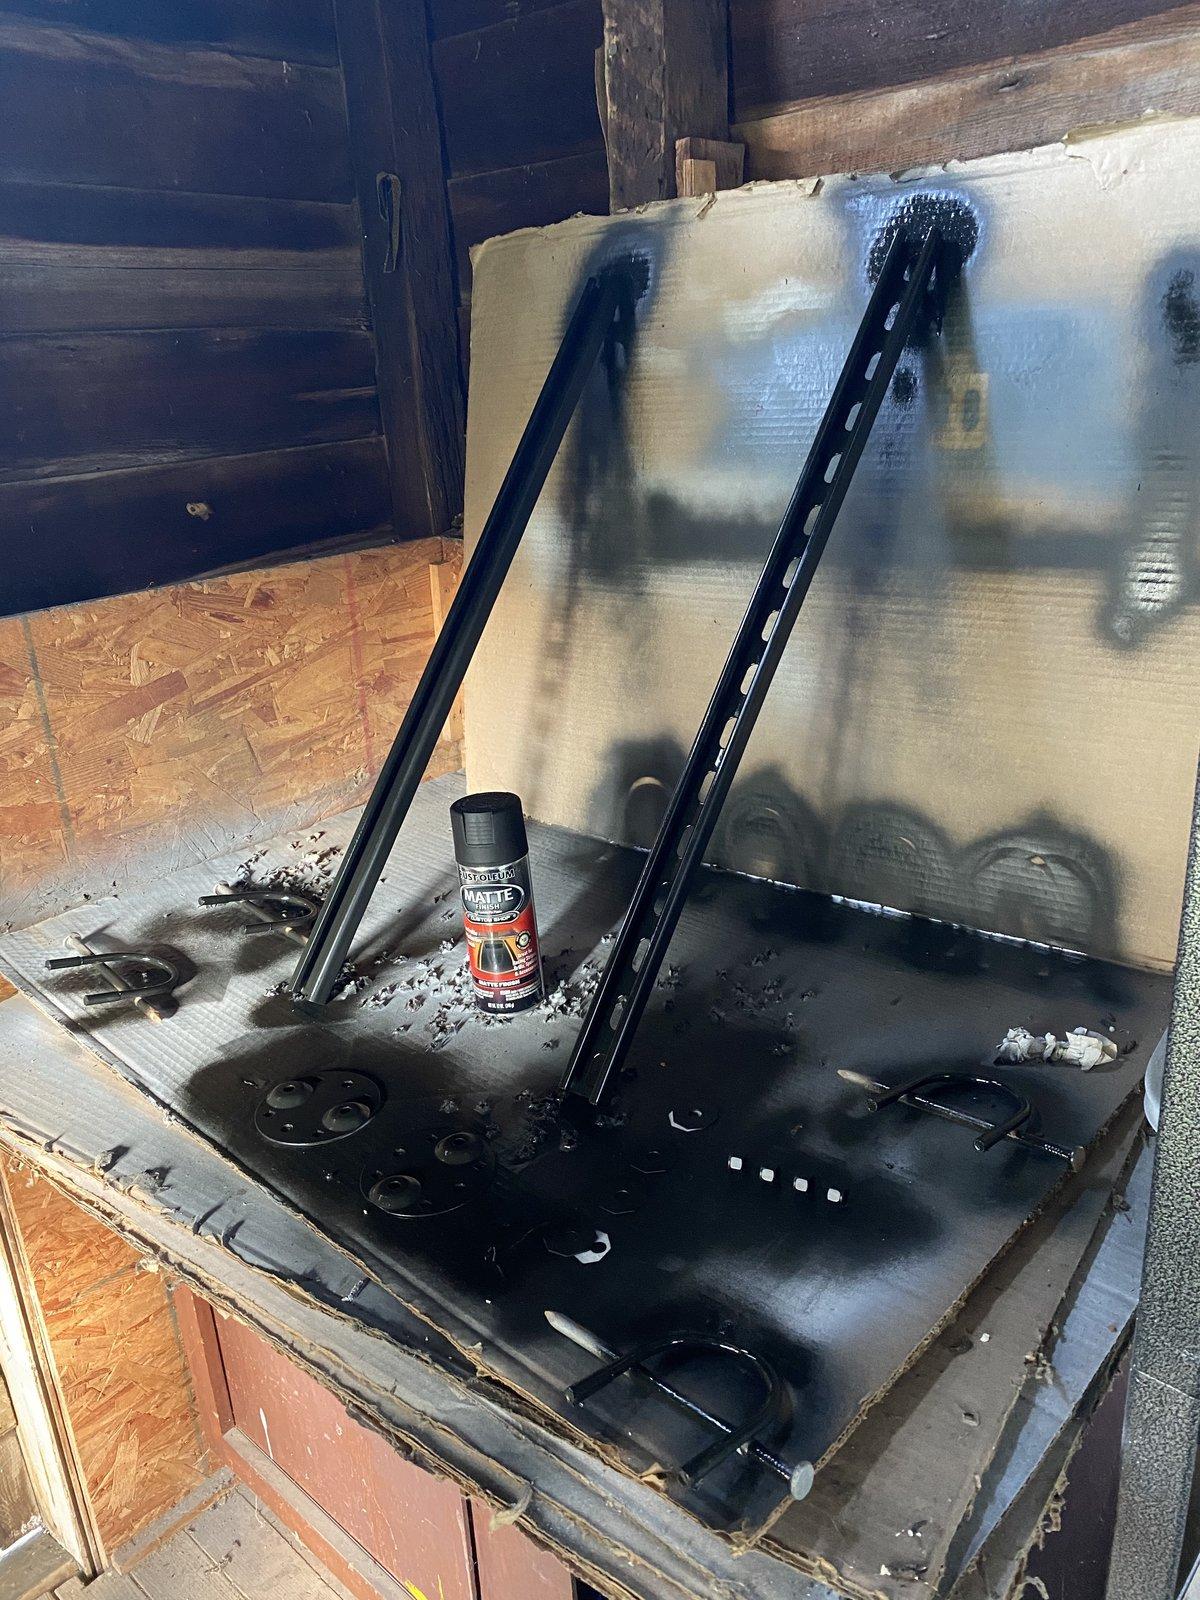
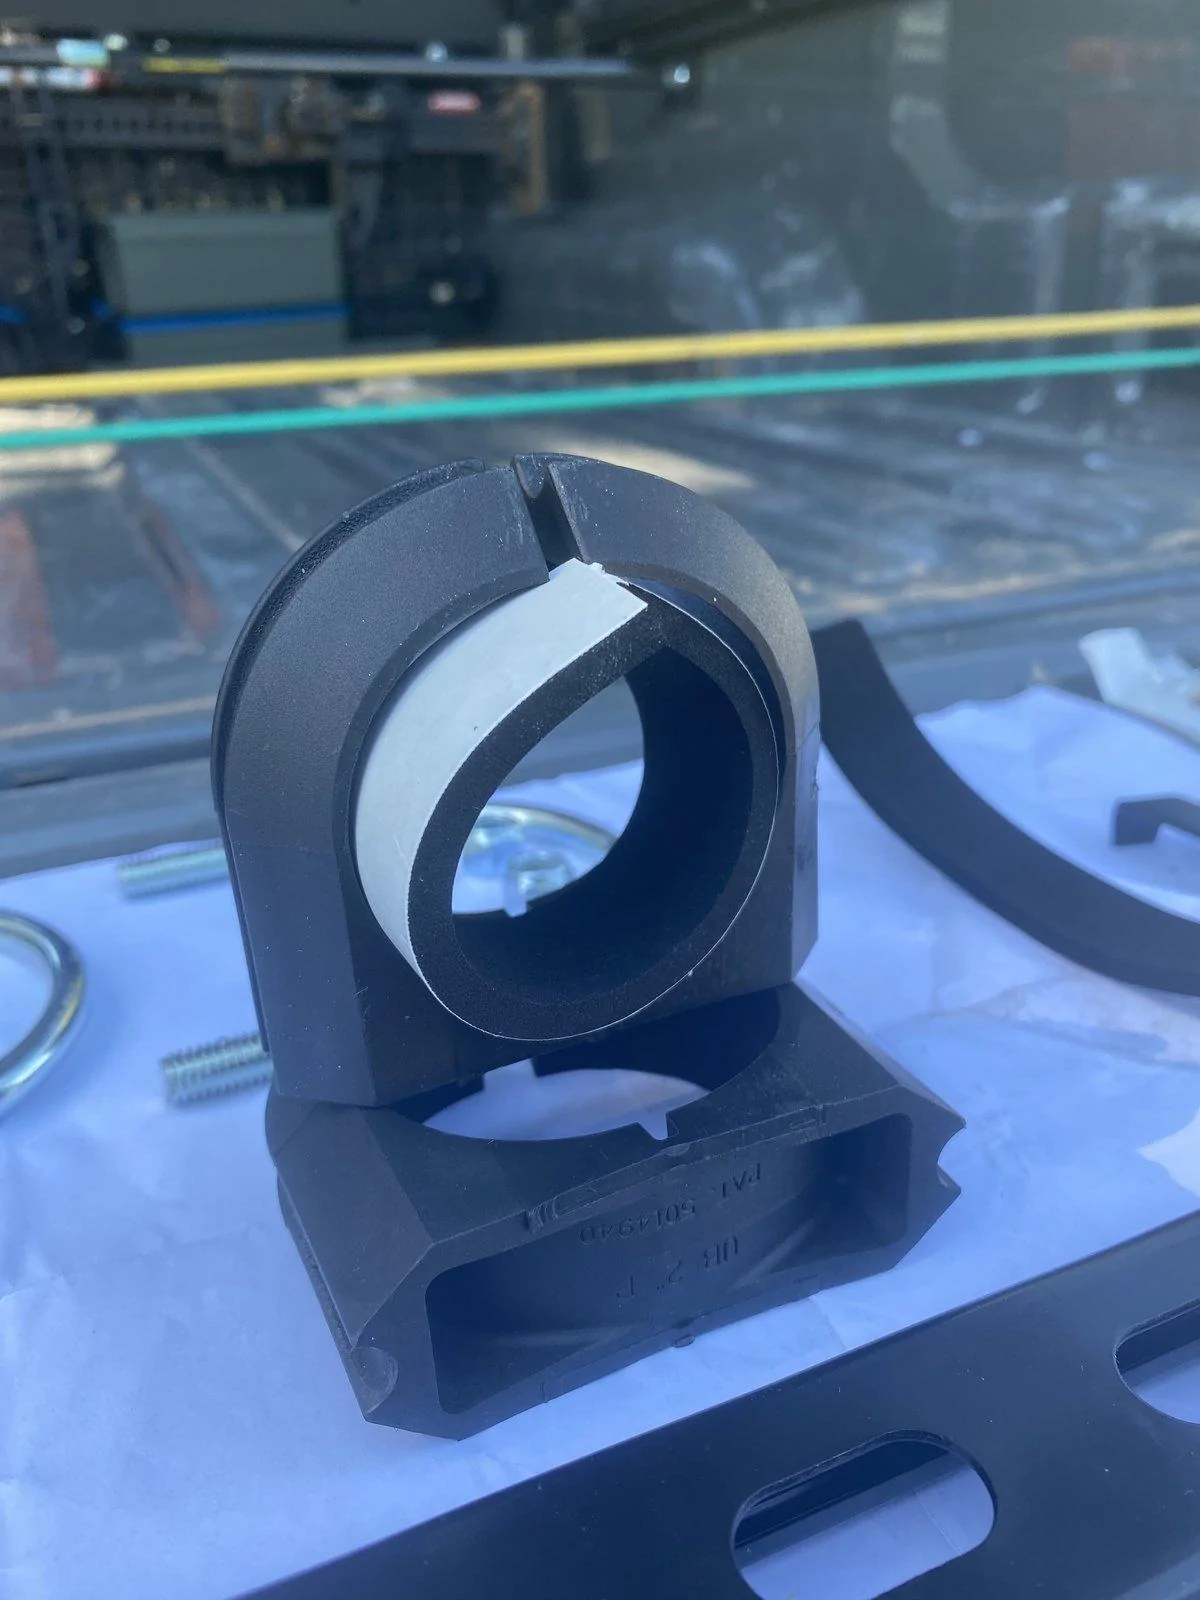
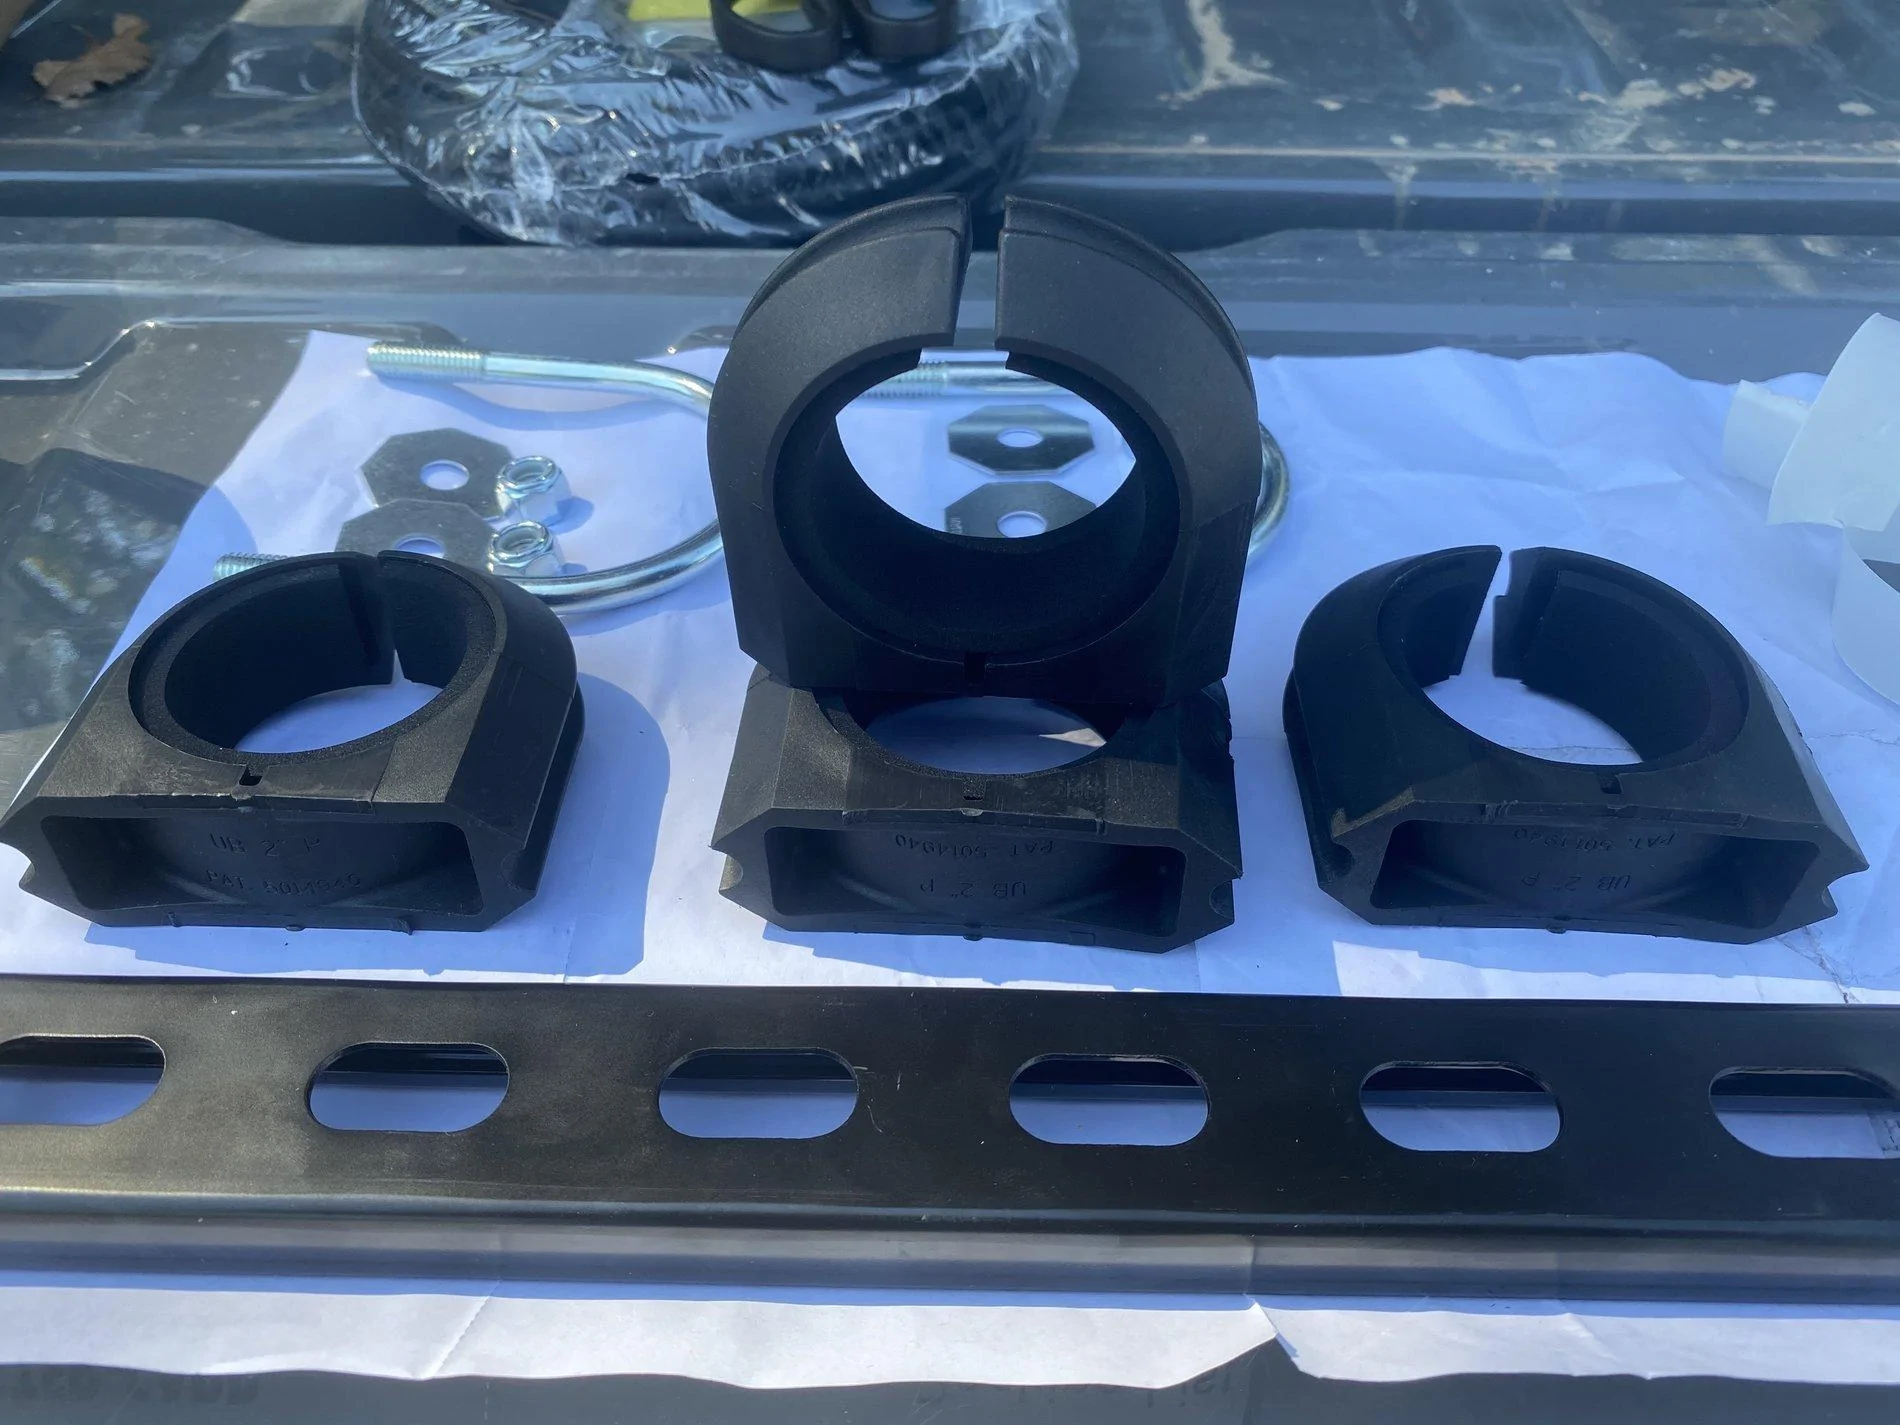
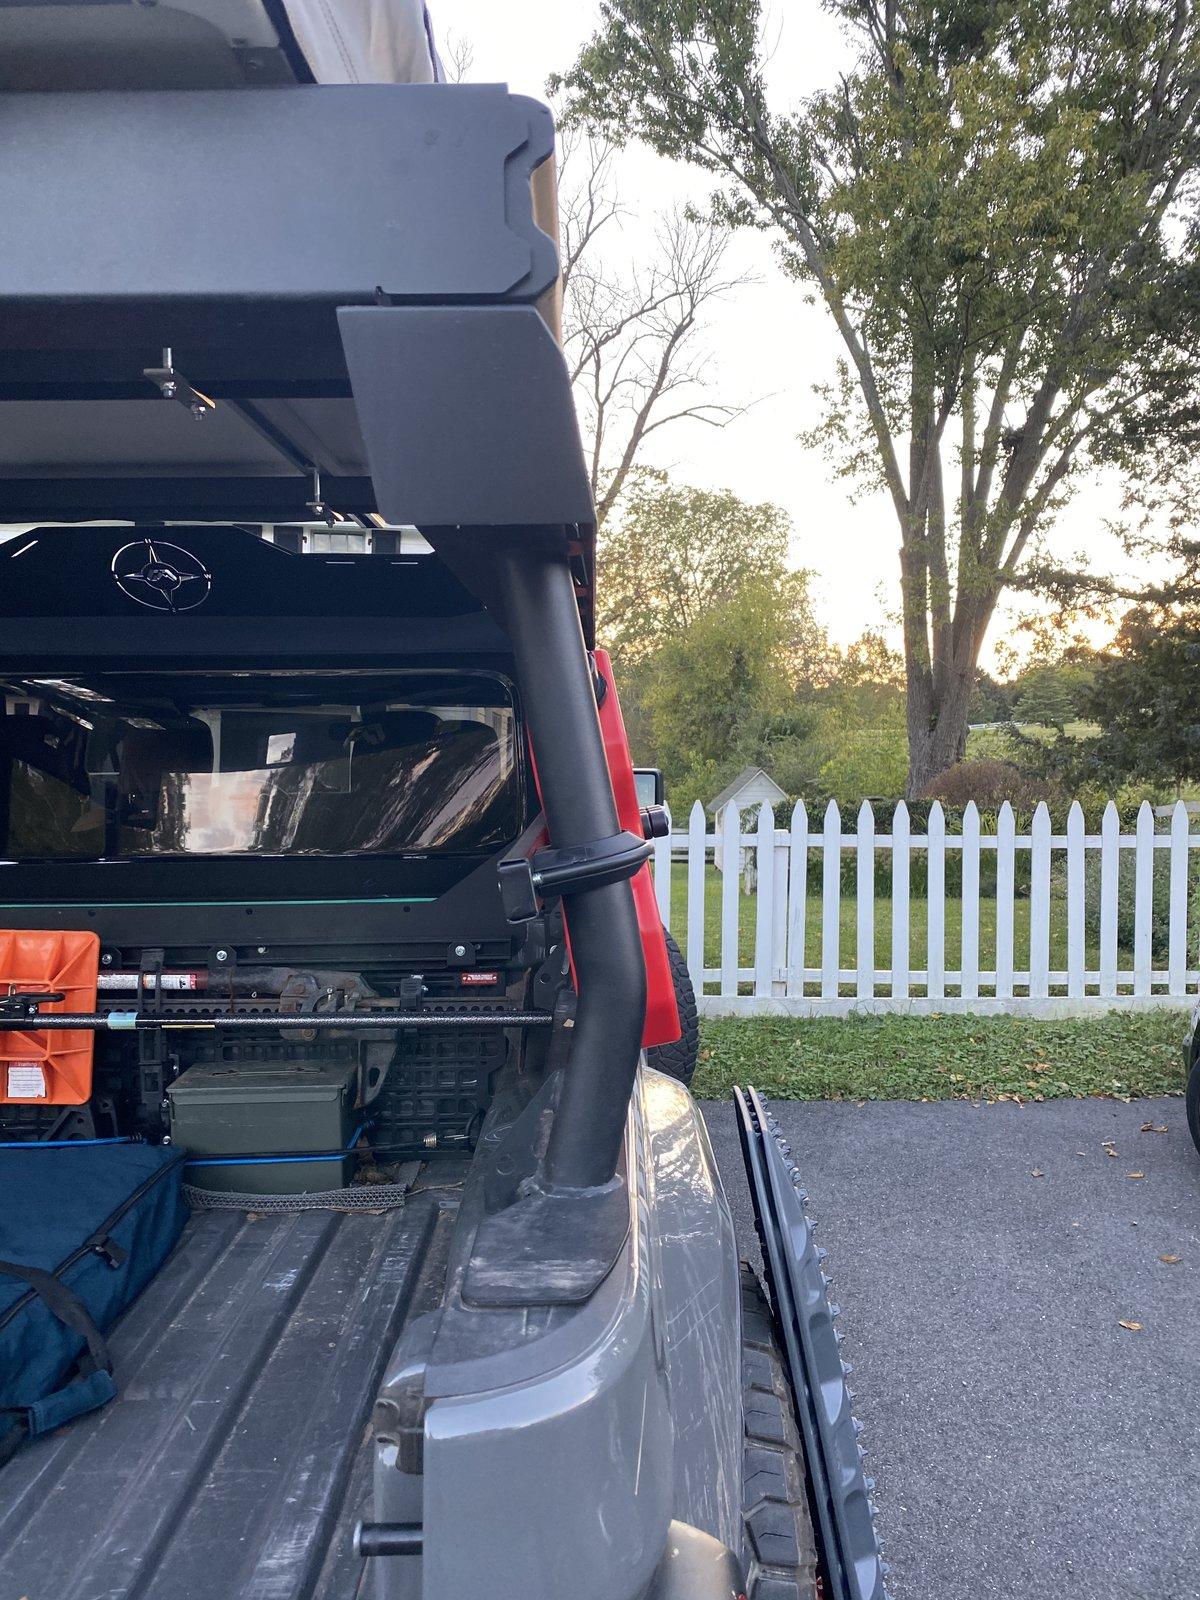
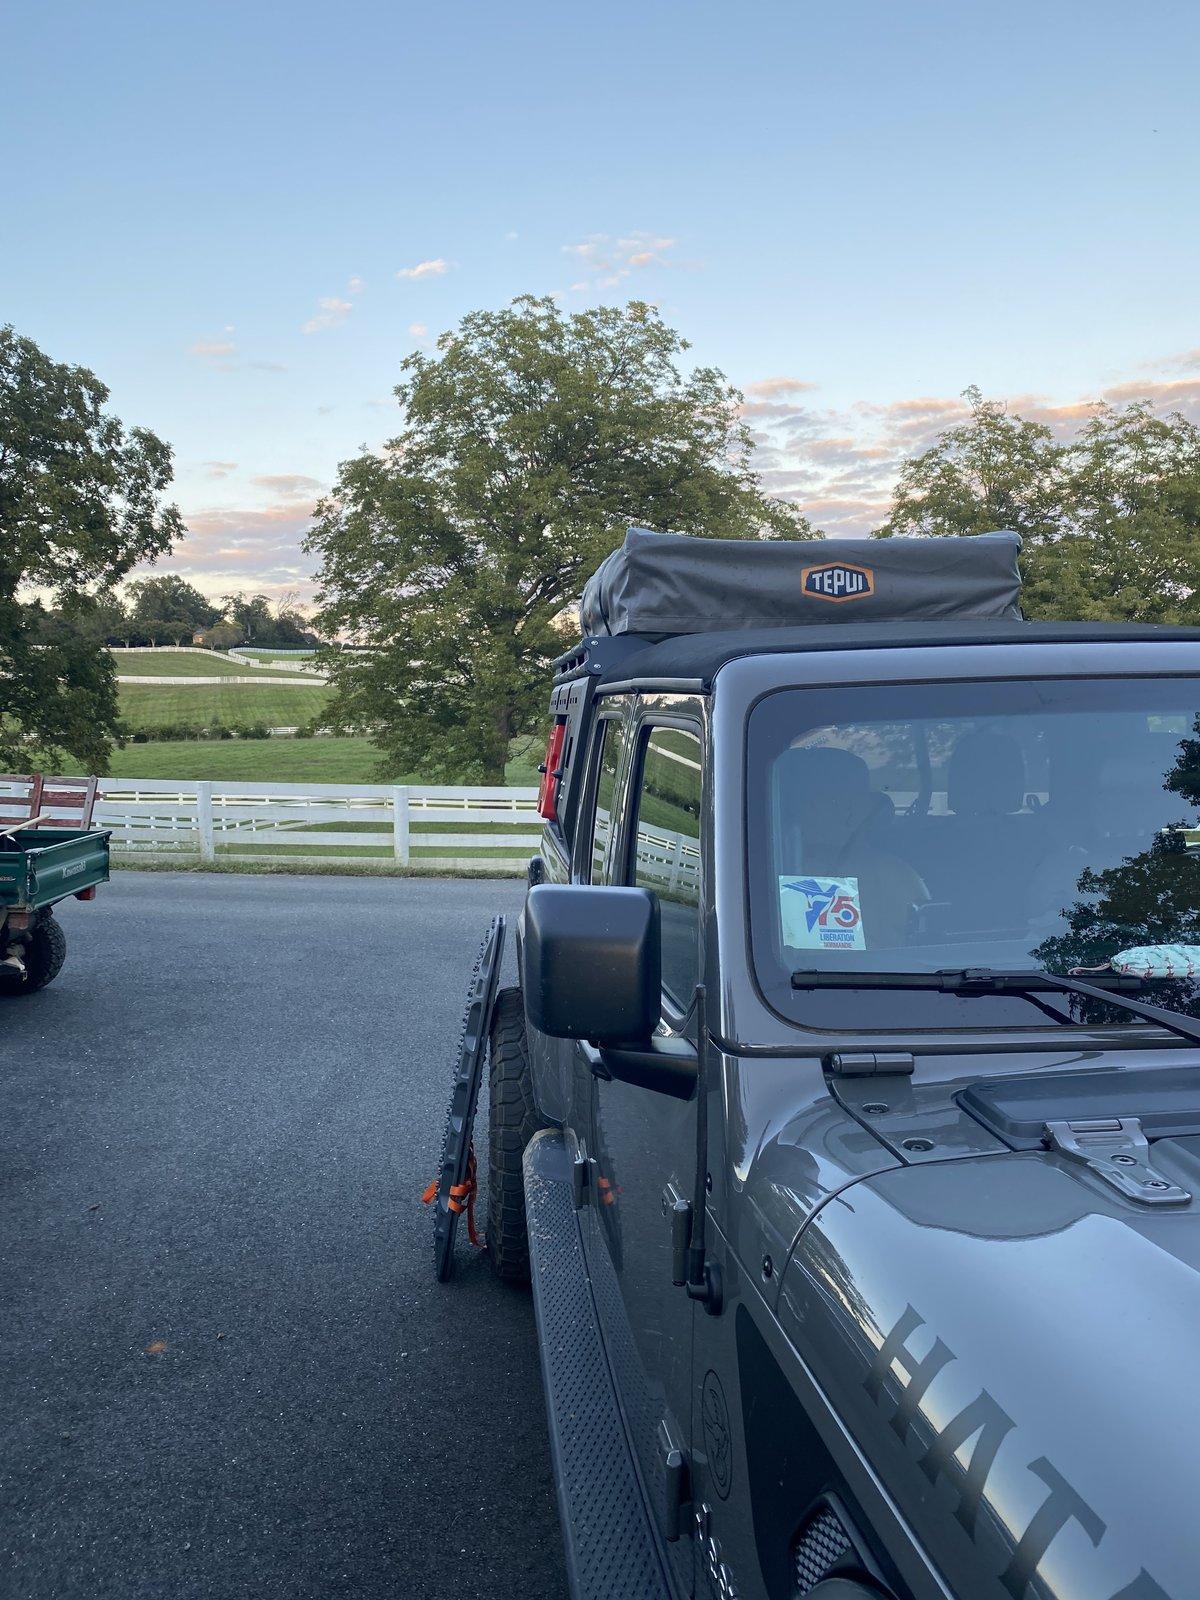
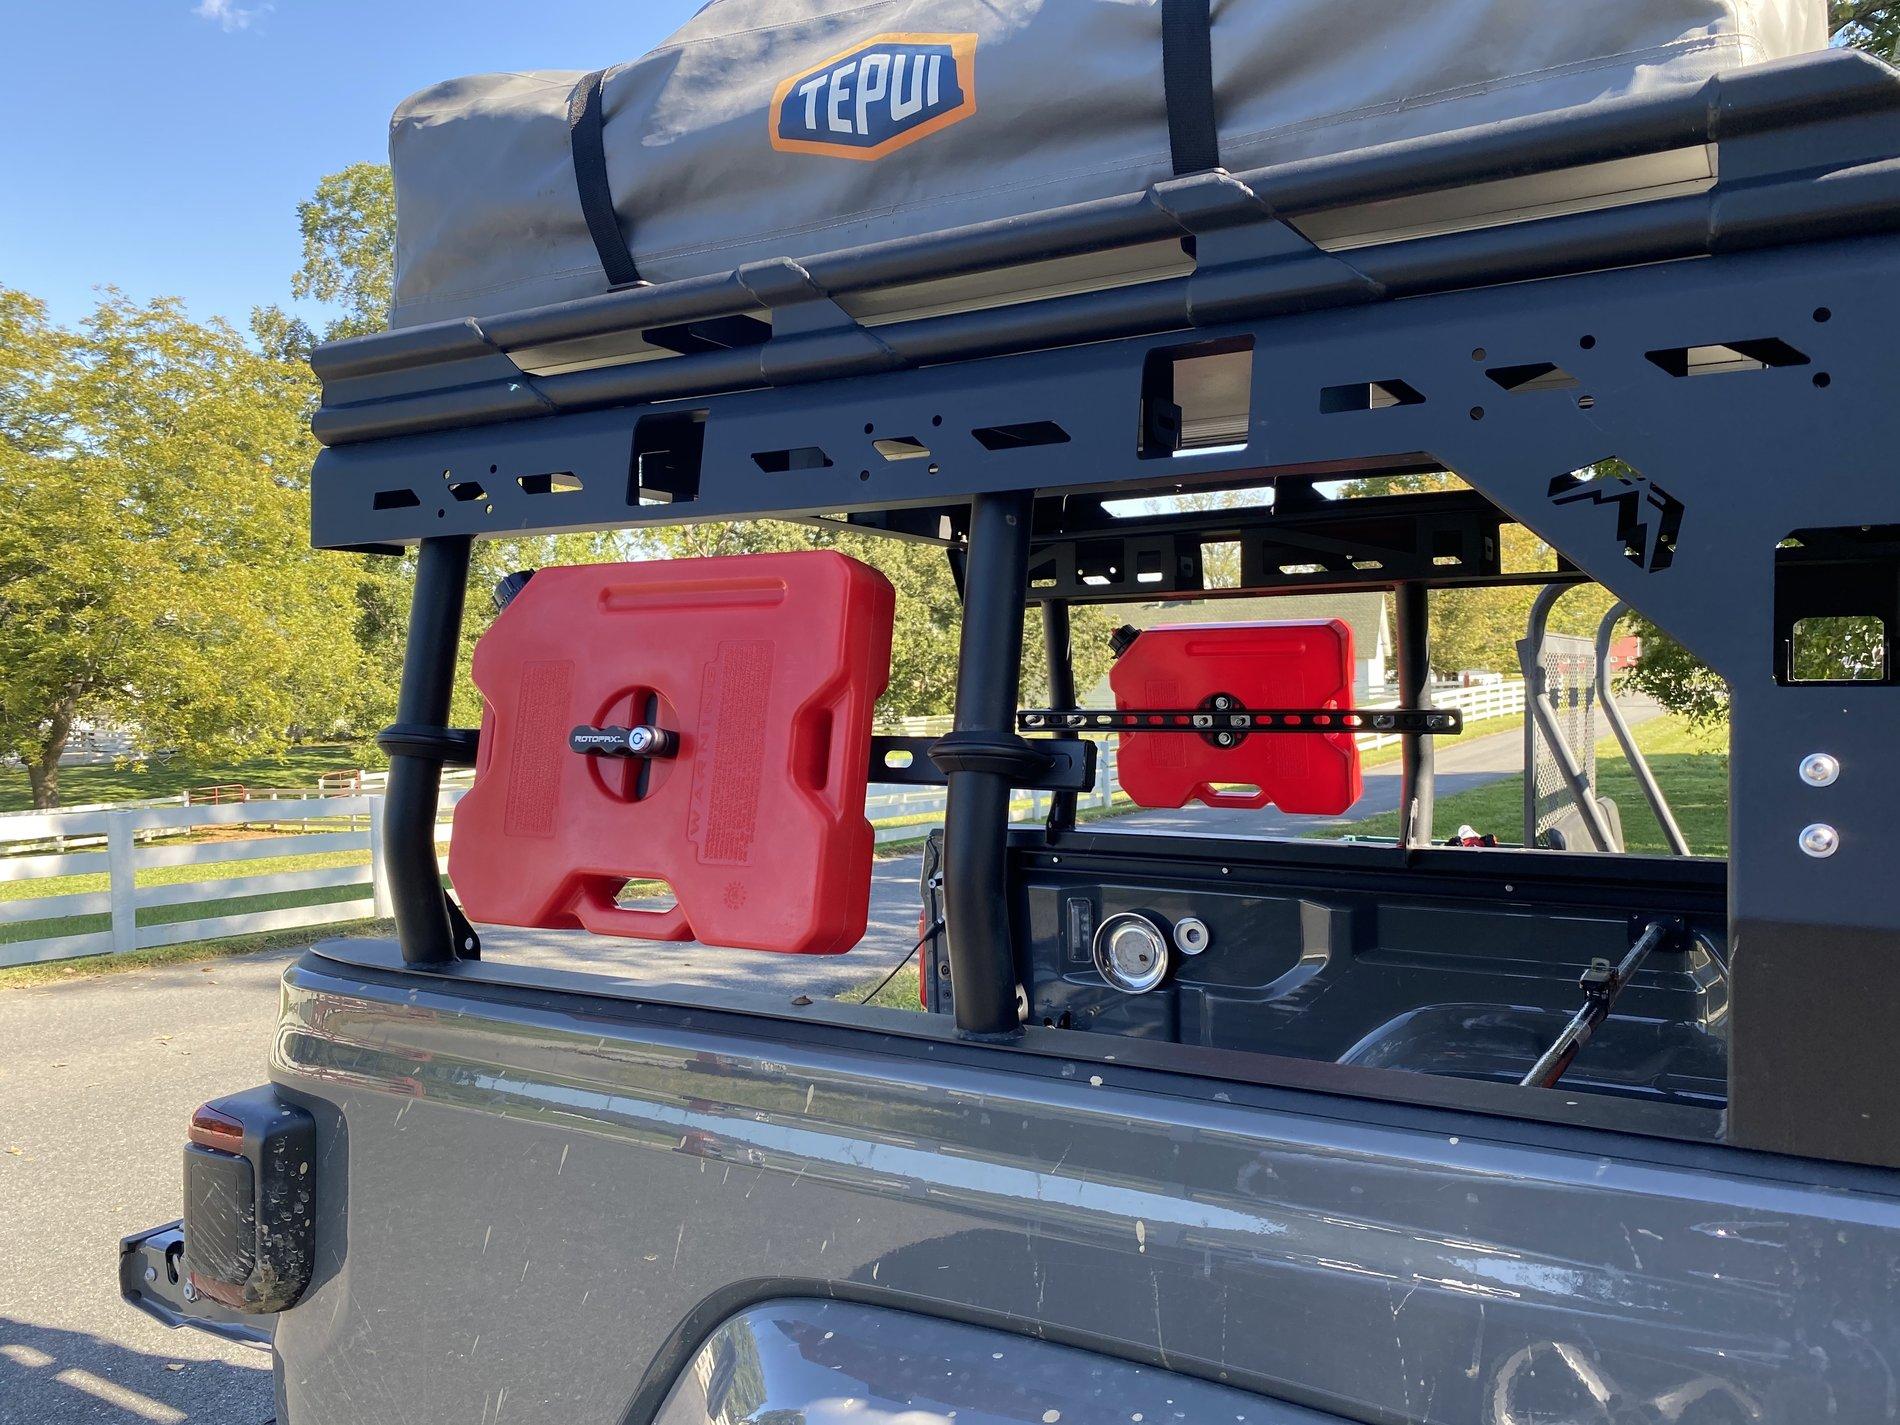
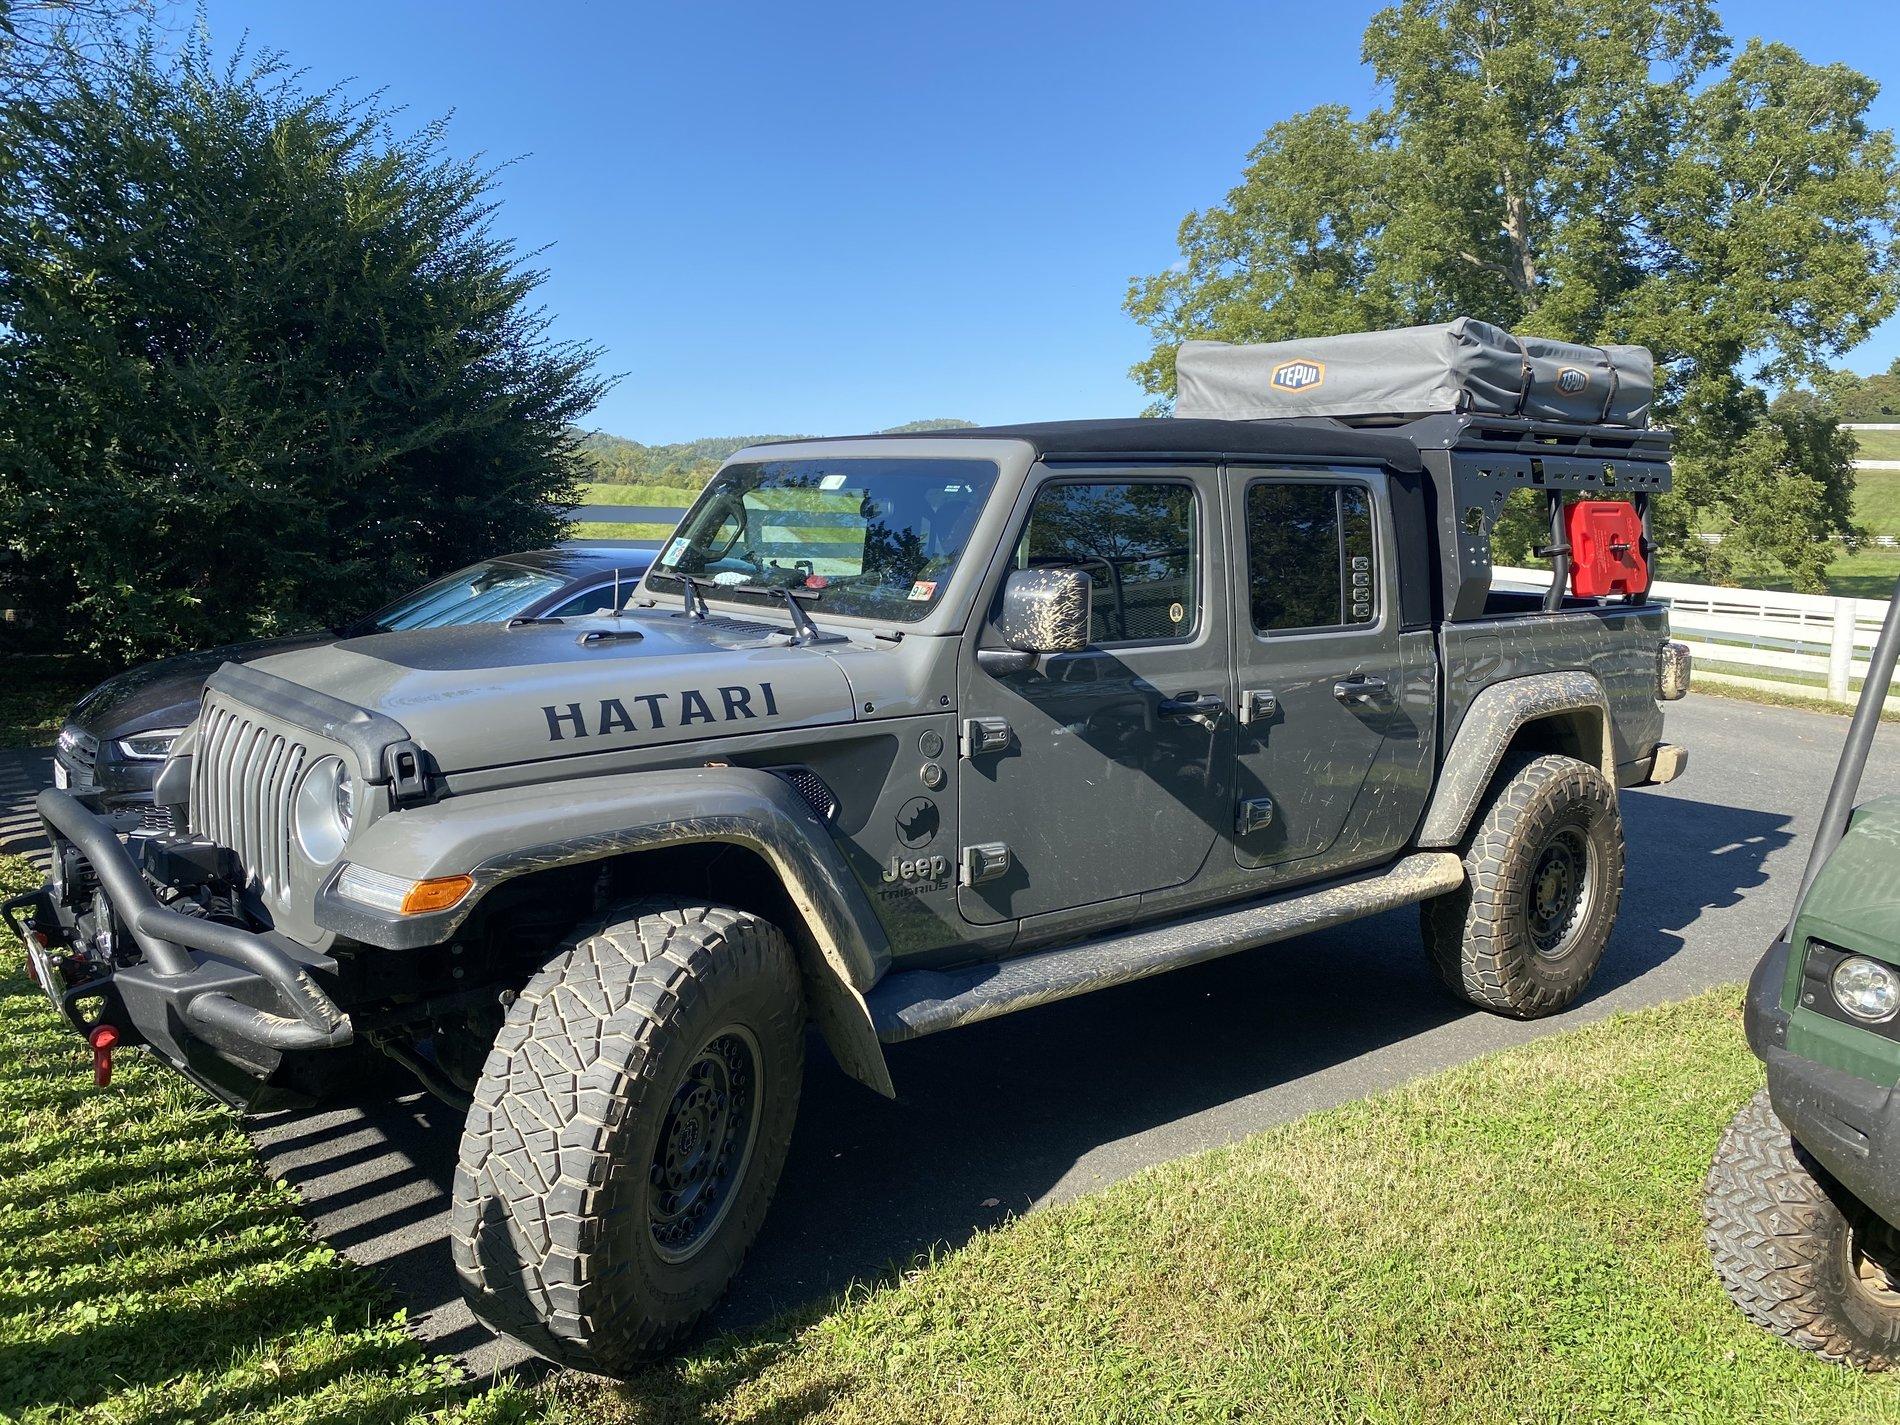
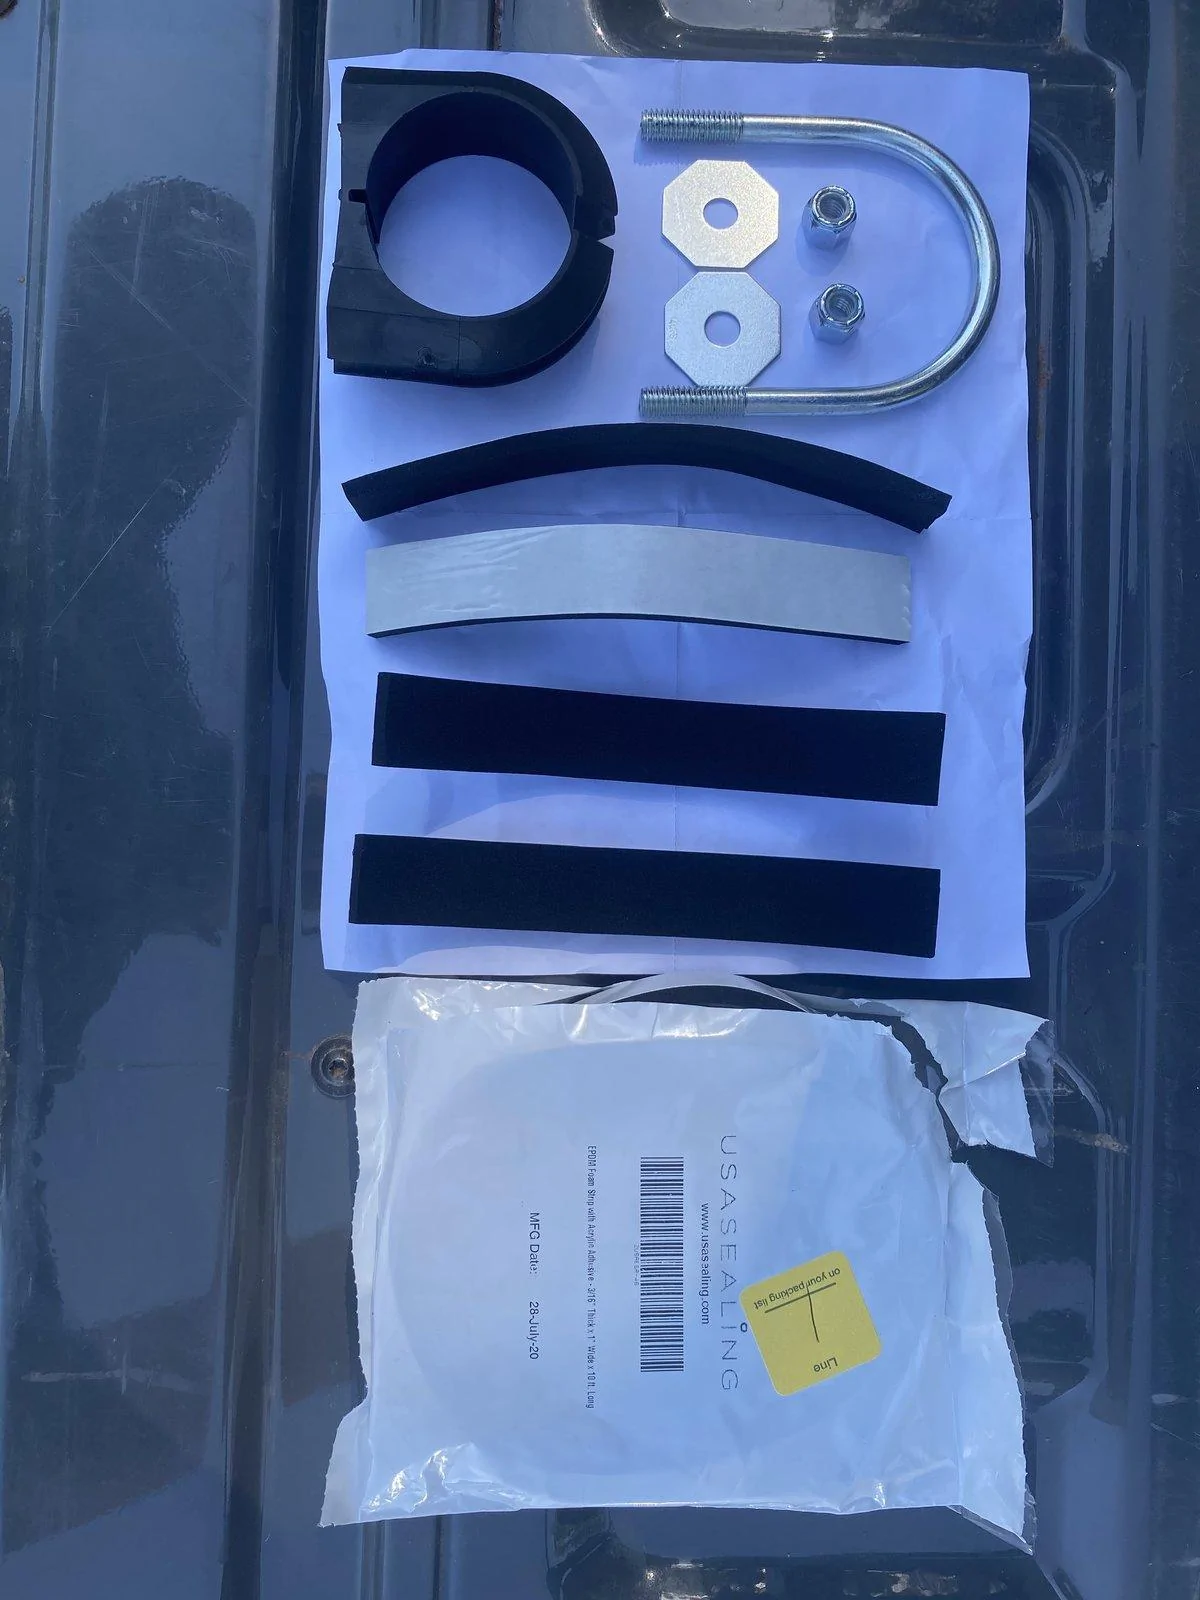
Meant to post this as well....
![Jeep Gladiator What did you do TO your Gladiator today? [ADMIN WARNING: NO POLITICS, NO GUN TALK] Screenshot_20201010-220842_Amazon Shopping](data:image/svg+xml;charset=utf-8,%3Csvg xmlns%3D'http%3A%2F%2Fwww.w3.org%2F2000%2Fsvg' width='779' height='1600' viewBox%3D'0 0 779 1600'%2F%3E)
![Jeep Gladiator What did you do TO your Gladiator today? [ADMIN WARNING: NO POLITICS, NO GUN TALK] Screenshot_20201010-220842_Amazon Shopping](https://cdn.jeepgladiatorforum.com/attachments/108/108774-cbd8ec8aff38a7f986626f731a479dd7.webp)
Sponsored
![Jeep Gladiator What did you do TO your Gladiator today? [ADMIN WARNING: NO POLITICS, NO GUN TALK] 20201010_140532](https://cdn.jeepgladiatorforum.com/attachments/108/108792-7e6be42eec9311a3adc9eb4e1cc4b4bd.jpg)
![Jeep Gladiator What did you do TO your Gladiator today? [ADMIN WARNING: NO POLITICS, NO GUN TALK] 01CDA033-C5C3-47BC-91CF-F50C1BD5293A](https://cdn.jeepgladiatorforum.com/attachments/108/108836-cc04a72ce4245713388b7939beaa76df.webp)
![Jeep Gladiator What did you do TO your Gladiator today? [ADMIN WARNING: NO POLITICS, NO GUN TALK] CF063E98-3150-4986-B7F7-D610E13321AC](https://cdn.jeepgladiatorforum.com/attachments/108/108837-88745309986770a5810a569a8d15b268.webp)
![Jeep Gladiator What did you do TO your Gladiator today? [ADMIN WARNING: NO POLITICS, NO GUN TALK] 20201009_140053](https://cdn.jeepgladiatorforum.com/attachments/108/108853-1184366b268db820c9b077cda16b2631.webp)
![Jeep Gladiator What did you do TO your Gladiator today? [ADMIN WARNING: NO POLITICS, NO GUN TALK] 20201010_094217](https://cdn.jeepgladiatorforum.com/attachments/108/108854-eb39e84cfb8fd0de76073b4d3434d195.jpg)
