Sponsored
OP
OP
Flyin6
Well-Known Member
- Thread starter
- #950
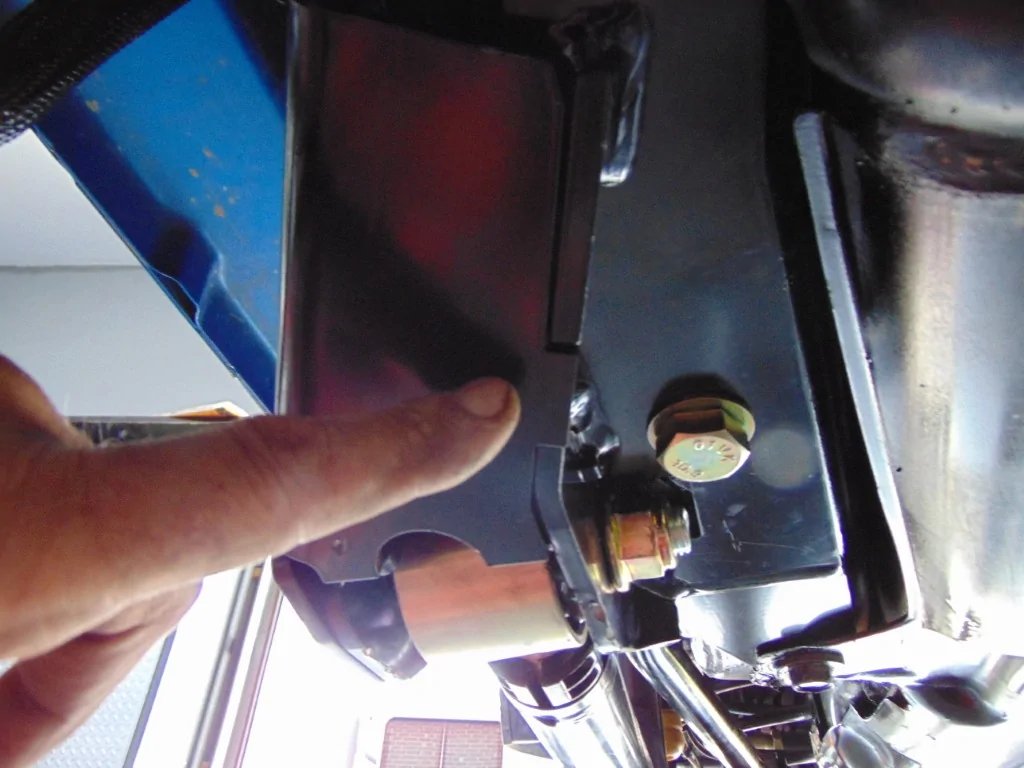
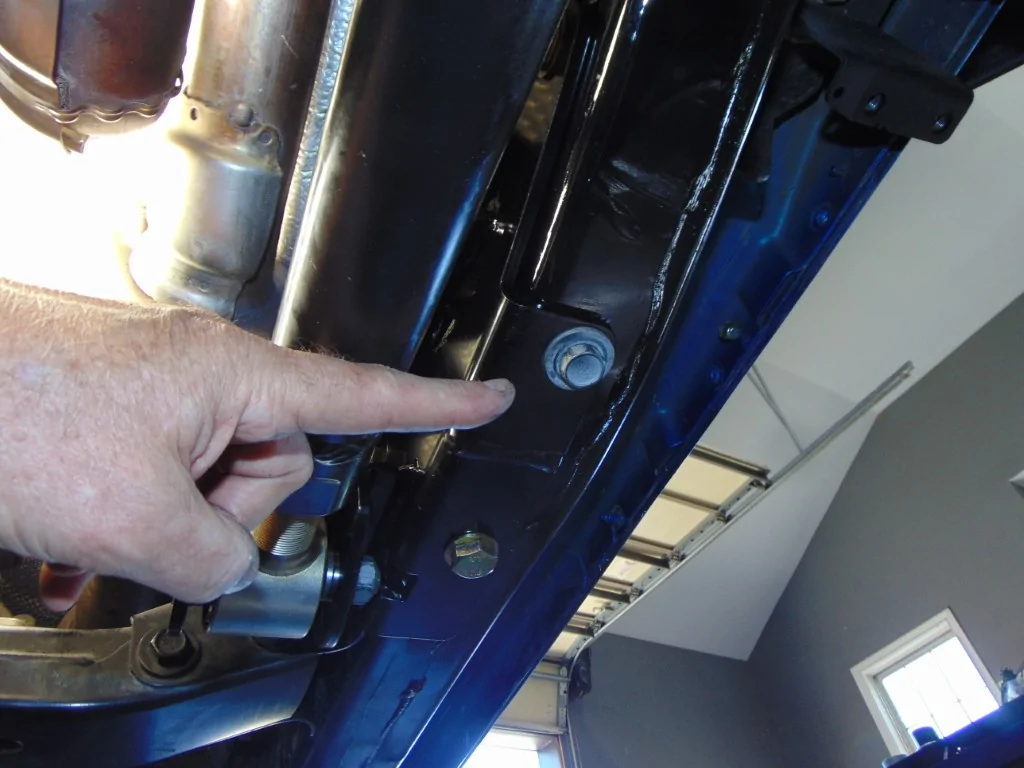
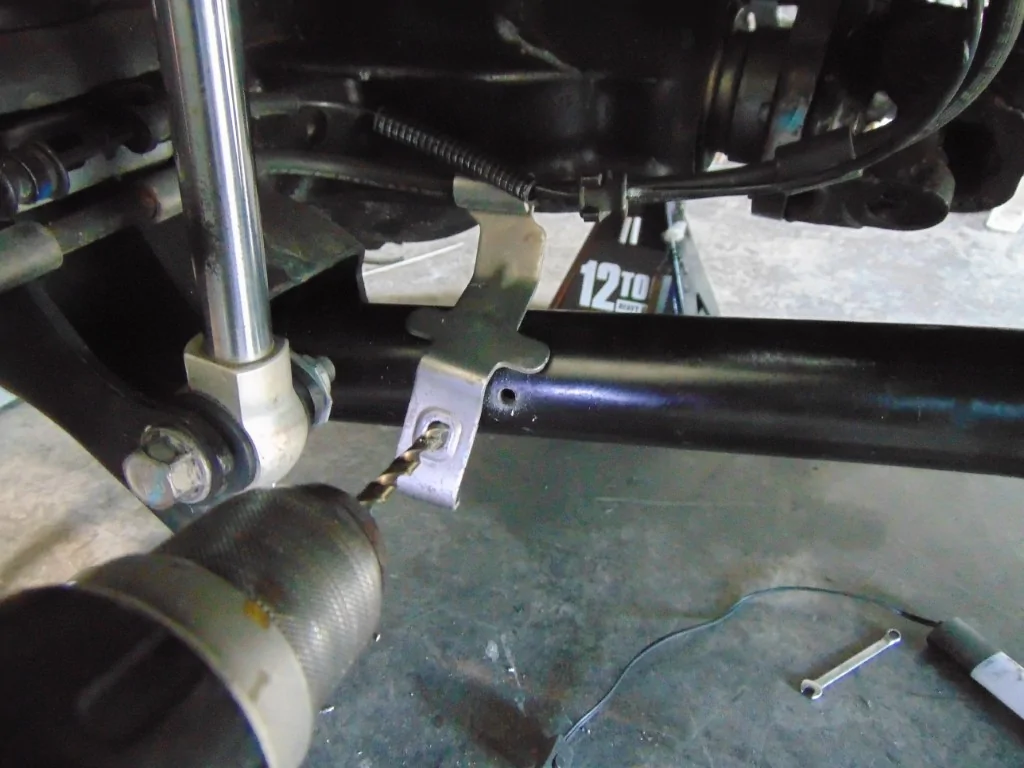
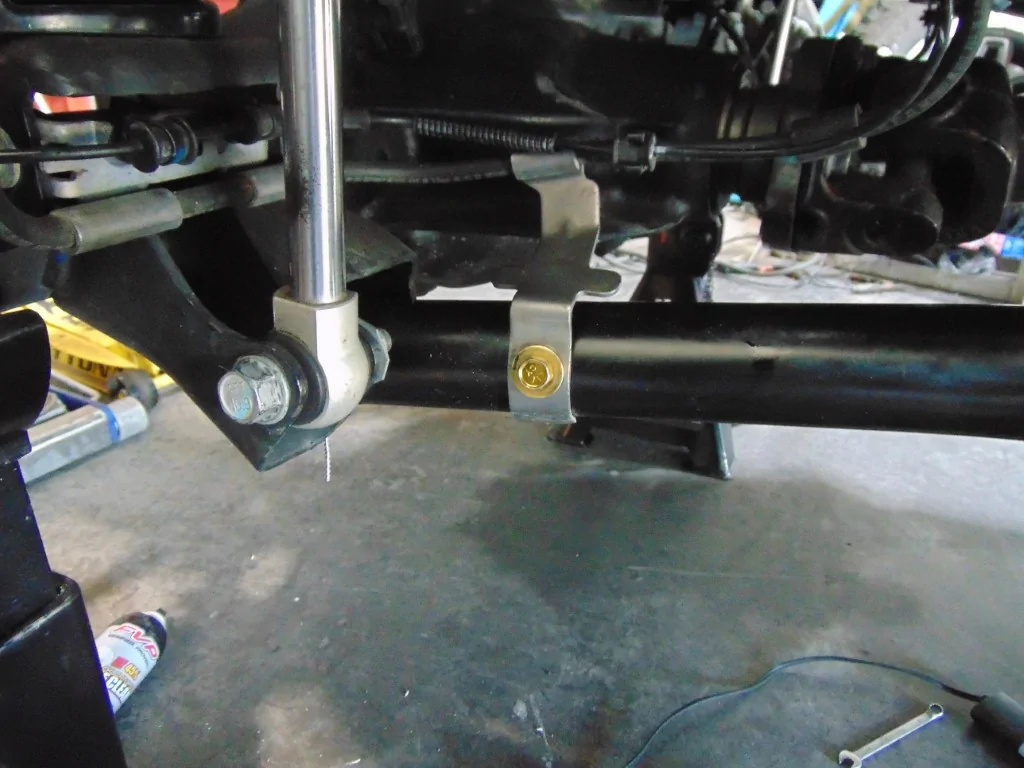
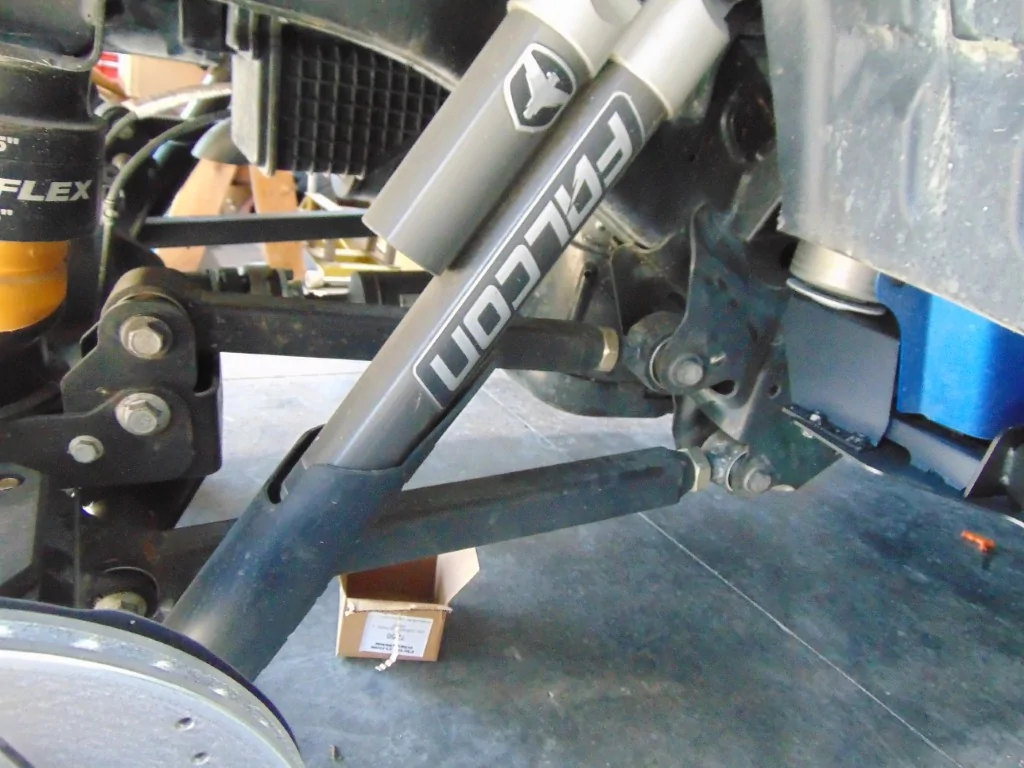
Before leaving the front, during my final inspection, I noticed the brake lines weren't secured.
Clayton and the factory have them bolted to the actual control arm via a bracket.
I decided to drill and tap a hole to restore it to the factory-intended design.
I like how that turned out.

Clayton and the factory have them bolted to the actual control arm via a bracket.
I decided to drill and tap a hole to restore it to the factory-intended design.
I like how that turned out.
Sponsored

Sponsored
OP
OP
Flyin6
Well-Known Member
- Thread starter
- #956
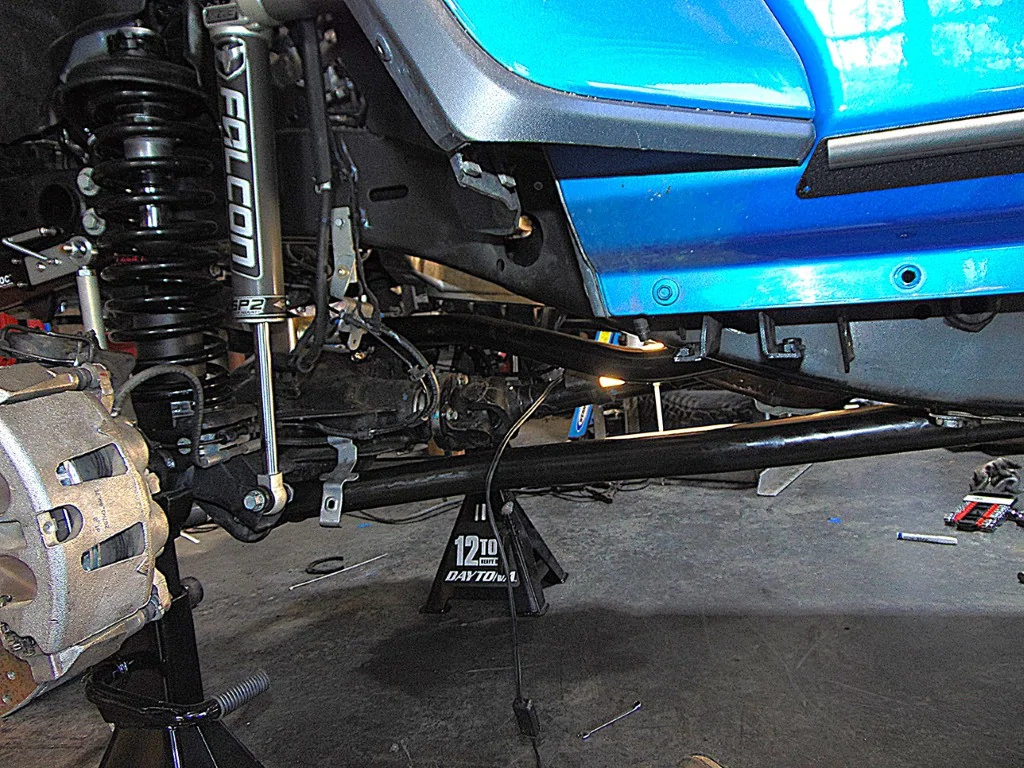
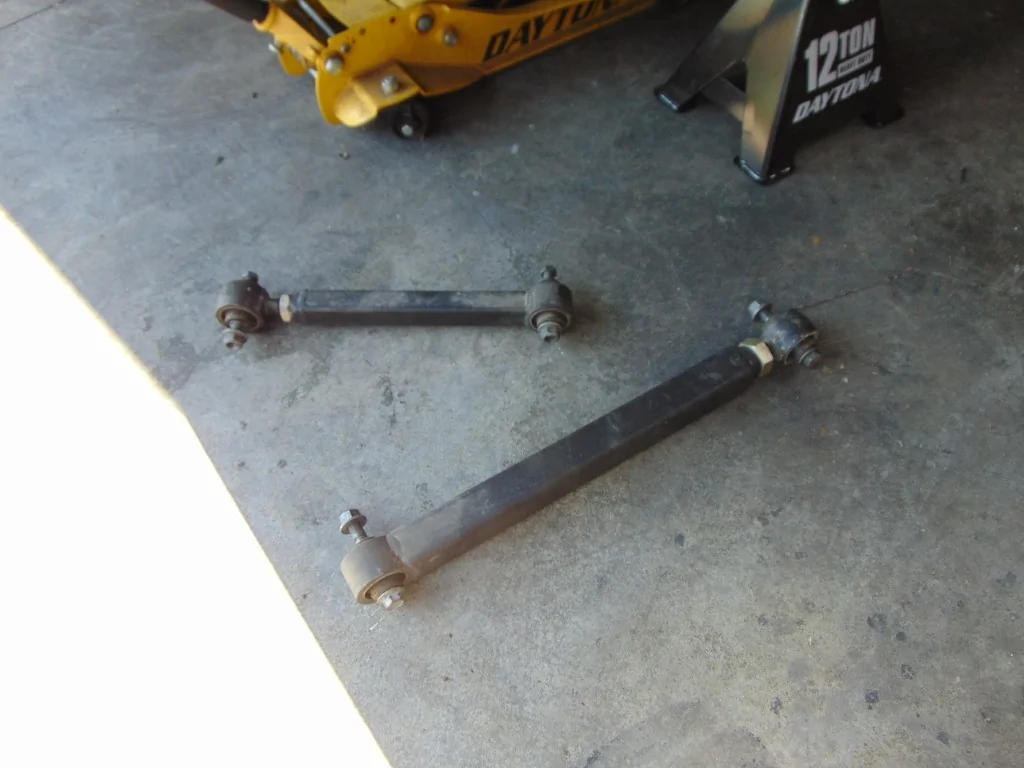
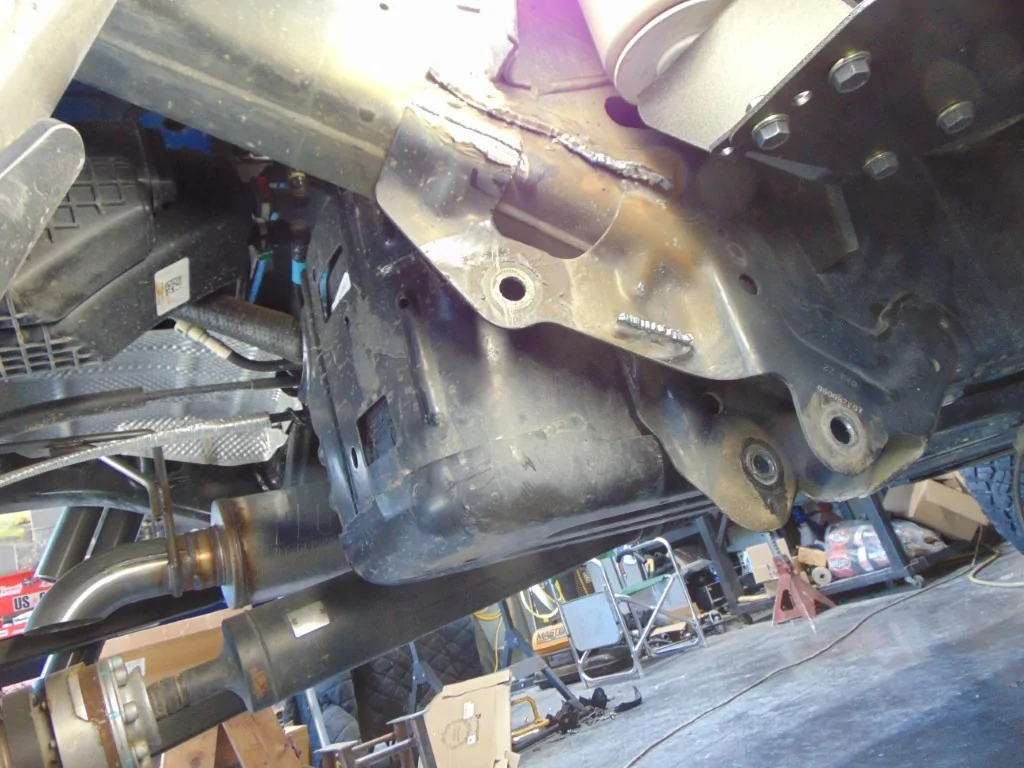
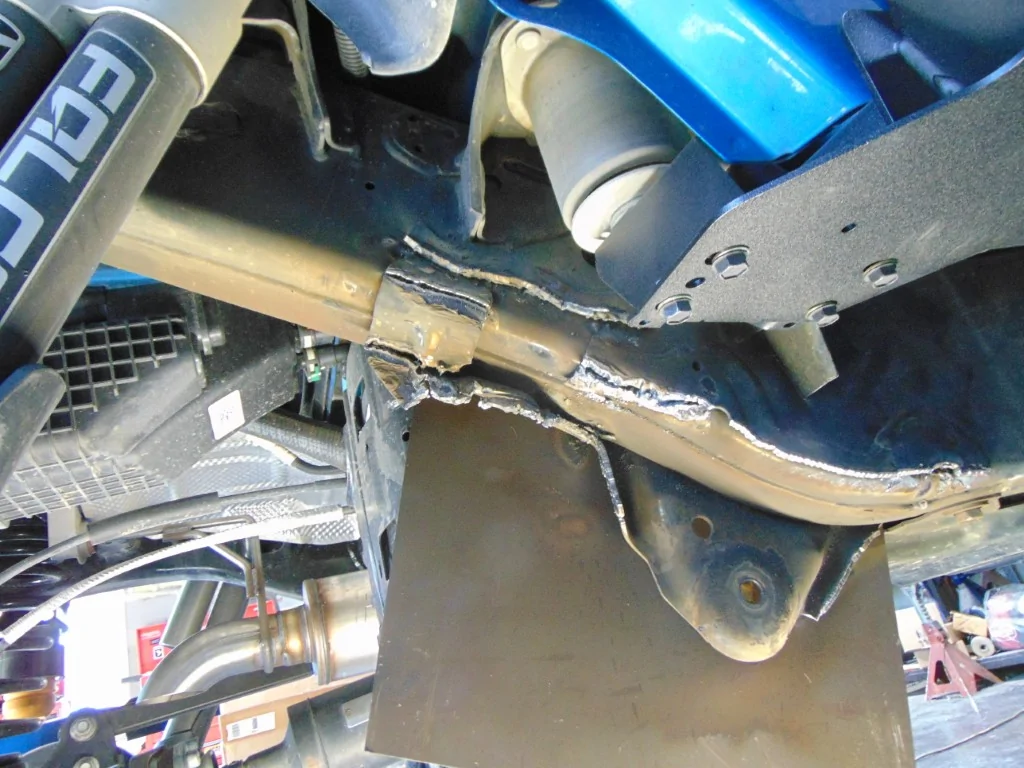
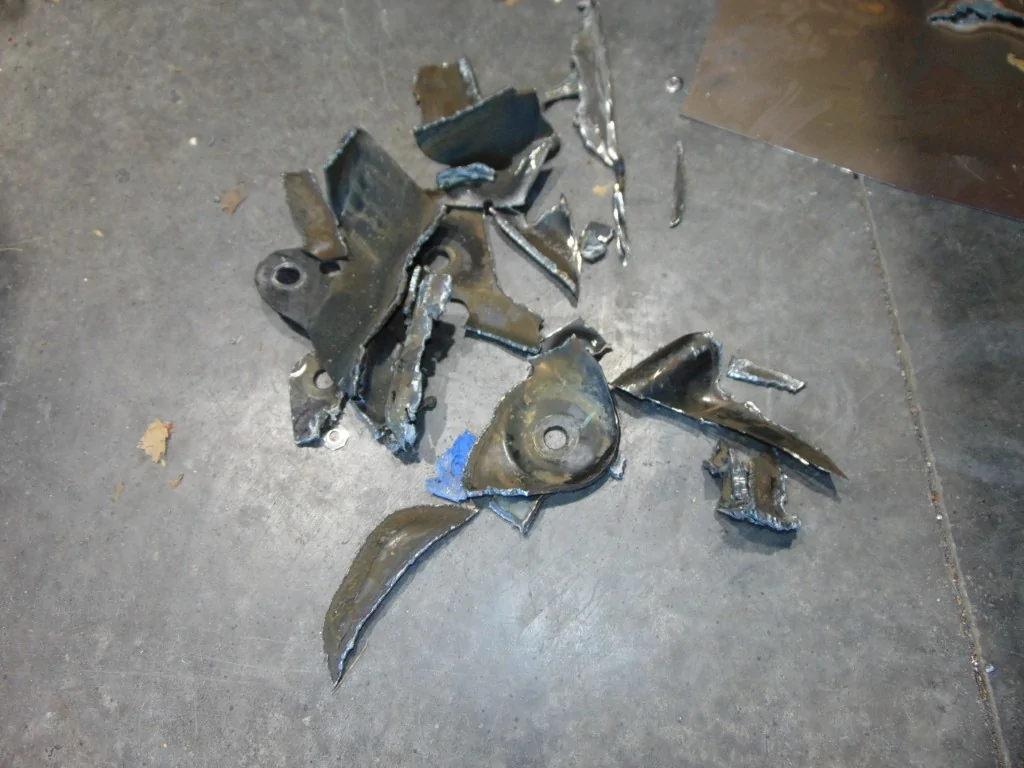
Just look at this pile of scrap metal that used to be a part of my Jeep!
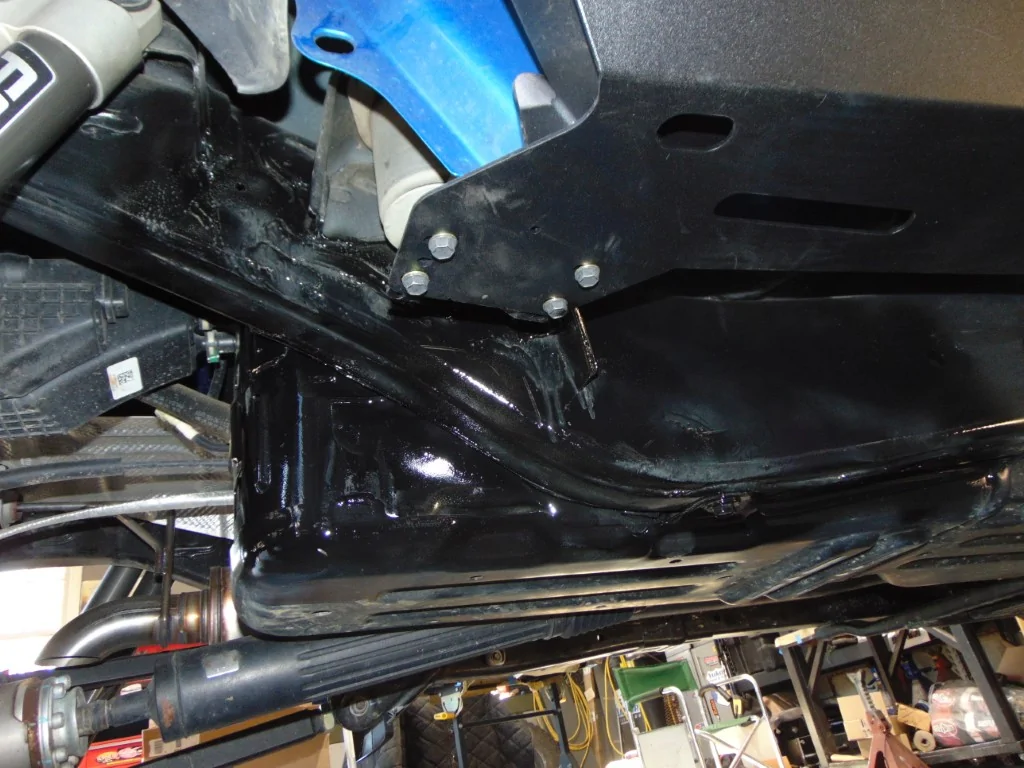
I'd like to make one long cut and remove the bracket. But the better method is to take off a piece at a time, which frees up access to make deeper cuts. With all this being 1/2" from a full gas tank, the pucker factor was quite high.
I'd like to make one long cut and remove the bracket. But the better method is to take off a piece at a time, which frees up access to make deeper cuts. With all this being 1/2" from a full gas tank, the pucker factor was quite high.
OP
OP
Flyin6
Well-Known Member
- Thread starter
- #957
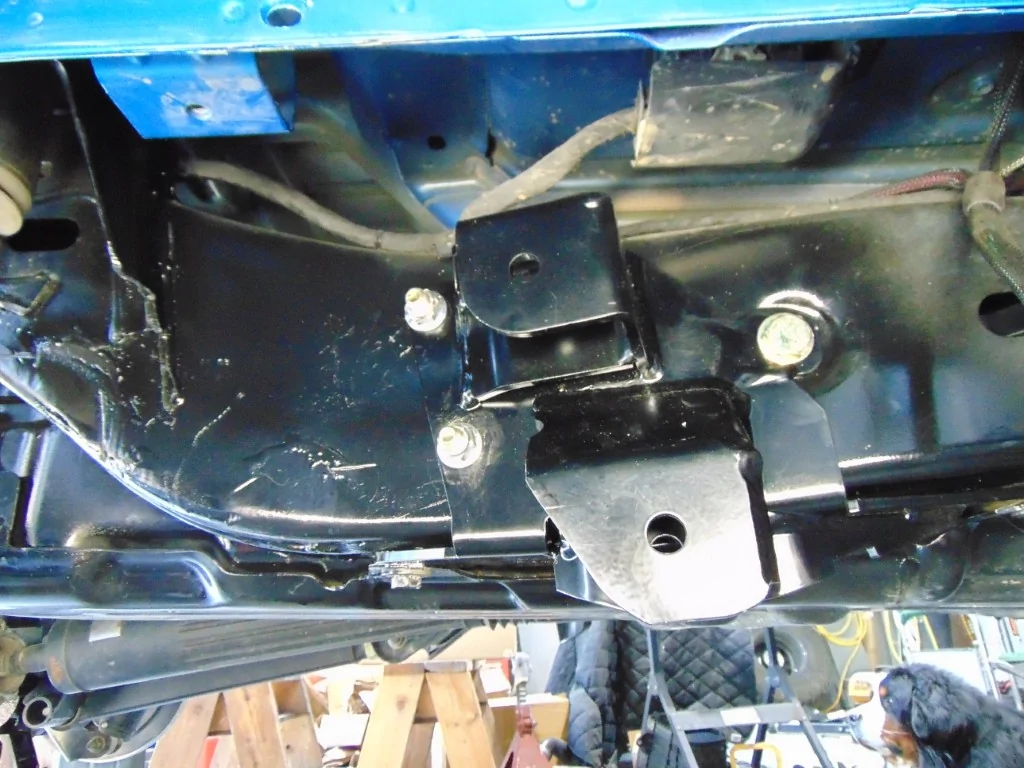
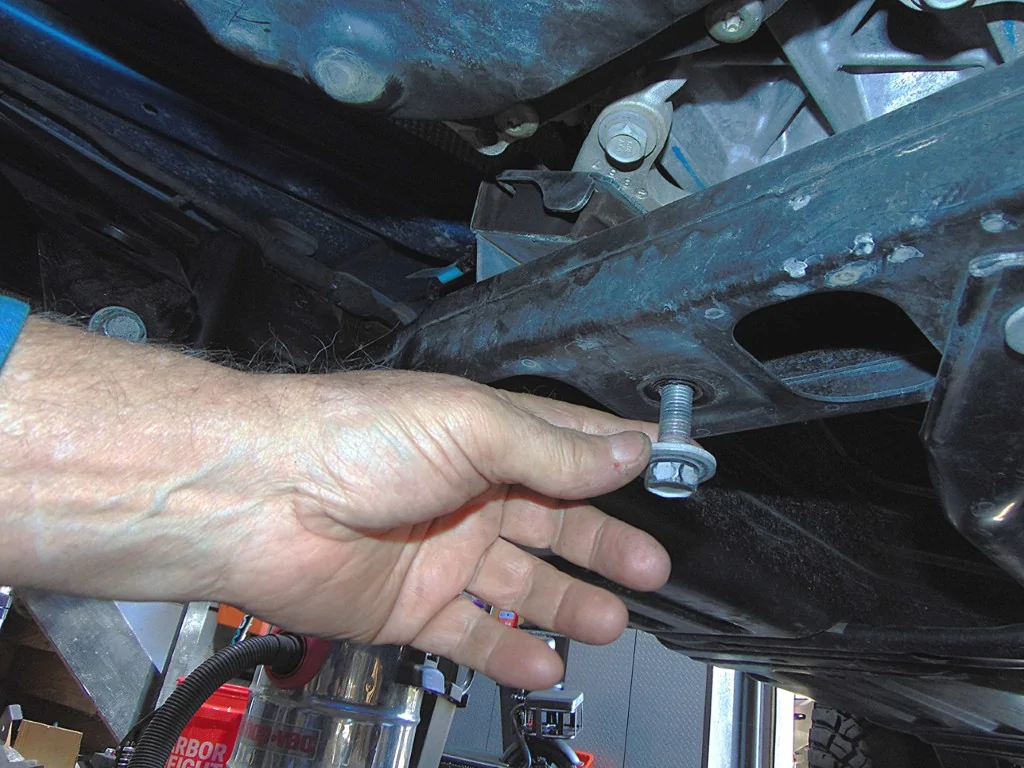
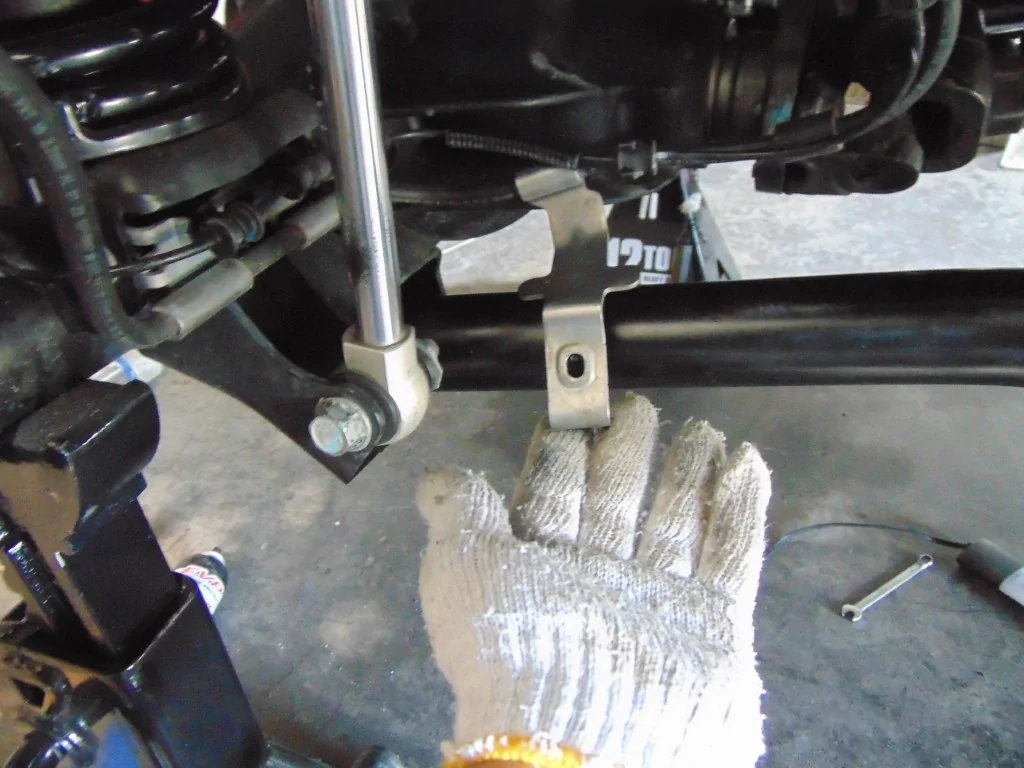
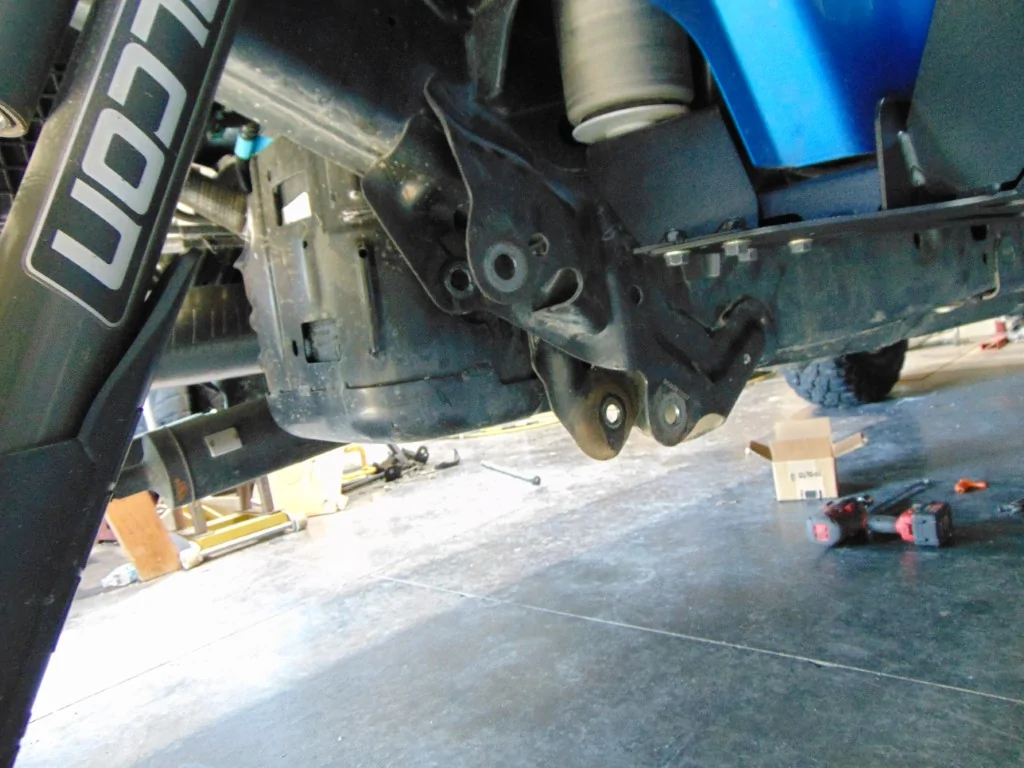
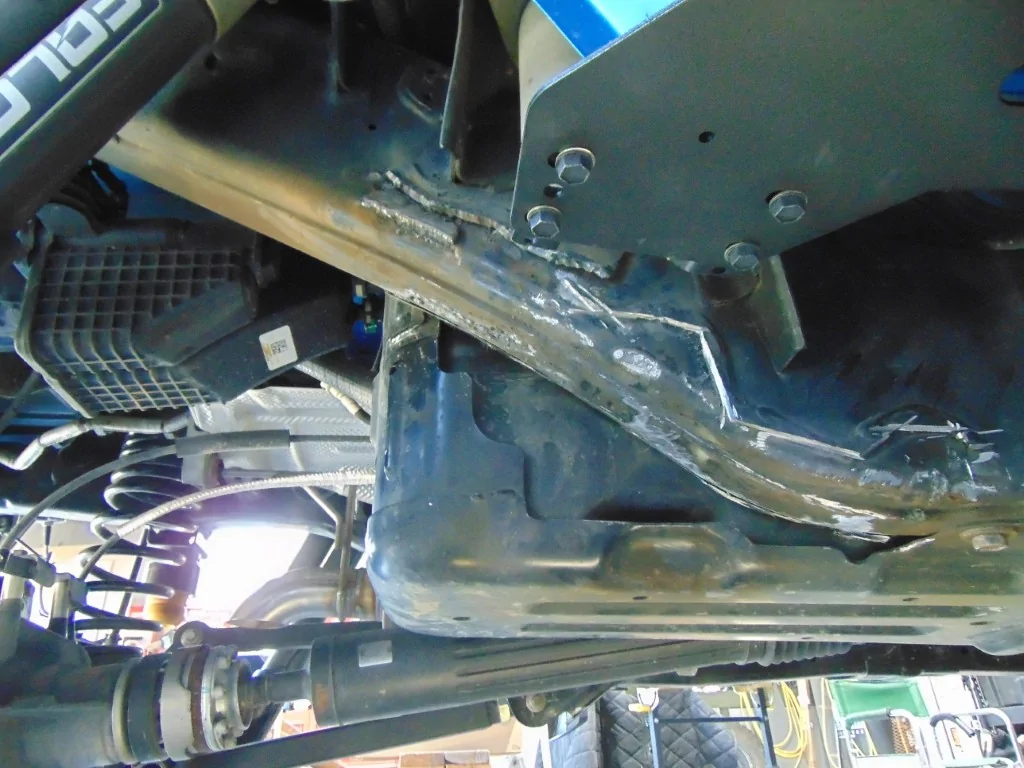
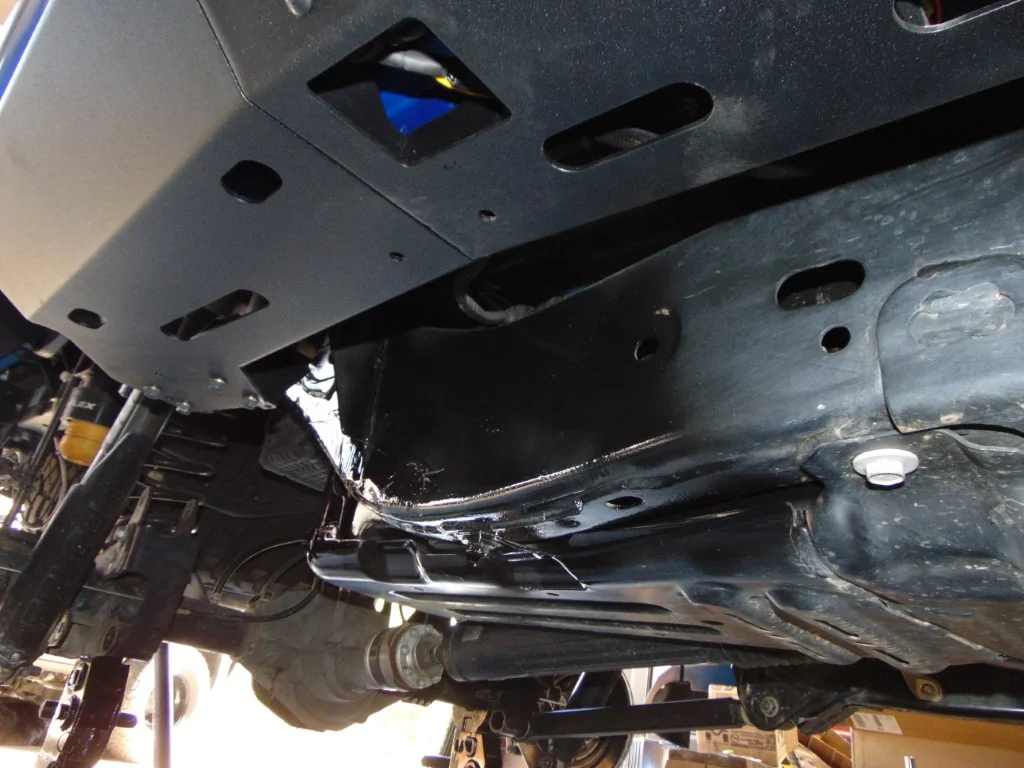
The passenger rear bracket required me to remove the other rock slider to drill one hole...Bummer
But drill that hole I did!
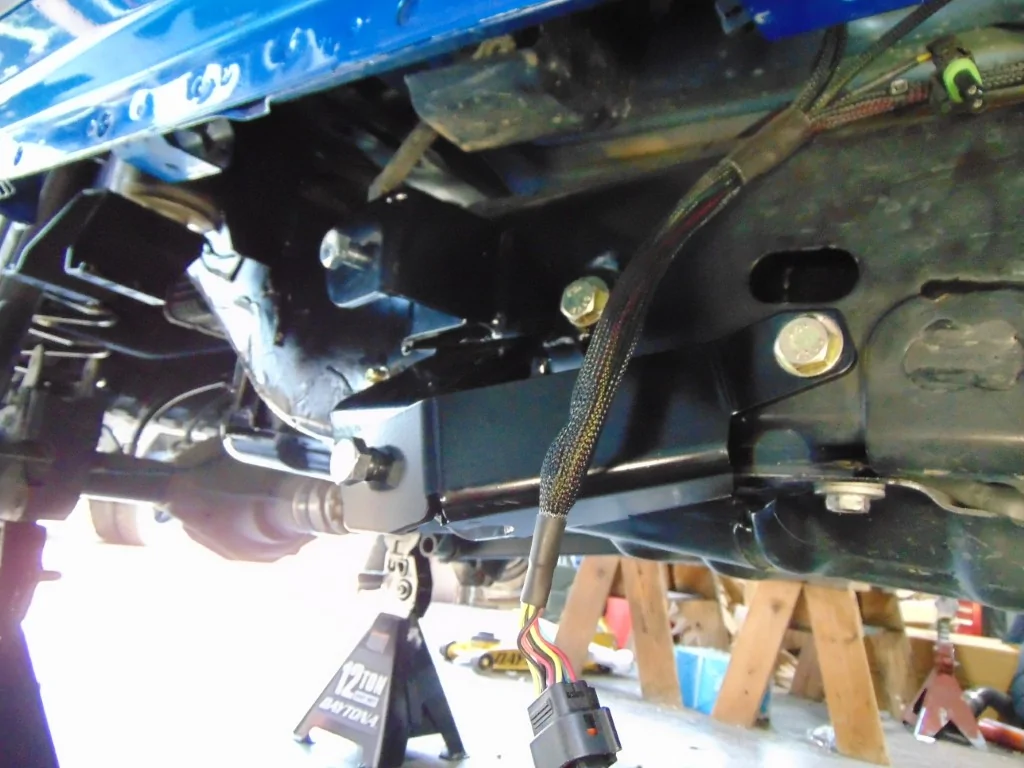
There is a bunch of hardware securing the aft brackets. Most of it needs to be fished from inside the frame from a slot nearly a foot away!
But drill that hole I did!
There is a bunch of hardware securing the aft brackets. Most of it needs to be fished from inside the frame from a slot nearly a foot away!
OP
OP
Flyin6
Well-Known Member
- Thread starter
- #958
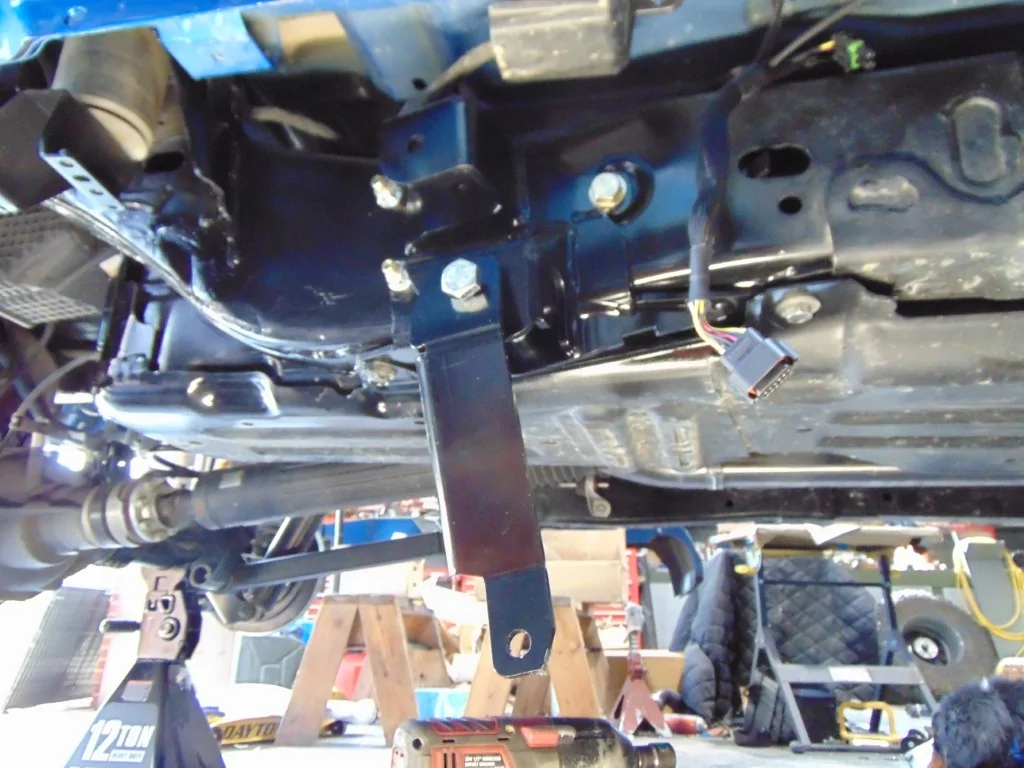
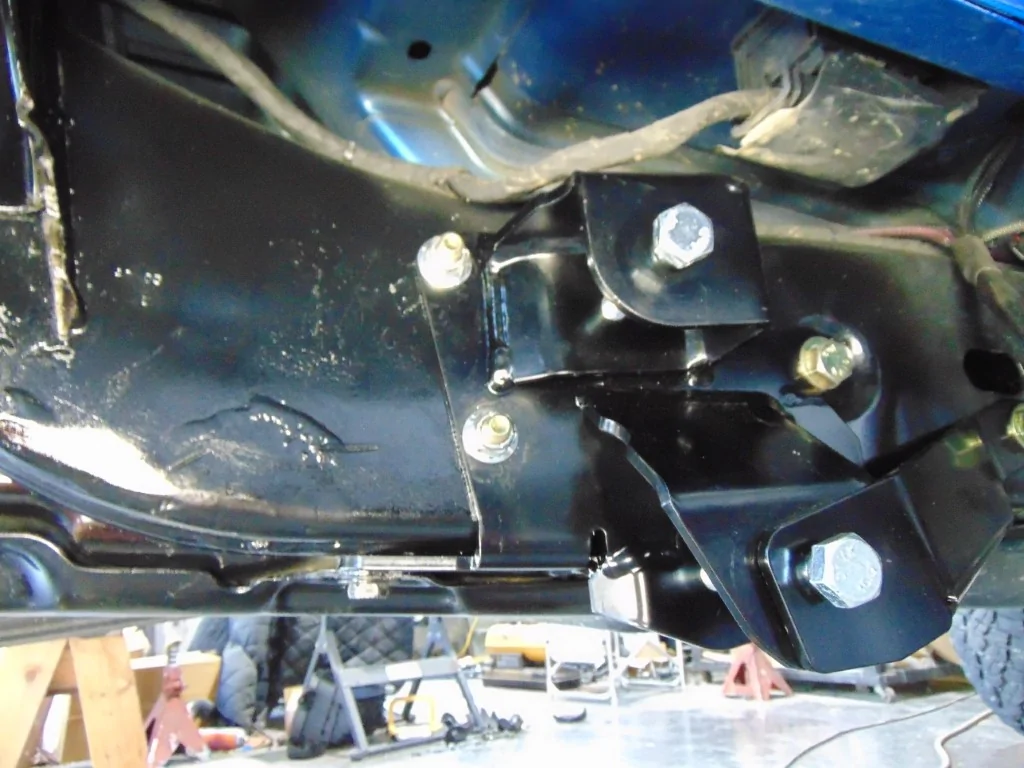
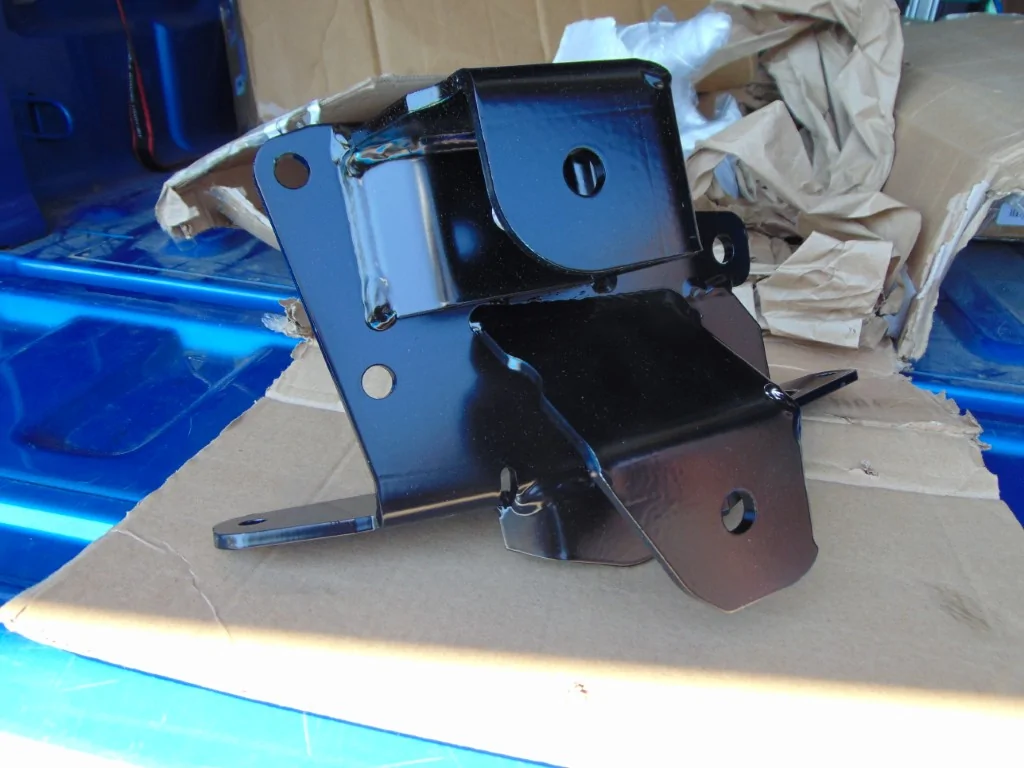
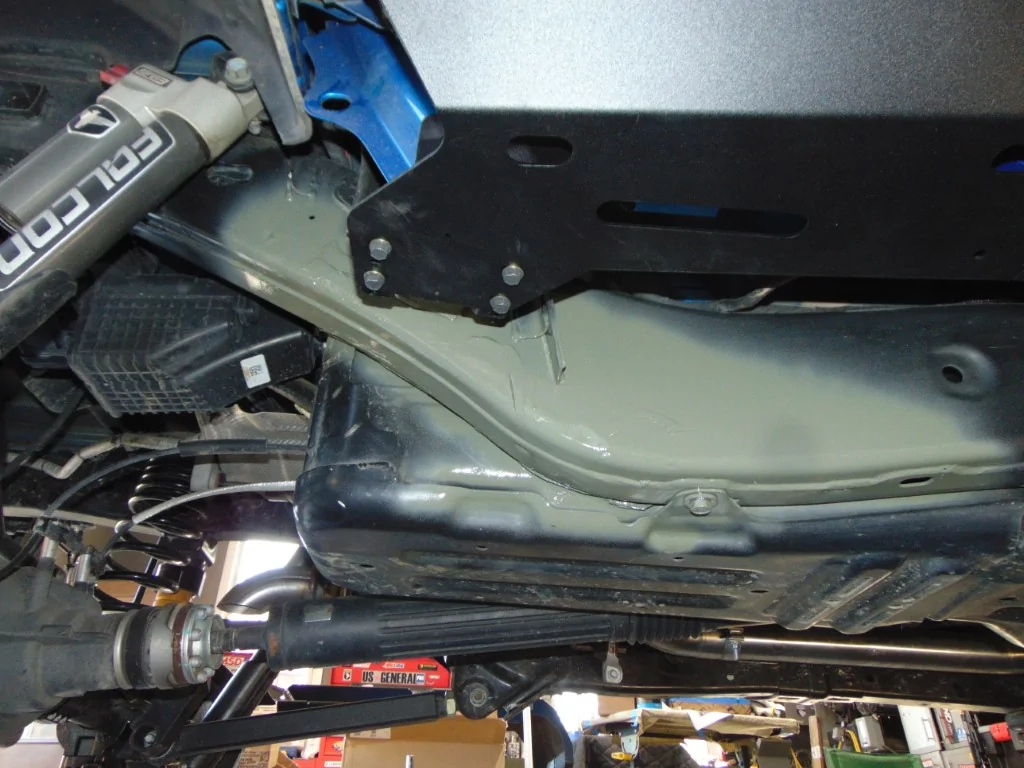
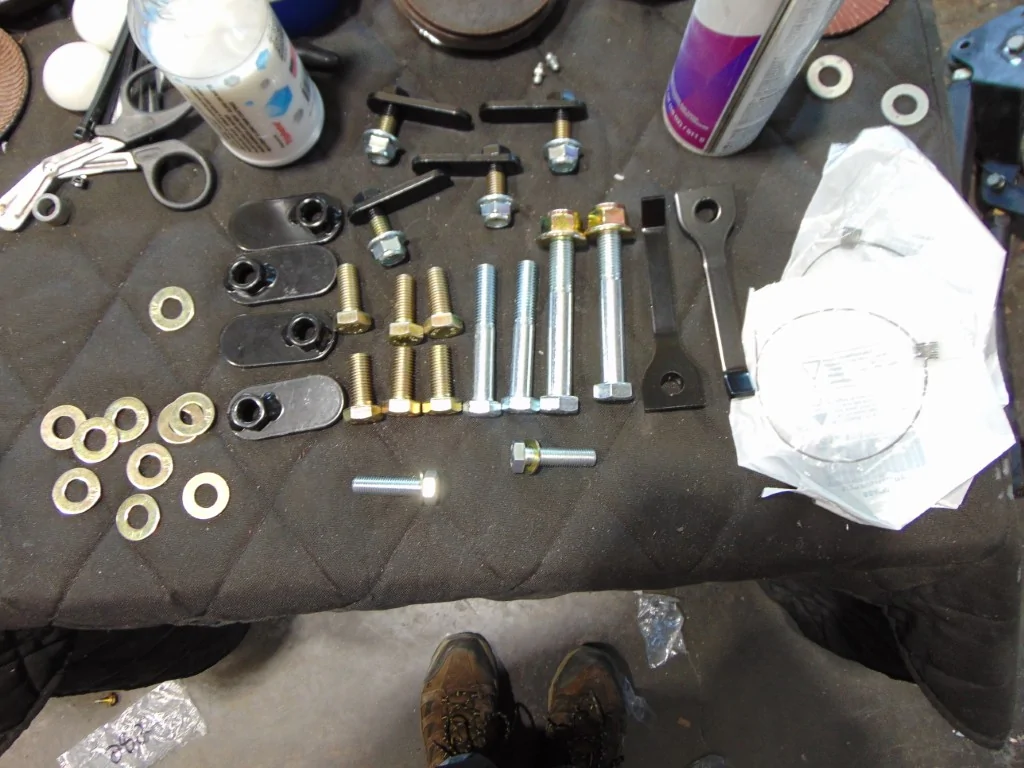
Iron Rock supplied an ingenious "fish wire" which screws onto the threaded end of a stud. You then "fish" the other end from a nearby opening to the hole you need. Then you simply pull the stud through and attach the nut.
Having done that several times, the first rear bracket was securely mounted.
Having done that several times, the first rear bracket was securely mounted.