Sponsored

A new hope ... (build journal and component reviews)

OP
OP
cug

cug

Well-Known Member
First Name
Guido
Joined
Apr 1, 2023
Threads
13
Messages
602
Reaction score
664
Location
Christchurch, New Zealand
Vehicle(s)
JTR EcoDiesel, Land Cruiser 79, BMW R1250GS
Build Thread
Link
Occupation
Just keeping busy
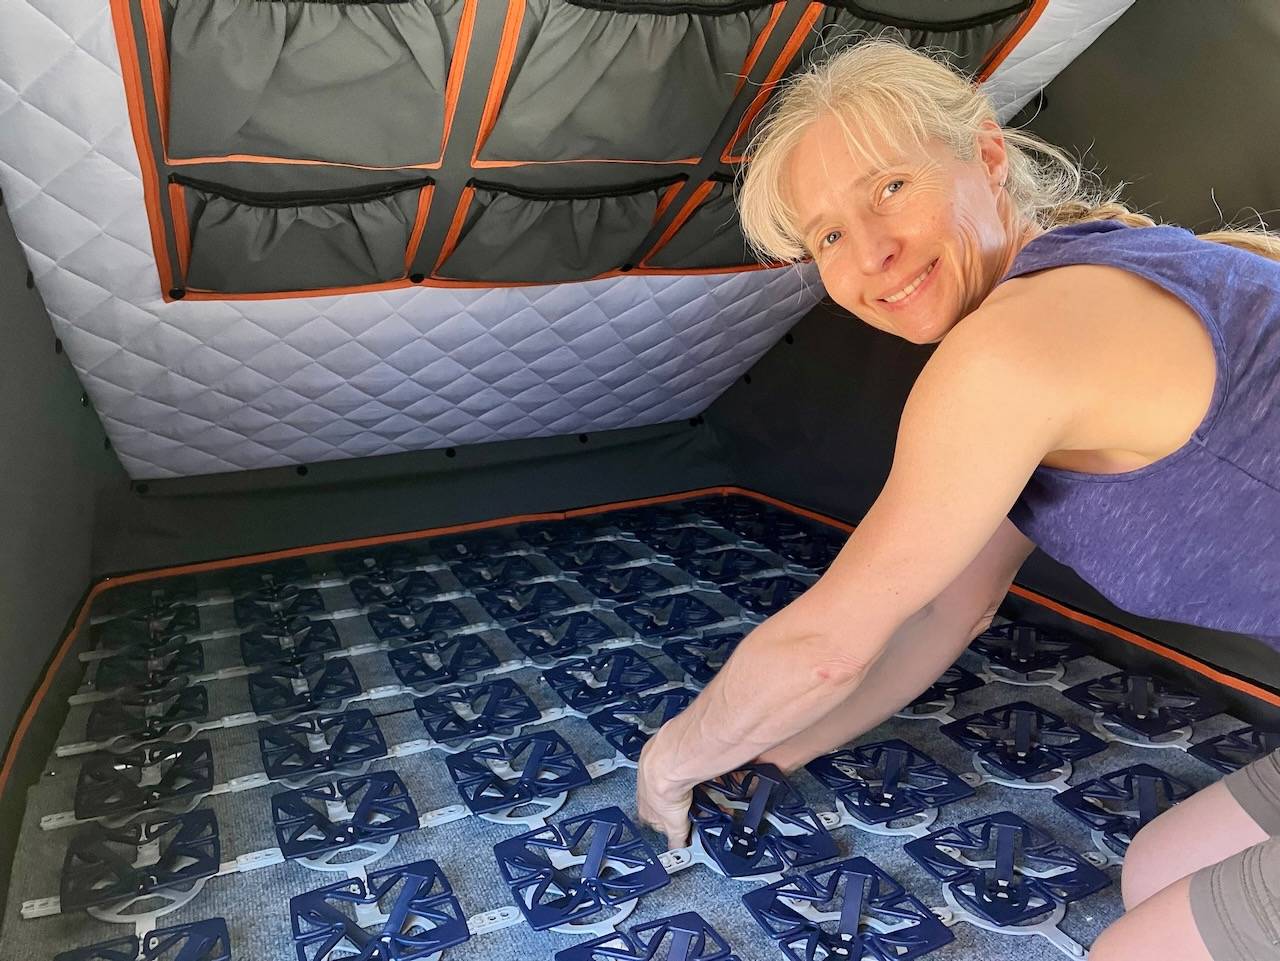
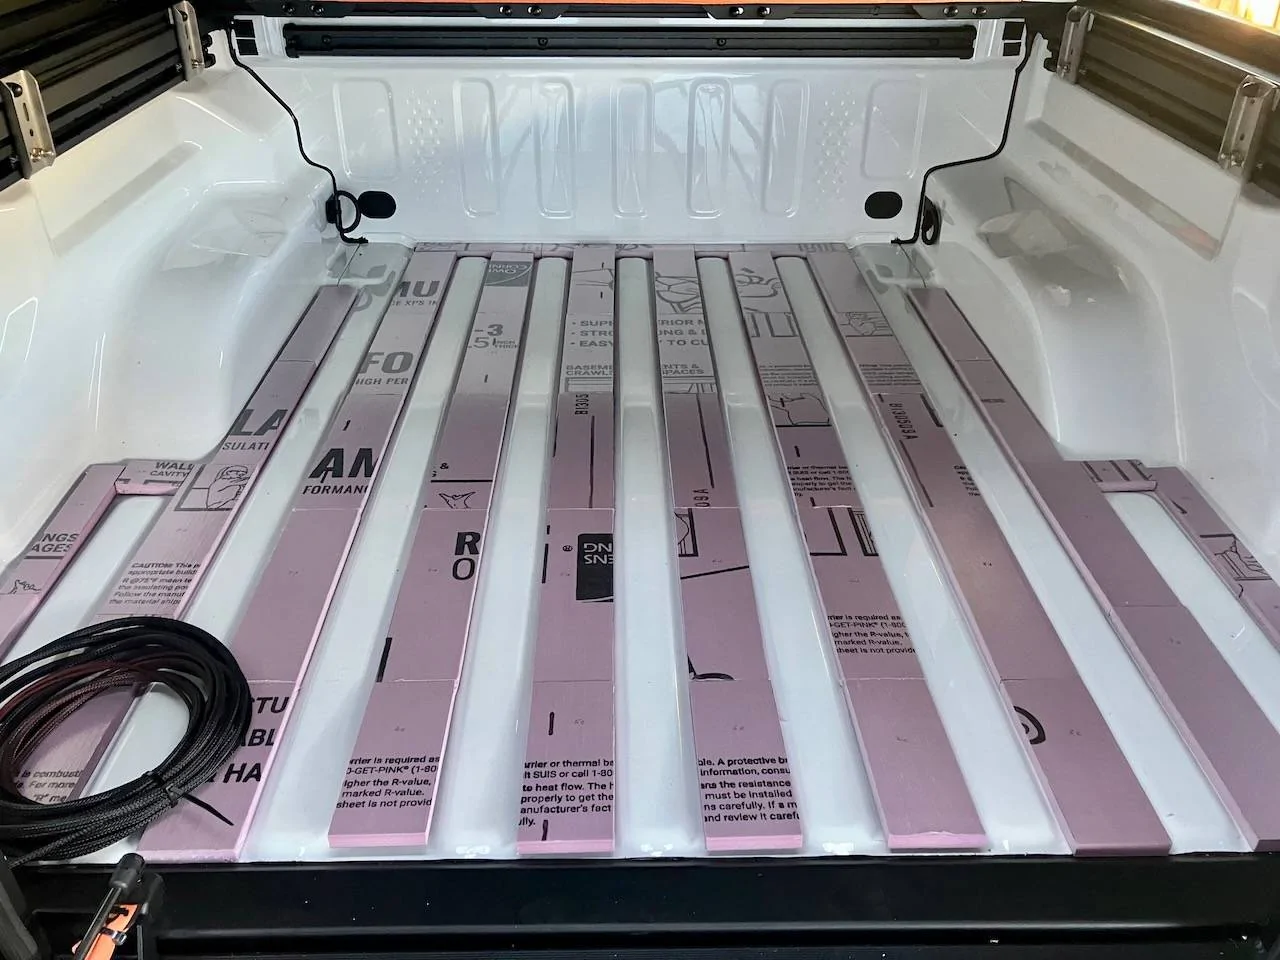
So, Froli ordered, will not go camping again before that arrives.

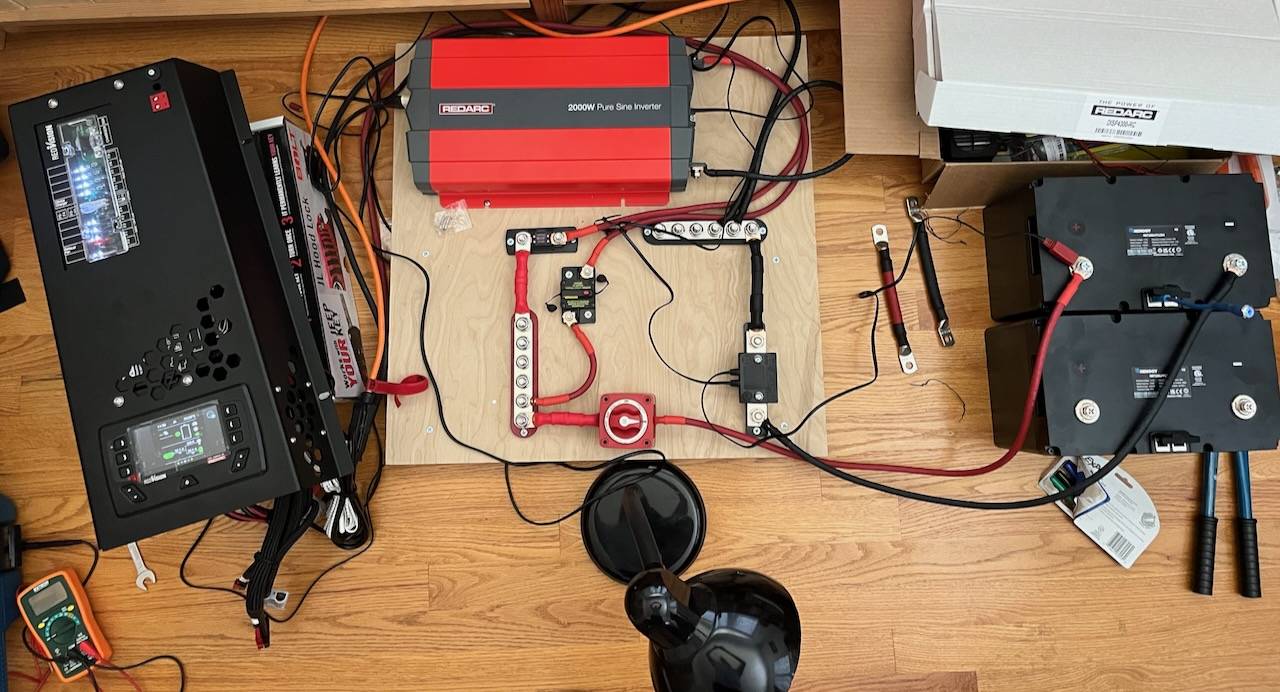
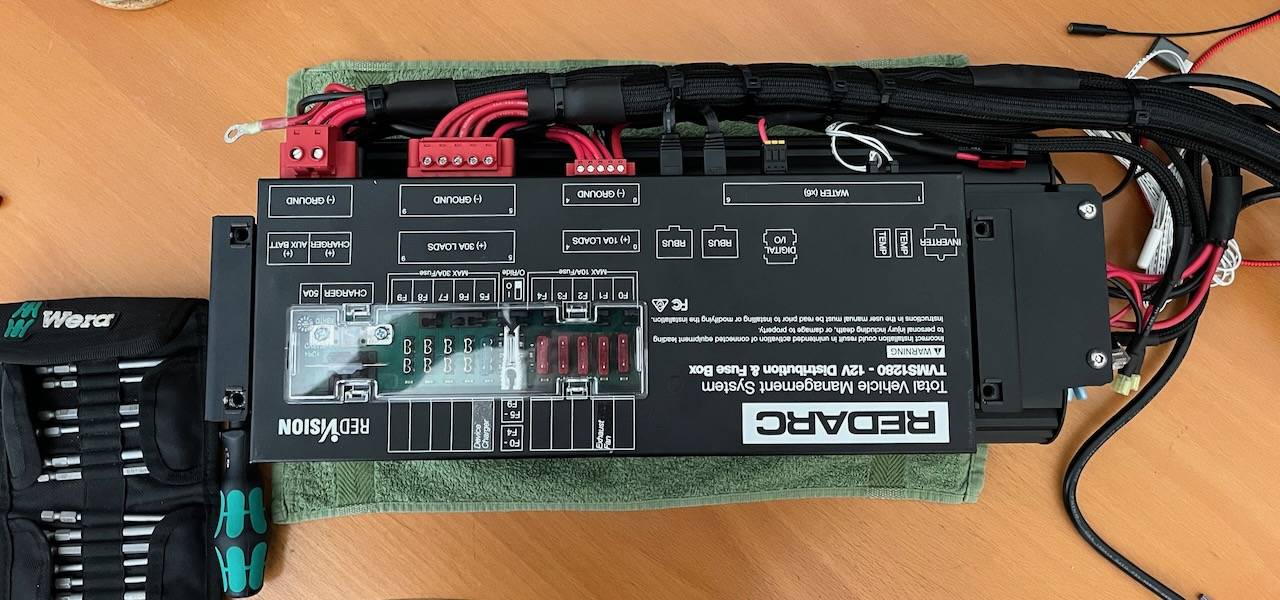
Also changed my plan on how to arrange the electrical components after sitting in the cabin with some of the parts, the batteries, etc. and just moving stuff around. If all goes well, it will be a fairly compact unit of batteries, inverter, secondary charger, and power distribution in the driver side front corner. Then some wiring to the back where the GP Factor panel sits.

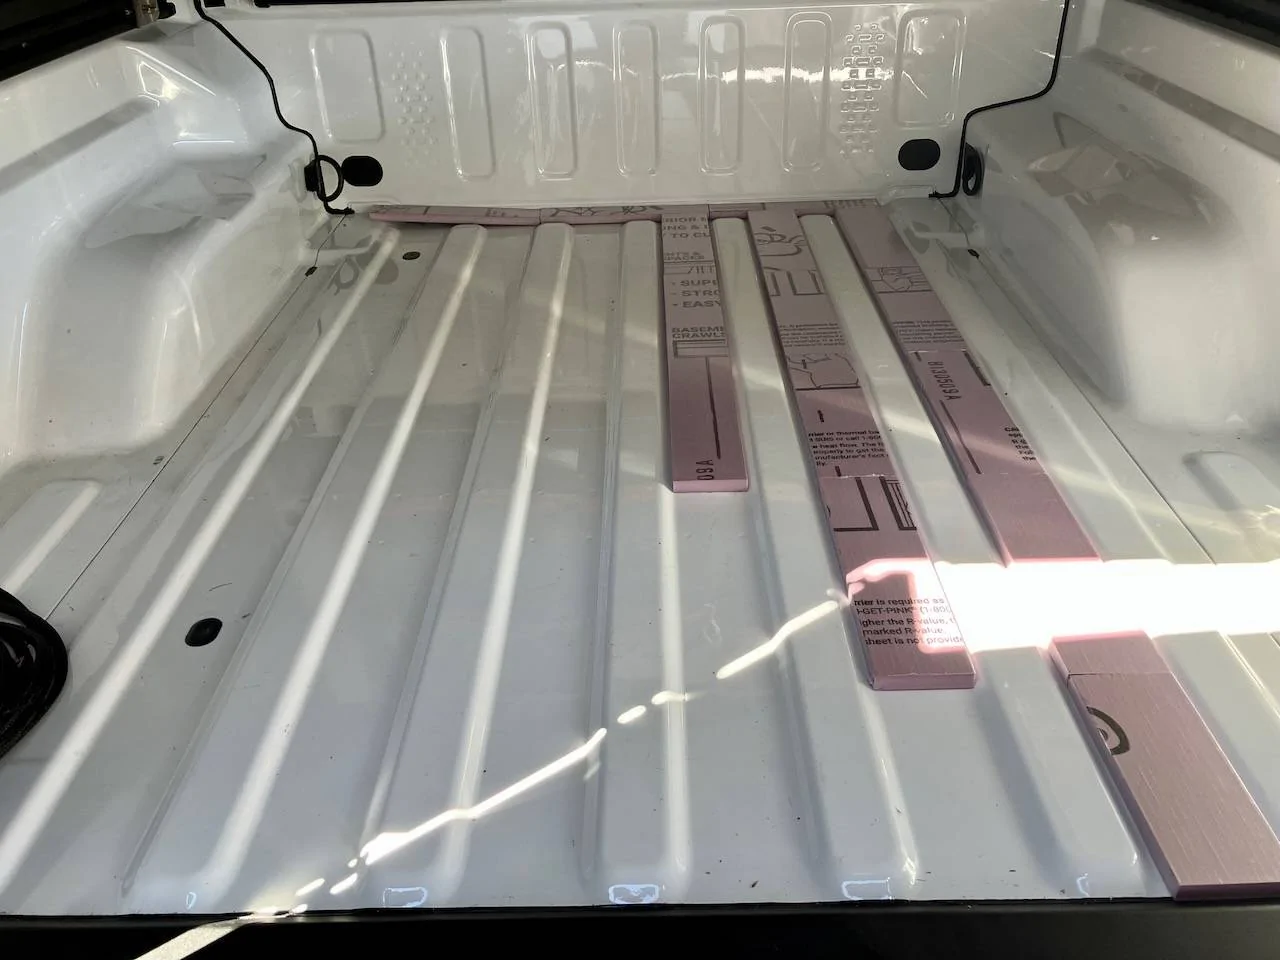
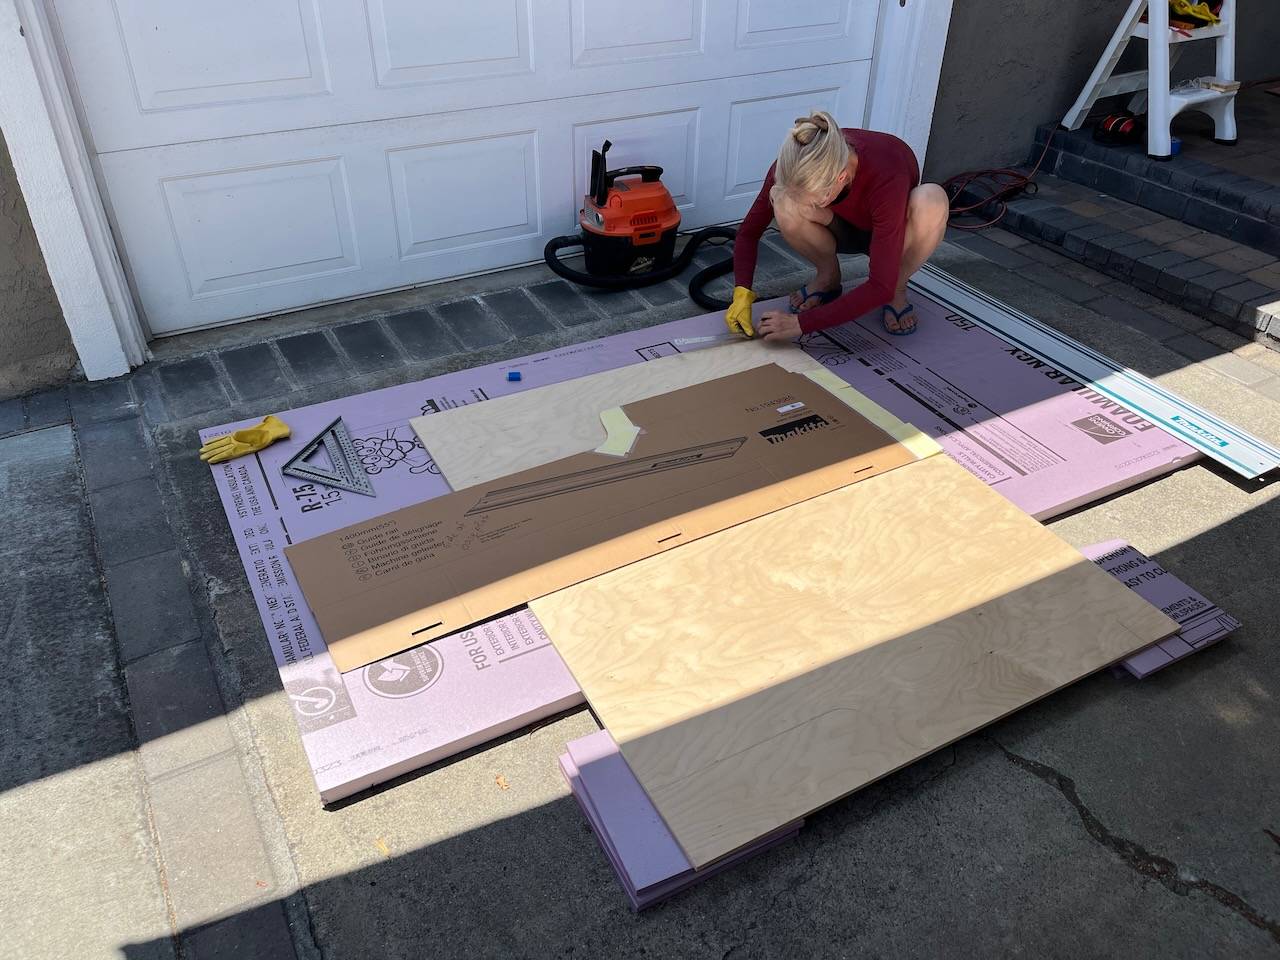
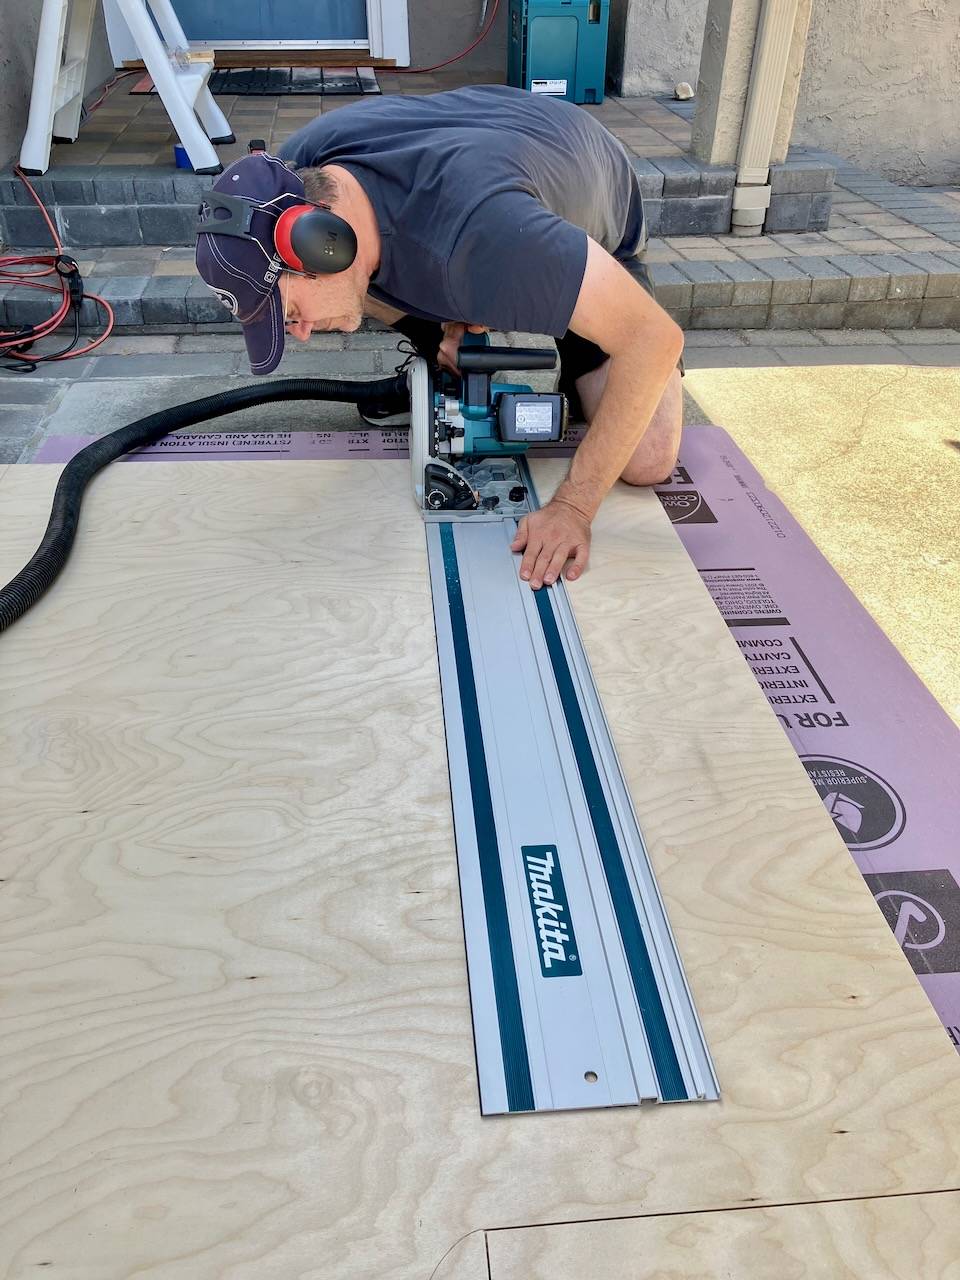
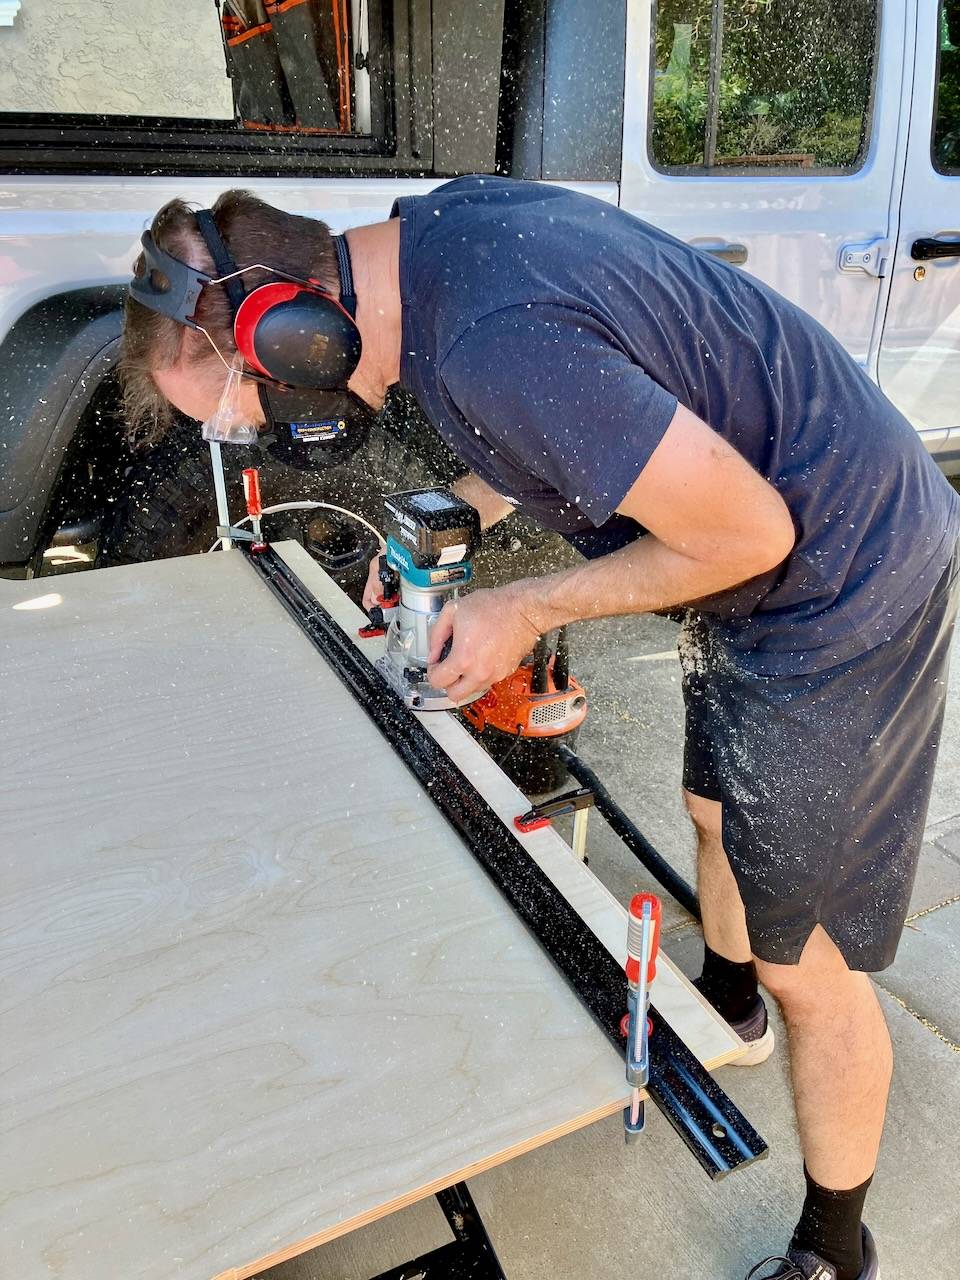
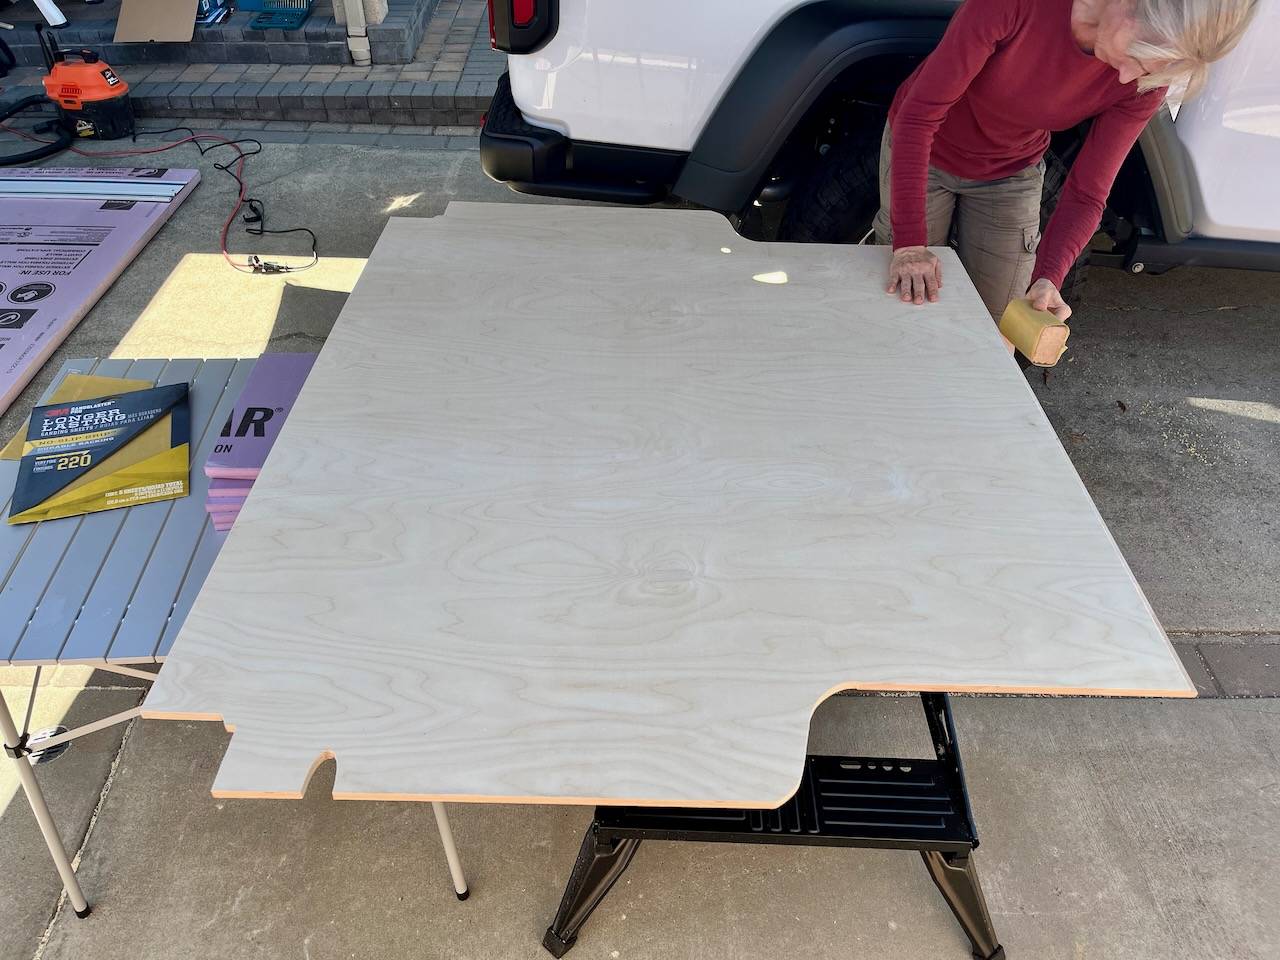
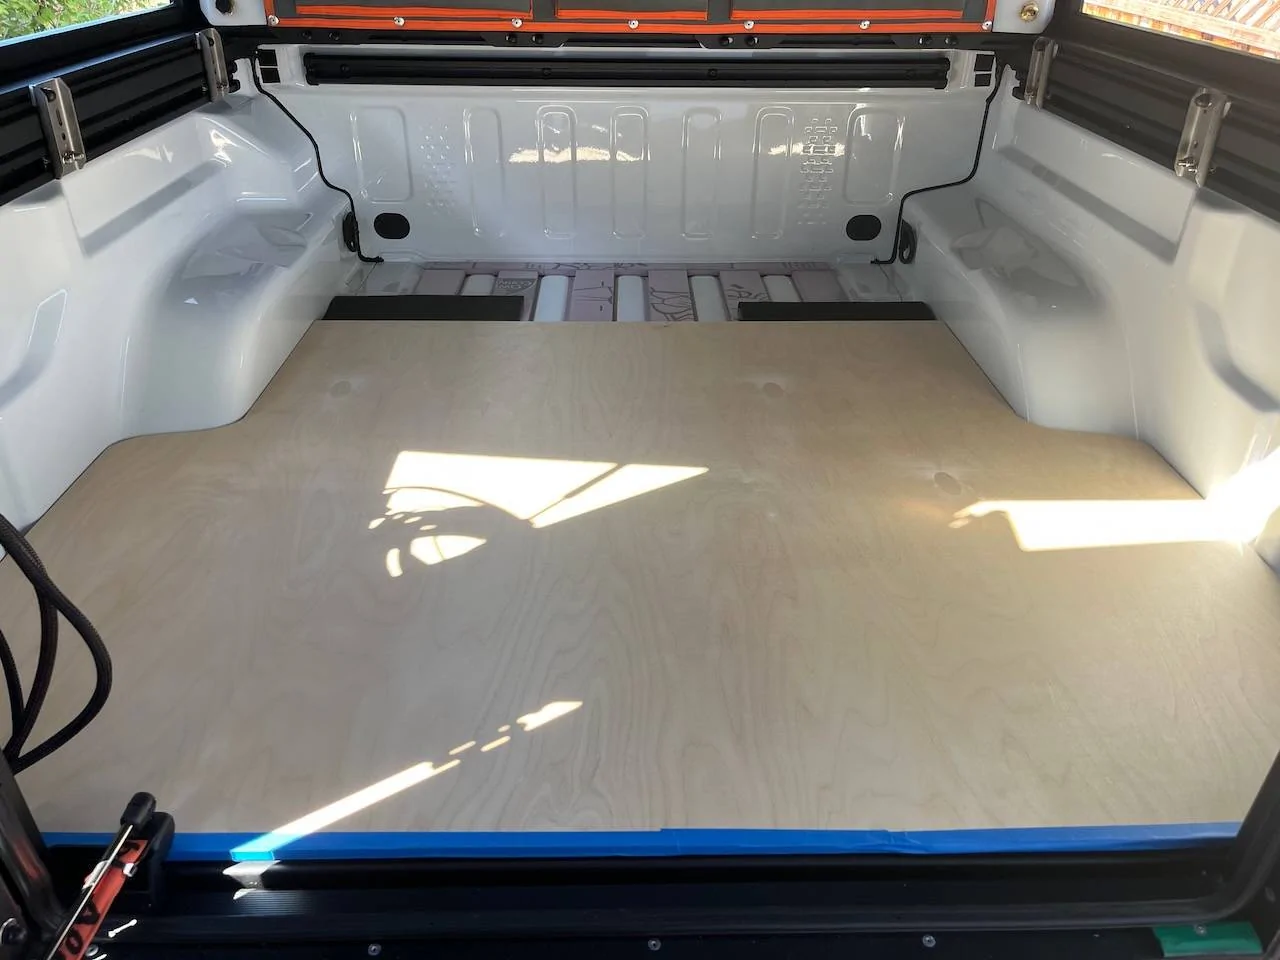
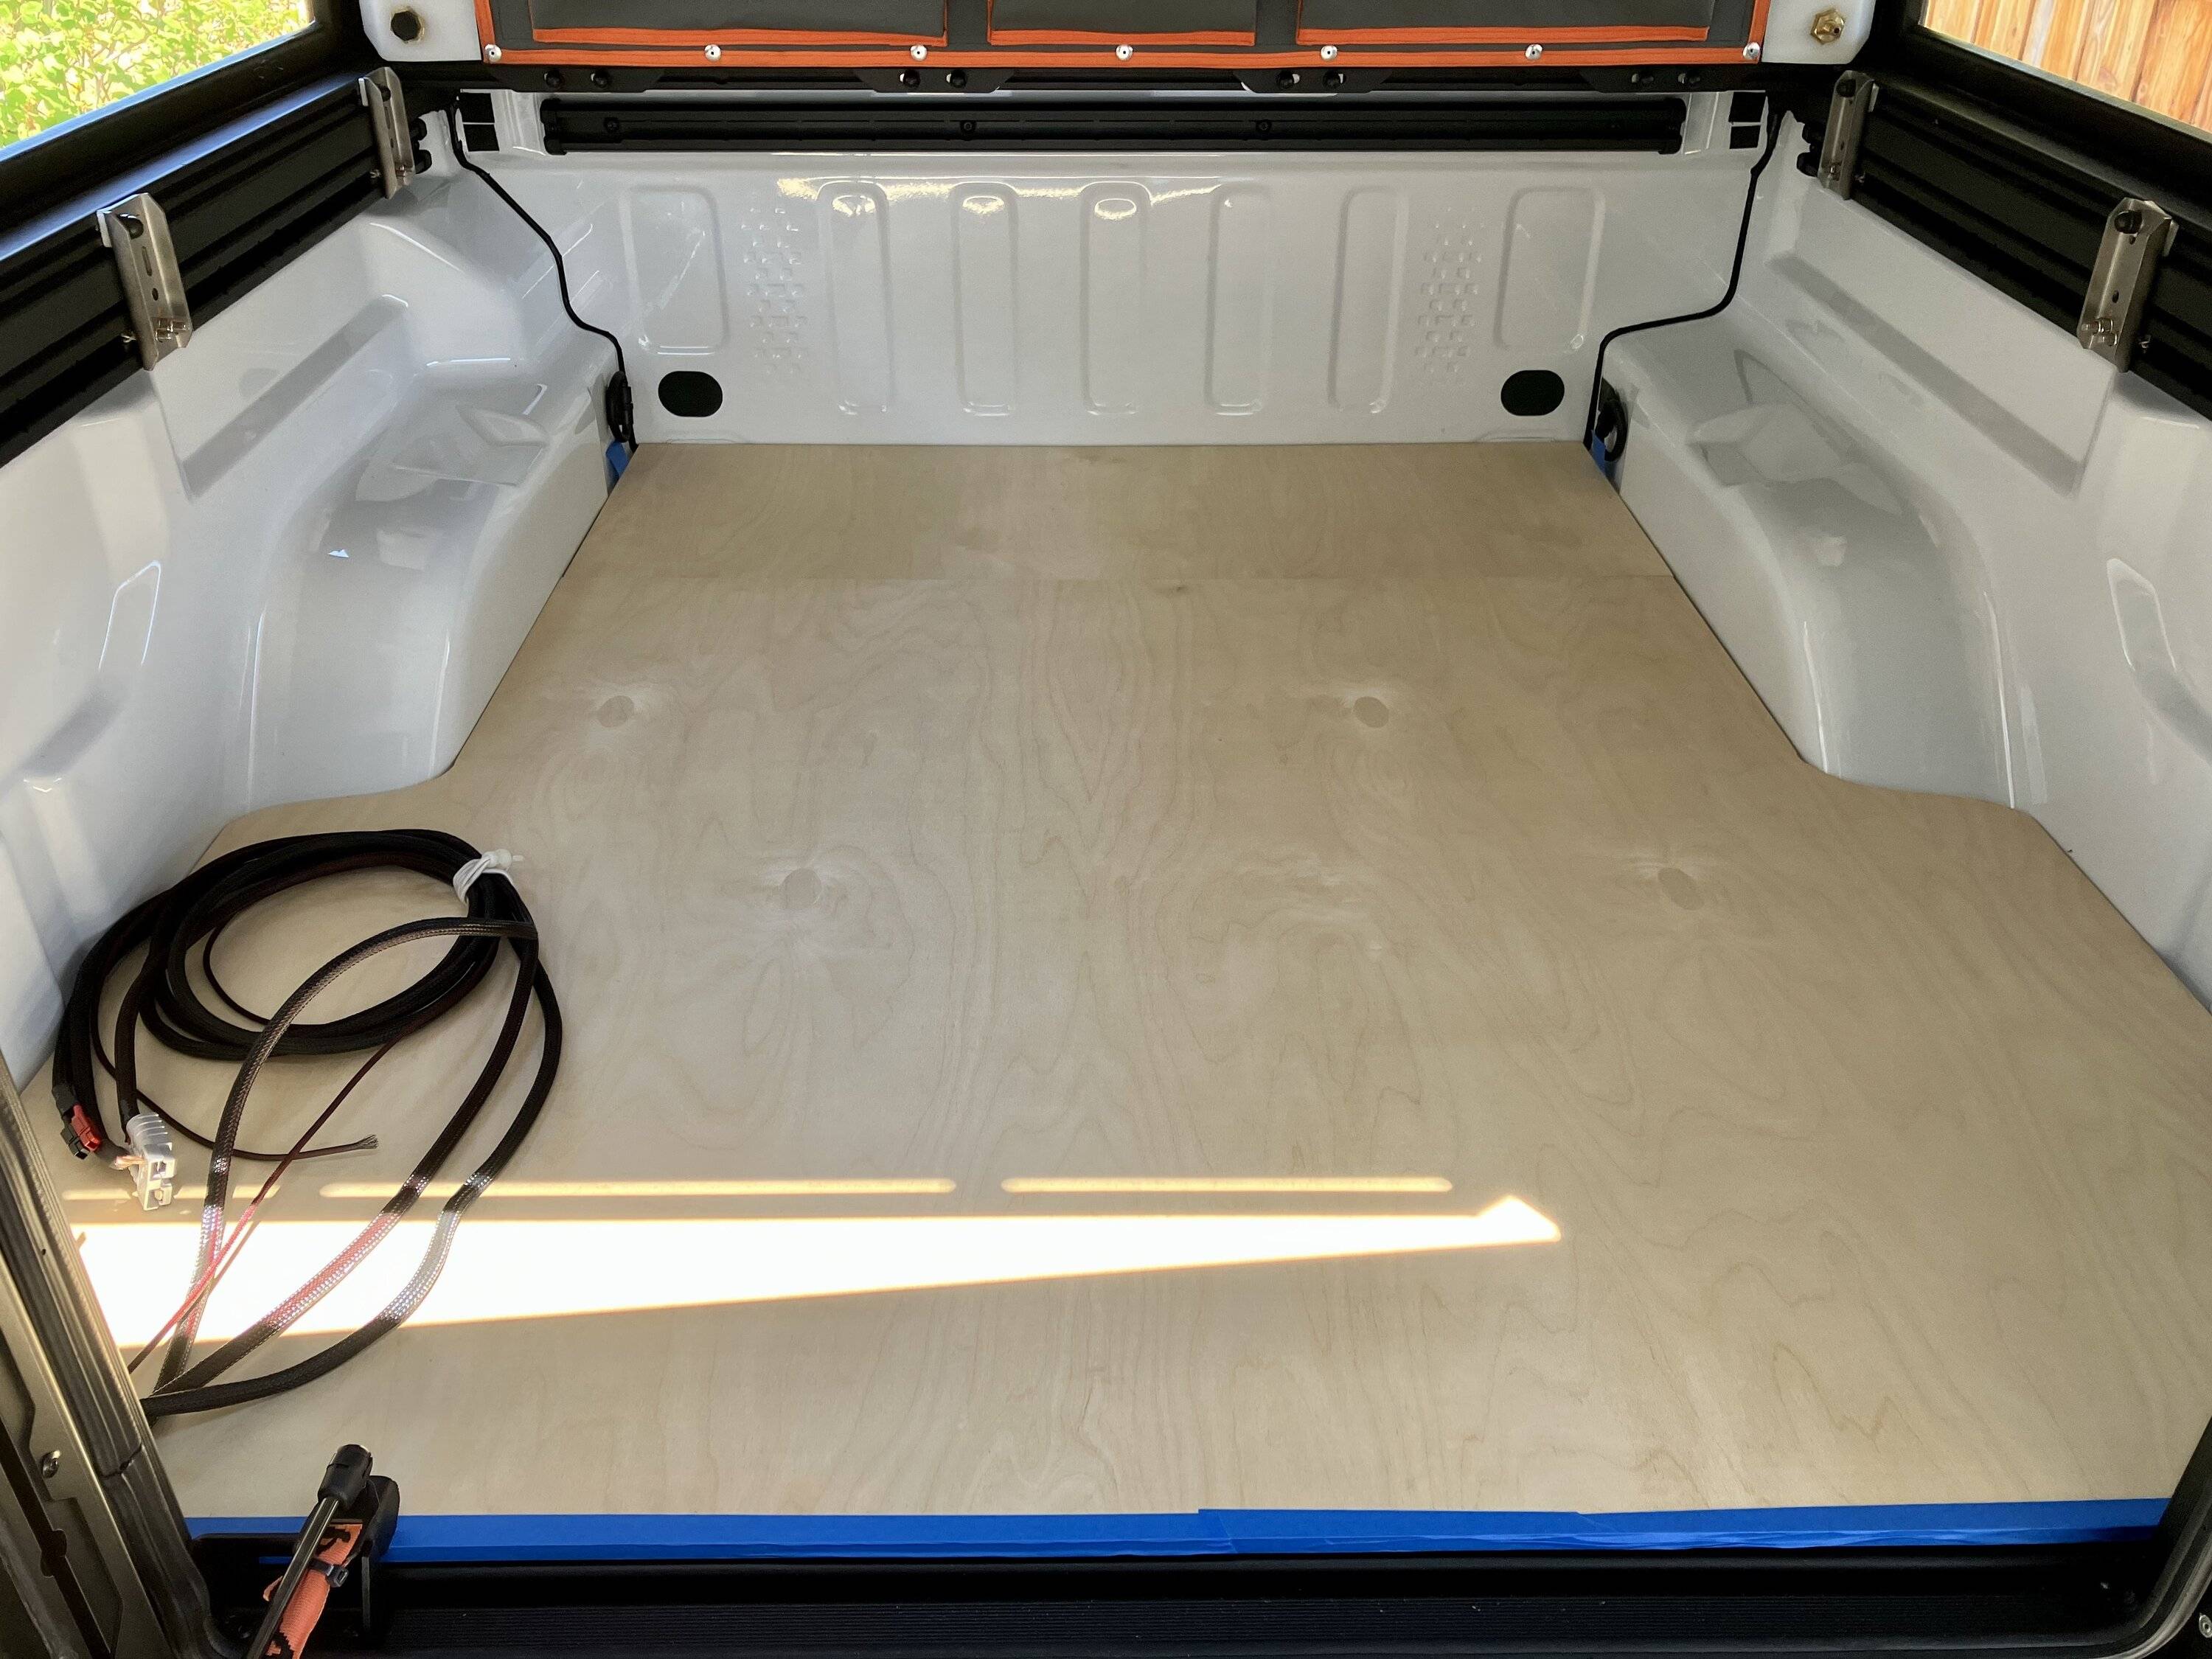
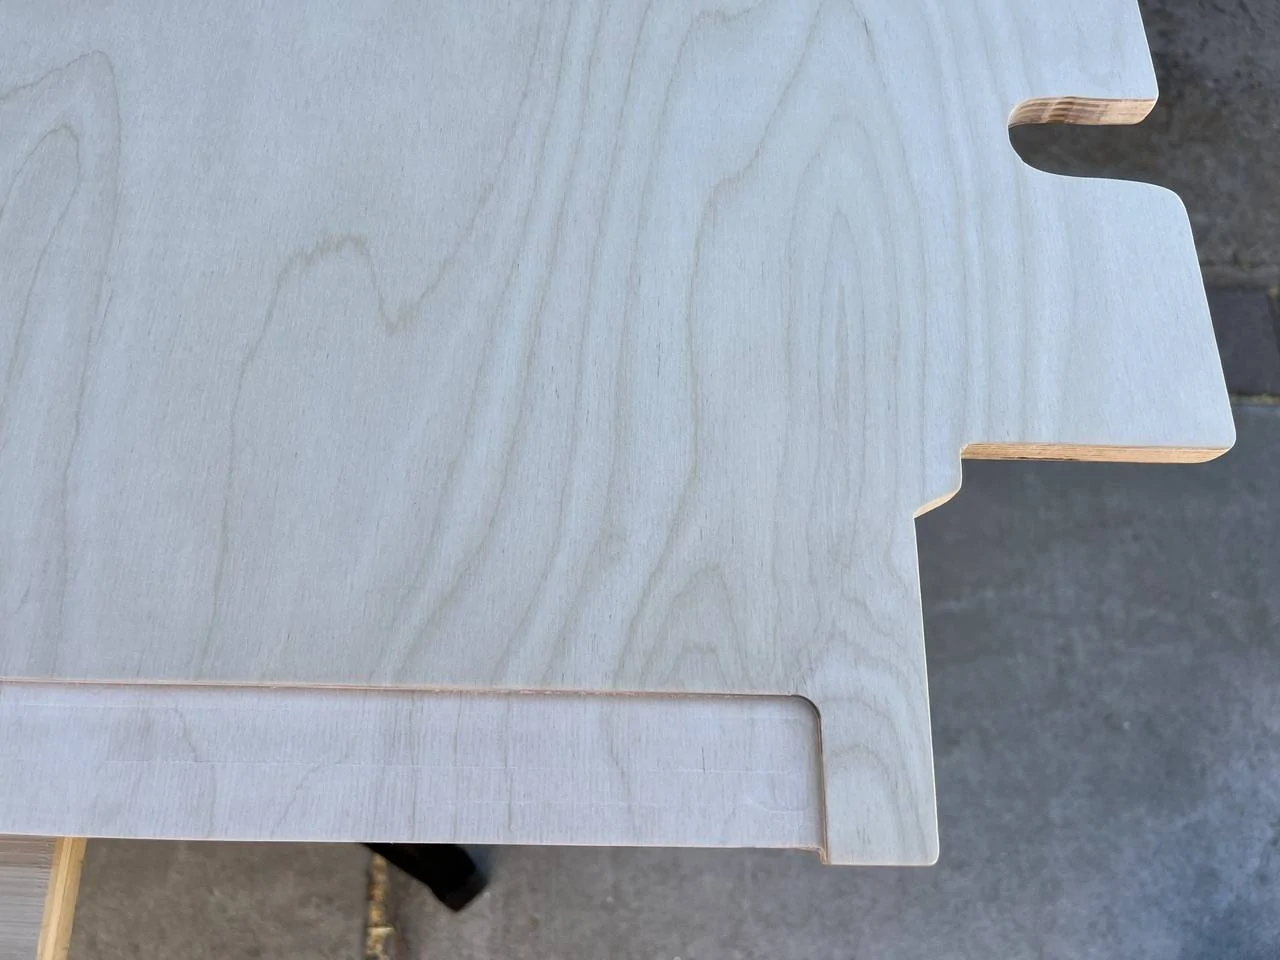
Man, it's so annoying that they couldn't push the front wall forward so it actually fits the bed better, there is so much wasted space which I'd LOVE to have as interior space. But the furniture ideas are also coming together. Tomorrow some final tools will be delivered, Wednesday I'll be at the lumber store and get some plywood. Will see whether they have baltic birch as well. If not, it'll be marine grade. A mix of 12mm (1/2"), 9mm (3/8"), and 6mm (1/4") will go into the build.
Sponsored

 
OP
OP
cug

cug

Well-Known Member
First Name
Guido
Joined
Apr 1, 2023
Threads
13
Messages
602
Reaction score
664
Location
Christchurch, New Zealand
Vehicle(s)
JTR EcoDiesel, Land Cruiser 79, BMW R1250GS
Build Thread
Link
Occupation
Just keeping busy
Validation that wiring works so far:

Jeep Gladiator A new hope ... (build journal and component reviews) IMG_5583


Bummer that the Redarc Inverter does not show any power or voltage information throught the display, but at least I can easily turn it on and off. Nice also to be able to program the outputs so that when I double click on the power button on the display, everything turns off except the fridge. Same as we had in our trailer.

So far, so good. Getting closer to installing this. Have charged one battery so far, right now charging the other one. I'll likely skip a full power test until I have it installed in the truck, since I want to cut the thick cables only one time to the correct length and with the current cabling I can't pull enough power for cooking.

Still missing:
  • BCDC1225 for seconday DC charging as well as secondary solar input.
  • Solar panel, thinking of going with a single 200W rigid panel on the roof to keep wiring and weight a little lower than with two 100W panels. Solar is a "nice to have" for us, so not a priority right now.
Have to say, programming the Redarc system is not straightforward for this macOS & iOS user. To be very blunt: the applications are not designed by a competent UX/UI designer but rather look like drawn up by someone even less talented at UX/UI design than me.
 
OP
OP
cug

cug

Well-Known Member
First Name
Guido
Joined
Apr 1, 2023
Threads
13
Messages
602
Reaction score
664
Location
Christchurch, New Zealand
Vehicle(s)
JTR EcoDiesel, Land Cruiser 79, BMW R1250GS
Build Thread
Link
Occupation
Just keeping busy
Froli Bed System install:

Jeep Gladiator A new hope ... (build journal and component reviews) IMG_5640


Will test in the driveway for the next night or two.

This is the Froli Travel system, so the low provile one, which should allow us to leave most of the bedding on top. A kit for "Double" works out near perfect when installed with appropriate spacing (the spacing is also used to make sections softer or firmer, we made the foot and head area slightly firmer, the shoulders, which already have softer springs in the kit, a bit softer and created a slightly firmer "ridge" between the two of us, we have not used the additional parts to make sections even firmer).

So far so good. Testing TBD.
 

smlobx

Well-Known Member
First Name
Eddie
Joined
Jun 28, 2018
Threads
87
Messages
2,653
Reaction score
4,530
Location
Mid Atlantic
Vehicle(s)
JTR, F-350 diesel, Porsche Spyder, Model Y
Occupation
Semi retired consultant
We have the regular size one in our expedition truck camper and while it is expensive it has allowed us to sleep great which is priceless!
 
  • Like
Reactions: cug
OP
OP
cug

cug

Well-Known Member
First Name
Guido
Joined
Apr 1, 2023
Threads
13
Messages
602
Reaction score
664
Location
Christchurch, New Zealand
Vehicle(s)
JTR EcoDiesel, Land Cruiser 79, BMW R1250GS
Build Thread
Link
Occupation
Just keeping busy
Yeah, I wasn't sure which one to actually go with, but opted for the low profile one. Reason being is that it might allow us to close the roof with at least some of the bedding. It's a bit tight in our Land Cruiser rig where we also have the Travel version, but seems to be fine in the ACCC.

It's still not super great in the shoulder area, but there is no mattress or other system that could provide that for me in the given space. So, I'll have to be content for the time being and as long as I can still camp this way. And my take is that the mattress will also get a little softer over time, so it should be fine.
 

Sponsored

OP
OP
cug

cug

Well-Known Member
First Name
Guido
Joined
Apr 1, 2023
Threads
13
Messages
602
Reaction score
664
Location
Christchurch, New Zealand
Vehicle(s)
JTR EcoDiesel, Land Cruiser 79, BMW R1250GS
Build Thread
Link
Occupation
Just keeping busy
IMPORTANT UPDATE:

I had two very good and informative phone calls with AJ, the owner of GP Factor. Based on that, the below will likely be seriously rewritten. I'm removing parts of it now and will leave the rating as TBD until I'm ready to write a new review.


Part of the original review:

So, another review, this time a partial one, since I haven't had the system fully installed and used yet, but here are impressions from inspecting, setting it up, investigating the electrical side, etc.:

GP Factor Redvision Complete System for Canopy Camper

Overall, it feels like a very solid unit, that combines two components I wanted to use in my build into a single, relatively compact unit that fits into one of the rear cavities of the Canopy Camper. It includes a fancy fuse block, the Redarc Redvision, as well as the Redarc Manager 30 and the Redvision Display to visualize the data on the system. I've externally added another DCDC charger, the Redarc BCDC25D and a Redarc 2000W Inverter.

Why Redarc over Victron?

I chose Redarc over Victron for simplicity reasons. I wanted the nice display, Bluetooth connectivity, the three input sources of the M30 (shore power, DC, solar) as well as the nice integration into a display and on rare occasion use it from an iPhone app. The camper is too small to make this really worthwhile, but it isn't shabby to have either.

I already have a Victron system in another vehicle and find that the wiring is just a lot more complex. Many more individual components are needed, which overall makes the whole system more flexible but also much more error prone. The Redarc Redvision app, while by itself is a piece of garbage software, is at least relatively compact and informative enough to be used quickly and easily. The Victron components all show up individually in their respective parts of the Victron Connect app, which makes it awkward to get a single quick overview of your vehicle's system status.

With Redarc I had fewer components, lower complexity, and a lot less wiring to run. That's why I'm running it in this build.

Why the GP Factor panel?

Again, simplicity. I didn't want to do all the work on this front as well. I'm already building my own furniture, rear seat storage, water system, etc. and while that is fun, I wanted to save some time in some areas. The GP Factor panel puts about half the components of my overall system into a single unit that just needs wiring, that's what compelled me to splurge for it.

Hardware

The metal components are very well made, well powder coated, a bit awkward to handle, but that's due to the very tight fit into the rear corner of the camper. The mounting kit is complete and only the camper itself needed a few "loving taps" to make the M8 bolts slide into the the t-slot. The mounting panel on the side door seems to be a particularly tight fit against the camper extrusion, I'm not yet 100% certain that it'll work, but I'm confident I can get the unit in place.

Electrics (GP Factor pre-wired)

From a wiring perspective, first inspection looks very good. The cables are nicely layed out, in protective sheaths and zip tied together.

[Removed paragraph about wiring gauge. I might get back to this in the updated review.]

GP Factor includes a small fan to add additional airflow in the panel. According to GP Factor, the board doesn't need the fan, it is included as an extra in case someone were to run the system in exceedingly hot conditions. Personally, I would have liked a temperature controlled fan here since I might not be aware (or around) when the these conditions are happening. E.g. a combination of sun hitting the rear end of the camper while the Manager 30 is hard at work either through solar or shore power. I might add a simple temperature control module if I can get one in time to install the panel.

The included Anderson connectors are a bit on the large side for the camper wiring (USB and Lights) and can pull lose, so I added some solder to make the connection to the Anderson lug solid. The connectors for solar on the other hand are on the small side and take some work, but then create a solid connection. This is not a critique for GP Factor, since they are limited to available connectors just as much as everybody else. Just pick "the right one" and make it work.

The instructions also show a slightly different wiring loom from the Canopy Camper, Alu Cab might have changed colors (or wires stalk lights, LED lights, and USB randomly to the colors), so that's probably not a fault for GP Factor either.

[Removed paragraph about wiring issues. I'll get back to this in the updated review.]

Fitment

It's a tight fit. A very tight fit. The canopy camper has a relatively long wire loom coming from the roof channel and getting that sorted together with the panel and included components is an absolute pain. This is definitely a two person job. But in the end it seems to fit okay. I will need to add some more zip ties to make sure, that nothing can pull lose, but that's expected.

Functionality

The Redarc system comes without any programming, so it's up to the installer to figure it out. It took me a while to sort out the Redarc Redvision Configurator app. It works much more reliably than the Redvision app itself, but it's unintuitive and rather clumsy to use, has little to no direct documentation or help and basically leaves you to try things out until they work. There is a bit of documentation in the Redvision manual, but it again, unintuitive and the app itself does not give good feedback about why certain things plain don't work.

It took me a few attempts to get the programming to the point I find usable, but I might change that over time.

When it is all set up, the system is relatively easy to use from the panel and gives some good information, but it's nowhere as comprehensive as the Victron components. Again, I don't need that, so I'm okay with what is displayed.

Rating at this point: REMOVED, will be updated in a new review

[Removed reasoning whether I would or would not buy the unit again. This will be covered in the upcoming new review.]

Who is this system for: People like me who want to save time and not deal with a certain part of the system and are also intrigued by app integration and a certain degree of progammability, without having to deal with a large number of control and communication cables like in a Victron based system.
 
Last edited:
OP
OP
cug

cug

Well-Known Member
First Name
Guido
Joined
Apr 1, 2023
Threads
13
Messages
602
Reaction score
664
Location
Christchurch, New Zealand
Vehicle(s)
JTR EcoDiesel, Land Cruiser 79, BMW R1250GS
Build Thread
Link
Occupation
Just keeping busy
And a picture how the unit is wired:

Jeep Gladiator A new hope ... (build journal and component reviews) IMG_5592


It's very clean and nicely done, a few cables have just a bit too much tension for my taste, so I'll see whether I can use my own zipties to rectify this. If it goes tight into the wiring protector, I'm not going to touch it for now.

While in there, I also added three trigger wires (the green wires in the photo below) so I can trigger the digital input as a condition for other things to happen (e.g. turning off all lights and the water system when the truck is started or lights coming on when a door is opened, or turning on additional lights when the truck reverse lights comes on).

Jeep Gladiator A new hope ... (build journal and component reviews) IMG_5597


What I'm planning with these is mainly to use the same ignition trigger I will use for running the DC to DC charging as a trigger to turn of lights and water system if it isn't turned off already.

This came out of a thought "if I have these features, might as well use them for something that at least sounds cool if it ever makes it to a Youtube video".
 
OP
OP
cug

cug

Well-Known Member
First Name
Guido
Joined
Apr 1, 2023
Threads
13
Messages
602
Reaction score
664
Location
Christchurch, New Zealand
Vehicle(s)
JTR EcoDiesel, Land Cruiser 79, BMW R1250GS
Build Thread
Link
Occupation
Just keeping busy
And while I was playing with the electrical system, my wife was playing XPS foam tetris because for some reason, the only available size for 1/2" foamular is 12" x 12". Must be all these van conversions using the 1/2" material. Whatever, she made it fit:

Jeep Gladiator A new hope ... (build journal and component reviews) IMG_5595


Jeep Gladiator A new hope ... (build journal and component reviews) IMG_5644


Jeep Gladiator A new hope ... (build journal and component reviews) IMG_5650


Jeep Gladiator A new hope ... (build journal and component reviews) IMG_5652


Jeep Gladiator A new hope ... (build journal and component reviews) IMG_5654


We are going to put a 1/2" Baltic Birch base plate with a backing made from 2mm EVA foam on top of this, should give us some reasonable insulation.

We also aren't going too crazy on the insulation since the tent and the aluminum shell will be difficult to insulate completely, so for really cold areas we're going to need a diesel heater anyways.

We have decided against a Dickinson fireplace since it a) wouldn't work with the furniture layout we are planning and b) would add another fuel type to our setup (currently diesel for the truck and electric for cooking). I might build a portable diesel heater inside a Pelican case or so to try it out. Only if it works well AND we decide we actually need/want it, I'll cut holes in the bed to run the exhaust and fuel lines. I'll leave some space in the furniture where a small Webasto or Eberspächer will fit if it comes to it.
 
Last edited:

smlobx

Well-Known Member
First Name
Eddie
Joined
Jun 28, 2018
Threads
87
Messages
2,653
Reaction score
4,530
Location
Mid Atlantic
Vehicle(s)
JTR, F-350 diesel, Porsche Spyder, Model Y
Occupation
Semi retired consultant
Great to have a helper!
I did something similar to the bottom of my expedition truck camper before we went to Alaska a couple of years ago. Hard to tell if there was any benefit but I felt better knowing that I did it.
 
  • Like
Reactions: cug
OP
OP
cug

cug

Well-Known Member
First Name
Guido
Joined
Apr 1, 2023
Threads
13
Messages
602
Reaction score
664
Location
Christchurch, New Zealand
Vehicle(s)
JTR EcoDiesel, Land Cruiser 79, BMW R1250GS
Build Thread
Link
Occupation
Just keeping busy
Alaska (and some high elevation areas) is why we are doing this. I haven't used this stuff before, but having an insulating barrier, be that closed cell foam or air or so between the wood flooring and the metal truckbed can only help. We are loosing a few mm, but I take that over a thermal bridge between cold metal and the floor.

We'll put some rubber backed marine carpet in the area where we'll sit/stand as well, but overall, I think this is all we can do for insulation without it getting too high. The doors, wall cavities, etc. will mostly get a thinsulate treatment behind plywood panels which we'll mostly cover in automotive carpet. It should give us a tiny, but livable space when it's too cold or when there are too many mosquitos around.

In general heating and warm water are still a big open questions for me, I'd love to include a diesel heater, but really need to see how it all comes together before I open this can of worms ... it's low on the list since Alaska is "only" planned for next year. This year will be trips to either hot or moderate climates, which gives me time to experiment with heaters over the winter.

For quick bursts of heat, e.g. so that dressing/undressing isn't too unpleasant, we can use a small electric space heater for maybe two or three minutes in the morning and evening. We have the battery capacity and inverter, so might as well use it. It's just not a solution to keep the camper warm over night or so.
 

Sponsored

OP
OP
cug

cug

Well-Known Member
First Name
Guido
Joined
Apr 1, 2023
Threads
13
Messages
602
Reaction score
664
Location
Christchurch, New Zealand
Vehicle(s)
JTR EcoDiesel, Land Cruiser 79, BMW R1250GS
Build Thread
Link
Occupation
Just keeping busy
Progress, slow, but steady. Rented a U-Haul today to buy some lumber and foam board (as a "saw station), and started the bed plate build.

Transferring template to plywood (Baltic Birch, 12mm):

Jeep Gladiator A new hope ... (build journal and component reviews) IMG_5608


Cutting:

Jeep Gladiator A new hope ... (build journal and component reviews) IMG_5665


Adding a groove for a rabbit joint:

Jeep Gladiator A new hope ... (build journal and component reviews) IMG_5669


Finishing touches:

Jeep Gladiator A new hope ... (build journal and component reviews) IMG_5609


Fits well:

Jeep Gladiator A new hope ... (build journal and component reviews) IMG_5613


Had to make a cutout for the cargo mount point:

Jeep Gladiator A new hope ... (build journal and component reviews) IMG_5672


Overall, super happy how it turned out so far. Tomorrow, we are adding the board for the small space in the front (couldn't fit a full base through the side hatches). The rabbit joint (overlapping edges) will be hidden under furniture, I'm not even going to bother to connect the two boards, the pressure fit and the furniture will take care of that.

Next steps:
  • Cut the small board for the gap at the front, add an appropriate edge to fit the big one, cut some material away on the underside for the slightly elevated areas in the front corners of the bed.
  • Build a countersunk "step guard" towards the door. I have some aluminum here I'm planning to use there, so that we don't damage the edge of the plywood at the door.
  • Cut away a small groove where the door catch is. The board fits, but just so. I might cut away about 2mm in the shape of the metal part there and smooth out the edges. Makes for a nicer look and better fit. The step guard will go from about there to the other side. Don't yet know whether to make asymetrical to cover as much plate as possible or to make it symetrical for a nicer look. Will decide tomorrow or Thursday.
  • Round out some of the corners for a nicer fit.
  • Once it all fits nicely, get some teenuts into the bottom of the board to attach furniture to it. That'll also help to get the boards out, since once the gap is filled, this will be difficult.
All this should be finished tomorrow, depending on whether I receive the screws to mount the step guard. If not, not a big deal, it'll definitely be done this week. We will finish the surfaces once we have the holes drilled for the teenuts and are reasonably certain we don't have to keep taking the floor out over and over ...

So far, we only had to take it out two times: didn't quite fit on the first attempt, fit, but could be better on the second, and cutting a chamfered edge towards the rear of the wheel wells and sanding away a bit of material around the cut out shapes in the rears, it fit on the third attempt. Not too shabby.

It all takes so much longer in the driveway than it would in a nice shop, but I just don't have the space for one, so have to make do.

Overall a good day.

Jeep Gladiator A new hope ... (build journal and component reviews) IMG_5659
 
OP
OP
cug

cug

Well-Known Member
First Name
Guido
Joined
Apr 1, 2023
Threads
13
Messages
602
Reaction score
664
Location
Christchurch, New Zealand
Vehicle(s)
JTR EcoDiesel, Land Cruiser 79, BMW R1250GS
Build Thread
Link
Occupation
Just keeping busy
Bed plate cut and fitted:

Jeep Gladiator A new hope ... (build journal and component reviews) IMG_5683


With the plate as a template it would be much easier and faster now, but this one took quite a bit.

Update to this post:

If you read this now, I have created a template I can share via private message (for now, while it's not verified by someone other than myself). So, reach out if you want to get the measurements and information on how we have made this.
 
Last edited:
OP
OP
cug

cug

Well-Known Member
First Name
Guido
Joined
Apr 1, 2023
Threads
13
Messages
602
Reaction score
664
Location
Christchurch, New Zealand
Vehicle(s)
JTR EcoDiesel, Land Cruiser 79, BMW R1250GS
Build Thread
Link
Occupation
Just keeping busy
After wasting some time yesterday building a router jig that turned out to be wrong and non-working we used a simple “fence” made from 8020 to mostly freehand the cutout for the edge guard.

Jeep Gladiator A new hope ... (build journal and component reviews) IMG_5638


Turned out okay. With the aluminum edge it’ll look good and protect the wood at the camper door.

Wifey did the sealing with Osmo on this side now as well and it’s drying in the garage. We’ll put another coat of sealing on over the weekend, but will not put it in for a trip next week. Needs to air out for a few days first … it’s stinky.
Sponsored


Top