DanW
Well-Known Member
- First Name
- Dan
- Joined
- Mar 2, 2017
- Threads
- 45
- Messages
- 1,885
- Reaction score
- 2,472
- Location
- Brownsburg, Indiana
- Vehicle(s)
- 21 JT Rubi, 18 JLU Rubi, 2008 JKU Rubi, 07 Vette
Did you just use a piece of plastic for the electrical outlet? I want to do that in the bed of mine. Really all I need is a 12v, but that setup you've done is great!So, lets make a home for the new fridge. I placed an order for all sorts of goodies.
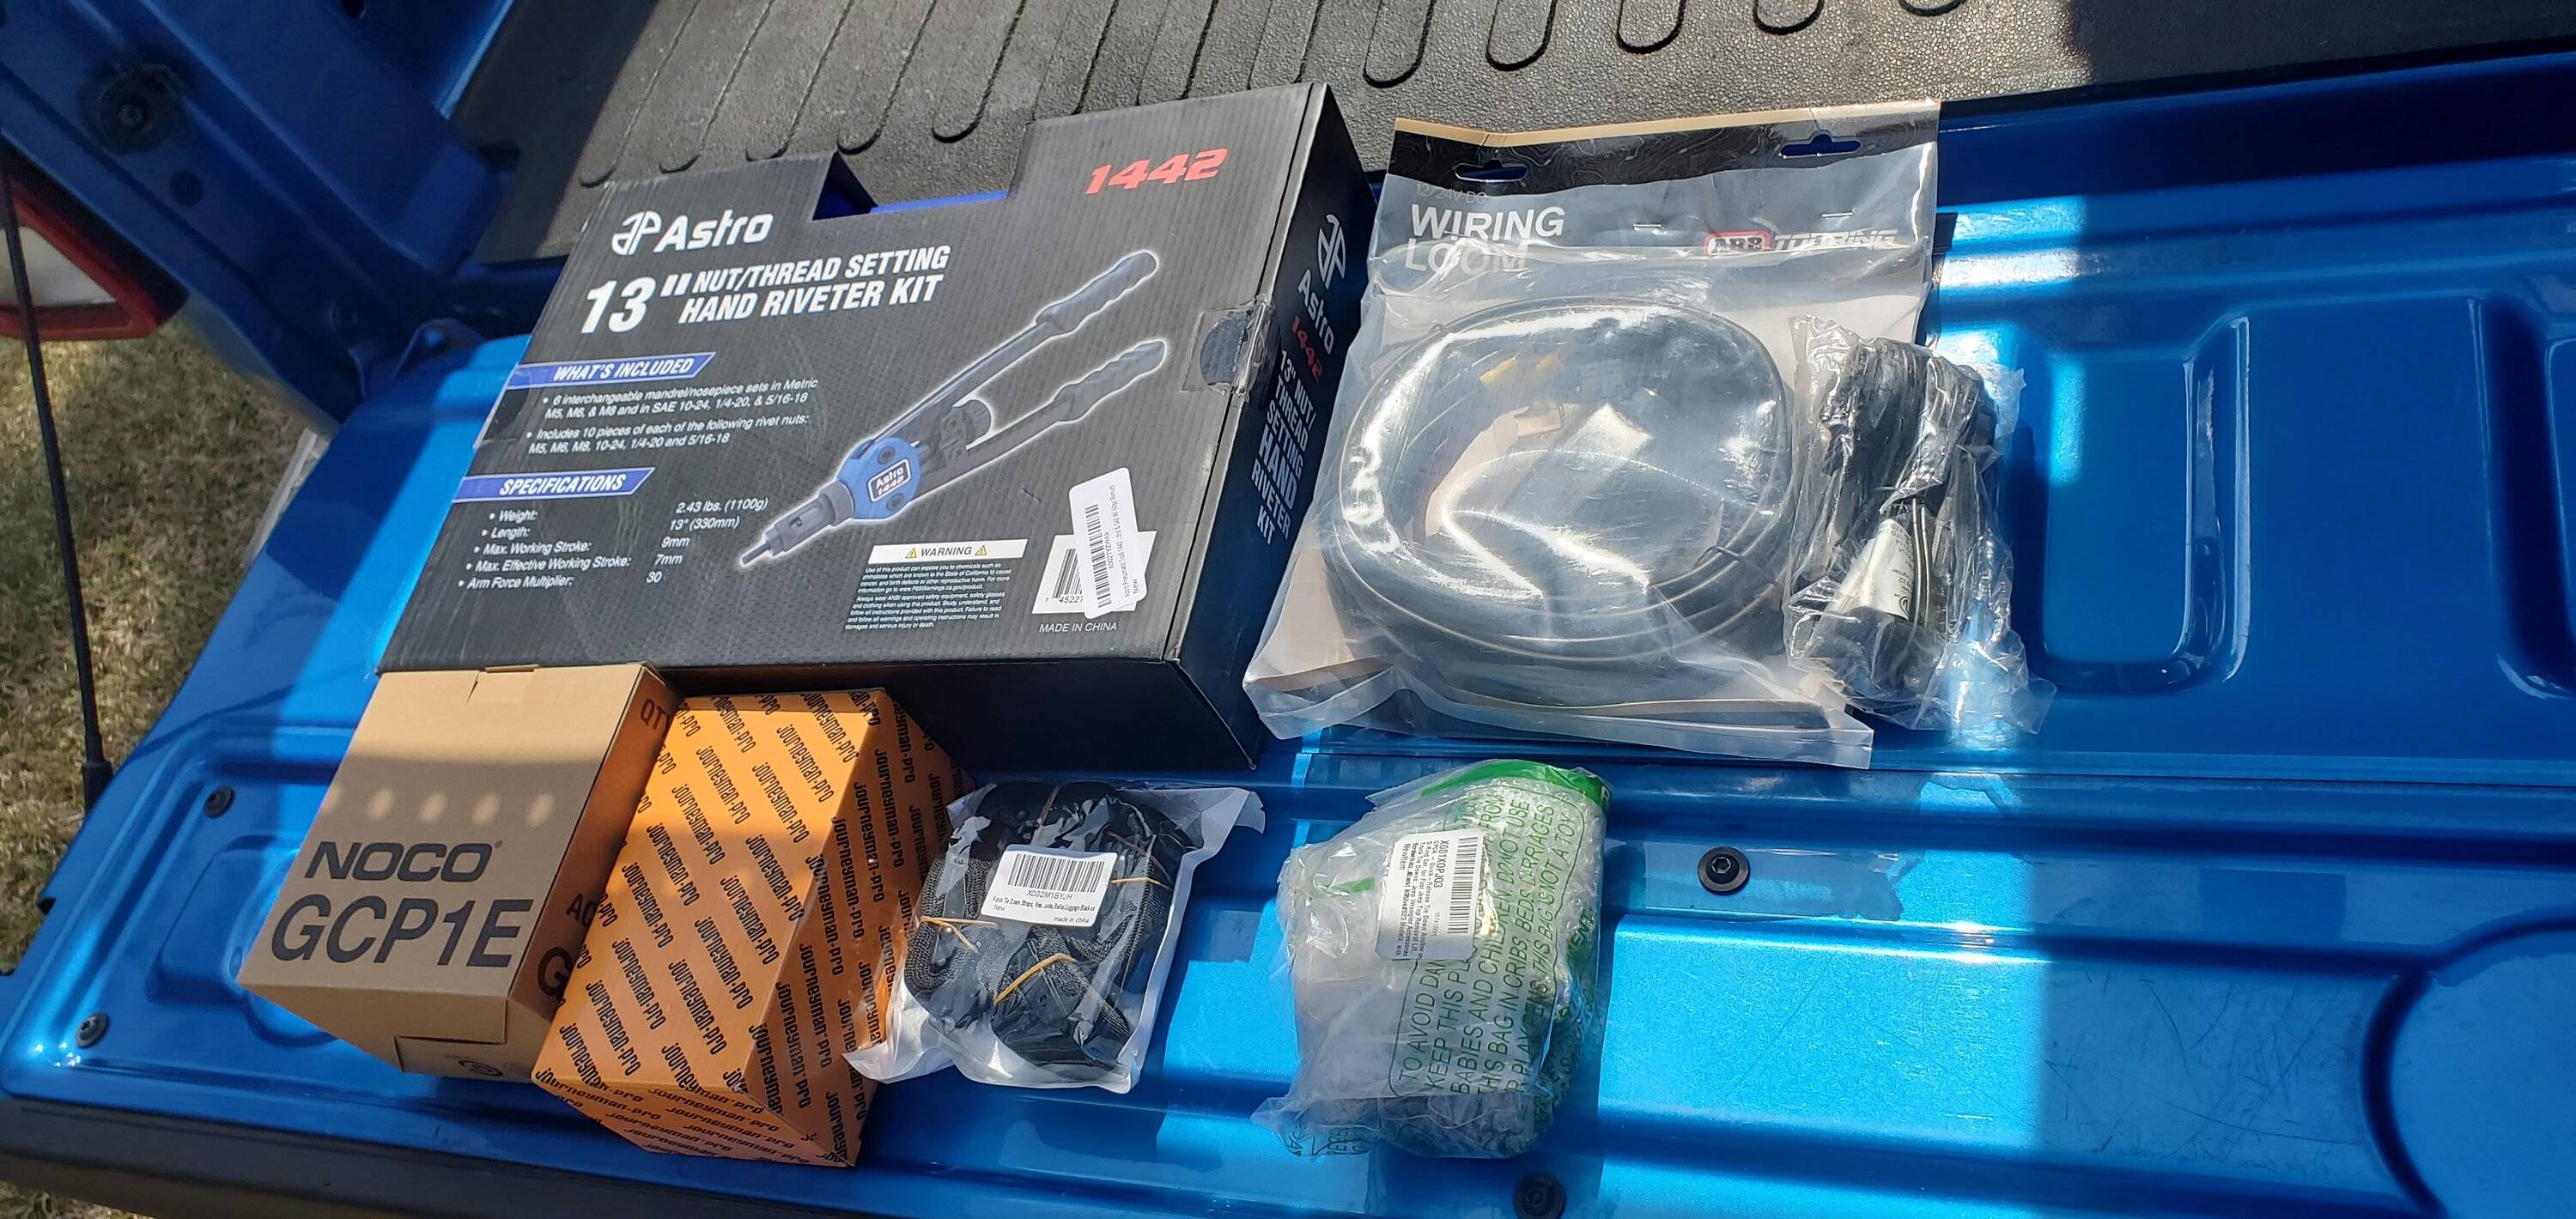
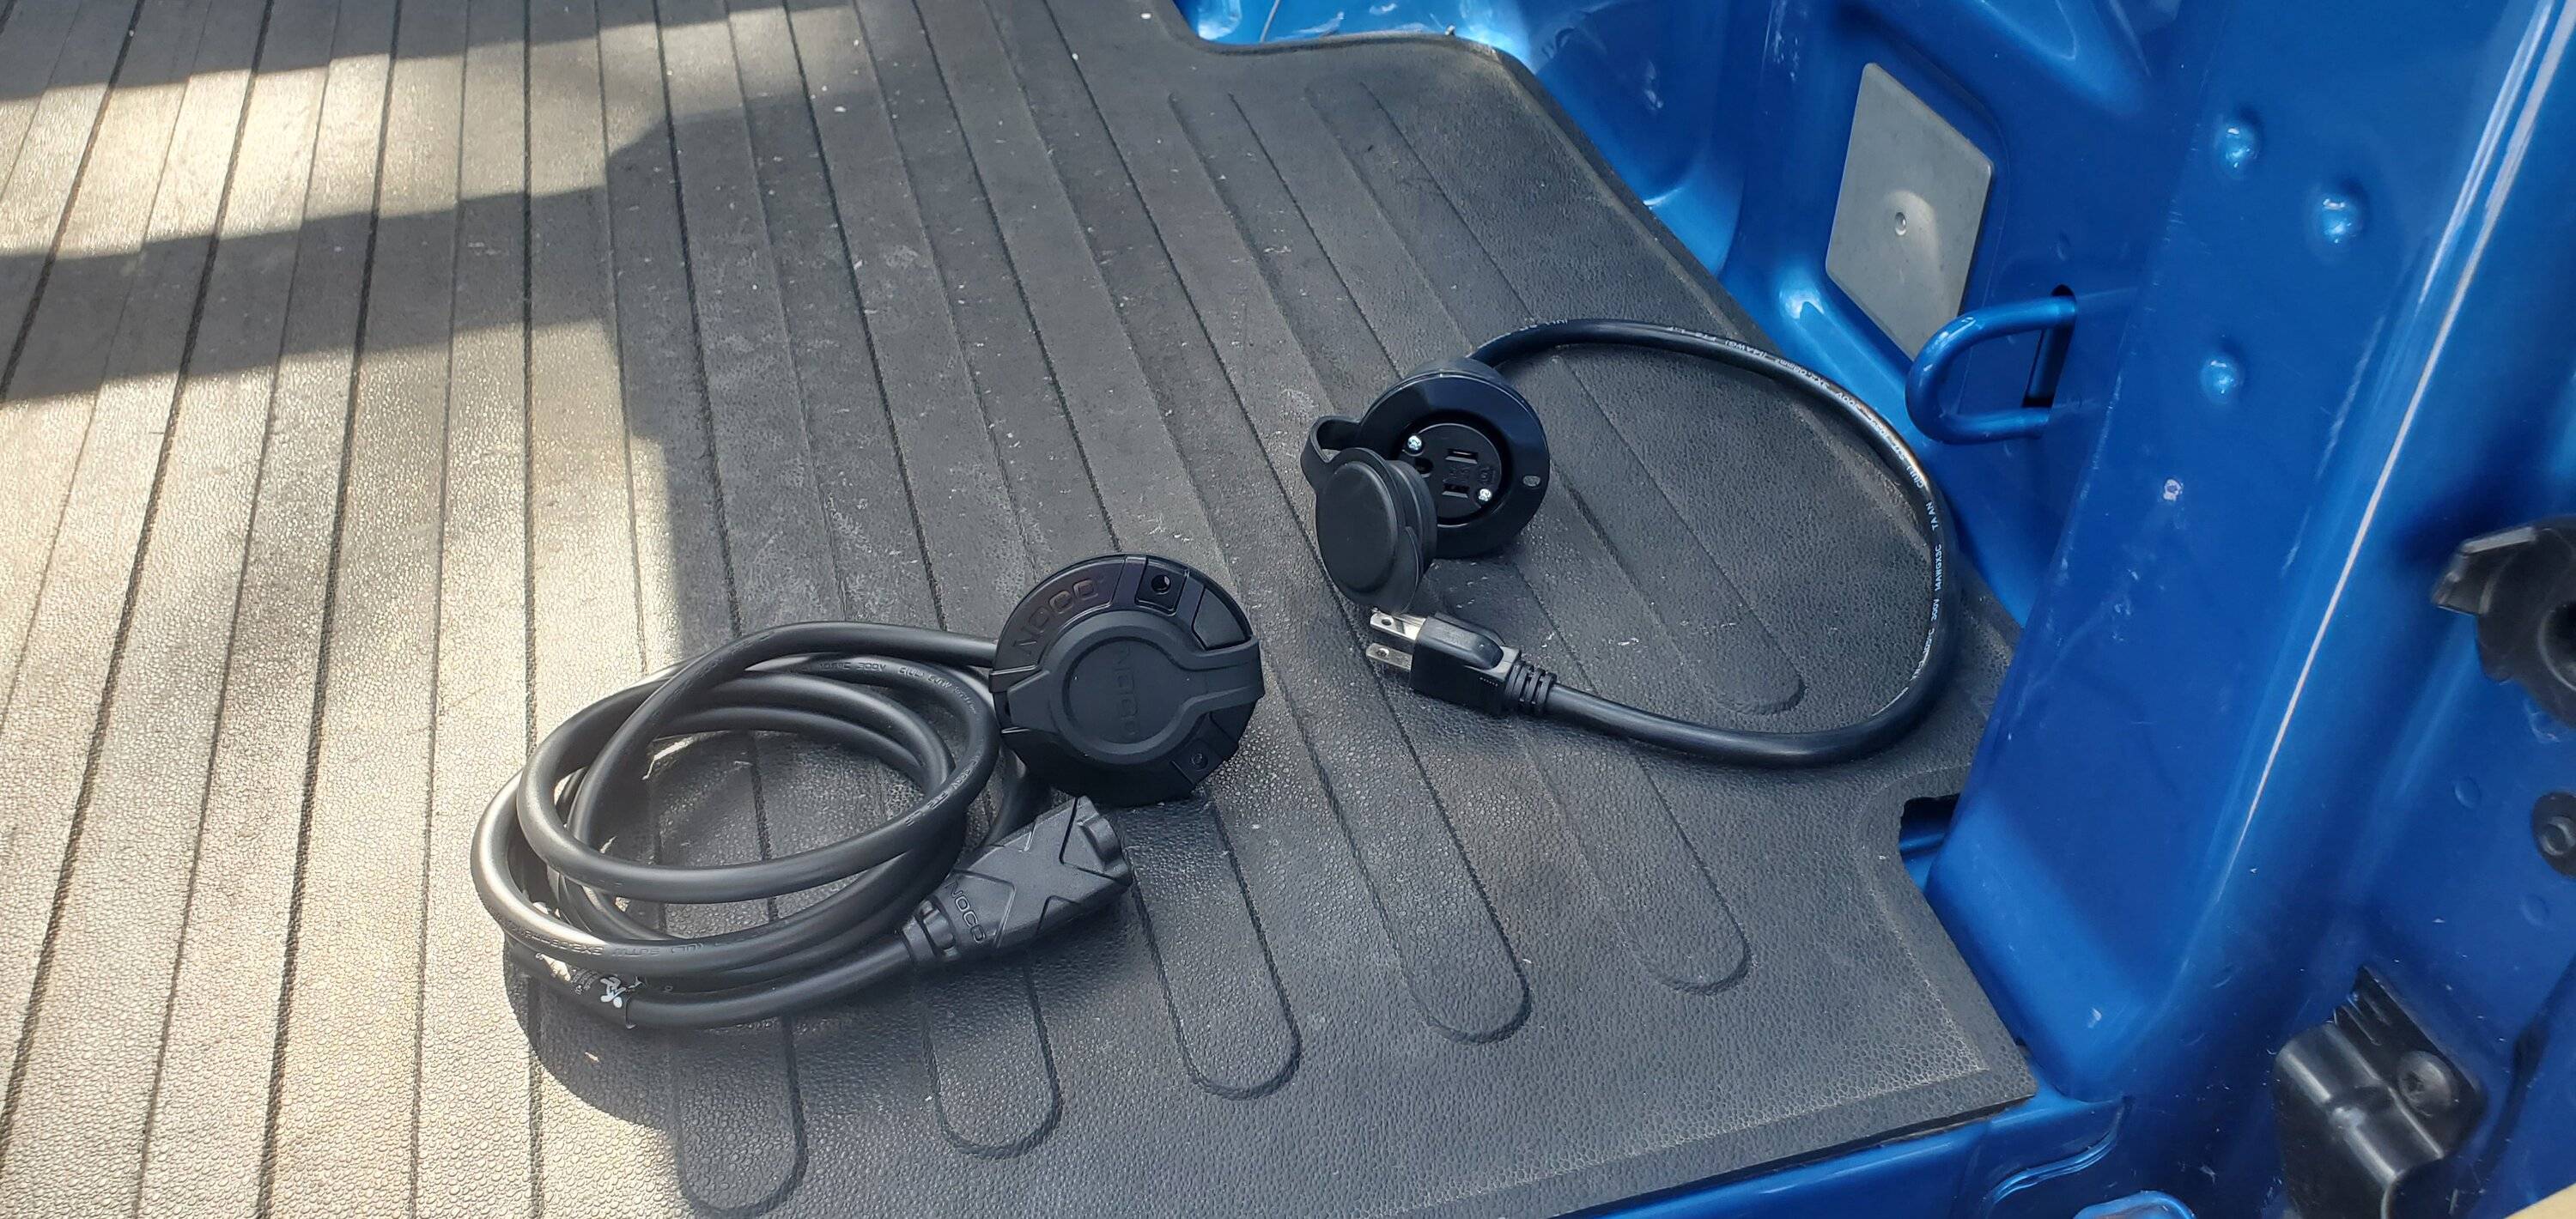
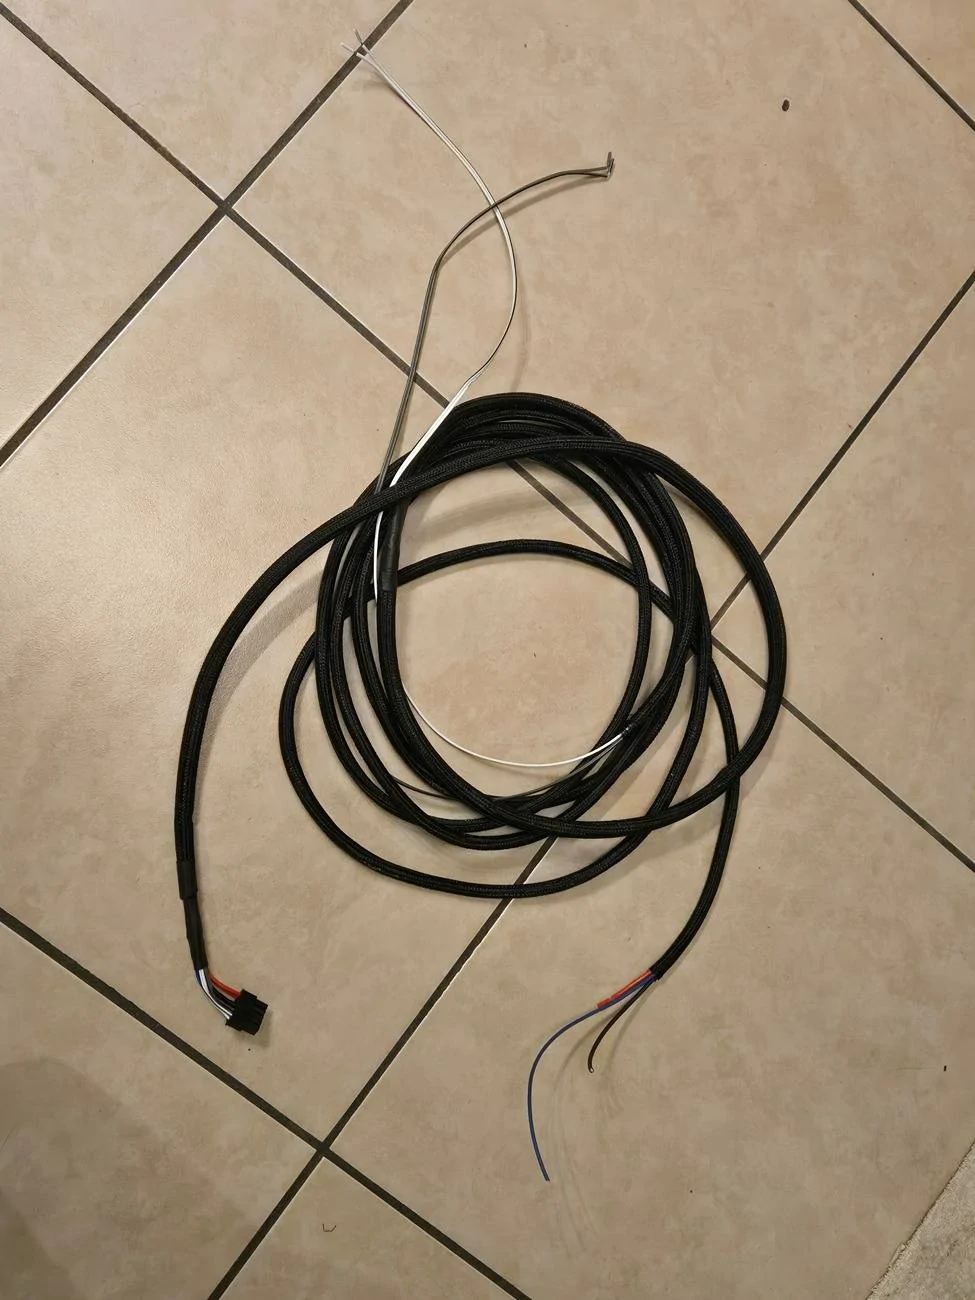
- An ARB fridge outlet harness and fridge cord.
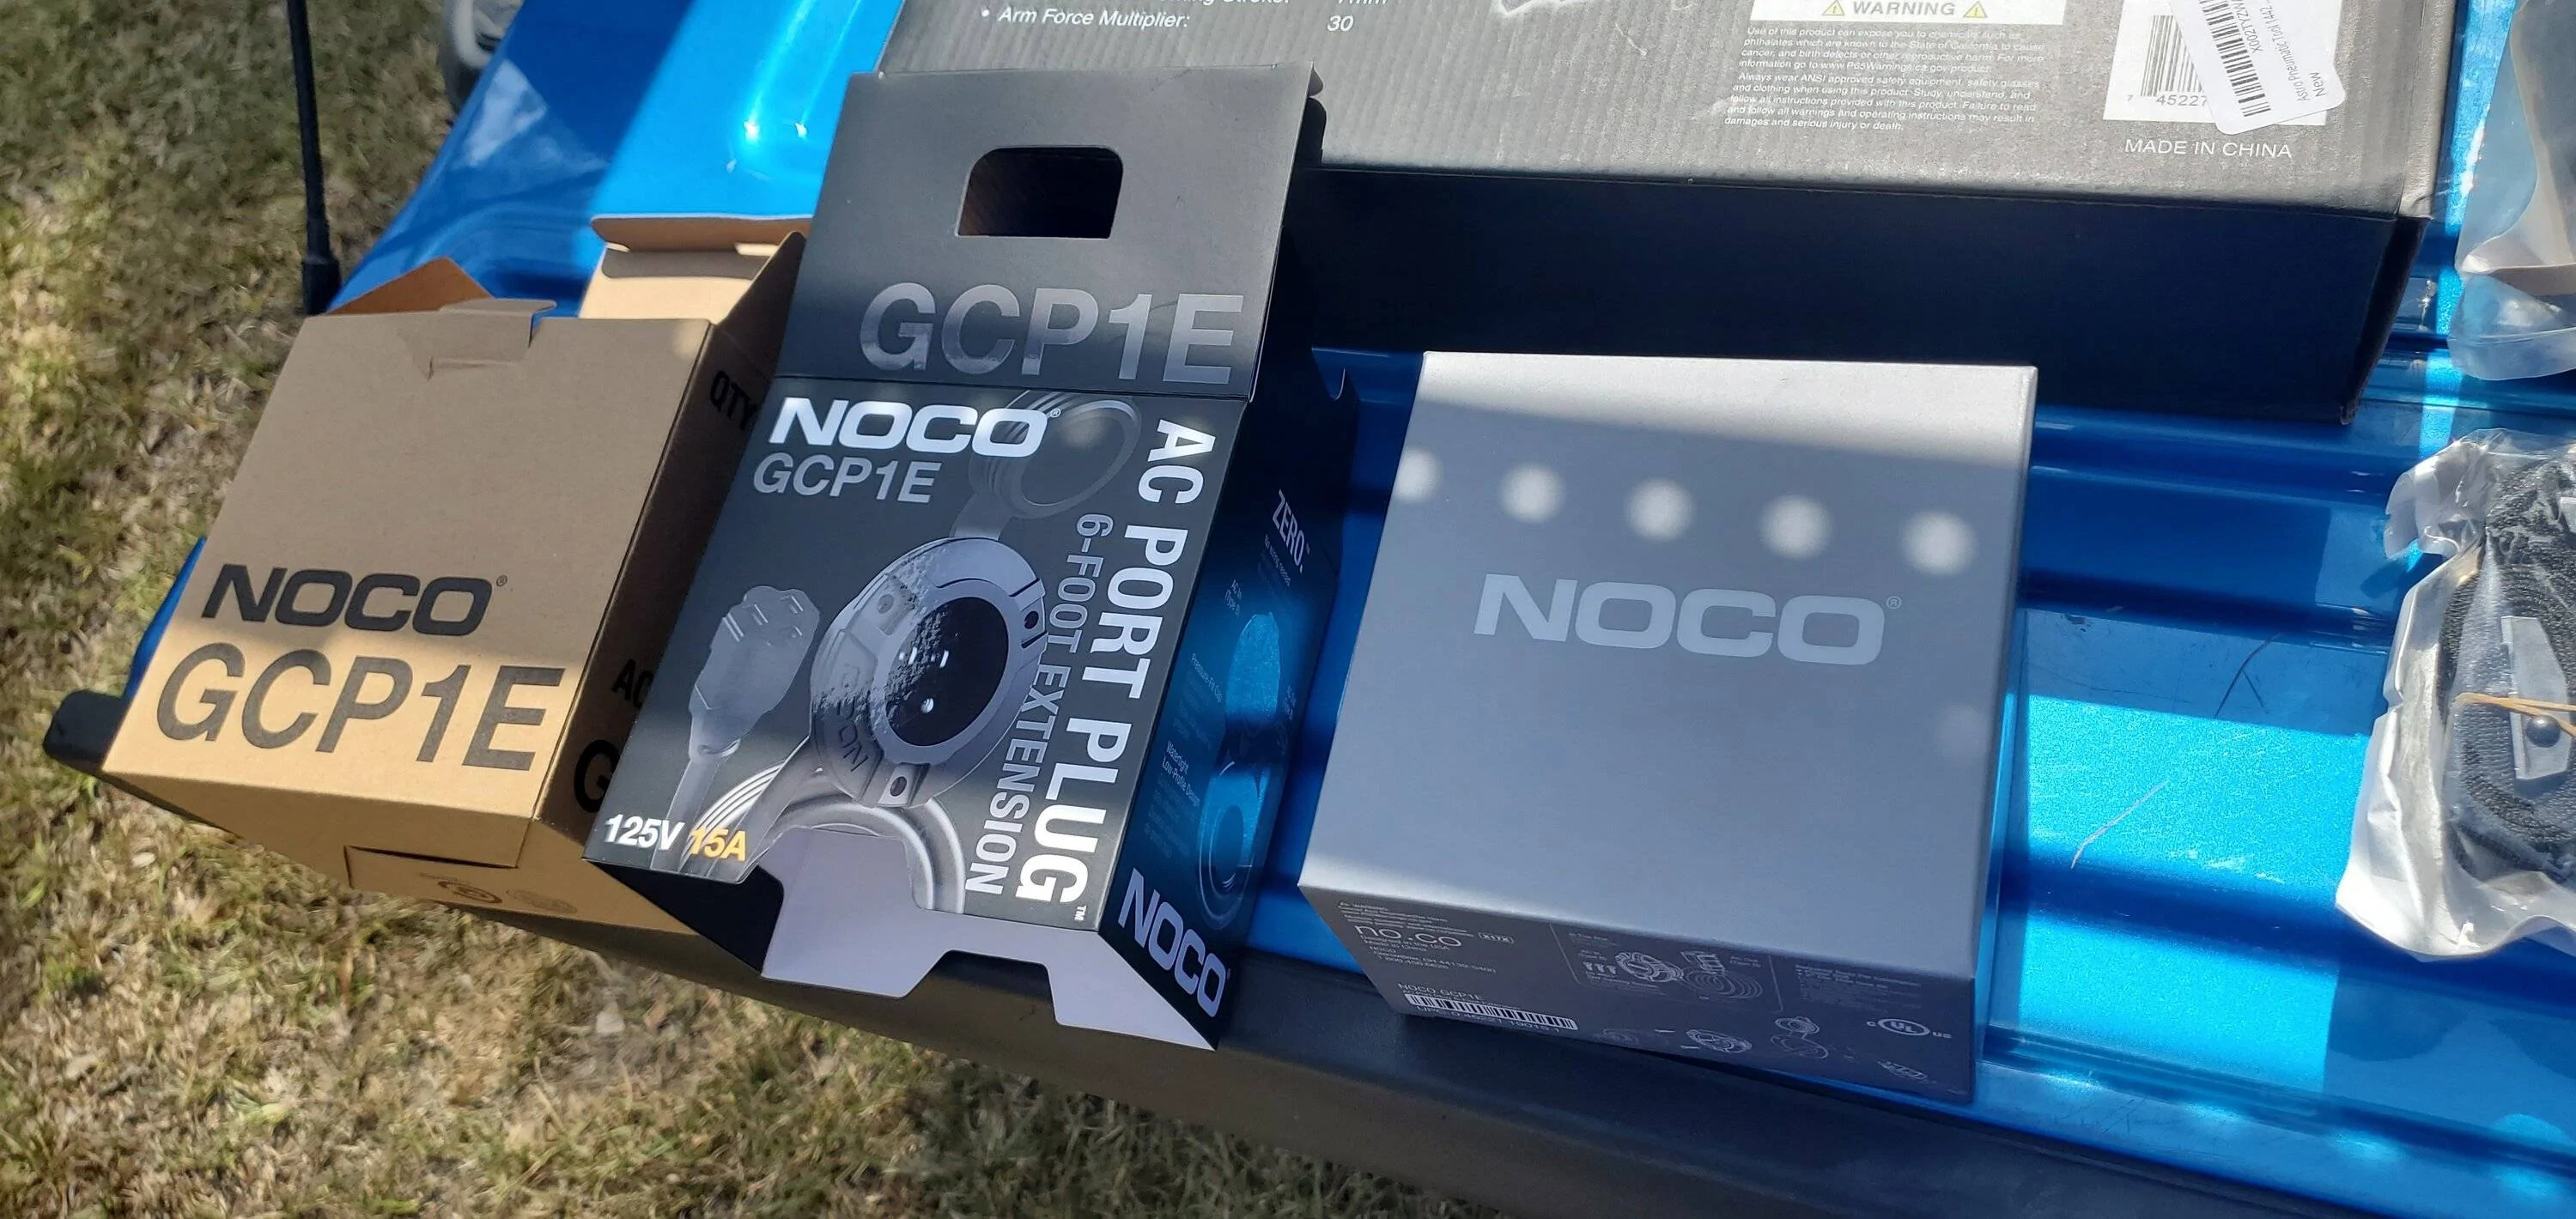
- A Noco 15A 120V inlet cable
- A 15A outlet cable
- Some cam buckle straps
- Some thumb knobs and d-rings (the d-rings were missing from package, awaiting support from vendor)
- A nut cert tool

Side note: Look at the packaging for this Noco inlet. It's like a nesting doll. I began to wonder how many layers of packaging I was going to find before getting to the parts.
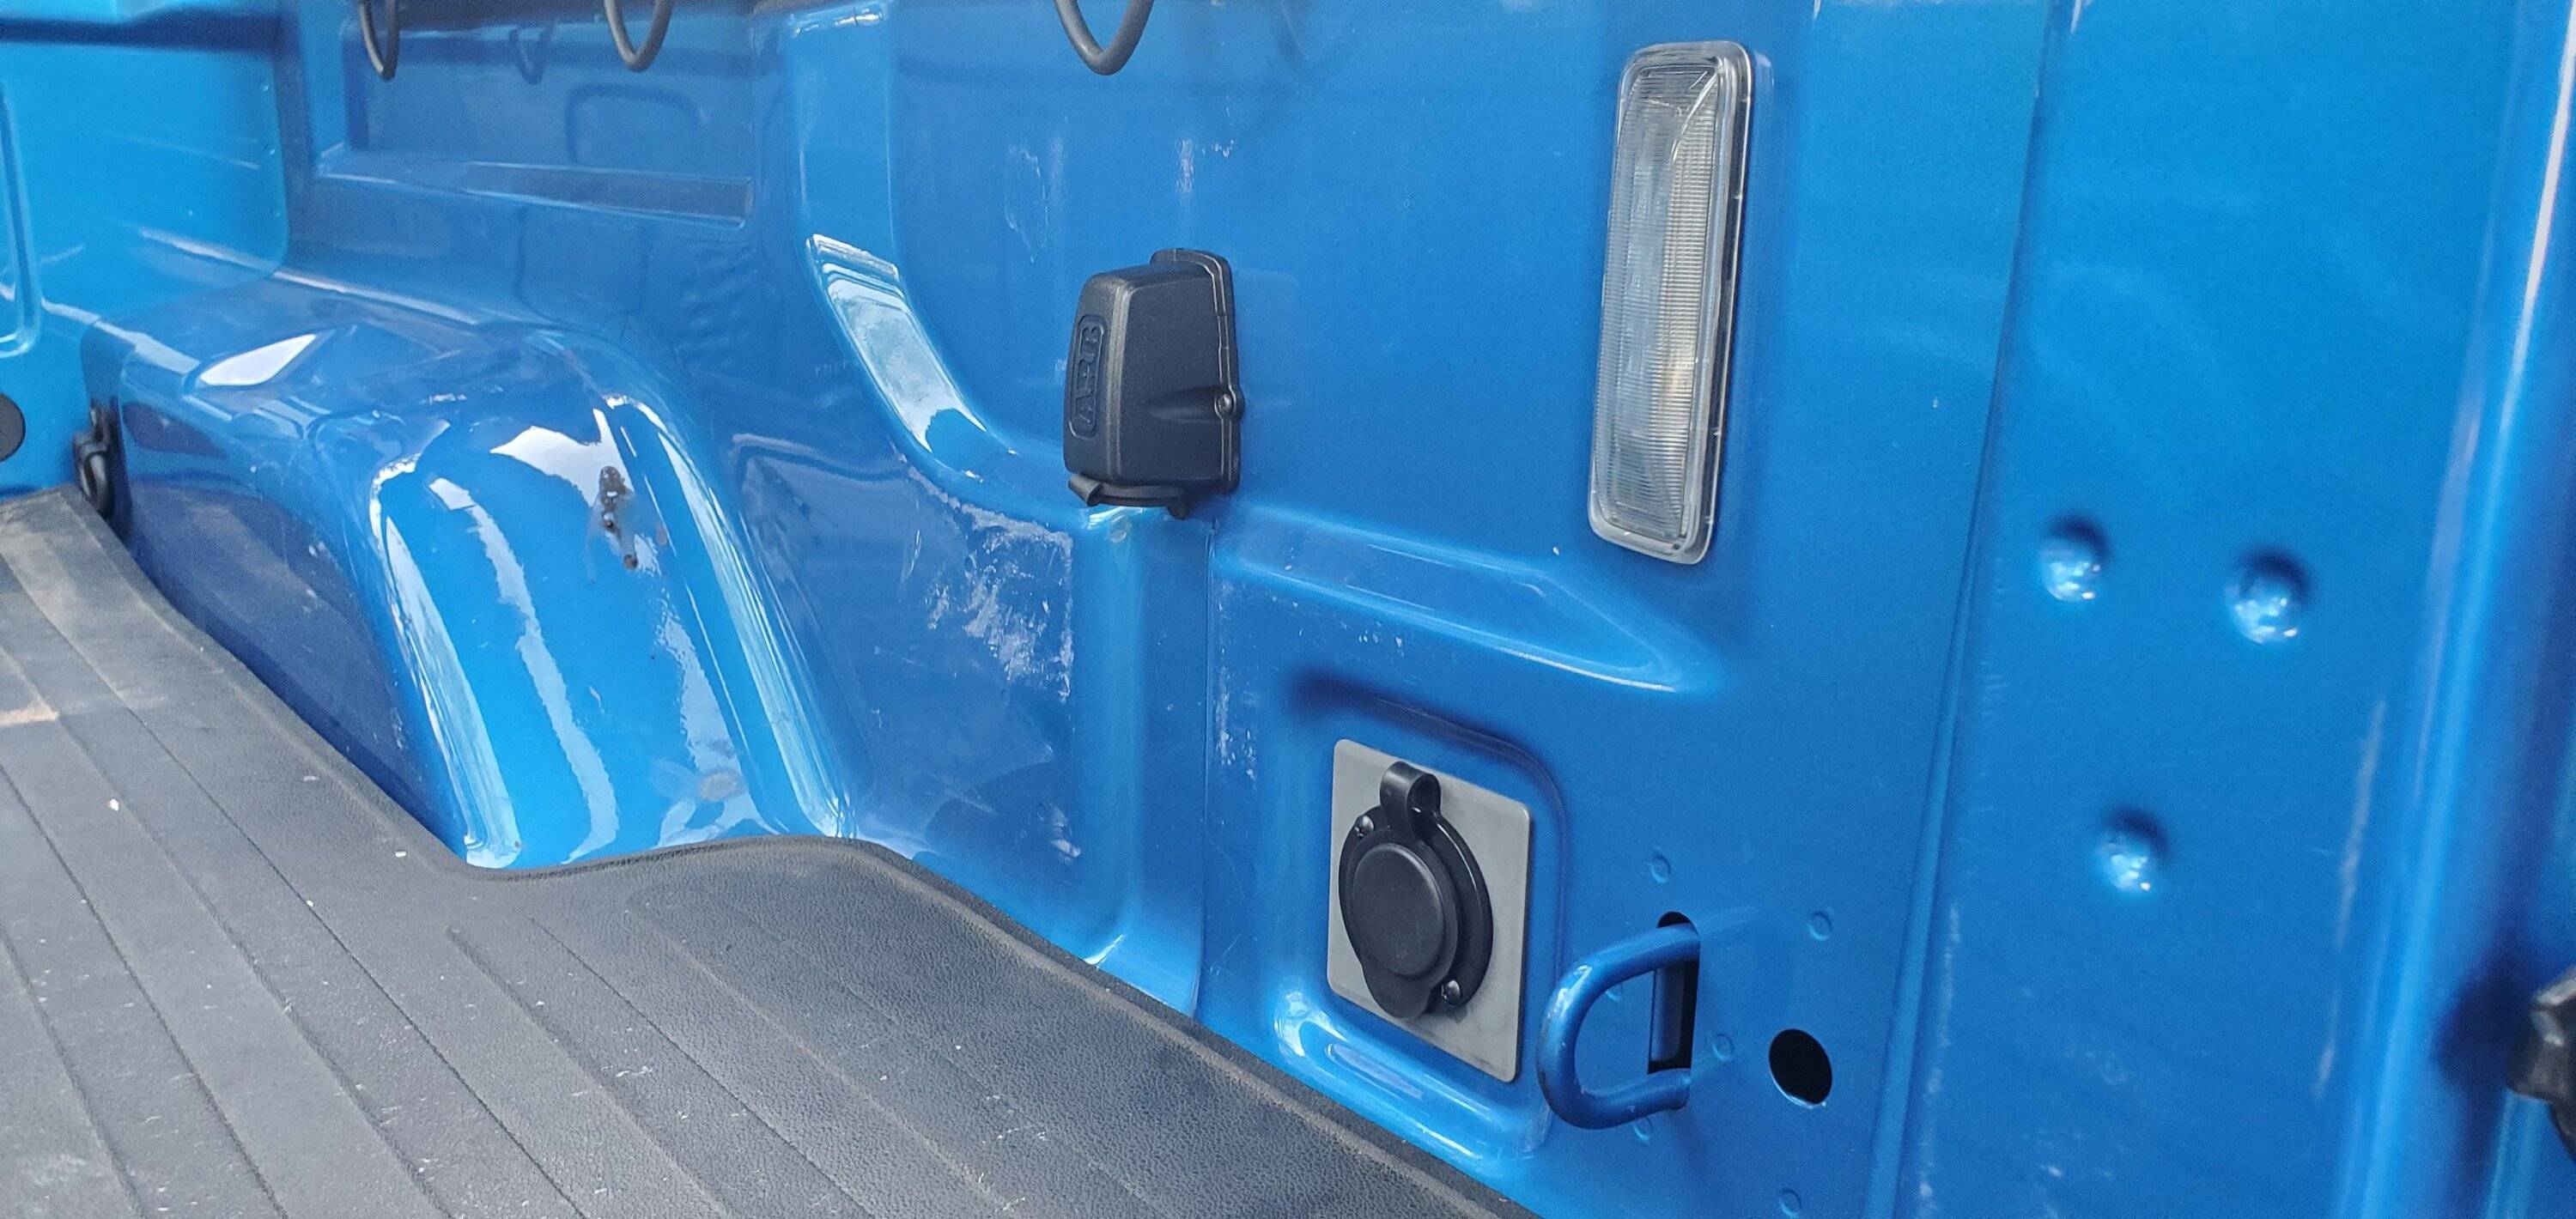
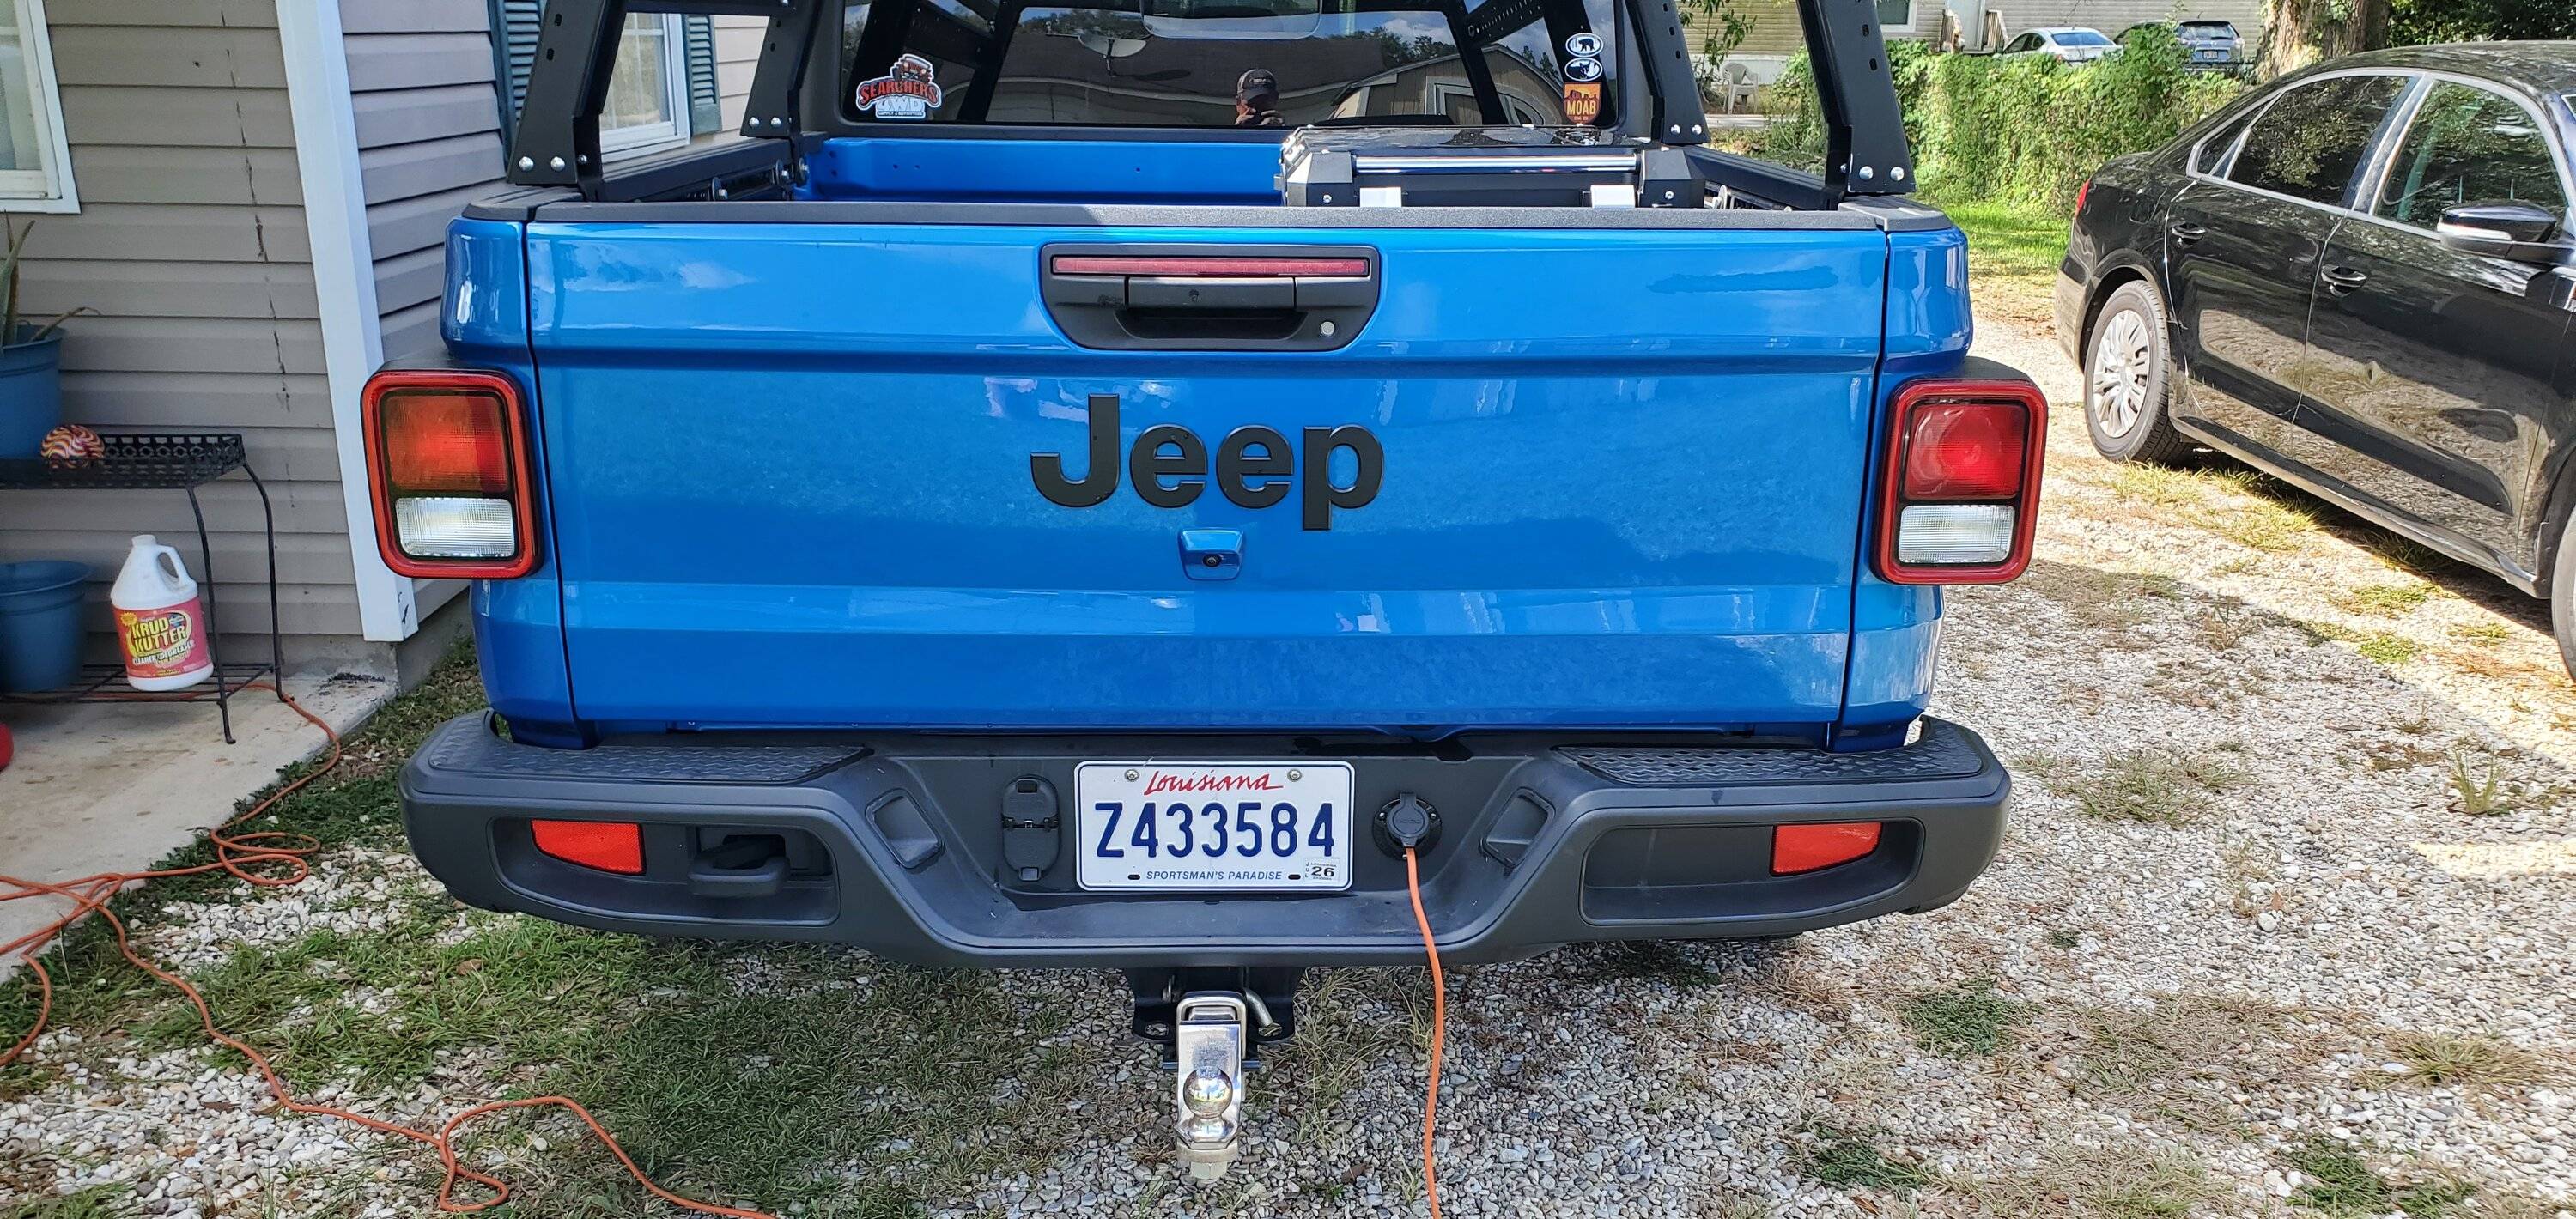
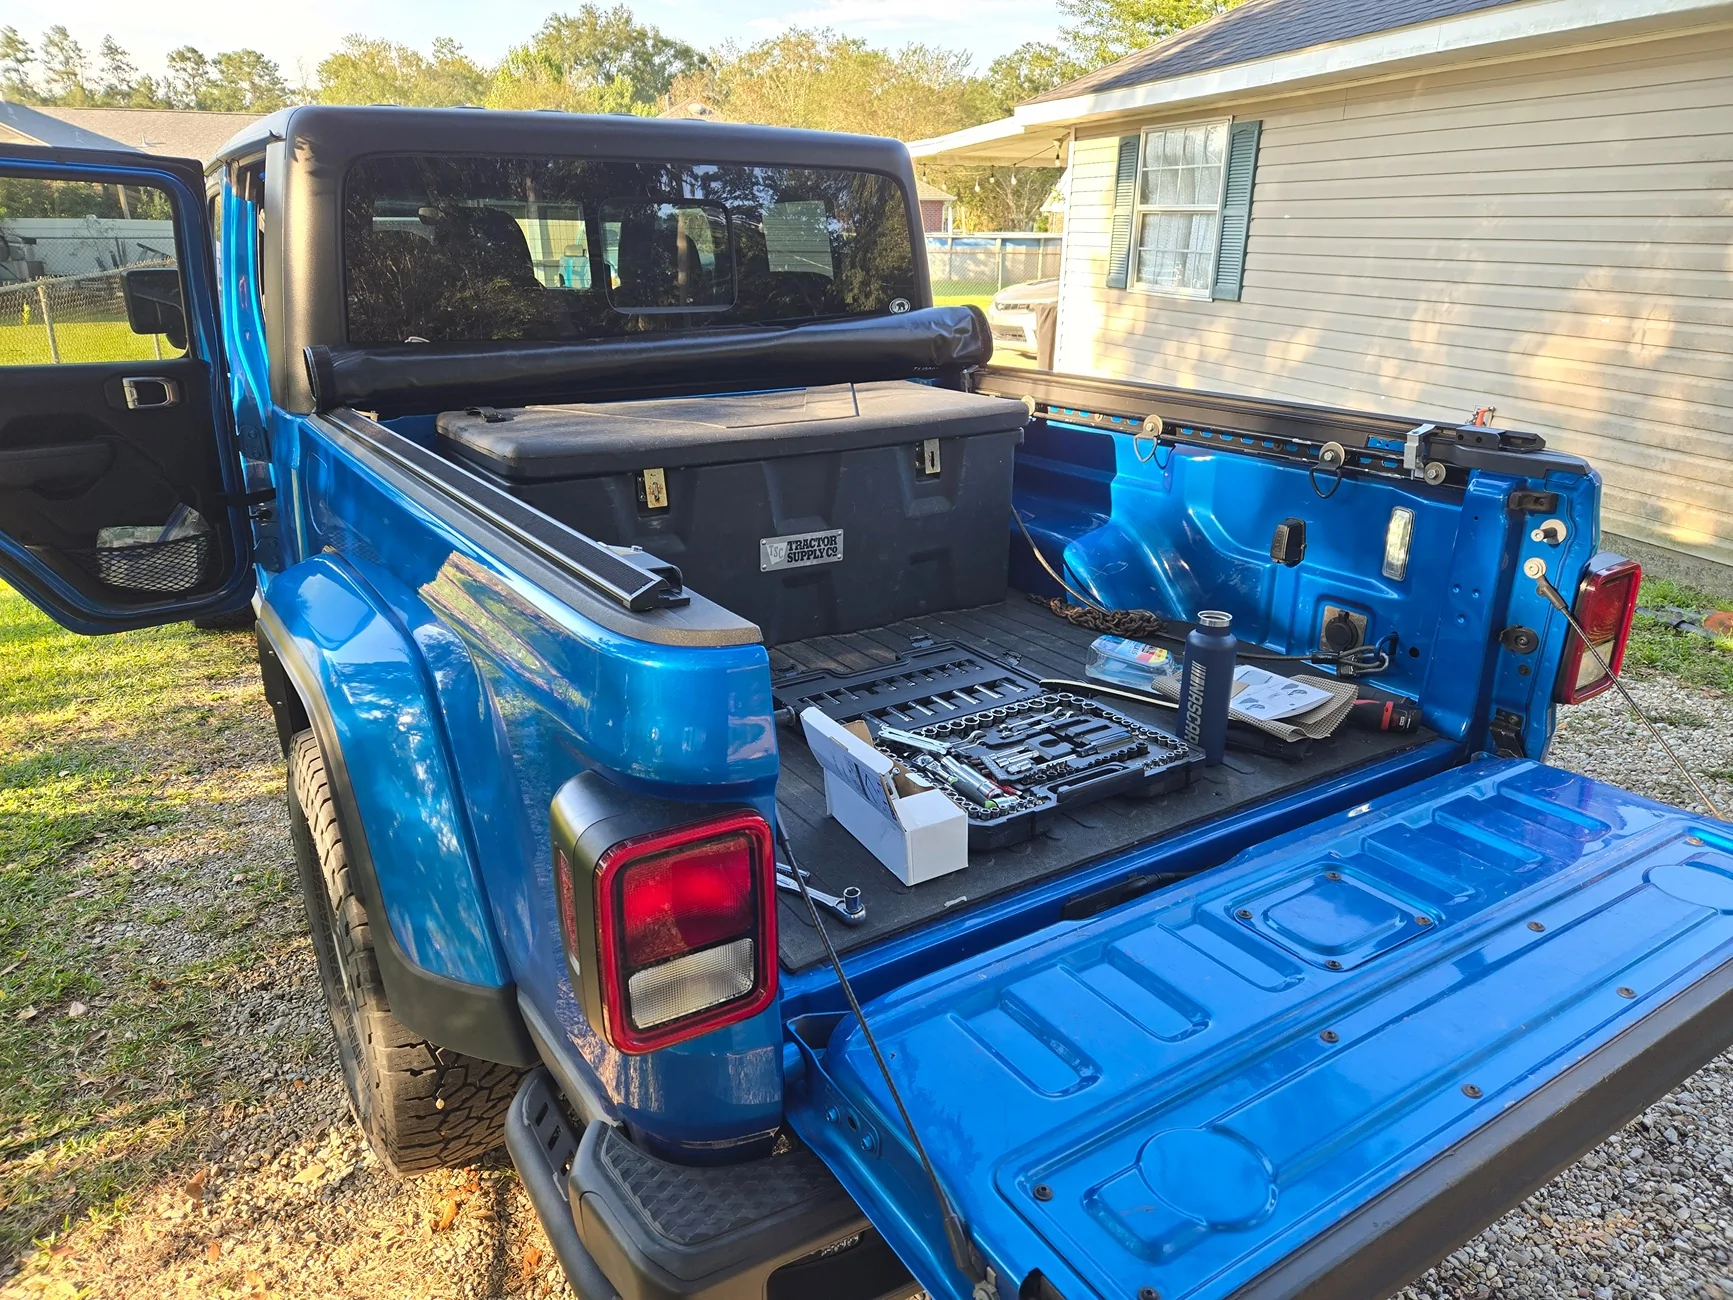
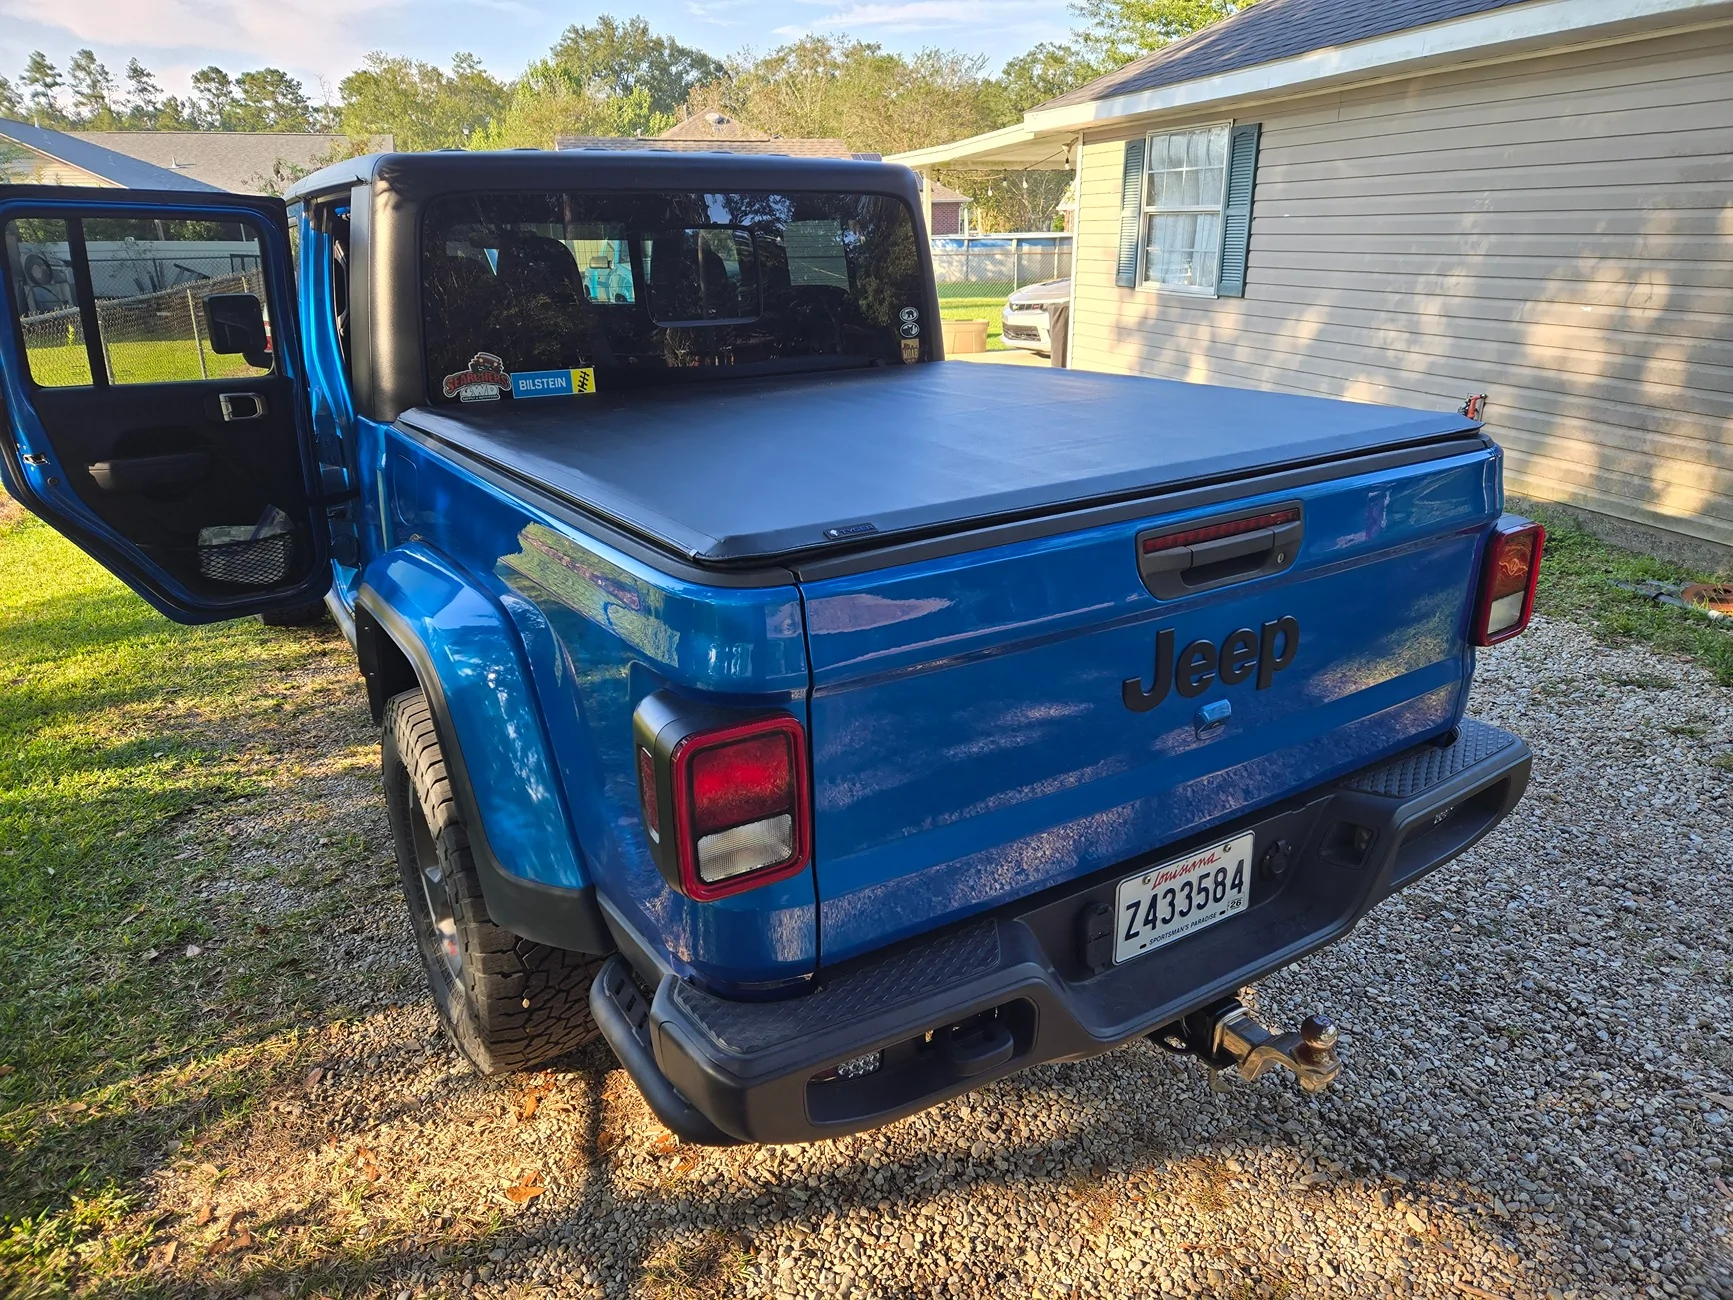
I installed the Noco inlet in the rear bumper, and the outlet into the plastic filler panel on the passenger side of the bed (where the factory 120V / 400W outlet would be) and connected the two together. Now, my APL55 can be plugged into the inside of the bed and when my truck is at home I can plug an extension cord into the inlet and override the 12V. This way, the fridge won't be needlessly taxing my battery when it doesn't need to. Also, this gives me an easy way to add a trickle charger or other feature to the truck later.
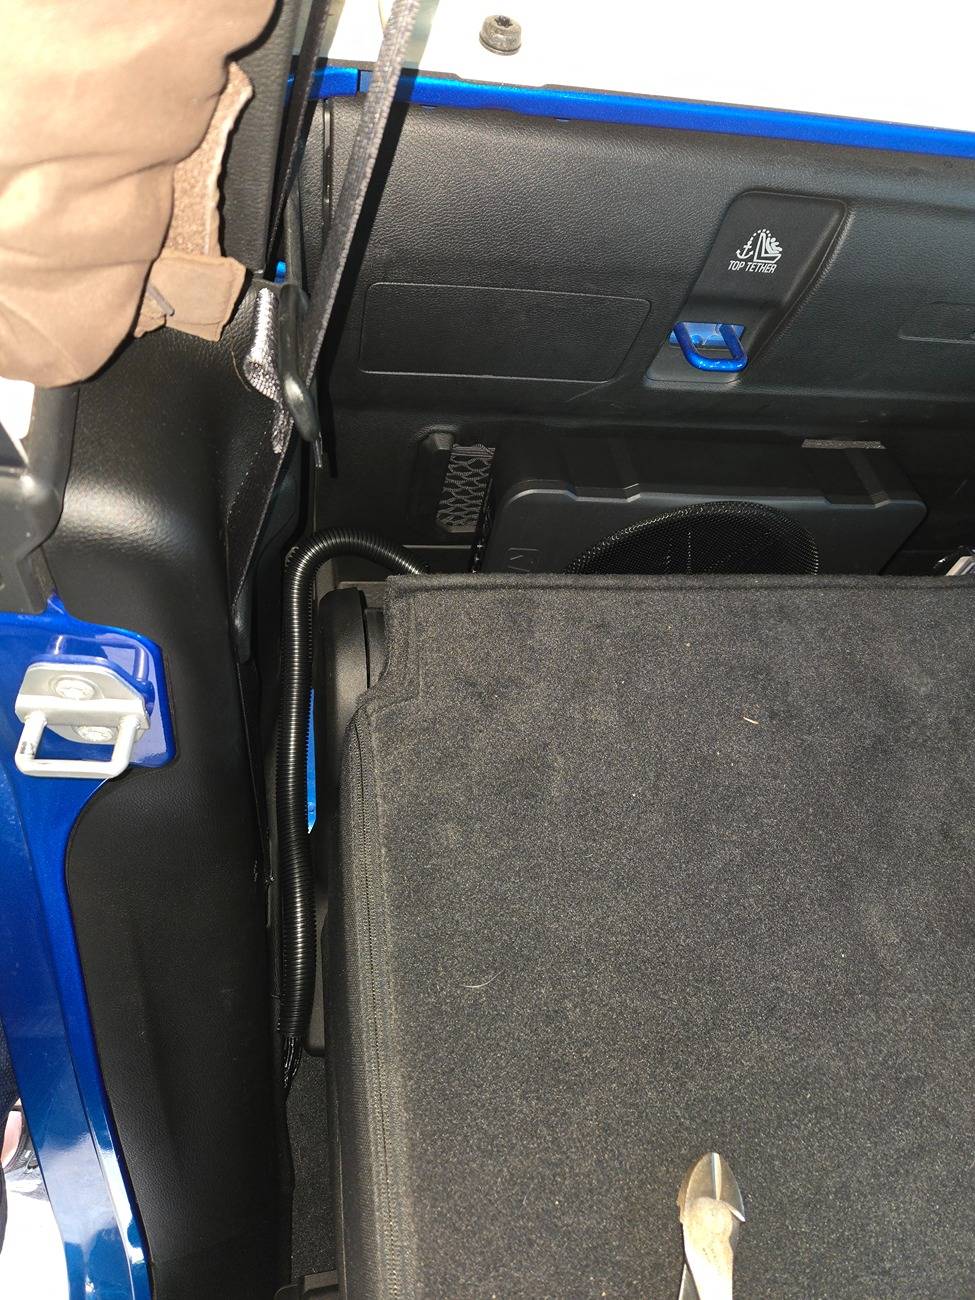
Here is the 12V receptacle and 120V receptacle installed. If you use the ARB kit in a Gladiator, be warned - it is barely long enough for these trucks if going to the rear of the bed. I followed the harness along the passenger frame rail and over the rear axle and was left with less than a foot of cable to pull through the bed wall. If you take additional short cuts, you'll have more length.
I used this cable kit because the ARB fridge cable screws into the outlet and cannot shake loose.
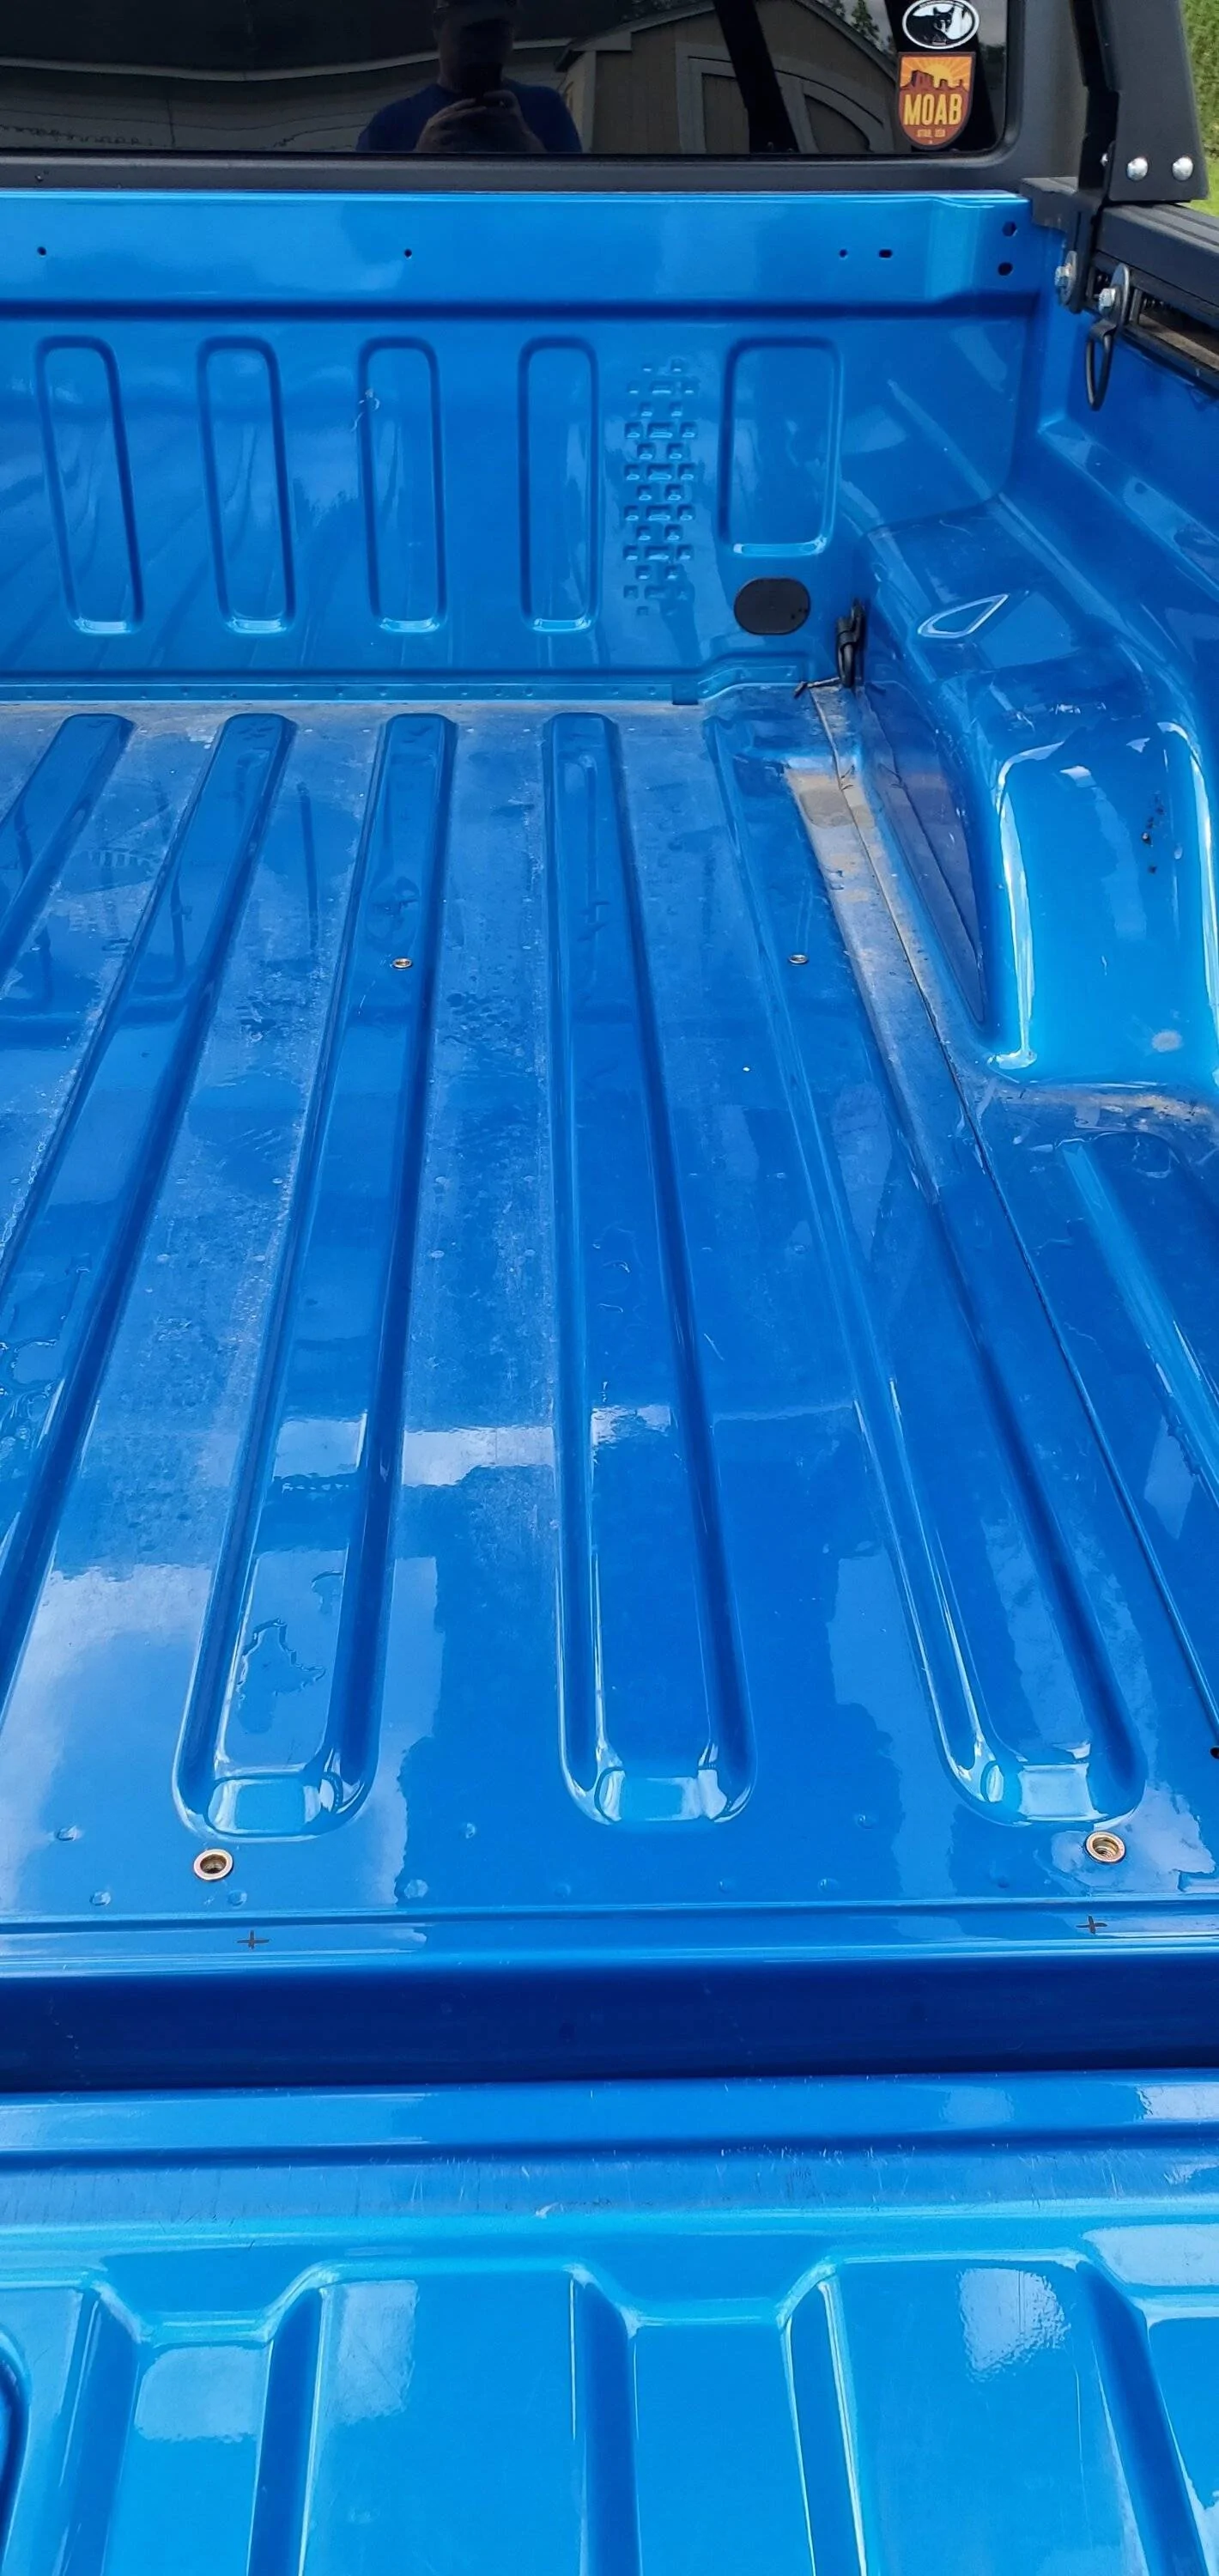
Here you can see all four nutcerts installed in the bed. By the tailgate there is a structural rib so the bed is very thick and lets the nut cert set well. Toward the front, not so much. I am slightly concerned these may work loose, but I have a solution devised - so ultimately not too worried.

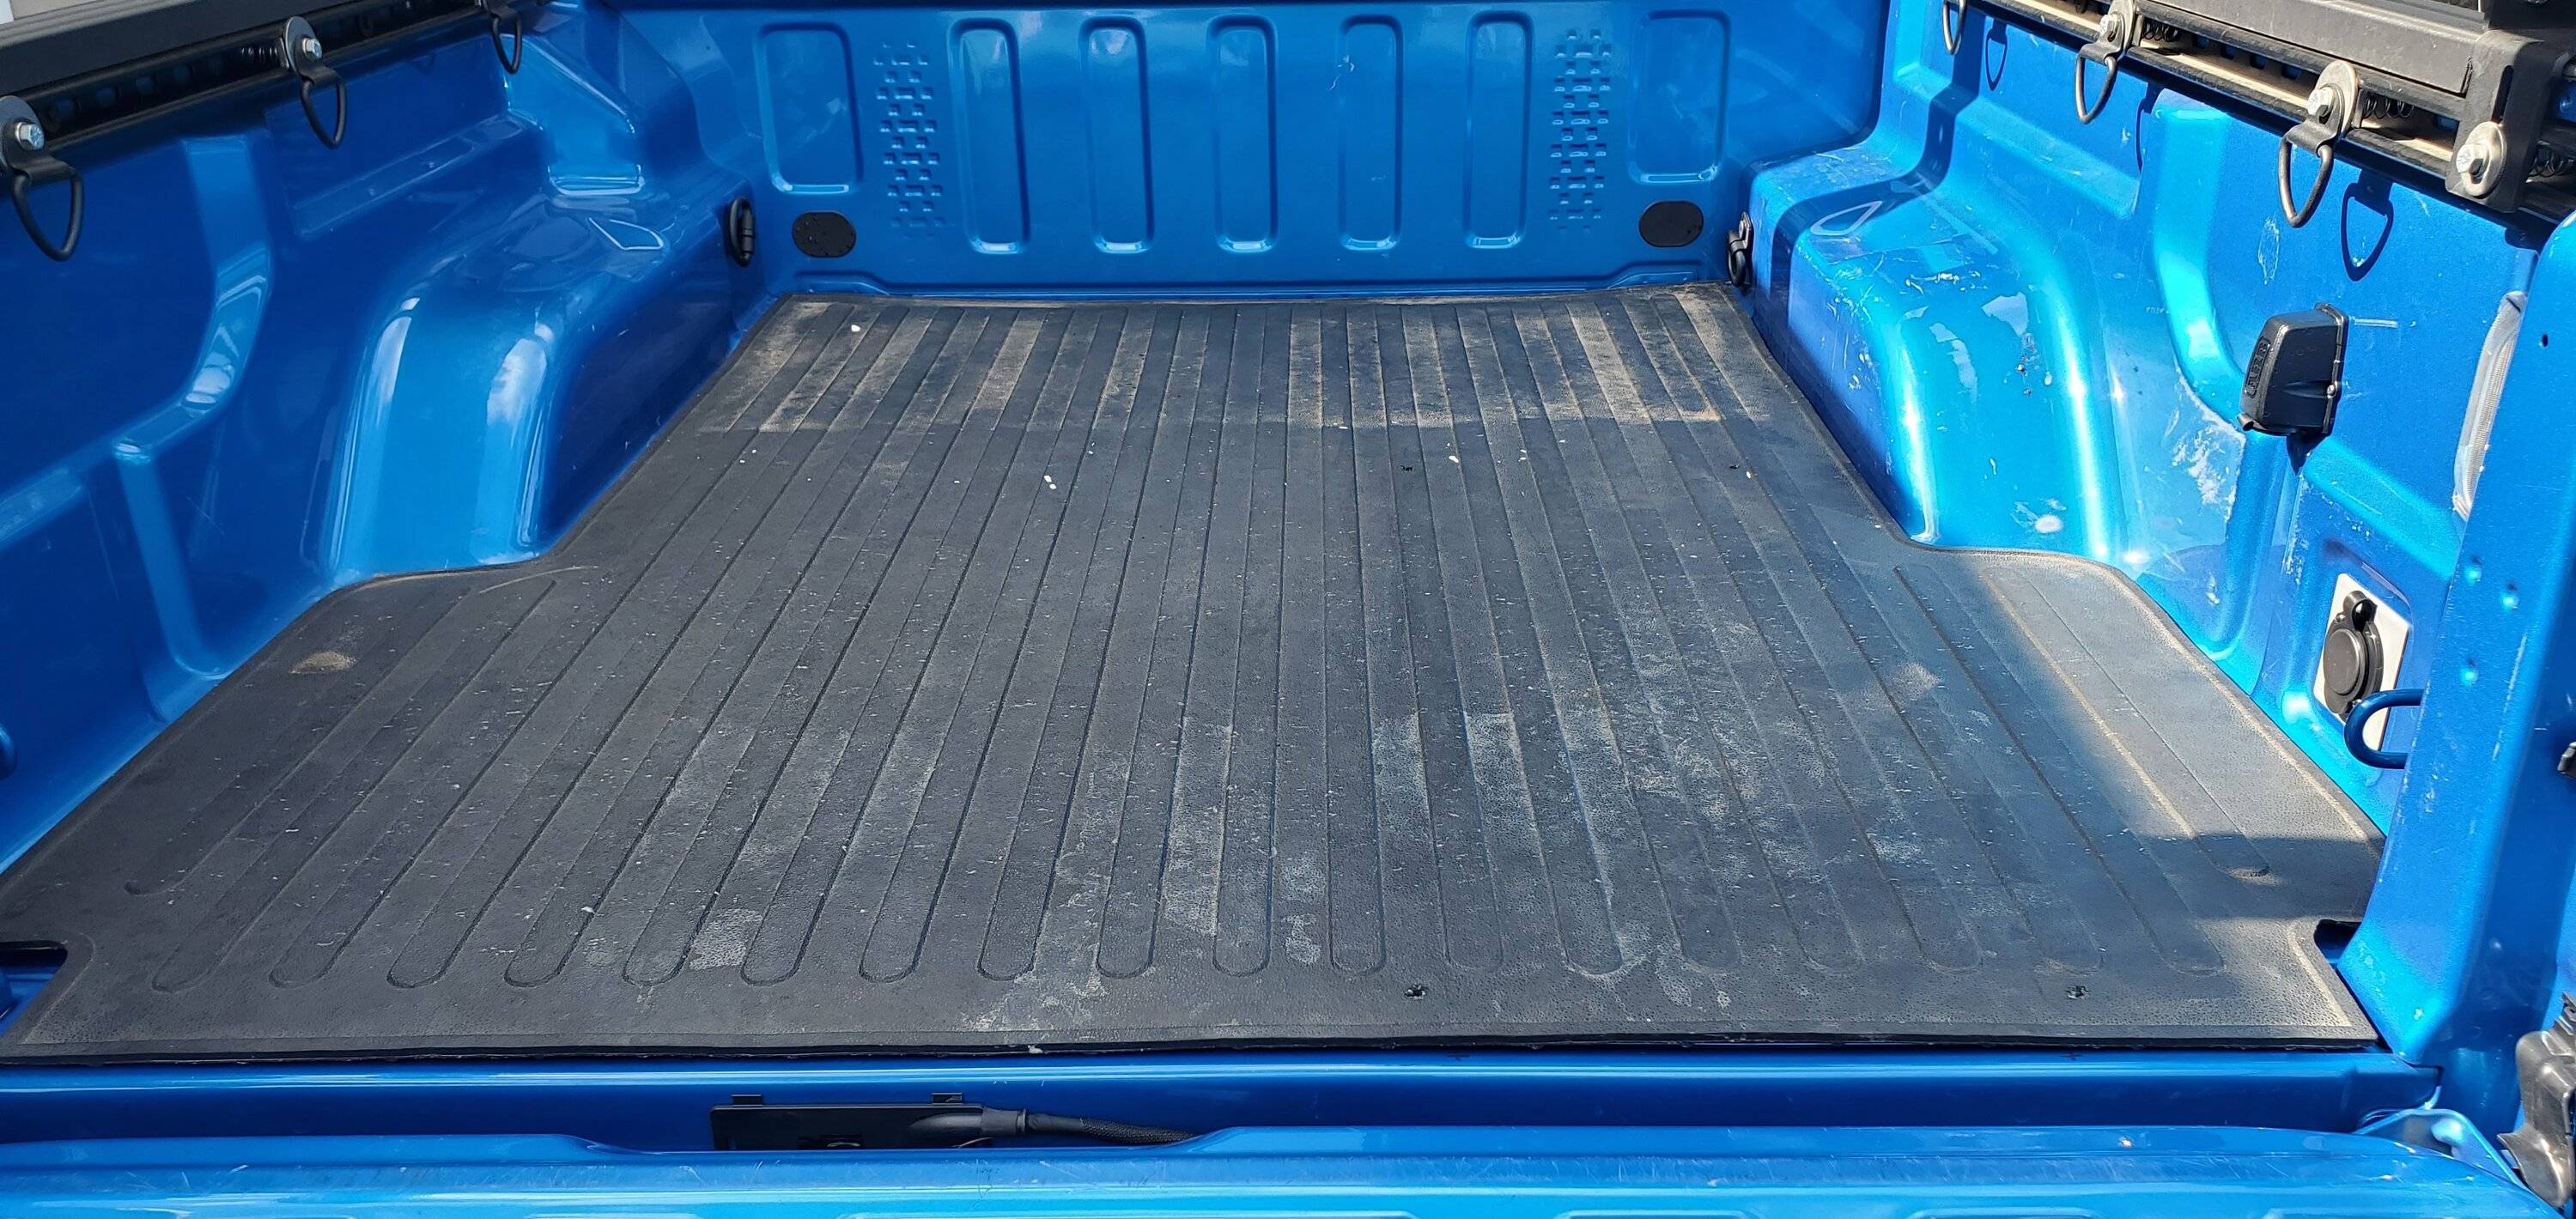
You can hardly tell, but here is the bed mat back in with four holes drilled in it for the fridge hooks. With the fridge and hooked removed, you have a clean and clear bed.
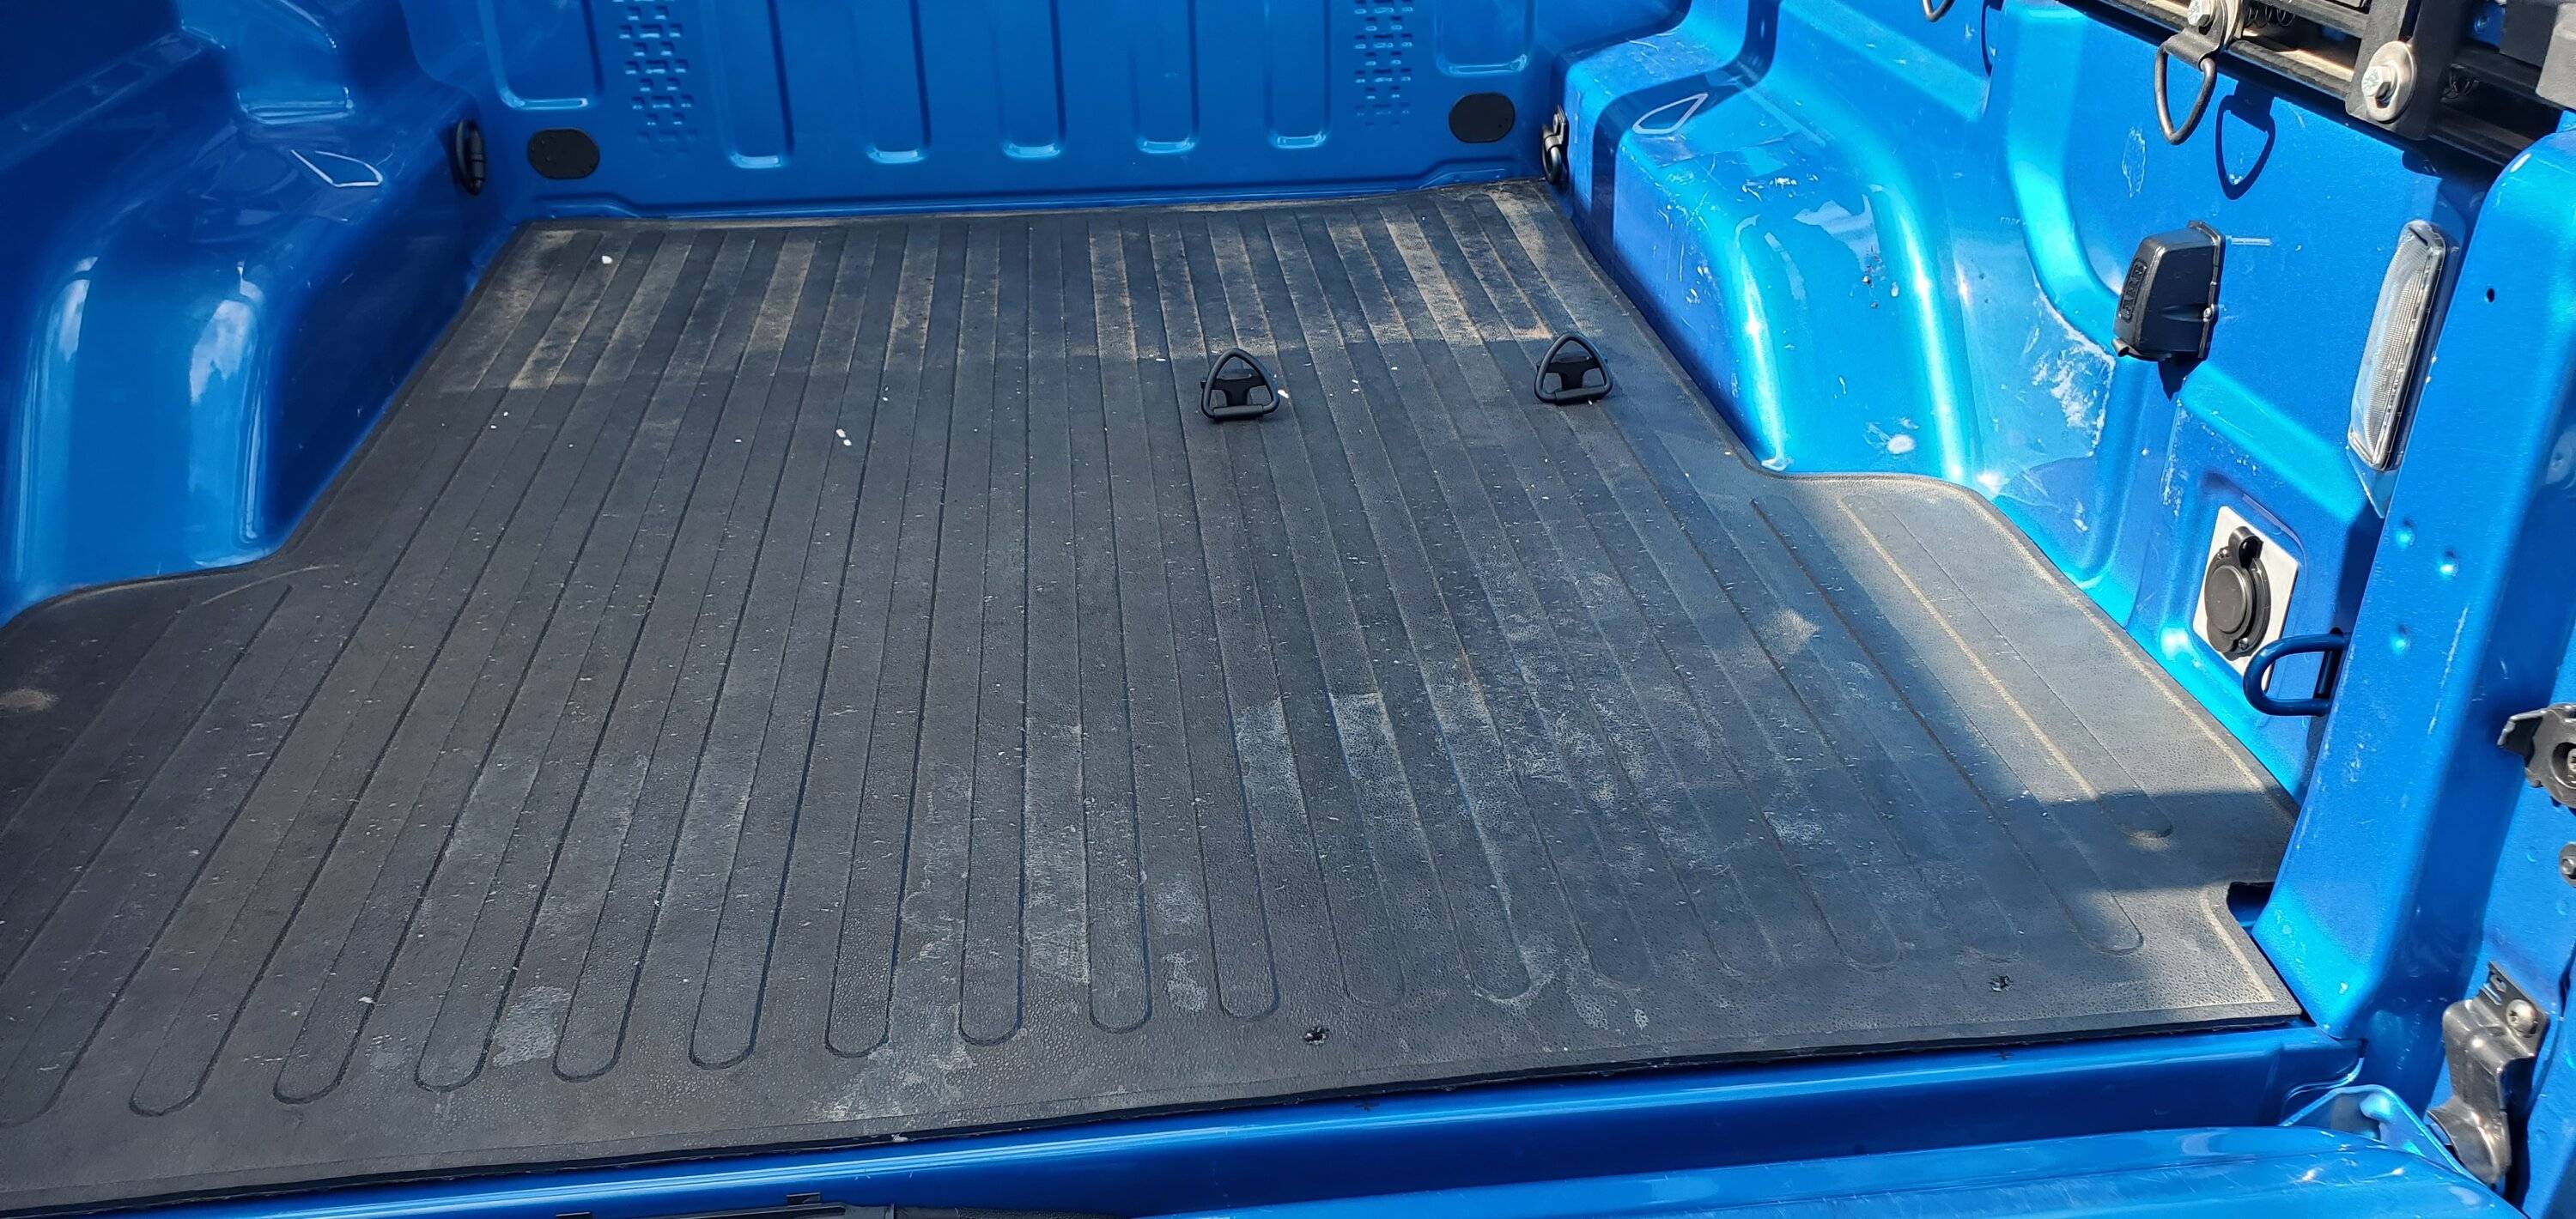
Two hooks screwed down. All four holes lined up great. Very easy to put in.
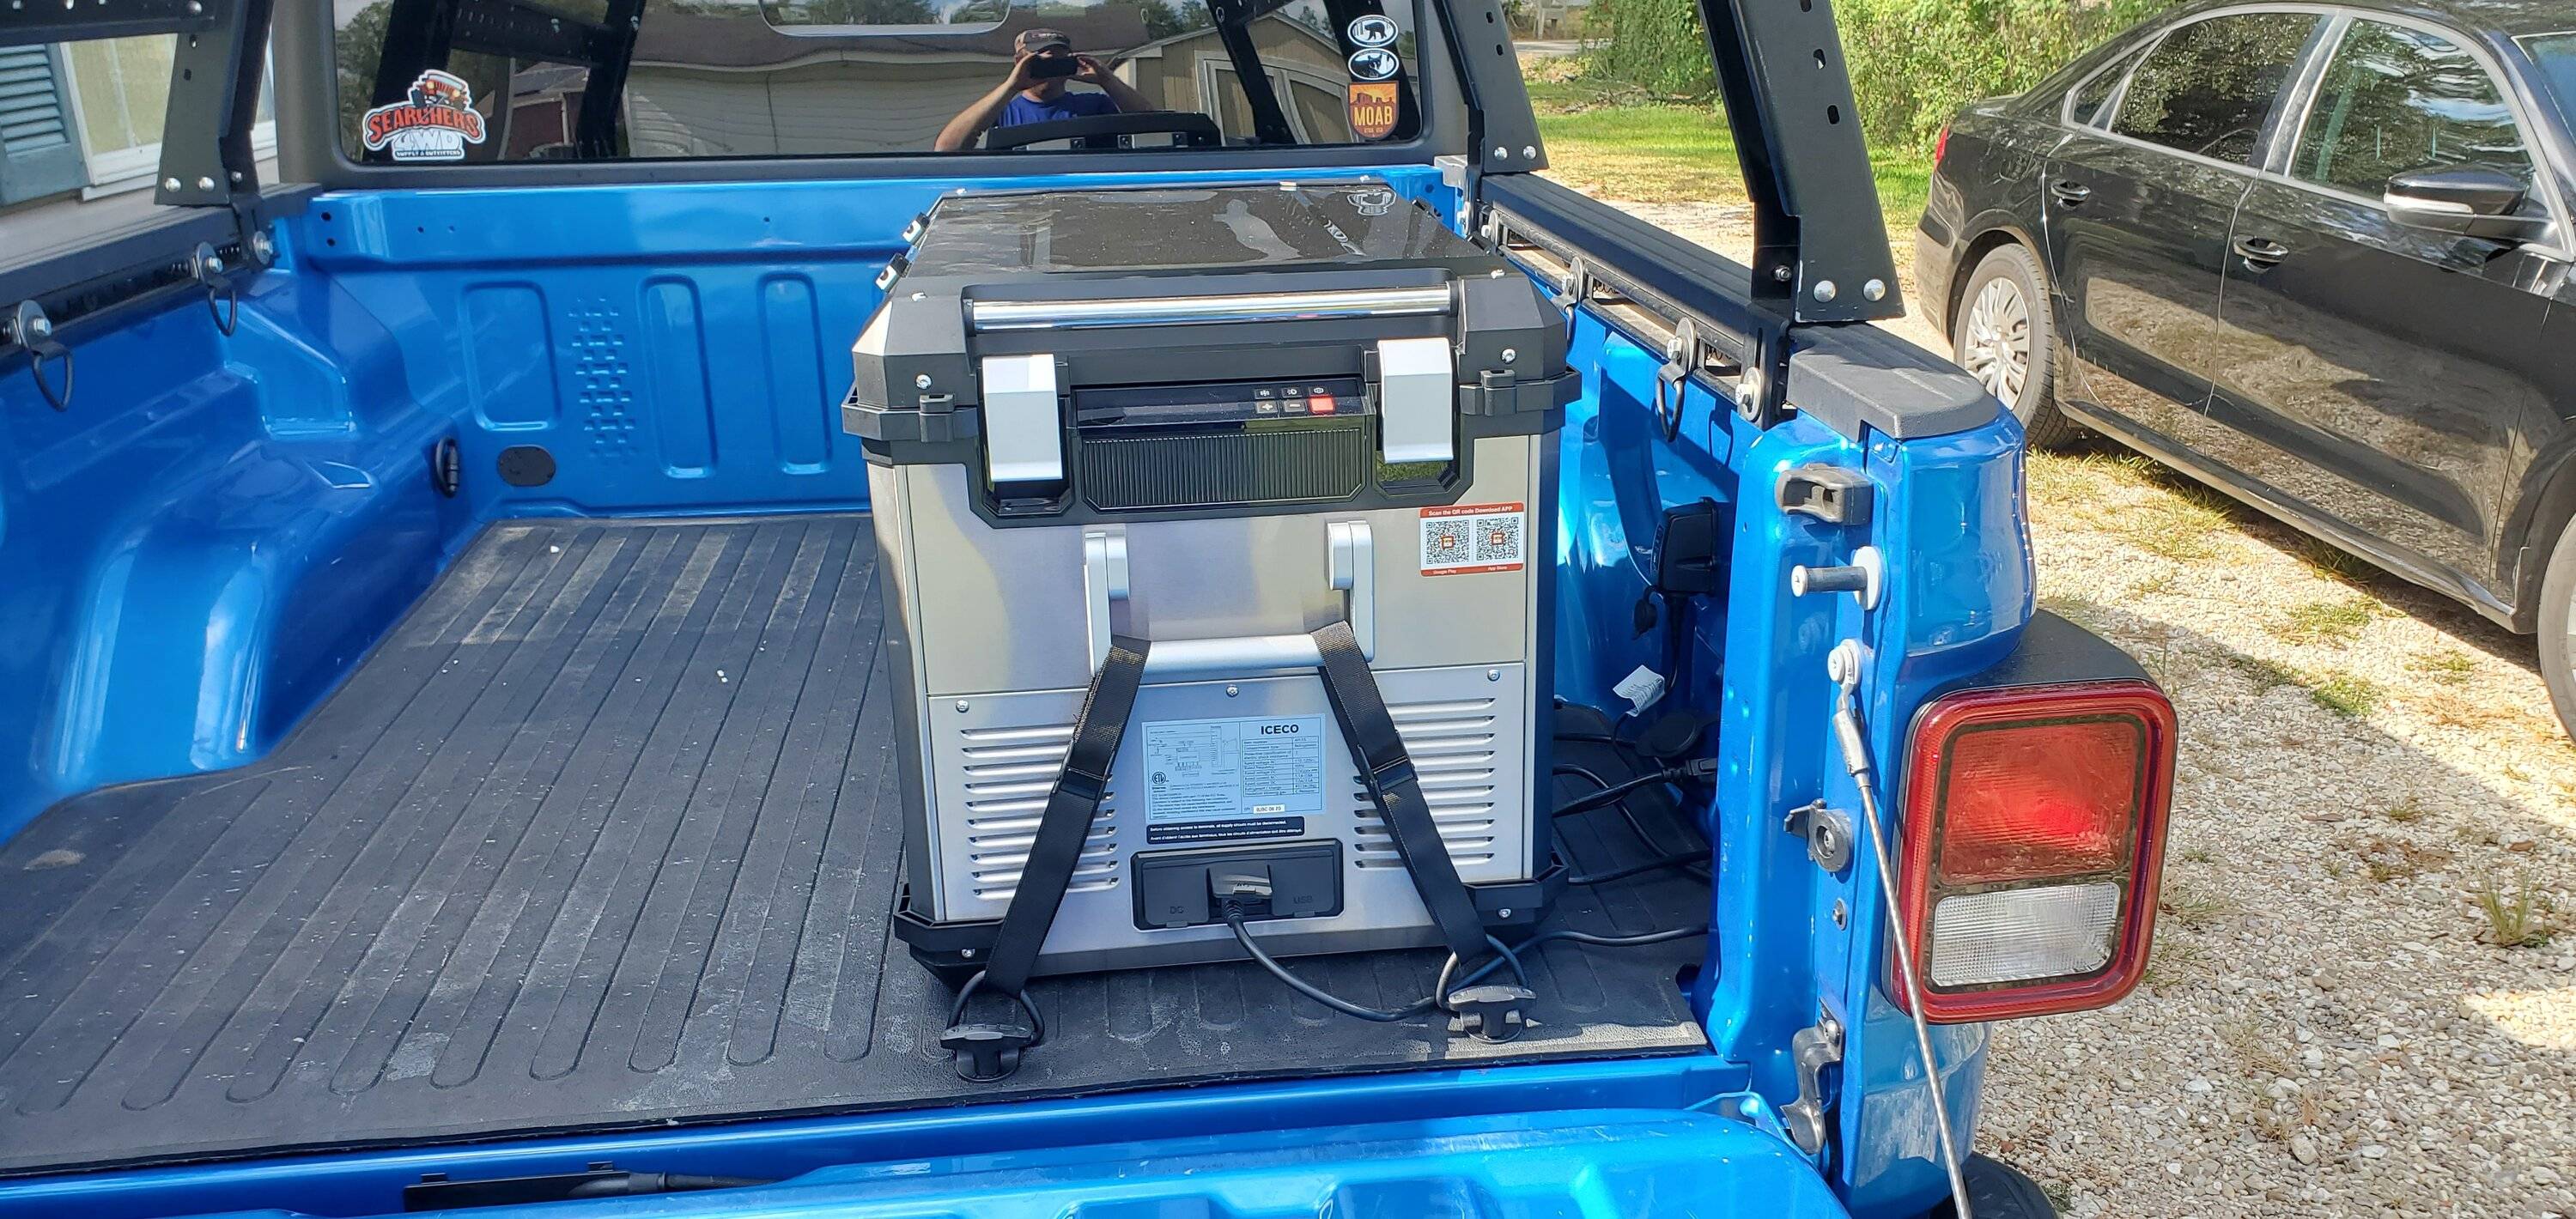
And here is the fridge strapped down. I am going to neaten up the cords.
Shoreline in use. The fridge automatically defaults to 120V with both are connected at the same time. It switches over when the 120V is disconnected.
Also, a 3/8" cable lock is looped through the back handle and anchored to the factory tie down point for (some) security. I am going to order a custom vinyl cover that is going to cover the fridge down to just above the vents. This will help protect the display from being battered by the sun, and overall provide it a (minor) additional layer of insulation. Also, it will help the fridge look less conspicuous to casual passerby. It will still be easy to lift off as needed for access. It's use will really be optional based on weather conditions / how often I am accessing.
Sponsored
 Since I hear they replace the panel if the corrosion is in a seam (which it is).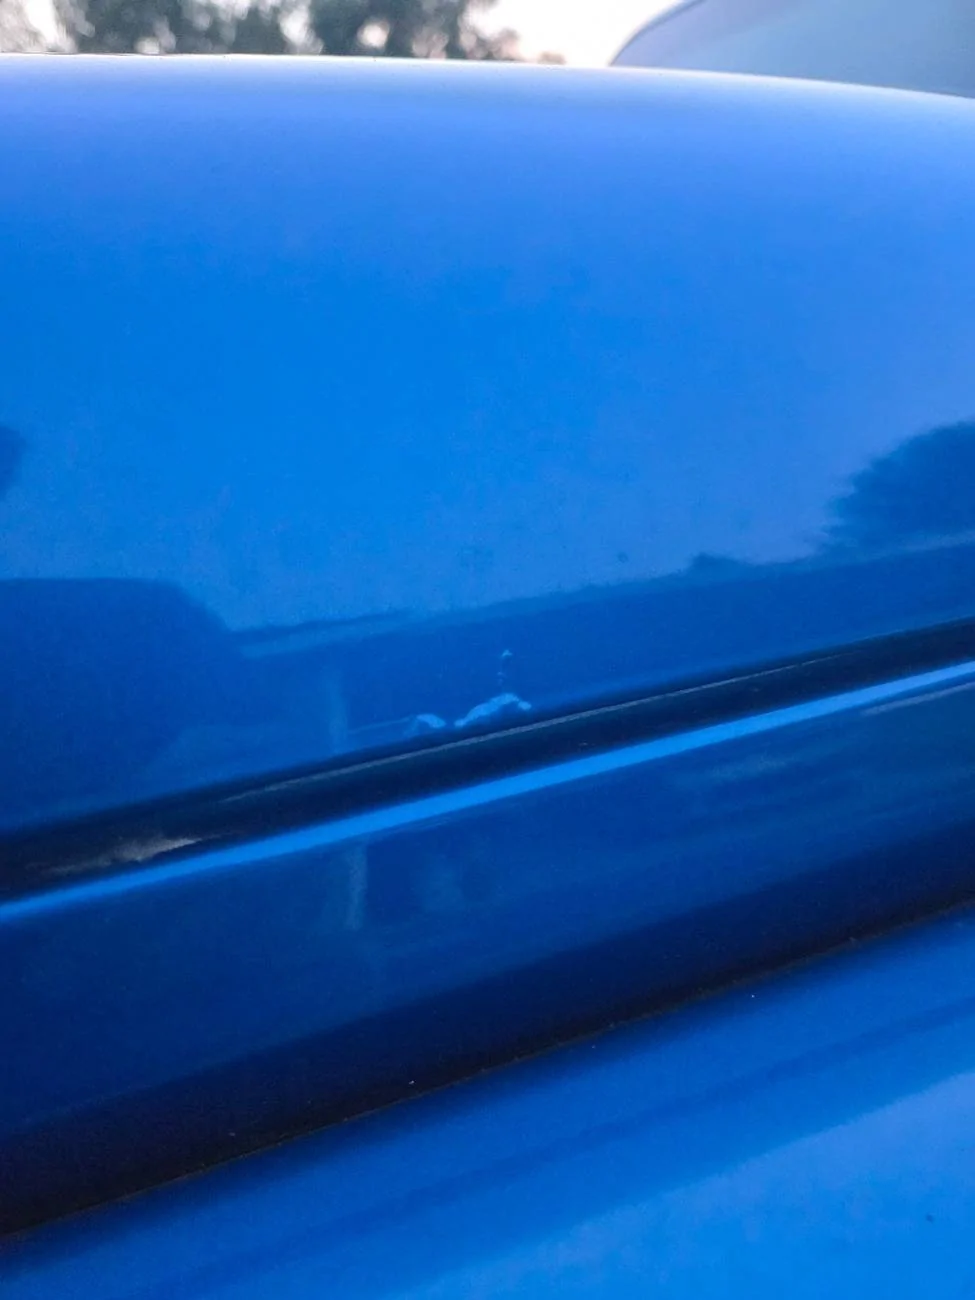


 No leaks, no other signs of trouble so just gonna top it up and move on with my life.