813 Fabrication & Design
Rock Sponsor (Level 1)
- First Name
- Jeremy
- Joined
- Dec 21, 2019
- Threads
- 51
- Messages
- 918
- Reaction score
- 1,323
- Location
- Louisville, KY
- Website
- www.813fabrication.com
- Vehicle(s)
- 2020 Jeep Gladiator Rubicon Launch Edition
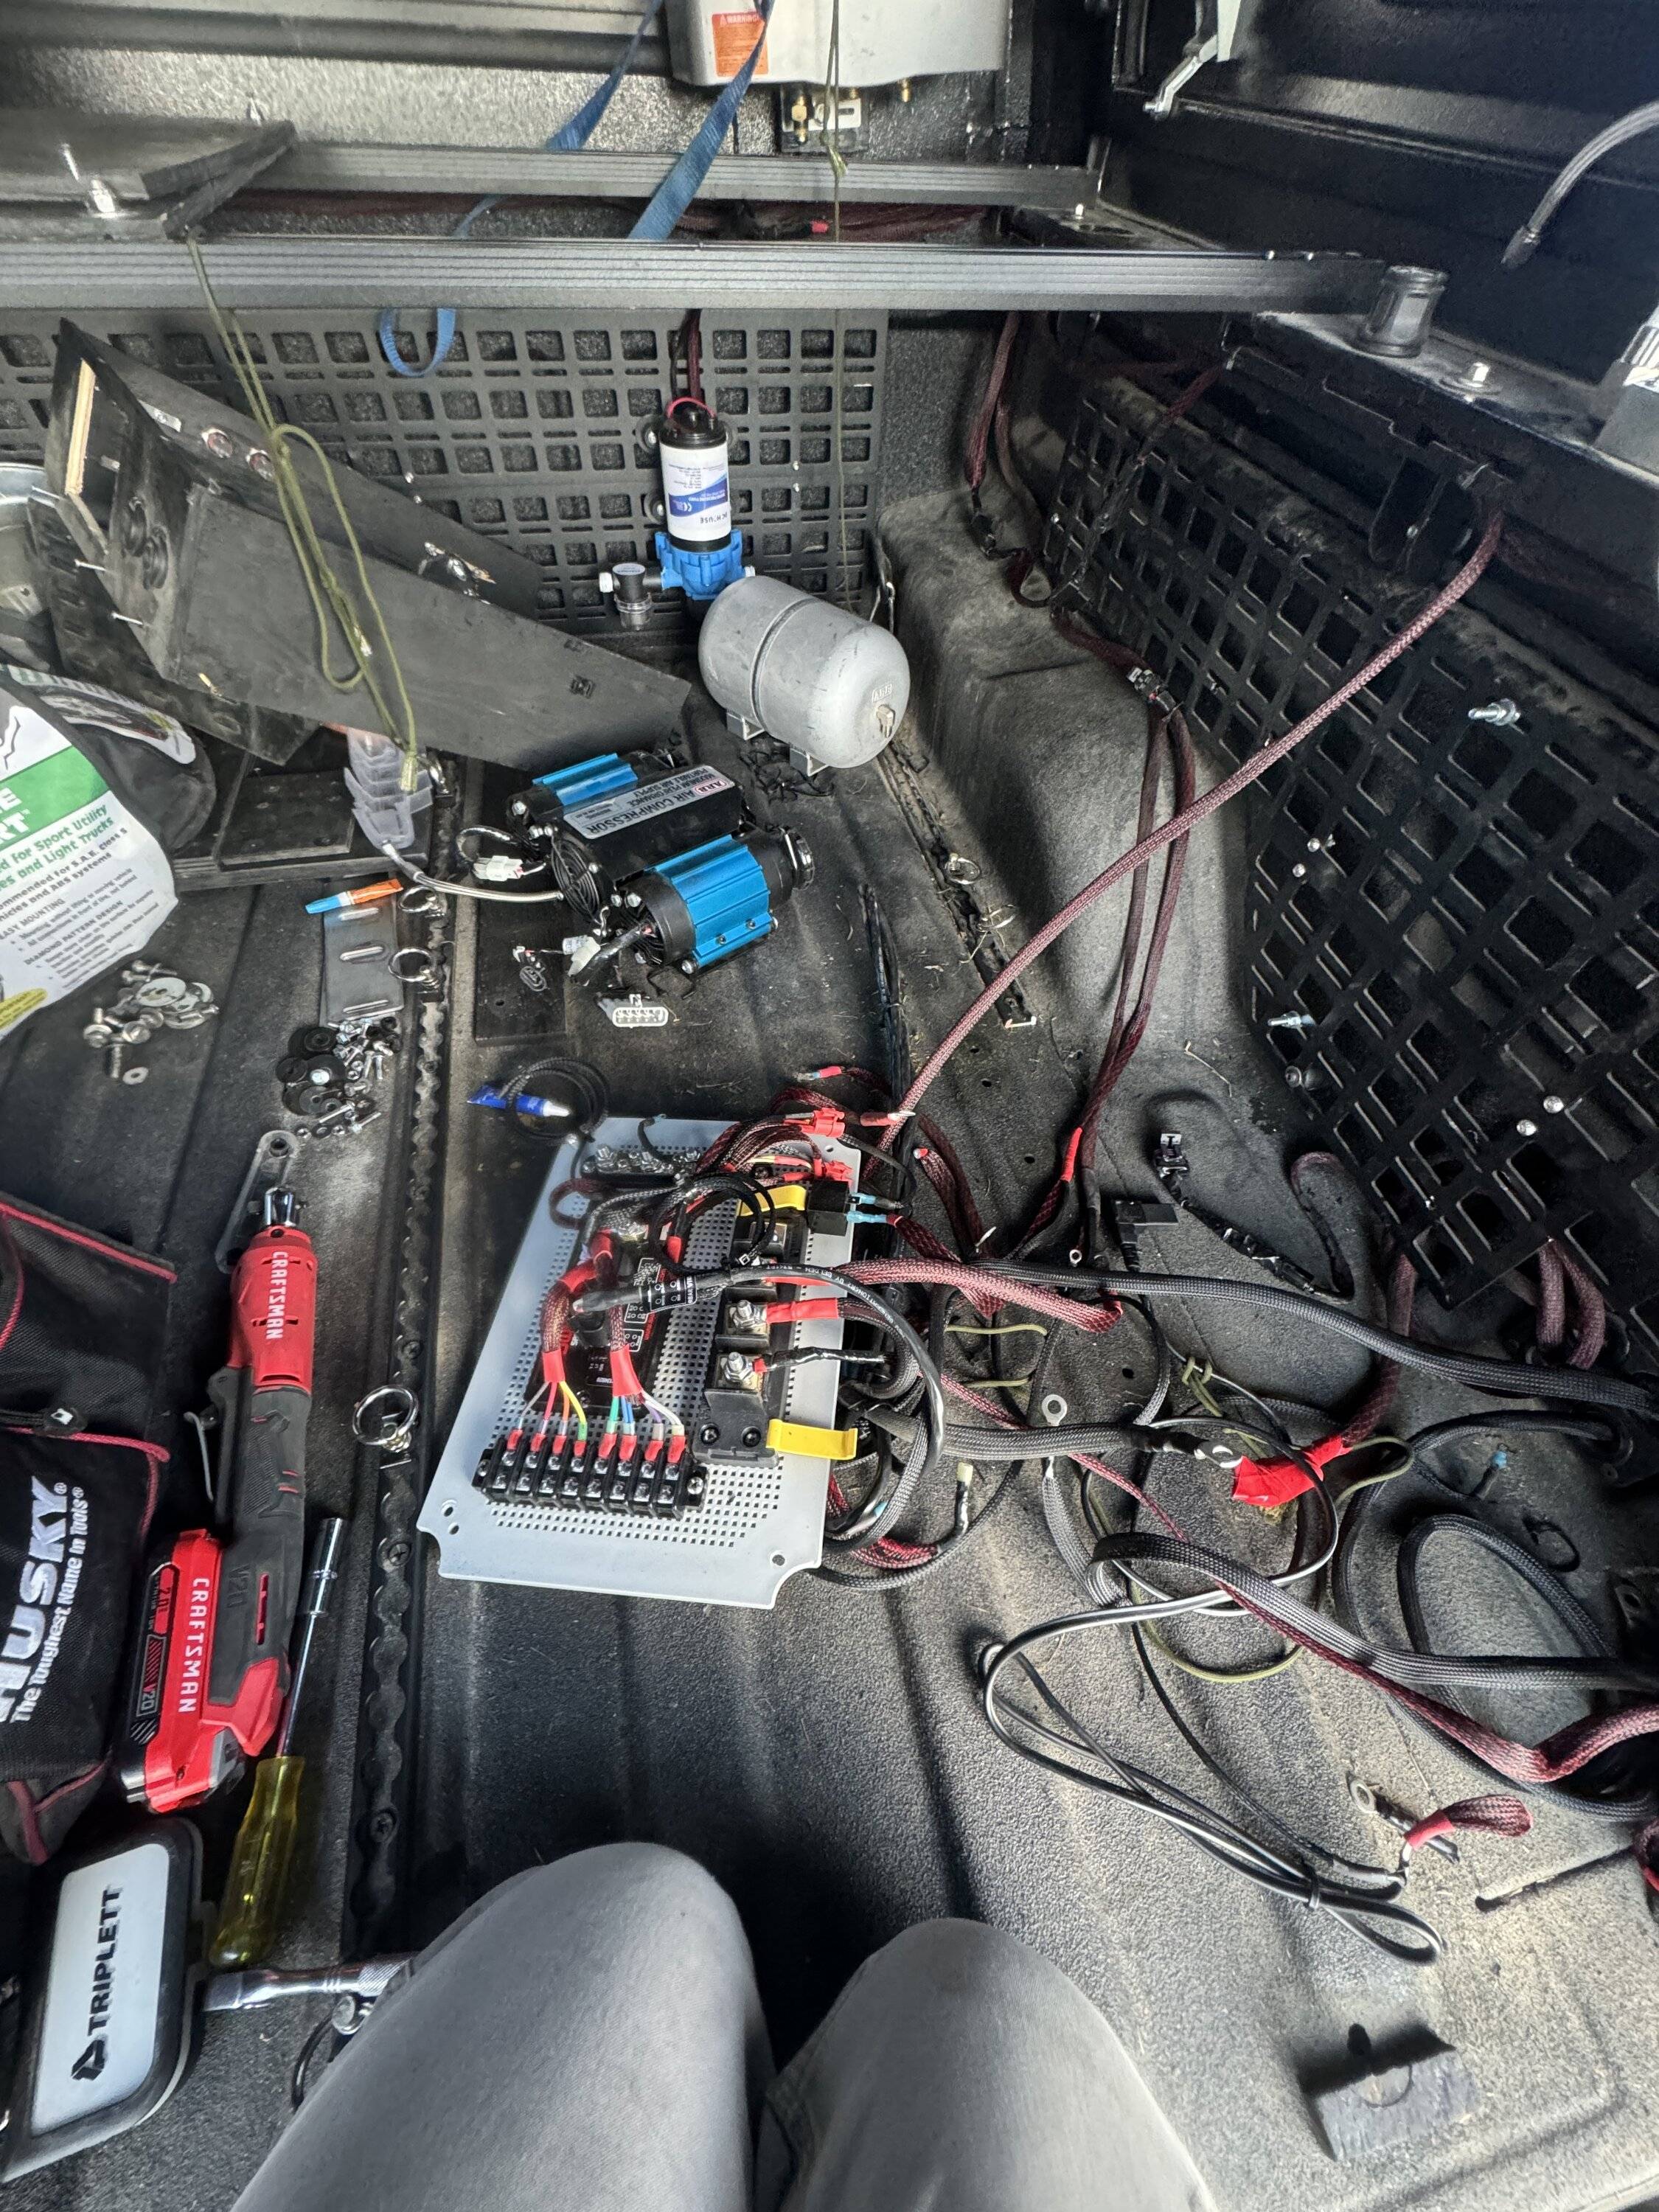
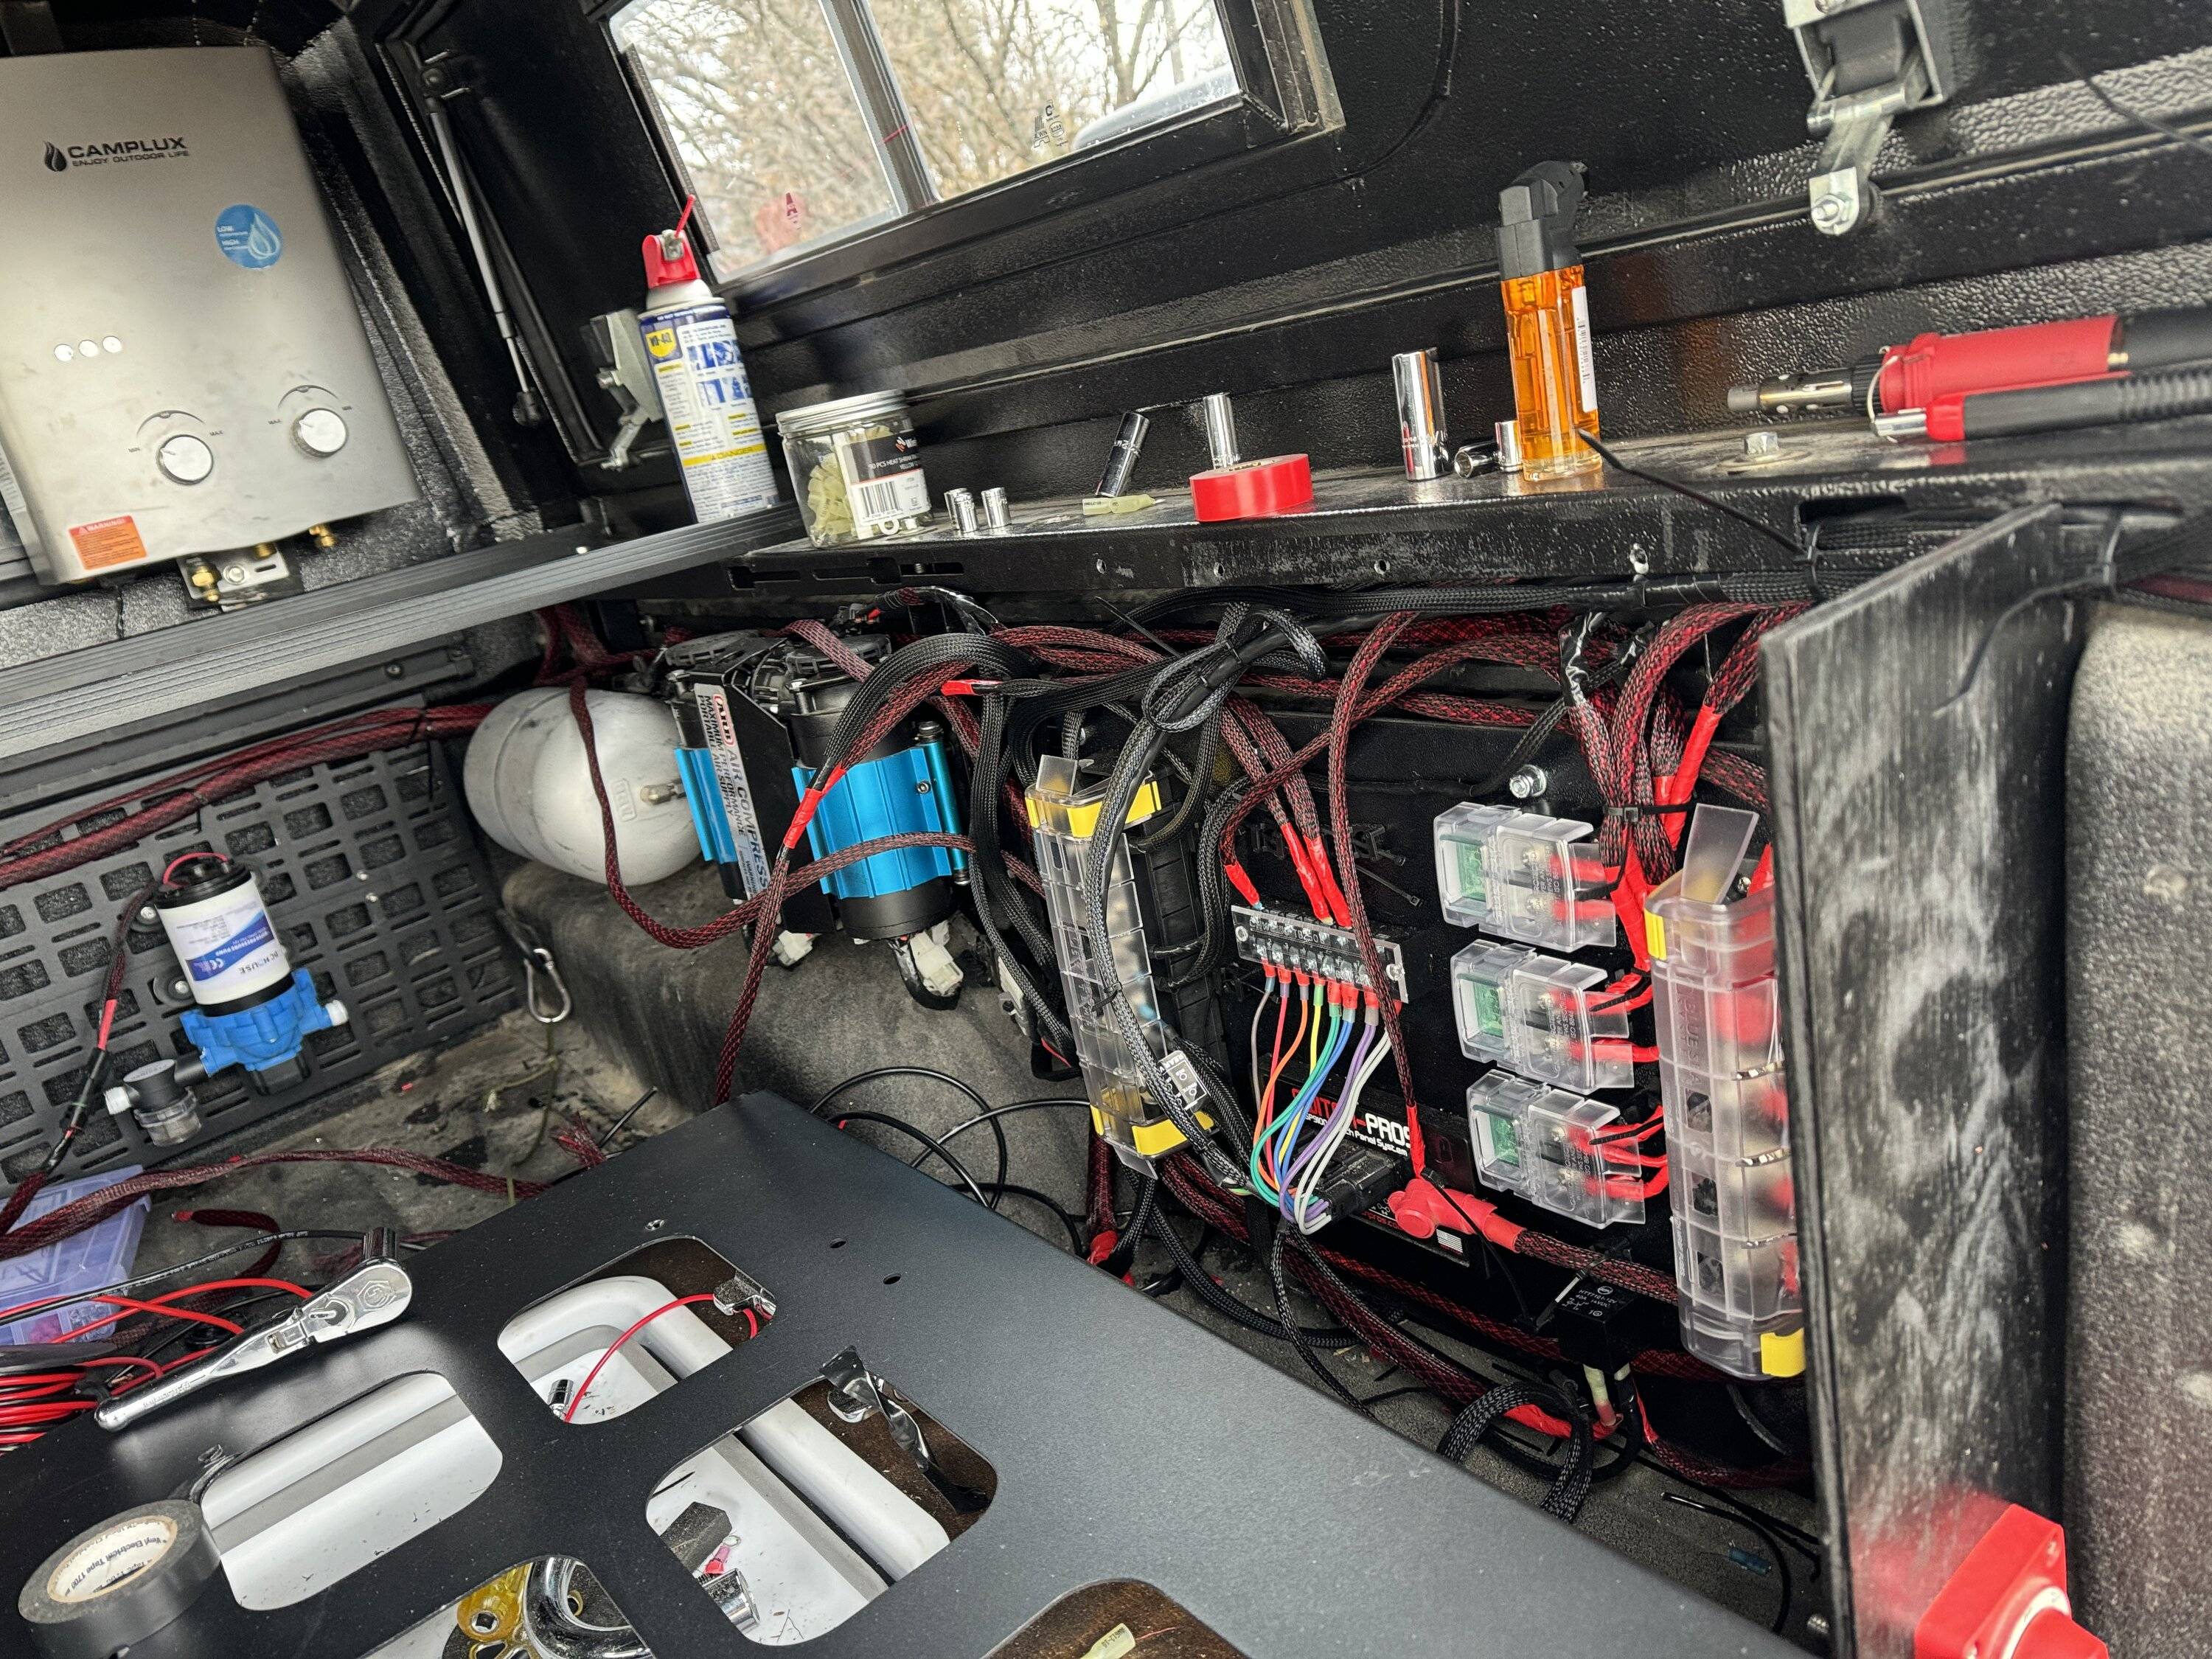
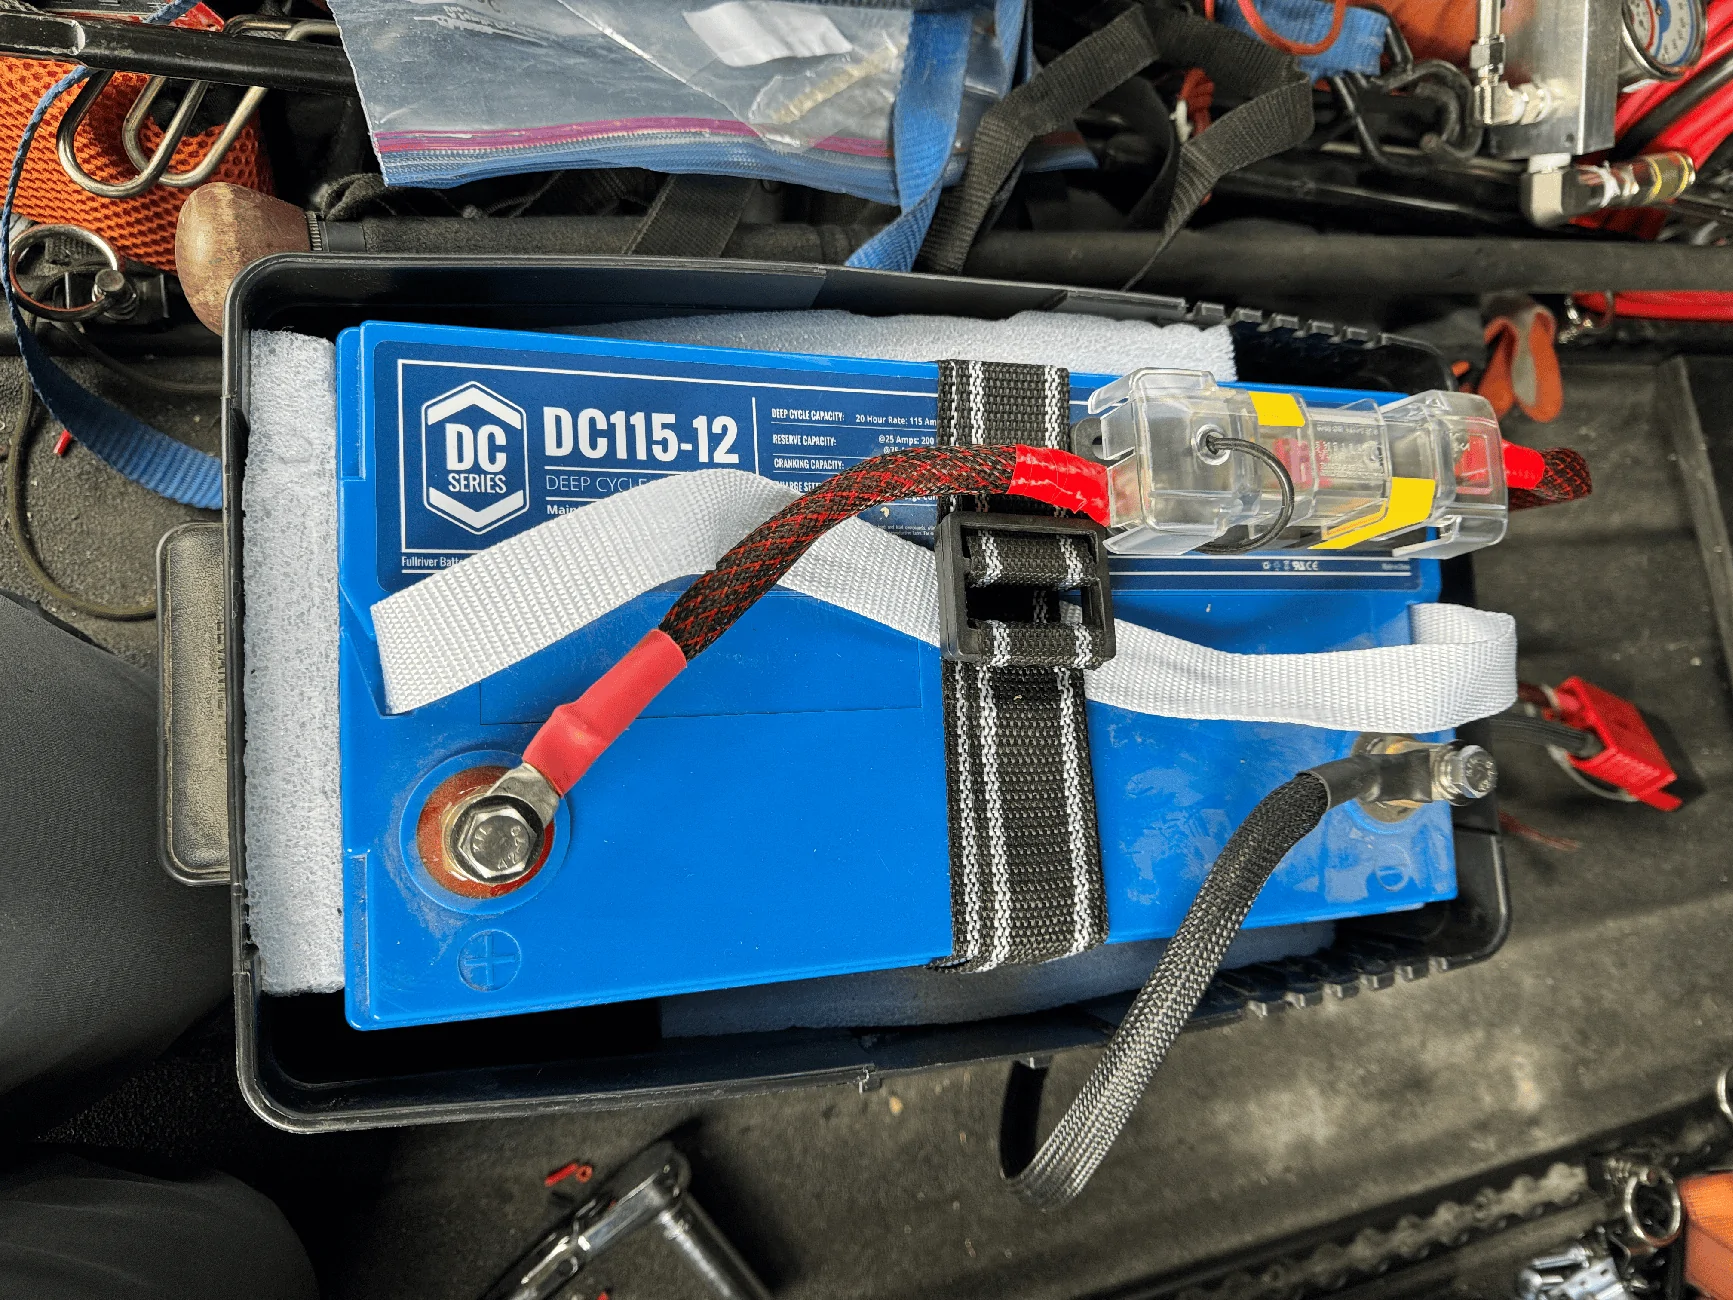
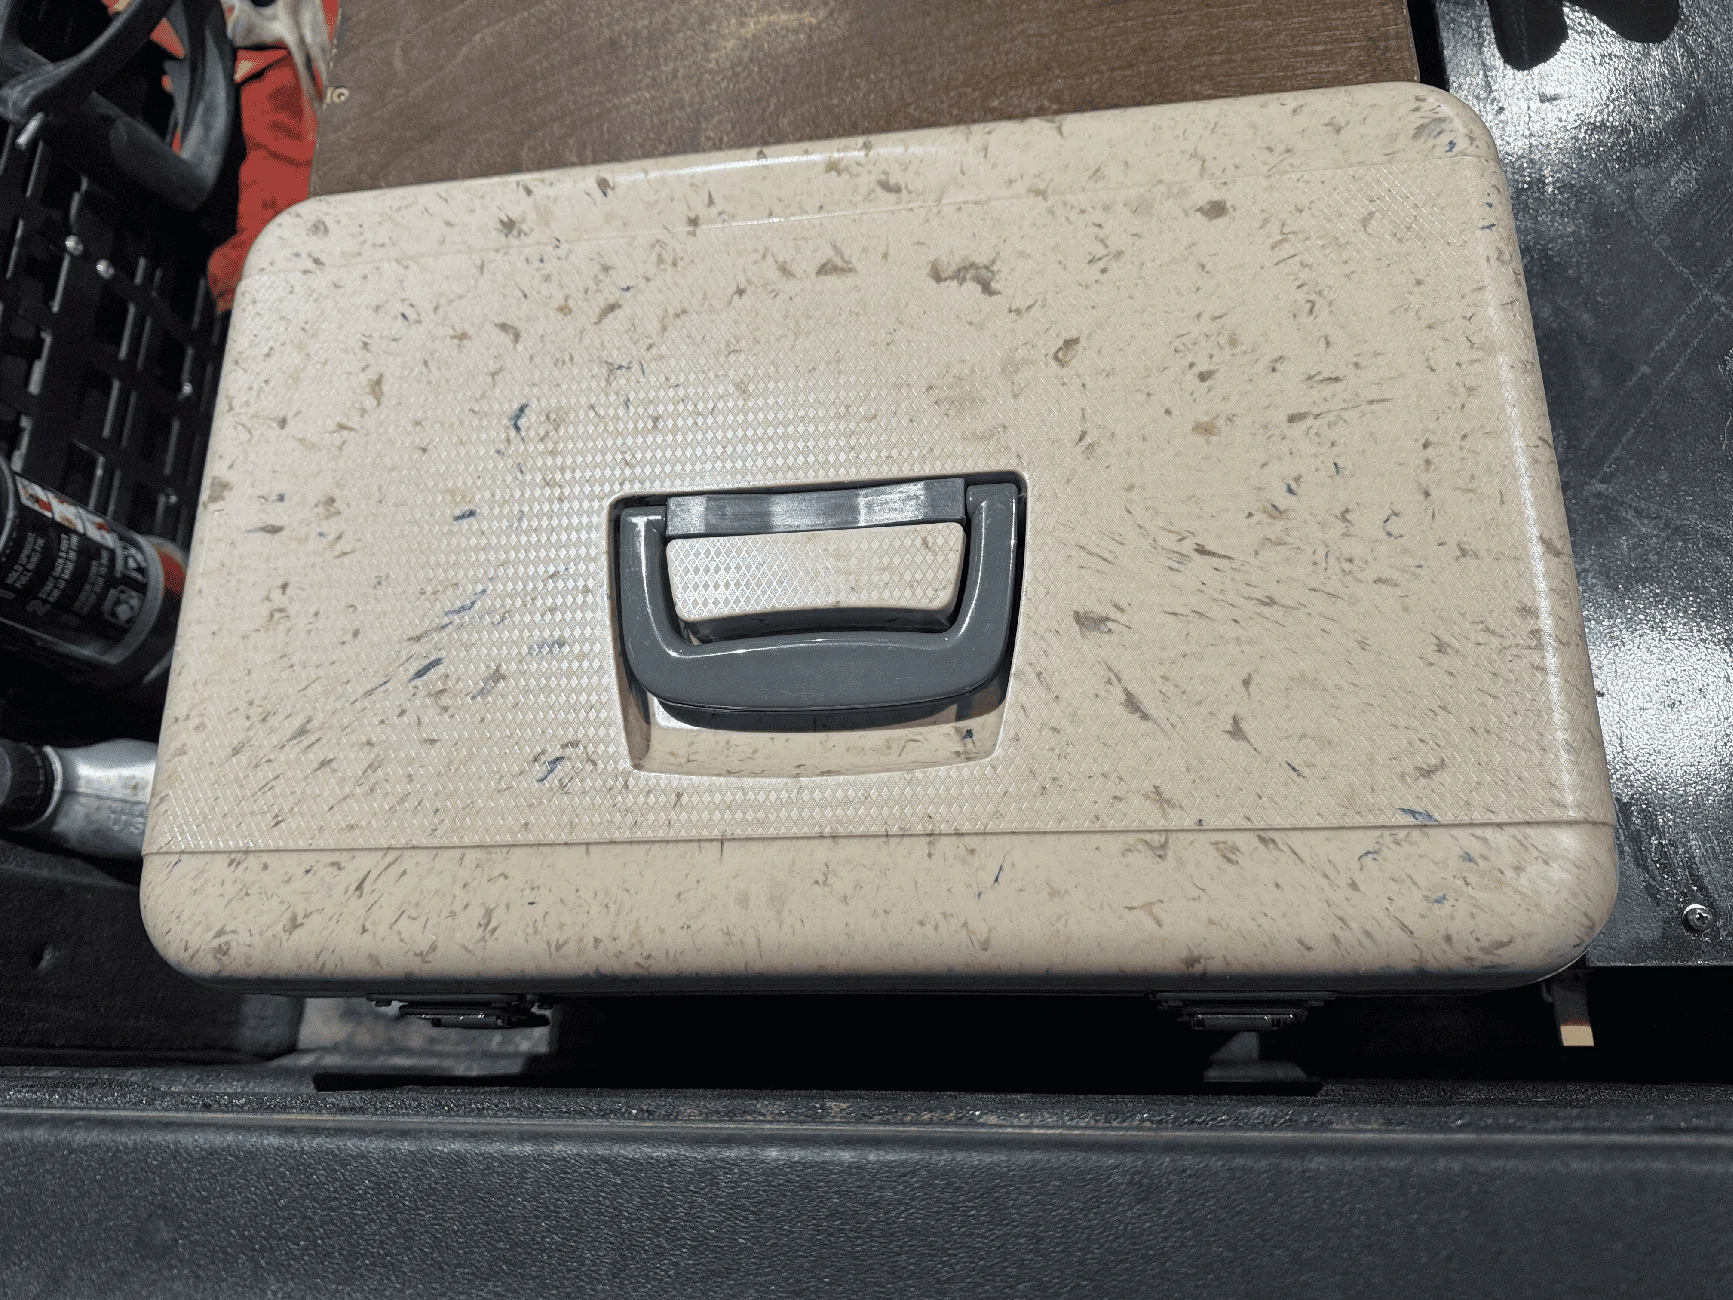
Nice work! Looks greatAnother task was to relocate the bed battery. It previously sat in front of where the compressor now is mounted.

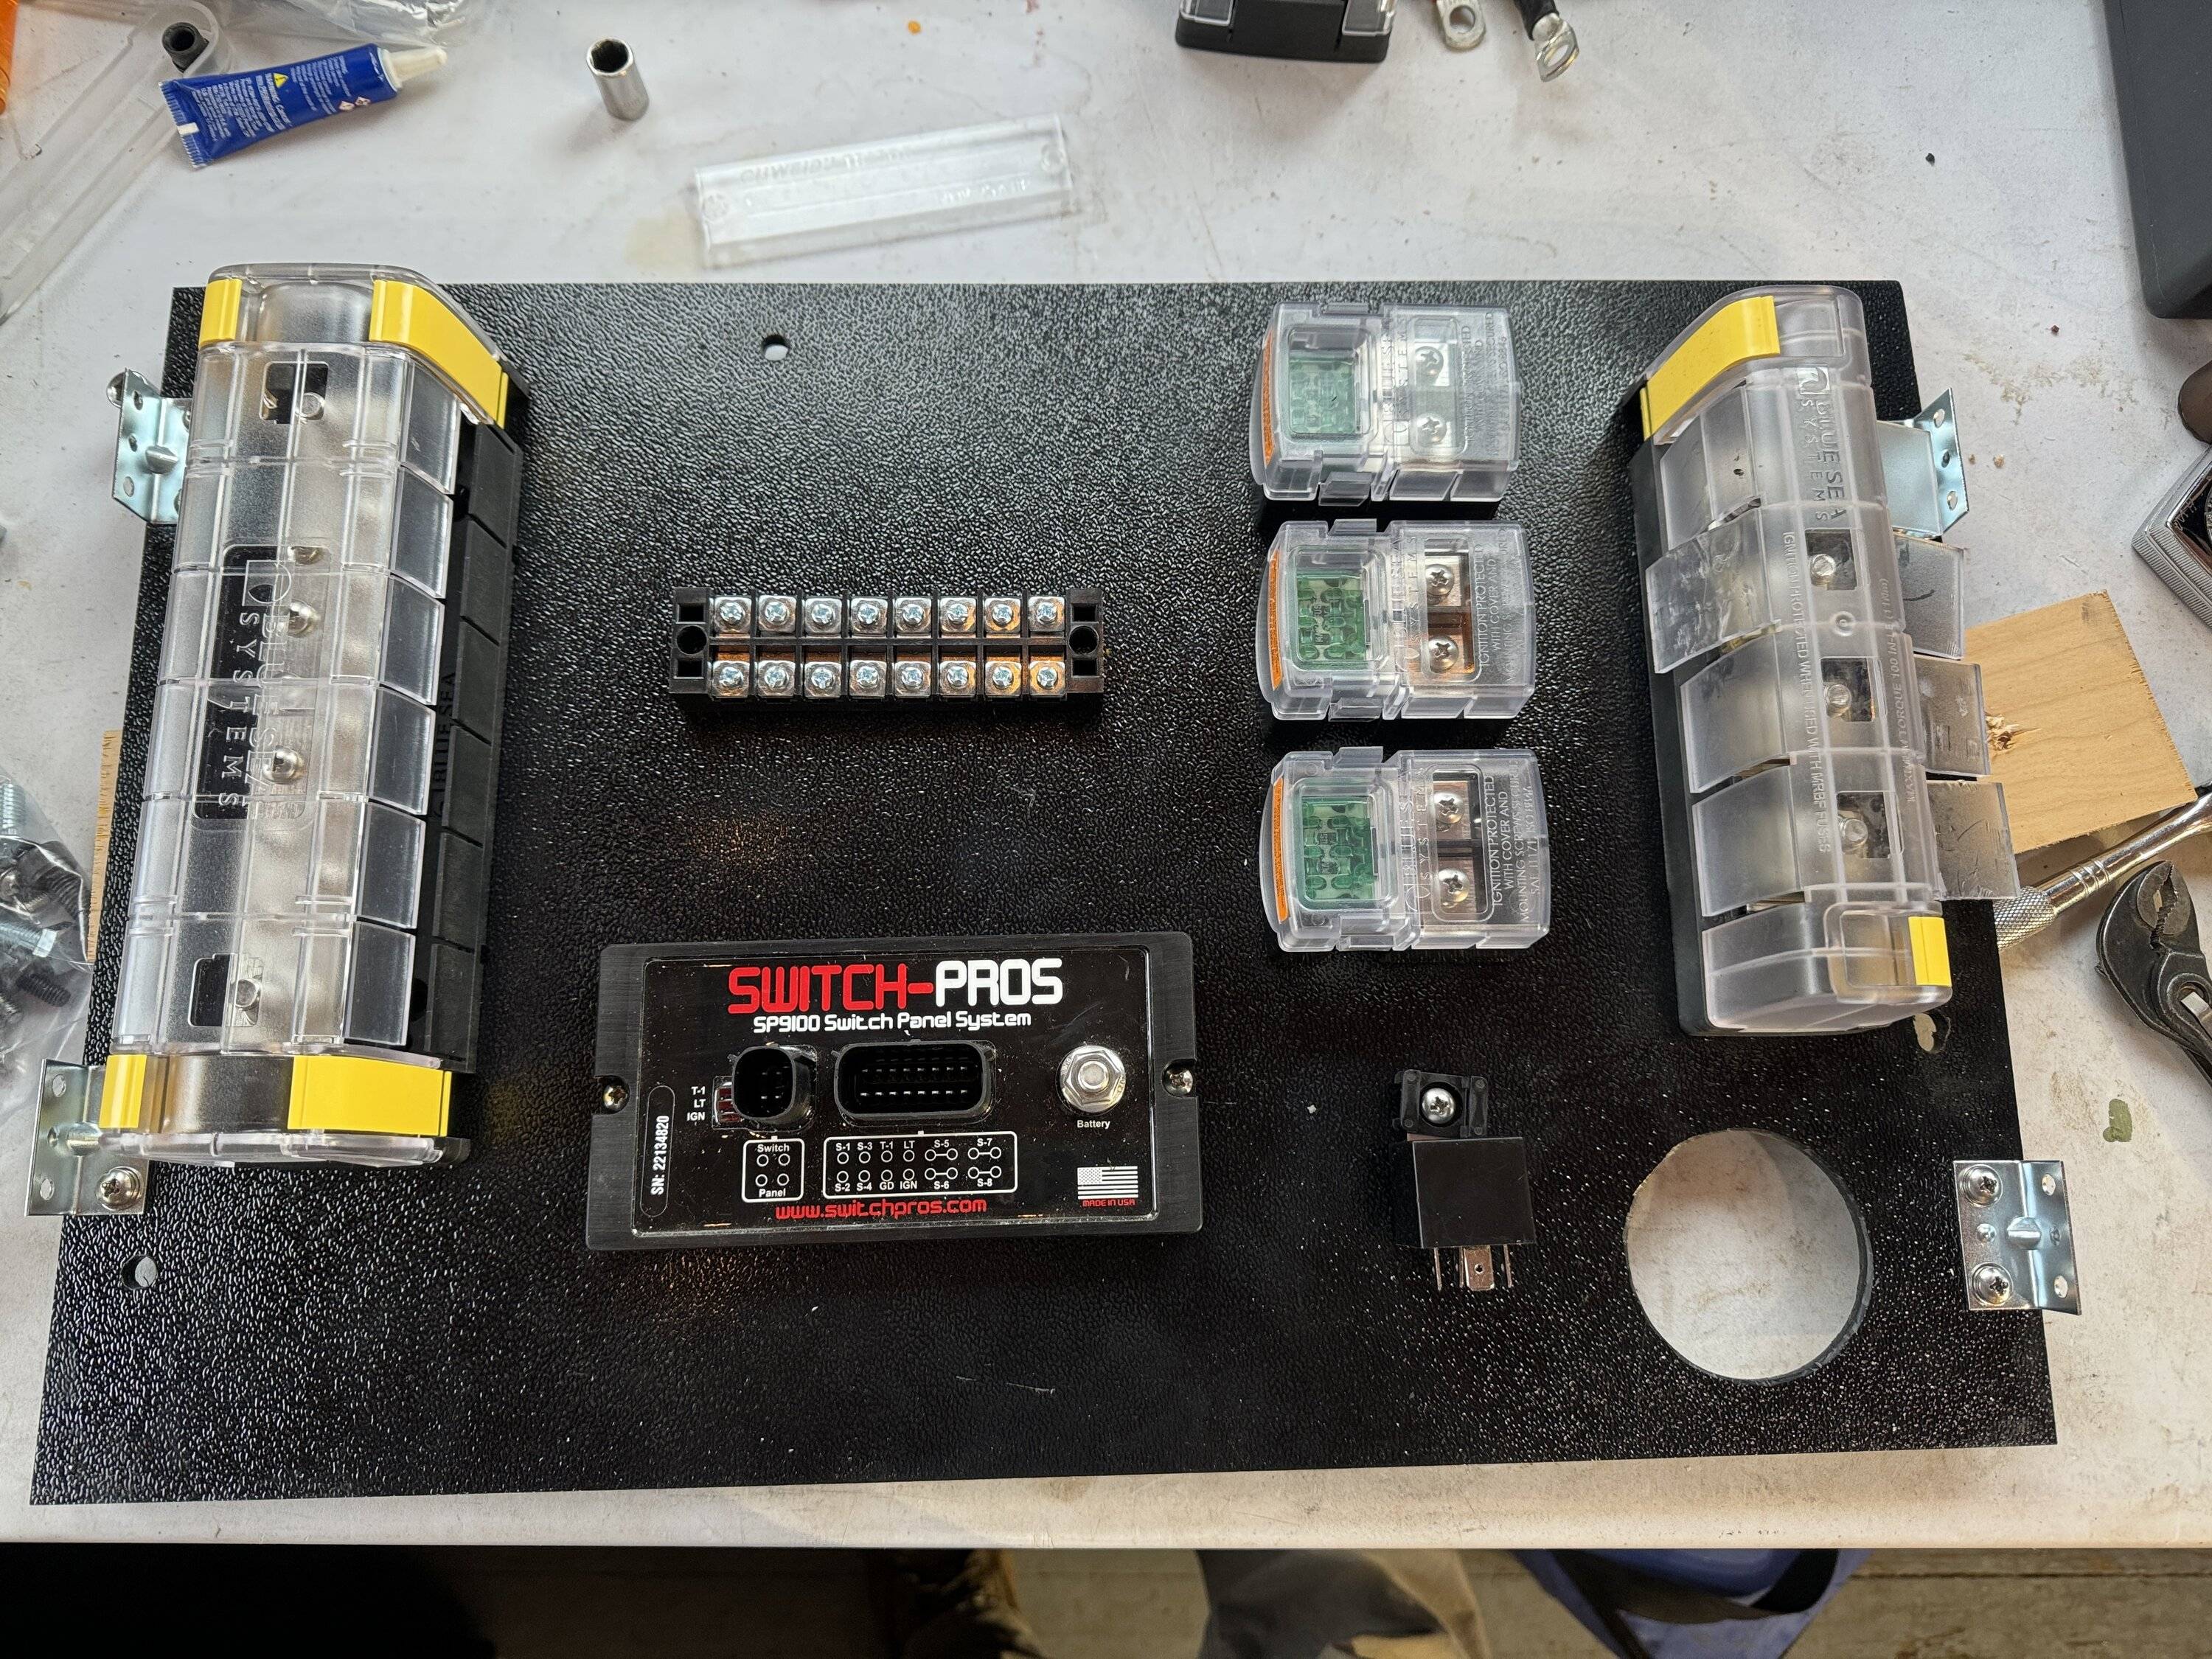
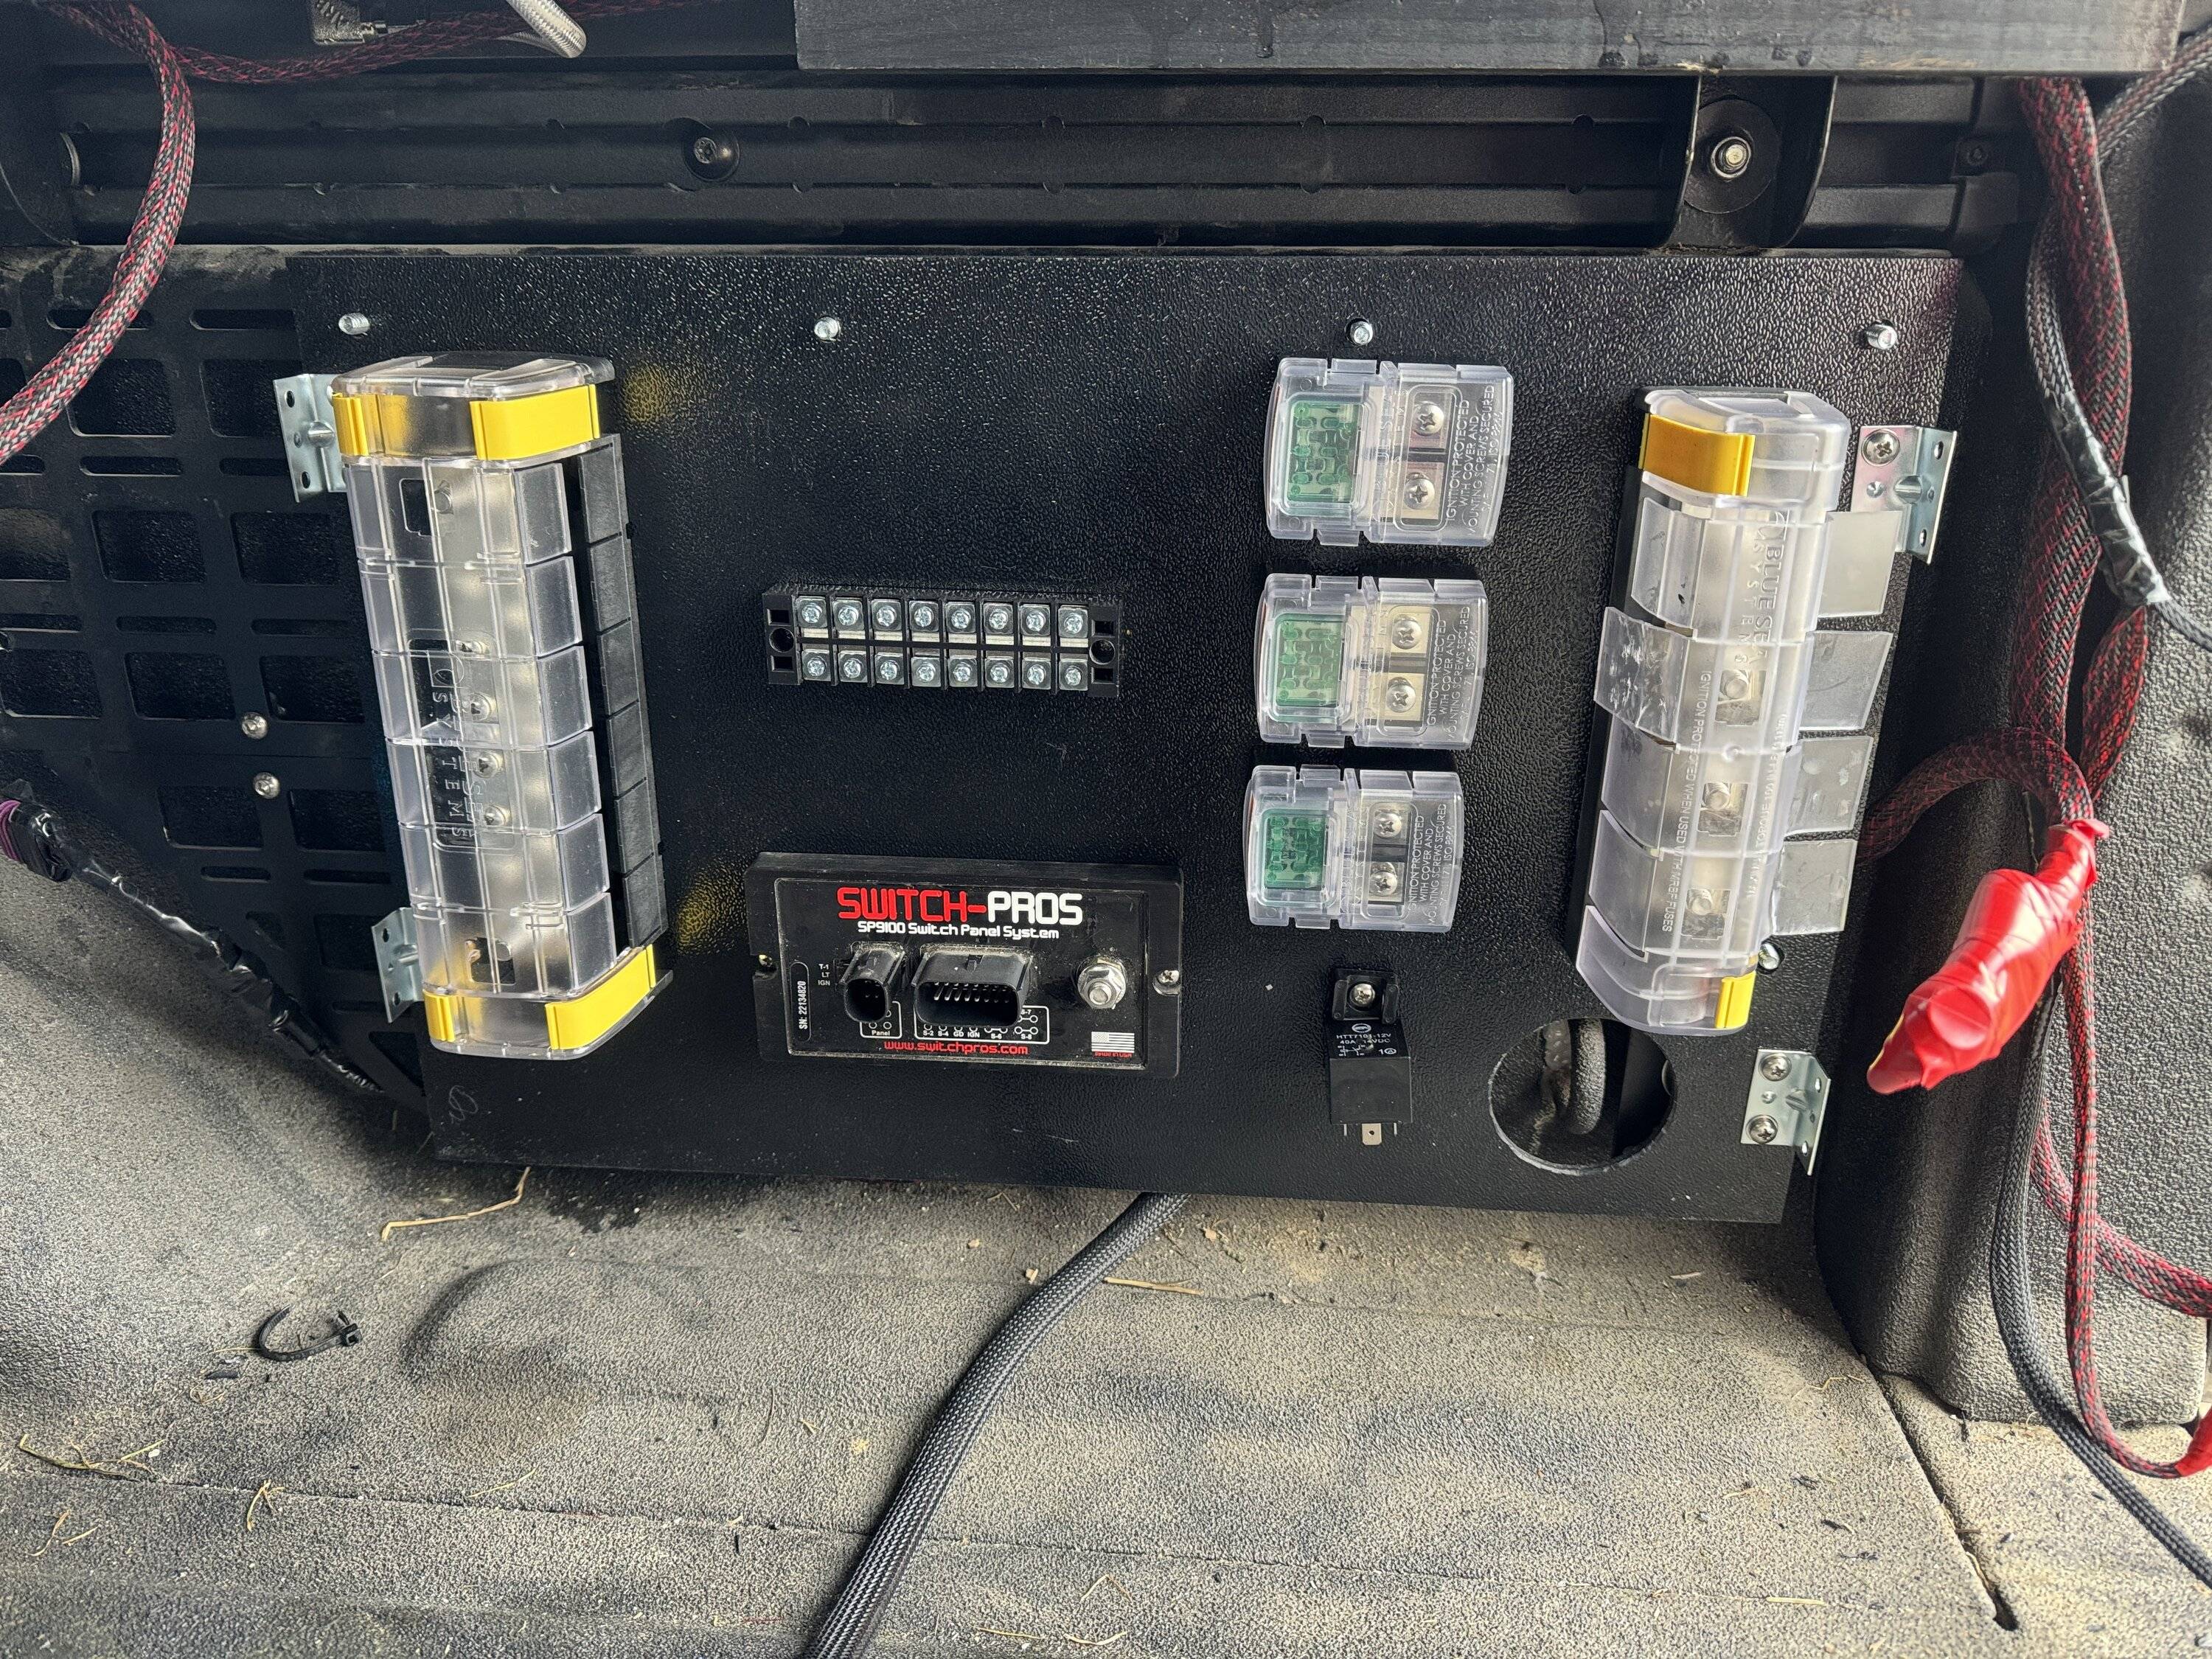
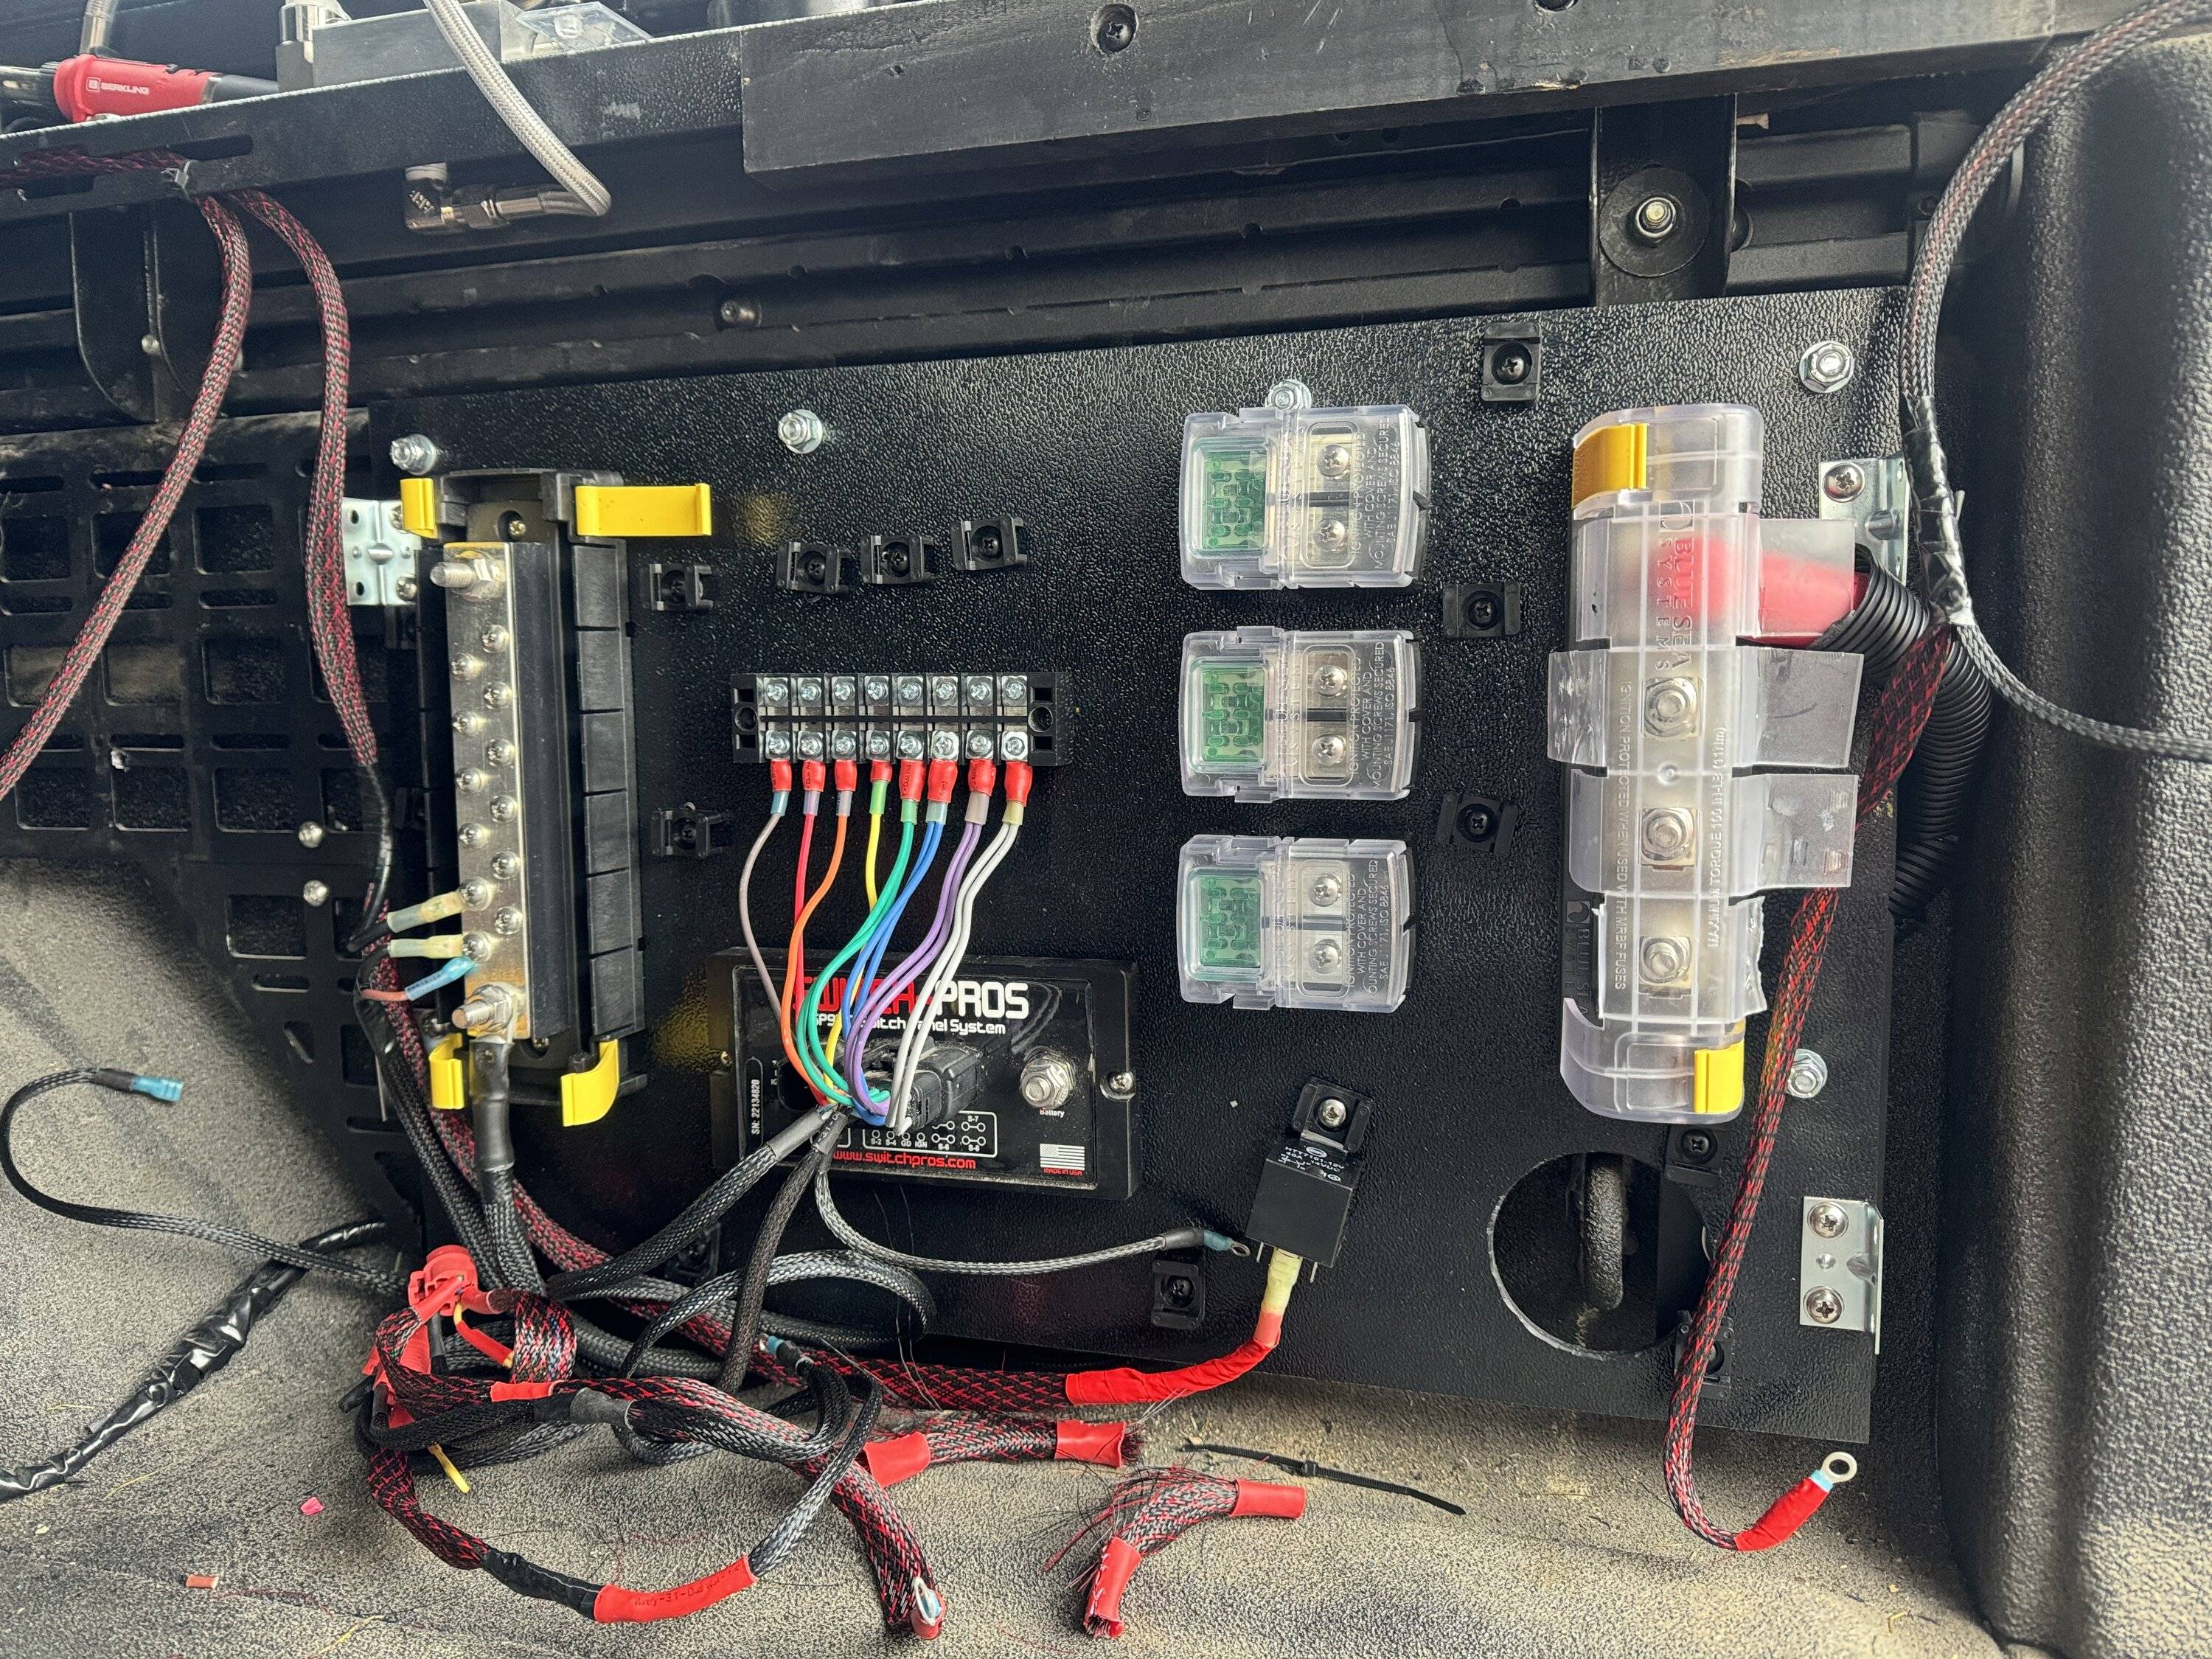
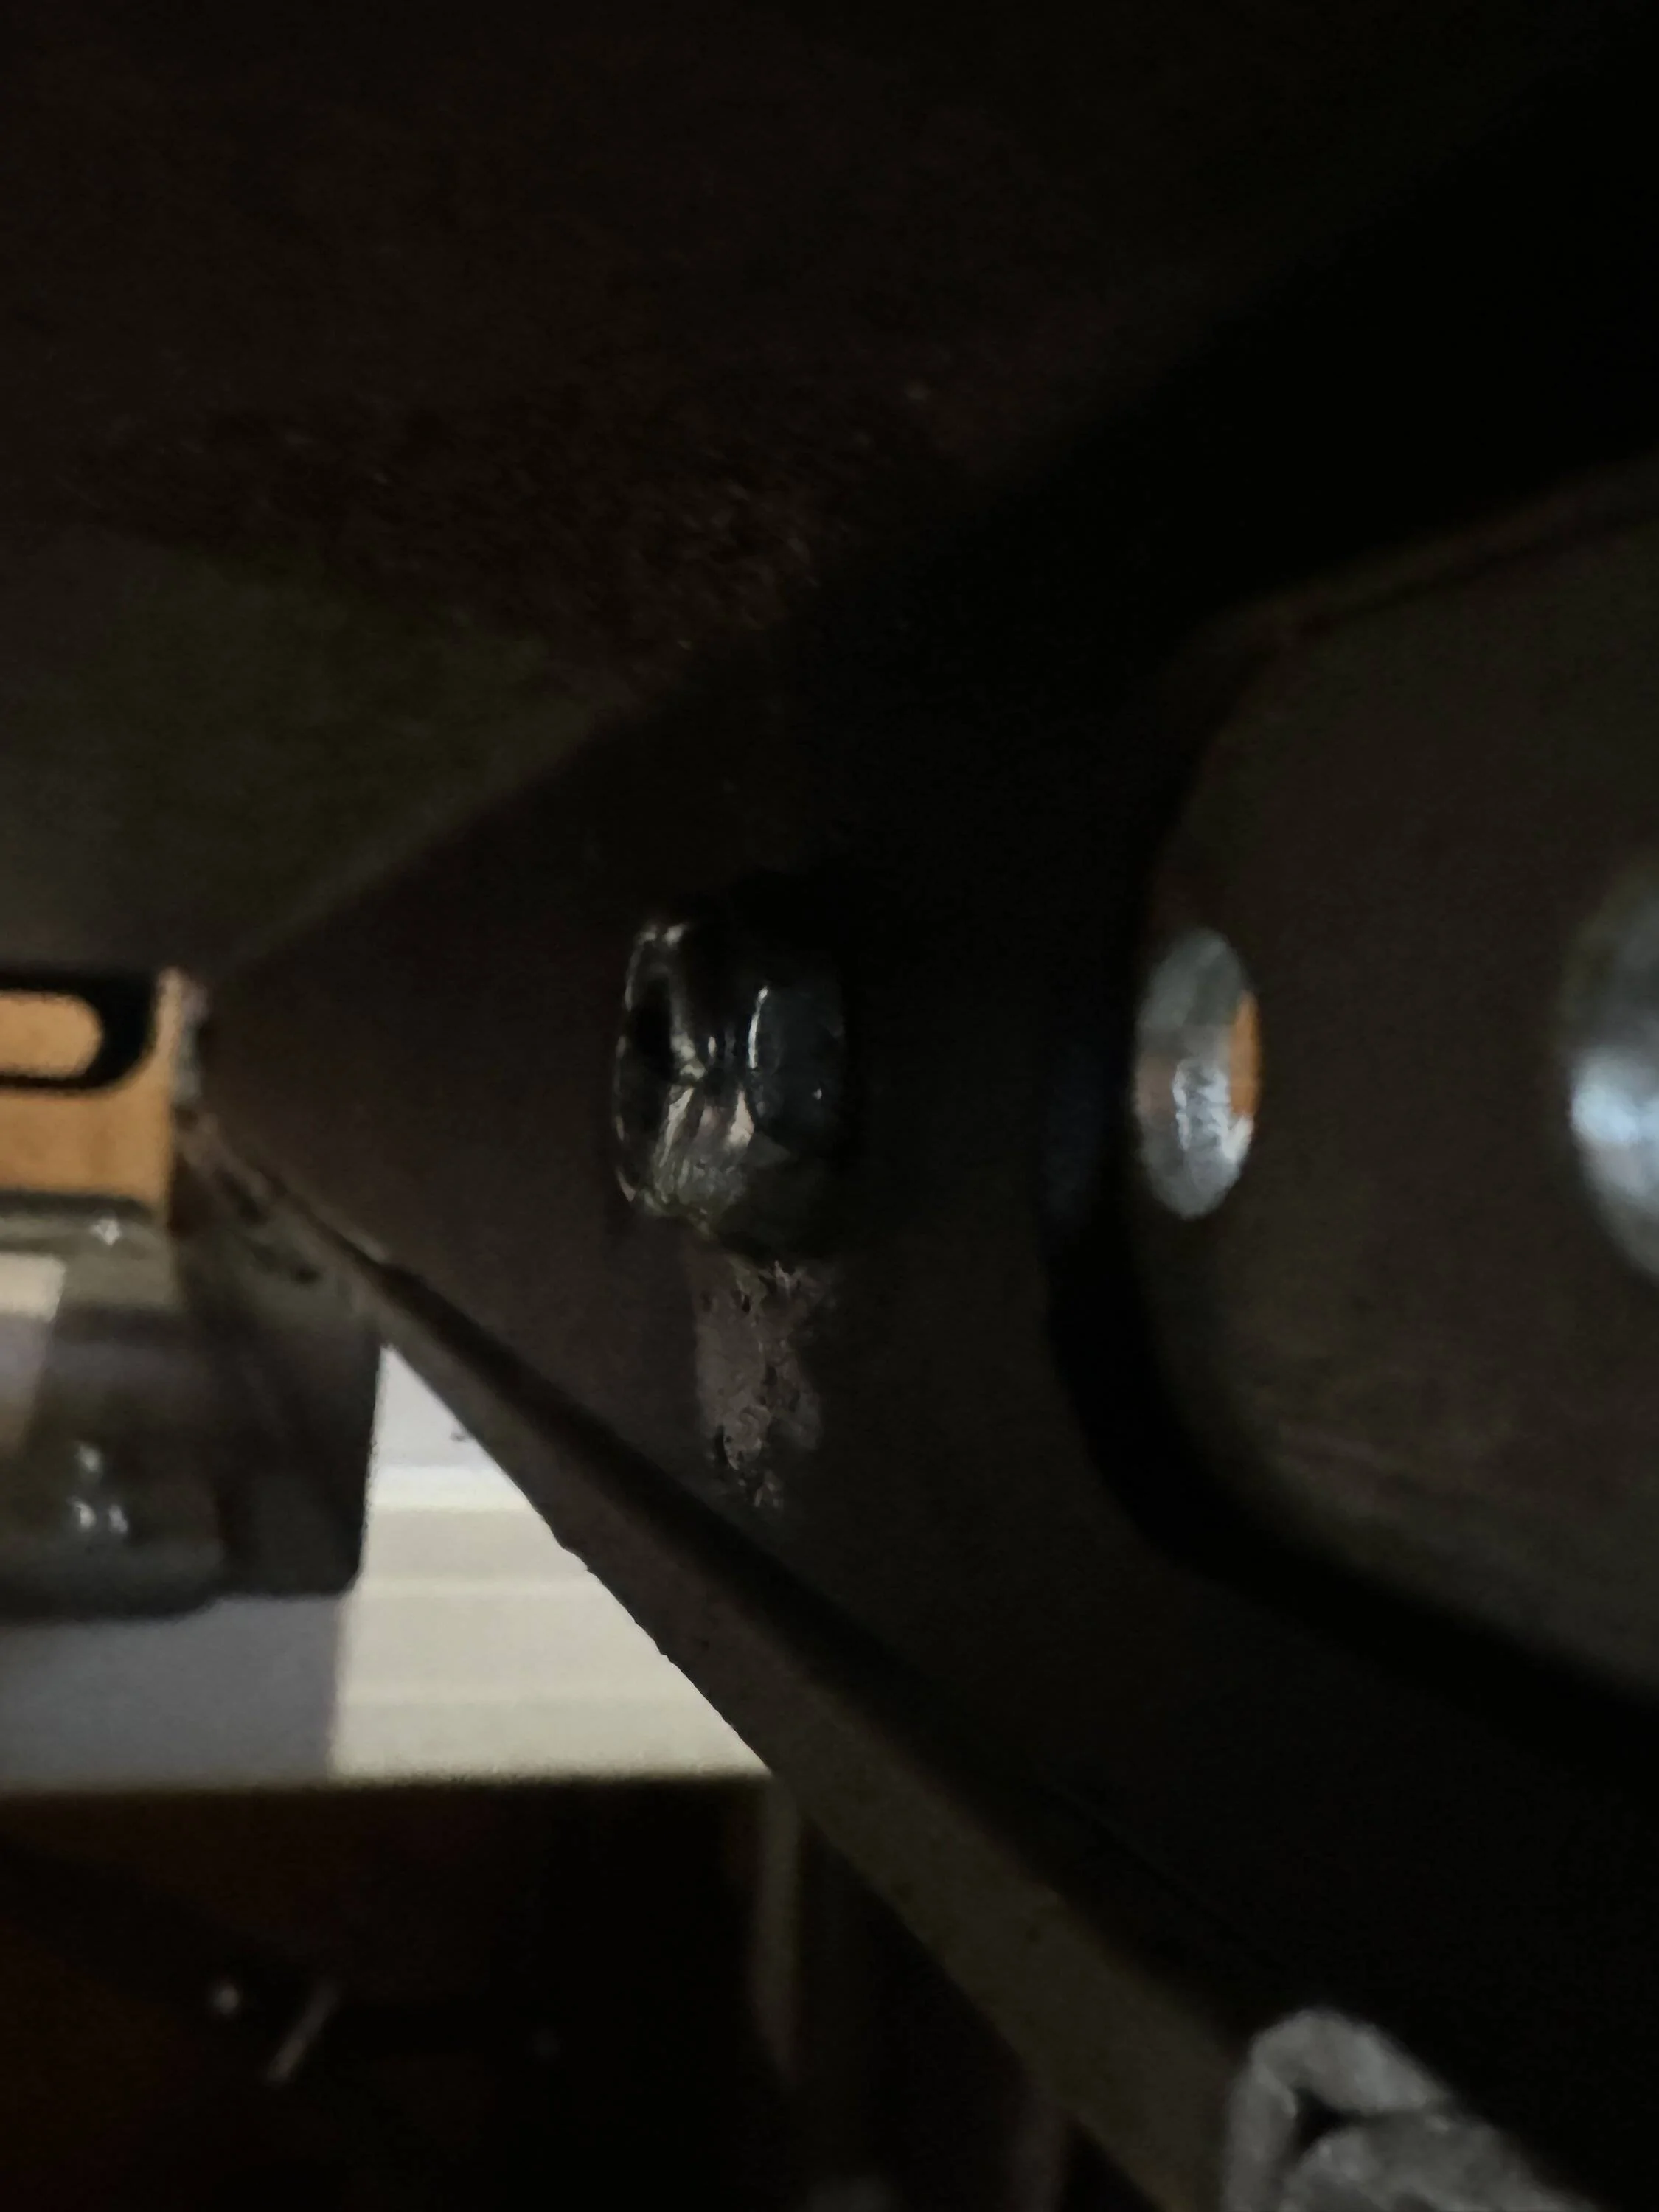
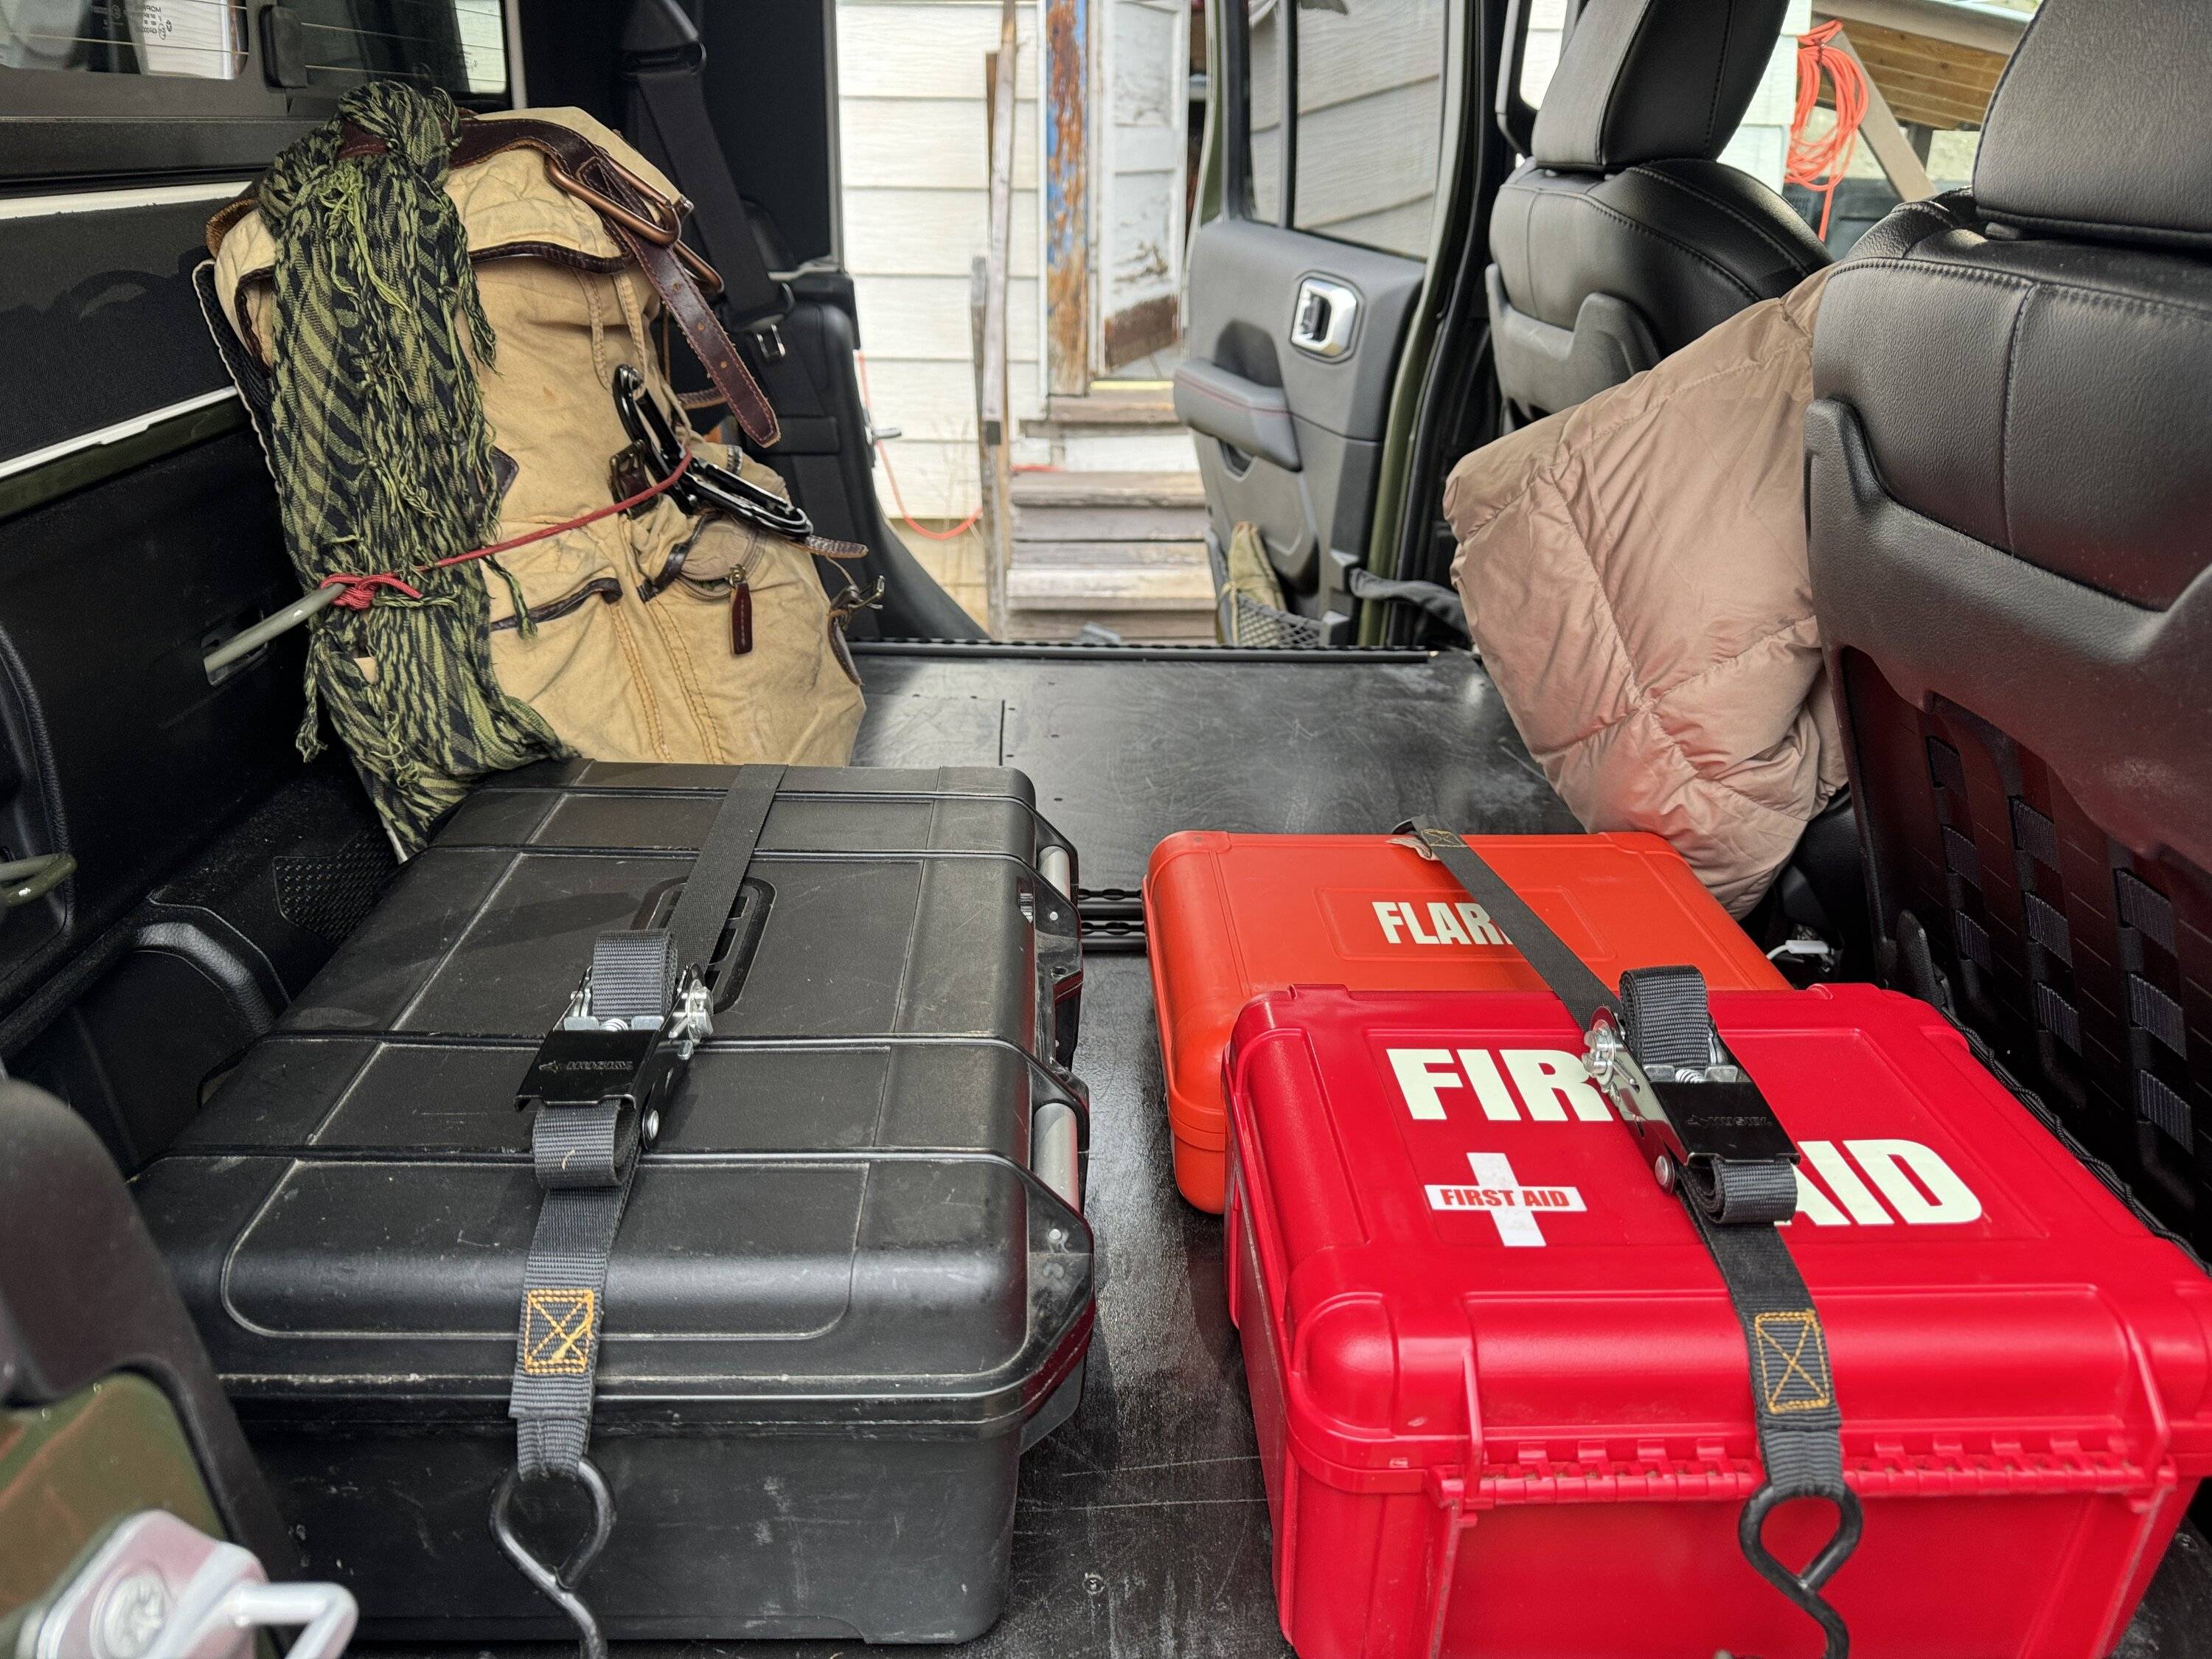
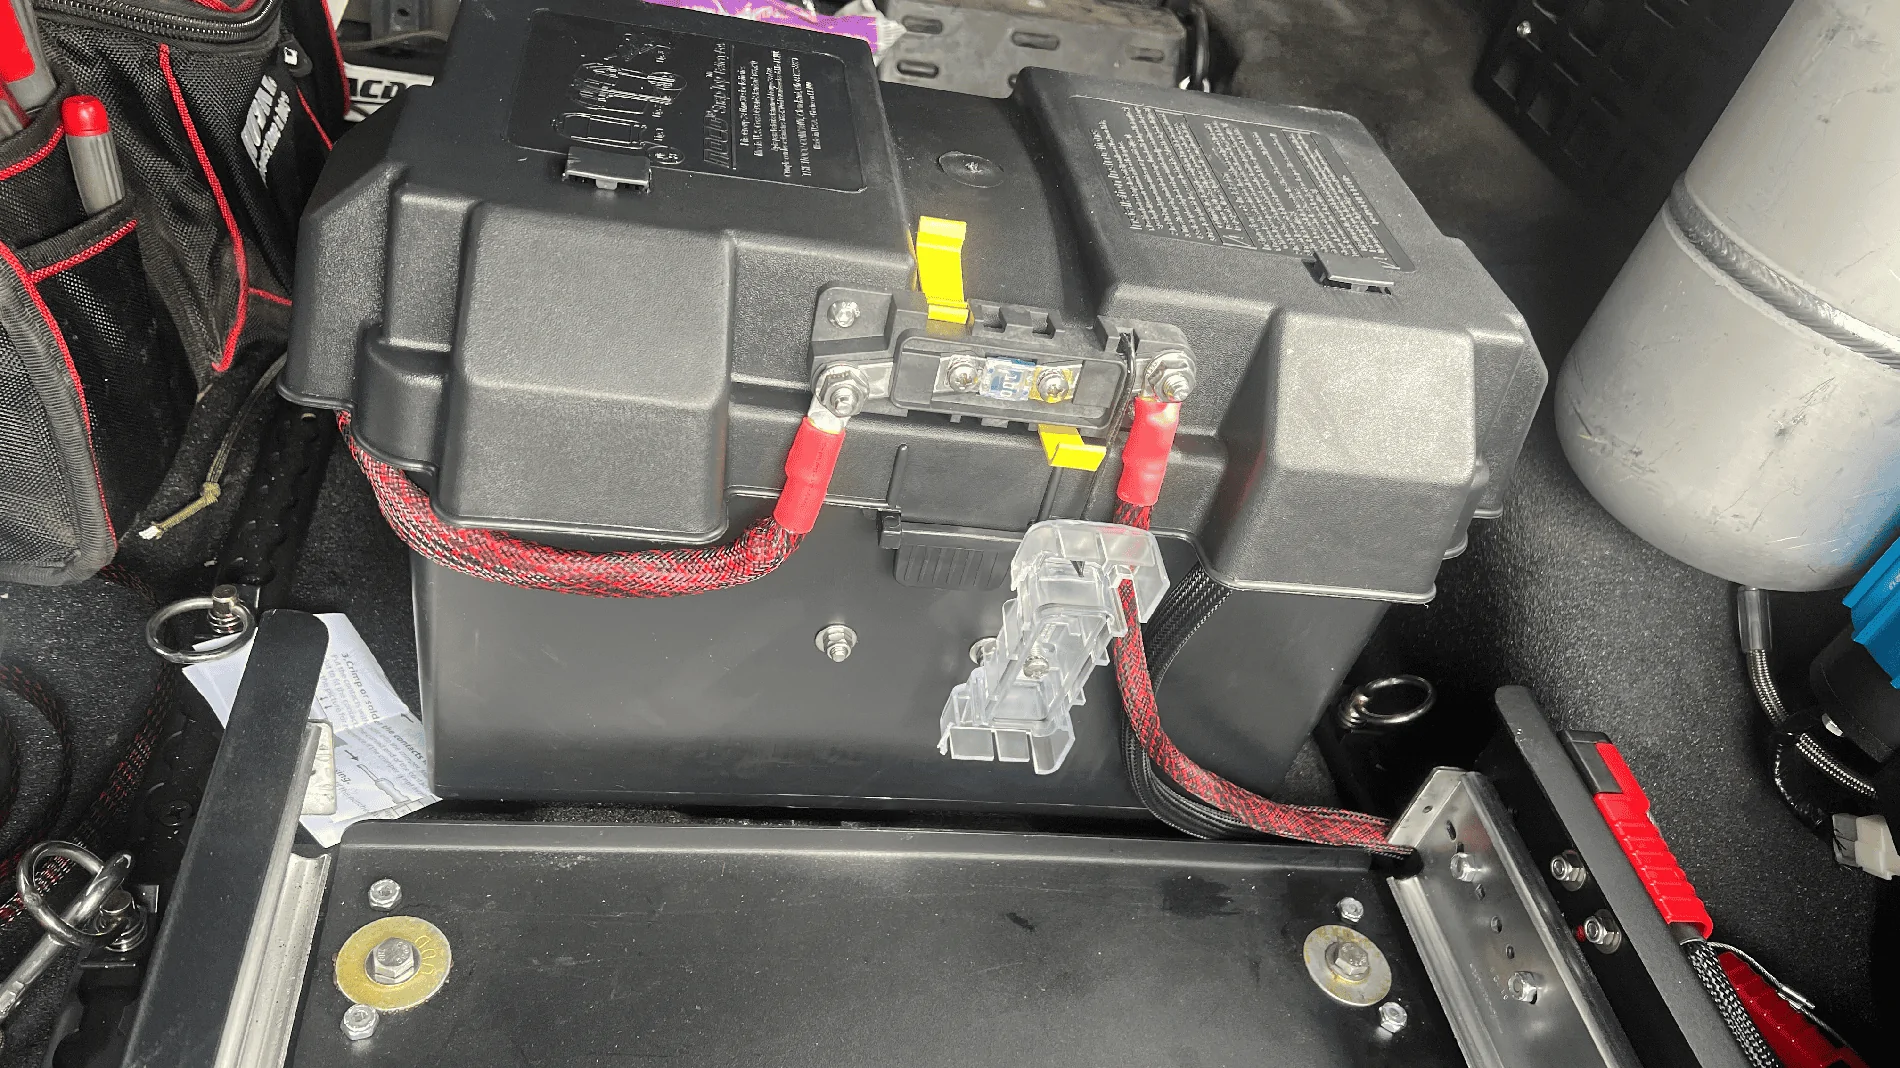
But, I wanted to free up that space for another item, as well as offer a mounting location for 2 batteries. This was the initial plan in removing the Genesis under hood dual battery tray. Previously the fuse was located on the exterior of the box (pictured above), but with this relocation, I wanted to place the fuse inside the box to reduce the amount of exposed wire. After all, if these fuses blow, there is a bigger problem to explore. They are fused at 125 amps, while the main fuse under the hood going to this system is set to 100. 100 amps is under-fusing the system for the amount of wire run, but based on my calculations I will rarely reach a 80 amp draw at any given moment, and if so, will be for short bursts. The intent here was to ensure the under hood fuse would blow first as it is easier to access. The only reason it should blow is if I forget to open the circuit when doing a winch pull - but of course recalling the G-screen system, the battery combiner can be placed in an open status from inside the cab. All flawless operation. The foam inside the box is used just to prevent any moving around despite being strapped in.

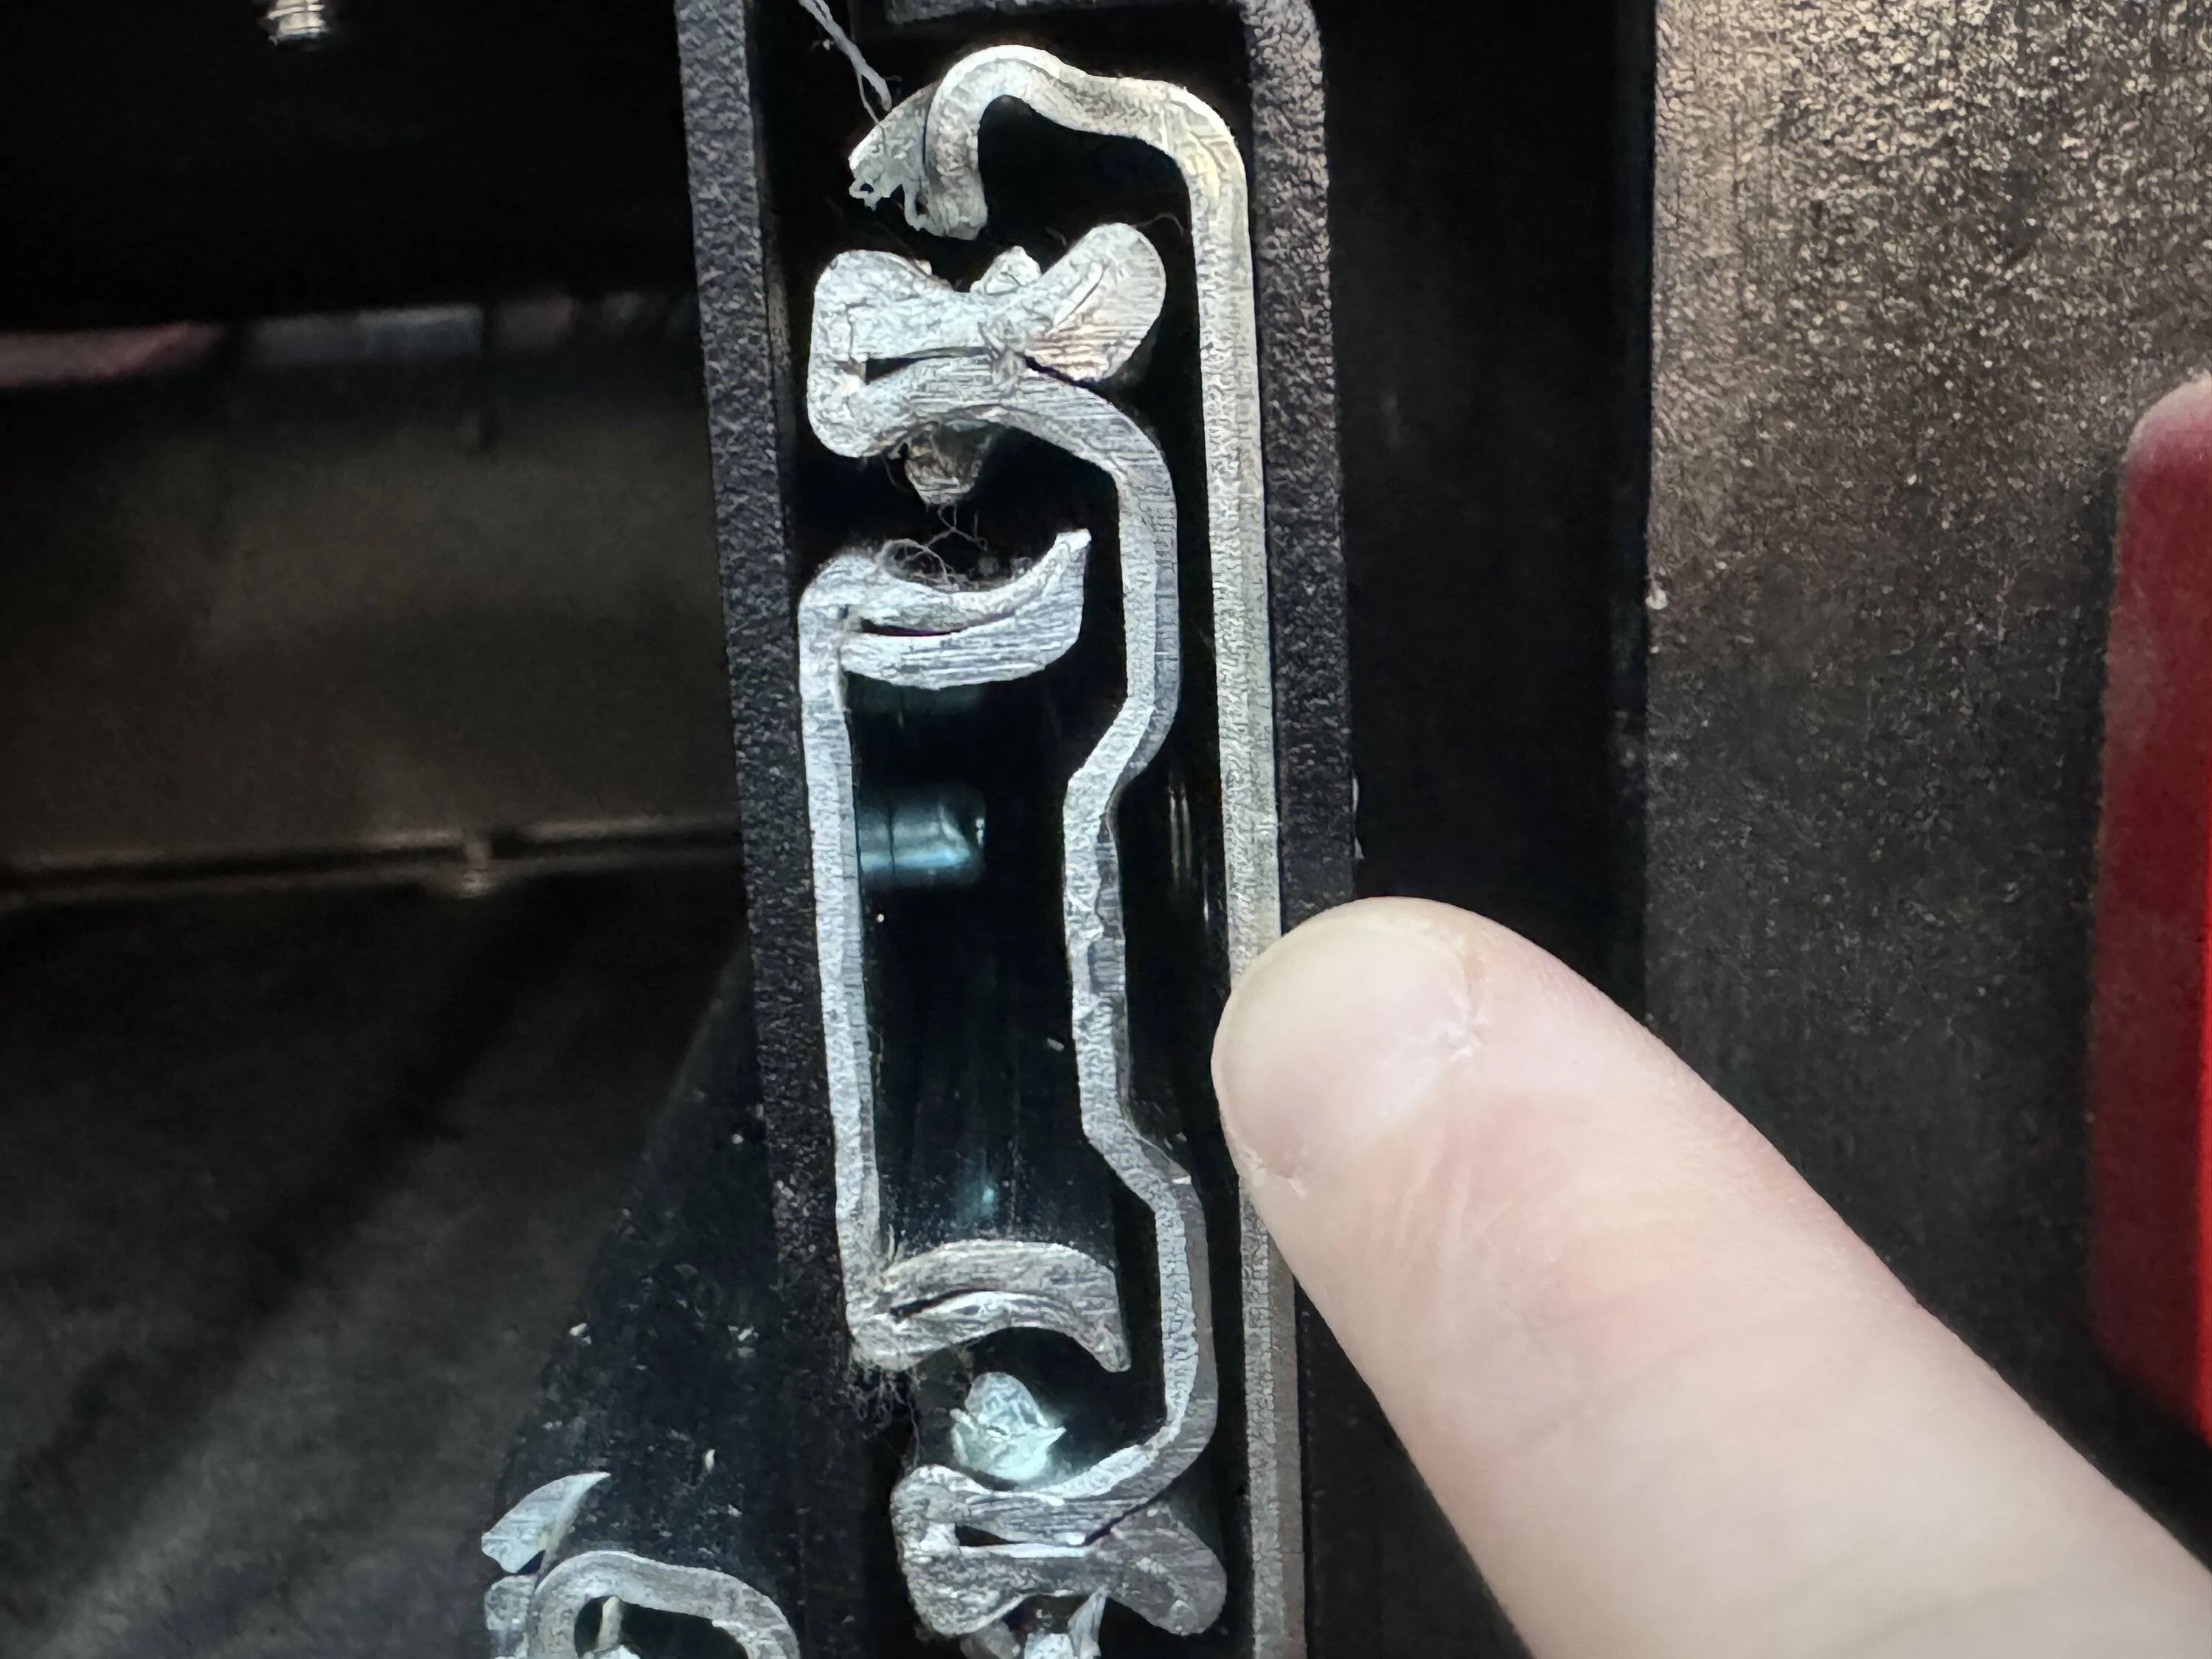
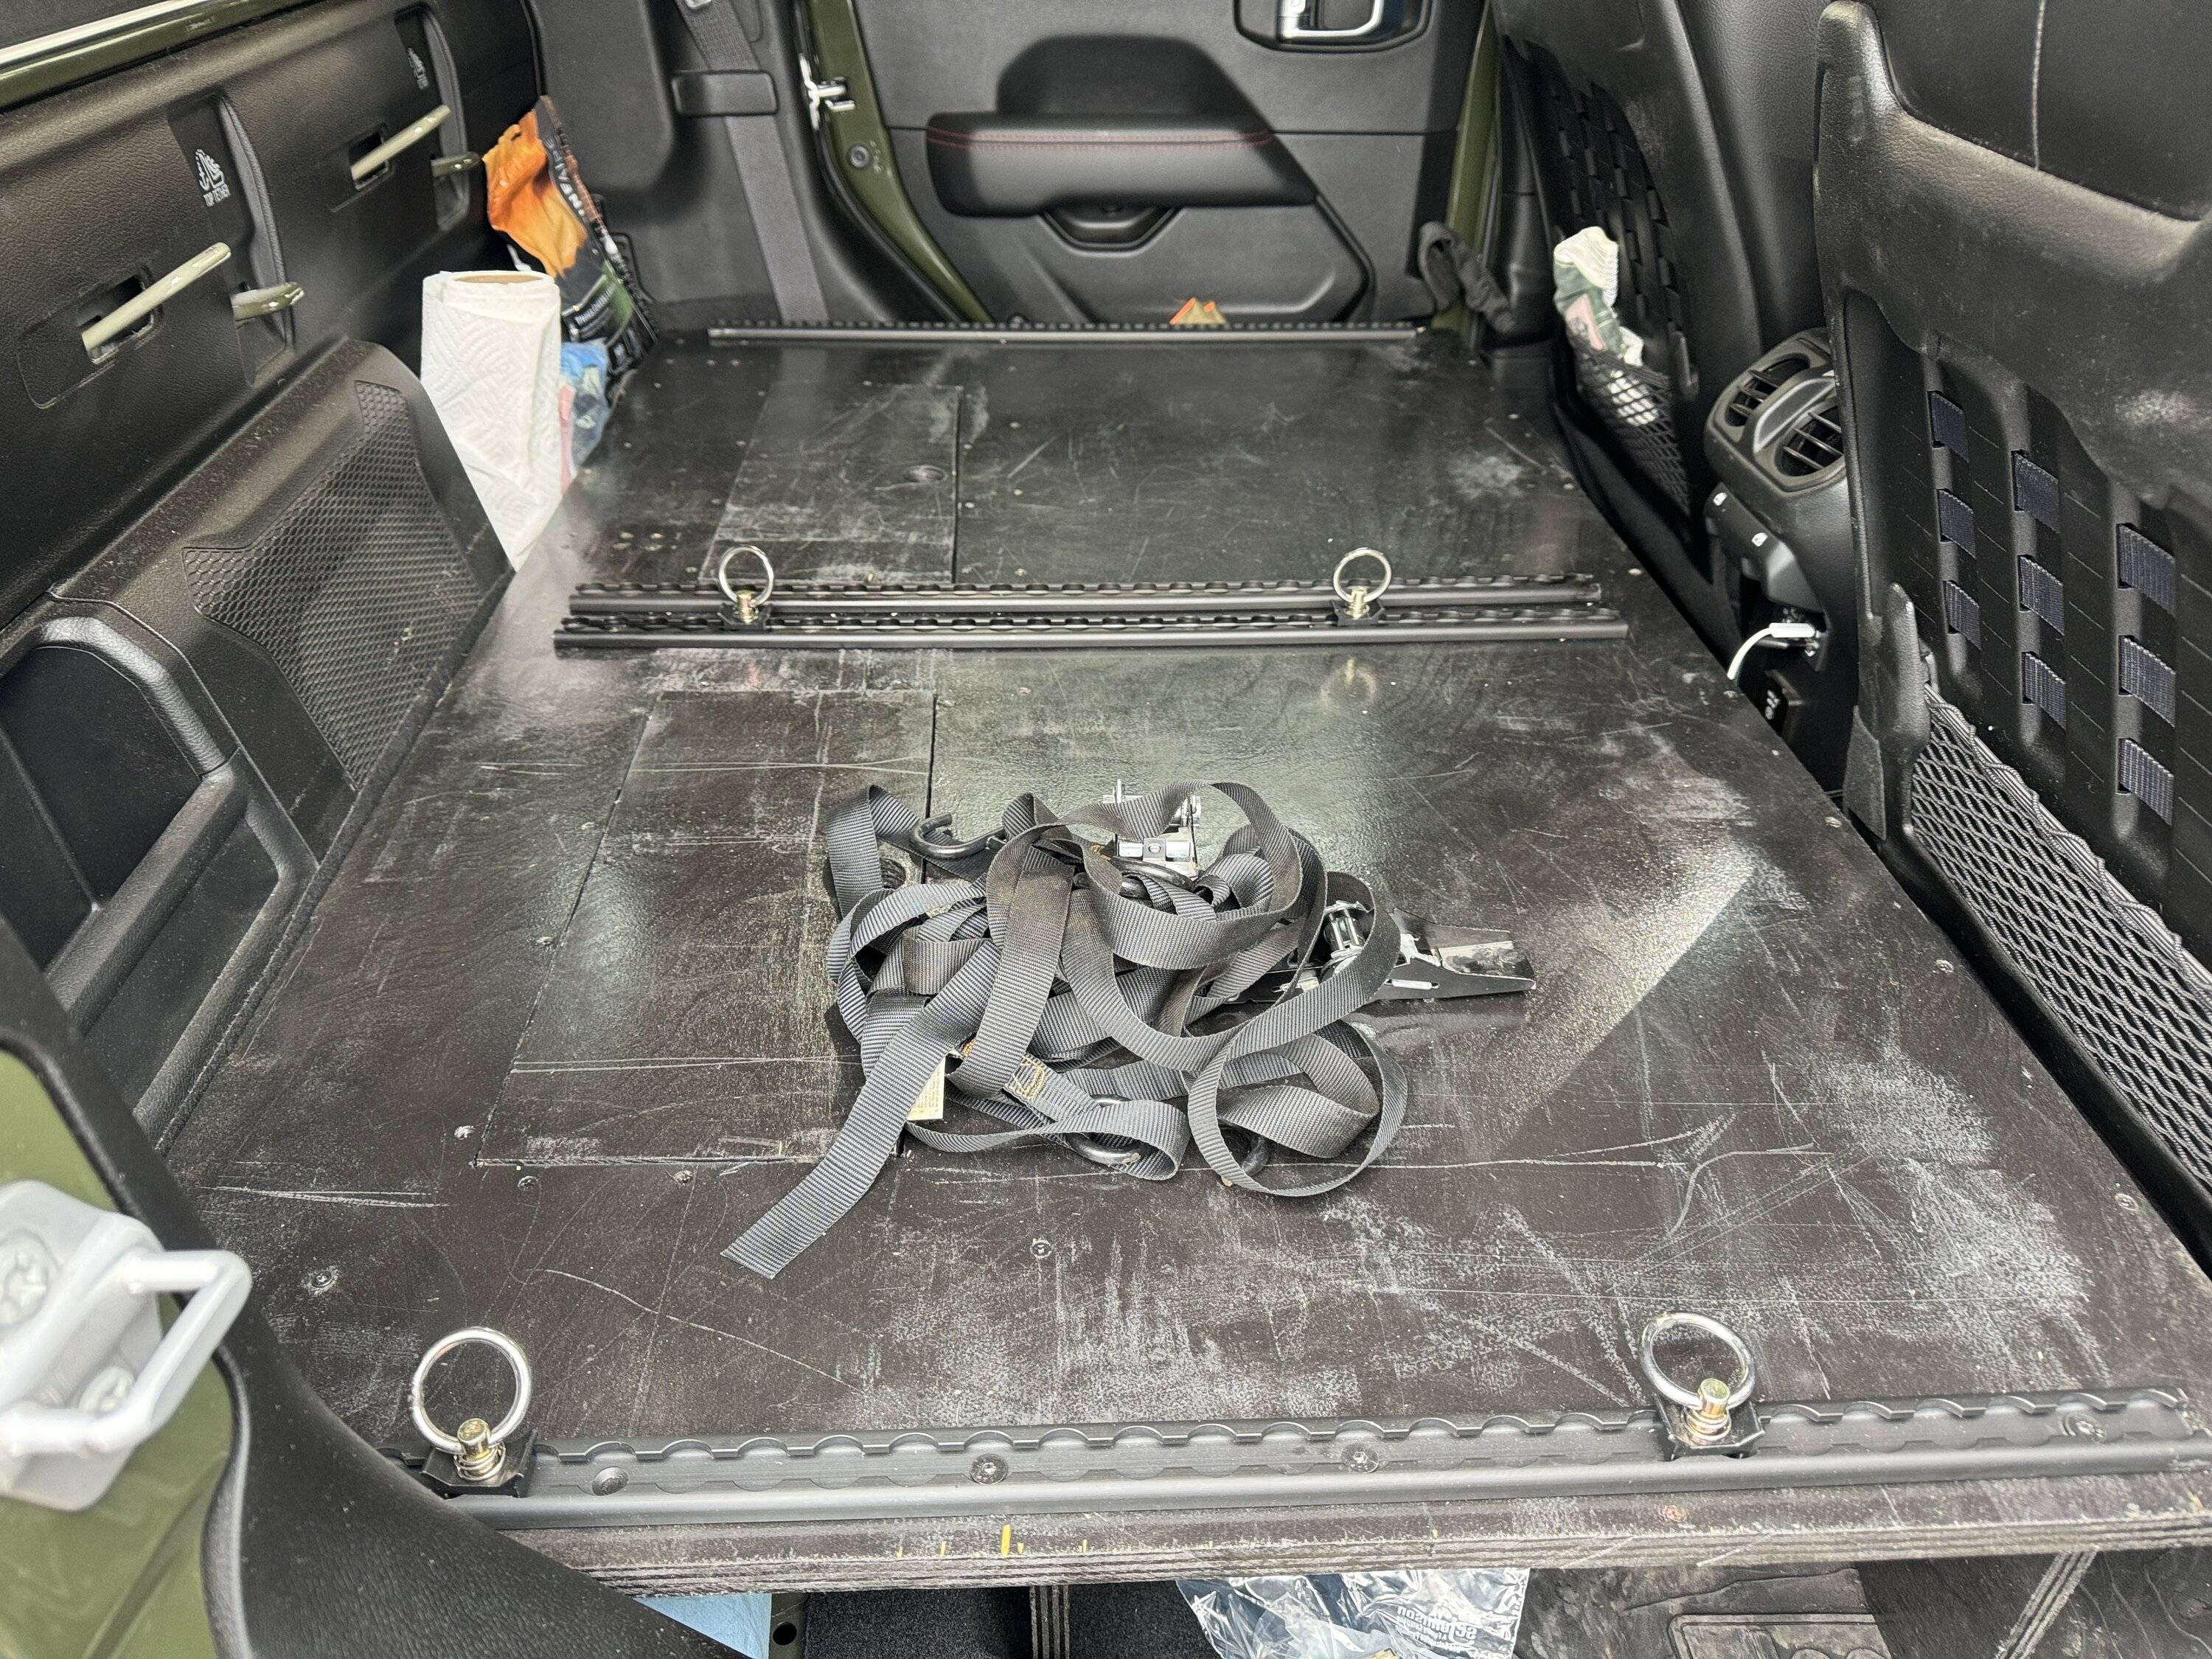
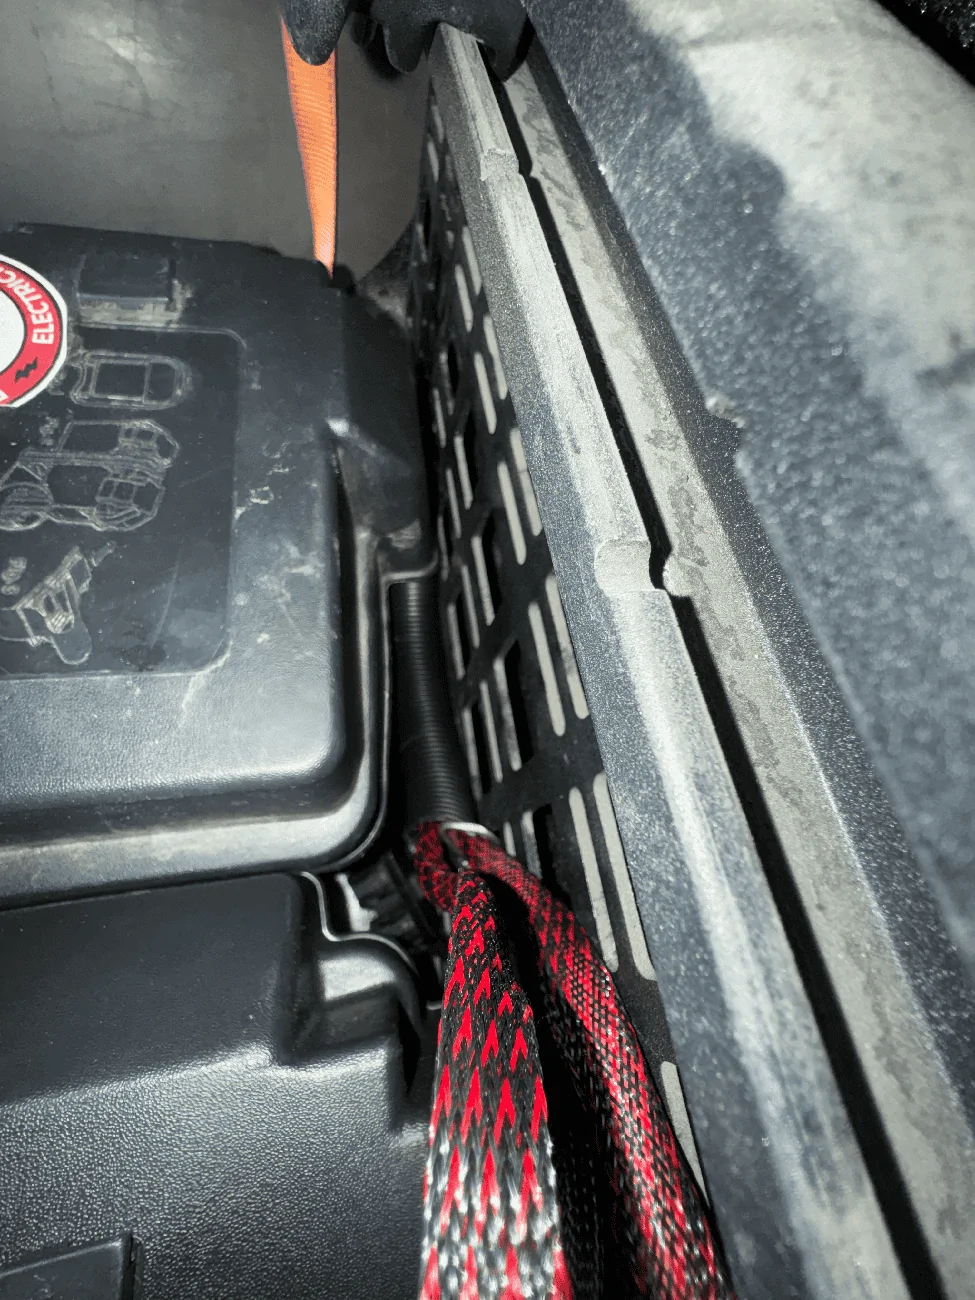
So, drivers side up agains the bulkhead it goes. This really is the best location considering it is hard to access due to the shelf and recovery gear just a few inches above. It also will help with better weight distribution. I used the same wire loom I have been for consistency, but this time added some of the old school 4 letter word inducing plastic stuff for extra abrasion resistance considering these wires can transfer some serious oomph.

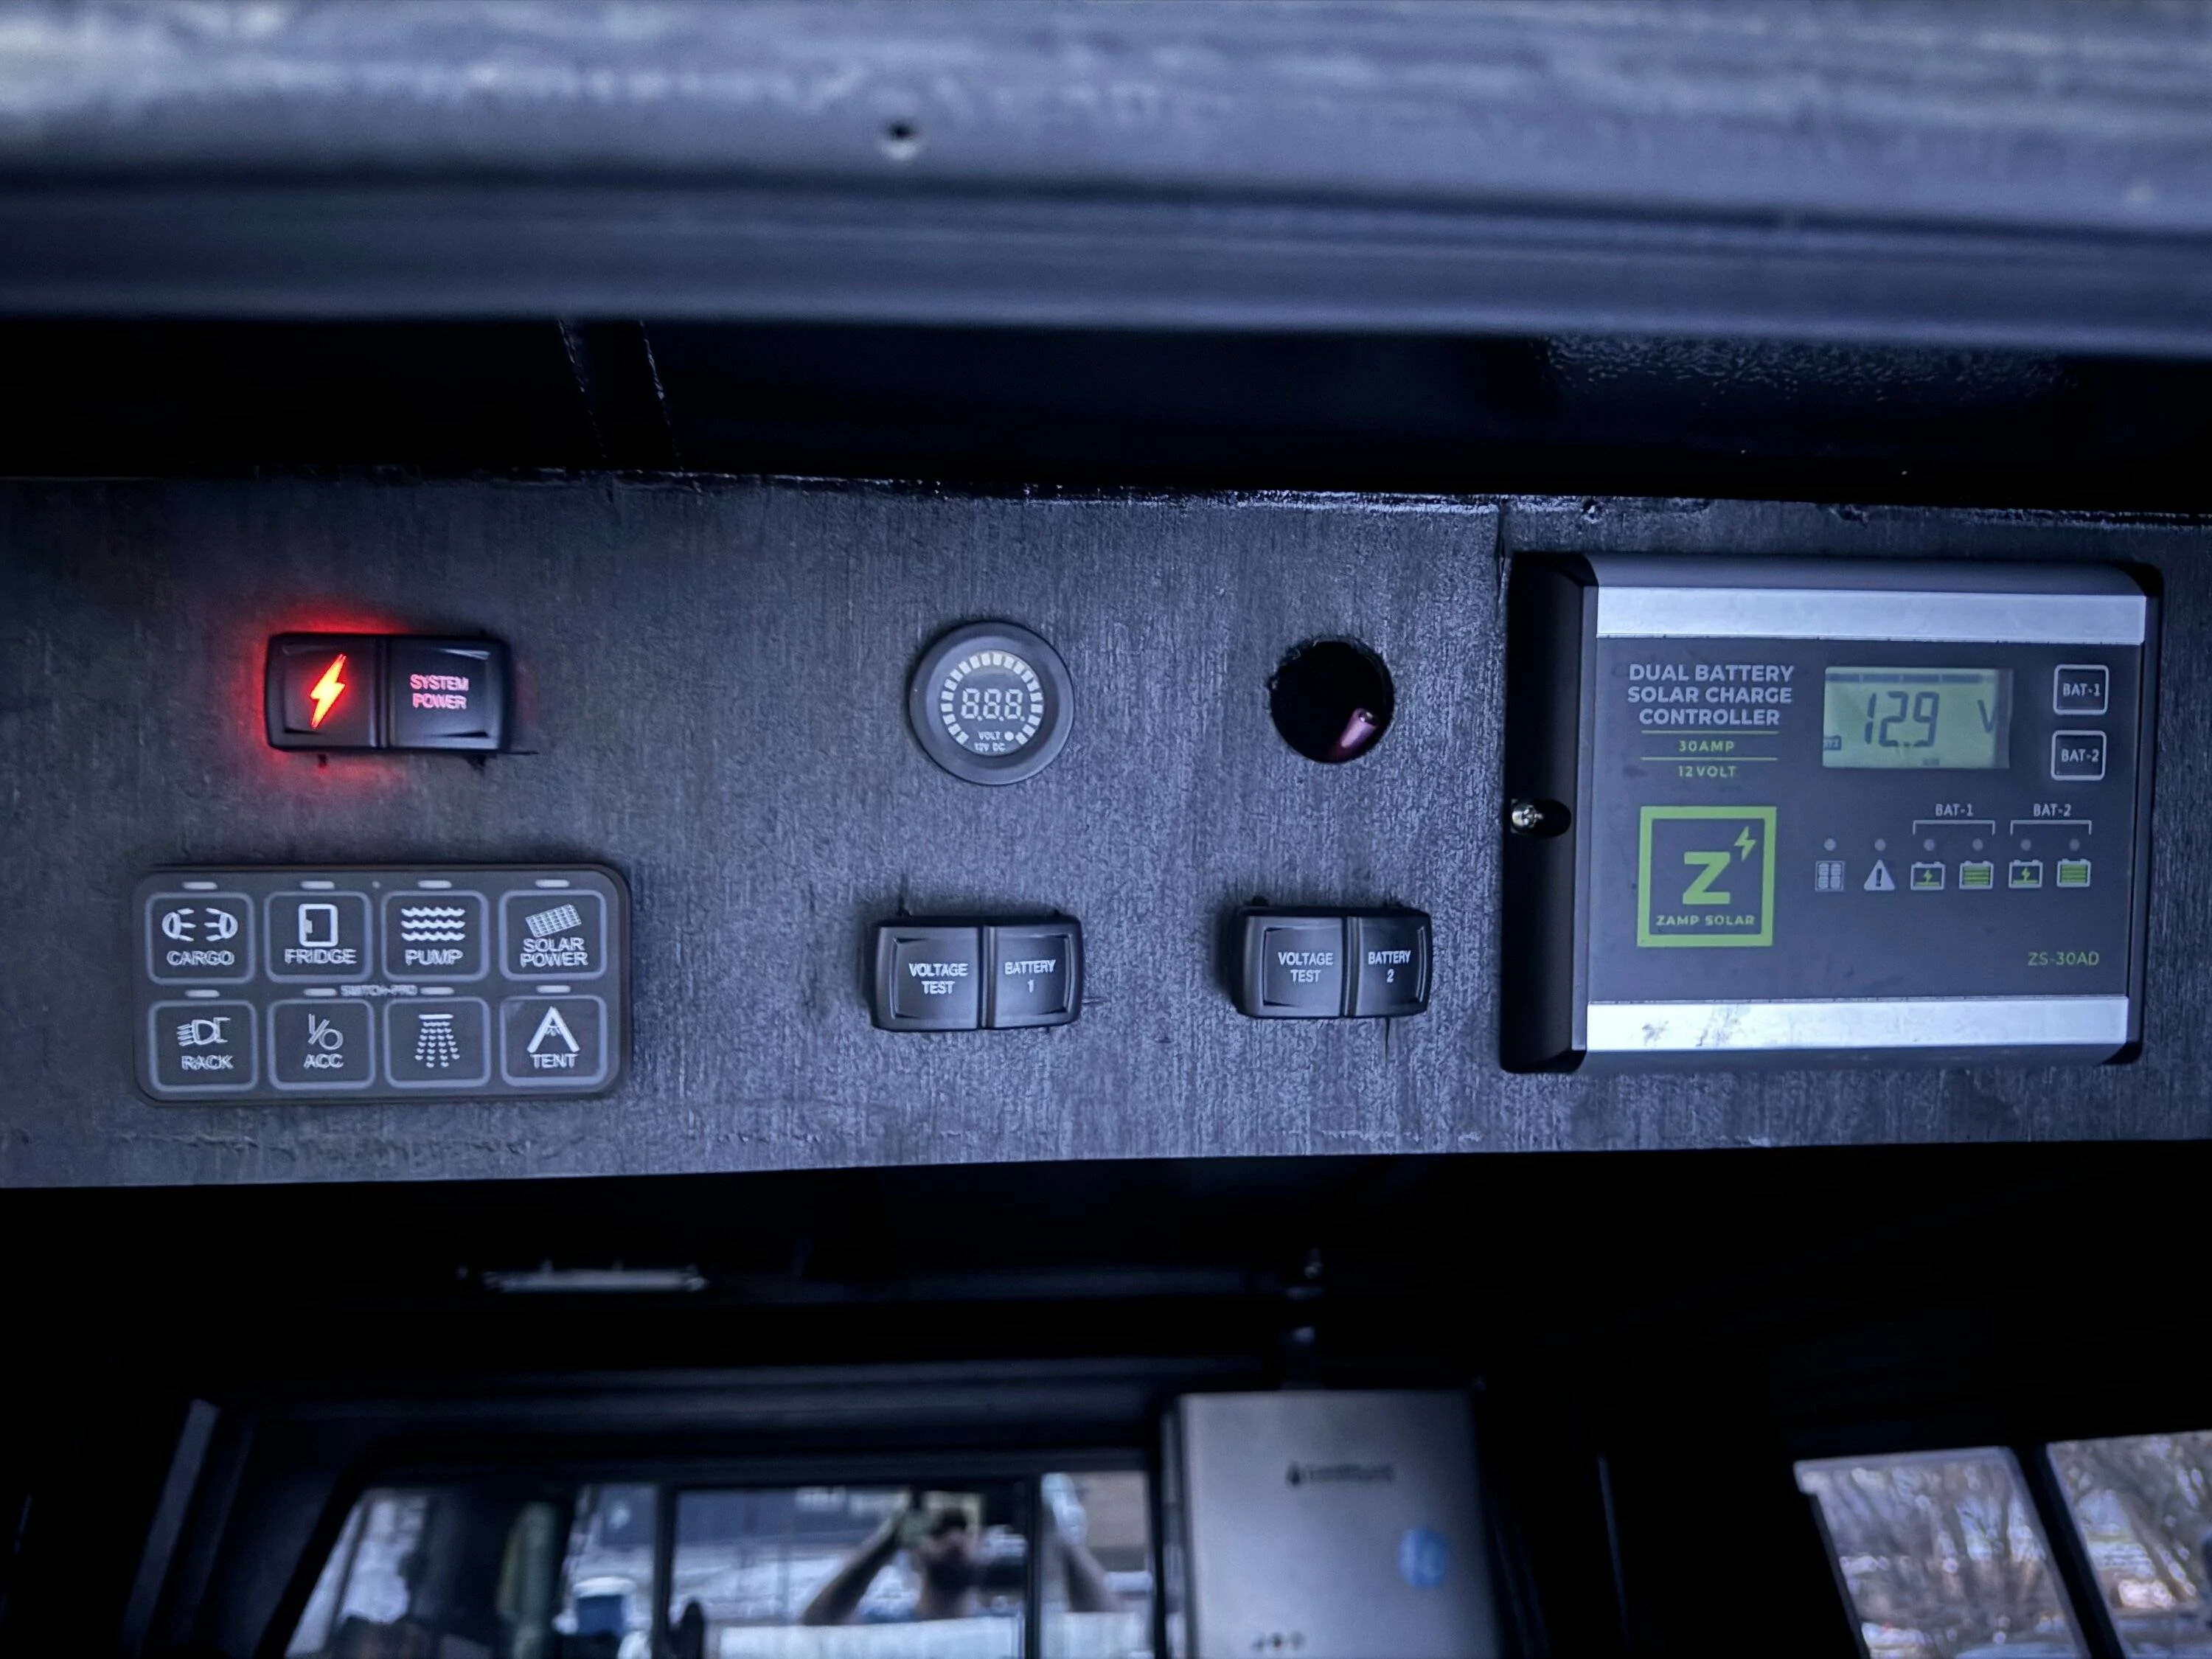
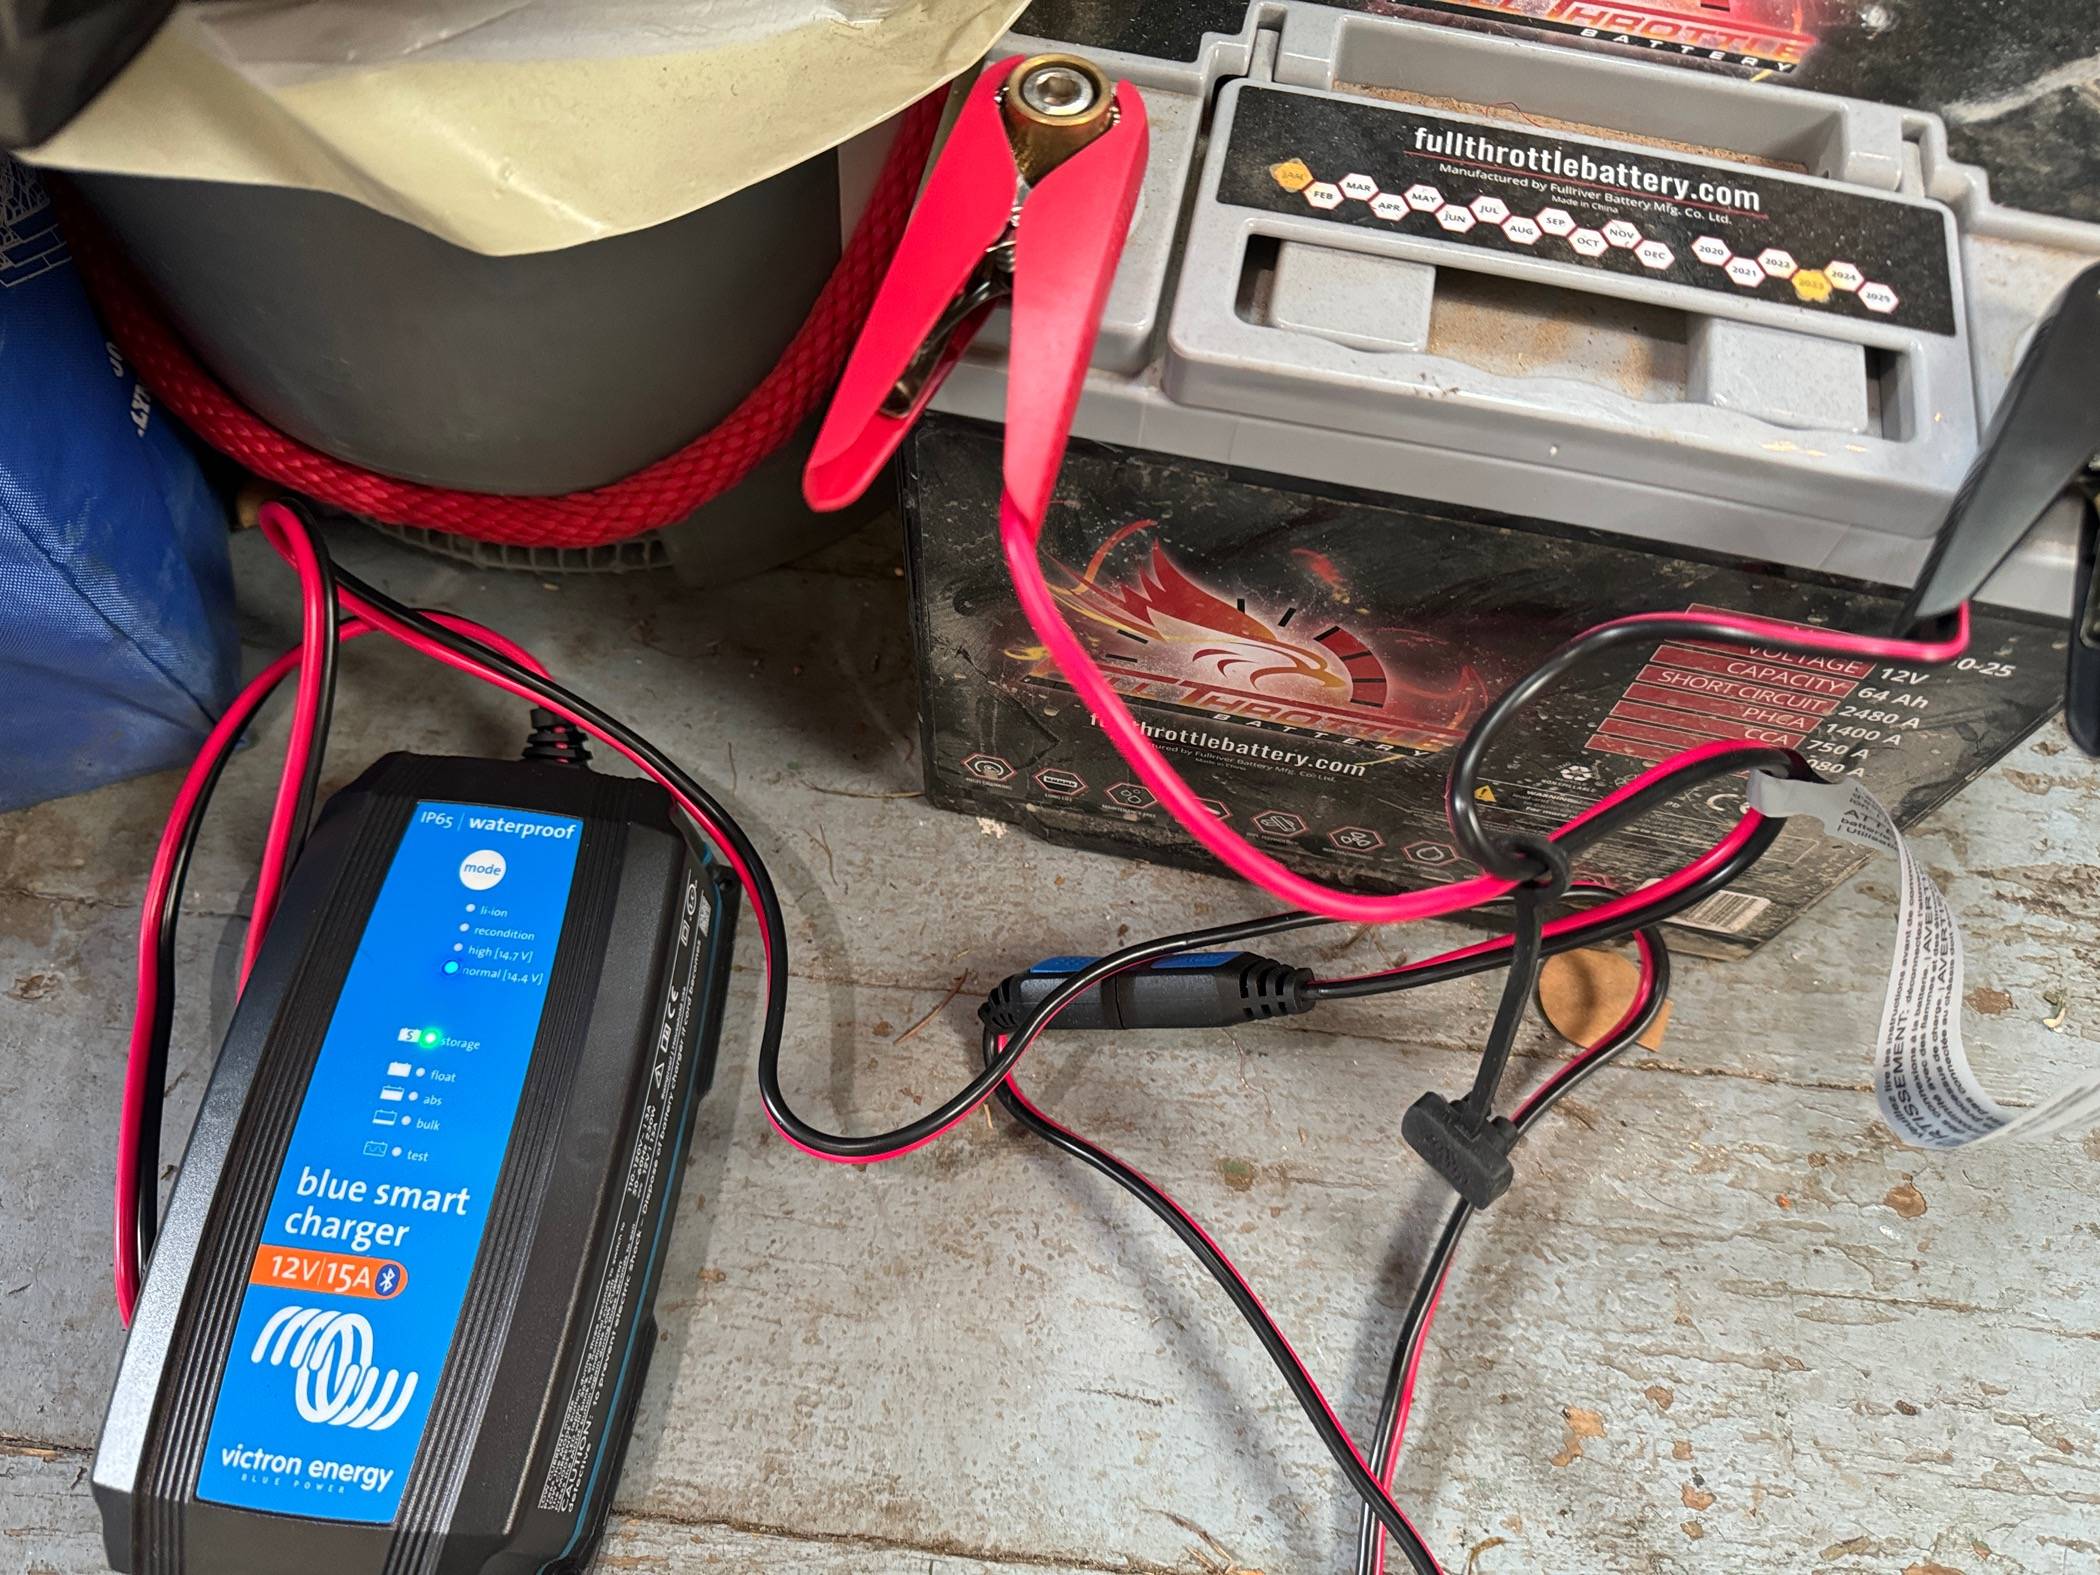
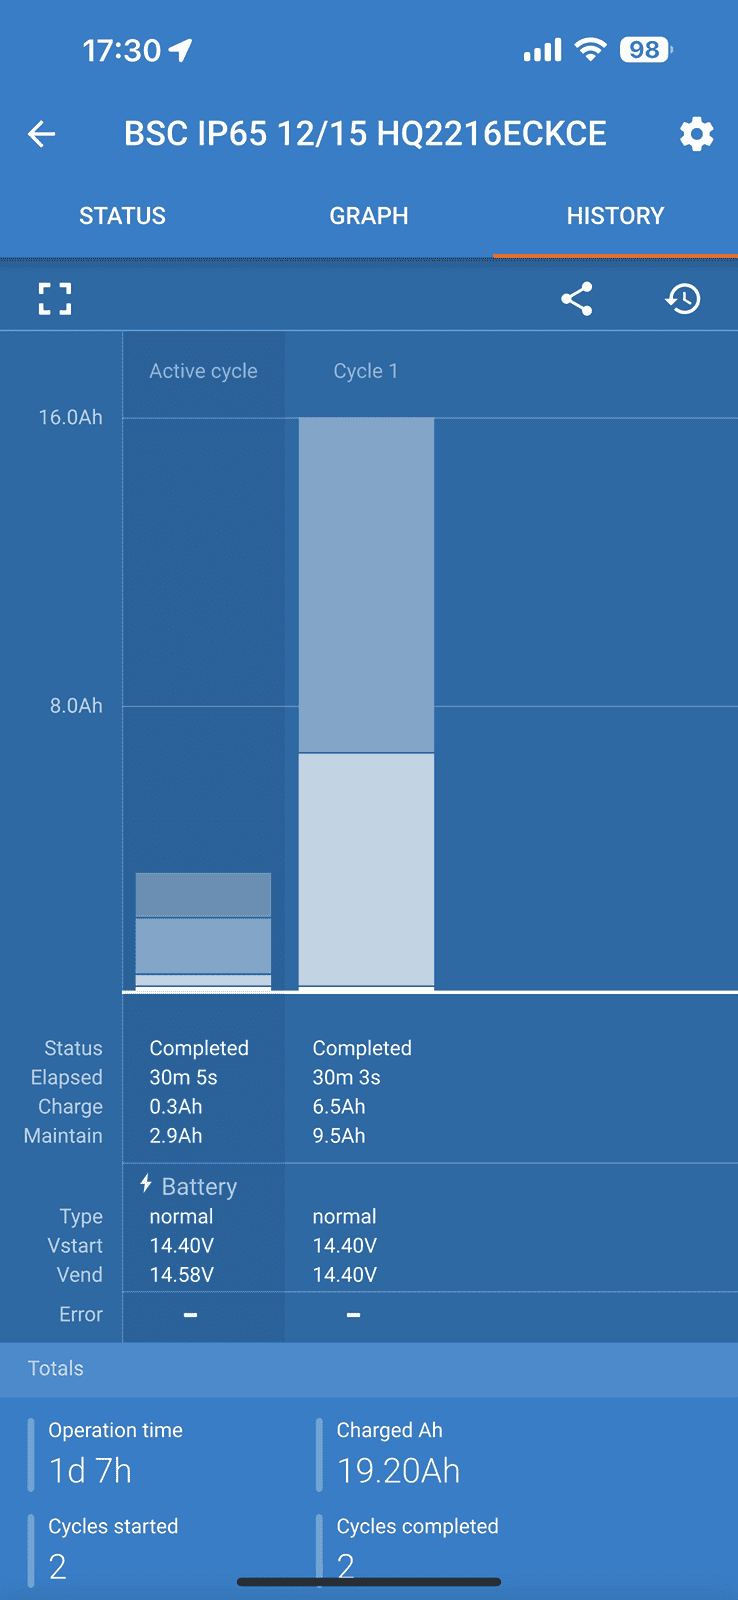
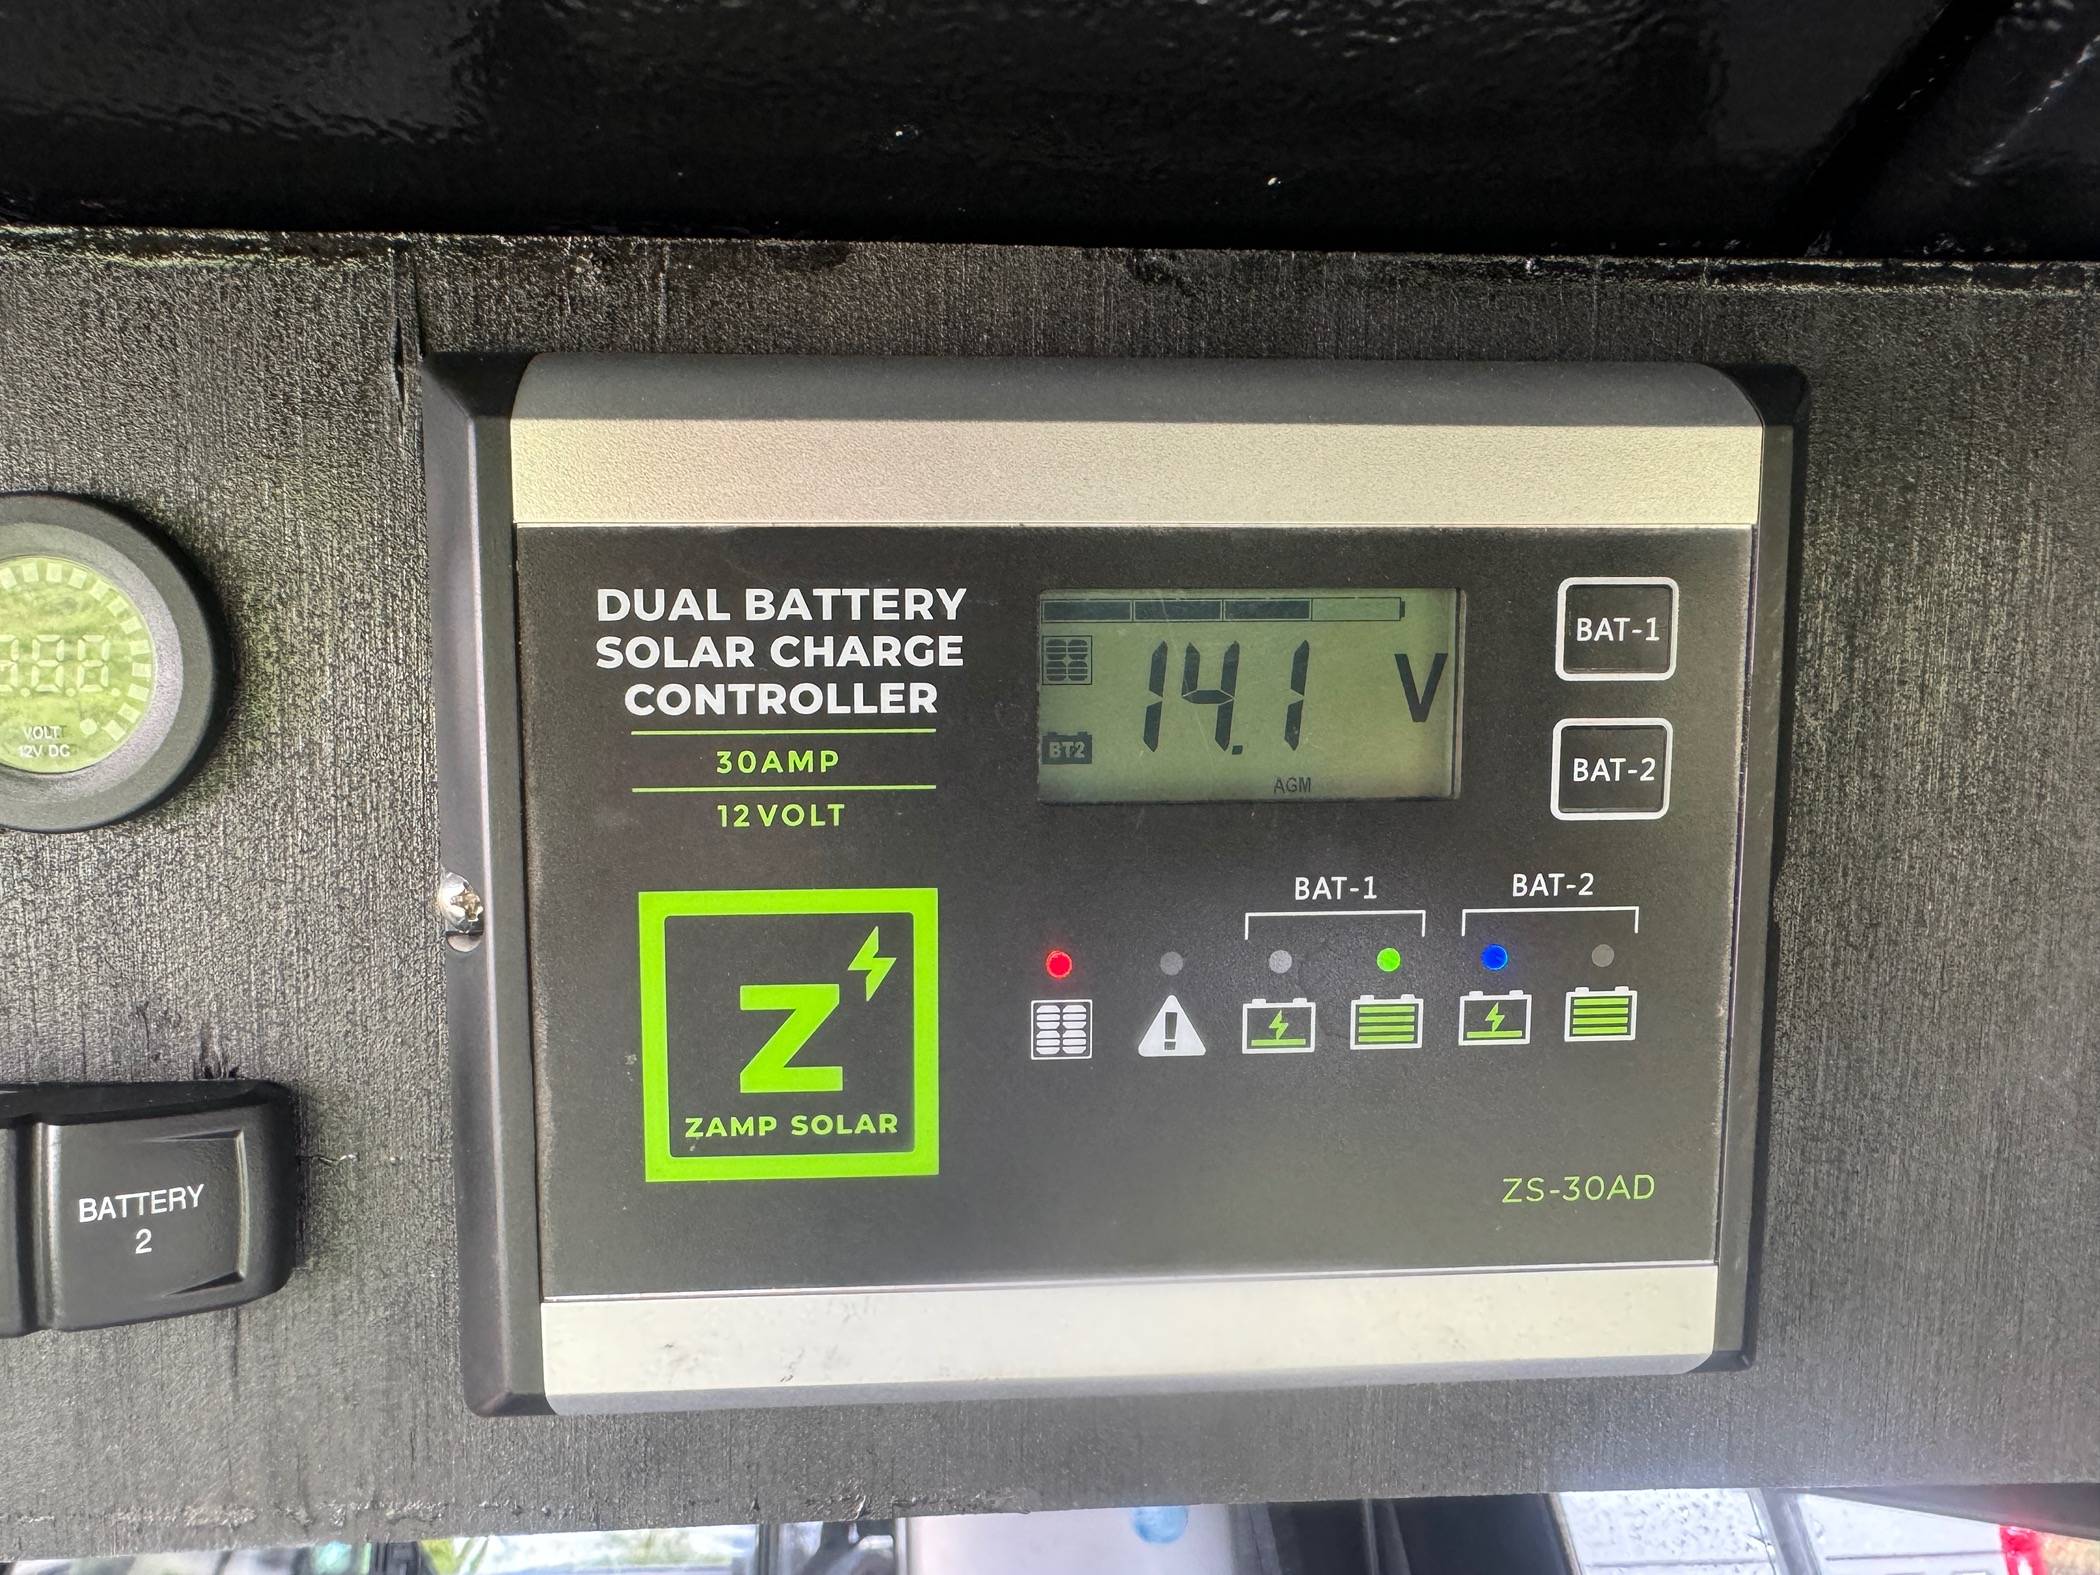
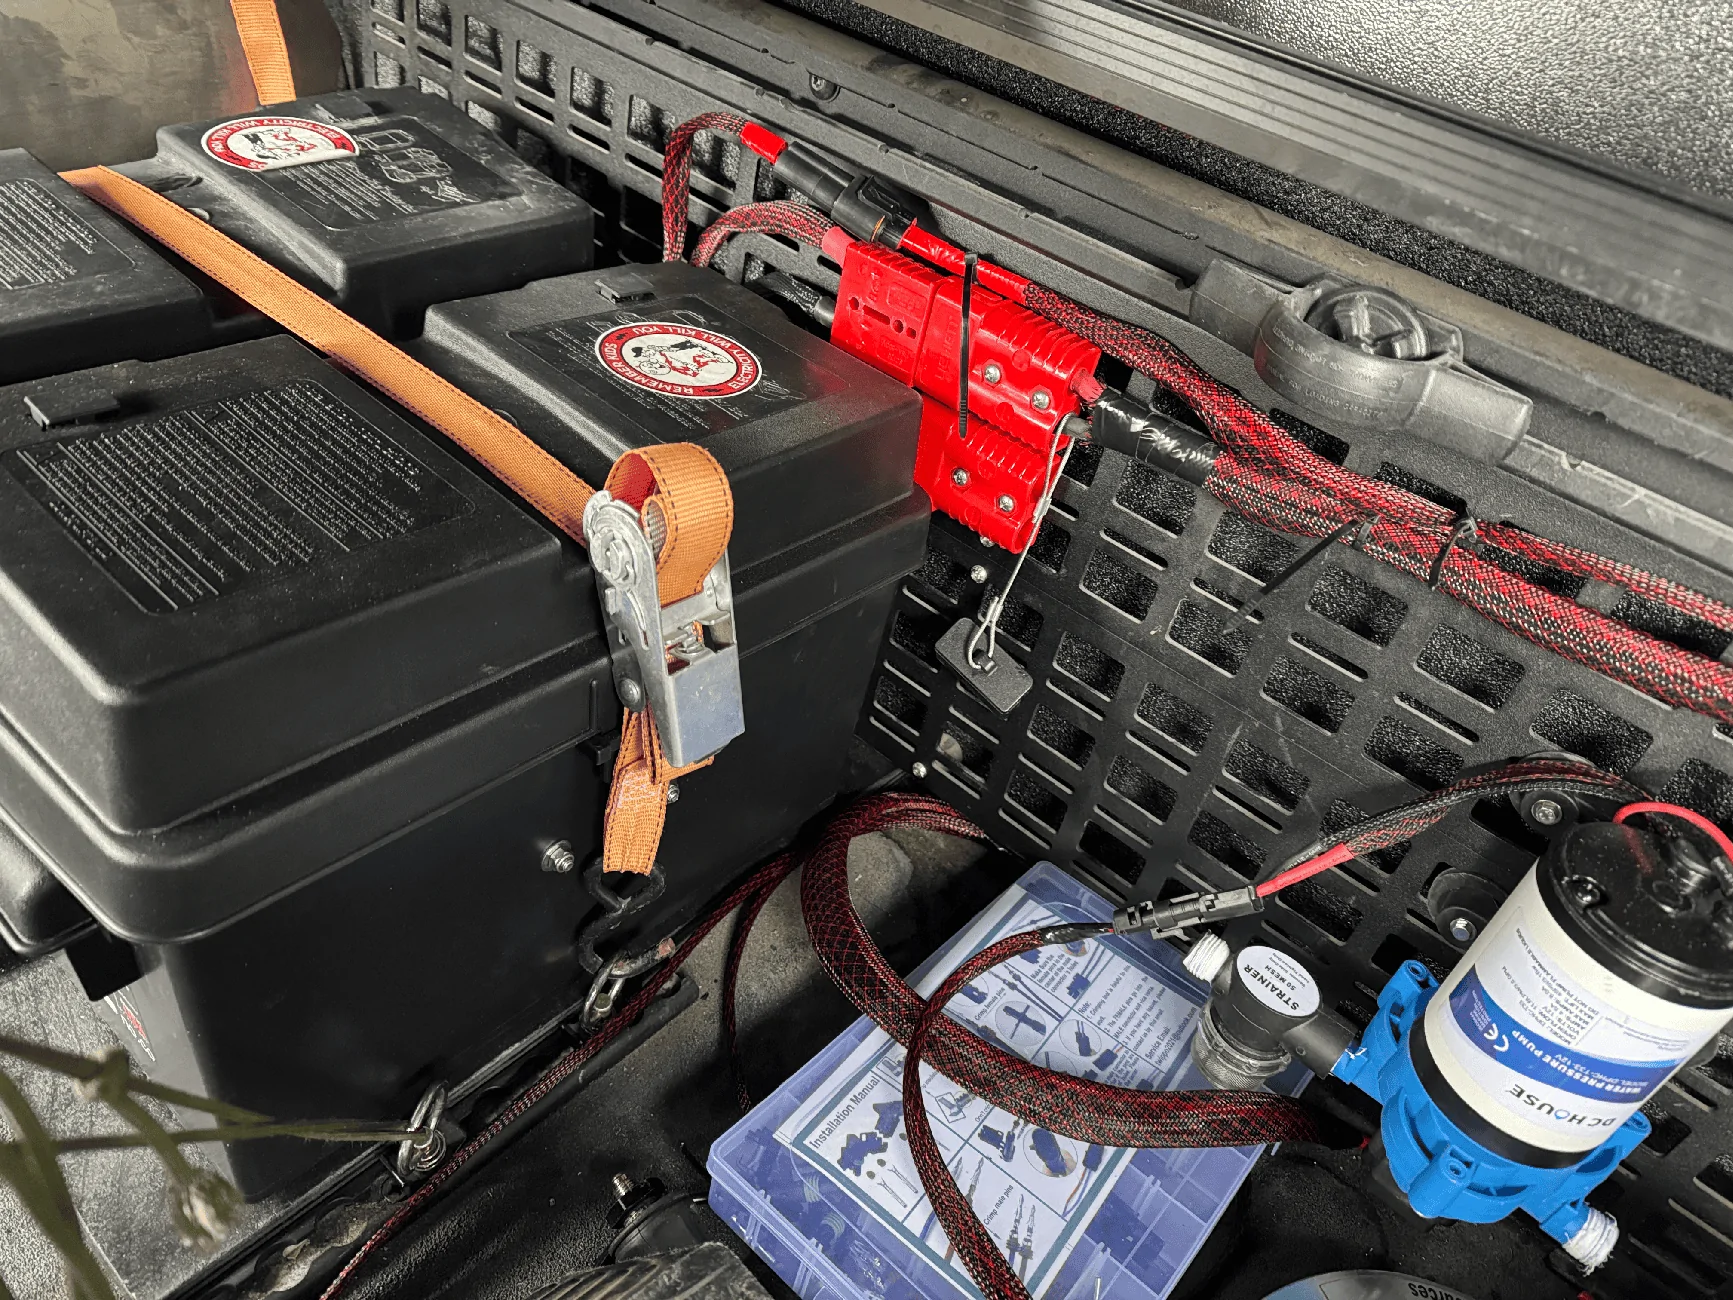
I ran some more 4ga wire with Anderson connectors to make removal easy and to offer modular abilities. I am still waiting on some 4ga cable for the second battery, but the solar charging cables are also in place. This will offer me a total of 230 ah capacity, retaining AGM batteries conducive for rough roads and winter use. It will allow for 161 usable amp hours, with a max of 184, to allow for a 10% buffer, before any battery damage occurs. Weight of course is a big downfall, at 75 pounds each - but in cold climates there really is not another option for a permanent on board battery setup.
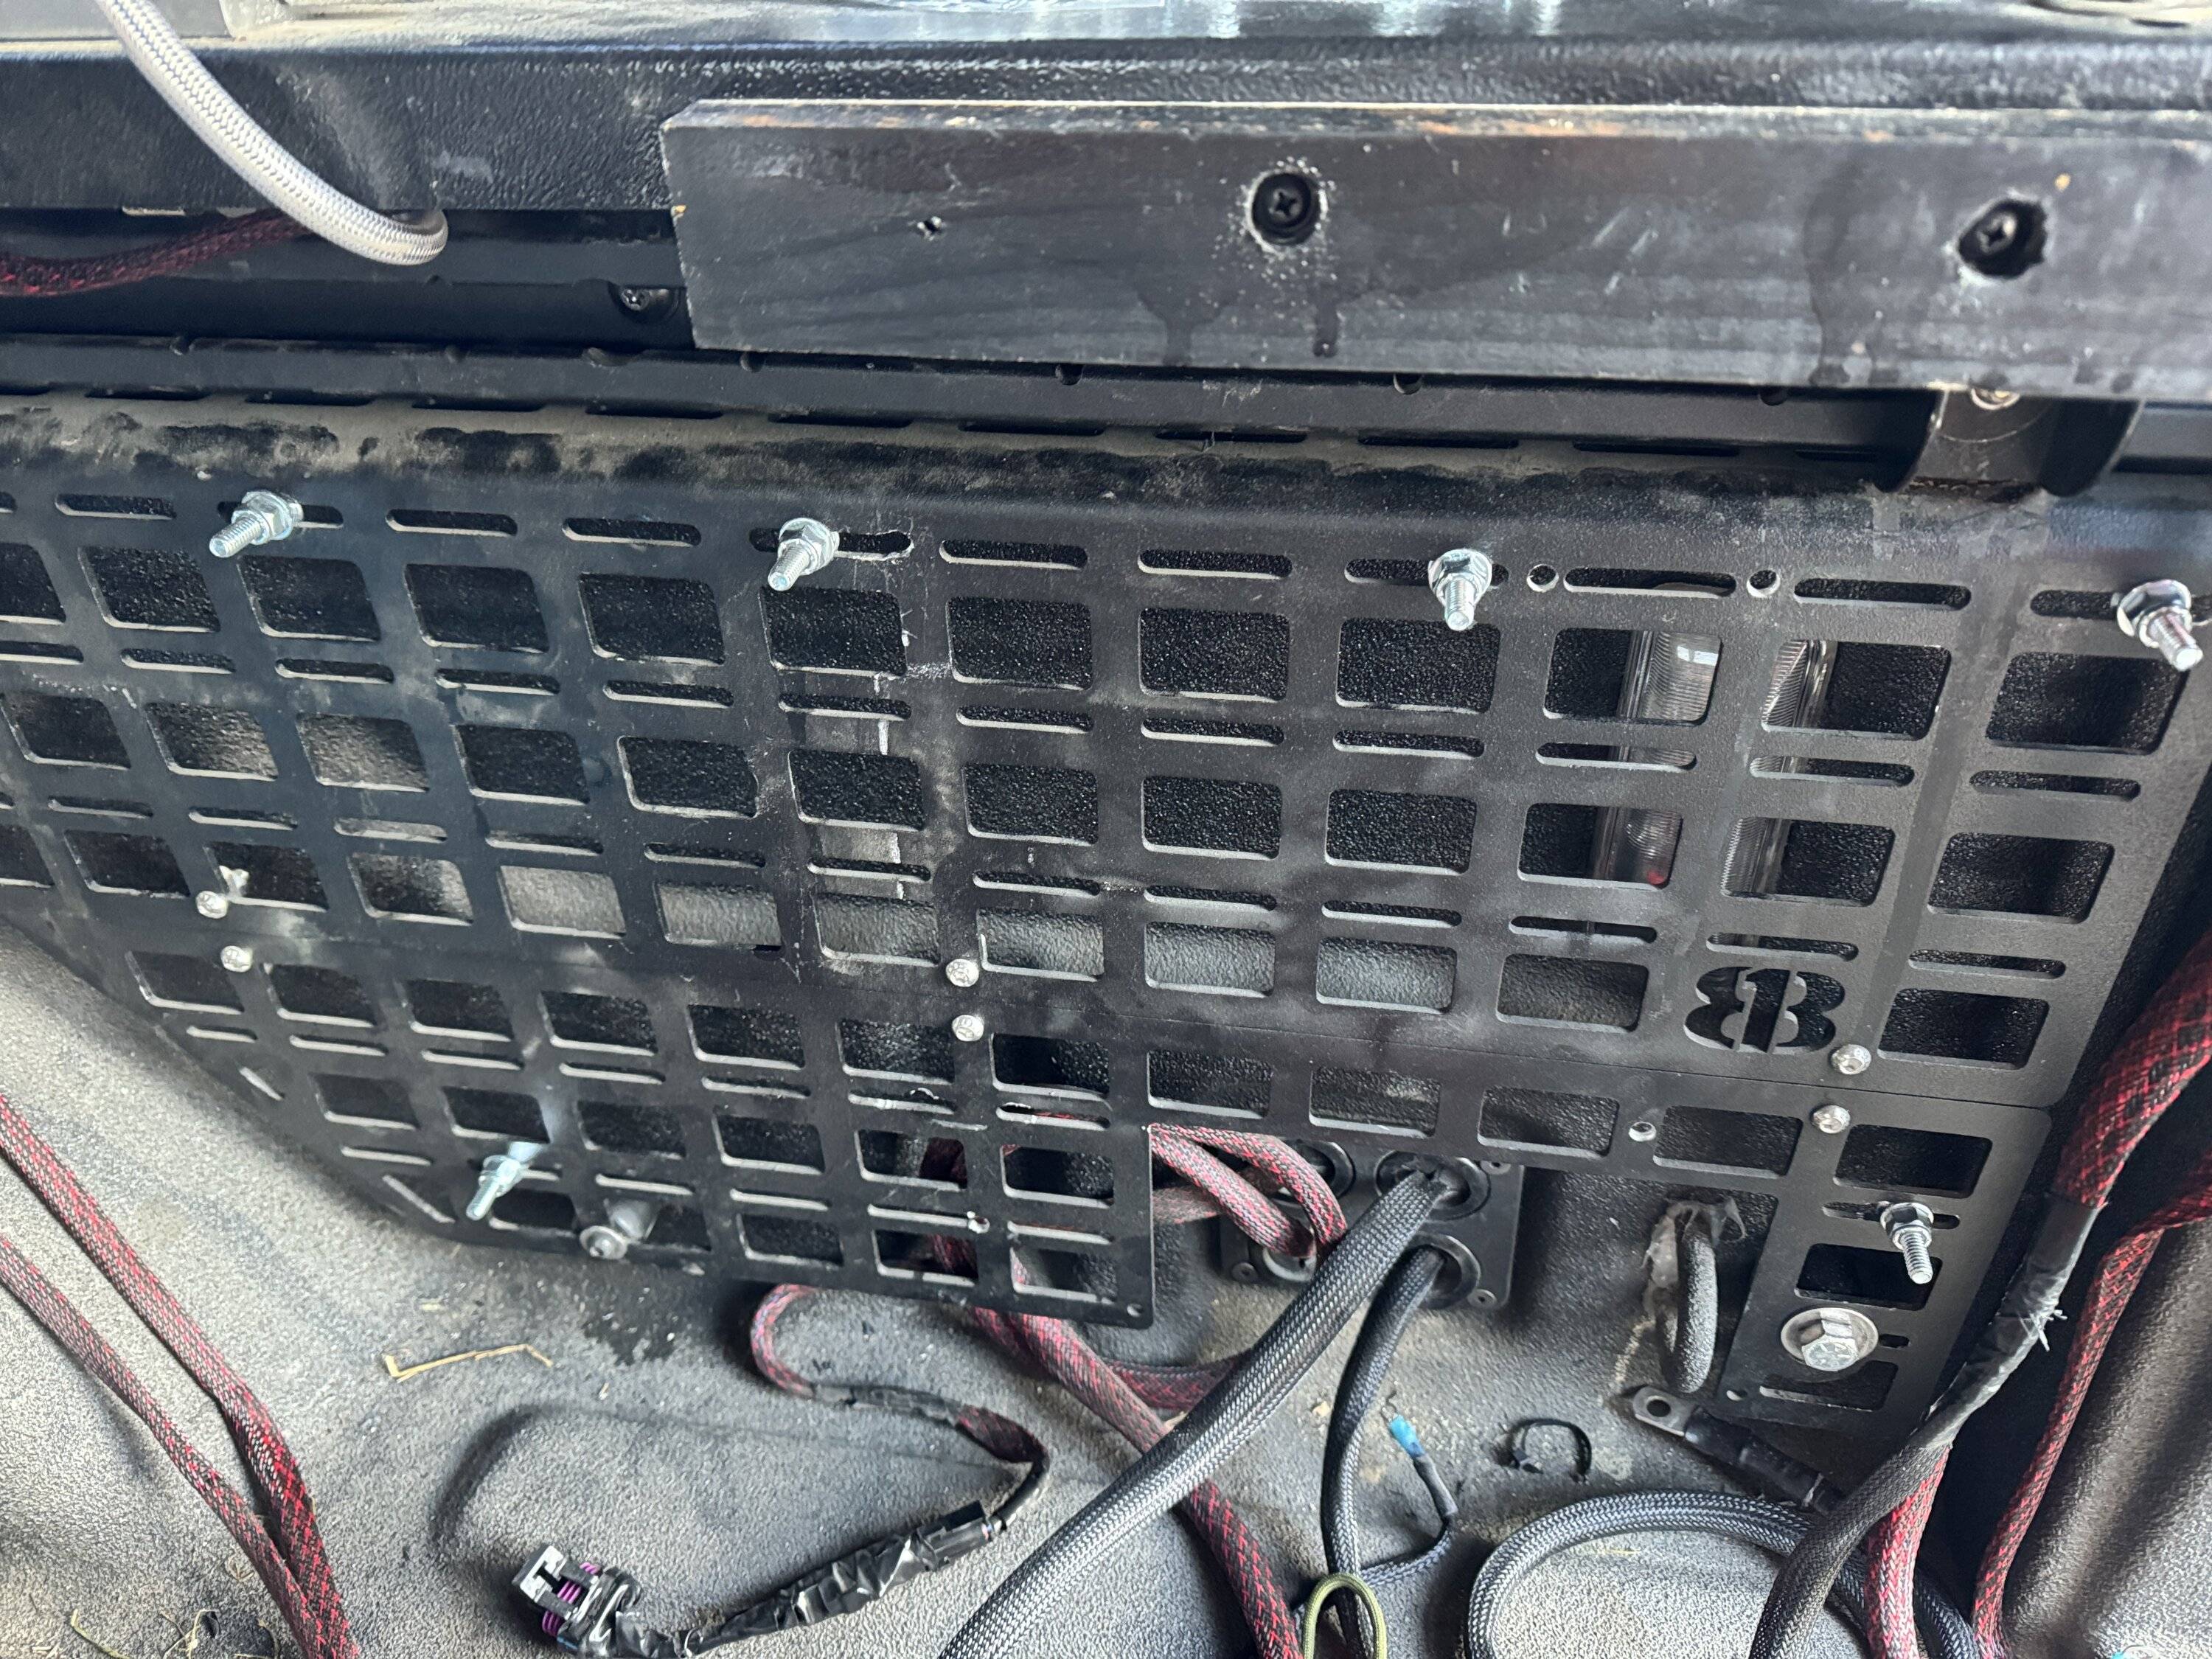
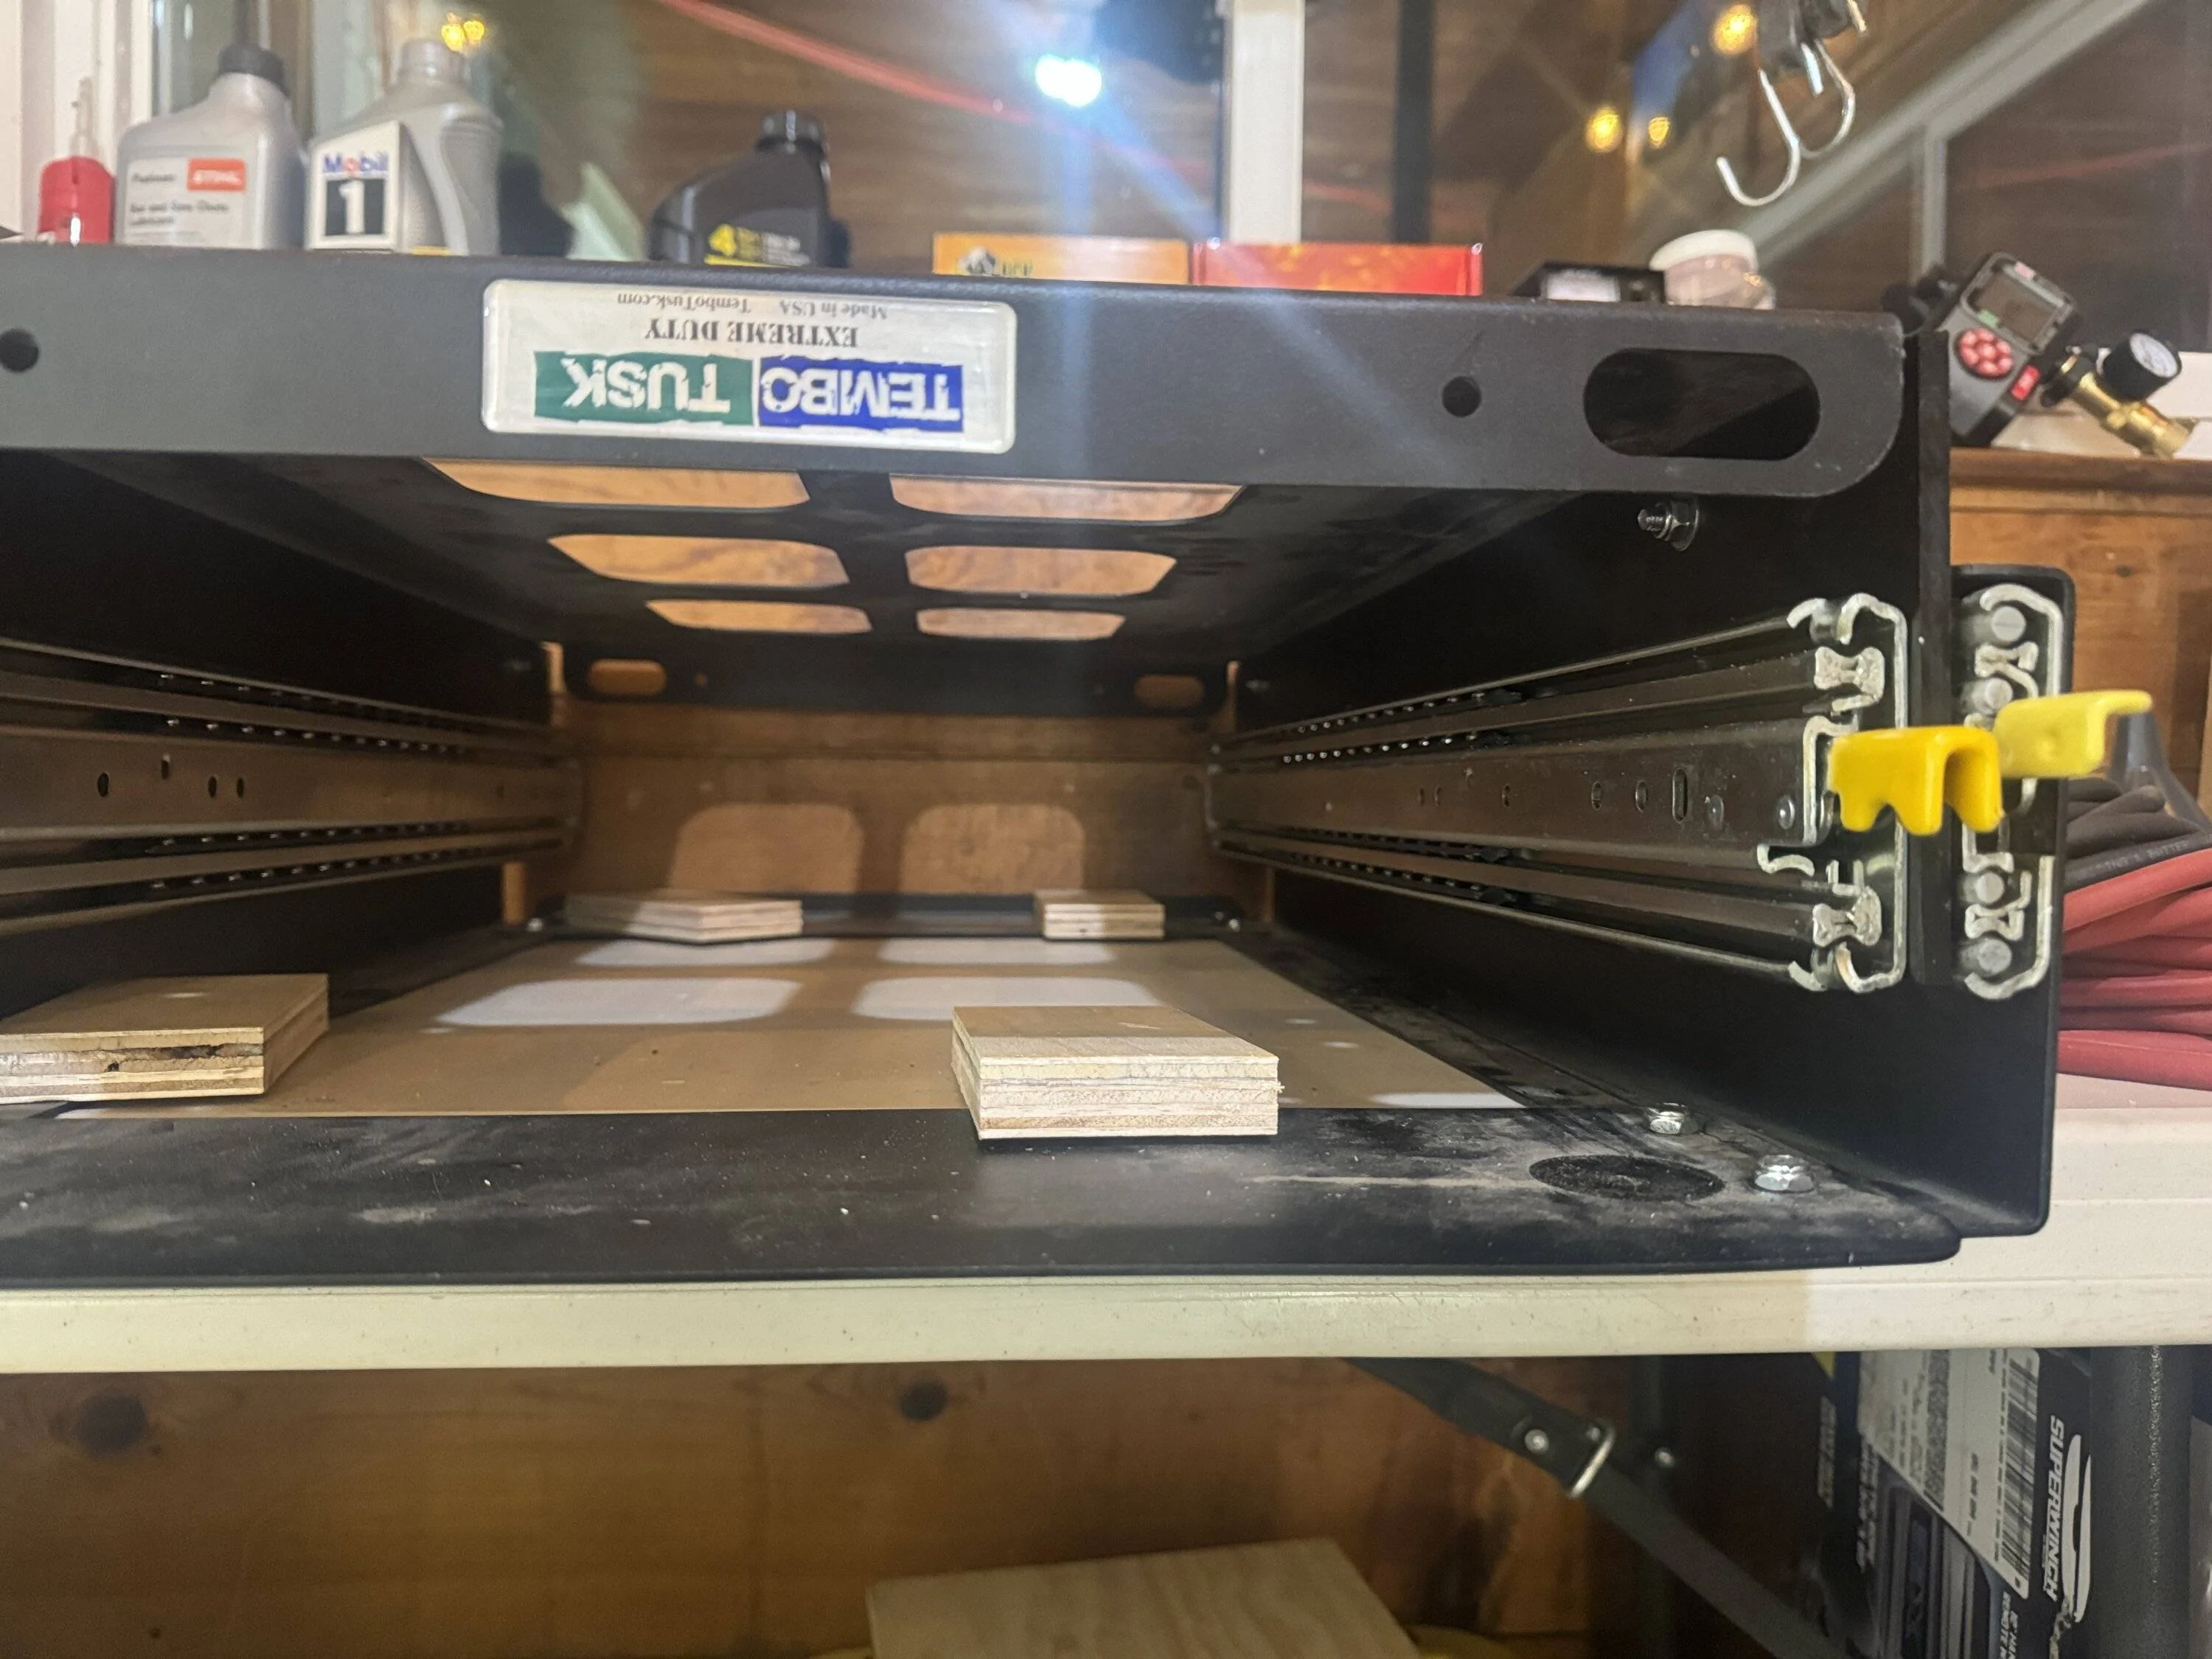
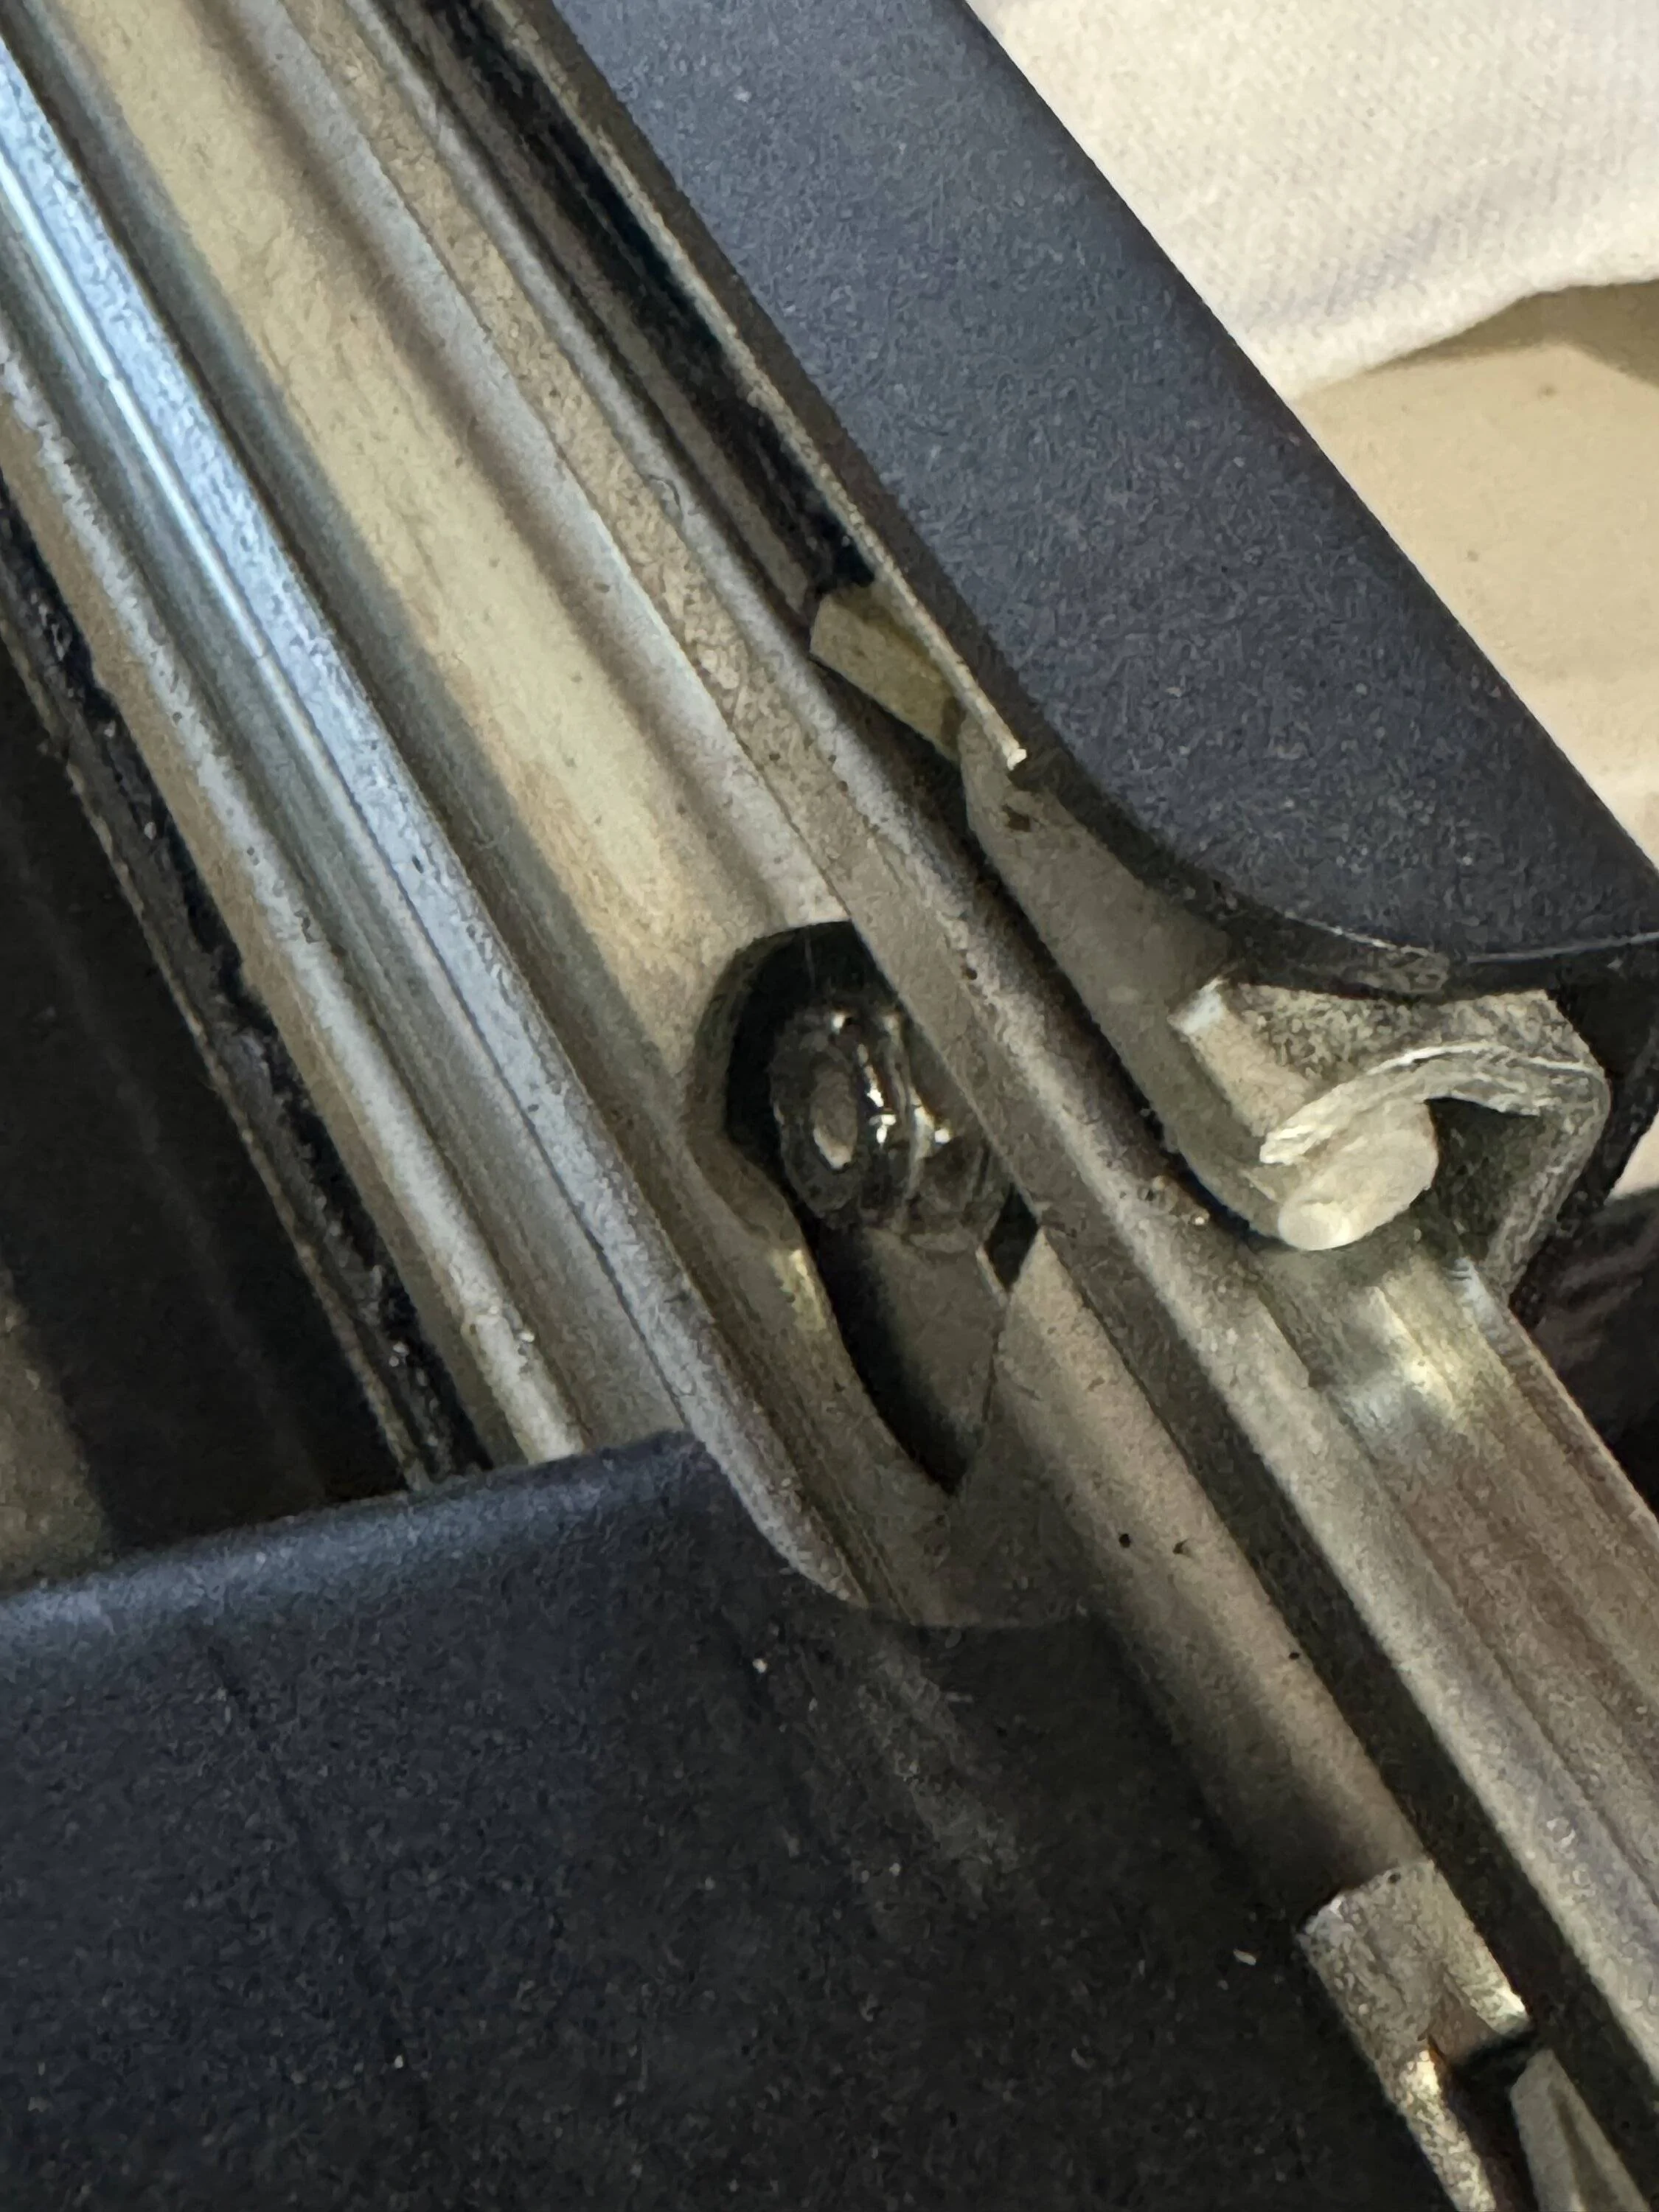
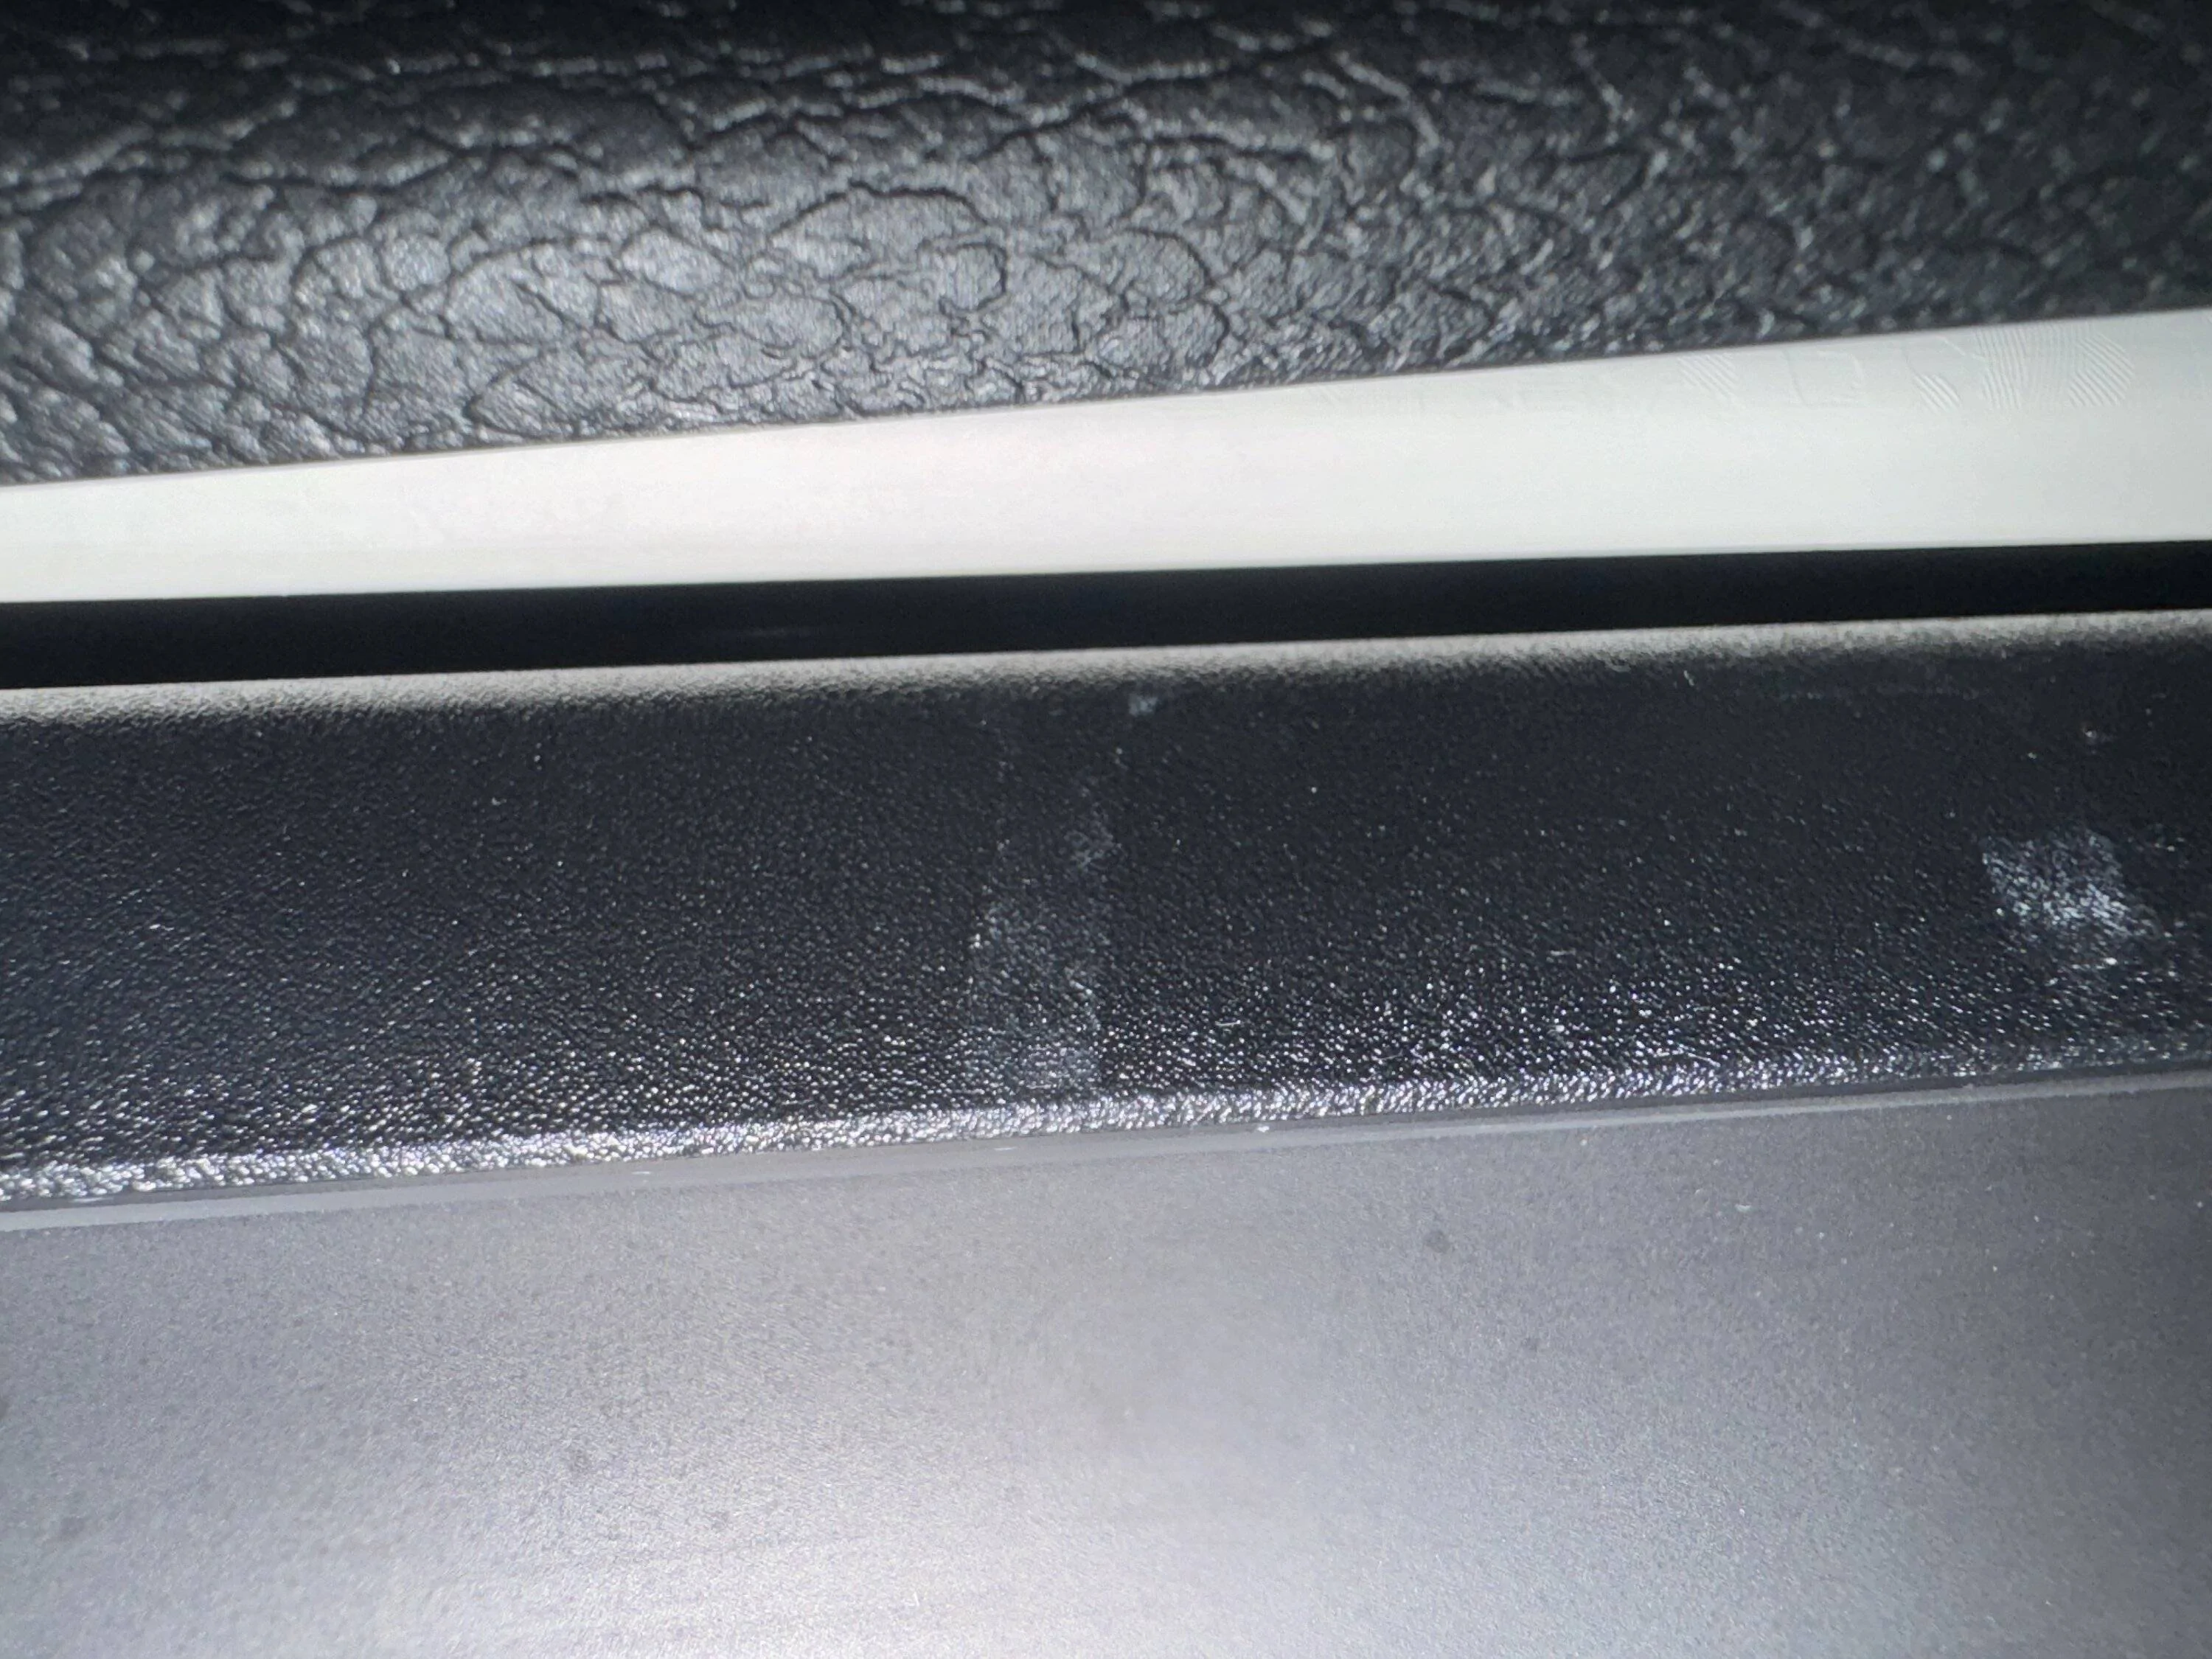
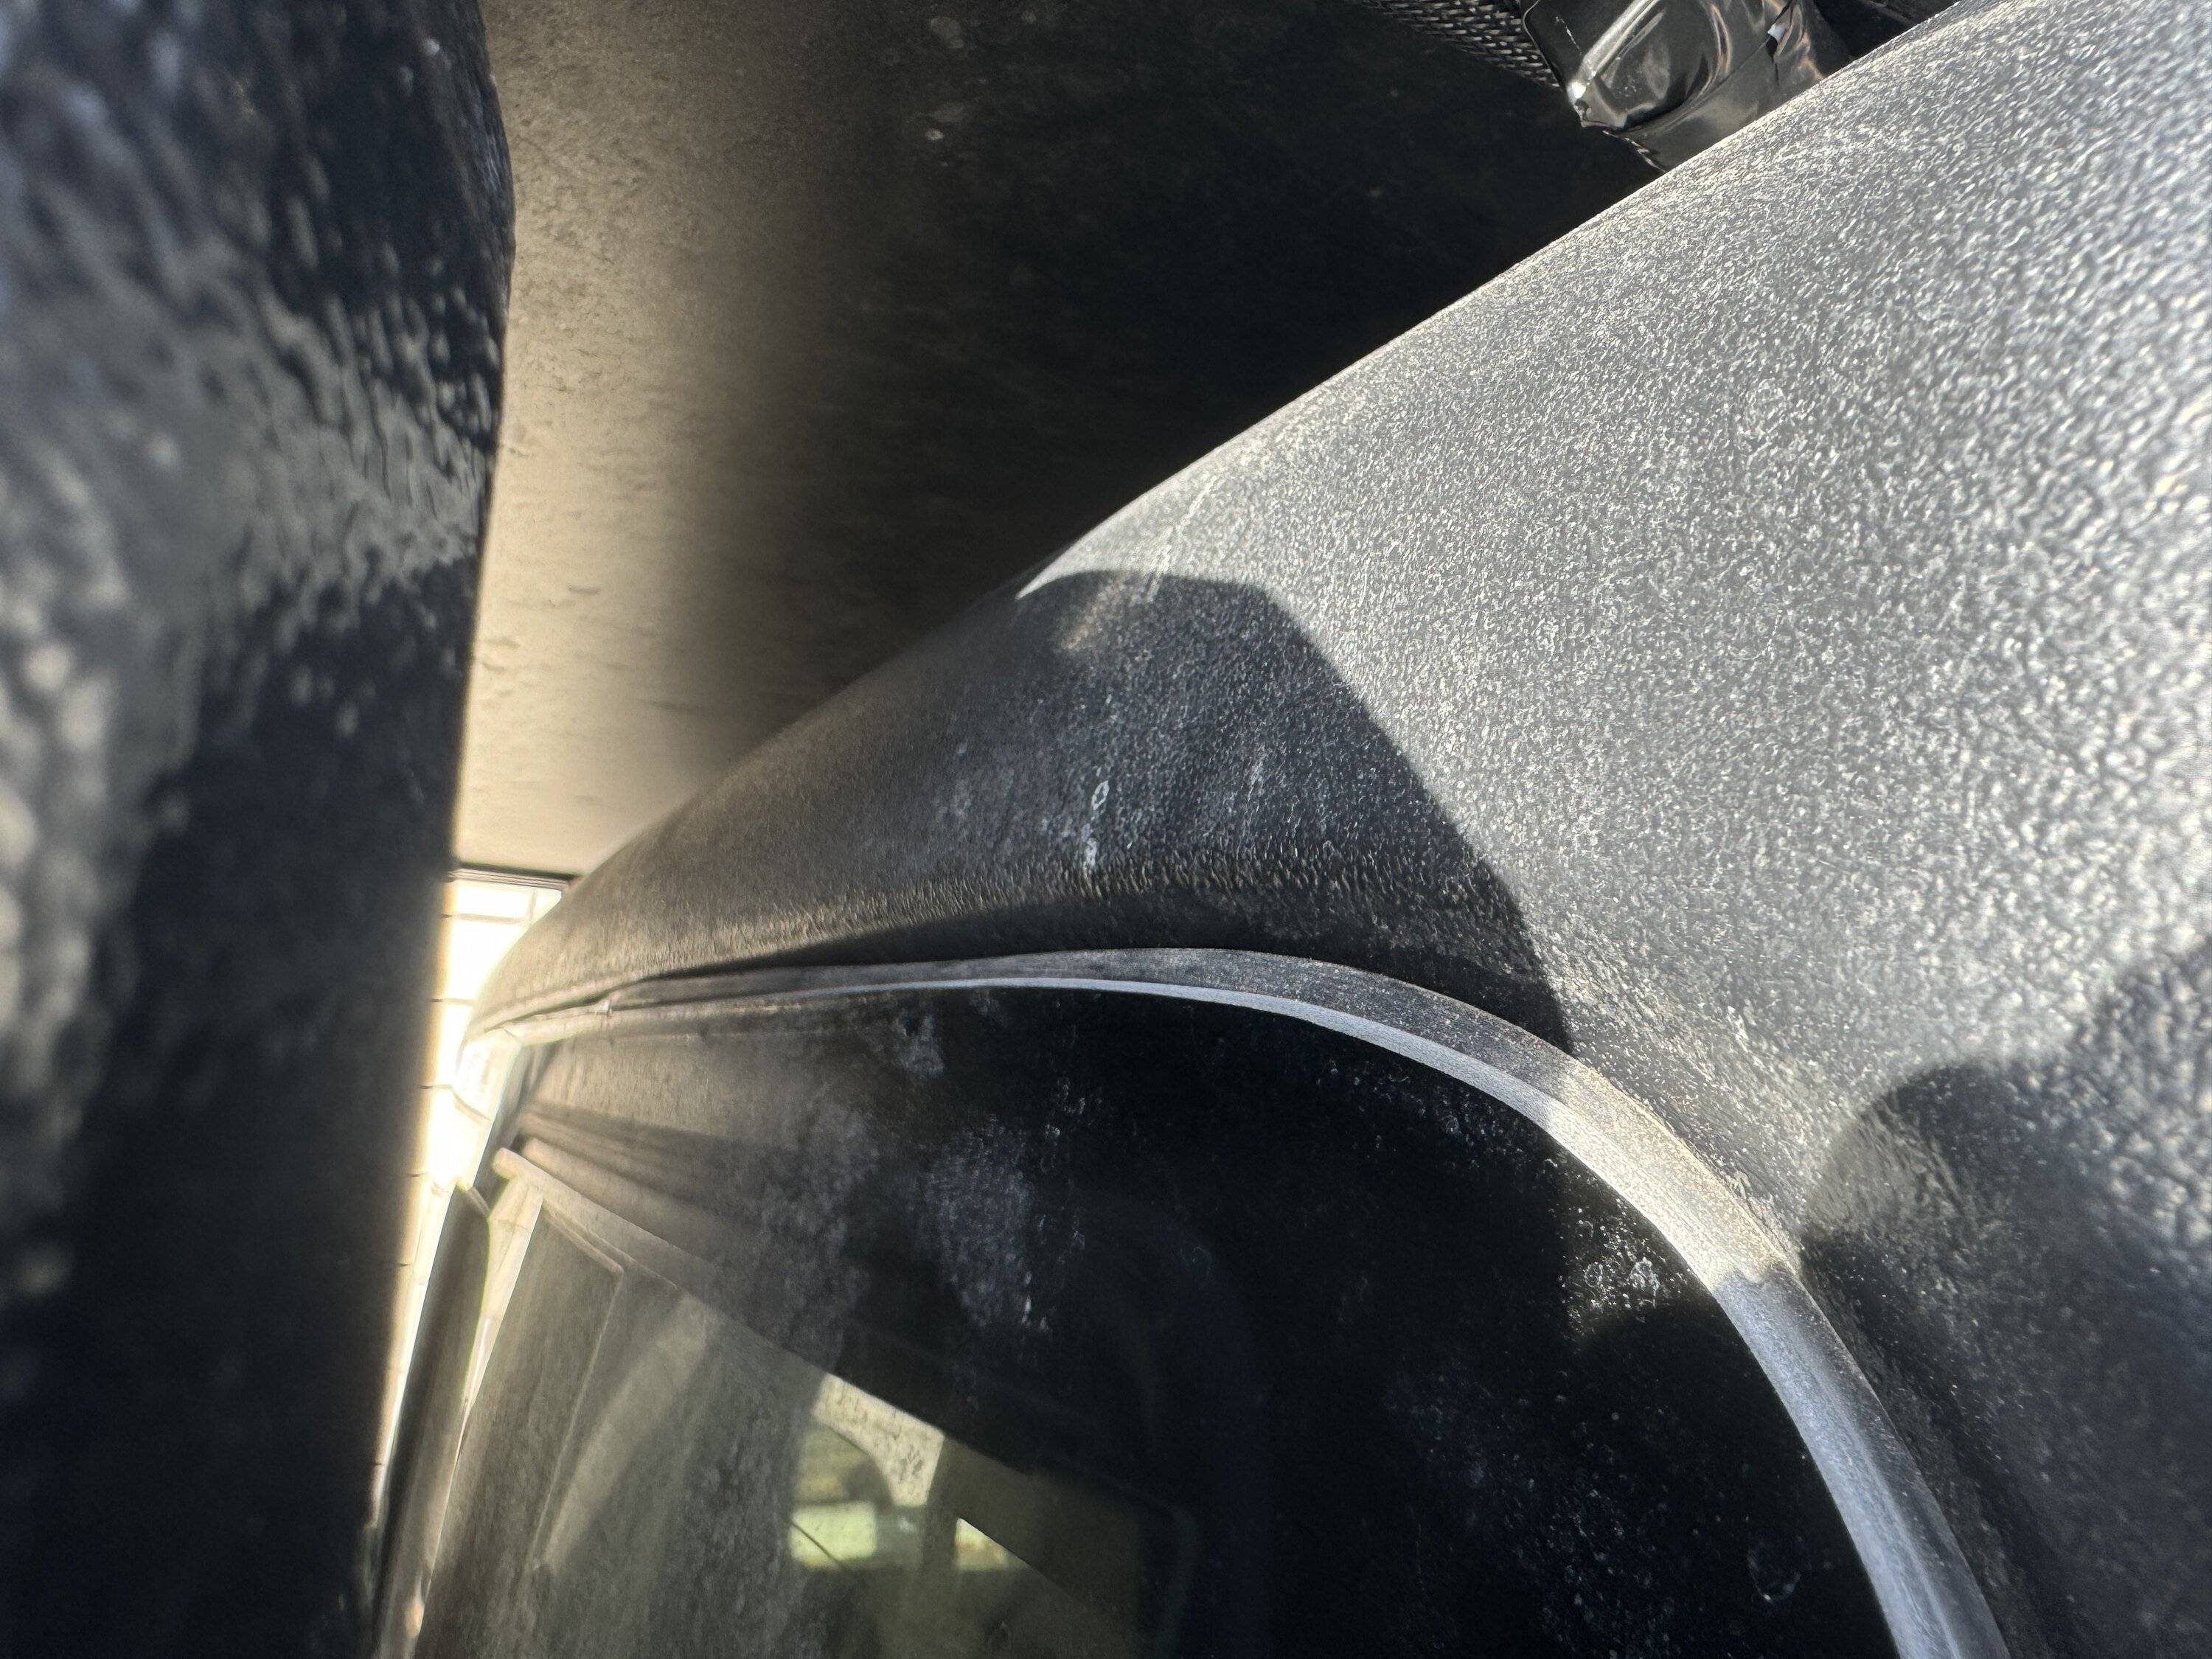
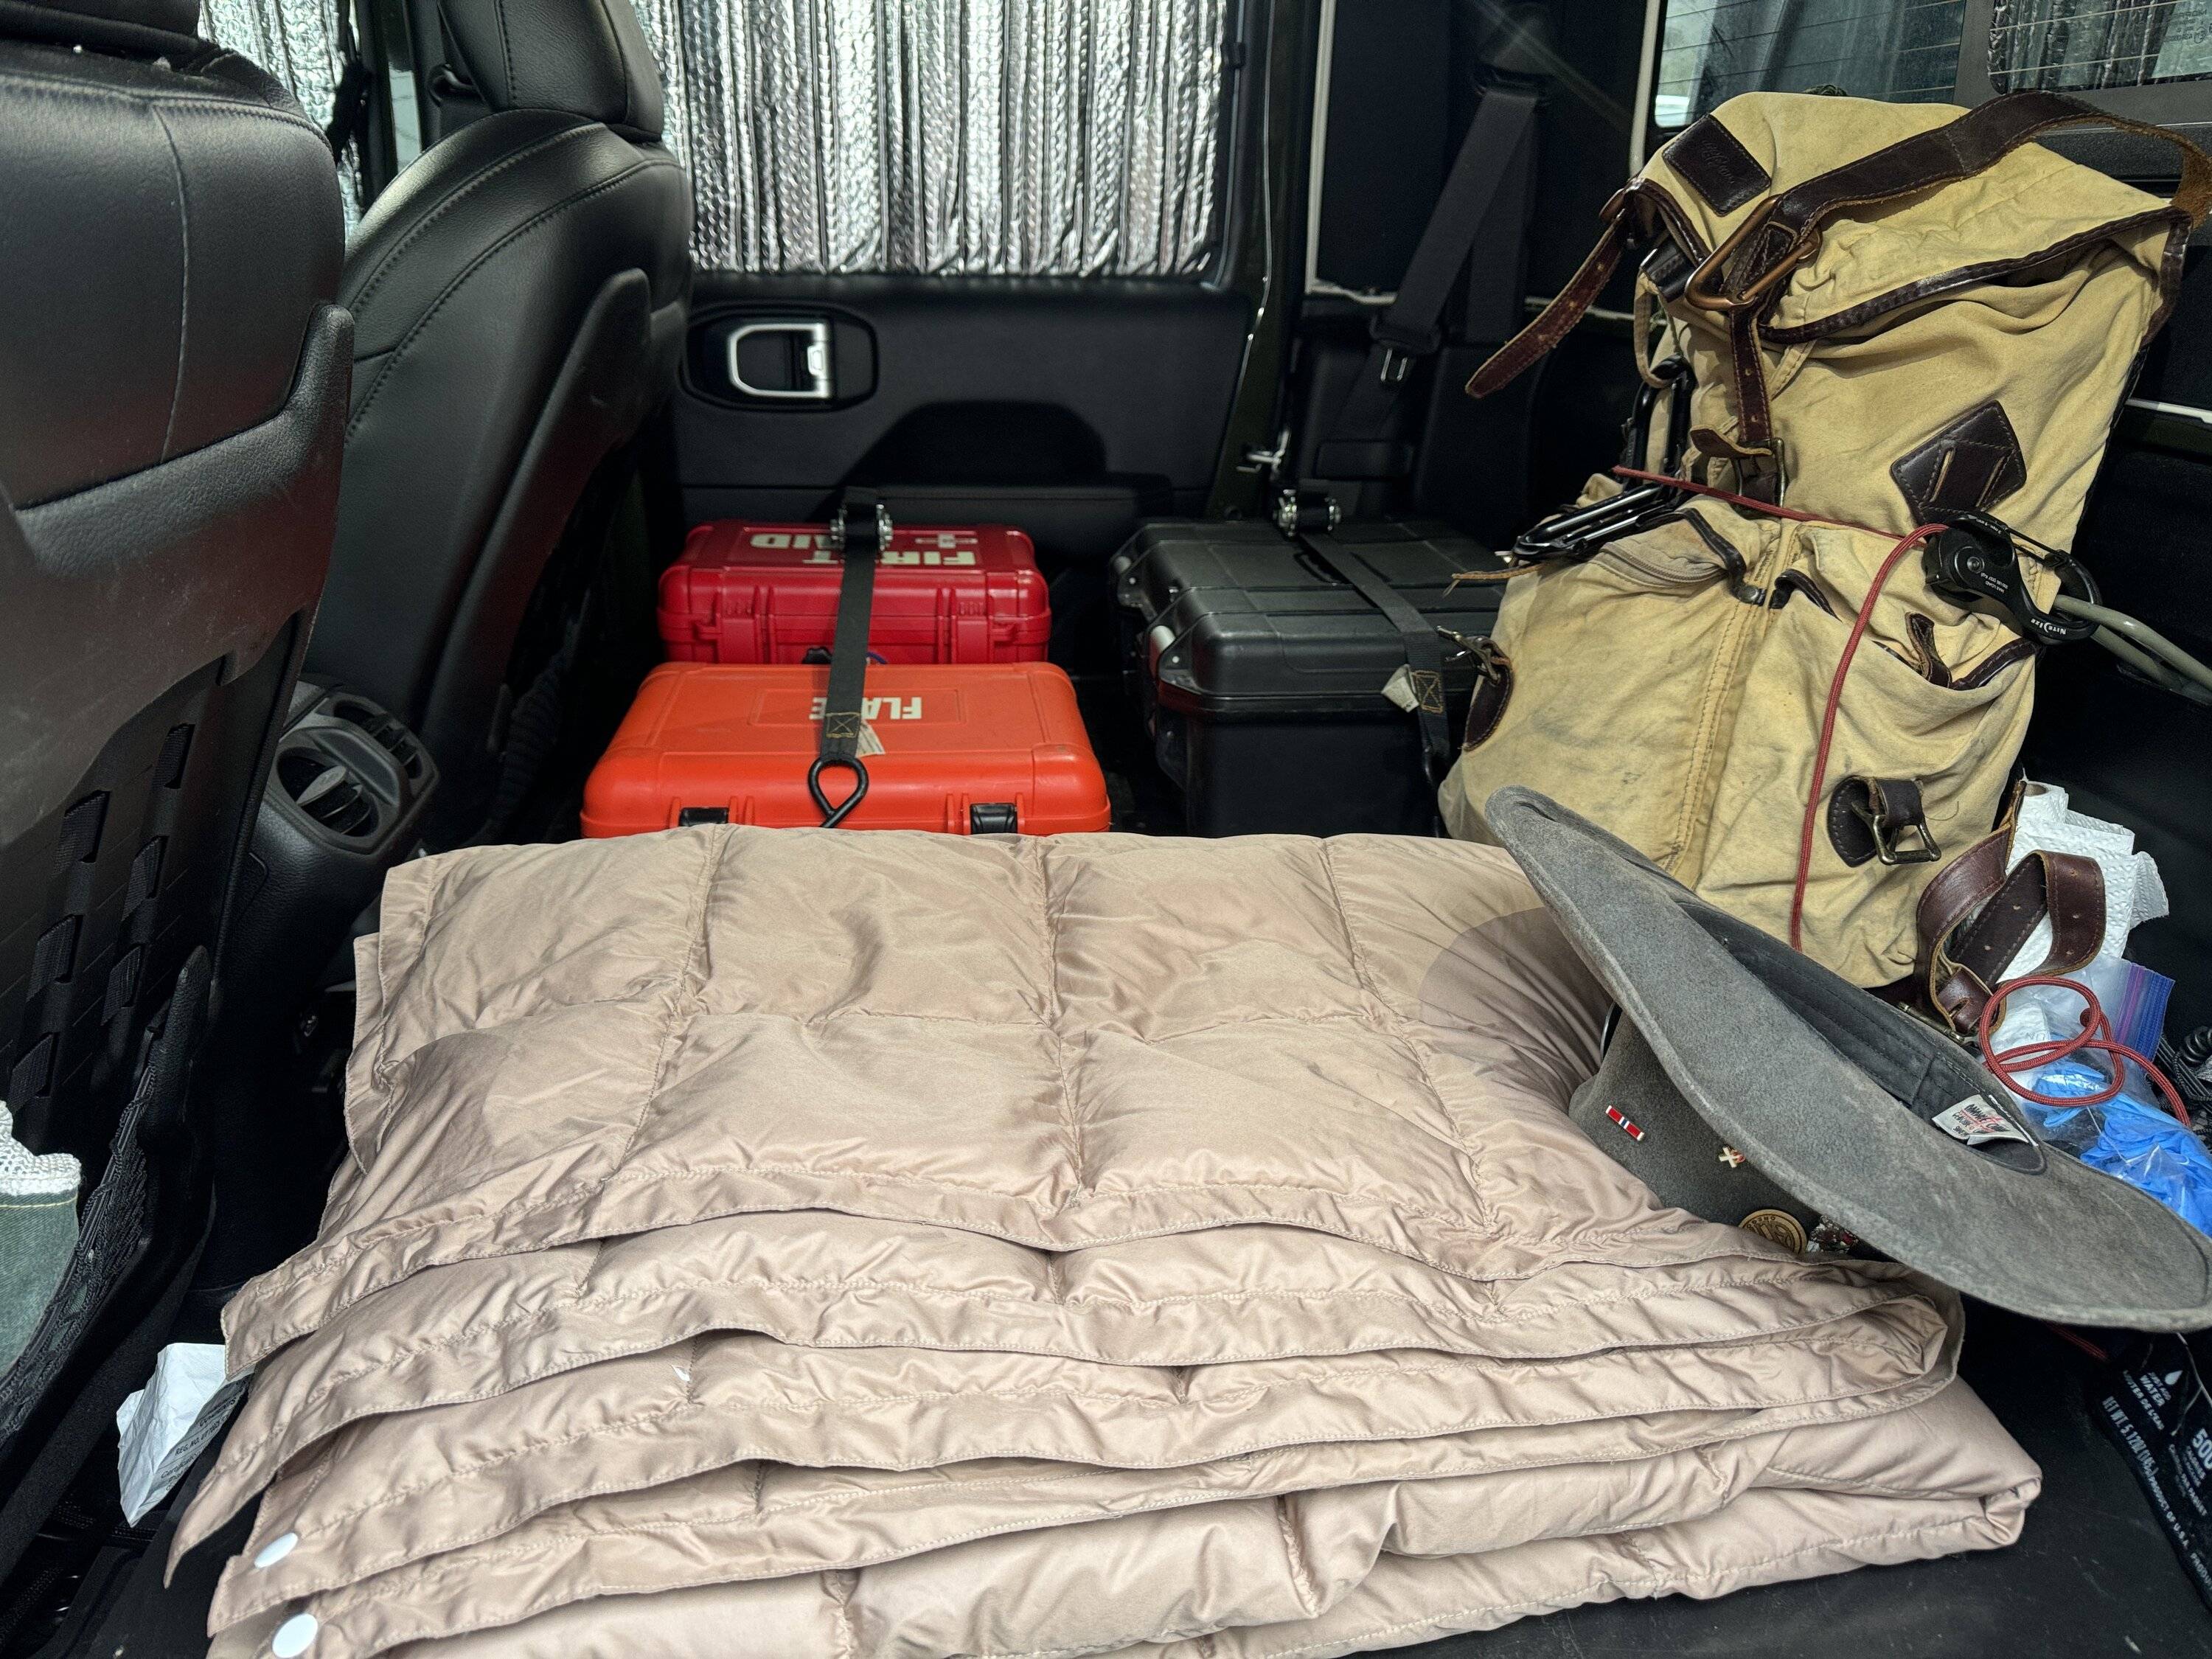
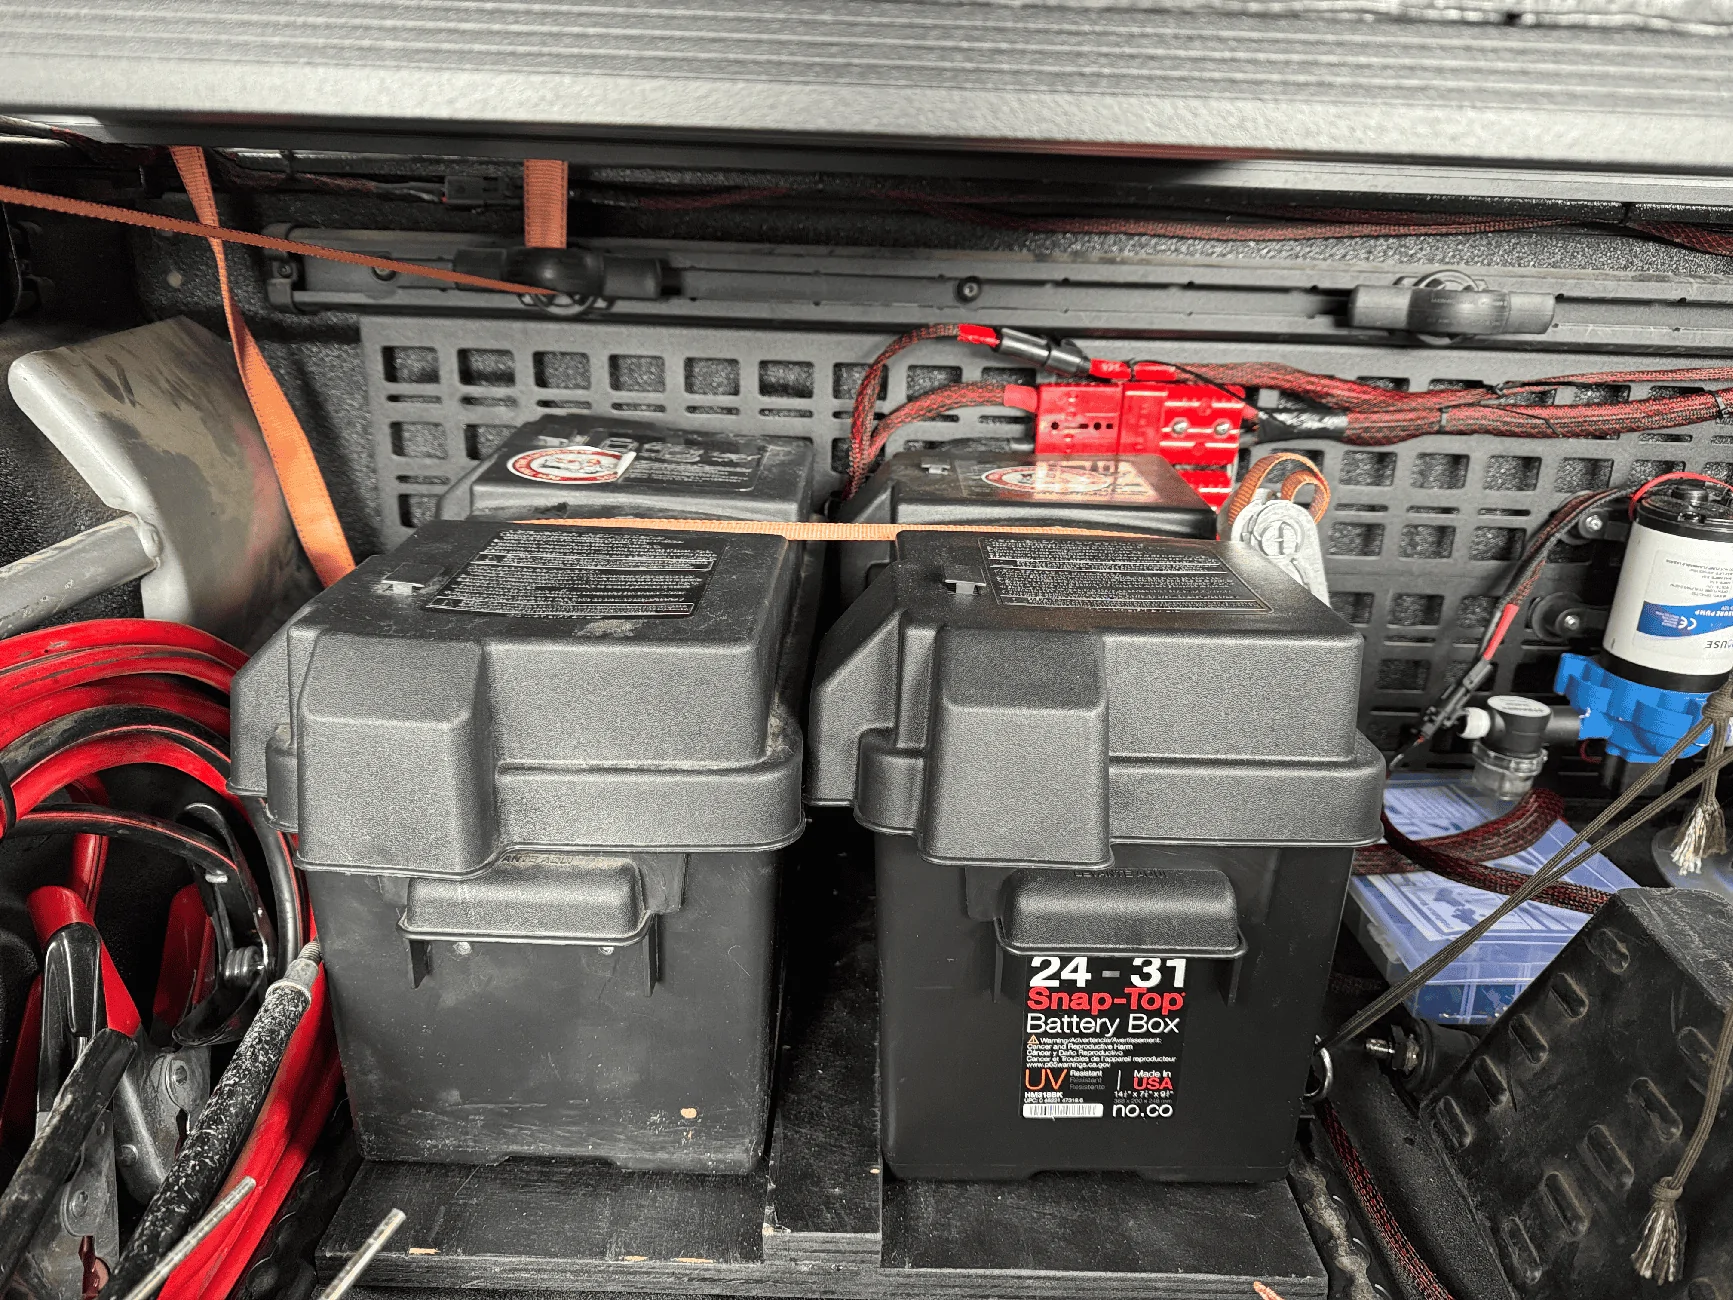
I would also point out that I made a bracket for the batteries to sit on to further aid in preventing movement. In the photo above, you can barely make out the edge of the wood partially covered by green 550 cord. This extends just past the plastic handle lip - and is designed this way on purpose.
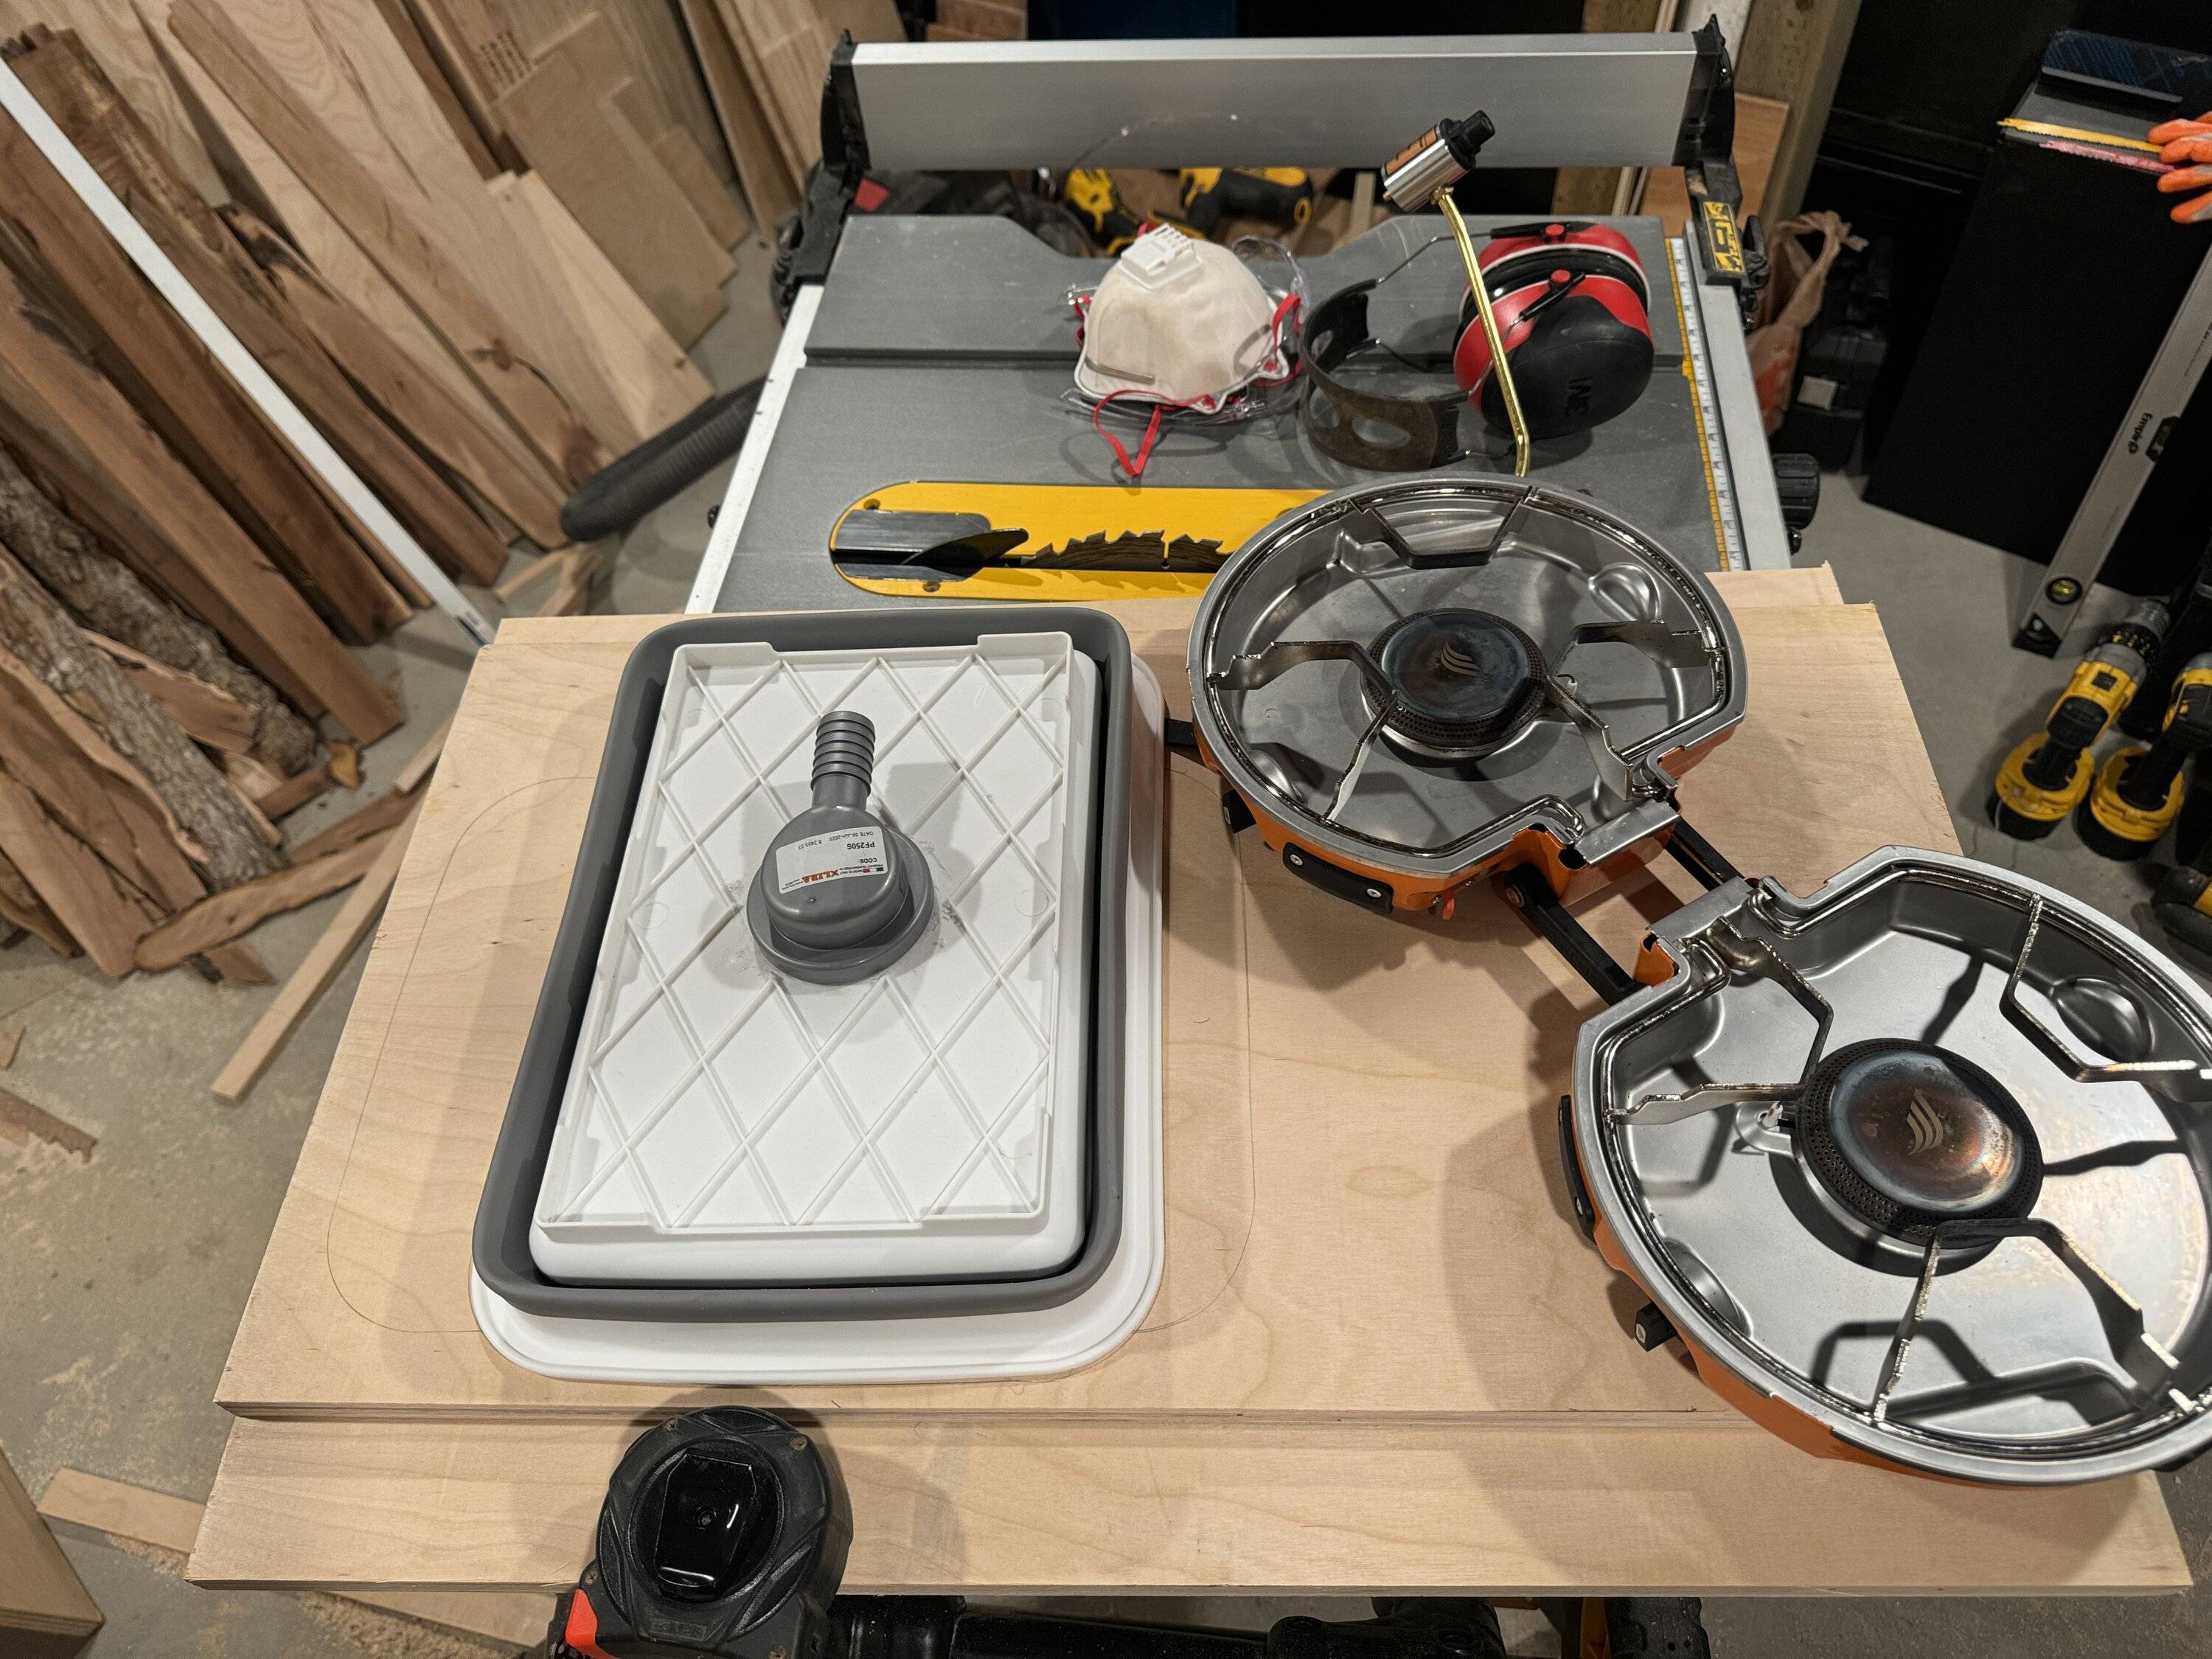
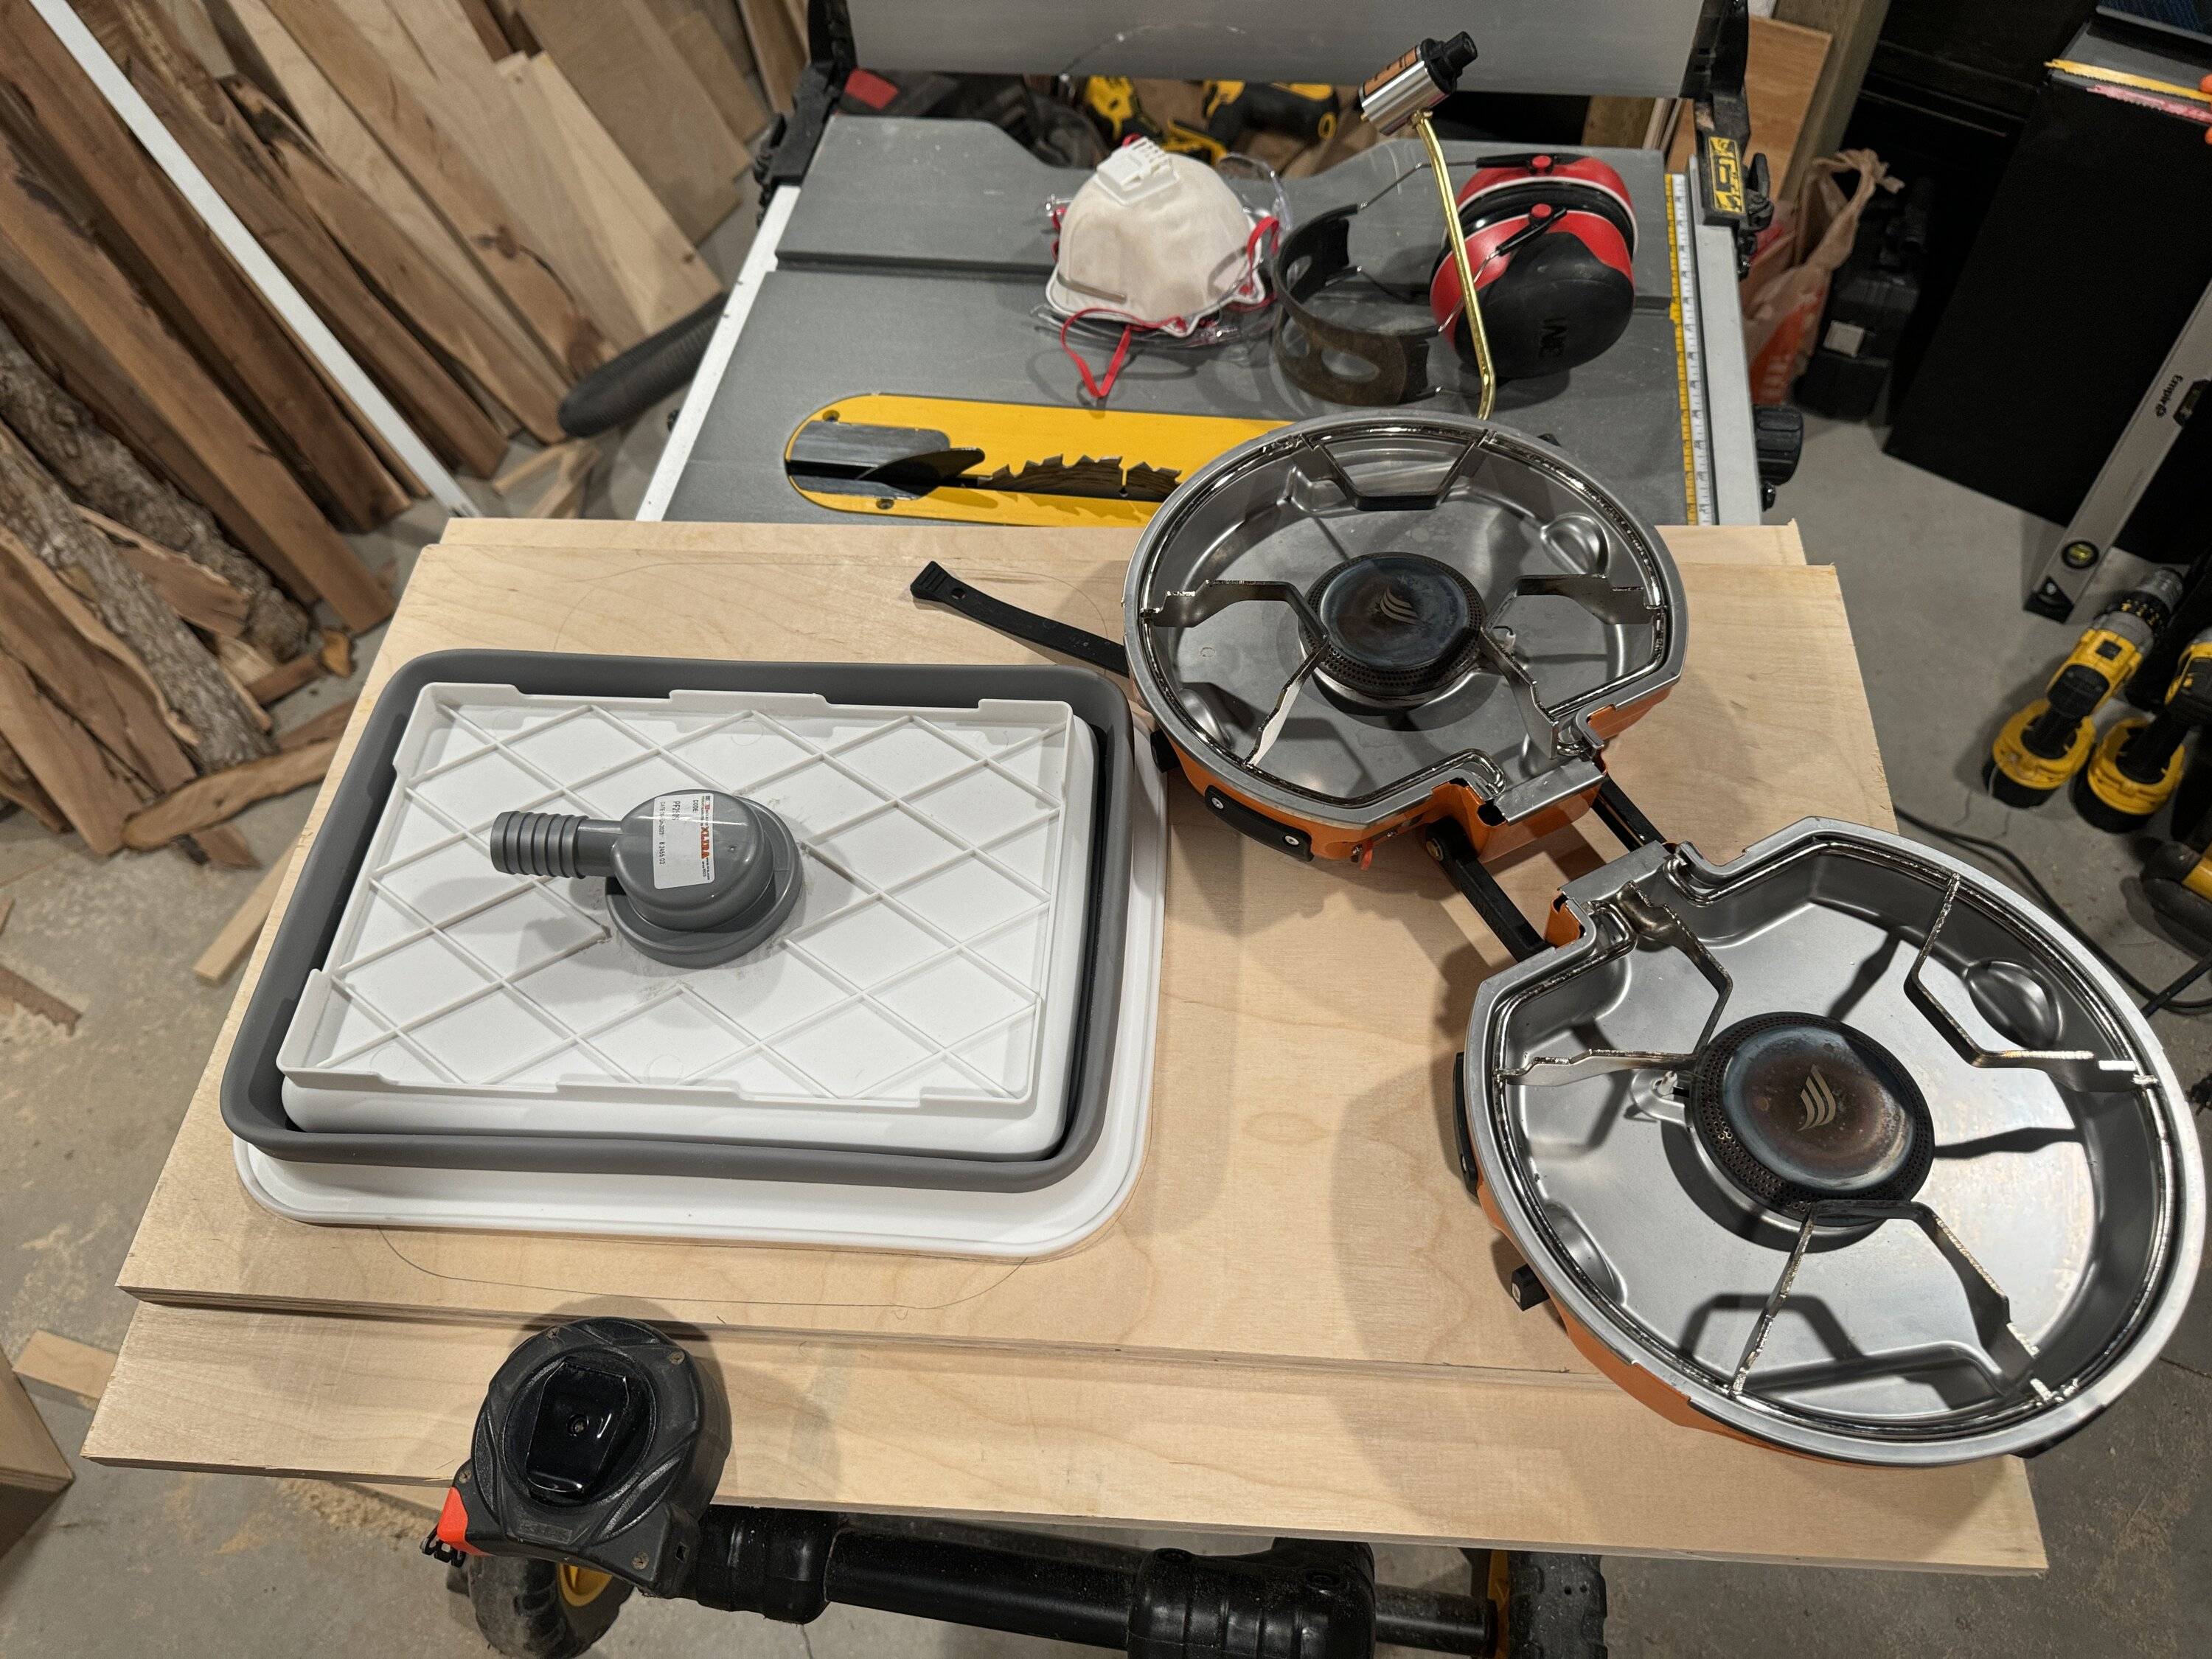
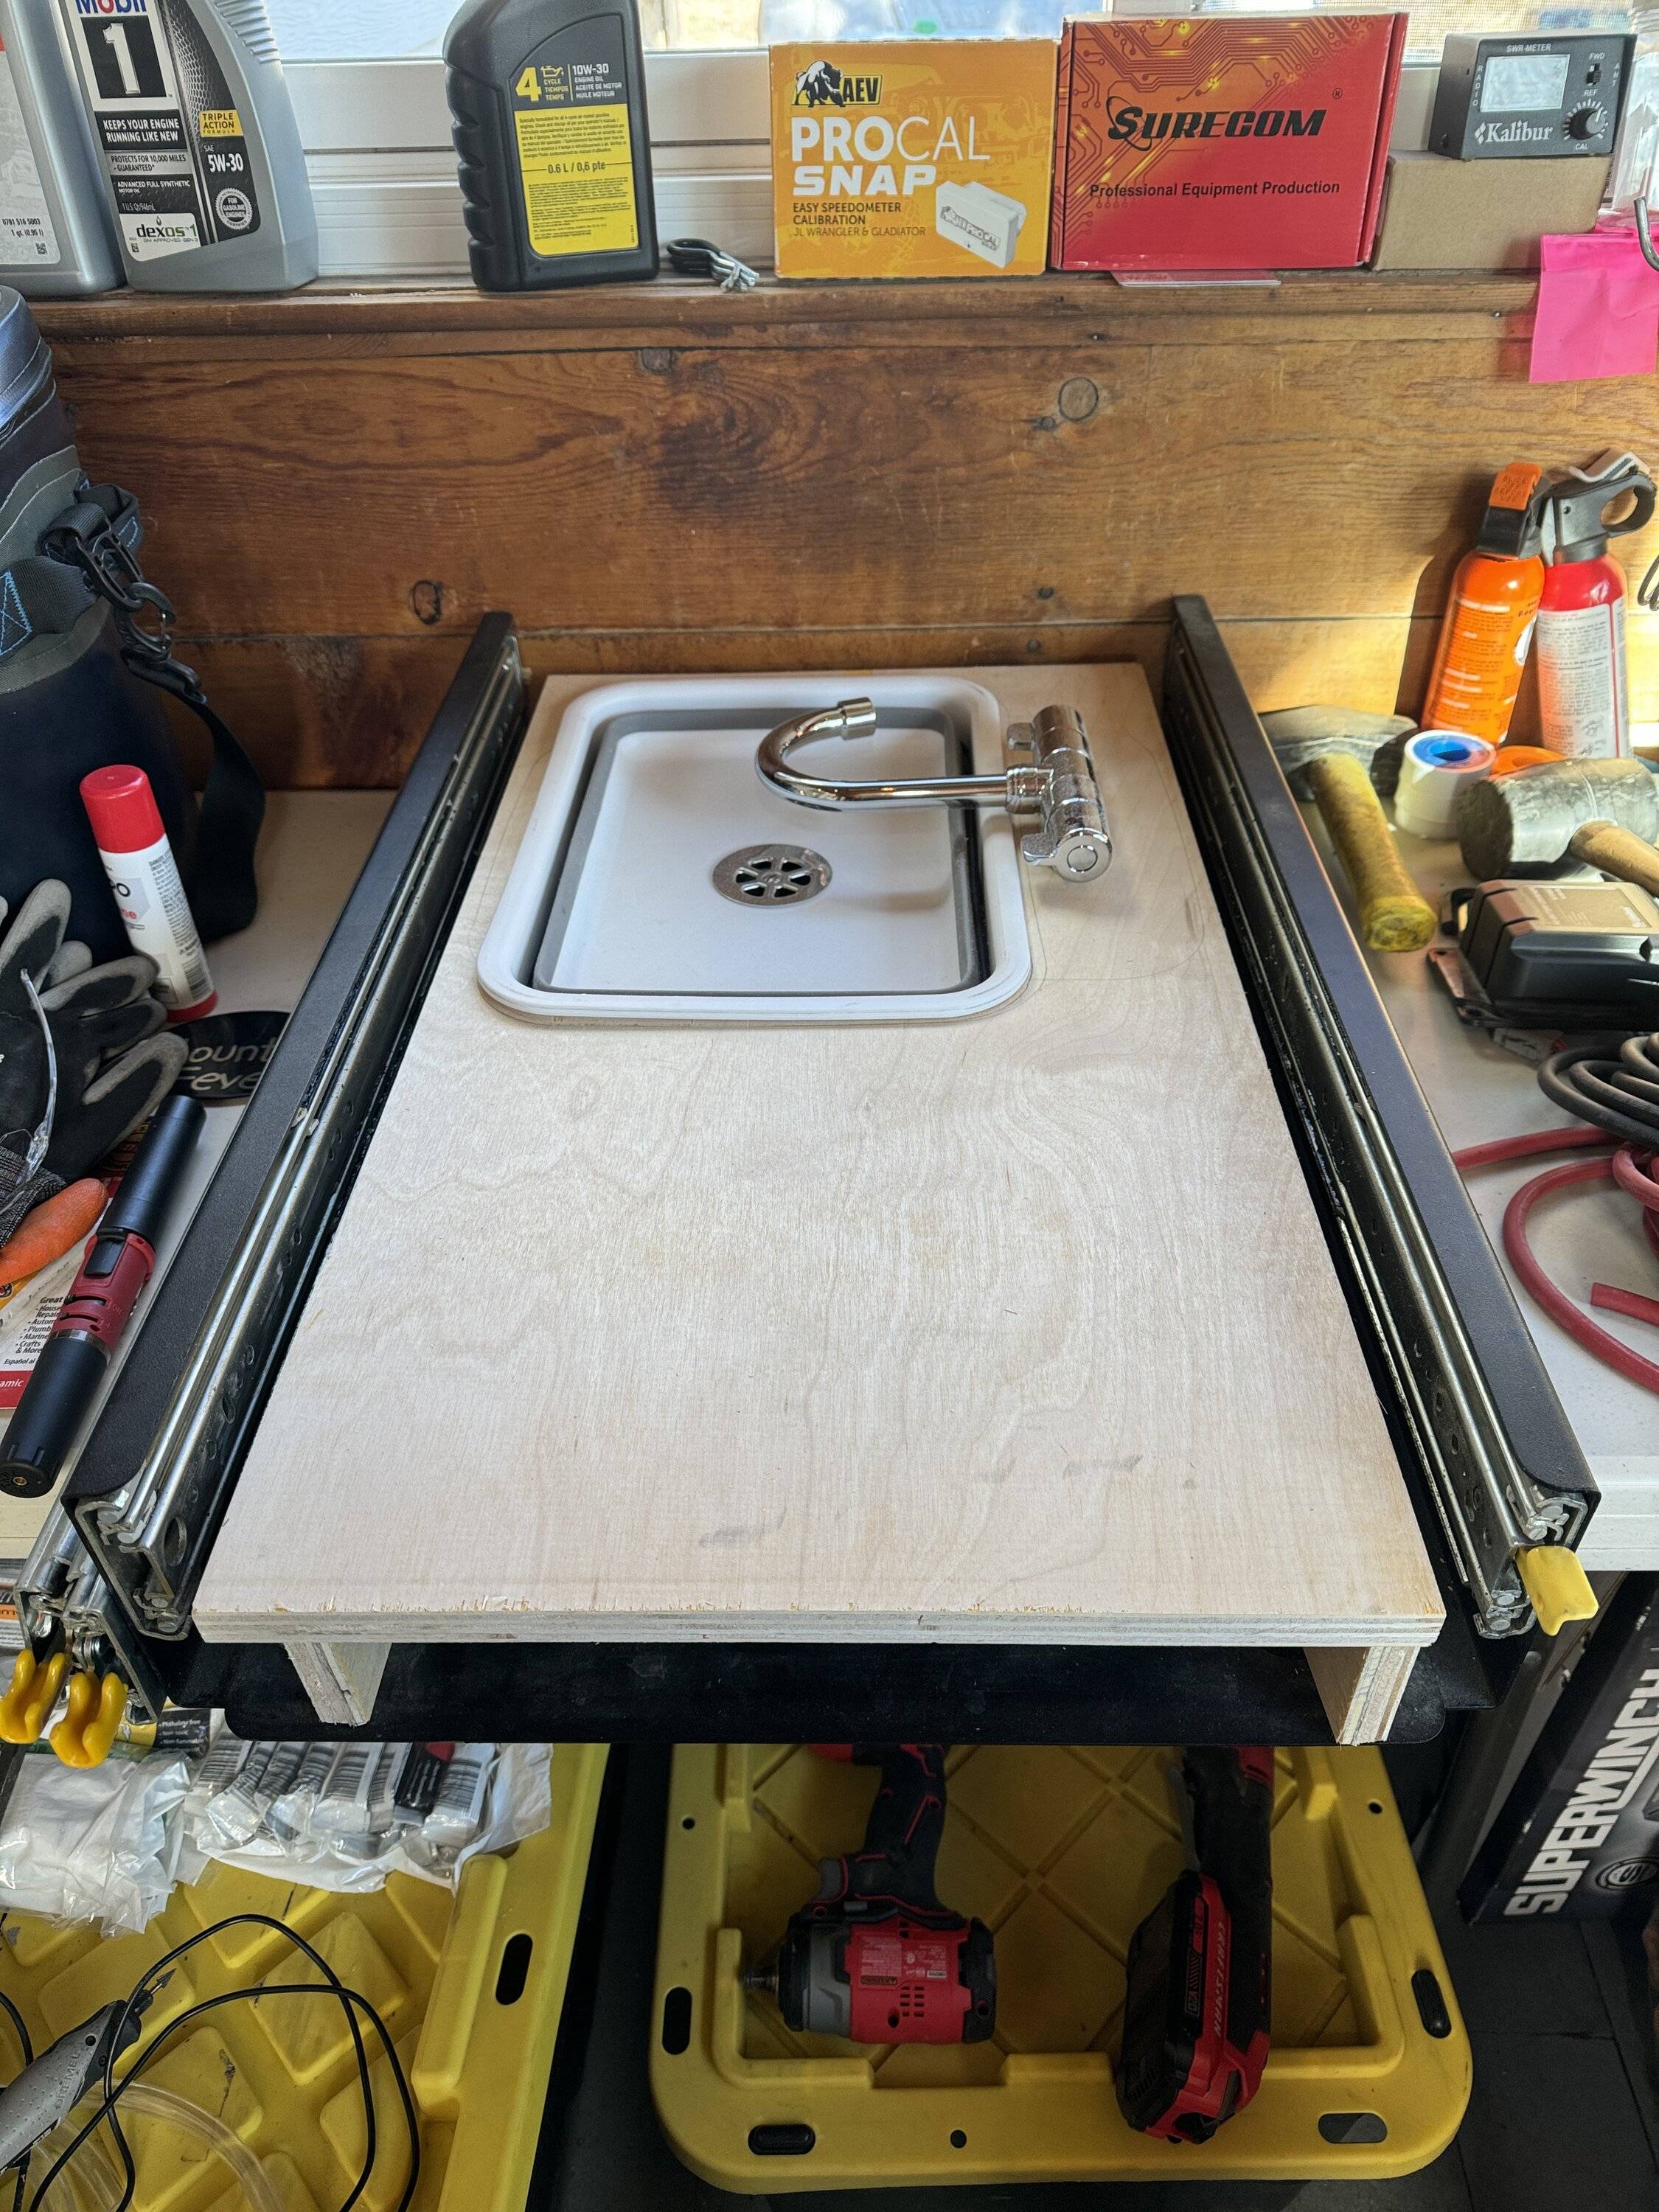
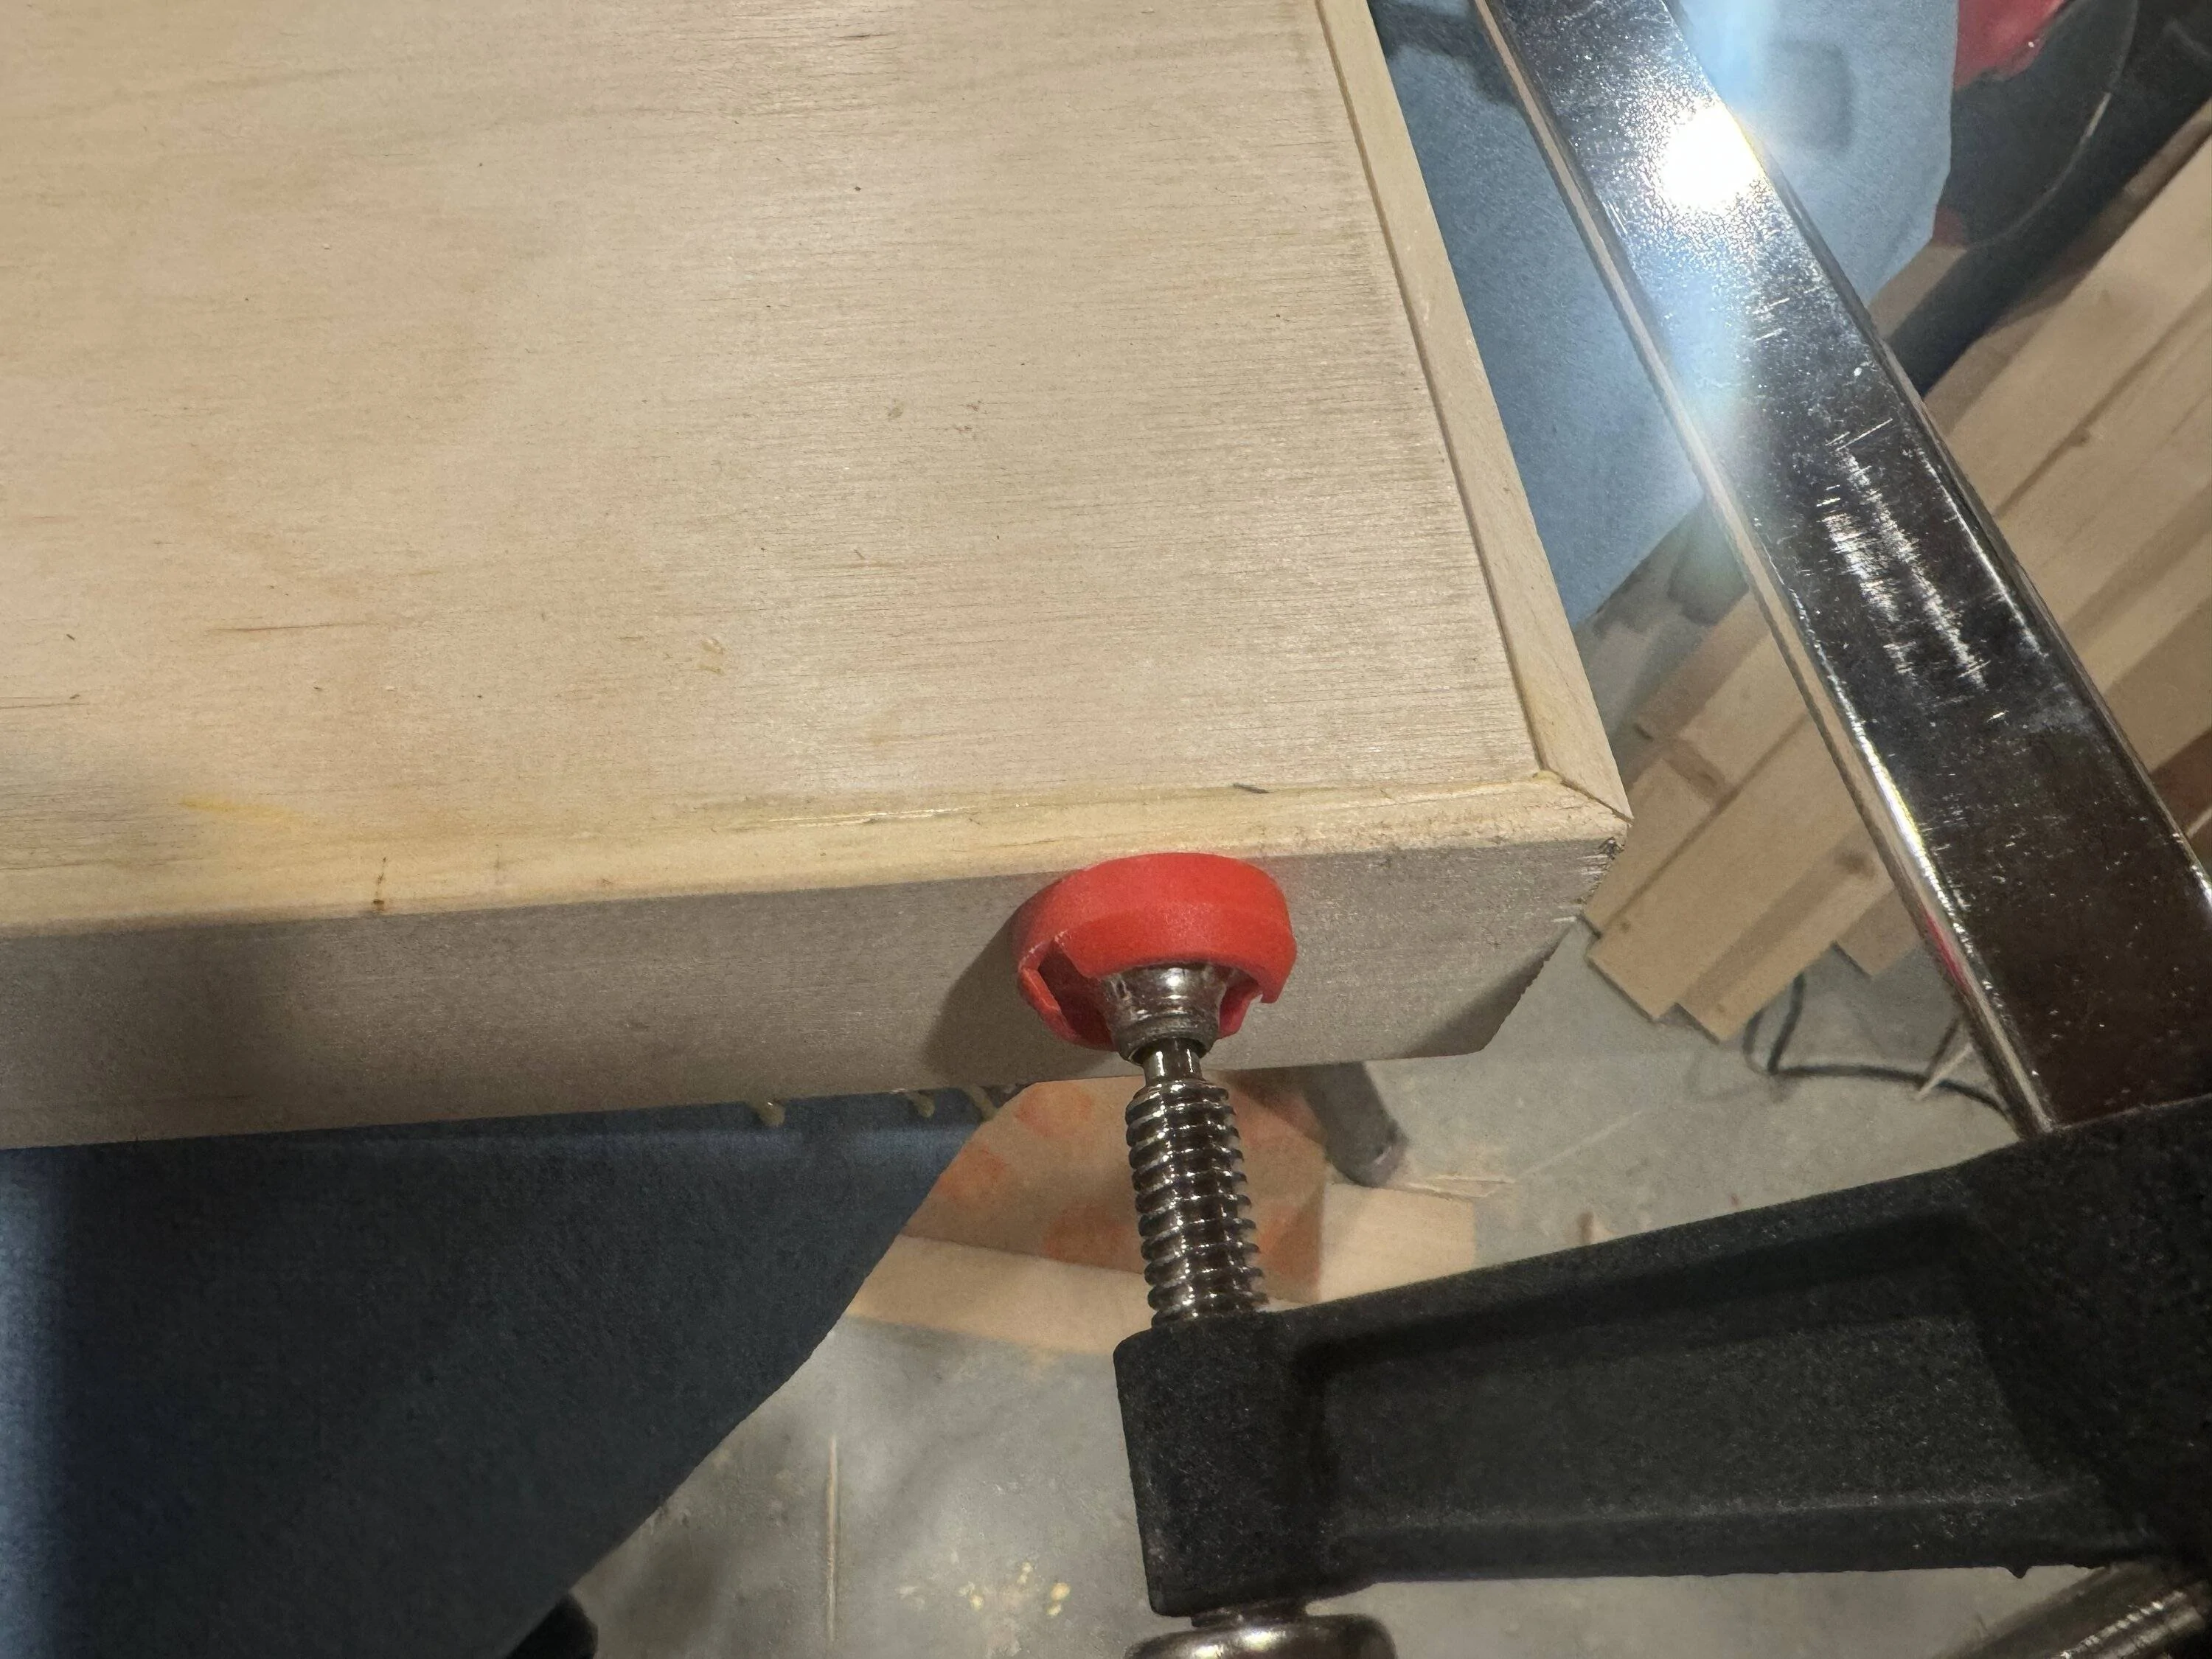
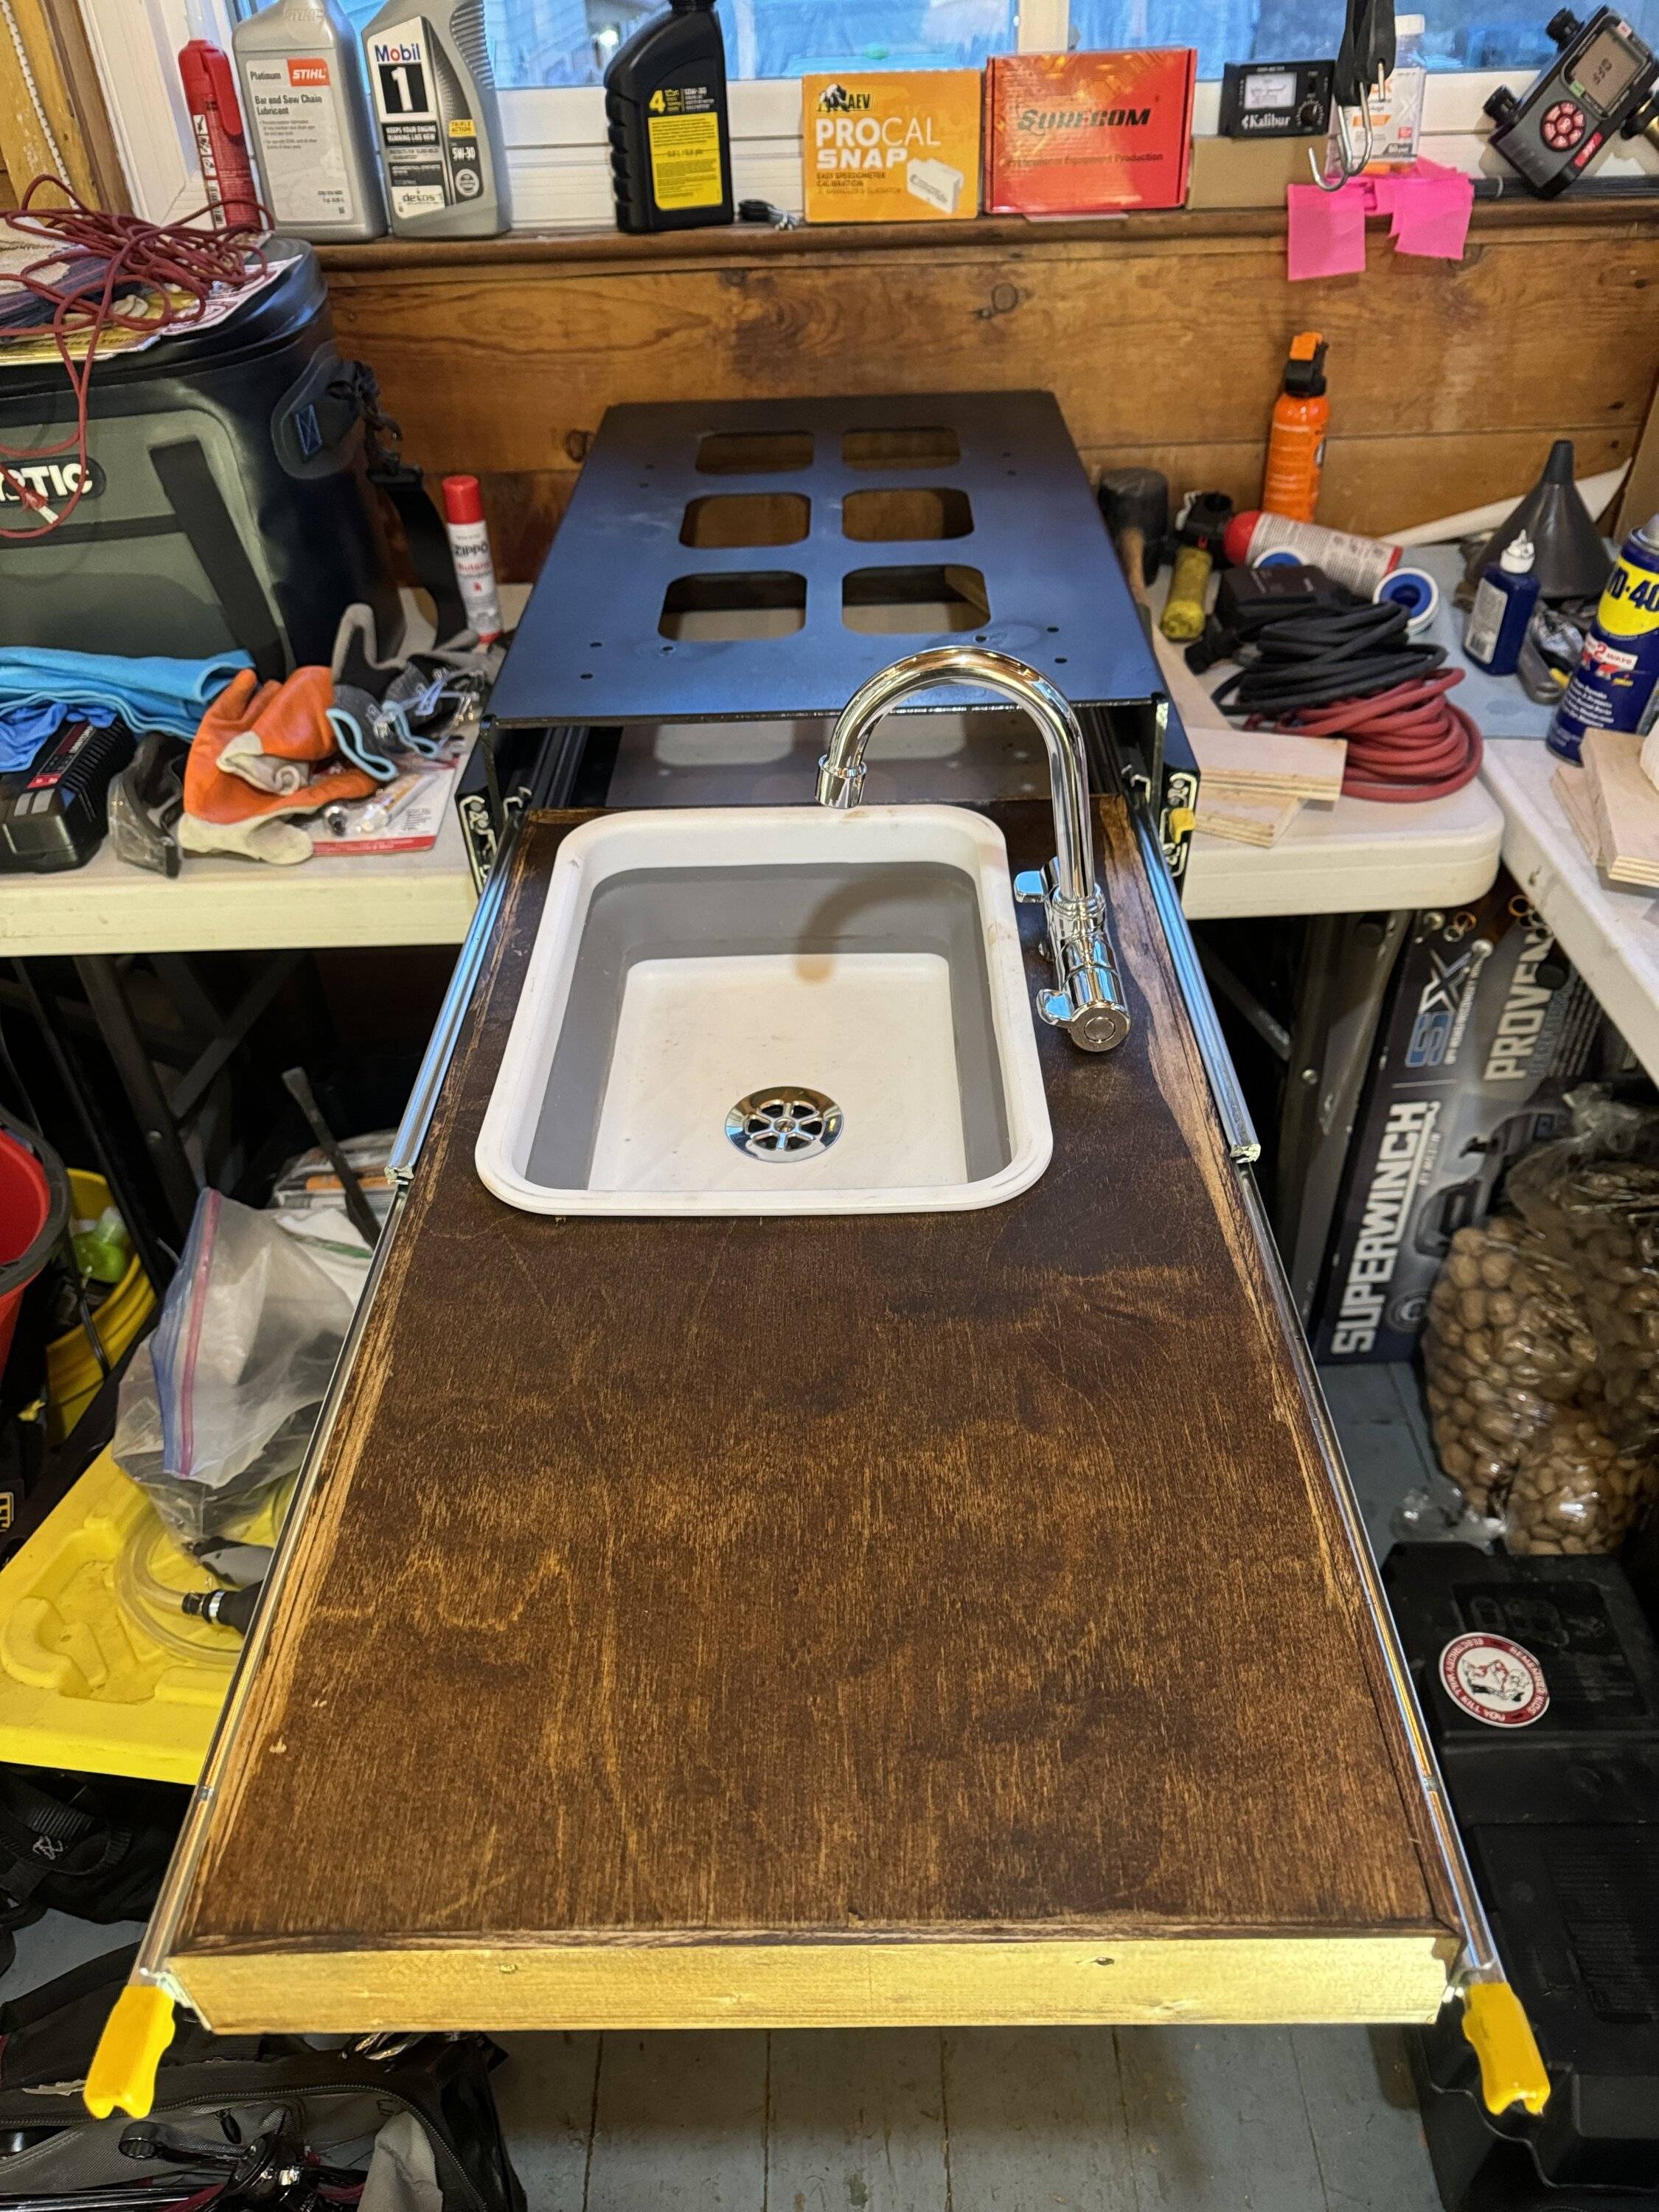
The purpose, is so that the kitchen storage system can but up directly against this bracket and not put pressure on the plastic battery boxes. So, now would be a good time to show the test fit of the system some time ago after building the kitchen storage box. It is perfectly sized as well, by design, so that a 30qt Engle cooler can fit in front of it flush against the tailgate when closed and in transport. I found the previously used 15qt Engle cooler too small for reasonable dry food storage - it will be re-used in the TJ/LJ.
So far I am quite pleased on how this is turning out.


Sponsored