Sponsored

What did you do TO your Gladiator today? [ADMIN WARNING: NO POLITICS, NO GUN TALK]

Freems

Well-Known Member
First Name
Mike
Joined
Mar 13, 2023
Threads
10
Messages
884
Reaction score
1,216
Location
Boise Idaho
Vehicle(s)
2020 Gladiator Sport 2022 Bronco Sport
Occupation
Retired
Flexing was my issue for sure. Absolutely unsafe to press bearings to a carrier. Maybe I’ll add some reinforcements. Great idea. Thanks.
NP, Those pieces of 1/2” took all the flex out, I did them in 6” lengths so I could move them around and stack and stagger them for the job at hand.
Sponsored


WILDHOBO

Well-Known Member
First Name
Dan
Joined
Sep 24, 2021
Threads
74
Messages
11,757
Reaction score
17,897
Location
Colorado
Vehicle(s)
2021 Gladiator Rubicon
Occupation
Network Engineer
Vehicle Showcase
1
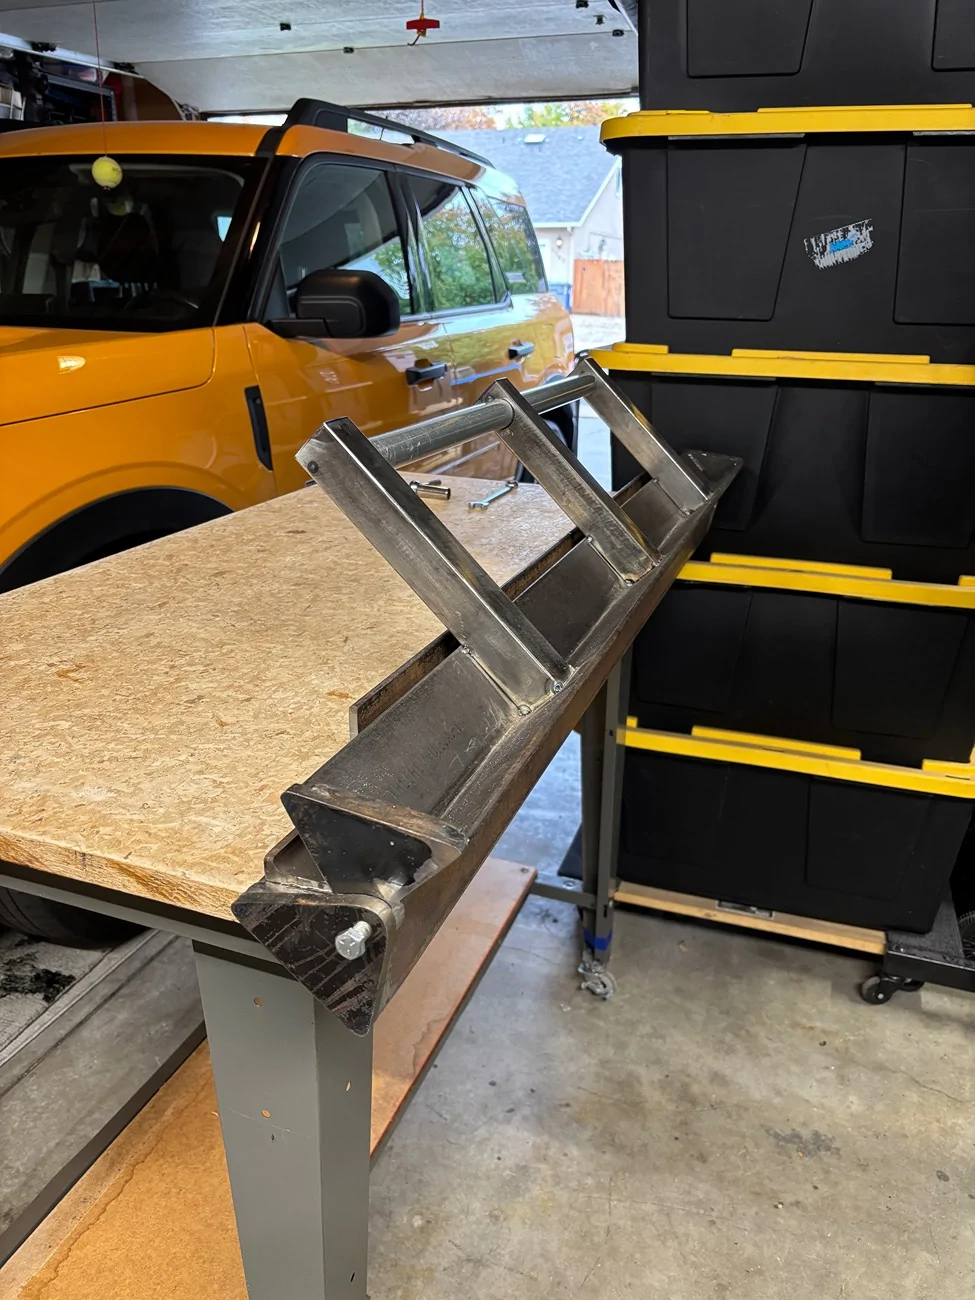
Those snakes wanted $350.00 for those two pieces, that’s they day I started building the break.
A couple offroad vendors want over $700 for adhesive rocker plates, with a single bend in them. I don’t get those prices.
 

Freems

Well-Known Member
First Name
Mike
Joined
Mar 13, 2023
Threads
10
Messages
884
Reaction score
1,216
Location
Boise Idaho
Vehicle(s)
2020 Gladiator Sport 2022 Bronco Sport
Occupation
Retired
I just bought myself a brake for my baby 12 ton press. It's about 12" wide but really if I want to bend something like 1/4" I'm probably limited to 2" width. I'm just straight up out of room at my current place. But I also utilize sendcutsend, they're great. And you don't need to know CAD if it's a simple shape and drill pattern, you can do it on their site. And there are always coupon codes, SuperfastMatt is pretty much continuously sponsored by them and a great watch on youtube. There have been times I've just ordered plates of steel or aluminum from them because it was cheaper than it'd be to drive to the local metal place once I factor in the fuel. Definitely not always the case but this world is devoid of logic anymore.

I've got a plasma cutter and I'd love to build a table for it and have a bunch of metal on hand, but again, I just don't have the room right now.
I hear you on the out of space thing…one thing that really helped that was “Casters” on everything! It can’t come in if it does have them. Also looking at building my own plasma table as well, with casters (haha). Full X, Y computer driven. I‘m designing a 4’x4’ size that folds in the middle for storage. Here’s some pics of the current burn/cut/and grind set I built, it’s a pull out that hides under my fixture table. I threw in a pic of the prelim drawing I did of it for you. Also built a down draft unit for it, it has worked out really well and takes up almost no space.

Jeep Gladiator What did you do TO your Gladiator today? [ADMIN WARNING: NO POLITICS, NO GUN TALK] IMG_0509


Jeep Gladiator What did you do TO your Gladiator today? [ADMIN WARNING: NO POLITICS, NO GUN TALK] IMG_0488


Jeep Gladiator What did you do TO your Gladiator today? [ADMIN WARNING: NO POLITICS, NO GUN TALK] IMG_0457


Jeep Gladiator What did you do TO your Gladiator today? [ADMIN WARNING: NO POLITICS, NO GUN TALK] IMG_0472
 

Freems

Well-Known Member
First Name
Mike
Joined
Mar 13, 2023
Threads
10
Messages
884
Reaction score
1,216
Location
Boise Idaho
Vehicle(s)
2020 Gladiator Sport 2022 Bronco Sport
Occupation
Retired
A couple offroad vendors want over $700 for adhesive rocker plates, with a single bend in them. I don’t get those prices.
Gouging is an ugly word but geez come on.
 

BlueScapegoat

Well-Known Member
First Name
Trevor
Joined
Dec 2, 2018
Threads
14
Messages
1,126
Reaction score
2,738
Location
MN
Vehicle(s)
91 ST185, 04 Ram SRT10, 04 Forester XT, SC'd 05 Rubi, 22 JTRD
Occupation
Air Traffic Controller
Vehicle Showcase
4
The 12 ton from HF is a pos in my opinion, but it’s been demoted to be a press brake only. Works fine for that. But I’ll be getting a real press before the next gear job. I had to drive to a shop and borrow their press last time. But I’ll keep of for the 12” brake, as it was like $160. So screw it. I’ve only used it a couple times, but love that I can make custom brackets. I used to be limited to cutting pieces of angle iron or c channel to figure out usable brackets.
Flexing was my issue for sure. Absolutely unsafe to press bearings to a carrier. Maybe I’ll add some reinforcements. Great idea. Thanks.
It worked beautifully for my regear. TBF I threw the carrier in the snow and set the ring on top of my smoker hot box for flavor...

I think it's a great 12 ton press and a steal for the money, but if you need more out of it, then yeah it's weak.

But us monkeys can use heat and stuff if you need to get a job done
 

Sponsored

BlueScapegoat

Well-Known Member
First Name
Trevor
Joined
Dec 2, 2018
Threads
14
Messages
1,126
Reaction score
2,738
Location
MN
Vehicle(s)
91 ST185, 04 Ram SRT10, 04 Forester XT, SC'd 05 Rubi, 22 JTRD
Occupation
Air Traffic Controller
Vehicle Showcase
4
I hear you on the out of space thing…one thing that really helped that was “Casters” on everything! It can’t come in if it does have them. Also looking at building my own plasma table as well, with casters (haha). Full X, Y computer driven. I‘m designing a 4’x4’ size that folds in the middle for storage. Here’s some pics of the current burn/cut/and grind set I built, it’s a pull out that hides under my fixture table. I threw in a pic of the prelim drawing I did of it for you. Also built a down draft unit for it, it has worked out really well and takes up almost no space.

IMG_0509.webp


IMG_0488.webp


IMG_0457.webp


IMG_0472.webp
Pretty sick!
 

bobthejt03

Member
First Name
Jim
Joined
Sep 11, 2025
Threads
1
Messages
11
Reaction score
17
Location
NorCal
Vehicle(s)
2003 Wrangler TJ
Well Jeepers, I've only had it a week, but here is my first mod, or I guess addition?
Jeep Gladiator What did you do TO your Gladiator today? [ADMIN WARNING: NO POLITICS, NO GUN TALK] 20260408_125826

Mag mount for my phone from Bullet Point.
Jeep Gladiator What did you do TO your Gladiator today? [ADMIN WARNING: NO POLITICS, NO GUN TALK] 20260408_140831

Mic holder from Tackform for my ham radio, which I hope to get installed this weekend.
The products from these 2 companies are very impressive in build quality if I do say so. I could never get anything this thought out and well built for my TJ.
 

Pliny

Well-Known Member
First Name
Philip
Joined
Dec 17, 2022
Threads
21
Messages
235
Reaction score
391
Location
AZ
Vehicle(s)
26 JLUR, 24 BMW X3, 22 JTR, 99 F250 SD
Occupation
Retired
Finished installing the RCV front axles. They are so very nice.

The before:

Jeep Gladiator What did you do TO your Gladiator today? [ADMIN WARNING: NO POLITICS, NO GUN TALK] IMG_2853


The after:

Jeep Gladiator What did you do TO your Gladiator today? [ADMIN WARNING: NO POLITICS, NO GUN TALK] IMG_2859


I'd still be out there working on it if I hadn't stopped and made this "backstop" out of scrap 2x4 so that I could just focus on pushing the CV joint into the boot. (Yes I had the zip tie between the CV joint and the boot.) I just didn't have the coordination / strength to smash the greasy heavy bowling ball of the joint into the boot. This let me work on just pushing the joint into the boot since the boot was pinned against the board which was then pinned against the "C" of the axle housing.
Jeep Gladiator What did you do TO your Gladiator today? [ADMIN WARNING: NO POLITICS, NO GUN TALK] IMG_2855

I had a hole saw that was bigger in diameter than the section of the axle shaft where the small end of the boot rides, but smaller than the outer diameter of the small end of the boot. The piece I ended up using was about 15/16" - 1" thick.

If you don't have a similar hole saw, it is probably easier to just make two cuts at 45 degrees to create a 90 degree notch in the board that would land on the section of axle shaft where the inner lip of the boot rides.

Here is a shot of a scrap piece placed to show where I had the actual piece I used when I did the install.
Jeep Gladiator What did you do TO your Gladiator today? [ADMIN WARNING: NO POLITICS, NO GUN TALK] IMG_2856

If the board is too thin the axle shaft will bottom out into the diff before you can get the boot on. Too thick and the boot is out into the knuckle and can't expand as you're trying force the CV joint into it.
 

Sponsored

WILDHOBO

Well-Known Member
First Name
Dan
Joined
Sep 24, 2021
Threads
74
Messages
11,757
Reaction score
17,897
Location
Colorado
Vehicle(s)
2021 Gladiator Rubicon
Occupation
Network Engineer
Vehicle Showcase
1
Fixed it. The picture where there’s space between the bars is the correct one. No idea what order these pics are going to come up in. :CWL:

IMG_2078.webp


IMG_2079.webp
That was definitely clocked a bit off before. Great work fixing it. Looks great.
 

WILDHOBO

Well-Known Member
First Name
Dan
Joined
Sep 24, 2021
Threads
74
Messages
11,757
Reaction score
17,897
Location
Colorado
Vehicle(s)
2021 Gladiator Rubicon
Occupation
Network Engineer
Vehicle Showcase
1
Finished installing the RCV front axles. They are so very nice.

The before:

IMG_2853.webp


The after:

IMG_2859.webp


I'd still be out there working on it if I hadn't stopped and made this "backstop" out of scrap 2x4 so that I could just focus on pushing the CV joint into the boot. (Yes I had the zip tie between the CV joint and the boot.) I just didn't have the coordination / strength to smash the greasy heavy bowling ball of the joint into the boot. This let me work on just pushing the joint into the boot since the boot was pinned against the board which was then pinned against the "C" of the axle housing.
IMG_2855.webp

I had a hole saw that was bigger in diameter than the section of the axle shaft where the small end of the boot rides, but smaller than the outer diameter of the small end of the boot. The piece I ended up using was about 15/16" - 1" thick.

If you don't have a similar hole saw, it is probably easier to just make two cuts at 45 degrees to create a 90 degree notch in the board that would land on the section of axle shaft where the inner lip of the boot rides.

Here is a shot of a scrap piece placed to show where I had the actual piece I used when I did the install.
IMG_2856.webp

If the board is too thin the axle shaft will bottom out into the diff before you can get the boot on. Too thick and the boot is out into the knuckle and can't expand as you're trying force the CV joint into it.
You’ll love them. For next time, try putting the three unit bearing bolts in some of the way. Then instead of pushing the bell housing into the boot, you can pull the boot over the bell housing with two hands. It’s worked great for me several times, including just after rebuilding them last summer.
 

WILDHOBO

Well-Known Member
First Name
Dan
Joined
Sep 24, 2021
Threads
74
Messages
11,757
Reaction score
17,897
Location
Colorado
Vehicle(s)
2021 Gladiator Rubicon
Occupation
Network Engineer
Vehicle Showcase
1
Finished installing the RCV front axles. They are so very nice.

The before:

IMG_2853.webp


The after:

IMG_2859.webp


I'd still be out there working on it if I hadn't stopped and made this "backstop" out of scrap 2x4 so that I could just focus on pushing the CV joint into the boot. (Yes I had the zip tie between the CV joint and the boot.) I just didn't have the coordination / strength to smash the greasy heavy bowling ball of the joint into the boot. This let me work on just pushing the joint into the boot since the boot was pinned against the board which was then pinned against the "C" of the axle housing.
IMG_2855.webp

I had a hole saw that was bigger in diameter than the section of the axle shaft where the small end of the boot rides, but smaller than the outer diameter of the small end of the boot. The piece I ended up using was about 15/16" - 1" thick.

If you don't have a similar hole saw, it is probably easier to just make two cuts at 45 degrees to create a 90 degree notch in the board that would land on the section of axle shaft where the inner lip of the boot rides.

Here is a shot of a scrap piece placed to show where I had the actual piece I used when I did the install.
IMG_2856.webp

If the board is too thin the axle shaft will bottom out into the diff before you can get the boot on. Too thick and the boot is out into the knuckle and can't expand as you're trying force the CV joint into it.
What are the bilstein items with the switches? Curiosity might have killed the cat, but it keeps me alive with an empty wallet.
 

Pliny

Well-Known Member
First Name
Philip
Joined
Dec 17, 2022
Threads
21
Messages
235
Reaction score
391
Location
AZ
Vehicle(s)
26 JLUR, 24 BMW X3, 22 JTR, 99 F250 SD
Occupation
Retired

Pliny

Well-Known Member
First Name
Philip
Joined
Dec 17, 2022
Threads
21
Messages
235
Reaction score
391
Location
AZ
Vehicle(s)
26 JLUR, 24 BMW X3, 22 JTR, 99 F250 SD
Occupation
Retired
You’ll love them. For next time, try putting the three unit bearing bolts in some of the way. Then instead of pushing the bell housing into the boot, you can pull the boot over the bell housing with two hands. It’s worked great for me several times, including just after rebuilding them last summer.
That's what I get for following instructions. Thanks for the tip.
Sponsored


Top